
The Bittersweet Toast is a main quest in The Blood of Dawnwalker. This walkthrough will guide you through all objectives of The Bittersweet Toast main quest. This is a highly missable quest and a sub-quest of The Gilded Gauntlet.
- Starting Location: Maragir Wealds / Codrin’s Hunting Lodge
- Requirement: Starts if doing the optional objective during “The Gilded Gauntlet“
- Fail State: Kill Codrin or leave in the middle of the ritual
- Reward:
- 100XP for killing the Pale Ravager
- 250XP for completion
- Time Required:
- Speak to Iulian at his Hunting Lodge: 1 Time Segment
- Ask Iulian “Can I meet you there?”: 1 Time Segment (Optional)
- Follow Iulian: 1 Time Segment
- Find out where Vera is: 1 Time Segment
- Ask Iulian “What happens now?”: 1 Time Segment
- Find the ritual scroll: 1 Time Segment
- Loot the Tatzelwurm Gland: 1 Time Segment
- Finish the Ritual: 3 Time Segments
- Quest Description: Nobleman Iulian Codrin, a known vassal of Ambrus’s, has a plan to tip the scales in my favour when I duel the boyar. It could be a trap, but it might be worth trying.
Objectives:
- Meet Iulian by the swamp (Optional)
- Light the campfire (Optional, 1 Time Segment)
- Follow Iulian
- Defeat the wolves
- Inspect the body
- Follow Iulian
- Find out where Vera is
- Discuss findings with Iulian
- Look for Vera’s traps
- Follow Vera’s tracks using Focus Mode
- Inspect the body
- Find the ritual scroll
- Follow Vera’s tracks using Focus Mode
- Search the clearing
- Find the lizard’s lair (Optional)
- Defeat the lizard to get its gland (Optional)
- Give Iulian the scroll
- Finish Making the brew
- Discuss the next steps with Iulian
- Perform the ritual
- Light the first pillar using Astral Communion
- Light the second pillar using Astral Communion
- Light the third pillar using Astral Communion
- Defeat the hostile spirit
- Light the fourth pillar using Astral Communion
- Light the fifth pillar using Astral Communion
- Defeat the hostile spirits
- Return to Iulian to finish the ritual
Starting Location: The Bittersweet Toast
When starting The Gilded Gauntlet, you will get an optional objective. Go do it before dueling Ambrus to get The Bittersweet Toast quest.
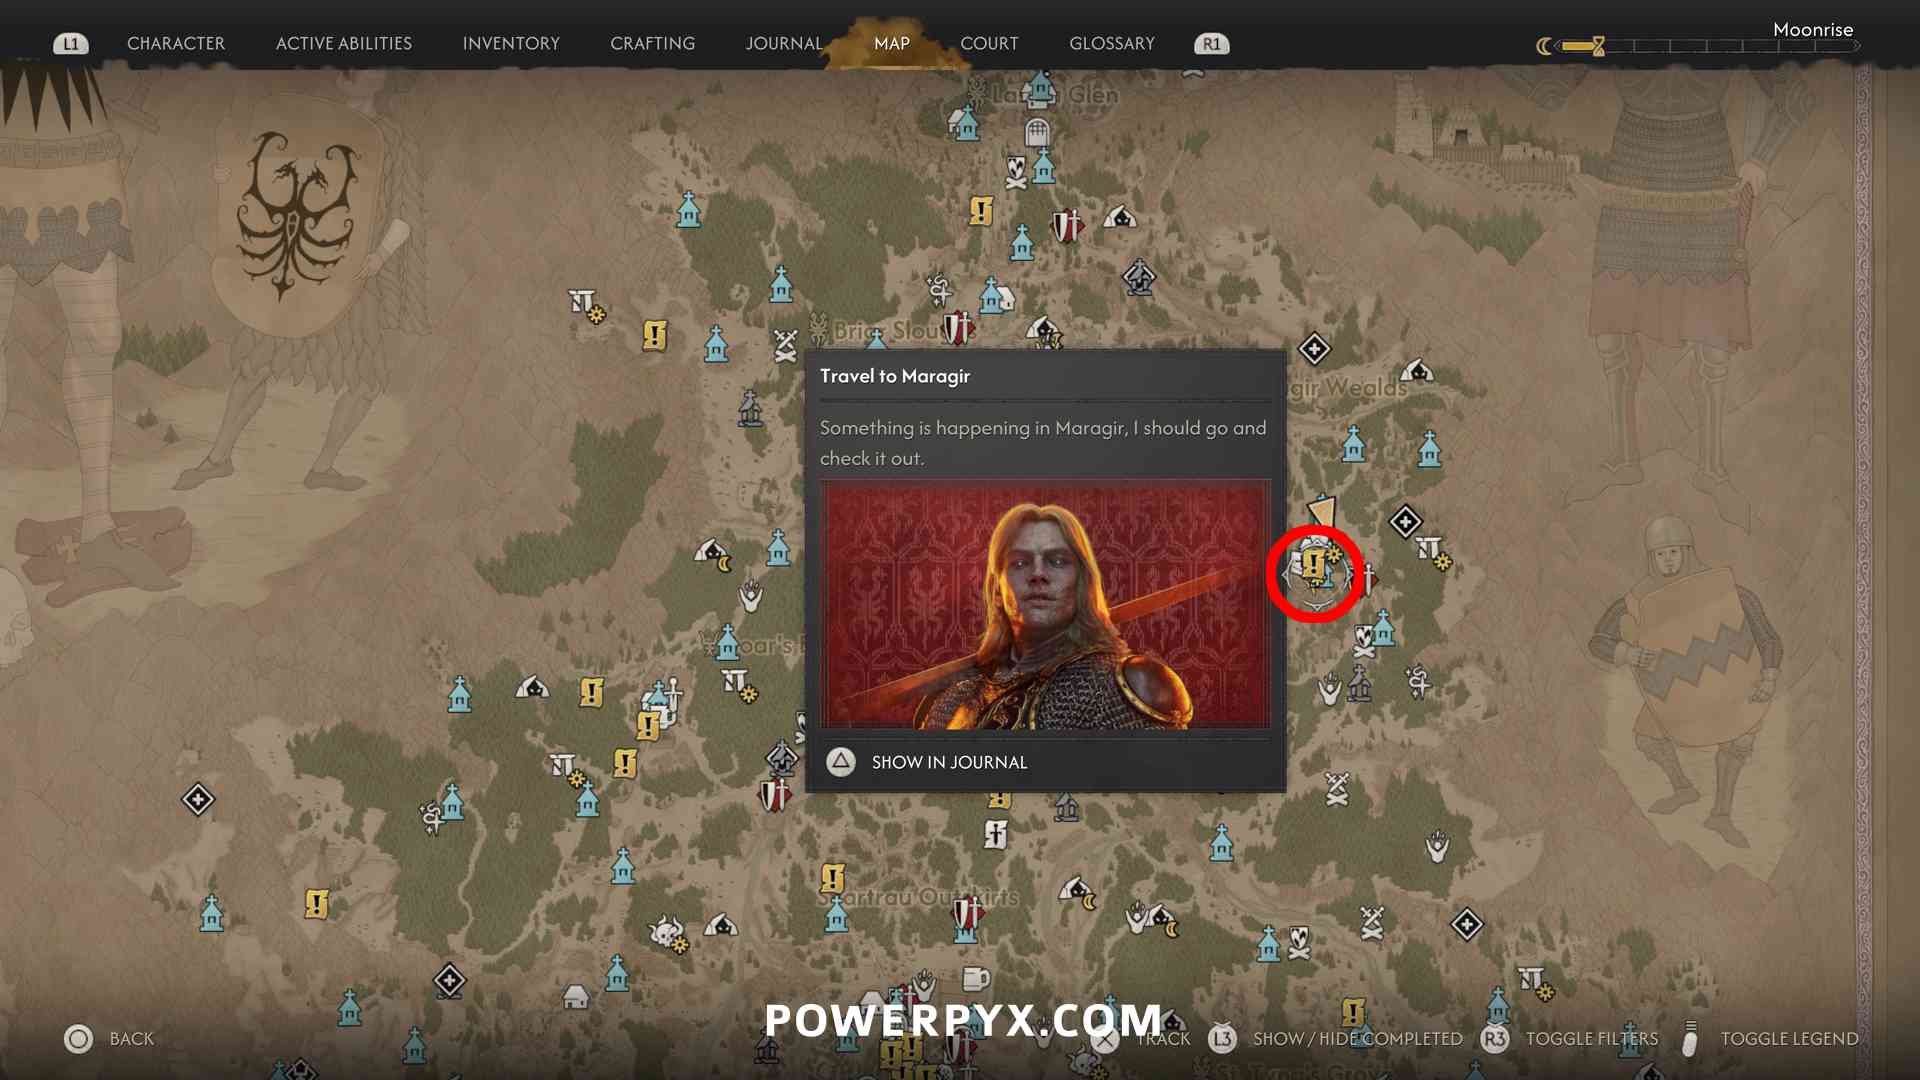
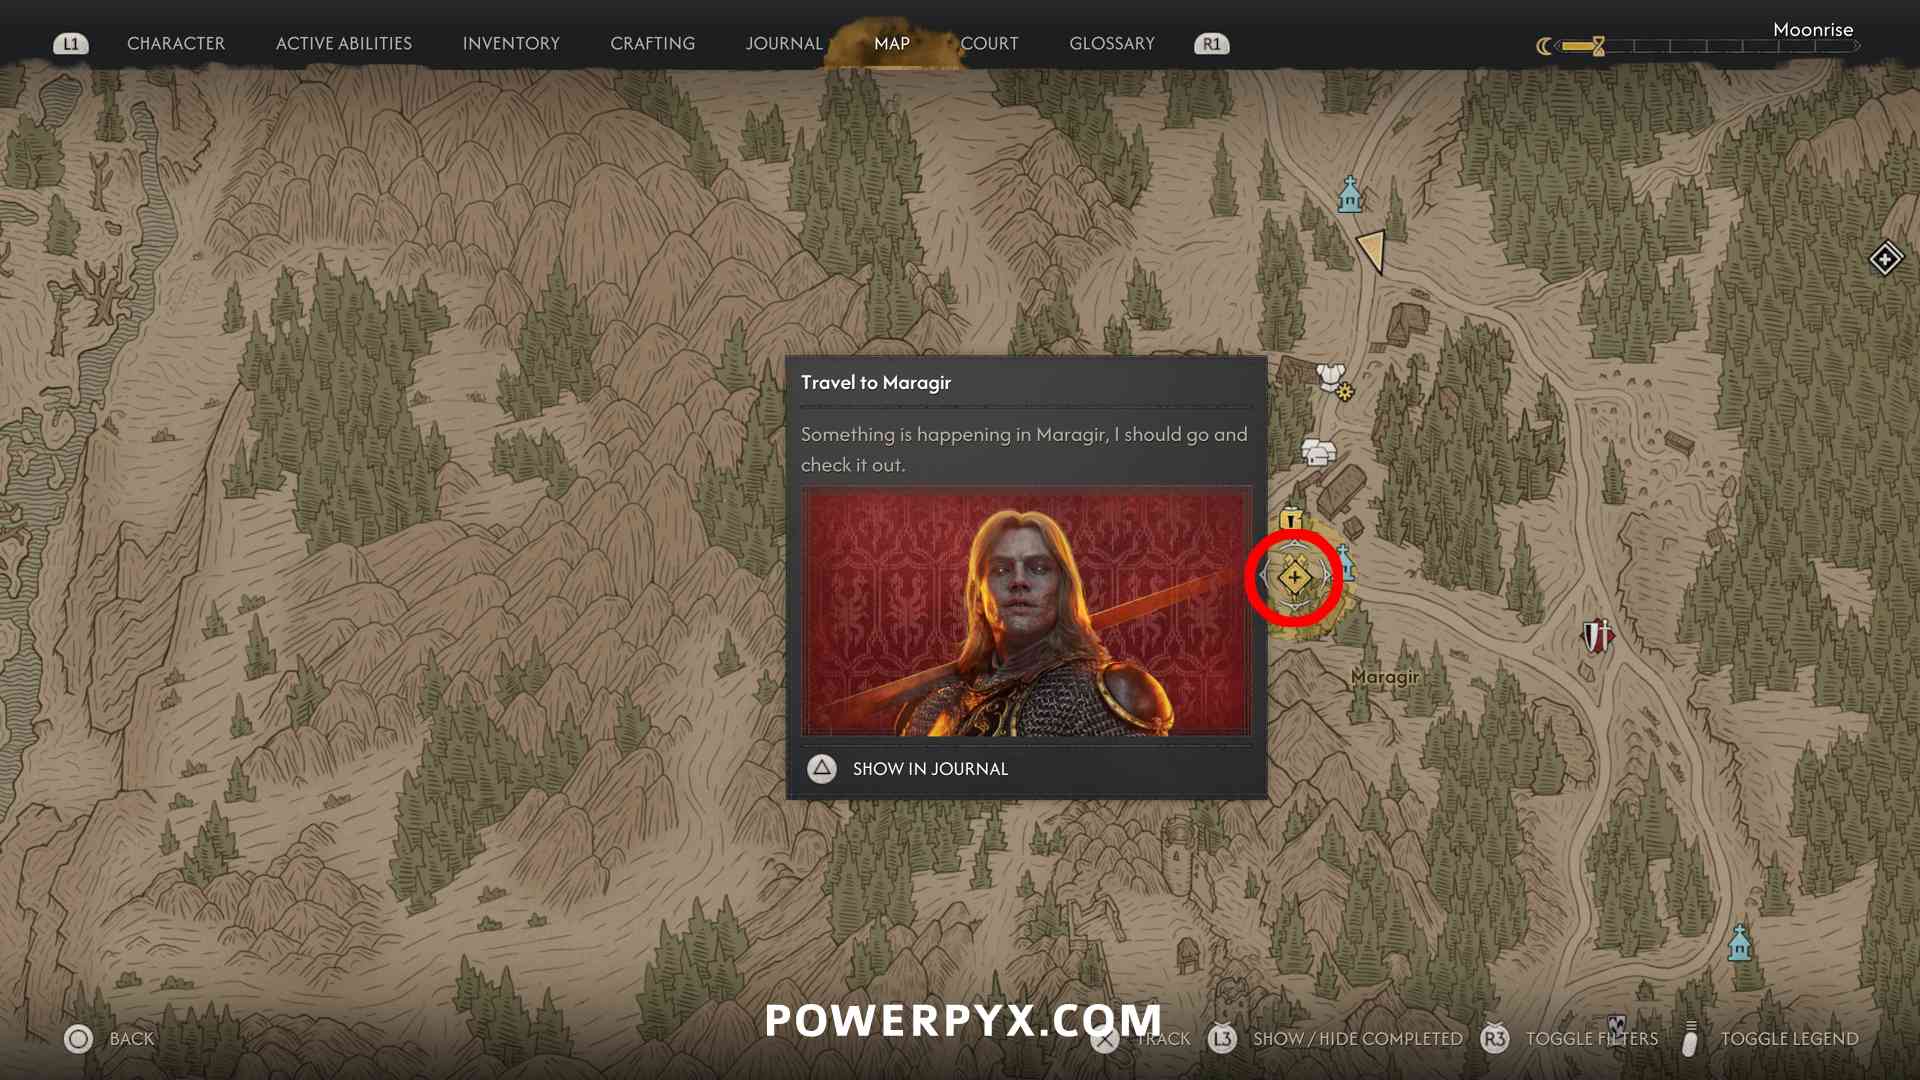
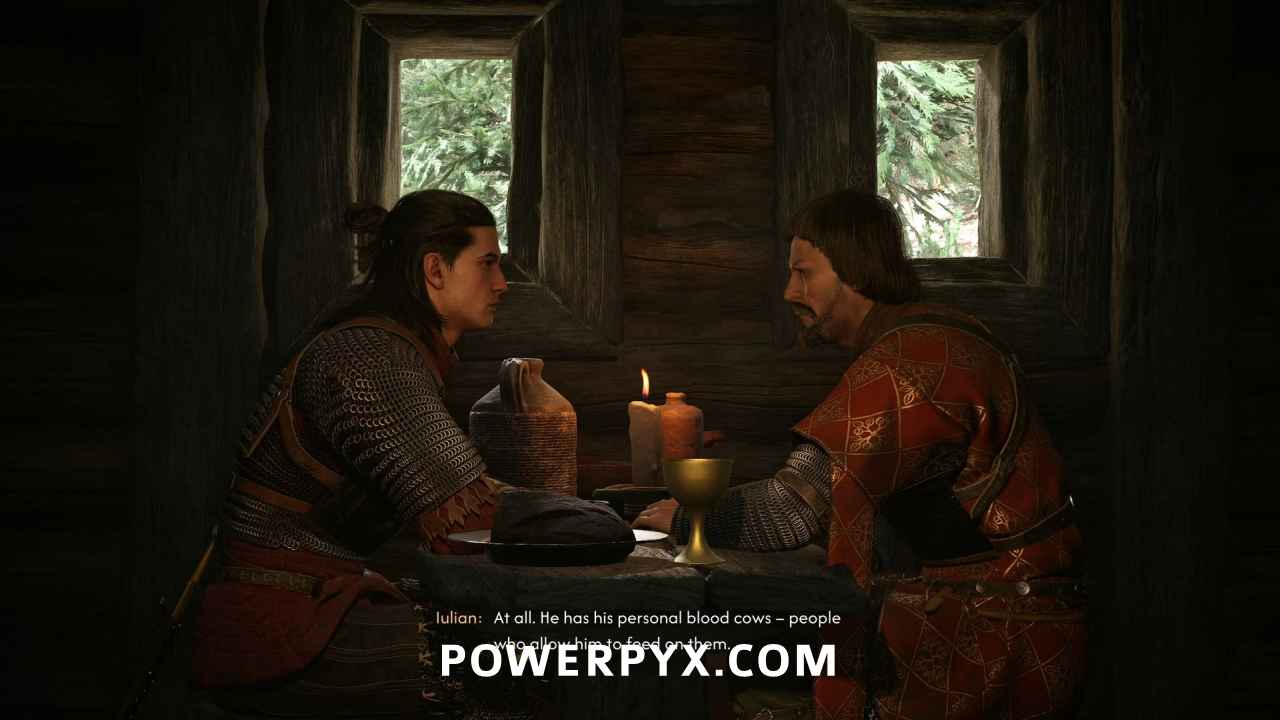
Speak with Iulian Codrin, and he will tell you about the duel. Ambrus always drinks directly from one of his servants before a duel, so Iulian proposes that you poison the innocent victim so that it will kill Ambrus as well. After hearing his plan, if you agree he offers to take you to his friend who is a skilled poisoner. Instead of following him immediately, if you choose “Can I meet you there?” when you get to the meeting point, it will cost you 1 additional time segment to light the campfire that you wouldn’t have had to spend otherwise. Then the quest will pick up with the first objective. If you refuse the plan, he tells Coen to come back if he changes his mind, and the quest will remain active, letting you come back to accept his offer later.
NOTE: Accepting Iulian’s plan will cause the death of Vera.
Follow Iulian
You’ll pick up the path partway to Iulian’s poisoner, walking down a rocky path. Keep following him until you run across a pack of wolves you have to deal with.
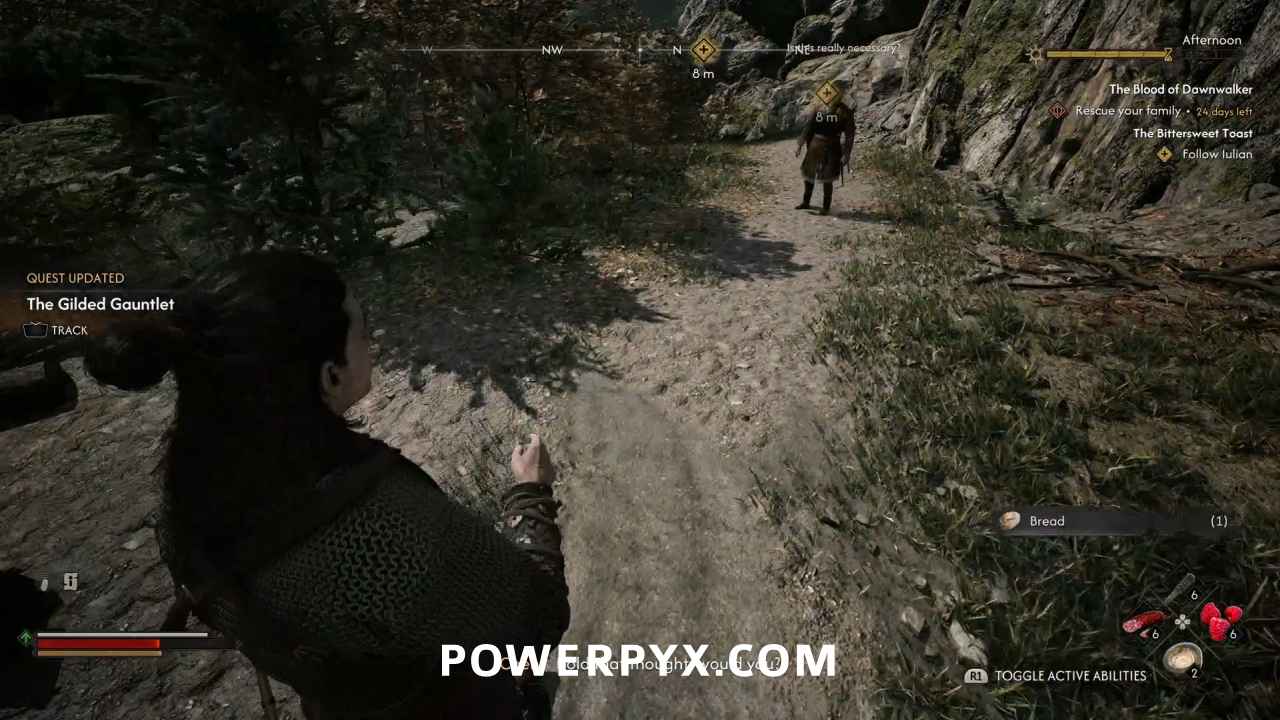
Defeat the wolves
Dispatch the three wolves, and Iulian will comment that his friend usually keeps the area free of predators by putting out poisoned bait. Keep running after him until you notice something else along your path. A body!
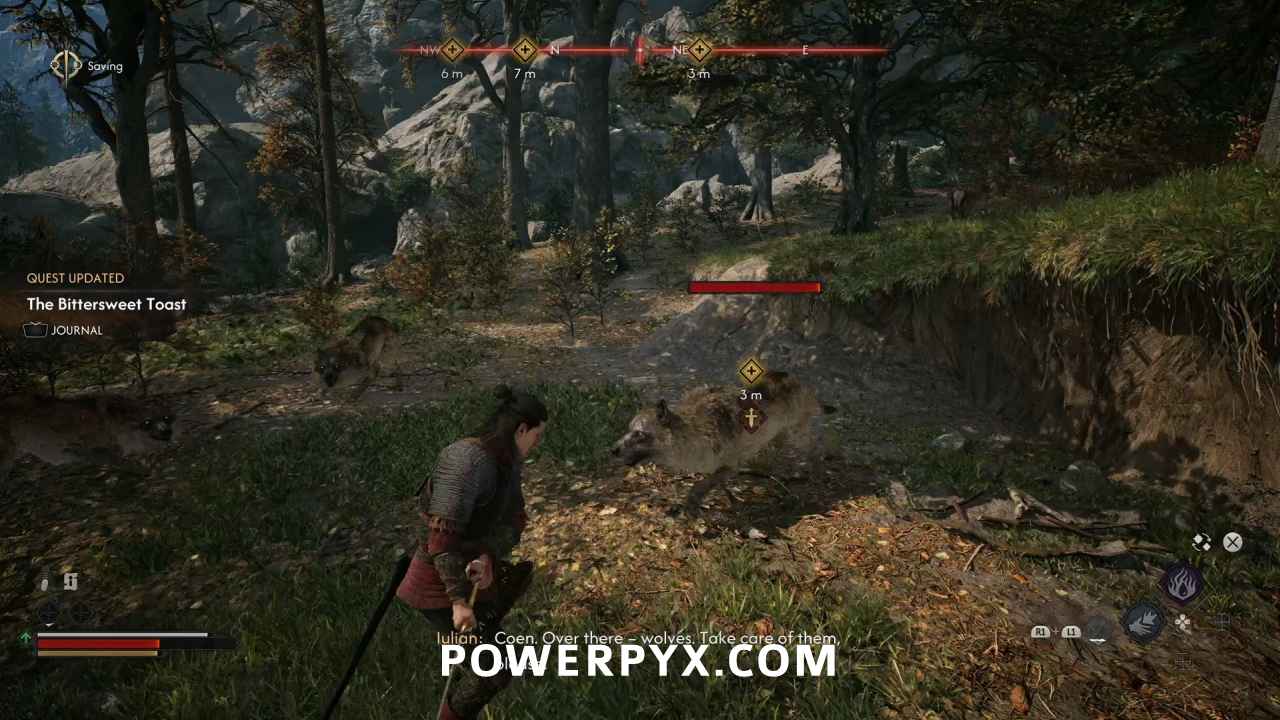
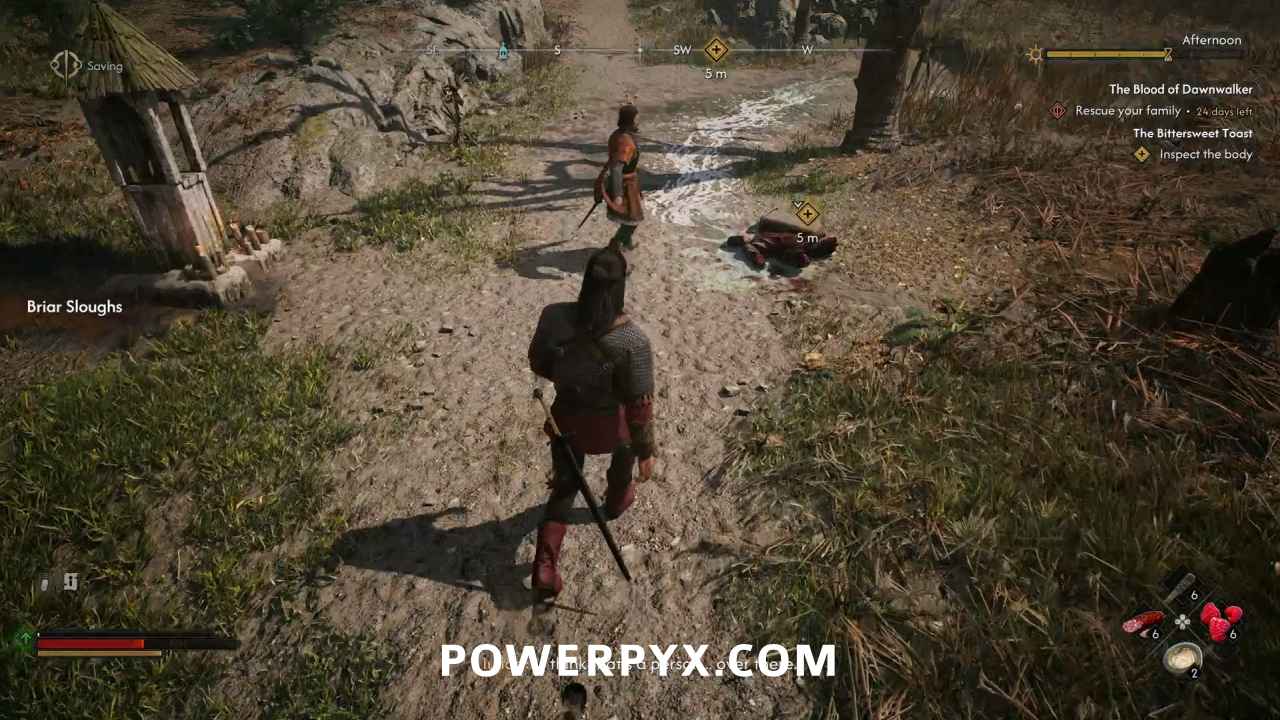
Inspect the body
Something that leaves a slime trail tore a man apart and left him on the road. Iulian fears for Vera’s safety.
Follow Iulian (1 Time Segment)
Iulian knocks on the door but there is no answer. He looks inside and she is not home. He tells you to look around for clues while he checks outside.

Find out where Vera is (1 Time Segment)
Check around her house, and find the details of a ritual on her witchcraft table along with a salamander trap for the skins that it needs. Whichever item you inspect last will trigger the 1 time segment to be spent. You can also find letters from Iulian to Vera in a chest in her bedroom if you want to go snooping.
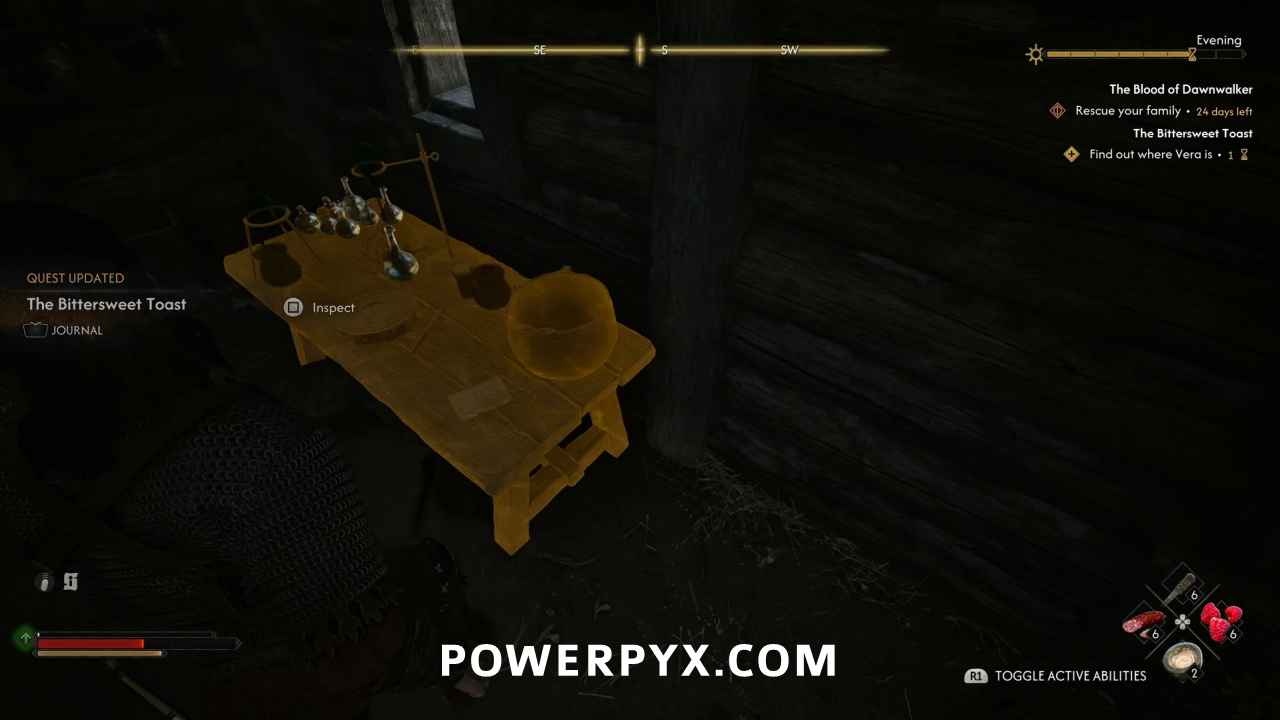
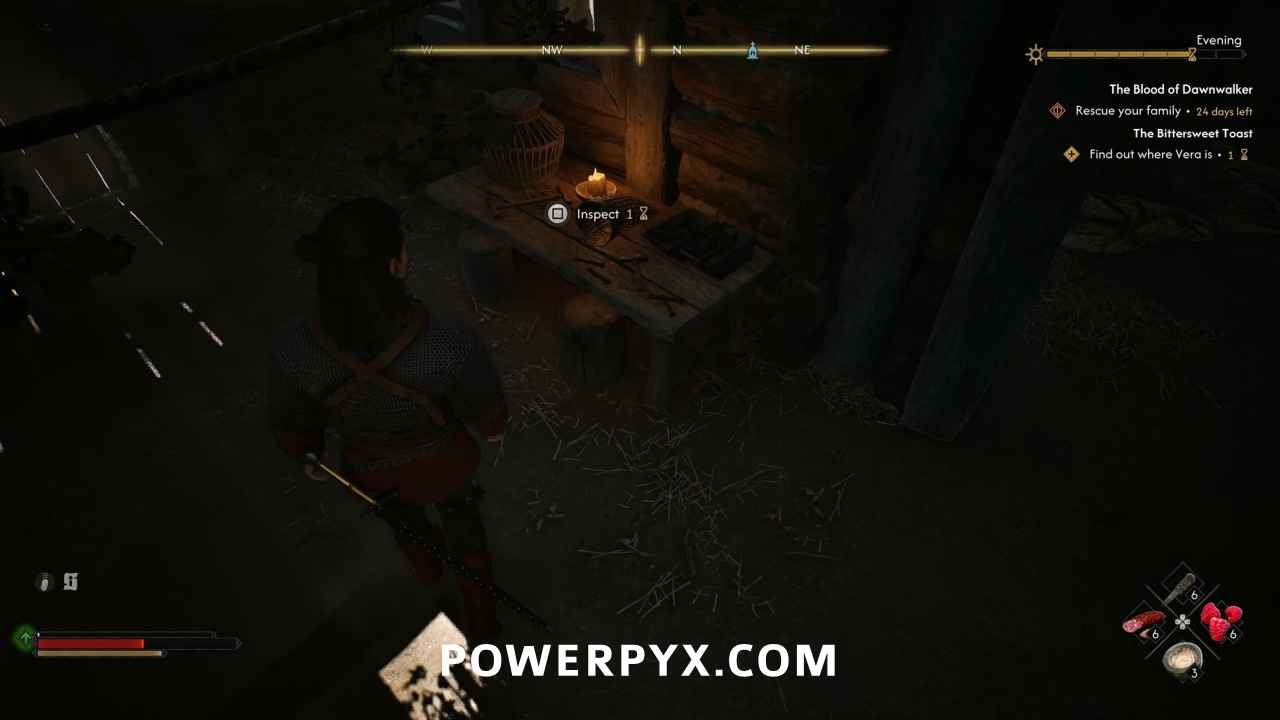
Discuss findings with Iulian
Speak to Iulian and he reveals that he’s aware of what she’s doing, tell you that Vera had developed a means to overcome a vrakhiri’s normal poison resistance by strengthening the mixture with a hex. He speculates that she’s out setting traps for the salamanders she needs.
Look for Vera’s traps
Head west to the edge of the water and you’ll see a few salamander traps there in various states. On the other side of the pond, there’s another trap on the side of the path to the northwest where it will do no good.
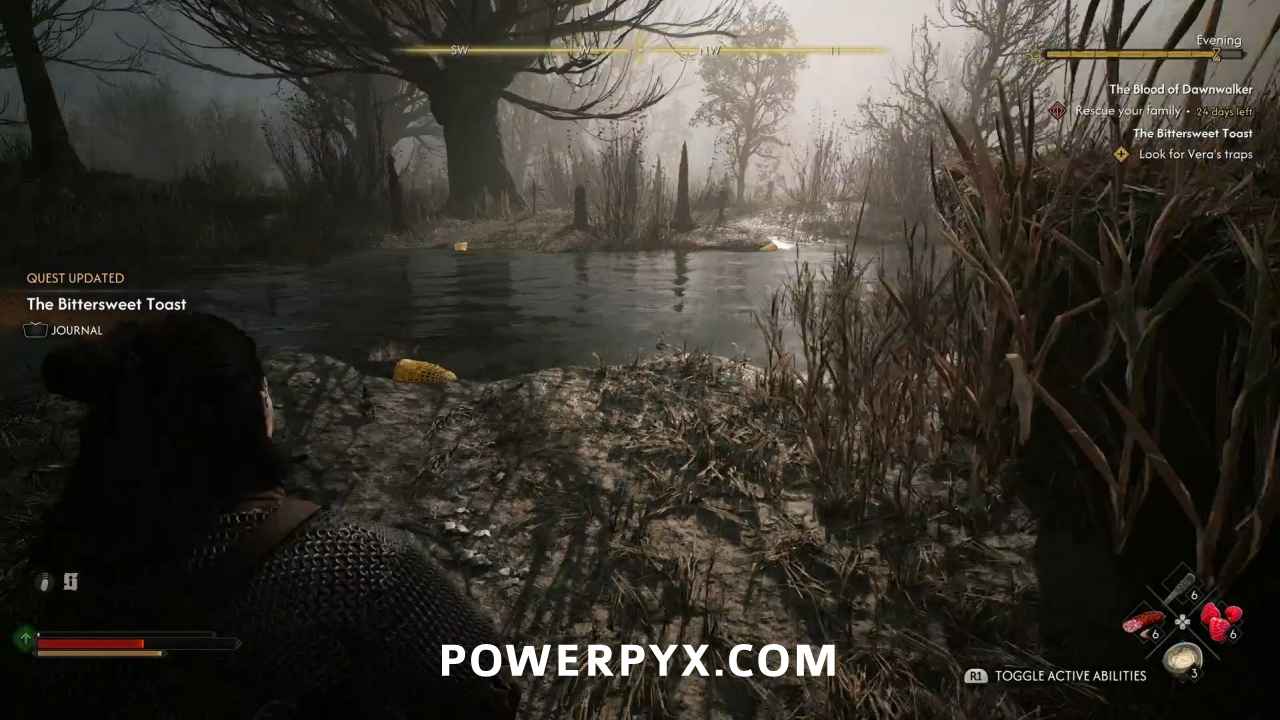
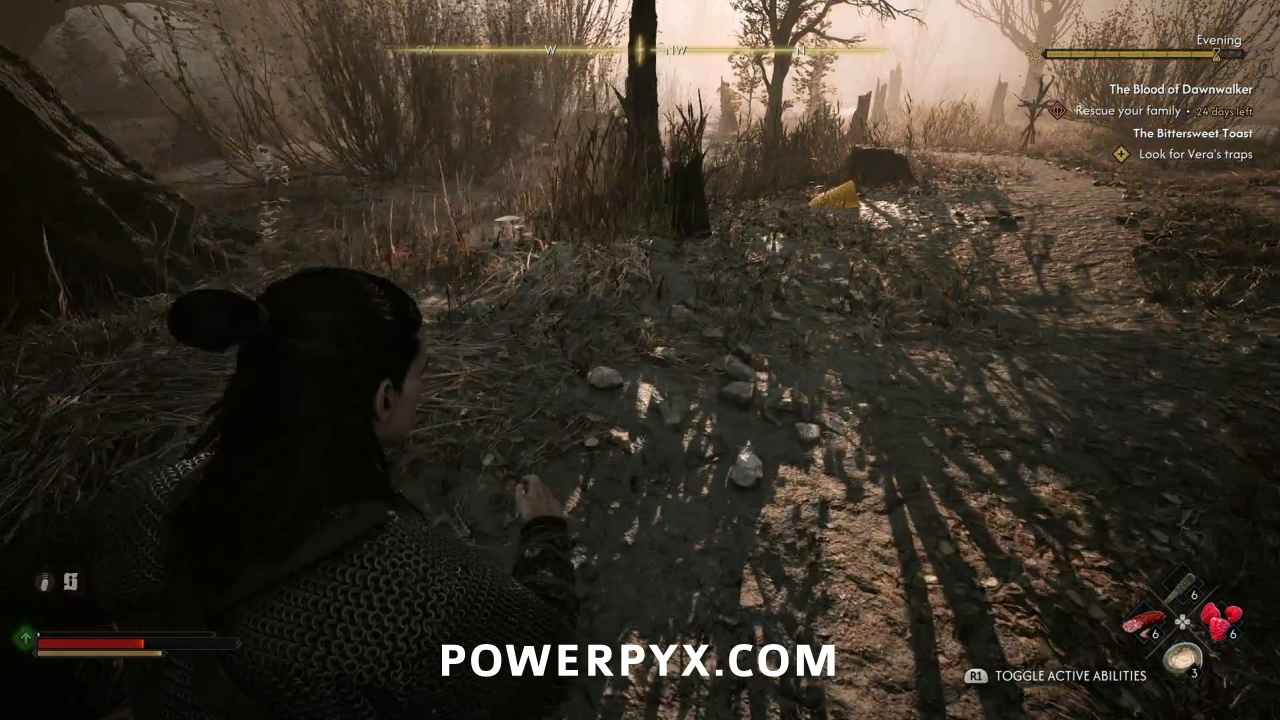
Keep following the path, past a poisoned rabbit, until you find a trap leaning up against a tree stump. You will go into investigation mode again, and you will have to look at the trap and the ground where Coen will notice Vera’s tracks in the soft mud.
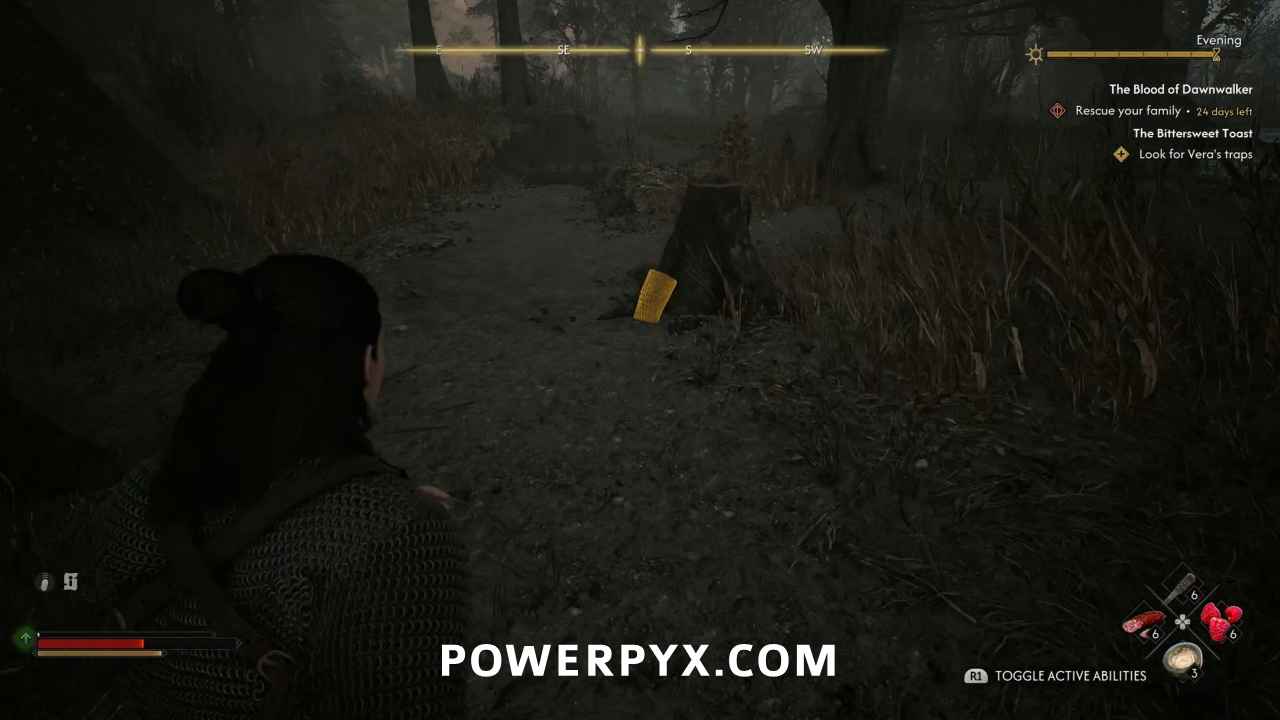
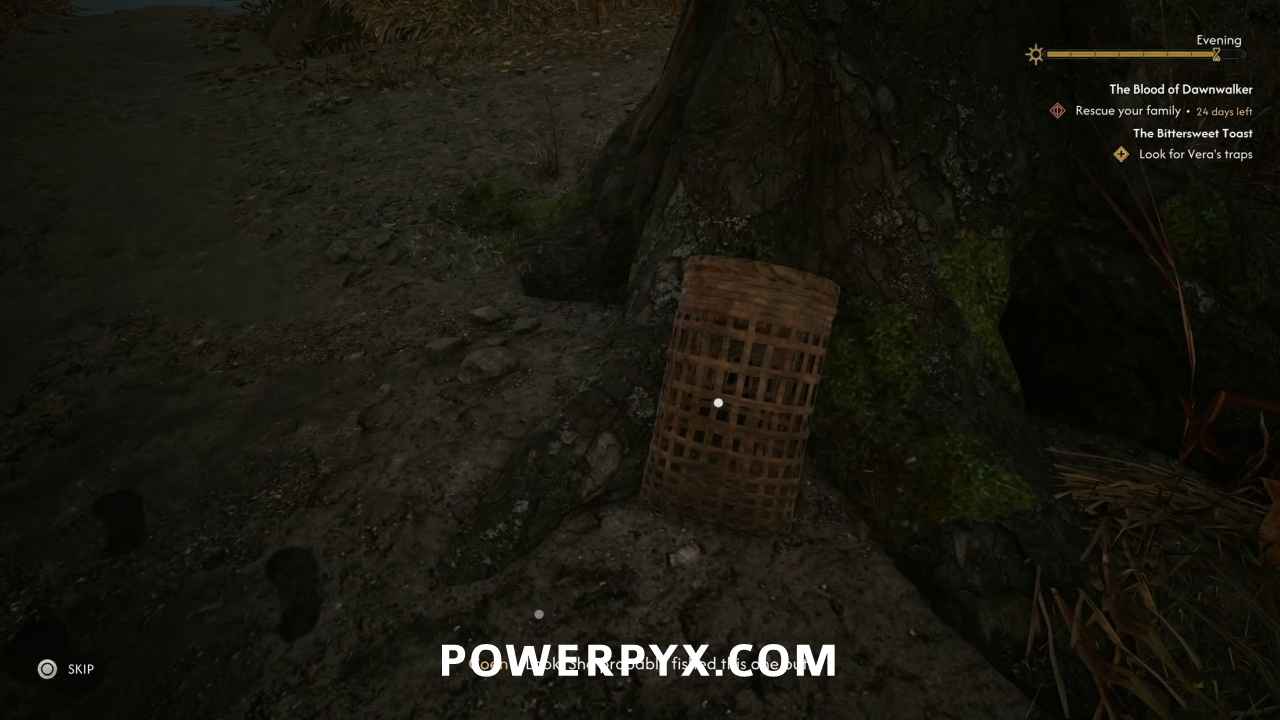
Follow Vera’s tracks using Focus Mode (1 Time Segment)
Not far now. Vera’s tracks lead past a decapitated bear that has that same distinctive slime trail around it. This does not bode well for Vera. Sure enough, your misgivings prove true when you come upon her lifeless body leaning against the ritual altar she was preparing for Iulian.
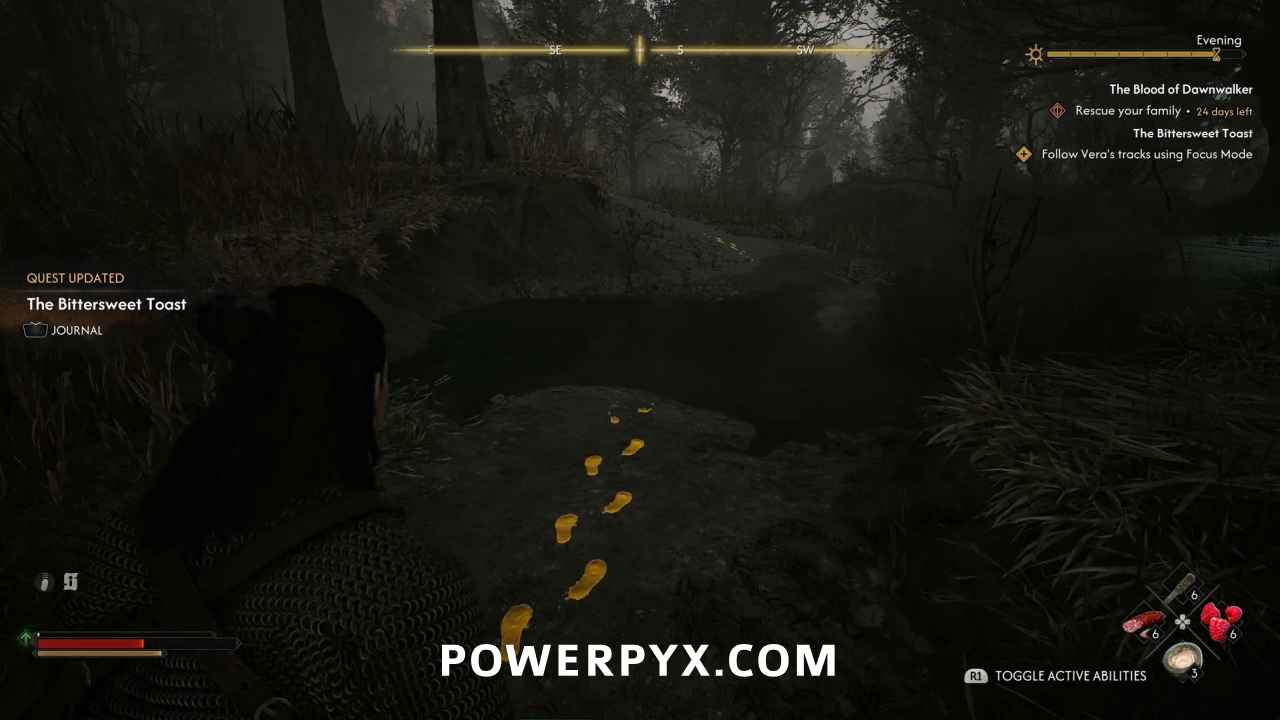
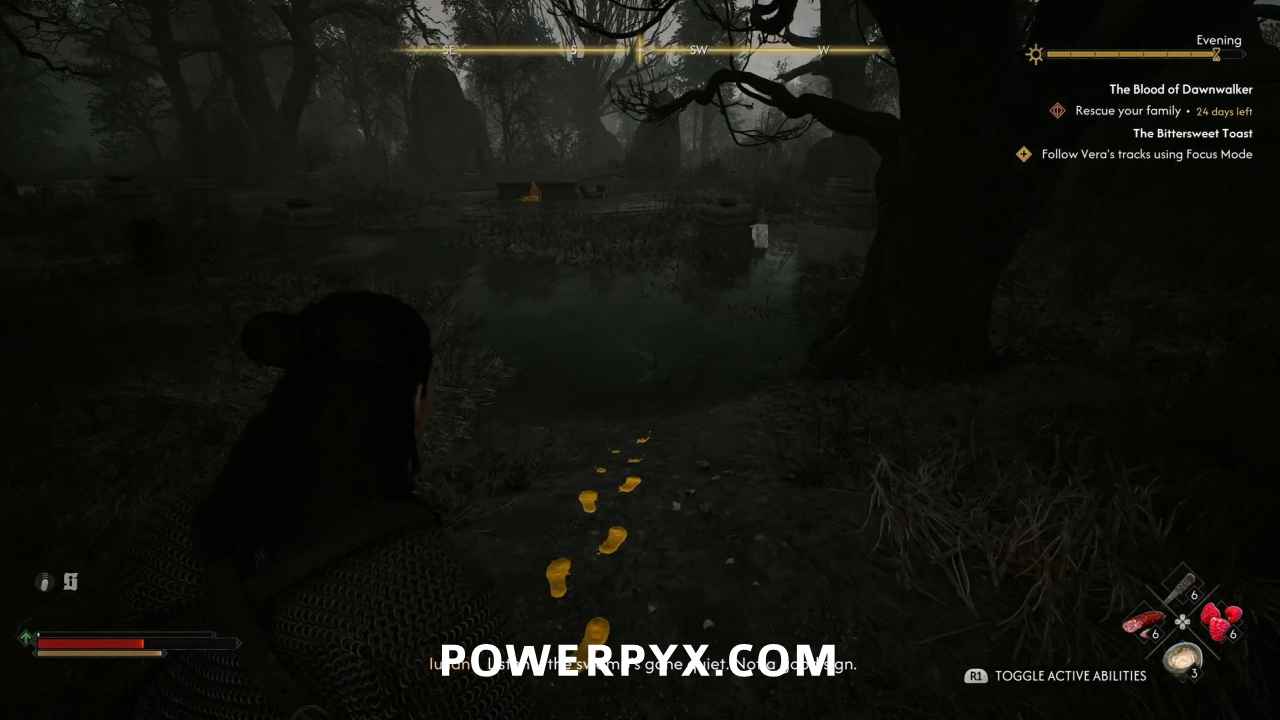
Iulian breaks down at the sight of her body. He confesses that he was to be the one fed upon by Ambrus, and therefore the one to be poisoned to give you a chance to strike. Vera had a plan to allow Iulian to survive the poison, but he thought it was too dangerous for her to try, and more importantly he actually wanted to die. He wanted to end his humiliation while also becoming the weapon used to assassinate Ambrus. All that’s needed is the ritual instructions, but her notebook isn’t anywhere on her body. When you ask “With Vera dead – what happens now?” you will spend 1 Time segment.
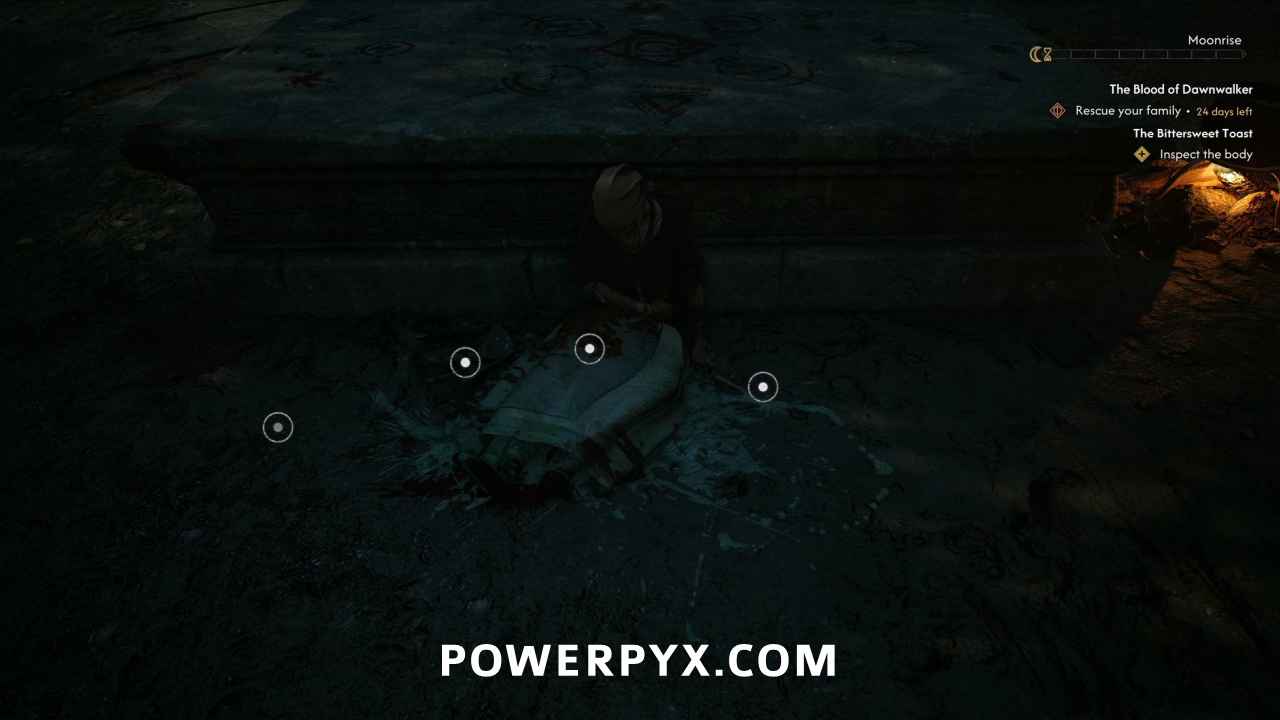
Inspect the body
While Ambrus again goes to pieces, inspect the body to put the scene together. The slime all over her and the trail leading away suggests that she was killed by whatever creature killed the man and bear you passed during your search. Her bag was torn so the ritual notes likely fell out. Your best lead is a trail of her blood that Coen spots, leading back into the swamp.
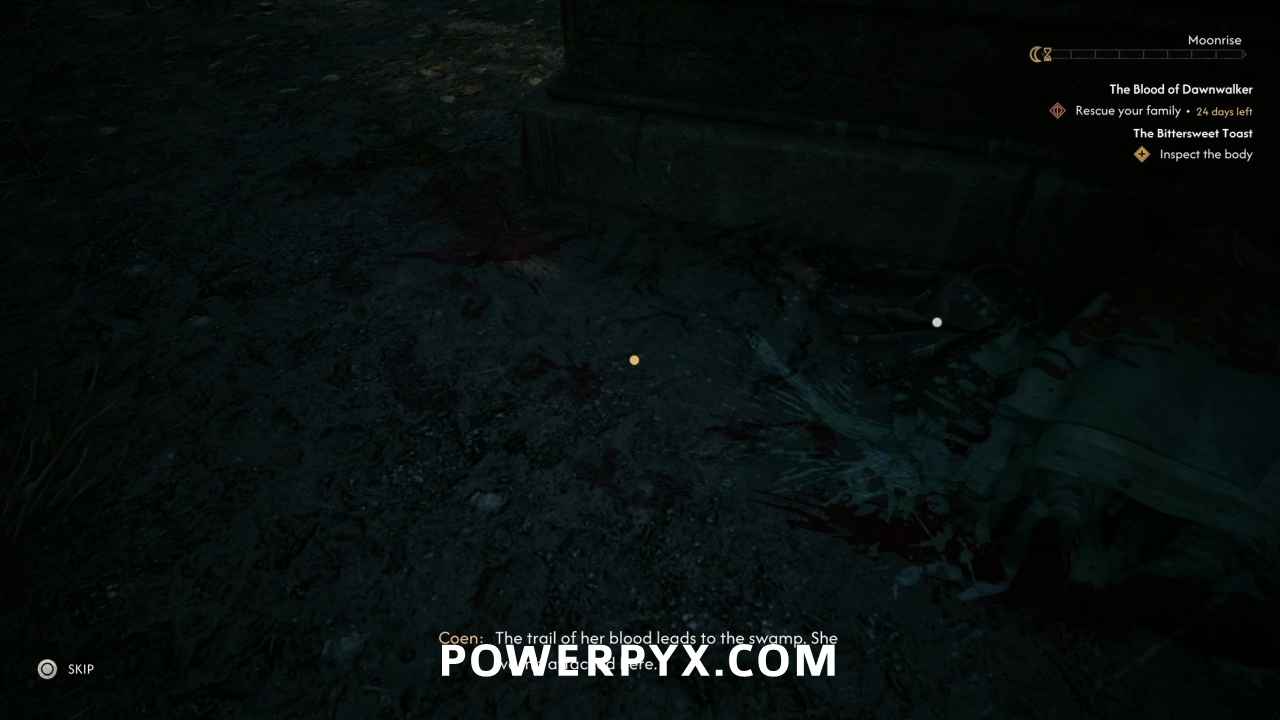
Follow Vera’s tracks using Focus Mode
Continue following her path deeper into the swamp. Coen will find several patches of blood, and a place where she stumbled and fell. Her path will intersect the massive slime trail, leading you to a clearing where it looks like she was attacked.
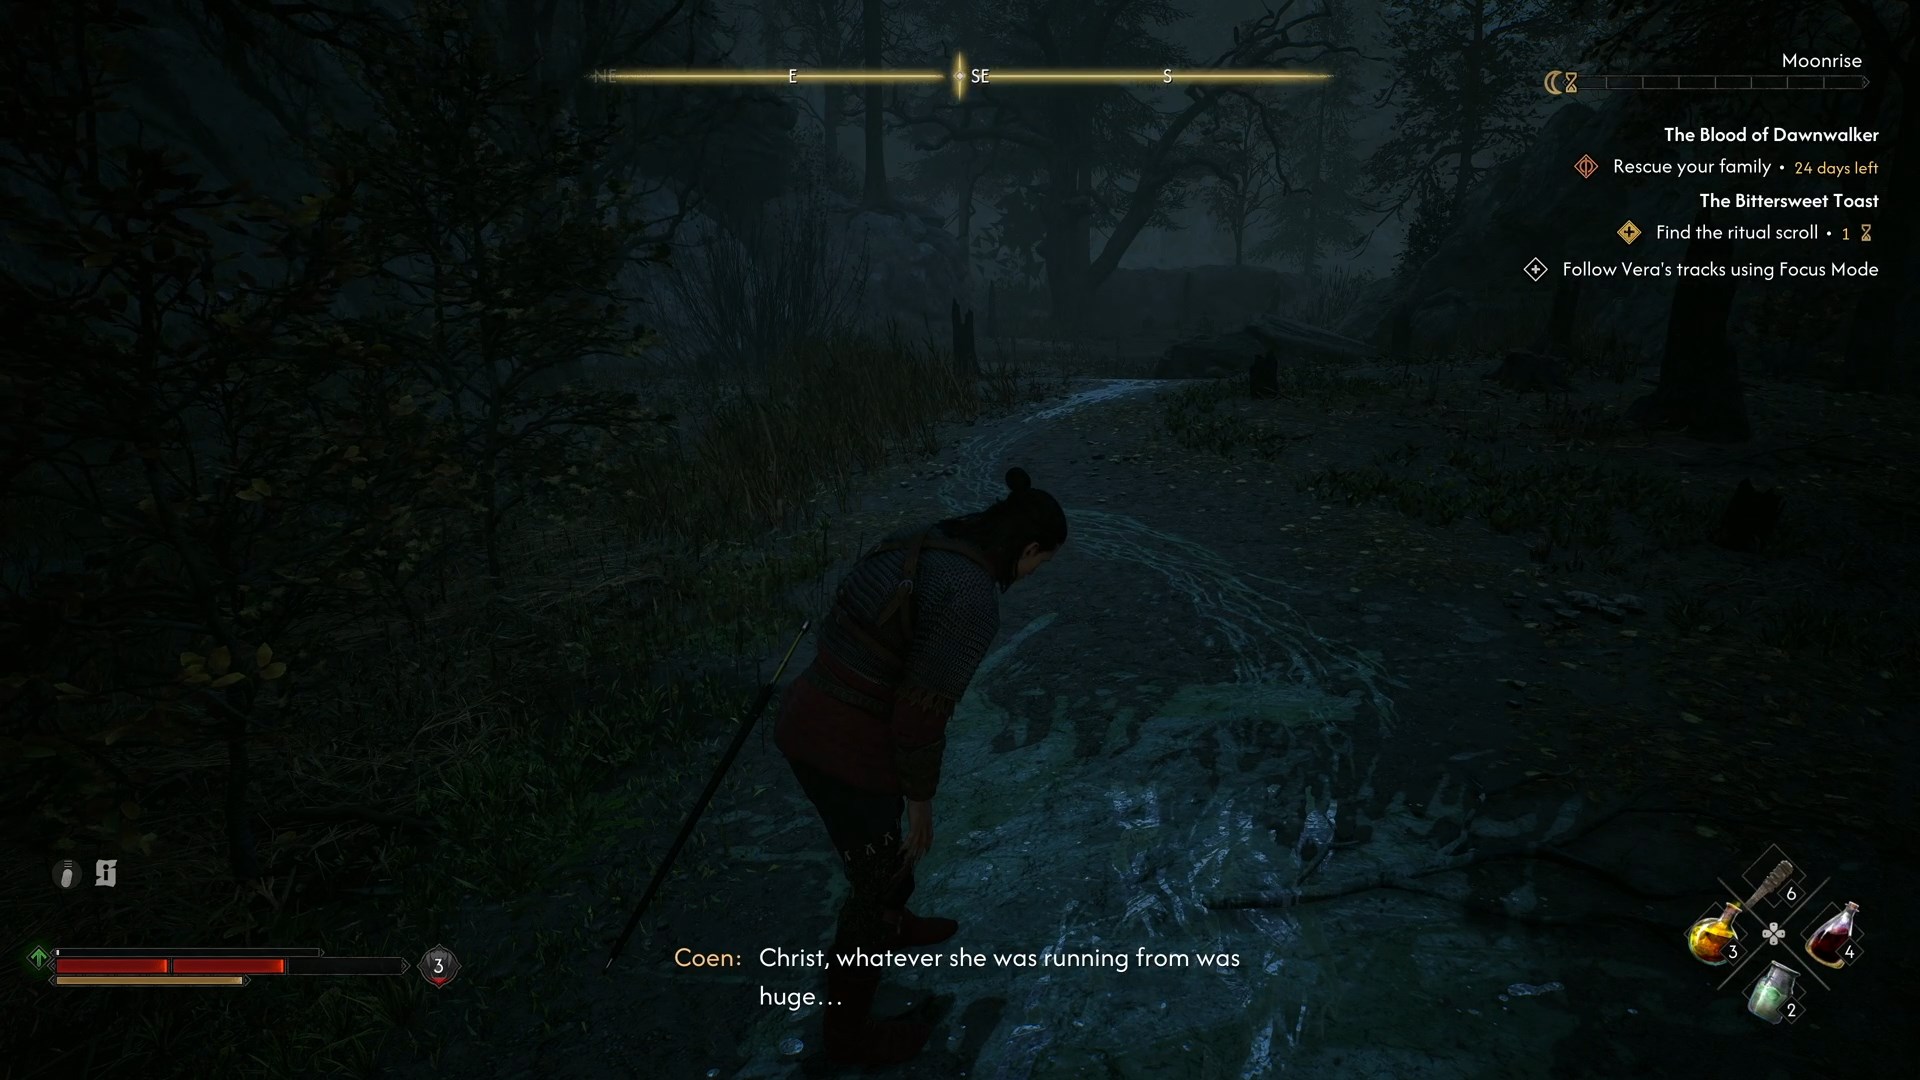
Search the clearing
There are pieces of her notebook, and other contents of her back that spilled out on the ground. All of which are covered in slime and her blood. In the center of the pile is a scroll that contains the ritual instructions.
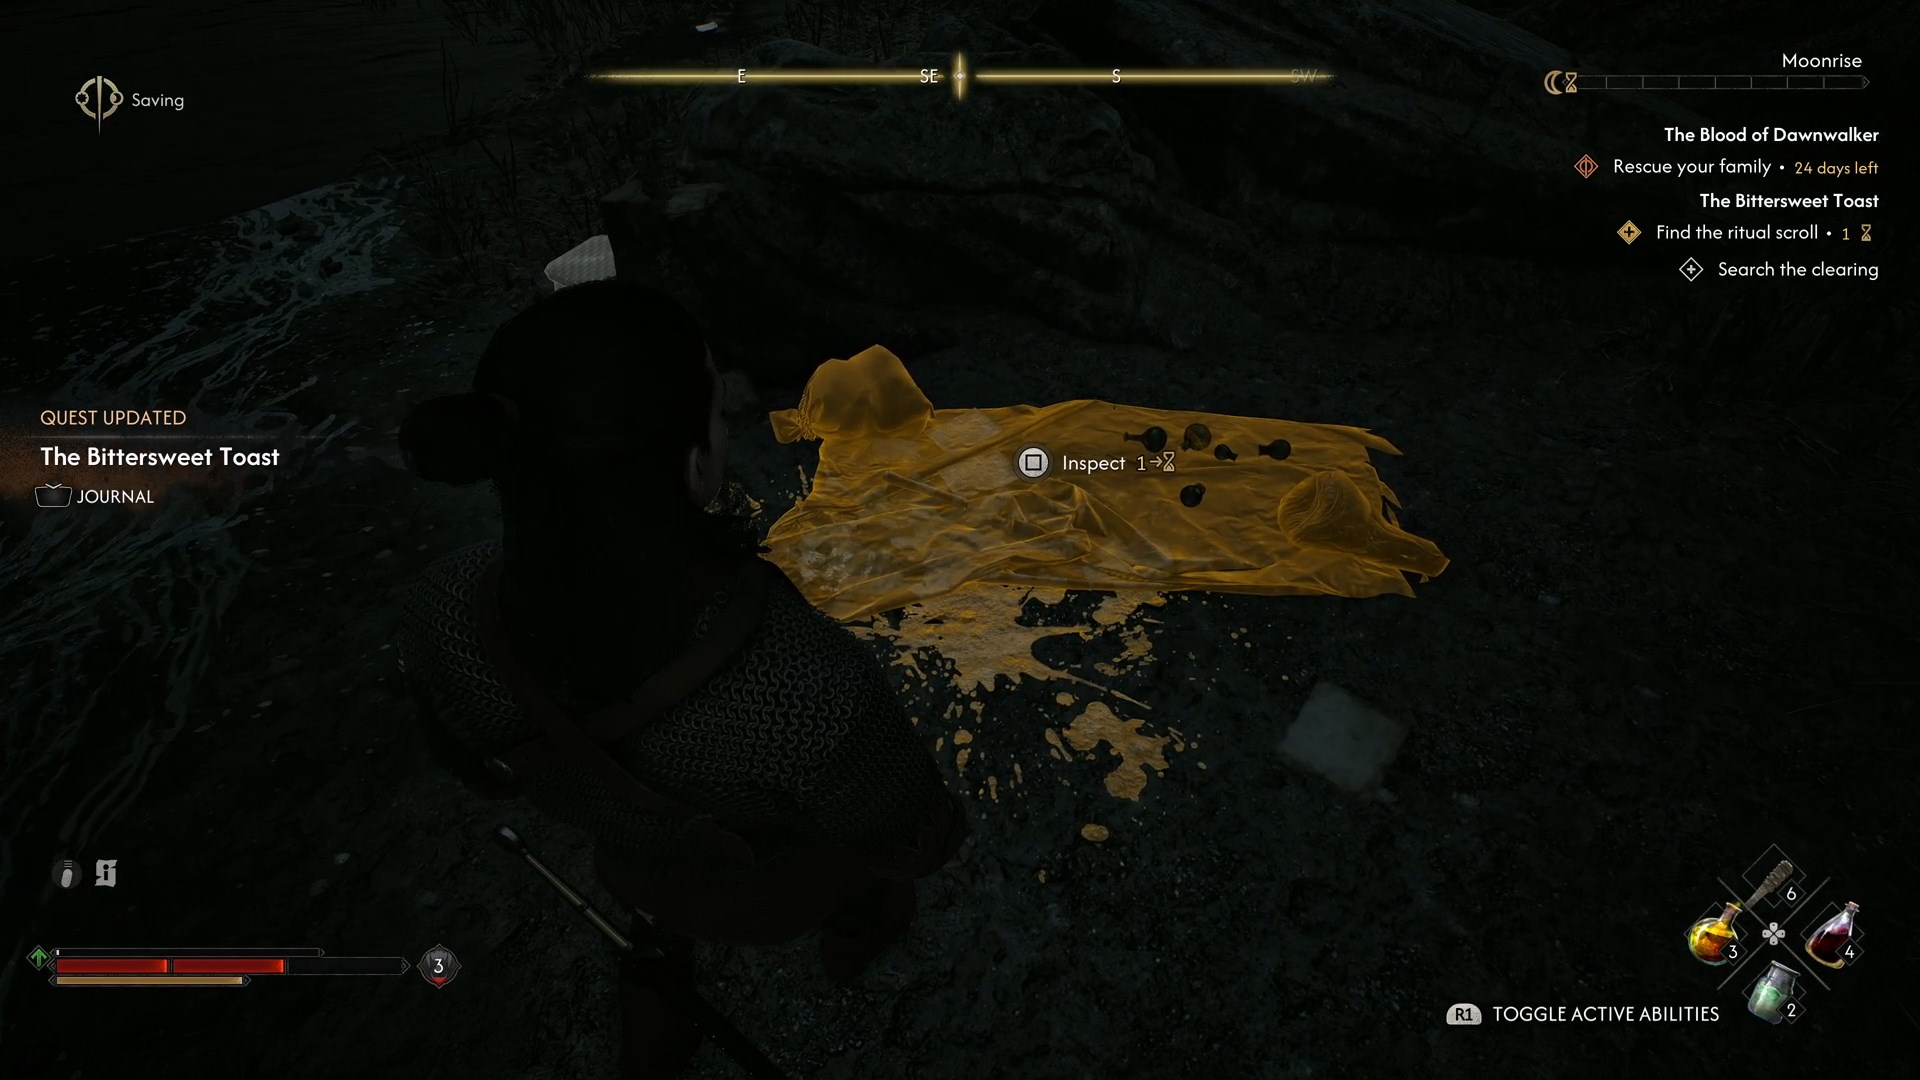
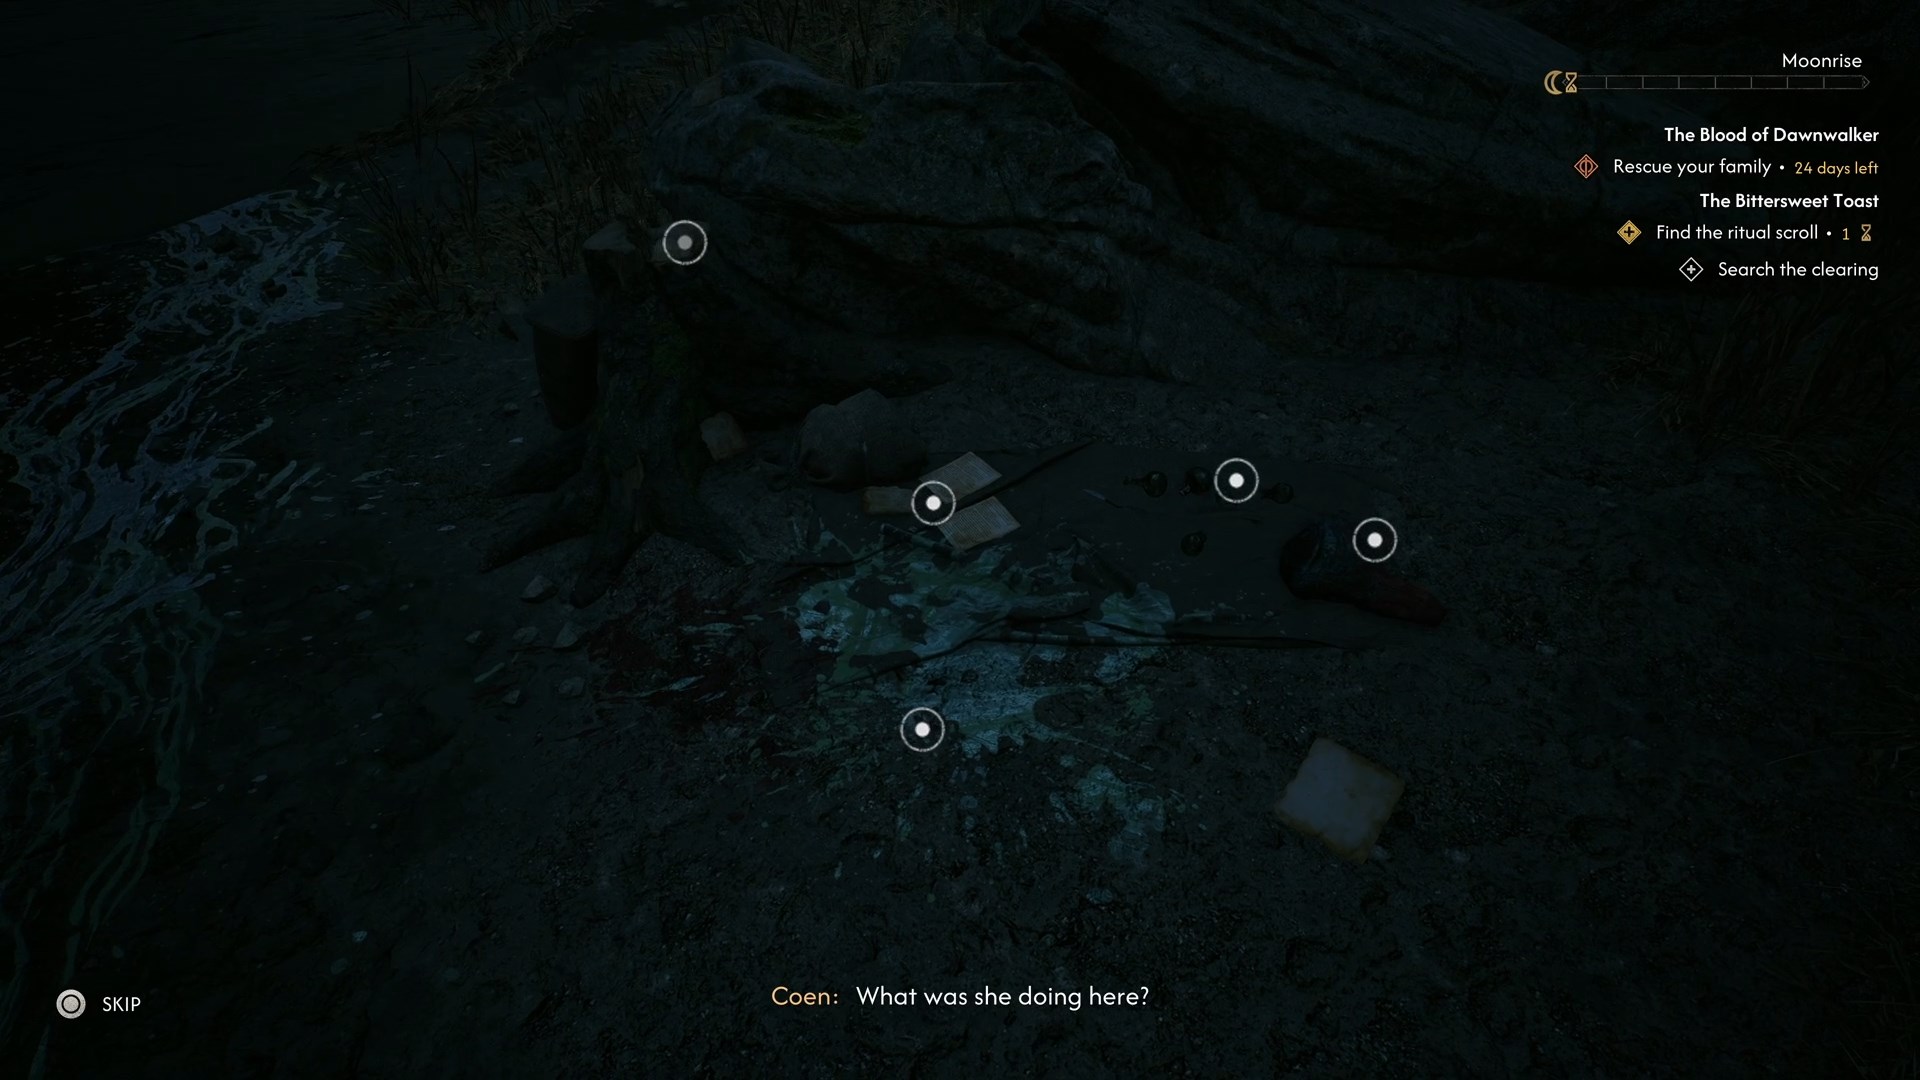
Find the ritual scroll (1 Time Segment)
In the center of the pile is a scroll that contains the ritual instructions, which will trigger the 1 time segment to be spent.
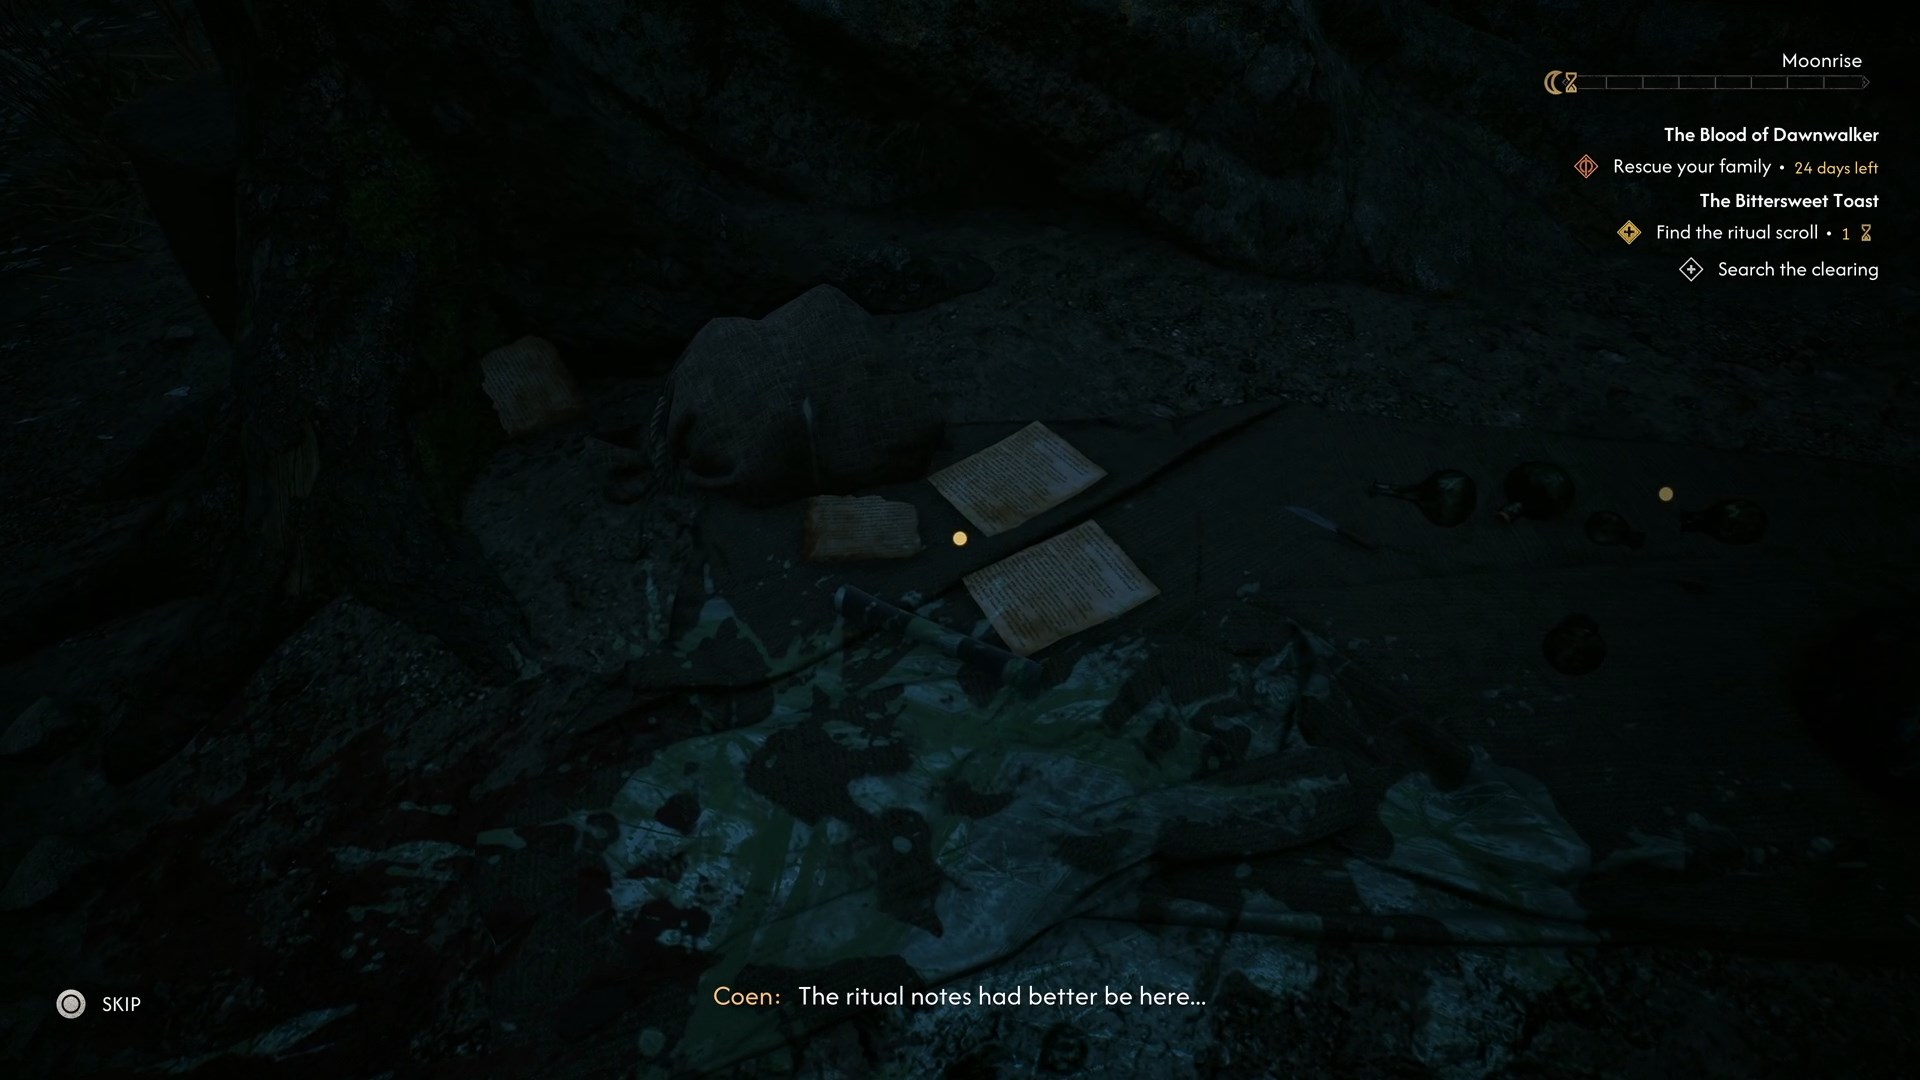
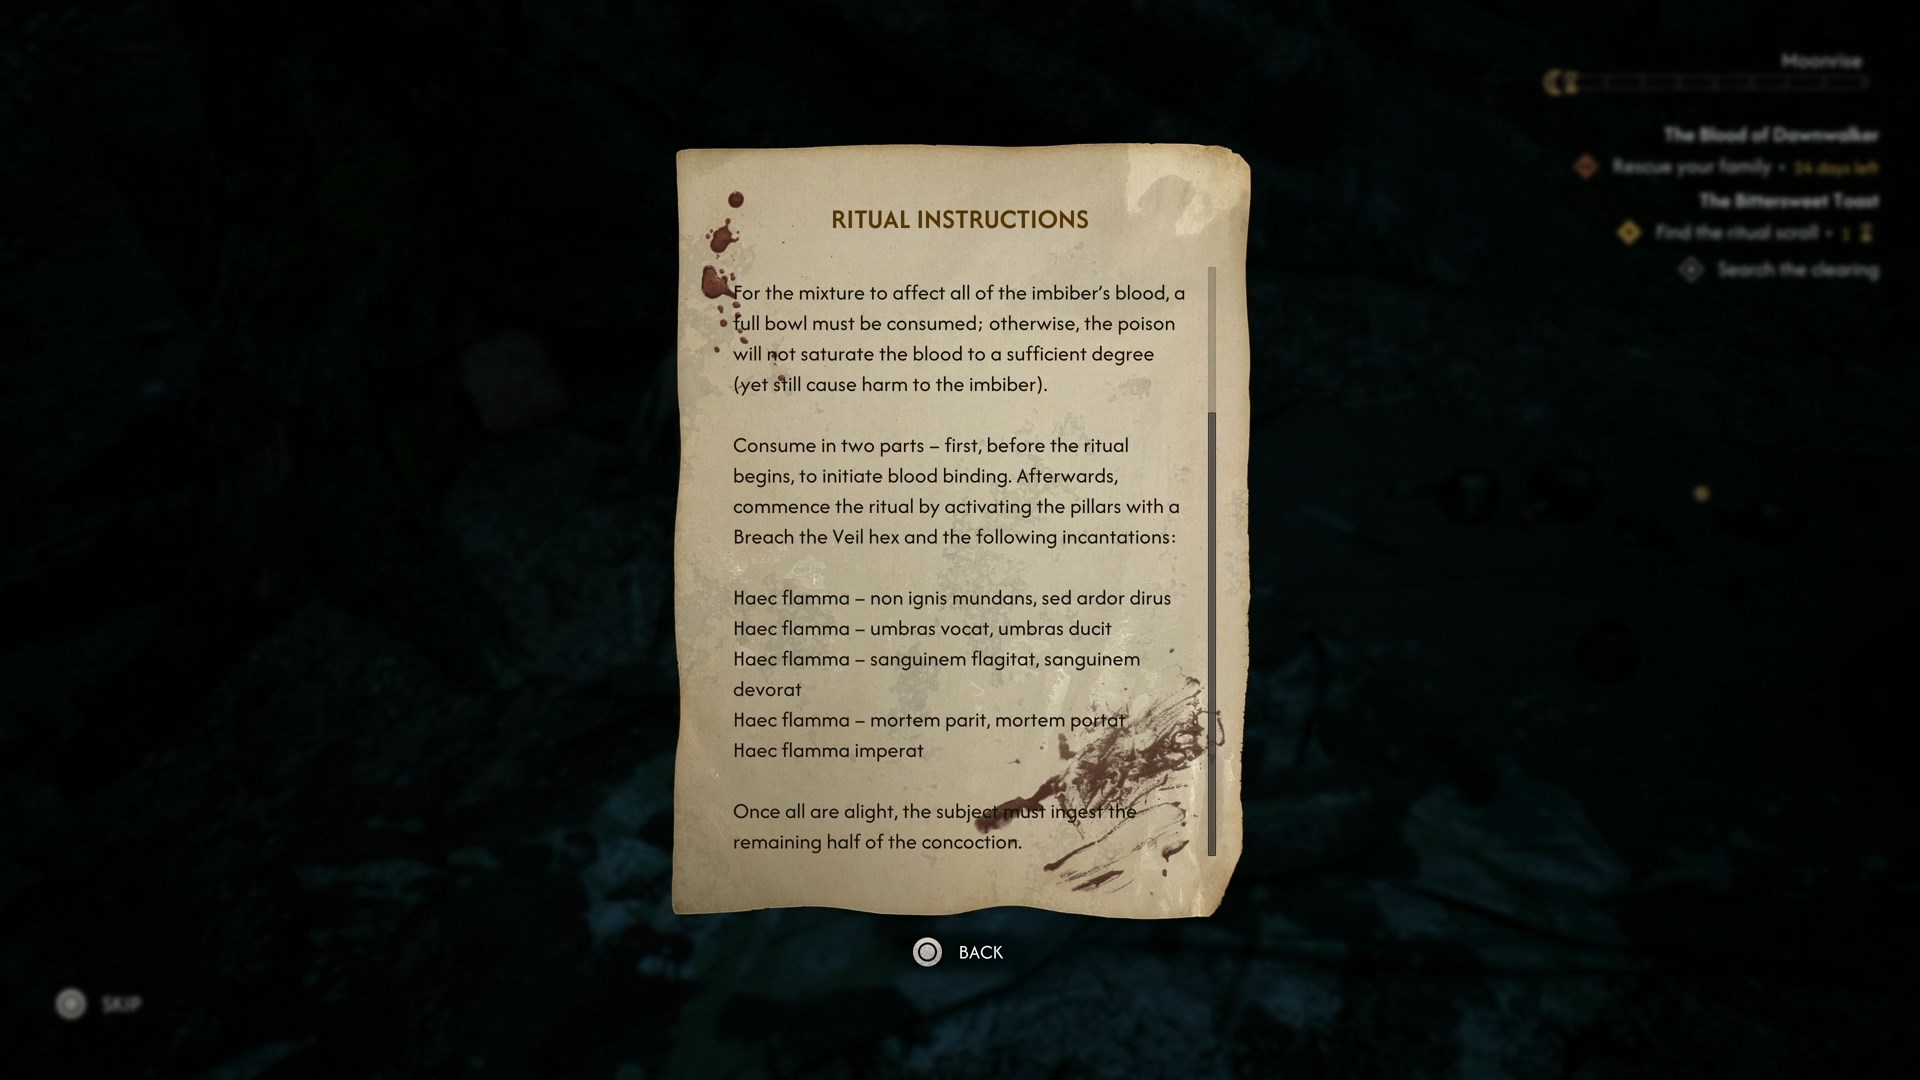
Now regardless of what Iulian says you can honor Vera’s last wish if you want, and save him through an optional objective. Look up from the place where you found the scroll and you’ll see three more pages in the distance. The third one gives you a critical piece of the puzzle. The lizard that’s been leaving the slime trail is what she needed, as a gland from its body will allow Iulian to survive the effect of the poison. Unfortunately, the hunter became the hunted.
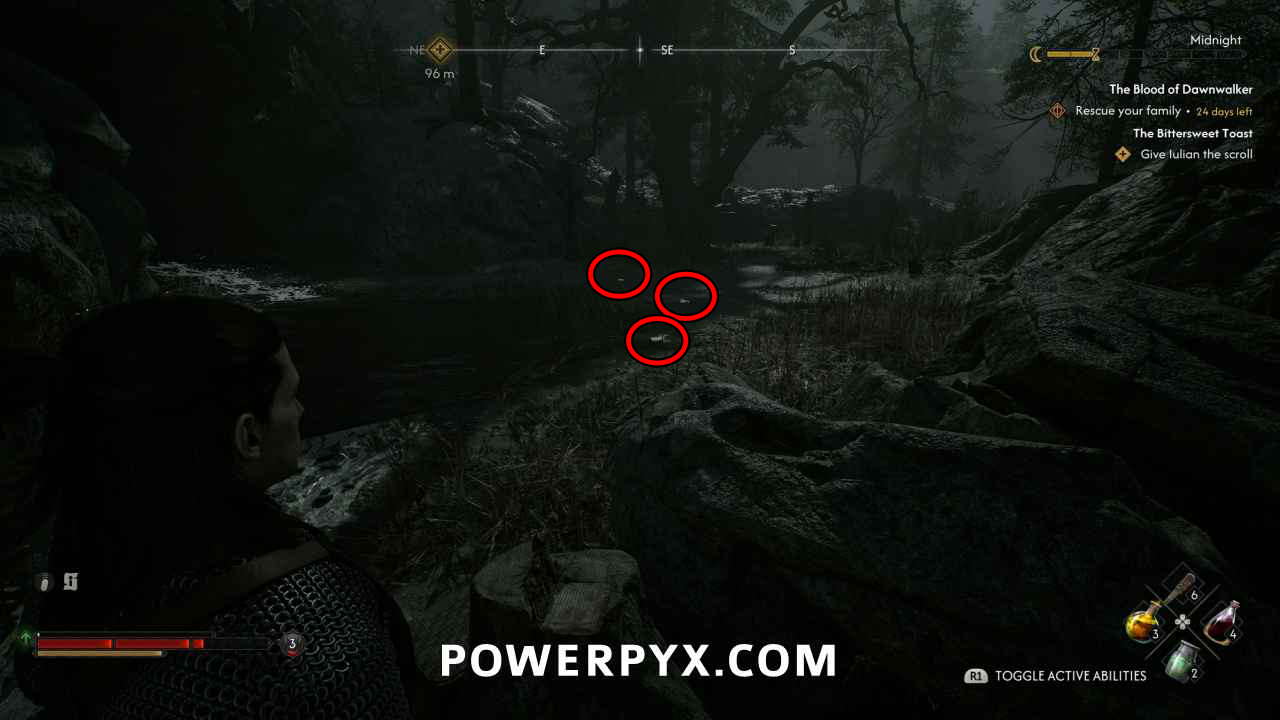
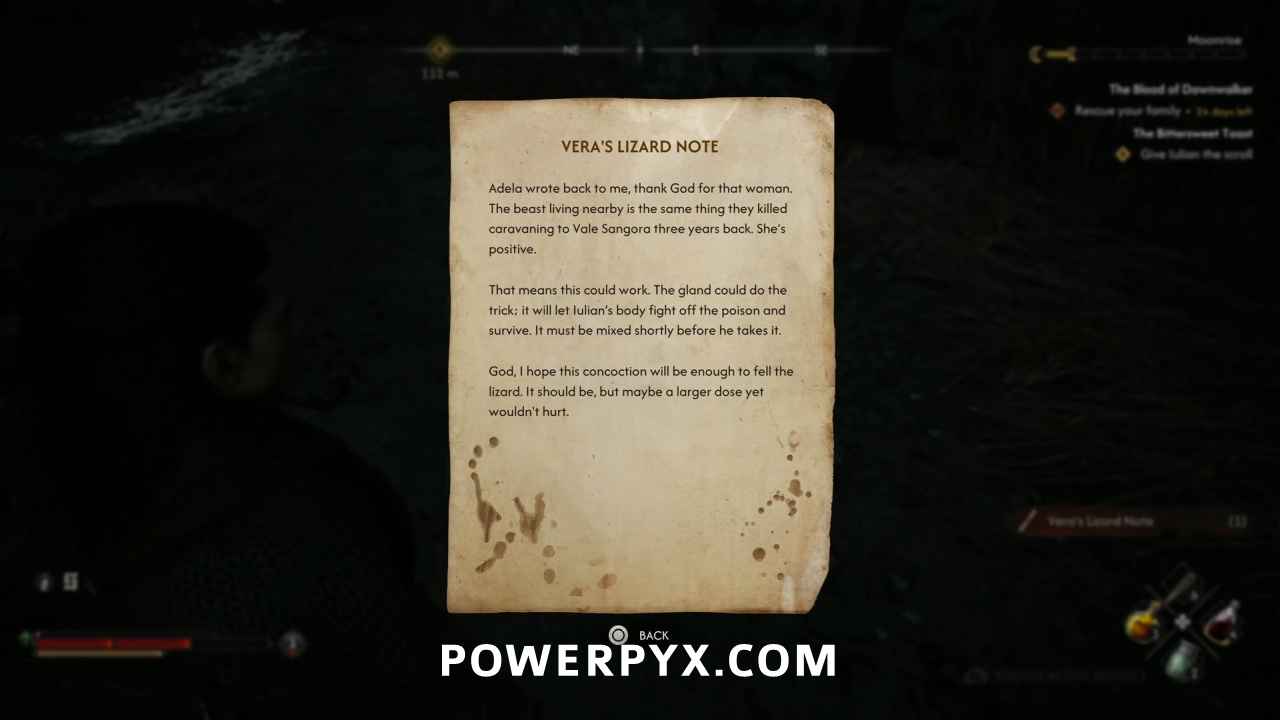
Find the lizard’s lair (Optional)
Continue to the northeast, and you’ll pick up the slime trail to where it disappears into a narrow gap in the rock. Squeeze through and enter the cavern within.
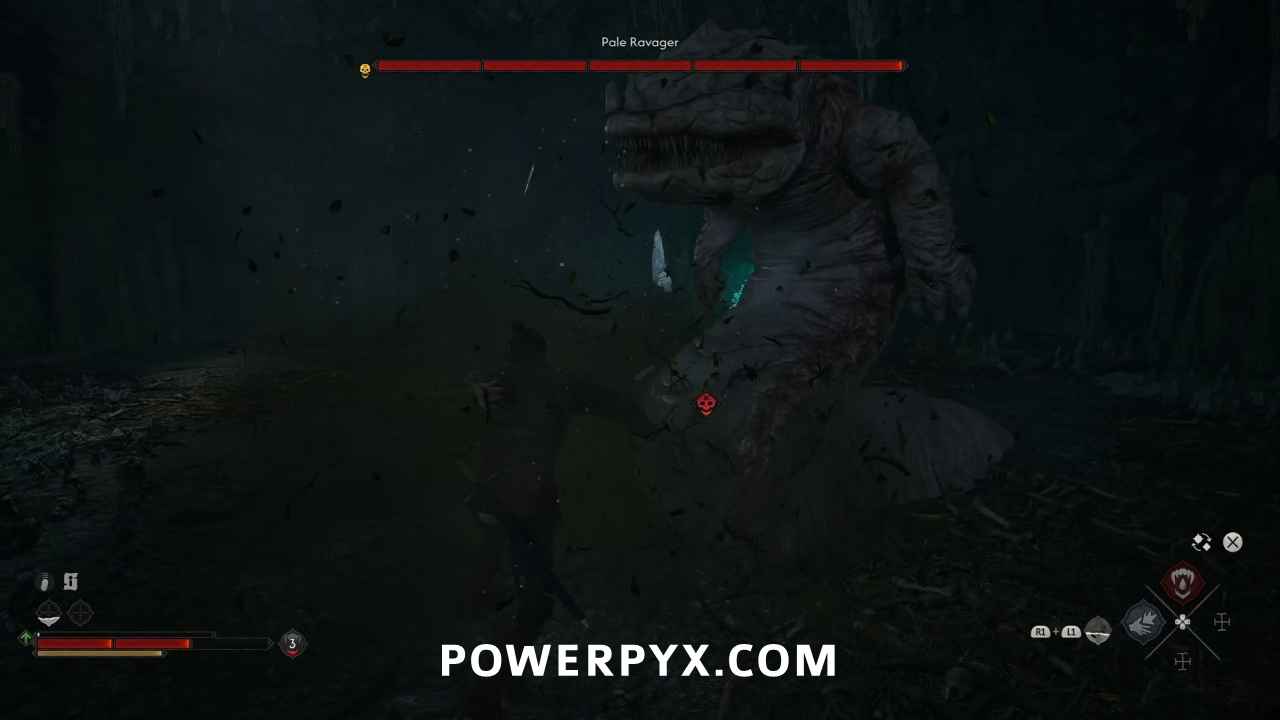
Defeat the lizard to get its gland (Optional, 1 Time Segment)
Right away the Pale Ravager will pop up to defend its lair. The creature has regular attacks, and it will burrow underground frequently to pop up near you for a regular attack or far away to set up an unblockable spit attack that it usually does about two seconds after emerging from the ground. It also will sometimes perform an unblockable ground slam that damages everything in the immediate vicinity. The spit can be dodged to the left and right to avoid damage, but you have to dodge back away from the lizard to avoid the slam. It will usually do two unblockable attacks before it burrows again, and they are usually about five seconds apart. It will also perform slower bite attacks which you can perfect block to create an opening.
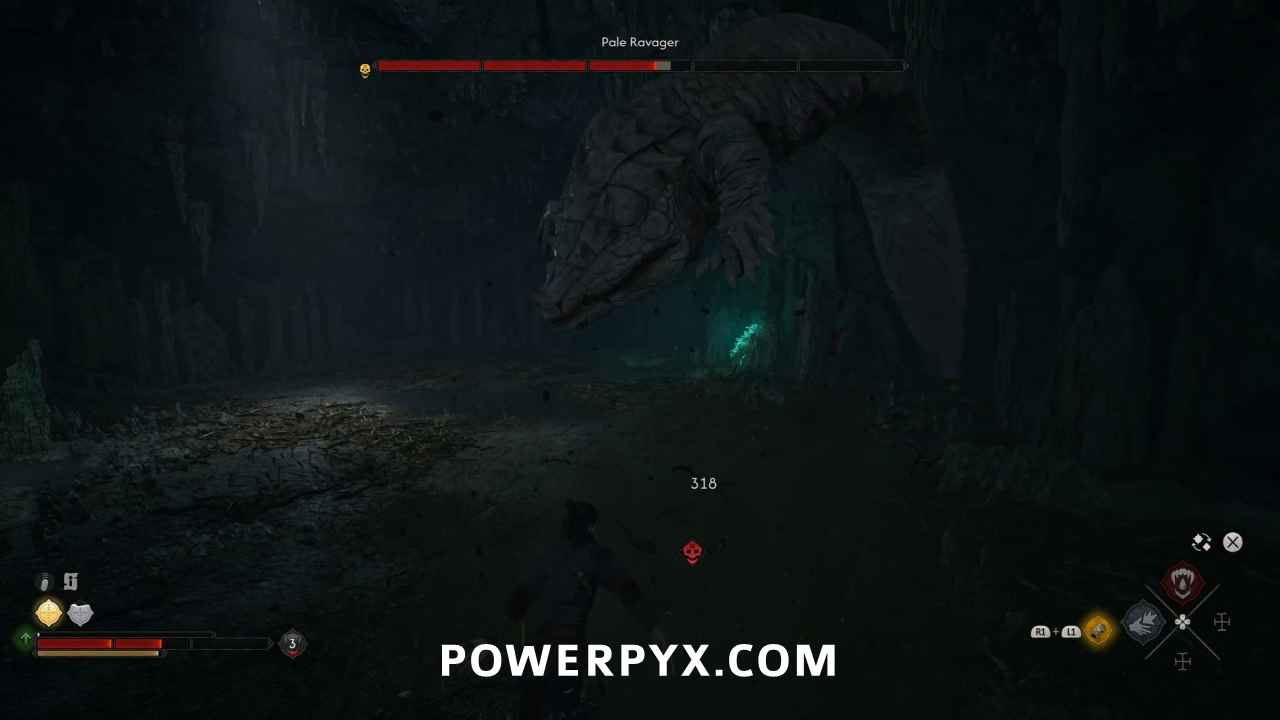
When it has been defeated, loot the Tatzelwurm Gland from its body, which will cause 1 more Time Segment to be spent.
Give Iulian the scroll
Head all the way back to the altar, and give Iulian the ritual instructions. He instructs you on what is left to do, saying that the brew must be prepared right before the ritual is done. Since it requires Coen to cast Astral Communion, it will need to be daytime before you can continue. While you have the option to advance time until dawn, that will be a waste of time. Go and unlock some skills or knock out some quests in the area then come back.
Once you’re back, Iulian asks you to finish the brew. If you tell him that you have the gland, and that adding it to the brew will allow him to survive, he tells you simply “Don’t.” He never wanted to survive. He tells you that once it’s ready, he will eat half of it, then you will cast the hex on the five pillars in order. He will then eat the other half, and you’ll cast the hex on him to complete the ritual.
Finish Making the brew
Go over to the cauldron and you’ll add the salamander skins that Vera gathered before she dies. At this moment, you will have the option to add the Tatzelwurm Gland to the brew while Iulian is not looking. It will be entirely up to you whether or not to honor his wishes.
Discuss the next steps with Iulian
When the brew is ready, you’ll bring a cup of it to him and he’ll choke down the first half.


He makes you promise that after the pillars are lit that you will ensure he eats the other half before you cast the hex, no matter what he says or does.
Light the first pillar using Astral Communion
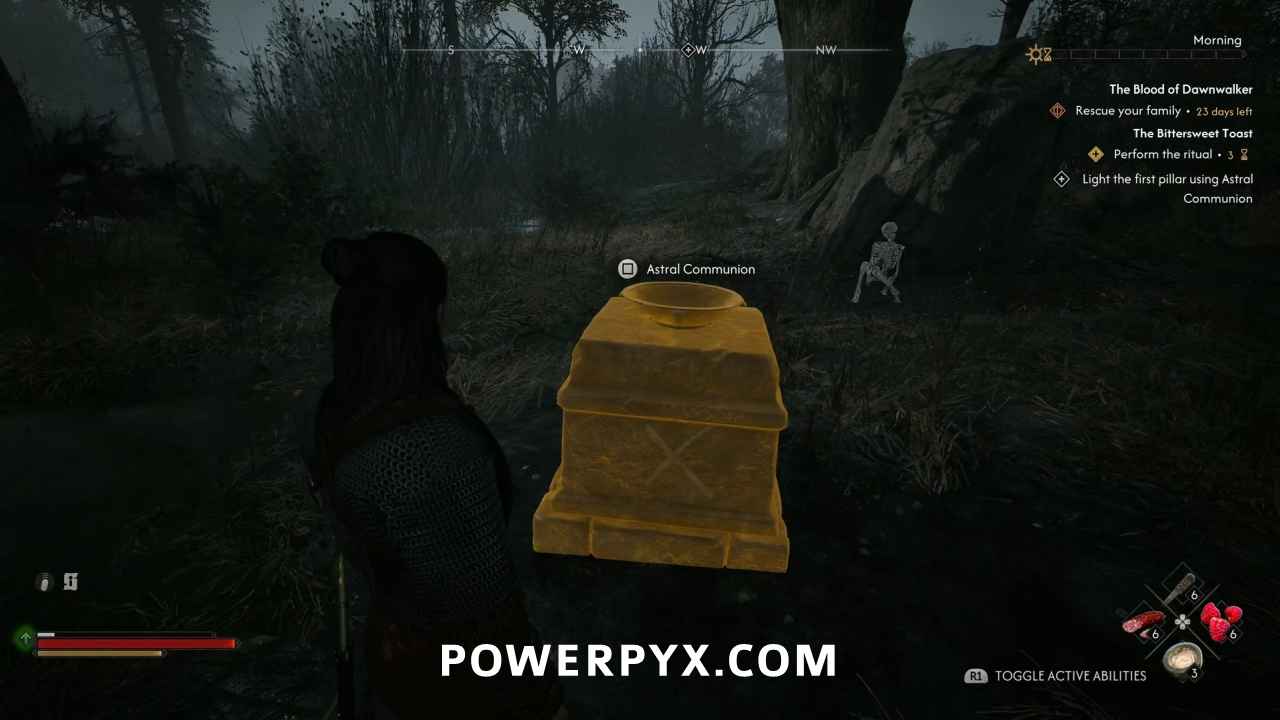
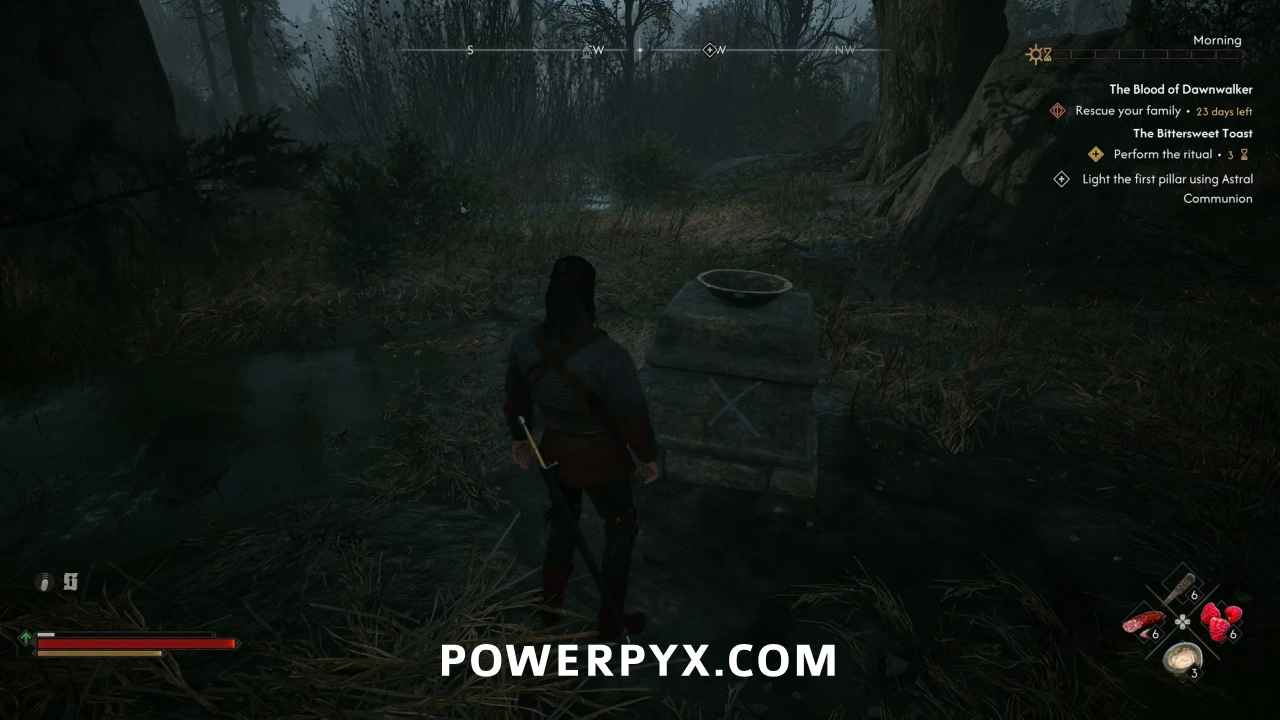
You can’t light the pillars out of order, so even if you miss the single X on its front, the first pillar will be the only one highlighted in gold when you go into Focus Mode. Which you will need to do anyway to cast the spell.
Light the second pillar using Astral Communion
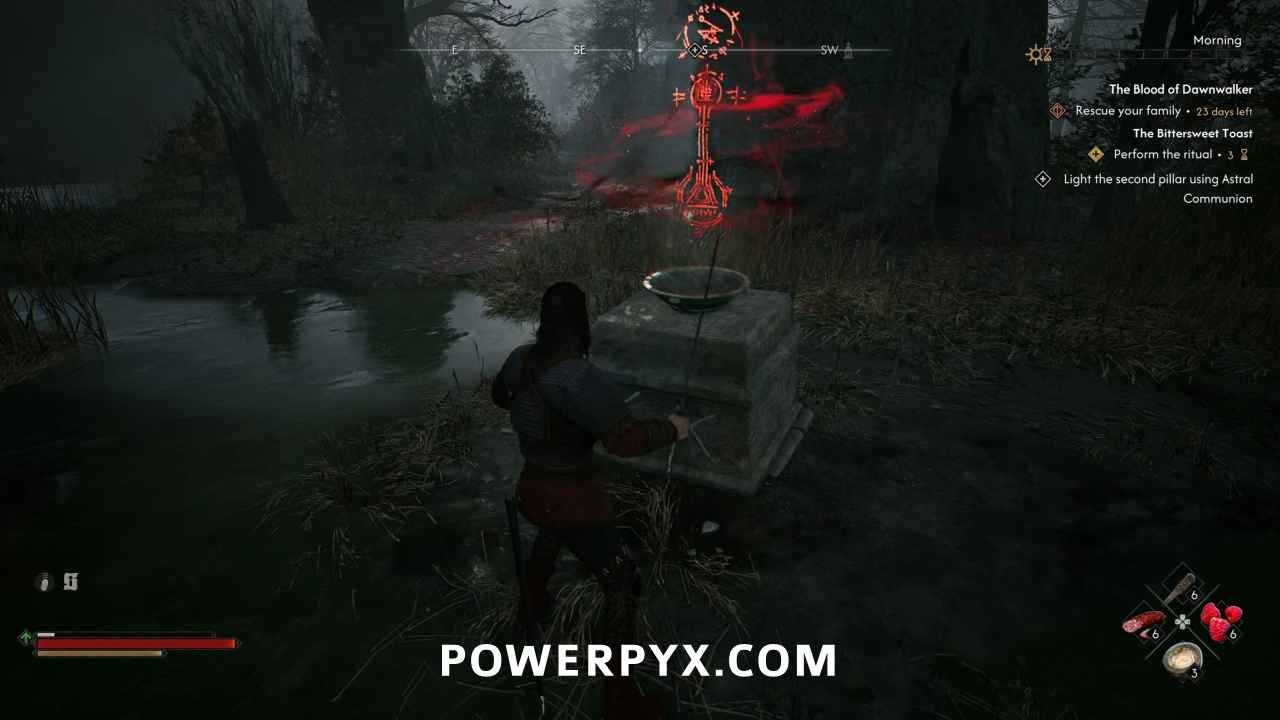
Move counterclockwise to the pillar with two Xs and cast the spell again.
Light the third pillar using Astral Communion
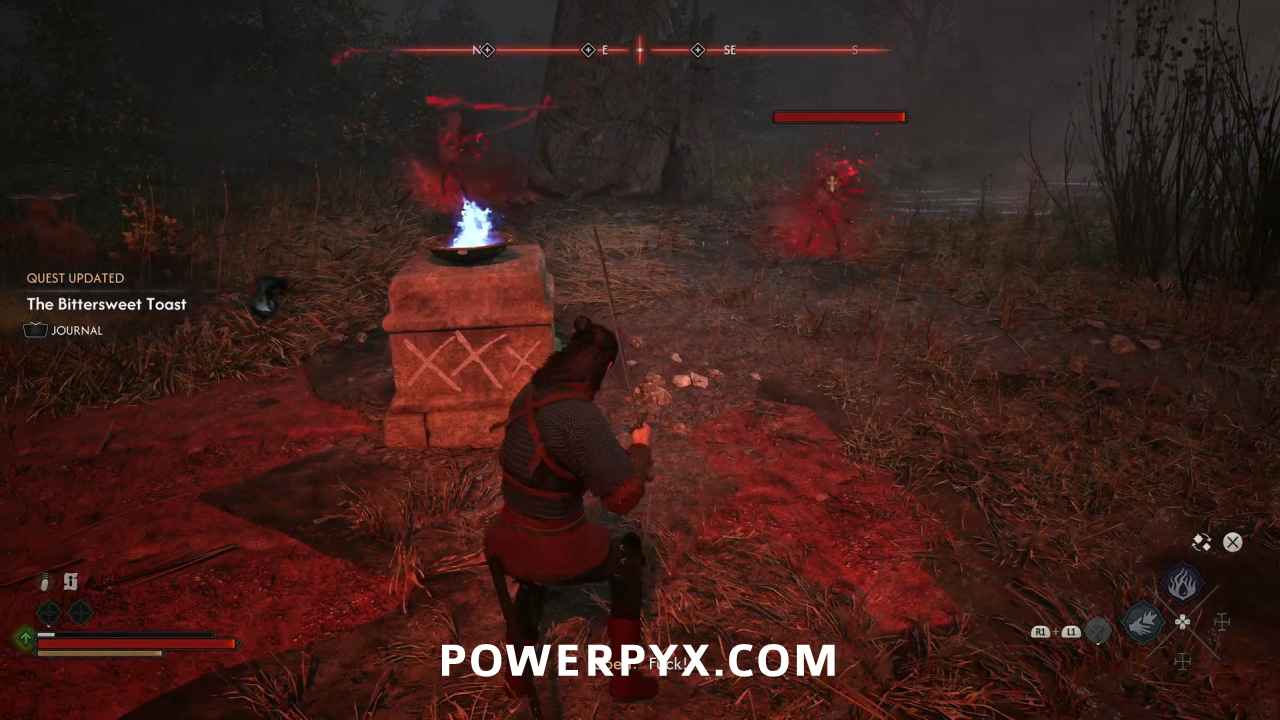
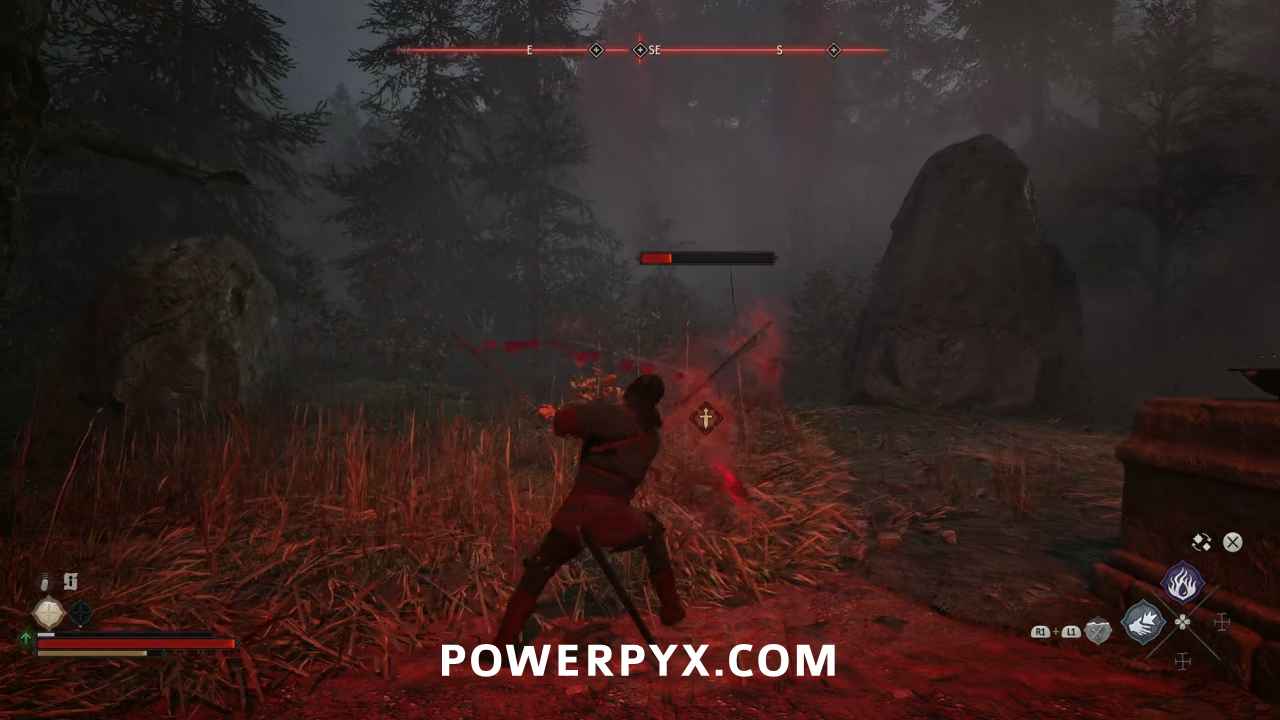
After the third pillar is lit, some ghostly spirits will rise and attack!
Defeat the hostile spirit
The objective should read “spirits”, three of them actually. Otherworldly skeletal swordsmen that are surprisingly nimble for undead. Luckily they are still damaged by swords, and apparently bleed… Or made of blood? Go to work!
Light the fourth pillar using Astral Communion
A bit of a jump scare after you light the fourth pillar, as you’re narrowly missed by lightning.
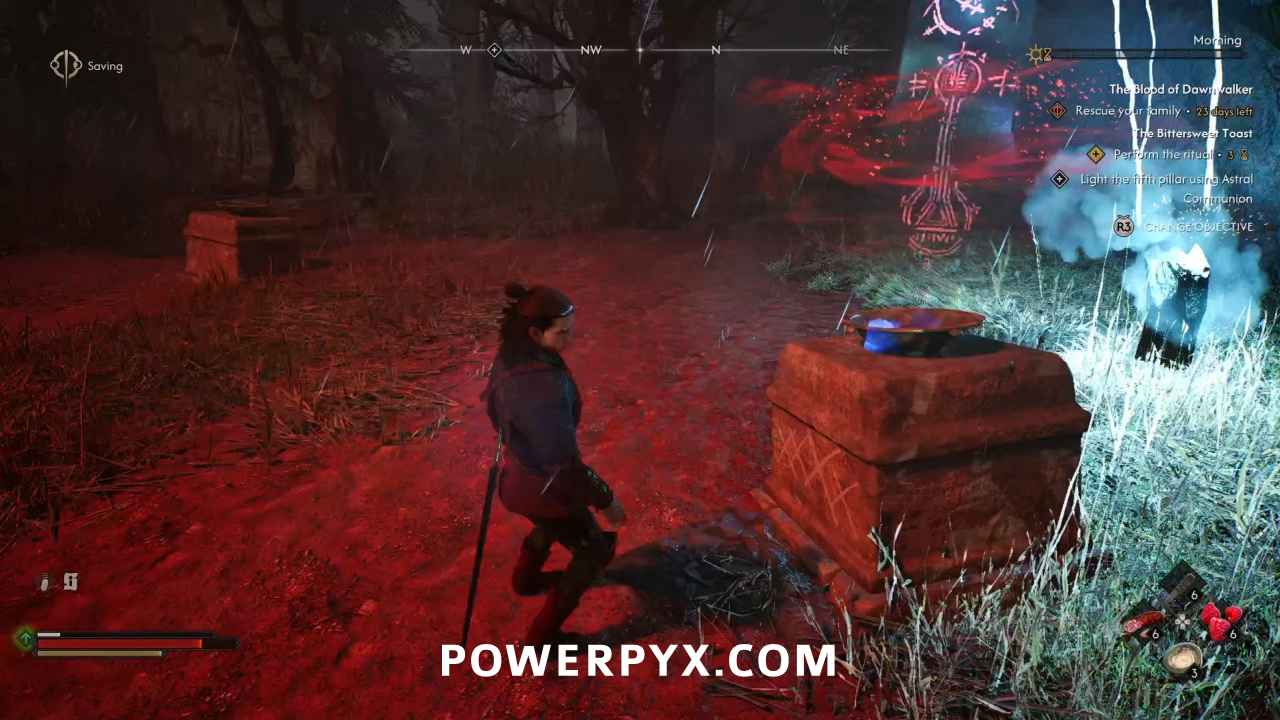
Light the fifth pillar using Astral Communion
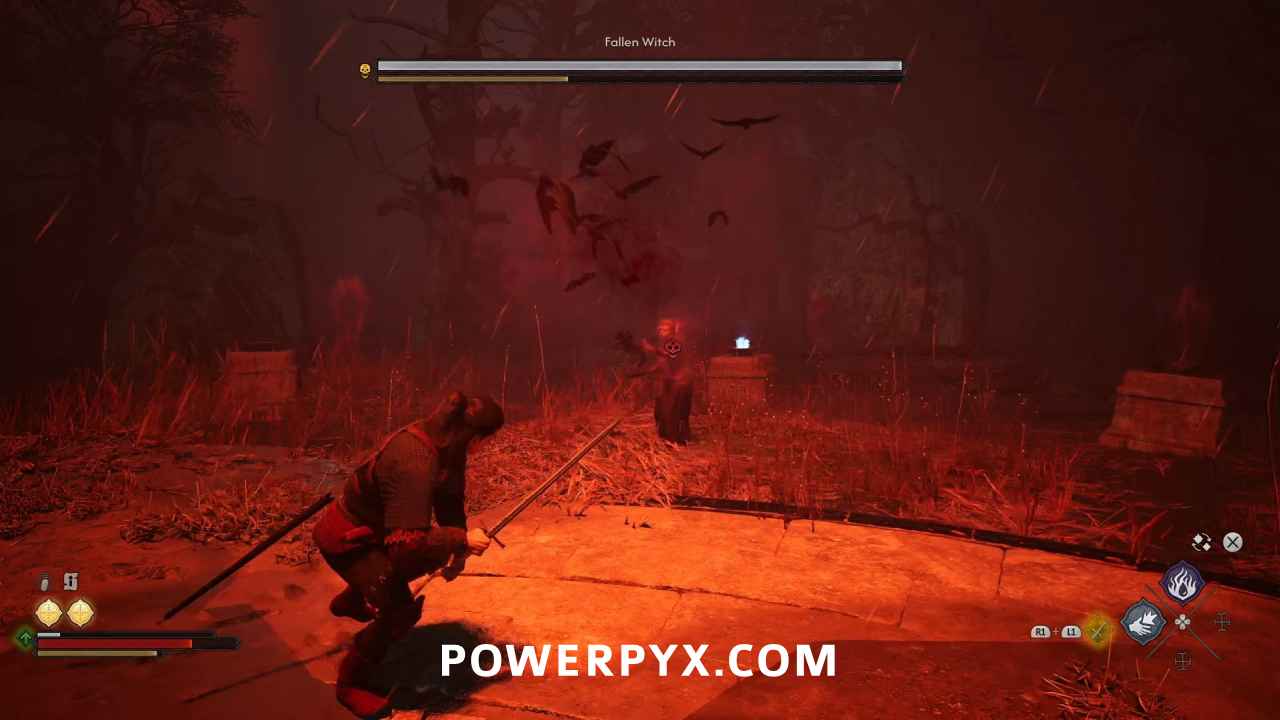
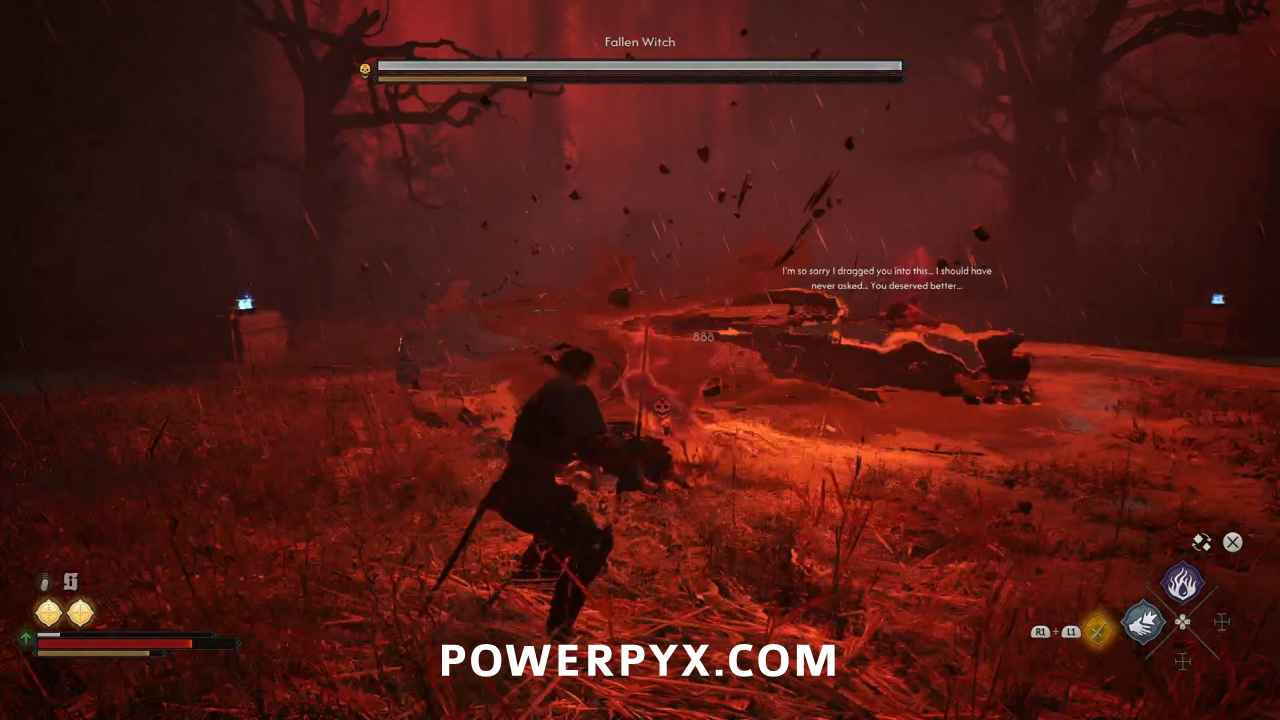
Hexing the last pillar will cause two more blood ghosts to appear, but this time they’ll bring a Fallen Witch to play.
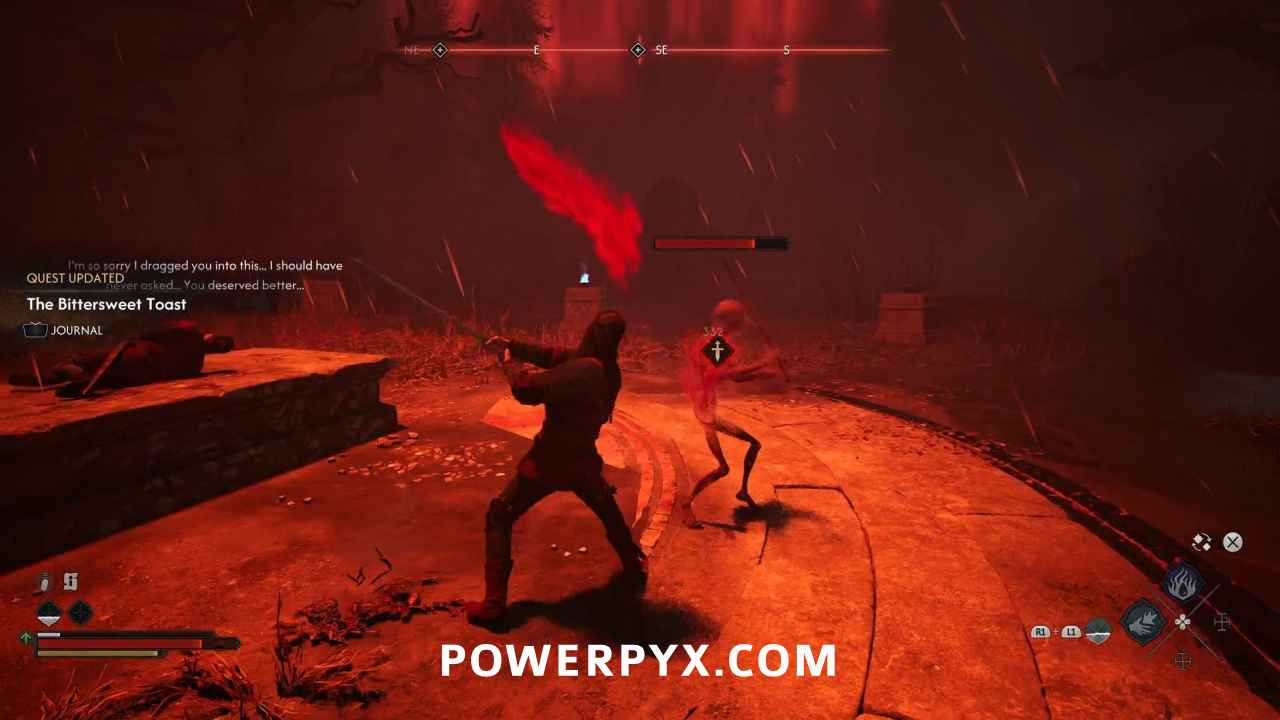
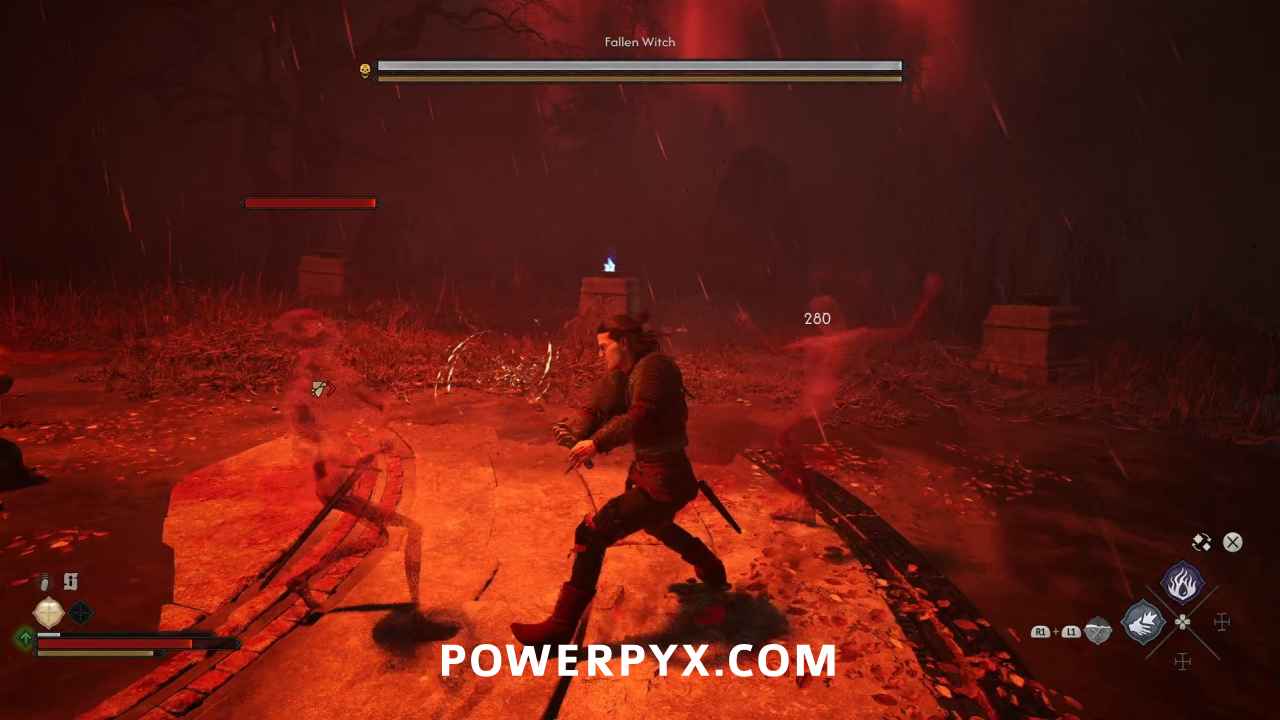
Defeat the hostile spirits
The witch will cast unblockable witchcraft spells that conjure a flock of bats, which fly right at you and have a decent range. Dodge to the left and right to avoid the flock, but be ready to dodge again right away since she usually casts it more than once in quick succession. She also has an unblockable area-of-effect spell, but it doesn’t have a substantial range so dodging backwards will keep her at bay. When magic fails, she’ll just try to knife you, and she’s pretty quick with a shiv.
Return to Iulian to finish the ritual (3 Time Segments)
Once you’ve dispatched all the ghosts, head back to Iulian. Feed him the rest of the brew. He’ll eat some, but the pain will get the better of him. He’ll writhe in crippling agony say that he can’t go through with it, and beg you to stop, then to kill him to end the pain. You must force him to swallow the brew in order to complete the ritual. If you give in to his request and kill him, or say “I’m sorry, I can’t do this” and leave him to die, the mission will immediately fail.
Once he’s eaten the whole brew, Coen will cast the hex one last time and he will slowly recover from the agony. He sends you on your way, saying he should return alone so you’re not seen together. He tells you all you have to do now is to show up for the duel at night within the next “seven days”. He doubts that he will survive more than that with the poison now coursing through his veins.
As it turns out, his estimate was optimistic. When you complete “The Bittersweet Toast”, you will get an optional time sensitive objective added to “The Gilded Gauntlet” called “Show up for the duel on time”. You will have 3 days to duel Ambrus, otherwise exactly 48 time segments after “The Bittersweet Toast” is completed, this objective will fail. Iulian’s condition becomes obvious to Ambrus after 3 days, which causes him to bring a different victim to the duel. Complicating matters is the fact that Ambrus will only duel at night, so you will have to start the duel by 2 time segments before sunrise on the 3rd day in order for Iulian’s plan to be successful.
This finishes The Bittersweet Toast in The Blood of Dawnwalker.
For all other Quests refer to The Blood of Dawnwalker Walkthrough.
Jetli says
Well if you don´t do the “Bittersweet Toast” quest and speak with Julian, and go/ do directly the “Gilded Gauntlet” and beat Ambrus then Vera will survive, cause then she don´t do anything about Julians plan to poison Ambrus.