
What Moves the Dead is a side quest in The Blood of Dawnwalker. This walkthrough will guide you through all objectives of the What Moves the Dead side mission.
- Starting Location: Svartrau City
- Quest Giver: Crake
- Requirement: Complete What Hunts the Night
- Fail State: None
- Reward: 150 XP (total from all objectives), Crake’s Sword (if you picked it up in the crypt area), Life Lock Witchcraft ability (if you already obtained Aurelius’s book from Silts Tower)
- Time Required: 4-6 time segments
- Questline (Crake): The Firebrand > Under Watchful Eyes (optional) > Taking Back What’s Mine (optional) > Shadows in the Woods > Where Loyalty Lies > Old Friends, New Friends (optional) > What Hunts the Night > What Moves the Dead > Who Pulls the Strings > Distant Shadows (optional) > A Closer Look (optional,
 The Manumit) > Rise at Dawn (Ending) > Fall Before Dusk (Ending,
  The Knyazmaker)
 - Quest Description: That gargoyle… Someone must have created it for Brencis. We need to discover who.
 The Knyazmaker)
Objectives:
- Follow Crake and Mevasser
- Inspect the woodcut
- Search for Silas’s notes
- Ask the townsfolk about Silas
- Find the house by the stone arch
- Search inside the house
- Examine the floor next to the chimney
- Search the basement
- Search the ruins
- Check where the passage leads
- Search the laboratory
- Search the deeper ruins
- Inspect the body
- Rescue Crake
- Lead Crake out of the ruins
Starting Location: What Moves the Dead
This quest starts immediately after completing the previous quest What Hunts the Night, when you meet Mevasser with Crake.
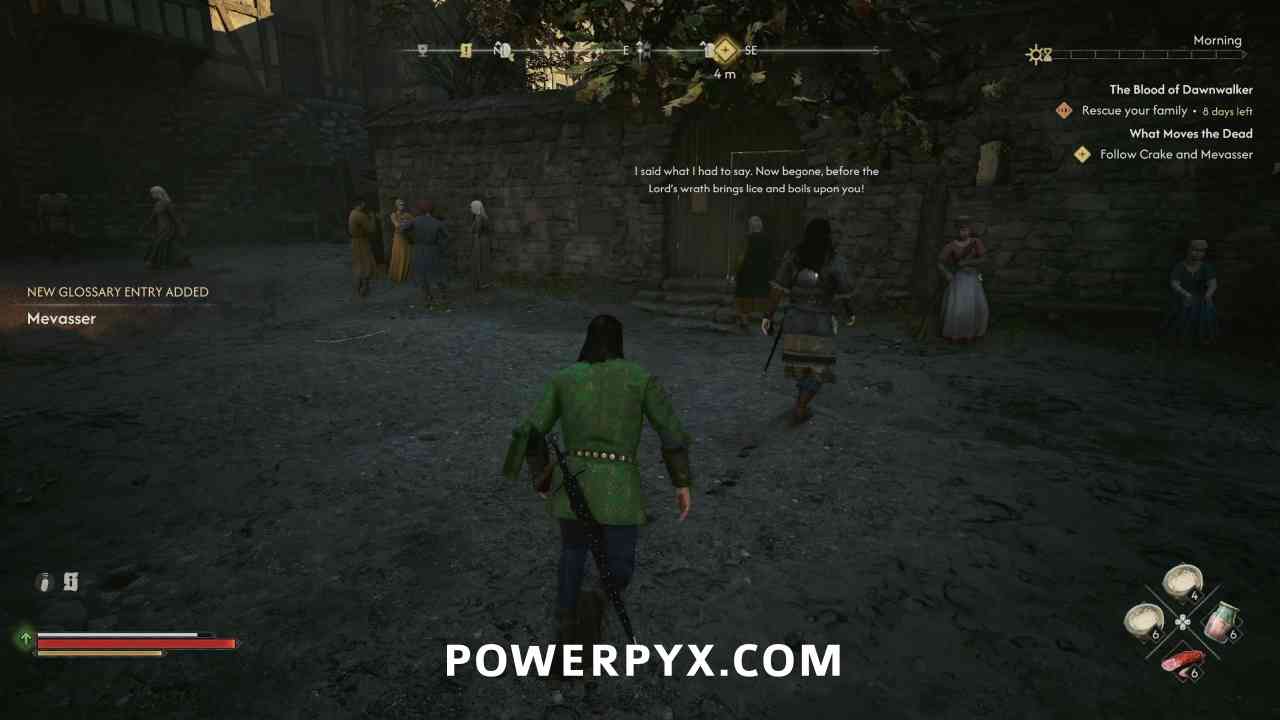
Follow Crake and Mevasser
After the initial discussion, follow Crake and Mevasser into the building nearby.
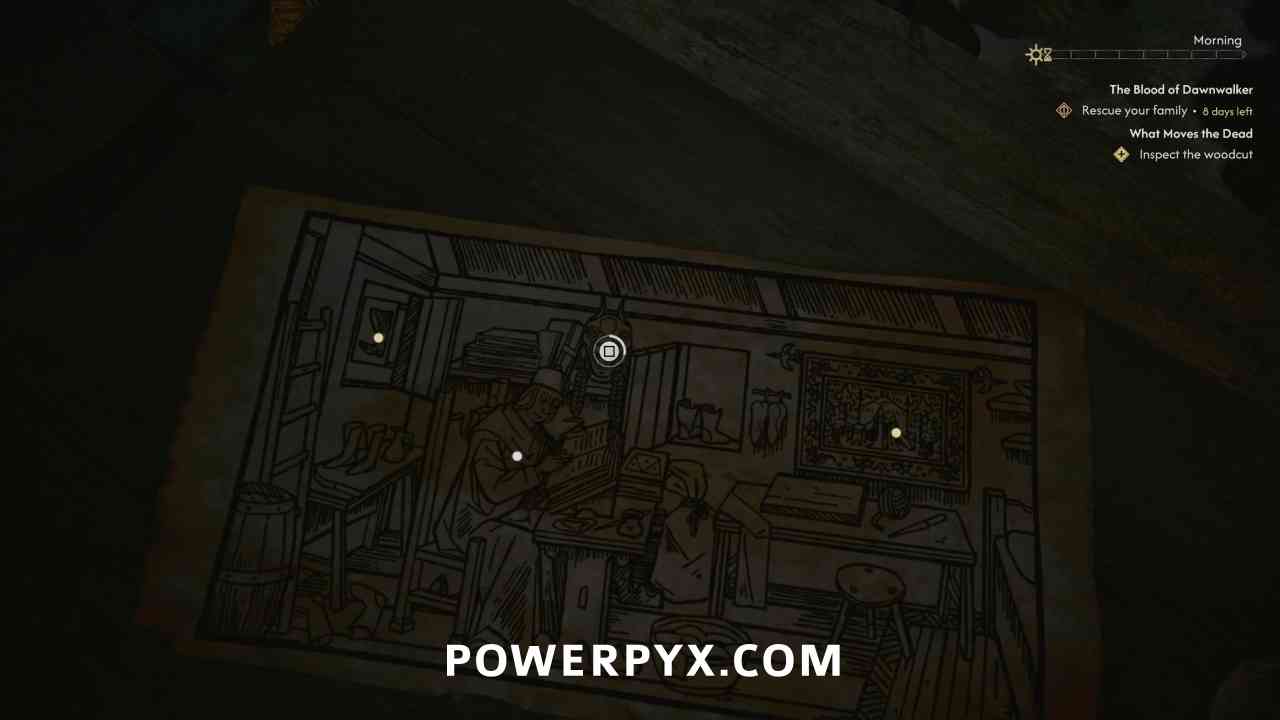
Inspect the woodcut
Once Mevasser brings out the print, inspect all 4 spots on it to continue.
Search for Silas’s notes
You are now going with Crake to try and find the location of Silas’s old house.
Ask the townsfolk about Silas
You can ask a couple of the people for information, but the one you need is the lady near the back of the area sitting with a dog.
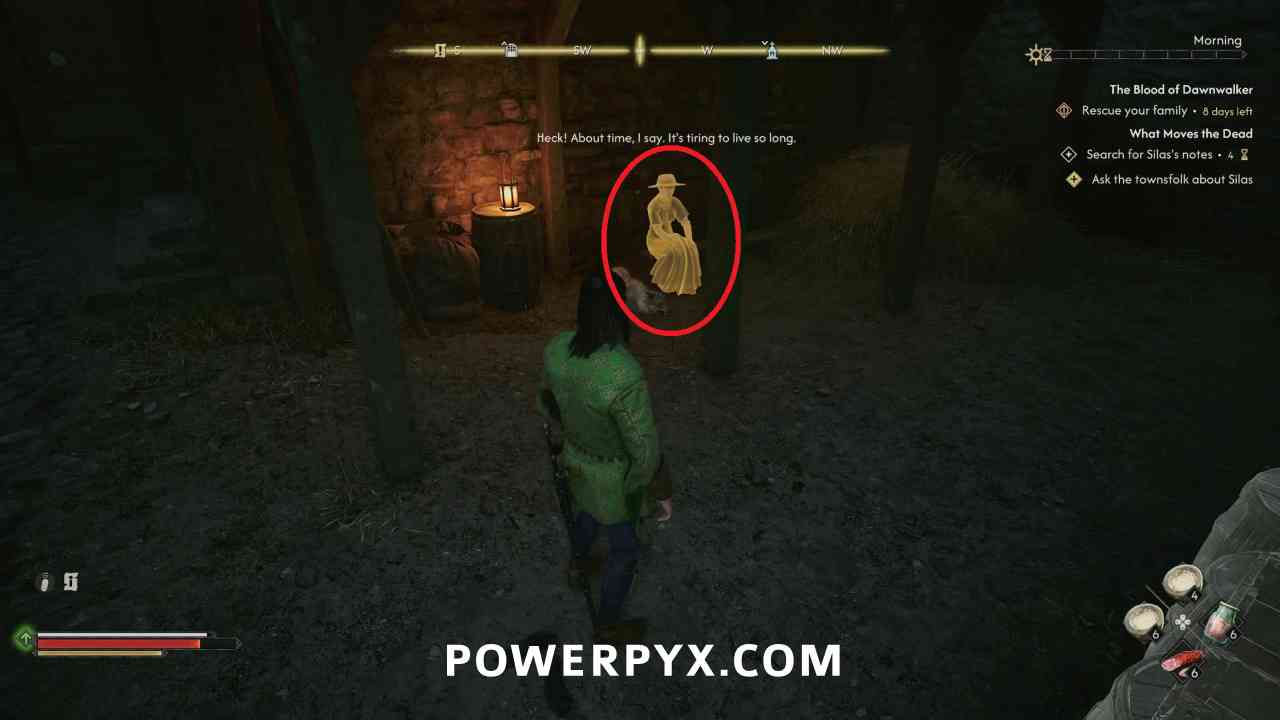
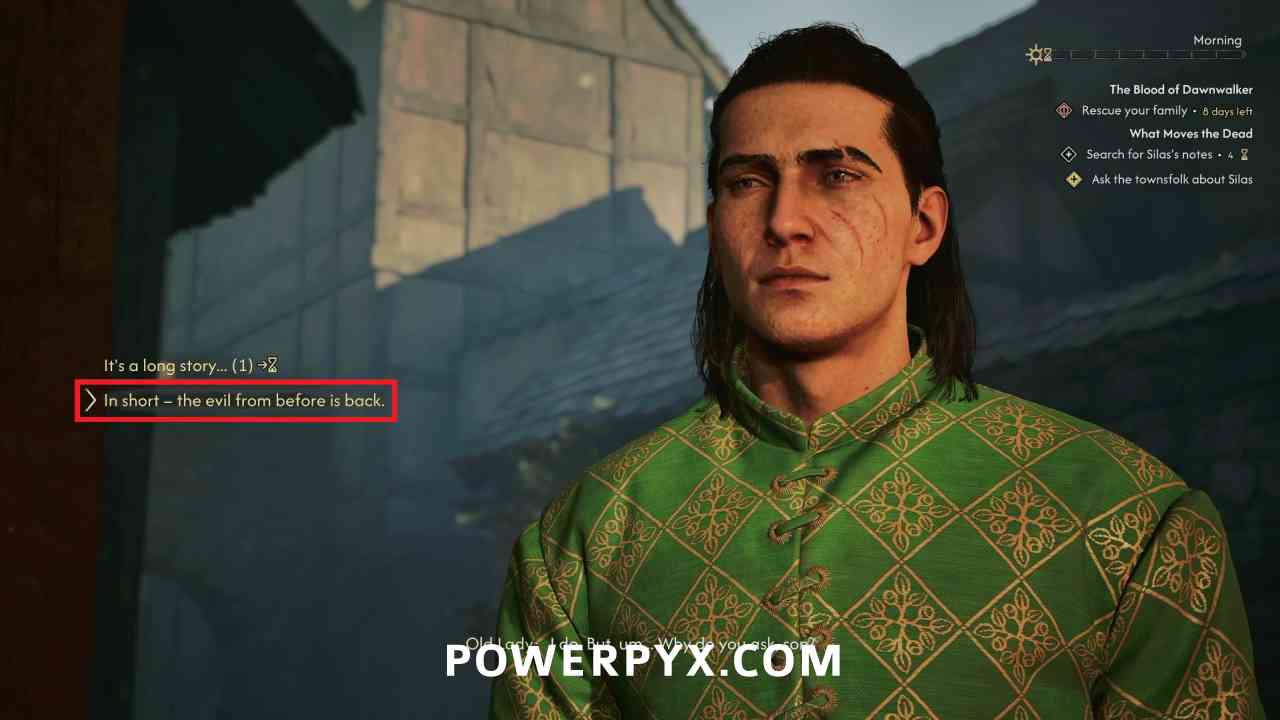
When you ask her for information you can spend a time segment to give her the long version, but she will also tell you the required info if you choose to stick to the short version.
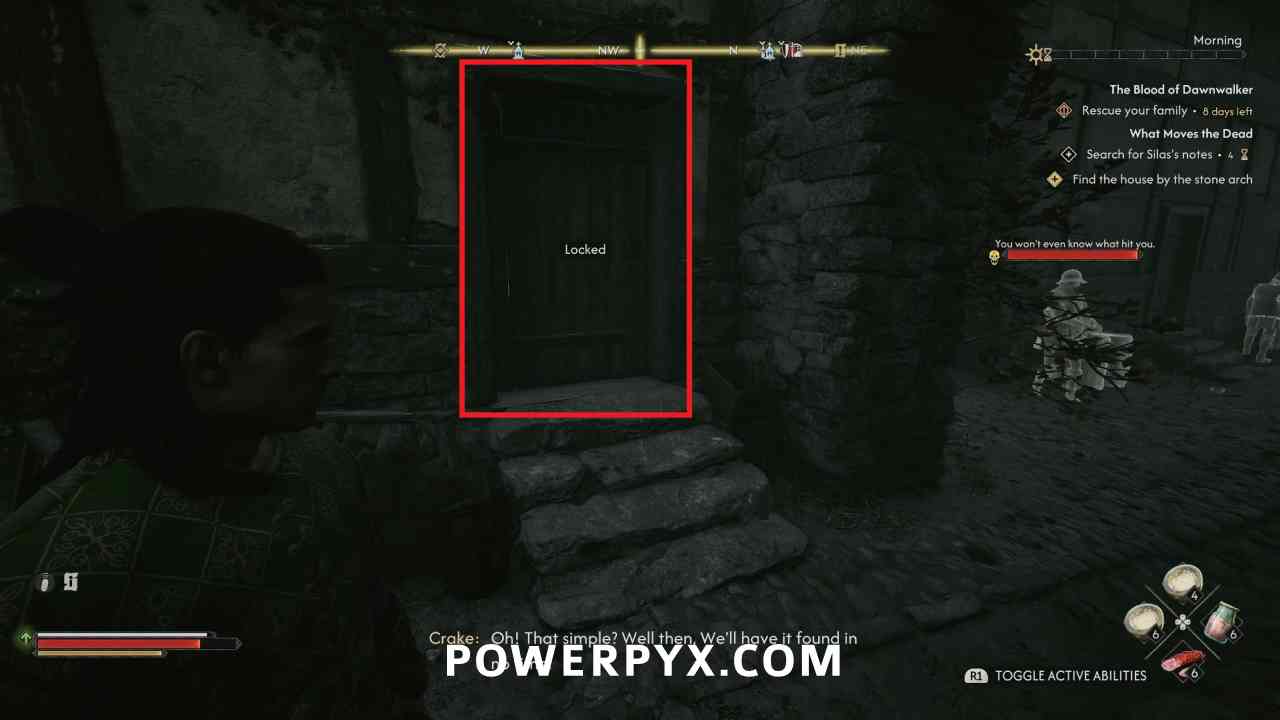
Find the house by the stone arch
The lady will tell you about the correct location, which is just down the street on the left before the archway. The door is locked, but you can just wait a moment and Crake will pick the door open for you.
Search inside the house
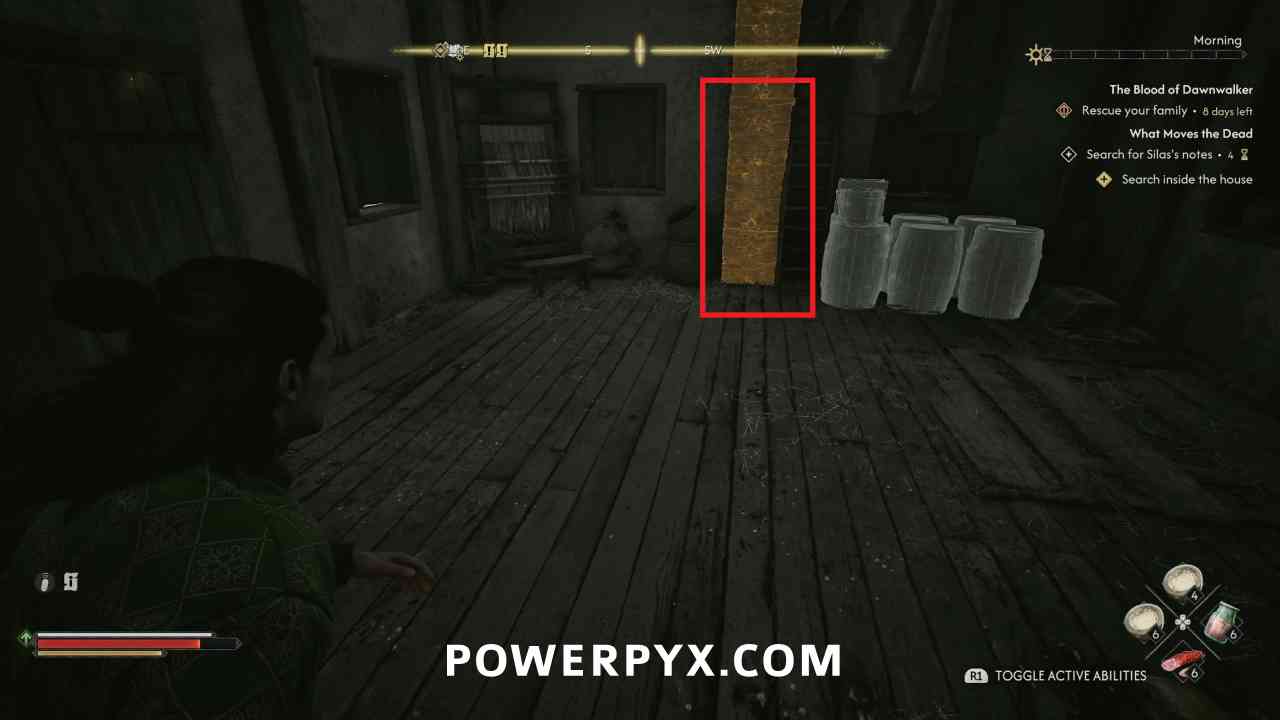
Head inside and inspect the square on the wall in the first room, then go into the second room and inspect the chimney.
Examine the floor next to the chimney
Then inspect the square section of boards to the right of the chimney.
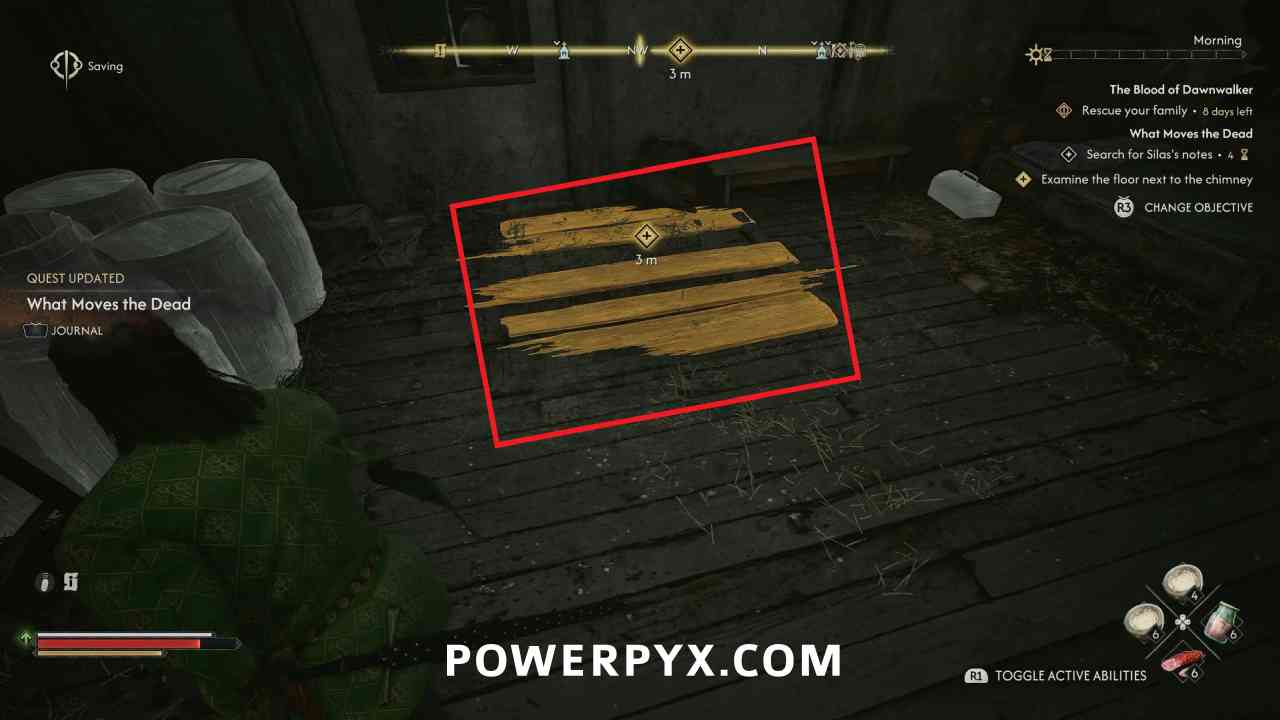
The current homeowner will barge in, and you have the option of threatening or paying to leave you alone, whichever you prefer.

Search the basement
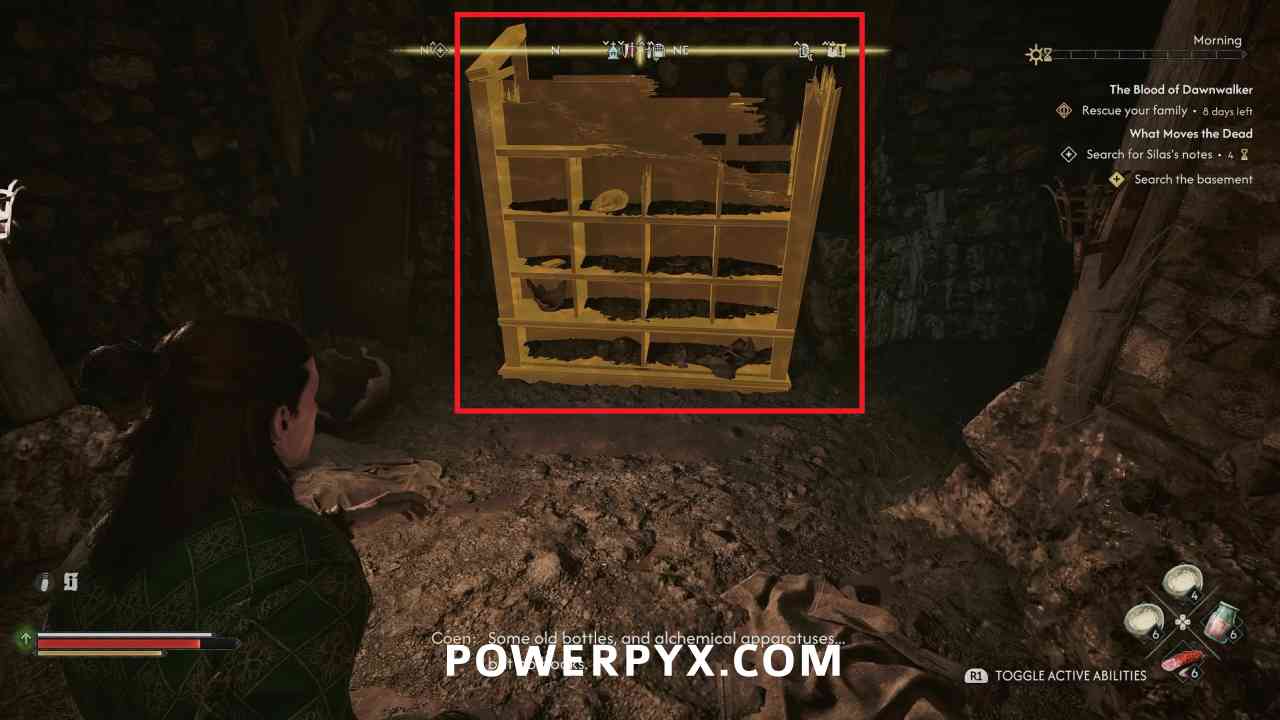
Go down into the basement, and inspect the shelf on the back wall to move it out of the way.
Search the ruins
You will now automatically be in a ruins area.
Check where the passage leads
Follow the linear path into the next room.
Search the laboratory
In the laboratory you can pick up a note on the counter to the left, then inspect the footsteps on the ground to the right leading to the next area.
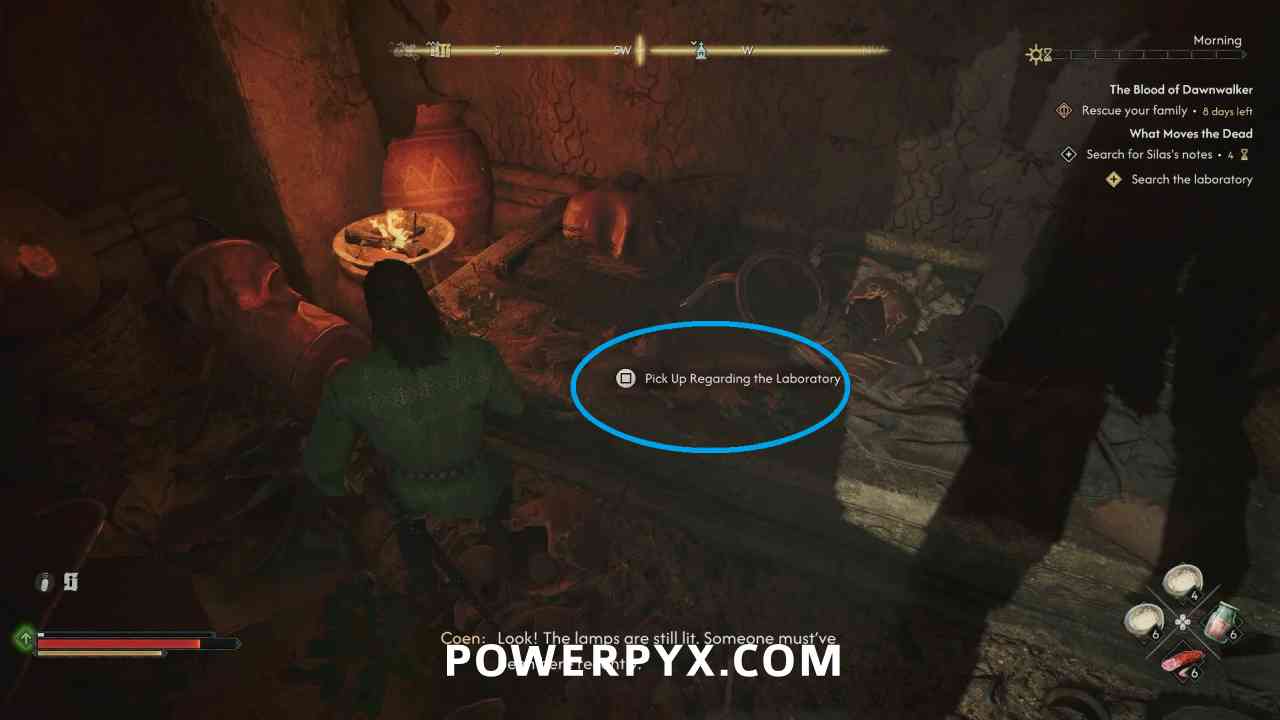
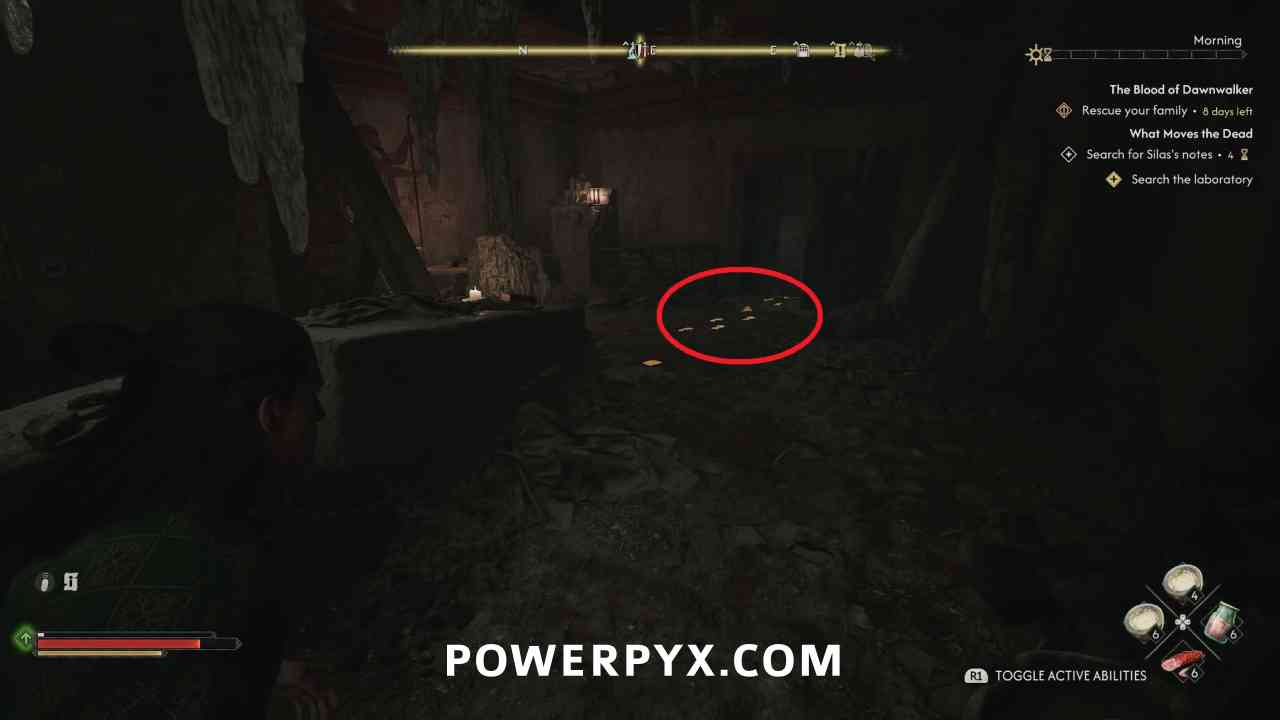
Search the deeper ruins
Continue following the footprints on the ground deeper into the ruins area, then drop into a crypt. In the first area you can inspect the body hanging out of the wall, then continue following the linear path deeper in.
Inspect the body
When you reach a larger room with a bunch of coffins, inspect the body on the ground beside the lantern, picking up the piece of paper beside it to progress.
Rescue Crake
While you are inspecting the body, Crake gets dragged away. Run back and follow the blood trail visible on the ground with Focus Mode to find where he went.
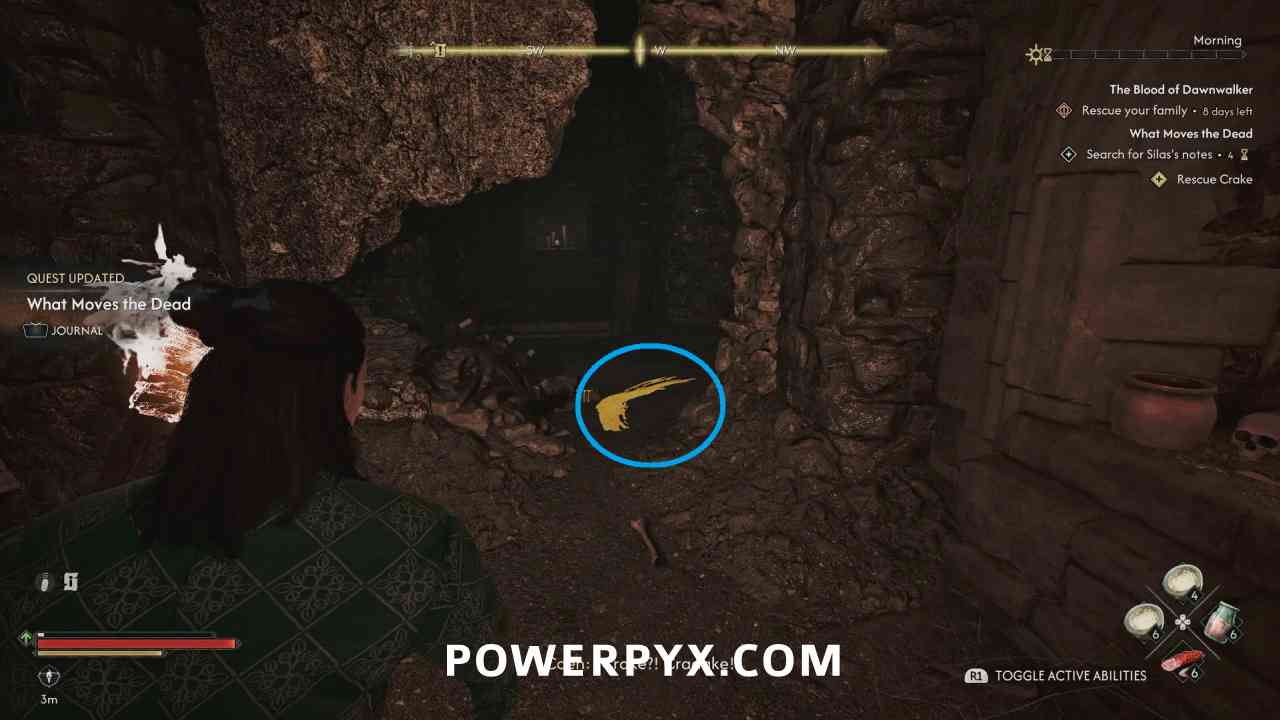
On the ground just before squeezing through the wall, you can pick up Crake’s Sword, which you get to keep later if you pick it up here.
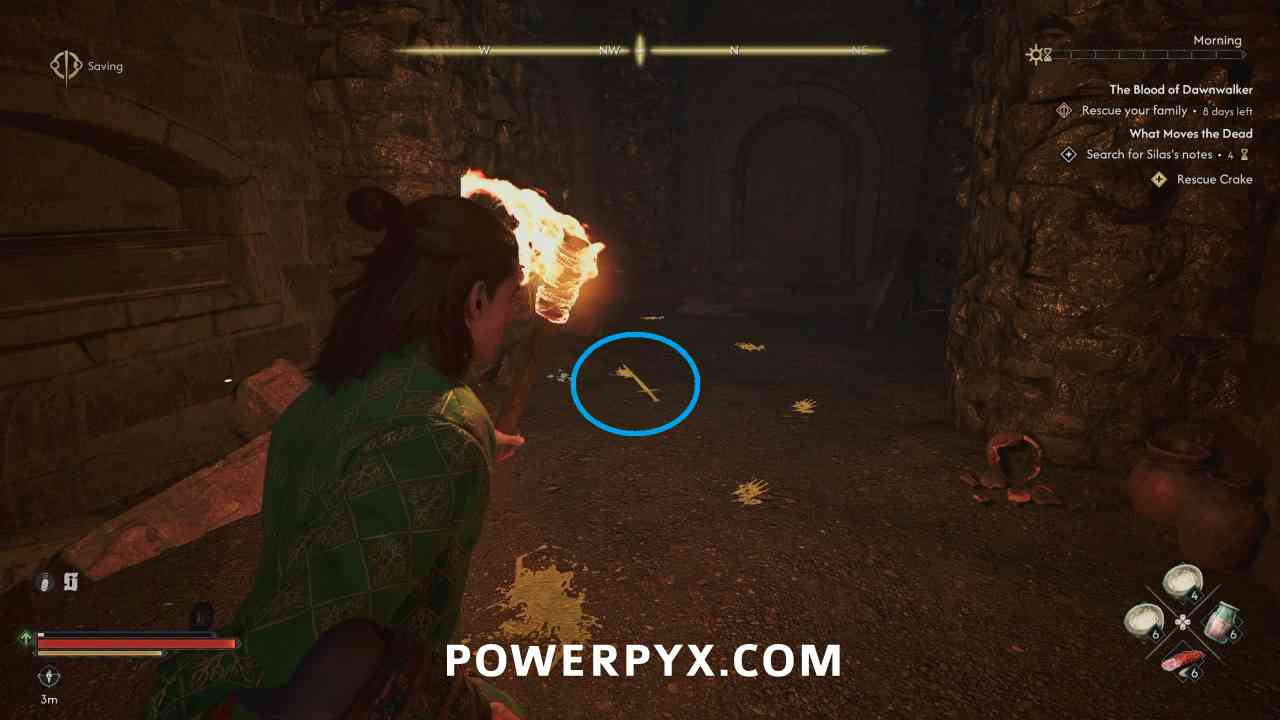
In the next rooms you will have to defeat a group of hellhounds, and then some hellhounds and a murohn miniboss.
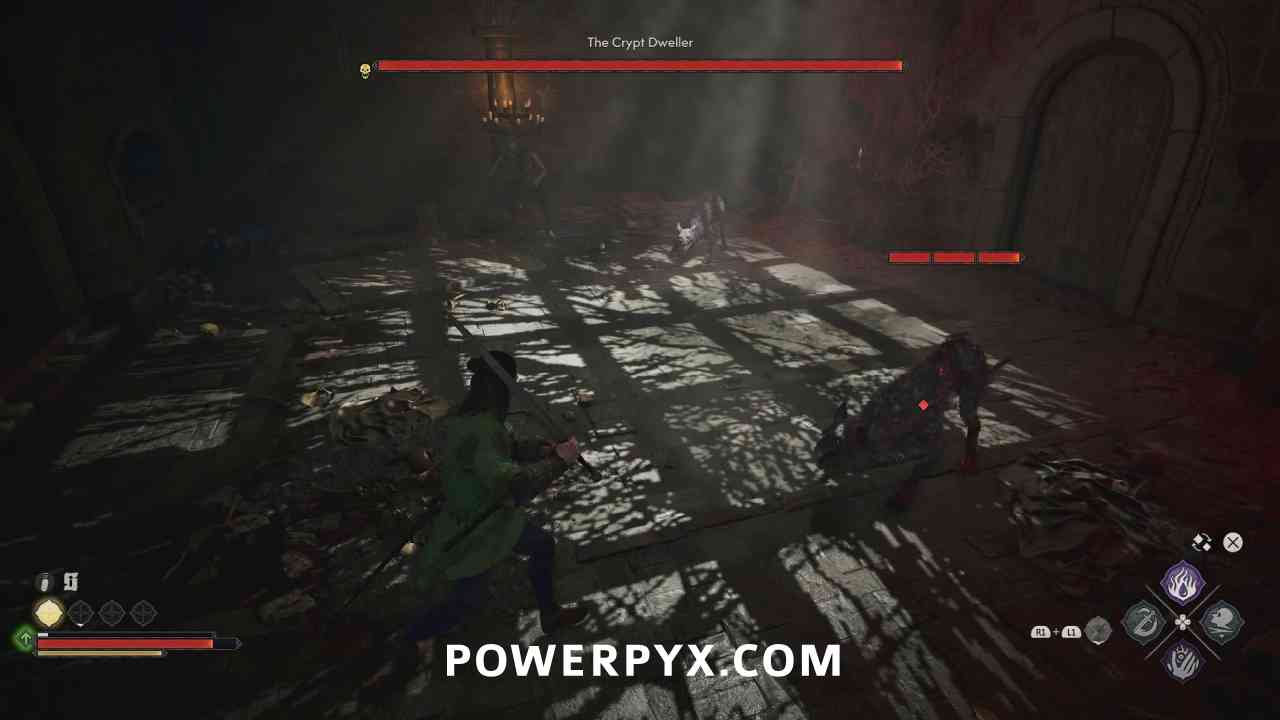
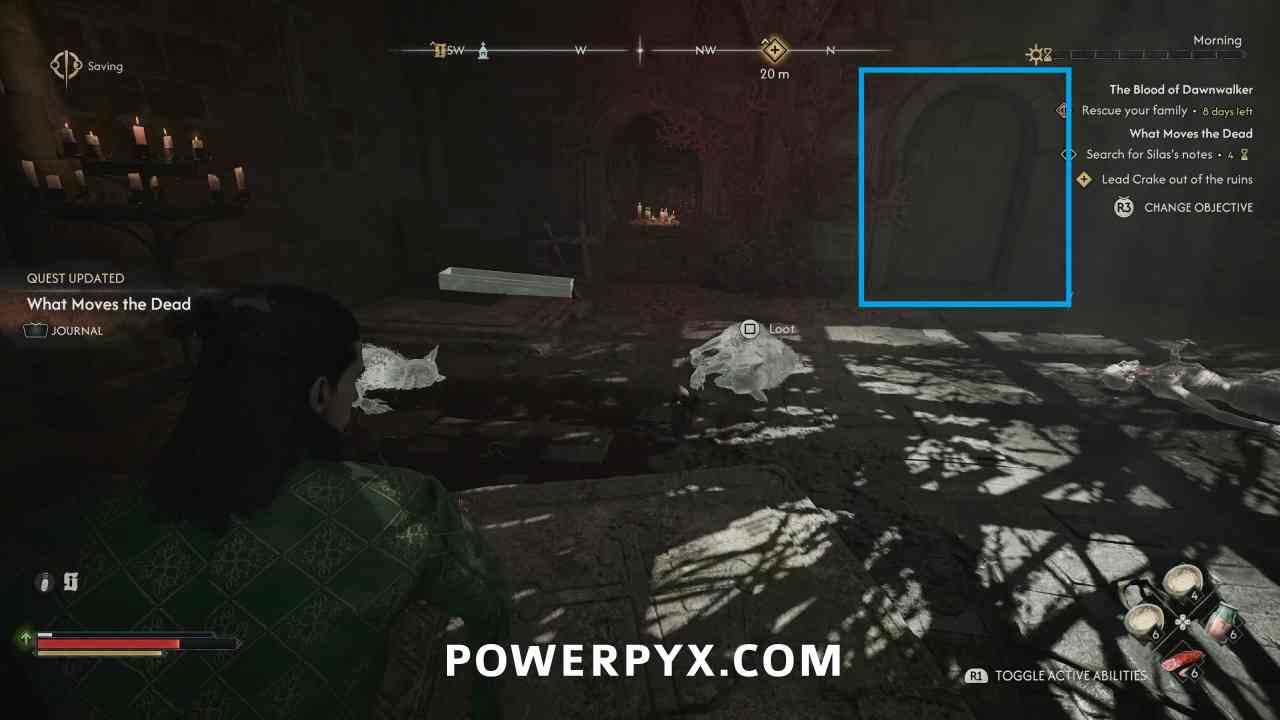
Lead Crake out of the ruins
You’ll now need to lead Crake out of the ruins. You can follow the objective leading through the door nearby, and keep going up the flights of stairs until you are back outside.
In the final dialogue you have the option of offering to walk Crake back to the manumit hideout or let him go back on his own, you should choose the option to bring him back yourself.
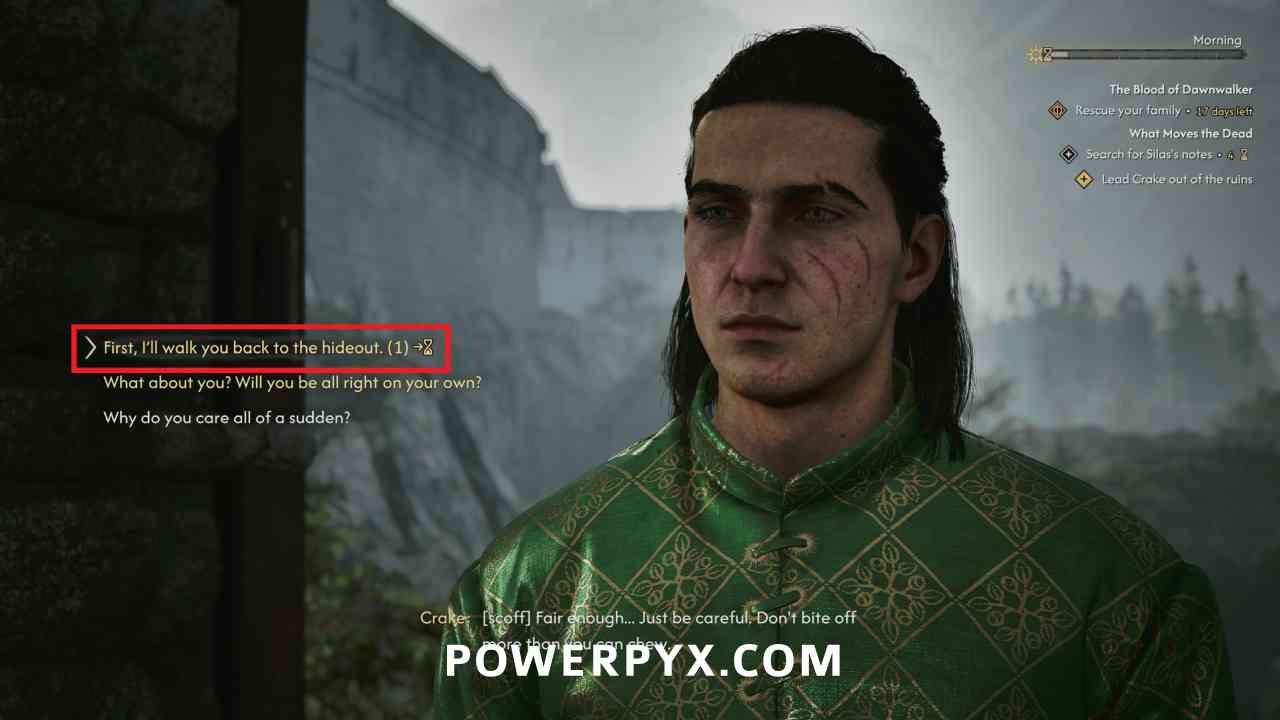
This is to guarantee that you unlock Crake’s optional quest Distant Shadows. You will then have one more dialogue interaction at the hideout.
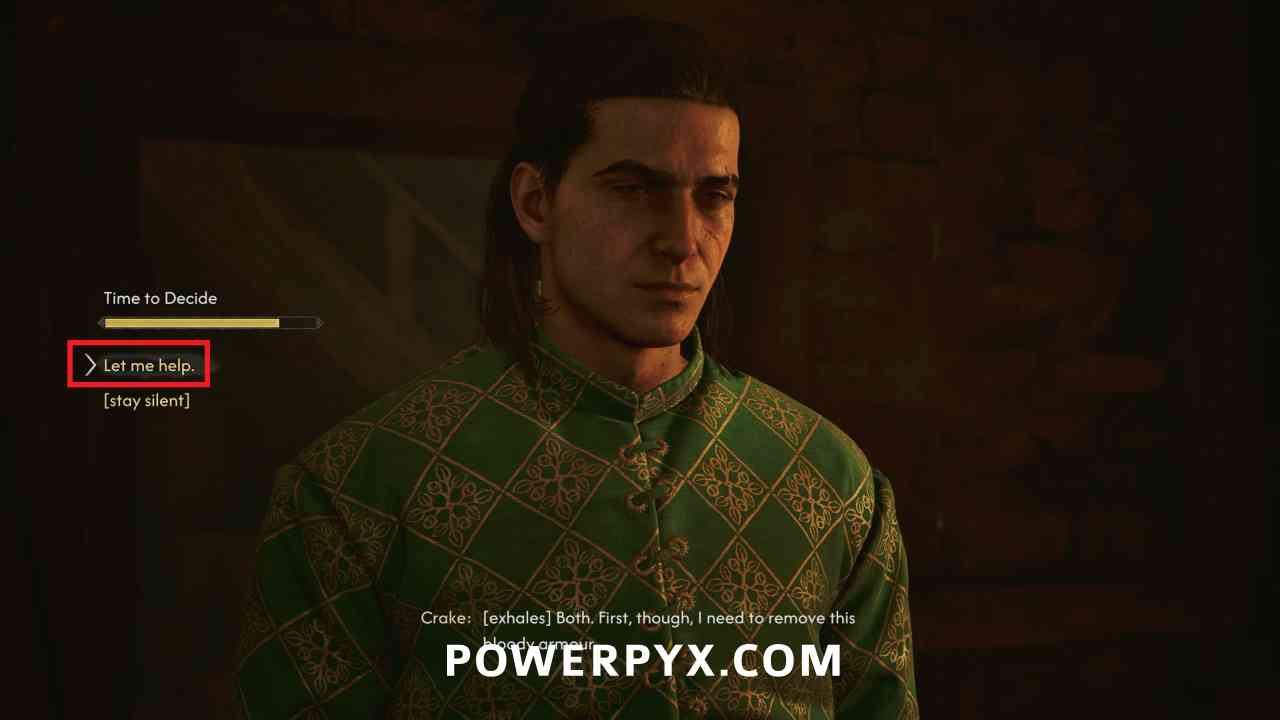
Back at the hideout, choose the following options:
- Let me help.
- Quite bad.
- Sure.
Doing this should guarantee that Crake immediately gives you the quest Distant Shadows, along with starting the next main quest in his ending questline.
NEXT CRAKE QUEST: Who Pulls the Strings
This finishes What Moves the Dead side quest in The Blood of Dawnwalker.
For all other Quests refer to The Blood of Dawnwalker Walkthrough.
Leave a Reply