
Hive and Seek is a side quest in The Blood of Dawnwalker. This walkthrough will guide you through all objectives of the Hive and Seek side mission.
- Starting Location: Uriash Village
- Quest Giver: Lacra
- Requirement: Complete Song of the Mountain
- Fail State: None
- Reward: 1000 XP, 1 Skill Point
- Time Required: 4 time segments
- Questline (Lacra): A Friend Like This > Song of the Mountain > Hive and Seek > Our Rotten Roots > The Night of Horrors (
 Misery Loves Company) > Midnight Reckoning (Ending,
  The Patricide)
 - Quest Description: Isbrand, Brencis’s maker, had been locked in the caves for two years. We have to find him and talk about any weaknesses Brencis might have.
 Misery Loves Company) >
  The Patricide)
Objectives:
- Talk to Lacra
- Go to the caves with Lacra
- Find and question Isbrand
- (Optional) Follow kobold guidance
- Defeat the corrupted kobolds
- Ambush Chonk using the secret tunnel
- Talk to Isbrand
Starting Location: Hive and Seek
Automatically starts upon completing Side Quest: Song of the Mountain.
Talk to Lacra
After completing the prior quest Song of the Mountain, Lacra waits at the uriash village until you come and meet her.
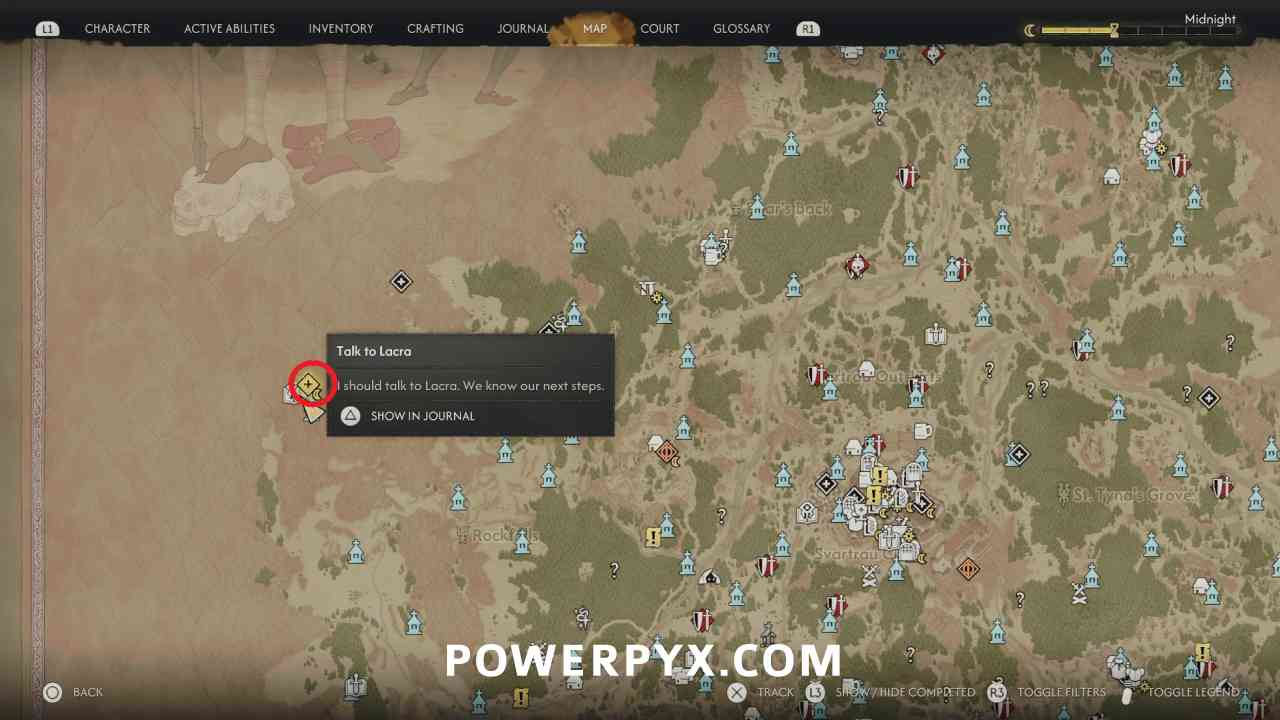
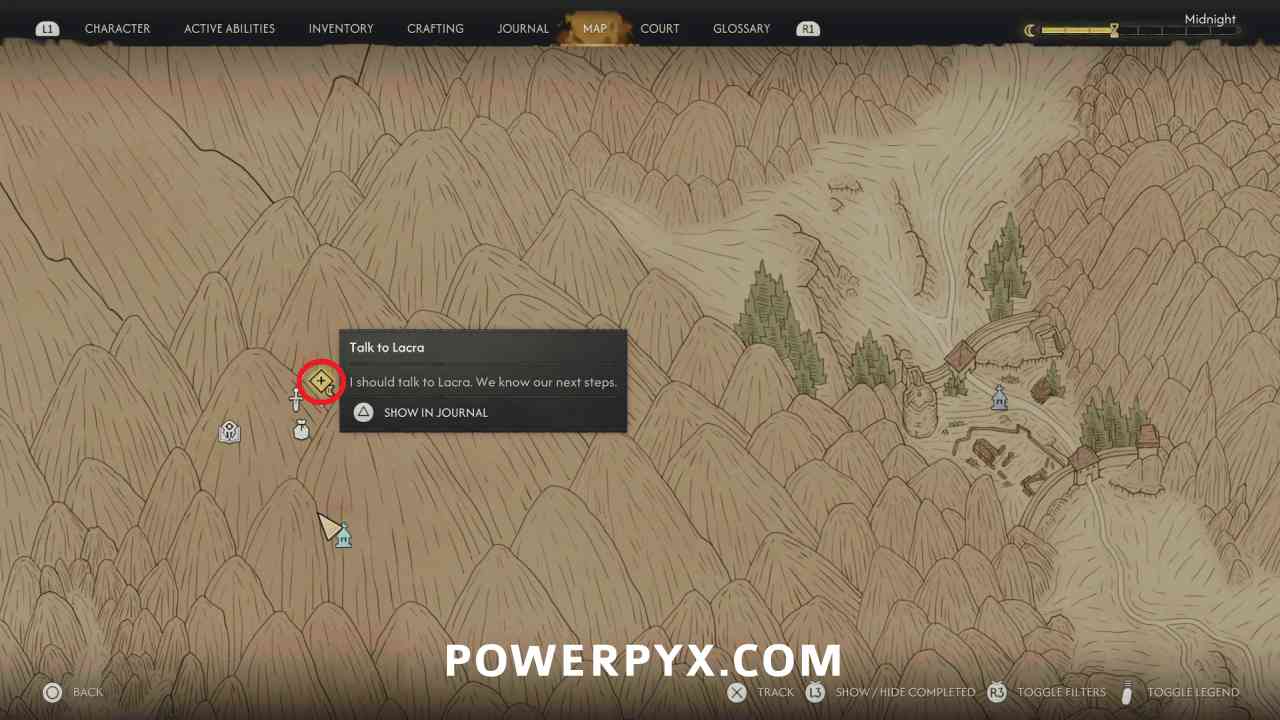
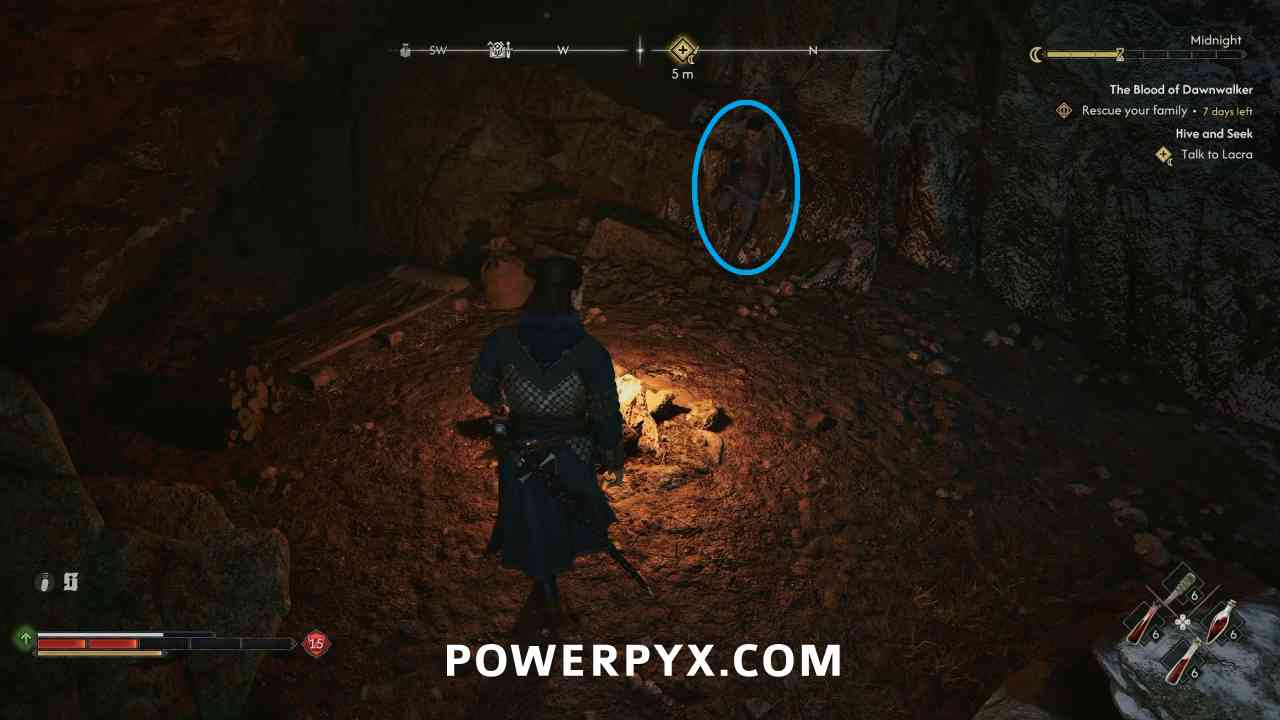
Go to the caves with Lacra
You can follow behind Lacra, and she will lead you down the mountain to the cave nearby. Most dialogue during this quest doesn’t matter, and you can choose to ask Lacra additional questions when presented in dialogue.
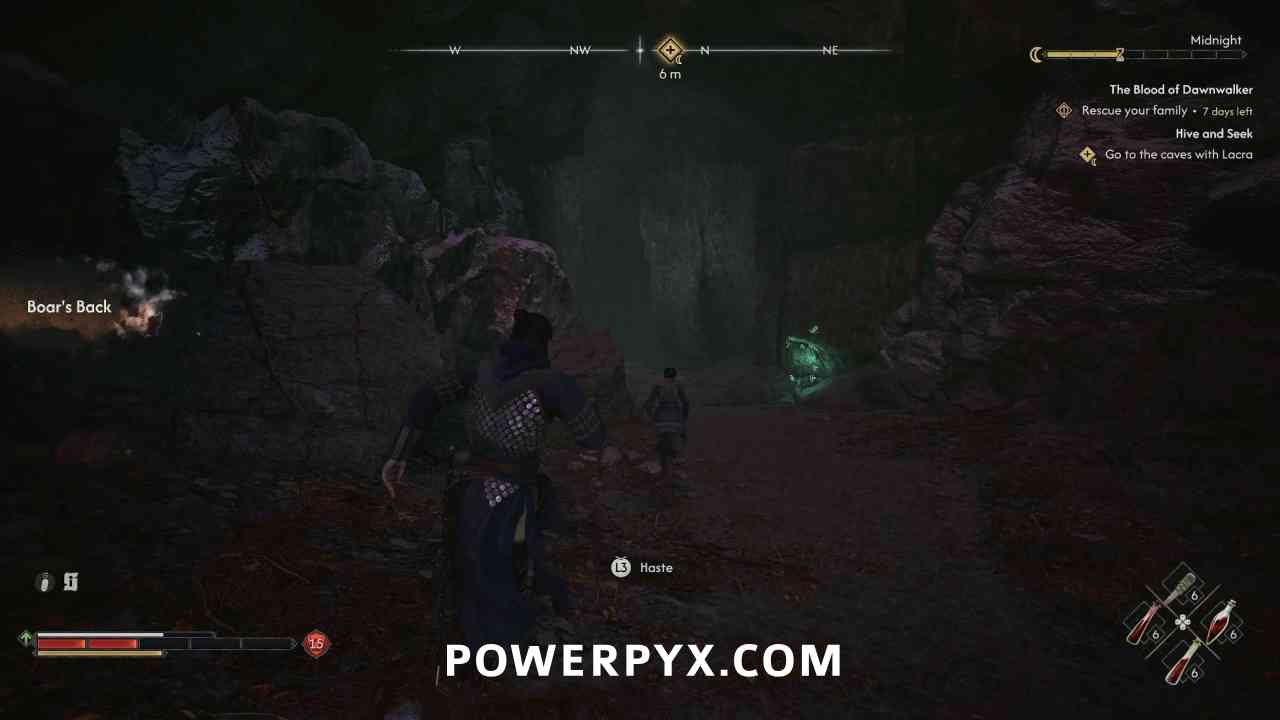
Find and question Isbrand
After Lacra breaks open the entrance, you can start making your way into the cave. This area is infested with kobolds, and is similarly laid out as the cave you progressed through in the prologue, requiring you to use Shadowstep and Phaseshift to jump between platforms and progress across walls.
In the first area you want to avoid walking in the water, as it is full of silver and will slowly damage you. Not enough that falling in it will kill you, but you should still use Shadowstep to jump between platforms when possible.
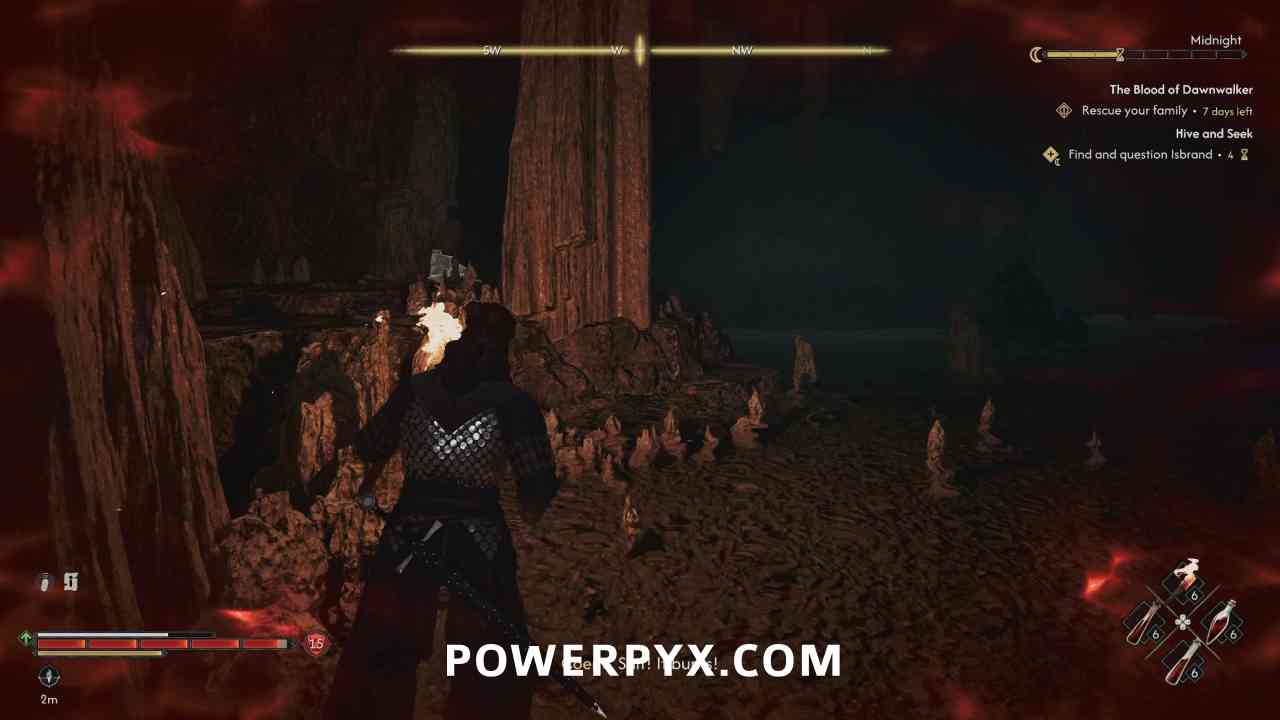
Continue along the path to the north side of the room where there will be some linear paths to walk through after progressing over the silver water.
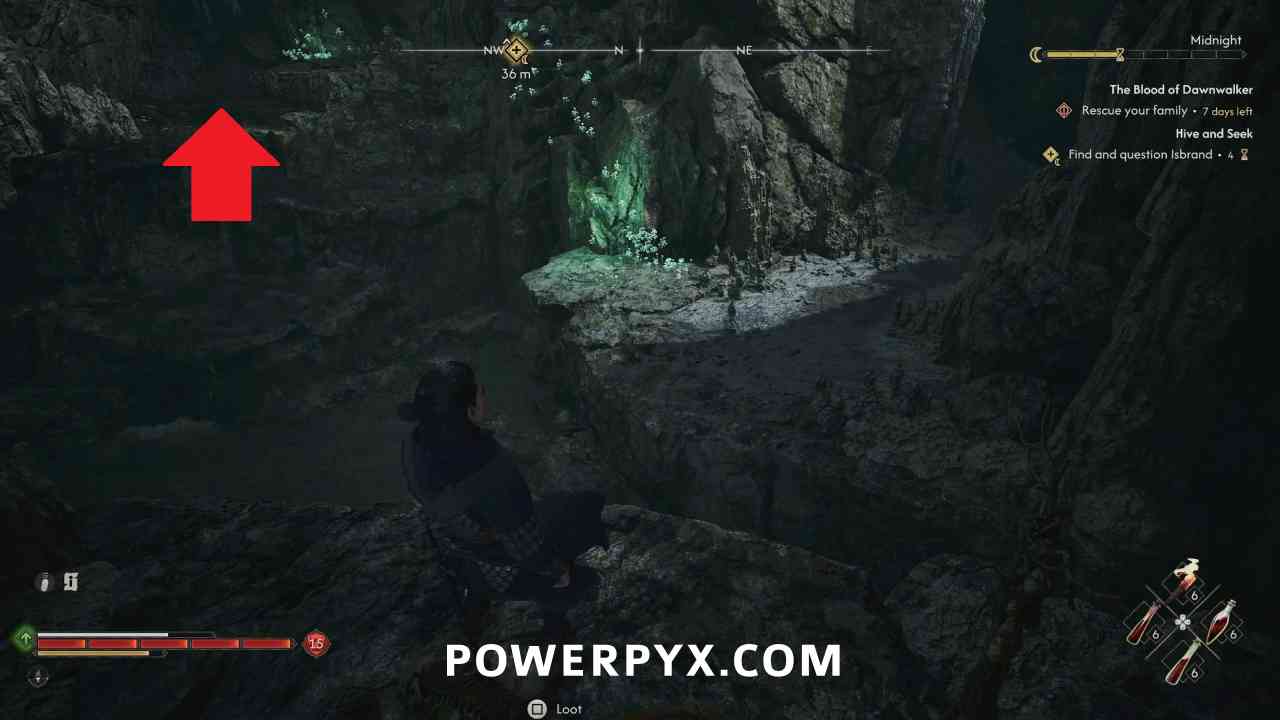
After crawling through some more tunnels you will encounter a much stronger enemy. These ones are still similar in combat style to normal kobolds, but with much more health and their attacks will deal poison damage to you.
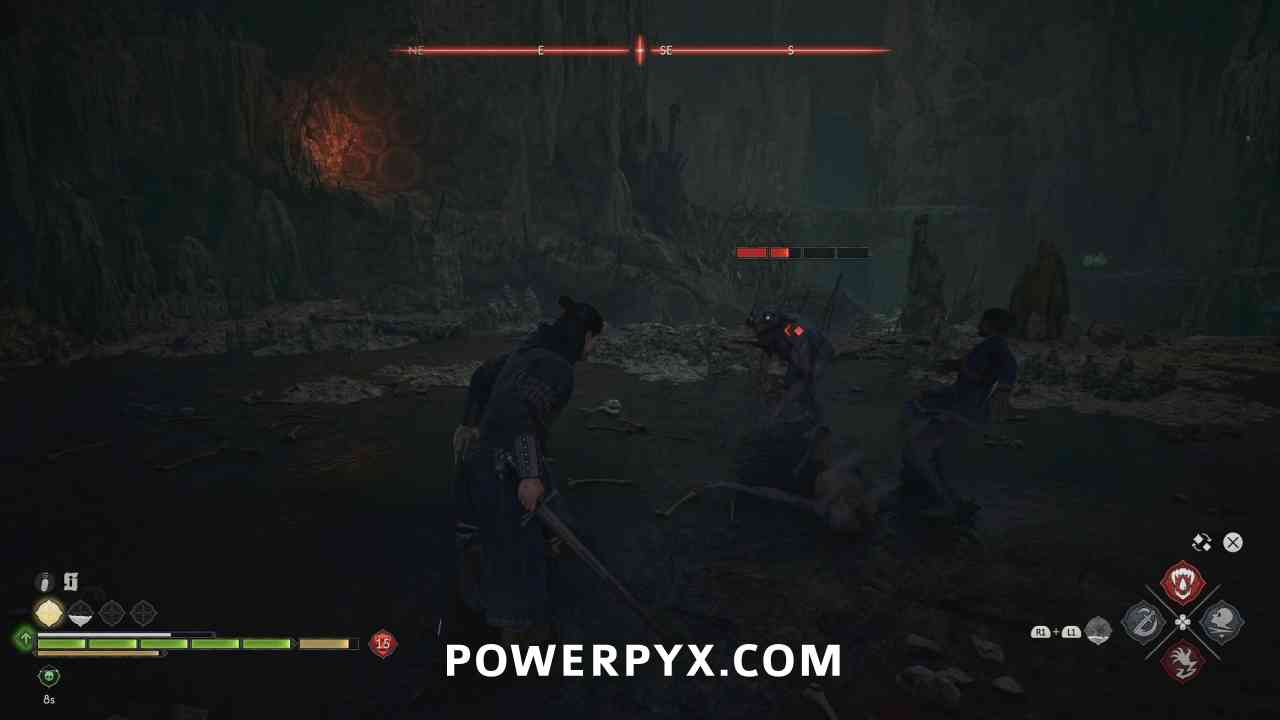
After defeating the enemy, the path to progress is along the wall on the right side of the room.
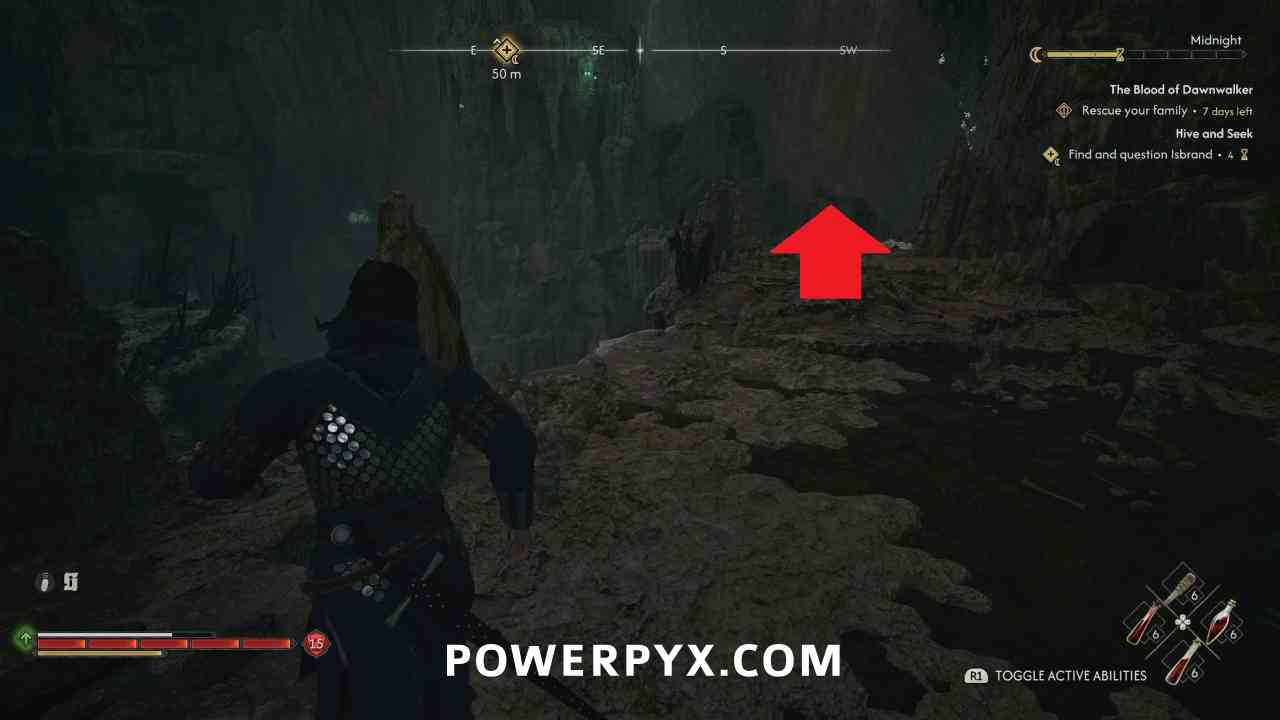
After killing a second group of the corrupted kobolds, you will be stopped and the speaking kobolds will offer to help lead you to Isbrand in exchange for dealing with the rest of the corrupted ones. If you don’t agree to help them, you have to wander through the next cave area by yourself, so agreeing to help is easier.
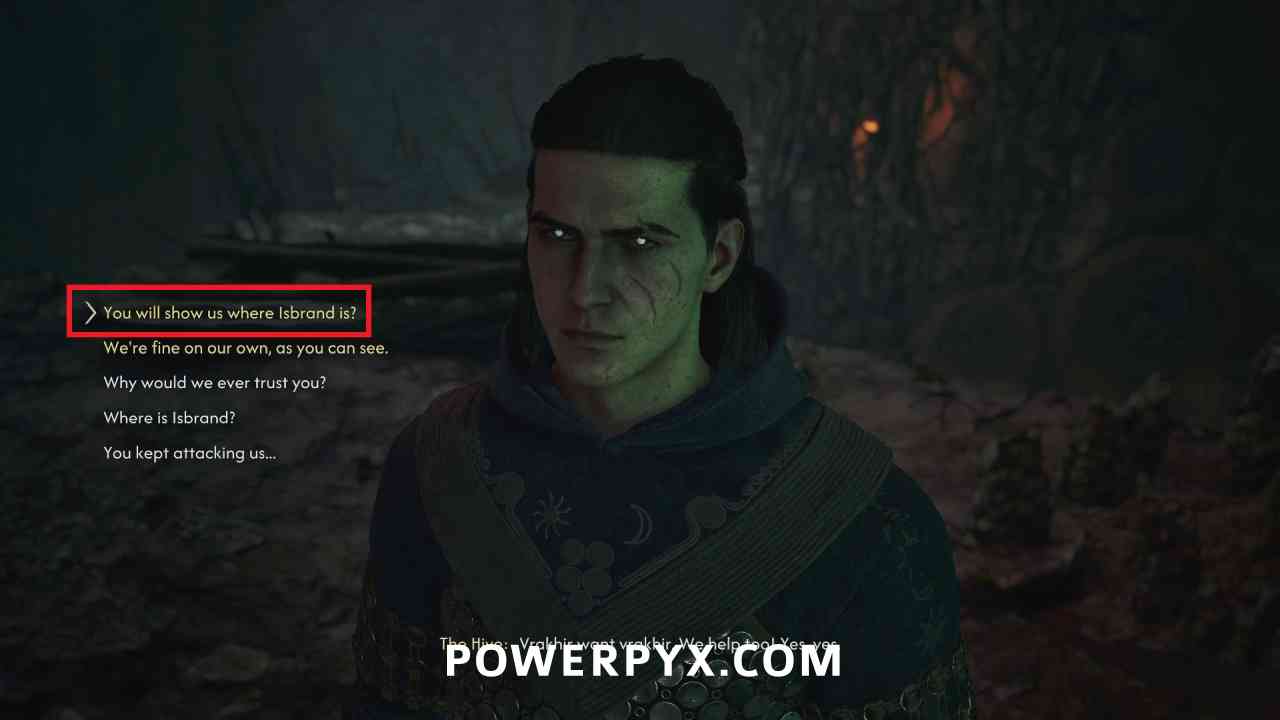
(Optional) Follow kobold guidance
A kobold will come out of hiding and start leading you through the tunnels in the next area. Follow along behind them down the left path.
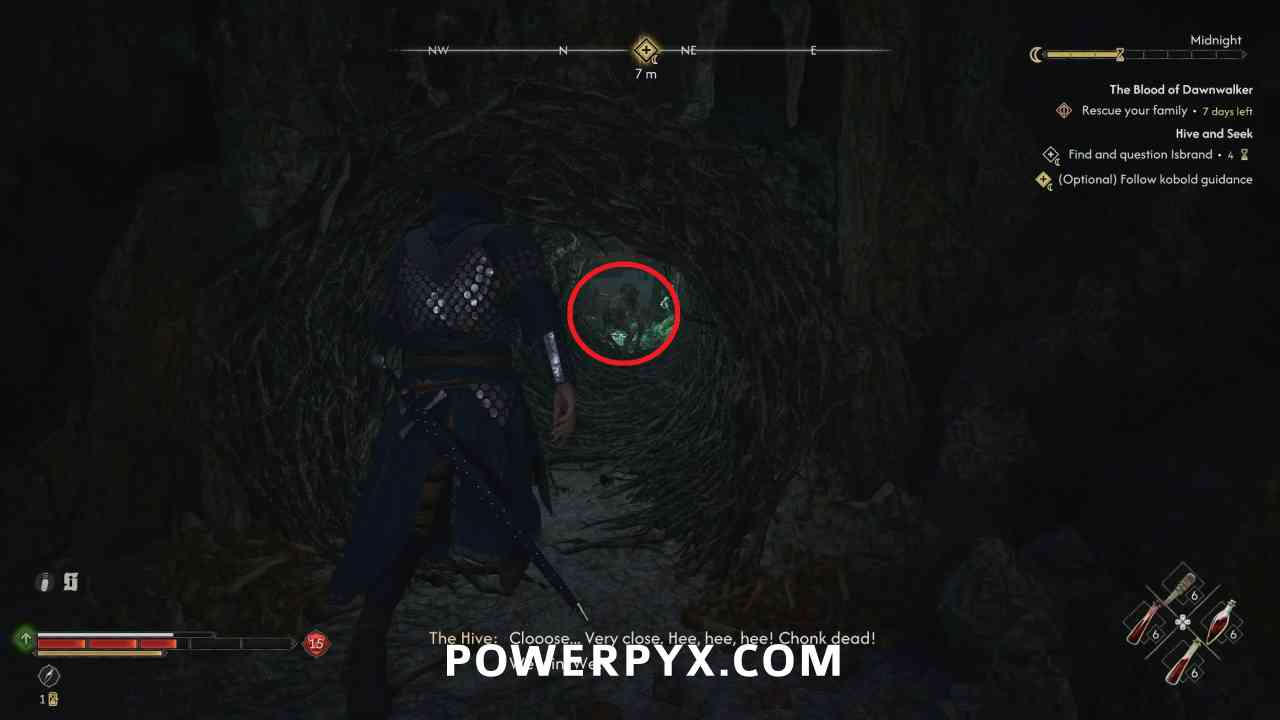
Defeat the corrupted kobolds
You will encounter another group of corrupted kobolds along the way, deal with them to continue.
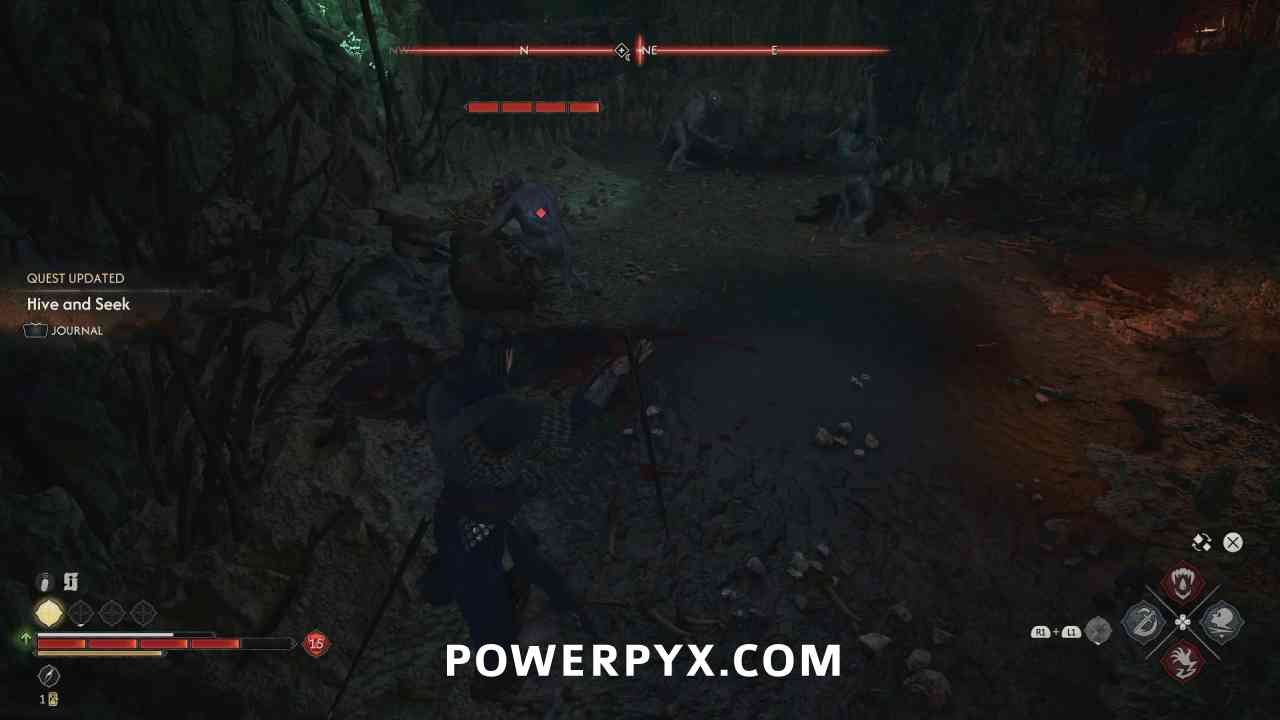
Ambush Chonk using the secret tunnel
Keep following behind the kobold leading you through the cave, and they will lead to you the opening above a room. Jump down to encounter another group of enemies, followed by the miniboss Chonk. Chonk is the same as the other corrupted kobolds, just bigger and with more health, so you can deal with them in the same way.
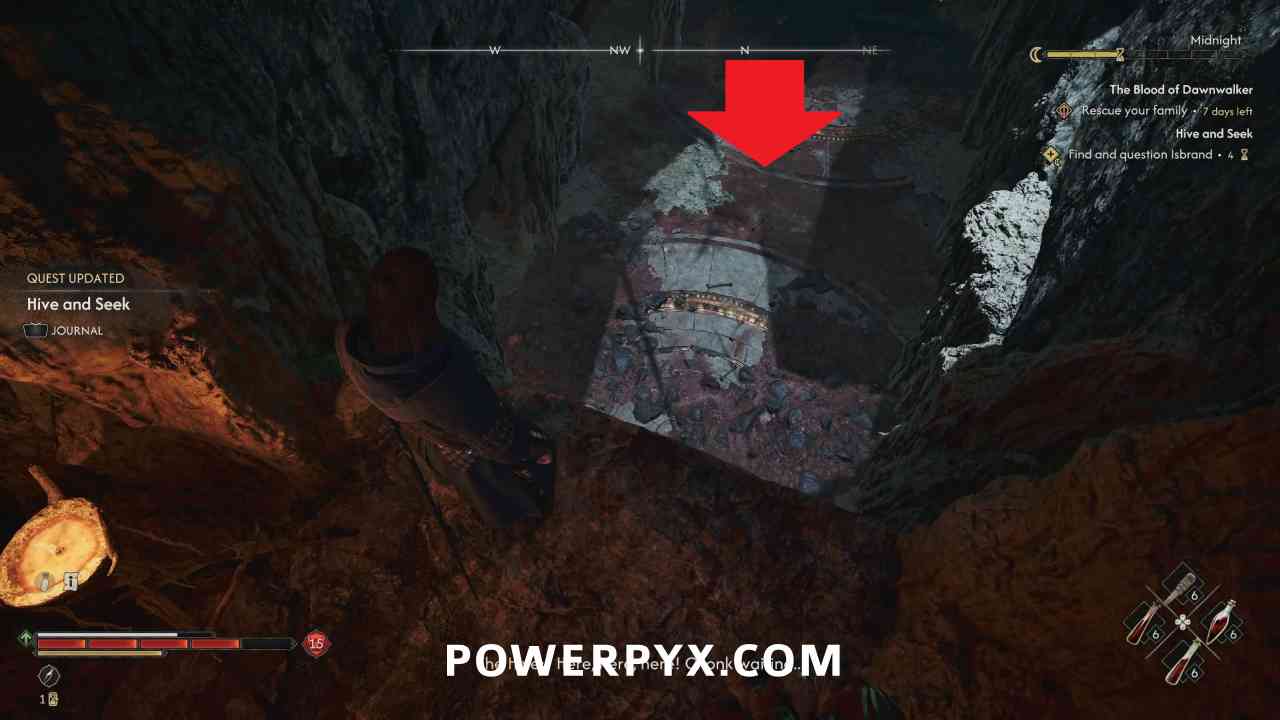
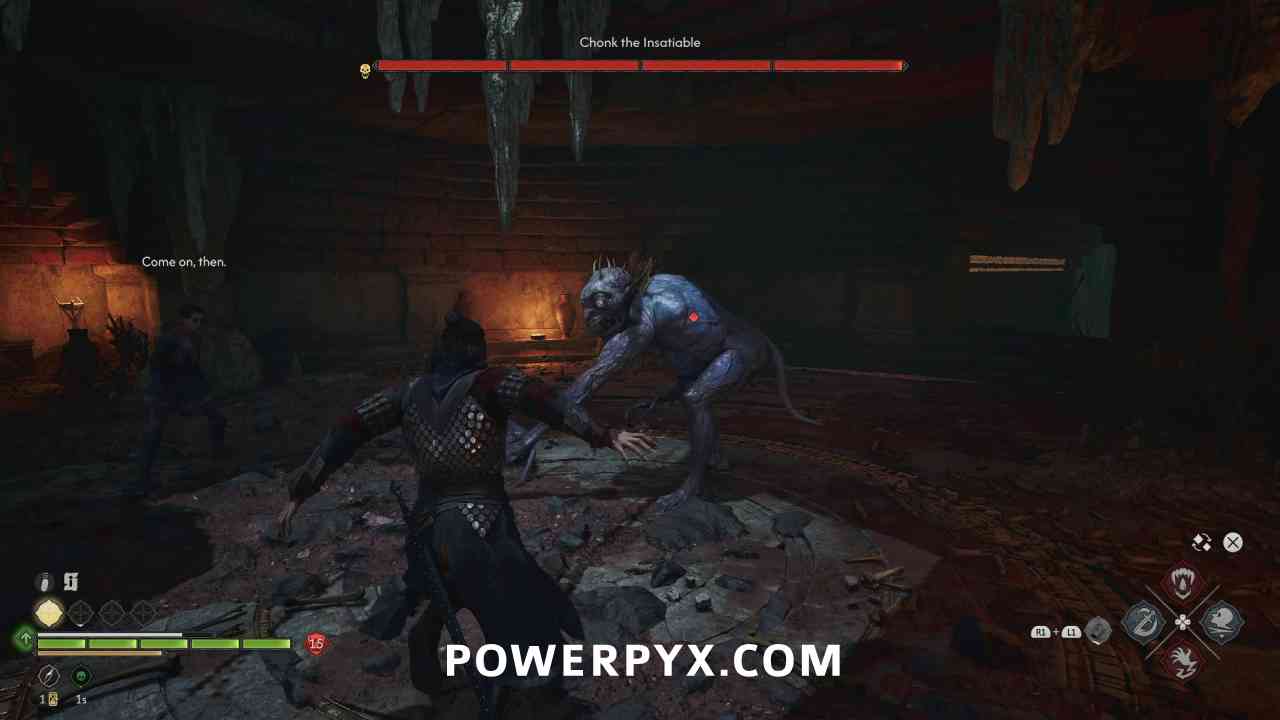
After the enemies are dead the kobolds will start acting like they want their turn eating Isbrand. They may try to attack you if you give the wrong options (or choose to have them attack you) but you can talk them out of it by choosing the options “Calm down and think for a moment.” > “You can’t all eat at once.” > “You will lose your bond if you eat it.”
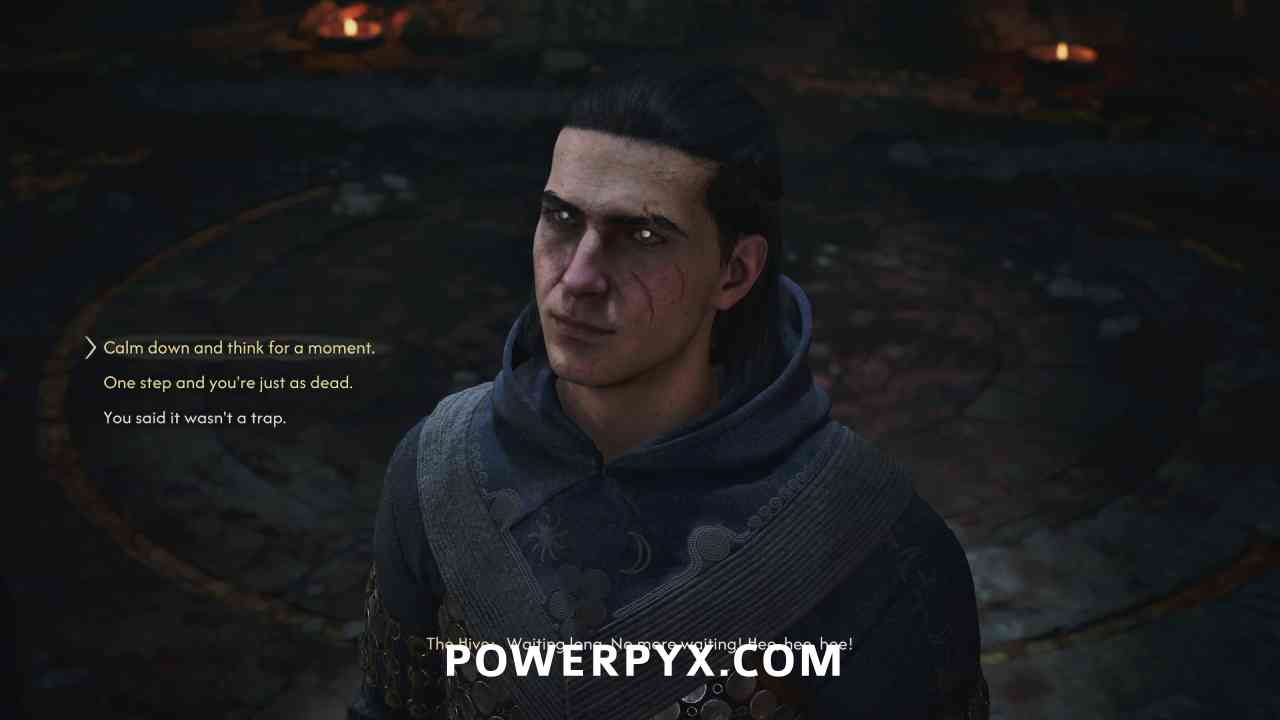
Talk to Isbrand
Before interacting with Isbrand, you can loot the chest on the right side of the room to obtain the Legendary Medium Chestpiece Isbrand’s Plate.
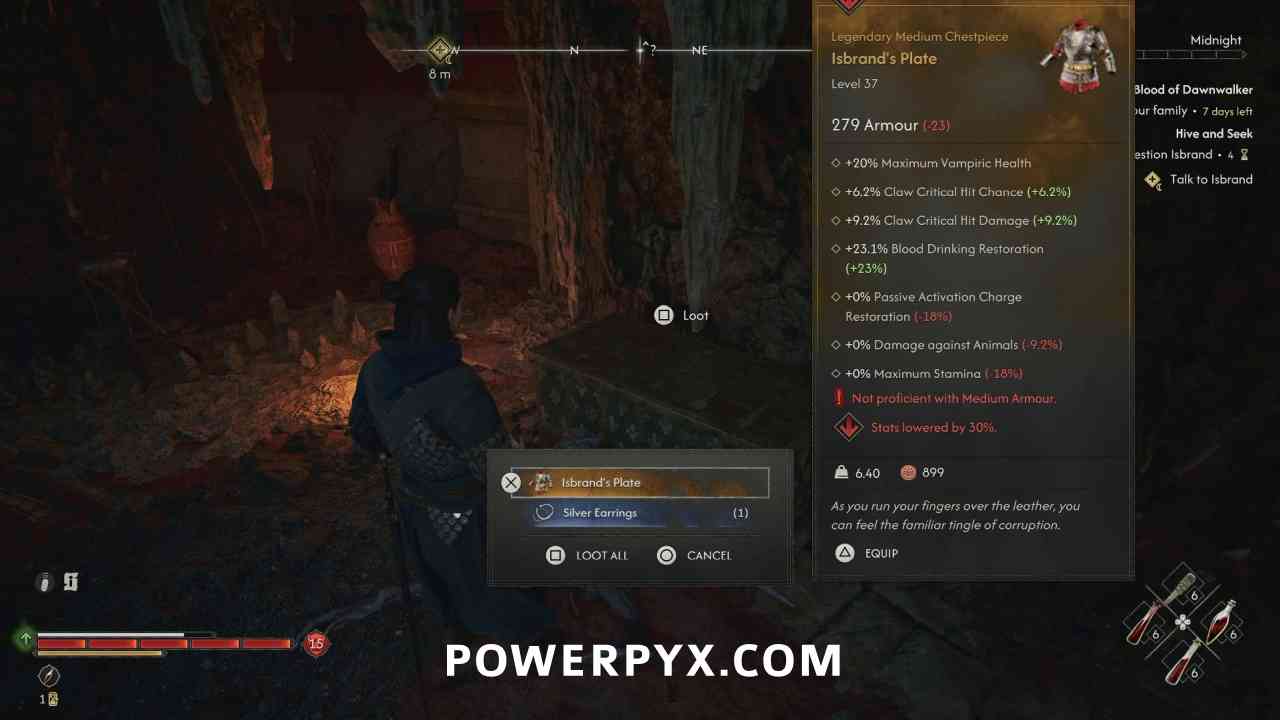
You can then interact with Isbrand hanging on the wall. After confirming with Lacra you’ll automatically move to a new area, completing the quest.
This finishes Hive and Seek side quest in The Blood of Dawnwalker.
NEXT LACRA QUEST: Our Rotten Roots
For all other Quests refer to The Blood of Dawnwalker Walkthrough.
Leave a Reply