
Here you can find a full The Blood of Dawnwalker Walkthrough of all Main Quests and Side Quests.
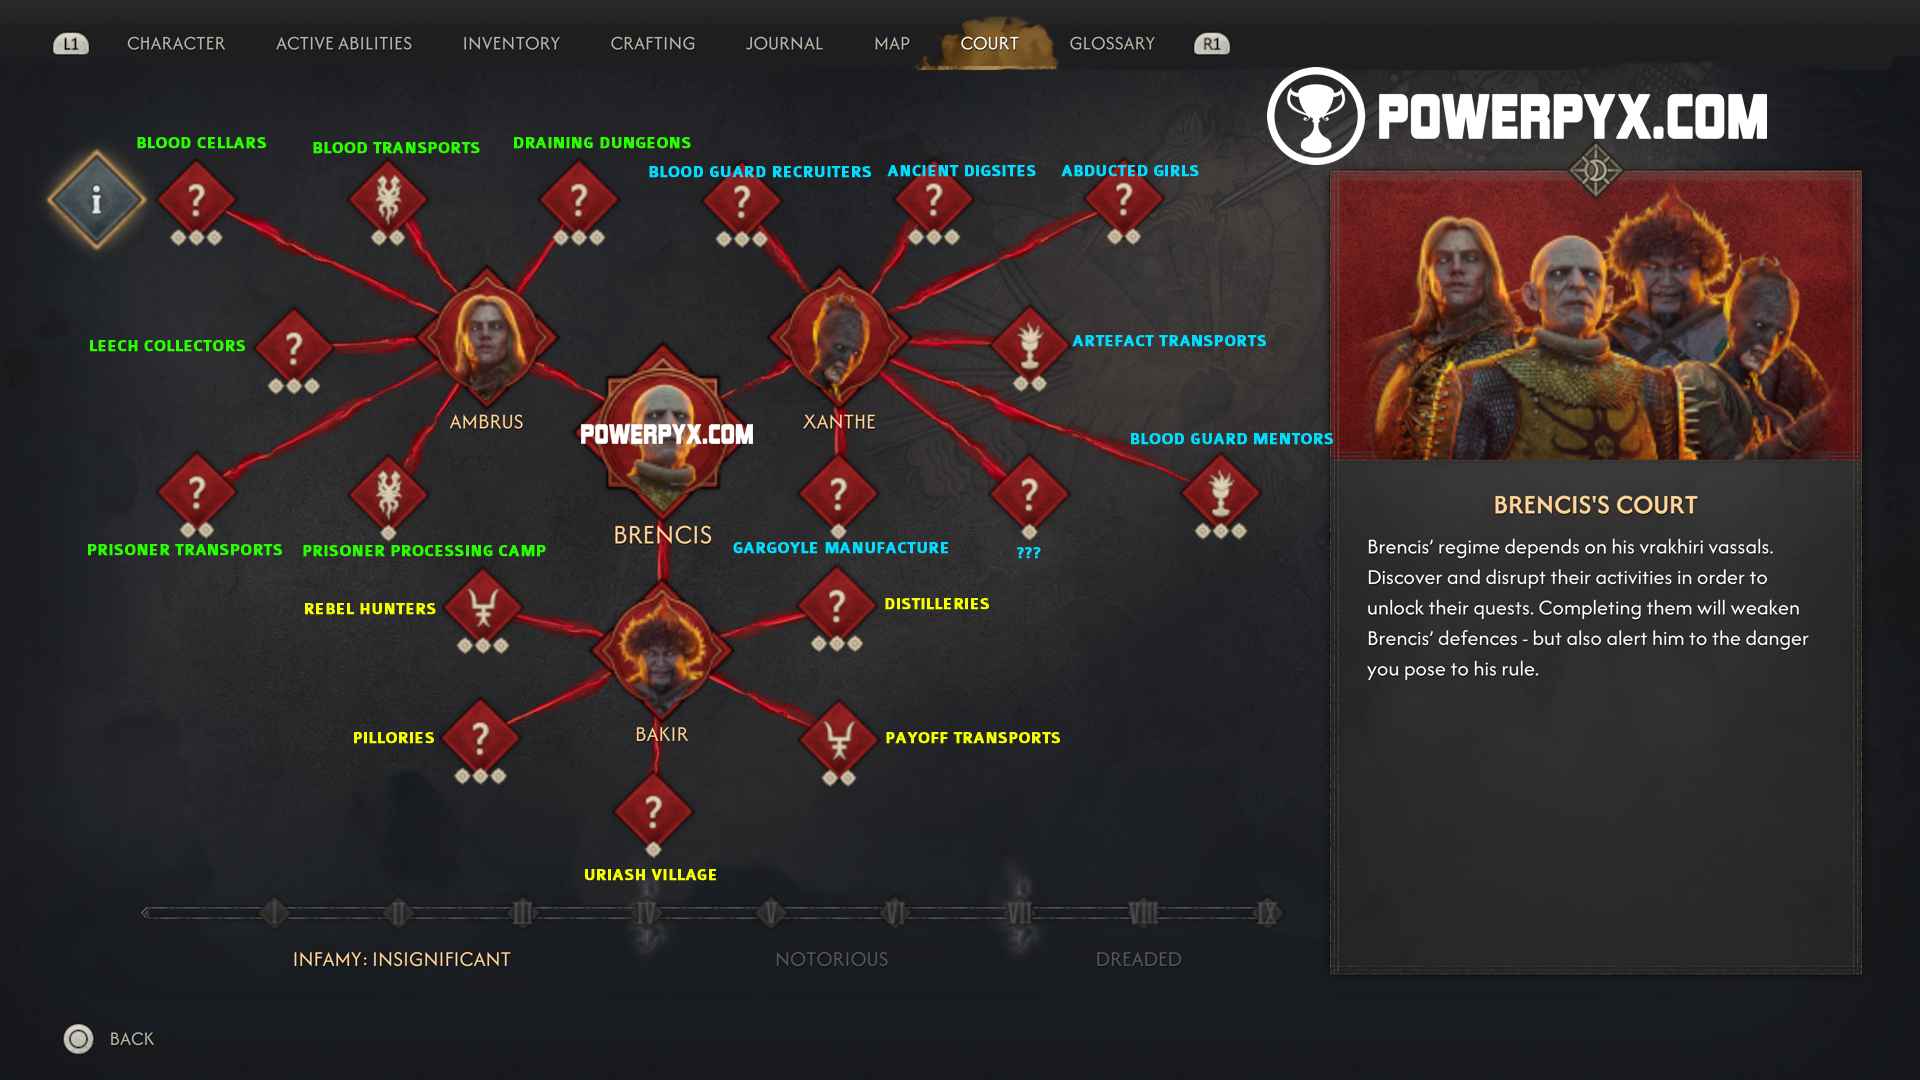
Below are links and locations to all of the Quests in The Blood of Dawnwalker. After the Prologue, you will reach the open world and can do the quests in any order. The story goal is to do the activities from the “Court” menu to anger the 3 vampiric vassals (Ambrus, Bakir, Xanthe). When you’ve caused enough chaos in their regions, you get a quest to challenge them to a duel. Defeat all 3 vampiric vassals to draw out the main boss Brencis, the vampire who abducted your family. You have 30 in-game days to complete the story and rescue your family from Brencis. It’s best to focus on the Court Activities, keep a save before the ending, then you can reload the save after the ending and clean up all side content from there.
Step 1: Prologue
The Prologue Quests are all timed and missable, they disappear after the Prologue. During the 2nd main quest Withering Away, craft the correct medicine for Esme (your mother) by using hot water and three spoonfuls of herbs. If you don’t complete this quest before time runs out, she will die.
Prologue Main Quests:
- All Good Things
- Withering Away > Page-Turner
- Like Father, Like Son
- Sacred Covenant
- Bad Blood
- Smoke and Ashes
Prologue Side Quests:
- Live Bait
- Someone Needs A Lesson
- Dead Drop
- Disturbed
- Deep Down
- Enter Not
- Blasphemy
- On the Run
- If a Tree Falls in a Forest…
- Bandits’s Treasure Map: Laslea Glen
Step 2: Court Activities & 3 Main Bosses
After the Prologue you unlock the Court Activities menu. You must do the Court Activities to increase the Anger Level of each Boss. When they reach maximum Anger you get their boss fight quest. The game doesn’t tell you where to go or what the Court Activities are. Refer to the below steps for their locations. You can complete these in any order, they are all available immediately after the Prologue. The Court Activities are short and simple activities where you just clear out a group of enemies. They advance time by a little. If you are playing on higher difficulties it’s best to visit the  11 Towers first to mark all activities on the map with white question marks (“?” icons). Importantly, you should buy the skills Shapeshift (Vampirism) & Mercurial Fervor (Witchcraft) immediately, these allow you to run around the world faster. Also remember you are stronger at night when fighting with your claws instead of sword, and the world is easier to navigate at night because you can use Shadowstep to climb up walls and buildings.
All quests and side activities remain available permanently after the prologue until you start them. Once started, some will have time-sensitive objectives that fail after a while, but as long as you don’t start the quests you can still do them at any time. Time-sensitive objectives will have a “blue clock” icon in the journal, anything exclusive to day will have a “sun icon”, and anything exclusive to night will have a “moon” icon. You have 30 days total to defeat the 3 main bosses and rescue your family. Time doesn’t advance on its own, instead it’s spent like a currency on completing quests and certain dialogue choices. If you focus on just the court activities you can finish the story in 7-10 days so there is more than enough time to do side quests.
The recommended boss order is Ambrus> Bakir > Xanthe because of their level ranges. Avoid killing non-hostile NPCs or quest givers so that you don’t lock yourself out of content. As a precaution you should make a manual save in a different slot every few quests, the game supports 54 Manual Save Slots. Also keep a save after defeating all 3 main bosses, at that point you can still set up all endings, then after doing one ending reload this save to do the other endings.
Quick Select:
Step 3: Ambrus (Level 1+)
Blood Transports
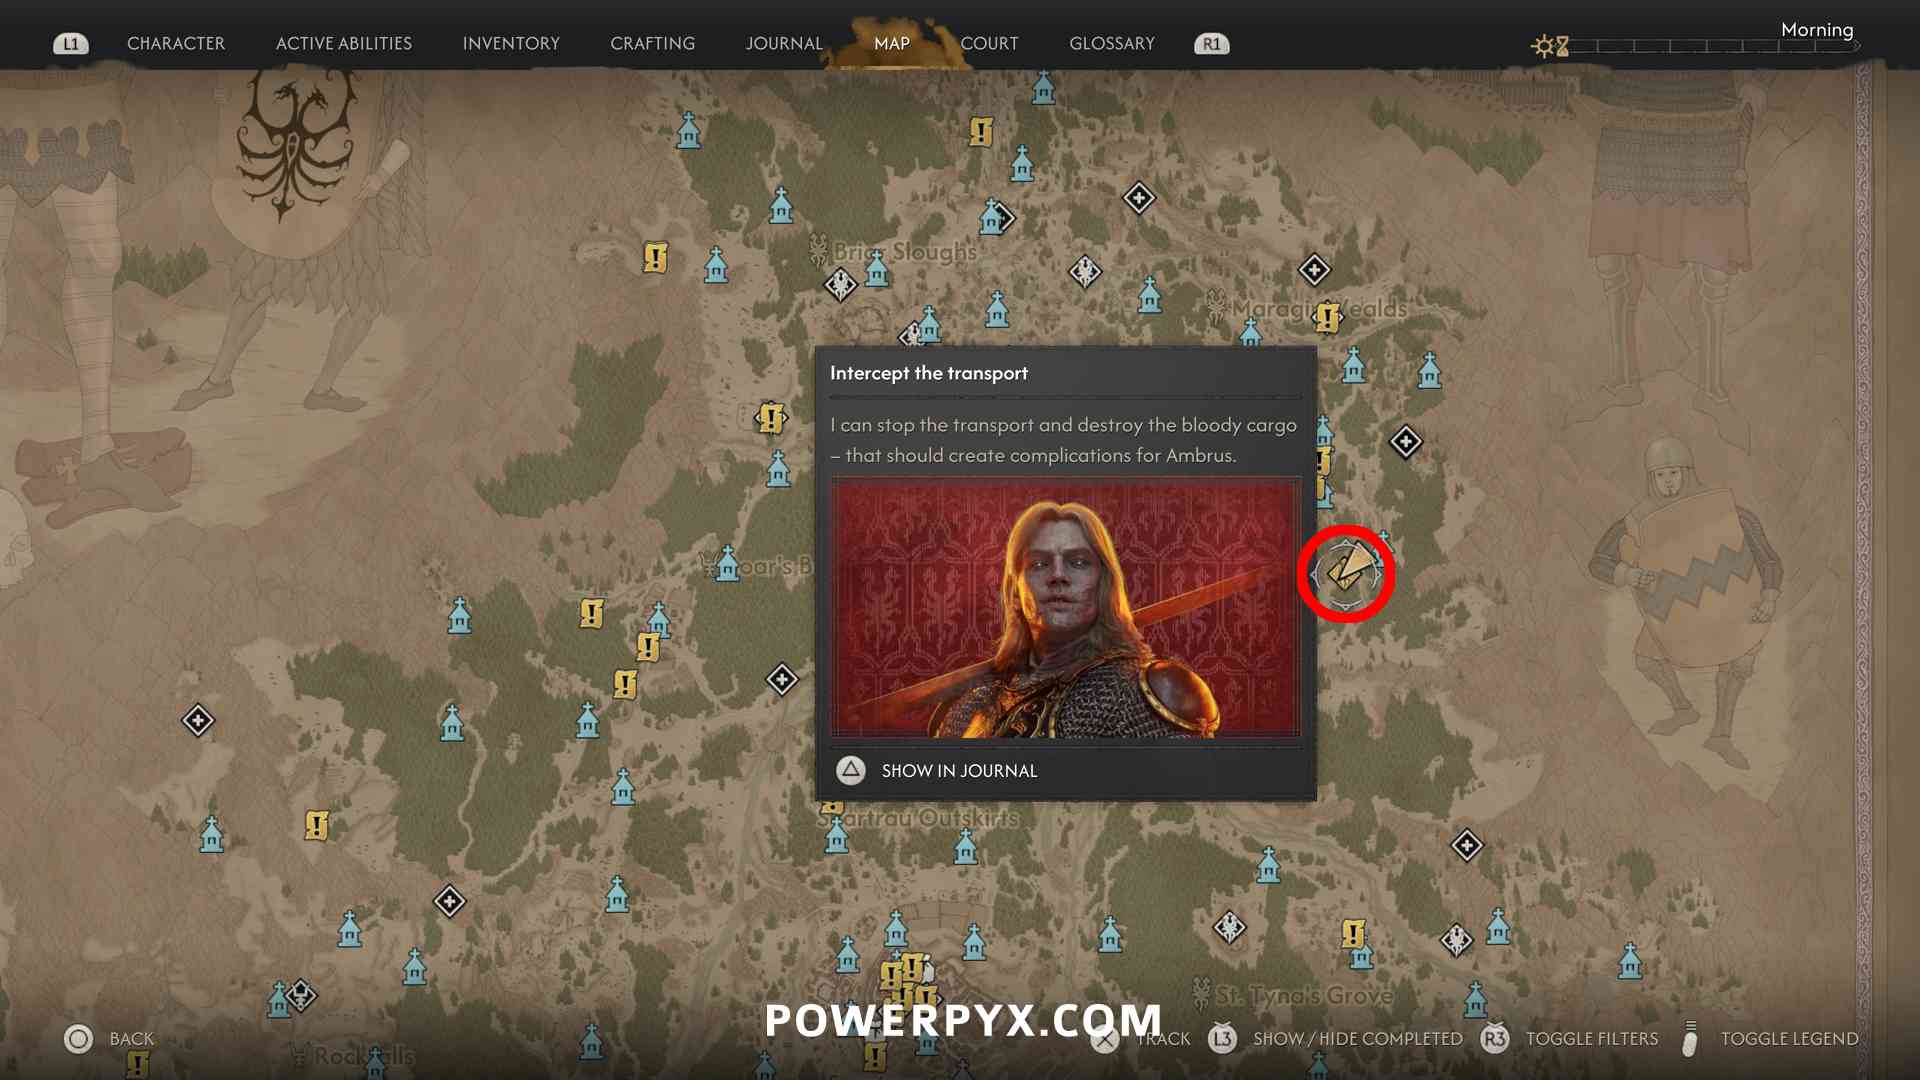
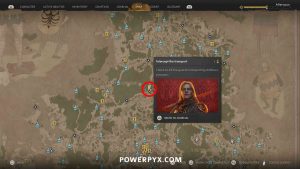
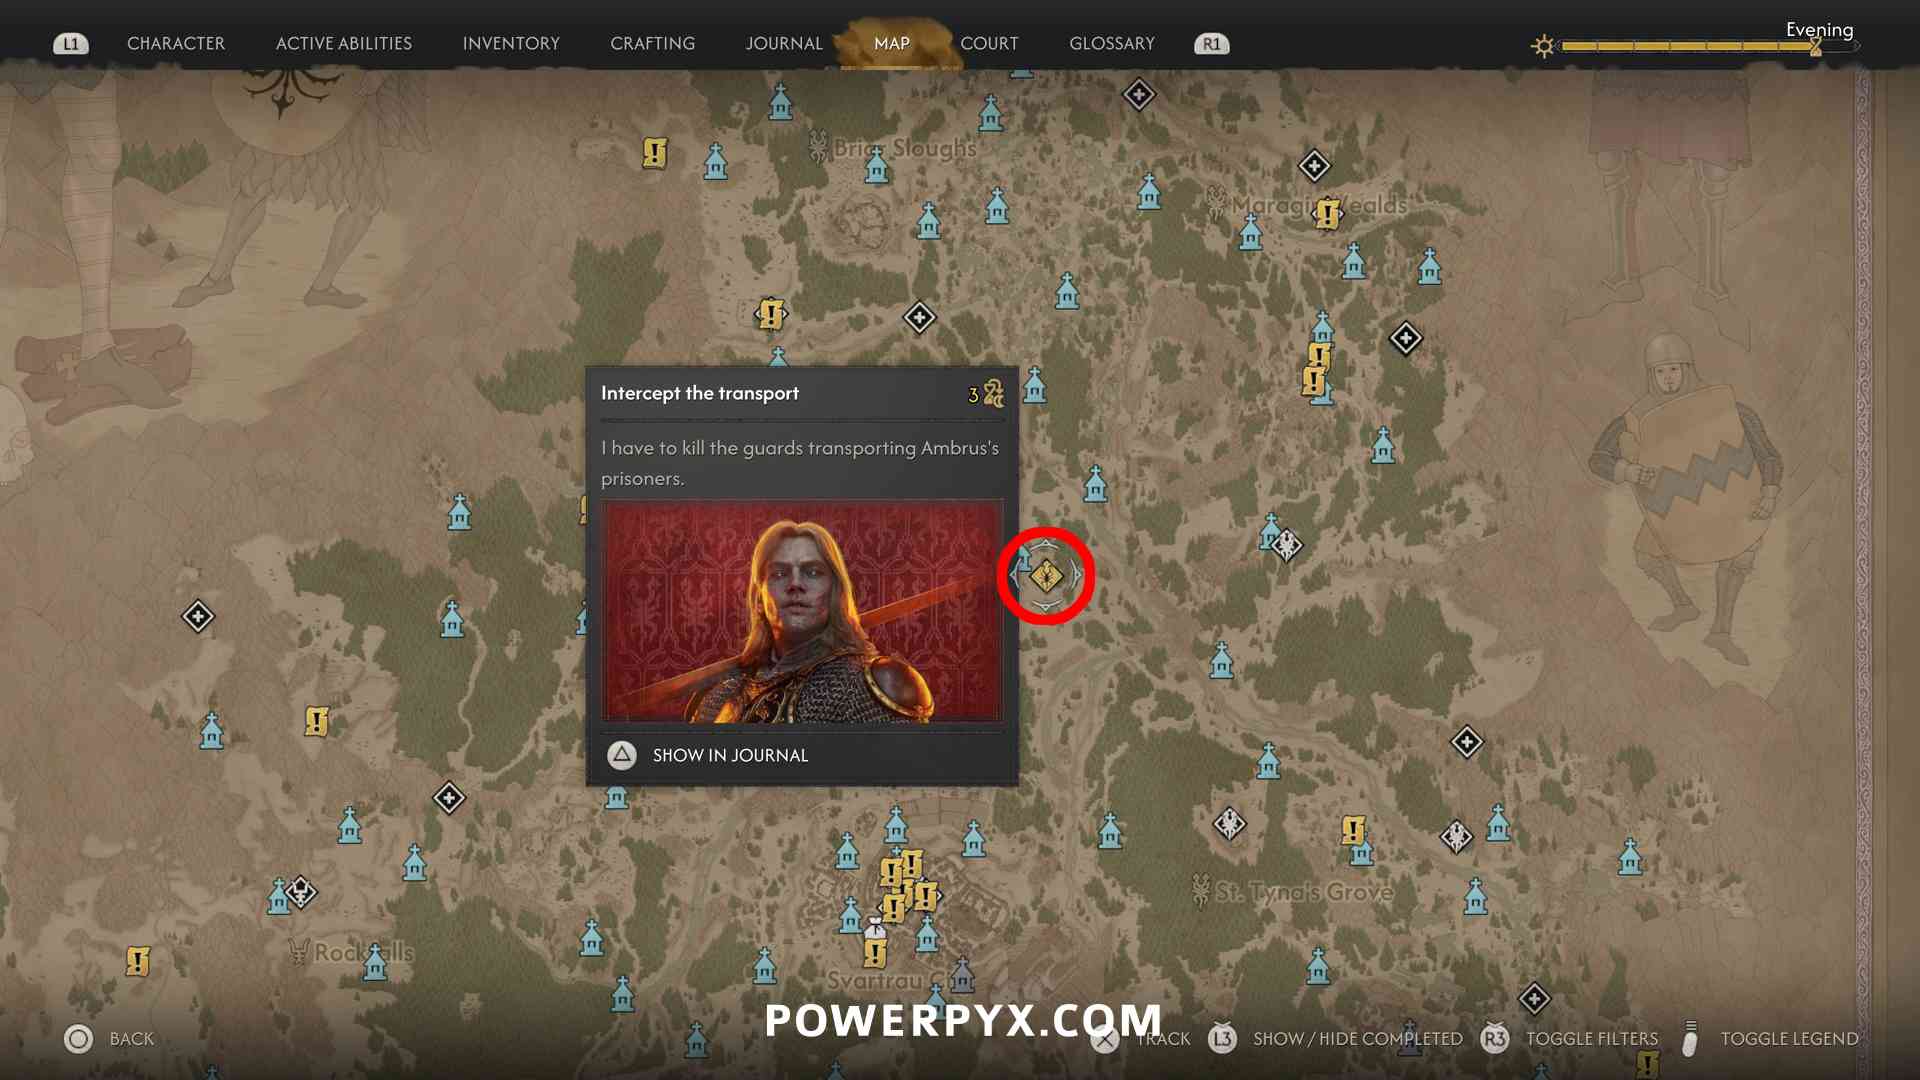
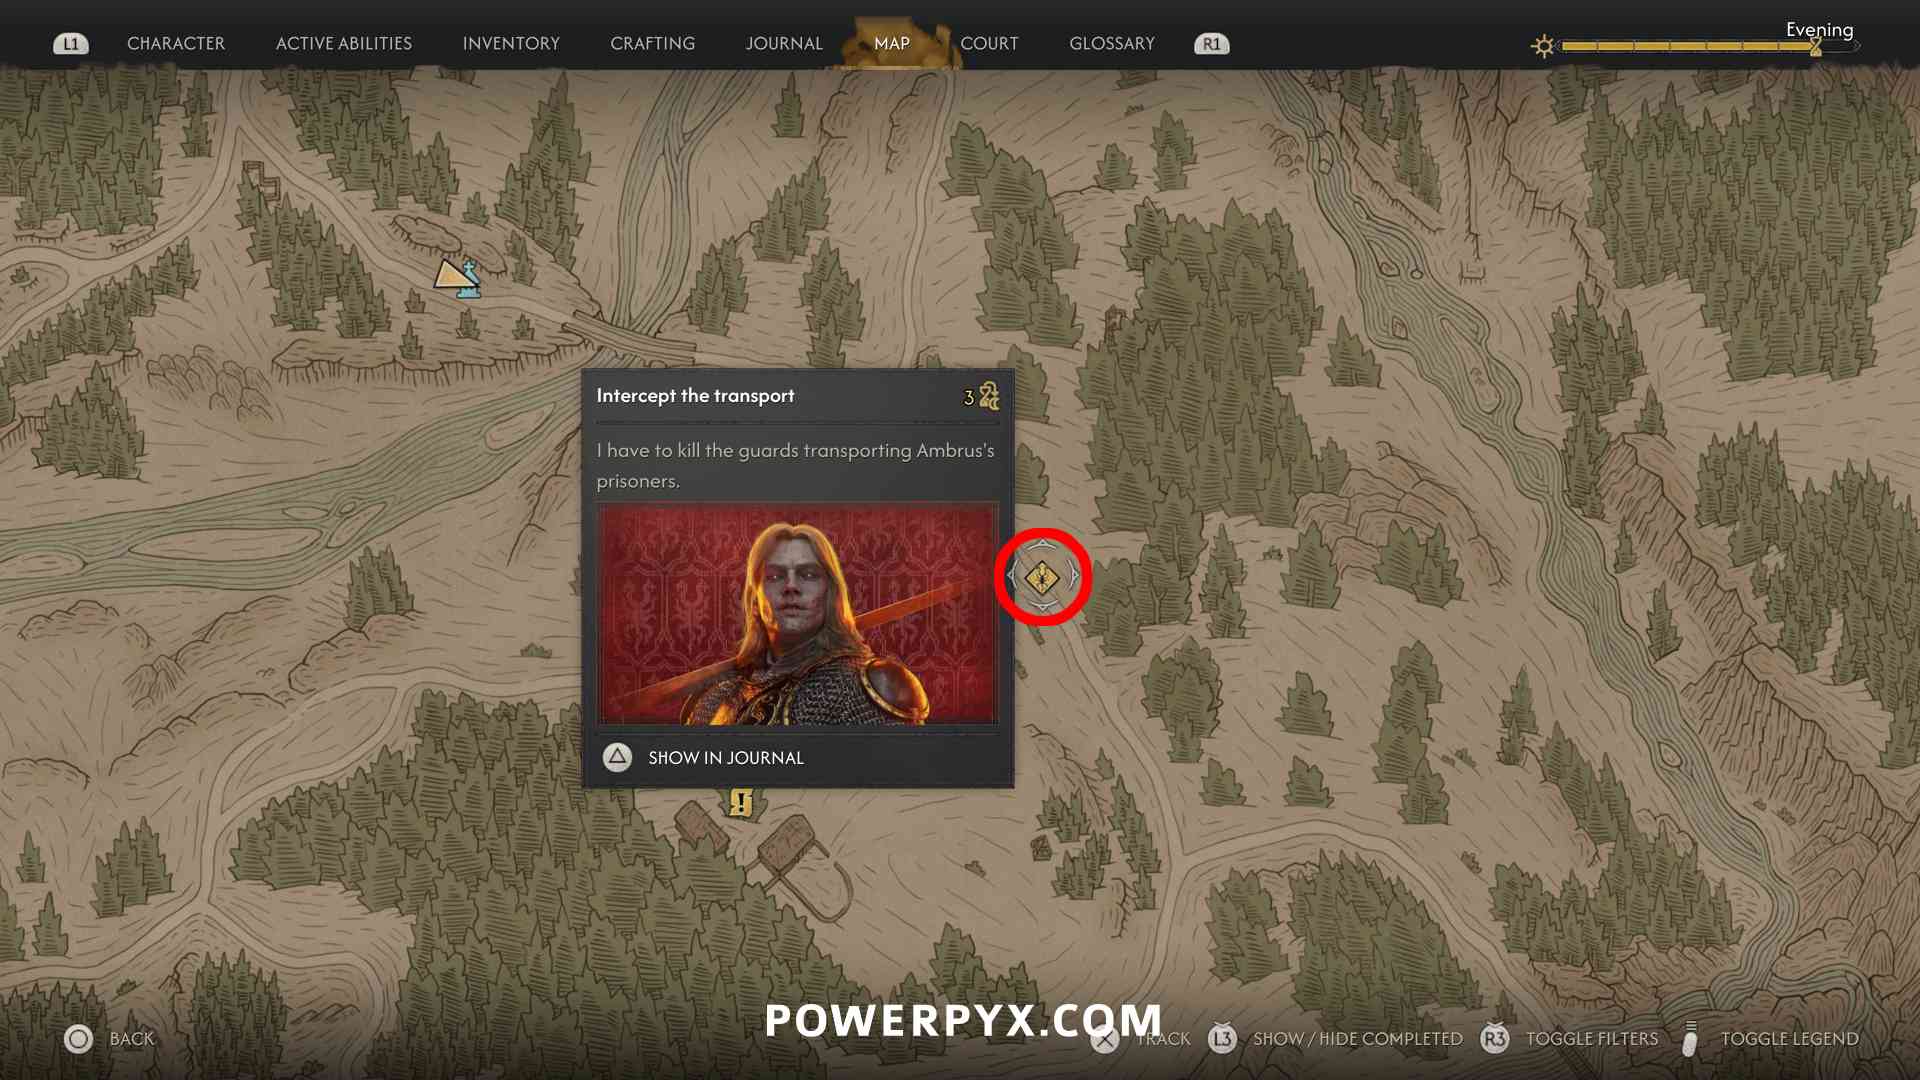
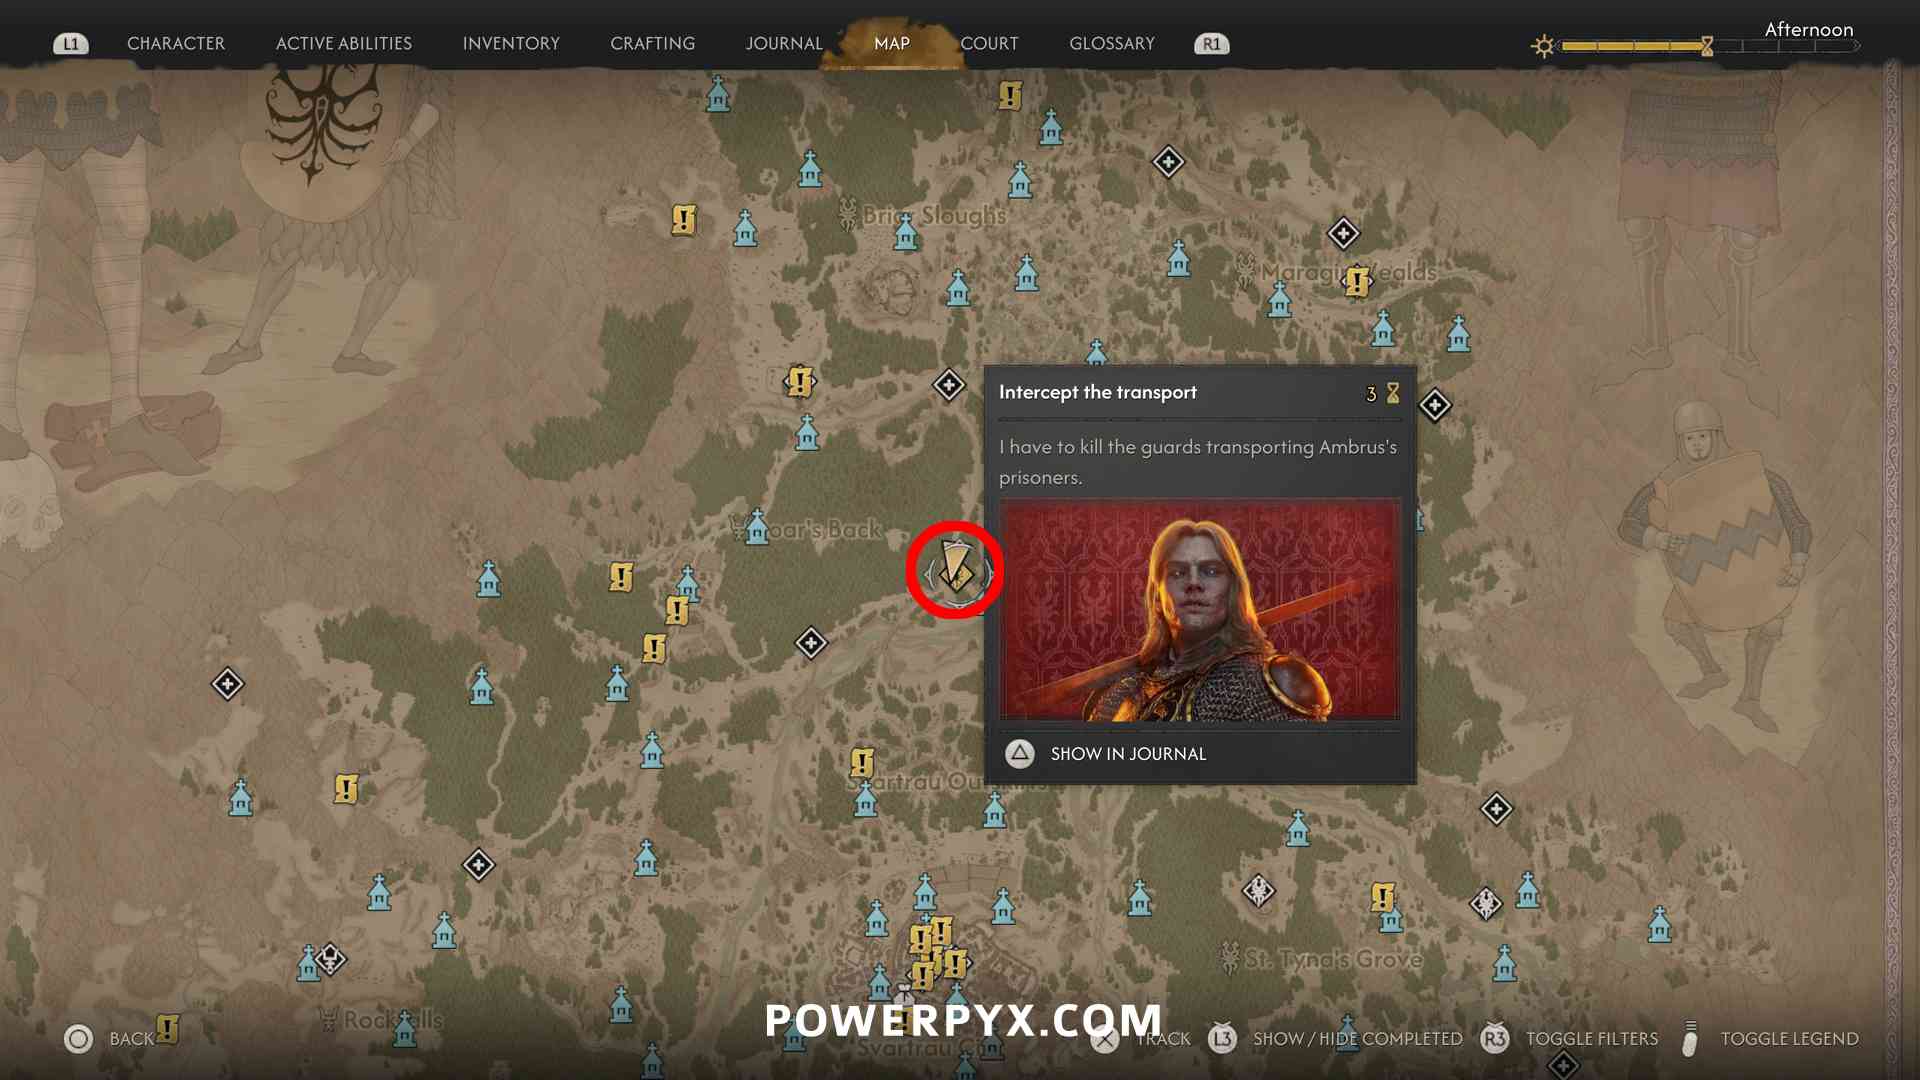
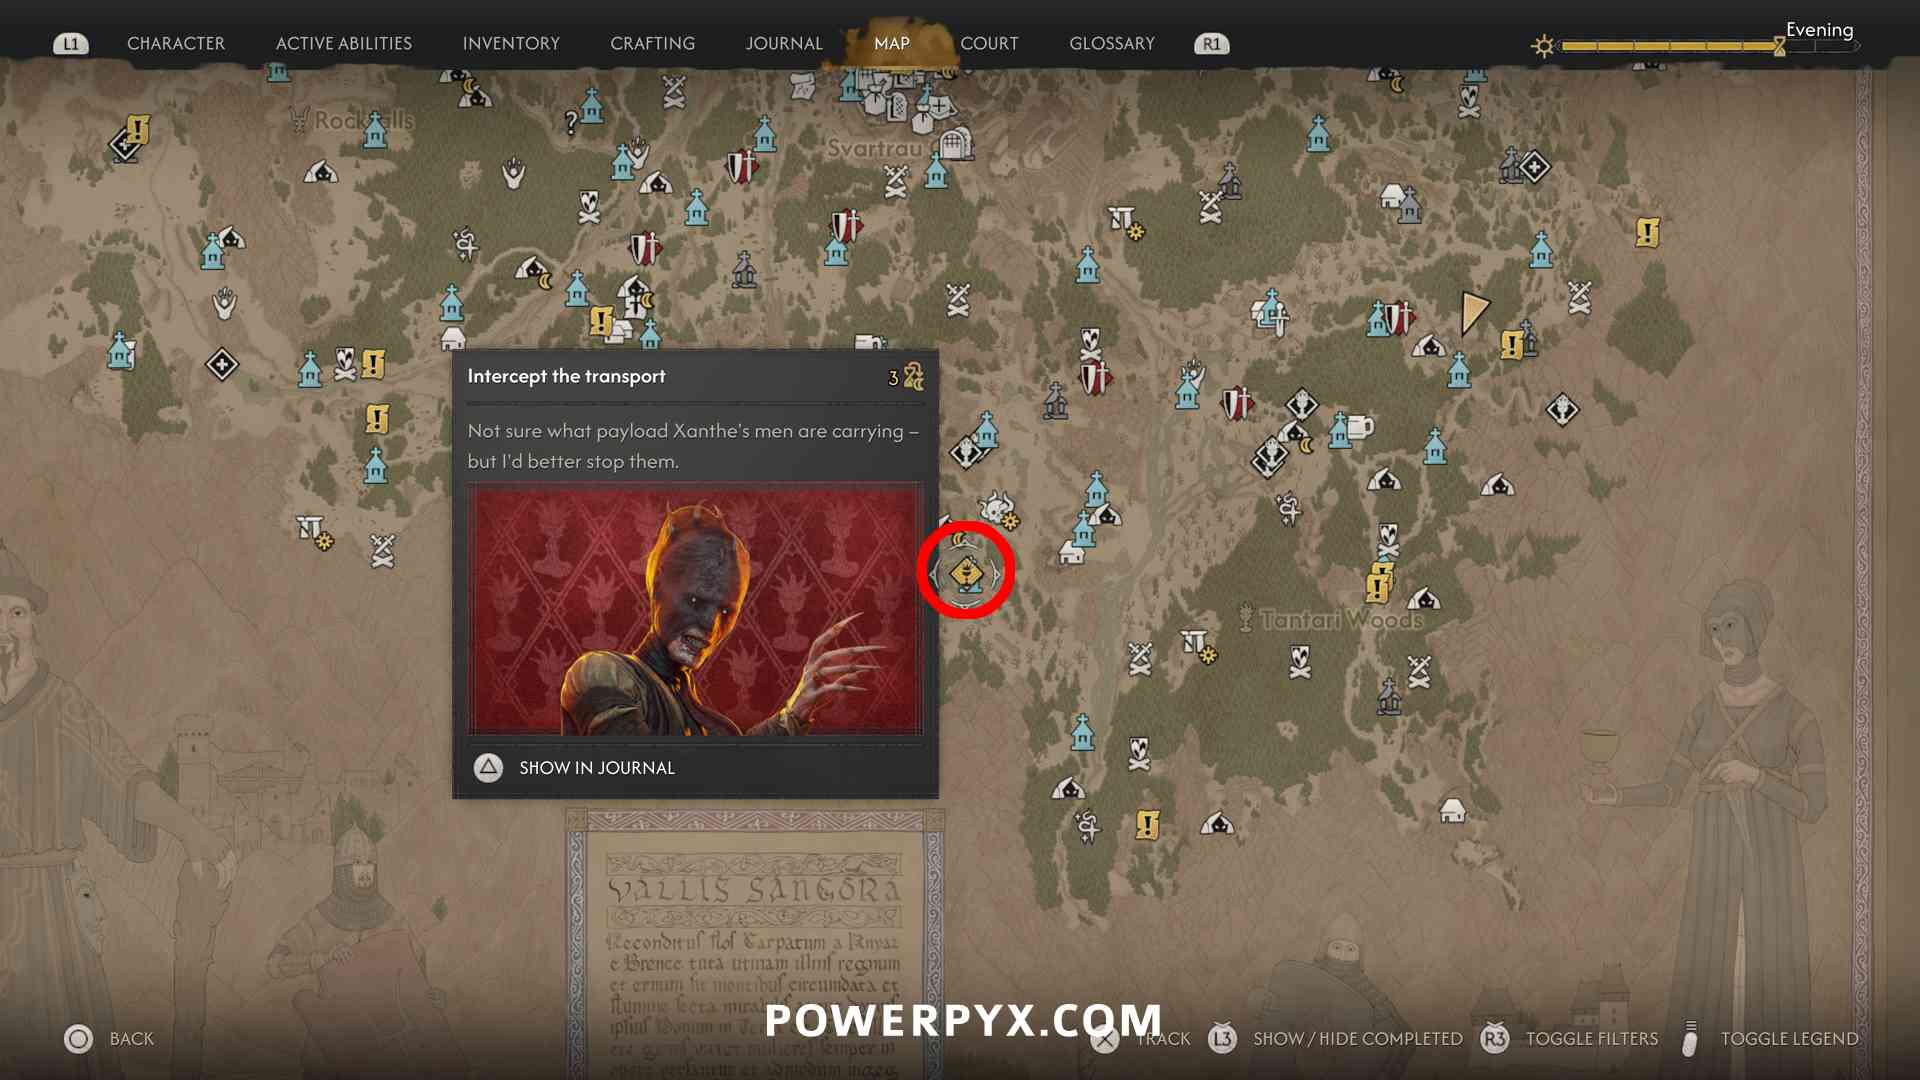
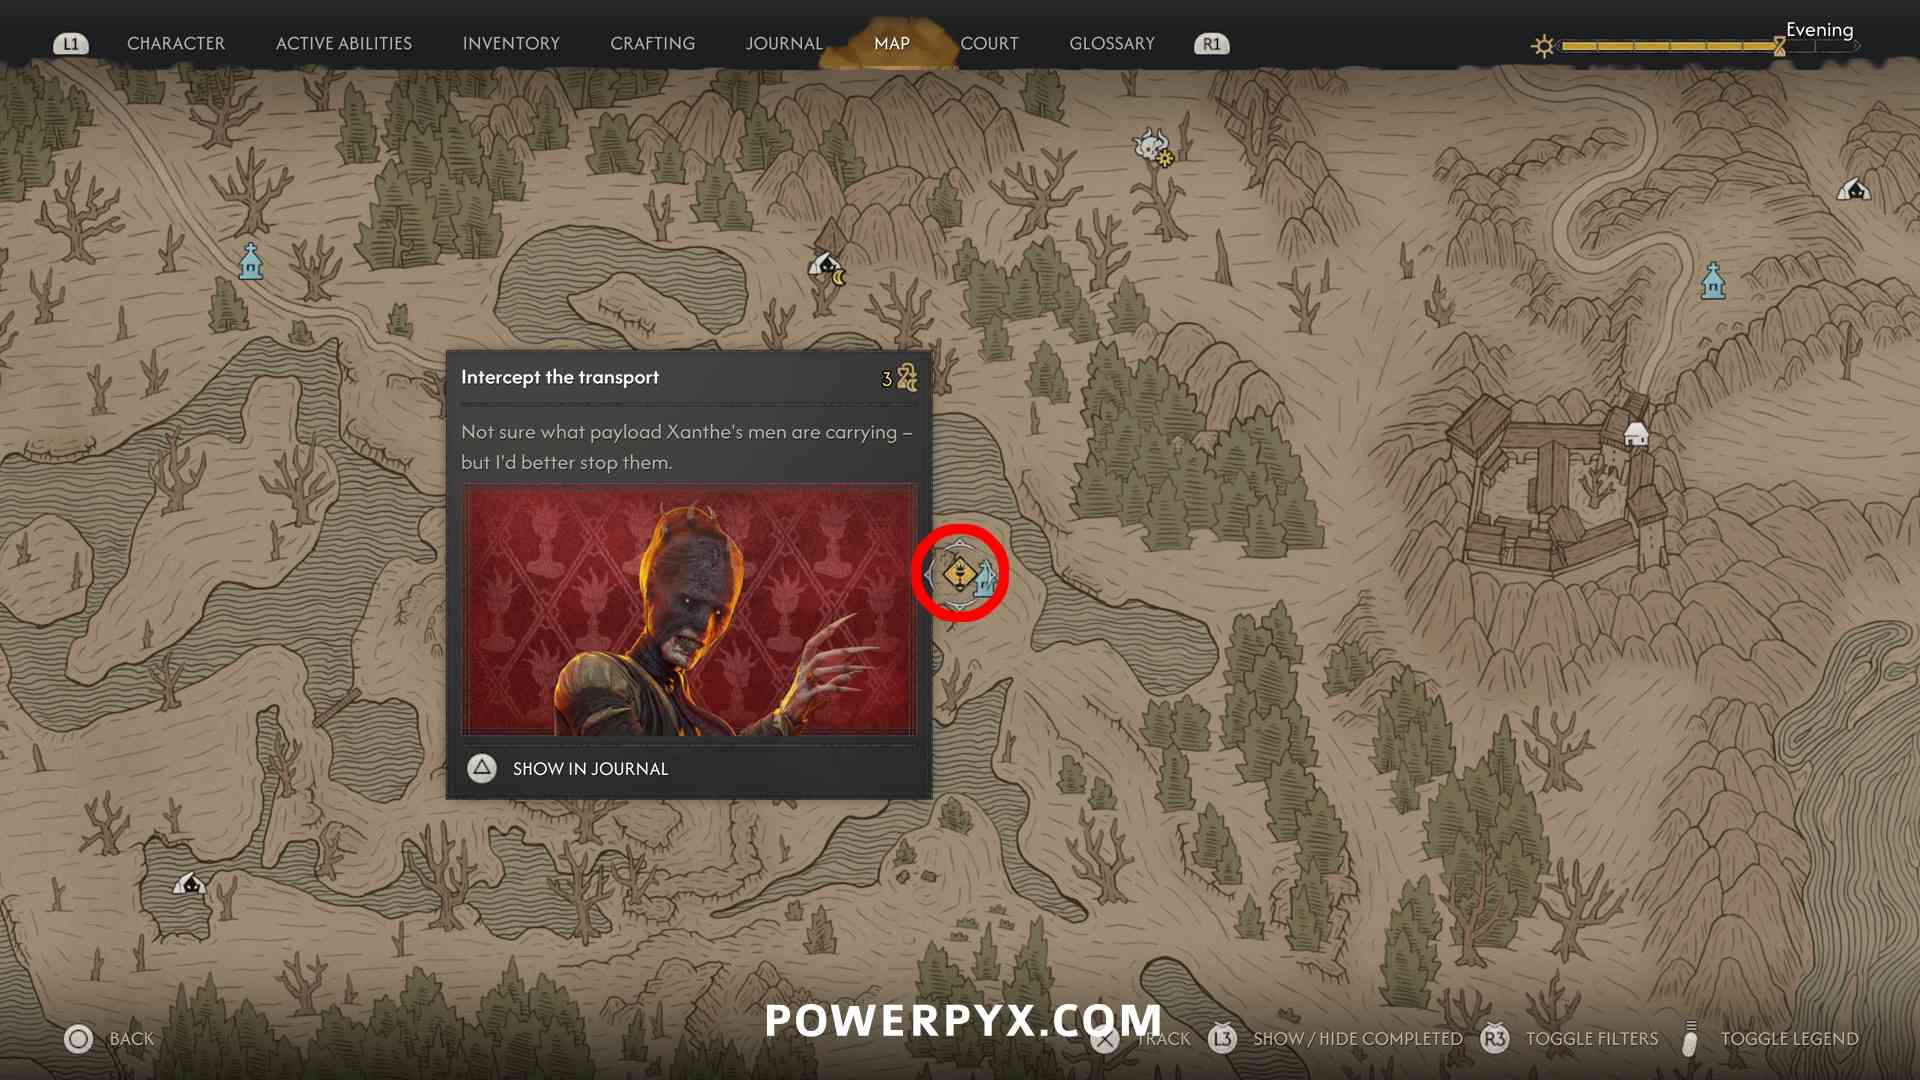
- Ambrus’s Transports: Bloody Business – Intercept the transport (defeat the enemies and loot the leader’s body for a text note) (3 time segments)

- Ambrus’s Transports: Roadside Surprise – Defeat the guards (defeat the enemies and interact with the barrels to destroy them) (3 time segments)


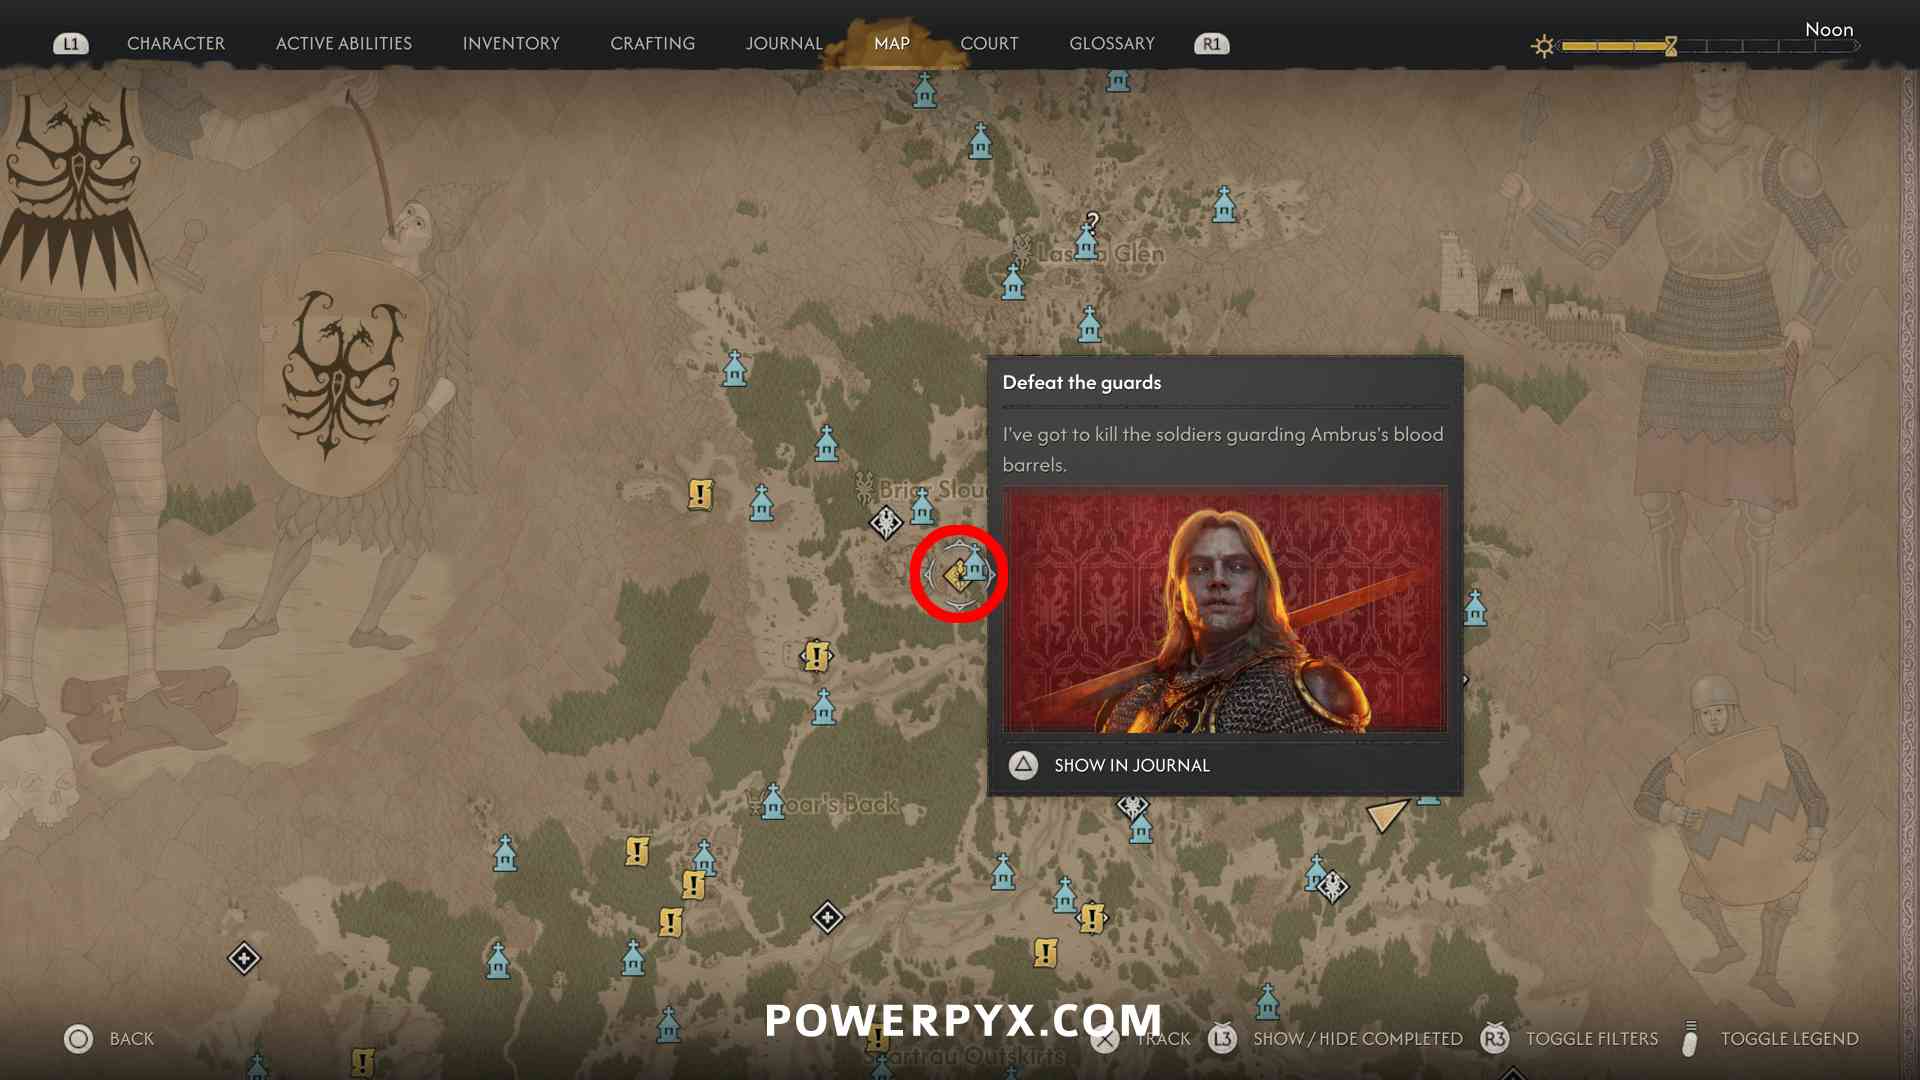
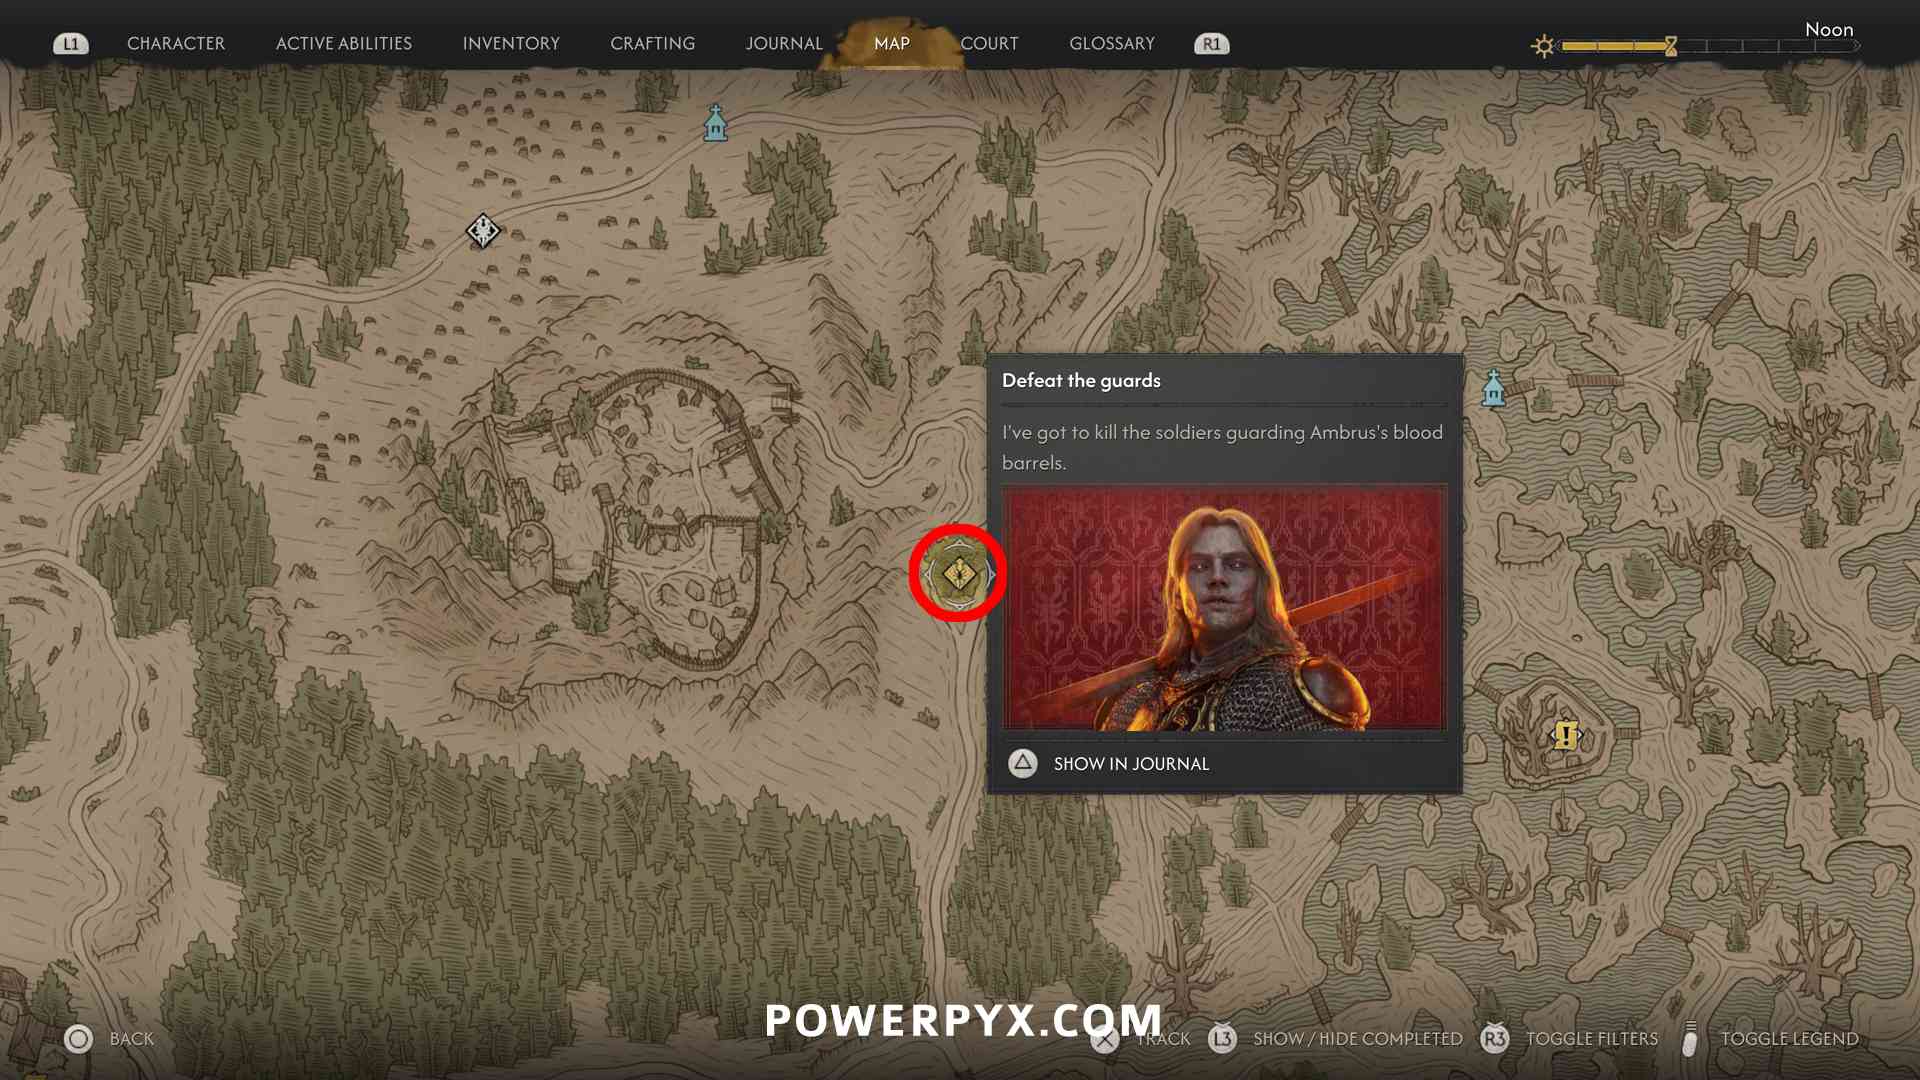
Prisoner Processing Camp
- Prisoner Processing Camp: Under Watchful Eyes – defeat the enemies in the camp and rescue the Miller from the prison cell, this also counts as side quest “The Firebrand” (3 time segments).

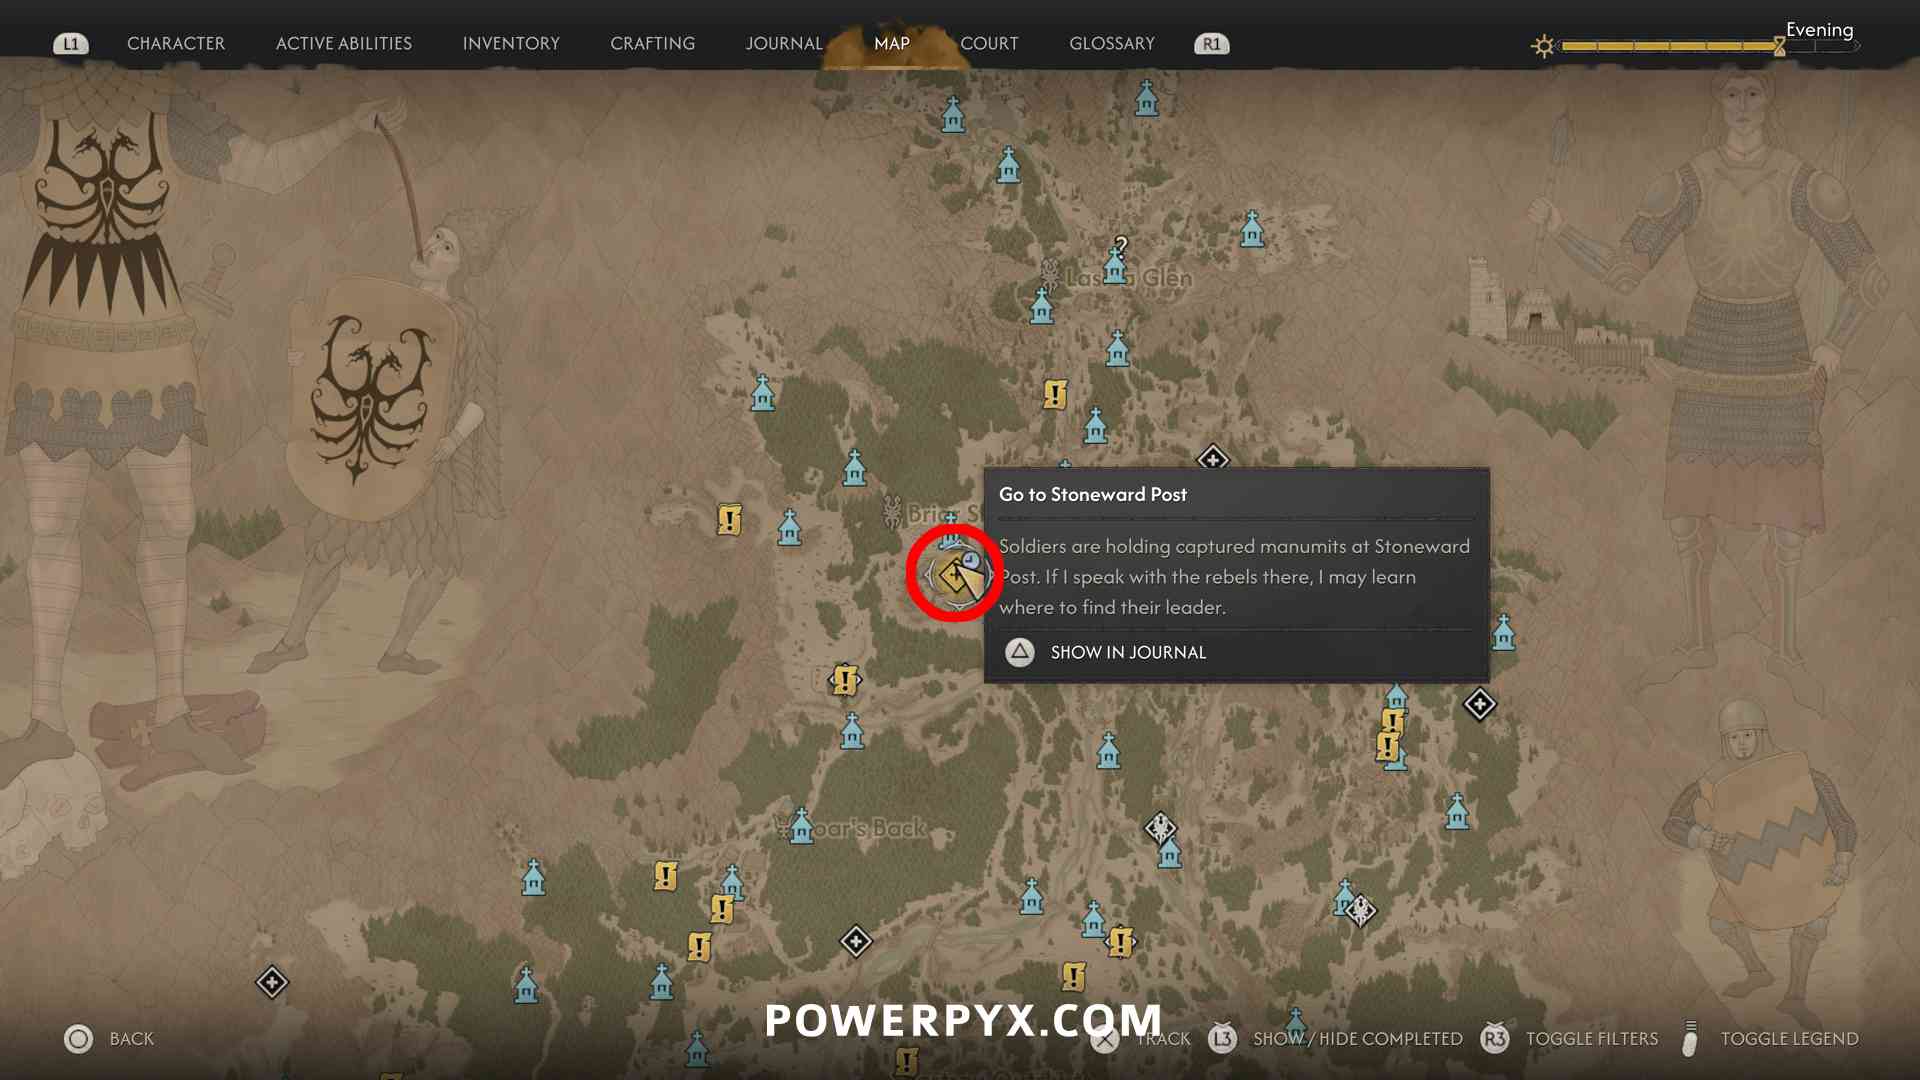
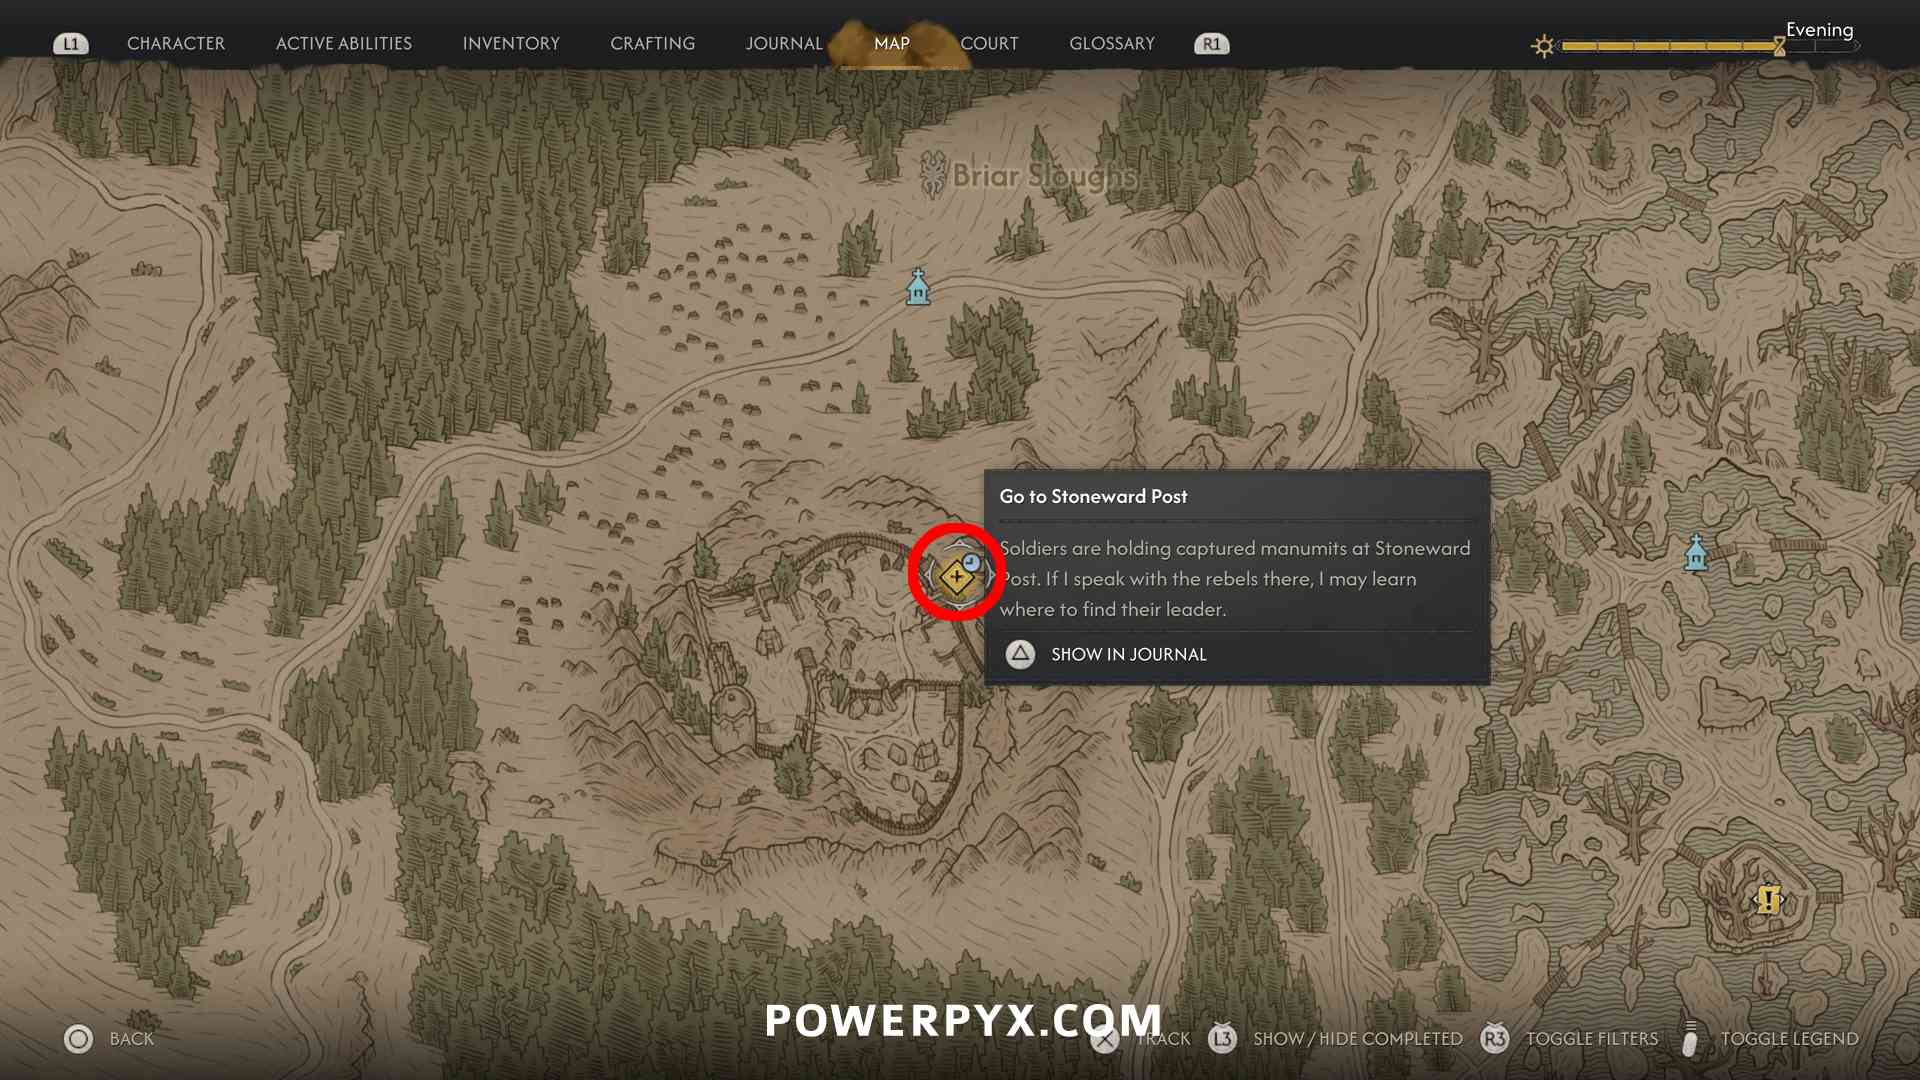
Leech Collectors
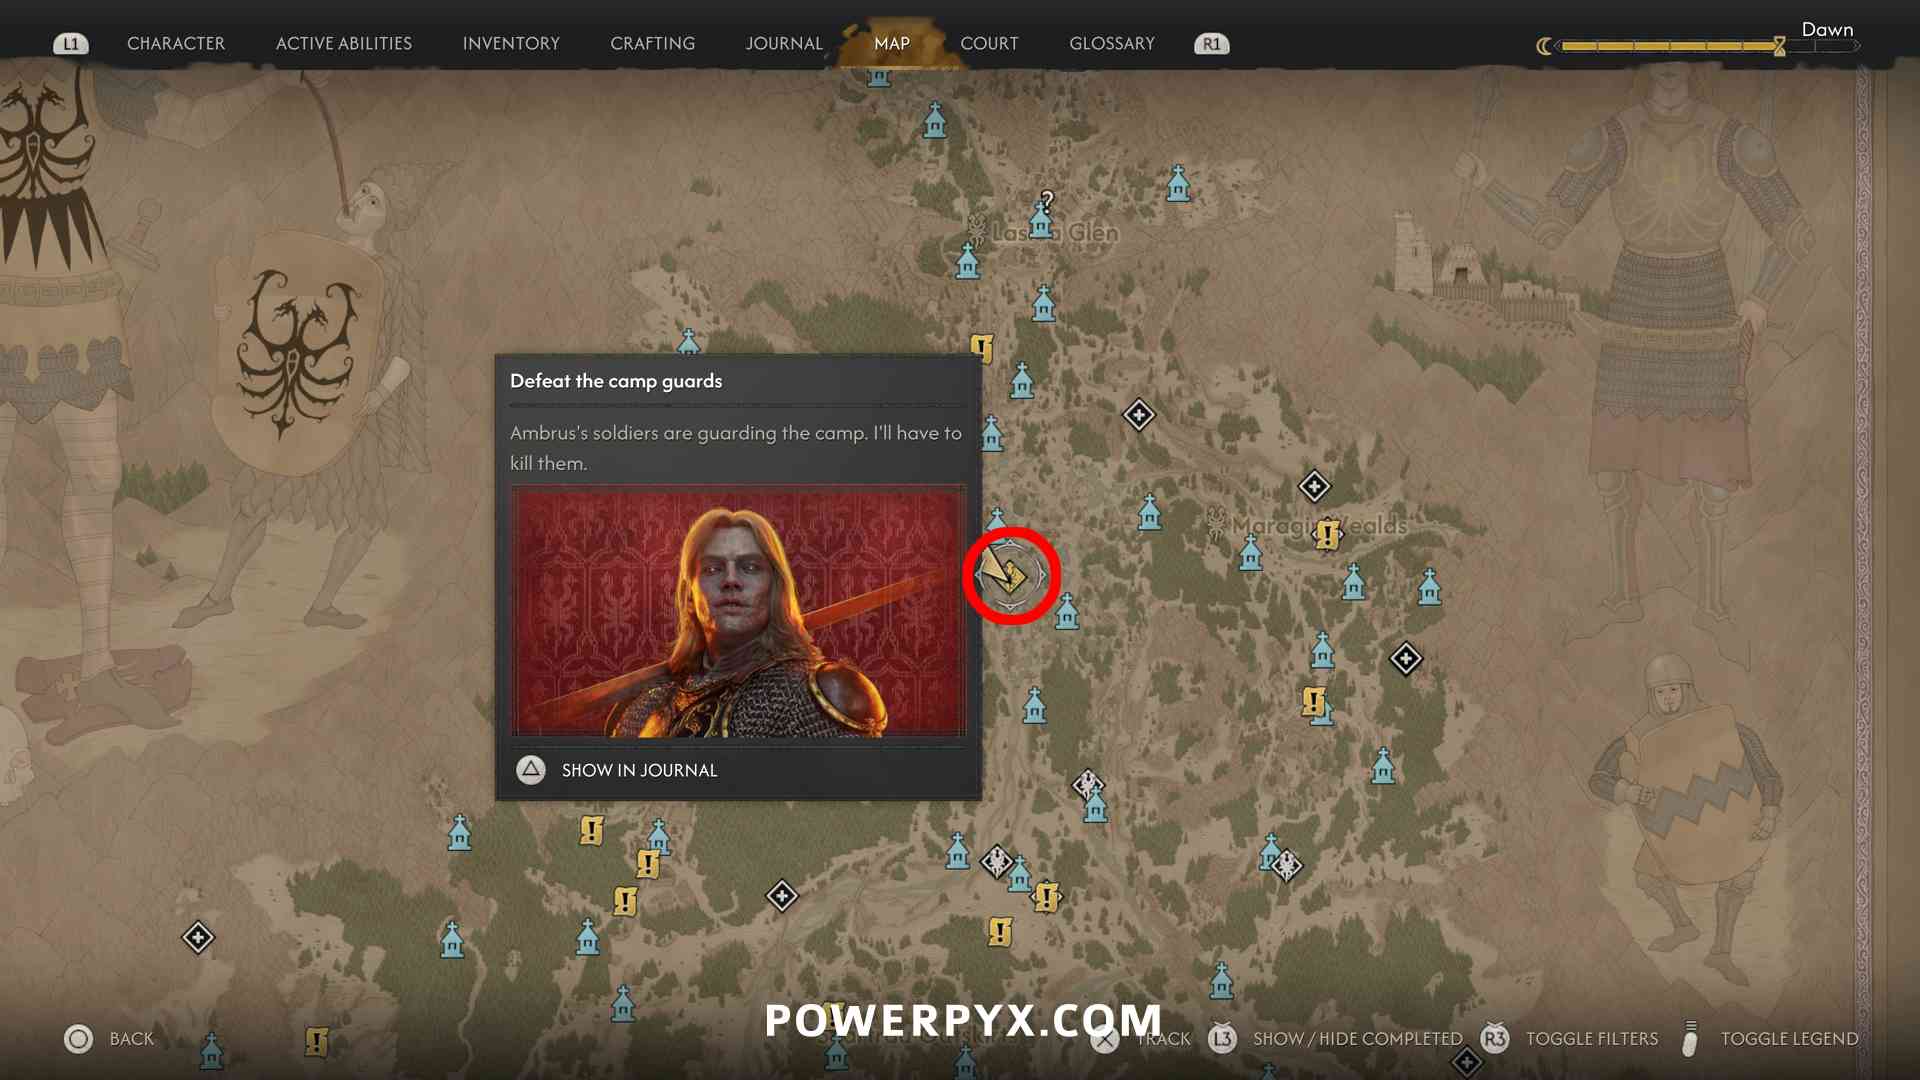
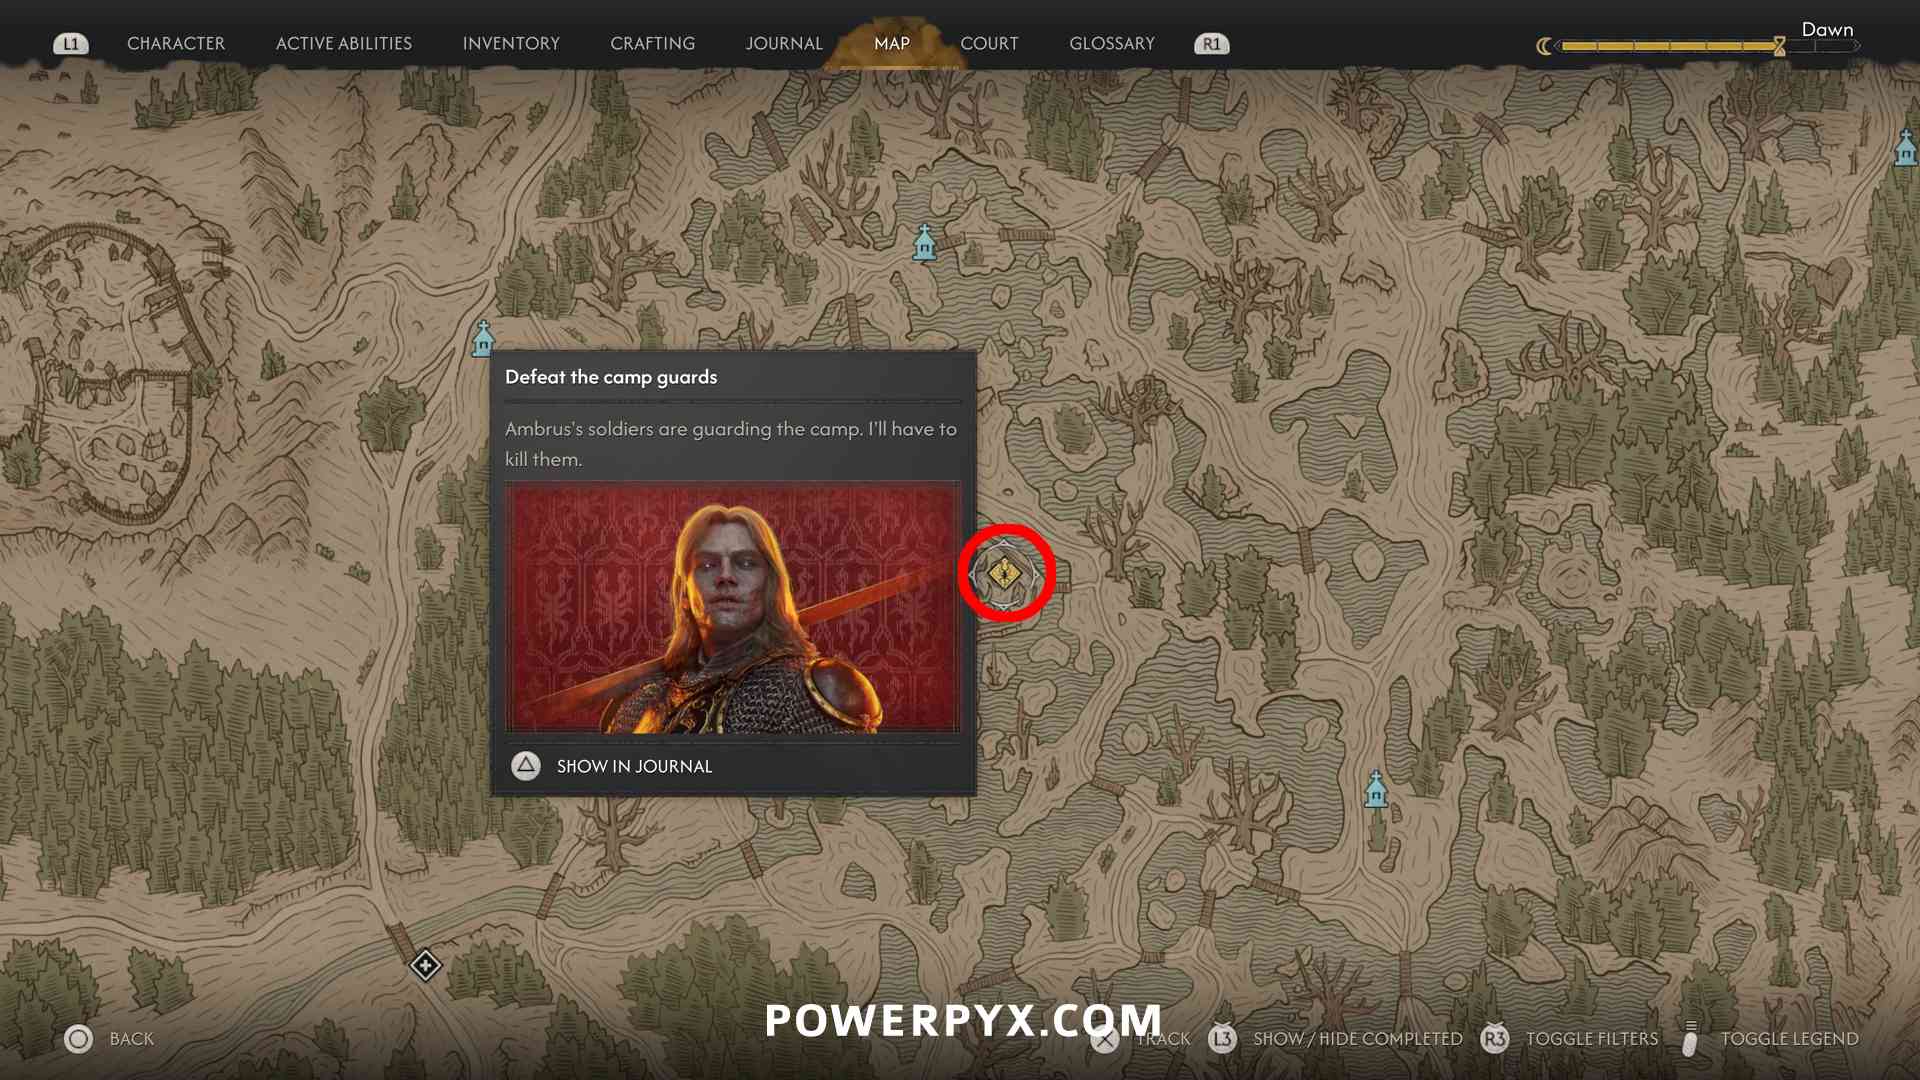
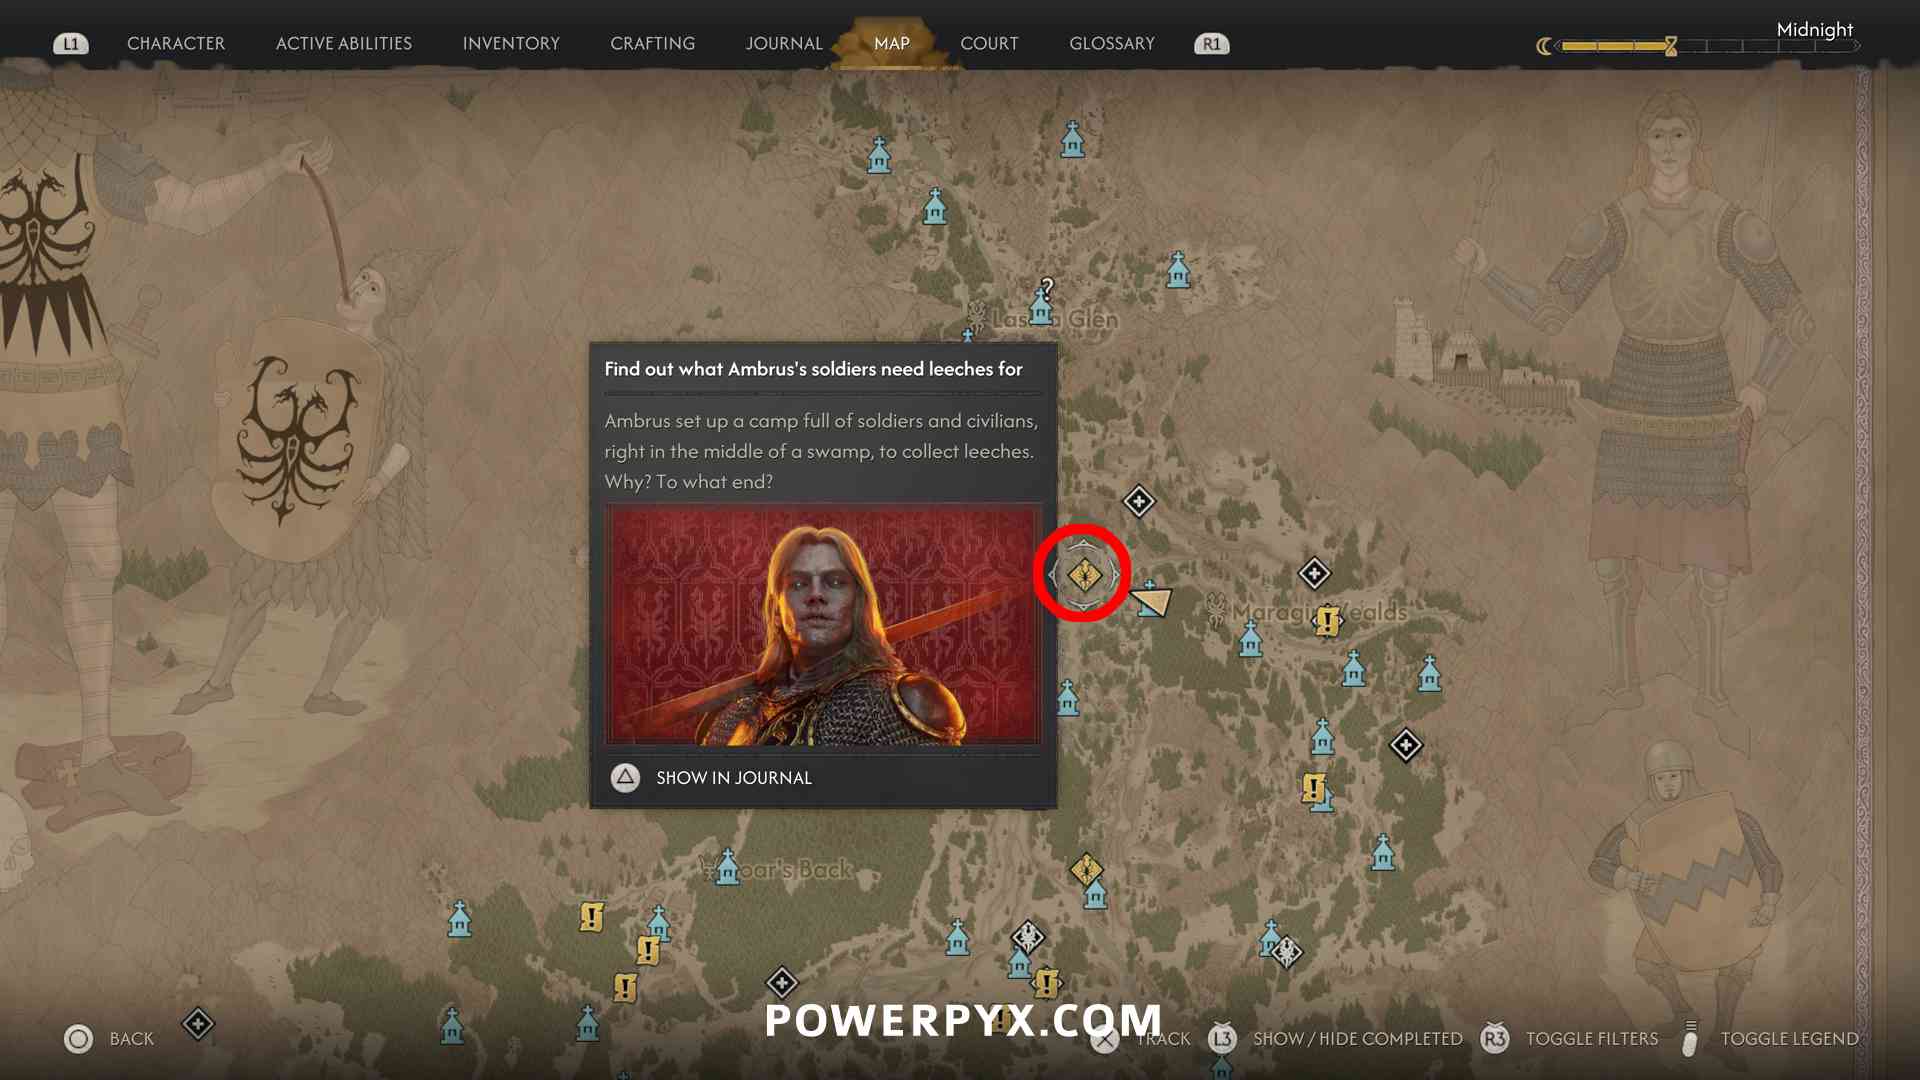
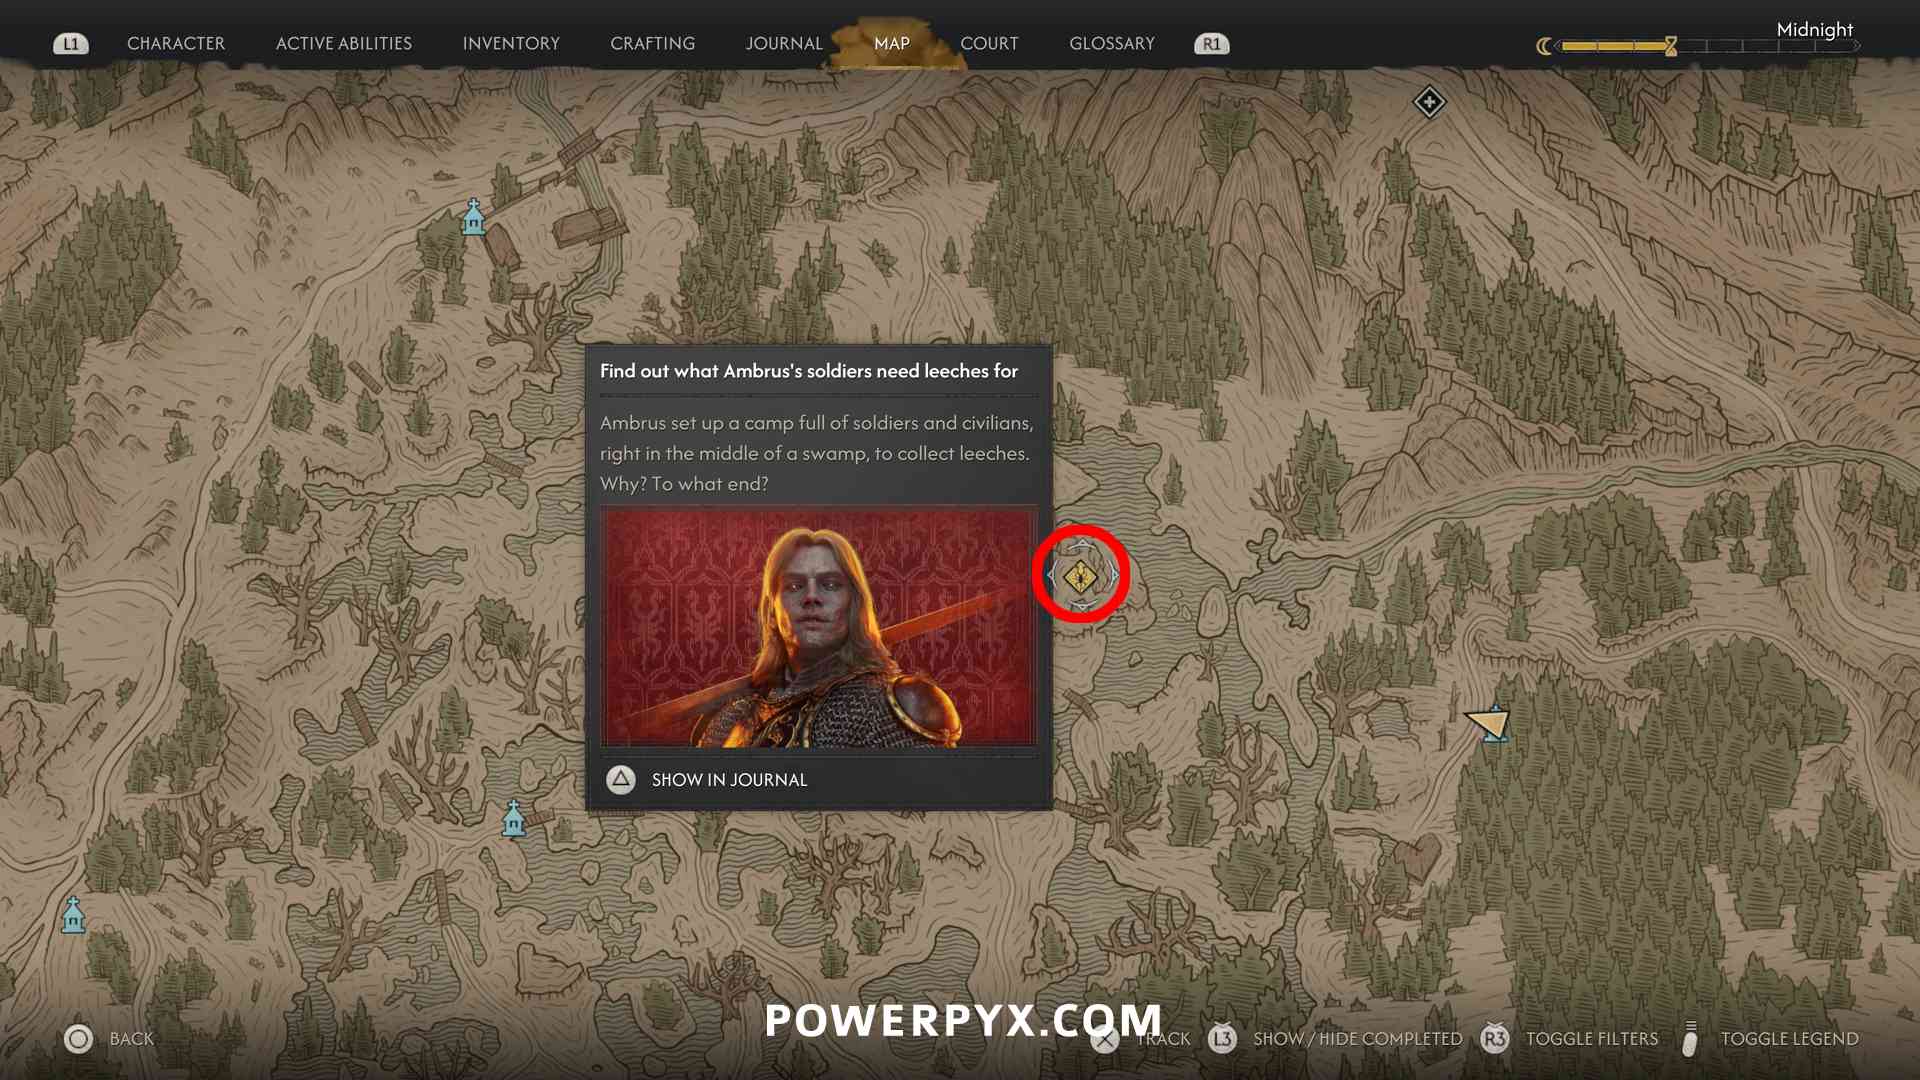
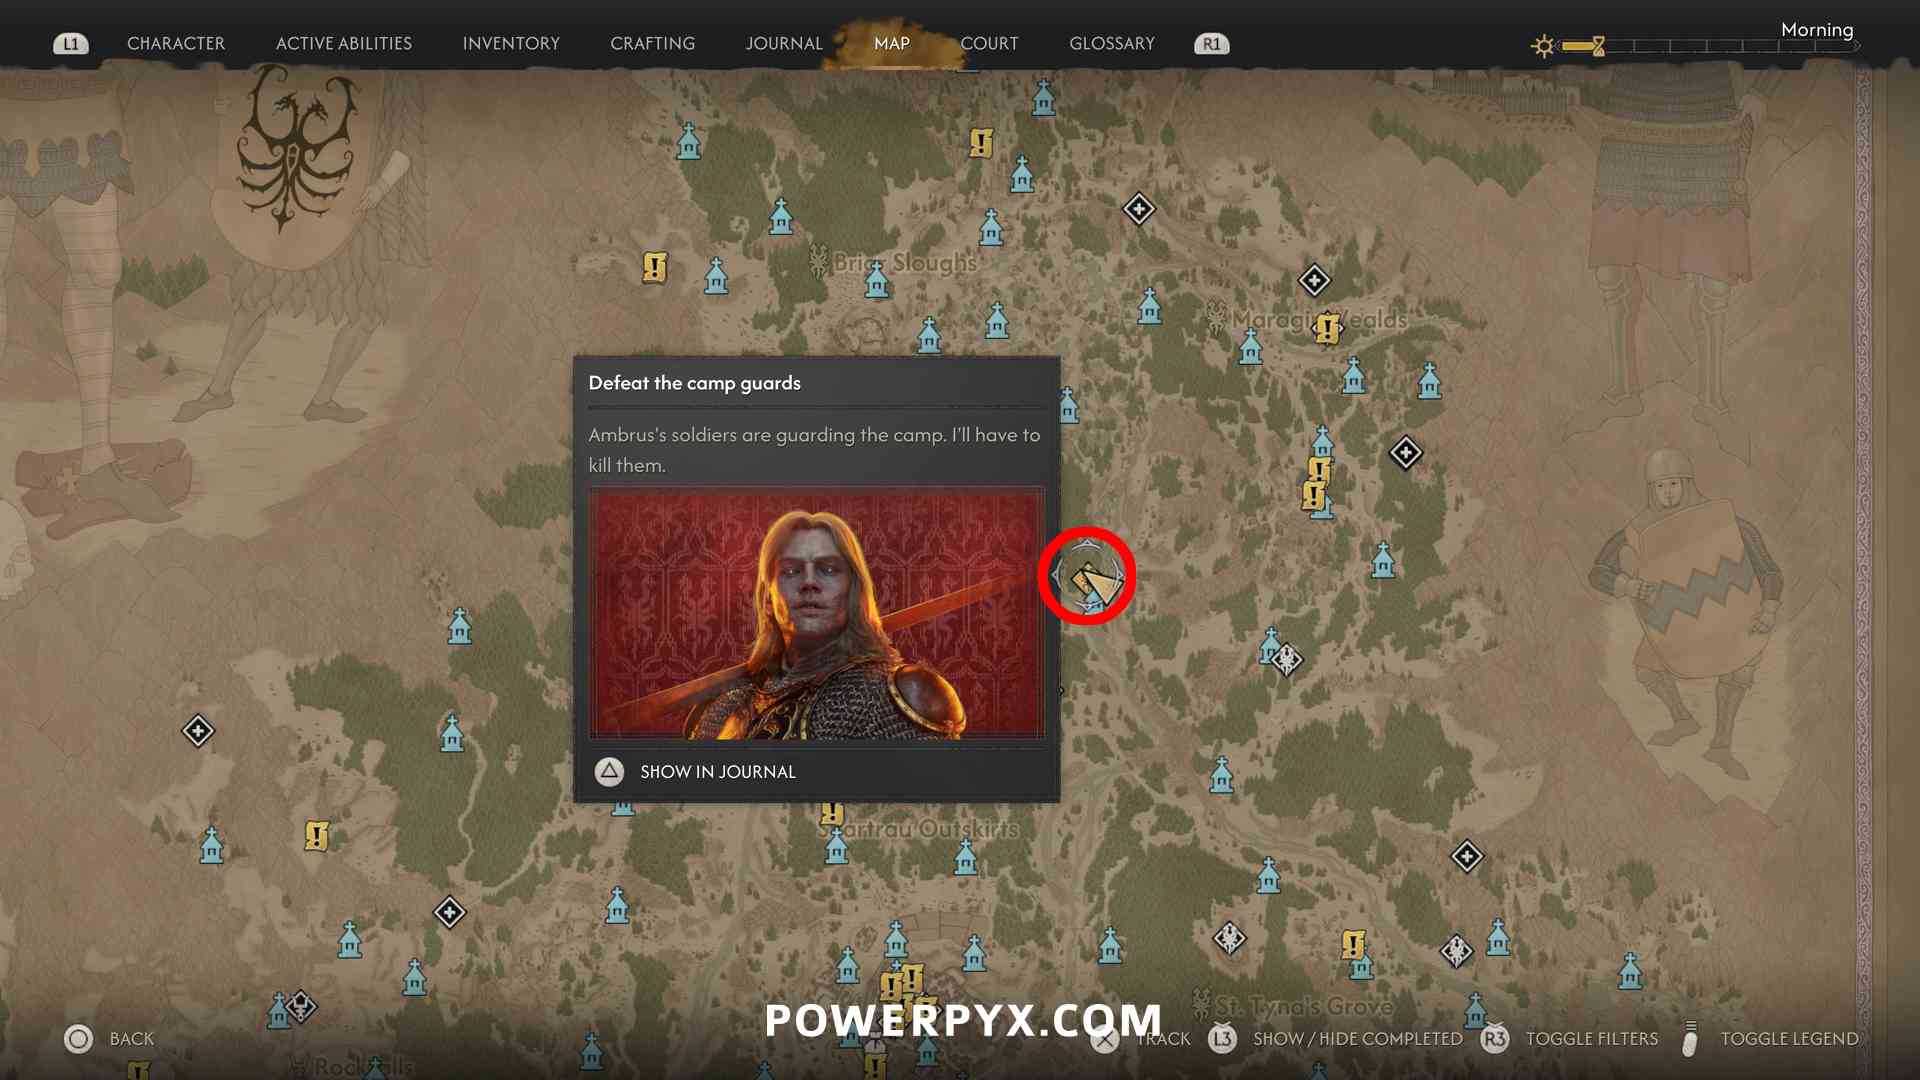
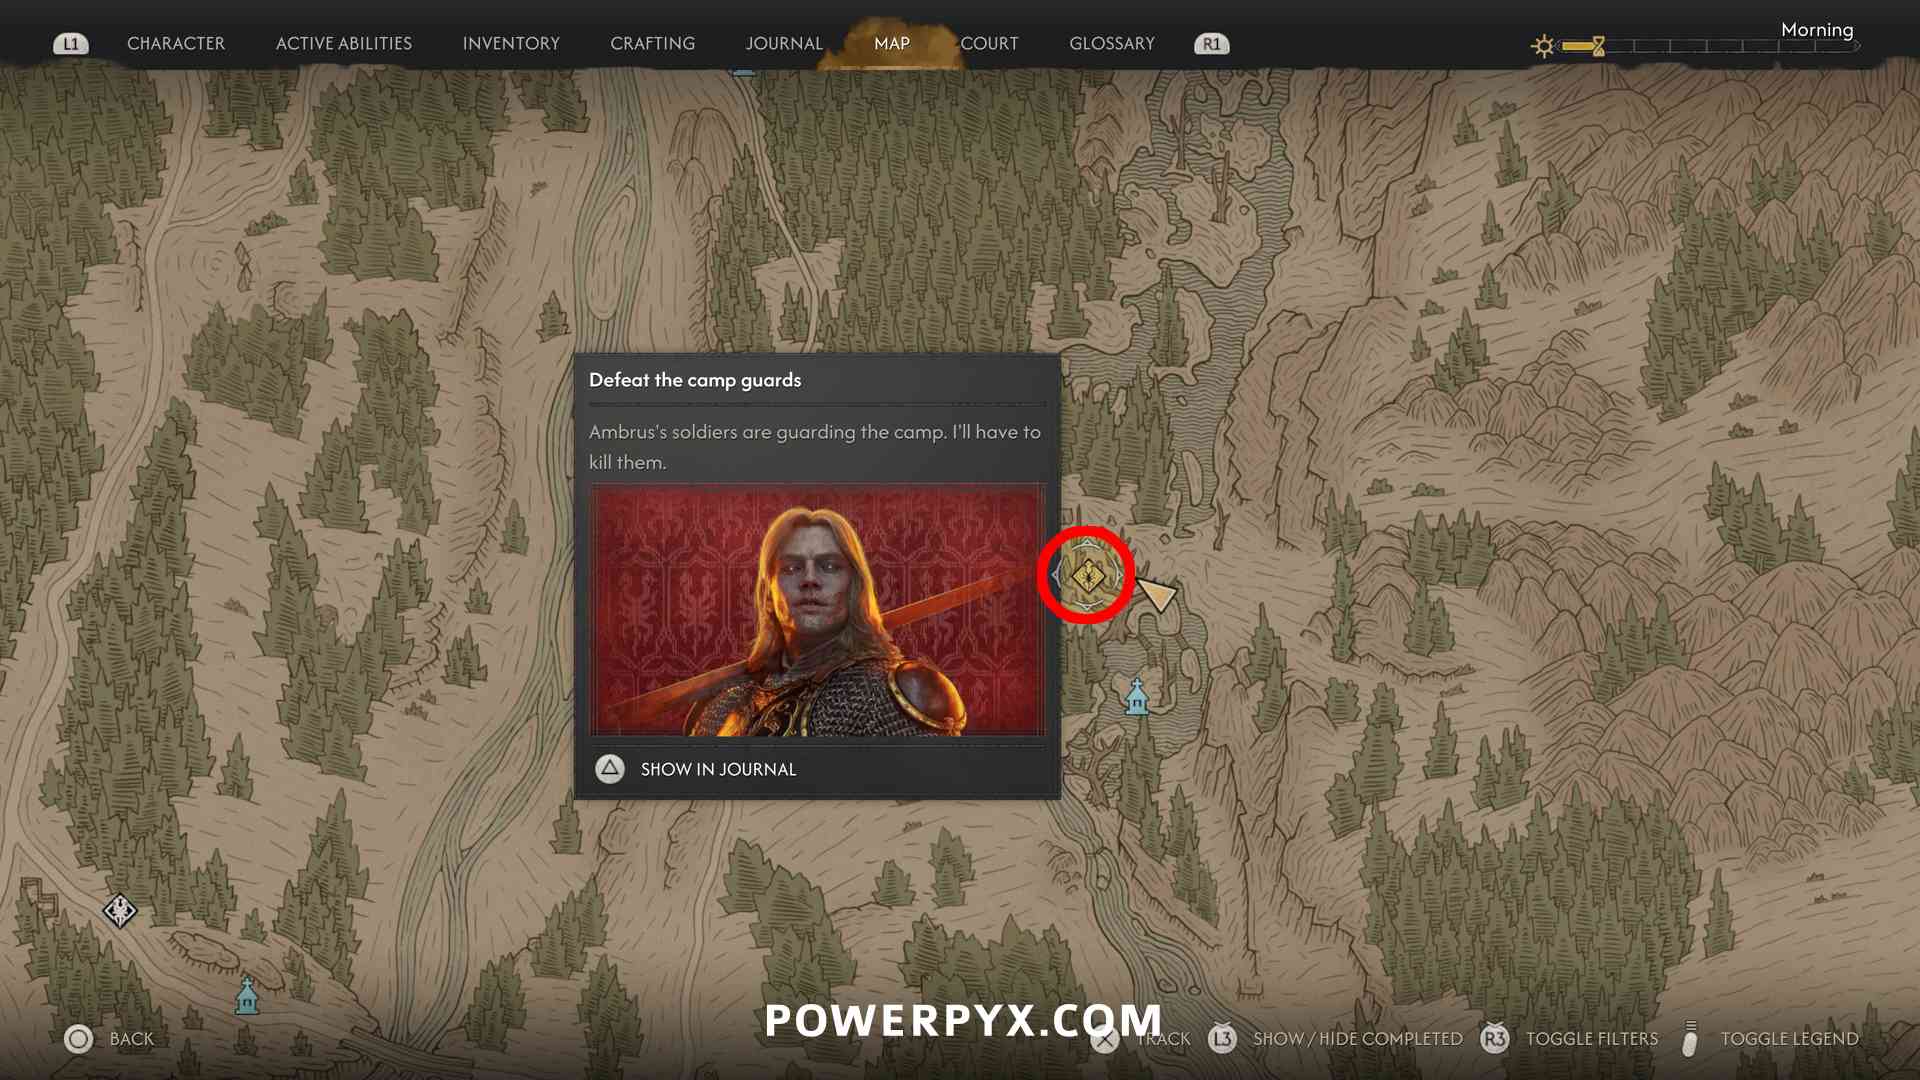
- Ambrus’s Collectors: Bounty of the Mire – defeat the enemies and destroy the leech barrels in the camp (3 time segments)
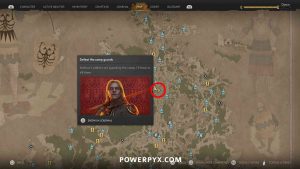
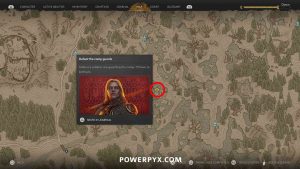
- Ambrus’s Collectors: Wetland Helpers – defeat the enemies and destroy the leech barrels in the camp (3 time segments)
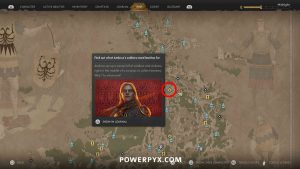

- Ambrus’s Collectors: Unsavoury Solutions – defeat the enemies and destroy the leech barrels in the camp (3 time segments)

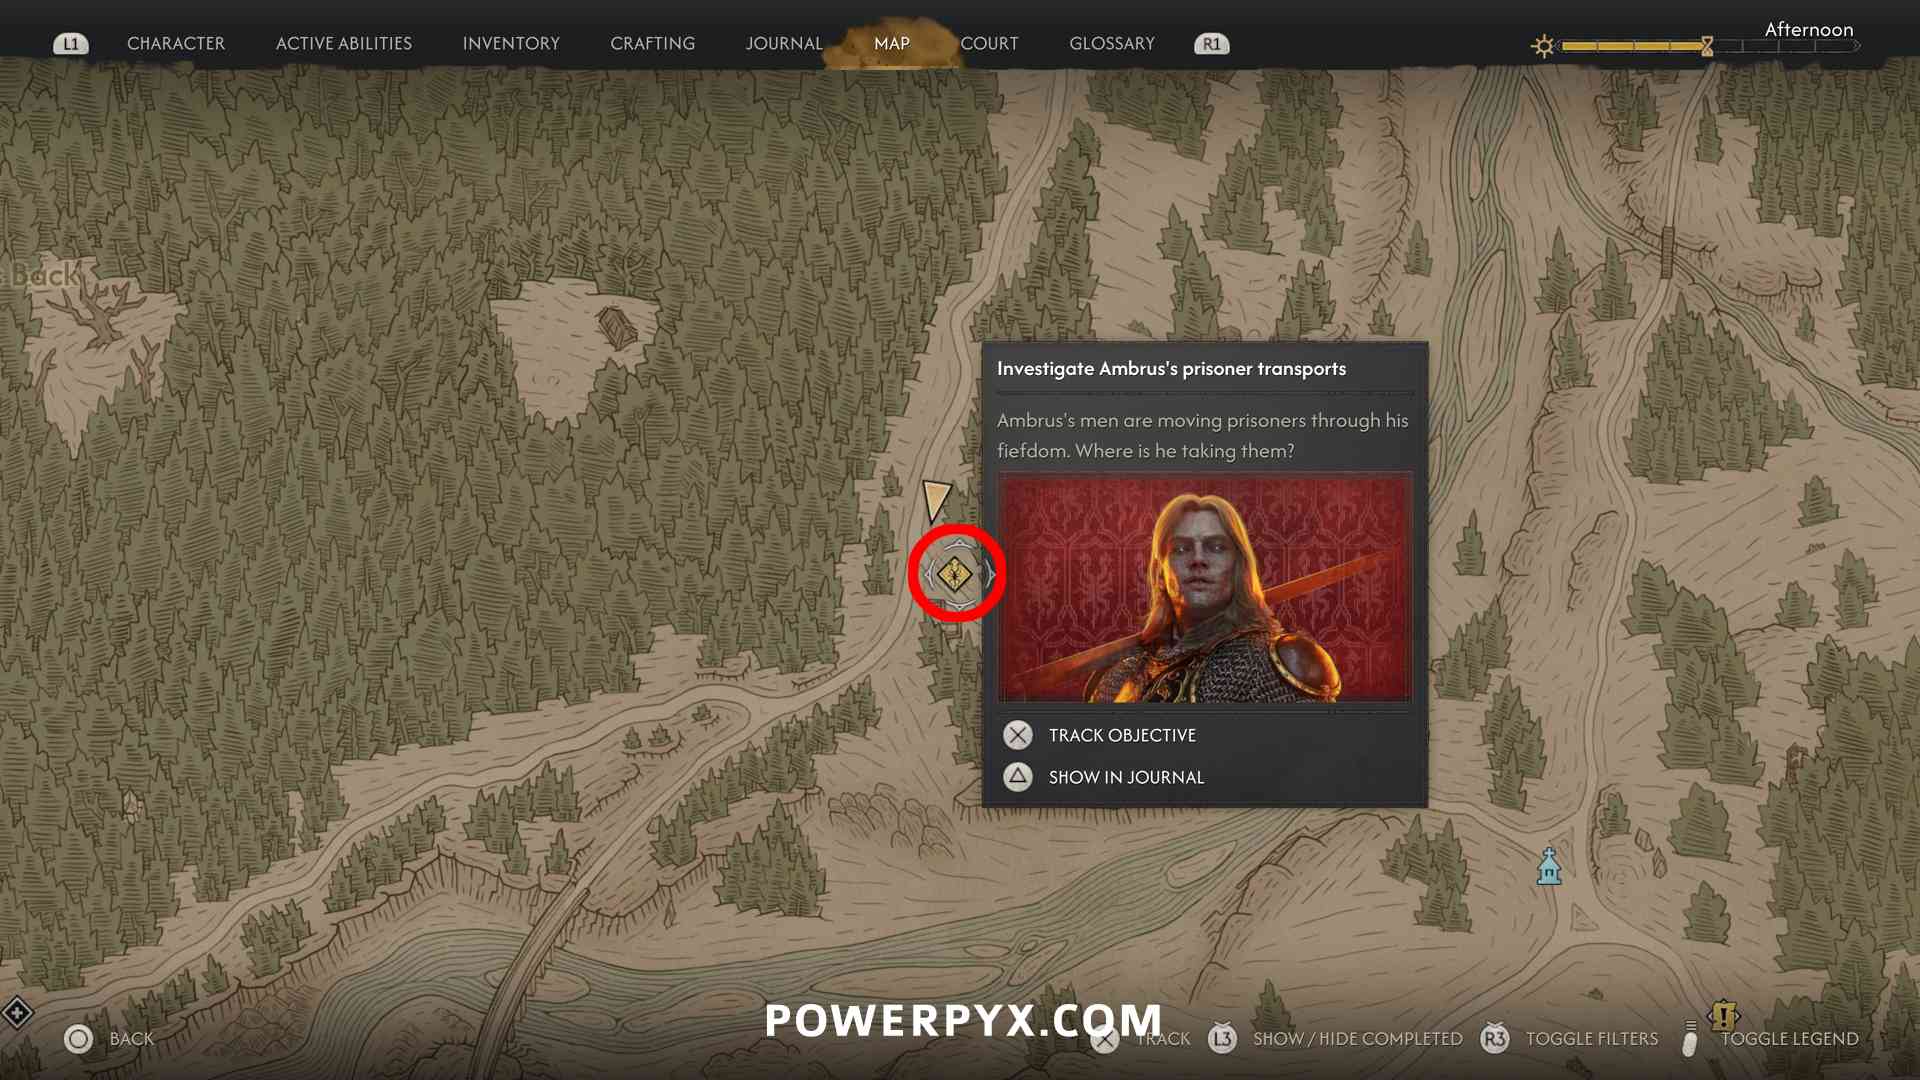
Prisoner Transports
- Ambrus’s Prisoners: Lucky Crossing – defeat the enemies on the road (3 time segments)

- Ambrus’s Prisoners: Fate’s Mercy – defeat the enemies on the road (3 time segments)

Blood Cellars
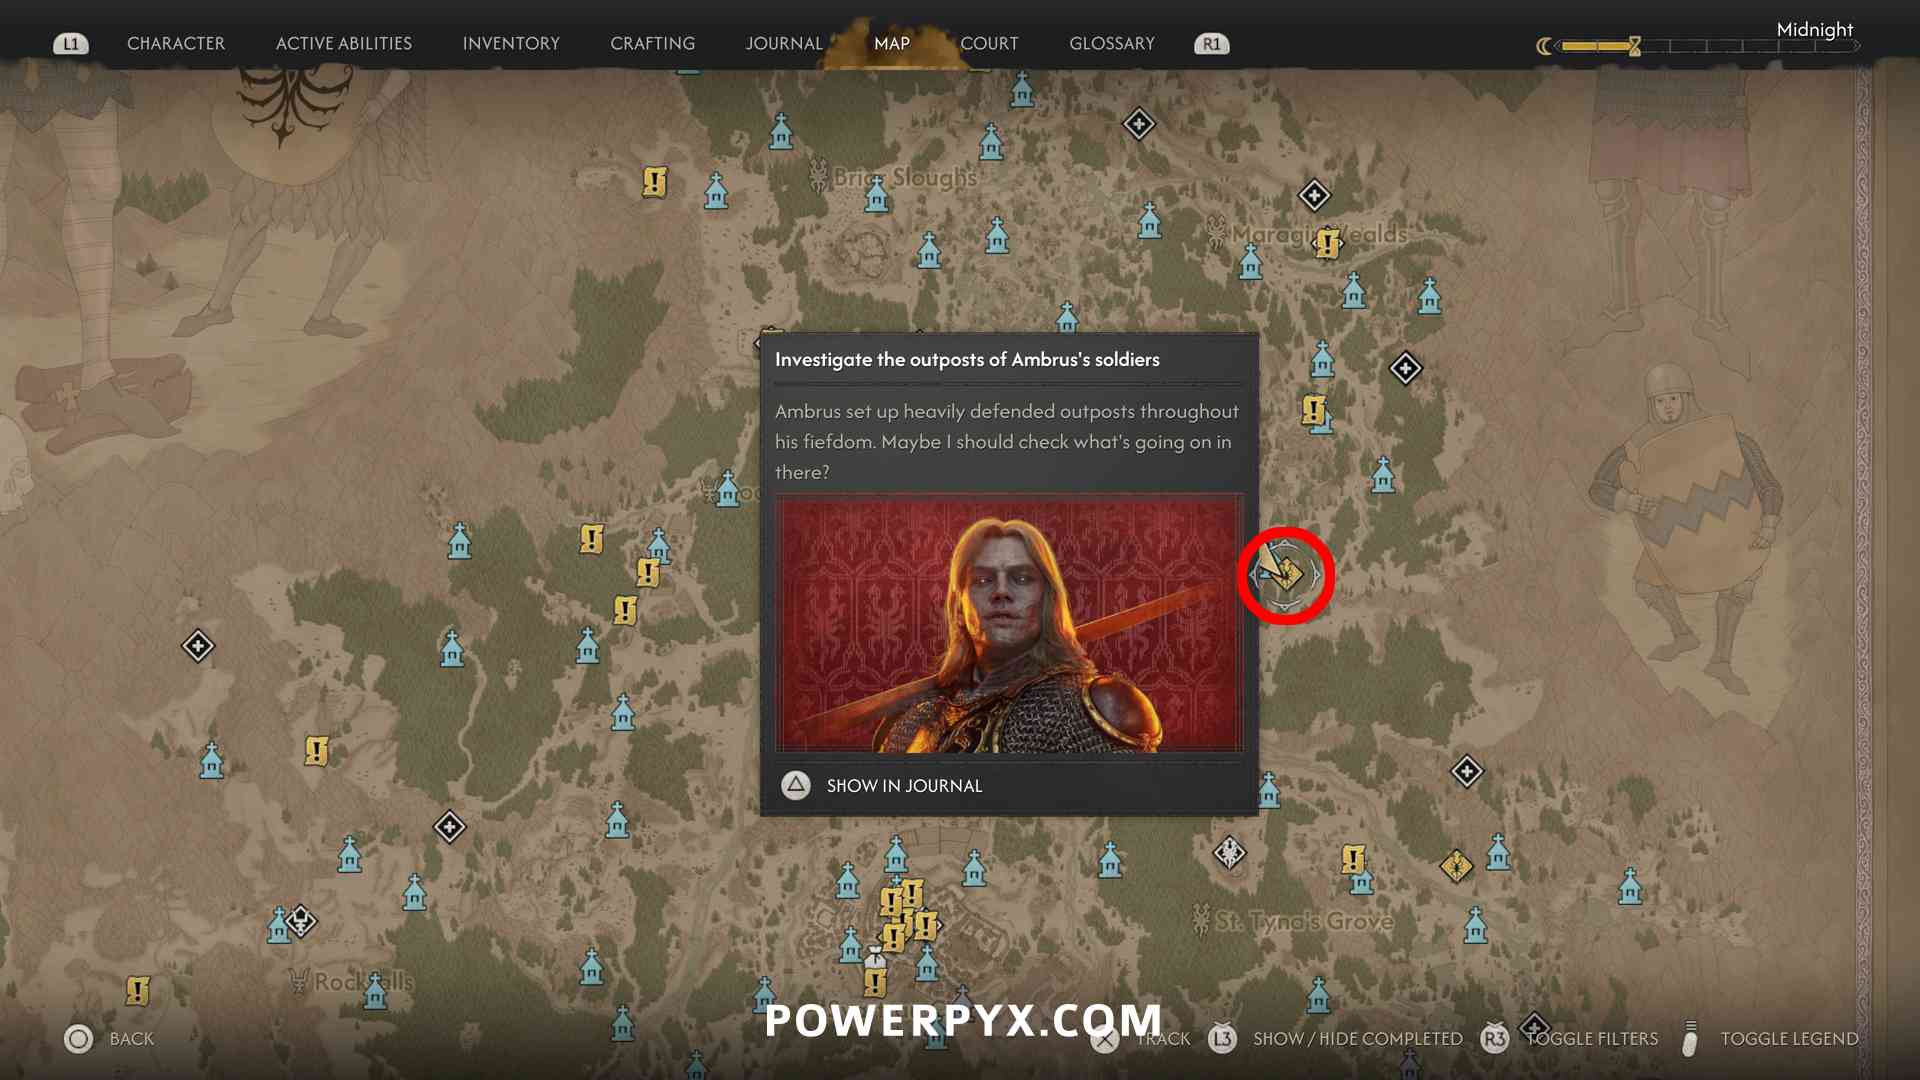
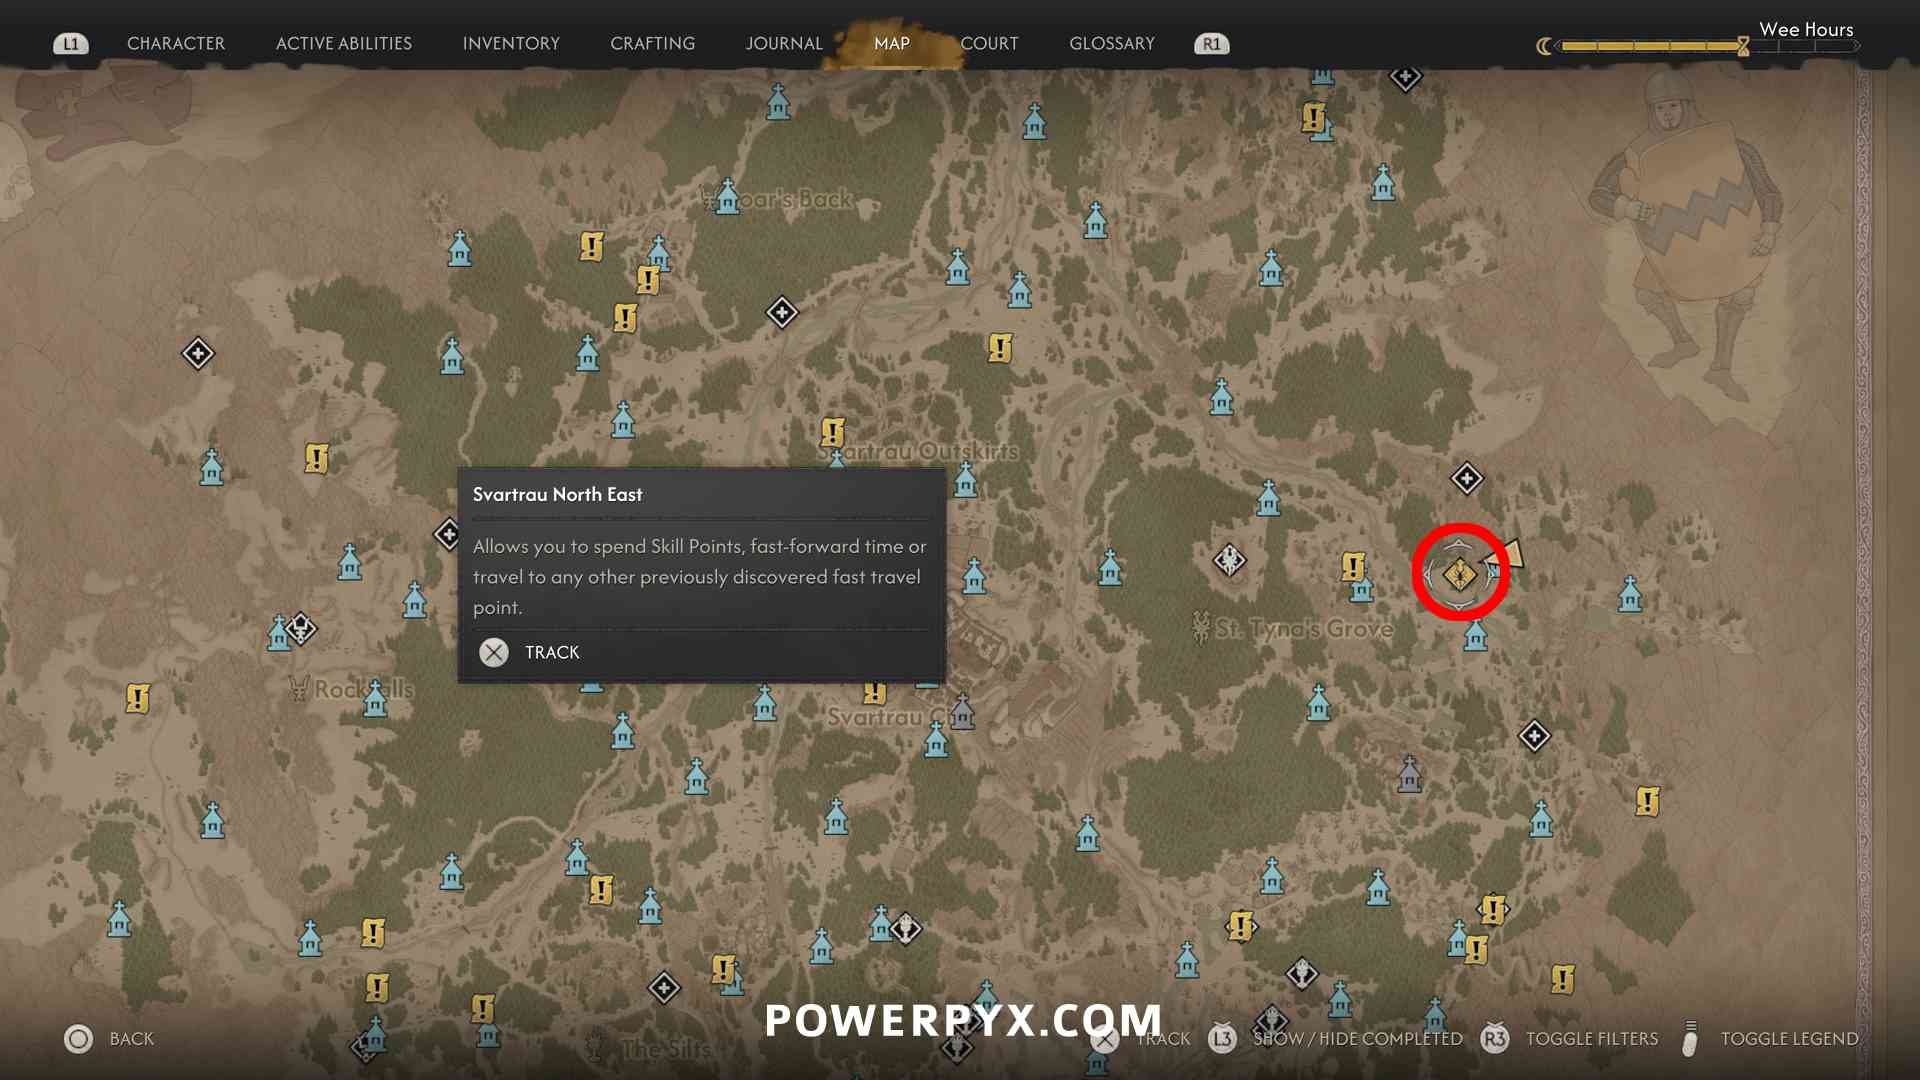
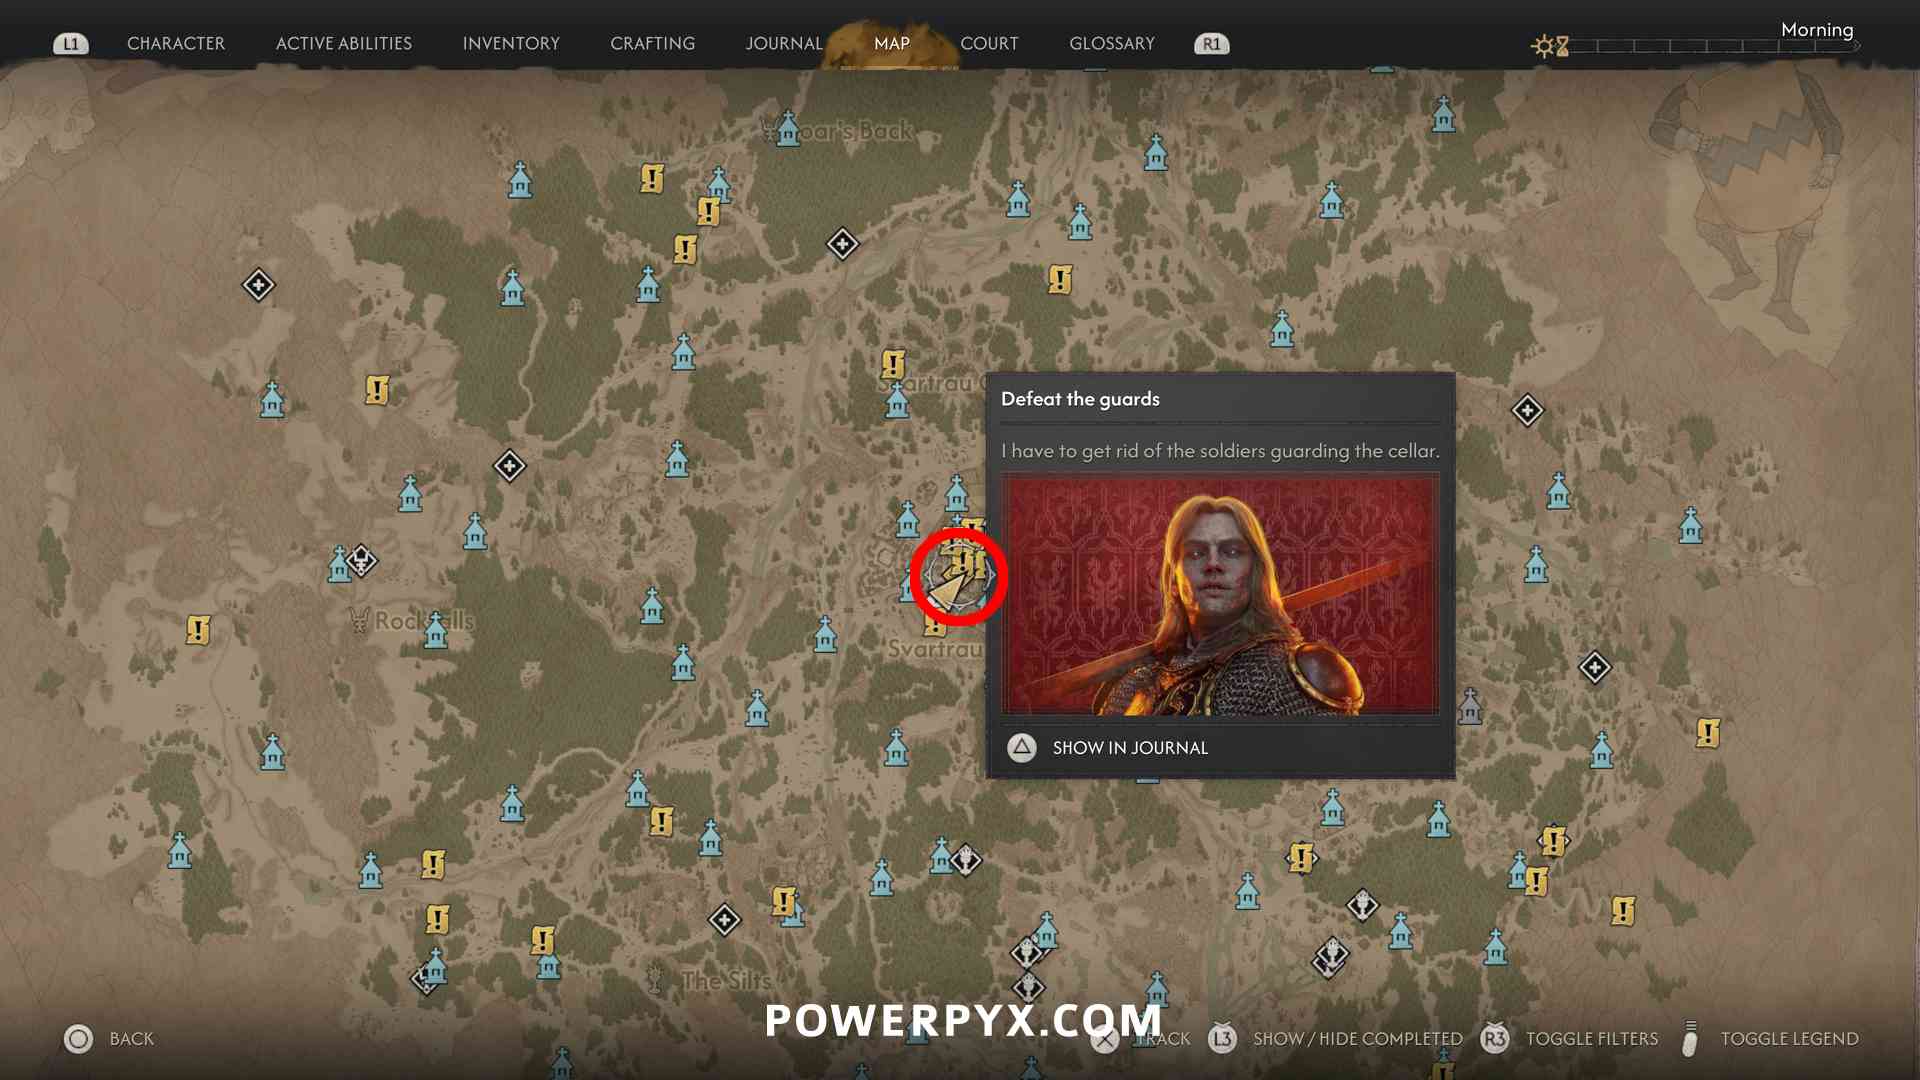
- Ambrus’s Cellars: Seeing Red – go down into the cellar, defeat the enemies and destroy the crates (3 time segments)

- Ambrus’s Cellars: Uninvited – go down into the cellar, defeat the enemy and destroy the crates (3 time segments)

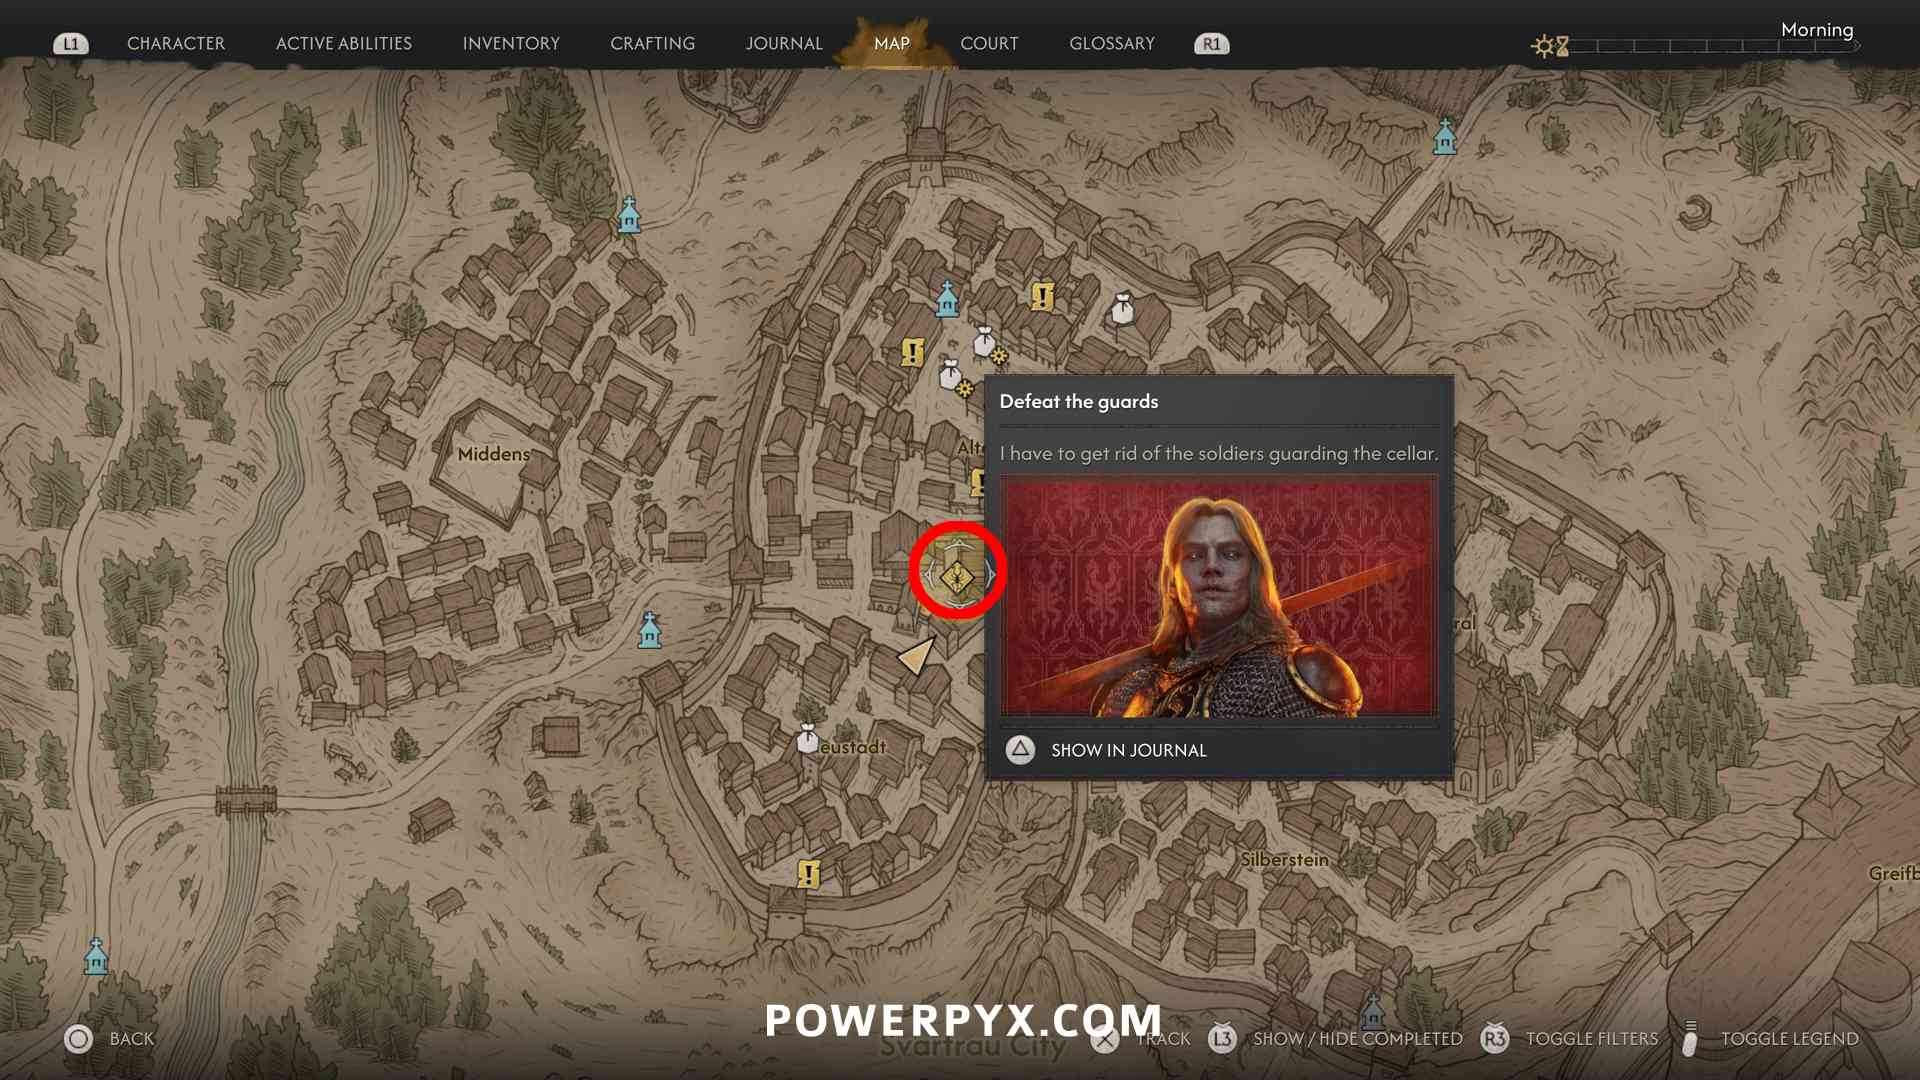
- Ambrus’s Cellars: Trouble Brewing – inside Svartrau City, inside a house you find the barrels you must destroy, defeat the enemies, afterward go upstairs to find a room with an NPC (3 time segments)



Ambrus’s Dungeons
- Ambrus’s Dungeons: Judge and Executioner – defeat the guards in the camp, talk to the prisoners in the cell to free them. If you free both, you can wait a day to revisit them at their camp (3 time segments).
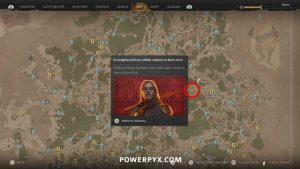

- Ambrus’s Dungeons: Evil and Convenience – defeat the guards, investigate all yellow objects in Focus Mode, you’ll find a key in the barn to open the door to the house. Inside you encounter a guard, if you let him go he gives you a treasure map and the solution will be marked while tracking the quest. (3 time segments)
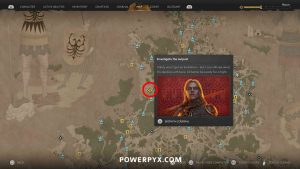
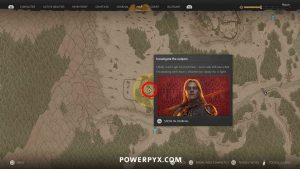
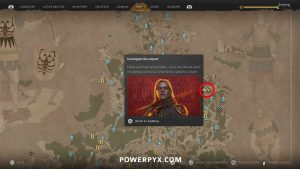
- Ambrus’s Dungeons: Twists and Turns – defeat the guards, go into the cave and free the people from the prison cell. (3 time segments)

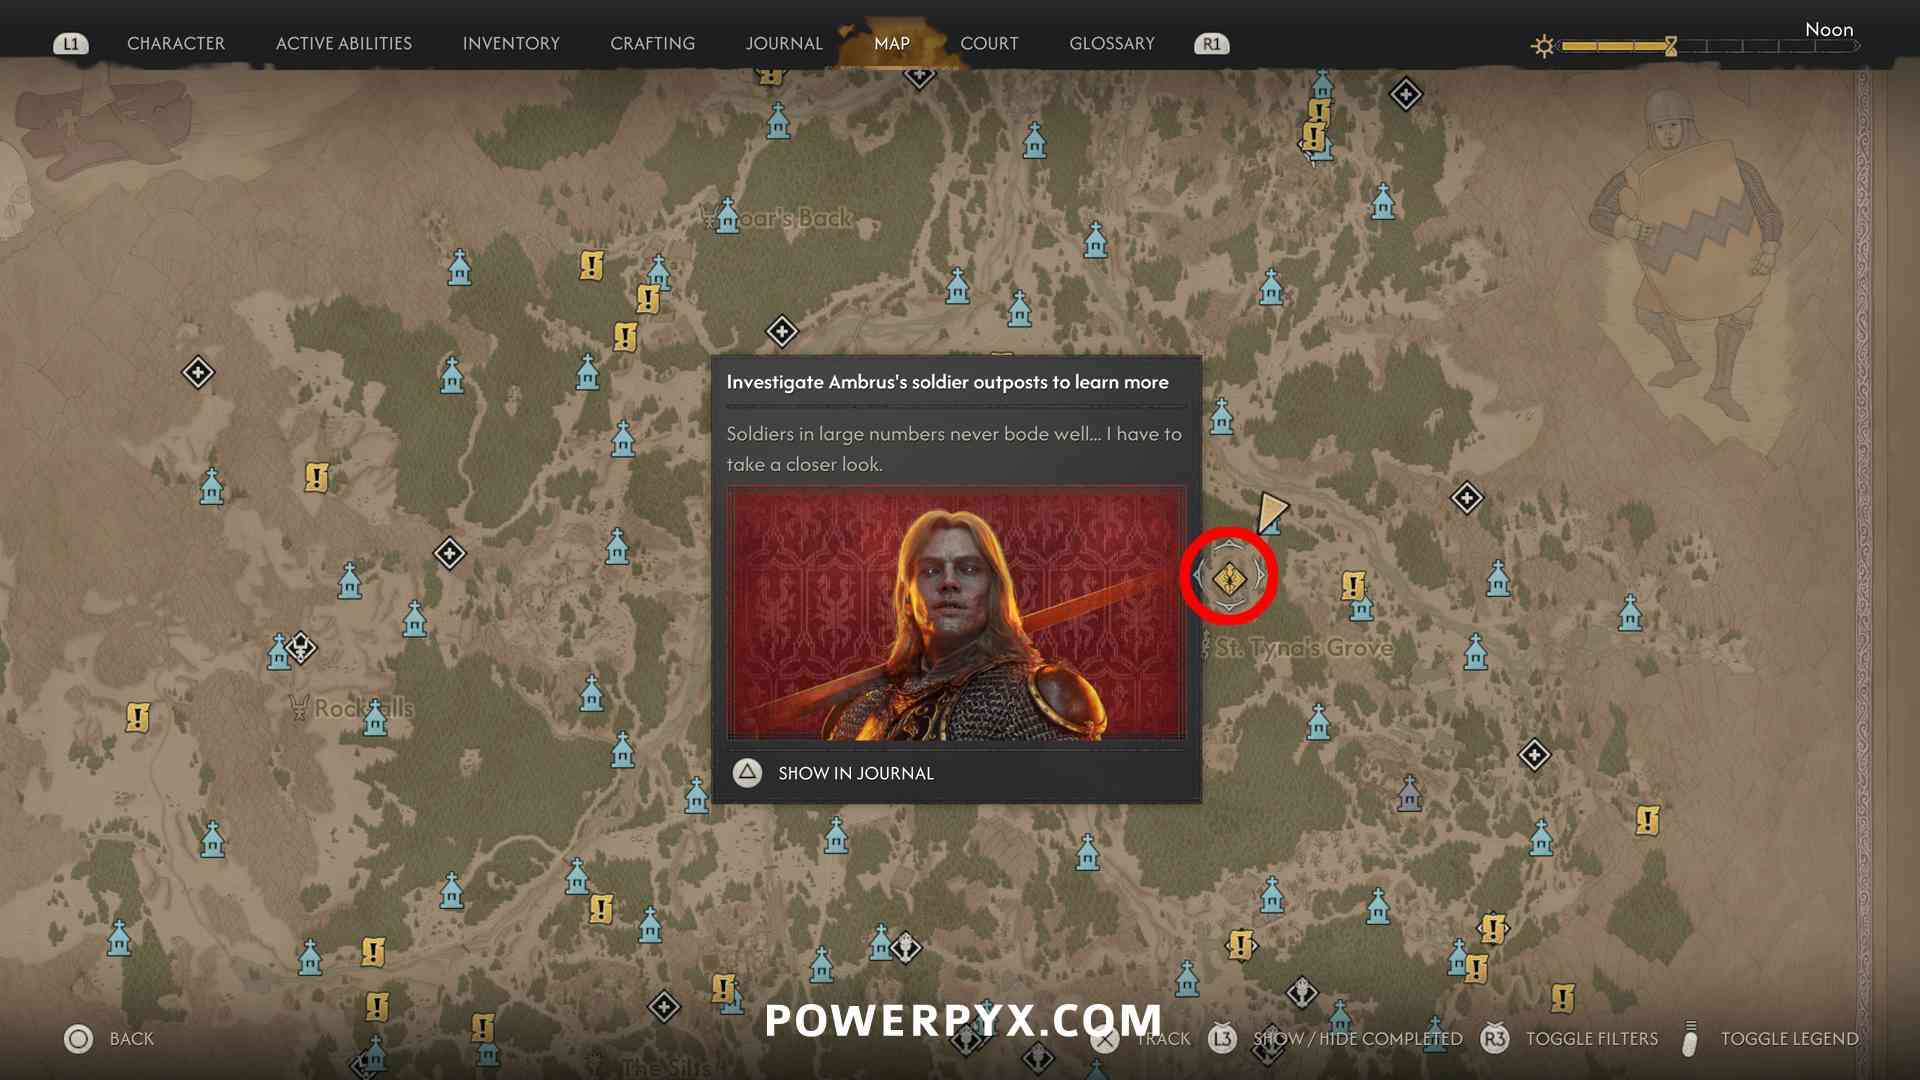

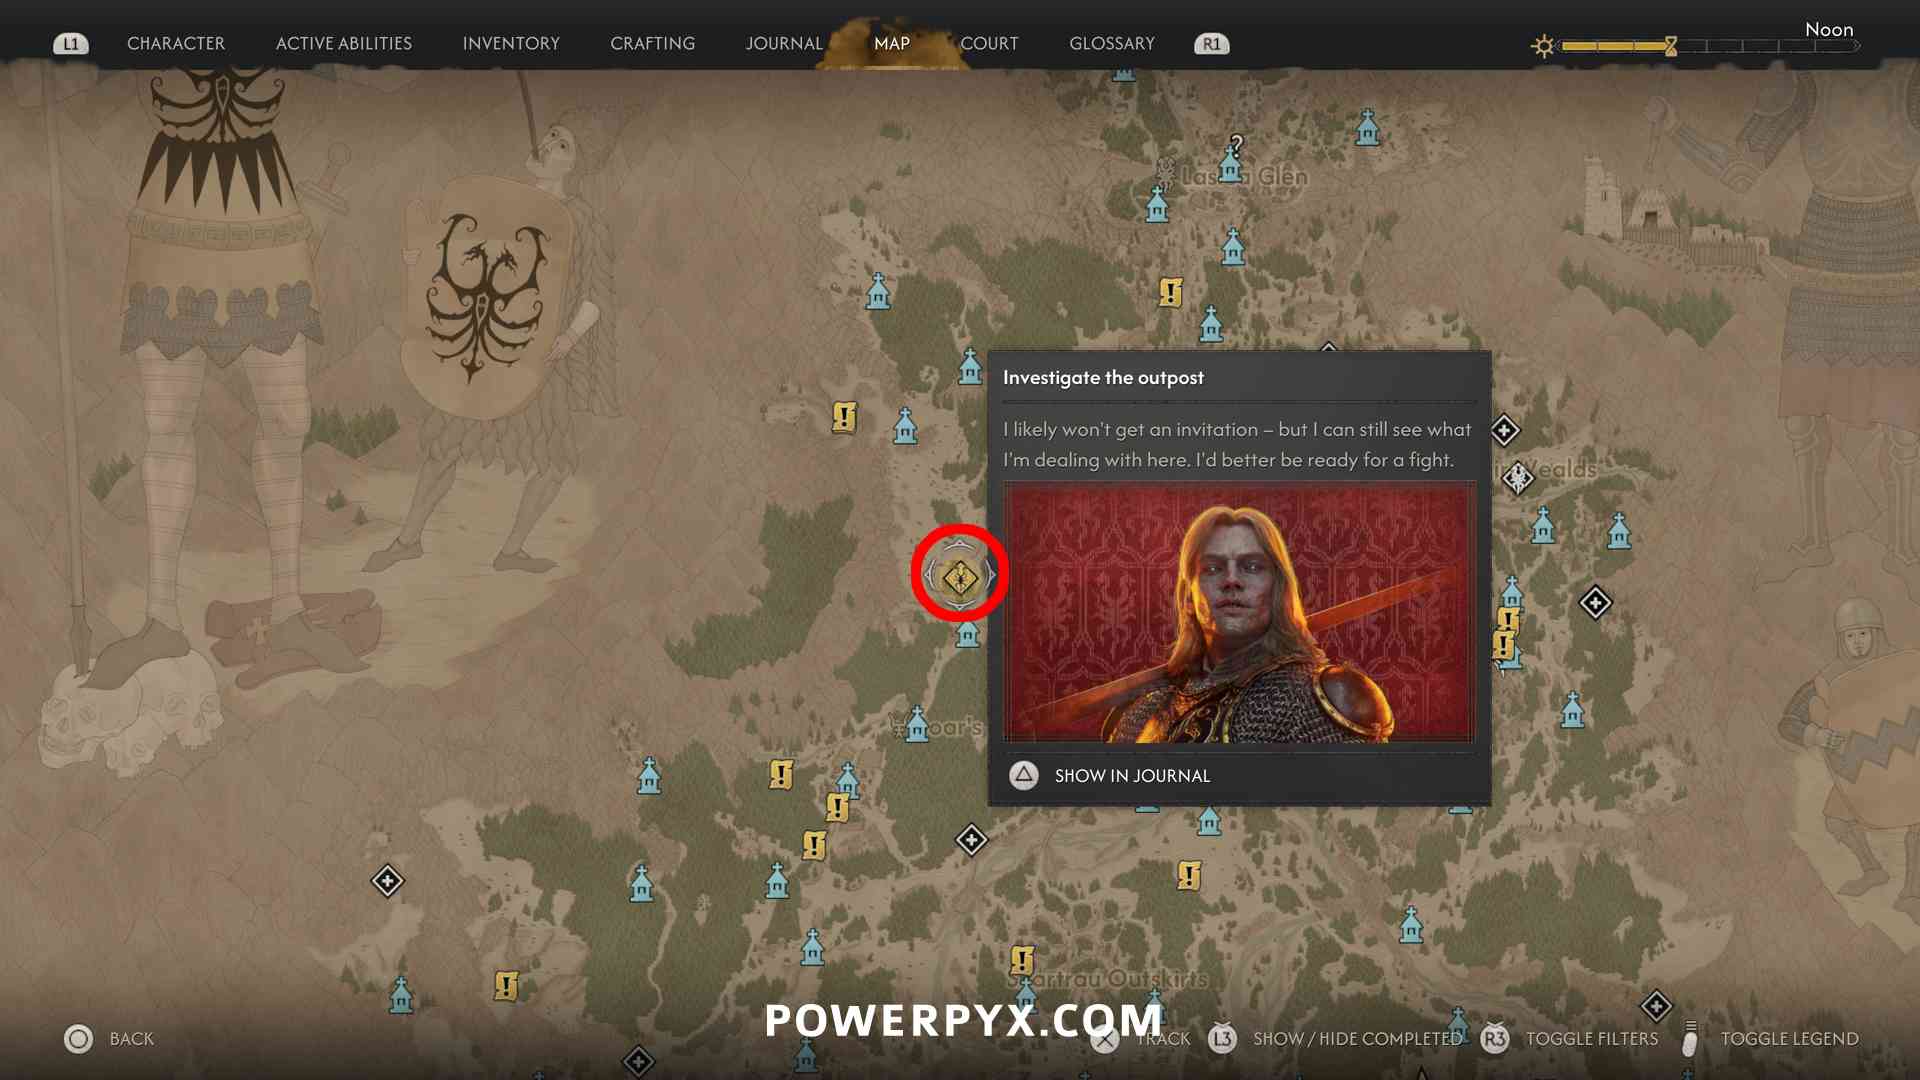
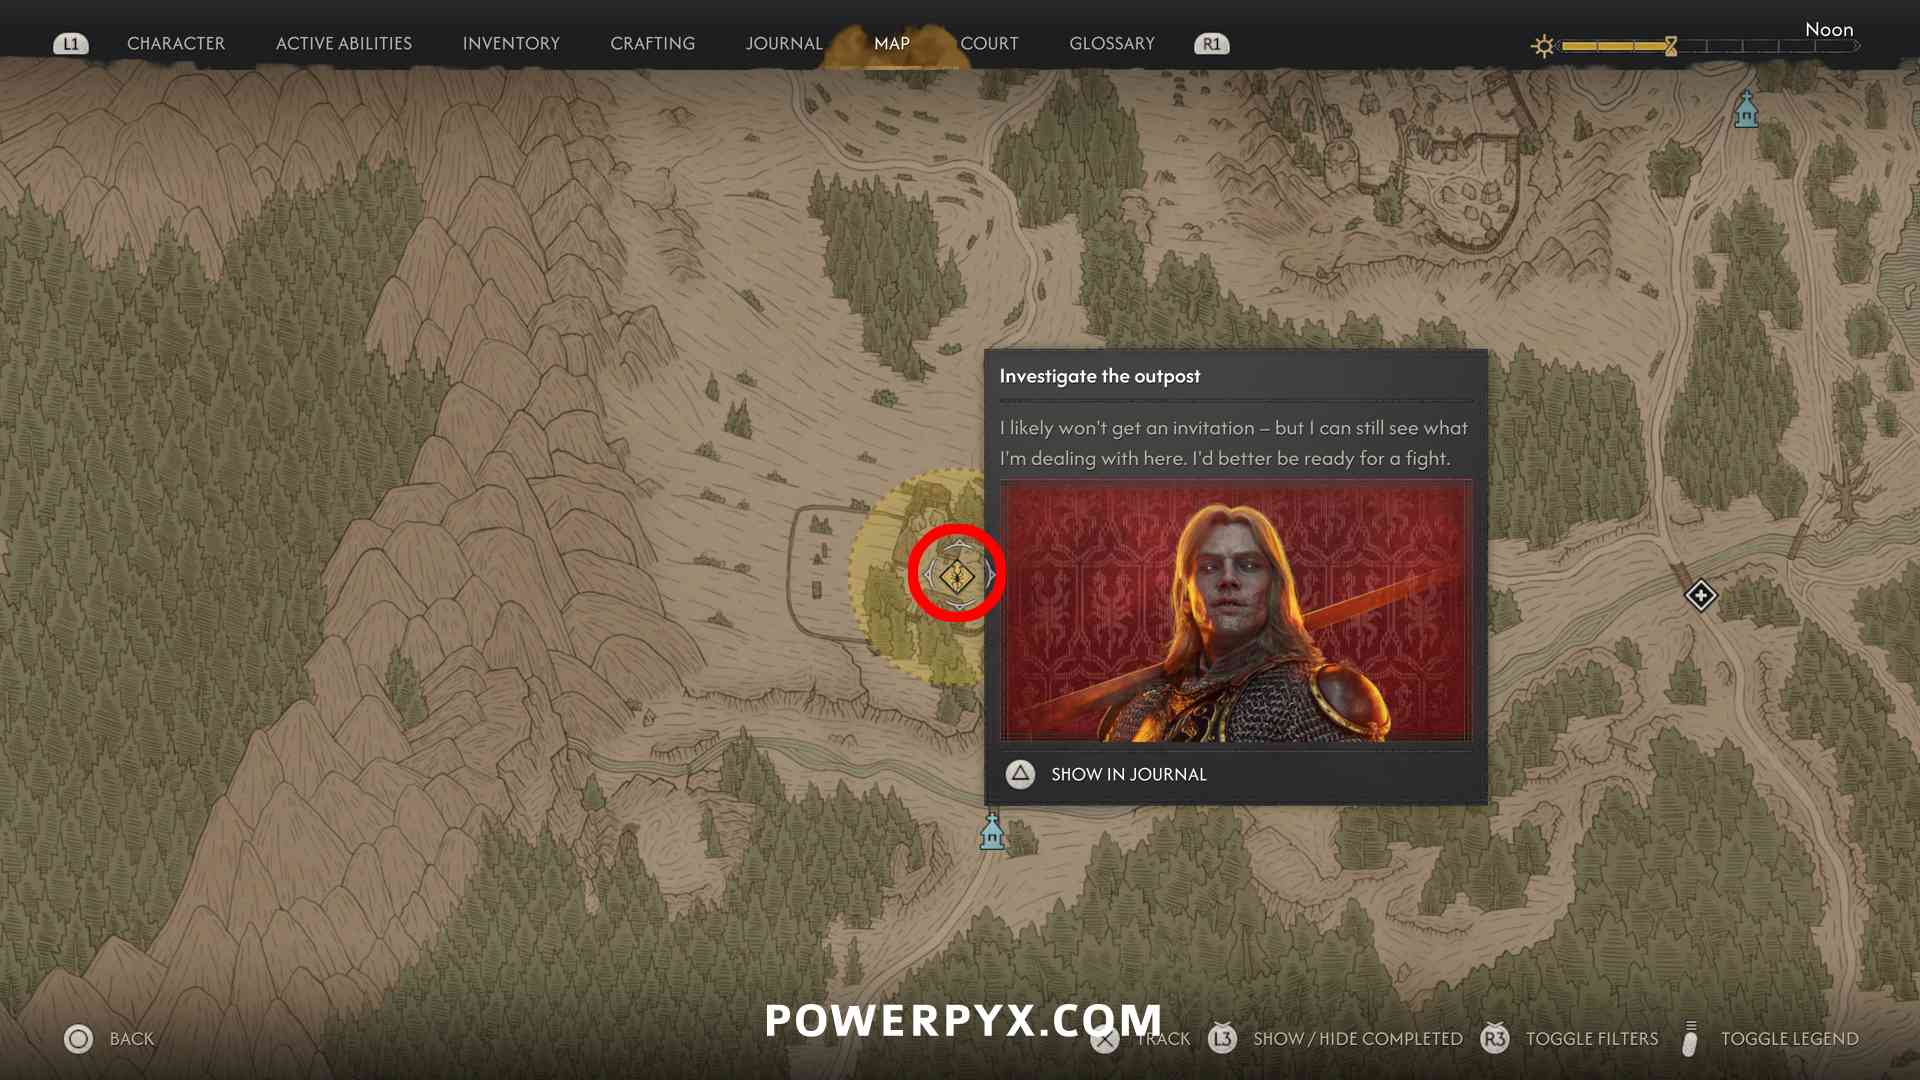
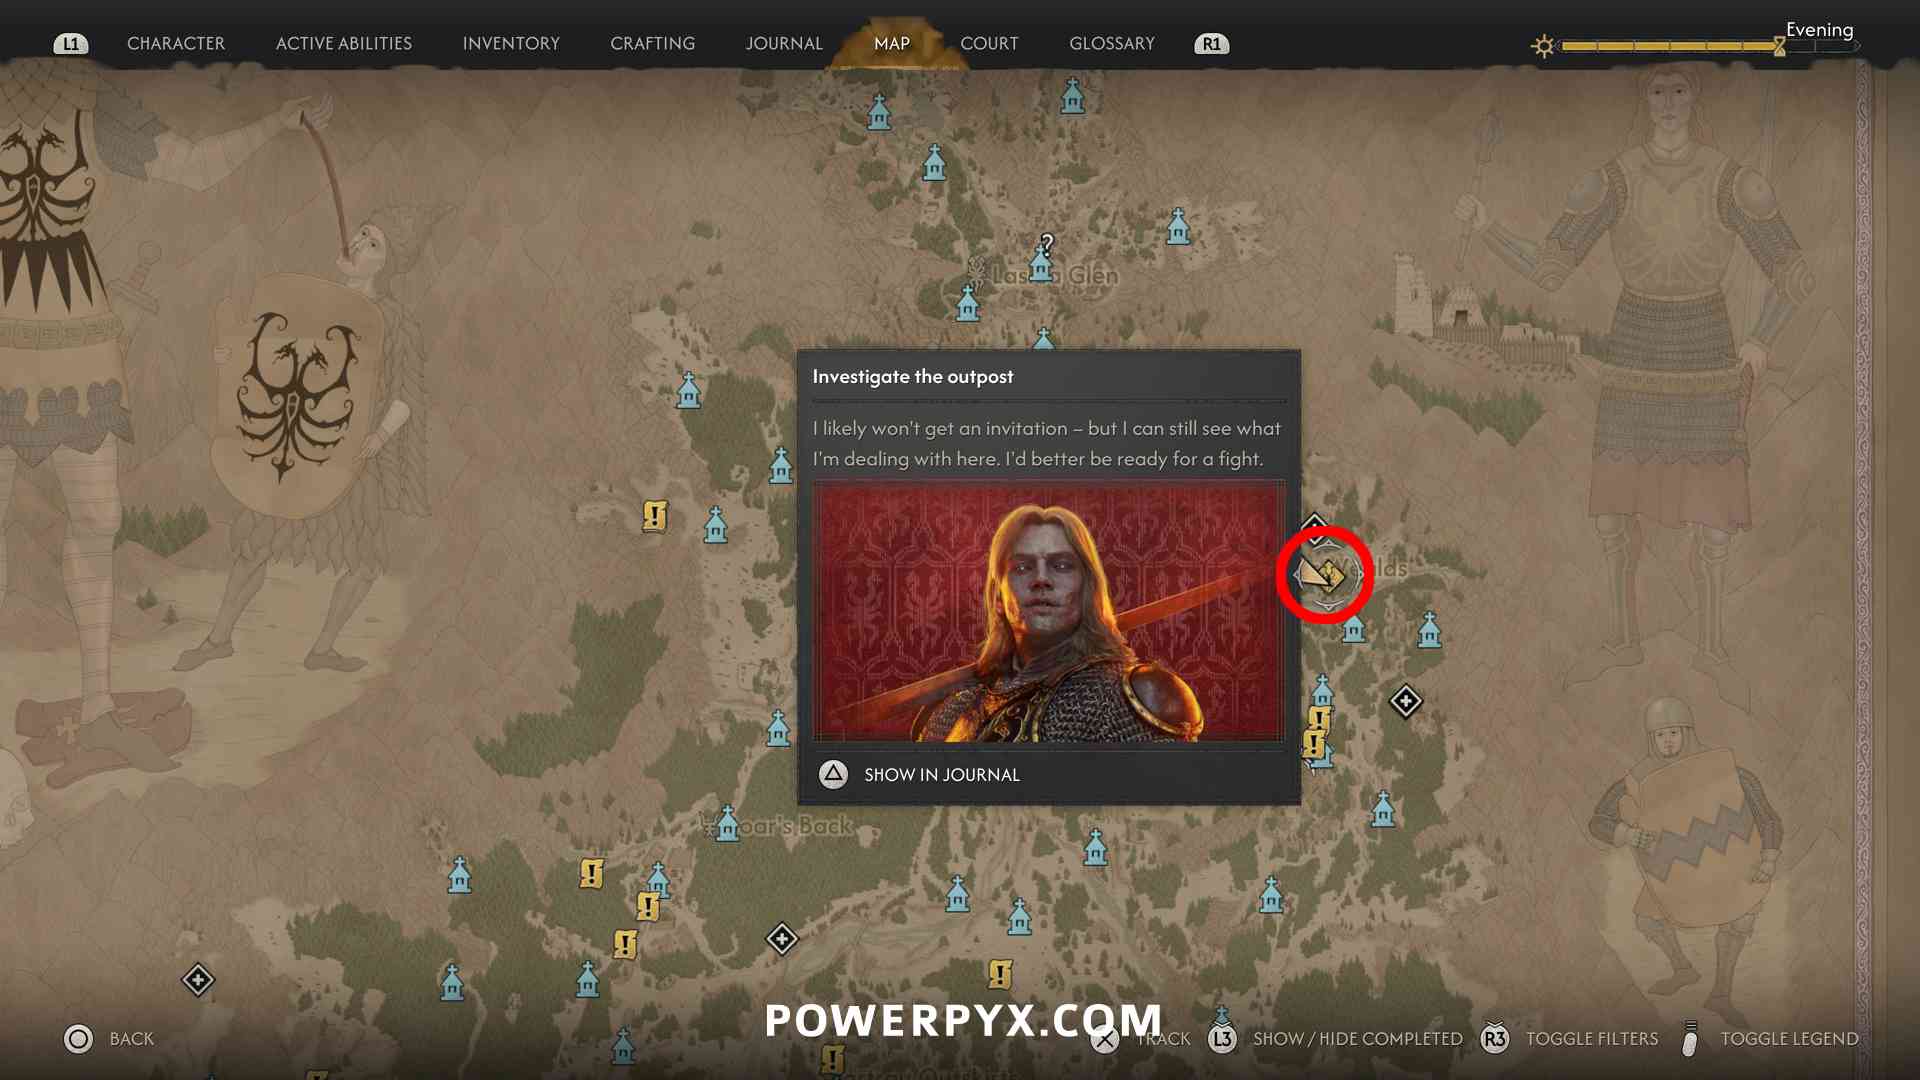

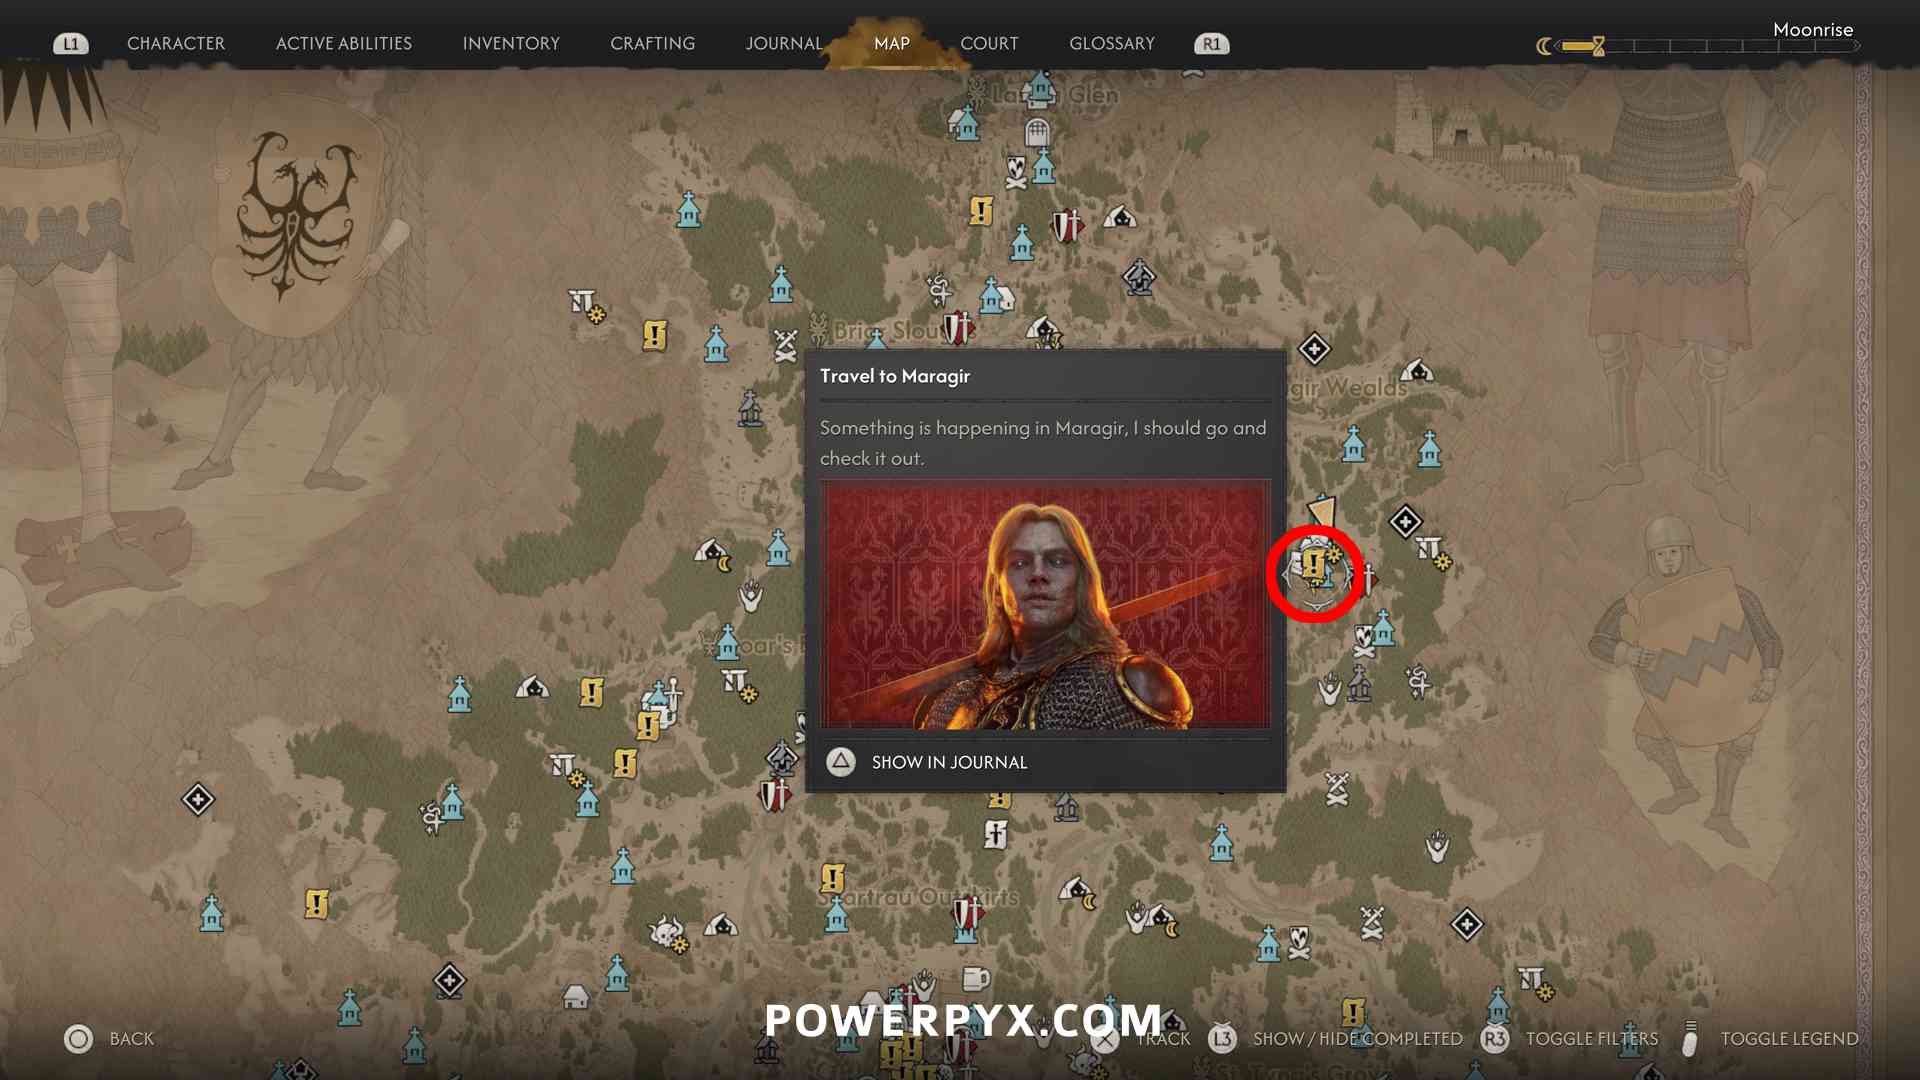
Ambrus Main Quests

Step 4: Bakir (Level 20+)
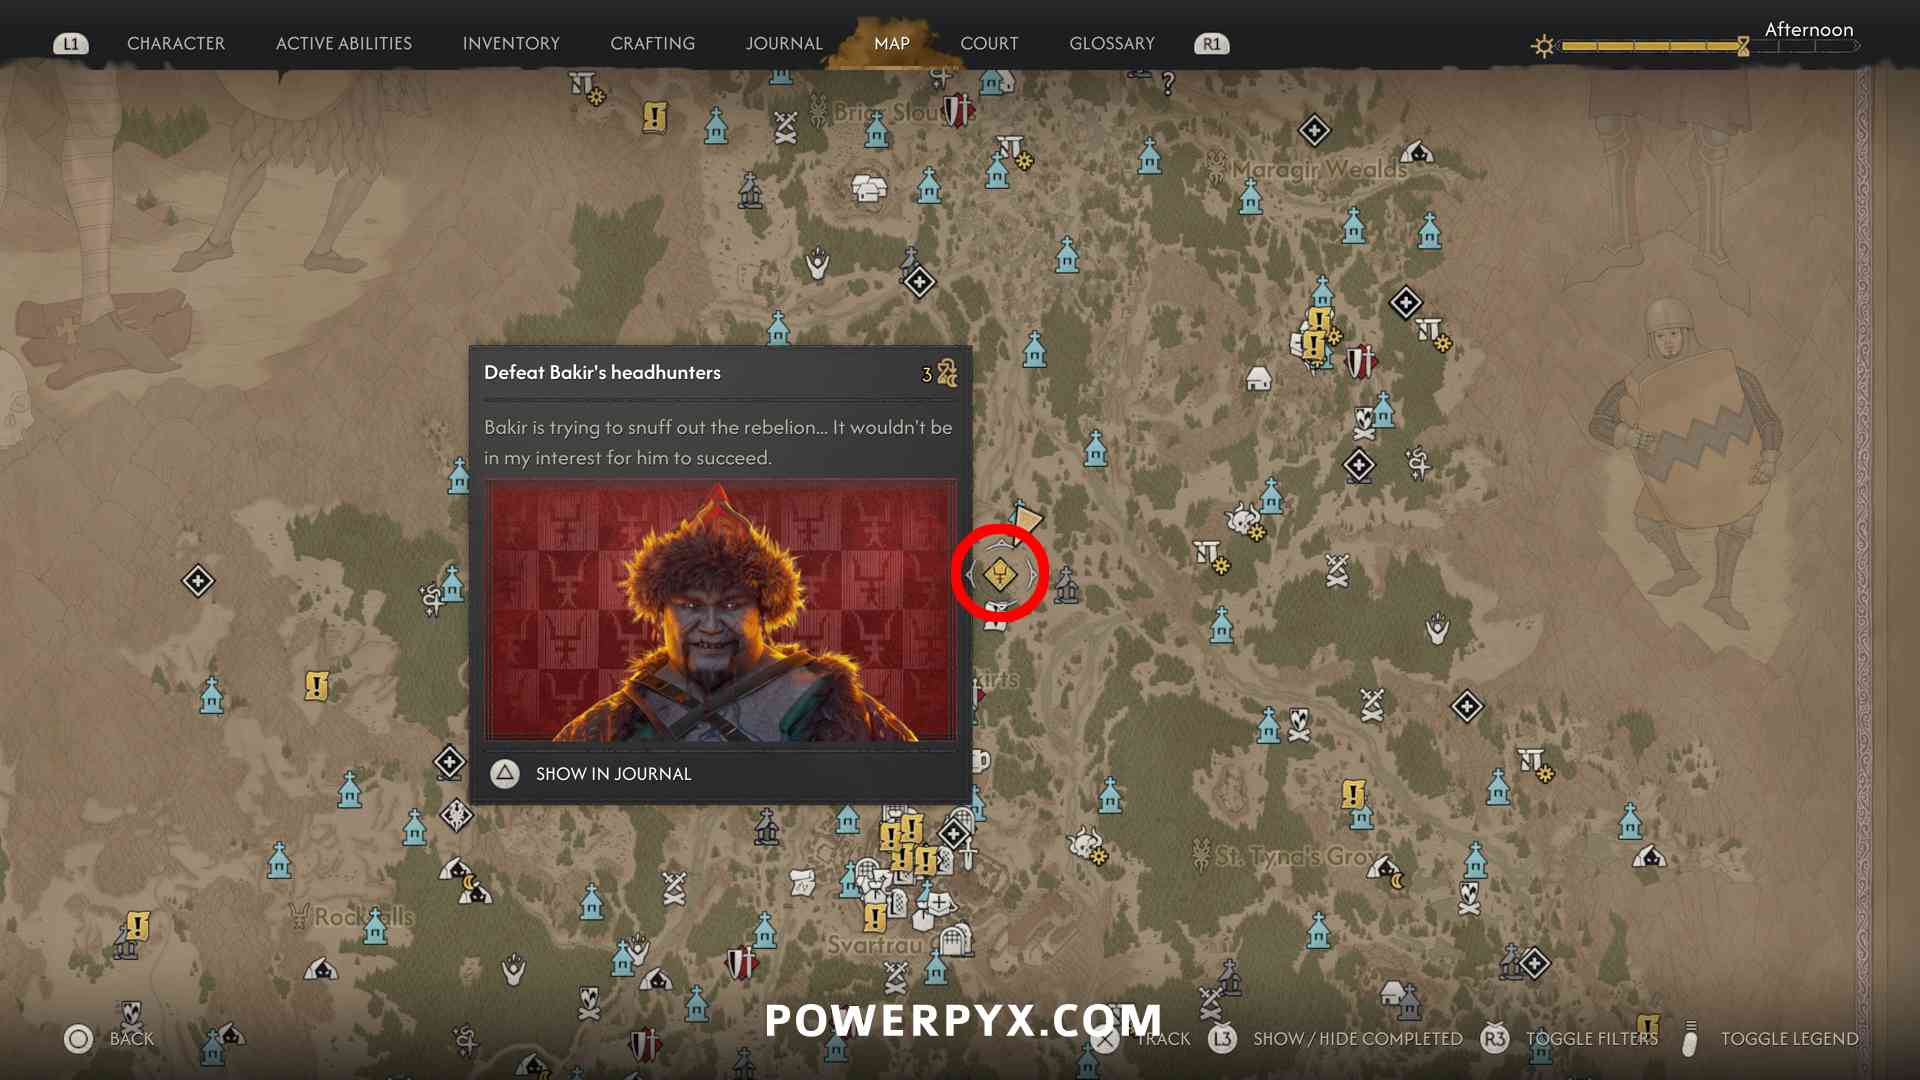
Rebel Hunters
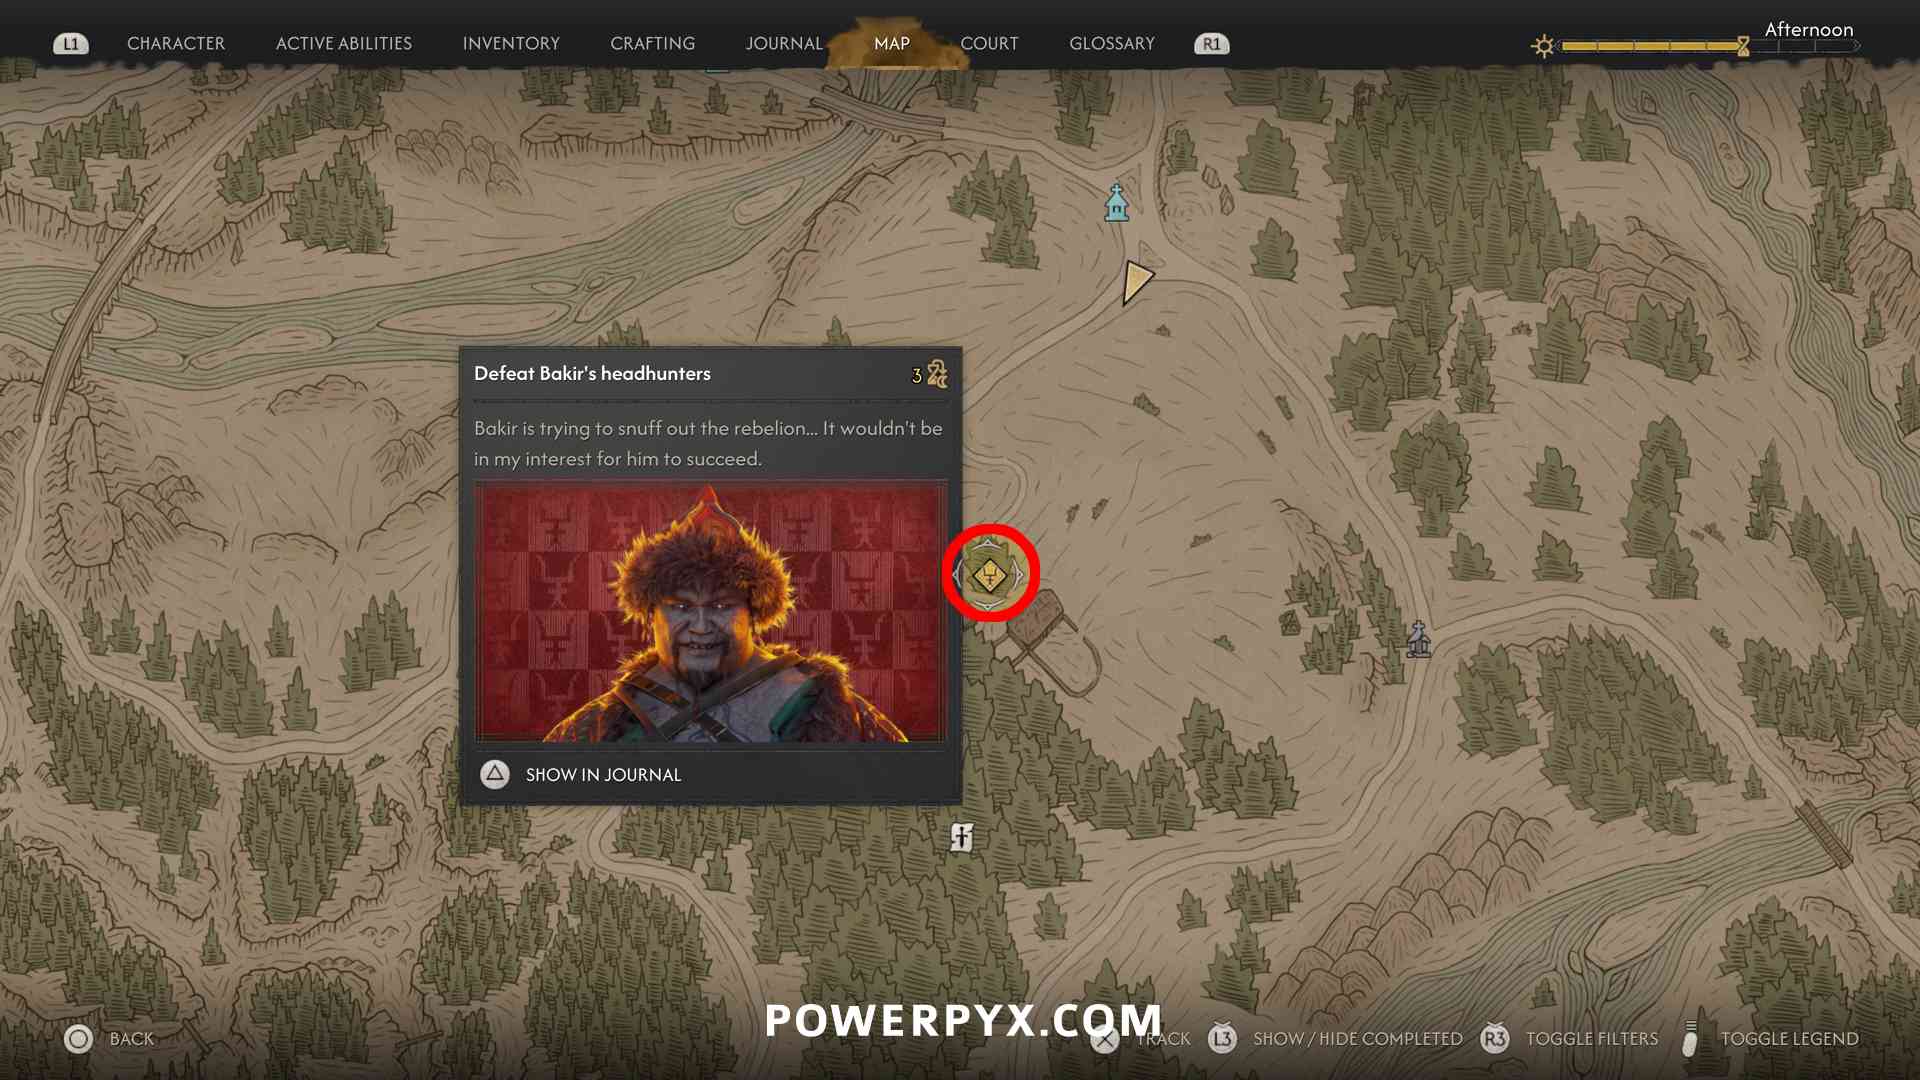
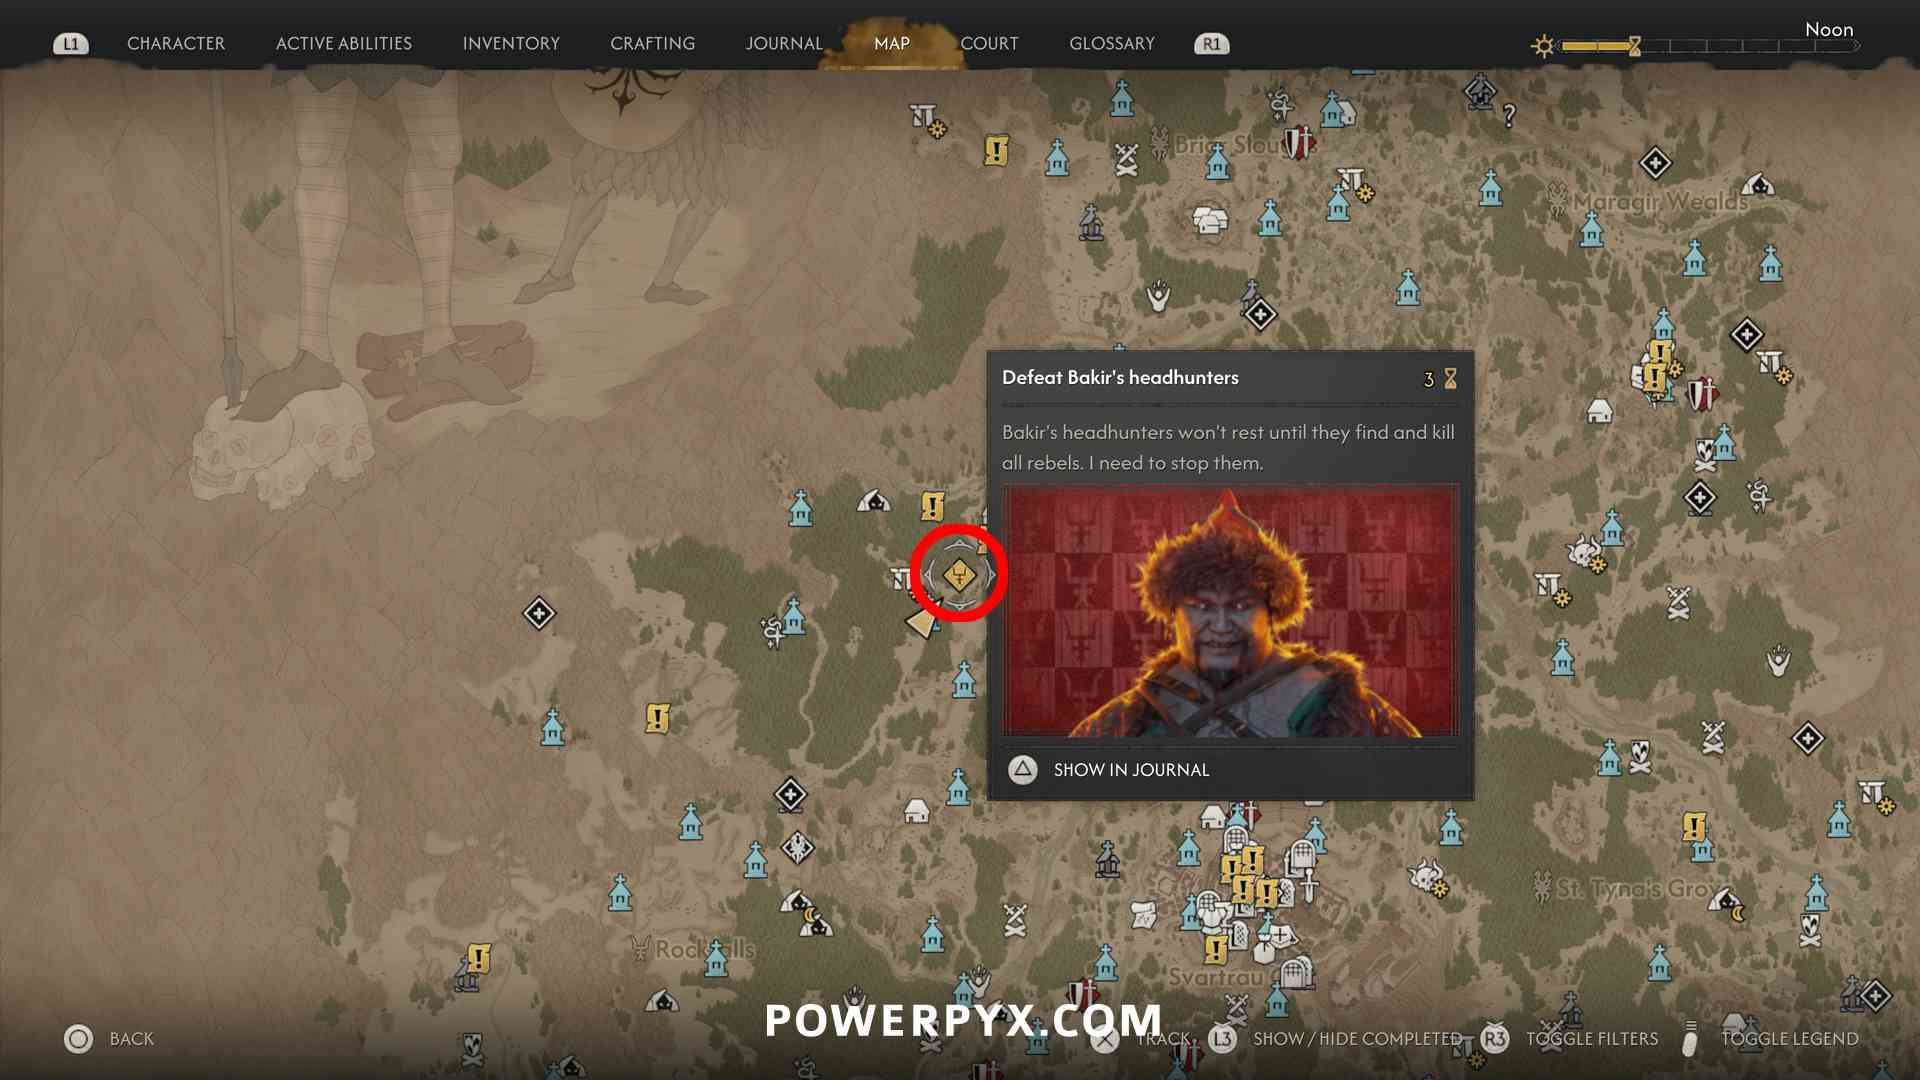
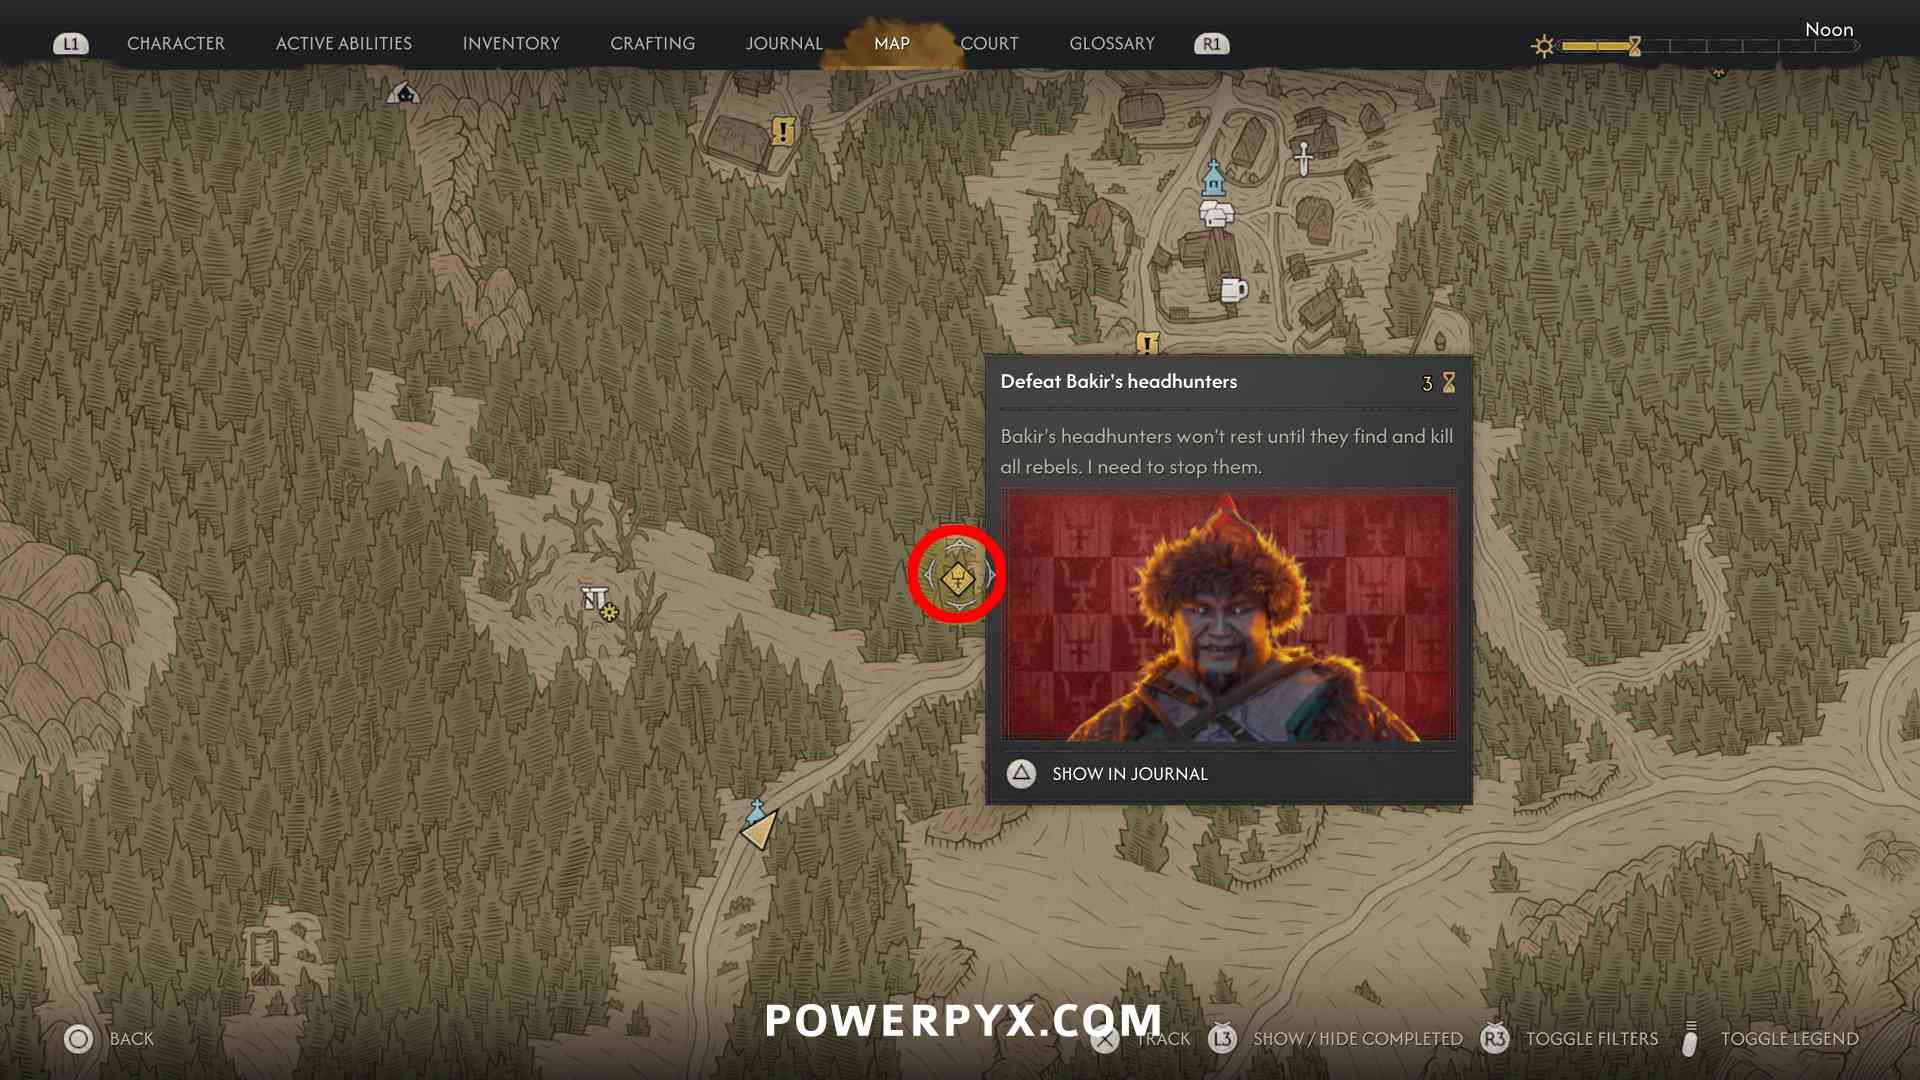
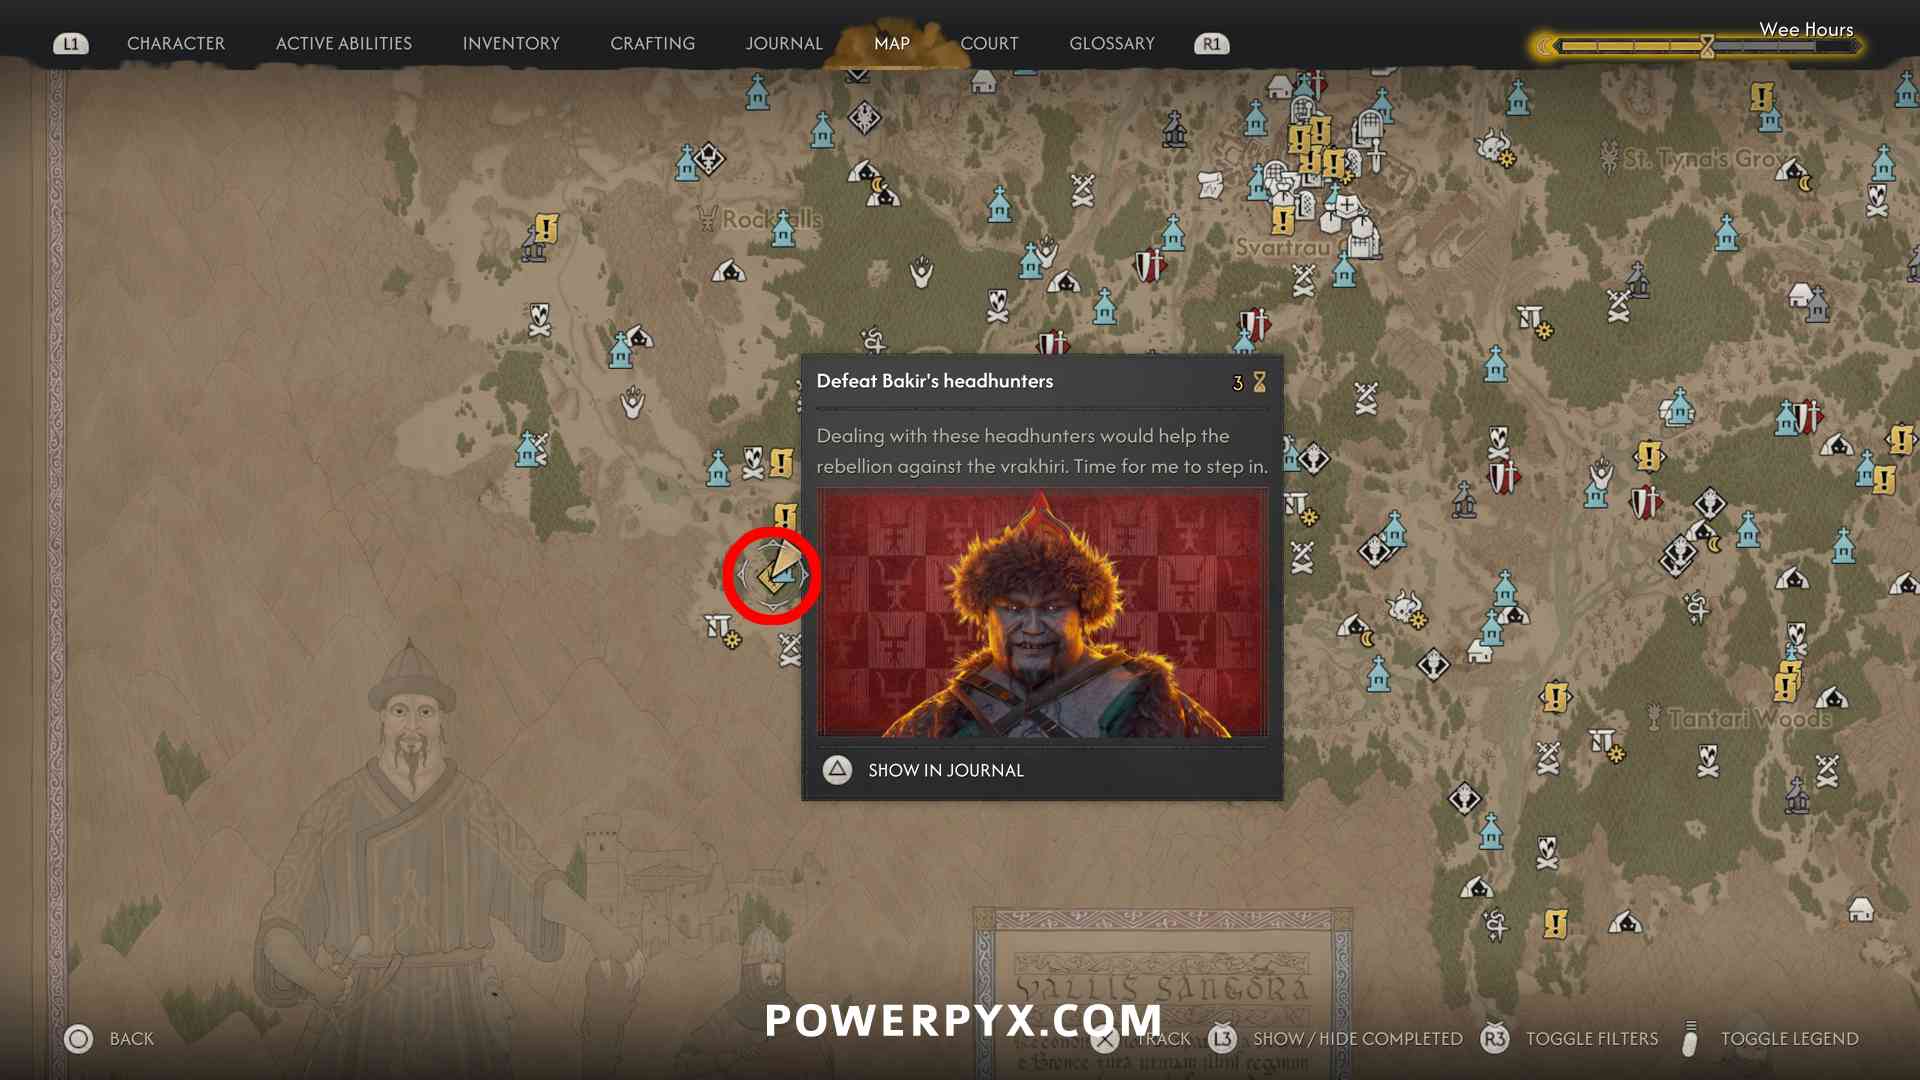
- Bakir’s Headhunters: Matter of Honour – defeat the enemies in front of the house, can ask them to duel but you’ll always fight them all (3 time segments)

- Bakir’s Headhunters: Silent to the Grave – defeat the enemies in the backyard behind the hut in the woods. You can also compel the body there, then drop down into the well and loot the book there to finish the sub-quest “Bakir’s Headhunters: Secret Stash”. (3 time segments)

- Bakir’s Headhunters: Smoke Them Out – defeat the enemies (3 time segments)



Payoff Transports
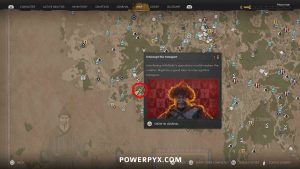
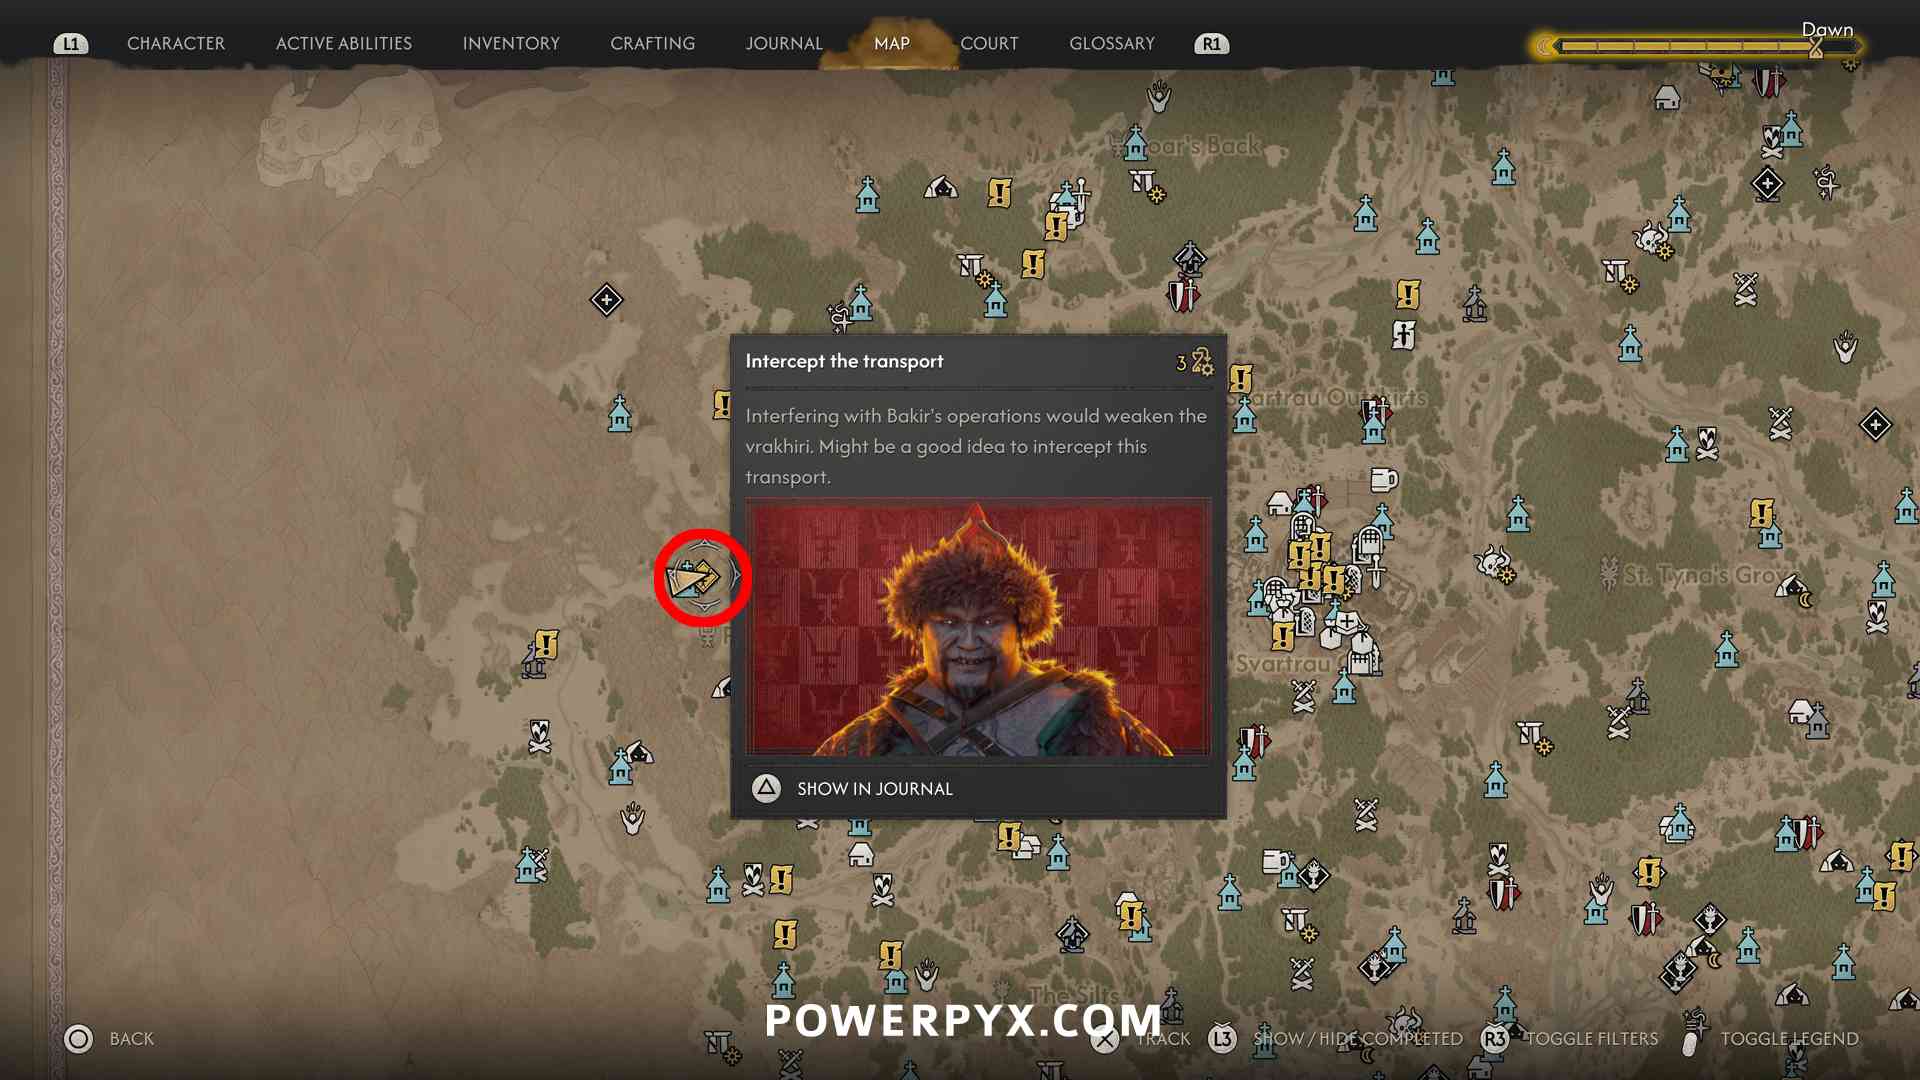
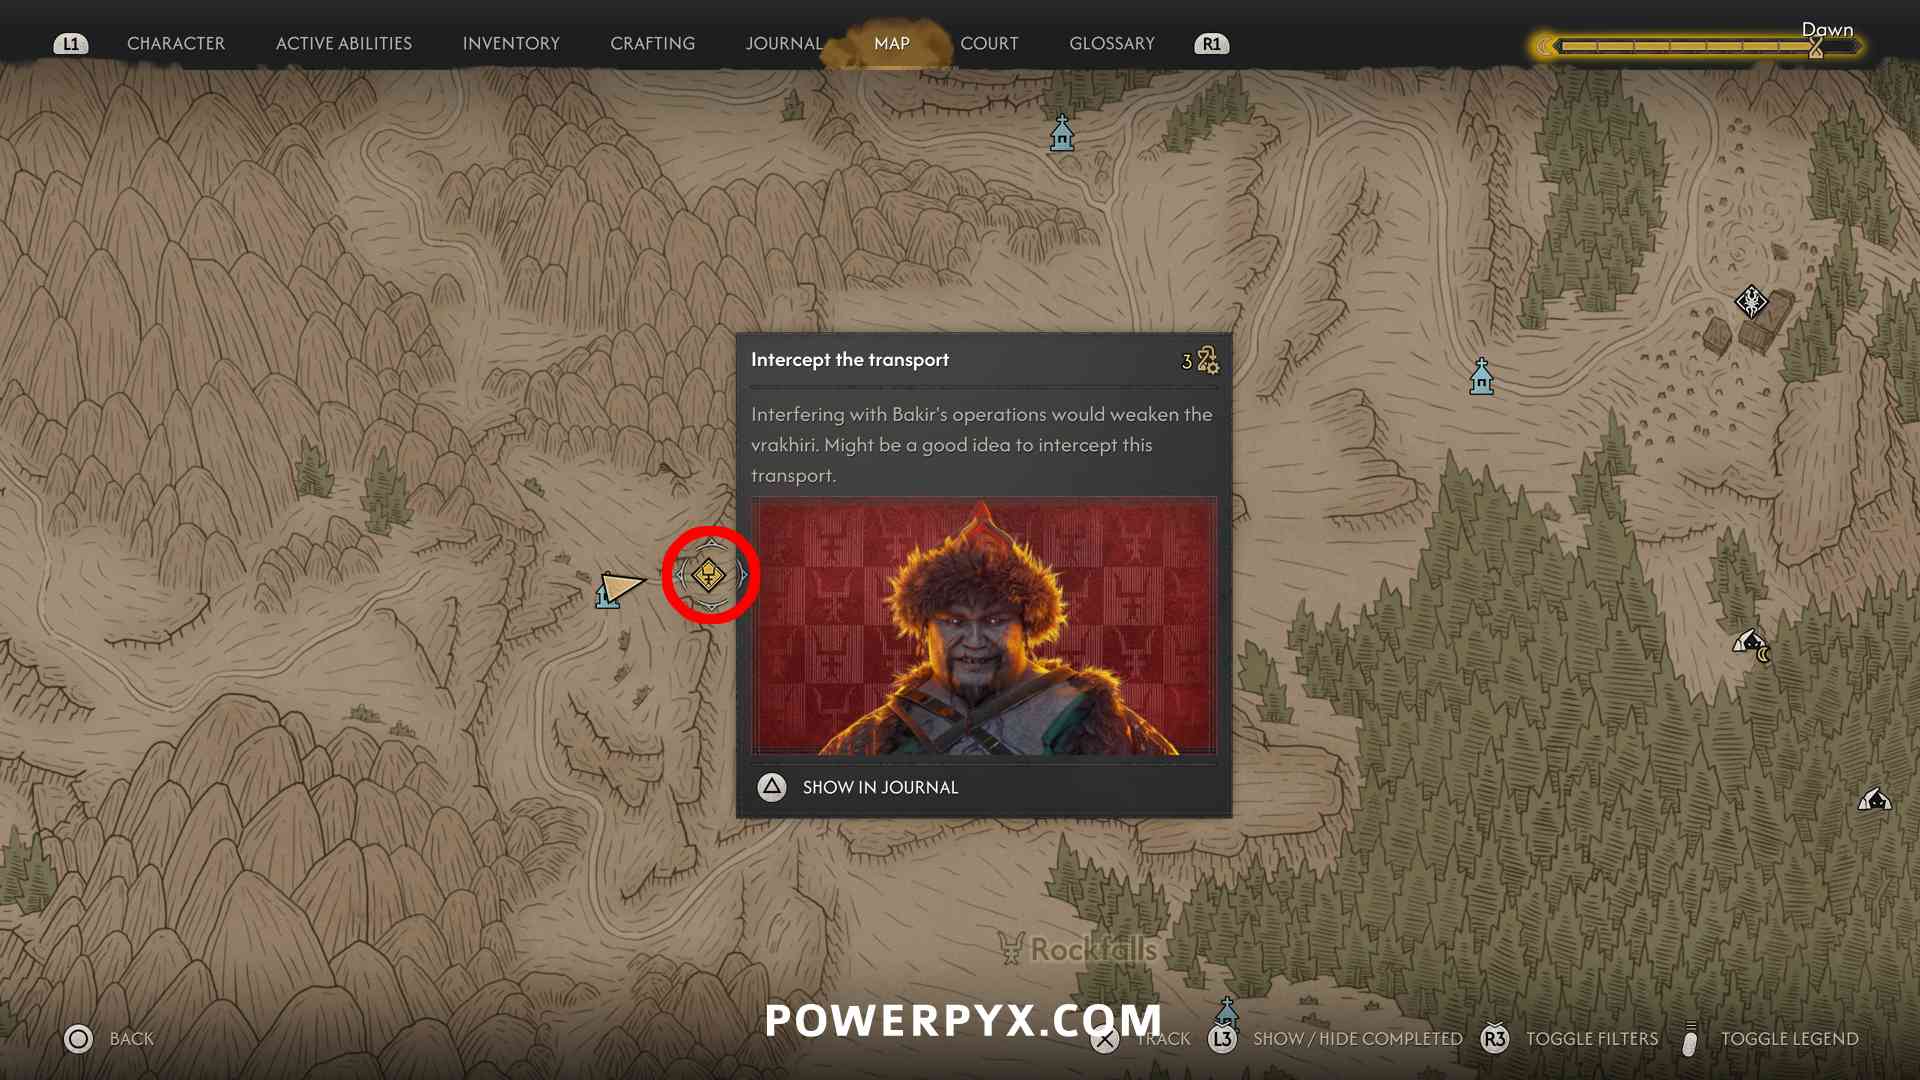
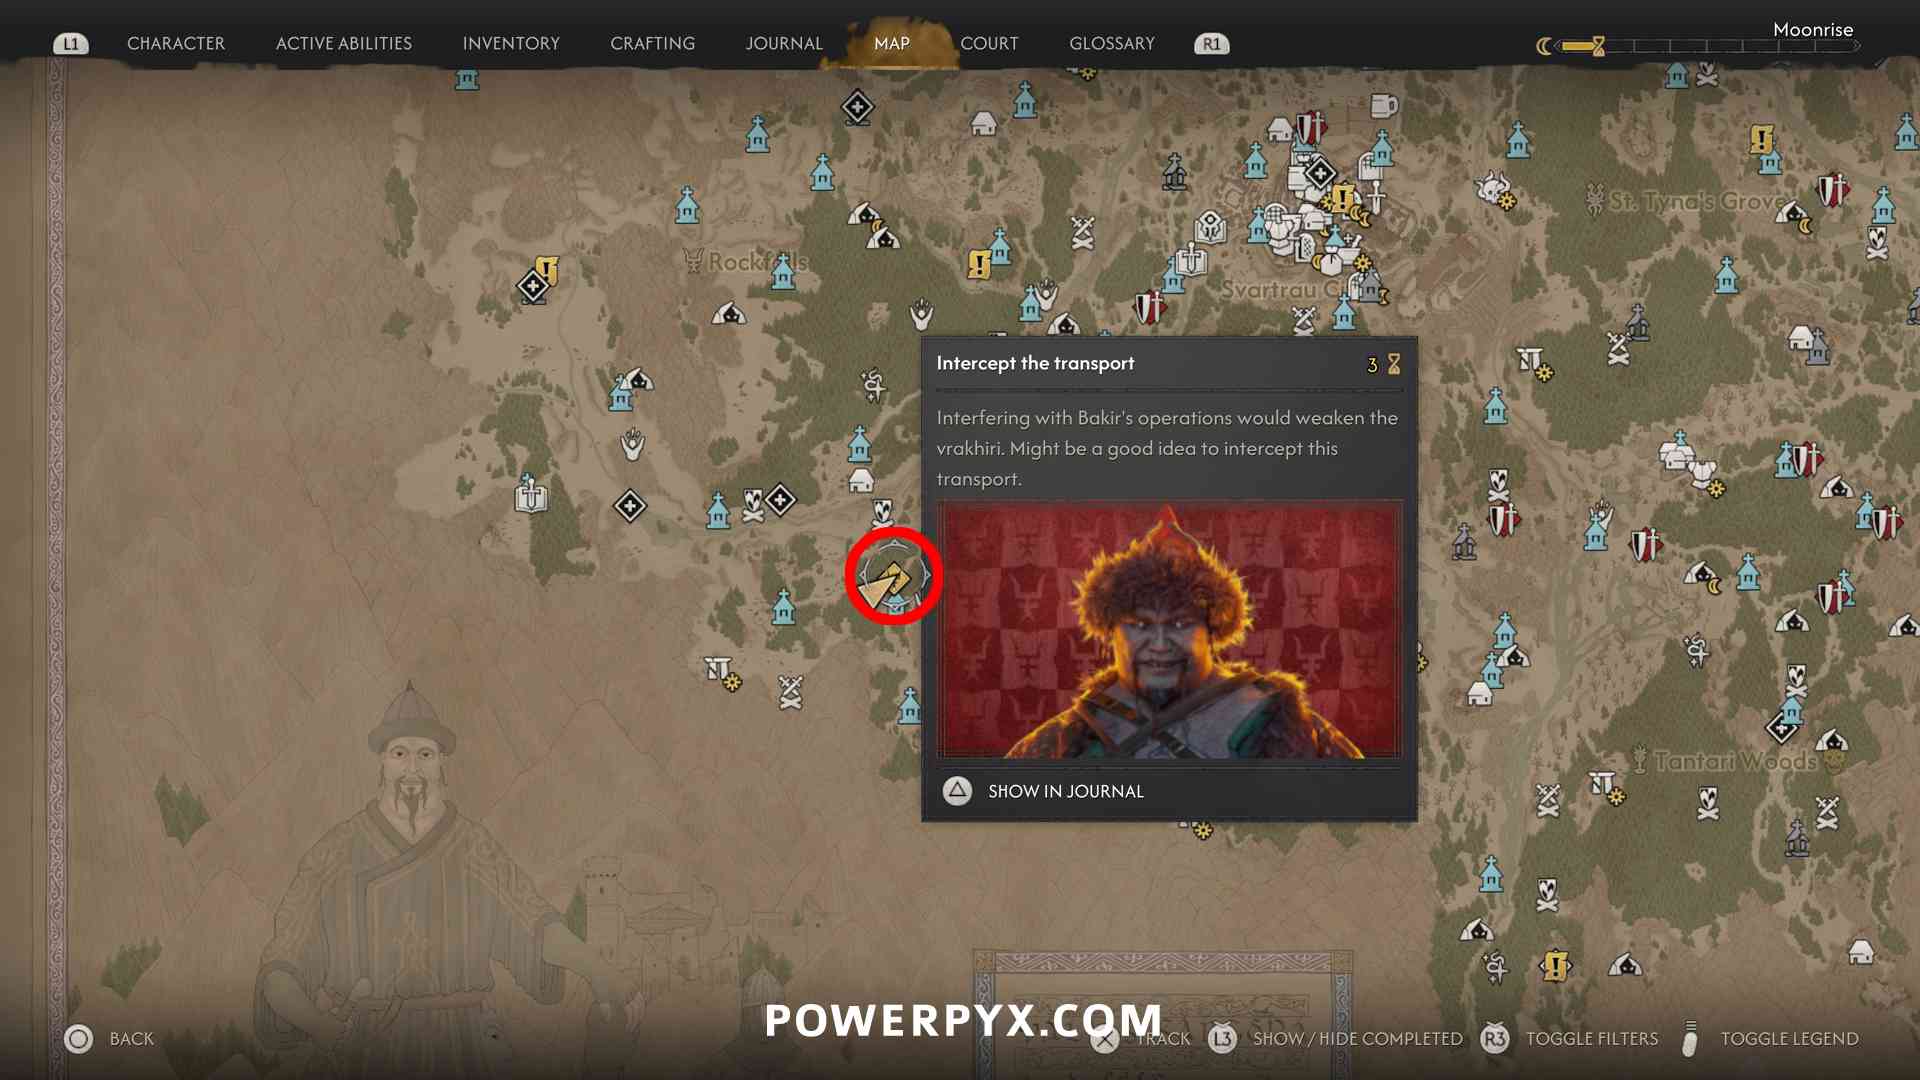
- Bakir’s Transports: Curious Shipment – defeat the enemies walking along the road (3 time segments)


- Bakir’s Transports: Fools’s Gold – defeat the enemies walking along the road (3 time segments). If you let the soldiers go afterward they hand you a treasure map that triggers the sub-quest “Bakir’s Transports: Ill-Gotten Gains”.

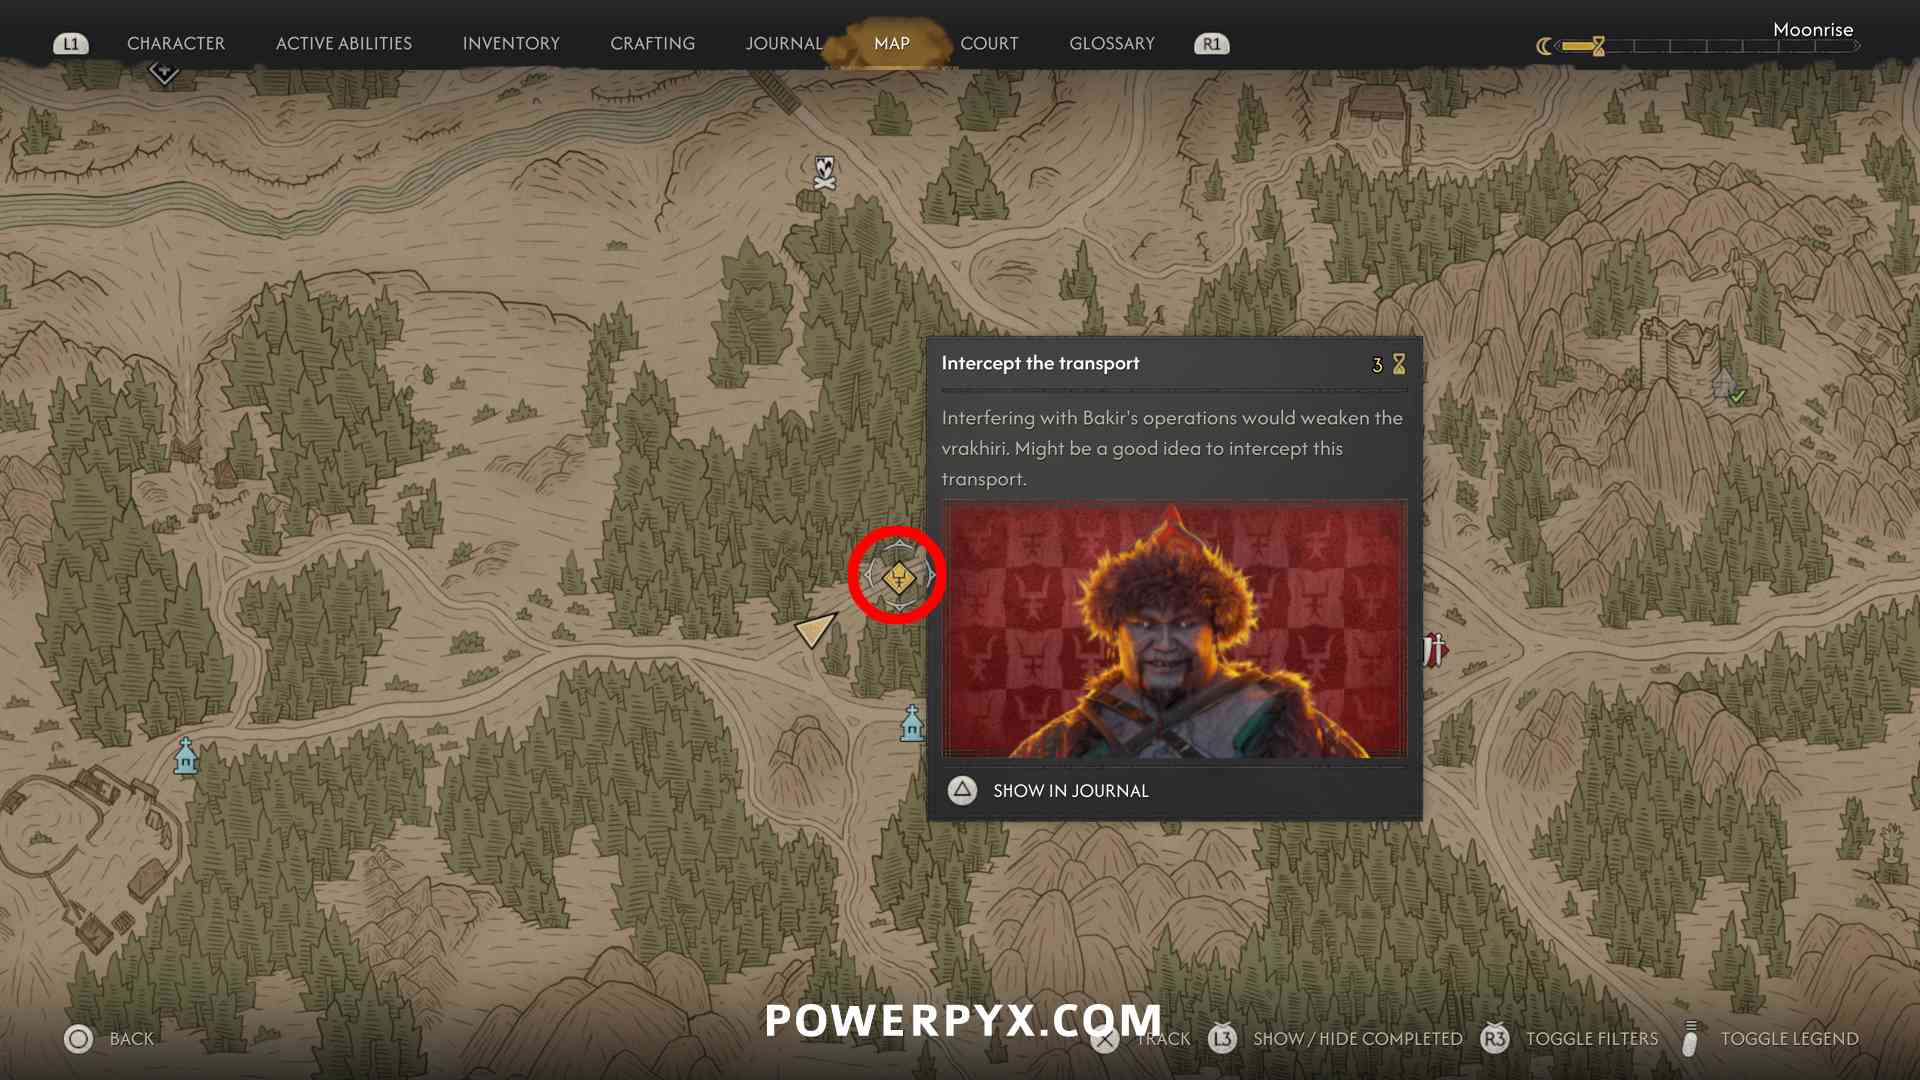
Distilleries
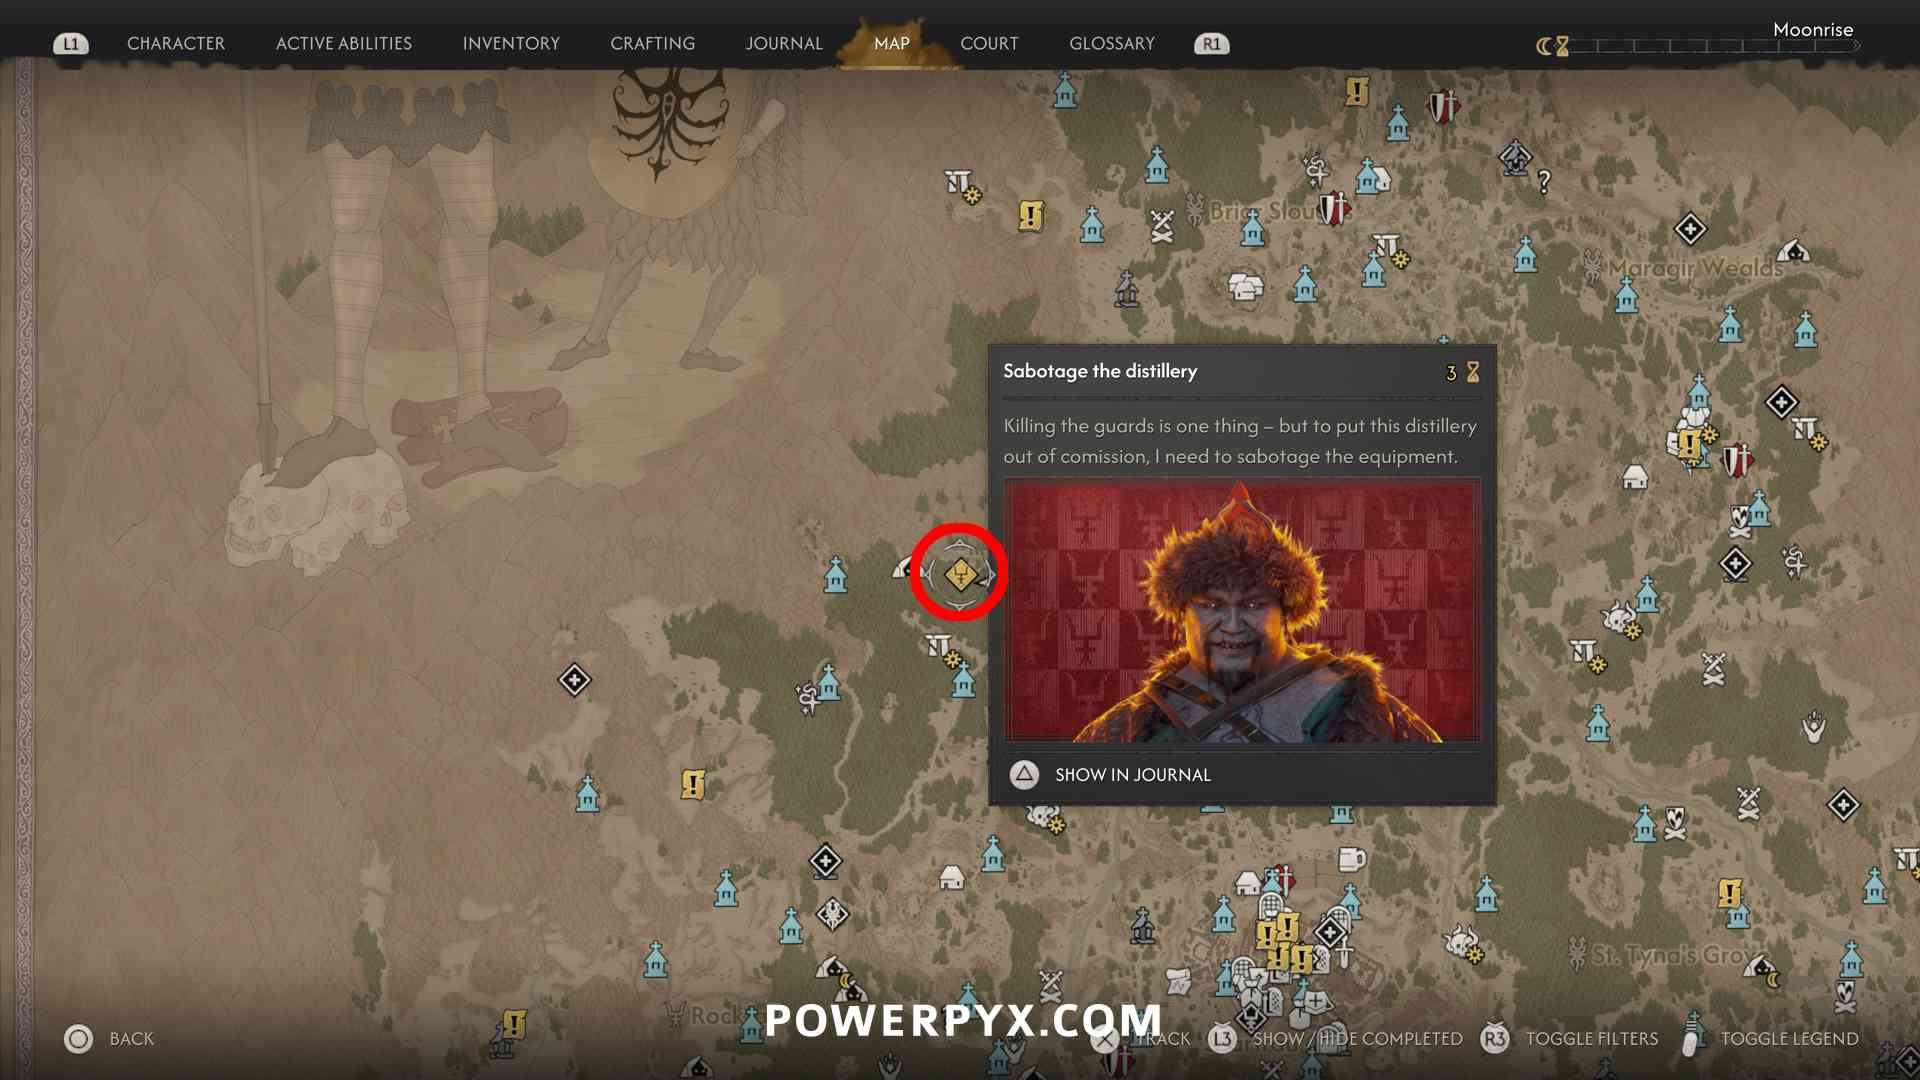
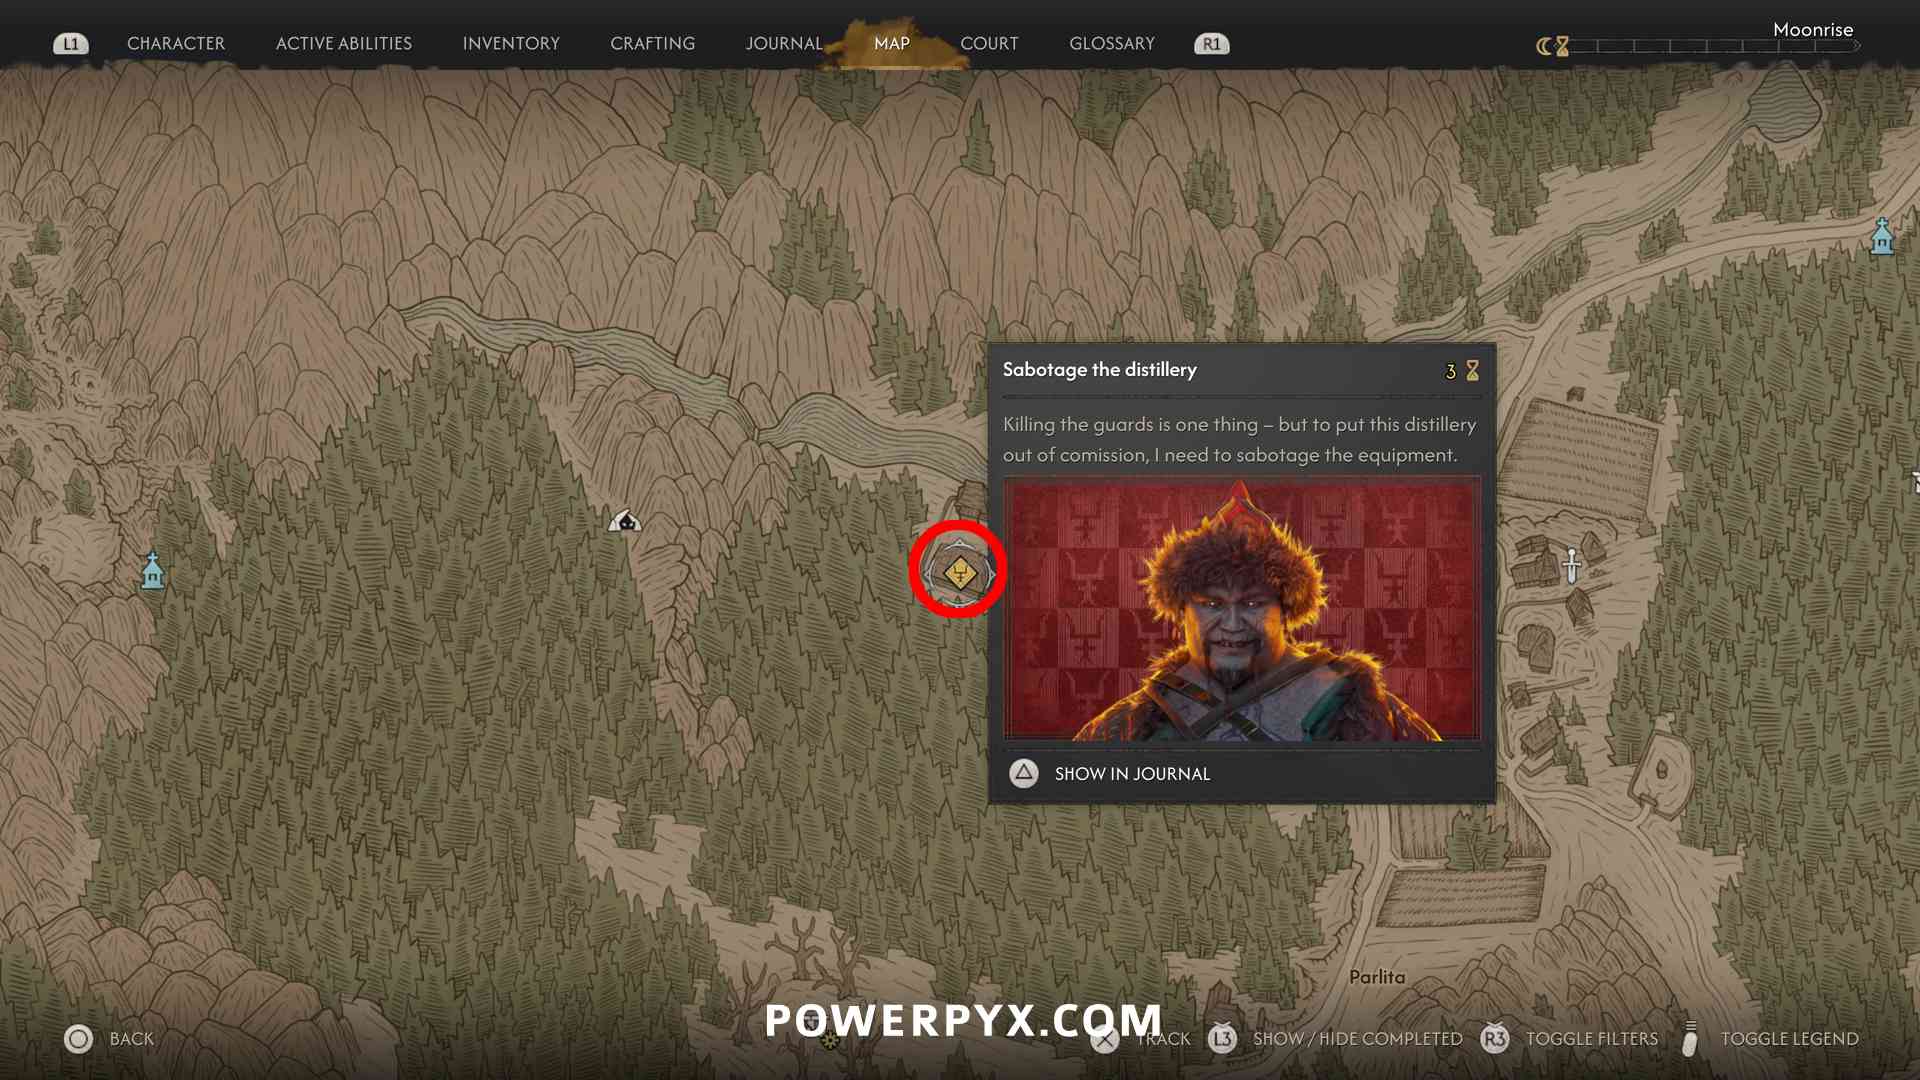
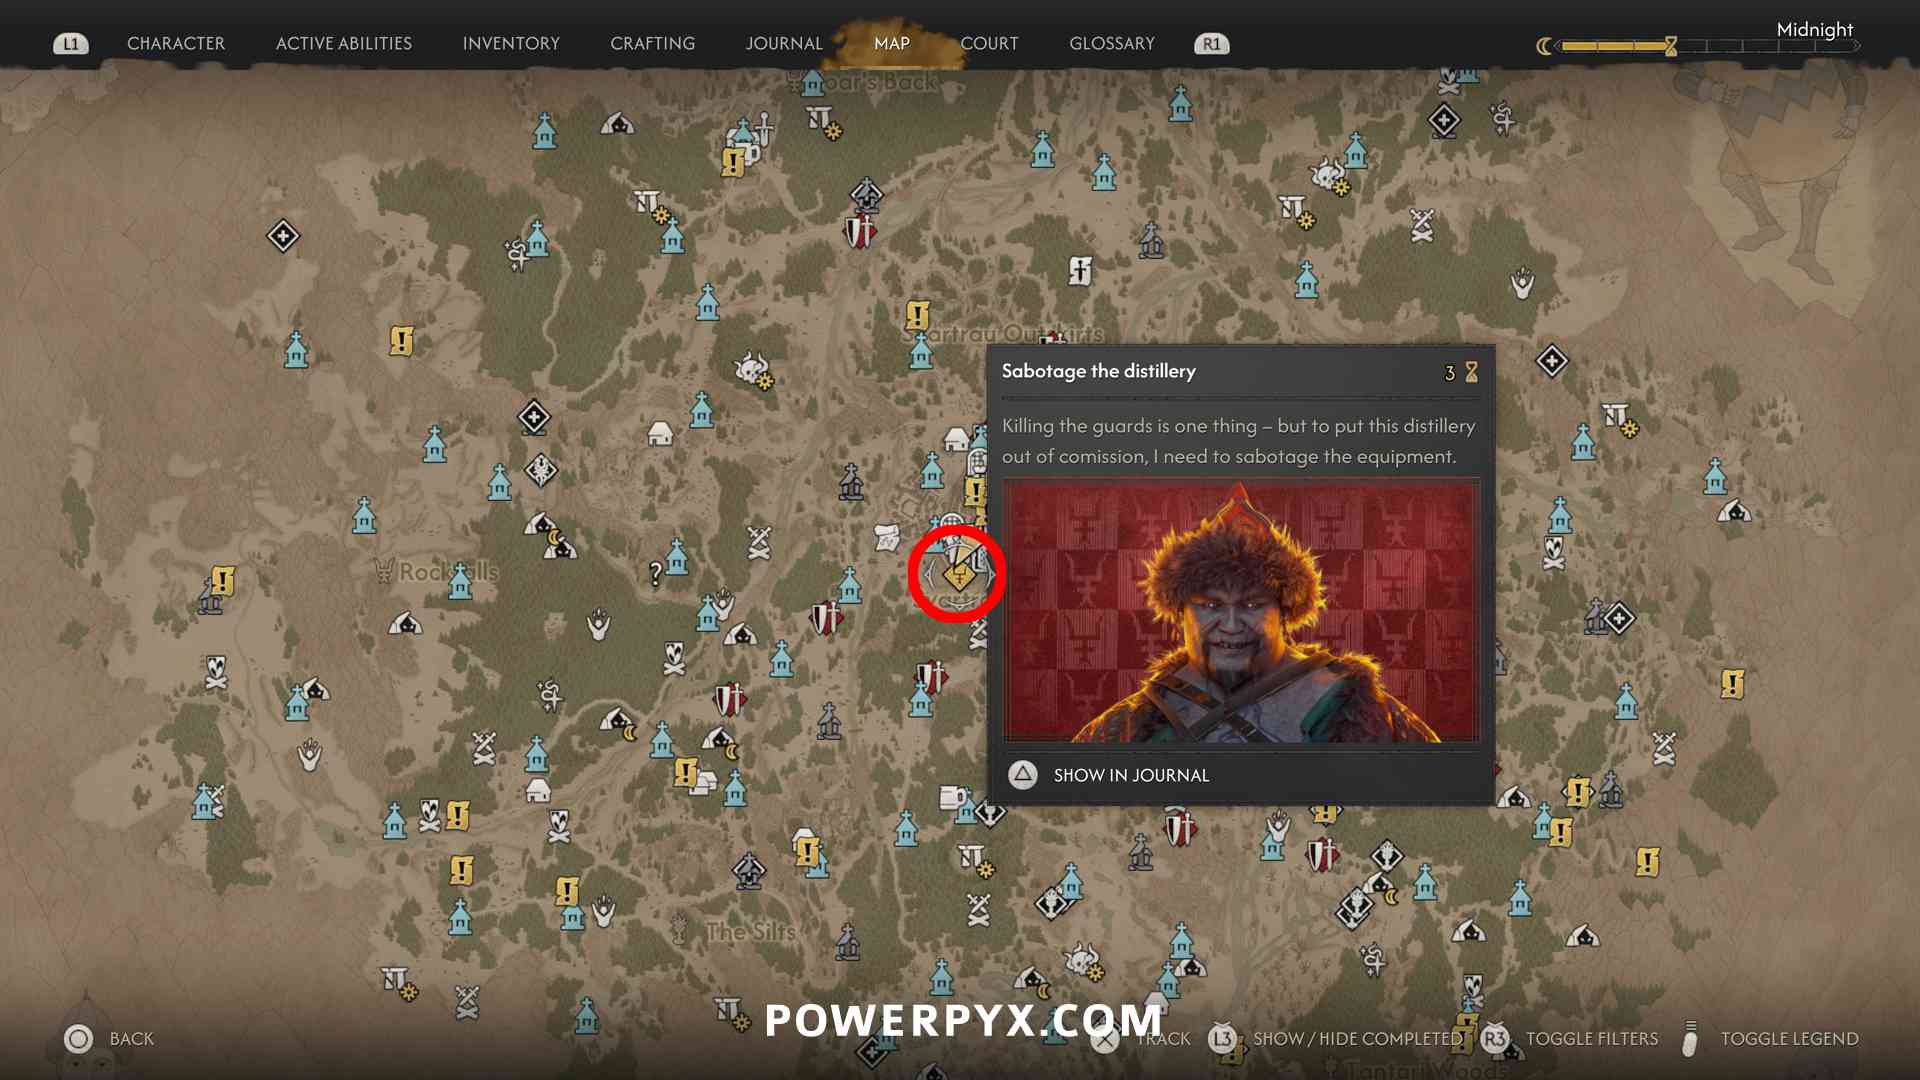
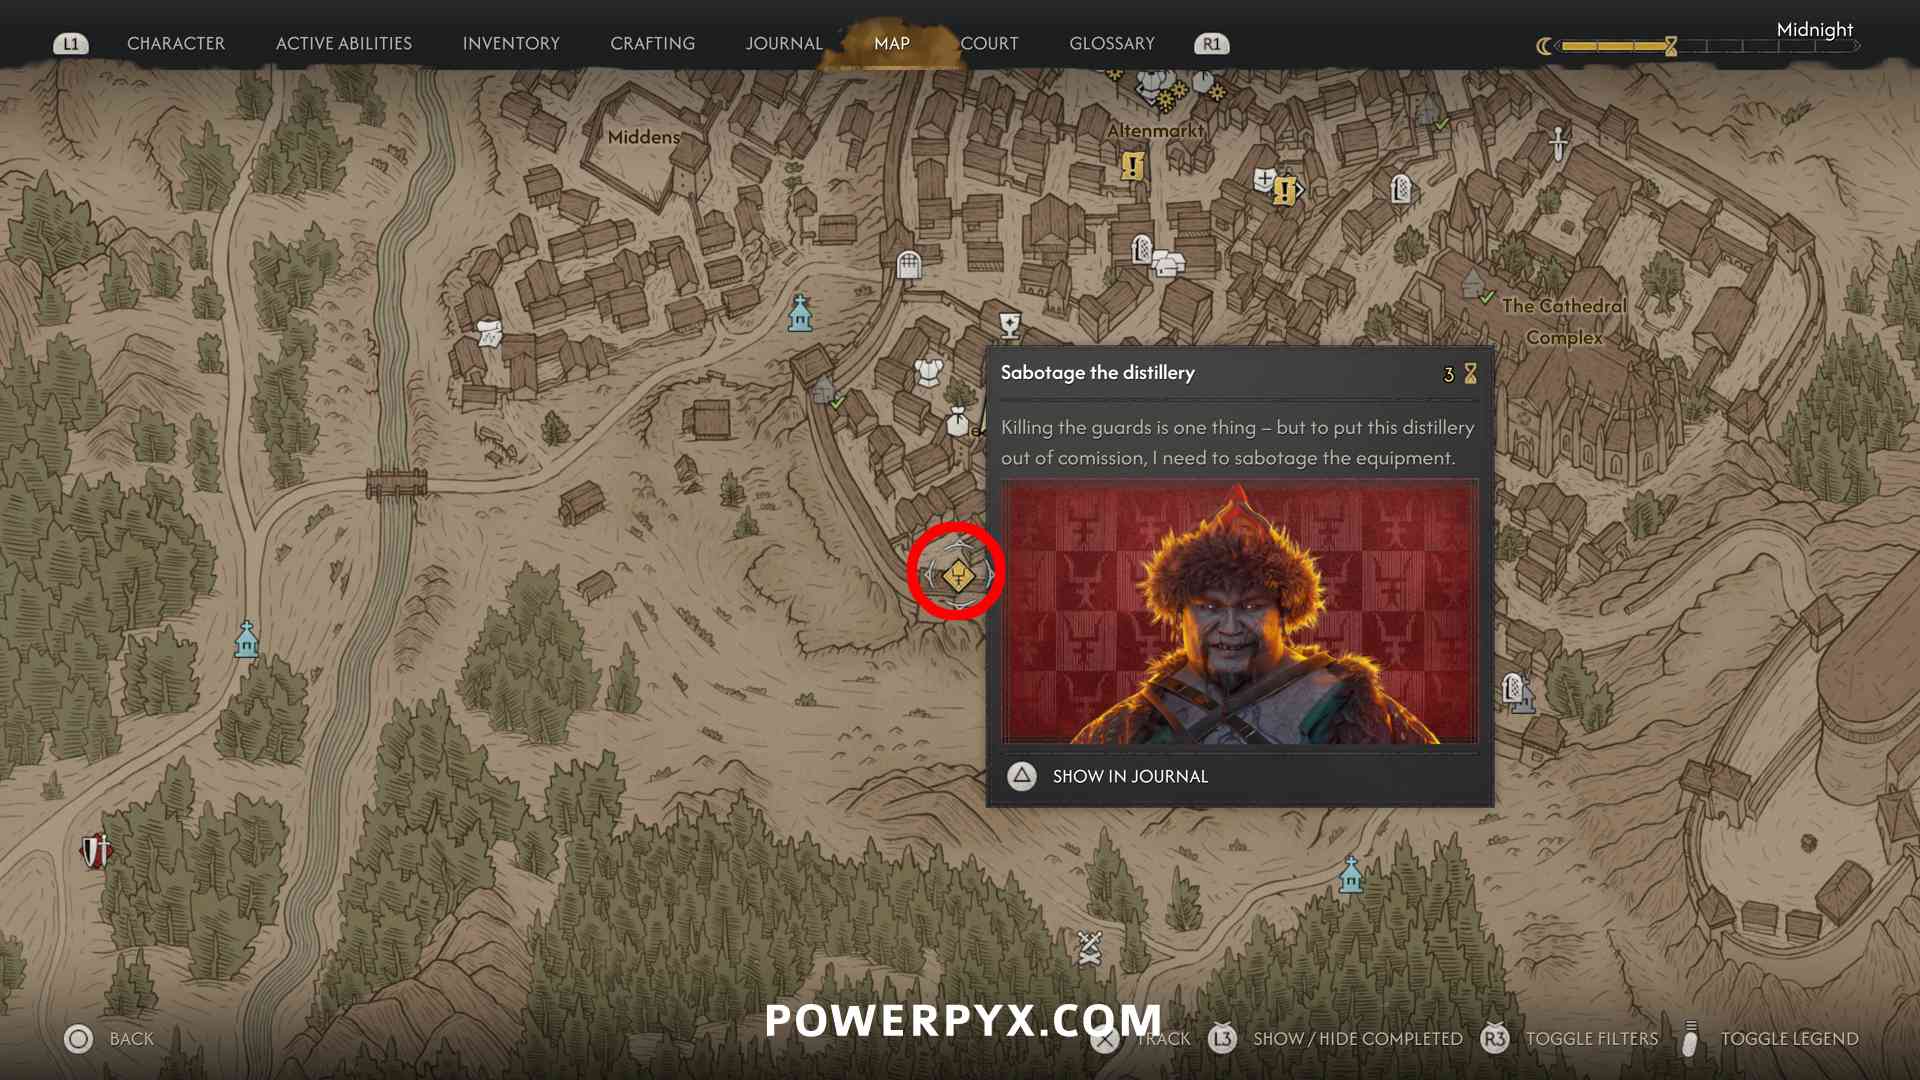
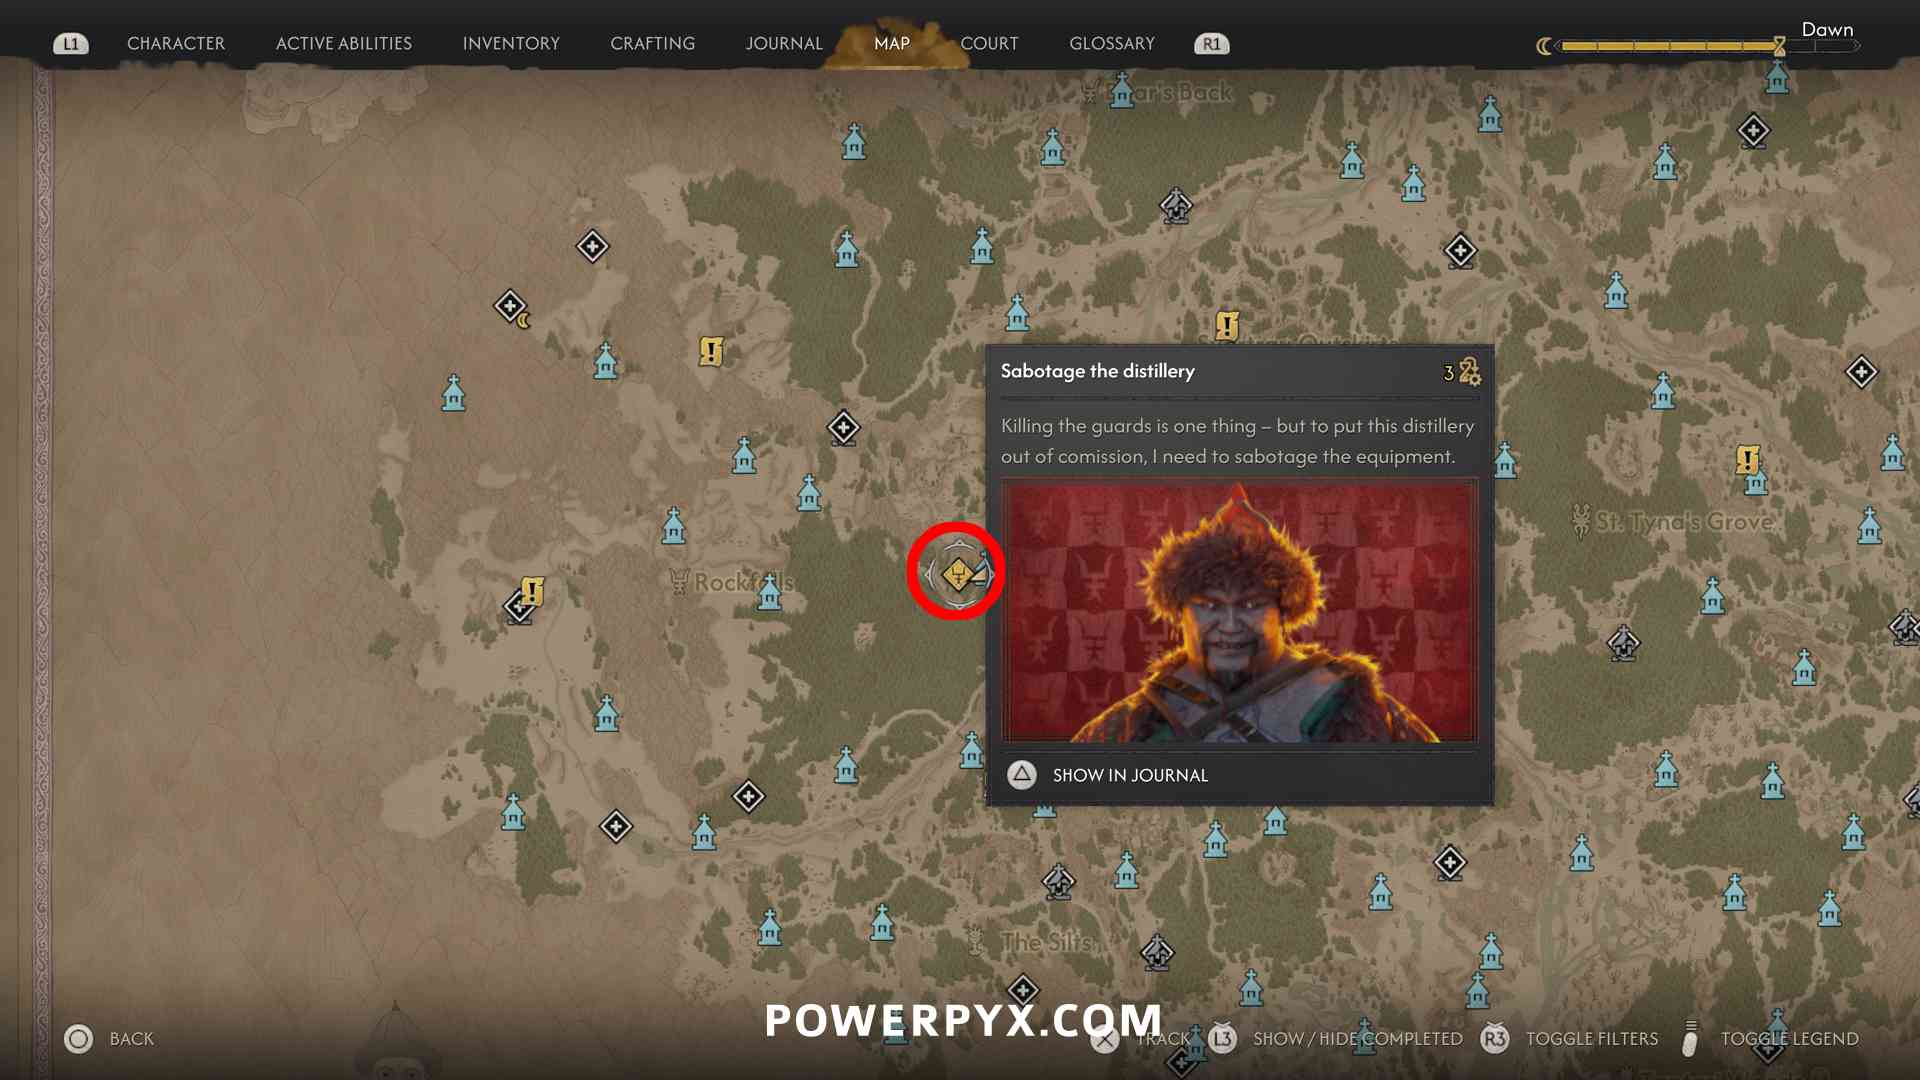
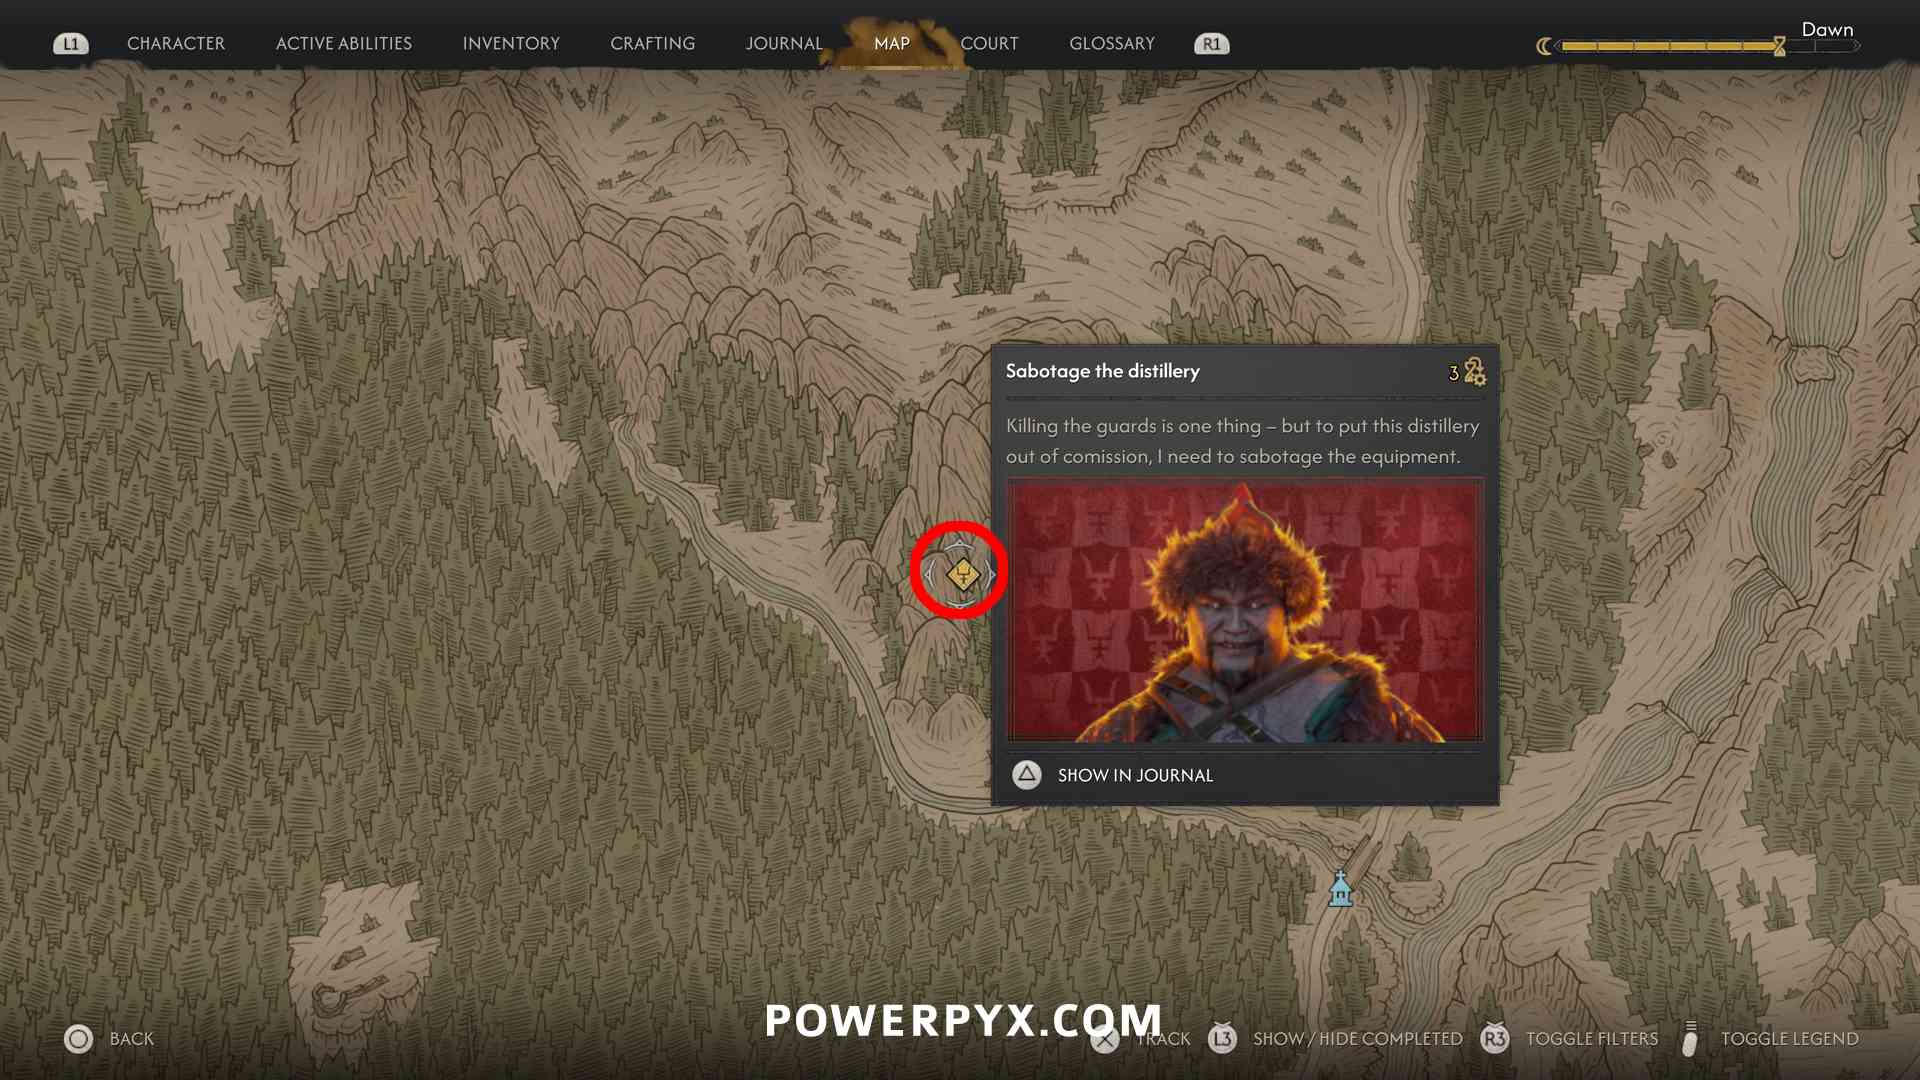
- Bakir’s Distilleries: Ends and Means – defeat the enemies in the yard, go into the barn and destroy the distillery. (3 time segments)

- Bakir’s Distilleries: Coercion and Duress – defeat the enemies in the yard, then interact with the distillery to destroy it. (3 time segments)

- Bakir’s Distilleries: Offshoot – defeat the enemies in the forest, then interact with the distillery in the cave to destroy it. (3 time segments)

Pillories
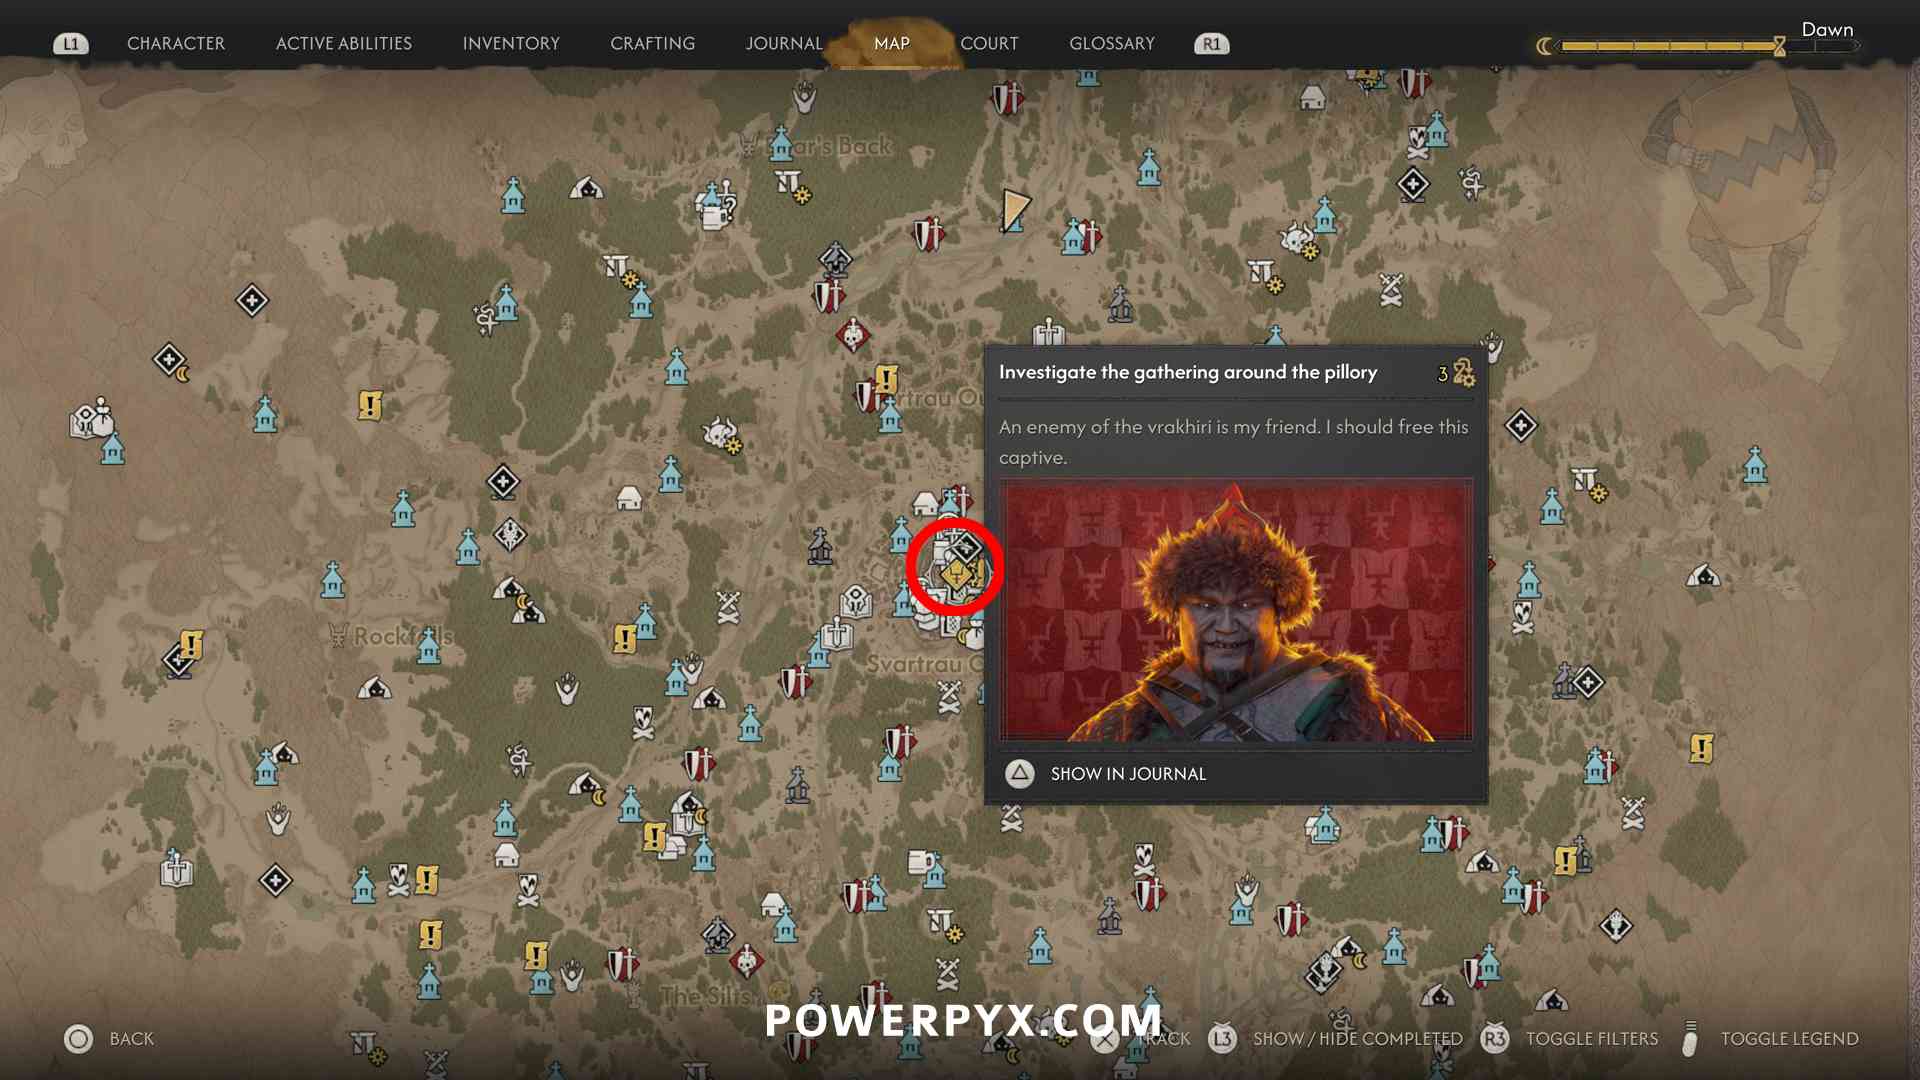
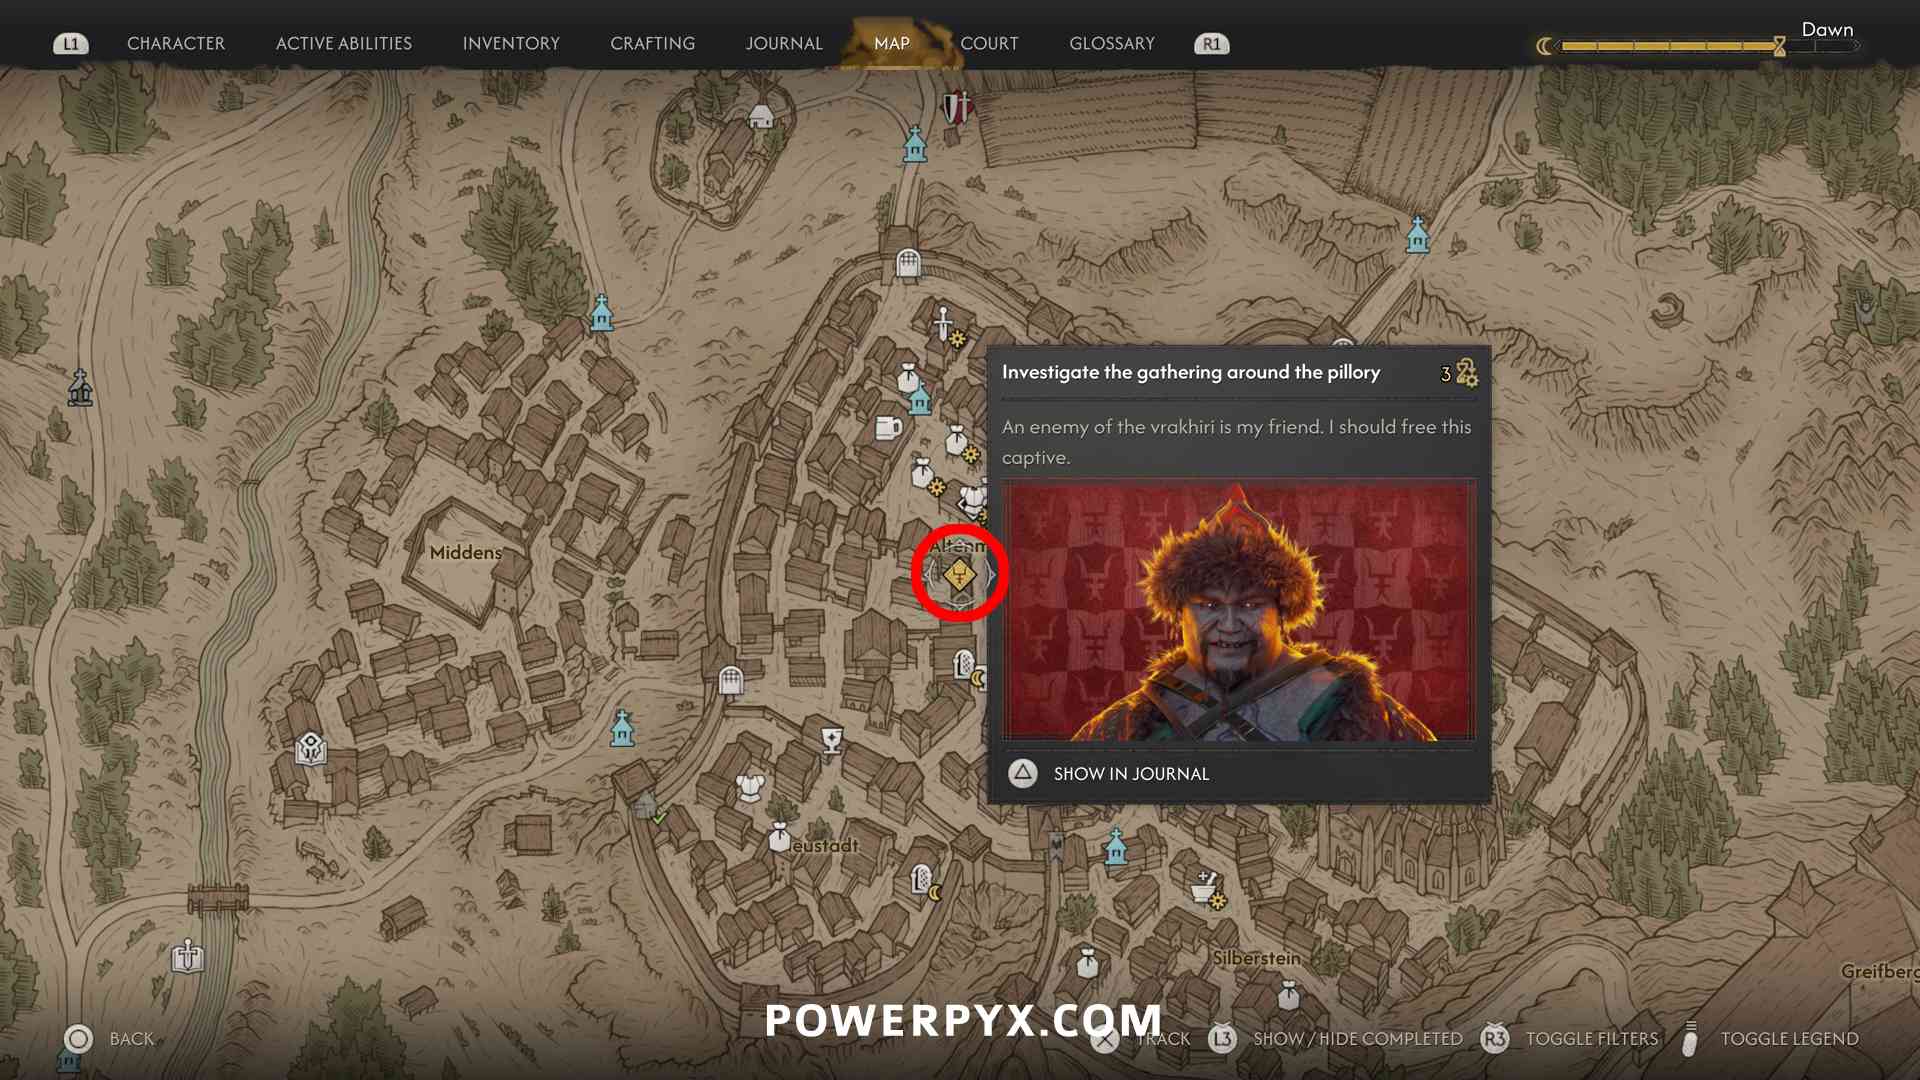
- Bakir’s Pillories: Out of Love – in the middle of Svartrau City, in a backyard you will find this pillory. Approach the man in the pillory and defeat the enemies. (3 time segments)
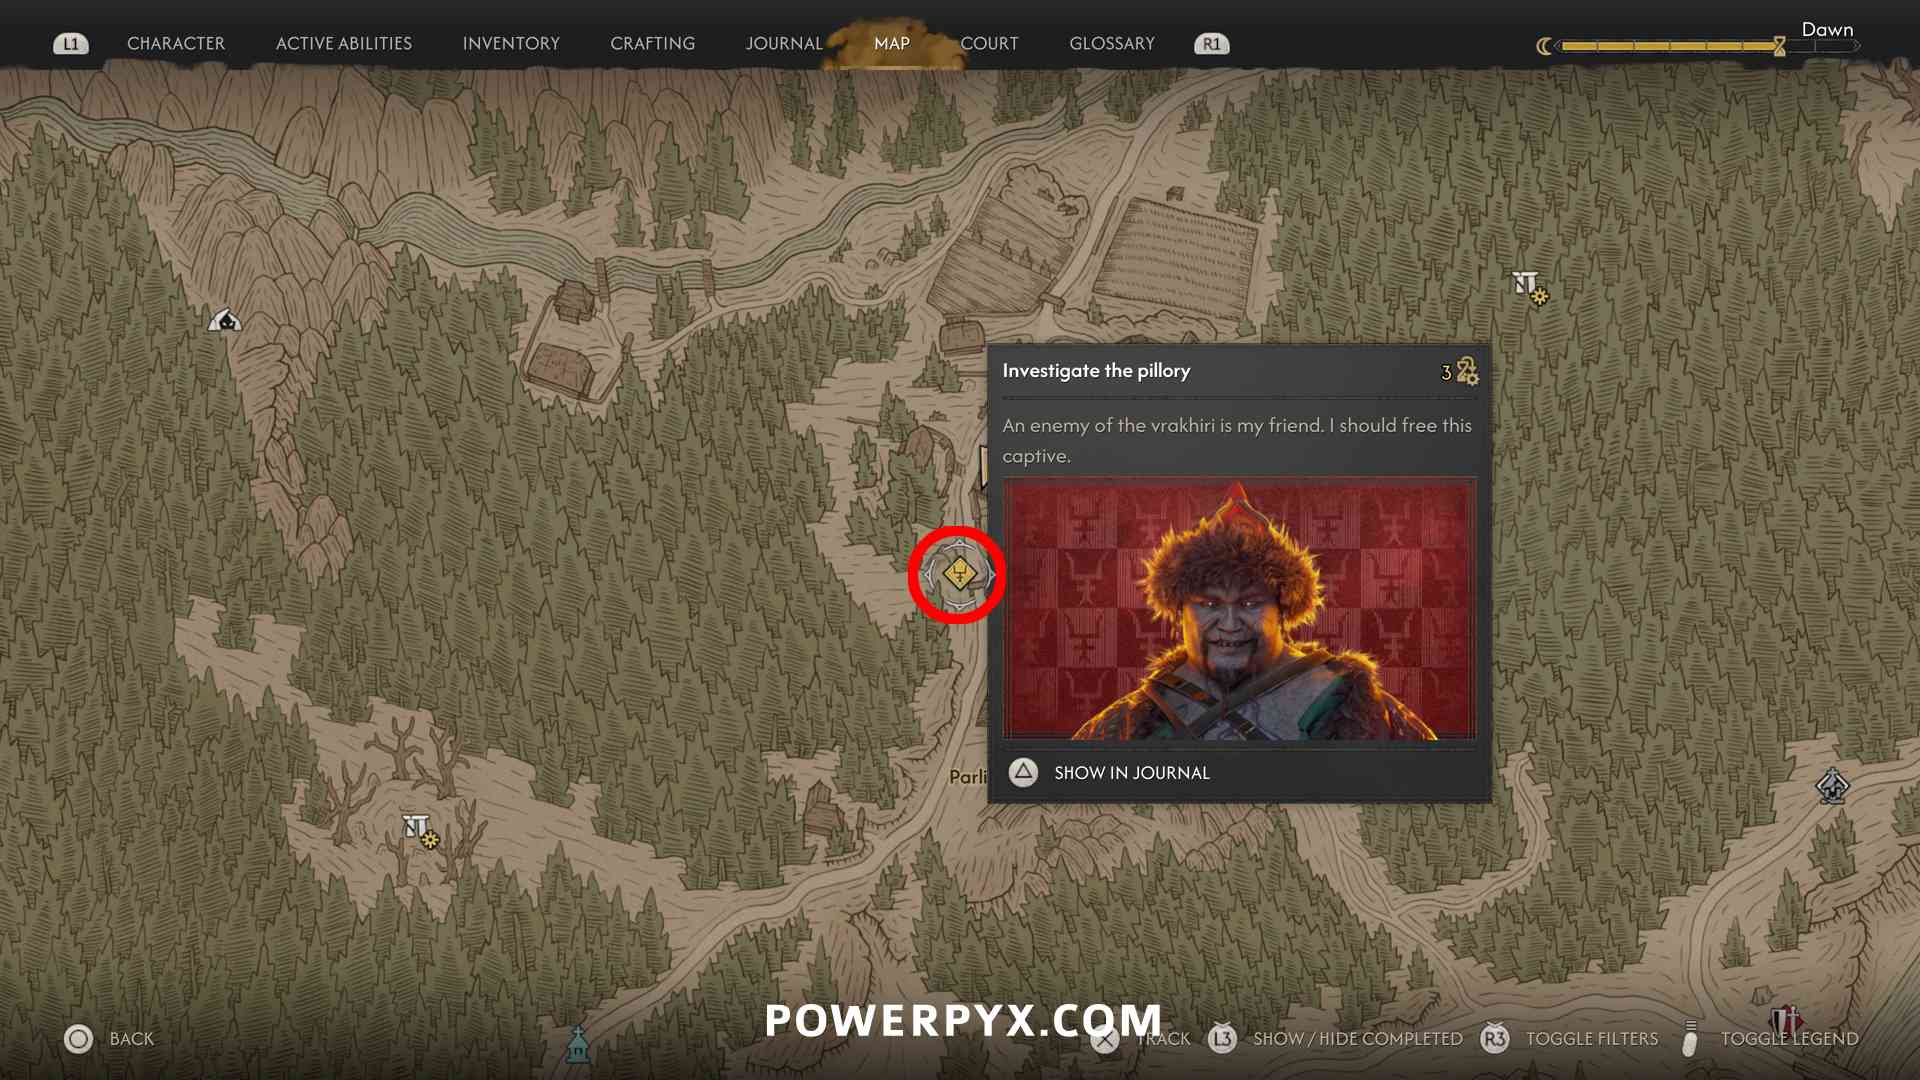
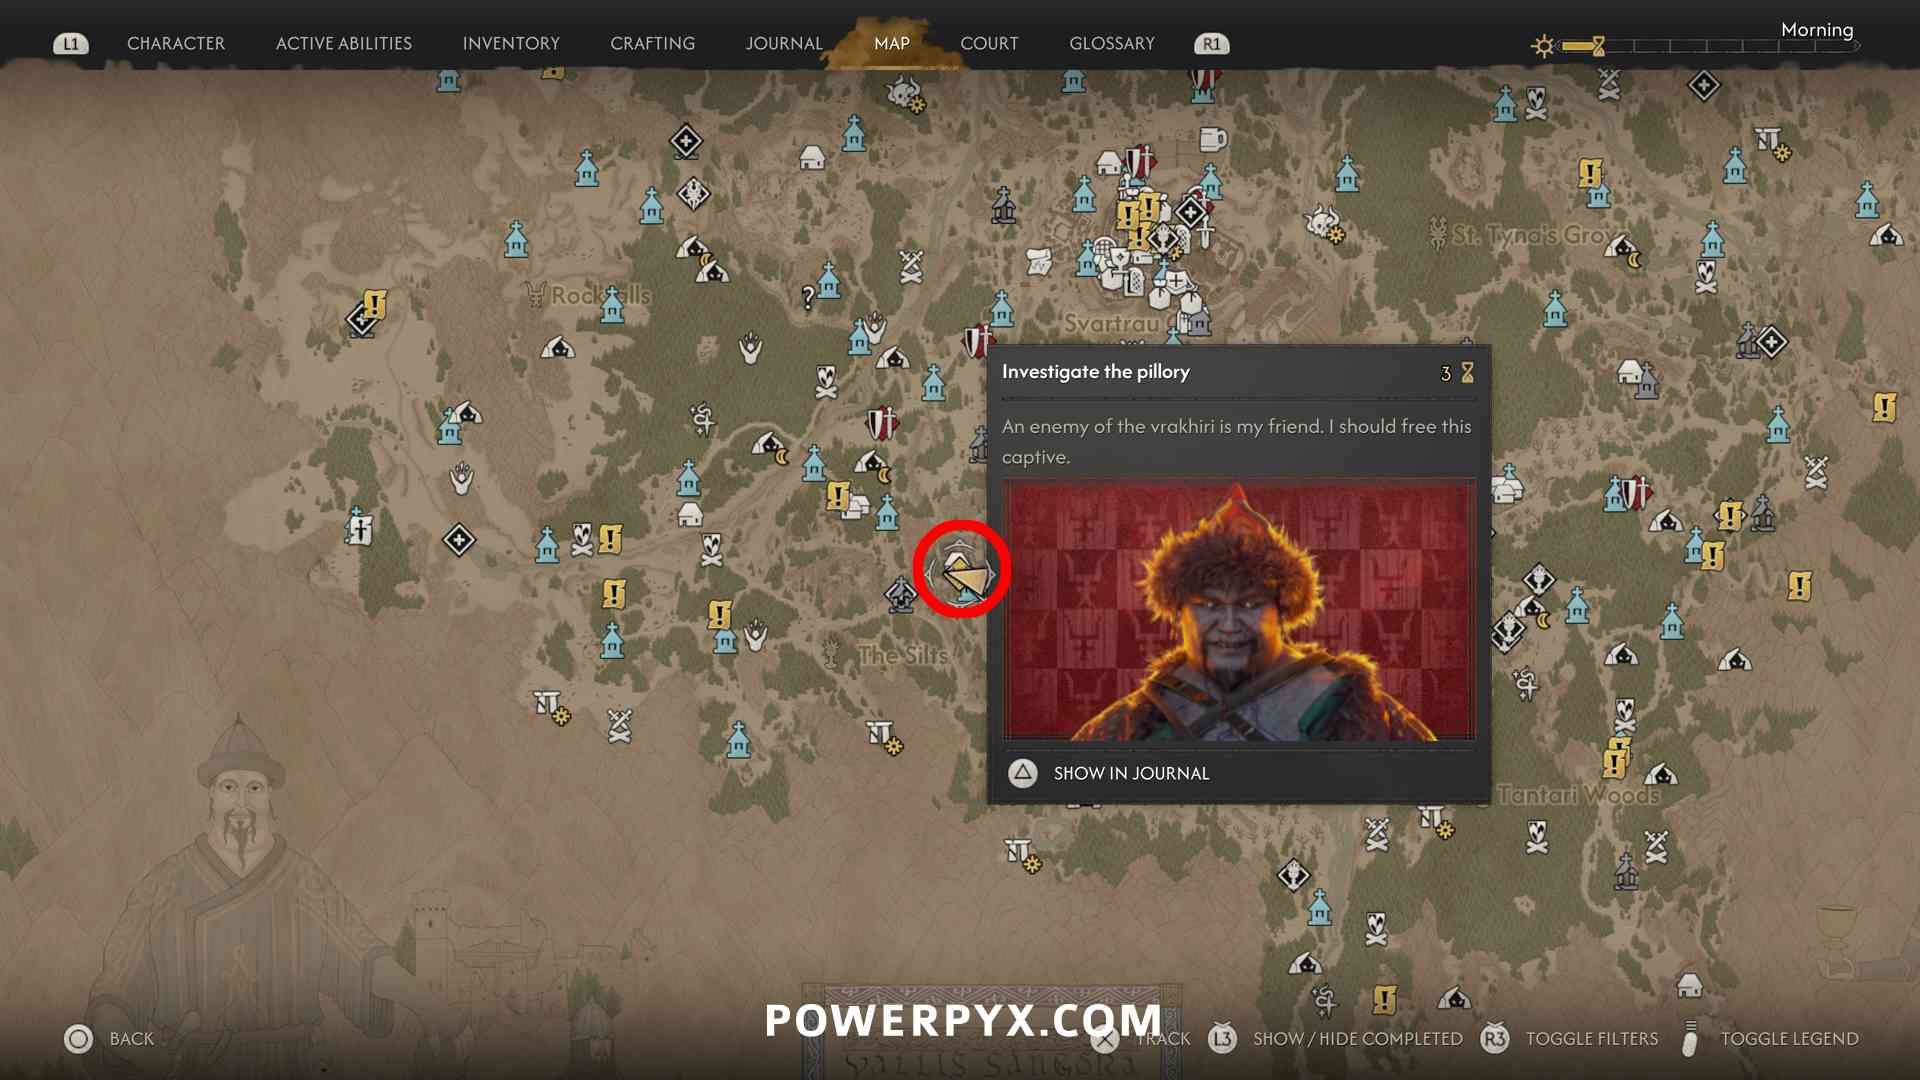
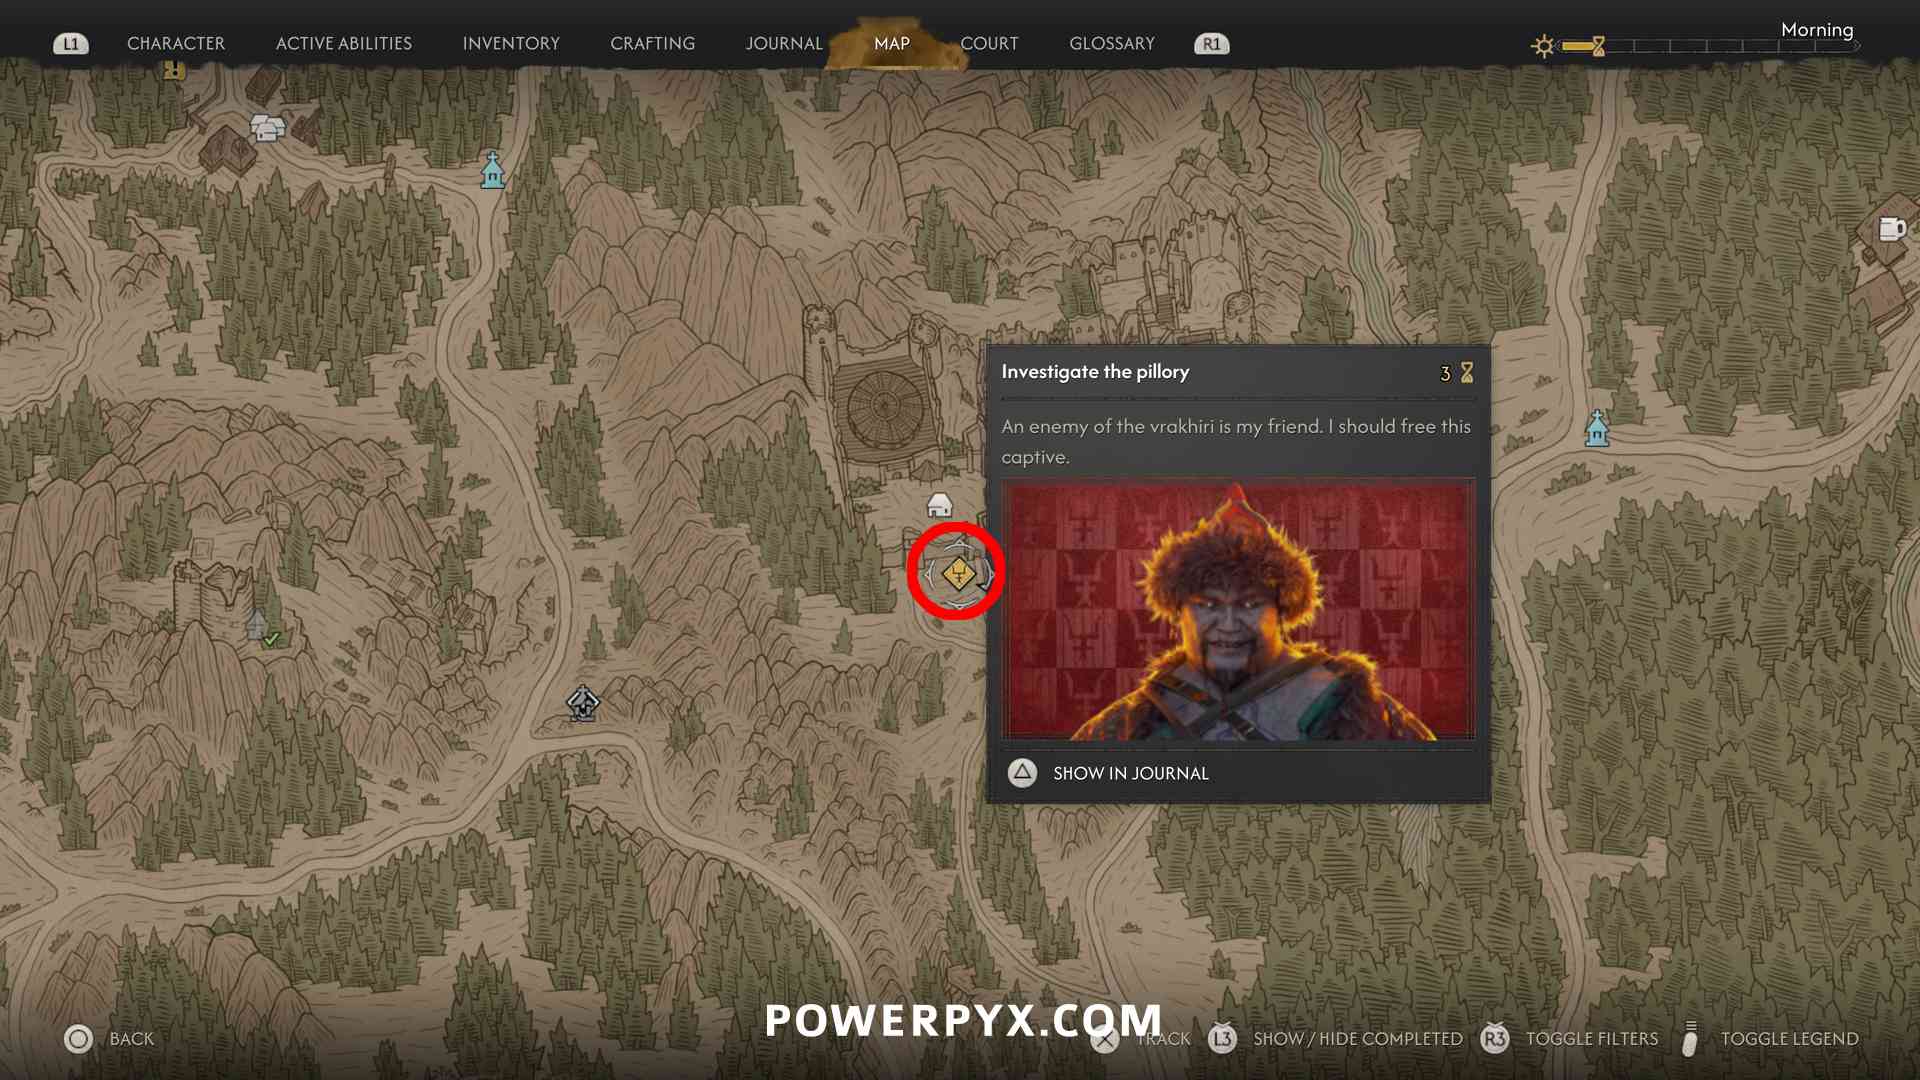
- Bakir’s Pillories: Familiar Face – in the village of Parlita, there will be a yellow “!” icon on the main road in the southern part of town. There you will find someone held in a pillory by guards. Interact with the pillory and defeat the guards. The man you rescue is Vasil, one of the people from the starting village who you may have met during the side quest “Someone Needs a Lesson“. (3 time segments)

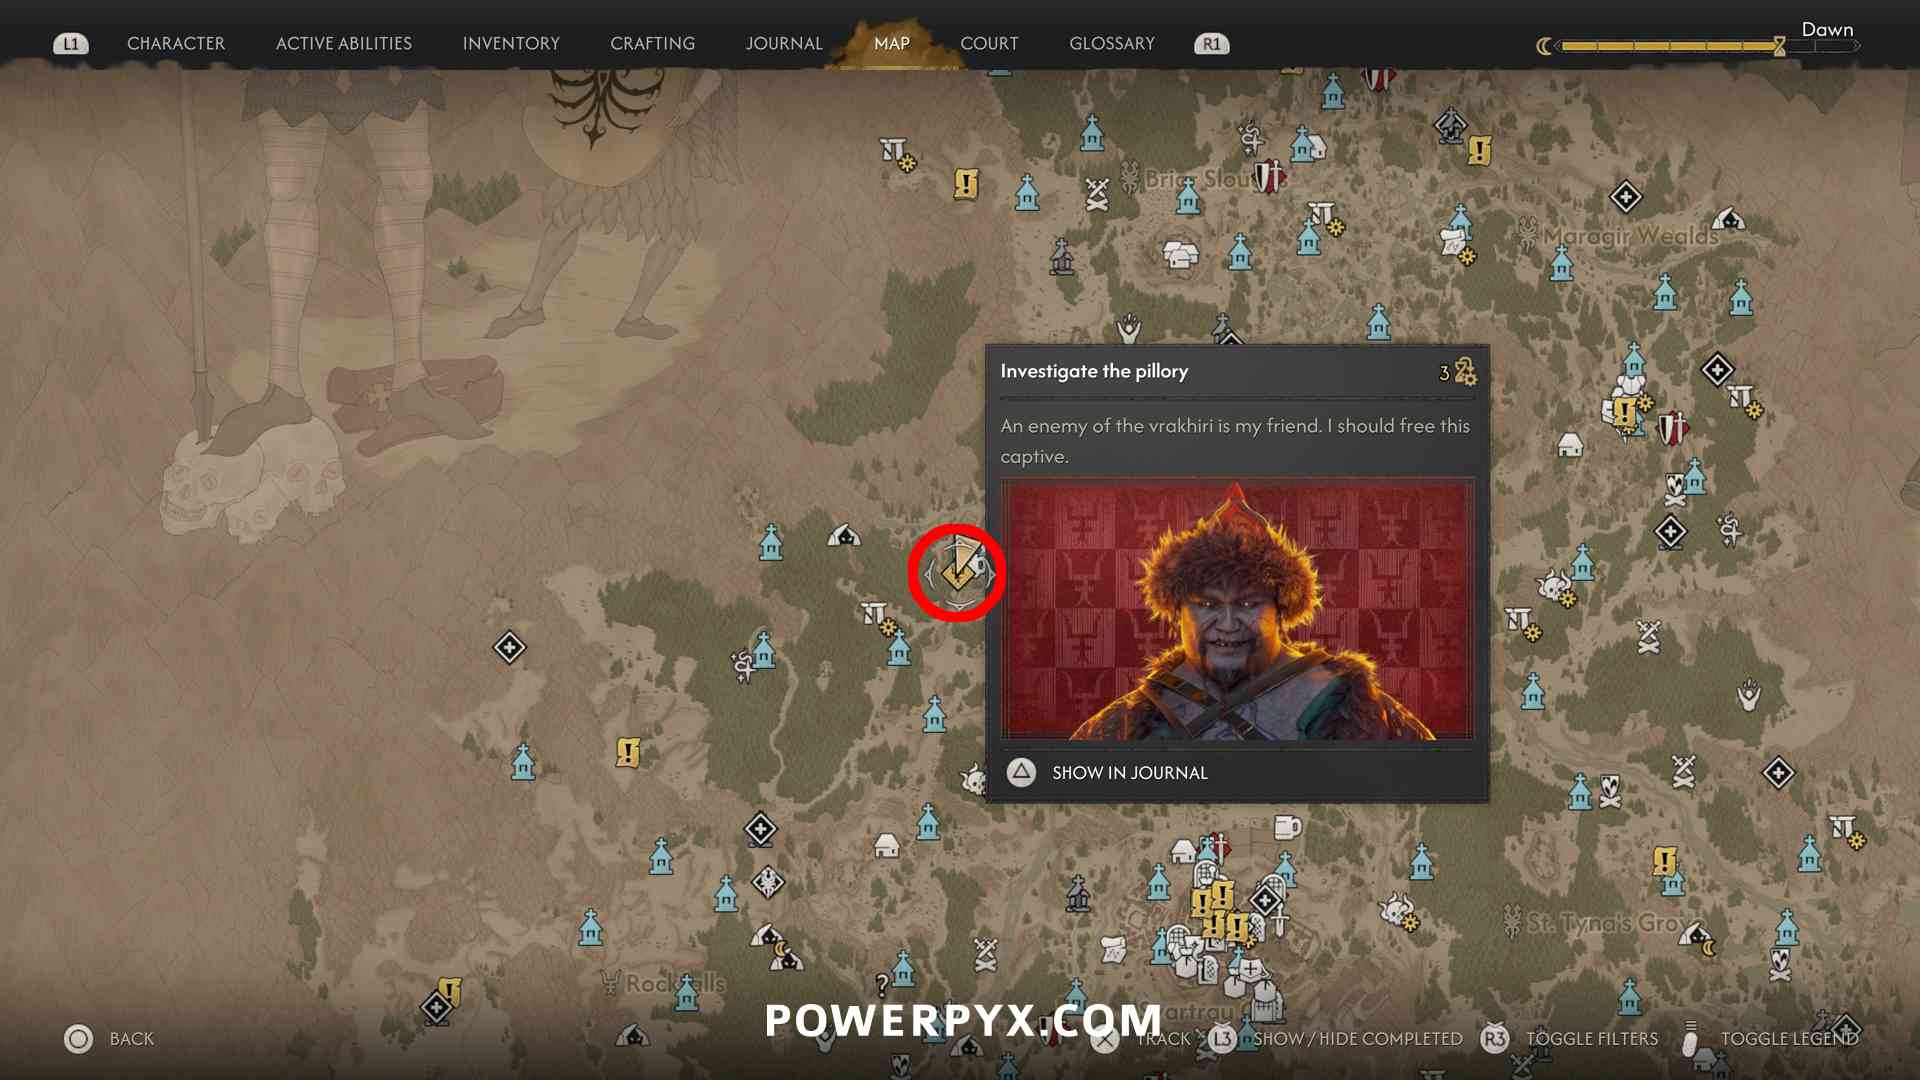
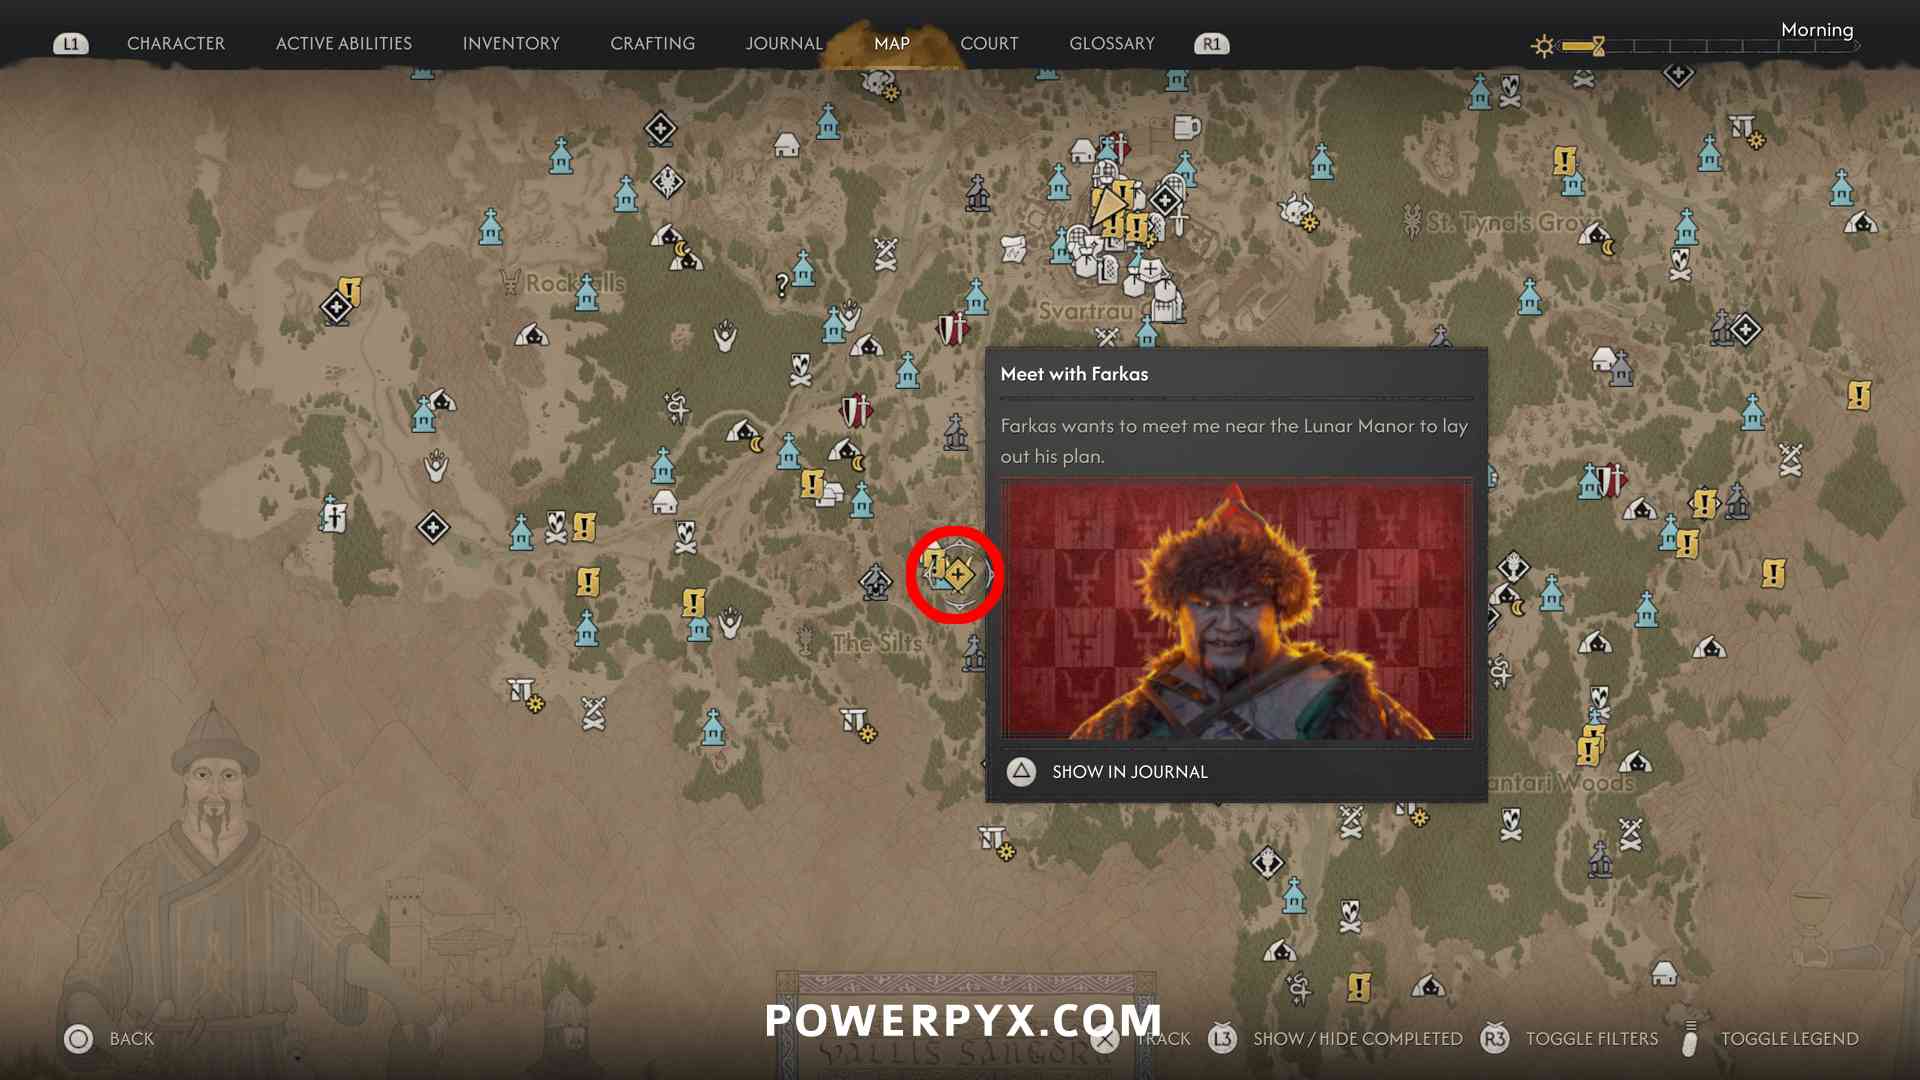
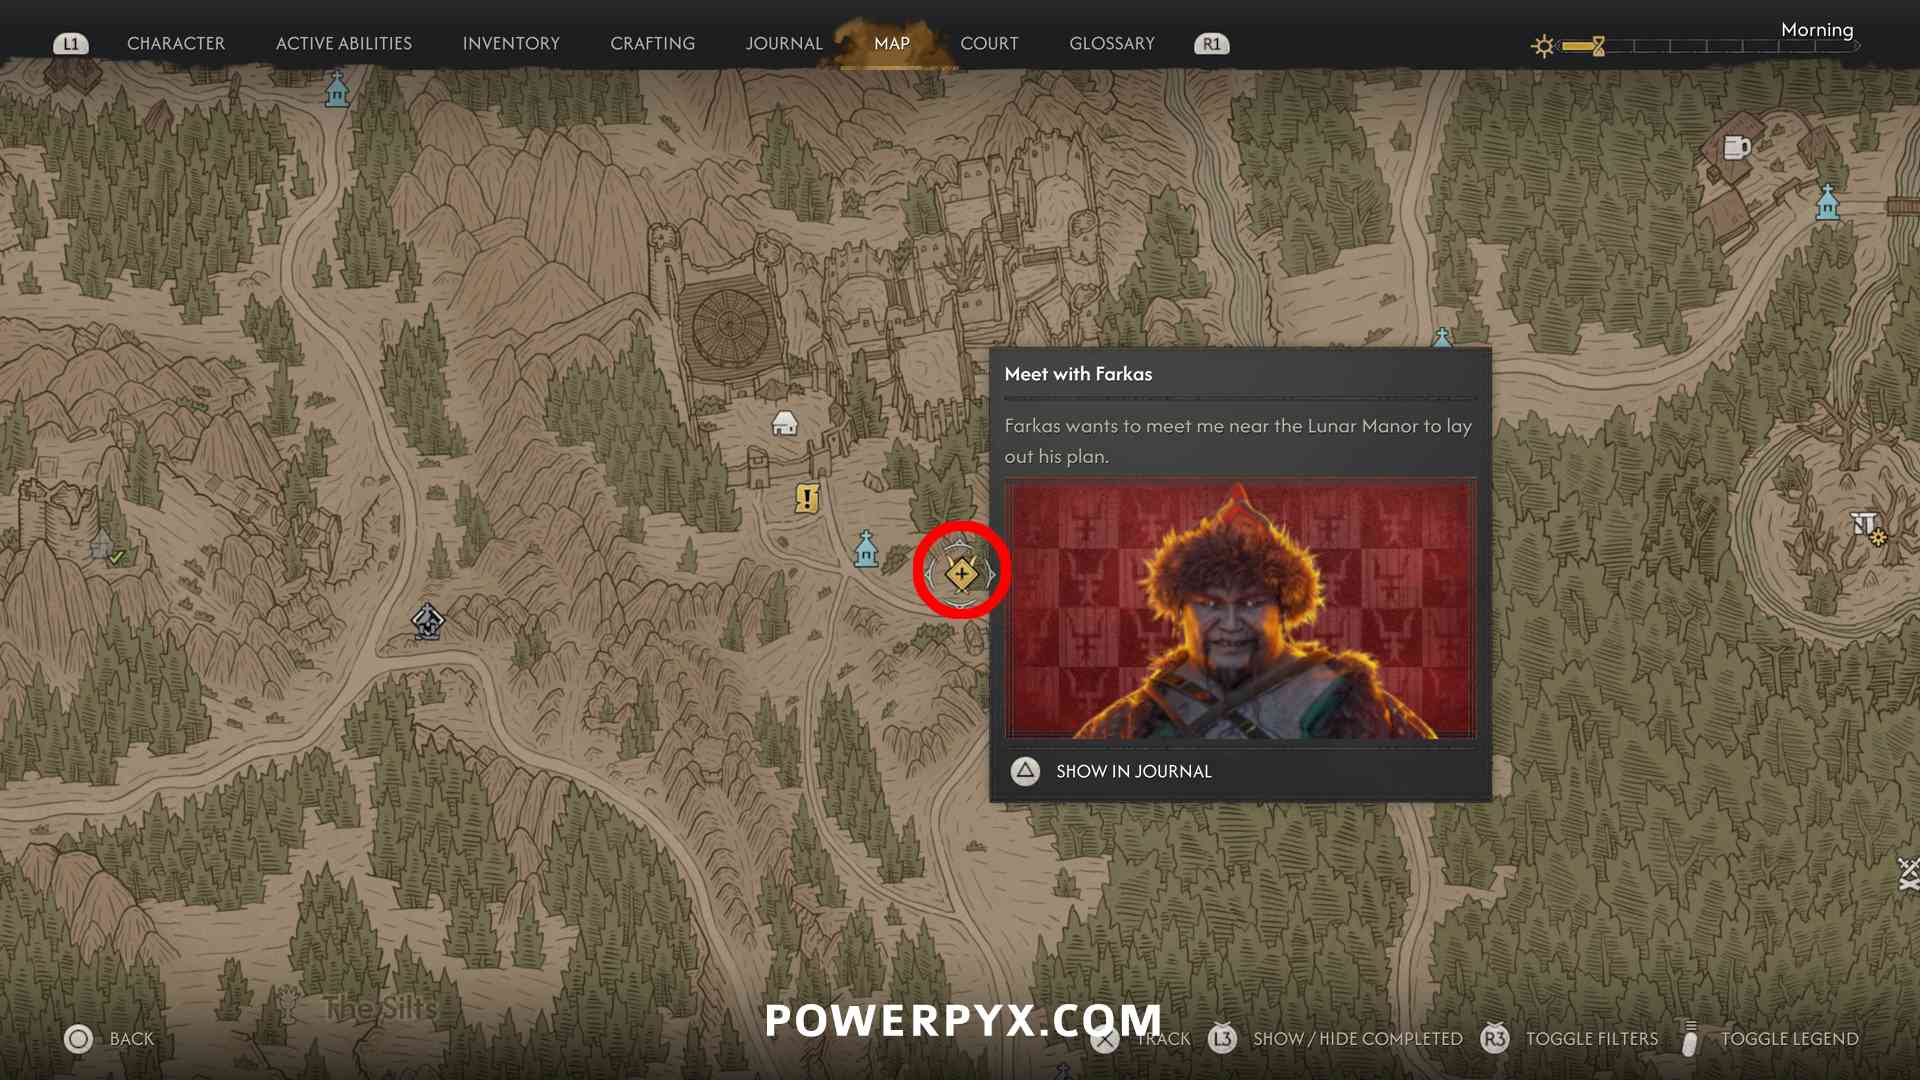
- Bakir’s Pillories: Old Hand – in front of Lunar Manor approach the pillory and defeat the enemies. If you say “I’m not letting anyone hurt this man” he will trigger a new sub-quest “Bakir’s Pillories: Catalin’s Tutor”, go talk to him at his camp north-west from the pillory, ask him to teach you and beat him in a duel, then he becomes a Swordmastery Teacher. (3 time segments)


Uriash Village
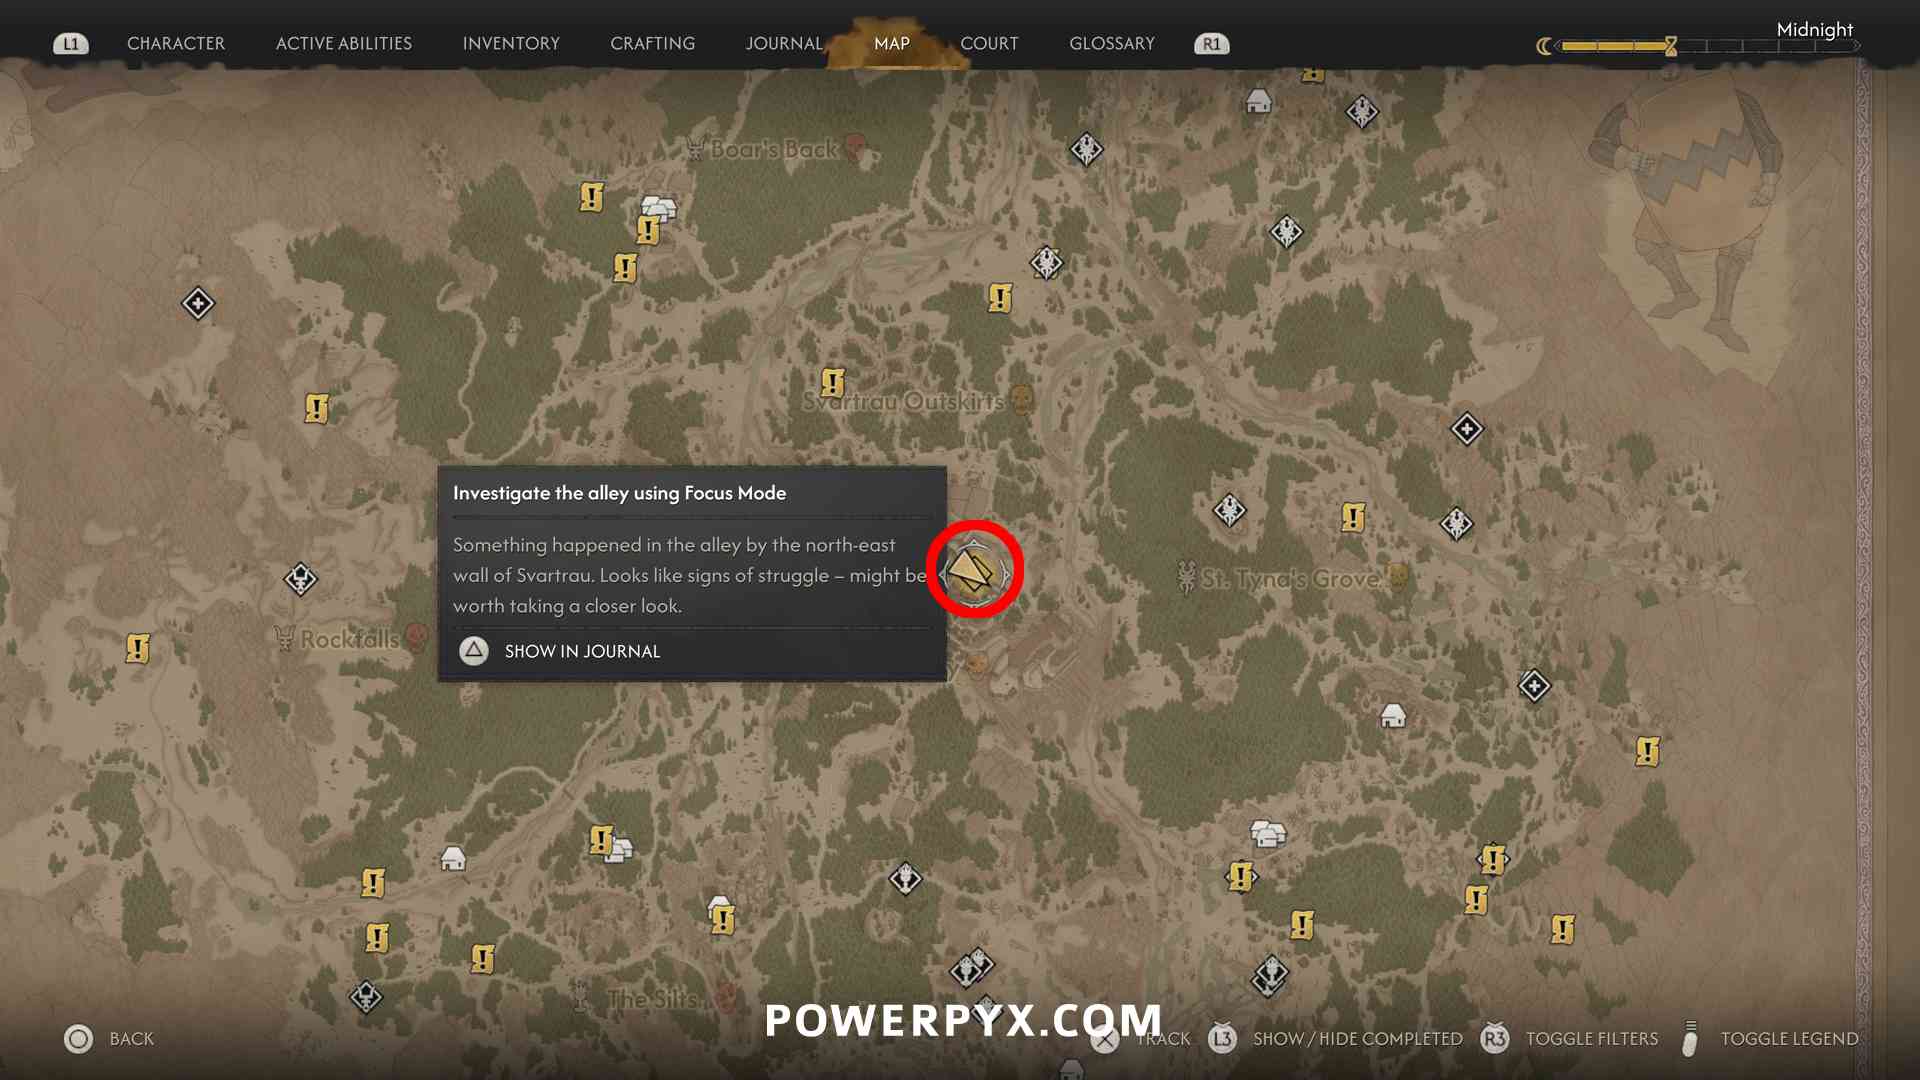
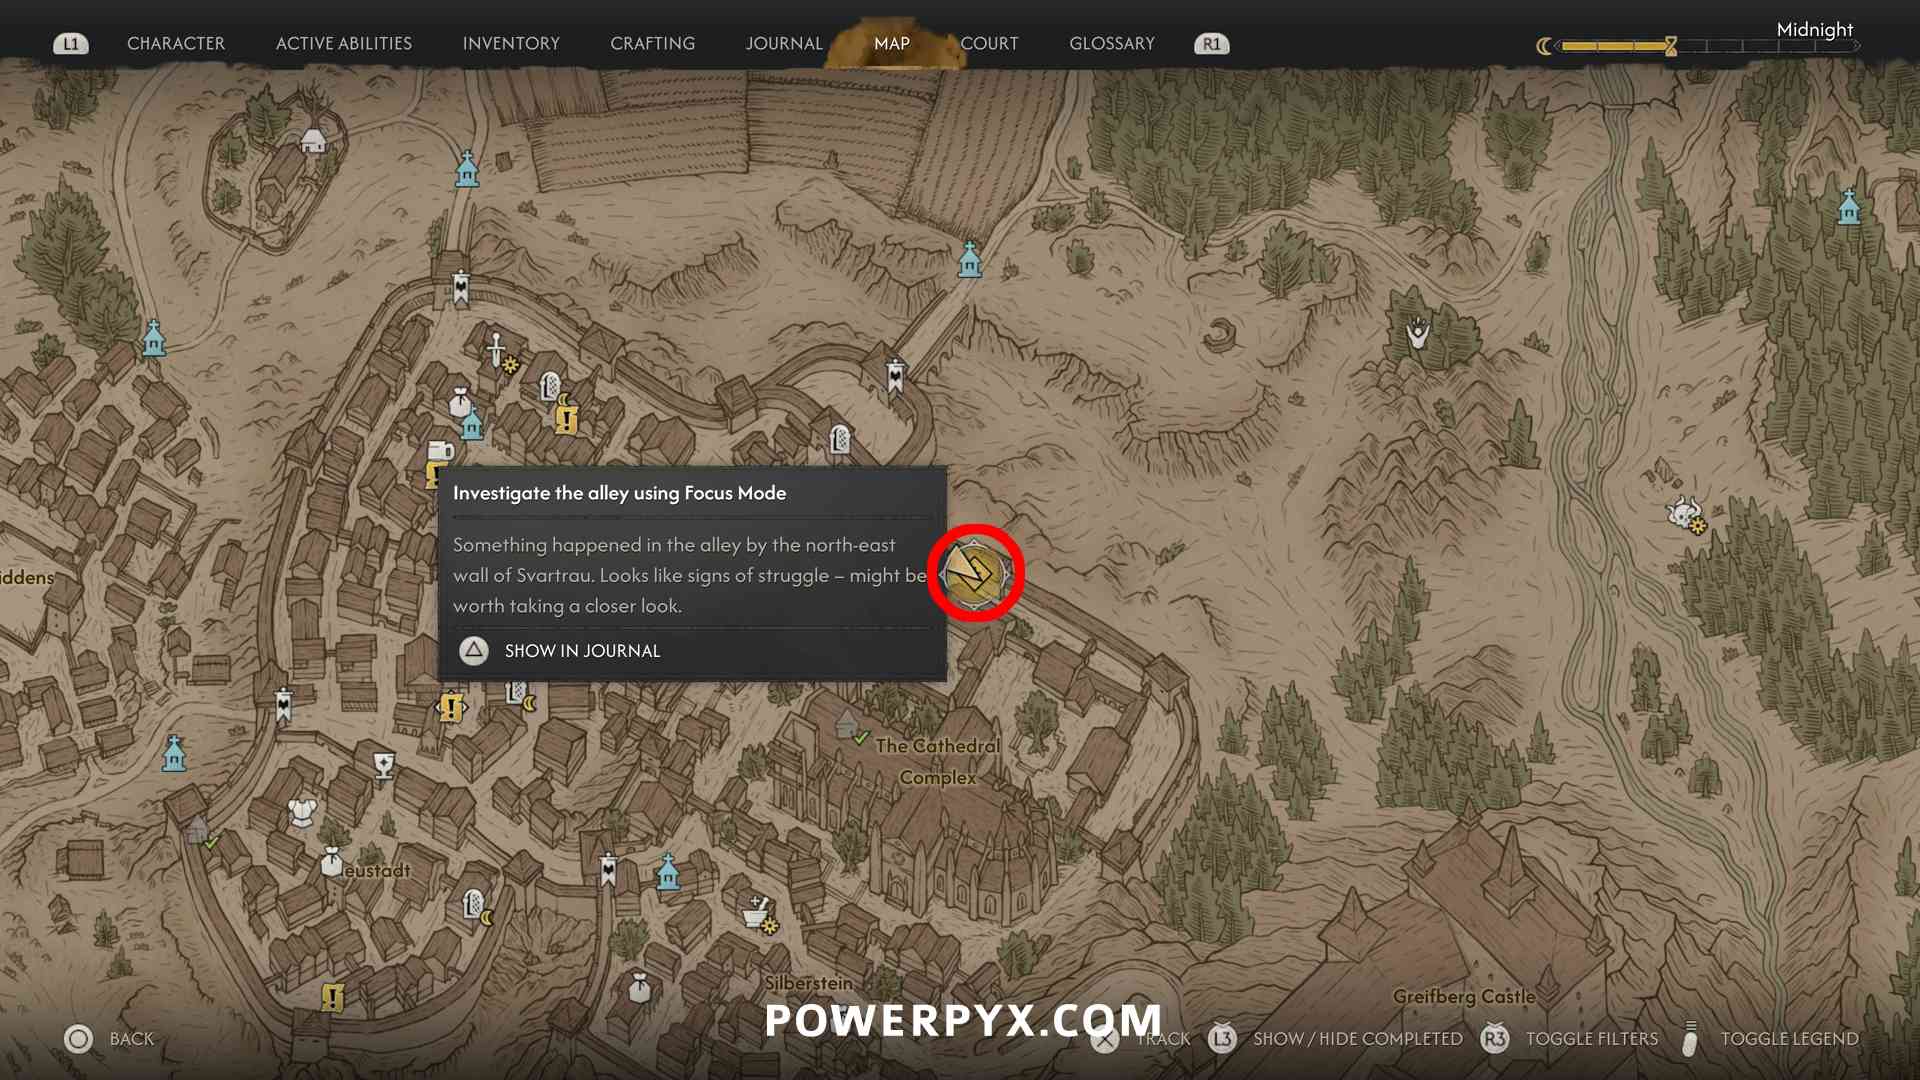
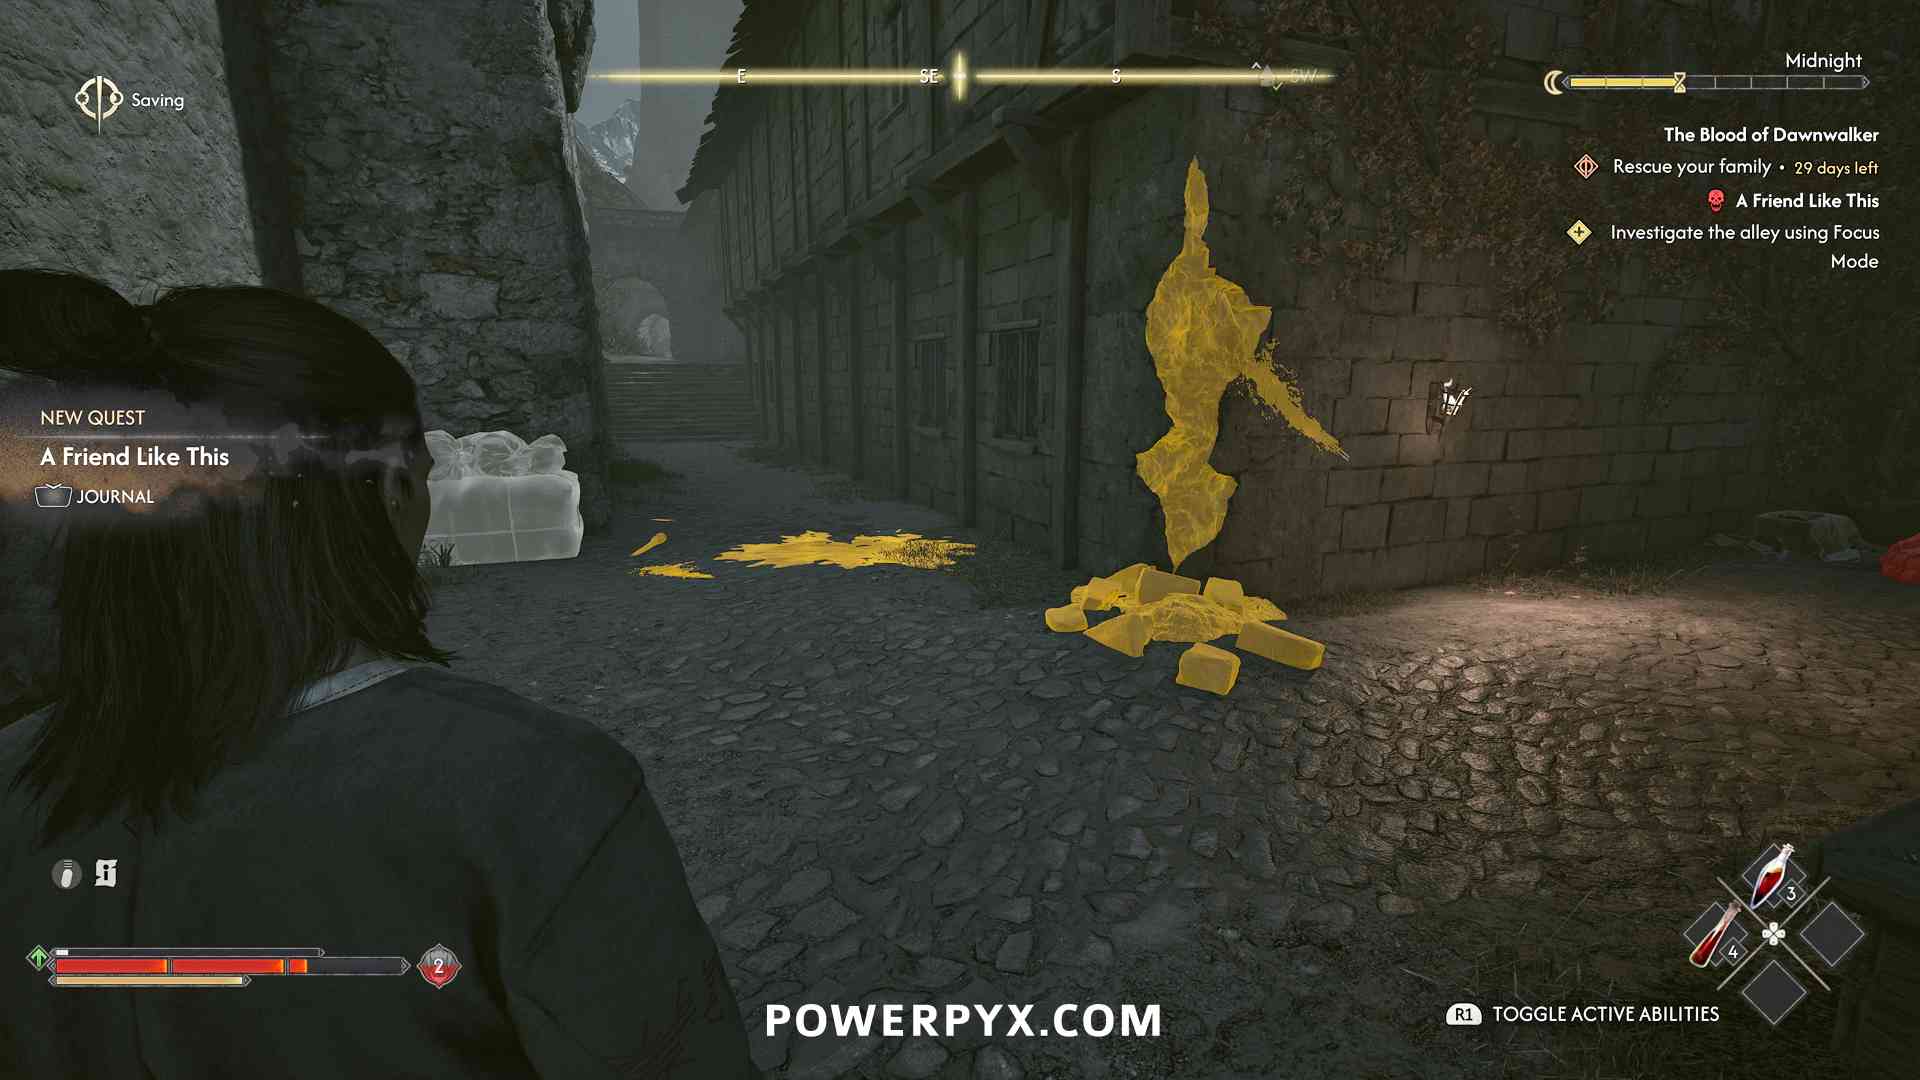
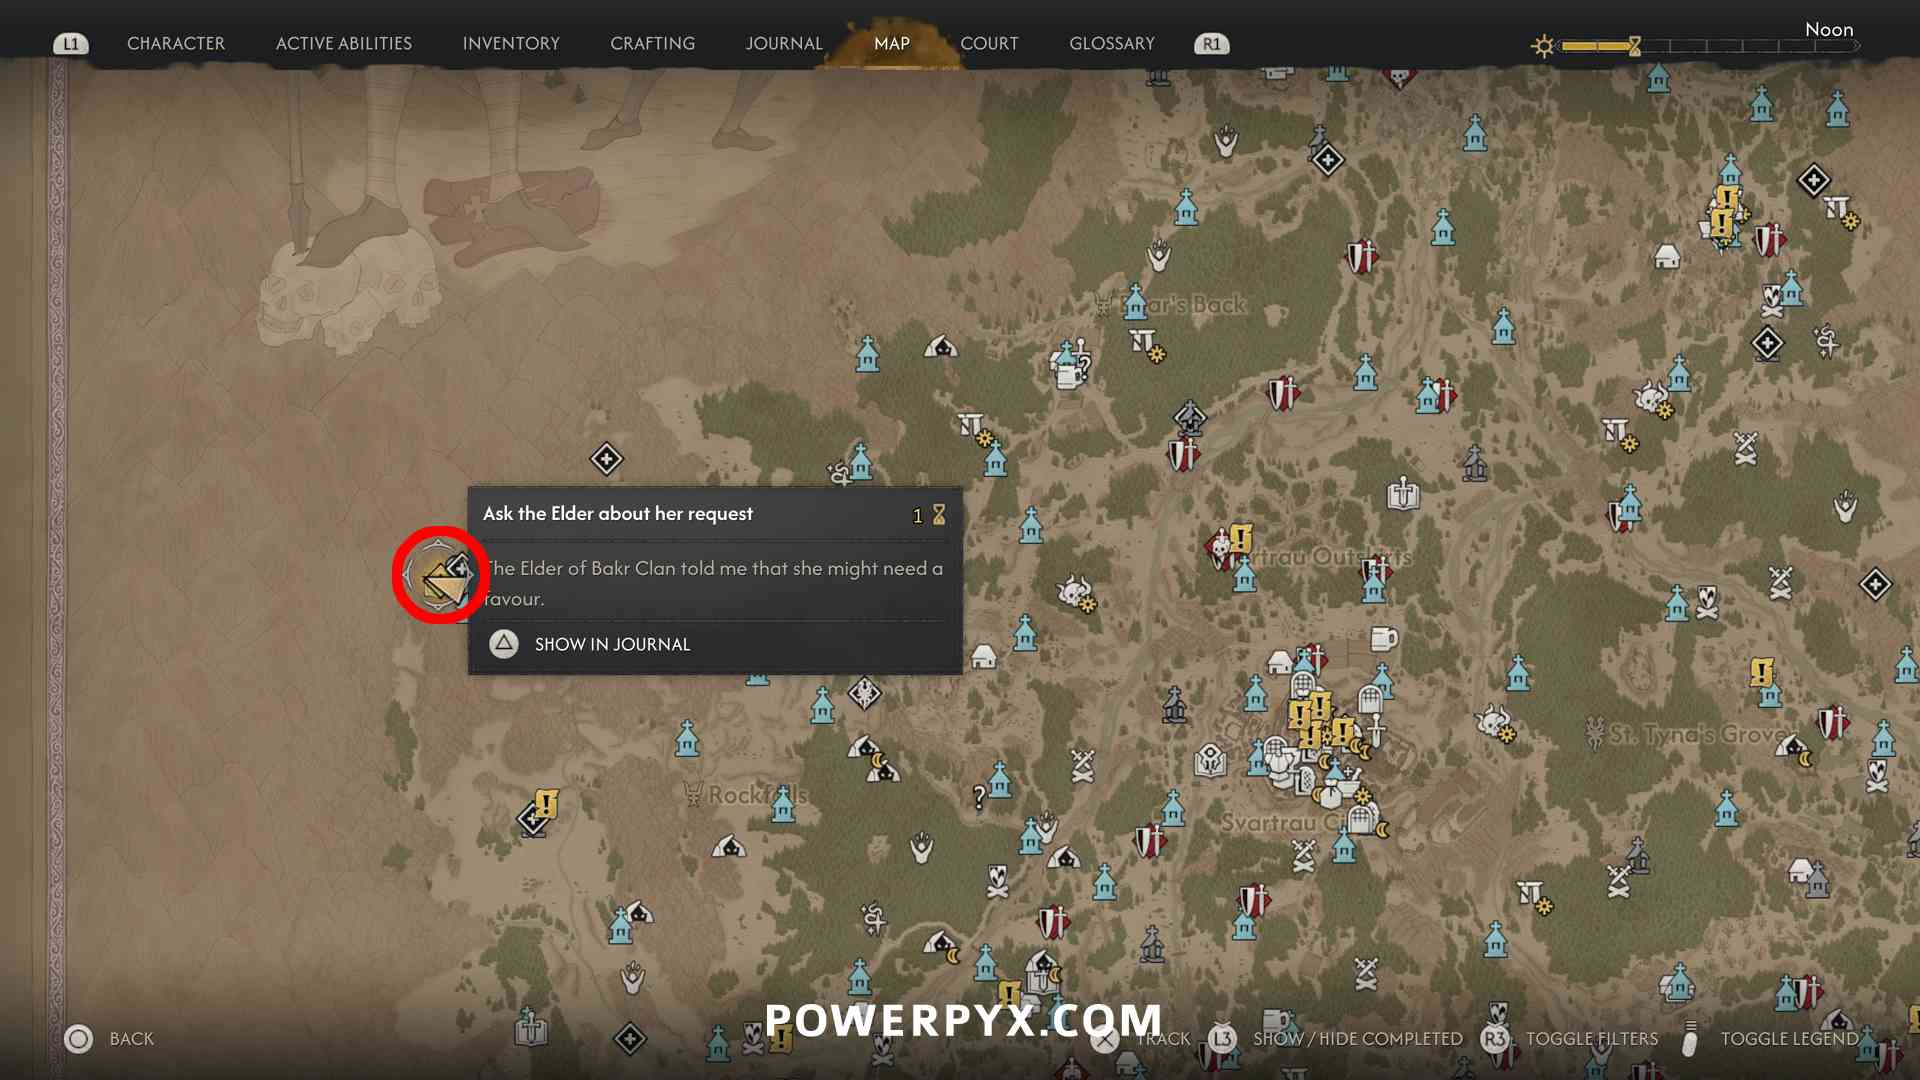
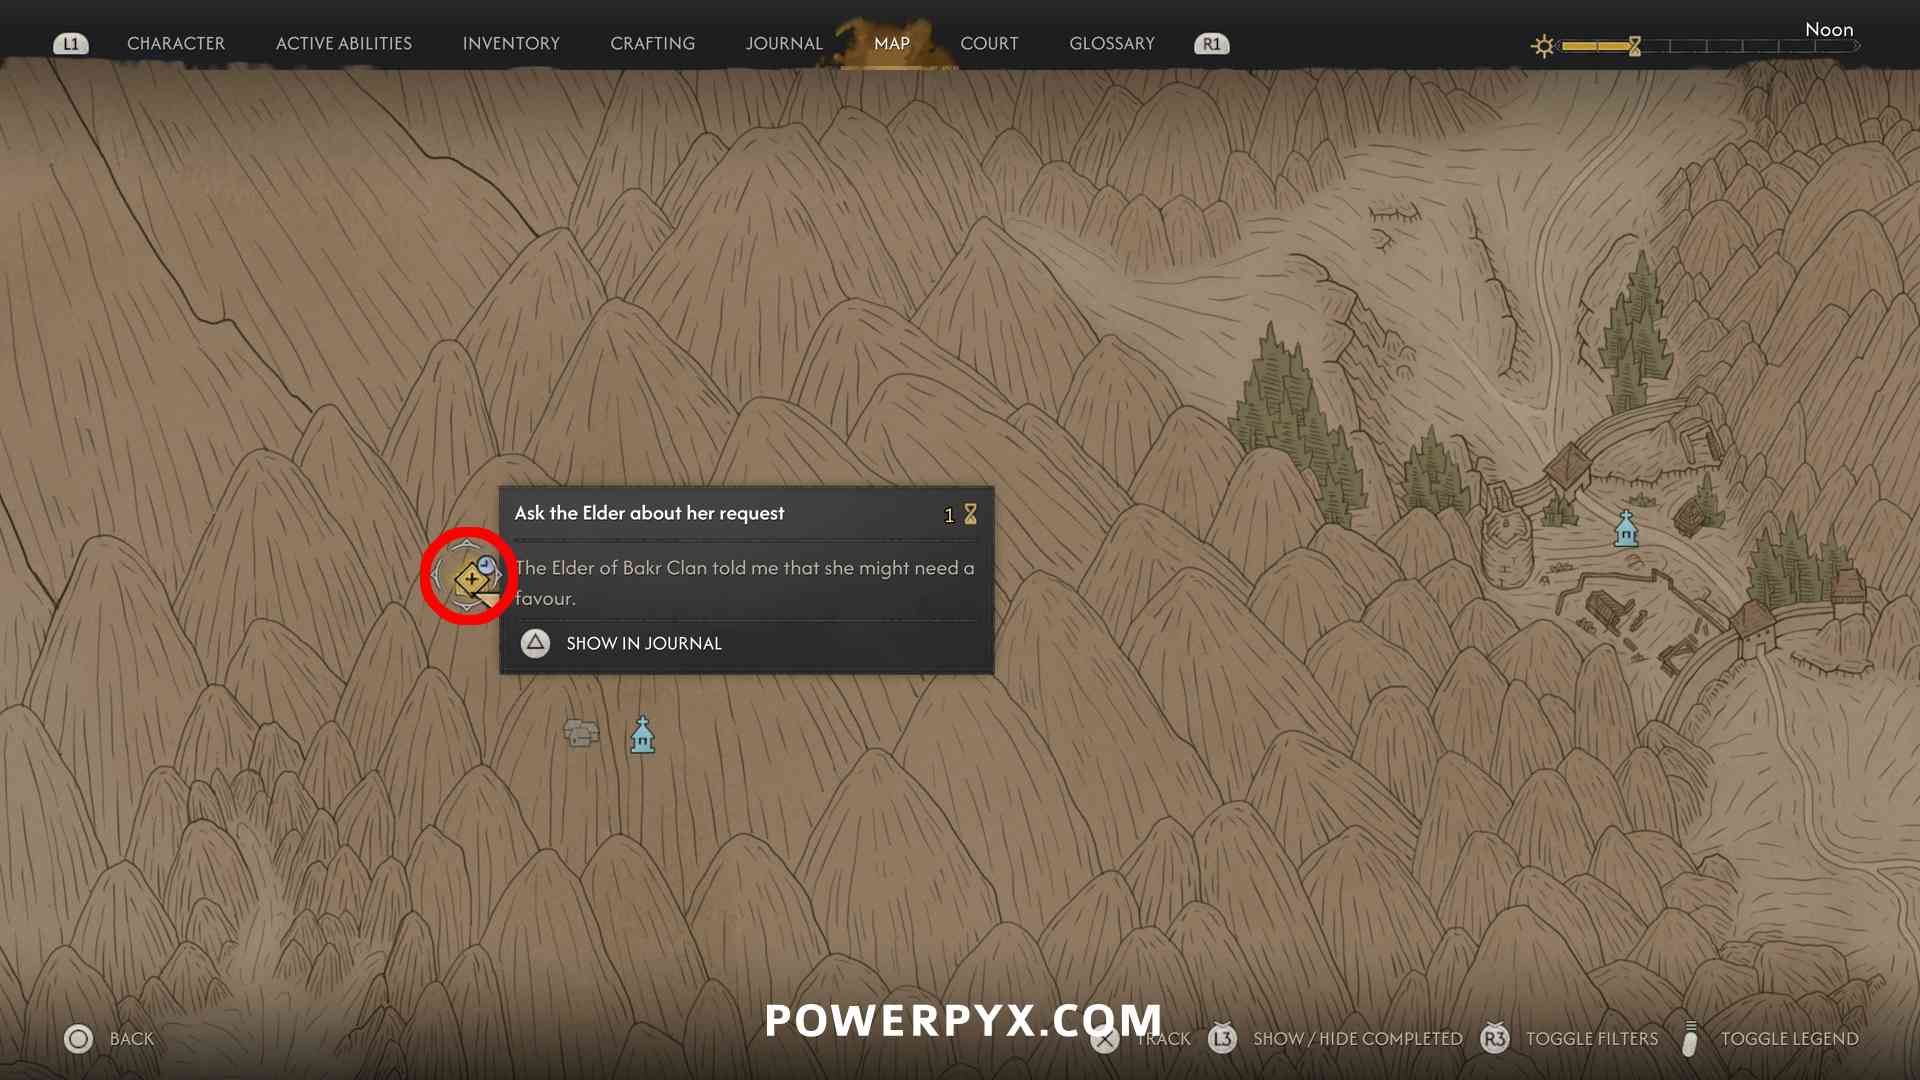
- A Mother’s Plea – this is a hidden, missable, and time-sensitive activity tied to the side questlines of Lacra and Osha. You must do the side quests A Friend Like This > Song of the Mountain > A Mother’s Plea > The Heart Wants What It Wants. “A Friend Like This” starts when going through an alley in the north-east edge of Svartrau City below the city walls. Use Focus Mode (hold L2/LT) to scan for yellow outlined objects and inspect them.


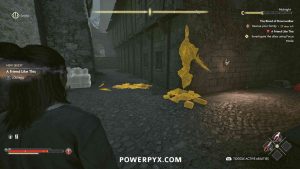
Then follow the yellow objects across the roofs to reach a room with a vampire boss. After the fight and some dialogue, it will automatically start the next quest “Song of Mountain” which will lead to Uriash village where you meet the elder. Choose the “nice” peaceful dialogues and follow the elder through the village. She then gives the quest “A Mother’s Plea” which marks the activity in the court menu. To solve the quest you must find the Elder’s daughter “Osha” which triggers another side quest “The Heart Wants What It Wants” that you must also complete. Afterward you must return to the village elder in Uriash once more.


Bakir Main Quest
Step 5: Xanthe (Level 25+)
Blood Guard Recruiters
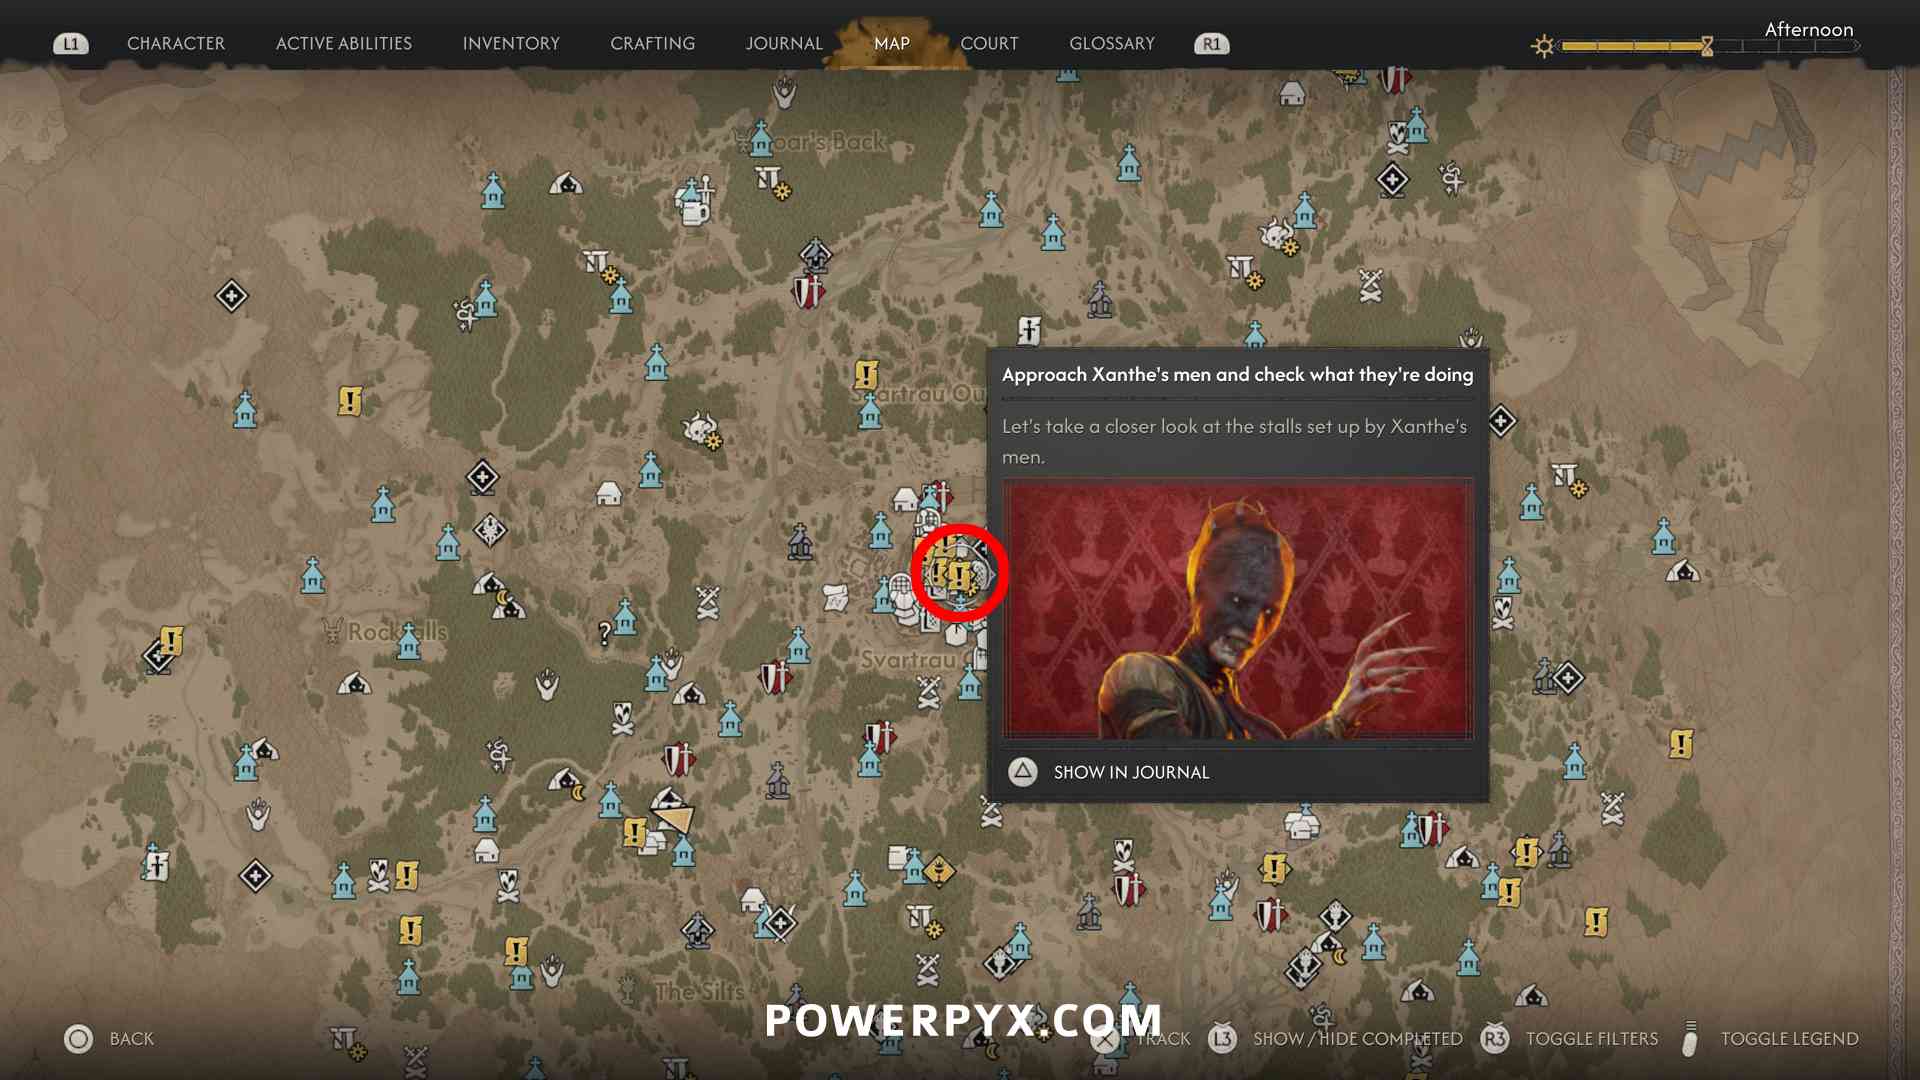
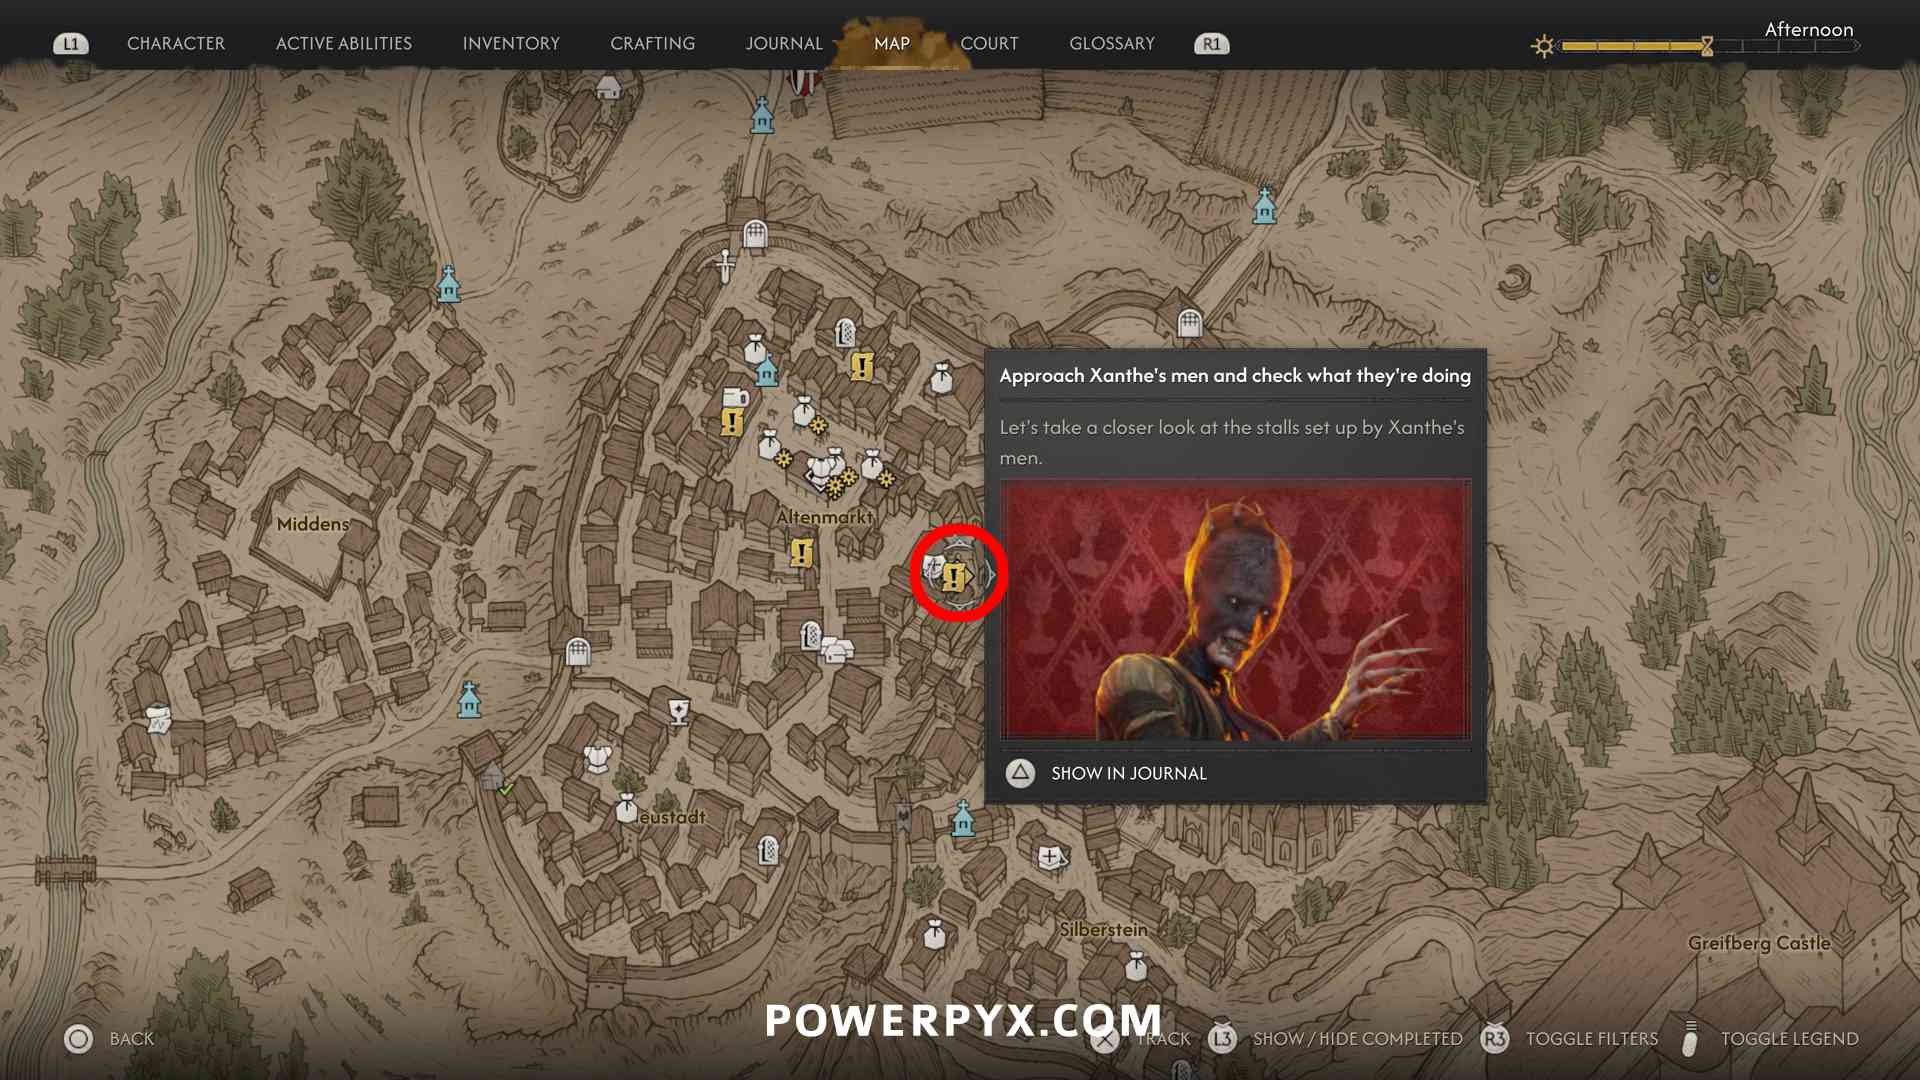
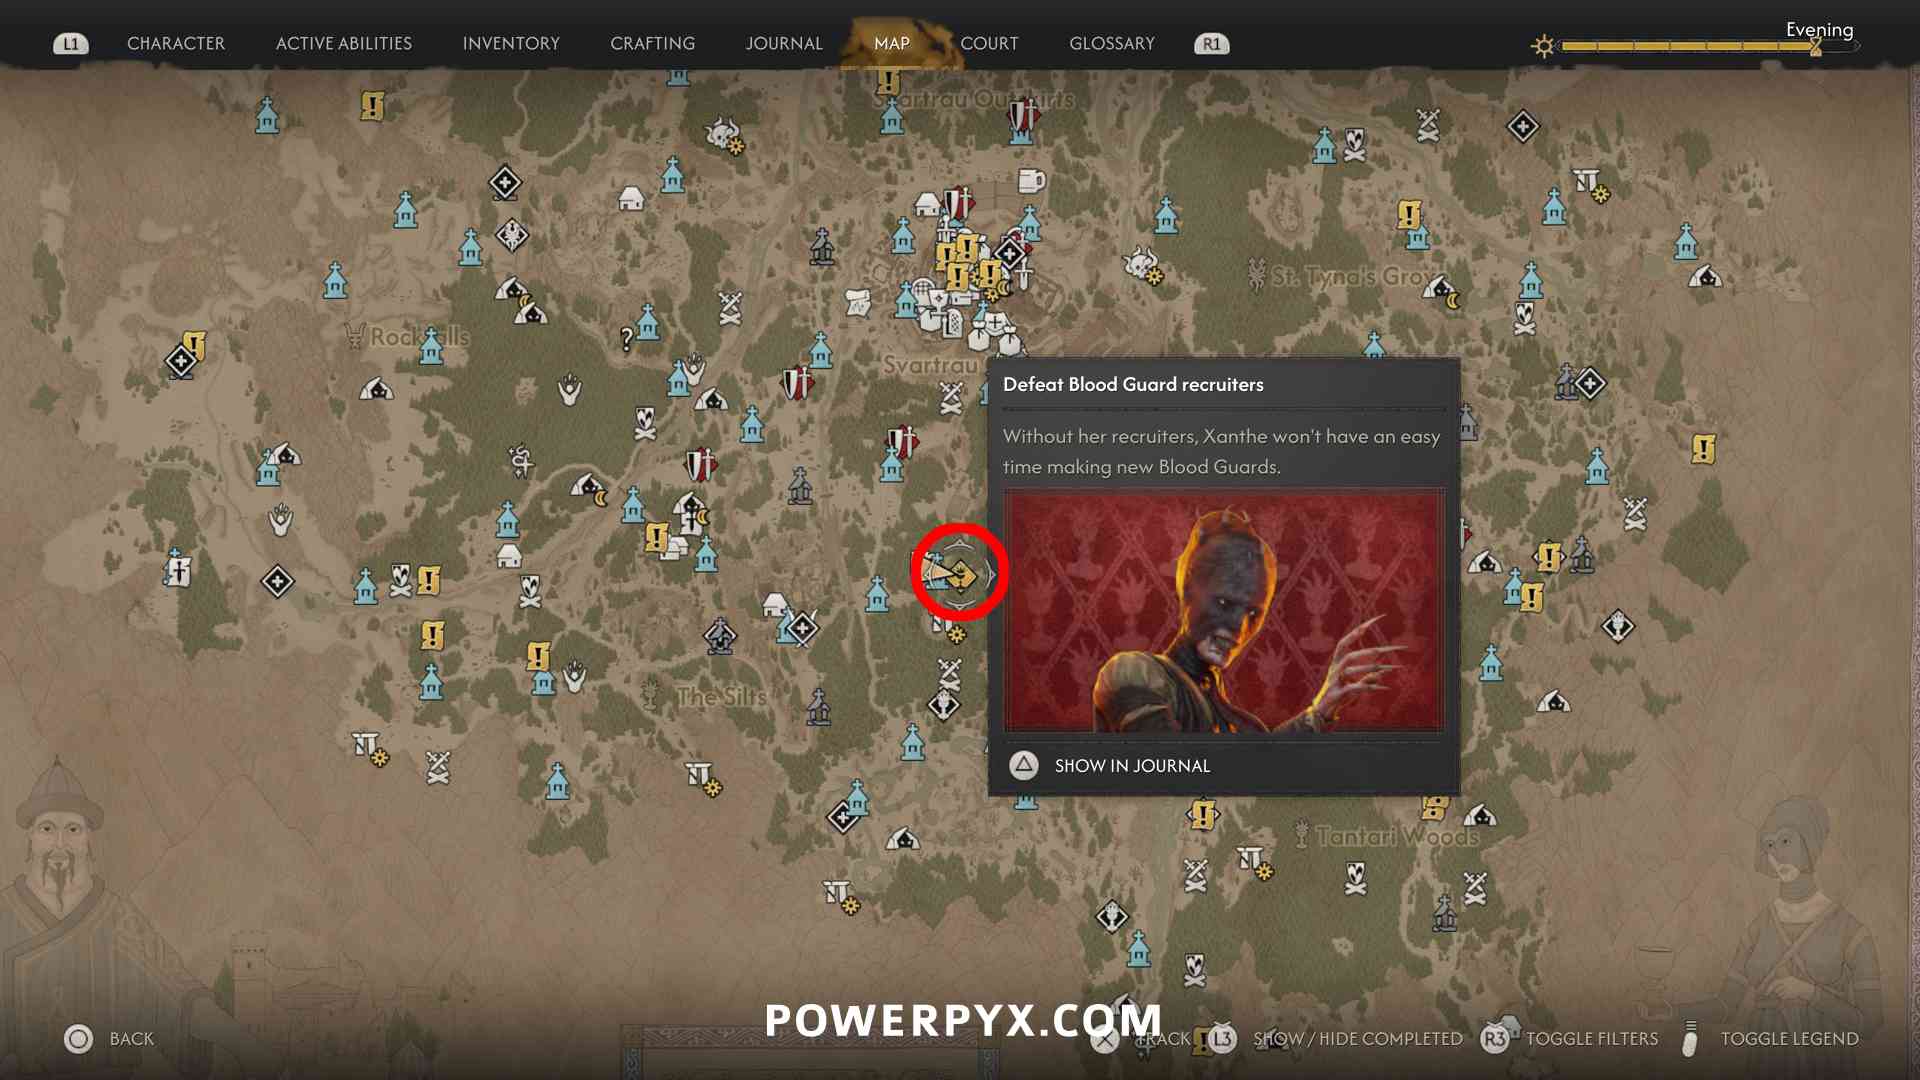
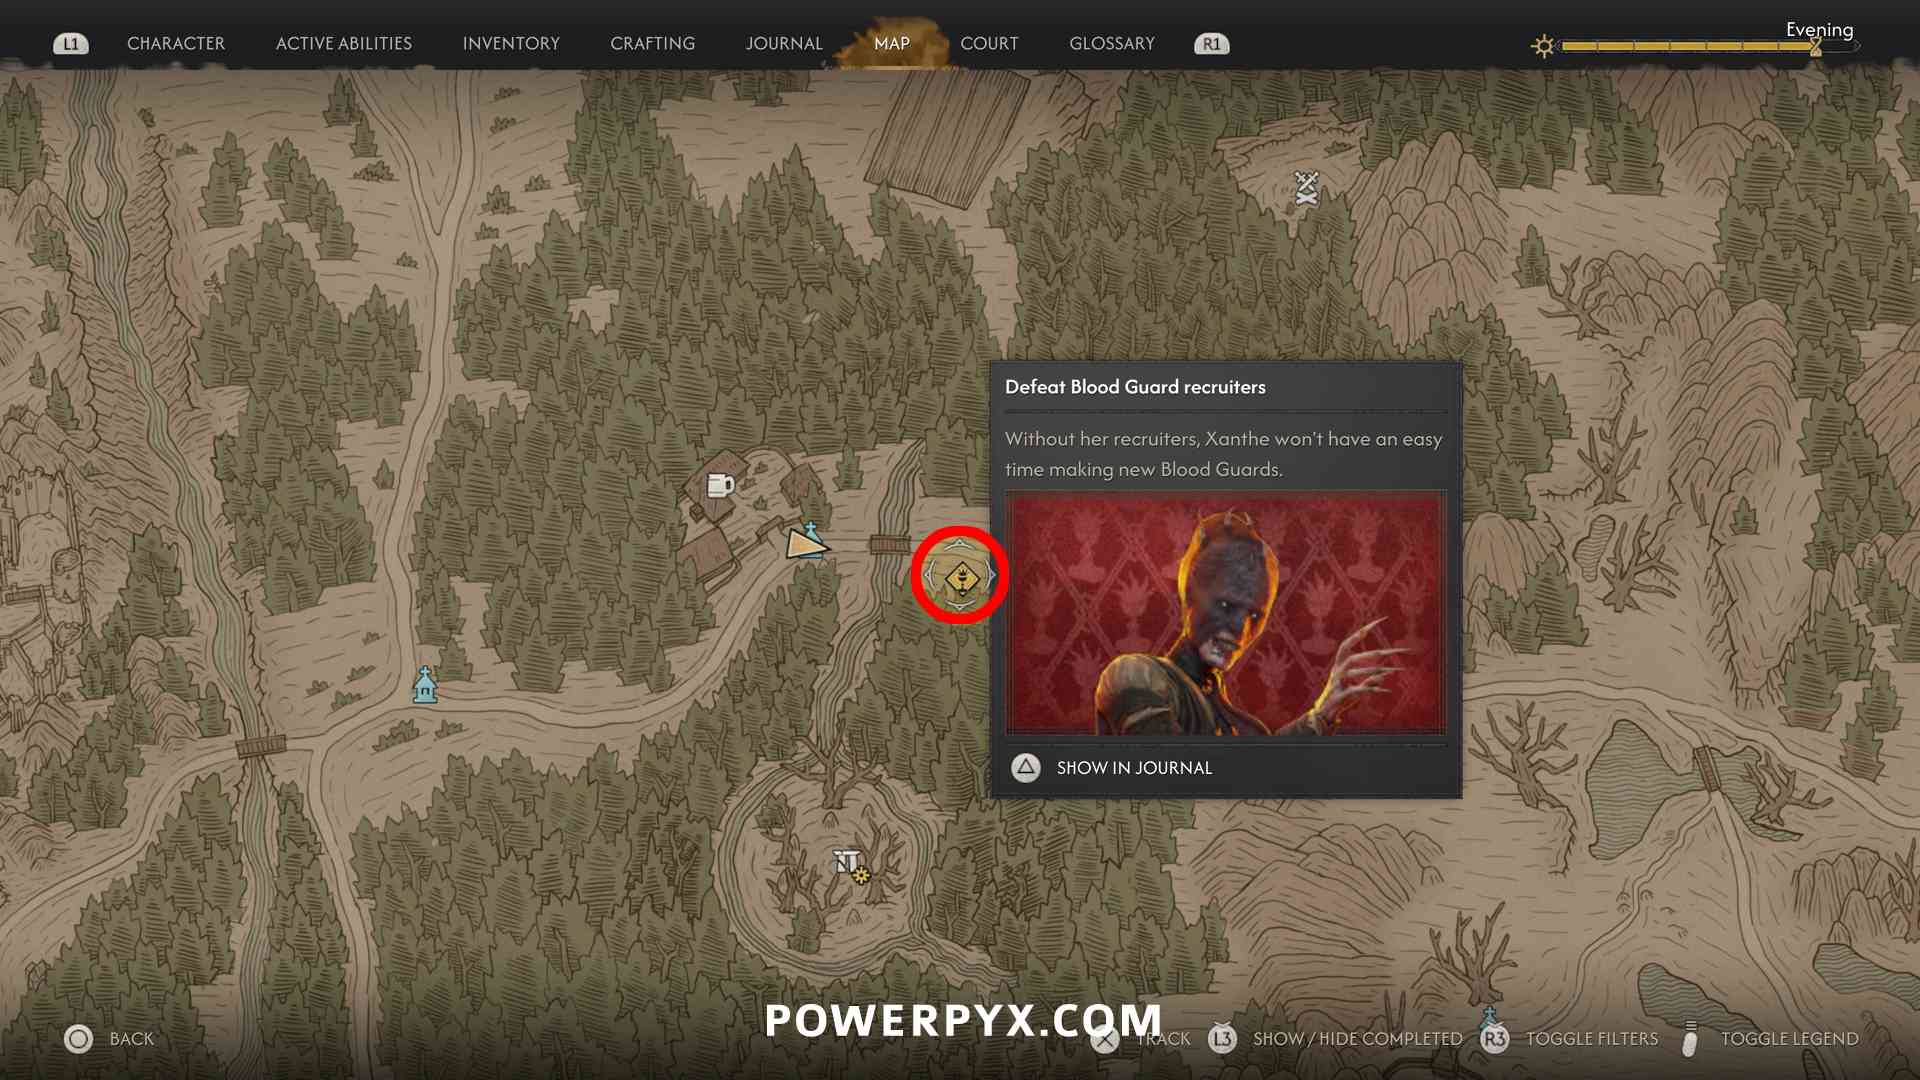
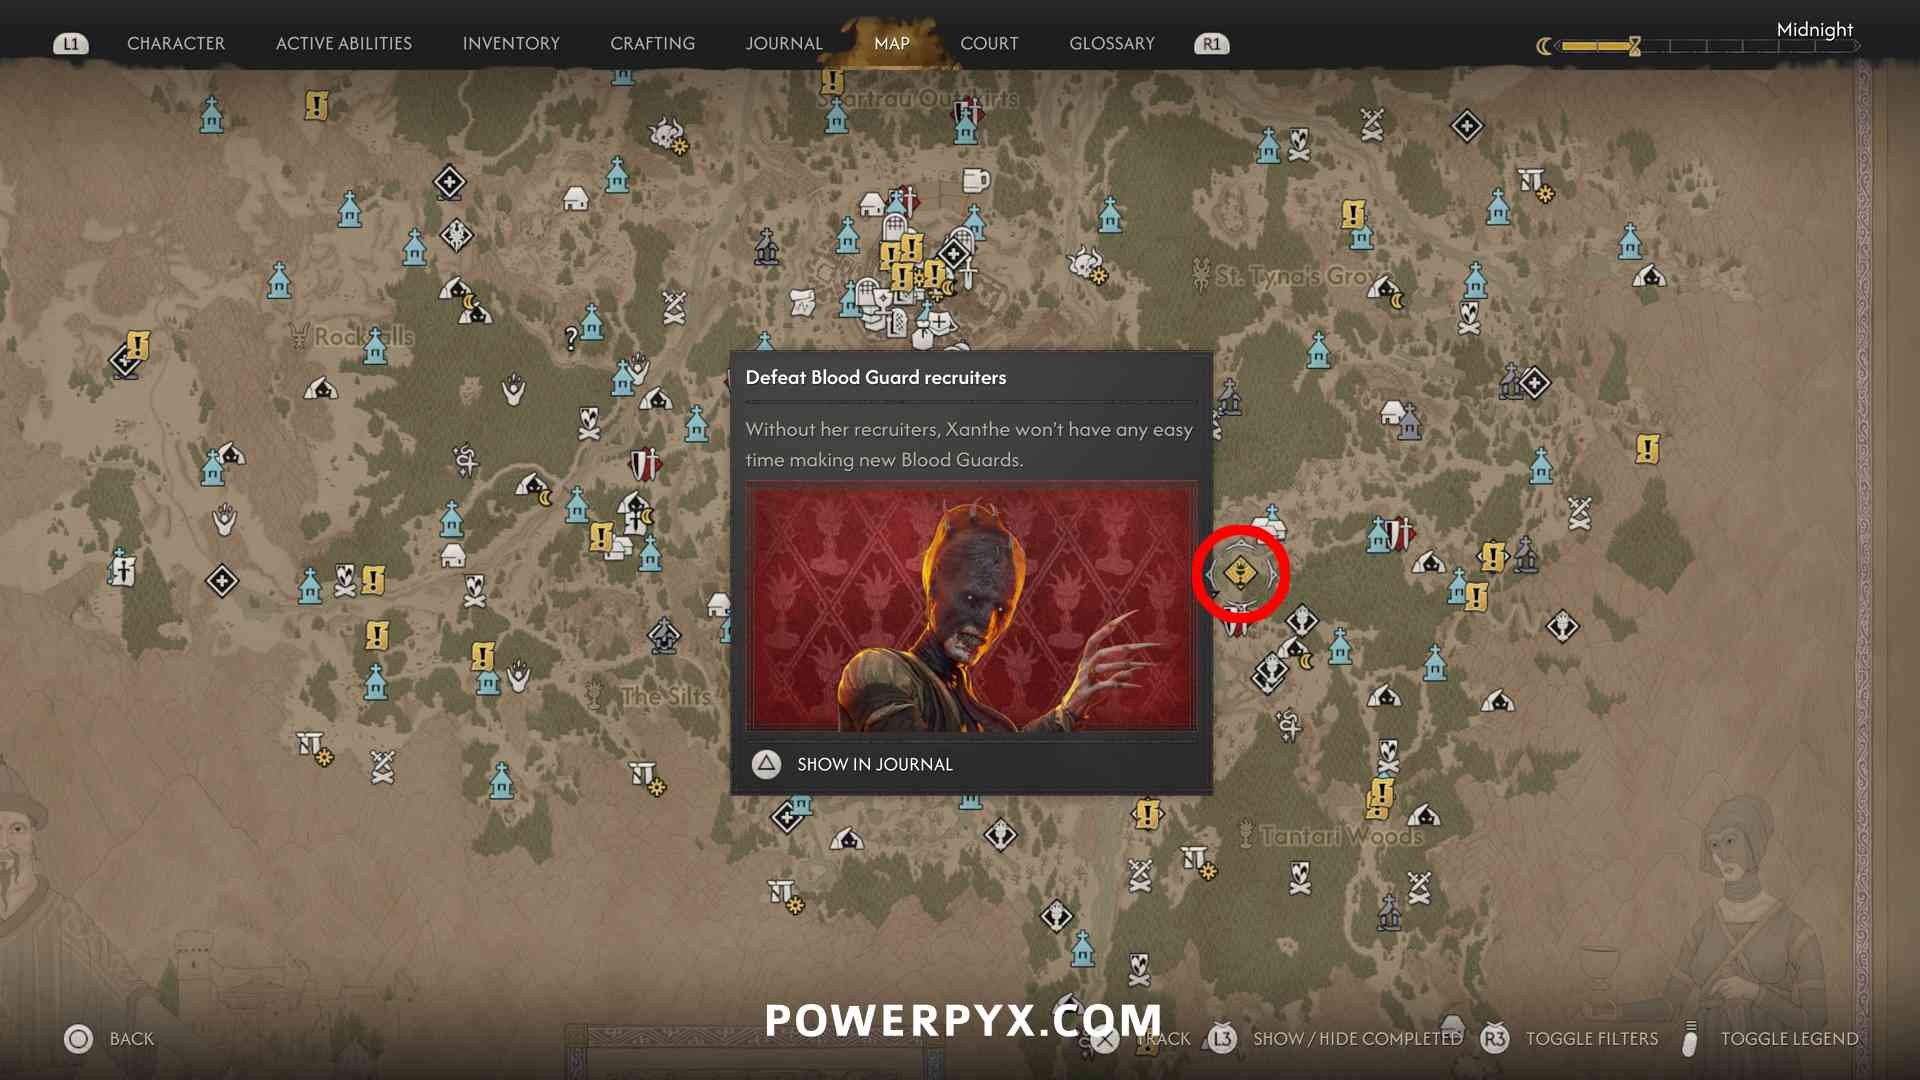
- Xanthe’s Recruiters: Taste of Power – inside a backyard in Svartrau City, talk to the Blood Guard, defeat the enemies and then interact with the golden box where they stood. Can choose to take the vrakhiri blood to get a legendary “Phial of Brencis’s Blood”. You can also steal the document from the chest here to get another Xanthe event marked on map. (3 time segments)

- Xanthe’s Recruiters: Just a Bit More – talk to the Blood Guard, defeat the enemies, then interact with the golden box. If you want to steal the blood you must also defeat the blood addict. Gives legendary “Phial of Ambrus’s Blood”. (3 time segments)
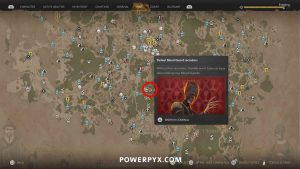

- Xanthe’s Recruiters: Come Home – talk to the Blood Guard, defeat the enemies, then interact with the golden box. If you steal the vrakhiri blood you get a legendary “Phial of Bakir’s Blood”. Also loot the chest there for a document that marks more Xanthe quests. (3 time segments)



Ancient Digsites
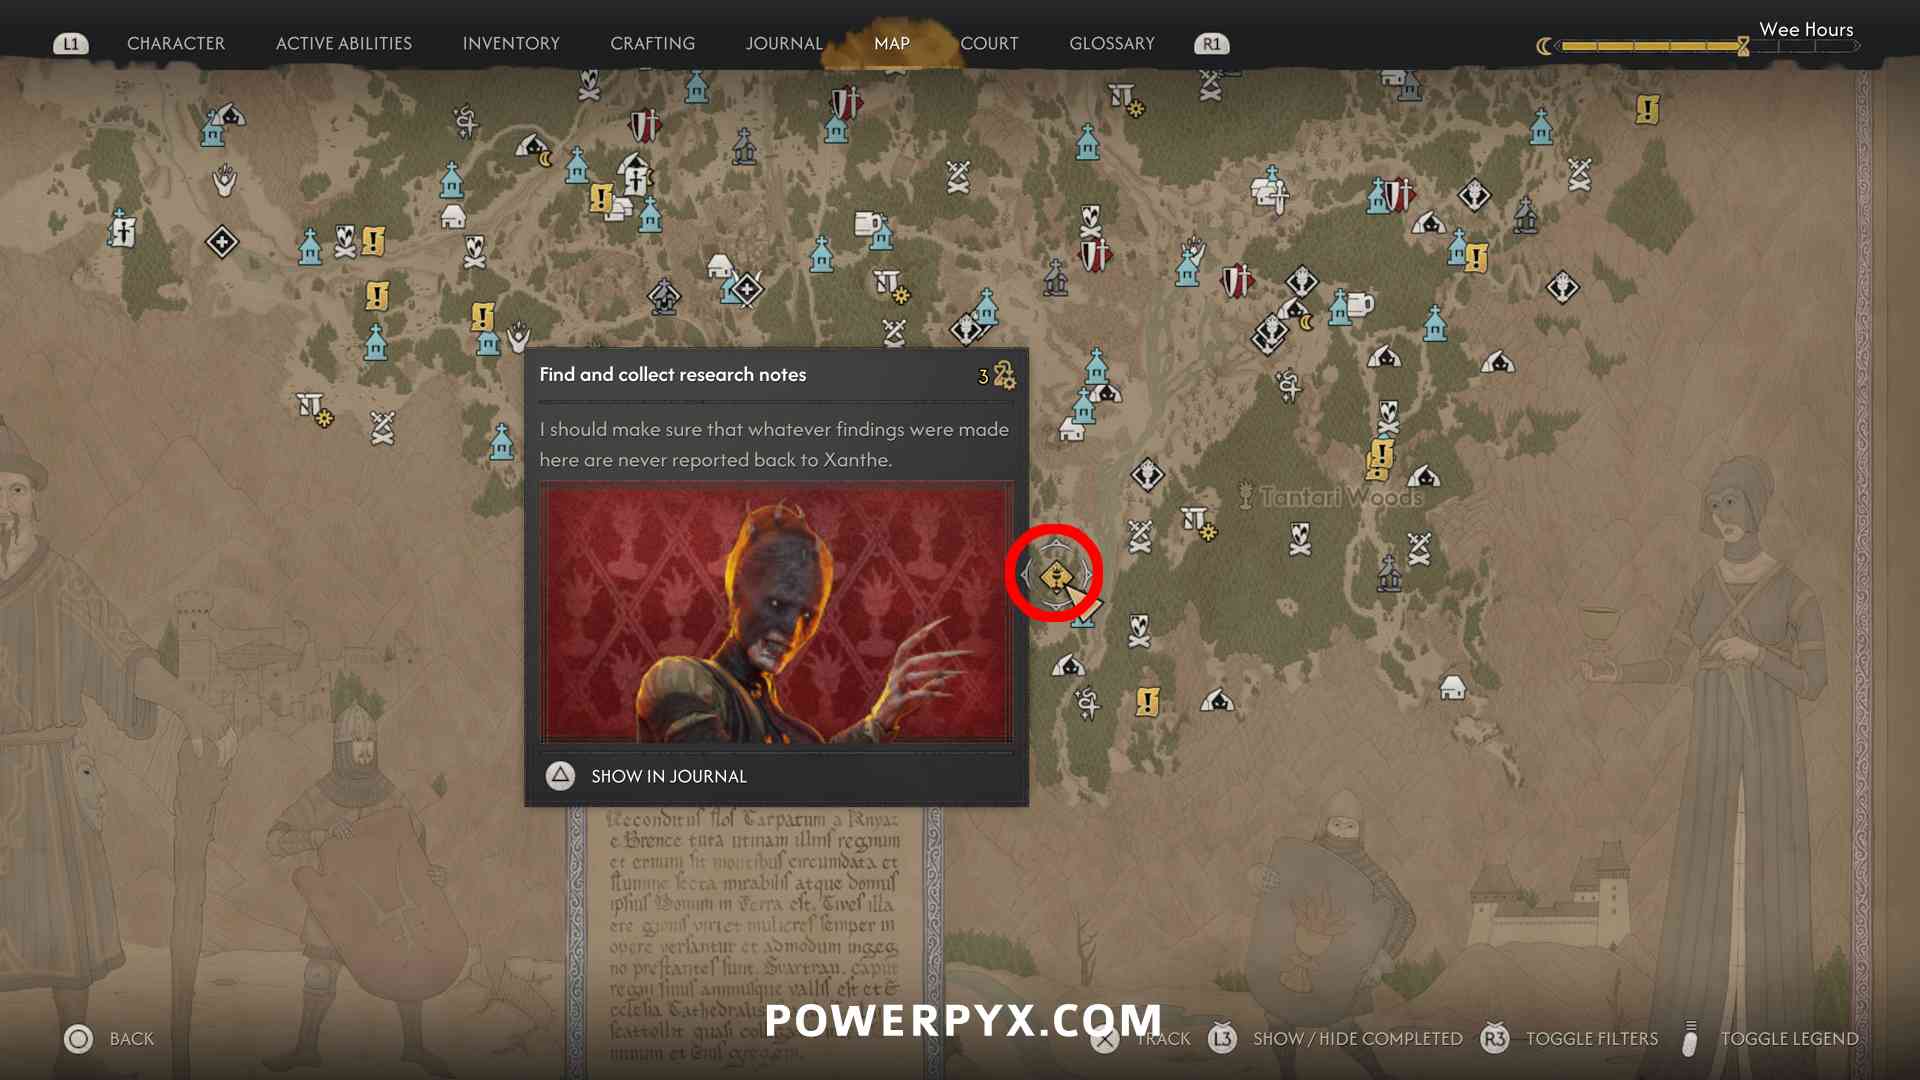
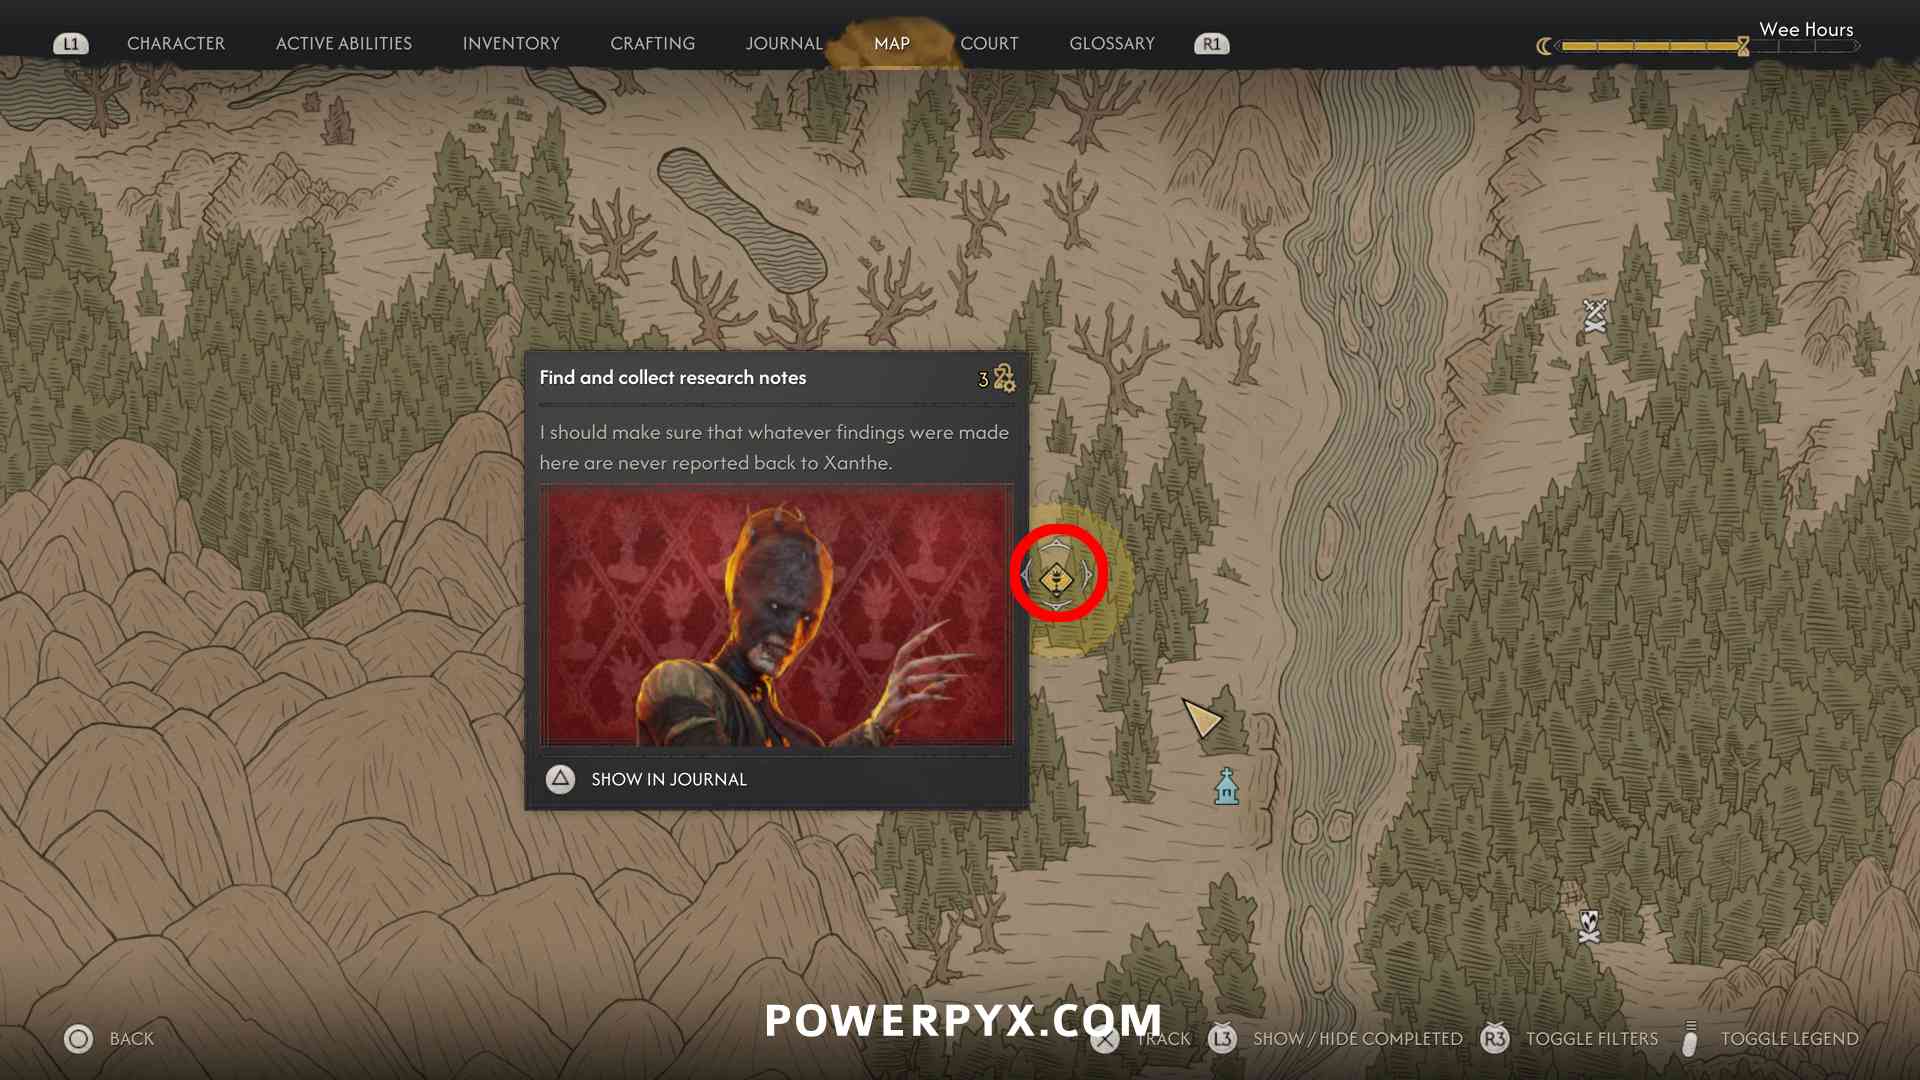
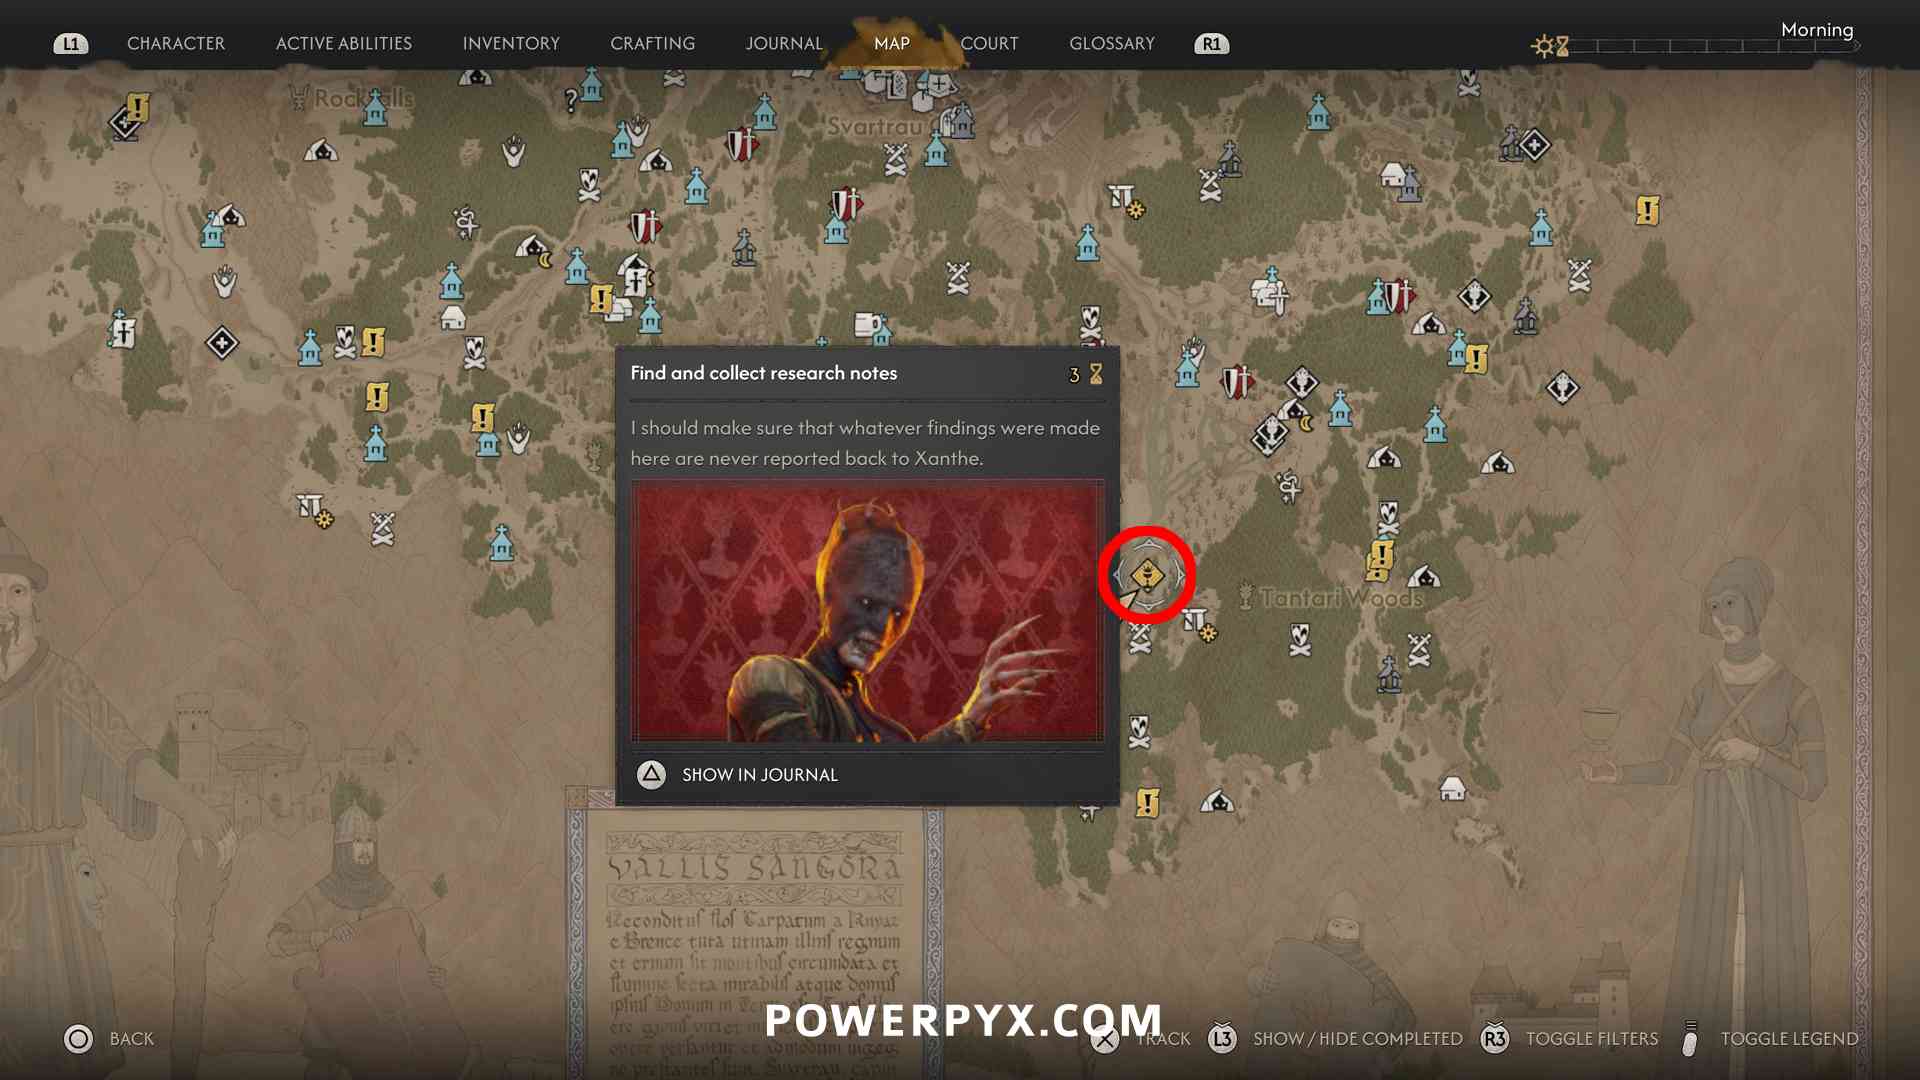
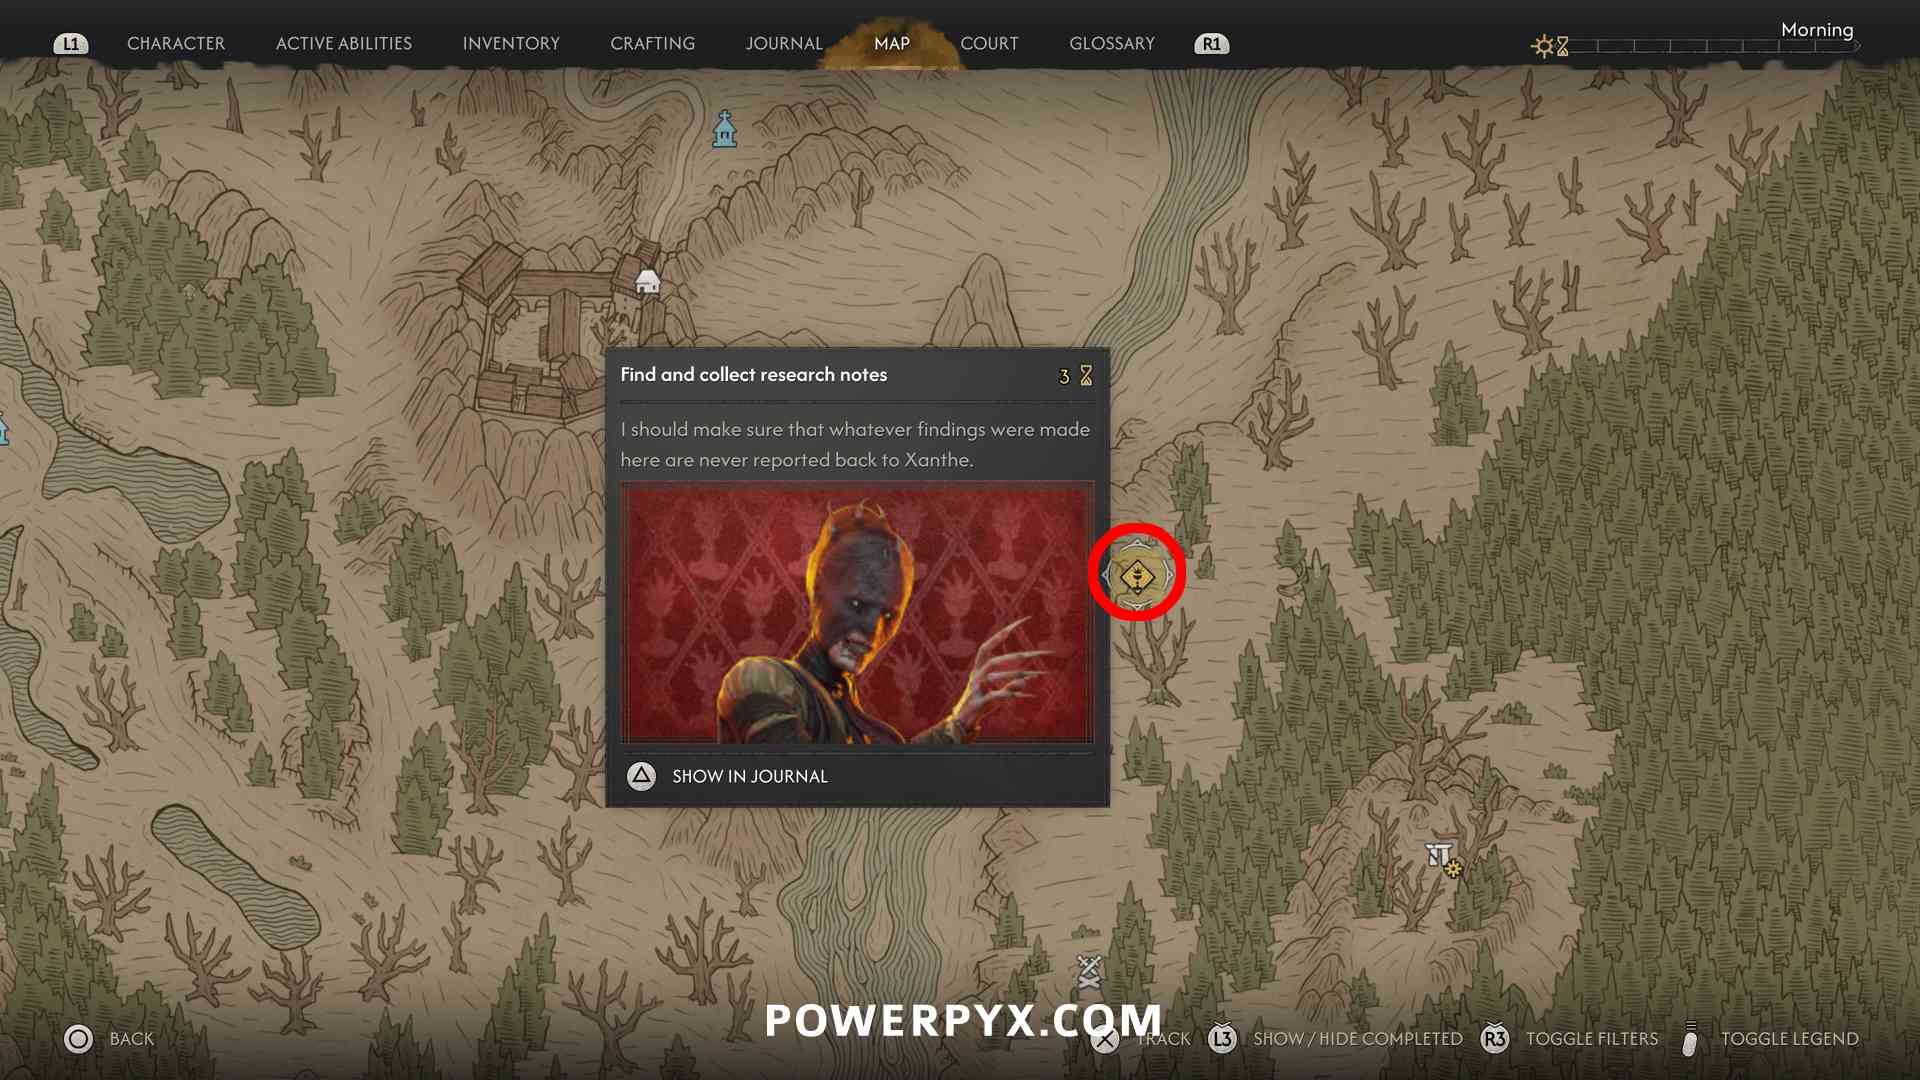
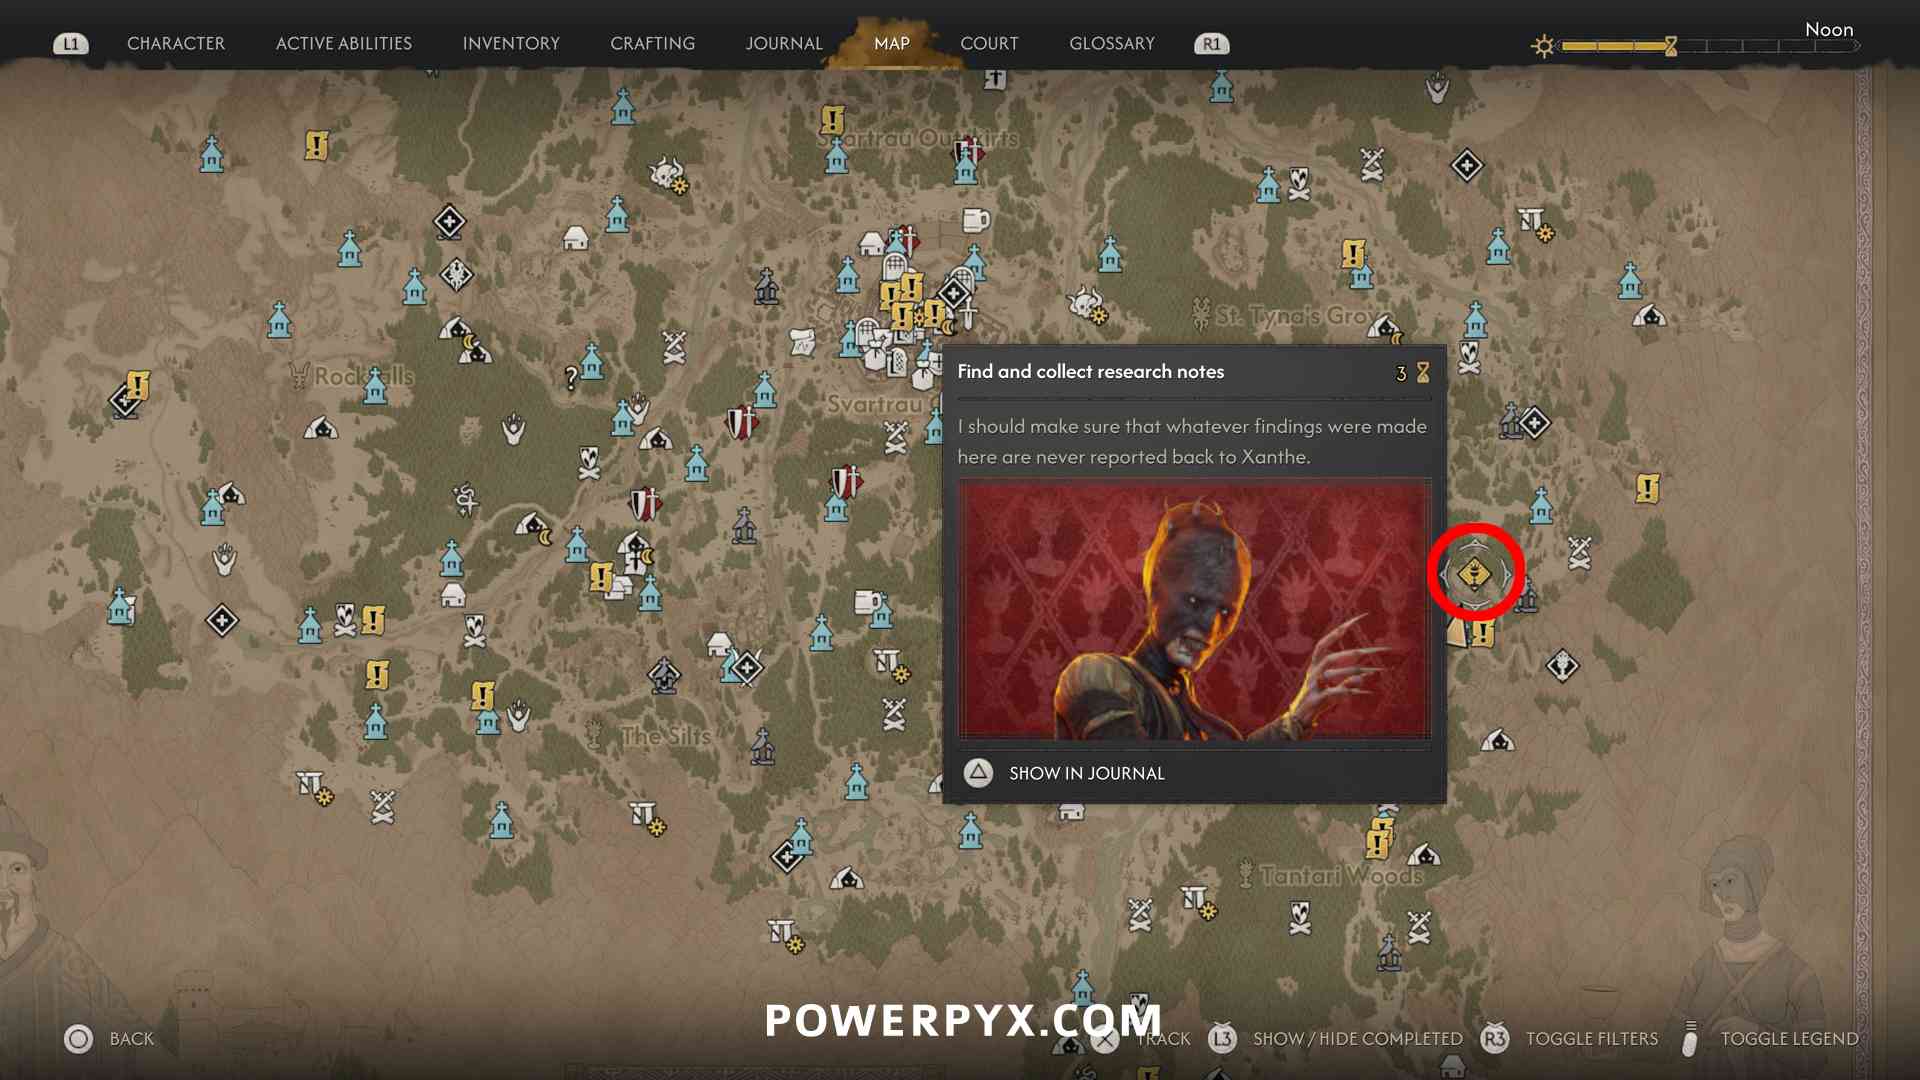
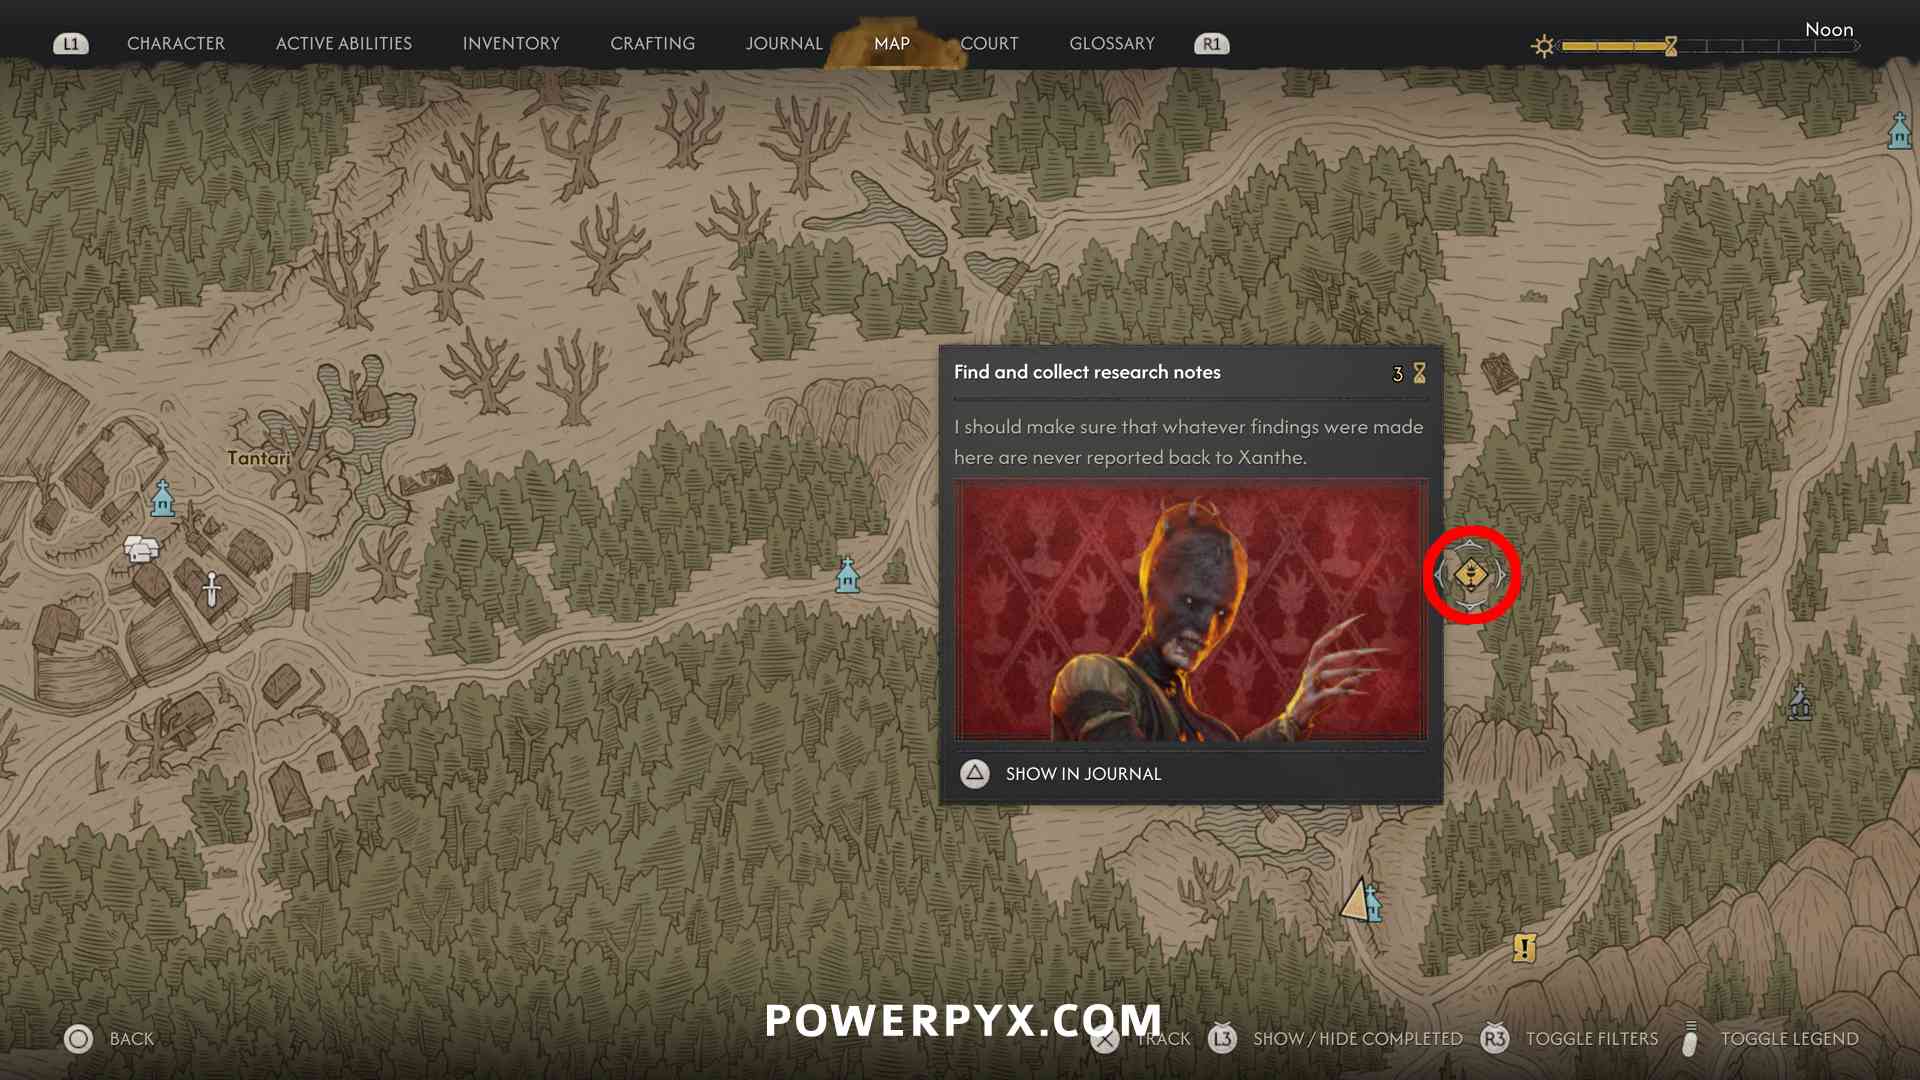
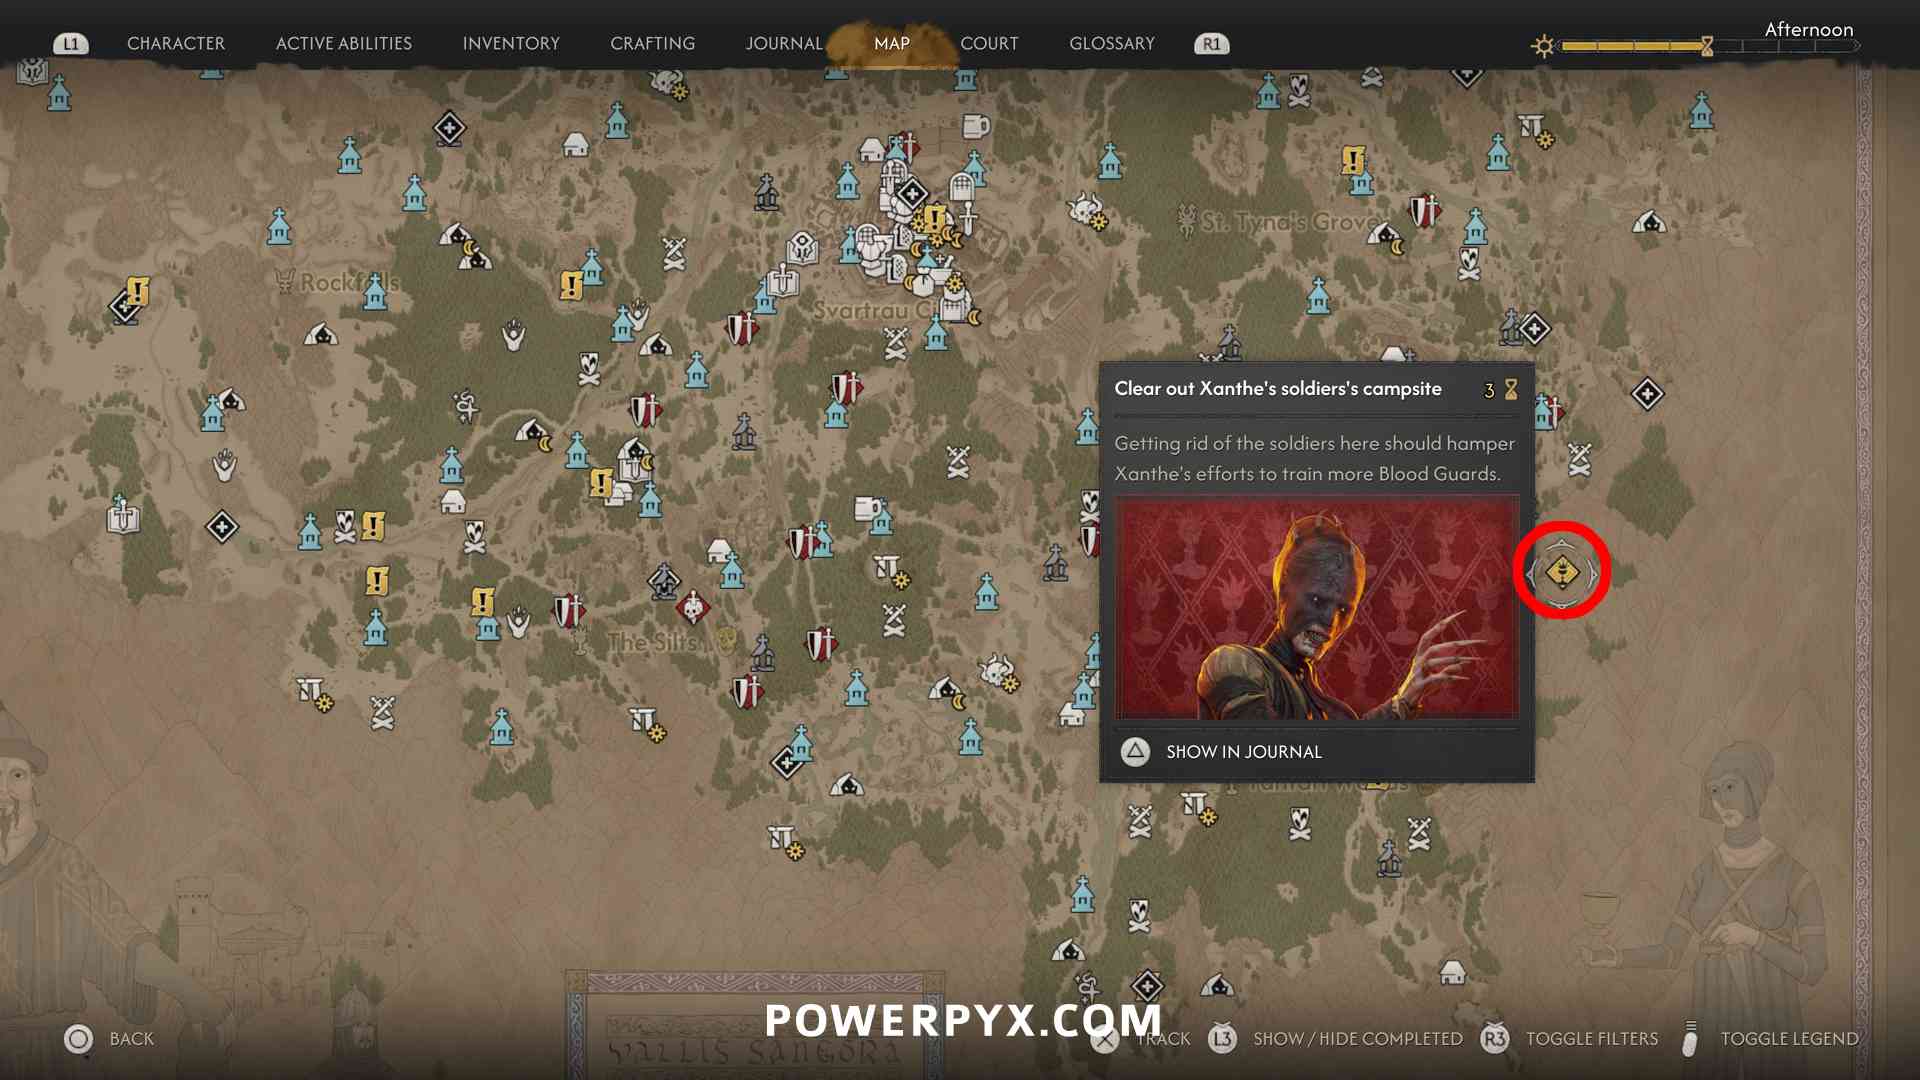
- Xanthe’s Excavations: Unsealed Secrets – defeat the enemies and look for the yellow glowing notes in Focus Mode (hold L2/LT). One is the tents outside, one is inside the ruin (squeeze in through the hole in the hill). (3 time segments)

- Xanthe’s Excavations: Malevolent Presence – fight through the ruins, in the last room with a ghost boss you will find the text note on the table in the middle. (3 time segments)

- Xanthe’s Excavations: Bloodied Dagger – fight through the ruins and defeat the boss at the end. There’s also a locked chest in the boss room containing legendary boots. To open it, use Focus Mode (L2/LT) to highlight the Ritual Dagger on the left side of the boss room, collect it and compel the body in front of the chest. Then the chest will open. (3 time segments)


Abducted Girls
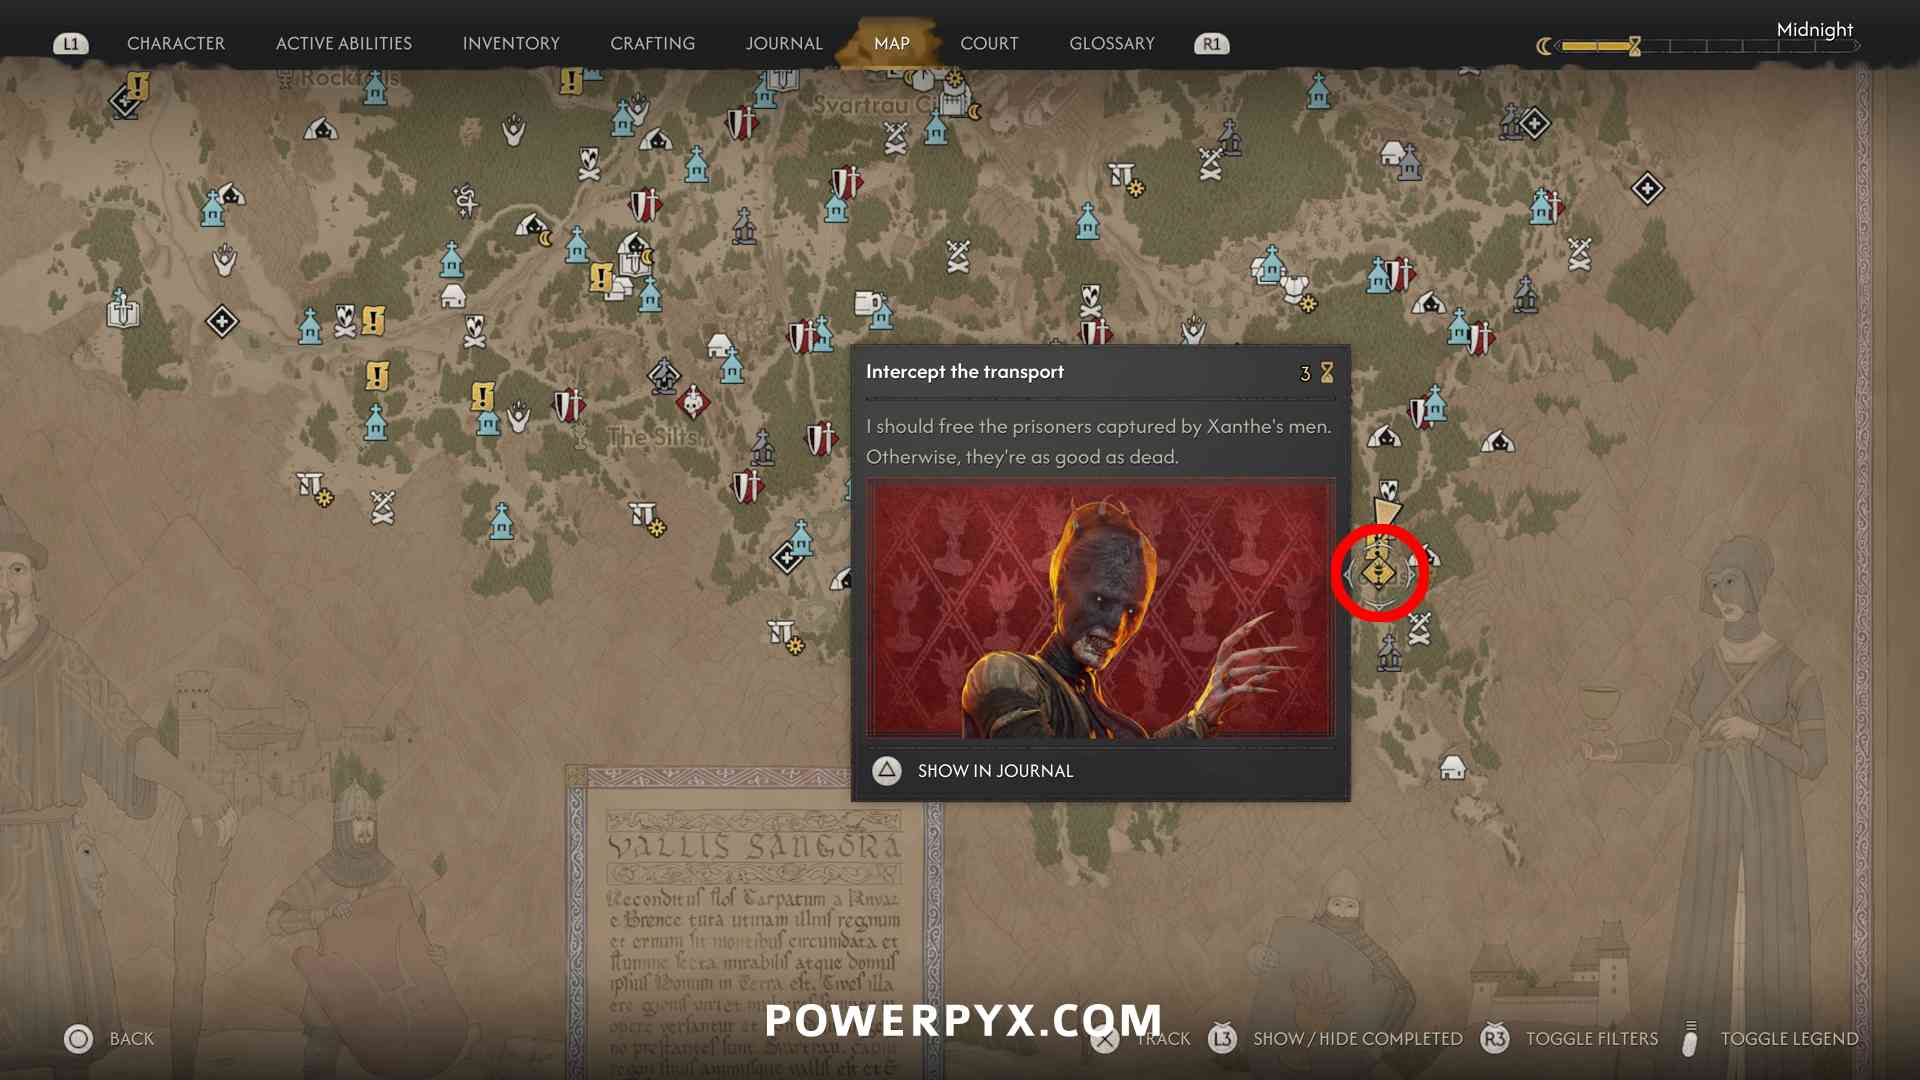
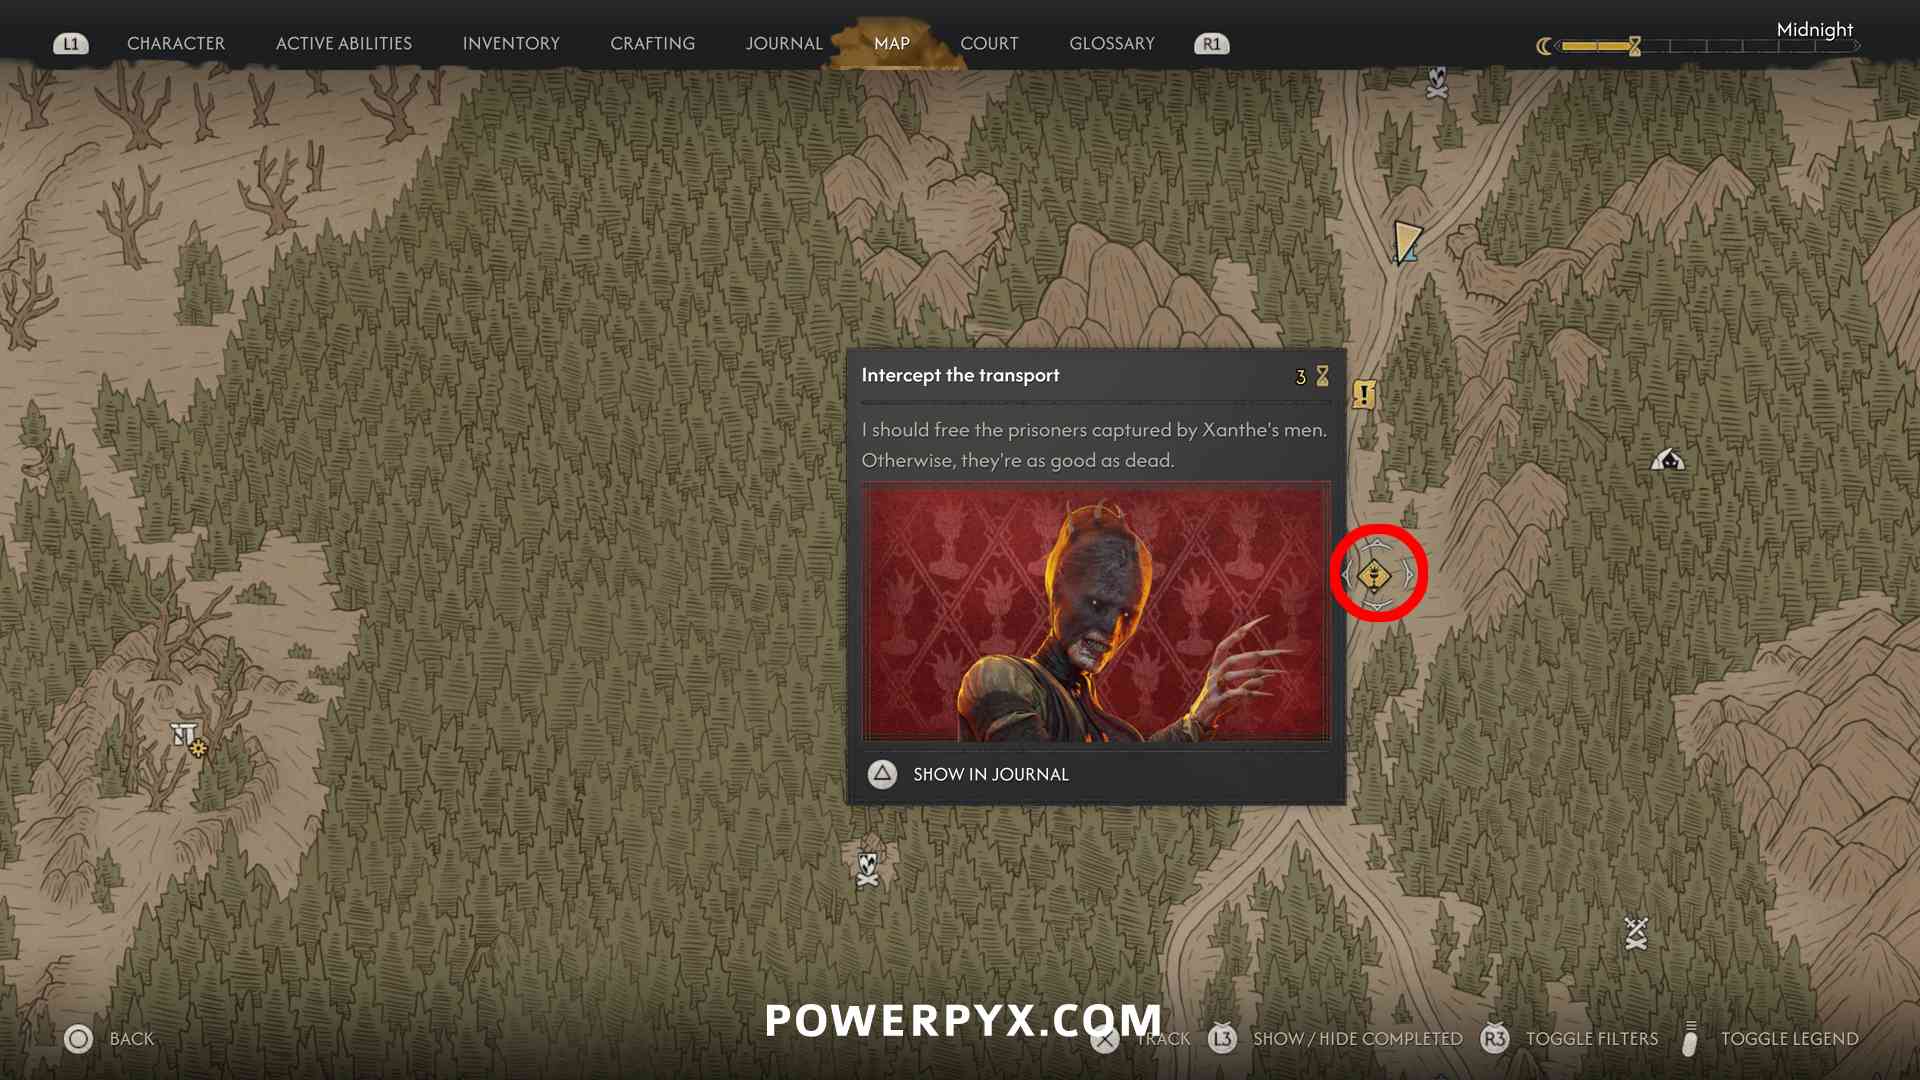
- Xanthe’s Transports: Fair Maiden – defeat all enemies travelling on the road. They move around so run along the road until you encounter them. (3 time segments)


- Xanthe’s Transports: Chosen One – defeat all enemies travelling on the road. They move around so run along the road until you encounter them. (3 time segments)


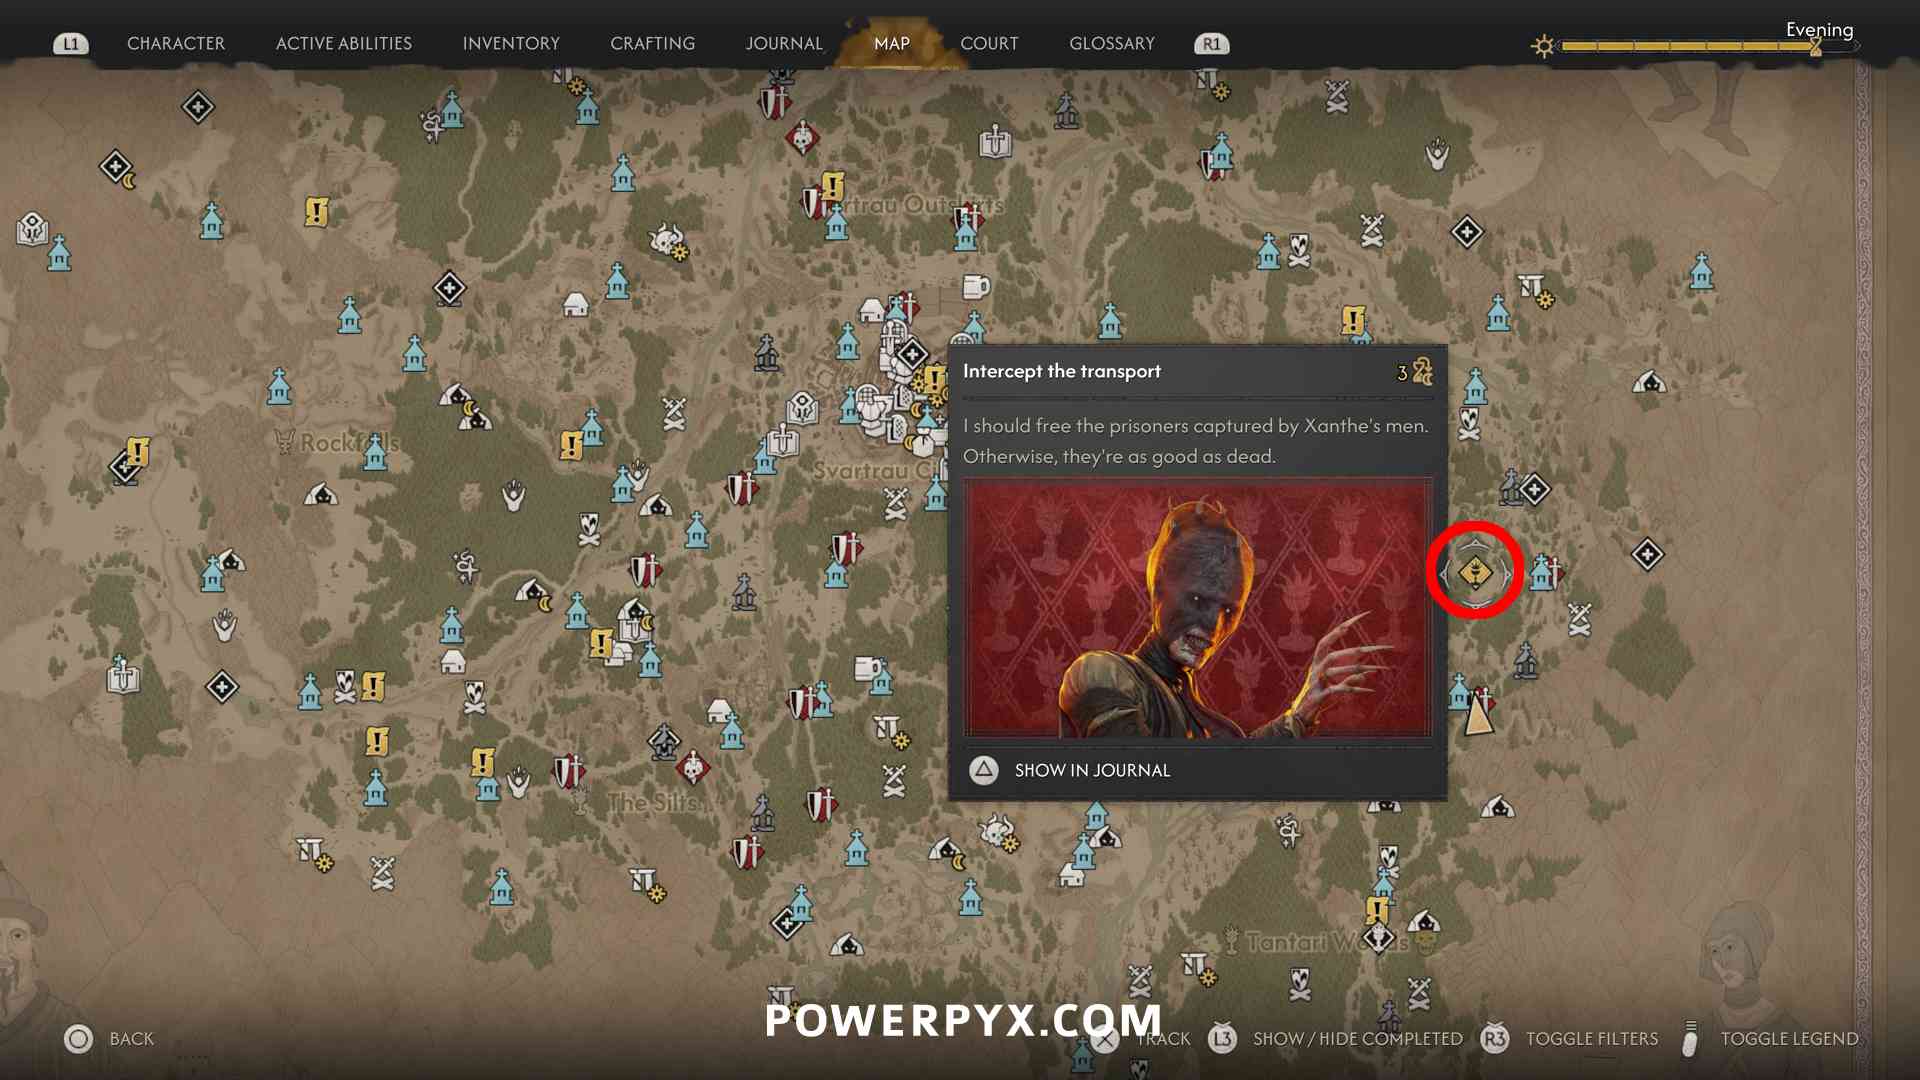
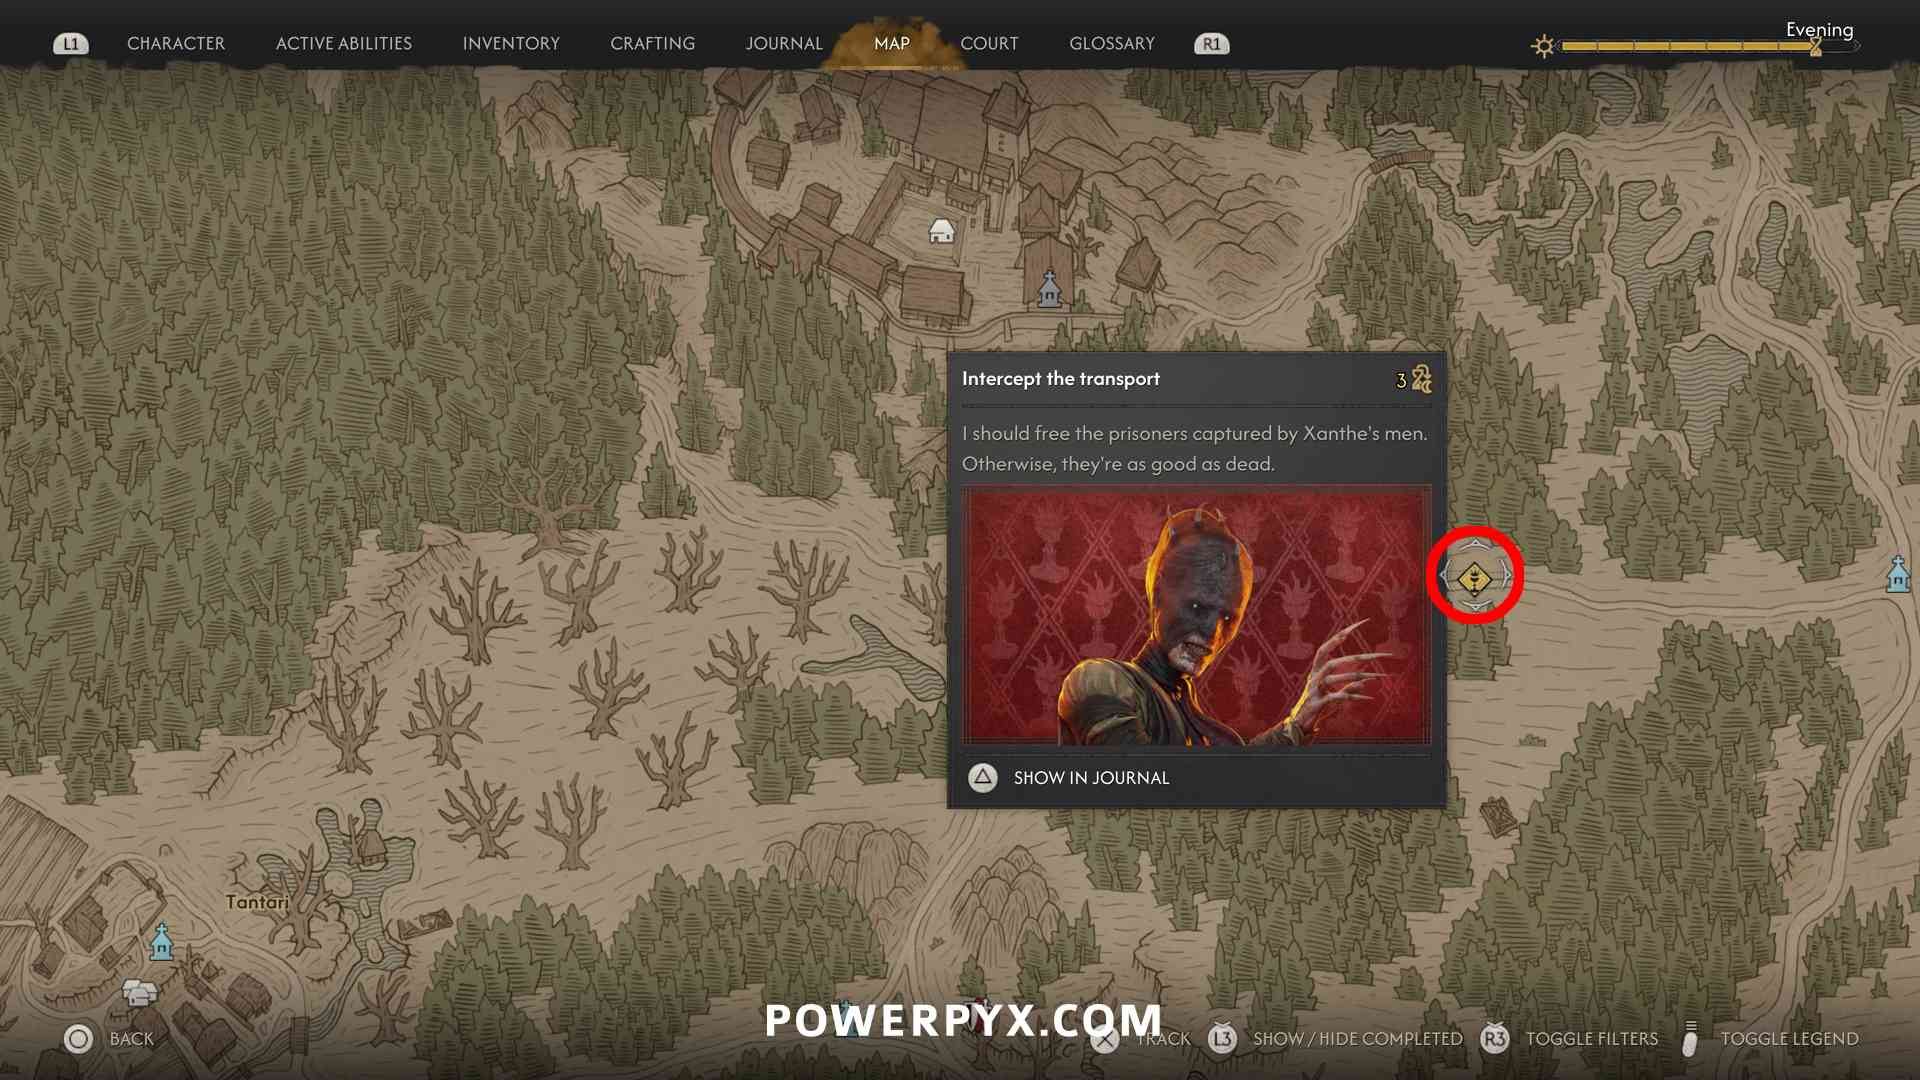
Artefact Transports
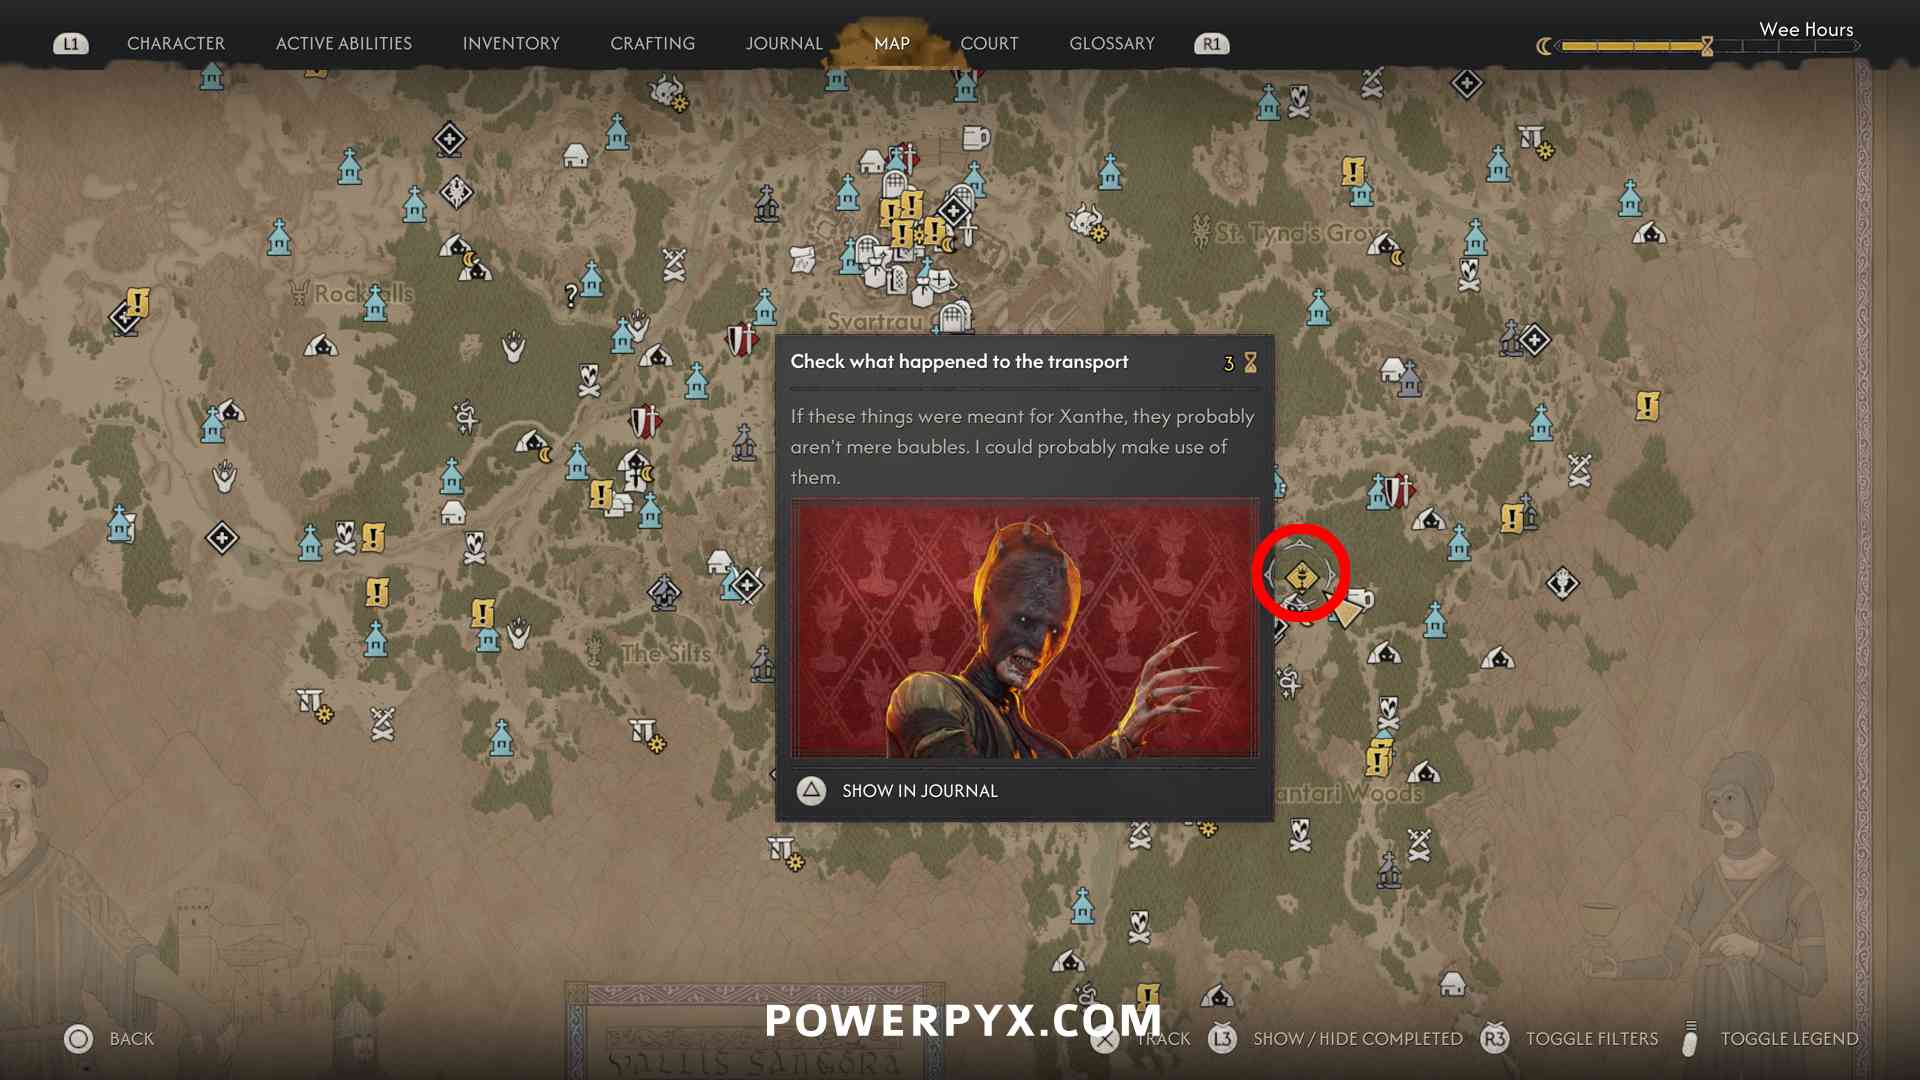
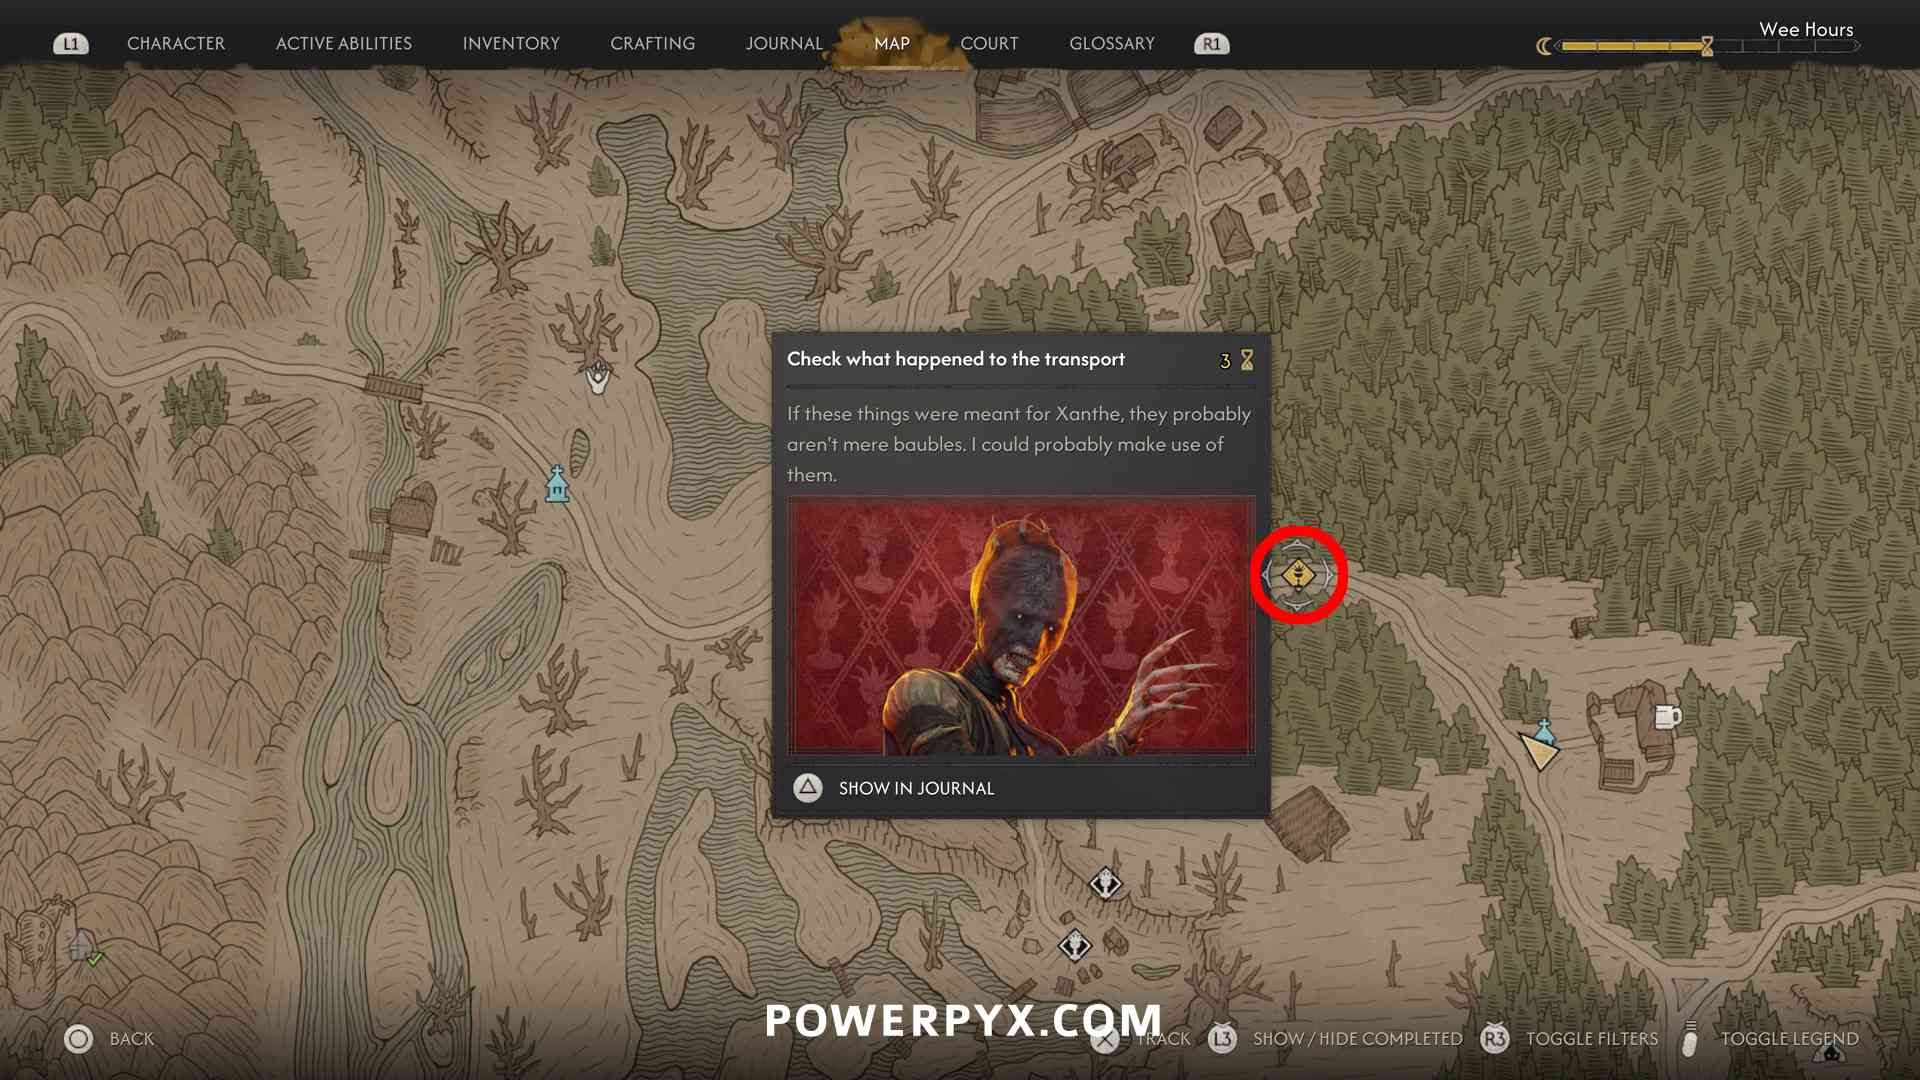
- Xanthe’s Transports: Past Glory – defeat the enemies patrolling the road and loot their bodies. (3 time segments)

- Xanthe’s Transports: When Two Dogs… – defeat the enemies patrolling the road and loot their bodies. (3 time segments)

Blood Guard Mentors
- Xanthe’s Blood Guards: Unquenchable Thirst – defeat all enemies in the camp. You can also free the prisoner bound to the tree, and find a Sword Shard inside the tent (for “Forge It Anew” quest). (3 time segments)


- Xanthe’s Blood Guards: Teach with Pain – defeat all enemies in the camp. (3 time segments)


- Xanthe’s Blood Guards: Loophole – defeat all enemies in the camp. (3 time segments)
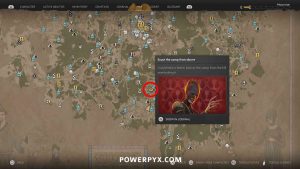
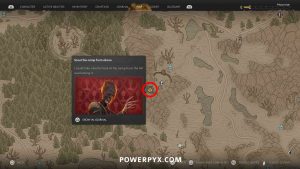
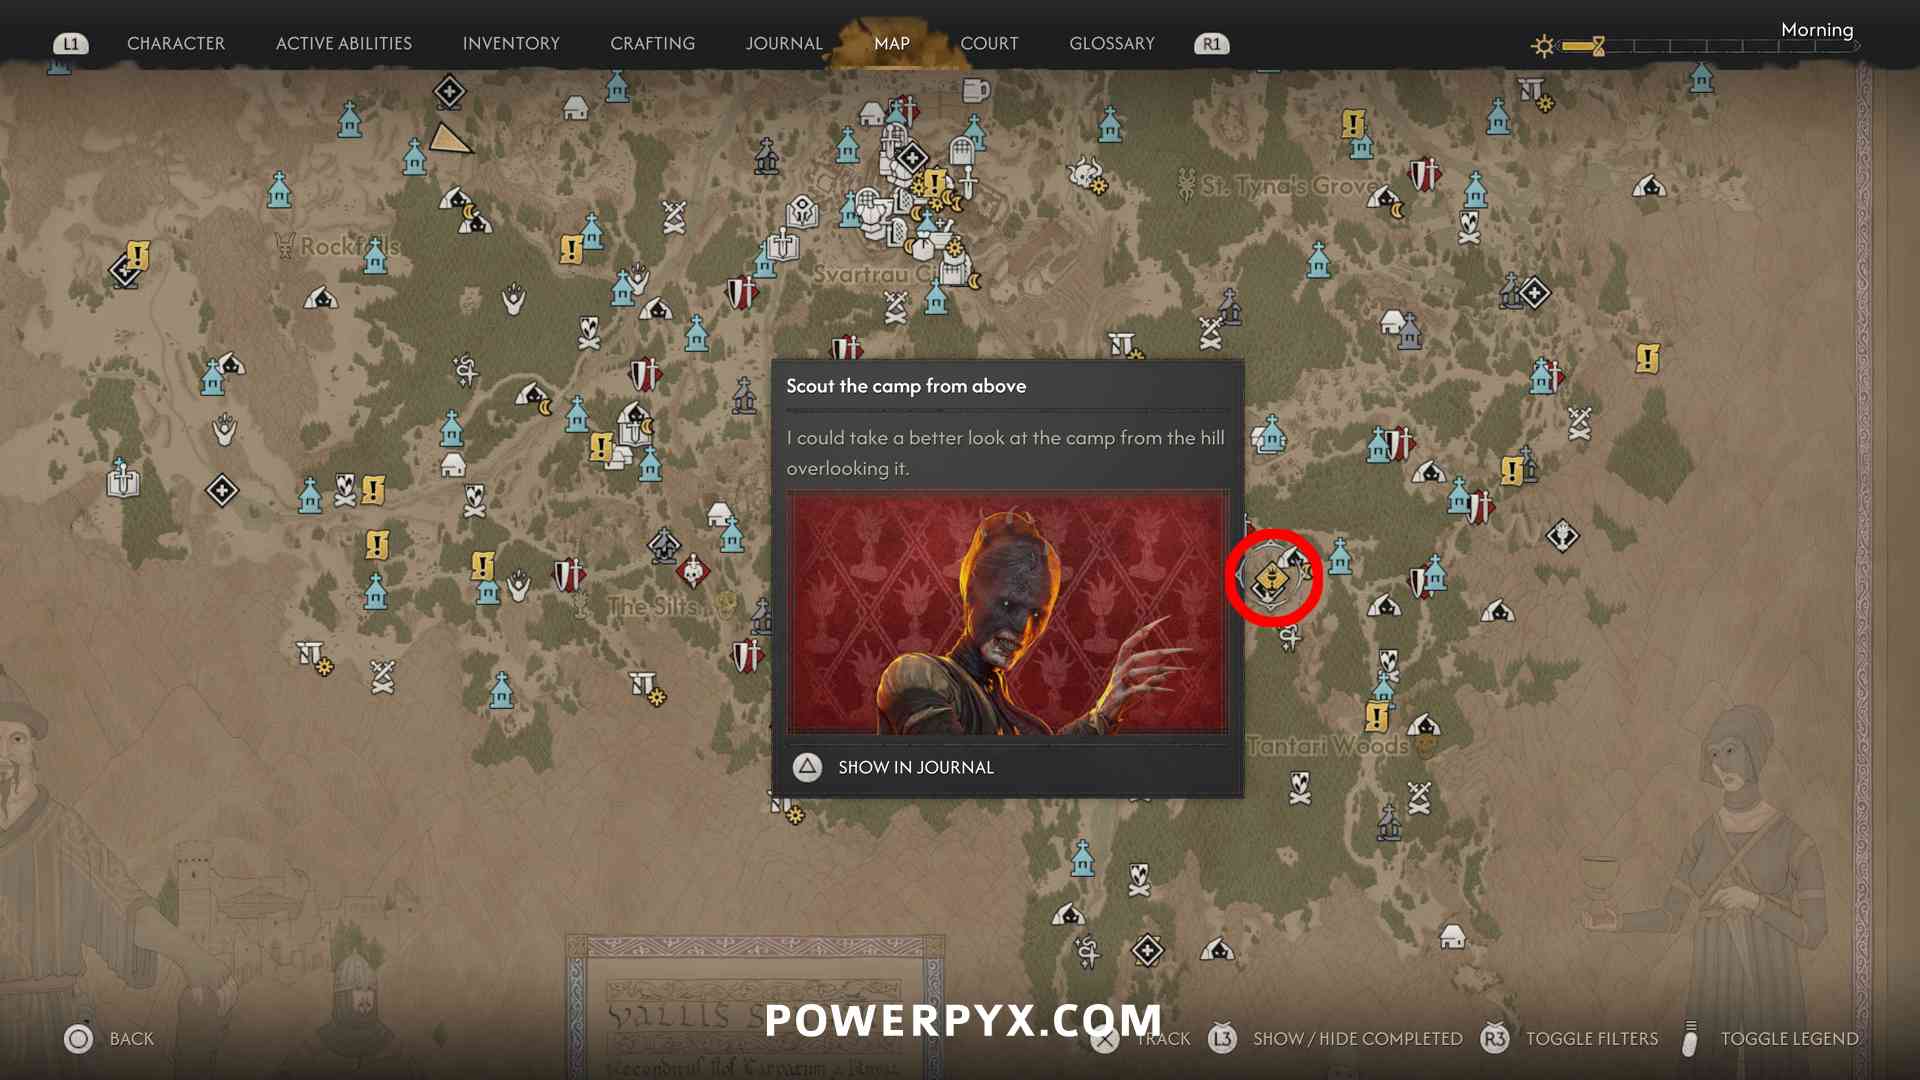
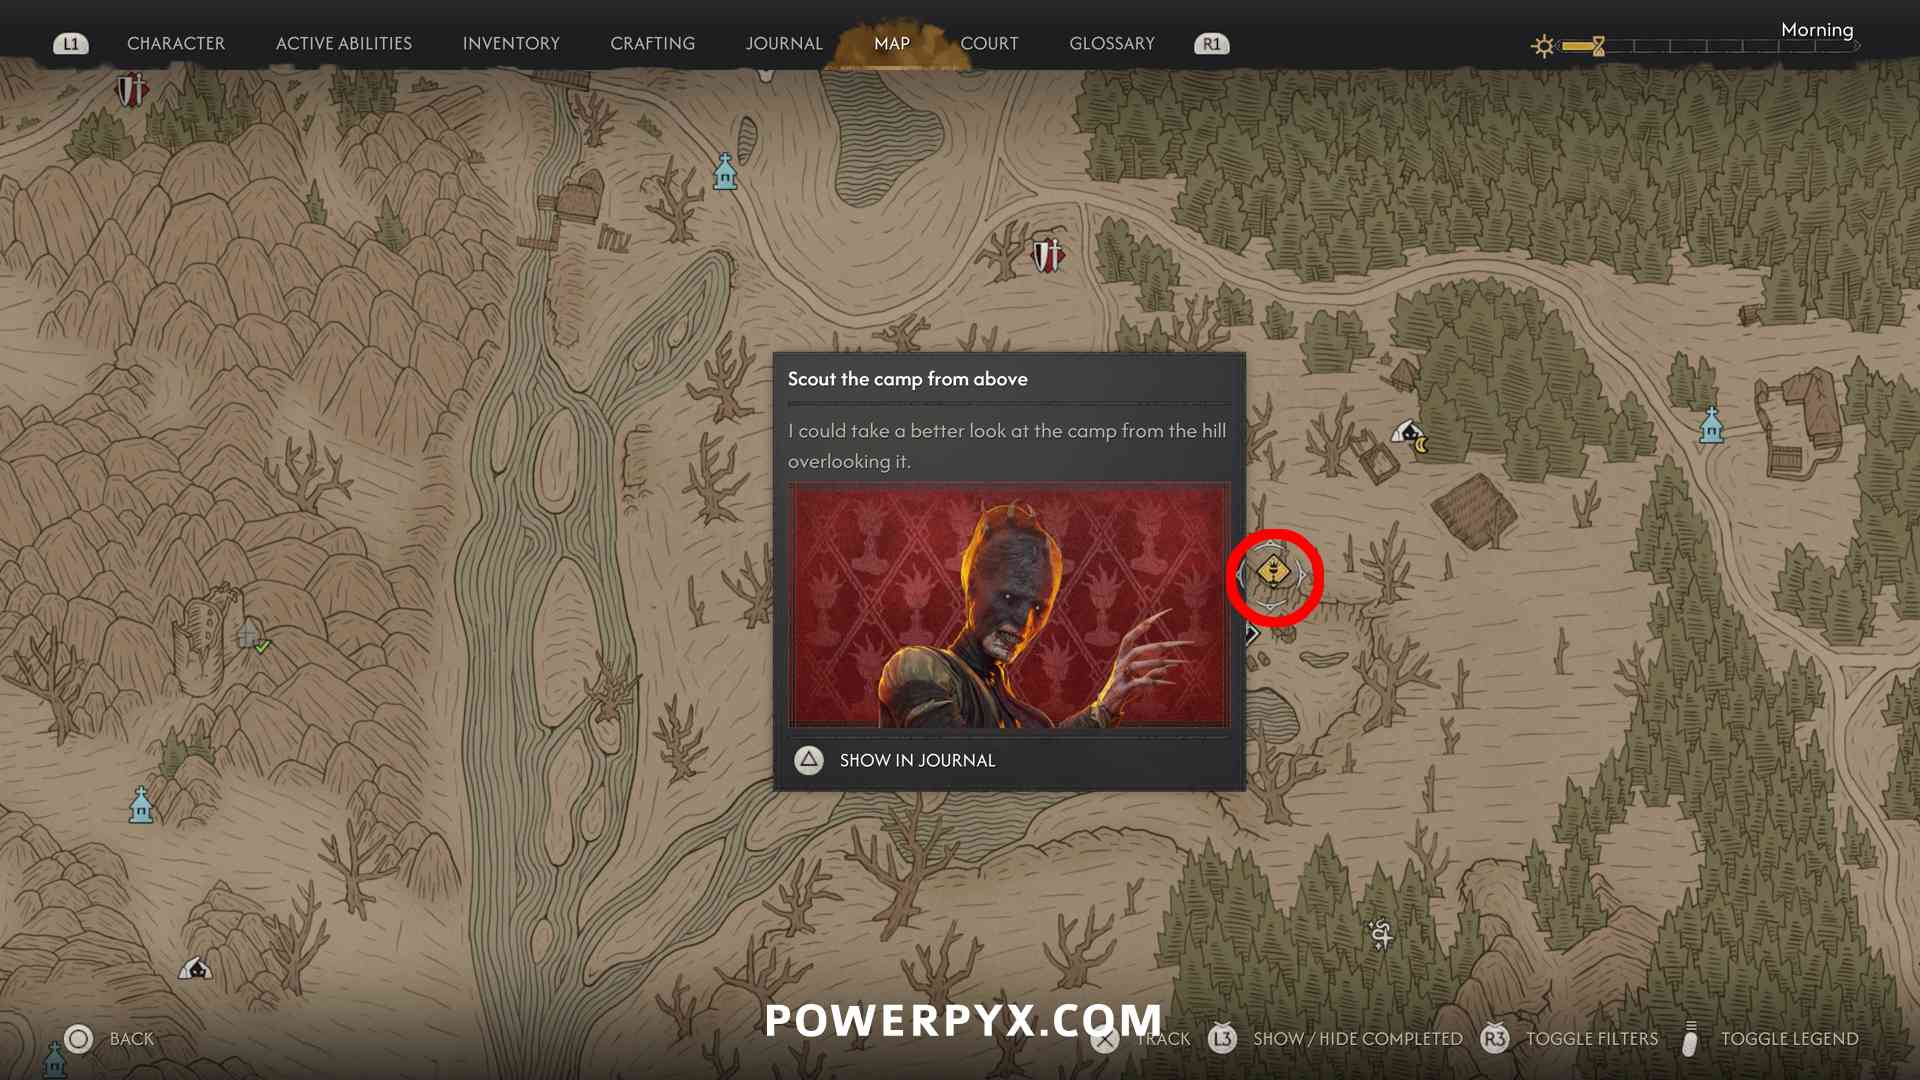

Gargoyle Manufacture
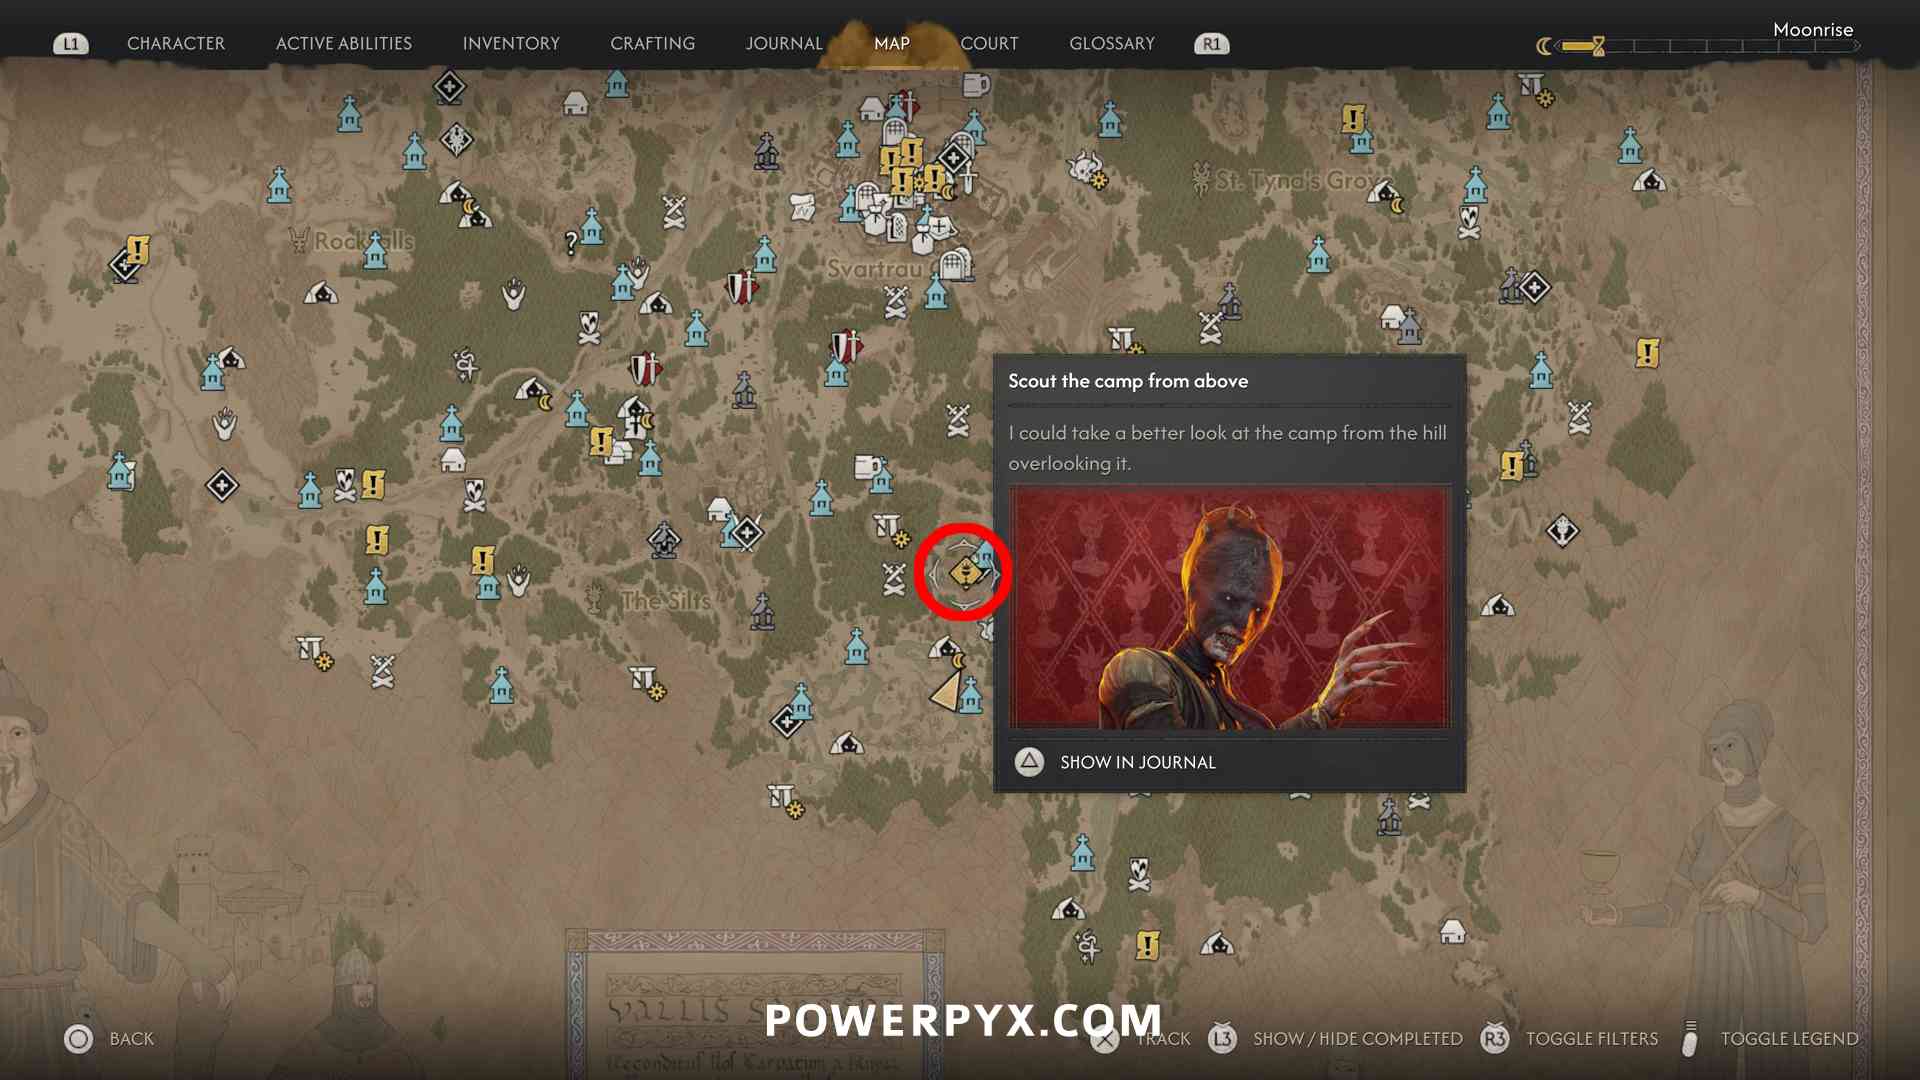
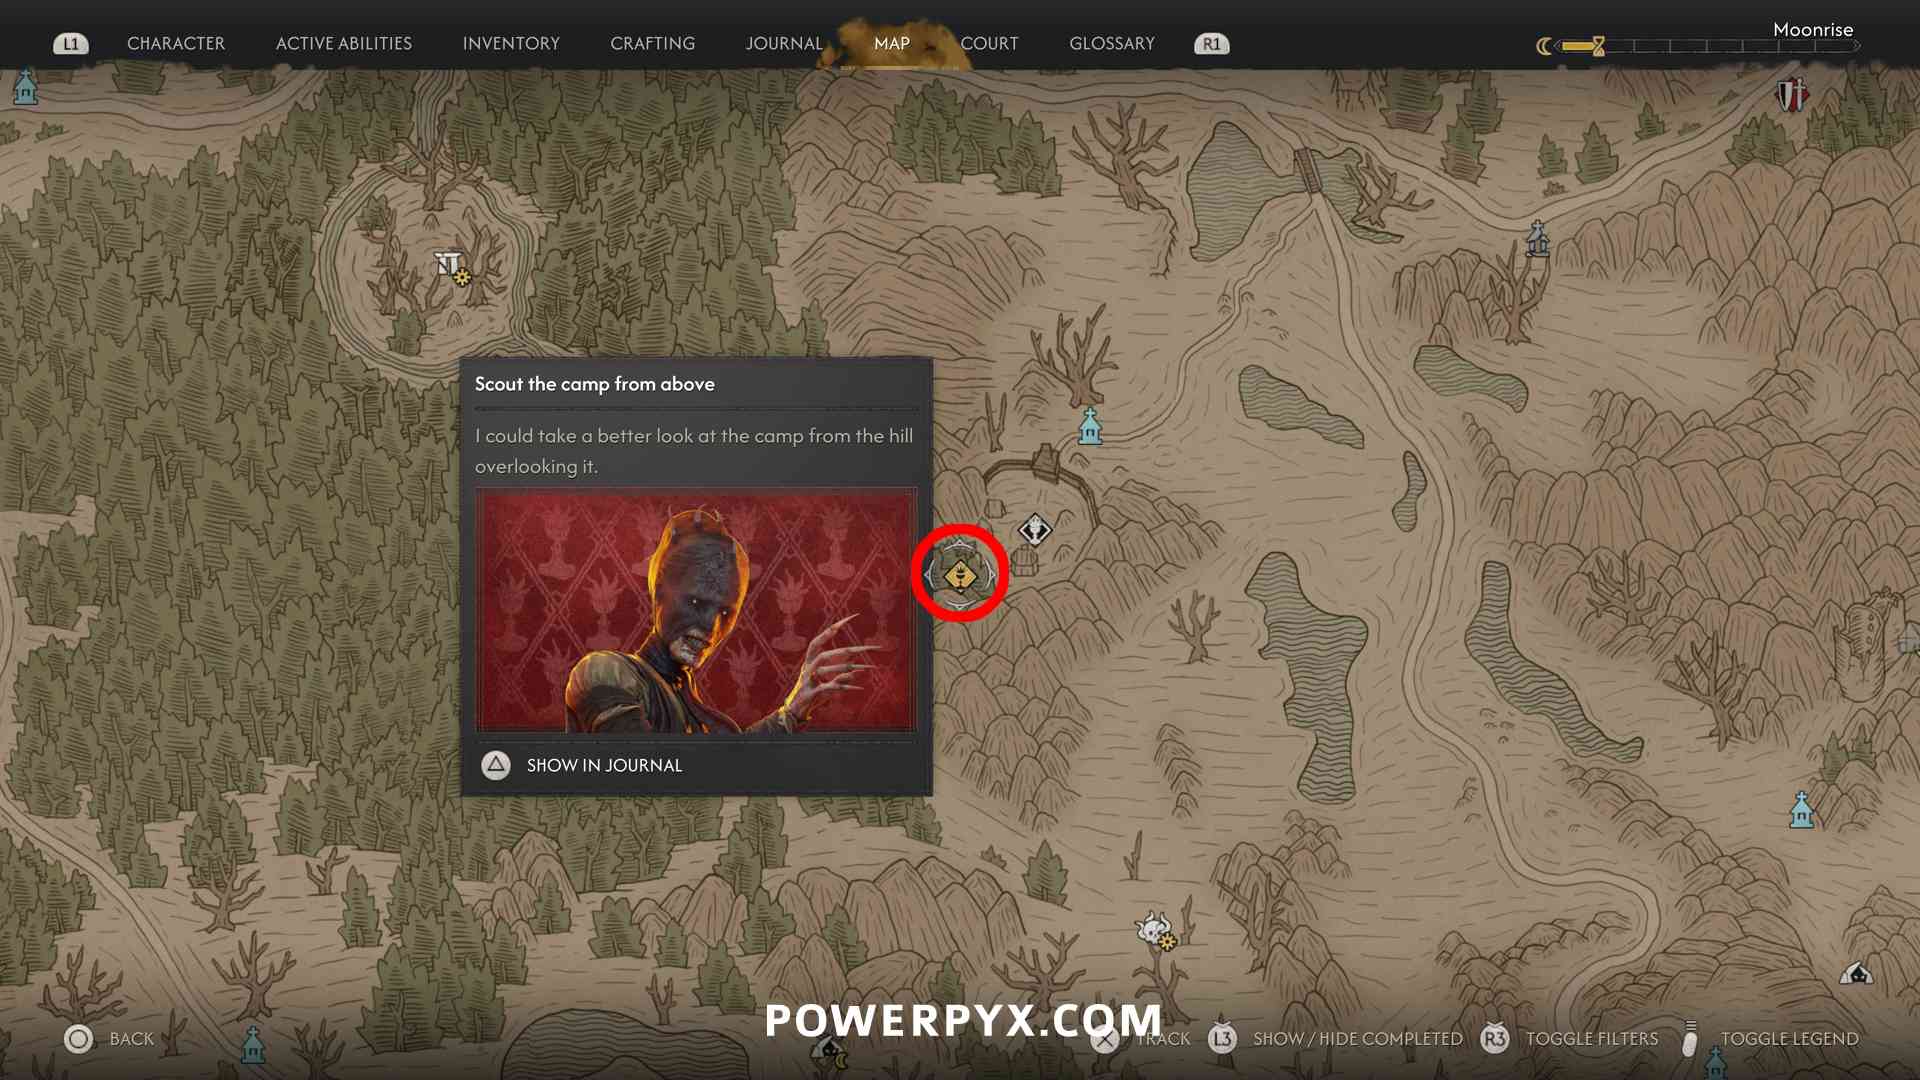
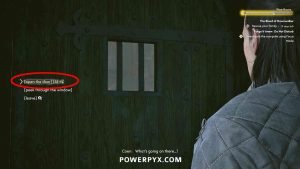
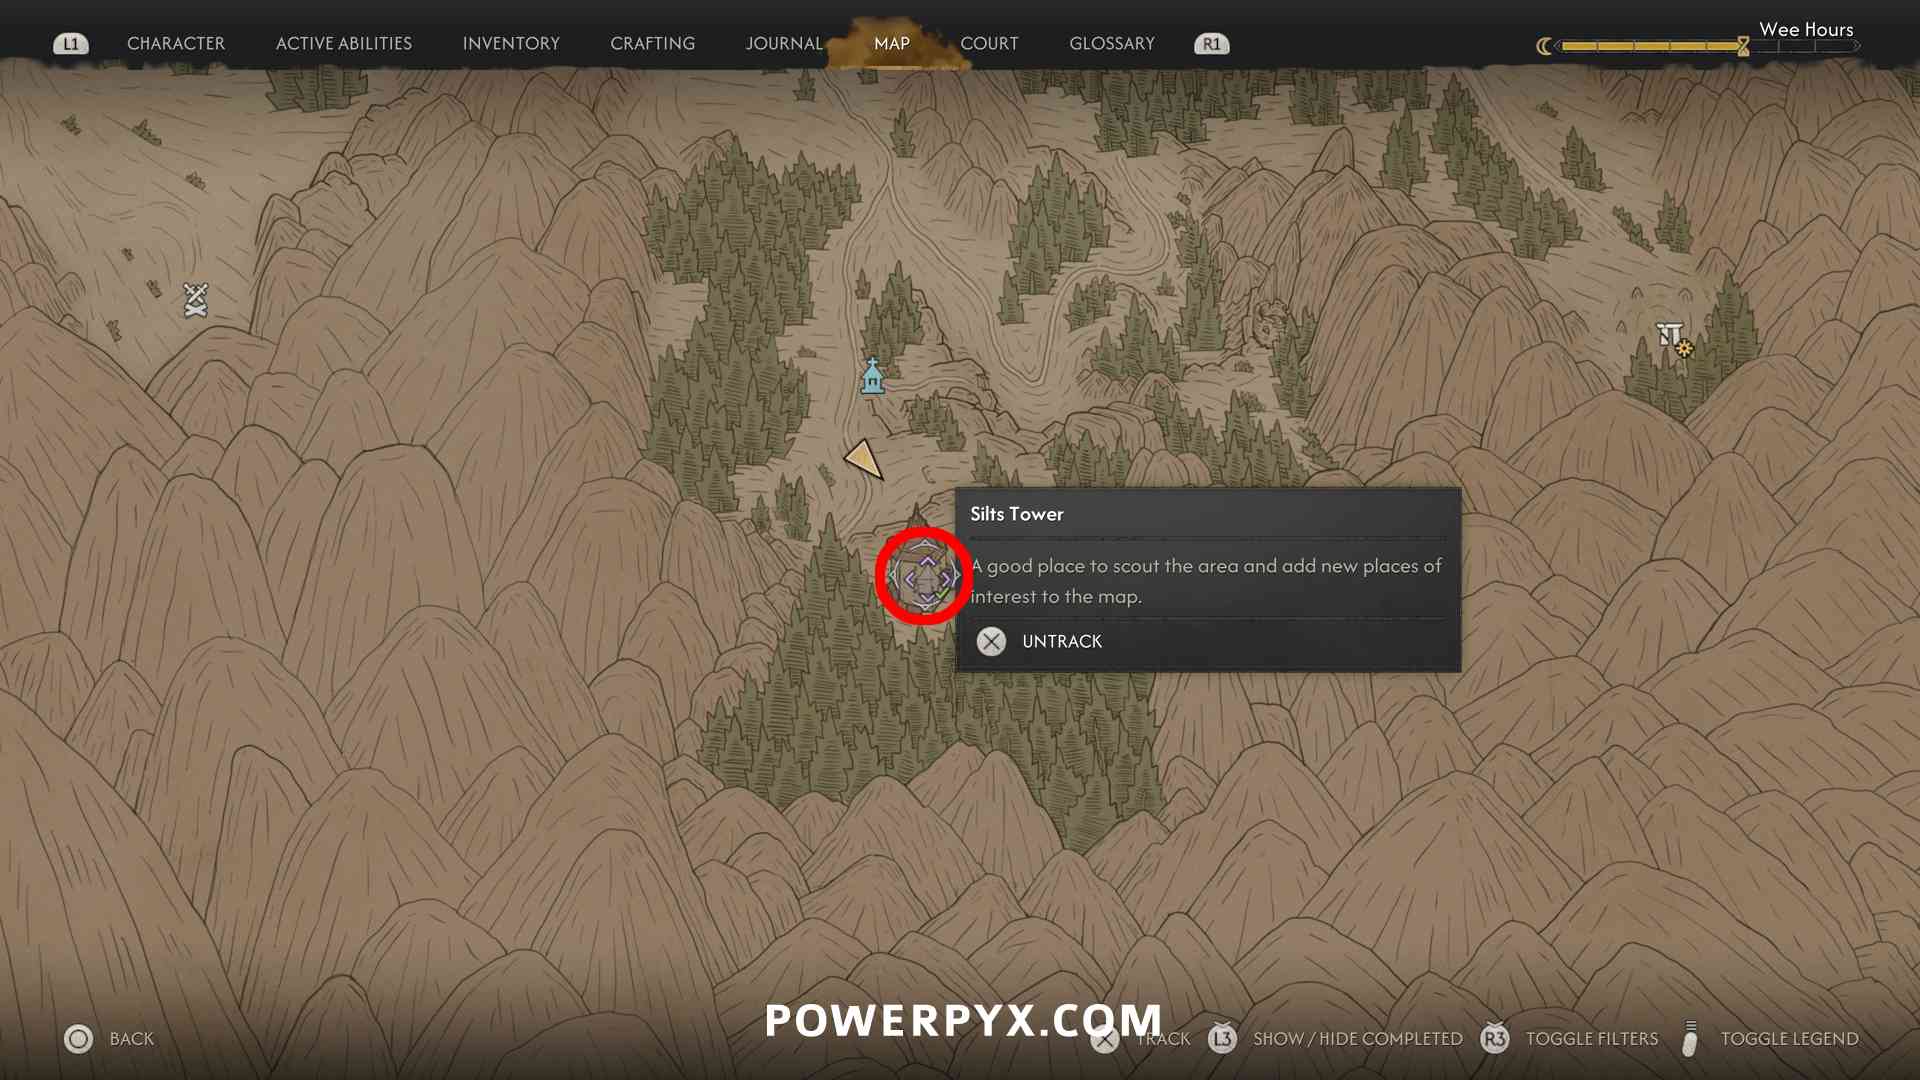
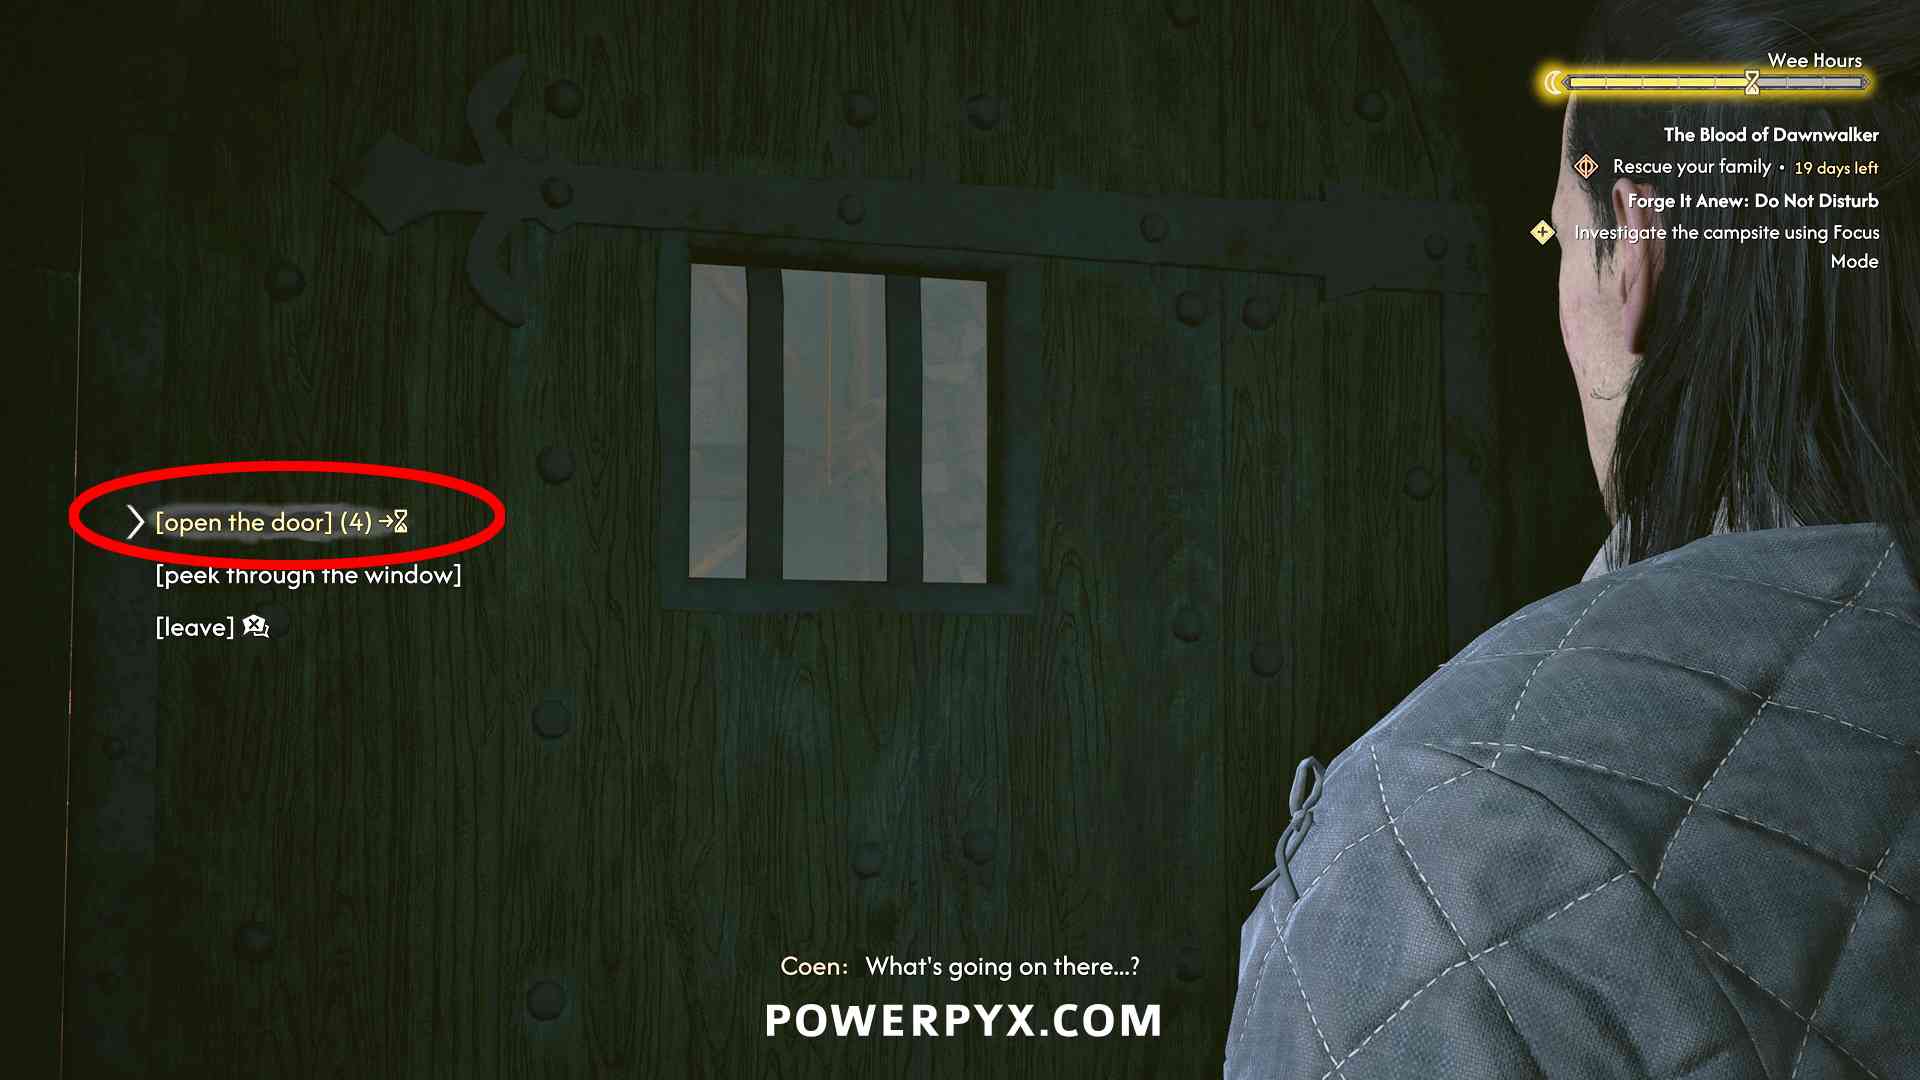
- Home Sweet Home – this is a hidden quest. In the south-west edge of the map go to the tower “Silts Tower” (the tower you climb to sync the location icons nearby). Enter the door on the ground floor and go through the inside of the tower all the way to the top floor. Interact with the door at the top (costs 4 time segments) to start the quest. It’s a flashback of the game’s prologue. Fight through the enemies and beat the Gargoyle boss at the end. Then you respawn in your house again. Normally, you’d escape through the well at the 2nd enemy group, but for a highly missable trophy (and secret ending) you want to play through this level 4 times in a row, then you unlock
 Together Forever and you get trapped in the dream sequence which triggers a secret ending. After you got the trophy, to actually complete this activity and return to the normal world, play to the 2nd group of enemies and where you fight them inspect the well with Focus Mode (hold L2/LT), it will be highlighted yellow. A voice will talk to you from the well, then you spawn in front of a cave entrance. At the end of the cave you must go through a portal to enter a flashback of the church. Here you must help the priest remember what happened by interacting with the people in correct order in Focus Mode (hold L2/LT): Alin > Esme > Coen > the locked door in church opens, leading to another portal. Then inspect the red glowing tree stump, clawride down to the river and finish the conversation. After this you respawn in the open world. Defeat the enemy that attacks you and loot him for the legendary ring “Astrologer’s Ring”.

 Together Forever and you get trapped in the dream sequence which triggers a secret ending. After you got the trophy, to actually complete this activity and return to the normal world, play to the 2nd group of enemies and where you fight them inspect the well with Focus Mode (hold L2/LT), it will be highlighted yellow. A voice will talk to you from the well, then you spawn in front of a cave entrance. At the end of the cave you must go through a portal to enter a flashback of the church. Here you must help the priest remember what happened by interacting with the people in correct order in Focus Mode (hold L2/LT): Alin > Esme > Coen > the locked door in church opens, leading to another portal. Then inspect the red glowing tree stump, clawride down to the river and finish the conversation. After this you respawn in the open world. Defeat the enemy that attacks you and loot him for the legendary ring “Astrologer’s Ring”.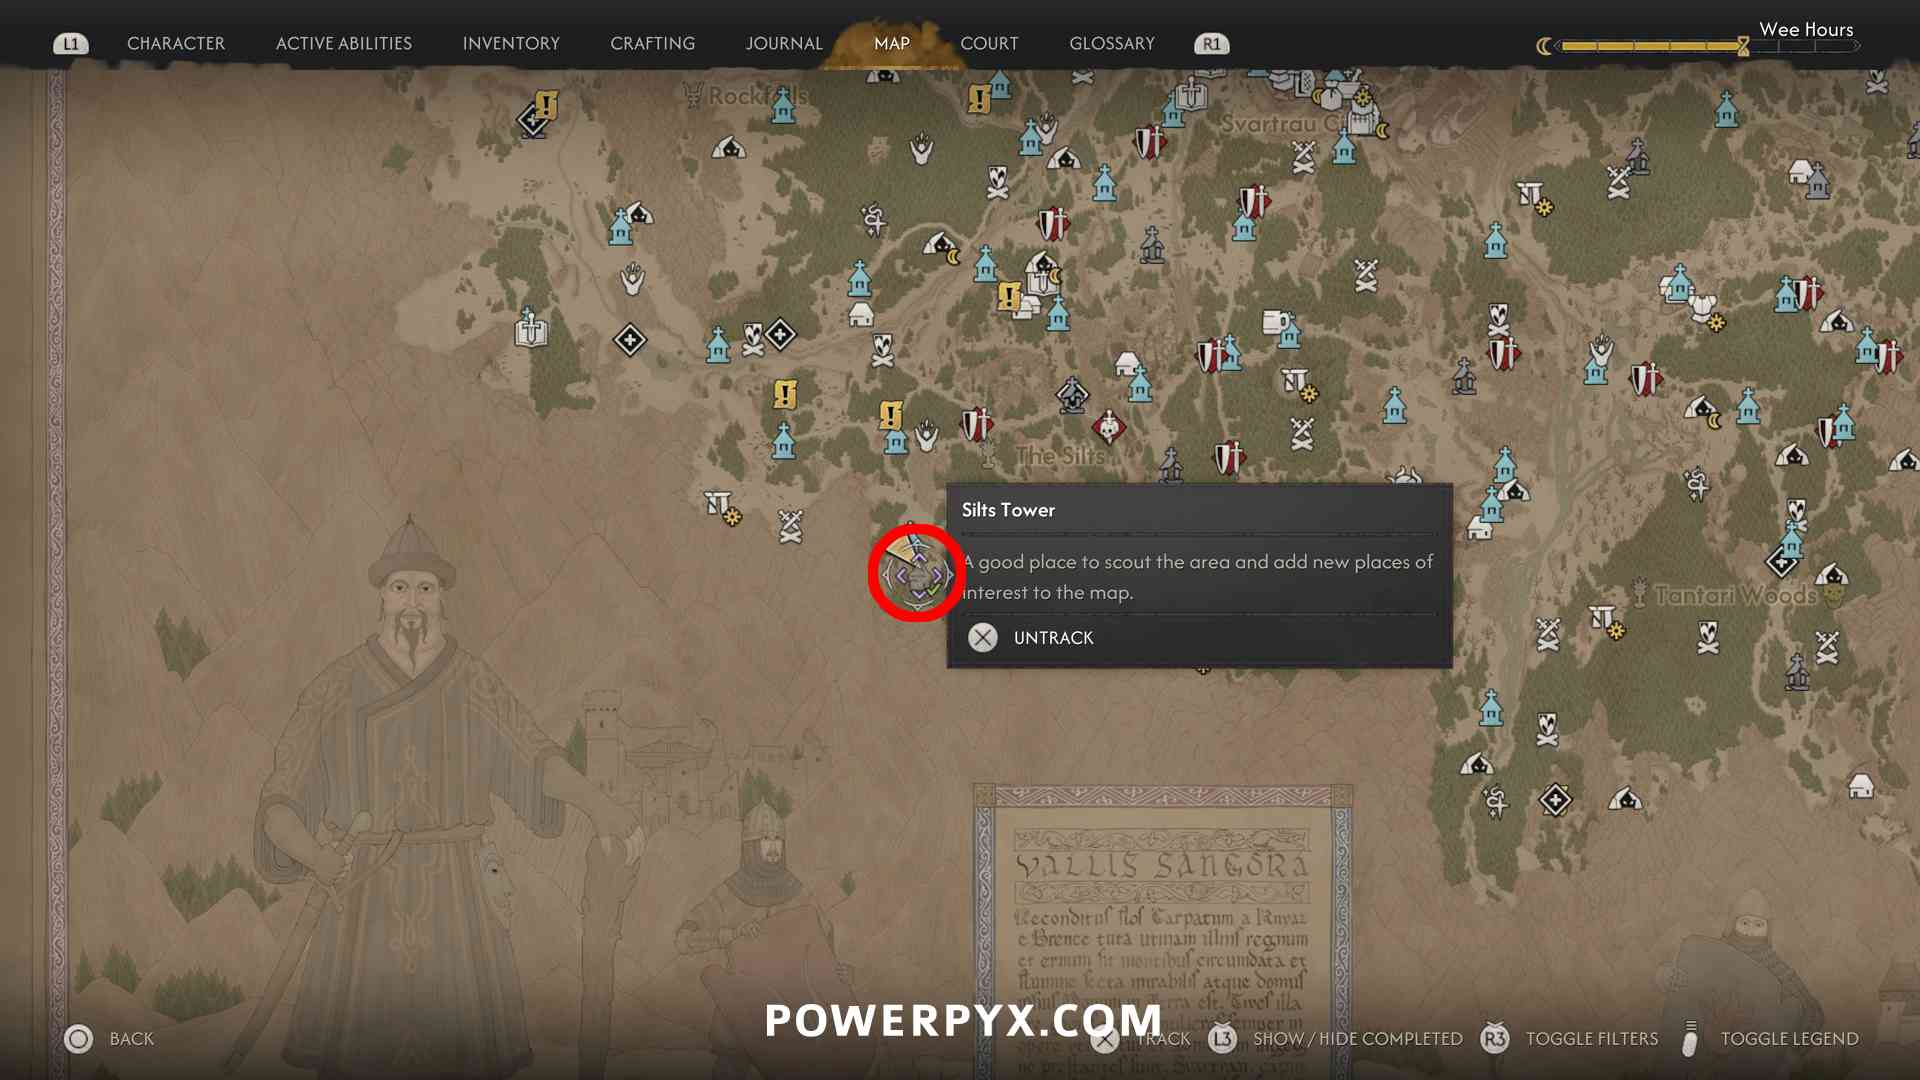
Cathedral Ritual
- Cathedral Ritual – complete Side Quest: A Dubious Gift (MISSABLE). If you’ve already learned about the Crypt underneath Svartrau Cathedral you don’t seem to be able to start this quest anymore, but you can still fight Xanthe without it and it won’t lock you out of any trophies or endings. So overall this is just an “extra” and doesn’t affect anything else in the game.


Xanthe Main Quest
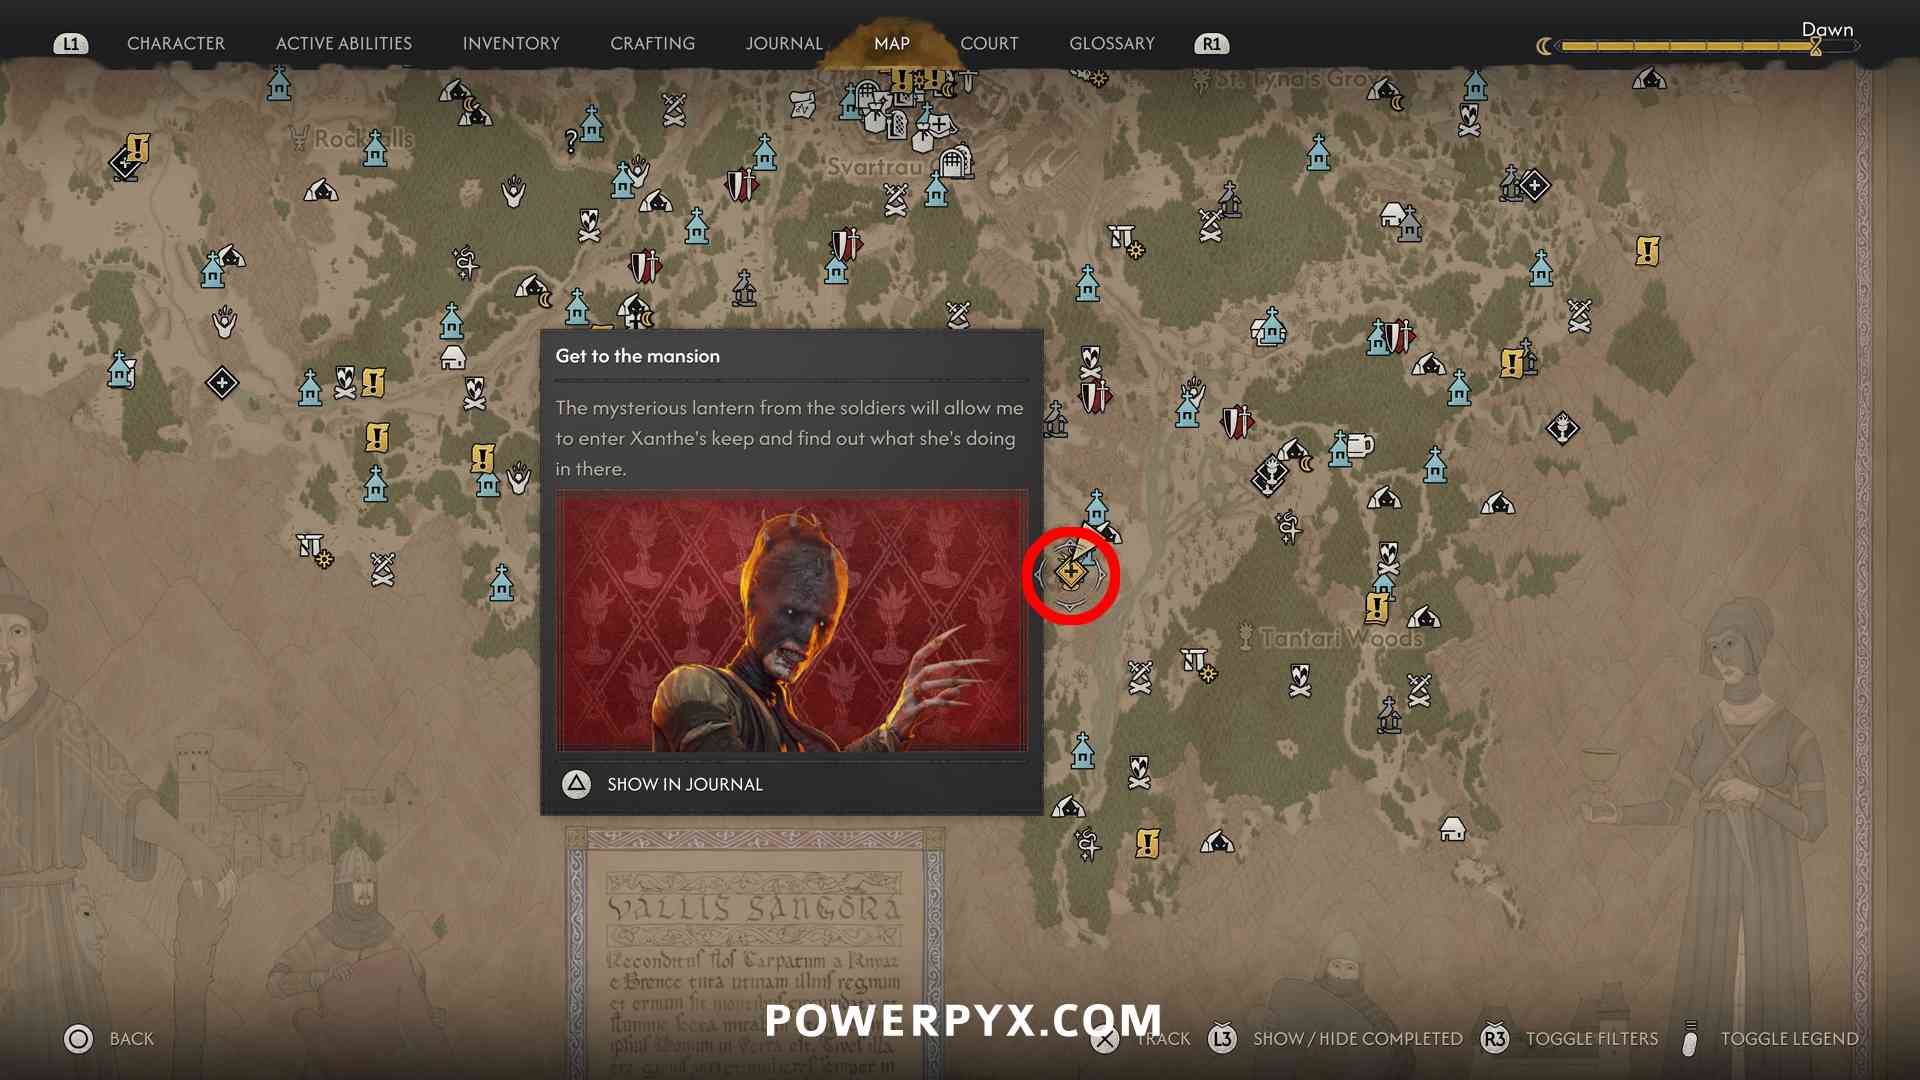
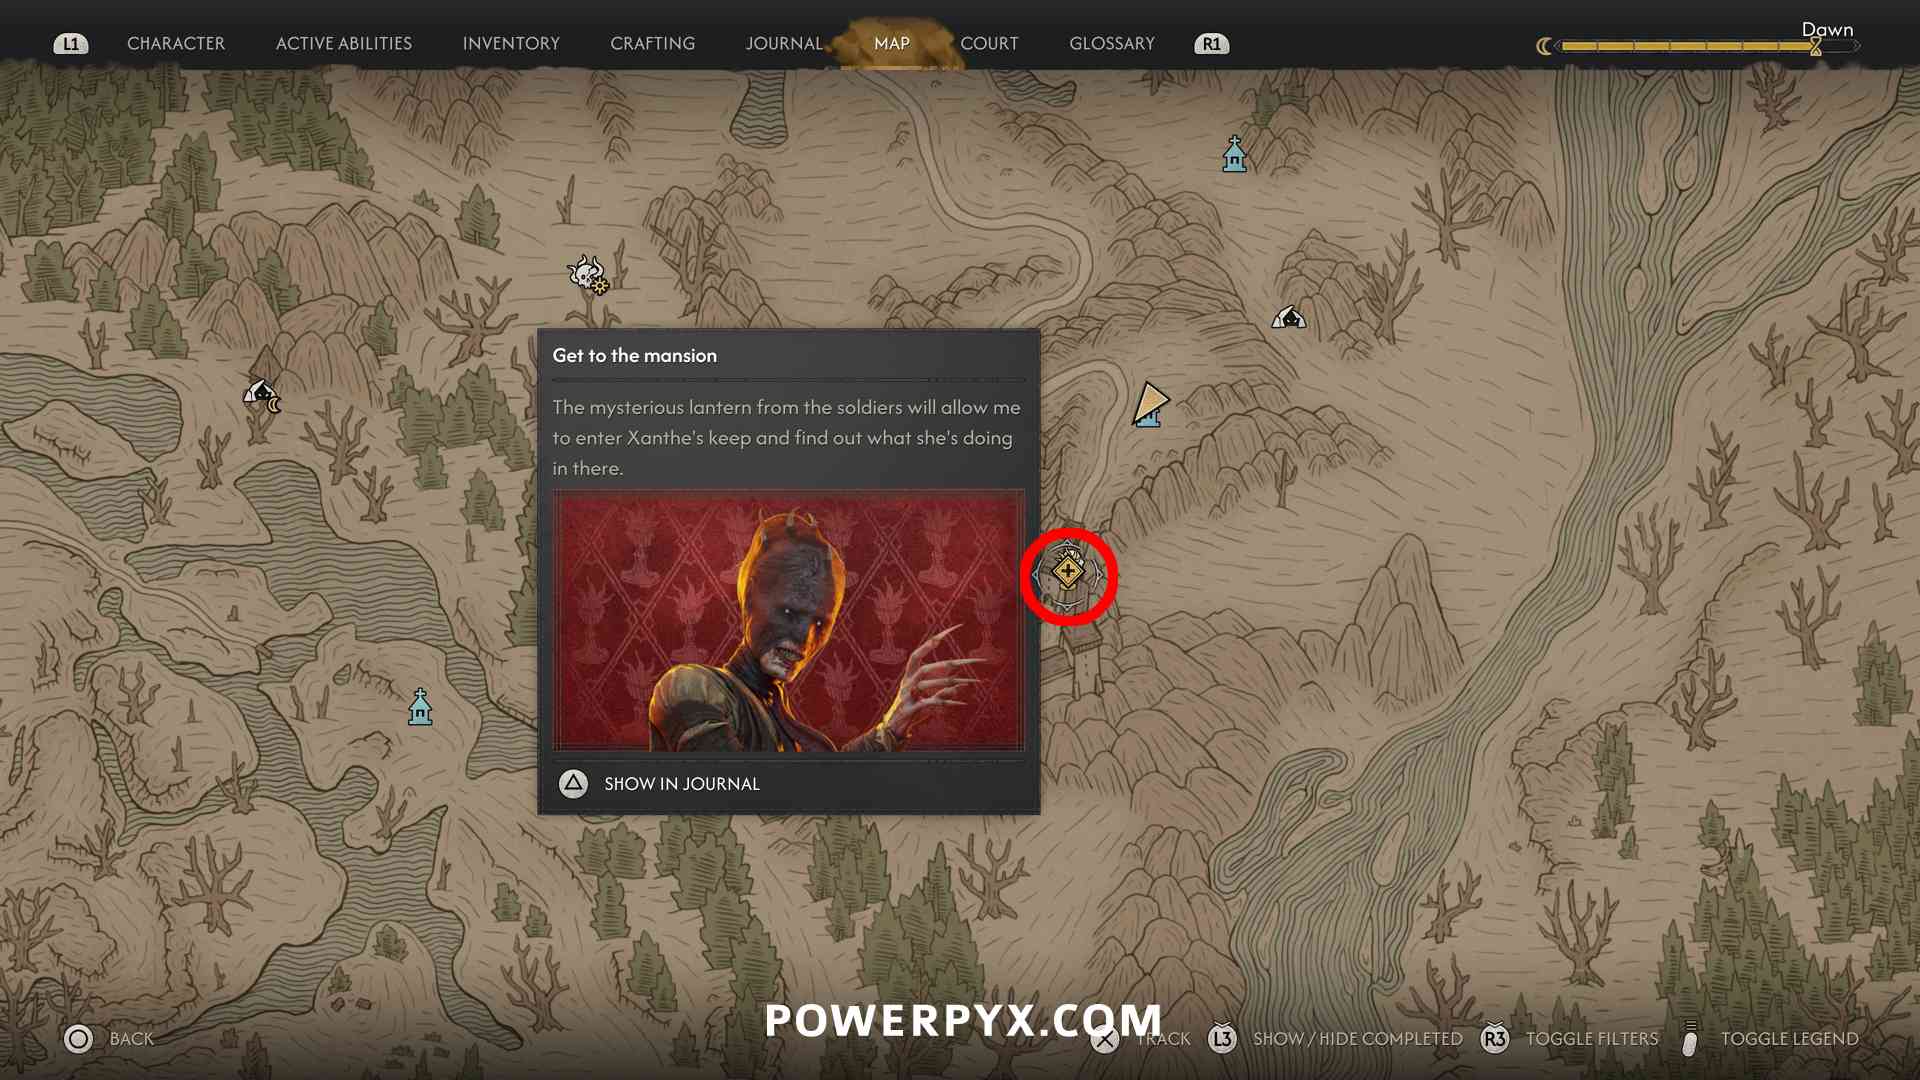
Step 6: Endings
After defeating the 3 main bosses, you should be at maximum infamy. Skip time till the next day so you get the cutscene where the Infamy Edicts are being read out, then you will get a message from Brencis that he wants to parley with you. You then get the final quest “A Deal with the Devil” added to your journal. Make a manual save and don’t overwrite it. From here you can set up all of the endings. After doing one ending, reload your manual save to do the other endings.
After each ending you’re returned to the title screen, there’s no free-roam afterward. This is why you want to keep your save before the final quest and reload it for any cleanup you have left.
Side Quests
Prologue
- Live Bait
- Someone Needs A Lesson
- Dead Drop
- Disturbed
- Deep Down
- Enter Not
- Blasphemy
- On the Run
- If a Tree Falls in a Forest…
- Bandits’s Treasure Map: Laslea Glen
Laslea Glen
- Crake Questline: The Firebrand > Under Watchful Eyes (optional) > Taking Back What’s Mine (optional) > Shadows in the Woods > Where Loyalty Lies > Old Friends, New Friends (optional) > What Hunts the Night > What Moves the Dead > Who Pulls the Strings > Distant Shadows (optional) > A Closer Look (optional,
 The Manumit) > Rise at Dawn (Ending) > Fall Before Dusk (Ending,
  The Knyazmaker)
 - A Pilgrimage for Power: Bear Trouble
- From Above (just sync the watchtower at the mill south of starting village)
 The Knyazmaker)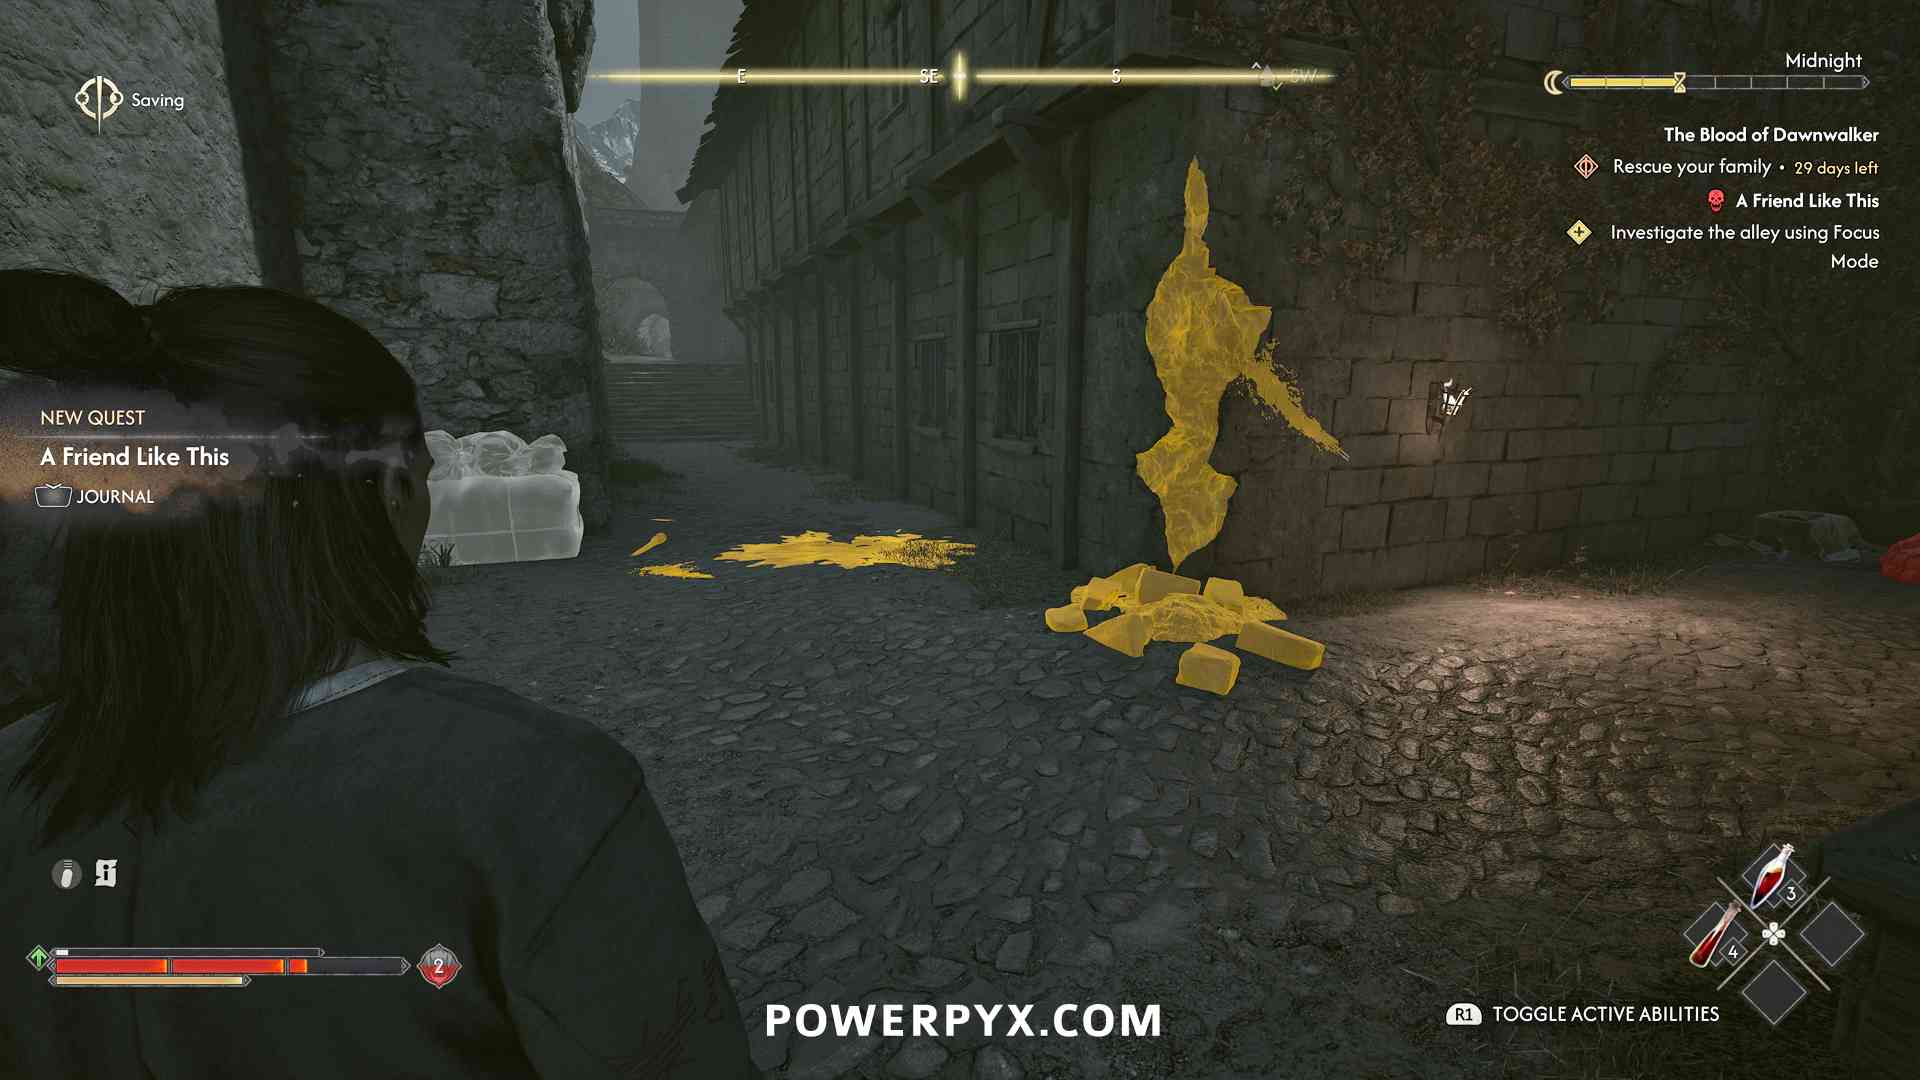
Briar Sloughs
- The Cursed Chasm
- Finders Keepers
- Forge It Anew (Forge It Anew: Do Not Disturb, Forge It Anew: Hostile Takeover, Forge It Anew: Executive Order) ( Arbiter’s Blade)
- Bandits’s Treasure Map: Briar Sloughs
Maragir Wealds
Boar’s Back
Svartrau Outskirts
- Sanzhani Questline: Good Home > Come Hither > Burrow Sorrows > Pearly and Precious > Tiny Dancer ( The Tsarina’s Favourite Human) > Letters to Lunka
- Bandits’s Treasure Map: Riverbank
Svartrau City
- A Dubious Gift
- St. Mihai Questline: Night Terrors > A Monk and a Saint
- Lacra Questline: A Friend Like This > Song of the Mountain > Hive and Seek > Our Rotten Roots > The Night of Horrors (optional, Misery Loves Company) > Midnight Reckoning (Ending, The Patricide)
- Vicho Questline: A Study In Crimson > The Good Samaritan ( The Unquenchable Thirst)
- The Heart Wants What It Wants ( The Outcast)
- Trouble with Silver
- Weaves of Rebellion
- Faith and Punishment
- Enshrined Obsession
- Working Her Magic
- In the Name of the Father > A Hero’s End
- A Lone Wolf’s Hunt
Rockfalls
- A Pilgrimage of Power: Dark-Thing
- The Highland Grave
- A Mother’s Plea
- Bandits’s Treasure Map: Rockfalls – Pond Islet
- Bandits’s Treasure Map: Rockfalls – Split Rock
St. Tyna’s Grove
- Anca Questline: Echoes of Silenced Bells > Most Precious Thing (optional) > Between the Words > Where Old Devils Lie > Stronger Than Achilles ( Sins of the Past)
- A Bulwark Against Darkness
- A Pilgrimage for Power: Fanatics
- Lost Blood
The Silts
- Home Sweet Home ( Together Forever)
- The Hedgehog Herb
- The Price of Magic
Tantari Woods
More Guides:
- Full World Map
- All Infamy Edicts
- Manumit Hideout Location
- How to Advance Time
- How to Shapeshift
- How to Get Proficient With Medium & Heavy Armor (Second Skin I & II Skills)
- Towers – Bird’s-Eye View
 Brencis’s Banners – Capture the Flag
 Villages (Settlements) – Tour Guide Training
 Vrakhiri Transports – Delivery Delay
 Shrines (Fast Travel Points)
 Ancient Circles
 Bandit Camps
 Curious Houses
 Haunted Sites
 Monster Lairs
 Persons in Danger
 Soldier Camps
 Will-o-the-Wisps
 Armourers
 Blacksmiths
 General Stores
 Medics
 Silver Trader
 Taverns (Innkeepers)
 Witchcraft Vendors
 Swordmastery Teachers
For anything else check our The Blood of Dawnwalker Wiki.
Gary says
Can i finish all Court activities from one boss before defeat boss then repeat same route for other 2 bosses? my game is 27 days left with 2 more bars to reach 26 days left. Will i safety to get trophies for save family?
Carlos says
Hi! I don’t see Into the Den quest in the Prologue
Cliff says
Xanthe’s bottom middle activity is ritual of cathedral.
When you find Xanthe’s deal in the Svartrau City cathedral, it is revealed.