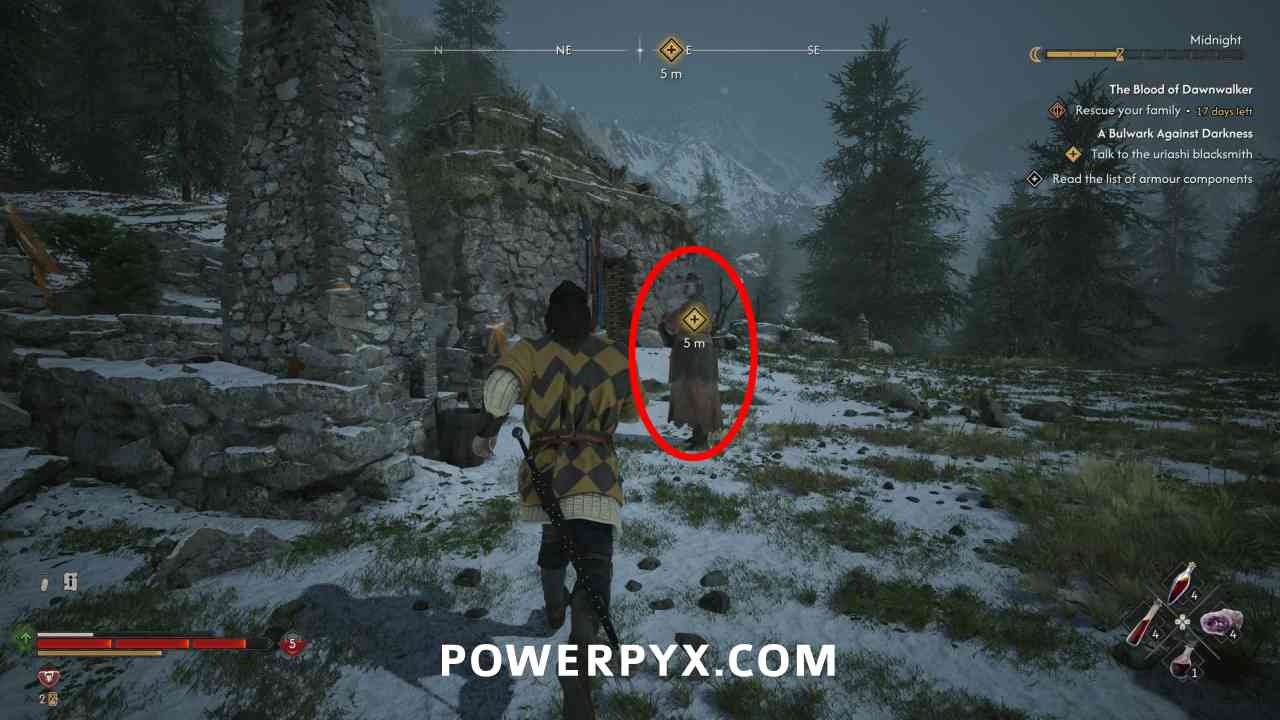
PowerPyx.com

PowerPyx

  • Trophy Guides
  • Game Guides
  • Wikis
  • Trophy Lists
  • Next Guides
  • Contact
Show SearchHide Search
Home » Game Guides » The Blood of Dawnwalker » Blood of Dawnwalker Forge It Anew Walkthrough

Blood of Dawnwalker Forge It Anew Walkthrough

September 5, 2026 by PowerPyx Leave a Comment

Forge It Anew is a side quest in The Blood of Dawnwalker. This walkthrough will guide you through all objectives of the Forge It Anew side mission.

  • Starting Location: Collect any of St Mihai’s sword pieces (various locations)
  • Quest Giver: St Mihai’s sword pieces
  • Requirement: None, available any time after Prologue
  • Fail State: None
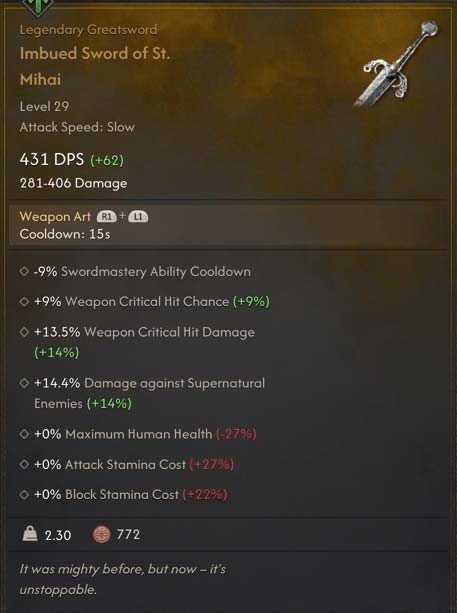
  • Reward: trophy Arbiter’s Blade, Legendary Sword: Imbued Sword of St. Mihai (one of the best weapons in the game)
  • Time Required: 14 time segments total for full questline (9 for sword shards, 2 for sword hilt, 3 for final ritual)
  • Questline: Forge It Anew (Forge It Anew: Do Not Disturb, Forge It Anew: Hostile Takeover, Forge It Anew: Executive Order) > Night Terrors > A Monk and a Saint
  • Quest Description: In my search for any advantage in my fight with Brencis, I stumbled upon a really unique weapon.

Objectives:

  1. Forge It Anew: Do Not Disturb
  2. Forge It Anew: Hostile Takeover
  3. Forge It Anew: Executive Order
  4. Obtain St. Mihai’s Sword (Sword Hilt)
  5. Talk to the Uriashi Blacksmith to Reforge the Sword
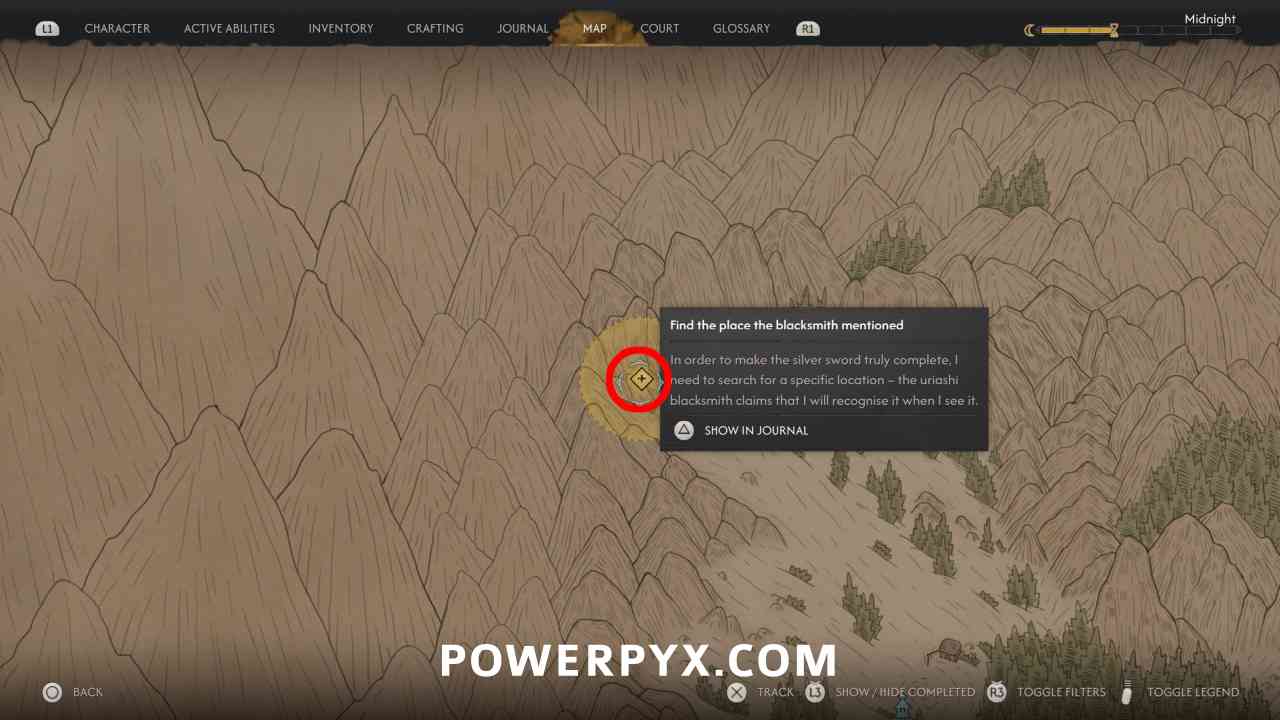
  6. Find the place the blacksmith mentioned
  7. Temper St. Mihai’s Sword

Video Guide

Starting Location: Forge It Anew

This quest starts when collecting any of the St Mihai’s sword pieces (doing any of the objectives below). It’s a questline with multiple sub-quests which are all covered here together.

Forge It Anew: Do Not Disturb (Sword Shard 1/3)

In the north-east of the map, in Maragir Wealds region, inspect the yellow markings in the campsite using Focus Mode (L2/LT). Follow the yellow markings into the Kobold’s cave. Loot the shard at the end of the cave on the broken altar.
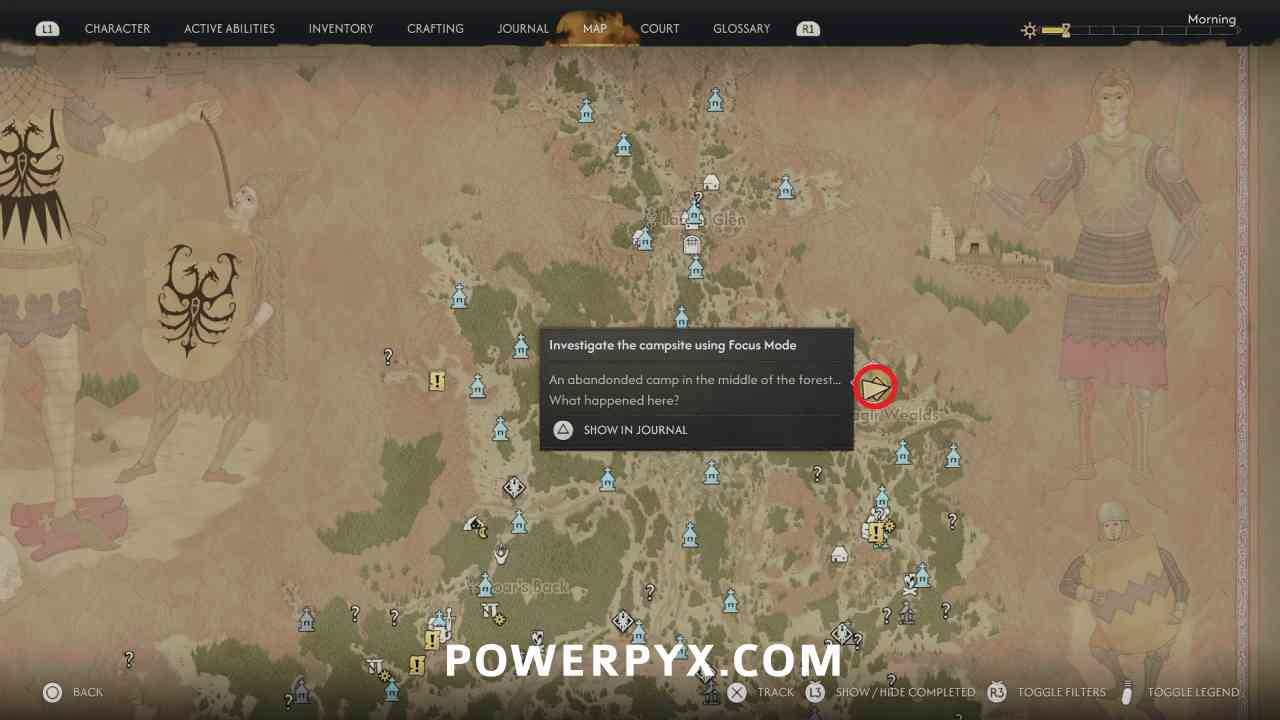
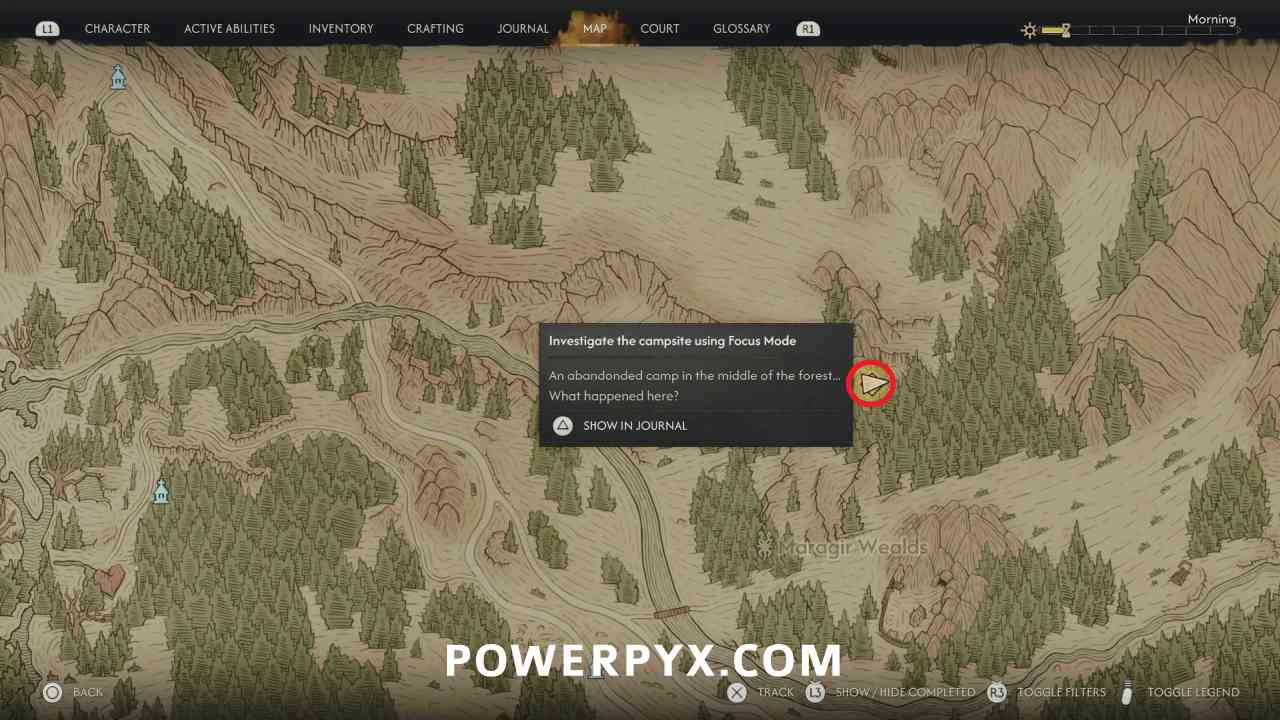
 

You can also inspect the cave drawing in this room, it will mark the other 2 quests on the map.

Forge It Anew: Hostile Takeover (Sword Shard 2/3)

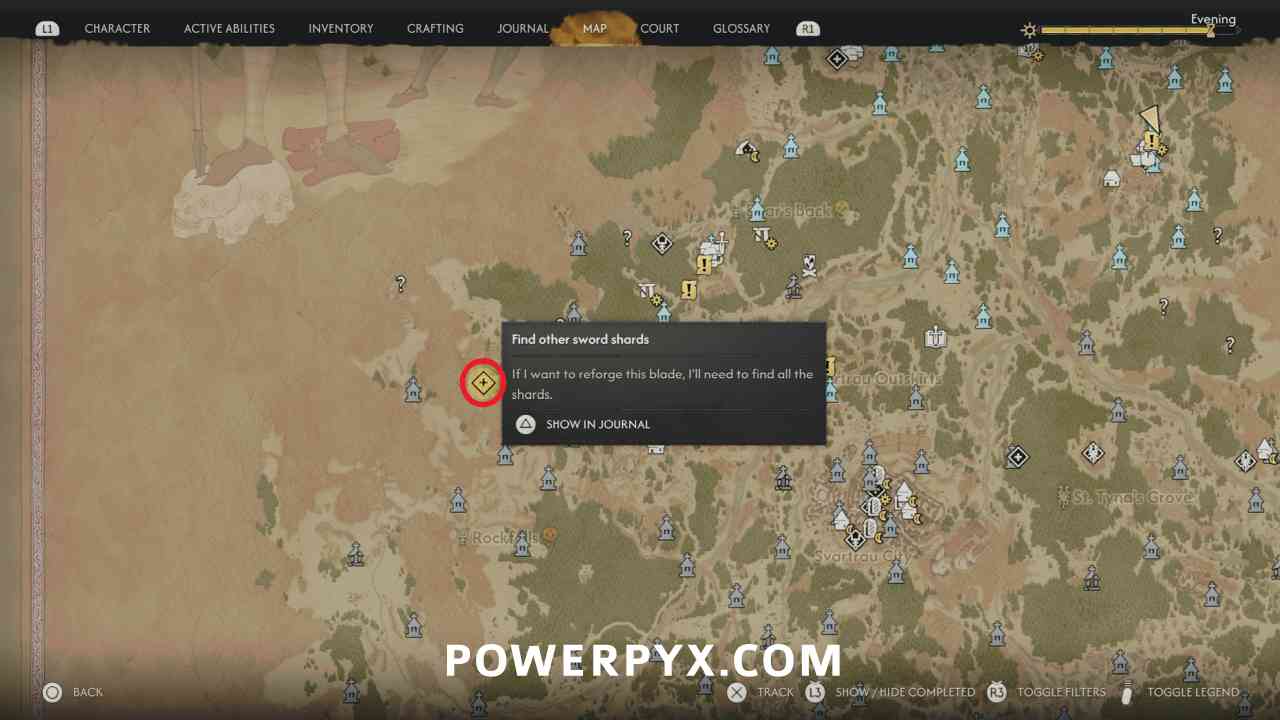
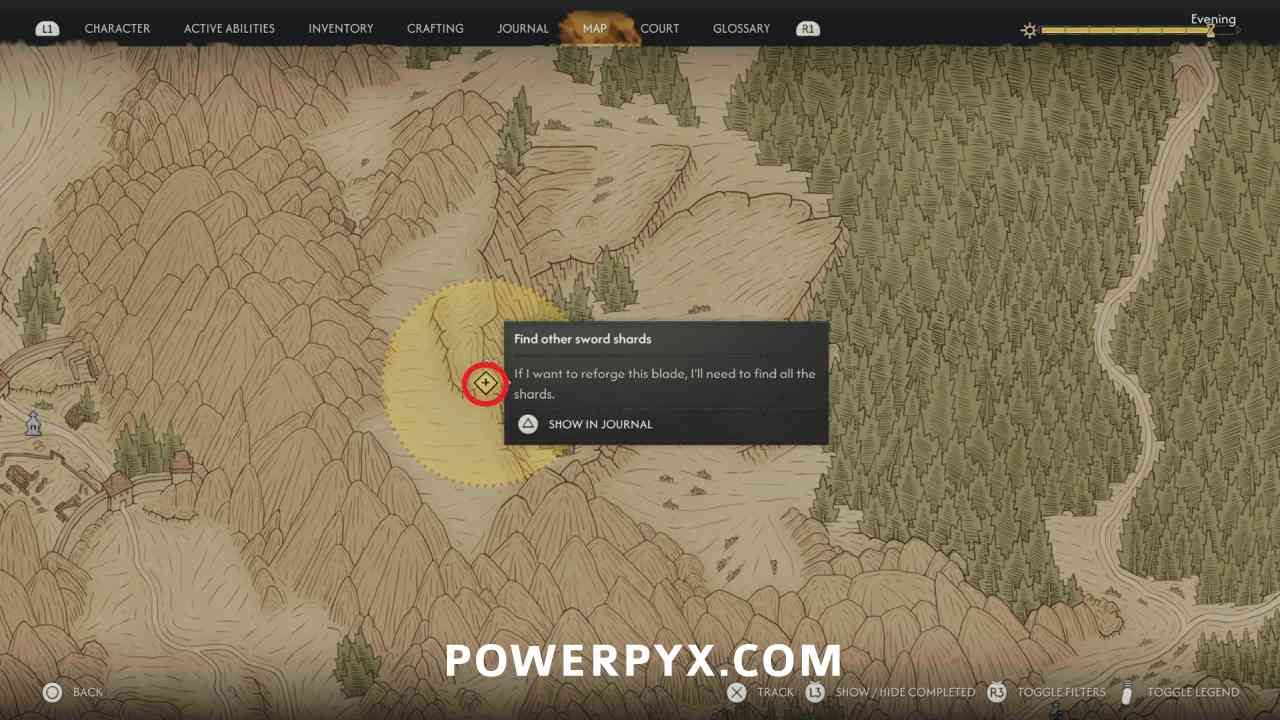
At the quest marker you will find a cave entrance with a white “X” icon on the wall above it. Crouch to enter the cave, inside you find a boss. After the fight you can loot the nest at the end of the cave.
 

Forge It Anew: Executive Order (Sword Shard 3/3)

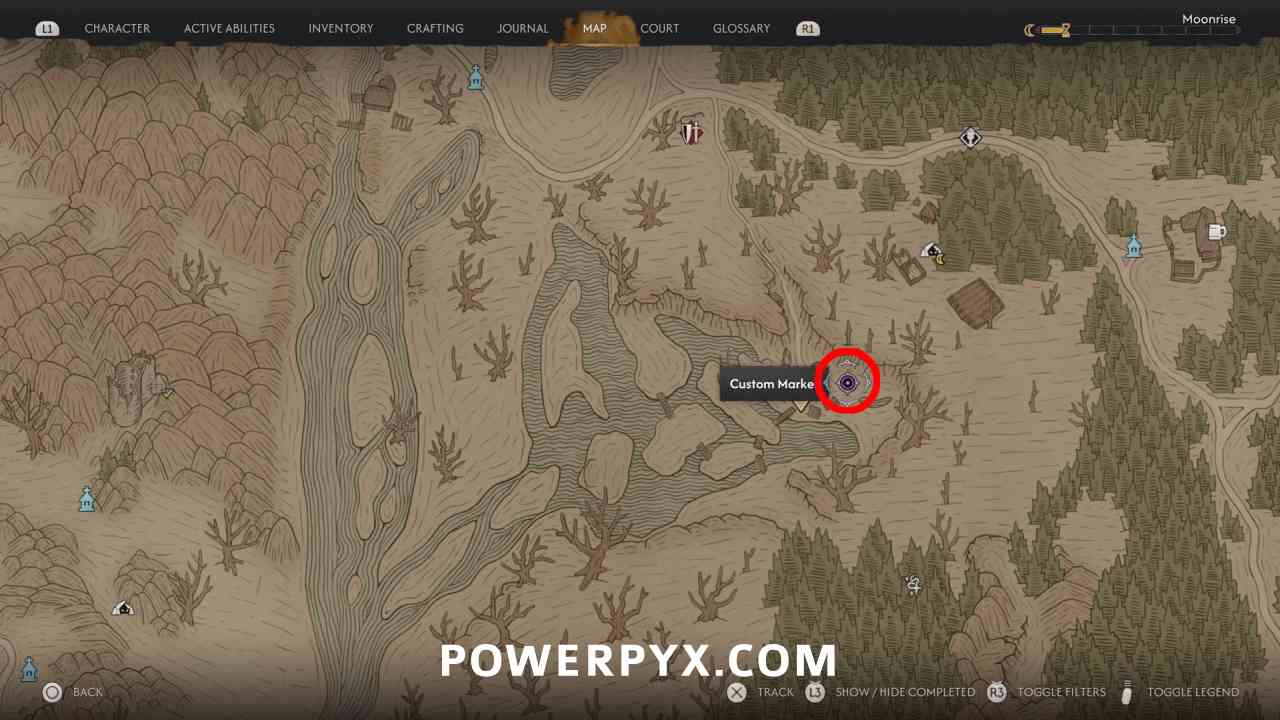
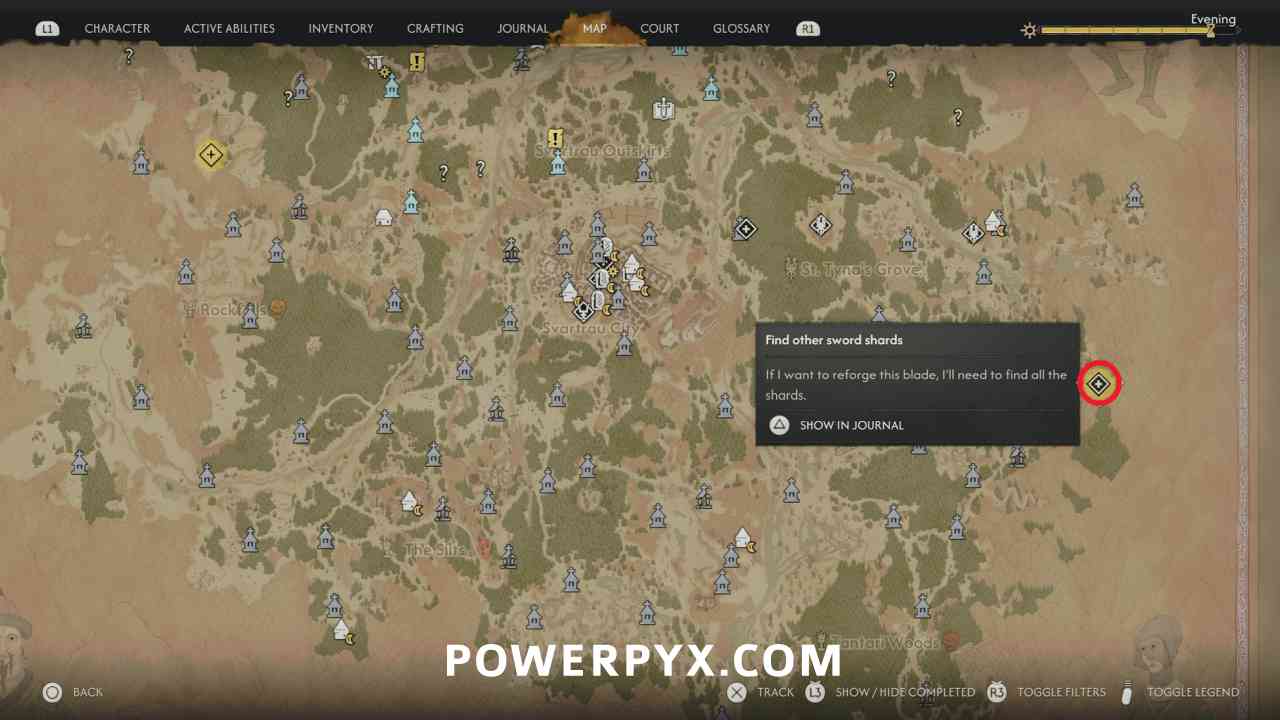
This quest marker leads to a cave in the east of St. Tyna’s Grove. Inside the cave use Focus Mode (L2/LT) to inspect all yellow highlighted bodies and the wall painting. You won’t find the shard here directly, instead the quest marker will update to an enemy camp.
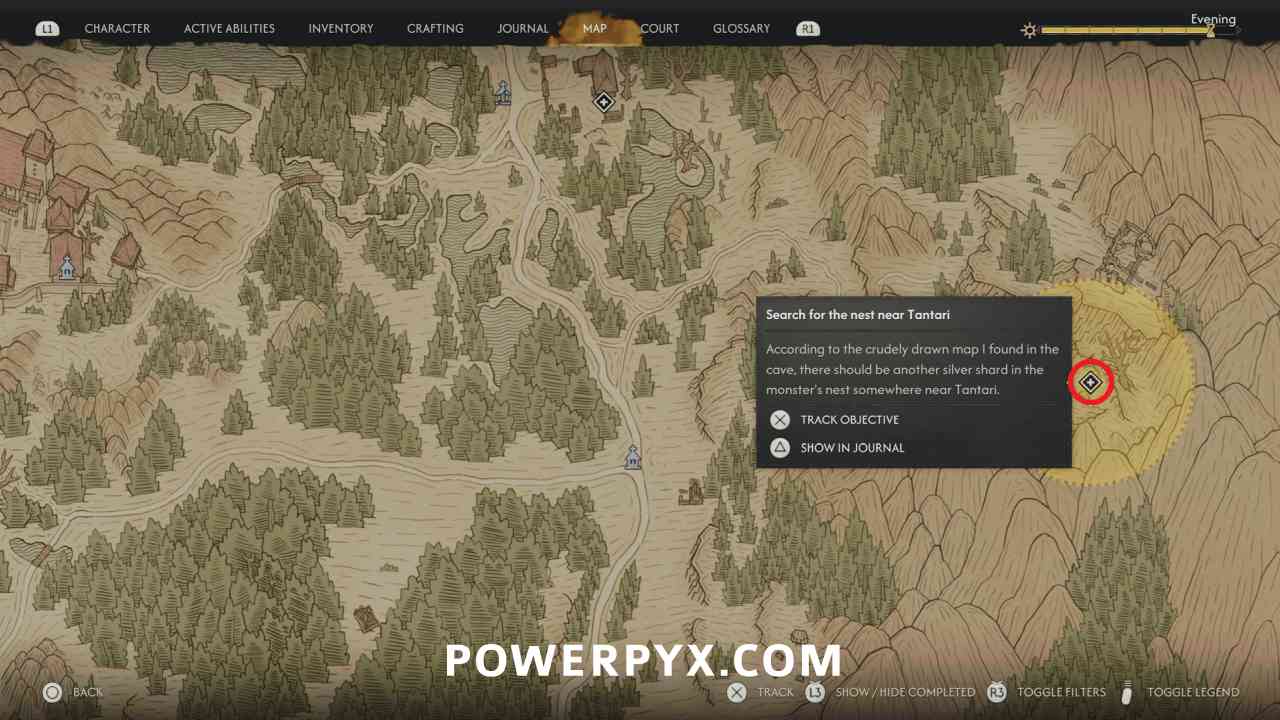
 

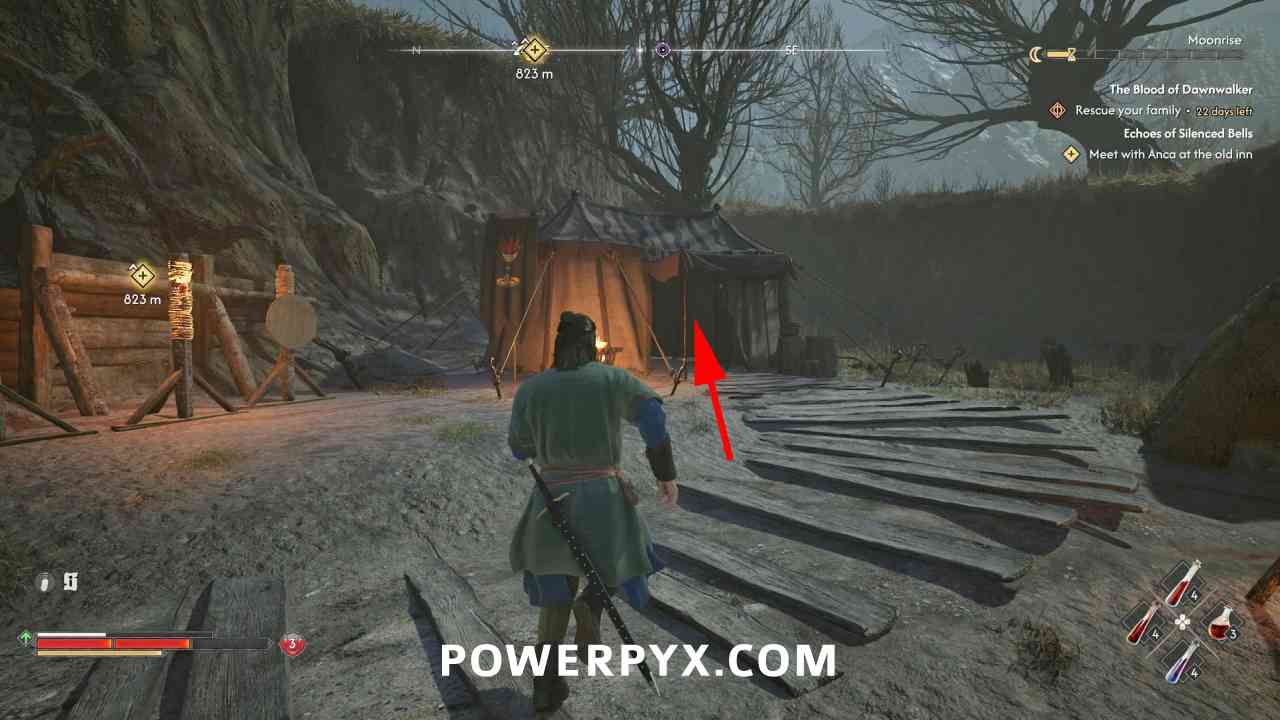
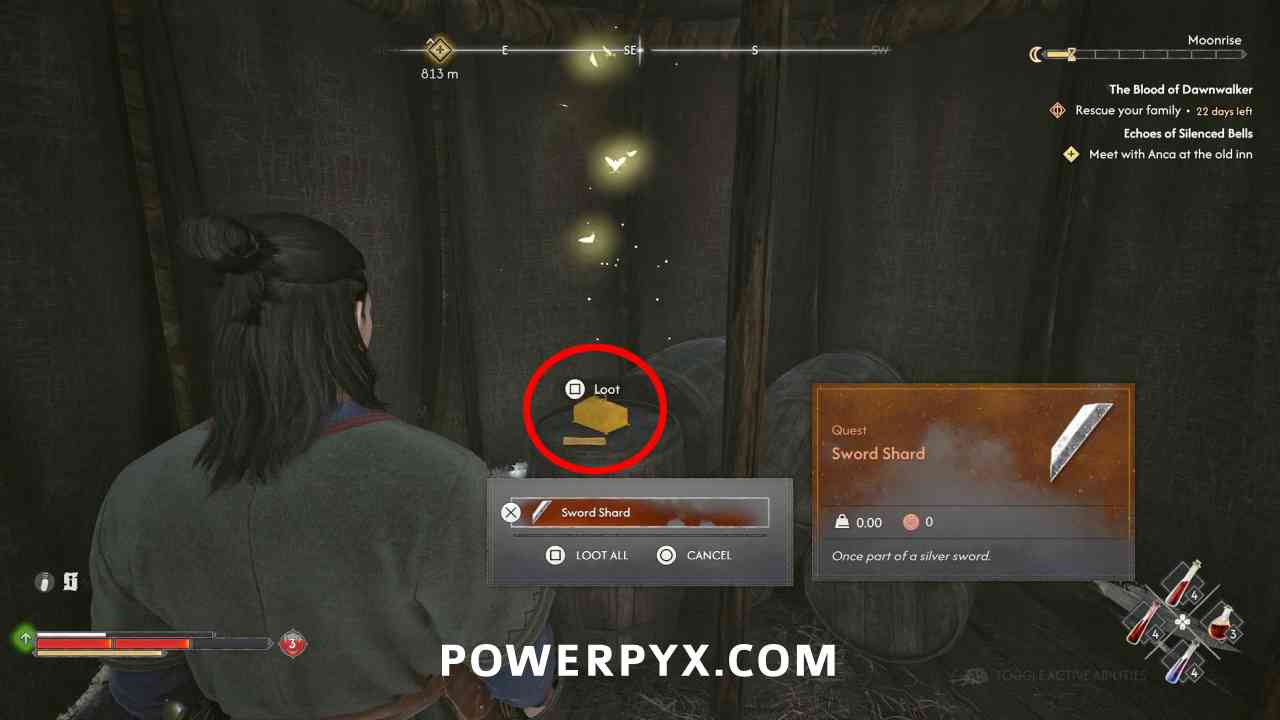
Go to the enemy camp which also counts as a Xanthe court activity. After defeating the soldiers, loot the shard from inside the tent (highlighted yellow in Focus Mode). The enemies here are Level 25+.
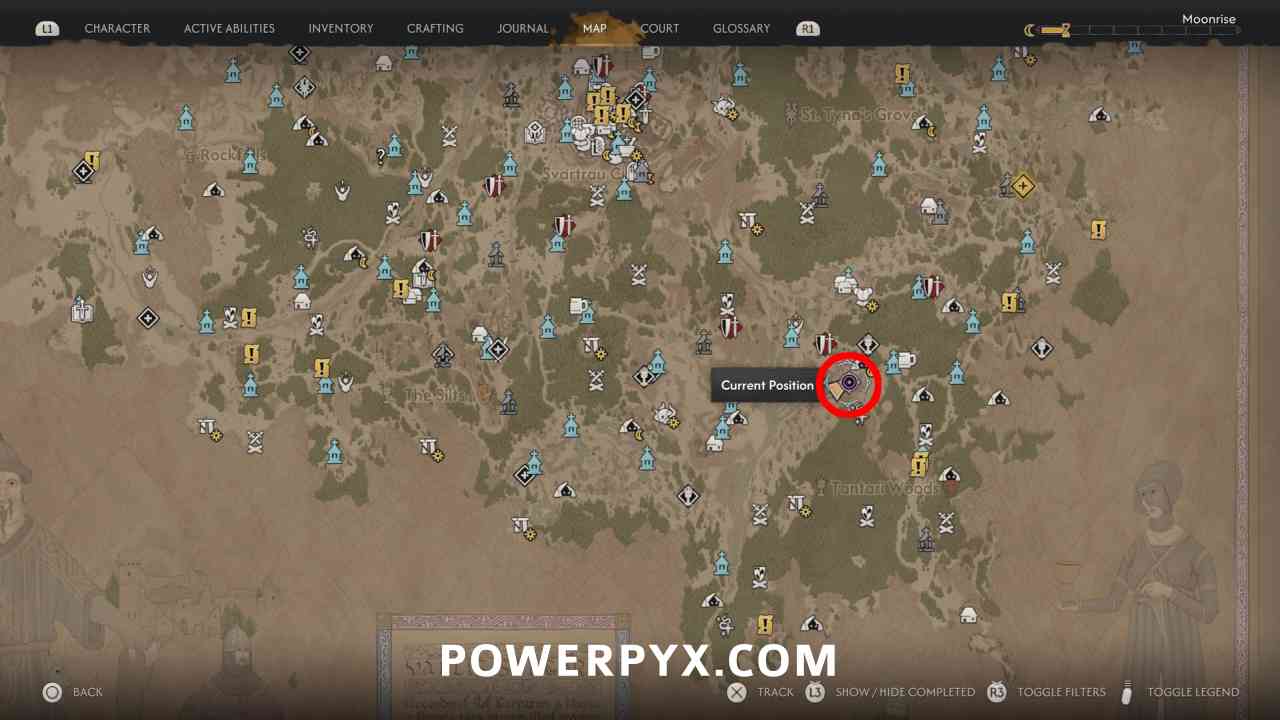
Finish Side Quests “Night Terrors” & “A Monk and a Saint” to obtain St. Mihai’s Sword (Sword Hilt)

You are still missing the final sword piece, the hilt. To get it you must finish two other side quests. Do these now, then continue here at the next objective:

  1. Night Terrors
  2. A Monk and a Saint

Talk to the Uriashi Blacksmith to Reforge the Sword

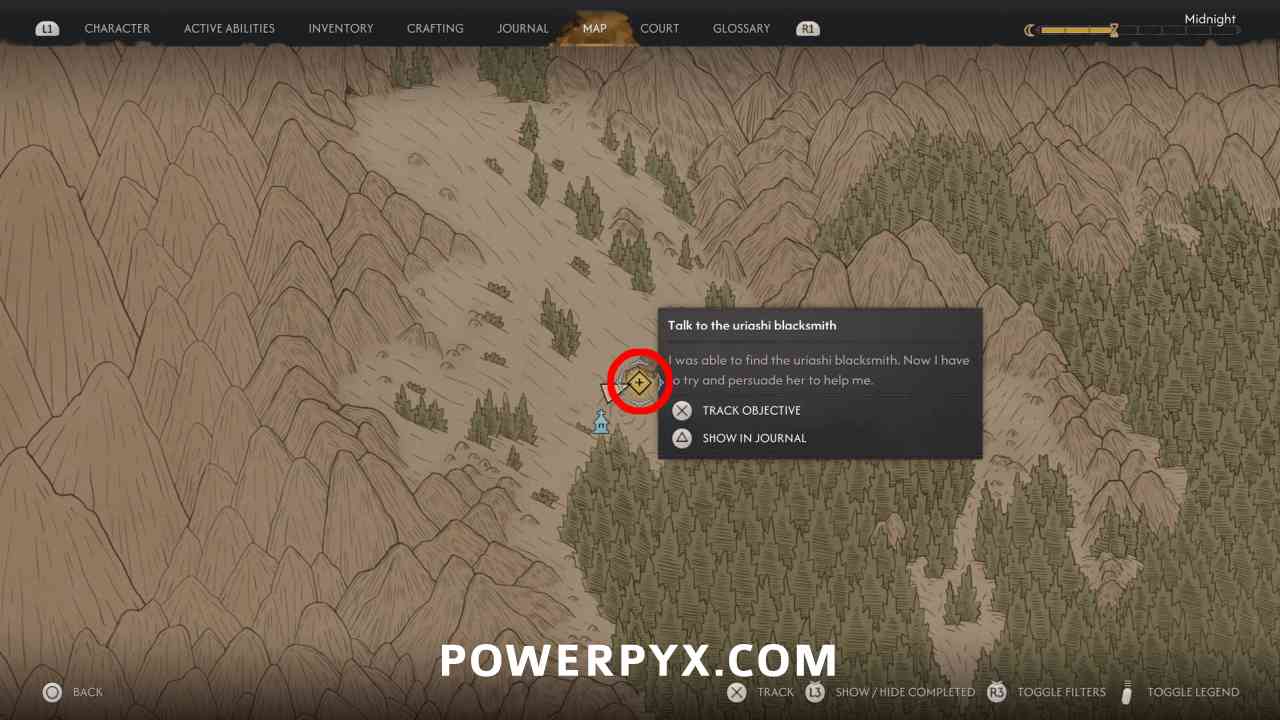
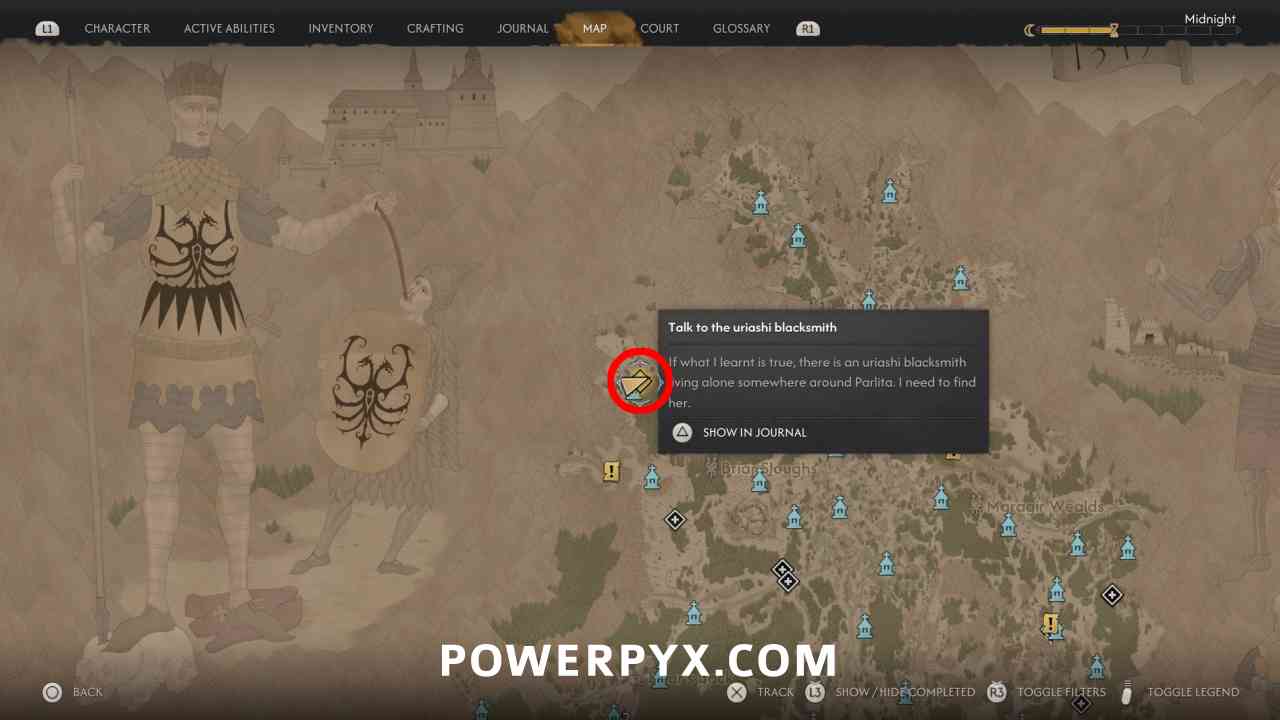
Go to the Uriashi Blacksmith in the east of Briar Sloughs region, at Uriashi Hermitage shrine. It will be marked as an objective on the map. Deliver all 3 shards and the Broken Sword of St. Mihai that you got from the aforementioned questline. The blacksmith will forge it into the purple rarity Restored Sword of St. Mihai. But one more step remains, you must perform a ritual to restore it to its full power.
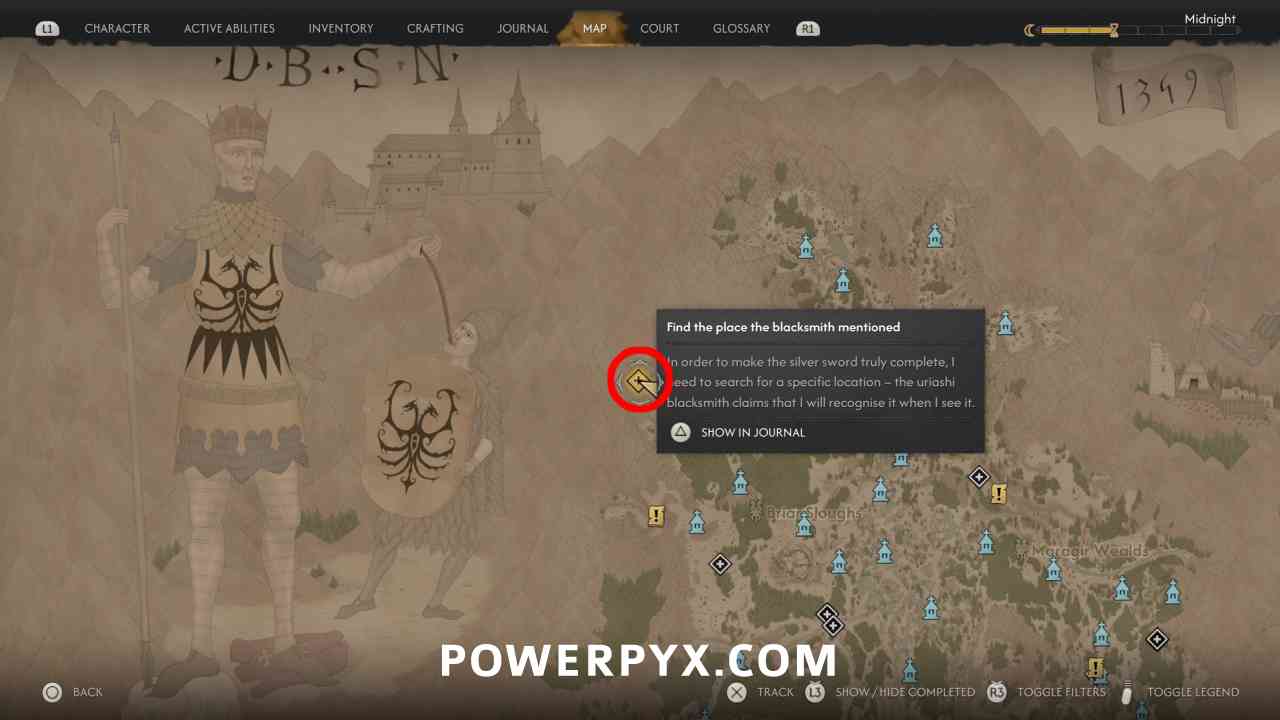
Find the place the blacksmith mentioned

Go to the cave a little bit north-west from the blacksmith. Defeat the enemies inside.
Temper St. Mihai’s Sword

After clearing out the enemies, climb up in the cave and go through the door at the end to find a ritual room. Interact with the red orb to summon waves of enemies.
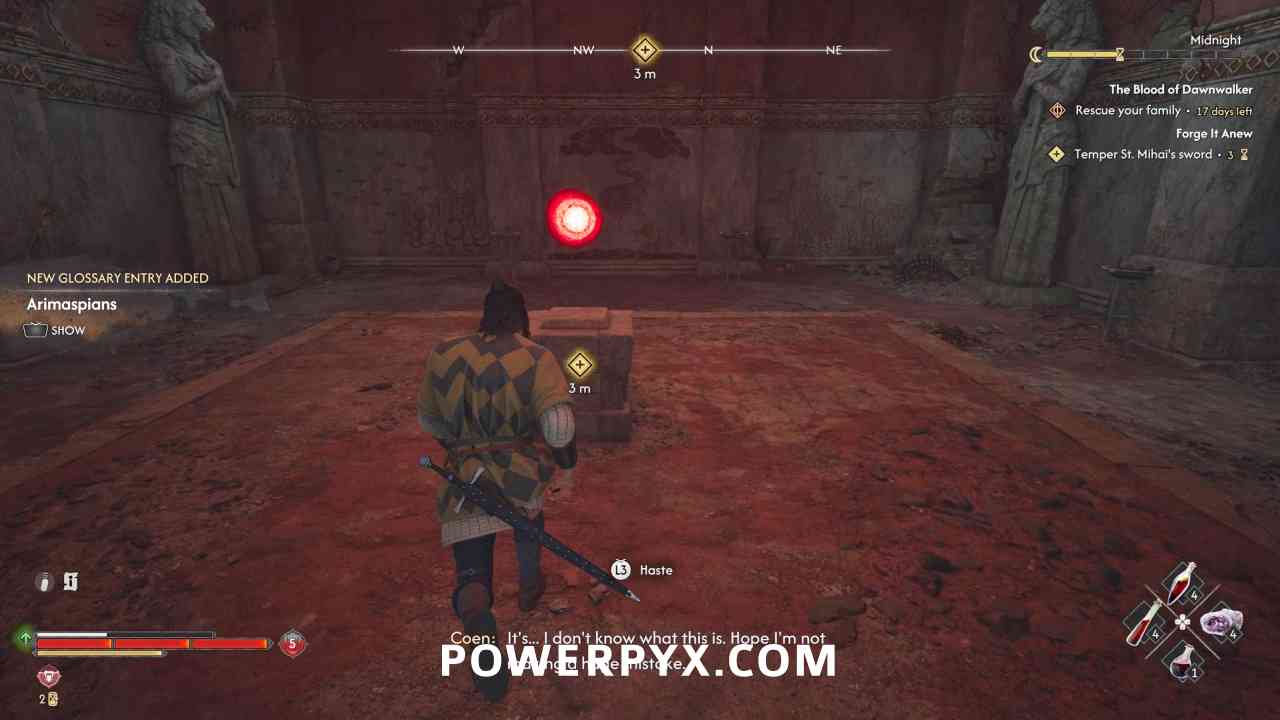
After defeating them, you get a cutscene and unlock the Legendary Sword: Imbued Sword of St. Mihai, along with the trophy Arbiter’s Blade trophy / achievement.
The same Uriashi Blacksmith can also help you forge a legendary armor in questline A Bulwark Against Darkness for trophy Arbiter’s Regalia.

This finishes Forge It Anew side quest in The Blood of Dawnwalker.

For all other Quests refer to The Blood of Dawnwalker Walkthrough.

Share
Tweet
Shares 0

Filed Under: Game Guides, The Blood of Dawnwalker

Leave a Reply Cancel reply

Your email address will not be published. Required fields are marked *

Youtube 1,240,000Subscriber
Facebook 15,000Fans
Twitter 20,100Followers

Latest Trophy Guides

Final Fantasy Resonance Trophy Guide

Call of Duty Modern Warfare 4 Trophy Guide

Valor Mortis Trophy Guide

Clive Barker's Hellraiser: Revival Trophy Guide

Star Wars Galactic Racer Trophy Guide

Ace Combat 8: Wings of Theve Trophy Guide

Control Resonant Trophy Guide

Silent Hill Townfall Trophy Guide

Marvel's Wolverine Trophy Guide

Onimusha Way of the Sword Trophy Guide

The Blood of Dawnwalker Trophy Guide

Crimson Desert Trophy Guide

Ghost of Yotei Trophy Guide

Kingdom Come Deliverance 2 Trophy Guide

Red Dead Redemption 2 Trophy Guide

Latest Game Wikis

The Blood of Dawnwalker Wiki

Crimson Desert Wiki

Resident Evil Requiem Wiki

Ghost of Yotei Wiki

Borderlands 4 Wiki

Kingdom Come Deliverance 2 Wiki

Elden Ring Wiki

Hogwarts Legacy Wiki

God of War Ragnarok Wiki

Cyberpunk 2077 Wiki

Red Dead Redemption 2 Wiki

GTA V Wiki

Recent Posts

  • Final Fantasy Resonance Trophy Guide & Roadmap
  • Final Fantasy Resonance All Collectible Locations Guide
  • Final Fantasy Resonance All Tablet Shard Locations
  • Final Fantasy Resonance All Legendary Arms Locations
  • Final Fantasy Resonance All Cave Master Locations

The Blood of Dawnwalker Wiki

  • Wiki
  • Walkthrough
    • All Good Things
    • Withering Away
    • Page-Turner
    • Like Father, Like Son
    • Sacred Covenant
    • Bad Blood
    • Smoke and Ashes
    • The Gilded Gauntlet
    • The Bittersweet Toast
    • The Lunar Game
    • The Ring
    • The Cycle of Love
    • A Deal with the Devil
  • Side Quests
    • Live Bait
    • Someone Needs A Lesson
    • Dead Drop
    • Disturbed
    • Deep Down
    • Enter Not
    • Blasphemy
    • On the Run
    • If a Tree Falls in a Forest…
    • The Firebrand
    • Under Watchful Eyes
    • Taking Back What’s Mine
    • Shadows in the Woods
    • Where Loyalty Lies
    • What Hunts the Night
    • What Moves the Dead
    • Who Pulls the Strings
    • Distant Shadows
    • A Closer Look
    • Rise at Dawn
    • Fall Before Dusk
    • A Pilgrimage for Power: Bear Trouble
    • The Cursed Chasm
    • Finders Keepers
    • Star-Crossed Lovers
    • Buried Past
    • The Beast of Balaur
    • Good Home
    • Come Hither
    • Burrow Sorrows
    • Pearly and Precious
    • Tiny Dancer
    • Letters to Lunka
    • A Friend Like This
    • Song of the Mountain
    • Hive and Seek
    • Our Rotten Roots
    • The Night of Horrors
    • Midnight Reckoning
    • A Study in Crimson
    • The Good Samaritan
    • The Heart Wants What It Wants
    • A Mother’s Plea
    • Trouble with Silver
    • Weaves of Rebellion
    • Faith and Punishment
    • Enshrined Obsession
    • Working Her Magic
    • In the Name of the Father
    • A Hero’s End
    • A Lone Wolf’s Hunt
    • A Bulwark Against Darkness
    • Forge It Anew
    • A Dubious Gift
    • Night Terrors
    • A Monk and a Saint
    • A Pilgrimage for Power: Dark-Thing
    • Echoes of Silenced Bells
    • Most Precious Thing
    • Between the Words
    • Where Old Devils Lie
    • Stronger Than Achilles
    • A Pilgrimage for Power: Fanatics
    • Lost Blood
    • Home Sweet Home
    • The Hedgehog Herb
    • The Price of Magic
    • Don’t Kill the Messenger
  • Endings
  • Court Activities
  • Legendary Equipment
  • Manuals
  • Romances
  • Treasure Maps
    • Bandits’s Treasure Map: Laslea Glen
    • Bandits’s Treasure Map: Briar Sloughs
    • Bandits’s Treasure Map: Riverbank
    • Bandits’s Treasure Map: Boar’s Back
    • Bandits’s Treasure Map: Rockfalls – Pond Islet
    • Bandits’s Treasure Map: Rockfalls – Split Rock
    • Bandits’s Treasure Map: Tantari Woods
    • The Highland Grave
  • Towers
  • Brencis’s Banners
  • Villages
  • Vrakhiri Transport
  • Shrines
  • Ancient Circles
  • Bandit Camps
  • Curious Houses
  • Haunted Sites
  • Monster Lairs
  • Persons in Danger
  • Soldier Camps
  • Will-o-the-Wisps
  • Armourers
  • Blacksmiths
  • General Stores
  • Medics
  • Silver Traders
  • Taverns
  • Witchcraft Vendor
  • Swordmastery Teachers
  • Infamy Edicts
  • World Map
  • Trophy Guide
  • Terms of Service
  • Privacy Policy
  • Cookie Policy
  • YouTube
  • Facebook
  • Twitter

© 2008-2026 PowerPyx.com, all rights reserved.