
This walkthrough for Jackson – Chapter 4: Patrol in The Last of Us 2 (TLOU Part II) will guide you through all objectives. It also includes Collectibles and other Items (Artifacts, Trading Cards, Journal Entries, Training Manuals, Workbenches, Safes, Coins, Weapons, Upgrade Parts, Skill Unlock Supplements).
For other Chapters see The Last of Us 2 Walkthrough.
Day: Jackson
Chapter: Patrol
Collectibles:
- Artifacts: 6
- Trading Cards: 2
- Journal Entries: 2
- Workbenches: 1
- Safes: 1
First Patrol-Stop
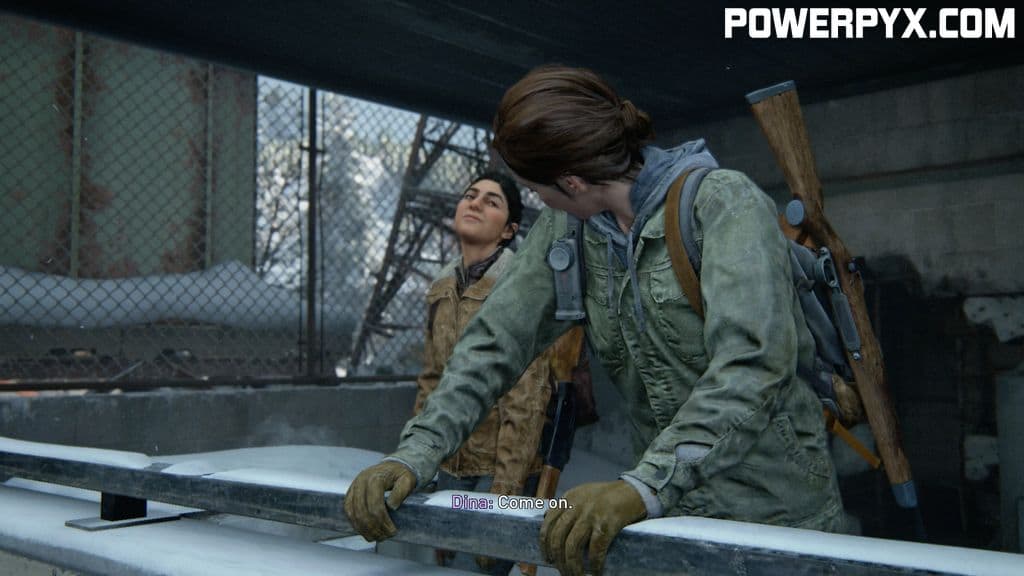
Follow Dina on horseback to the first destination of their patrol-route.

Once you reach a building you will automatically dismount your horse. Follow Dina, the two of you will reach a balcony and enjoy the view for a moment. After this scene, you can take a Journal Note of the balcony view, which is the first collectible in this Chapter.
Once you have climbed up a rope in the same building, there are some 5 Parts in the first room to your right. Pick them up to upgrade your weapons a bit later.
Ride to the next Stop
While heading to the next scheduled spot, you will encounter a few houses along the way. You can get several collectibles here, so dismount your horse and grab them, while you are here.
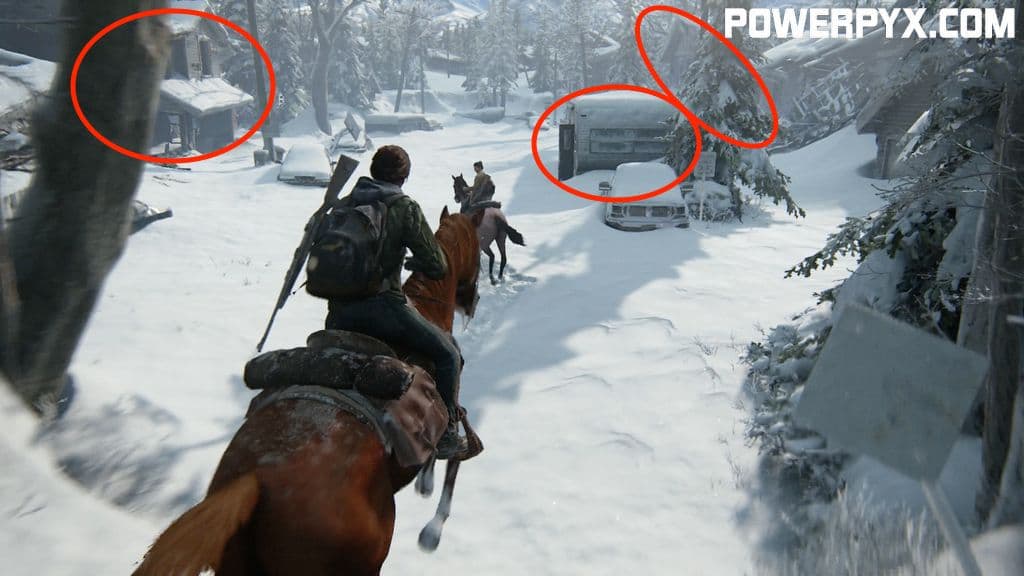
In the RV in the middle, there will be 7 Supplements & 8 Parts.
In the house on the left, head to the upper floor and open the drawer of the nightstand for an Artifact, plus additional 2 Supplements in the Bathroom.

The right-hand side house also has some goods on the upper floor: A Trading Card on a shelf and 2 Supplements on the nightstand.

Greenplace Market
Continue to ride until you reach a huge pool of blood from a moose. Enter the building from a window on its left side and kill the Infected from behind. Before heading through the door on the left, hop out of the other window and enter the building from another angle to get 7 Supplements.
Behind the door on the left, there is a small scene where you have to throw an item  at a storming enemy to stun him and take him out. Inside this room are also 4 Parts you can gather. When done, hop out of the window in the corner where you entered the room.

Outside will be a few more Infected, but they haven’t noticed you yet. Take them out, preferably stealthily and gather the resources around. Ultimately, you have to crawl under a truck, will be attacked by an Infected and saved by Dina.
After that, climb into the truck from the side for 7 Parts and from the back for an Artifact and 8 Supplements.

Now, climb the truck from its front and jump into the Market through a hole in the roof. There will be Parts here as well as resources to craft a medkit.
Ellie and Dina will now put on their masks to enter a spore-infested part of the House. This section features a range of collectibles for you. The first room on the left contains 3 Parts. Continuing on the path to the right, you will fine the supermarket’s back-office (before the kitchen). There is an Artifact that gives a clue for the Safe next to it. The combination is 07-20-13 and inside are some 4 Supplements and 12 Parts to pick up. By now, you should have enough Supplements to invest your first skill-point and get  Apprentice.
Fun Fact: It takes 1900 Supplements to fully upgrade all skill trees (this is impossible in a single playthrough and requires some New Game+).

There are some additional 8 Supplements in the locker of the kitchen area, next to the back-office. Make sure to pick them up before squeezing through the gap shown below, as this advances the story.

Going through the gap, Ellie will fall down and attract a Clicker, which Dina will shoot. When you’re back on your feet, there are two more Clickers in the room, which you can stealth-kill  by walking very slowly towards them.

Clear the way into the next room with Dina. Inside, she will give us a Molotov and now we learned the recipe for it as well. Also, there are 27 Supplements in this room, so make sure to pick them up before climbing the window.

The next room is also infested with Enemies. Make use of your listen-mode  to see your enemies positions and navigate between the shelves to get them at the best angles.

Once you have taken out all the Infected, you need to get the rope from the corner of the room and throw it over the air duct to make it climbable for Dina and yourself.
 |
 |
The Storm and the Library
Once you are on horseback again, a snowstorm will reduce the visibility drastically and you will lose sight of Dina for a while. Once you ride through a broken truck, stick to the left side to find her again. If you get lost, Dina will call for you after a while.

Dina knows a place to wait out the storm nearby, an old Library. Once inside, you want to get to the back area by breaking a window of the Copy Center. Simply punch the window, no need to waste ammo on windows. Remember this for future windows, too.

Inside this first room will be 24 Parts you should pick up. When going through the next door, Ellie will automatically pick up an Artifact hanging next to it.
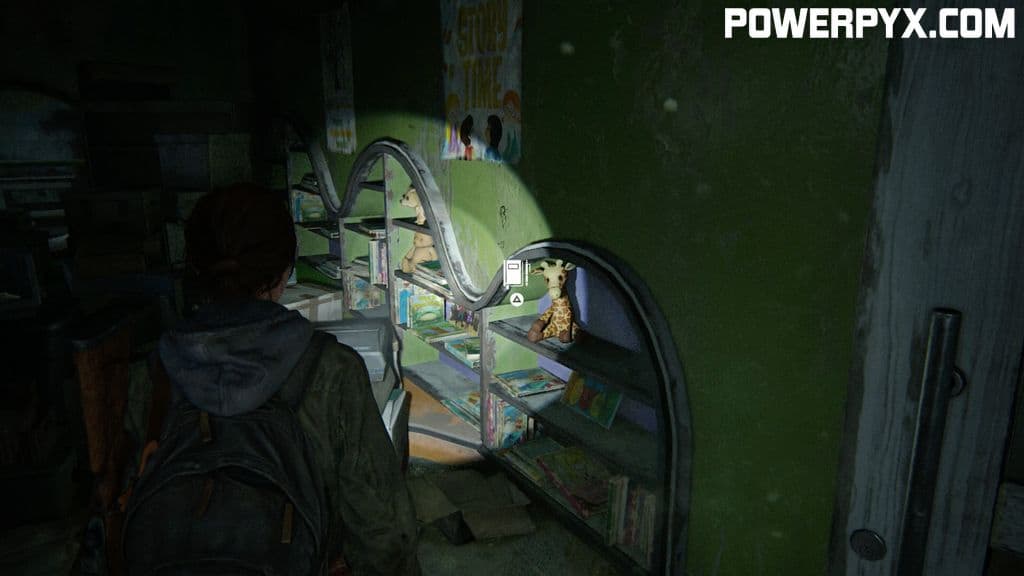
Upon entering the back rooms, make a Journal Entry on the Plush Giraffe to your right and head to the darker room in the left corner for a Trading Card.
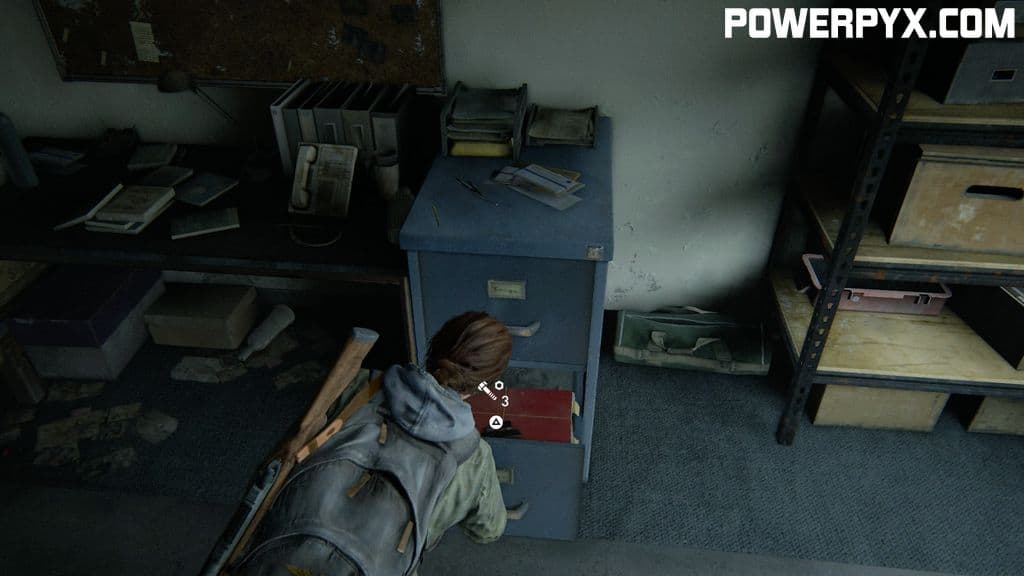
A bit further into the room, there are more collectibles. An Artifact in the nightstand drawer as well as another Artifact and 7 Parts on the desk on the opposite side.
Head into the last section of the room and start the Generator . Now you can interact with the Workbench to upgrade your Weapons. Your first successful upgrade is rewarded with Tinkerer.
Fun Fact: It takes 1920 Parts to fully upgrade all weapons (this is impossible in a single playthrough and requires some New Game+).

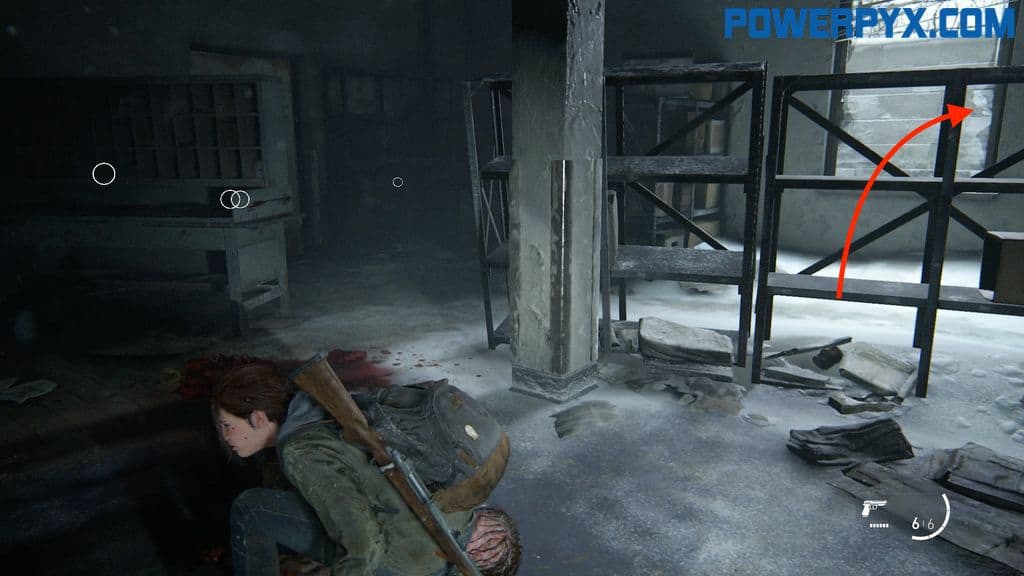
Turning on the lights reveals that there is something underneath the room as well. Head to the shelf close to where you entered room and push it aside.

In the basement, there are a total of four items you can interact with. The one circled on the right below (a glass jar) will advance the story, so make sure to check the other three first, if you want a good laugh. They are not collectibles so no worries if you missed them.

This finishes Chapter 4: Patrol in The Last of Us Part 2. Next is Chapter 5: The Horde.
For all other Chapter Walkthroughs, check out our full The Last of Us 2 Walkthrough.
Chris says
There are three objects to interact with BEFORE you interact with the jar at the end of this chapter. That would make 4 total, just wanted to clarify a small error.
Dogbert says
If you’re doing a Grounded run, for the Clickers, I recommend going prone, and sneak as close as possible. When they start to do their shrieking (aka echolocation ability) animation, immediately go to crouch and grab/stealth kill them. You gotta be fast, or else they will instantly hear you.
These mode makes Clickers x10 worse. I had to do the Market section like 20 times. It suckkkkkks! 🙁