PowerPyx.com

PowerPyx

  • Trophy Guides
  • Game Guides
  • Wikis
  • Trophy Lists
  • Next Guides
  • Contact
Show SearchHide Search
Home » Game Guides » Horizon Forbidden West » Horizon Forbidden West How to Get Mount

Horizon Forbidden West How to Get Mount

February 17, 2022 by PowerPyx Leave a Comment

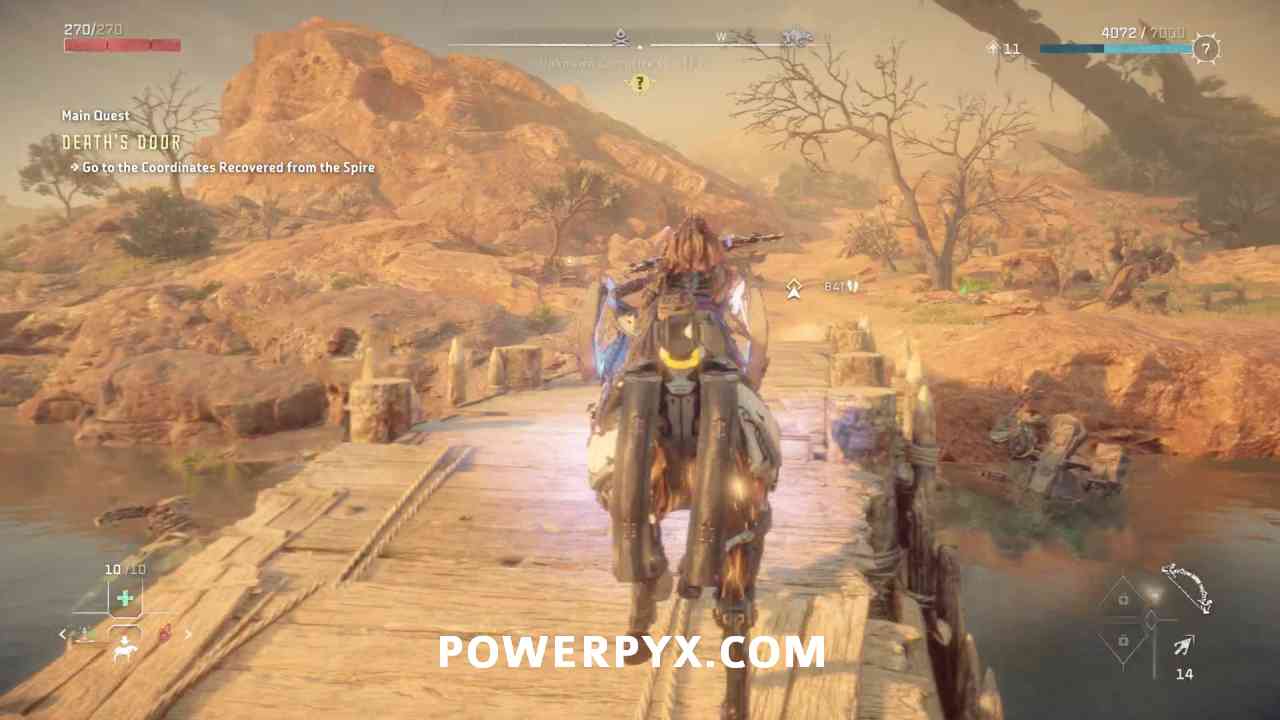
In Horizon Forbidden West (HZFW) you can use machines as Mounts. There are machines you can ride on, as well as flying machines you can fly on. You do this by sneaking up to machines you have unlocked the “override” function on and holding :triangle: . At the start you can only override Chargers, but you can unlock additional Overrides by completing all Cauldrons. Large machines can’t be used as mounts, only 4 smaller machine types.

List of all Machine Mounts (4 total)

You can check your overrides under Notebook > Machine Catalogue > click a machine > on the left it says “Cauldron” for the override and you need and “Mountable Machine” for the ones that can be mounted.

  • Charger (unlocked from the start)
  • Bristleback (TAU Cauldron)
  • Clawstrider (IOTA Cauldron)
  • Sunwing – flying mount (Geminin Cauldron)

How to Get Mount

During the 4th Main Quest “The Embassy” you get an optional objective to go override a charger. Do this to unlock your first mount. If you skip the optional objective you can still do this at any time you want. Look for any Charger machine icon on the map. For example, south of the first big town Chainscrape.

Sneak up to a charger from behind, ideally in stealth without spooking it, and when you get close hold :triangle: to override it.

Override a Charger by holding :triangle: , it’s an optional objective in 4th Main Quest “The Embassy”. This unlocks the “Mount Call”, select it with :left: / :right: in item wheel and then press :down: to call the mount. Press :square: to mount / dismount, :x: to accelerate, :circle: to brake, :r1: for light attack, :r2: for heavy attack.

If you leave your mount behind you can always select the “Mount Call” from the item wheel again to call it back to your location. If your mount gets destroyed, you can either repair it in exchange for some shards (interact with its body), or get a new one. It’s cheaper to fast travel to a Charger site again and grab a new one. Repairs are quite expensive.


For more guides, check out the full Horizon Forbidden West Wiki & Strategy Guide.

« PrevHorizon Forbidden West All Door CodesNext »Horizon Forbidden West How to Get Flying Mount (Sunwing)
Share
Tweet
Shares 0

Filed Under: Game Guides, Horizon Forbidden West

Leave a Reply Cancel reply

Your email address will not be published. Required fields are marked *

Youtube 1,210,000Subscriber
Facebook 15,000Fans
Twitter 19,200Followers

Latest Trophy Guides

Code Vein 2 Trophy Guide

Red Dead Redemption Remaster Trophy Guide

The Outer Worlds 2 Trophy Guide

Tormented Souls 2 Trophy Guide

Ninja Gaiden 4 Trophy Guide

Battlefield 6 Trophy Guide

Ghost of Yotei Trophy Guide

Silent Hill f Trophy Guide

Dying Light: The Beast Trophy Guide

Borderlands 4 Trophy Guide

Metal Gear Solid 3 Delta Trophy Guide

Mafia The Old Country Trophy Guide

Kingdom Come Deliverance 2 Trophy Guide

Red Dead Redemption 2 Trophy Guide

Latest Game Wikis

Pokemon Legends Z-A Wiki

Ghost of Yotei Wiki

Borderlands 4 Wiki

Kingdom Come Deliverance 2 Wiki

Elden Ring Wiki

Hogwarts Legacy Wiki

God of War Ragnarok Wiki

Cyberpunk 2077 Wiki

Red Dead Redemption 2 Wiki

Recent Posts

  • Code Vein 2 Trophy Guide & Roadmap
  • Code Vein 2 All Requests (Side Quests) Guide
  • Code Vein 2 All Golden Nectar Locations
  • Code Vein 2 All Golden Blood Bead Locations
  • Code Vein 2 All Endings Guide

Horizon Forbidden West Wiki

  • Wiki Home
  • Walkthrough
    • Reach for the Stars
    • The Point of the Lance
    • To The Brink
    • The Embassy
    • Death’s Door
    • The Dying Lands
    • The Eye of the Earth
    • The Broken Sky
    • The Kulrut
    • Cradle of Echoes
    • The Sea of Sands
    • Seeds of the Past
    • Faro’s Tomb
    • Gemini
    • All That Remains
    • The Wings of the Ten
    • Singularity
  • Side Quests & Errands
    • Deep Trouble
    • The Twilight Path
    • The Bristlebacks
    • Learning Machine Strike
    • The Enduring
    • A Dash of Courage
    • A Bigger Boom
    • Shadow from the Past
    • Shadow in the West
    • Signals of the Sun
    • The Burning Blooms
    • Need to Know
    • A Tribe Apart
    • Drowned Hopes
    • The Promontory
    • The Roots that Bind
    • The Oldgrowth
    • The Music in Metal
    • The Second Verse
    • What Was Lost
    • Forbidden Legacy
    • Shining Example
    • Thirst for the Hunt
    • The Wound in The Sand
    • The Gate of the Vanquished
    • Burden of Command
    • In Bloom
    • Signal Spike
    • Breaking Even
    • Broken Locks
    • The Deluge
    • The Taste of Victory
    • Sons of Prometheus Data
    • Lofty Ambitions
    • Nights of Lights
    • Boom or Bust
    • Blood for Blood
    • The Valley of the Fallen
    • Supply Drop
    • Call and Response
    • First to Fly
    • A Soldier’s March
    • A Hunt to Remember
    • Tides of Justice
    • In the Fog
    • The Blood Choke
    • The Way Home
    • The Souvenir
  • Machines
    • Grazer
    • Burrower
    • Scrounger
    • Leaplasher
    • Scrapper
    • Spikesnout
    • Skydrifter
    • Plowhorn
    • Charger
    • Lancehorn
    • Longleg
    • Bristleback
    • Fanghorn
    • Redeye Watcher
    • Widemaw
    • Clawstrider
    • Corruptor
    • Bellowback
    • Glinthawk
    • Shell-Walker
    • Stalker
    • Grimhorn
    • Ravager
    • Snapmaw
    • Sunwing
    • Clamberjaw
    • Rollerback
    • Rockbreaker
    • Behemoth
    • Dreadwing
    • Tideripper
    • Shellsnapper
    • Stormbird
    • Thunderjaw
    • Frostclaw
    • Scorcher
    • Slitherfang
    • Tremortusk
    • Fireclaw
    • Slaughterspine
    • Tallneck
    • Specter
    • Specter Prime
  • Weapons
  • Outfits
  • 100% Completion Checklist
  • Tallnecks
  • Hunting Ground Trials
  • Melee Pits
  • Cauldrons
  • Rebel Camps
  • Rebel Outposts
  • Gauntlet Runs
  • Relic Ruins
    • Relic Ruins: The Daunt
    • Relic Ruins: No Man’s Land
    • Relic Ruins: Restless Weald
    • Relic Ruins: The Dry Yearn
    • Relic Ruins: The Stillsands
    • Relic Ruins: Runner’s Wild
    • Relic Ruins: The Long Coast
    • Relic Ruins: Isle of Spires
  • Vista Points
  • Black Boxes
  • War Totems
  • Signal Towers
  • Survey Drones
  • Dyers
  • Salvage Contractors
  • Skills
  • Door Codes
  • How to Get Mount
  • How to Get Flying Mount
  • World Map
  • Trophy List
  • Trophy Guide
  • New Game+ DLC Trophy Guide
  • Terms of Service
  • Privacy Policy
  • Cookie Policy
  • YouTube
  • Facebook
  • Twitter

© 2008-2025 PowerPyx.com, all rights reserved.