PowerPyx.com

PowerPyx

  • Trophy Guides
  • Game Guides
  • Wikis
  • Trophy Lists
  • Next Guides
  • Contact
Show SearchHide Search
Home » Game Guides » Horizon Forbidden West » Horizon Forbidden West Deep Trouble Walkthrough

Horizon Forbidden West Deep Trouble Walkthrough

February 17, 2022 by Sellers Leave a Comment

Deep Trouble is a Side Quest in Horizon Forbidden West (HZFW). This walkthrough will guide you through all objectives of the Deep Trouble side mission.

Location: Crimson Narrows
Quest Giver: Korvend
Quest Level: Level 5
Requirement: Finishing Main Quest 2: The Point of the Lance.
Reward: 1250xp, 2 Skill Points, 1 Oseram Artificier
Mission Info: Two Oseram never made it out of a mine after a dangerous explosion flooded the tunnels. Without help, they have no hope of scape.

Objectives:

  • Find the Missing Miners
  • Drain the Mine
  • Return to the Miners
  • Return to Korvend

Starting Location: Crimson Narrows

Find the Missing Miners

Talk to Korvend who will point you to the mine to rescue 2 other workers, directly ahead of him.

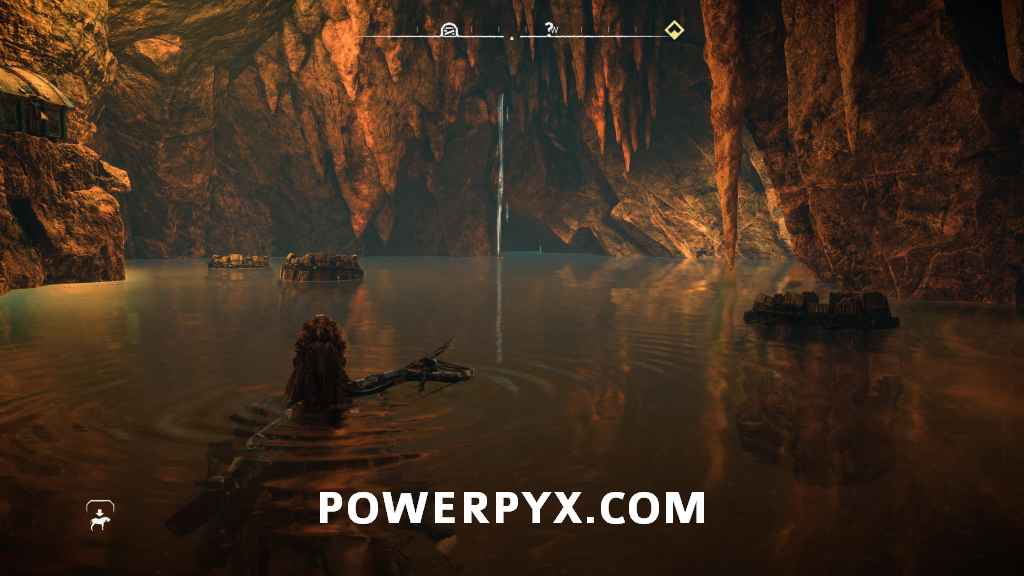
Navigate the linear path through the start of the mine, you will submerge in to some water, after you emerge in to a room with 3 barrels in the water, go directly ahead and submerge again, swimming through the small tunnel and surfacing at the other side in to a new room.

In here you will see the 2 miners in plain sight, talk to them, they will tell you that the tunnel is blocked and that it needs unblocking to drain the mine.

Drain the Mine

Now you have to remove the blockage on the drainage shaft, go in the water to the left of the miners and dive under. There is a strong current coming at you, which slows down your swimming speed. You must press :l3: to speed up and get to the yellow handle bar underwater, in the flooded tunnel, then press :triangle: to boost yourself off the handle bar (makes you swim faster to get through the strong current). Emerge on the other side and climb the yellow ladder.


You need to reach the minecart in here at the top of the scaffolding on the other side of the room, jump in the water and make your way to the platform directly under the minecart, jump to the ladder here to climb up (can scan for it with :r3: to see yellow climbing markers).


Follow the linear path across the wooden beams to a new room. In here you can swim underwater to avoid the machines, or progress on the surface to the other side (up to you). Then follow the rail tracks out of the room.


Continue following the linear path through the crawl space ahead, it leads back into the room with the minecart. Drop down the ladder, in case you fall you can climb back up. Use your pullcaster ( :l2: + :triangle: > hold :r2: ) on the wooden crane ahead to swing it close to you, then jump on it to reach the scaffolding on the other side. Then simply walk up to the minecart and press :triangle: to detonate the explosives.

Return to the Miners

After detonating the explosives you will be attacked by a few machines, Burrowers and Scroungers, take care of them and then pull one of the crates out slightly that are located just near the ladder and leave the room through here back to where the miners are and talk to them again.

Return to Korvend

Now leave the mine the same way you came in and talk to Korvend to finish the quest.

This finishes Deep Trouble Side Quest in Horizon 2: Forbidden West.

For all other Side Quests and Main Quests, check out the complete Horizon Forbidden West Walkthrough.

« PrevHorizon Forbidden West All Side Quests & ErrandsNext »Horizon Forbidden West The Twilight Path Walkthrough
Share
Tweet
Shares 0

Filed Under: Game Guides, Horizon Forbidden West

Leave a Reply Cancel reply

Your email address will not be published. Required fields are marked *

Youtube 1,170,000Subscriber
Facebook 10,006Fans
Twitter 0Followers

Latest Trophy Guides

Doom: The Dark Ages Trophy Guide

Forza Horizon 5 Trophy Guide

The Elder Scrolls IV: Oblivion Remastered Trophy Guide

AI Limit Trophy Guide

The First Berserker: Khazan Trophy Guide

Assassin's Creed Shadows Trophy Guide

Kingdom Come Deliverance 2 Trophy Guide

Red Dead Redemption 2 Trophy Guide

Latest Game Wikis

Assassin's Creed Shadows Wiki

Kingdom Come Deliverance 2 Wiki

Black Myth: Wukong Wiki

Elden Ring Wiki

Hogwarts Legacy Wiki

God of War Ragnarok Wiki

Cyberpunk 2077 Wiki

Red Dead Redemption 2 Wiki

Recent Posts

  • Doom The Dark Ages Trophy Guide & Roadmap
  • Doom The Dark Ages All Collectible Locations Guide – 100% Completion
  • Doom The Dark Ages All Weapon Mastery Challenges Guide
  • Doom The Dark Ages All Mission Challenges Guide
  • Doom The Dark Ages Chapter 1: Village of Khalim Collectible Locations

Horizon Forbidden West Wiki

  • Wiki Home
  • Walkthrough
    • Reach for the Stars
    • The Point of the Lance
    • To The Brink
    • The Embassy
    • Death’s Door
    • The Dying Lands
    • The Eye of the Earth
    • The Broken Sky
    • The Kulrut
    • Cradle of Echoes
    • The Sea of Sands
    • Seeds of the Past
    • Faro’s Tomb
    • Gemini
    • All That Remains
    • The Wings of the Ten
    • Singularity
  • Side Quests & Errands
    • Deep Trouble
    • The Twilight Path
    • The Bristlebacks
    • Learning Machine Strike
    • The Enduring
    • A Dash of Courage
    • A Bigger Boom
    • Shadow from the Past
    • Shadow in the West
    • Signals of the Sun
    • The Burning Blooms
    • Need to Know
    • A Tribe Apart
    • Drowned Hopes
    • The Promontory
    • The Roots that Bind
    • The Oldgrowth
    • The Music in Metal
    • The Second Verse
    • What Was Lost
    • Forbidden Legacy
    • Shining Example
    • Thirst for the Hunt
    • The Wound in The Sand
    • The Gate of the Vanquished
    • Burden of Command
    • In Bloom
    • Signal Spike
    • Breaking Even
    • Broken Locks
    • The Deluge
    • The Taste of Victory
    • Sons of Prometheus Data
    • Lofty Ambitions
    • Nights of Lights
    • Boom or Bust
    • Blood for Blood
    • The Valley of the Fallen
    • Supply Drop
    • Call and Response
    • First to Fly
    • A Soldier’s March
    • A Hunt to Remember
    • Tides of Justice
    • In the Fog
    • The Blood Choke
    • The Way Home
    • The Souvenir
  • Machines
    • Grazer
    • Burrower
    • Scrounger
    • Leaplasher
    • Scrapper
    • Spikesnout
    • Skydrifter
    • Plowhorn
    • Charger
    • Lancehorn
    • Longleg
    • Bristleback
    • Fanghorn
    • Redeye Watcher
    • Widemaw
    • Clawstrider
    • Corruptor
    • Bellowback
    • Glinthawk
    • Shell-Walker
    • Stalker
    • Grimhorn
    • Ravager
    • Snapmaw
    • Sunwing
    • Clamberjaw
    • Rollerback
    • Rockbreaker
    • Behemoth
    • Dreadwing
    • Tideripper
    • Shellsnapper
    • Stormbird
    • Thunderjaw
    • Frostclaw
    • Scorcher
    • Slitherfang
    • Tremortusk
    • Fireclaw
    • Slaughterspine
    • Tallneck
    • Specter
    • Specter Prime
  • Weapons
  • Outfits
  • 100% Completion Checklist
  • Tallnecks
  • Hunting Ground Trials
  • Melee Pits
  • Cauldrons
  • Rebel Camps
  • Rebel Outposts
  • Gauntlet Runs
  • Relic Ruins
    • Relic Ruins: The Daunt
    • Relic Ruins: No Man’s Land
    • Relic Ruins: Restless Weald
    • Relic Ruins: The Dry Yearn
    • Relic Ruins: The Stillsands
    • Relic Ruins: Runner’s Wild
    • Relic Ruins: The Long Coast
    • Relic Ruins: Isle of Spires
  • Vista Points
  • Black Boxes
  • War Totems
  • Signal Towers
  • Survey Drones
  • Dyers
  • Salvage Contractors
  • Skills
  • Door Codes
  • How to Get Mount
  • How to Get Flying Mount
  • World Map
  • Trophy List
  • Trophy Guide
  • New Game+ DLC Trophy Guide
  • Terms of Service
  • Privacy Policy
  • Cookie Policy
  • YouTube
  • Facebook
  • Twitter

© 2008-2025 PowerPyx.com, all rights reserved.