
Horizon Forbidden West (HZFW) has 12 Hunting Ground Trials. This walkthrough will guide you through each trial with a perfect “full stripes” score.
There are 4 Hunting Grounds with 3 Trials each. There are 3 achievable grades: Quarter Stripes (Bronze), Half Stripes (Silver), Full Stripes (Gold). For the trophy “Obtained 3 Stripes at All Hunting Grounds” you need only the lowest grade “Quarter Stripes” (bronze) at each trial. Getting Silver or Gold isn’t needed for trophy purposes but it does give you more Hunting Grounds Medals. The Hunting Grounds Medals can be traded in at the Arena for powerful weapons.
None of the Hunting Grounds are missable. You can still find all of them after the story in free-roam. They get marked by a “bow and arrow” icon on the map once discovered. Talk to the Groundskeeper to start the trials. If you fail, you can pause the game and select “Restart from Save”. After you successfully finish a trial, talk to the Groundskeeper again to get your reward. They all have a time requirement that determines your grade. The faster you are the better your grade. Playing on Story difficulty makes the time requirement easier to beat, you can change difficulty in the general settings at any time.
Hunting Grounds: The Daunt

Trial #1: Tear Trial
At the start of the trial jump down the left side and crouch  in the grass on the rocks above the machines. From here you have a good shot at the Scroungers. Scan them with
  to see the power cell on their back. Shoot it off with your bow. If it doesn’t fall off in a single hit, try with Sharpshot Bow or Spike Thrower. There are two Scroungers walking on the left side, one coming down the hill and one coming down the path, you can shoot them from the grass in stealth without them noticing you. Once their power cells are torn off collect them quickly and return to the Groundskeeper up the hill.
You don’t necessarily need to shock the Scroungers. It’s faster and easier to shoot off their power cells directly with a weapon that has high tear value, to shoot them off in one hit. The challenge fails if you kill more than 2 Scroungers without shooting off their power cells beforehand (on their backs). So you’ll have to do 2 in a row perfectly to avoid the “trial failed” message. If it fails simply talk to the grounds keeper again to retry. The first challenge is actually the trickiest one from this Hunting Ground.
Trial #2: Shock Trial
At the start of the trial jump down the left side and crouch in the grass on the rocks above the machines. Equip the Shock Warrior Bow provided to you automatically by the Groundskeeper of this Hunting Trial (should be automatically equipped, if not you can equip it from inventory). Scan the Scroungers to see the batteries on their back. Shoot this battery with the Shock Warrior Bow and wait a few seconds for them to overload and explode. The explosion has to kill other nearby enemies, in total 3. You can get 3 overload kills in one go if enough other machines are near the Scrounger you’re targeting. But most likely you’ll get 1-2 kills per overload. Repeat for other Scroungers. If no other machine is near them it might not update your challenge counter at all, but just keep killing them by shooting the battery on their back with the shock bow and other enemies will run near them eventually and get destroyed. Because you can start out by crouching in bushes you can plan it so you always start out with a multi-kill.
Trial #3: Shock and Trap Trial
Around the hunting grounds you can see traps highlighted in yellow when scanning with . For example, weights hanging overhead or logs holding back some stones. When a machine is standing close to a trap, shoot it with the Shock Warrior Bow until it’s fully shocked (may take 2 hits until it’s fully stunned). Then shoot the trap to kill the machine while it is still shocked. Doing trap kills on machines that aren’t shocked won’t count. You don’t need to be stealthy here. It’s actually easier to just run to where a trap is and let the machines come to you, then shock them, shoot trap, repeat. You need 3 trap kills on shocked machines in total.
Hunting Grounds: Plainsong

Trial #4: Silent Looting Trial
This trial requires you to loot 3 boxes without being spotted by machines and without damaging or killing them. Just take it slow, move from one bush to the next, or jump onto the pillars and ropes to parkour above the machines where they won’t see you so easily. If you do get spotted it’s best to pause the game (  ) and choose “Restart from Save”.
Start by sliding down the left rope. You will land in grass, crouch and let the machine on the right pass by you. Then loot the 1st box in front of you. Now head towards the right side where the machine just walked by and go all the way to the far right edge of the area. There is the 2nd box. Another machine patrols there, so just wait in the grass until it’s gone then loot the chest. The 3rd chest is on the far left side. Follow the path where the machine from the 2nd box is patrolling and climb up the rocks. Alternatively, use the pillars (double jump  on them) to move around. Once all 3 chests are looted it’s fine to get spotted, you can run straight back to the Groundskeeper and don’t need to worry about getting spotted anymore.
Trial #5: Silent Strike Trial
The pathing of the machines in this trial is identical to the first one. So you should already be familiar with each machine’s patrol path. The difference is that this time you must kill 3 machines using stealth takedowns instead of looting 3 boxes, which is actually easier. Again use the bushes or pillars to sneak up to them, then press  for a silent strike takedown. Repeat for 3 machines in total, then run back to the Groundskeeper (it’s okay to get spotted after killing 3 in stealth). If you do get spotted it’s best to pause the game ( ) and choose “Restart from Save”.
Trial #6: Silent Gliding Trial
Even easier than the first and second trial, this time you only need to kill 2 machines and you must do so by jumping off pillars, pressing in midair to activate the glider, then press for a strike from above. Instead of sliding down the ropes at the start, climb the pillar where the ropes are and glide down to the right to kill the first machine. Then climb the pillars on the right side of the area and kill the machine that patrols the right side, by jumping off a pilar and gliding over it and using the silent strike in midair. Run back to the Groundskeeper when done.
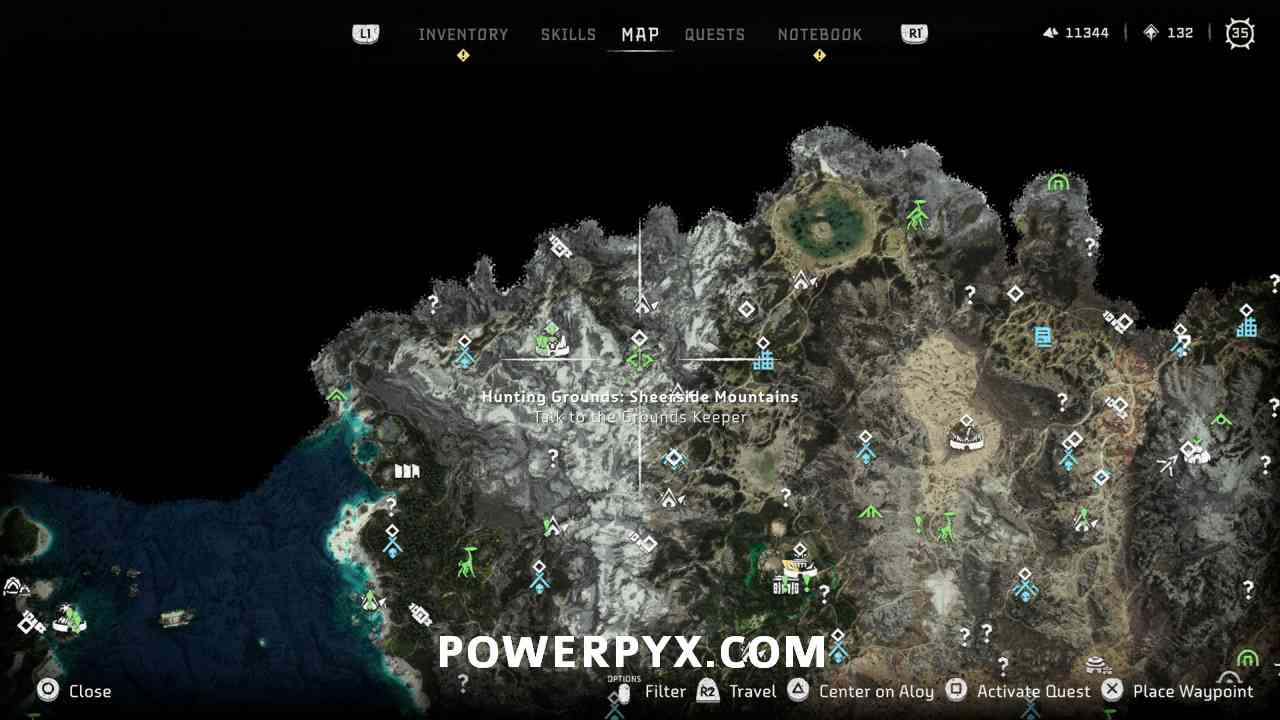
Hunting Grounds: Sheerside Mountains
Trial #7: Frost Trial
For this you must freeze 3 Bellowbacks and then destroy the sack on their backs while the frost effect is active. Use any frost weapon, for example the Frost Blastslings which you automatically got during the Prologue. Shoot at the Bellowbacks repeatedly until the frost effect is fully built up and the machine freezes. Then shoot the big sack on the back. There are 2 Frost Bellowbacks and 1 Acid Bellowback in the area. Repeat for all 3. Crafting enough Frost Ammo will take quite a bit of resources. Feel free to make a Manual Save at the campfire beforehand, then you can reload the manual save if you take too many tries as to not waste any materials. Avoid the Rollerback in the middle of the area.
Trial #8: Shredder Catch Trial
For this trial you will need a Shredder Gauntlet weapon. If you don’t already have one, you can buy it from the Hunter merchant standing right beside this Groundskeeper.
It doesn’t matter which machines you target for the purpose of this trial, but the Bellowbacks are the easiest as they are less aggressive than the Rollerback.
Hold  to aim and hold
  to charge up your Shredder, then release to throw it and make sure it hits the enemy. When the Shredder comes flying back you must catch it by walking where it flies. It’s important to have enough distance between you and the enemy so you have enough time to position yourself in the flightpath of the shredder. You can also press while aiming with to slow down time, but only use in short bursts as it only lasts a few seconds. You must catch your own shredder blade 3 times in a row. After the third catch it will begin to glow, then hit the same enemy again and it will explode and counts as +1 for the challenge. Repeat a total of 2 times, redoing this procedure on another Bellowback. It takes some practice to get the timing right, but when standing as far away as possible it gets much easier, gives you more time to see where the shredder will fly back. If done correctly you shouldn’t lose any ammo for the shredder. If you lose 1 ammo it means you messed up and must repeat 3 throws to charge the shredder. You can also make a manual save beforehand, in case you need multiple tries it’s better to reload the save as to not waste crafting resources on the ammo.
Trial #9: Plasma Blast Trial
For this trial you will need a Plasma weapon. It’s recommended to buy the “Plasma Boltcaster” from the Hunter merchant standing right beside this Groundskeeper. It does the right amount of damage for this trial, not too much that it would kill the Rollerback before completing the trial.
What you must do is simply shoot the Rollerback in the middle of the area with the Plasma Boltcaster repeatedly until the Plasma effect has built up. Then wait until the Plasma explodes. Don’t damage it much more or else it might die before you can do it a 2nd time. You must do this procedure twice to complete the trial. The Rollerback cannot die before the 2nd Plasma overcharge, but with the Plasma Boltcaster it should work out perfectly if you don’t use any other weapons to damage it.
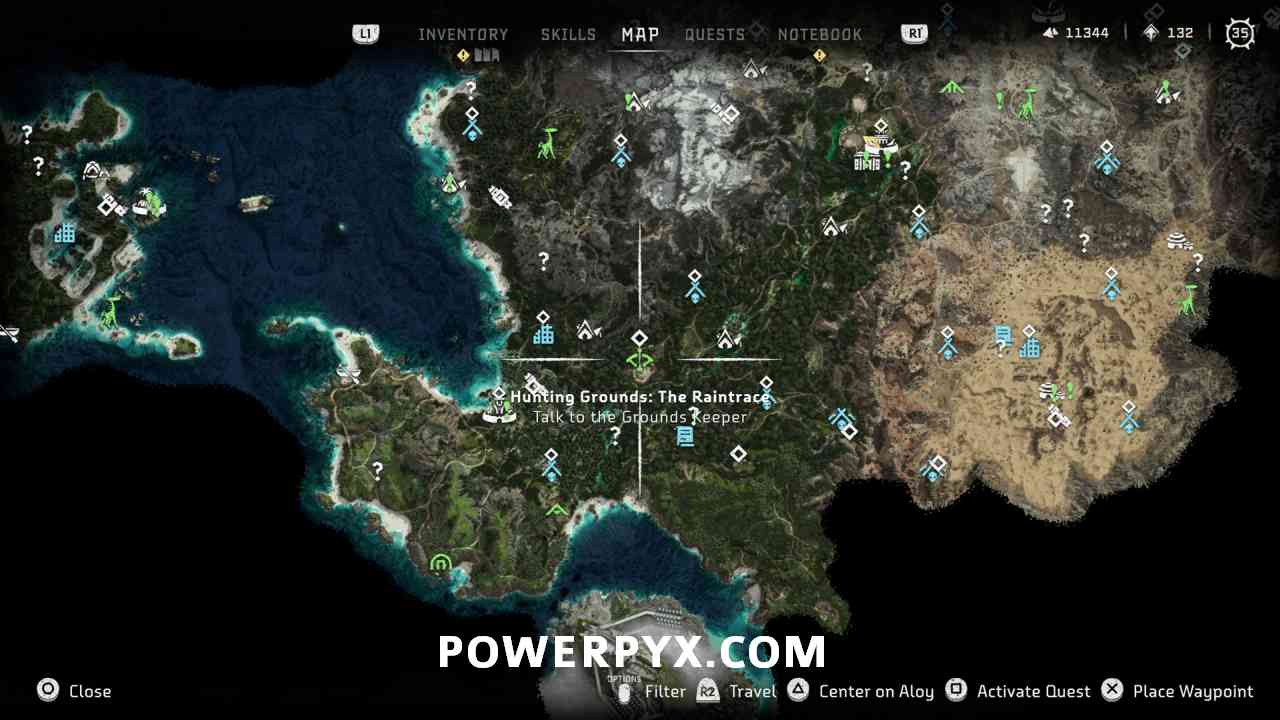
Hunting Grounds: The Raintrace
Trial #10: Shock and Remove Trial
Use any Shock Weapon and keep shooting the Tremortusk until the shock effect has fully built up. Then it will fall to the ground. Quickly shoot off both its tusks while it’s down. Use a weapon with high tear damage. A relatively straightforward challenge.
Trial #11: Mounted Combat Trial
This requires the Clawstrider Override. It’s unlocked by finishing the IOTA Cauldron. Once you have done this you can start this challenge.
Start by overriding the Clawstrider near the start of the area between the two ropes in the middle. Then ride around the right side and kill the Clawstrider there quickly (before the Tremortusk can hit you). It’s best to do heavy attacks, two of those should kill the other Clawstrider (at least on story difficulty). Then ride around the edge of the area to the left side where another Clawstrider is and kill that with your Clawstrider too. Just don’t let yours get destroyed by the Tremortusk. If it happens, pause the game and Restart from Save.
Trial #12: Heavy Weapons Trial
Use a weapon with high tear (e.g. Precision Bow) and shoot off the cannons on the back of the Tremortusk. This is best done at the start before it spots you, when it has its back turned to you. The cannons on its back are easy to hit then. If you have a very high tear-damage weapon you can even shoot them off in one hit, otherwise just keep hitting it repeatedly until it falls off (there are two cannons on its back, just need to shoot off one). Then pick up the cannon and kill the Tremortusk with it.
That’s all of the Trials in Horizon 2: Forbidden West (HZFW).
For anything else needed to 100% completion, check out the full Horizon Forbidden West Wiki & Strategy Guide.
Ute Nte says
Trial #12: I find that once you get the cannon it’s easier to kill the Tremortusk quickly with other weapons and then use the cannon on the smaller machines.
Killing the Tremortusk while carrying a heavy gun that slows you down is very frustrating!
Ute Nte says
Watching the video I think that the game has been changed. In my case I needed to kill 3 machines with the cannon, not one.
Savagehenry77 says
Smoke bombs. Smoke bombs solve all problems. No need to kill tremortusk. You can shoot the energy balls from so far away, they track the robots