
The Hidden Monsters of Okehazama is the 4th main story mission in Nioh 2. This walkthrough will guide you through all areas of The Hidden Monsters of Okehazama Main Quest.
The Hidden Monsters of Okehazama is unlocked when you complete The Viper’s Sanctum.
Recommended Level: 21
Region: Soaring
Requirement: Complete The Viper’s Sanctum
Reward: Samurai’s Locks x1, Master Archer’s Bow, Master Archer’s Cuirass, Master Archer’s Waistguard, 7400 Gold, 2976 Amrita
Shrine 1

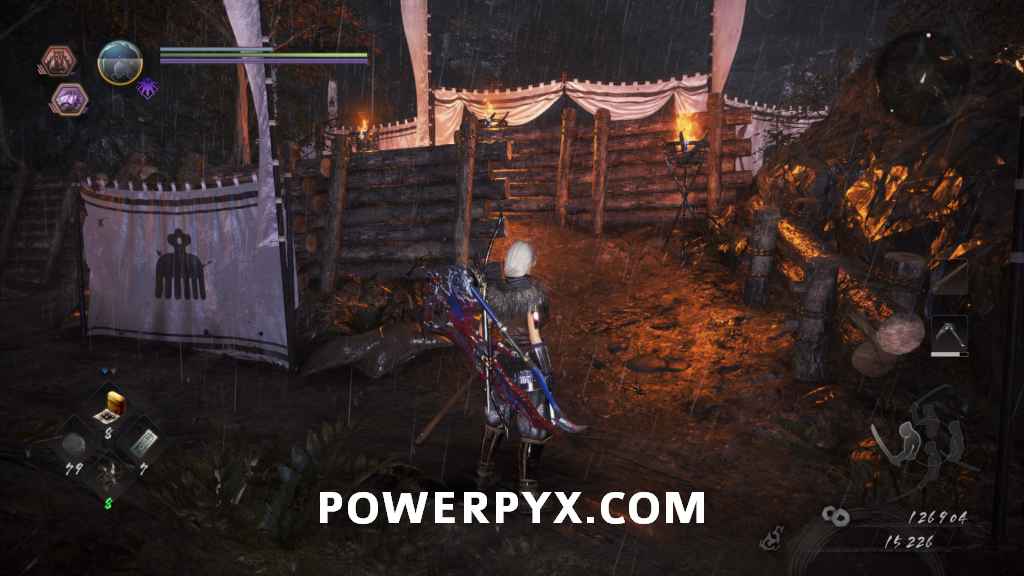
Starting out you have a ladder going up to the left that’s for the shortcut back, and the path on the right block by the guy with the spear. You actually need to perform a gesture at the guy with the spear to get him to move for you so that you can progress. Speak to him once, then when it prompts you pull up the gesture menu and perform the red “BRING IT ON!” gesture, and he’ll get out of the way.

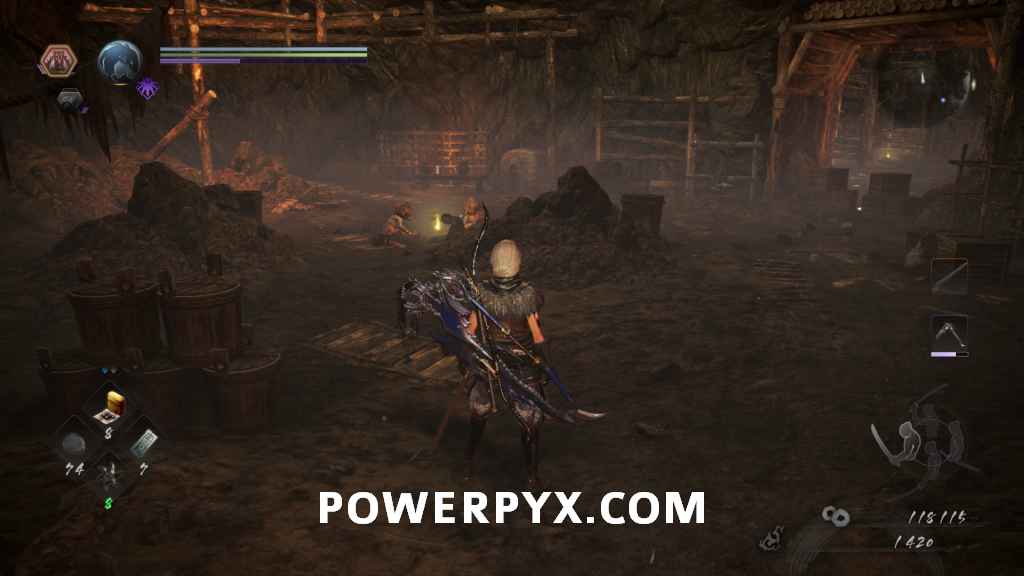
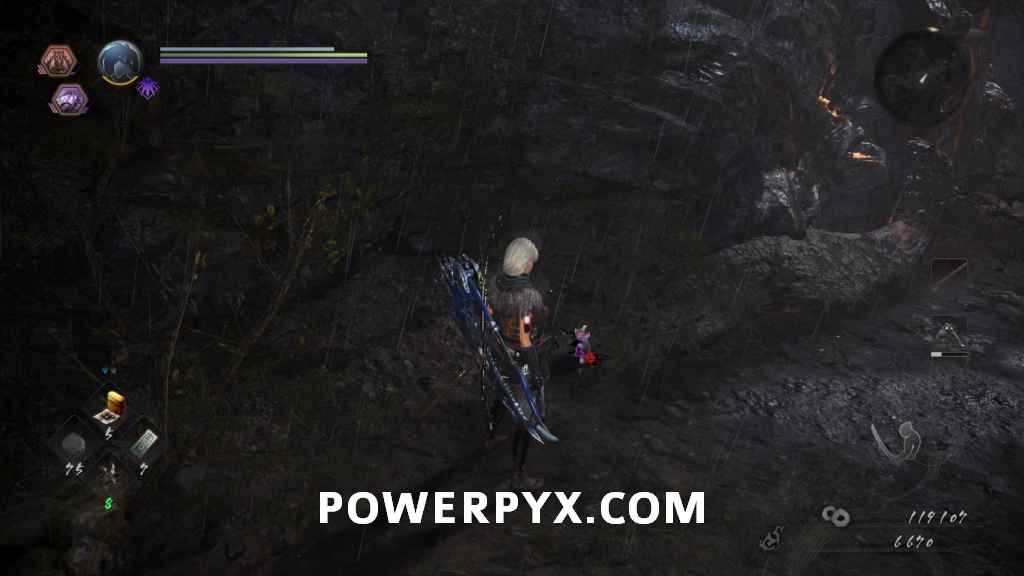
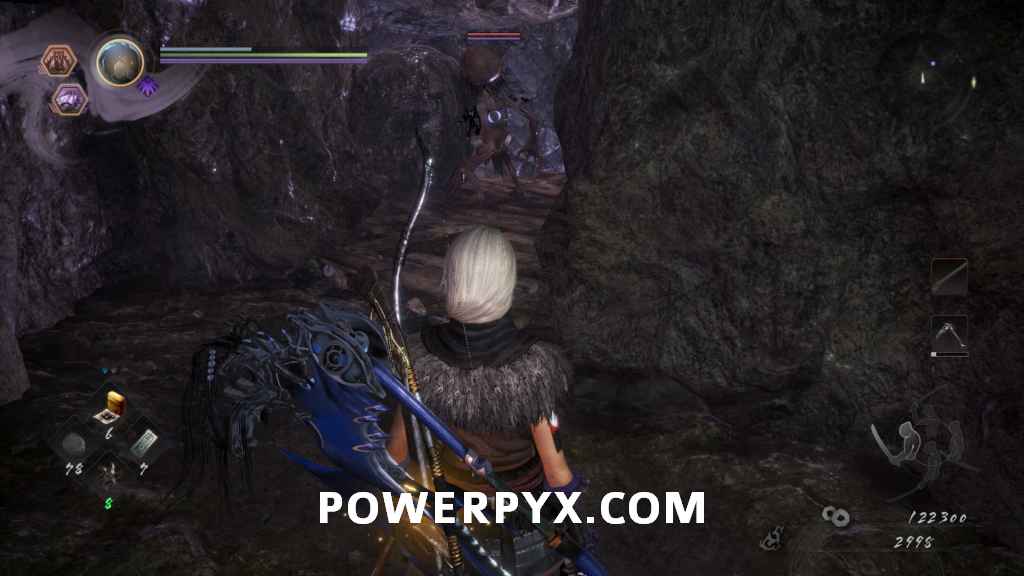
Start heading along the cliff path. The first side cave will have one item pickup in it, the second will have one Gaki wandering back and forth. The third is the one you go in to progress forward. When you get near it a group of bats will fly out and hit you if you’re too close. In the first large room of this cave there will be some Gaki hanging out near a body, and paths to the right and left. Take the path to the right and you will see an Enki in the room looking at a body. Take out the Enki, then in the back left of the room will be Kodama #1 behind a wood wall.
 |
 |
This room has another shortcut ladder in it you can drop later, so for now go back to the prior room and take the left path. In that tunnel will be another Enki walking back and forth. Kill it, then head forward to the split. First head to the right through the small boxes, then destroy the second set of boxes at the end to find Kodama #2.
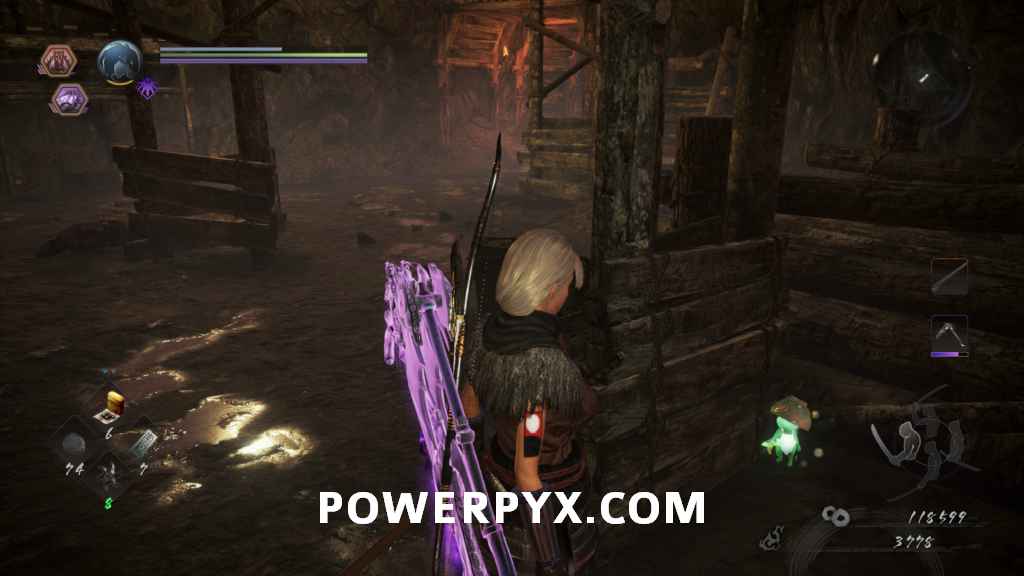
Head into the next room and you’ll see an enemy on the far side looking away from you. This will be your first encounter with a Yamanba. They wield knives and swing them wildly around at you. Their burst attack is a long move where they basically flail around while walking towards you, and then at the end throw of the knives towards you. Once it’s dead, go down the left path first. On the left of the split is the first ladder shortcut you can kick down, and on the right is a Sudama you can interact with.
 |
 |
Head back through the cave and out the right path, which leads you outside again. In the first cave on the right will be another of the Yamanba Yokai, and if they charge at you from in the tunnel it’s possible for them to knock you off the ledge. In the room it was in you can find a Scampuss hiding behind some barrels, then continue along the outside of the cliff. Be careful going around the corner as there is a Yokai Fog that spawns an Enki, and you don’t have a lot of room to fight it around this corner. If you head left across the bridge you will go into a Darkness Realm area which is where you go to progress, so keep heading up the cliff first.
 |
 |
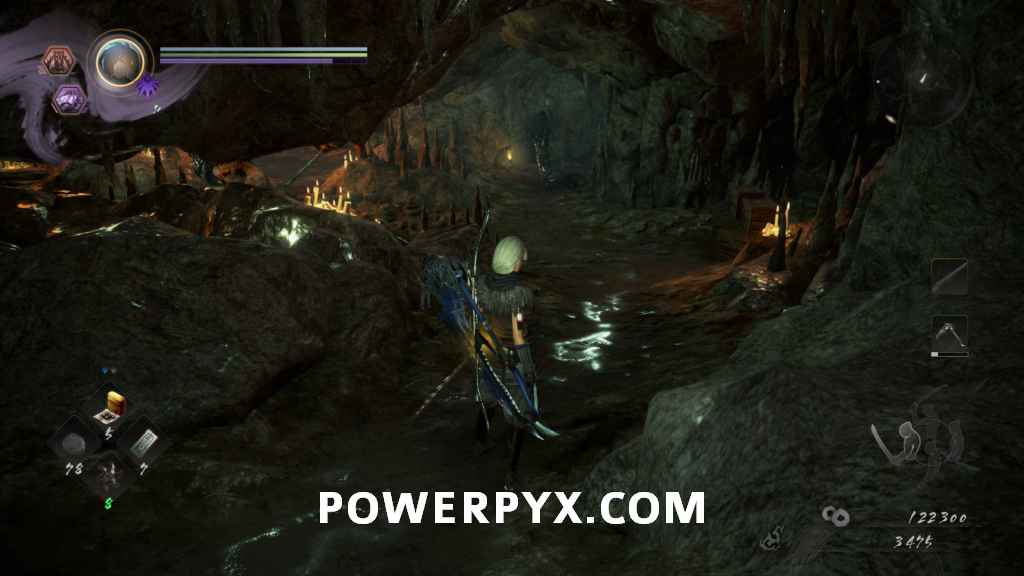
You can drop down just before this bridge to pick up some items off a body, then progress forward into the forest area. Just inside there is an NPC Benevolent Grave on the right, and a Nure-Onna circling around a couple of trees. Up to the ledge on the left there is a Gaki that will throw things at you once you get into the area, so you can shoot it from below if you don’t want it to bother you. Head down to the right and you should see some stairs going down, at the bottom of these beside a tree is Kodama #3.
 |
 |
Continuing around this forest area you can find a few more items and a couple more Gaki and Nure-Onna. Once you get out to the other side you can find where Shrine 2 is, as well as being on the opposite side of the Darkness Realm from before. Rest at the shrine, then head into this side of the Darkness Realm.
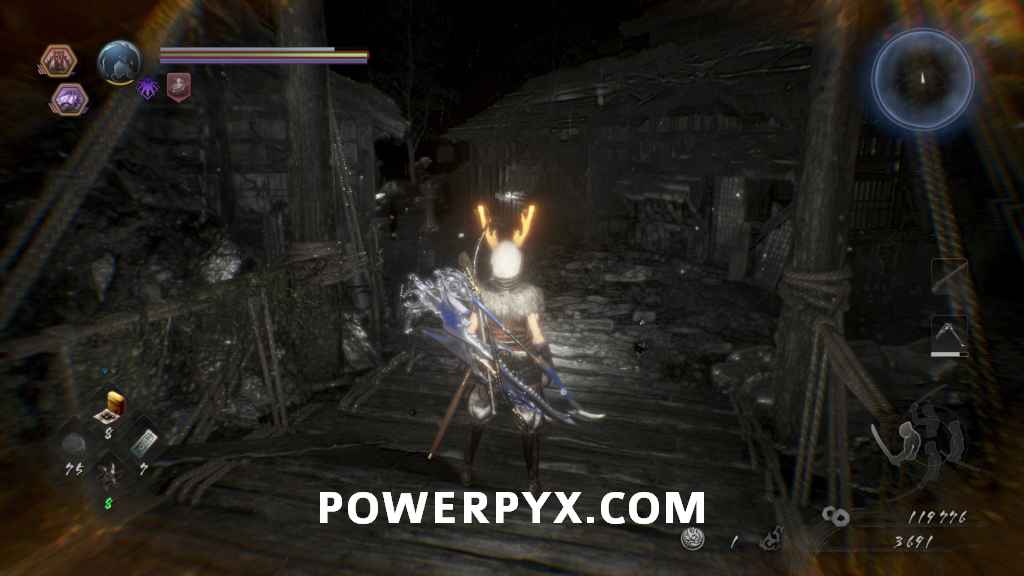
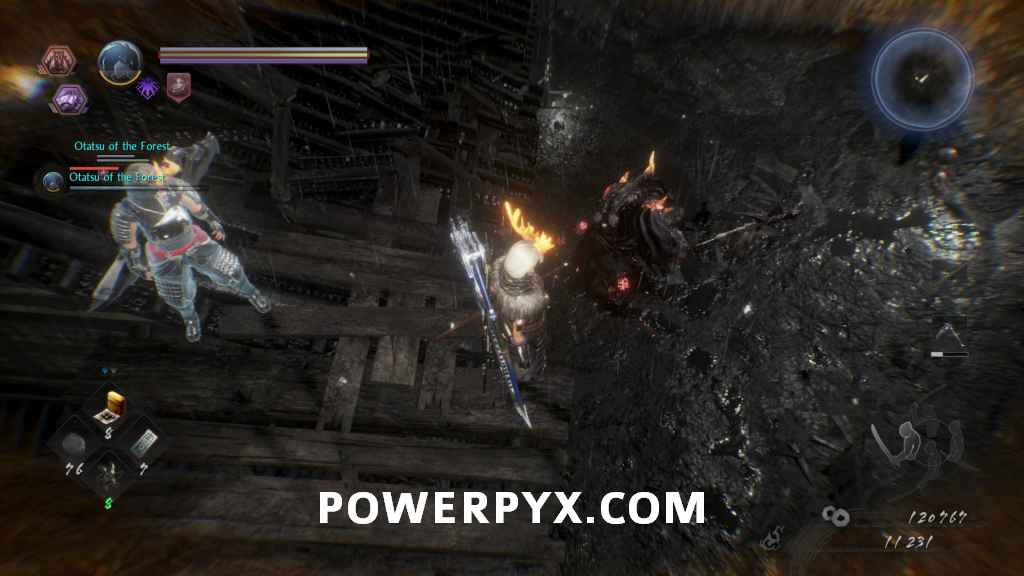
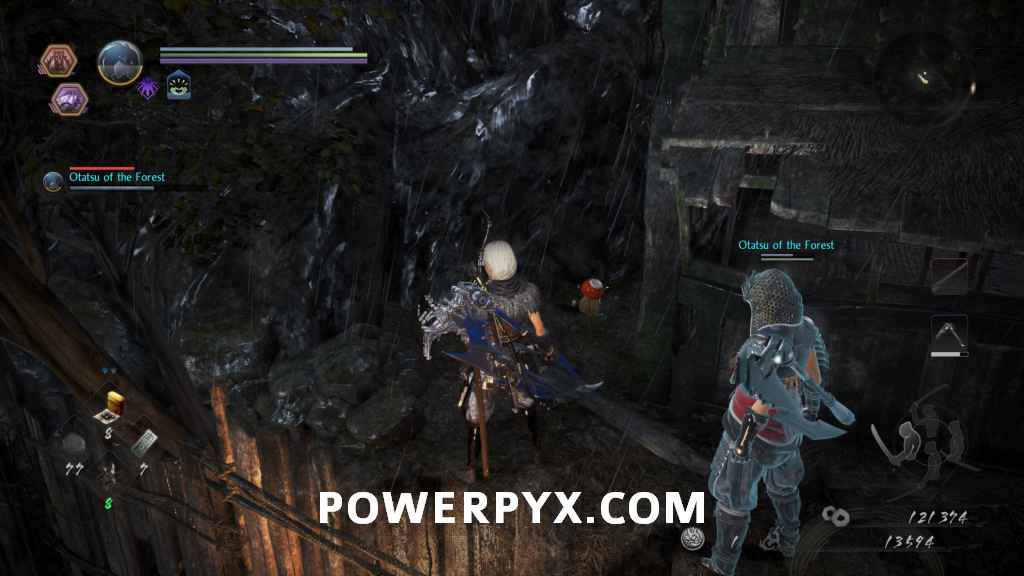
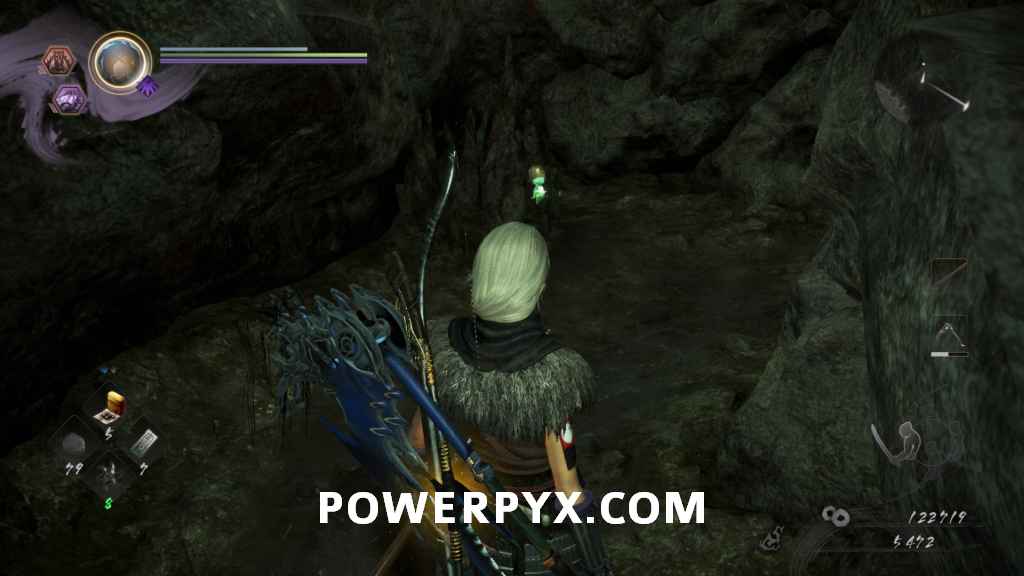
Just on the right as you’re entering you can see another Yamanba sitting on the ground. For a slightly easier time in this area, go up on the rooftops and shoot any of the Gaki you see so that you don’t need to deal with them. If you look below you, you should see an Enki wandering in and out of a house, this is the enemy to kill to dispel this Darkness Realm. Drop attack it for some free damage if you can. Once it’s dealt with head between the houses, watching the first one on the right for another Yamanba inside. When it’s dead continue around the corner of the second on the right, and inside some breakable items is Kodama #4. You can head down the hill more and find a locked chest in another house which will have Ninja’s Locks in it. After you’ve been around and searched all other buildings you can head back up to the shrine to continue forward.
 |
 |
Shrine 2
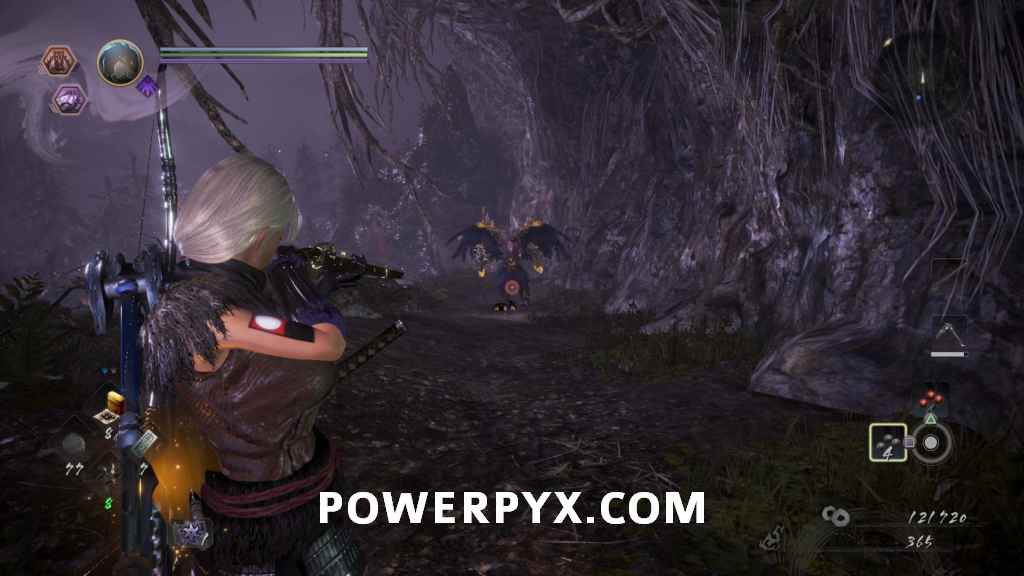
Start moving down the only main path down the cliffside. Midway down a Yokai named a Karasu Tengu will appear, and if you didn’t do one of the side missions in the first region this will be your first experience with them. They will do a few moves that involve flying in the air and either throwing a wave at you or charging down towards you. They also do large swipes and spin kicks while on the ground. If it charges up its Burst Attack while on the ground it will do a series of spins in a row while moving towards you. Once it’s dealt with, continue down the main path to the right.
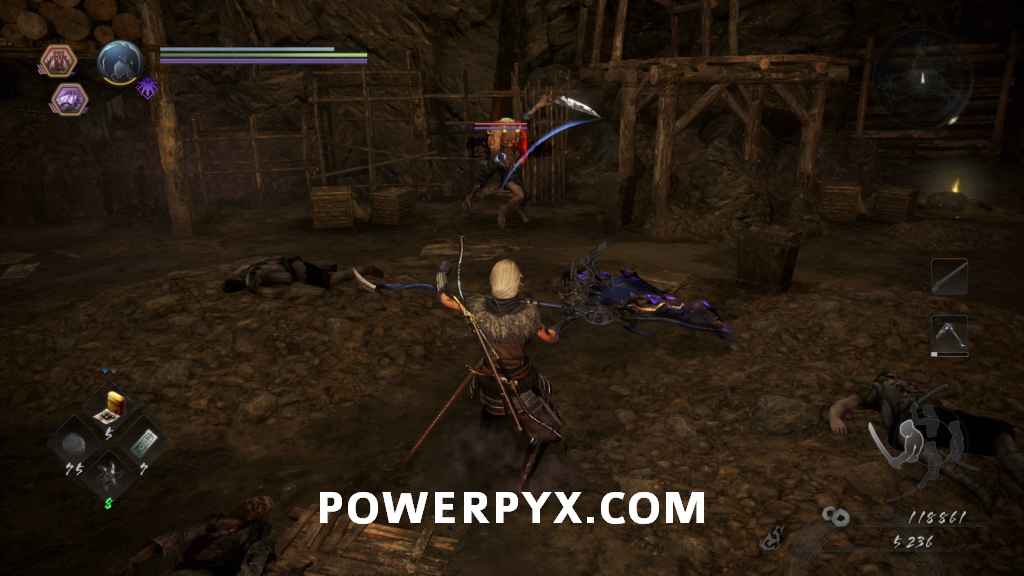
Following the path you will enter a cave that goes left and right. Going left where the Yamanba takes you down through a bunch of human enemies, but there are items to get going right so go to the right to progress. Continue along the path without turning to get to where a Gaki is standing behind a boulder. Kill it here so you don’t have it pushing the boulder onto you and search the nearby chest. At this point if you want you can go down the cliff path and kill all the humans, then stop when you get to the Darkness Realm and turn around and come back to the cave. When you do go back and enter the other side path to the large circular room. Entering this room you can see two Nure-Onna, one sitting still and one circling the left part of the area, and also a Gaki lying down behind the boxes on the right. Once they are dead you can search this area.
 |
 |
The left path from the circular room will lead you to a dead-end with Kodama #5 in it. The right path will lead to the room after the first shrine with the Enki, where you can kick down another Shortcut ladder. This ladder is more used though so you can get back up here after grabbing all the items in the scaffolding in this room. Be careful when you drop down to them, as it will spawn two Oni-bi near the two lower items.
 |
 |
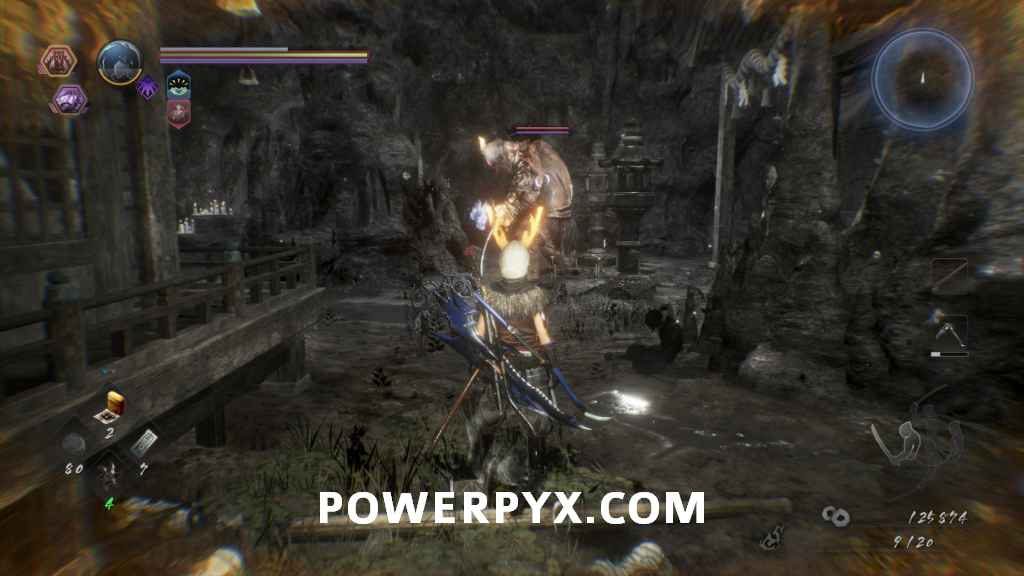
The top path out of the circular room will have a Yokai Fog that spawns a Yamanba. Further in you will see a body with an item, watch out because just about it is a Nure-Onna hanging from the ceiling. If you continue forward you will get to the Darkness Realm you might have stopped out on the outside part of the cliff. Inside there will be the large One-Eyed Oni, an Oni-bi, and a Gaki. If you didn’t do a prior side mission this will be your first encounter with a One-Eyed Oni. They swing around with their arms and try to grab you. They are typically fairly slow, so you can somewhat use the environment in here to mess with their AI by making it walk around things to get to you. When it charges its Burst Attack it will spin in a circle swinging its fists two times while moving towards you.
 |
 |
When it is dead it will dispel the Darkness Realm in the area. Just beside it, you should now see Kodama #6 for this mission beside some leaves. You can then go into the building behind where the Oni was and open the locked chest containing Onmyo Mage’s Locks, and interact with the shrine.

Shrine 3
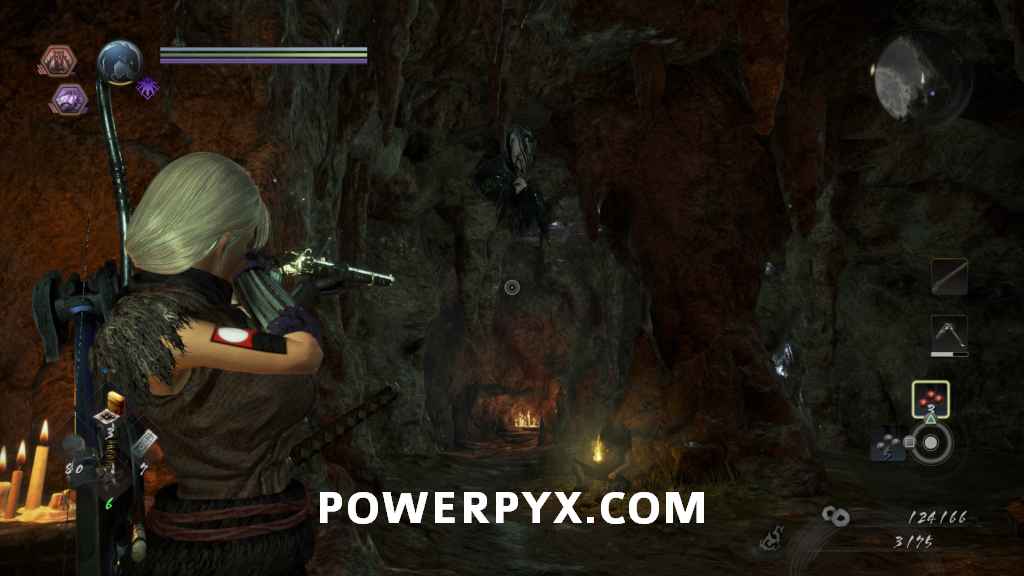
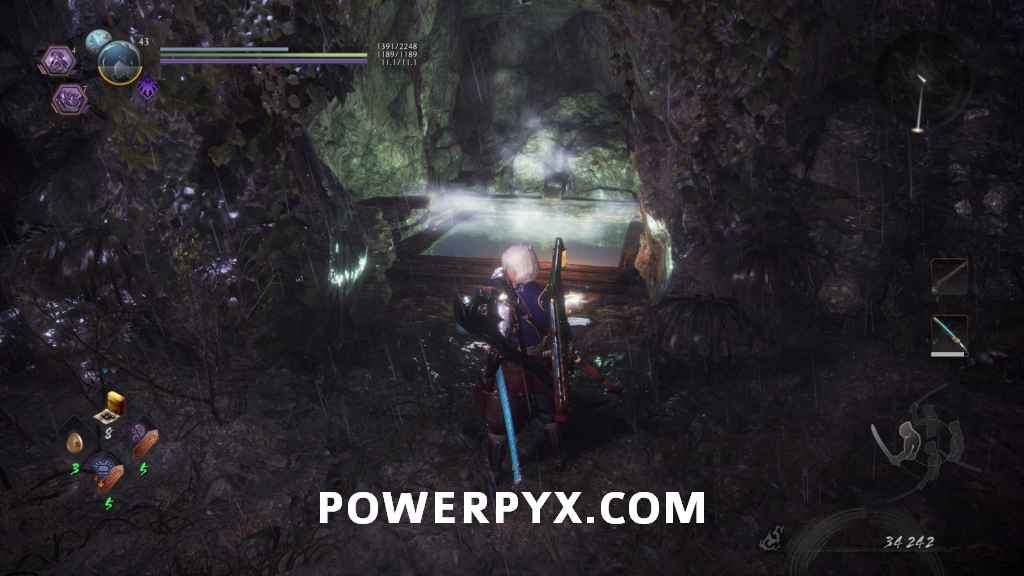
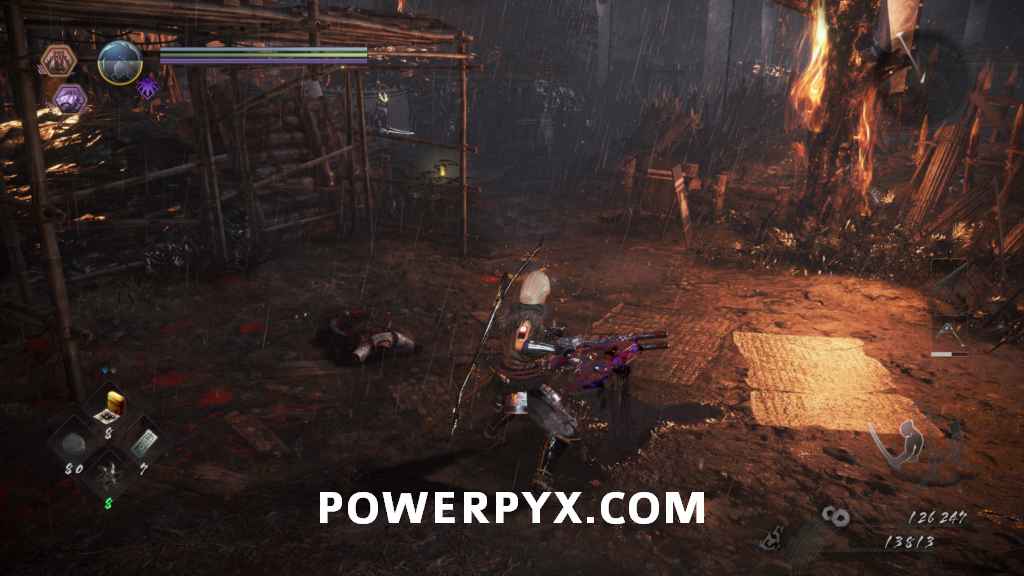
From Shrine 3 before you progress, first head out the path to the left of the red archway. You will be at the bottom of the hill from Shrine 2. To the immediate left you should see a Nurikabe wall, which will have the Hot Spring for this level directly behind it. After that go back into the cave and go through the right passage under the broken red archway. When you come outside again you’ll be in an area with lots of burning things filled with human enemies. In this area every so often lightning will strike the ground where you are standing, and if you are hit by it it will paralyze you for a short period and damage you, so while here you need to spend time avoiding the lightning strikes. If you are standing under structures it will not hit you though, so you can use these for cover as you progress. You can also bait the enemies into the lightning strikes, which will paralyze and damage them as well.
 |
 |
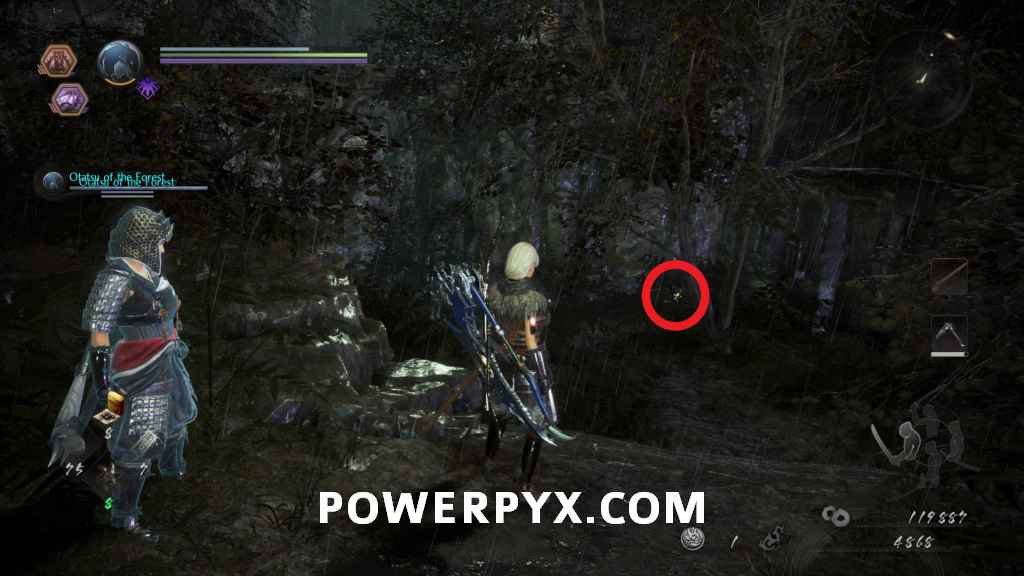
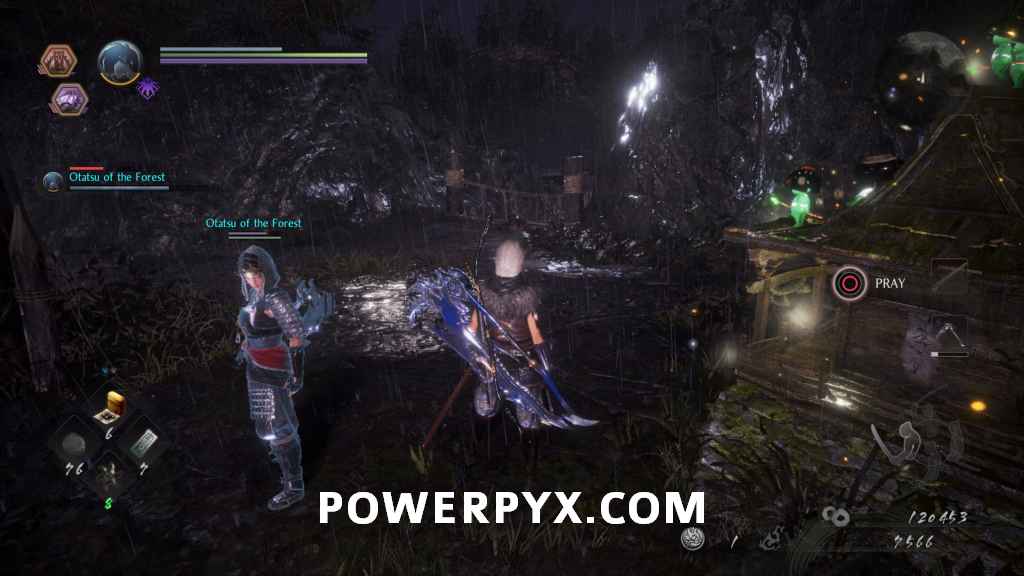
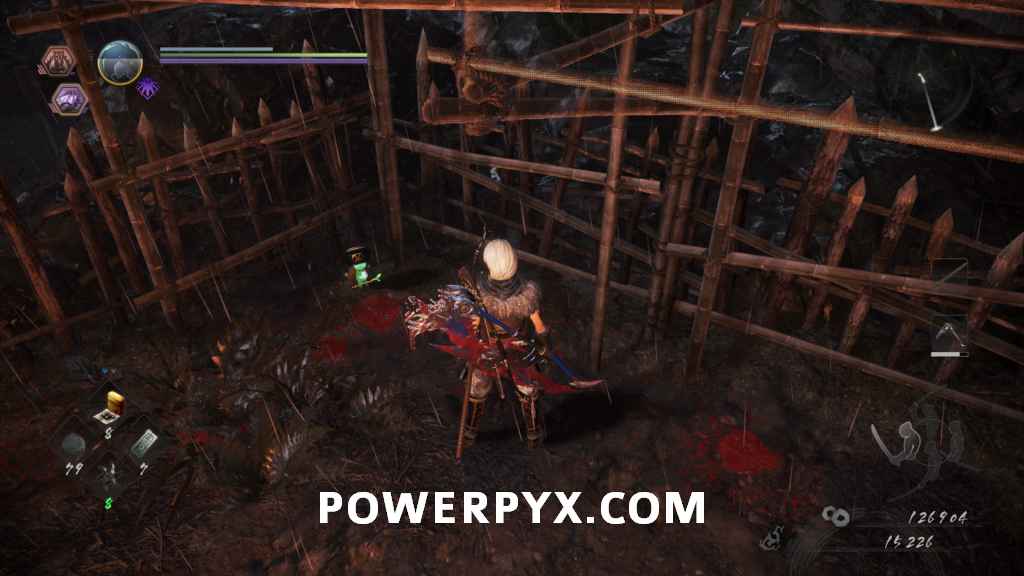
In this area first head to the right. There is one enemy in here you can kill, then also summon using the NPC Benevolent Grave if you wish. After that go all the way left, not going into the area behind the wood barriers and white flags yet as that’s the boss room. On the left there is one more enemy to kill, then under the scaffolding behind the breakable items is Kodama #7, the final one for this mission. After grabbing it you can now proceed to the boss room.
 |
 |
Imagawa Yoshimoto Boss Fight

Imagawa Yoshimoto is the first human boss in the game. You’ll find that human bosses are generally much easier than monsters, due to their limited reach, more predictable move sets, the ability to do death blows on them, and they usually don’t use Dark Realm phases. You can approach him like you would a normal non-boss enemy. You have plenty of space so just run to the left around him, or dodge backwards. When he misses an attack combo, you can attack. To keep things simple, do single high-stance  heavy attacks and whittle down his health one hit at a time. He doesn’t have much health nor does he deal much damage. Only when he summons his spirit animal you’ll want to run sideways so you don’t get hit by the lightning elemental.
This finishes The Hidden Monsters of Okehazama main mission in Nioh 2. Now the mission The Mysterious One Night Castle becomes available.
For all other Mission Walkthroughs, check out our complete Nioh 2 Walkthrough.
Leave a Reply