
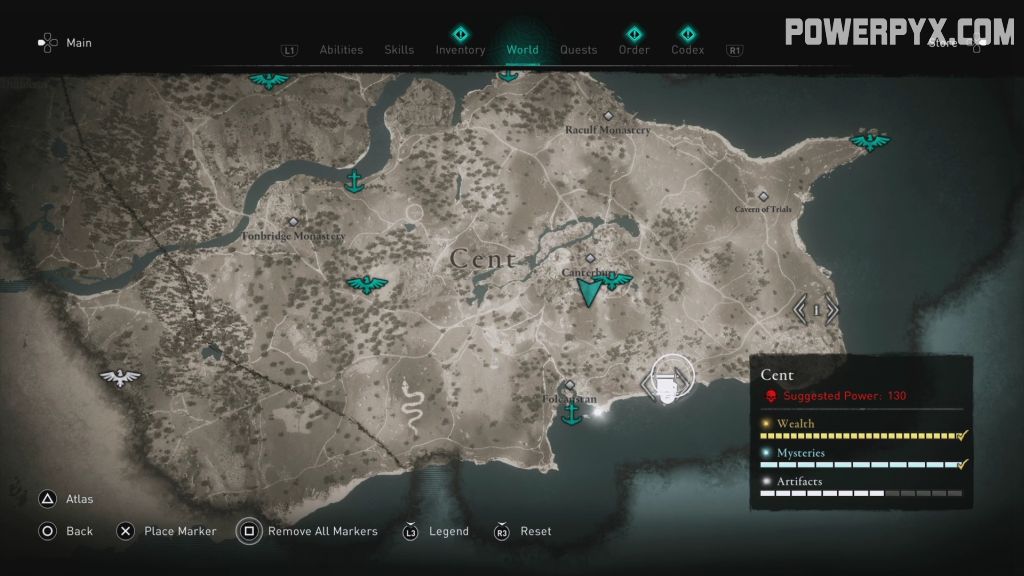
Cent contains 13 Artifact Locations in Assassin’s Creed Valhalla (ACV). This walkthrough will guide you to all Artifacts in Cent Territory and how to get them. None of the Artifacts are missable, you can still find everything in free-roam after the story. It’s recommended to collect everything as you go through the regions to level up.
Artifact Collectibles get marked by white icons on the world map automatically when synchronizing the viewpoints. They include the following types of collectibles: Rigsogur Fragments, Treasure Hoard Maps, Flying Papers, Roman Artifacts, Cursed Symbols. Finding all Artifacts is needed to 100% complete all Territories for the Completionist All the Way! trophy or achievement.
Also in this region:
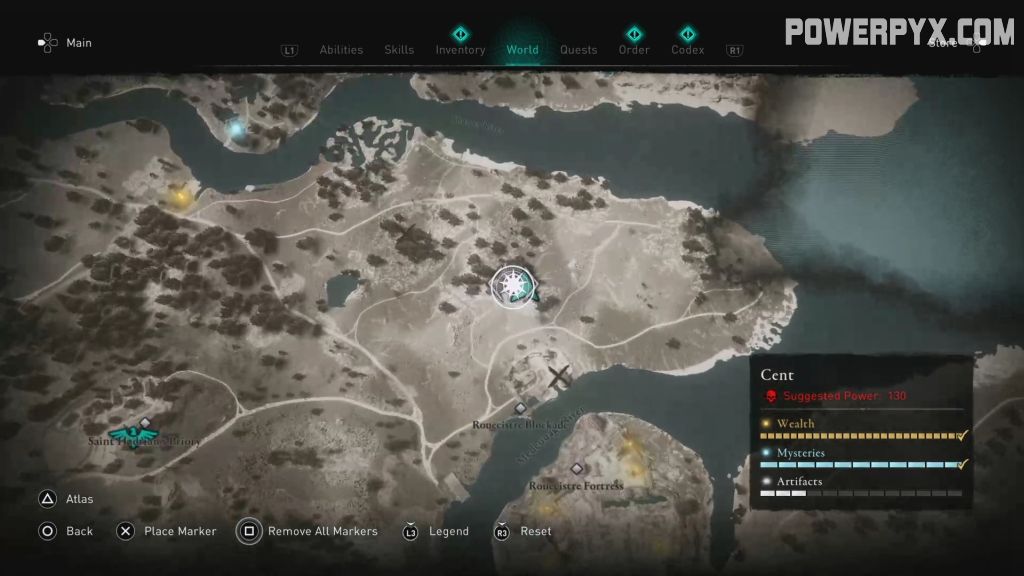
Artifact #1: Cursed Symbol

This cursed object can only be targeted when standing on the top of a nearby pole.


Artifact #2: Roman Artifact


This artifact is in the Lolingestone Bandit Camp. The door to this room is barred, so you will have to drop through a hole in the roof.


Artifact #3: Roman Artifact


This Roman artifact is on the top of a column in a ruin. You will have to move some stones to uncover it before collecting it.

Artifact #4: Cursed Symbol

This cursed symbol is on a wooden platform on top of a tree. Getting to a vantage point where you can get high enough to shoot it is a bit of a challenge. There are poles with ropes criss-crossing the area, but they all have sharpened spikes on the sides that prevent you from climbing them. The key are the shorter poles around the edge of the circle that are small enough to climb. The one that you’re looking for is to the east of the circle. Climb up and walk along the rope.


Go through the tree branches onto another rope, then continue over another branch until you reach a large tree than you have to climb through. Go straight through onto another branch until you can hop to the top of another pole.


Follow the rope to the north, then transfer to the rope heading east.


When you’re about halfway to the end of the rope, jump down to a rope below you that is heading south. Follow that rope, then transfer to the rope heading south.


This rope will end at a pole. Climb to the top of the pole and turn around. You will just barely be able to shoot the skull from here.


Artifact #5: Flying Paper


This flying paper starts on a zip line above Saint Martin’s Church in Cantebury. Simply approach and follow it until you can pick it up with :tr:. As always, never give up when following one of these papers because unlike previous Assassin’s Creed games, at the end of its route the paper will stop and stay catchable for several seconds. As long as you’re still traveling in the right direction you should be able to catch the paper every time.


Artifact #6: Roman Artifact
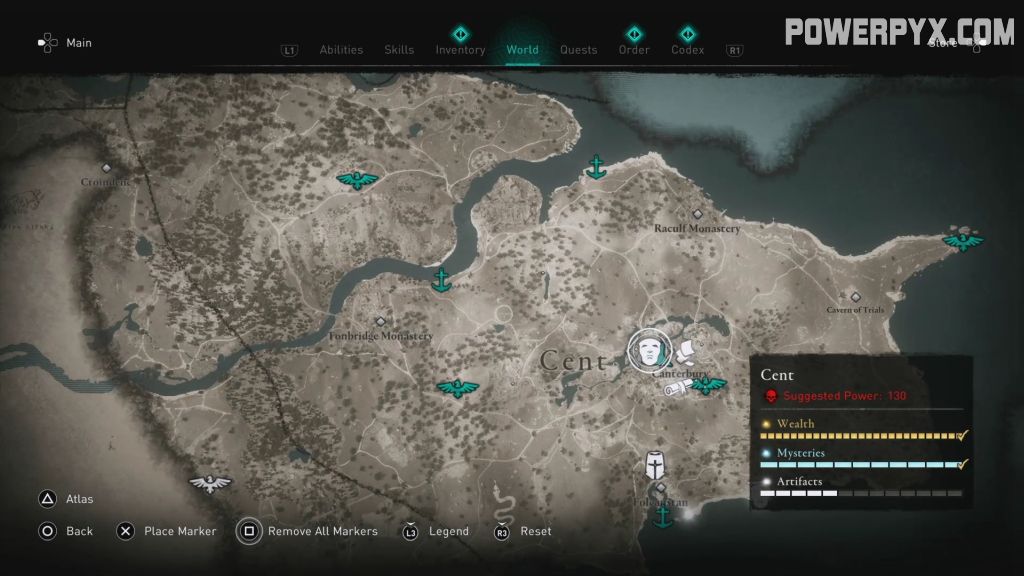

This Roman artifact is very near the location of Wealth #23 under Dorobernia Theater in Cantebury.

Artifact #7: Flying Papers


Begin chasing these flying papers at the top of a pole near a hut in Cantebury.

Artifact #8: Rigsogur Fragment

This artifact is in the Cantebury Seminary. Inside the building, climb up to a second floor where you’ll find it on a table.


Artifact #9: Roman Artifact

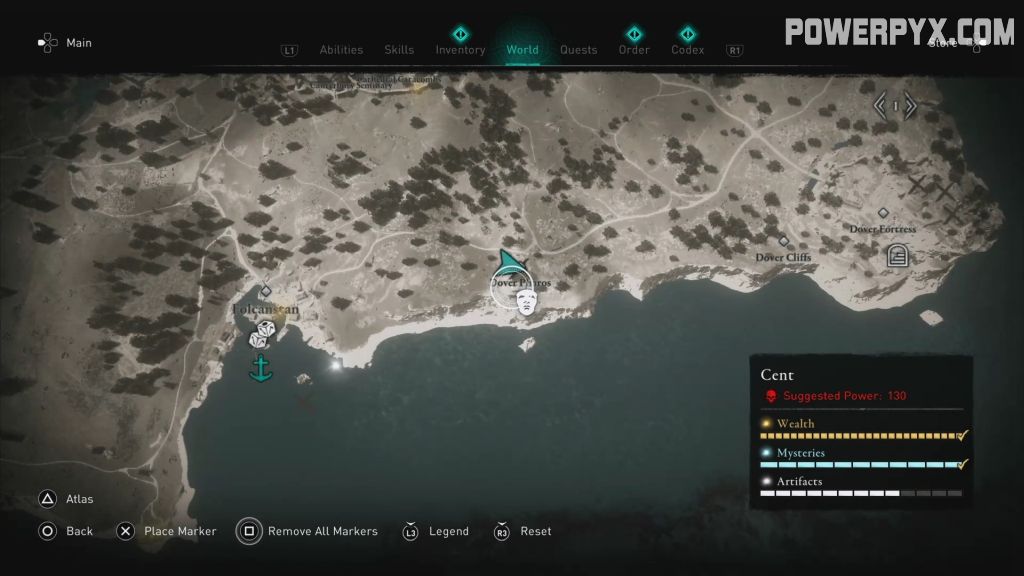
This artifact is in a room with a barred door in Dover Pharos. Shoot the lock through the broken window on the other side of the building, then go inside to get the artifact.


Artifact #10: Treasure Hoard Map

This treasure hoard map is in the same location as the last artifact, near the top of the Dover Pharos tower.

Artifact #11: Flying Pages


Simply approach and follow it until you can pick it up with :tr:. As always, never give up when following one of these papers because unlike previous Assassin’s Creed games, at the end of its route the paper will stop and stay catchable for several seconds. As long as you’re still traveling in the right direction you should be able to catch the paper every time. The only difference with this paper is that it ends underwater. You will have to dive in to collect it.


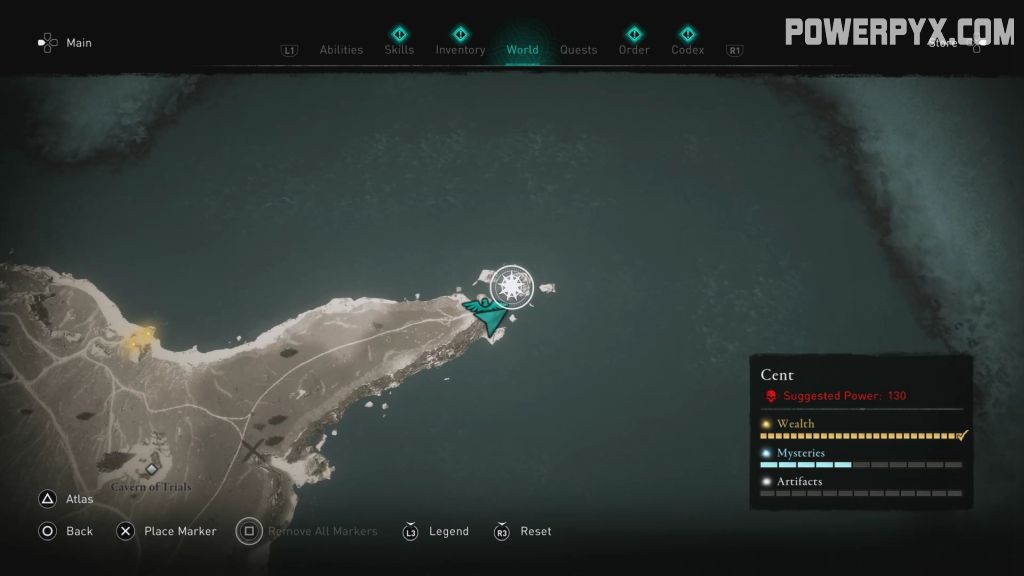
Artifact #12: Cursed Symbol


Grab a fire pot from the ground nearby, and walk up the tree that is sloped at an angle towards the symbol. Toss the pot at the center of the altar to destroy it. If the first pot only destroys the rubble covering it, grab another pot and repeat.


Artifact #13: Cursed Symbol


Climb up on top of one of the tall stones to be able to destroy the symbol on top of this tree. If you’re having trouble hitting it, use an incendiary arrow (needs Ability #27: Incendiary Powder Trap).

That’s 100% of the Artifacts you can find in Cent Region of Assassin’s Creed Valhalla (ACV).
For all other Artifacts check out the complete Assassin’s Creed Valhalla Artifacts Guide. For the other Collectibles in this region check out the Wealth Guide and Mysteries Guide.
Steven says
The first one on the list, if you just throw a torch over the top of the red light and use the planks as a backboard while standing right in front of it works.
Vincent Peskens says
I find Them all , but in the checklist right under in world map is showing that i miss one.
Is this a bug and how to fix ?