
Certain enemies in Assassin’s Creed Valhalla (ACV) have unbreakable metal shields. Usually bosses, Zealots, and some Order Members.
First, let’s quickly talk about enemies with breakable wooden shields. Those are easily destroyed with heavy attacks (press R2/RT), or by holding the block button to do a powerful combo (hold L1/LB). Generally these enemies are not a problem at all. For example, using dual-wielding axes heavy attacks (R2/RT) will break wooden shields in 1-2 hits.
The real trouble are enemies who constantly hide behind superior shields.
Here are some tips to defeat enemies with unbreakable metal shields:
- Parry their incoming attacks (tap L1/LB to parry). You can parry with any weapon or shield. You don’t need to have a shield equipped to perform parries. It’s all about getting the timing right, you need to do the parry just as the enemy’s attack hits. This will give you an opening to counter-attack. Hit them with one combo. Then they will shield themselves again. Perilous Attacks (Red Rune Attacks) cannot be parried or blocked and must instead be dodged. Rinse and repeat. Parry > Counter-Attack > Repeat.
- Unlock the skill “Brush With Death” (yellow skill tree). When you dodge an attack last second it makes the enemies slow down while you remain at full speed. This gives you an opening to get behind shielded enemies and land a combo on them.

- Unlock the skill “Counter Roll” (yellow skill tree). It lets you vault over enemies when they use red rune attacks to get behind them. Then you can attack them freely from behind and land a big combo.

- Use Abilities – for example Fire Strike (you get this from defeating a few Order of the Ancients Members and bringing their Medallions to Hytham at the Hidden Ones Bureau). When shielded enemies are on fire they will try to put out the fire which causes them to stop blocking with their shield. Then they are defenseless targets! Paired with dual-wielding daggers the fire status will build up very quickly.

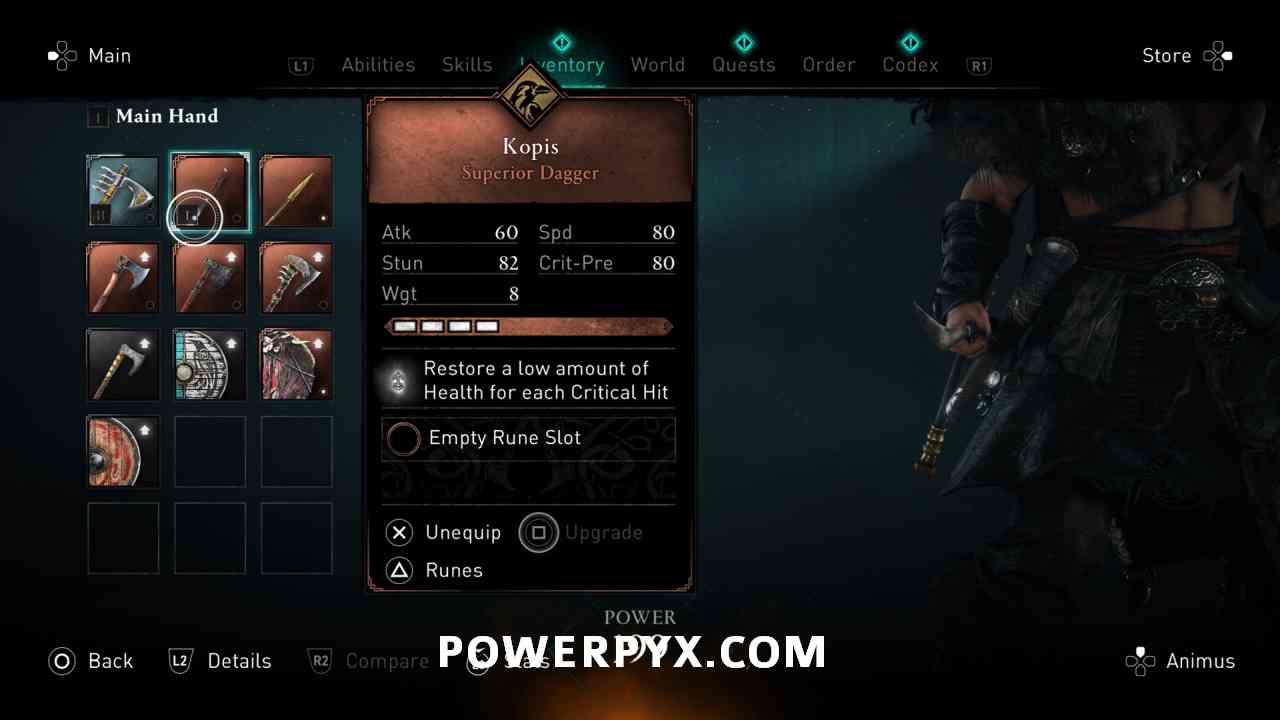
- After a parry, stunlock them with quick dagger attacks (R1/RB). While daggers require you to be very close to enemies, they have the highest damage output in the game. When you smash R1/RB enemies get stunlocked and cannot move at all. Plus, the quick hit dagger combo does a ton of damage. For example, one dagger (called “Kopis”) is unlocked automatically in a late-game main quest and more can be bought from your settlement’s merchant or found in Gear Chests. But you might also find daggers from Wealth Chests or at Merchants. Try to have a weapon of each type so you can experiment what works best for you. Daggers are especially powerful when combined with Poison or Fire and the Skill “Grit” (blue skill tree).

- Use an ability that damages enemies over time. Poison or Fire is really good for this. You gain the Poison & Fire Abilities for turning in 4 Order of the Ancient Members medals to the Bureau of the Hidden Ones at your settlement in England (Ravensthorpe). An easy way to poison shielded enemies is to headshot them with a bow (Light Bow preferred as it has more arrows). Another tip: The skill “Grit” from blue skill tree (image below) returns the health you lost on the last hit, when you counter-attack quickly enough. This passive skill is always on. Because the poison / fire automatically damages the enemy over time, you instantly have your health returned to you after you get hit! This makes you basically undefeatable while poison is active. Just make sure to always re-apply poison to the shielded enemy. The more hits you get on the enemy with poison / fire, the more the effect will build up and the longer it will last. Unlocking more Adrenalin slots via the skill tree helps to recast your abilities.

- Shoot the shielded enemy’s weakspot (usually legs or arms). When aiming with a bow the weakspot glows orange. Light Bow is preferred because it has the most arrows and is fastest to shoot. You will likely run out of arrows though (remember you can also upgrade your quiver in the inventory menu to carry more arrows).
- If the shielded enemy is at a raidable location near water, you can open the item wheel (hold Dpad Down) and call your Jomsvikings to start a Raid. Then they can help you slay the enemy. Only works in specific locations that can be raided.
- Look out for nearby food. If you run out of rations and get low on health, there may be some bushes with berries or some mushrooms nearby to regain health.


For more guides check out the complete Assassin’s Creed Valhalla Wiki & Strategy Guide.
Craig says
All the ones involving “just hit the enemy” such as using fire, poison, or the bow are almost entirely useless because the enemy having an unbreakable shield almost always precludes any of these from being available. Headshots are possible, but very difficult because most of their head is hidden. If they’re moving then their head is moving too and the tiny bit of head that is exposed is hard to track. The same is true for weak spots. They’re usually behind the shield and only occasionally are tiny bits exposed.
“Attack while they’re on fire” only works if you have arrows, otherwise you’re also on fire.
Zealots with shields are also not susceptible to stealth attacks because stealth attacks are not available when targeting a zealot. For them, timed attacks are one of the only options. Boxing and partying are tricky because they usually have multiple attacks and seldom get stunned in response to a successful parry, even when they’re easy below the player’s power level. If tuned carefully, it is possible to get in a heavy attack as they’re coming in for a perilous attack because they’ll move their shield aside. The other time they drop their guard is when they’re healing. If you can stay close enough you can not only hit them, but if you got them early enough they drop the healing draught and don’t heal.
Non-zealots are usually a bit easier. But mostly because they have way less health and don’t have access to an infinite number of if healing draughts.