
There are 10 Battle Challenges in Crimson Desert. They are part of the Combat Category. Finishing all Battle Challenges unlocks the Battlefield Conqueror trophy & achievement.
Challenges Overview:
Challenge 1: Slam Master
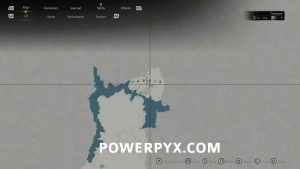
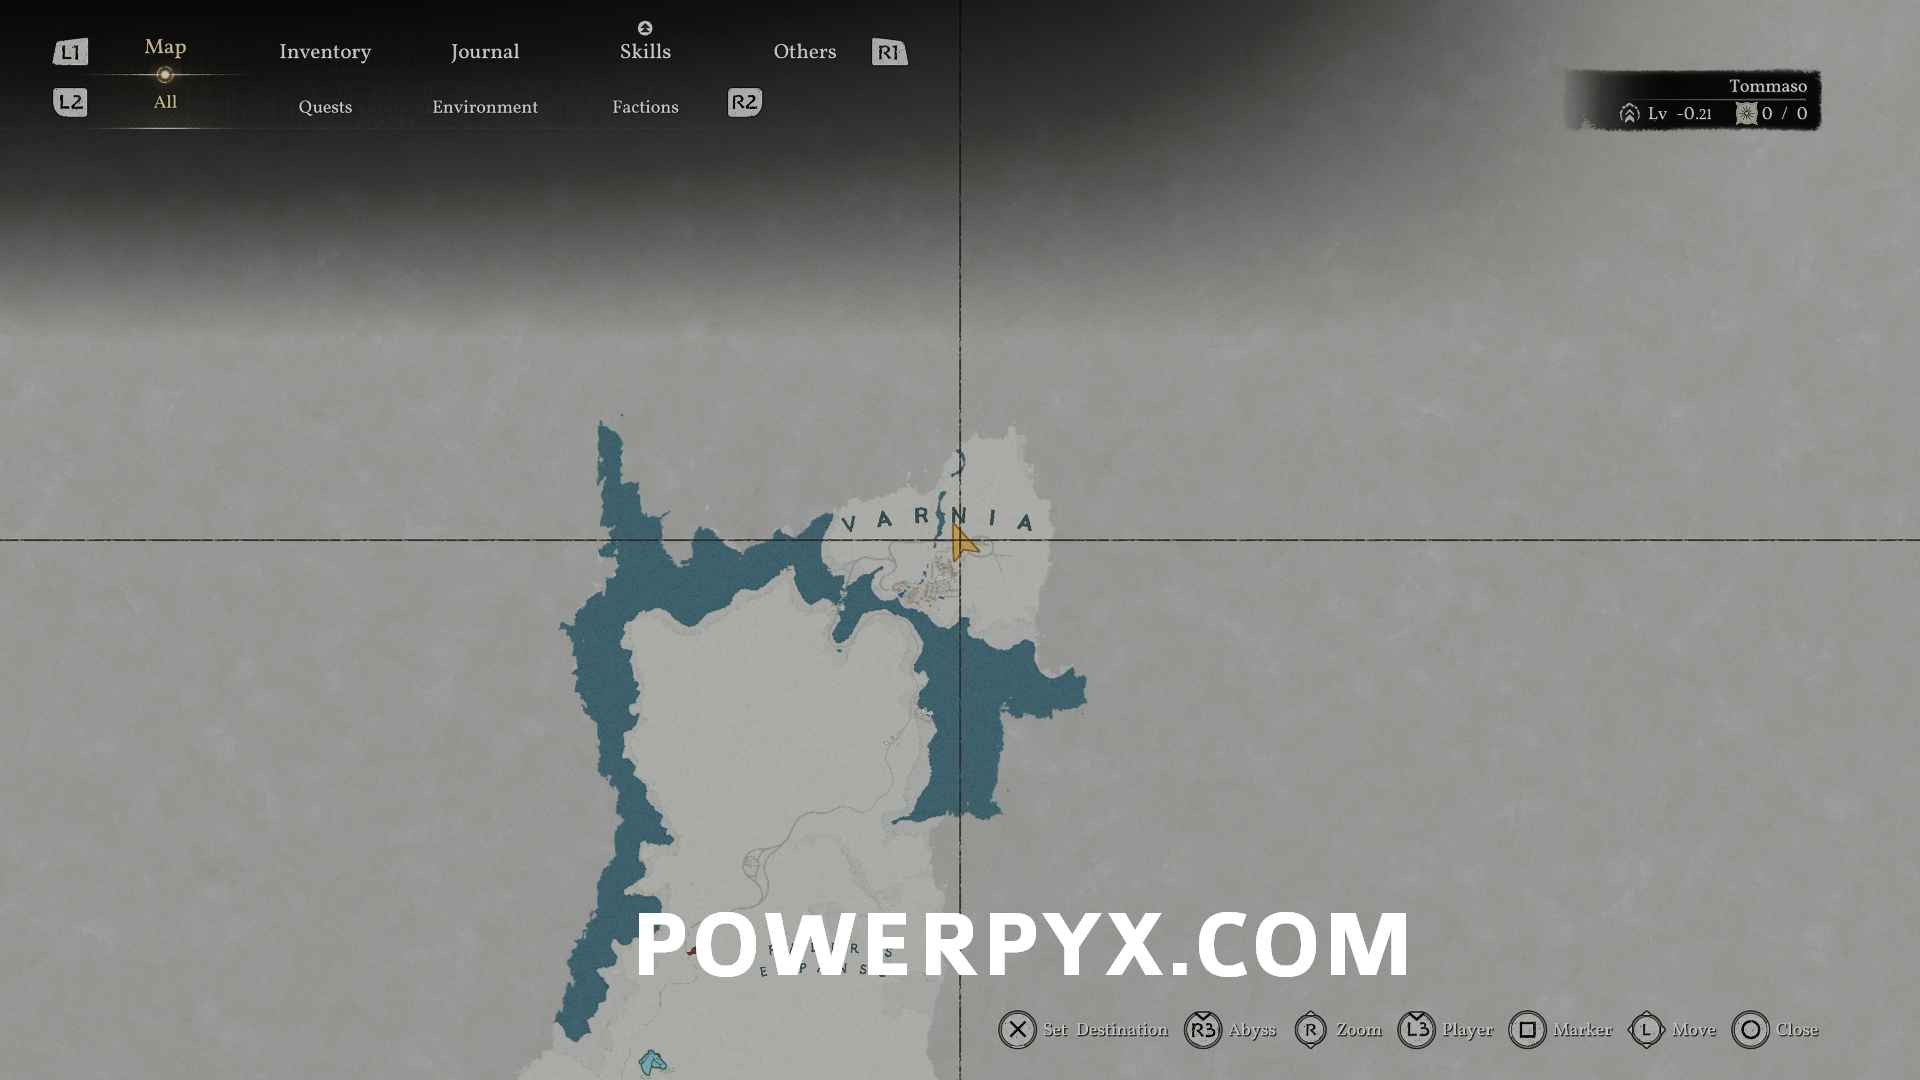
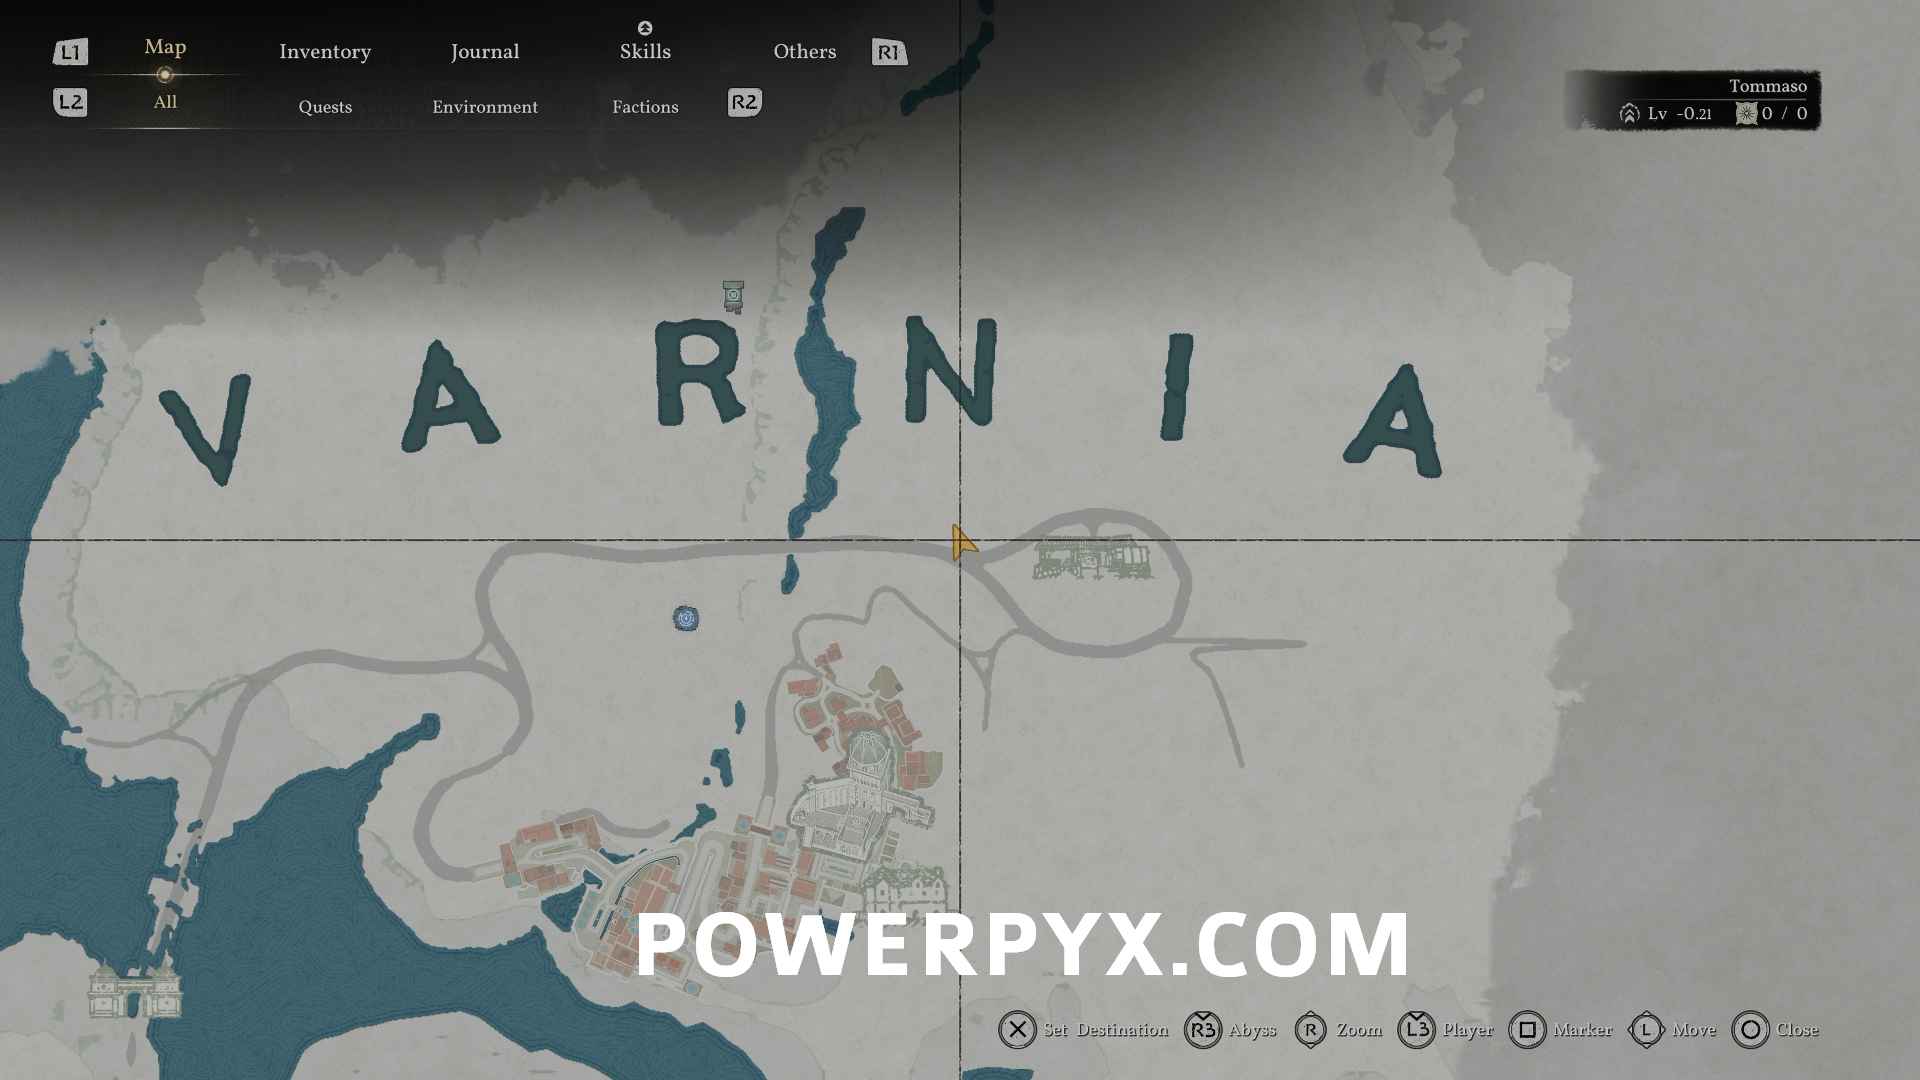
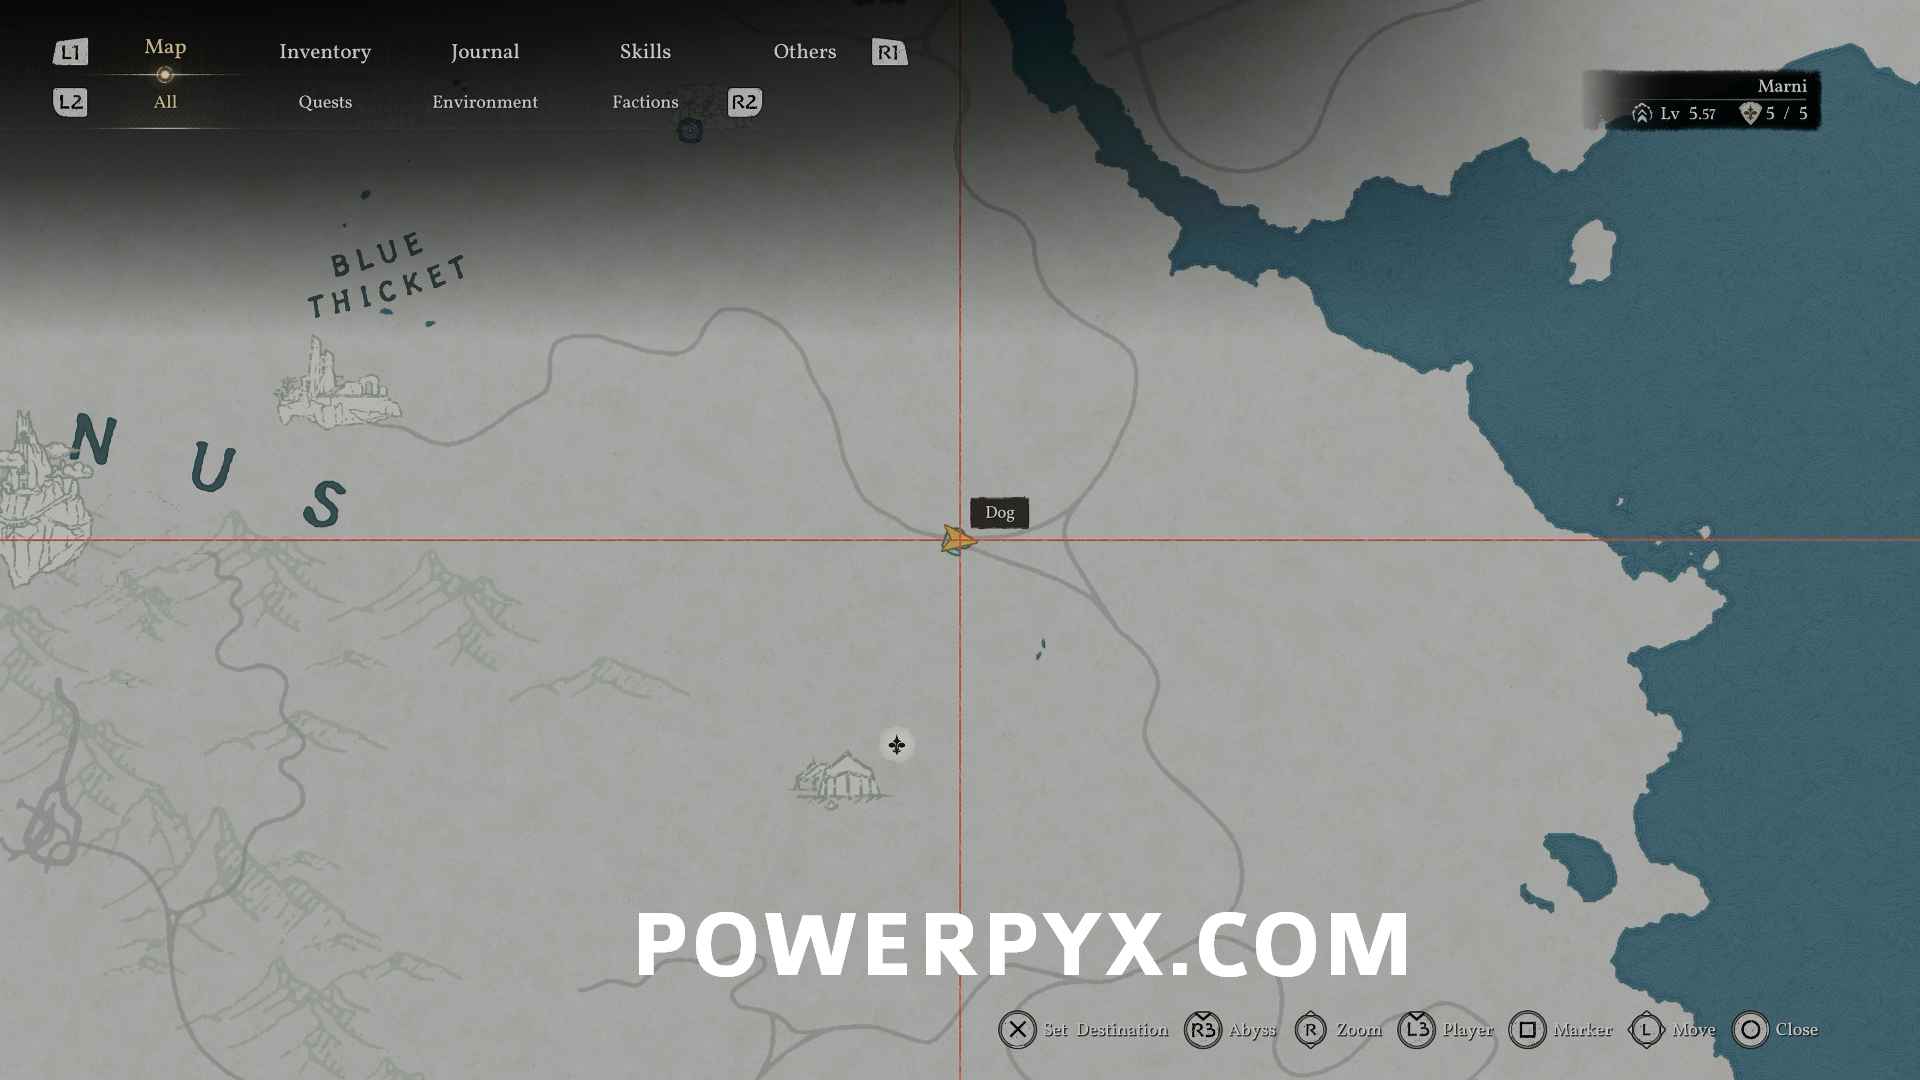
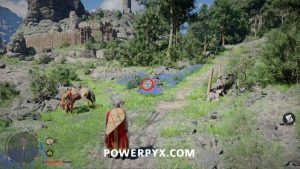
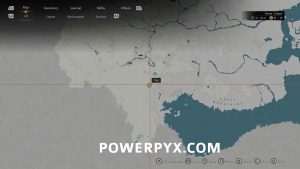
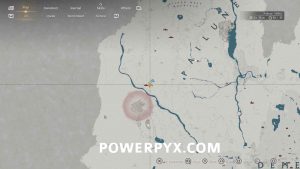
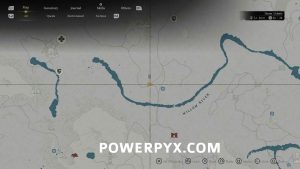
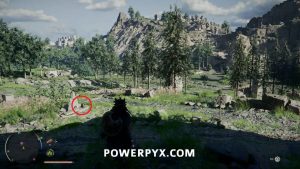
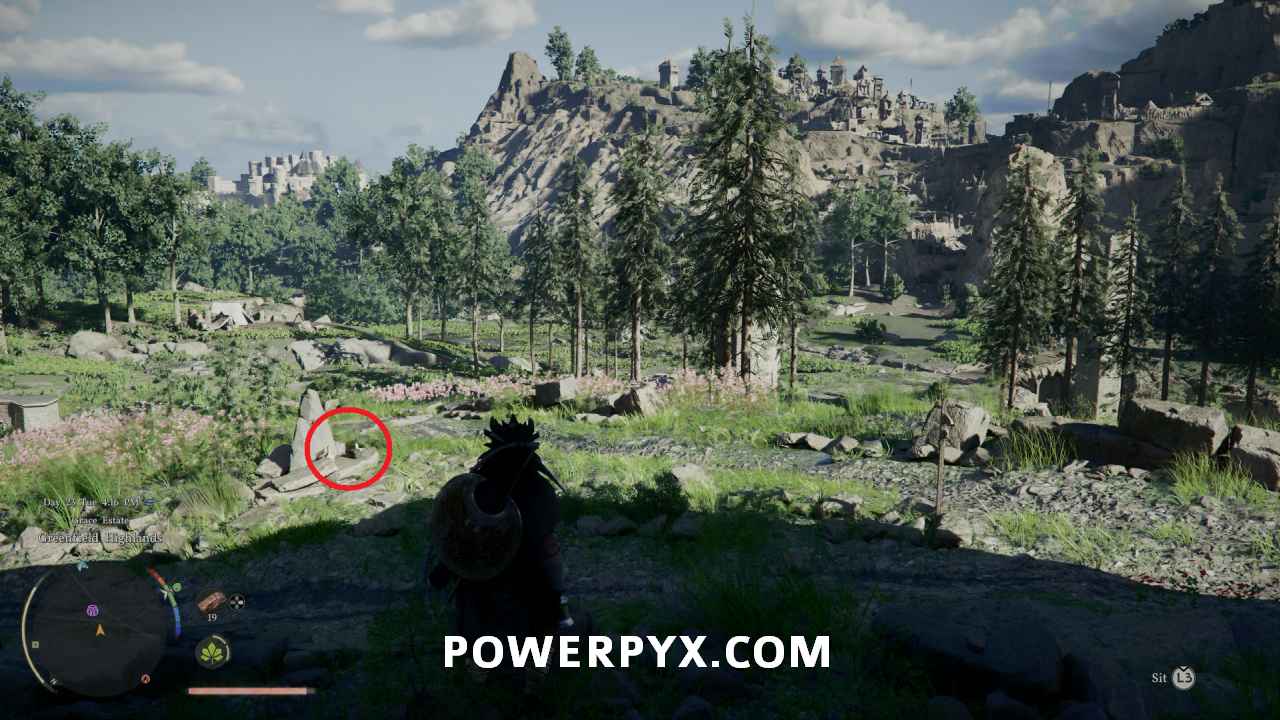
- How to Unlock: Pick up Sealed Abyss Artifact in Varnia (north Crimson Desert) at the intersection immediately west of Varnia Trading Post.

- Challenge: Hit enemies 30 times with Meteor Kick within 3 minutes.
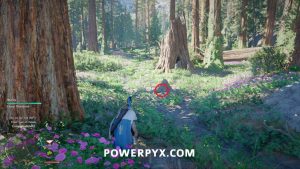
- How to Complete: Meteor Kick is the attack that can be unlocked at level 5 in Kliff’s Unarmed Combat node, or learned from an enemy. It is performed by being in the air (like jumping and using mid-air Force Palm
 ), then holding
  to slam into the ground. Hit enemies a total of 30 times in 3 minutes while doing this to complete the challenge.
 - Reward: 1x Abyss Artifact, 1x Swift II

Challenge 2: Flash
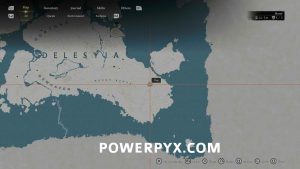
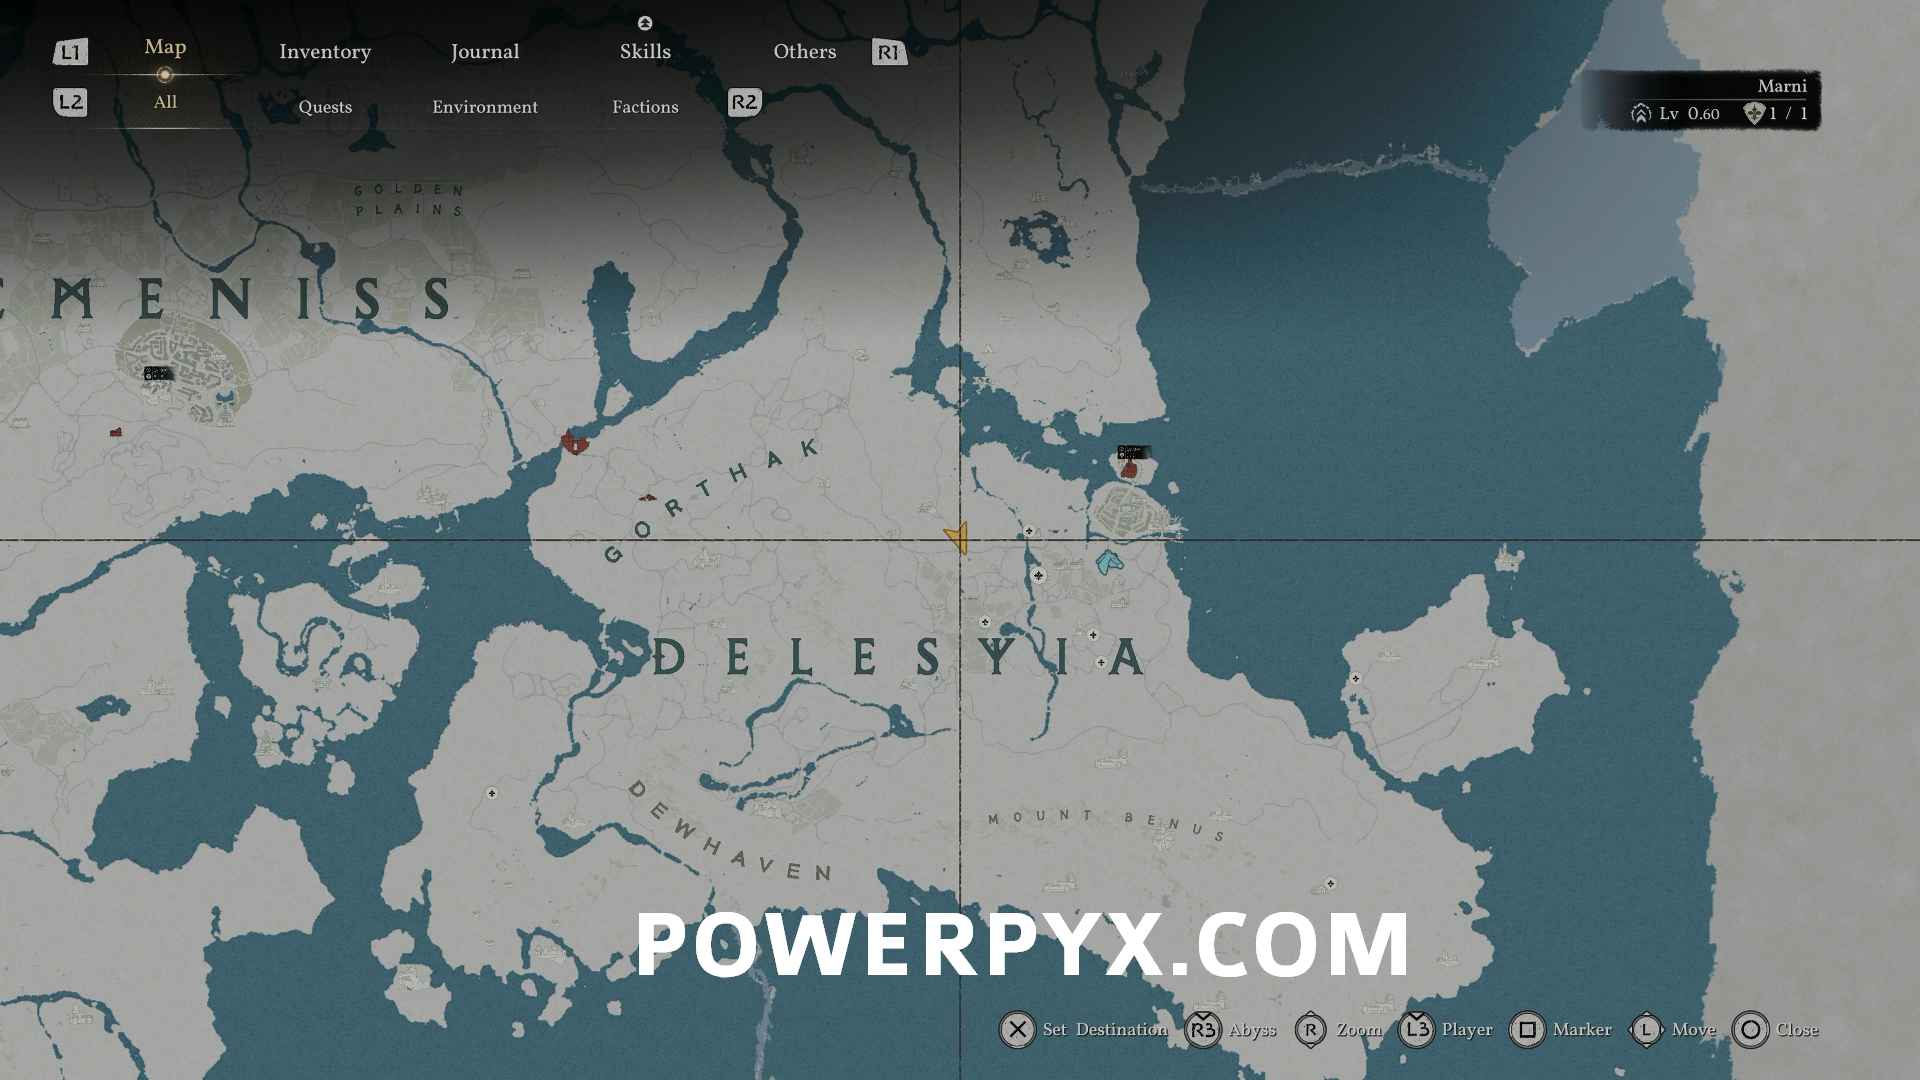
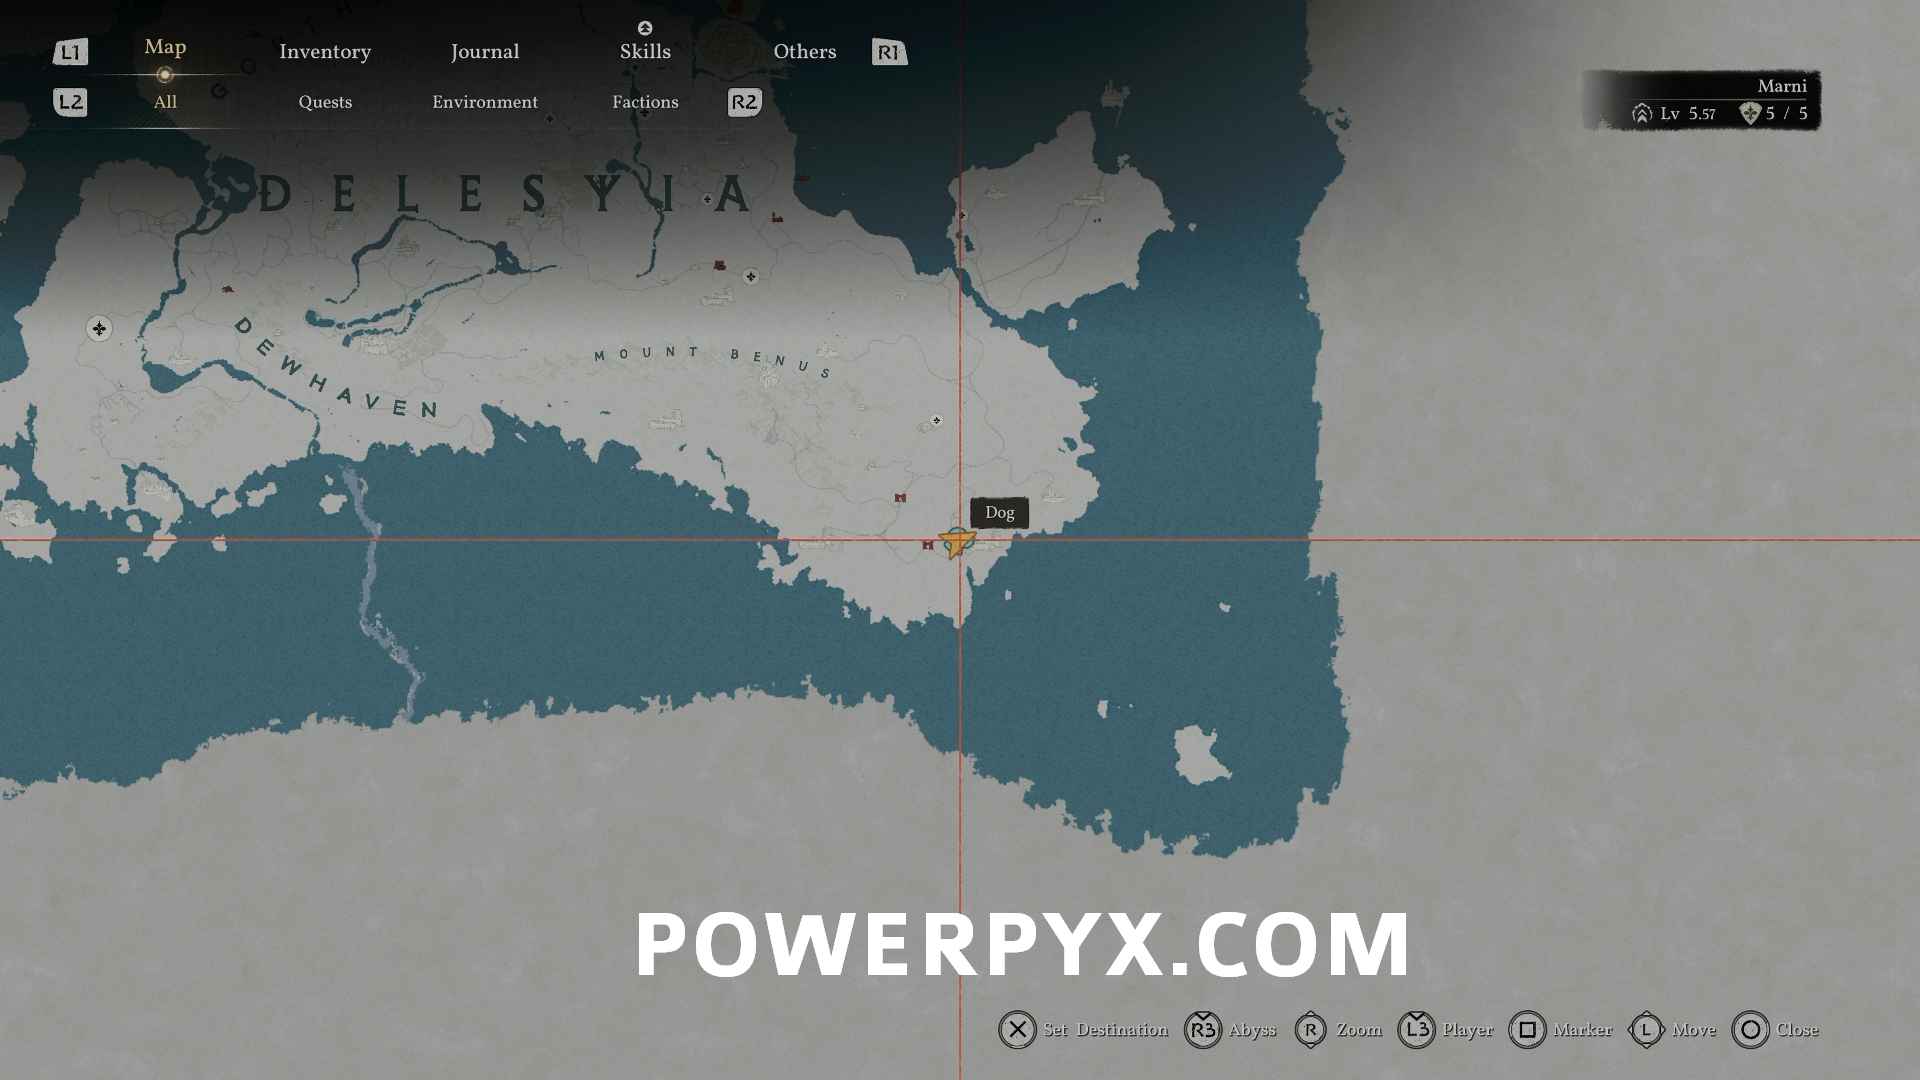
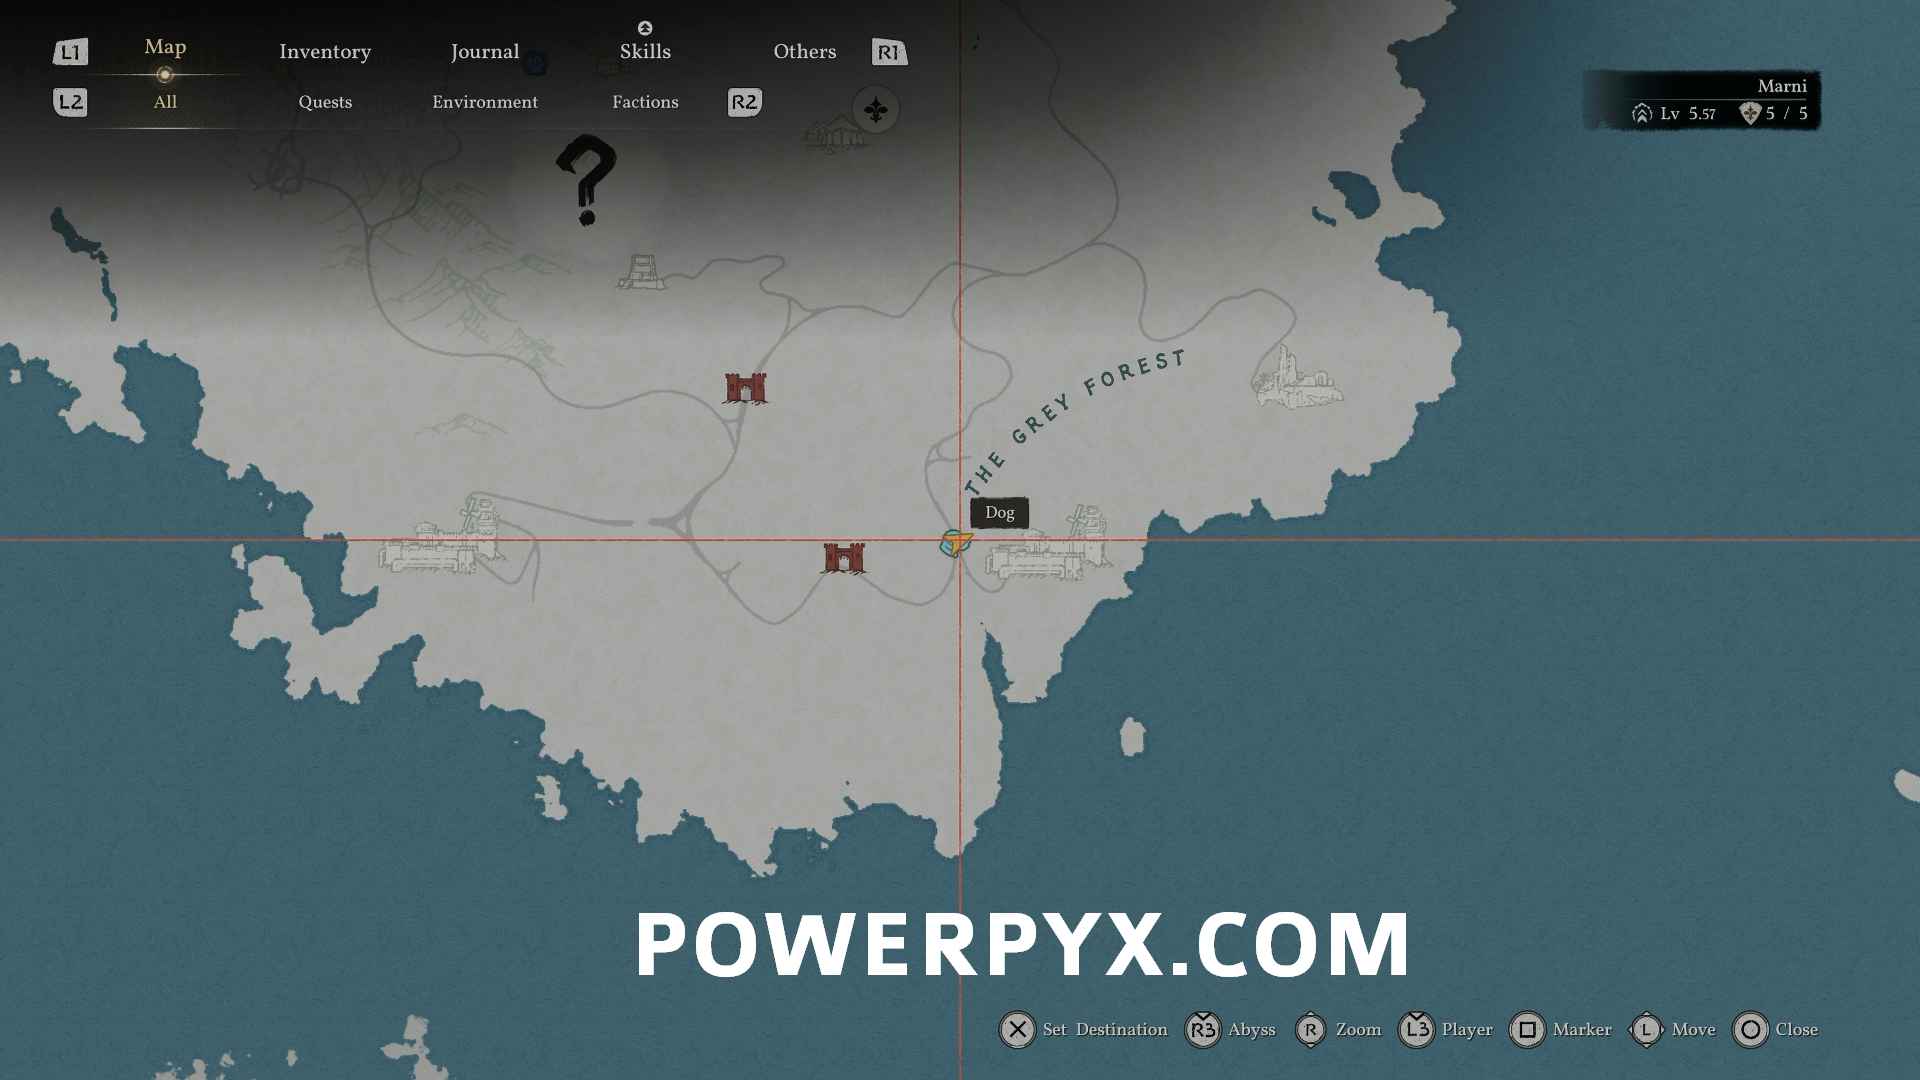
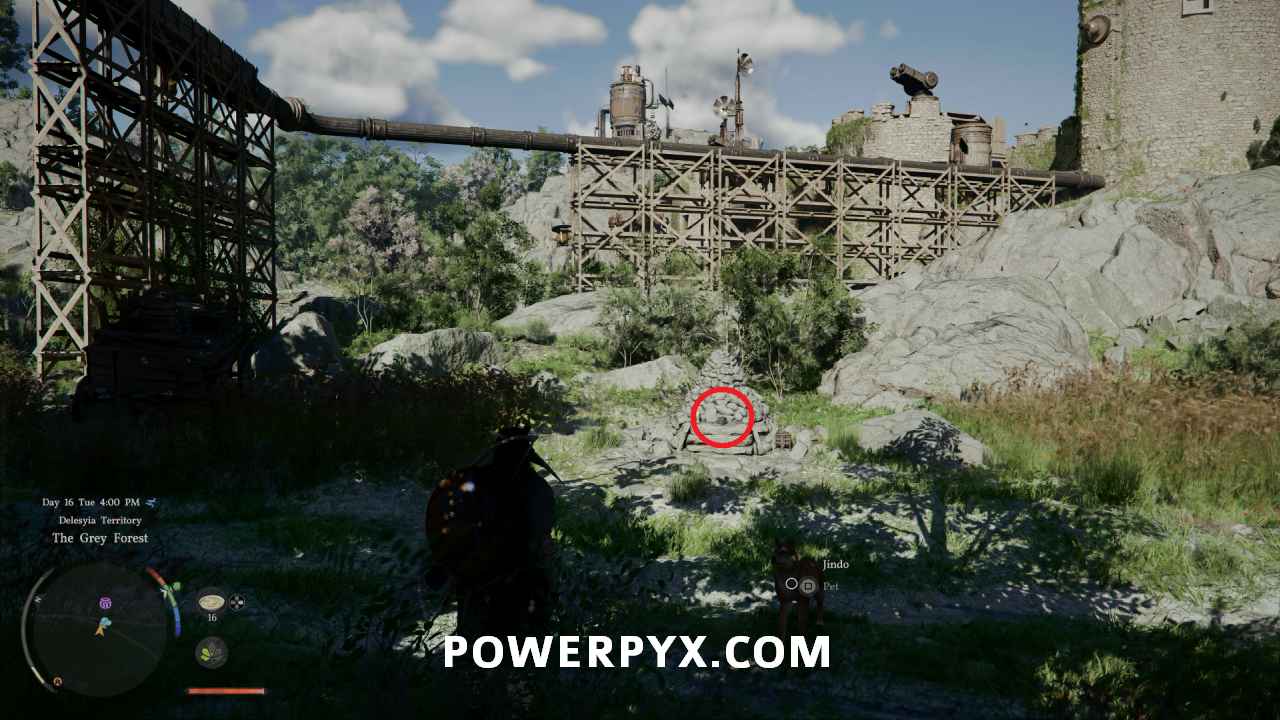
- How to Unlock: Pick up Sealed Abyss Artifact in Delesyia, at the intersection east of Sanctum of Veneration.
- Challenge: Hit 5 targets at once with Blinding Flash.
- How to Complete: Blinding Flash
 +
+  can also be used to temporarily blind enemies, opening them up for attack. Group up 5 enemies in front of you, then use Blinding Flash to hit them all at once to complete.
 - Reward: 1x Abyss Artifact, 1x Aptitude

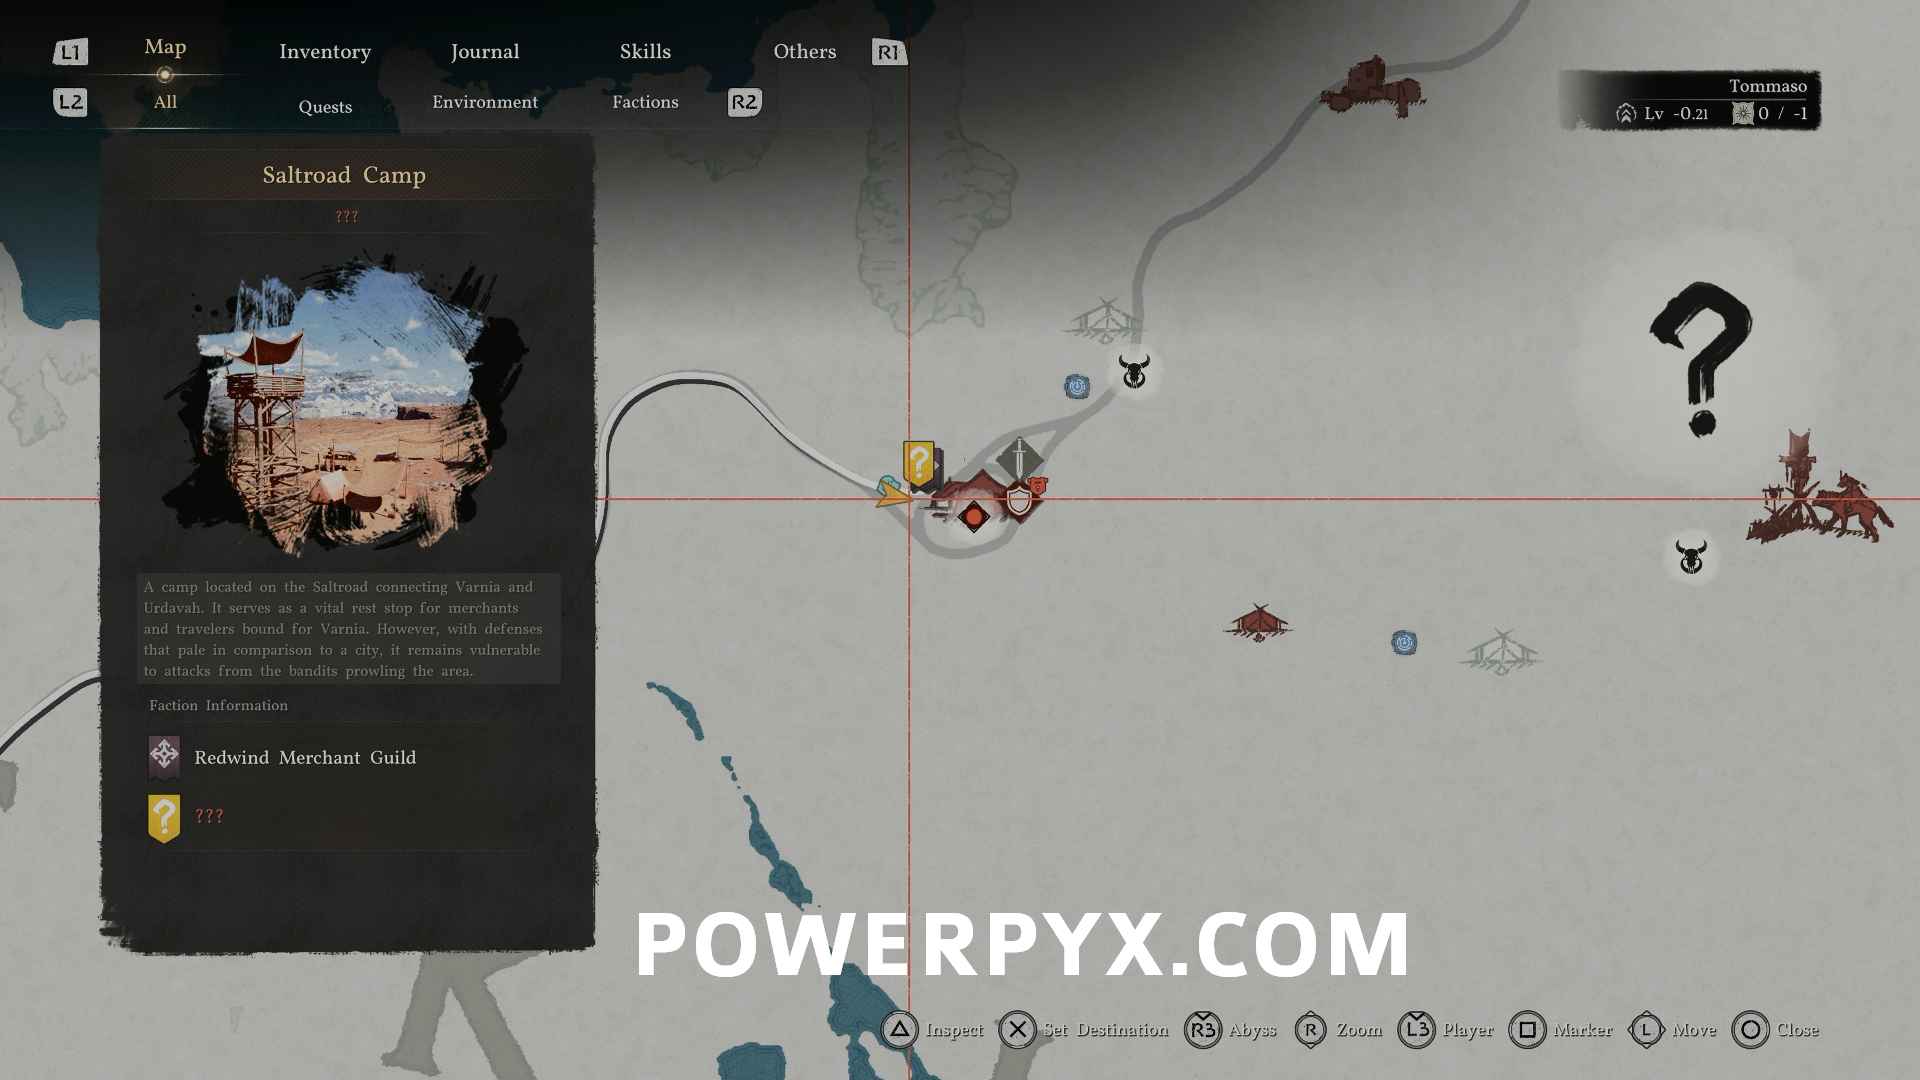
Challenge 3: Seven Consecutive Strikes
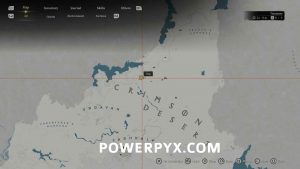
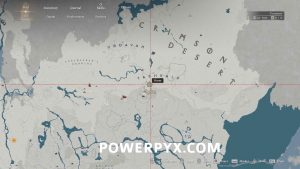
- How to Unlock: Pick up Sealed Abyss Artifact in Crimson Desert, at intersection immediately west of Saltroad Camp.
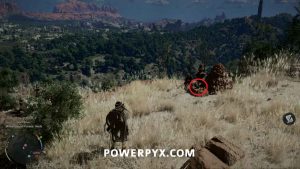
- Challenge: Hit enemies 9 times within 5 seconds with Force Palm.
- How to Complete: As stated you need to hit enemies 9 times within 5 seconds using the Force Palm move. This counts multiple times off of one hit, if you either hit multiple enemies or hit a larger enemy in multiple spots, so you can just spam the move against a group of enemies or a big one and should reach the 9 hits fairly easily.
- Reward: 1x Abyss Artifact, 1x Faded Abyss Artifact, 1x Composure II
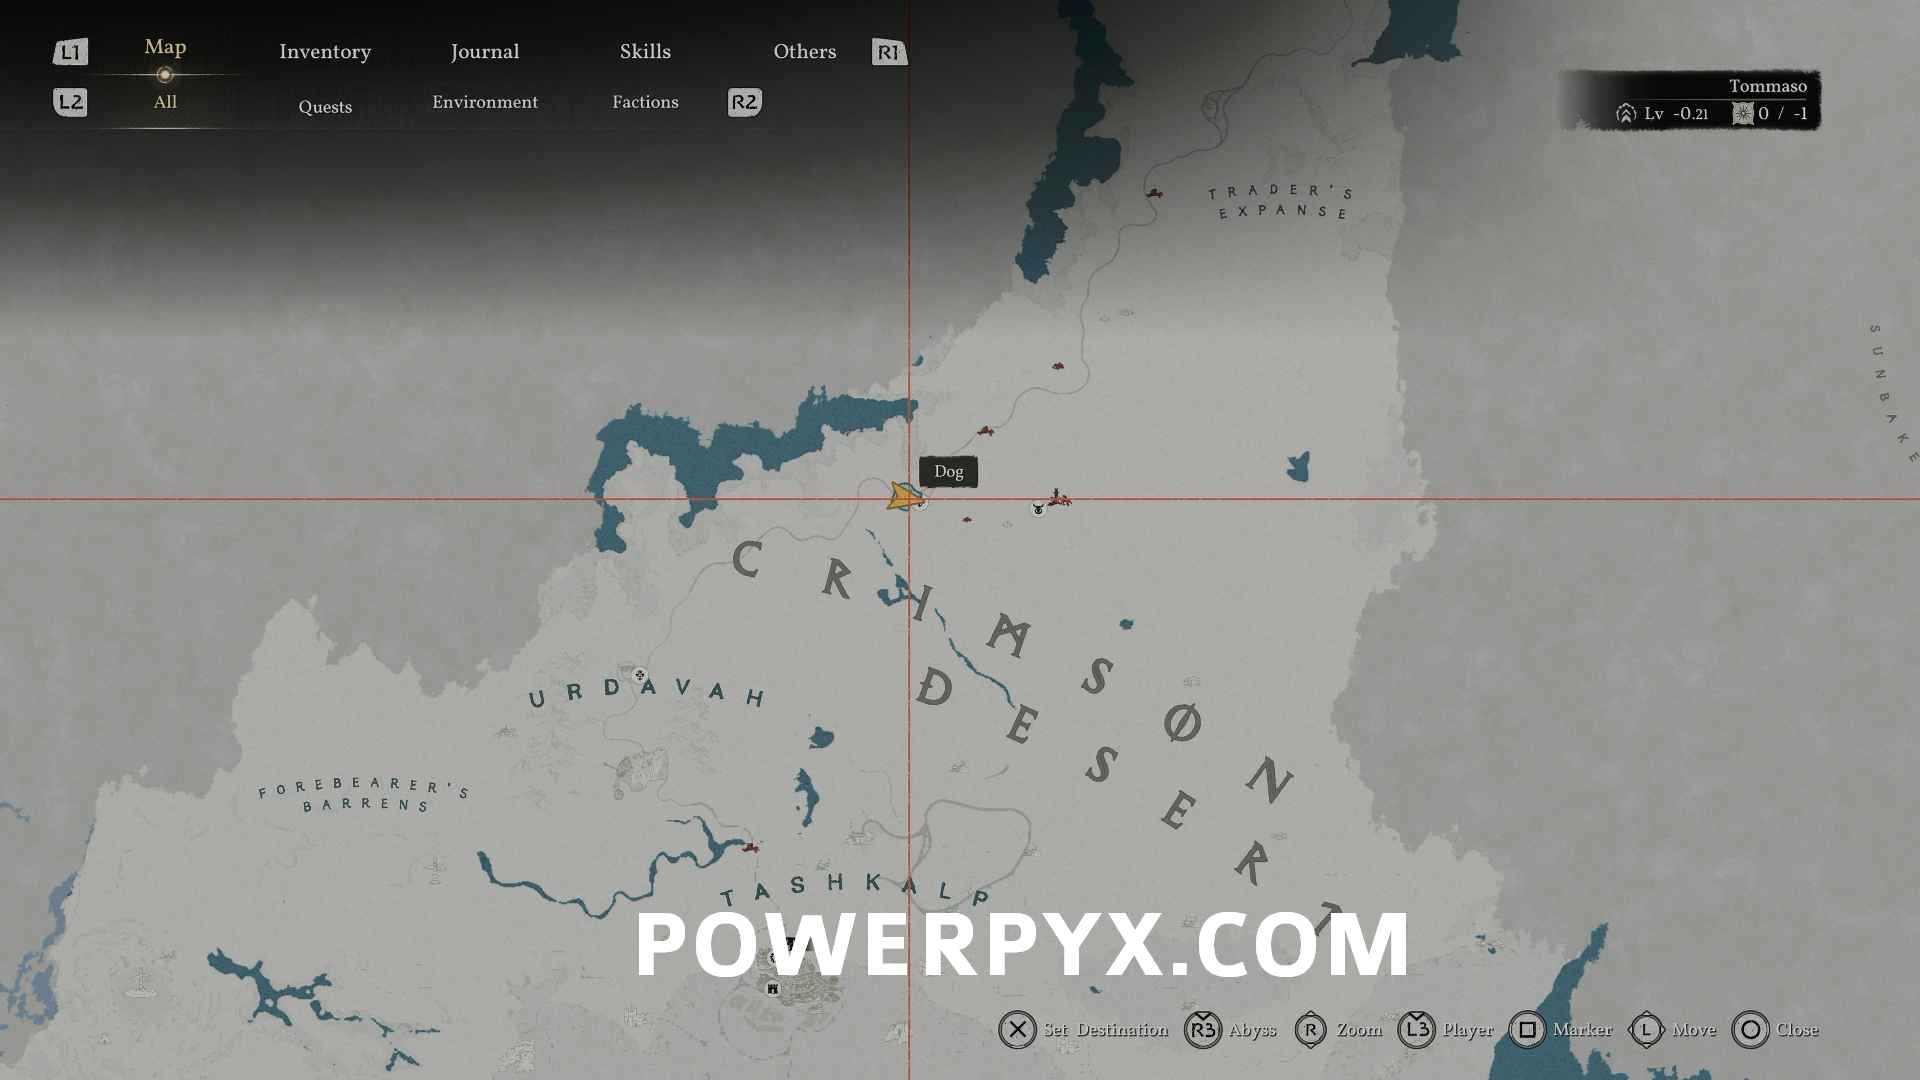

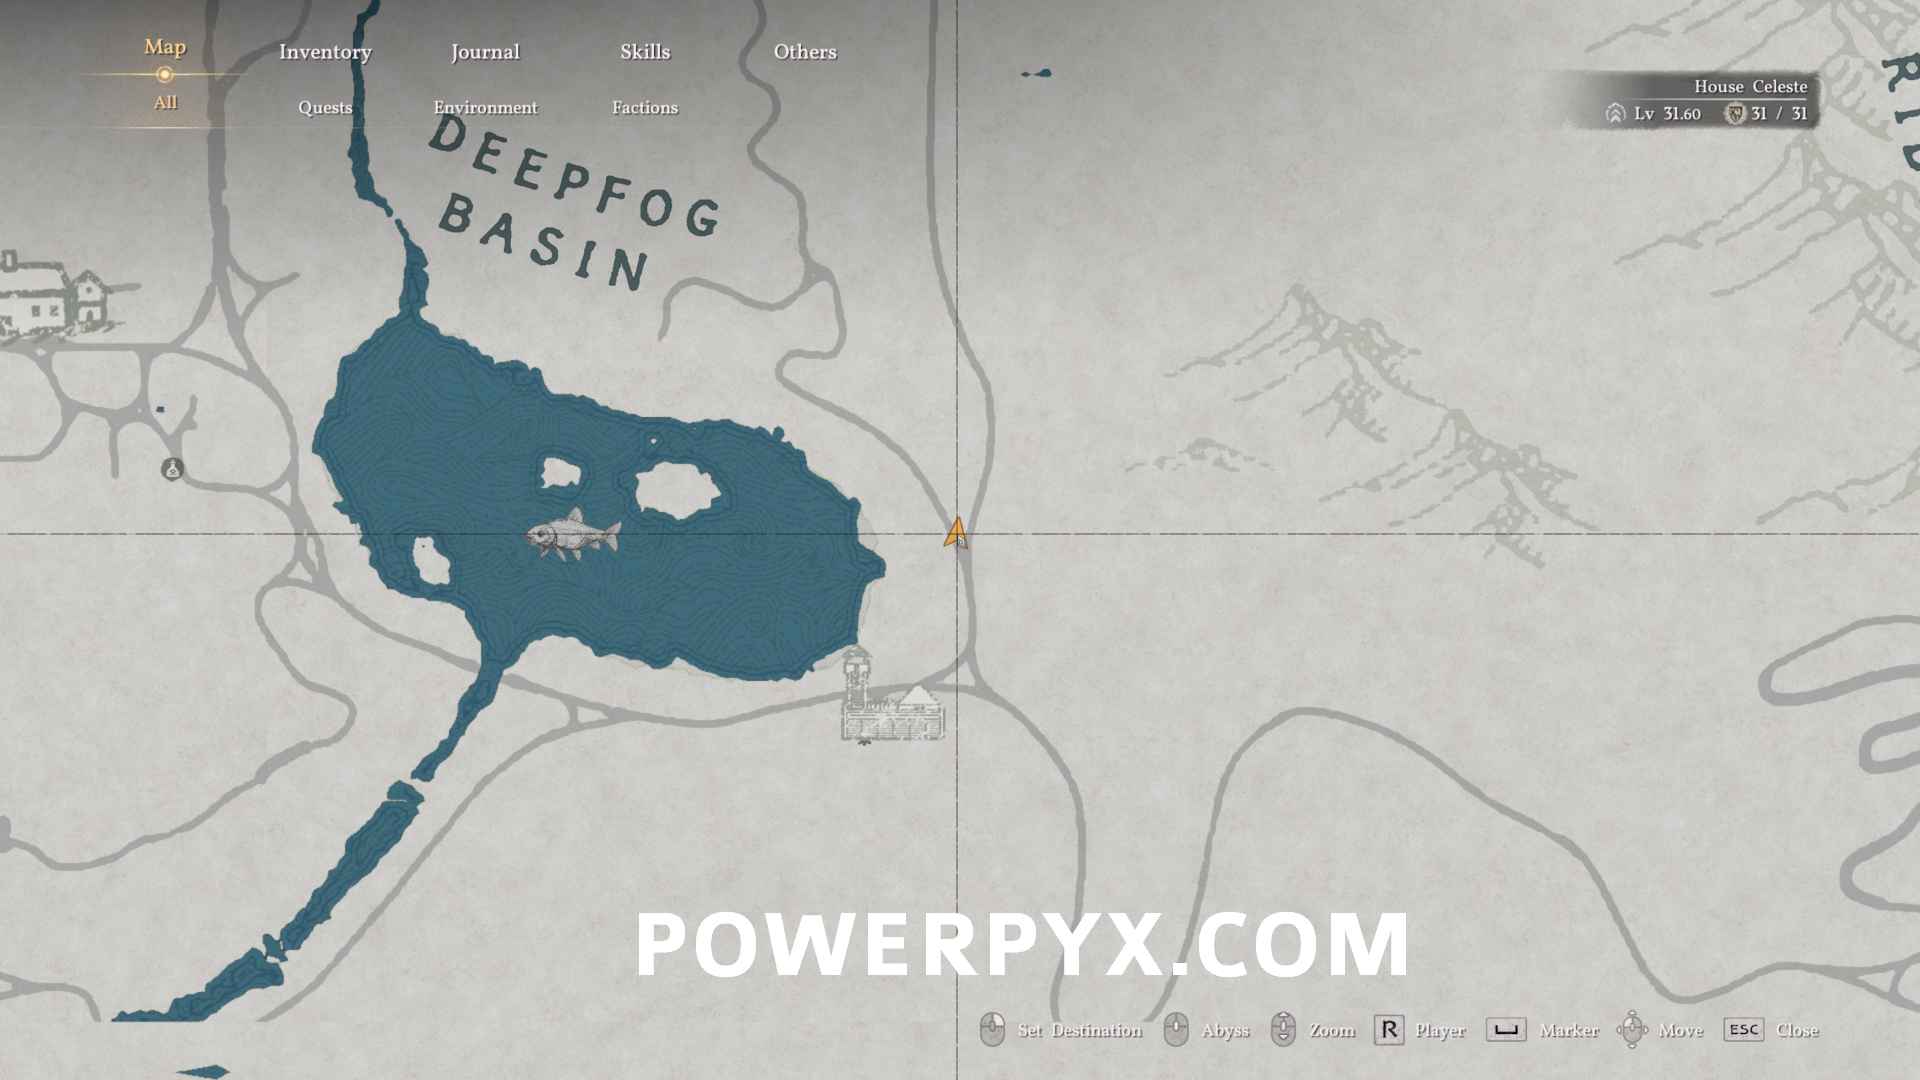
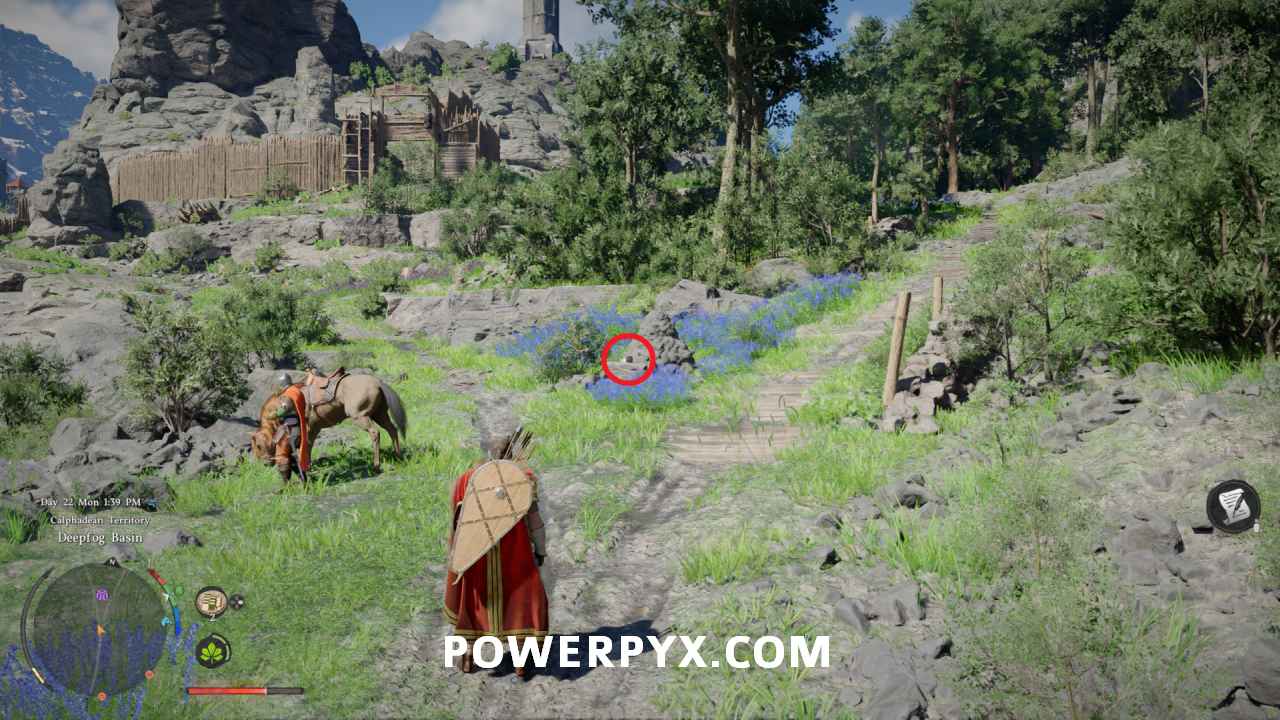
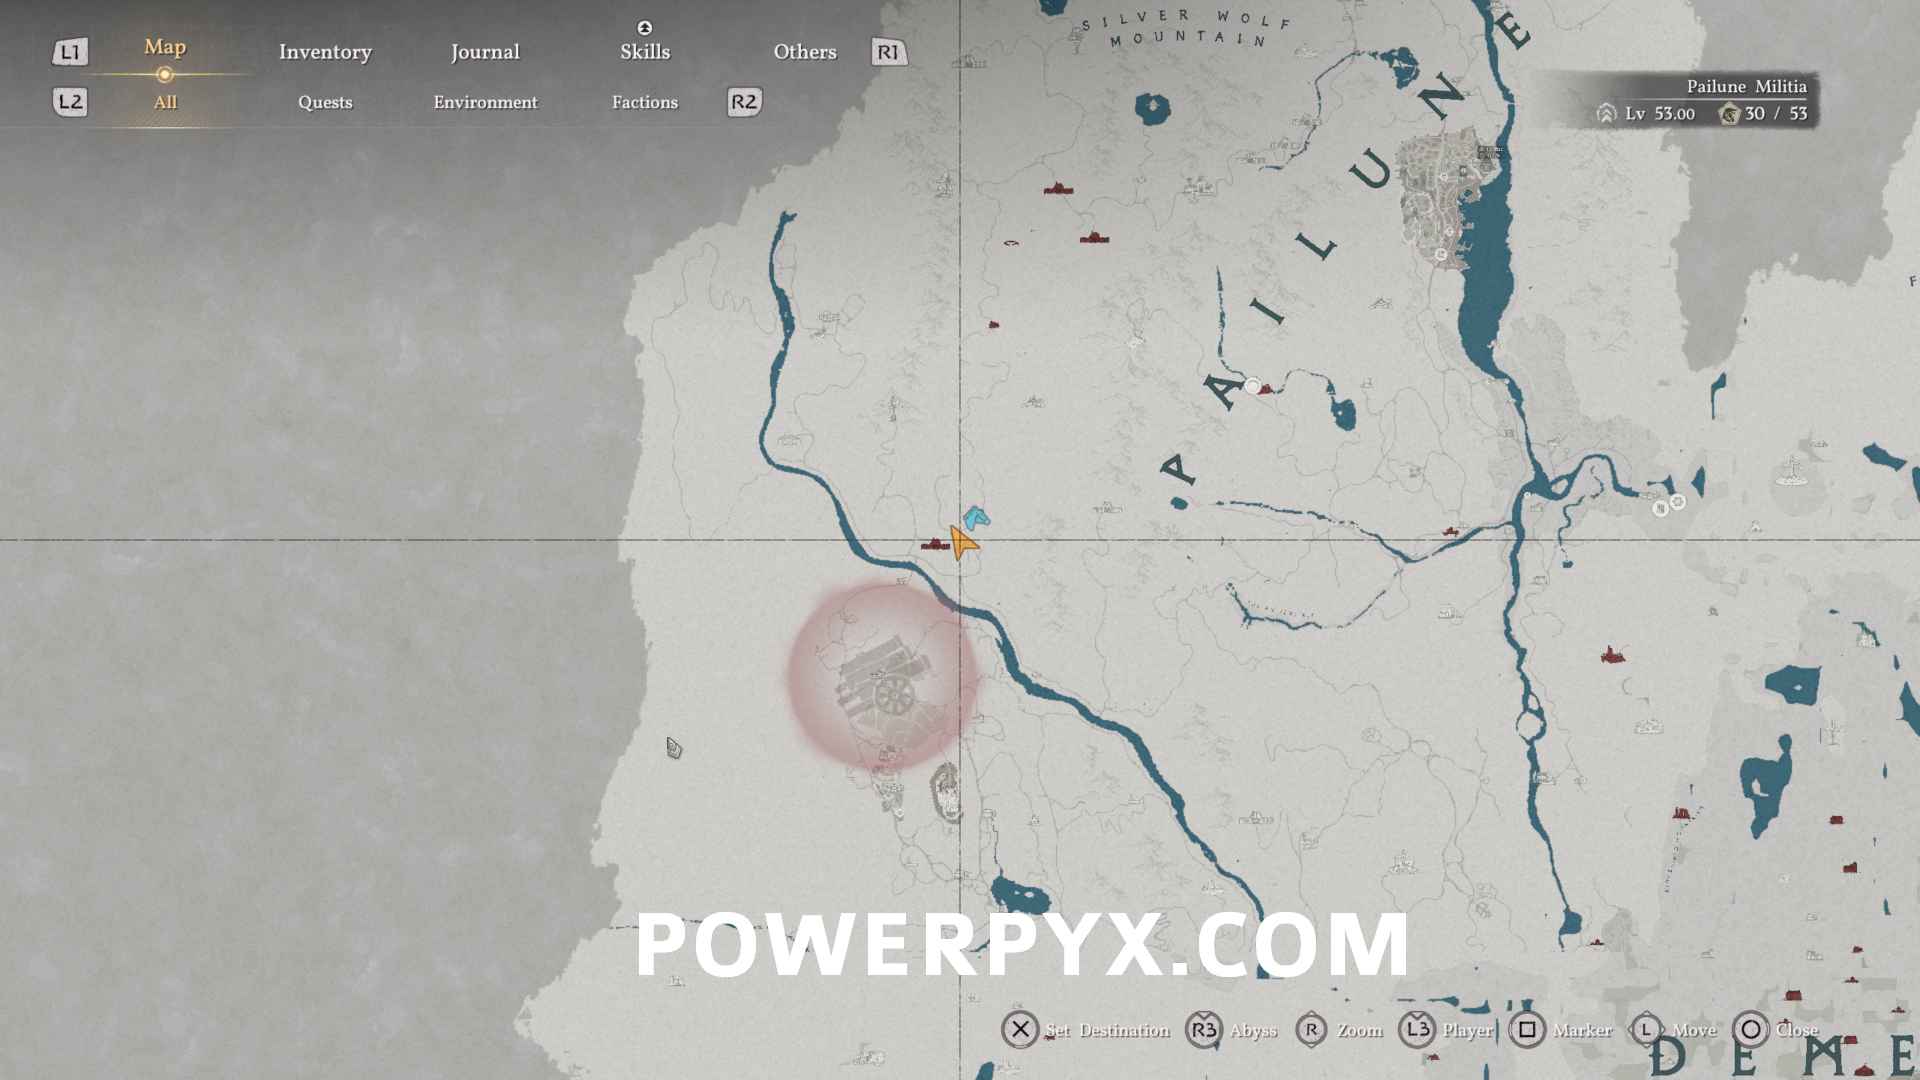
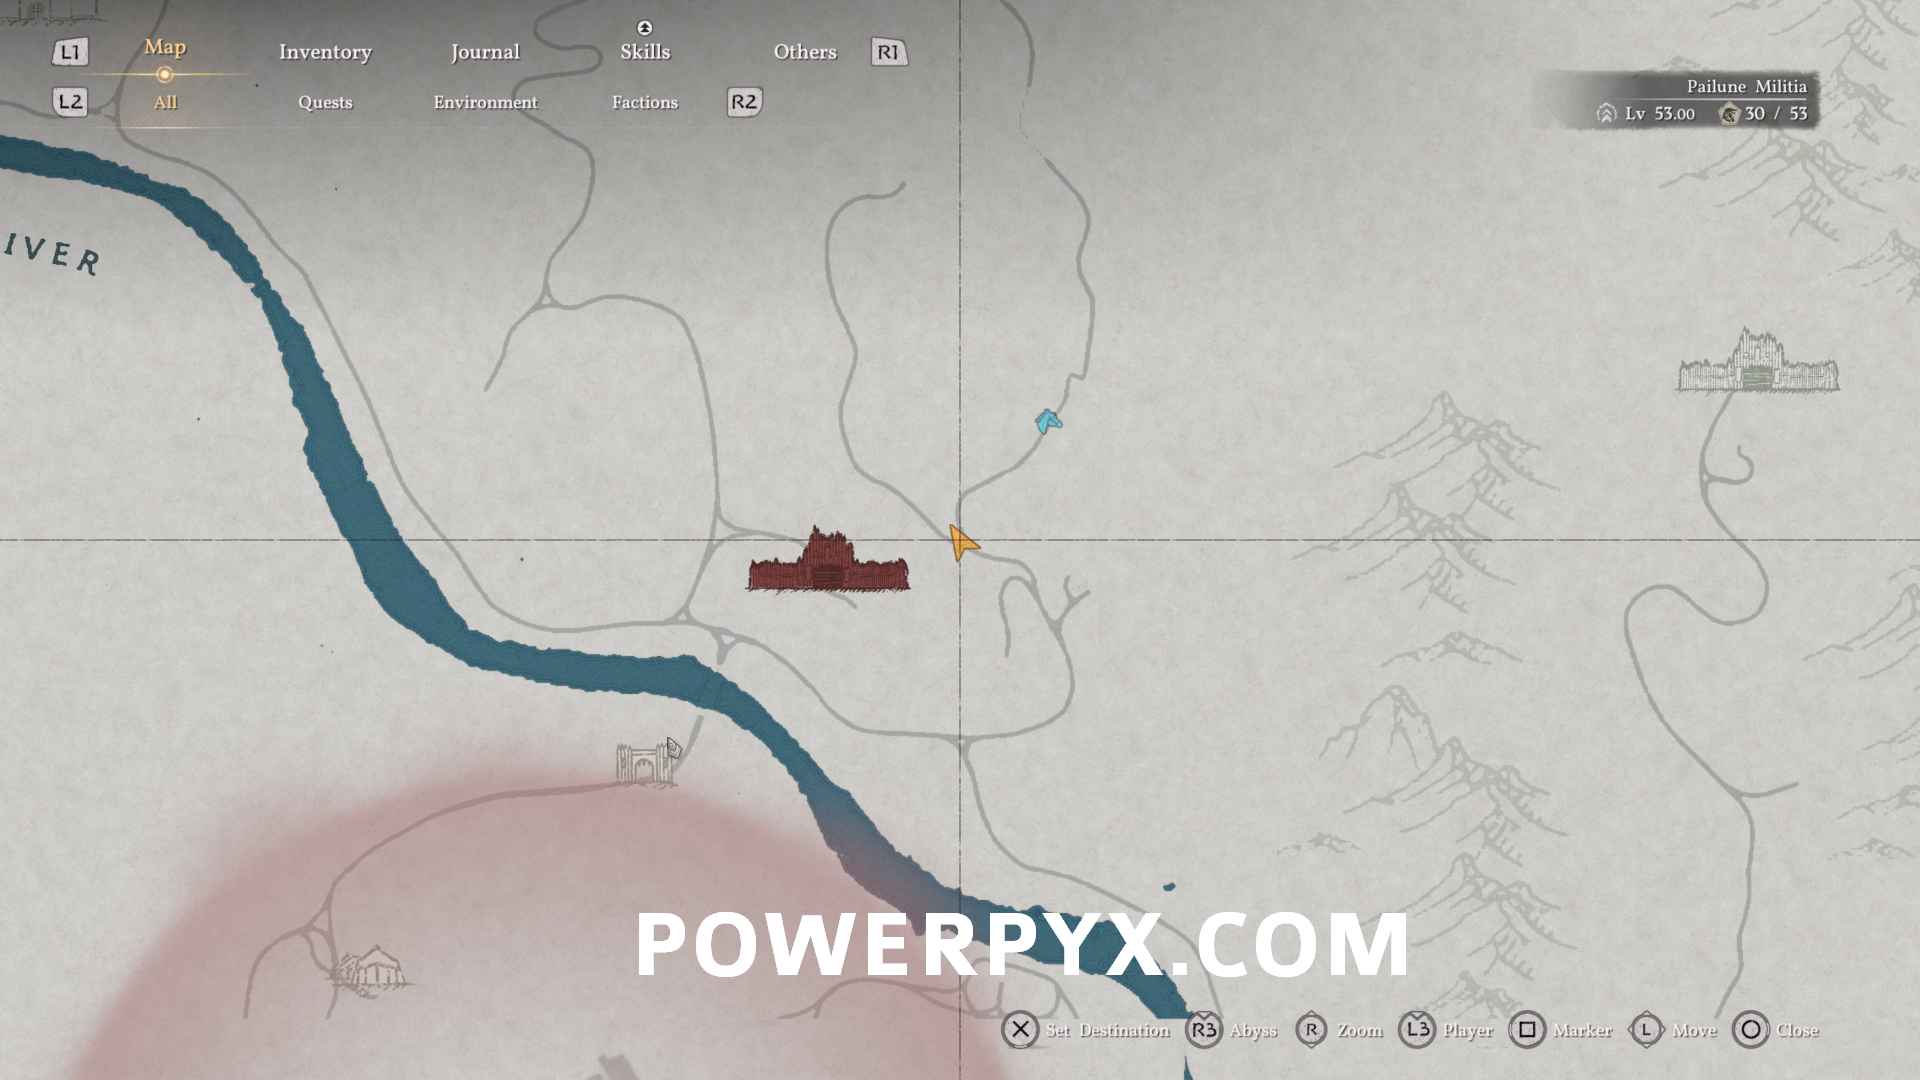
Challenge 4: Sinking Fort
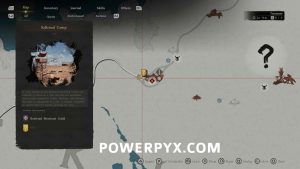
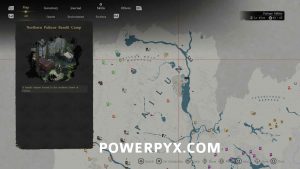
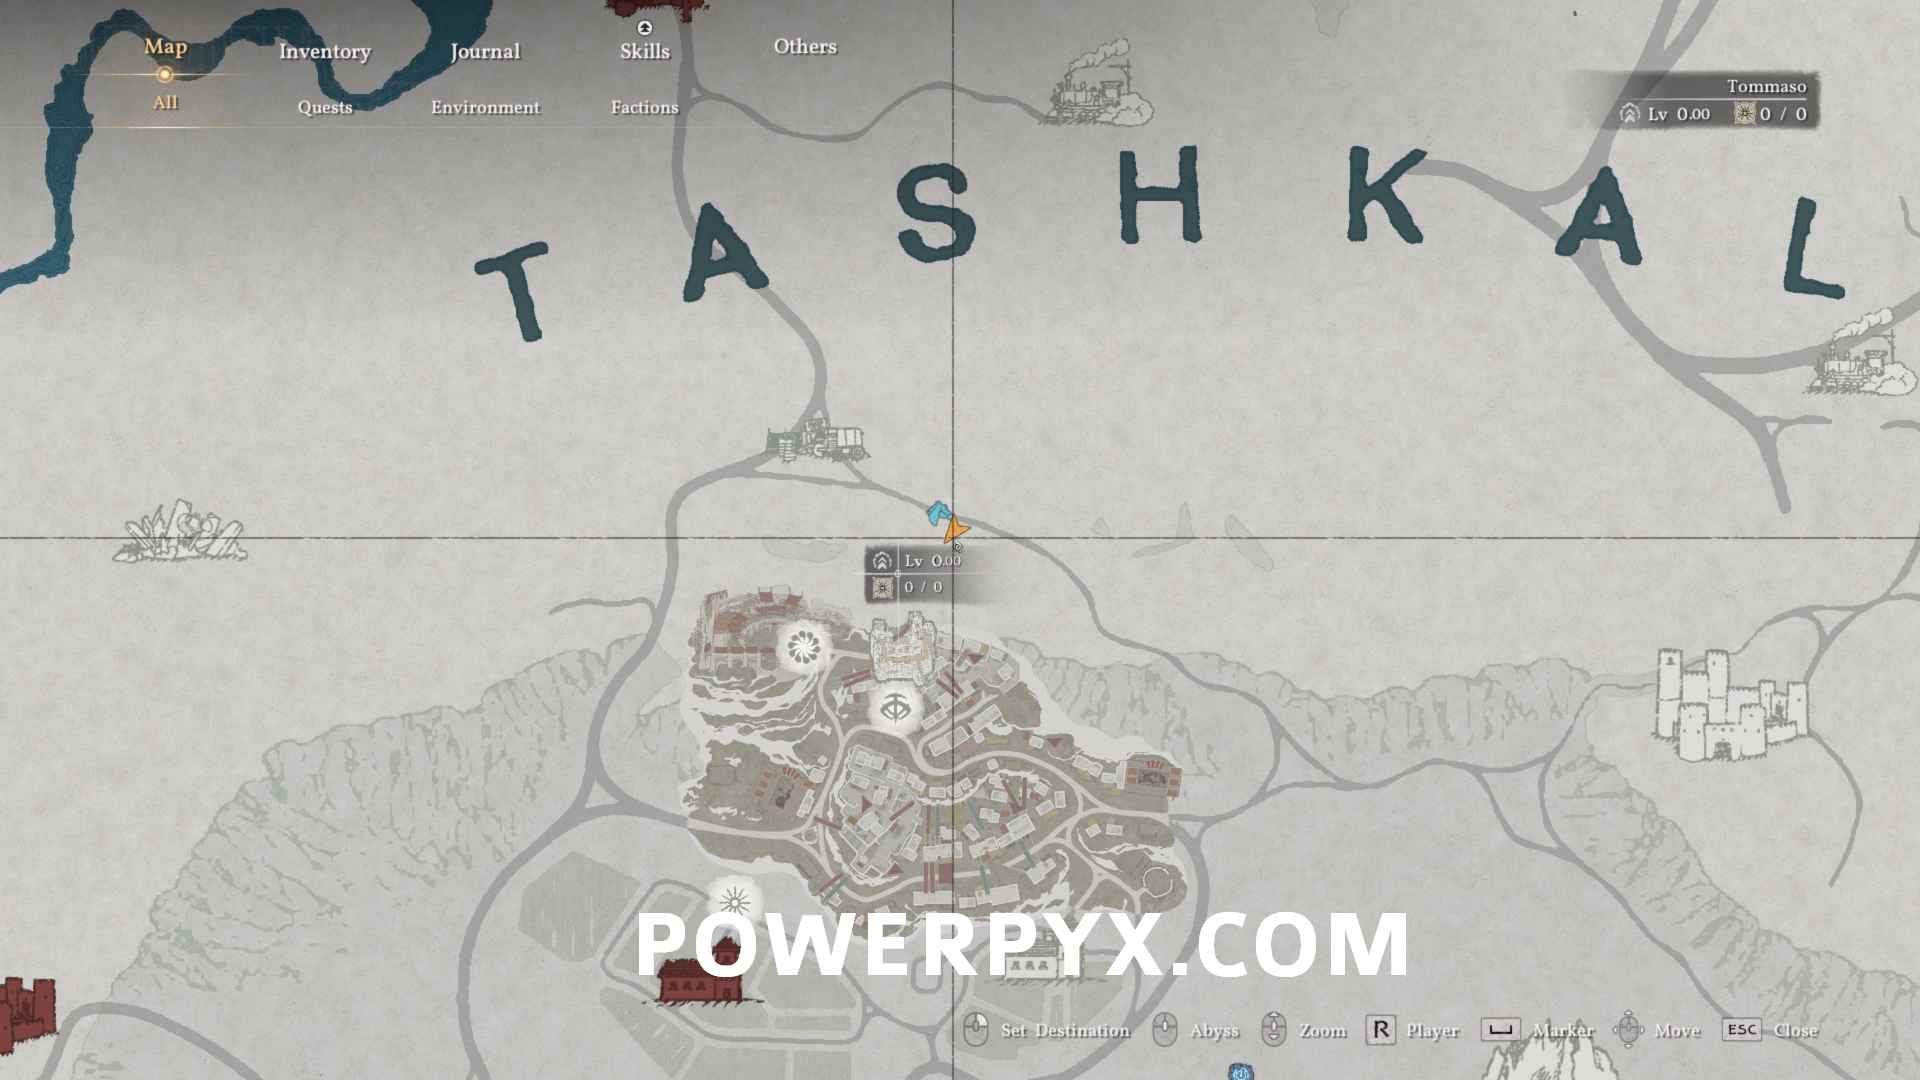
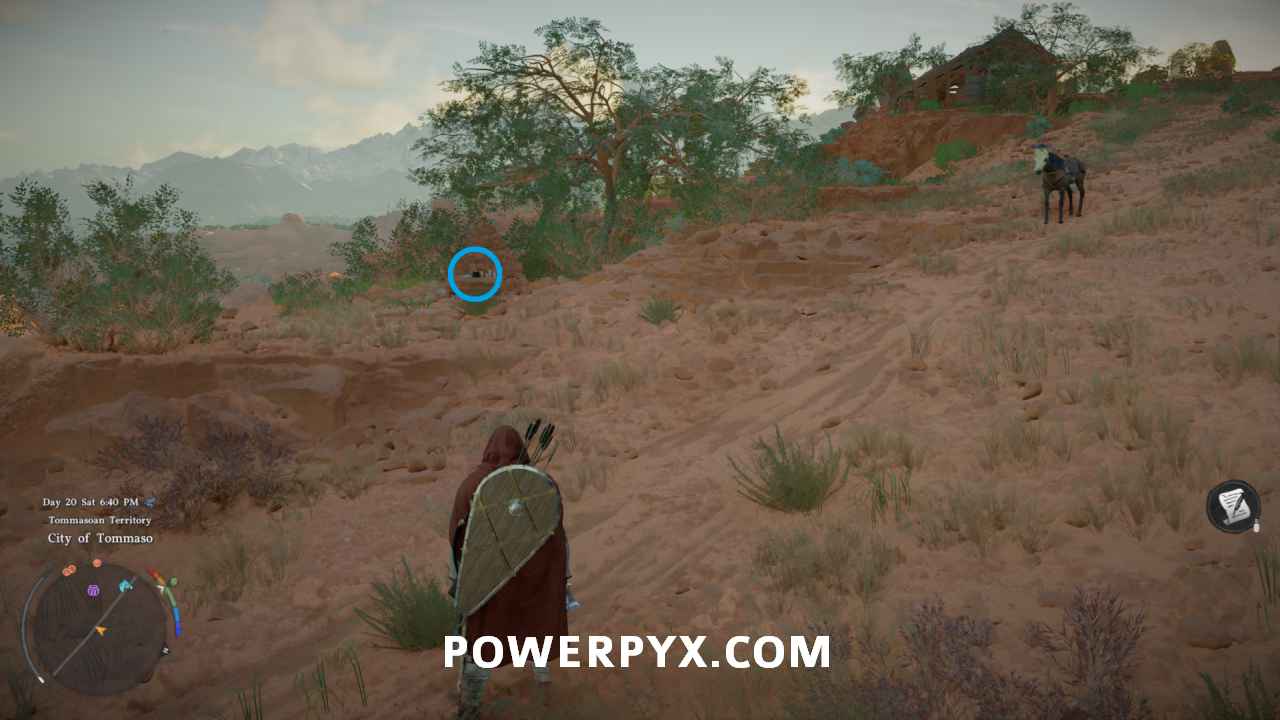
- How to Unlock: Pick up Sealed Abyss Artifact in Crimson Desert, on side of the road directly north of Tommaso.

- Challenge: Destroy 3 watchtowers within 20 seconds.
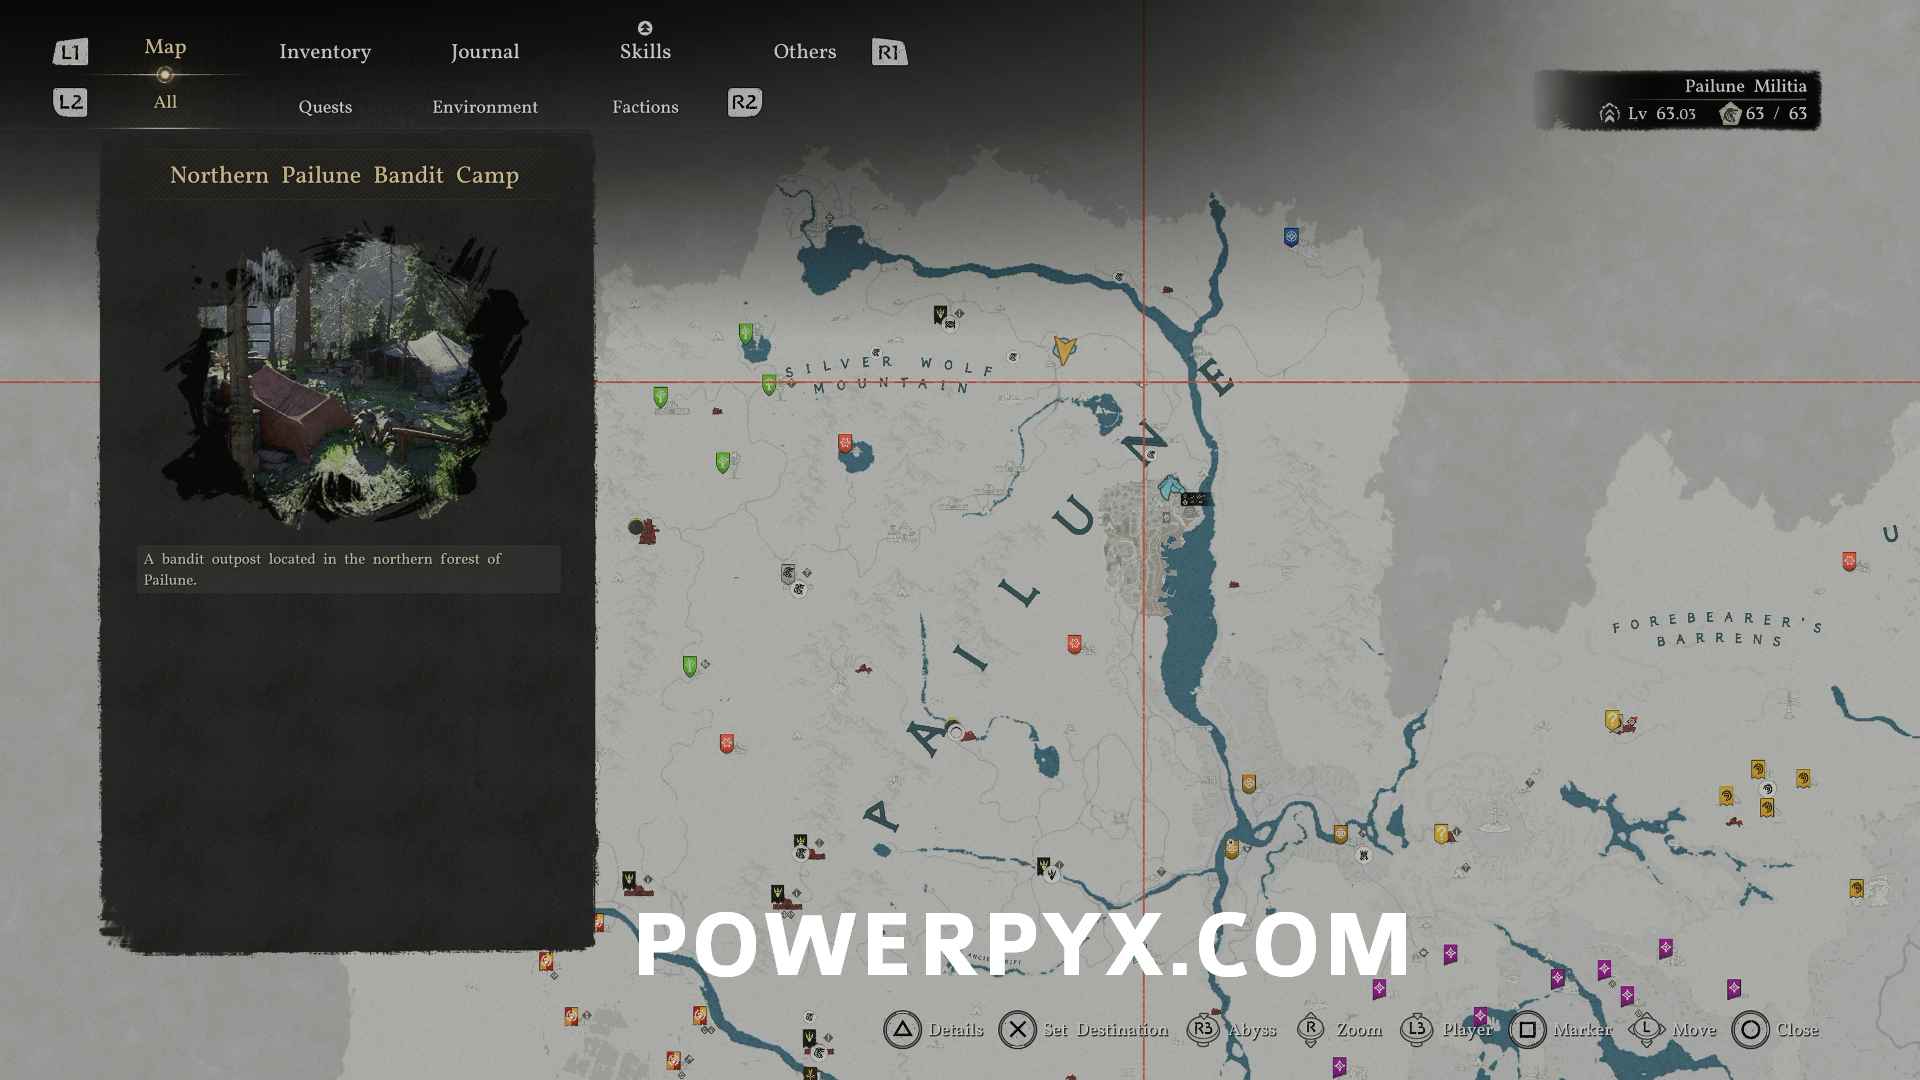
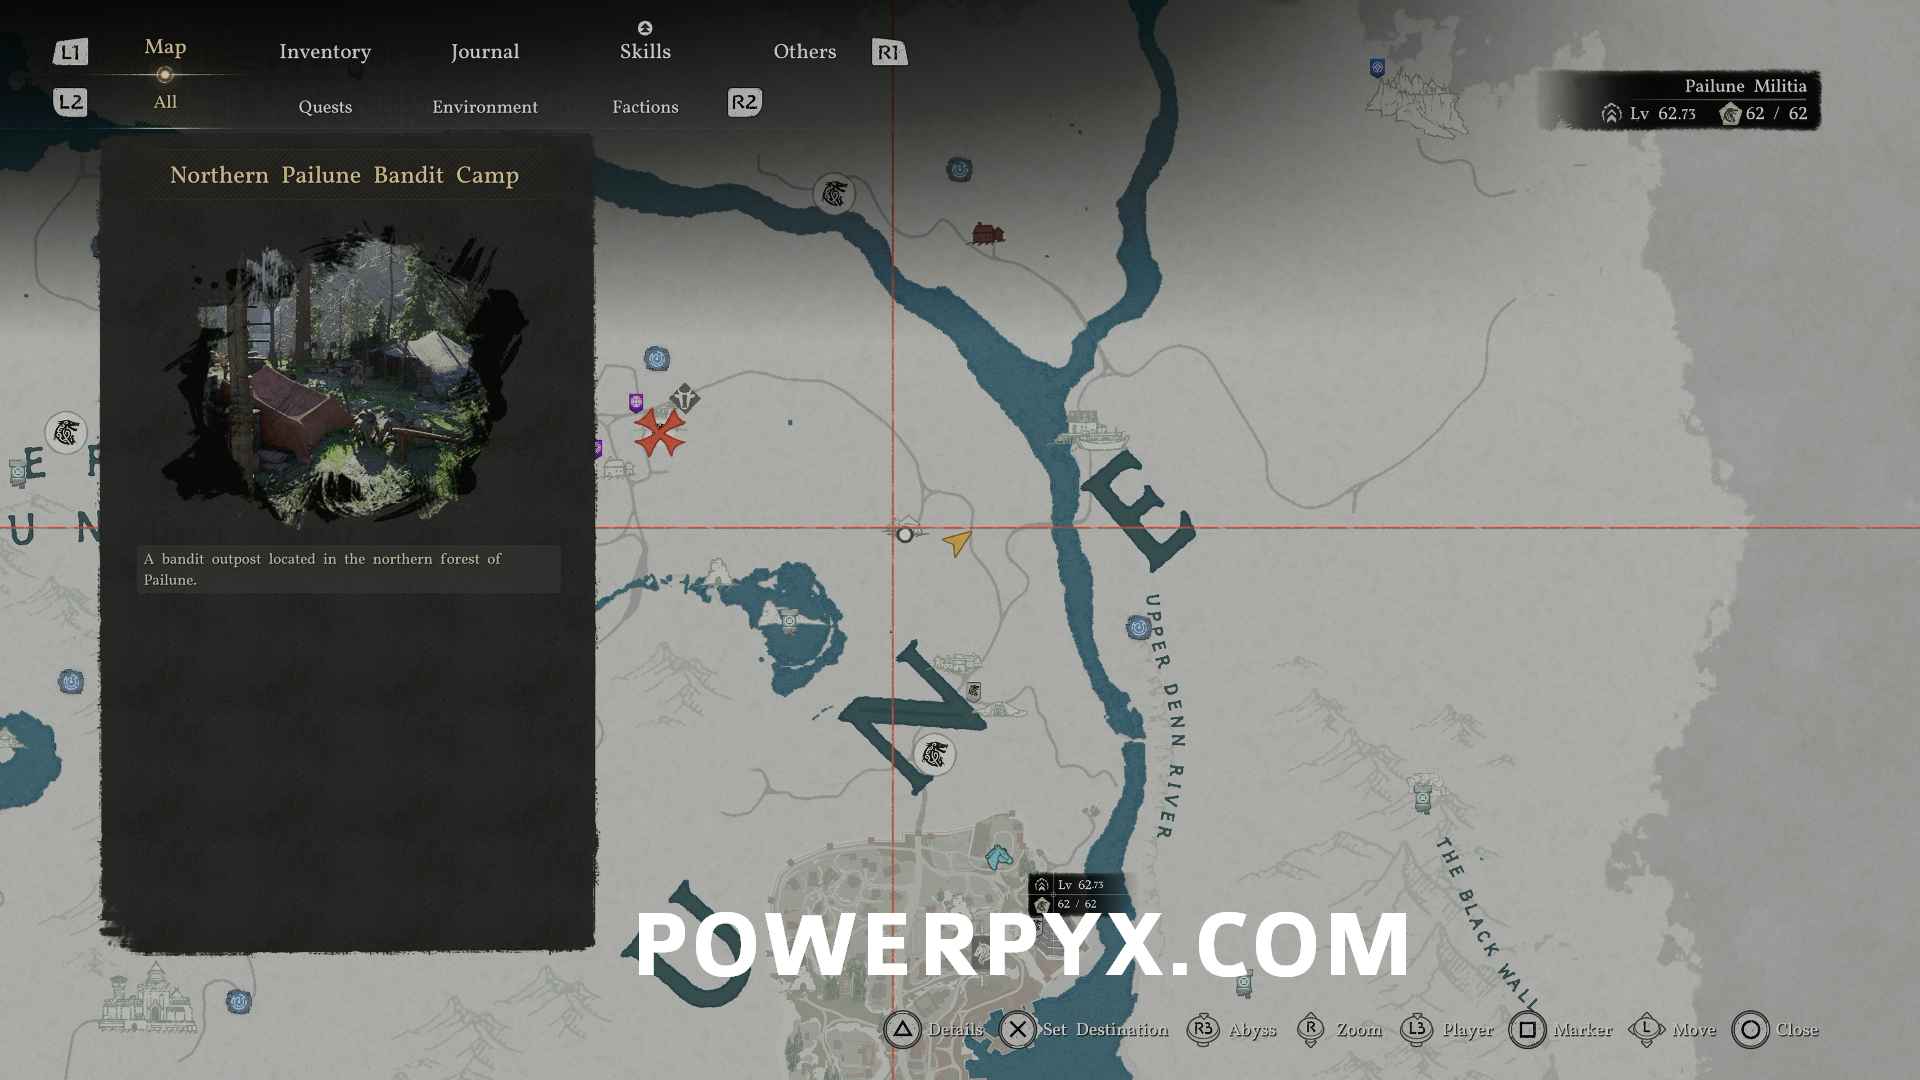
- How to Complete: Watchtowers are found at larger enemy camps, fortresses etc. You can destroy them by using Guiding Light (L1+R1 / LB+RB) to set them on fire, or by shooting cannons at them.
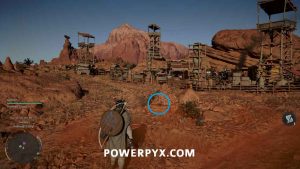
In Pailune there is an enemy camp named “Northern Pailune Bandit Camp”, north of the City of Pailune that includes three smaller watchtowers on posts. These can be used for this challenge, and respawn when the camp has been taken over and still count toward the requirement even when it is a friendly location.

- Reward: 1x Abyss Artifact, 1x Destruction II

Challenge 5: Single Spark, Seven Strikes
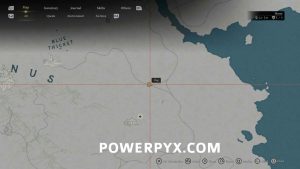
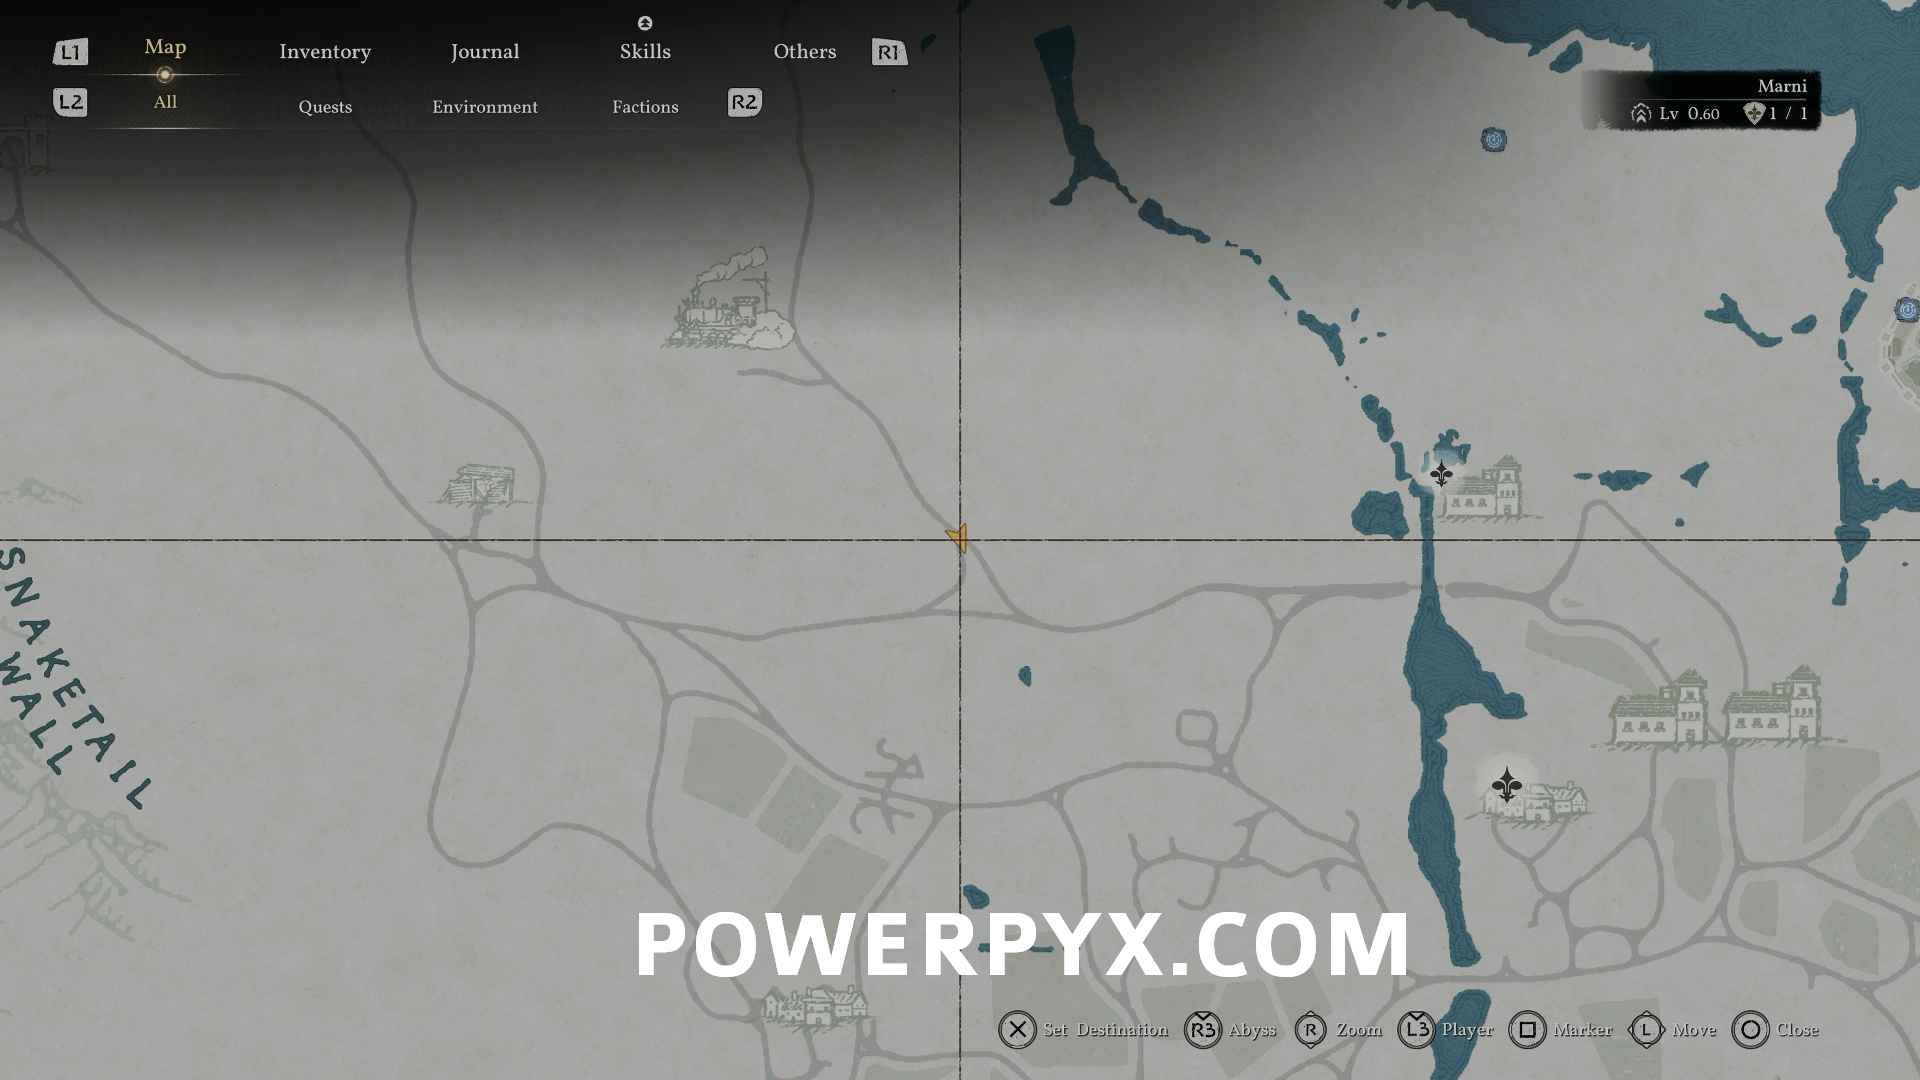
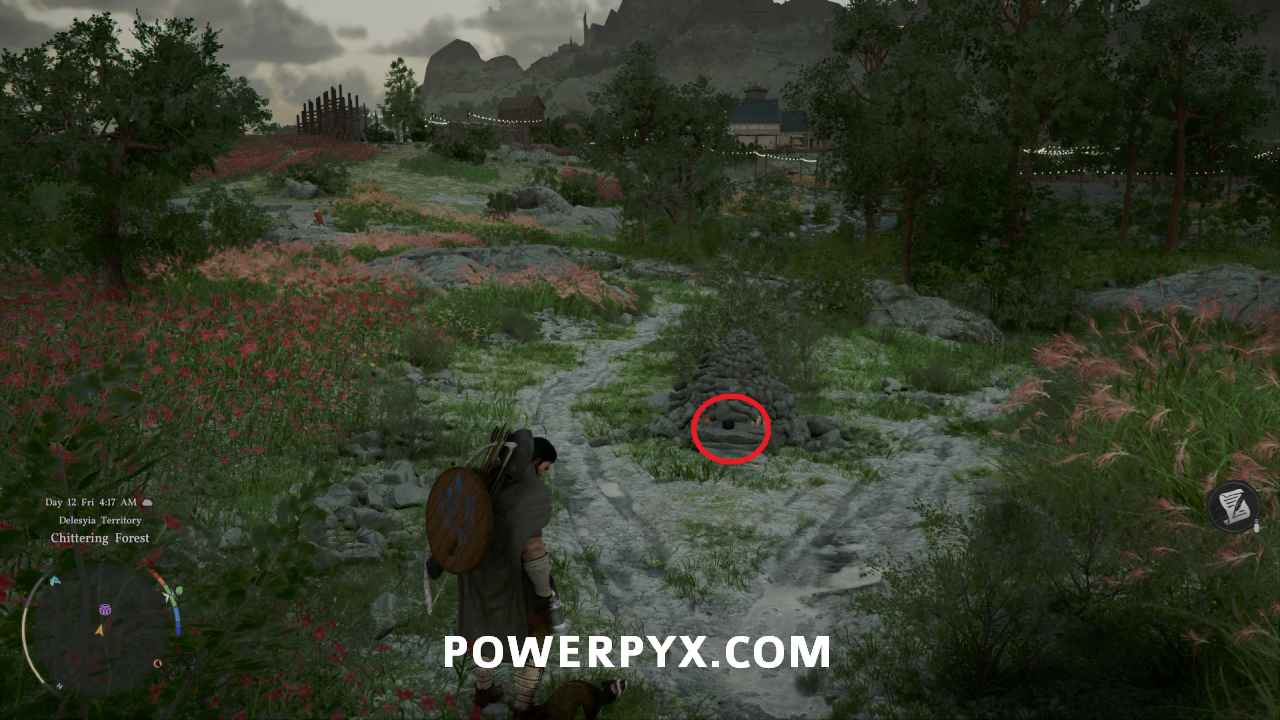
- How to Unlock: Pick up Sealed Abyss Artifact in Delesyia, at intersection southeast of Chittering Forest Ironcrawler Station.
- Challenge: Take down 7 enemies with a single explosion.
- How to Complete: There are a handful of ways to complete this throughout the game, such as using explosive barrels or arrows on enemies you group up, but the likely easiest way is to wait until near the end of the story once you have the dragon Blackstar. The main attack from the dragon is a fireball that counts as explosive damage, so you would just need to summon the dragon, fly to any available enemy camp or location that is still held, and shoot with the fireball at a large enough group of enemies. Due to the dragon’s long cooldown time without consumables make a save before summoning just in case you mess up, or want to try a different location without waiting.
- Reward: 1x Abyss Artifact, 1x Destruction III
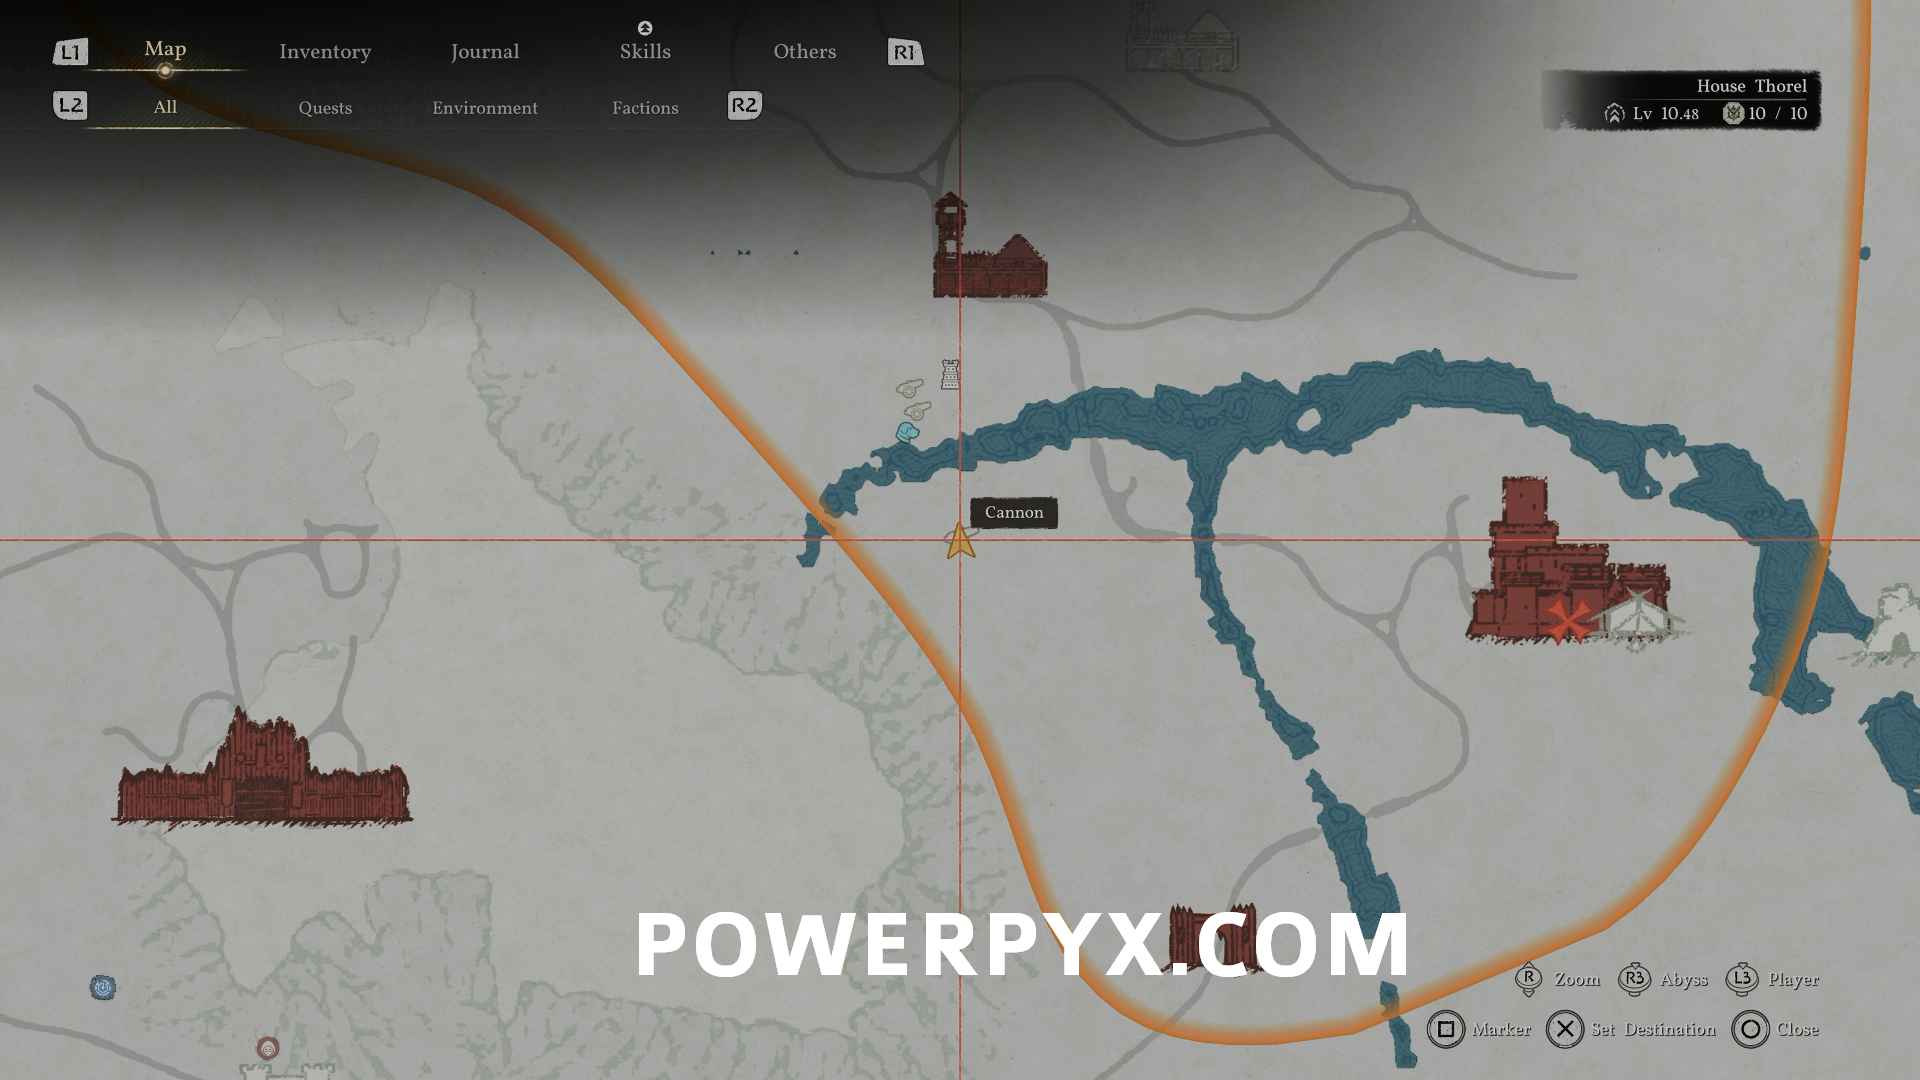
Challenge 6: Into the Barrage
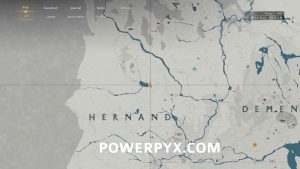
- How to Unlock: Pick up Sealed Abyss Artifact in Hernand, at second intersection north of Calphade Outpost.

- Challenge: Defeat 5 enemies at once with the cannon.
- How to Complete: This challenge requires defeating a group of at least 5 enemies using a cannon. There are only a handful of locations throughout the game where cannons are available, so this is one of the most annoying and easily missable challenges.
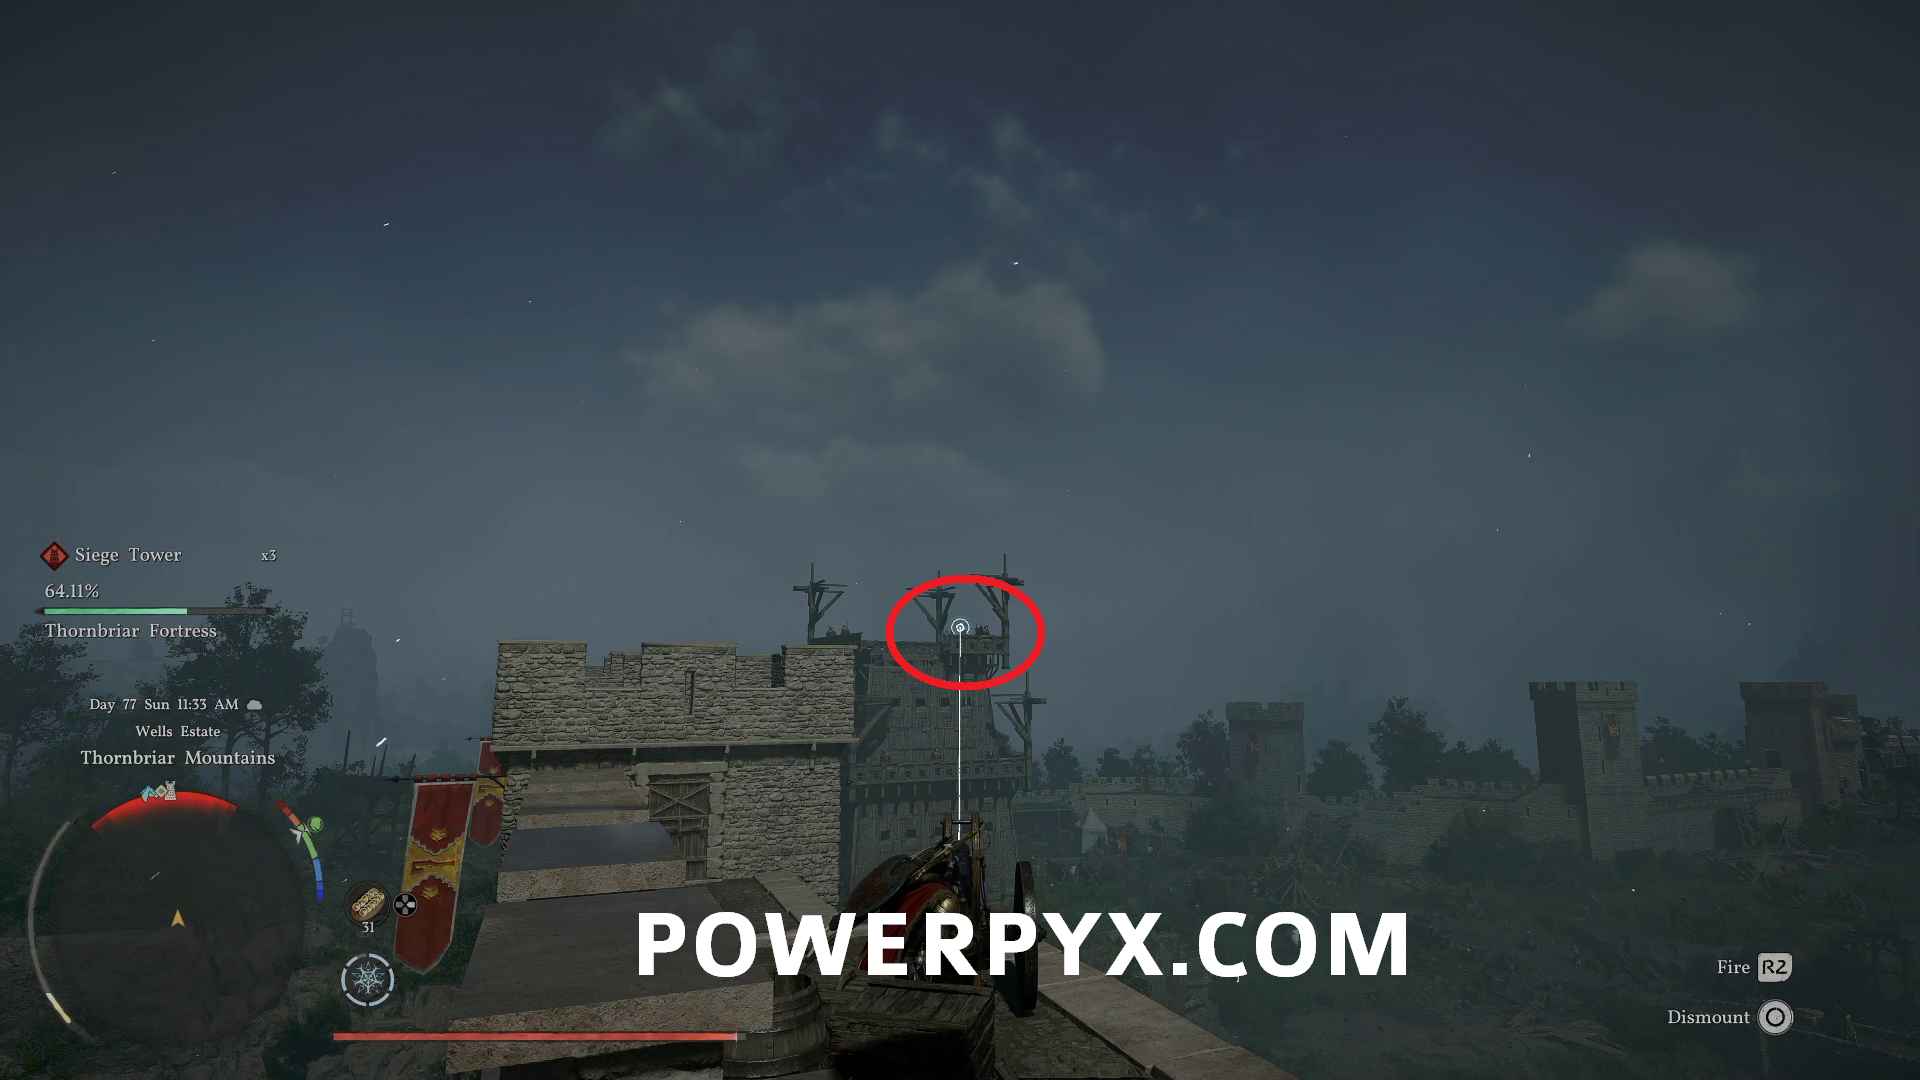
The best location to do this is during Chapter 8 of the story, during main quest Rebel Suppression. In this quest you are tasked with defeating enemies in Thornbriar Fortress along with destroying 3 Siege Towers. On the west side of the area there are some cannons along the wall, which you can use to destroy the closest siege tower. You should make a save before attempting this as you have very limited chances to do it. Ignore all enemies and make your way to the cannon on the wall farthest to the south. Use the cannon and first shoot in the middle of the top section of the siege tower, which should collapse it and drop all the enemies to the middle level. Then aim at wherever the most grouped up set of enemies is, and shoot at them and hope you get 5 kills. If you don’t you can try dropping the middle tower and then repeat with enemies grouped up on the lowest level. If you aren’t able to do it, reload your save and try again. See Video Guide.
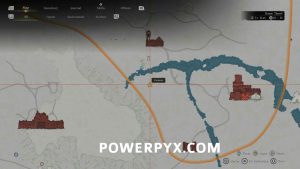
The other currently known location you can attempt this if you missed it during the story is at the location Fort Windridge in Delesysia. This optional location has a bunch of cannons located around the towers and walls, where you can aim them at the enemies. This is much more annoying of an area though, so this is only recommended to try if you missed the opportunity during the story.
- Reward: 2x Abyss Artifact


Challenge 7: Desperate Rescue
- How to Unlock: Picked up Sealed Abyss Artifact in Hernand, on side of the road southwest from Reedfield Graves.
- Challenge: Heal allies 3 times with Force Palm: Healing.
- How to Complete: Healing Force Palm is an ability you start with when obtaining Force Palm during the story. While holding you can press:l3: to change the move into a healing strike, which will heal friendly characters.
- Reward: 1x Abyss Artifact, 1x Faded Abyss Artifact


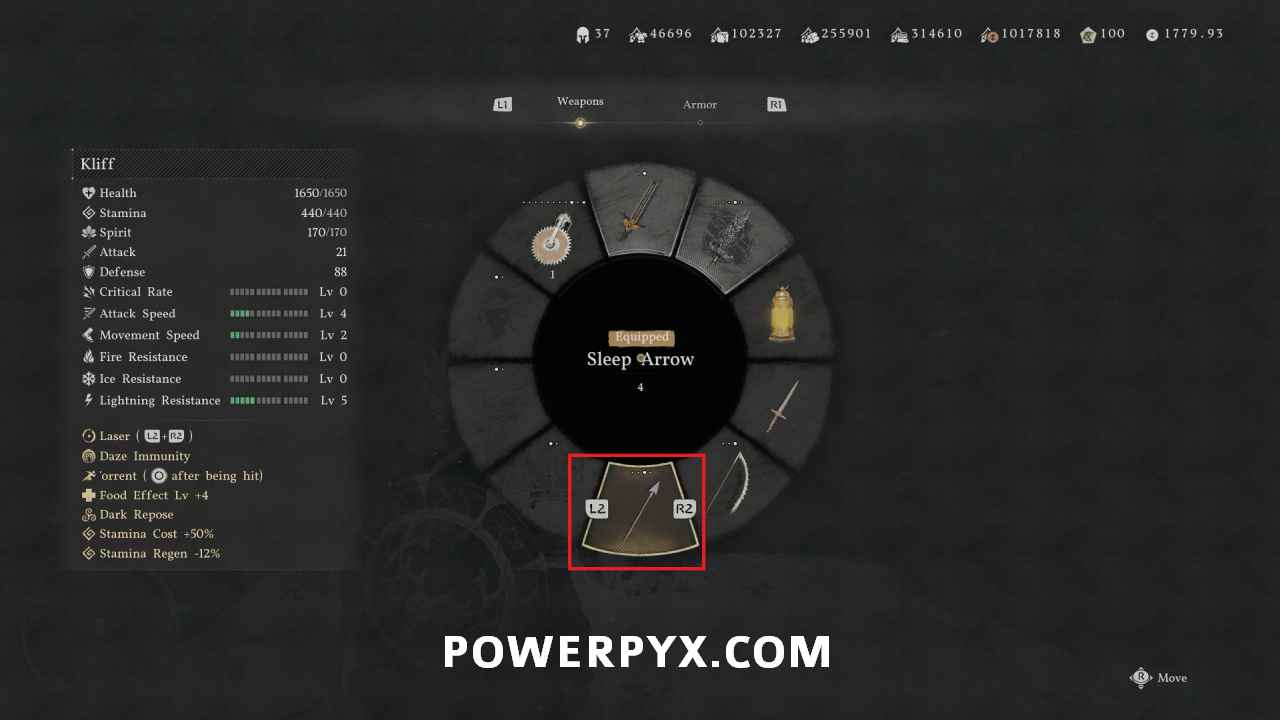
Challenge 8: Judgment Cast Upon the Sleeping
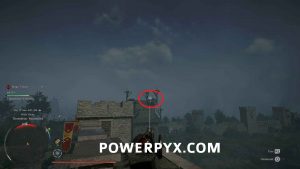
- How to Unlock: Pick up Sealed Abyss Artifact in Pailune, at intersection immediately east of Camp Bjornlund.

- Challenge: Attack sleeping enemies 5 times.
- How to Complete: Sleeping enemies can be encountered in 2 ways, either by finding them at night which seems to be inconsistent to find, or by using Sleep Arrows. Sleep Arrows can be very rarely obtained from some enemies like the hunters in Pailune, but the guaranteed way is to send Greymane expeditions to Longleaf in Pailune which awards you with 20x Sleep Arrows per expedition. You can then equip the sleeping arrows, then use them on enemies in place of other arrows and this should count as attacking sleeping enemies, even if you kill them with the arrows.
- Reward: 1x Abyss Artifact, Ledgermain II


Challenge 9: Giant Windmill
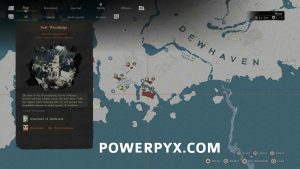
- How to Unlock: Pick up Sealed Abyss Artifact in Deleysia, at intersection directly west of Aeronautical Research Base.


- Challenge: Hit enemies 7 times within 30 seconds with Giant Swing.
- How to Complete: Giant Swing is the ability unlocked at level 3 in Kliff’s Grappling skill. It allows you to grab an enemy, then swing them around before throwing them away. Hit a total of 7 enemies with this move in 30 seconds to complete the challenge.
- Reward: 1x Abyss Artifact, 1x Faded Abyss Artifact, 1x Vigor I
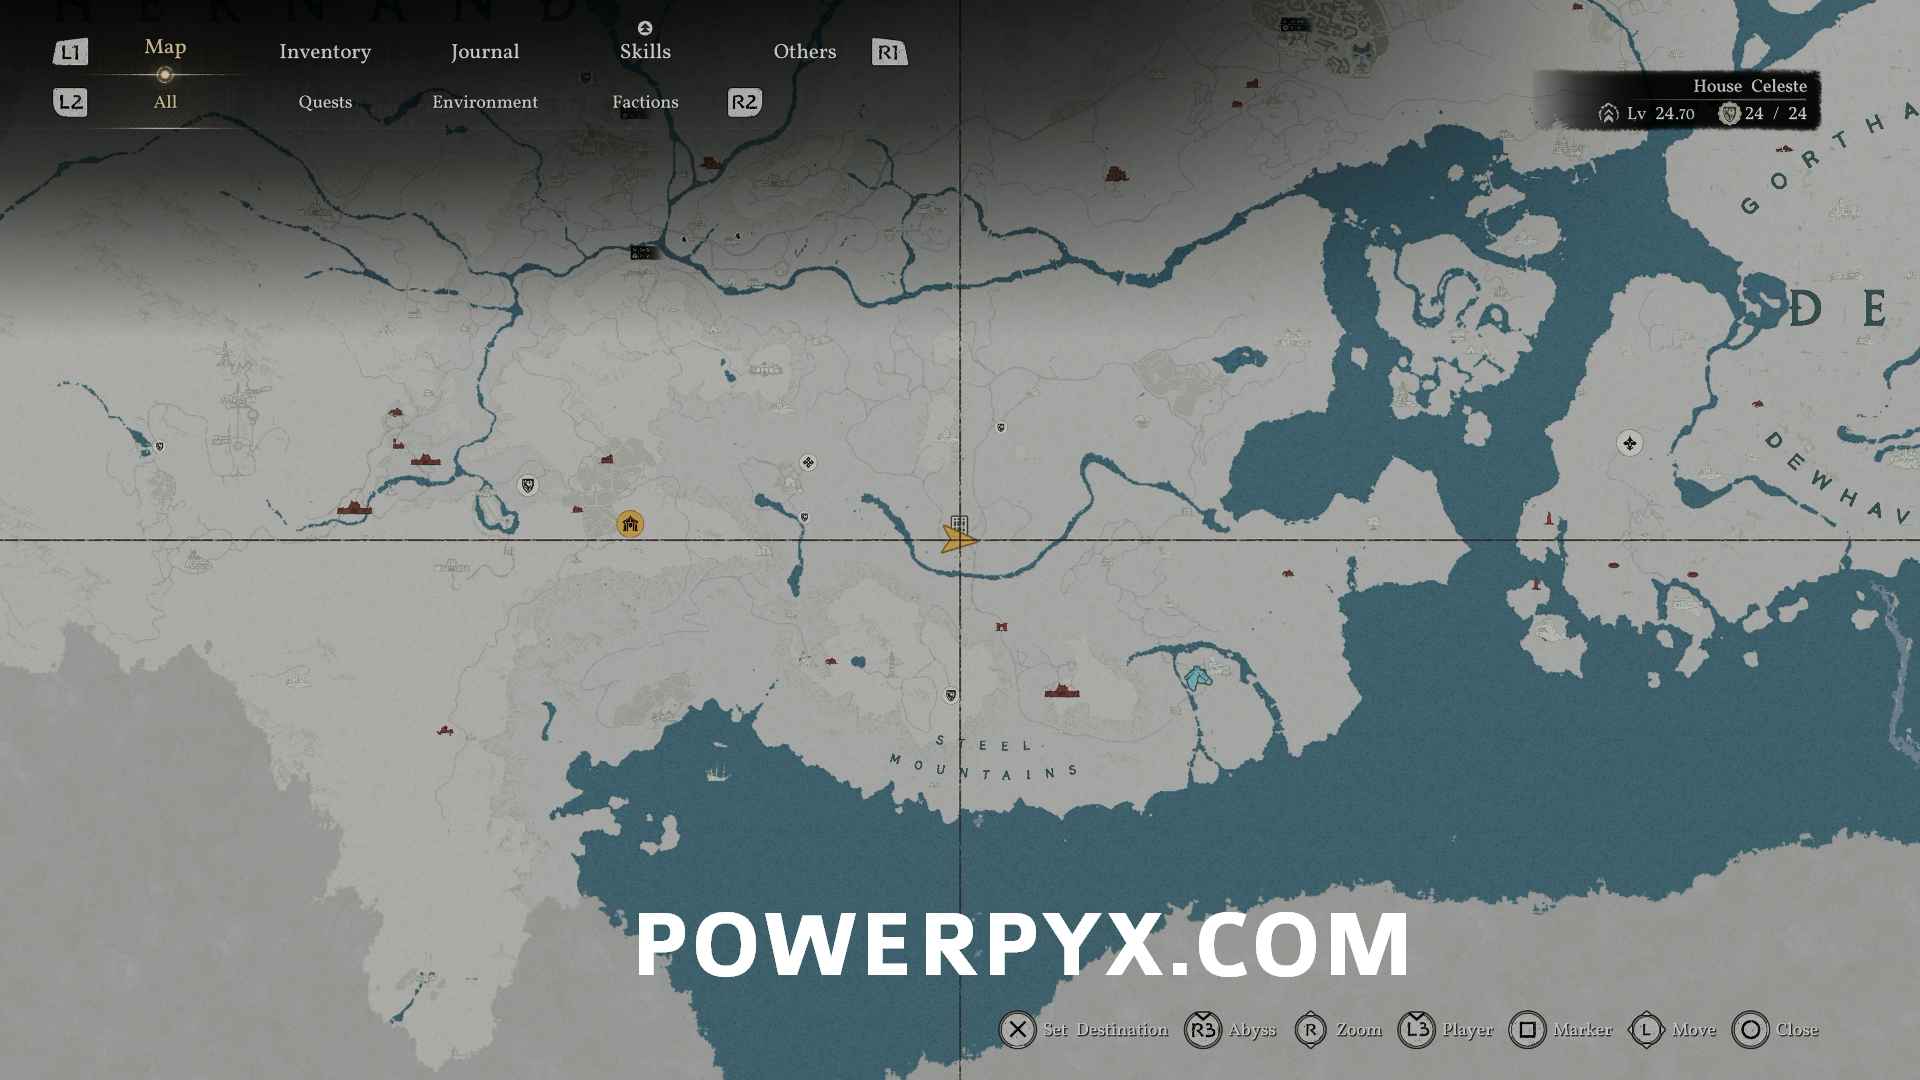
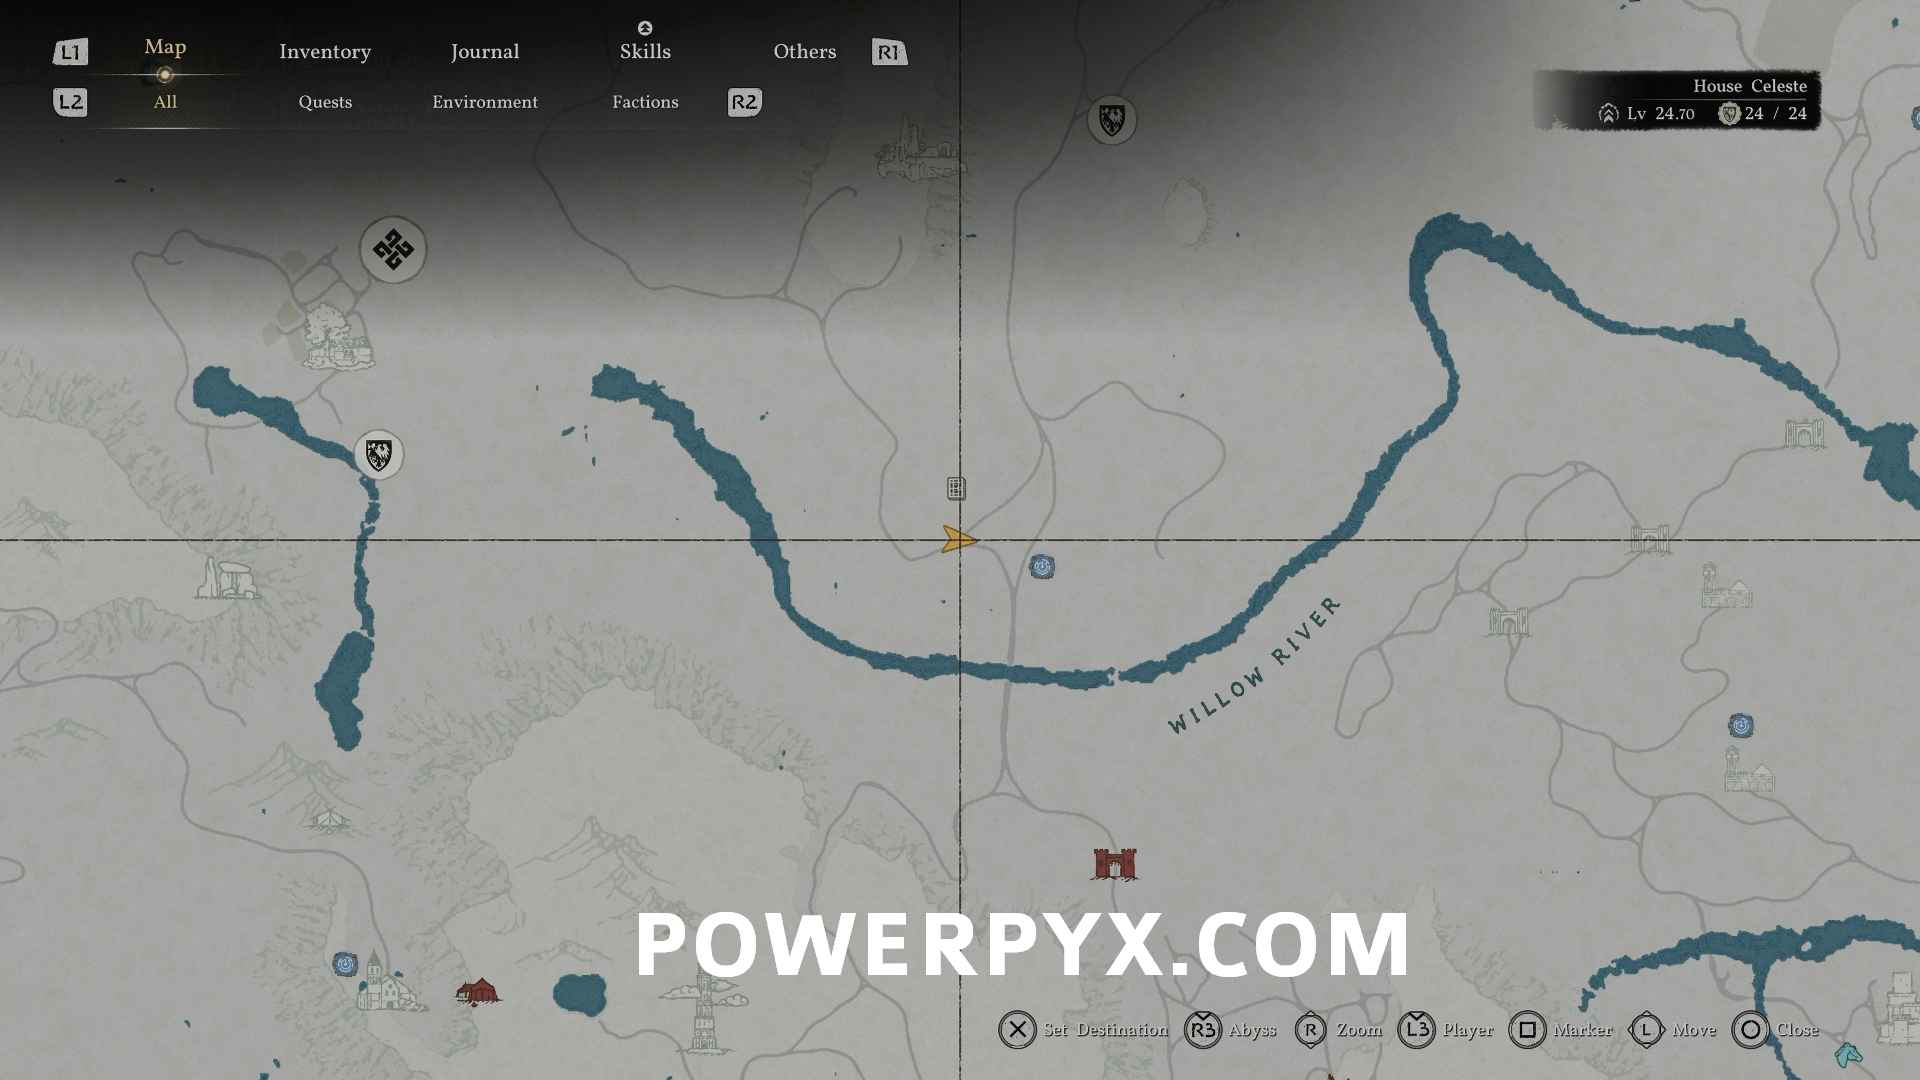
Challenge 10: Bare Courage
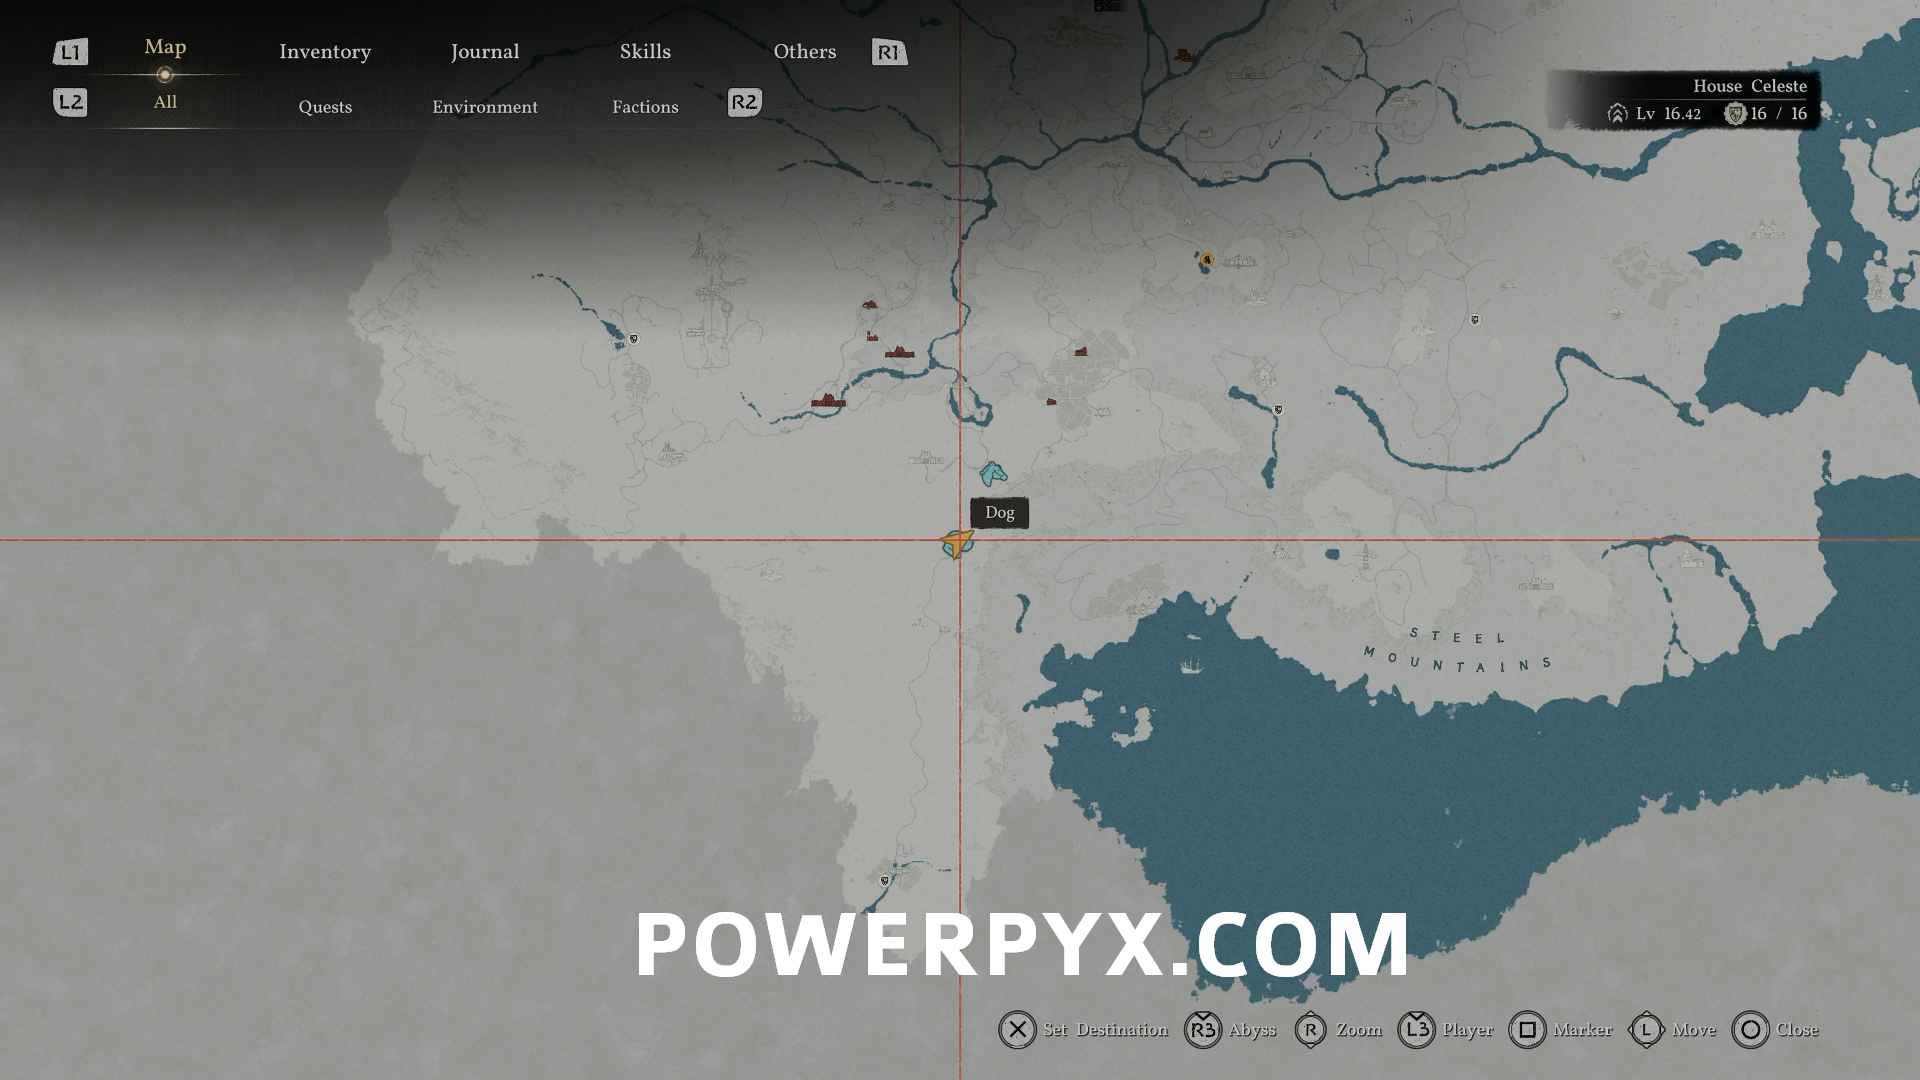
- How to Unlock: Pick up Sealed Abyss Artifact in Hernand, at the intersection south of Sanctum of Penitence, near the Willow River.
- Challenge: Take down 3 enemies within 1 minutes without using a weapon.
- How to Complete: Simply press to attack with bare fists. Defeat 3 enemies using only your bare fists within 60 seconds of defeating the first one. This is best done on weak bandits in Hernand region.
- Reward: 1x Abyss Artifact, 1x Faded Abyss Artifact, 1x Fortification I
hayyeeQQ says
Meteor Kick challange.. No way that thing is possible. Is buggy as hell. Tried so many variants, most of the time im just pressing triangle to charge, I aim at the enemy and when he reaches the floor, it basically slides. Is just not really possible at the moment
Andy says
Best location for sinking fort?
Mirko1083 says
Dude it’s not bugged you have to use the jump palm force three times then hold down the triangle and with the circle aim you don’t have to point at the enemy but in the surrounding air near the group of enemies you have to point at the ground the controller starts to vibrate when it’s time to leave triangle I play from ps5 pro and he slings to the ground and thrown away the enemies and the challenge counter starts to count up it gets to 30 and the challenge will be yours sorry my English I’m an Italian man hello everyone guys powerpyx you are the best ❤️
hayyeeQQ says
Giant Windmill Challenge
Regarding this, im 10 hours into this challenge, no way to complete it. So the giant swing, there is no progress at all.
I used this ability and I threw the enemy into other enemies (which is totally hard to hit them), I even tried using this ability while close to a wall or spikes so they can get them damaged. I’m waiting for a more detailed explanation here if possible.
hayyeeQQ says
Figured it out 1 minute after posting. Apparently, you have to hold triangle and circle and it will spin for multiple times based on stamina.. jesus..
Siri says
For Challenge 10: Bare Courage, I got this accidentally and easily while attacking a big group of enemies with heavy attack / Ator’s Orb. Not sure if they were killed by debris due to the orbs or if the orbs count as “not a weapon”, but it’s an option.
Mirko1083 says
I did the 5th and 6th battle challenge together with the castle south of Delesya. Enter the castle, there are many cannons, group the enemies in front of the cannon and shoot them, they get both challenges. I did it and I’m on chapter six. I will do most of the challenges before continuing. If you are well-powered with good armor and some food, you can survive their shots and use the cannon and get both challenges. Hi everyone.
Unknown says
If you not finish yet the quest to liberate the Giant Serpent Aeserion in Delesyia, it will be the best place to finish most of the challenge, because there are bunch of enemy group up when they shooting the snake.. For example, I finish Challenge 5 just shoot them with explosion arrow because they stand very close to each other and the good thing it is near the abyss nexus teleport, so if you messing up just run away and teleport back it will reset the enemy.. as long as you dont finish the quest the enemy will always reset and trust me a lot of combat challenge will be done easy there..
Serpagor says
For into the barrage :
Demeniss, north gate (there’s 2, between them) on training ground. Sometimes canon doesn’t spawn, just teleport away and try again. Wear a mask, shoot with cannon, could take a while, but works for me.
Also you can get Above the law Challenge 10: The Crow’s Crown and the Last Chivalry, cus first shot will raise your bounty to 100, and challenge will be completed, if you get yourself arrested.