
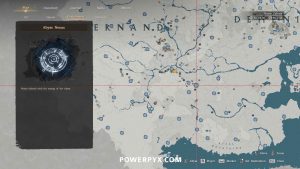
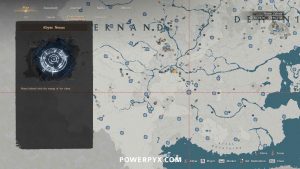
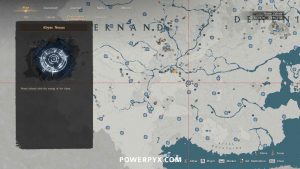
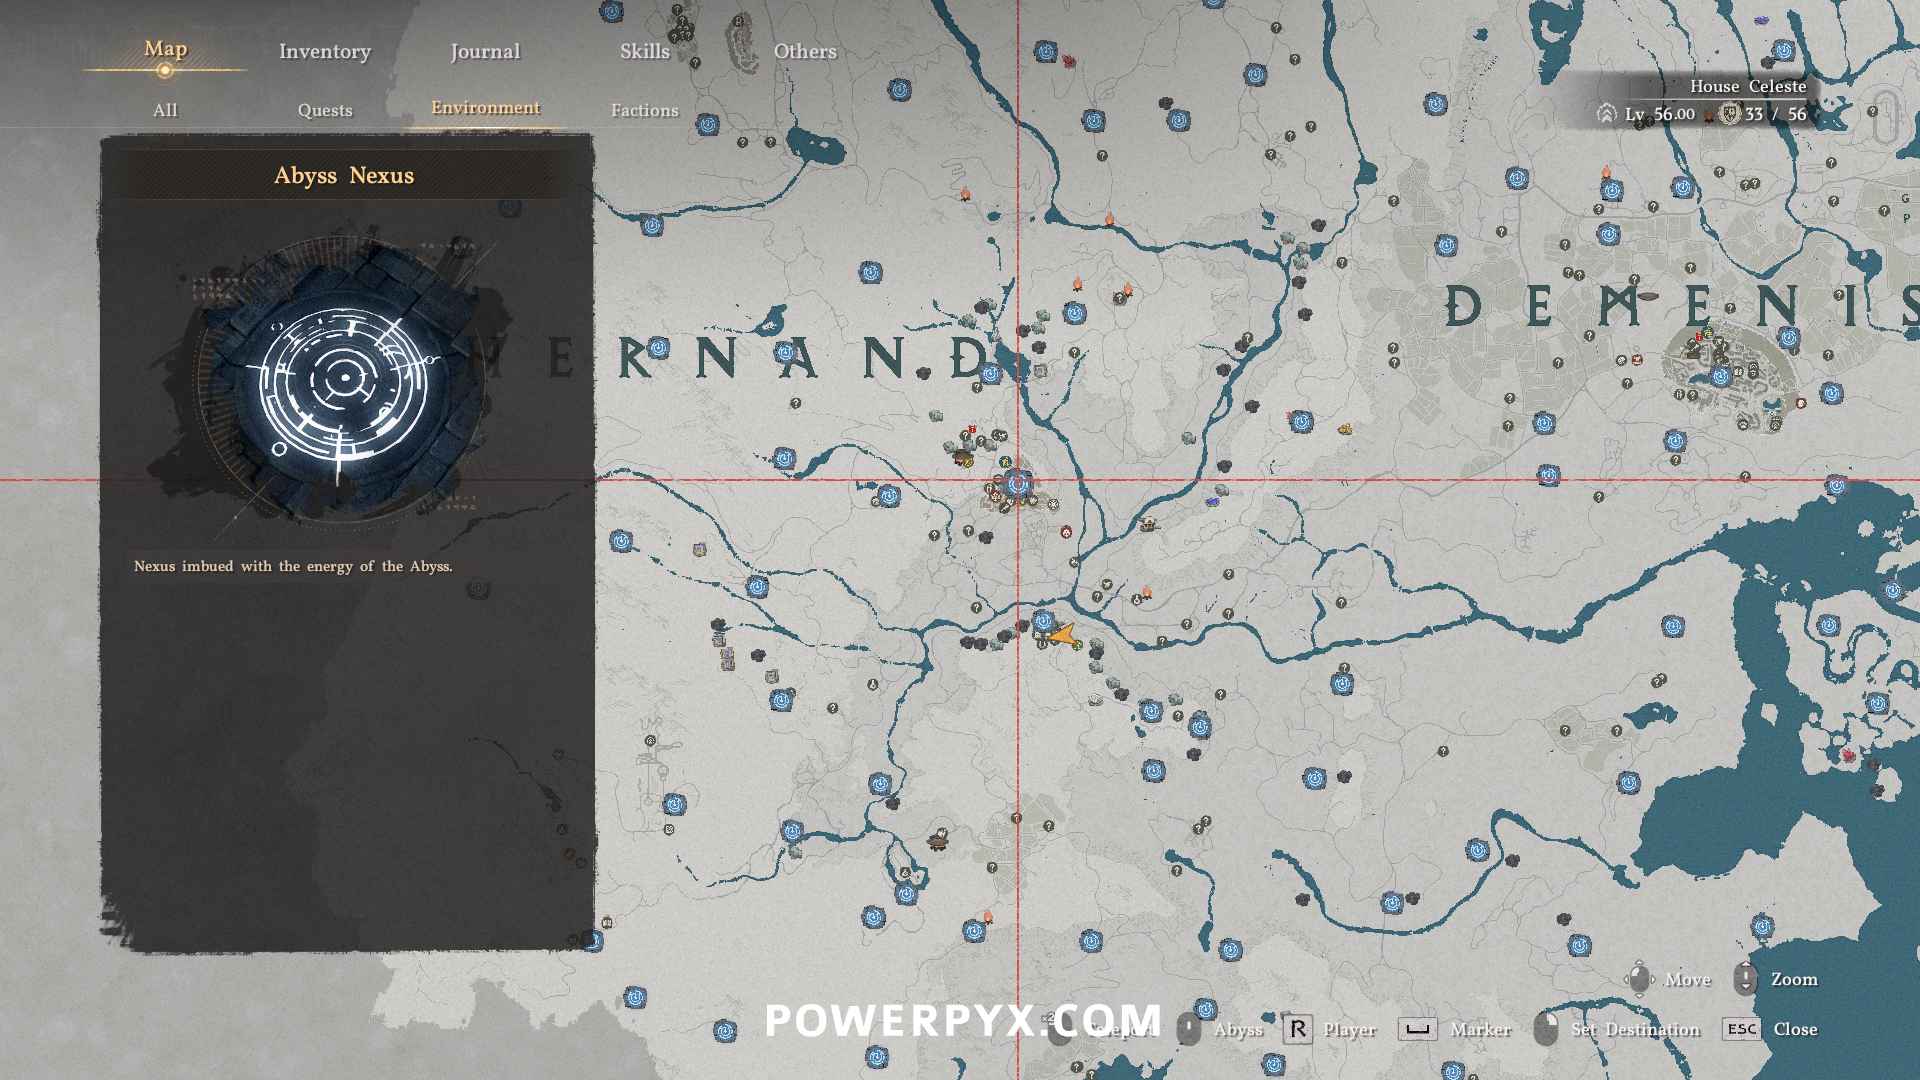
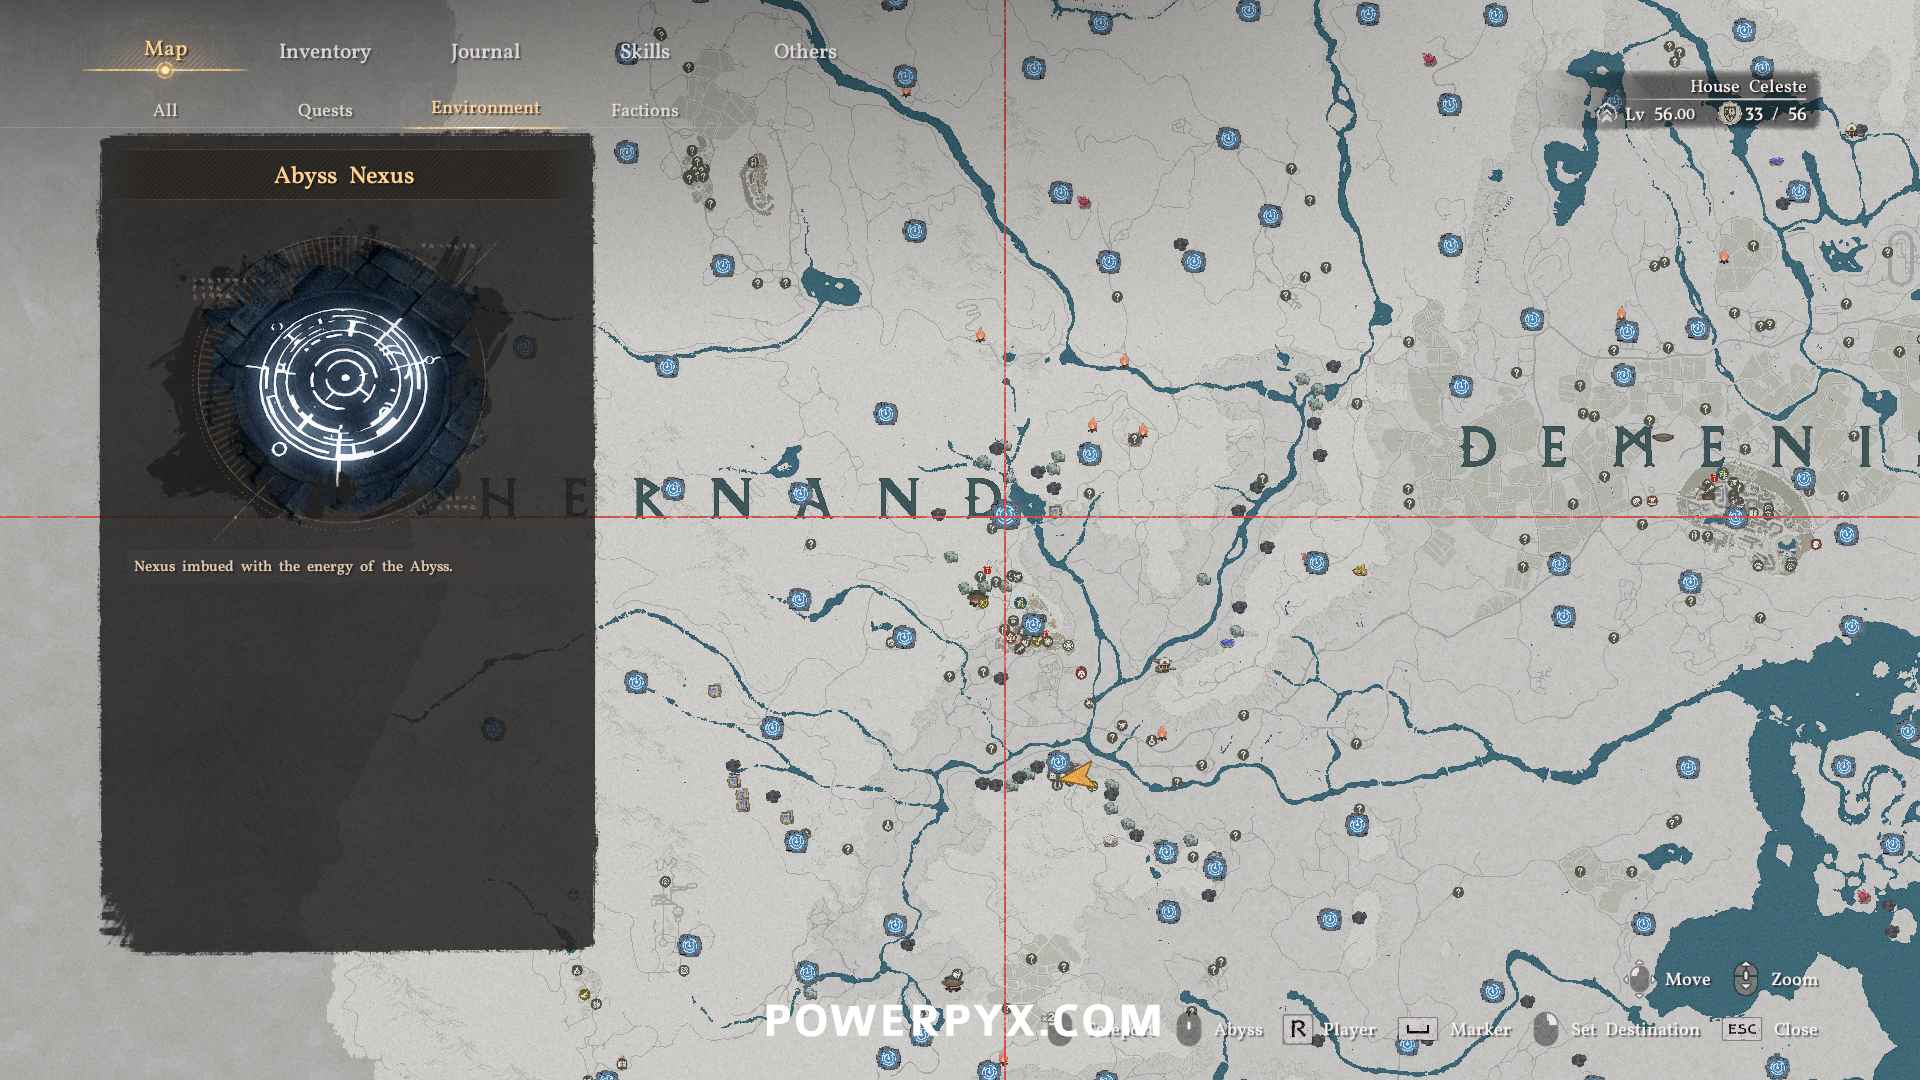
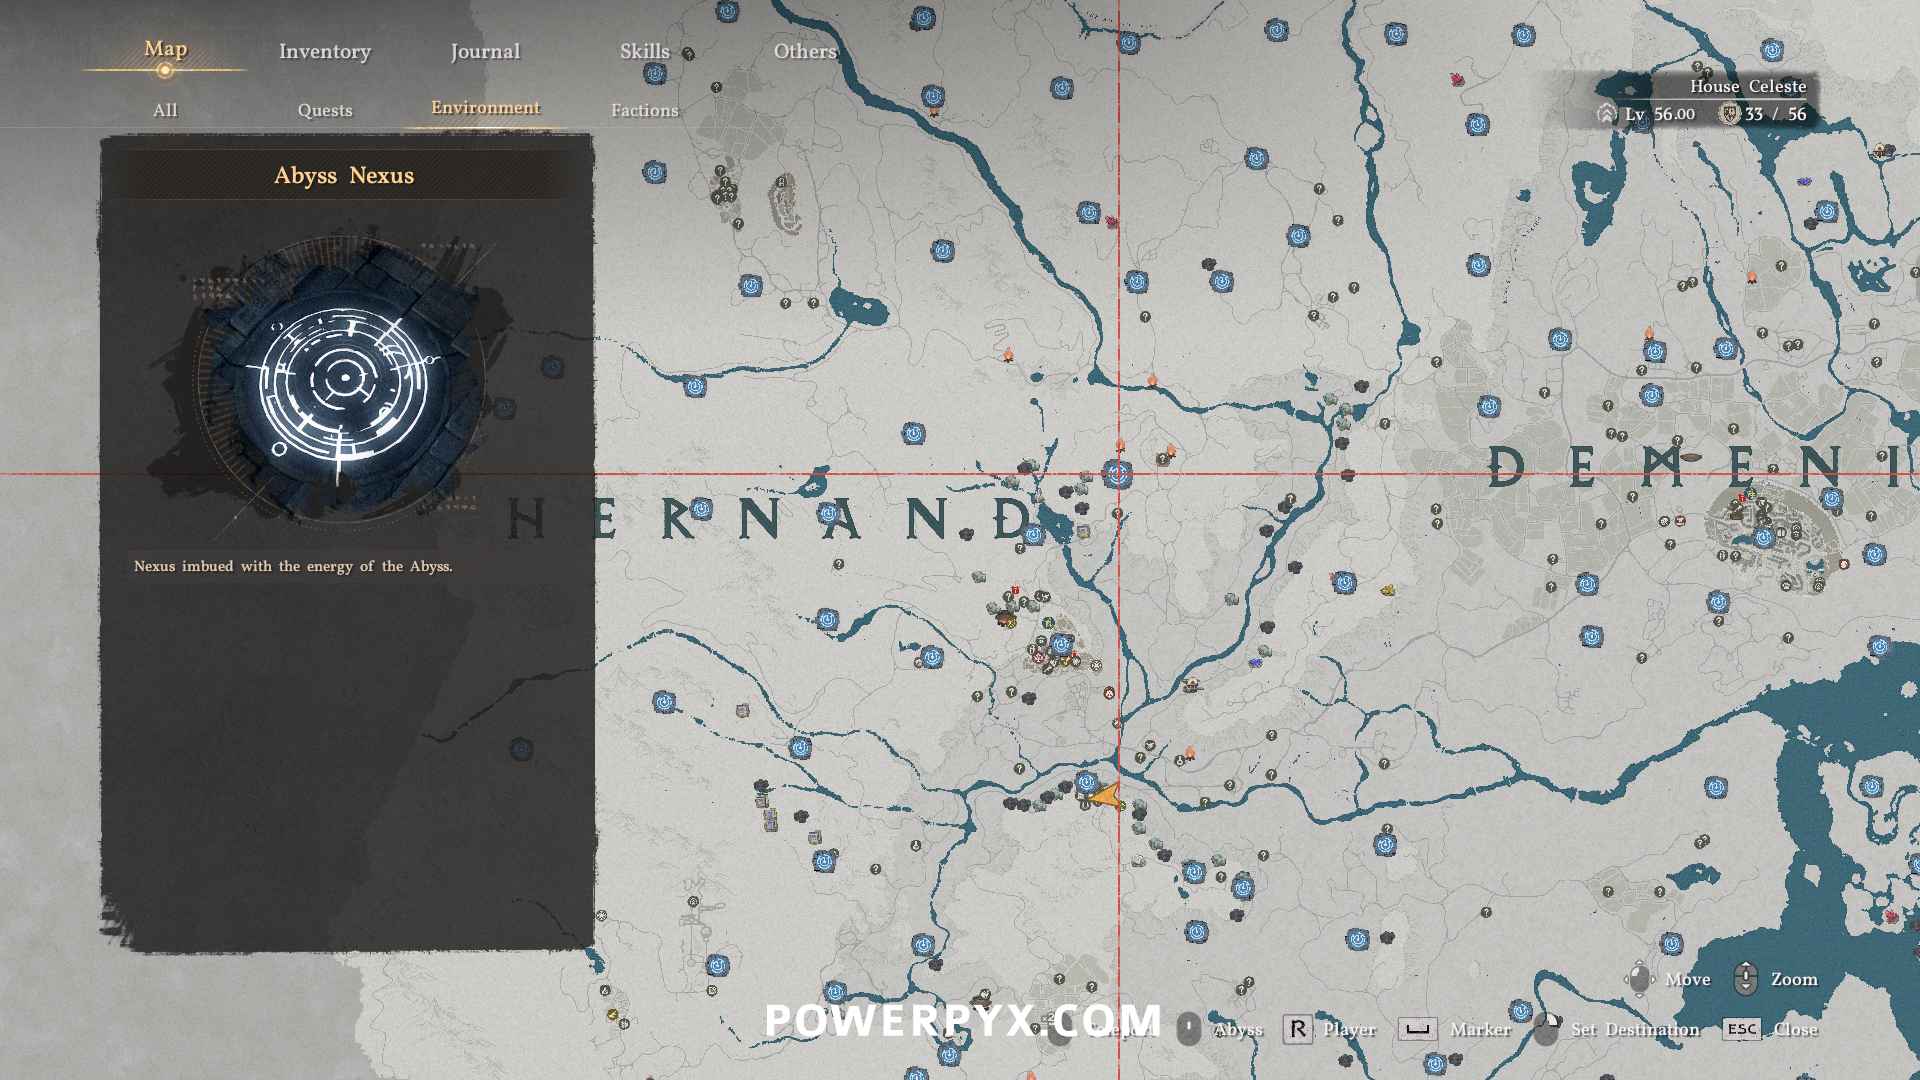
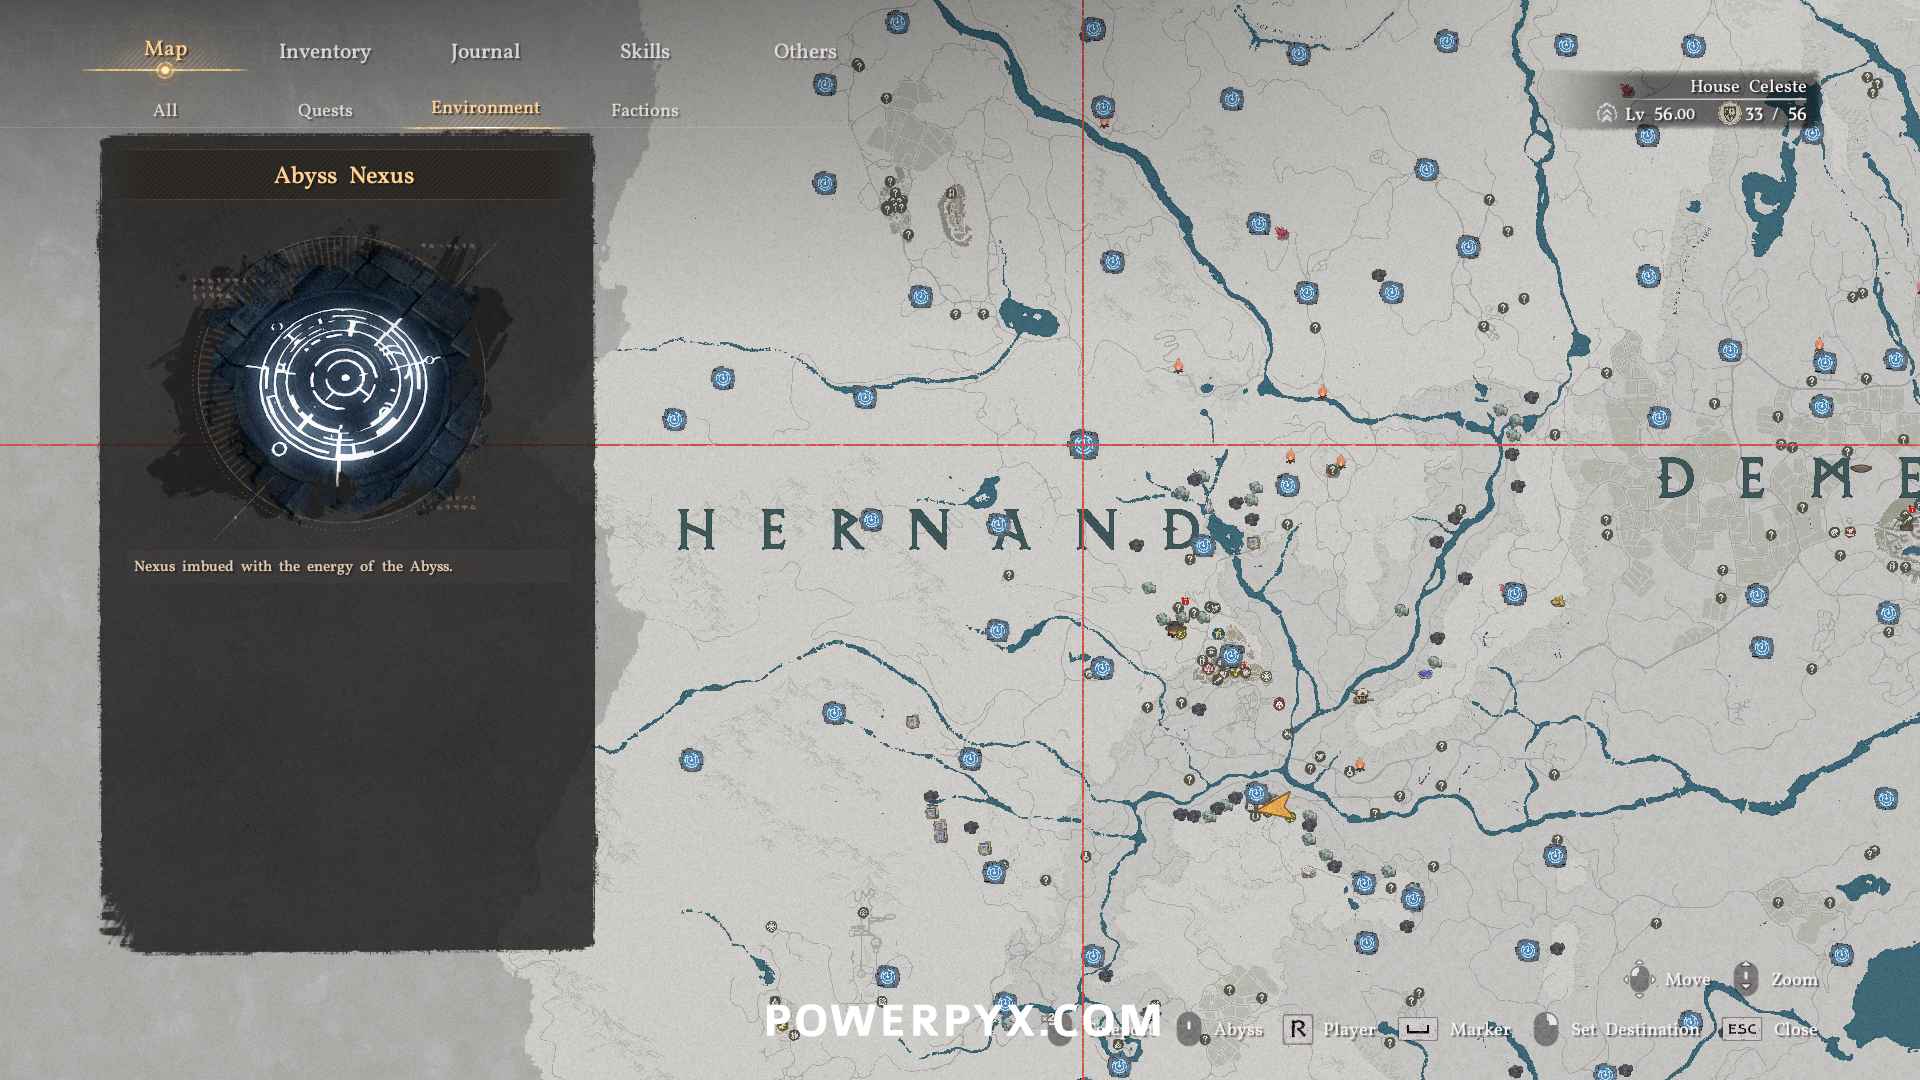
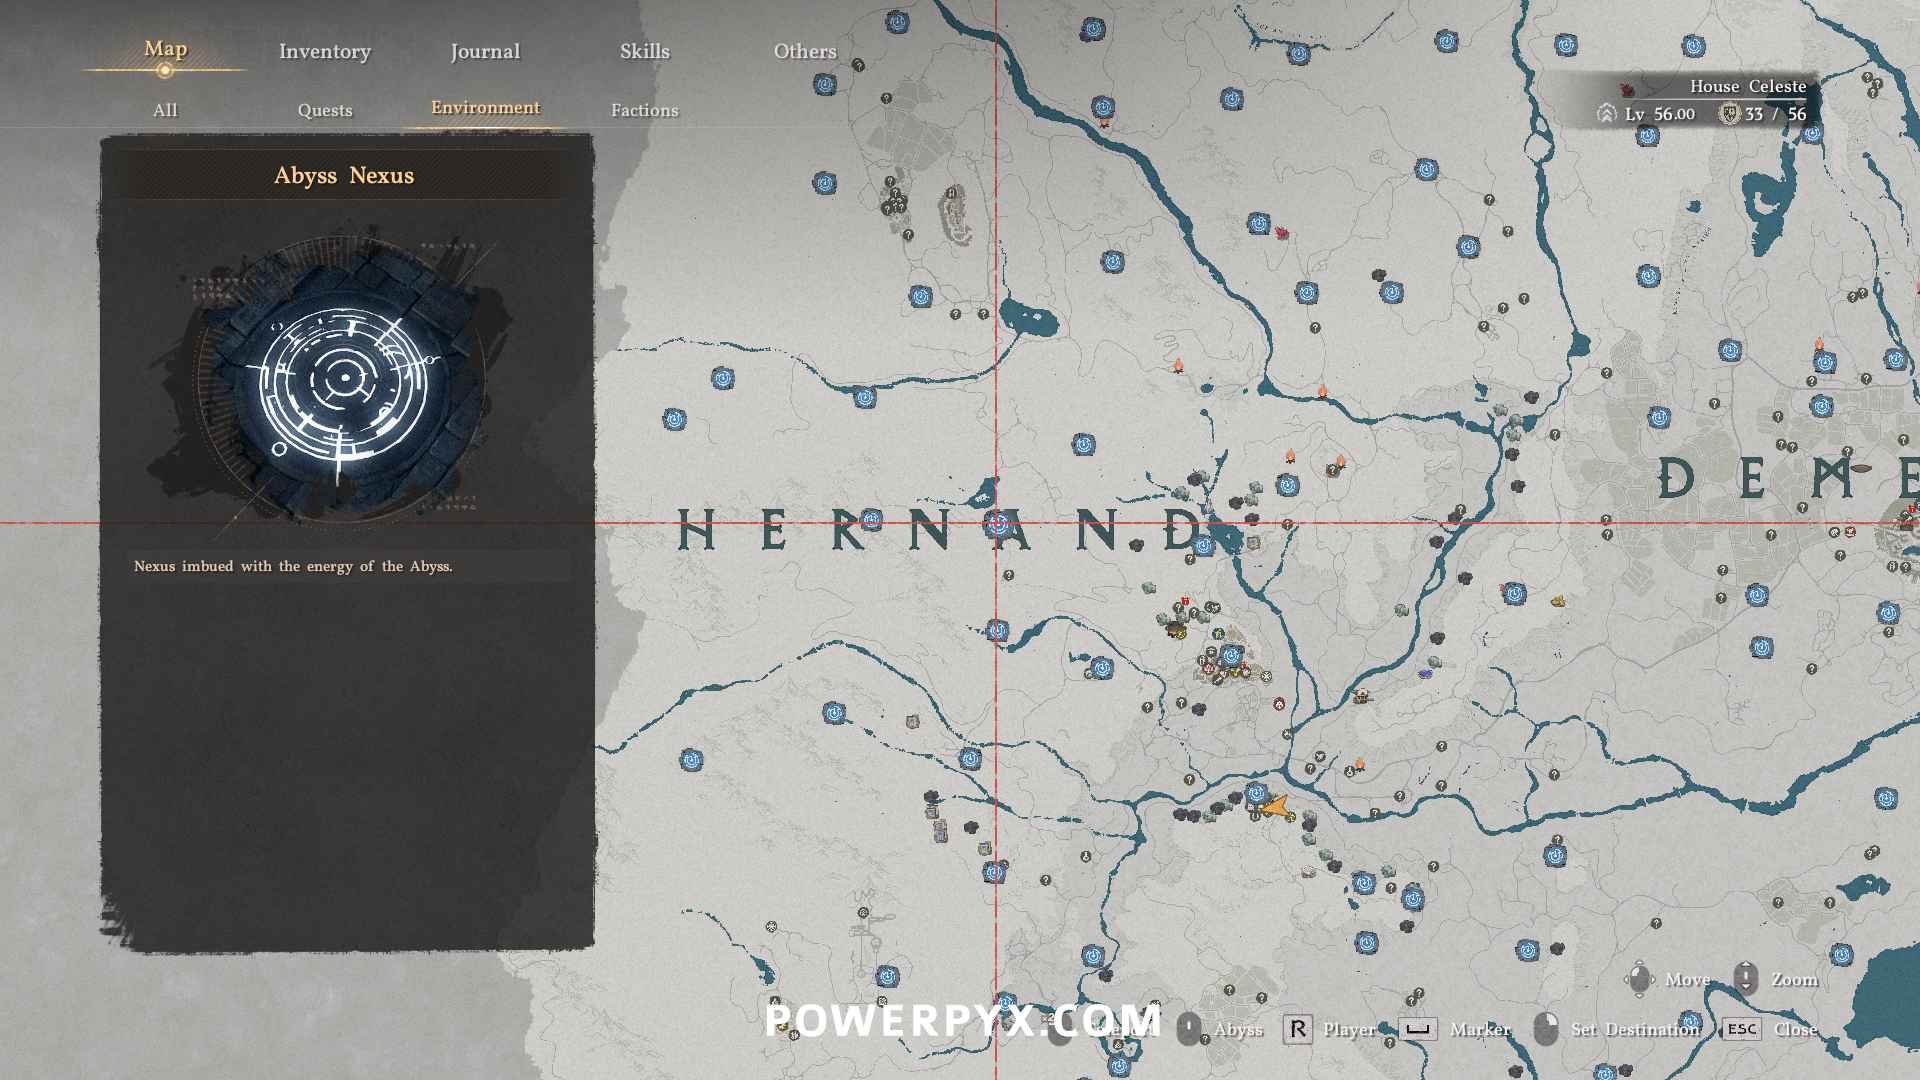
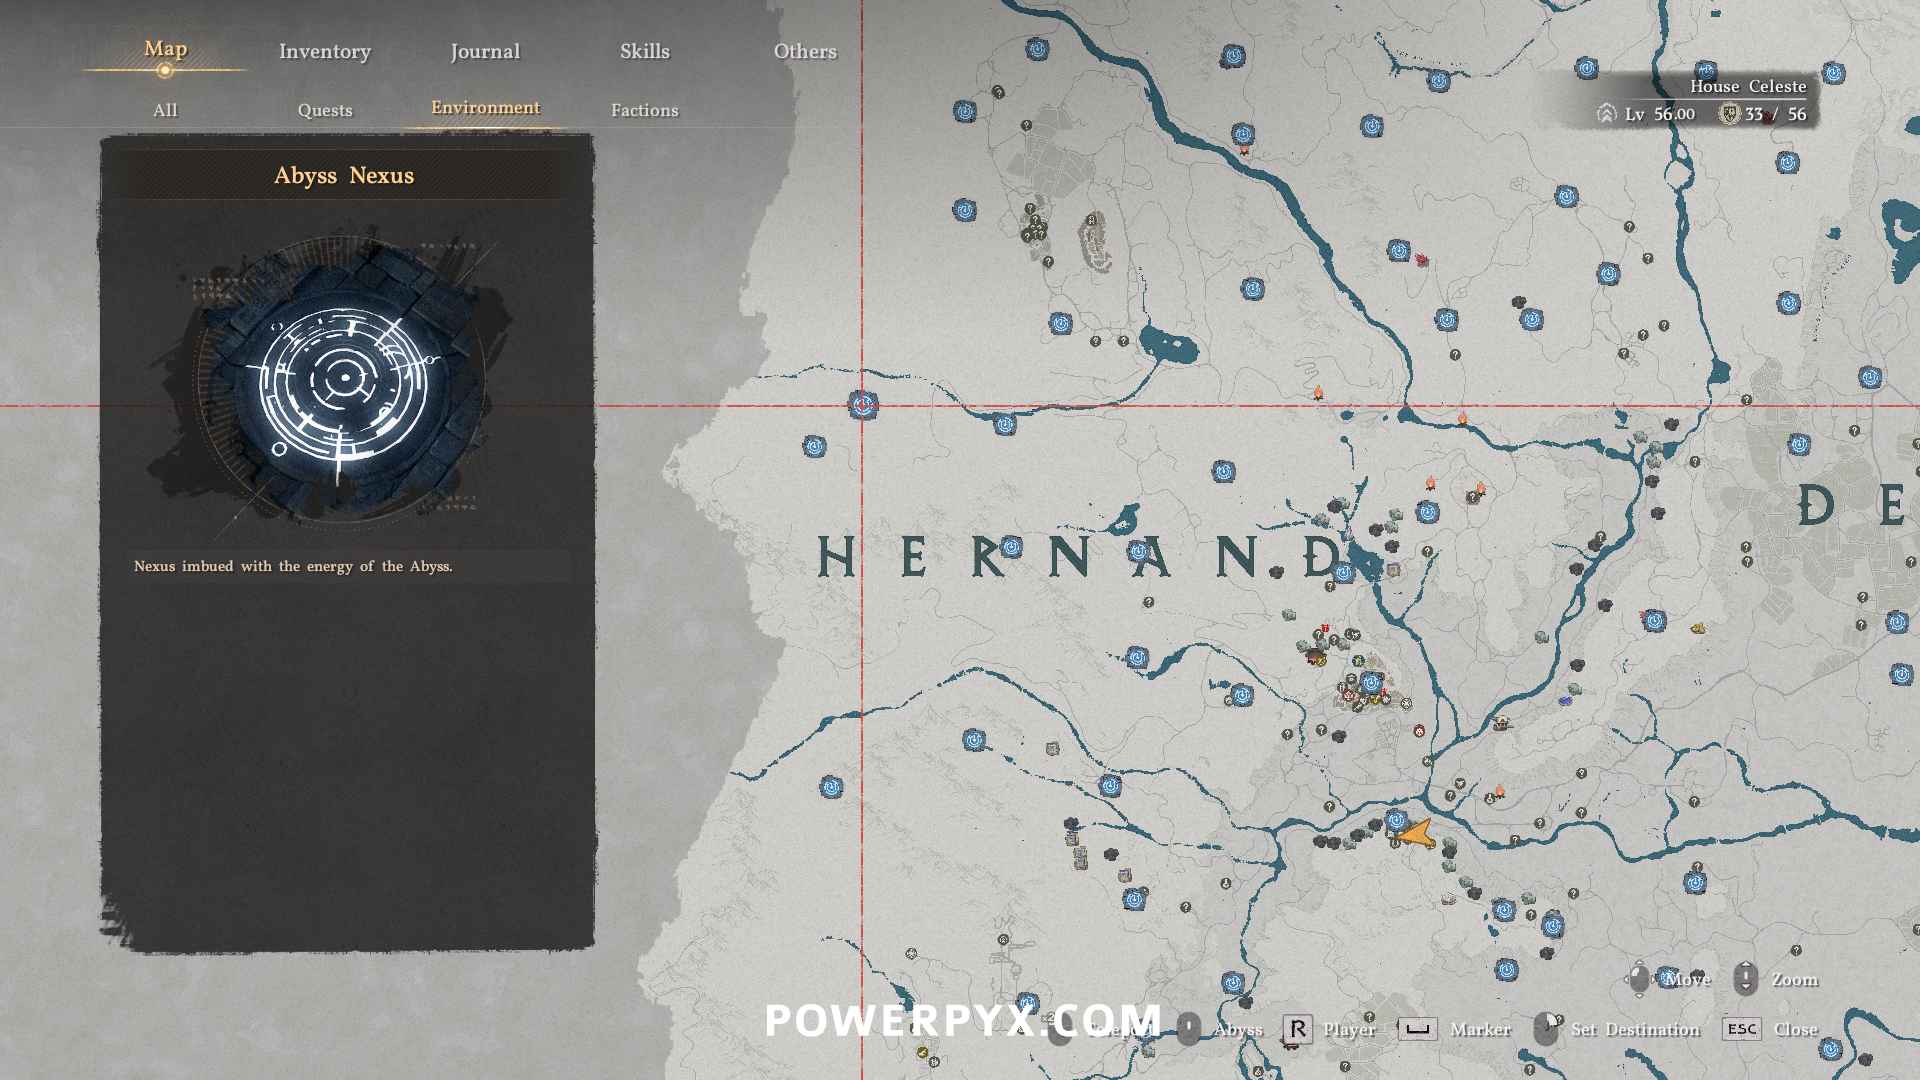
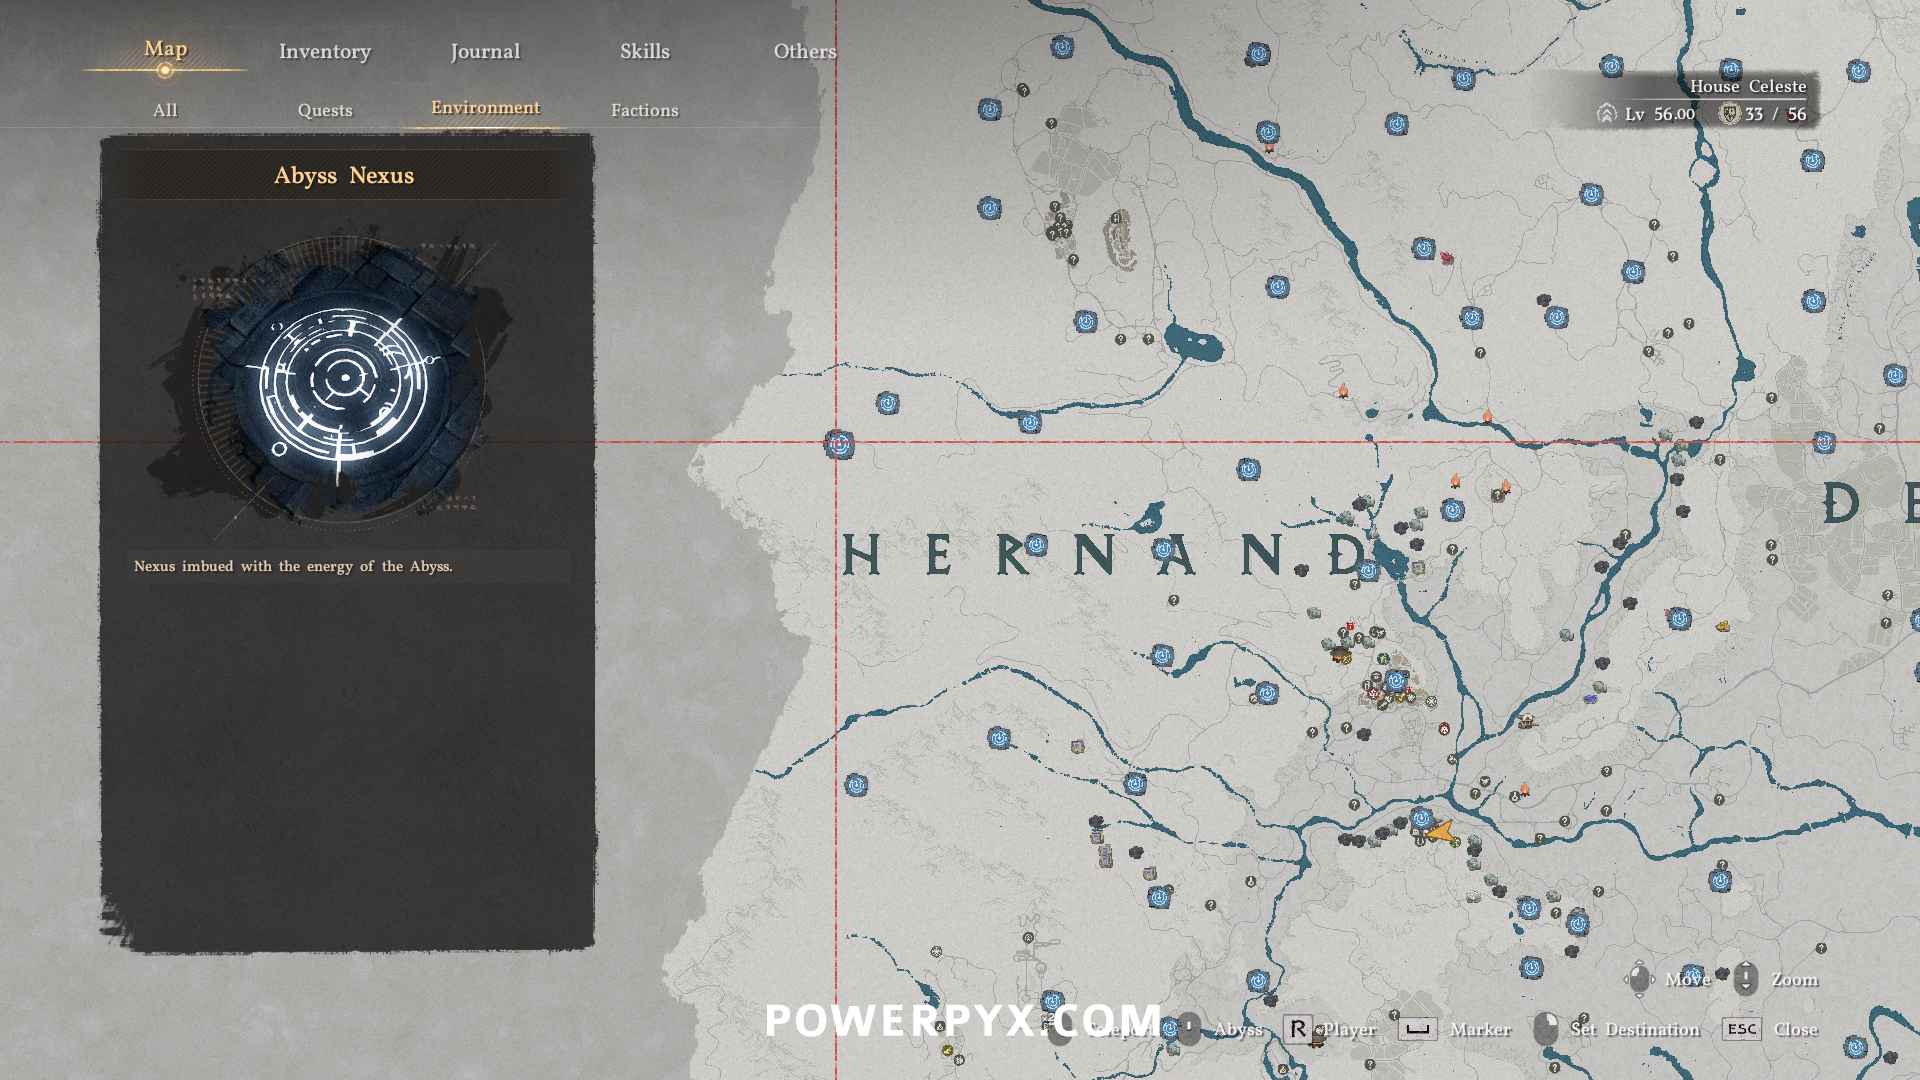
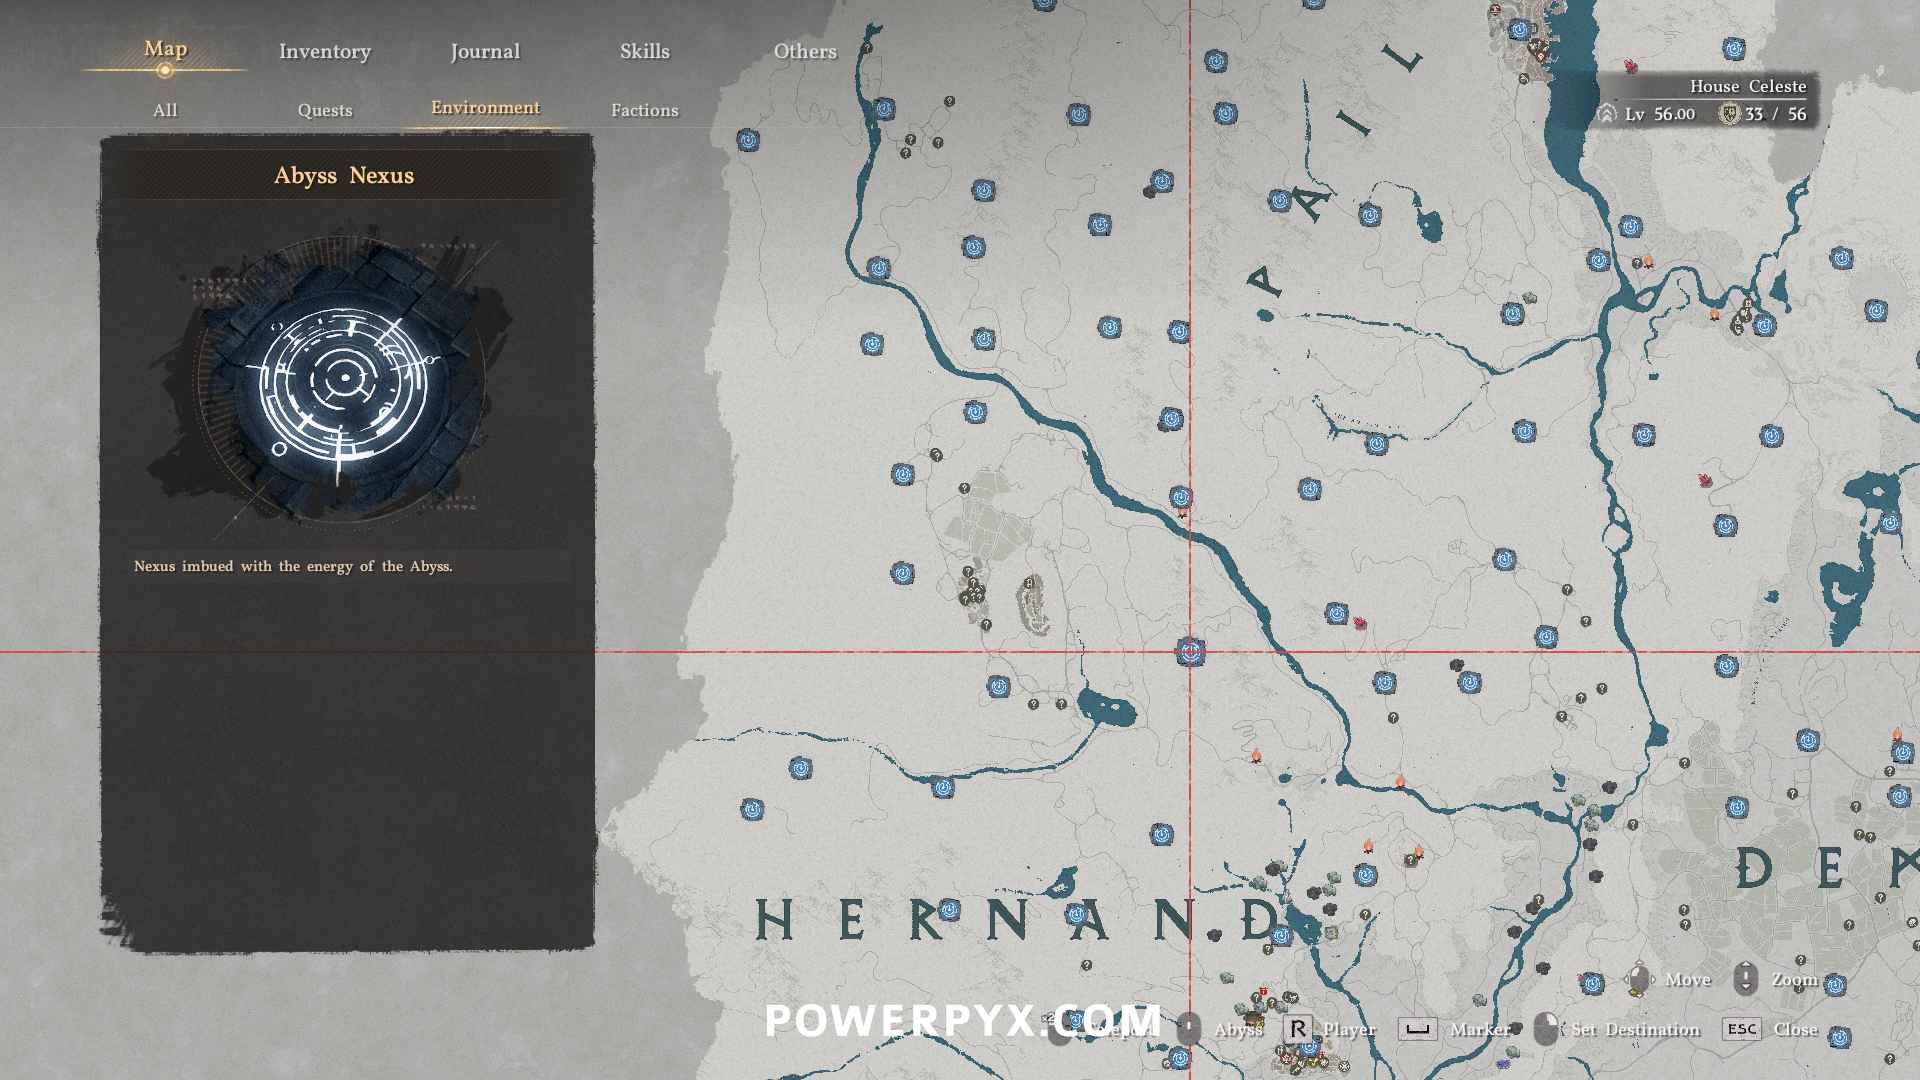
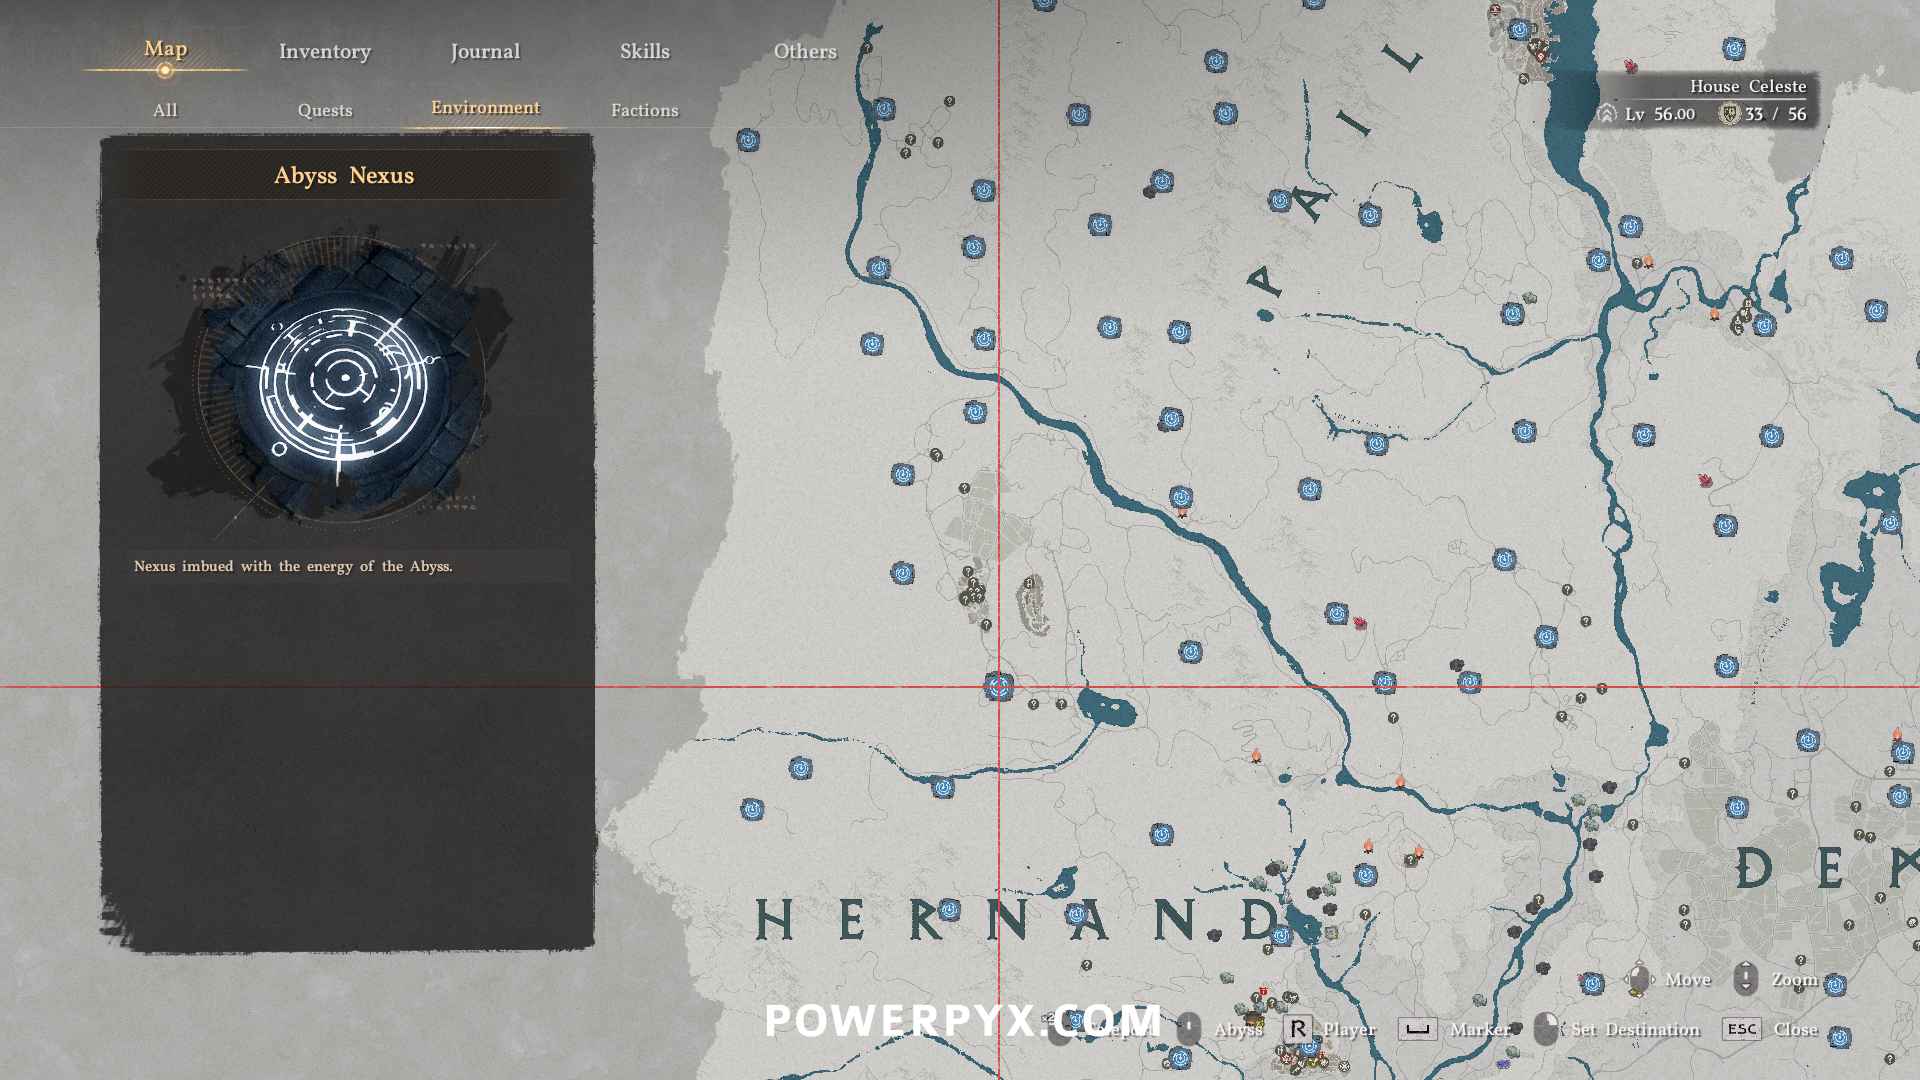
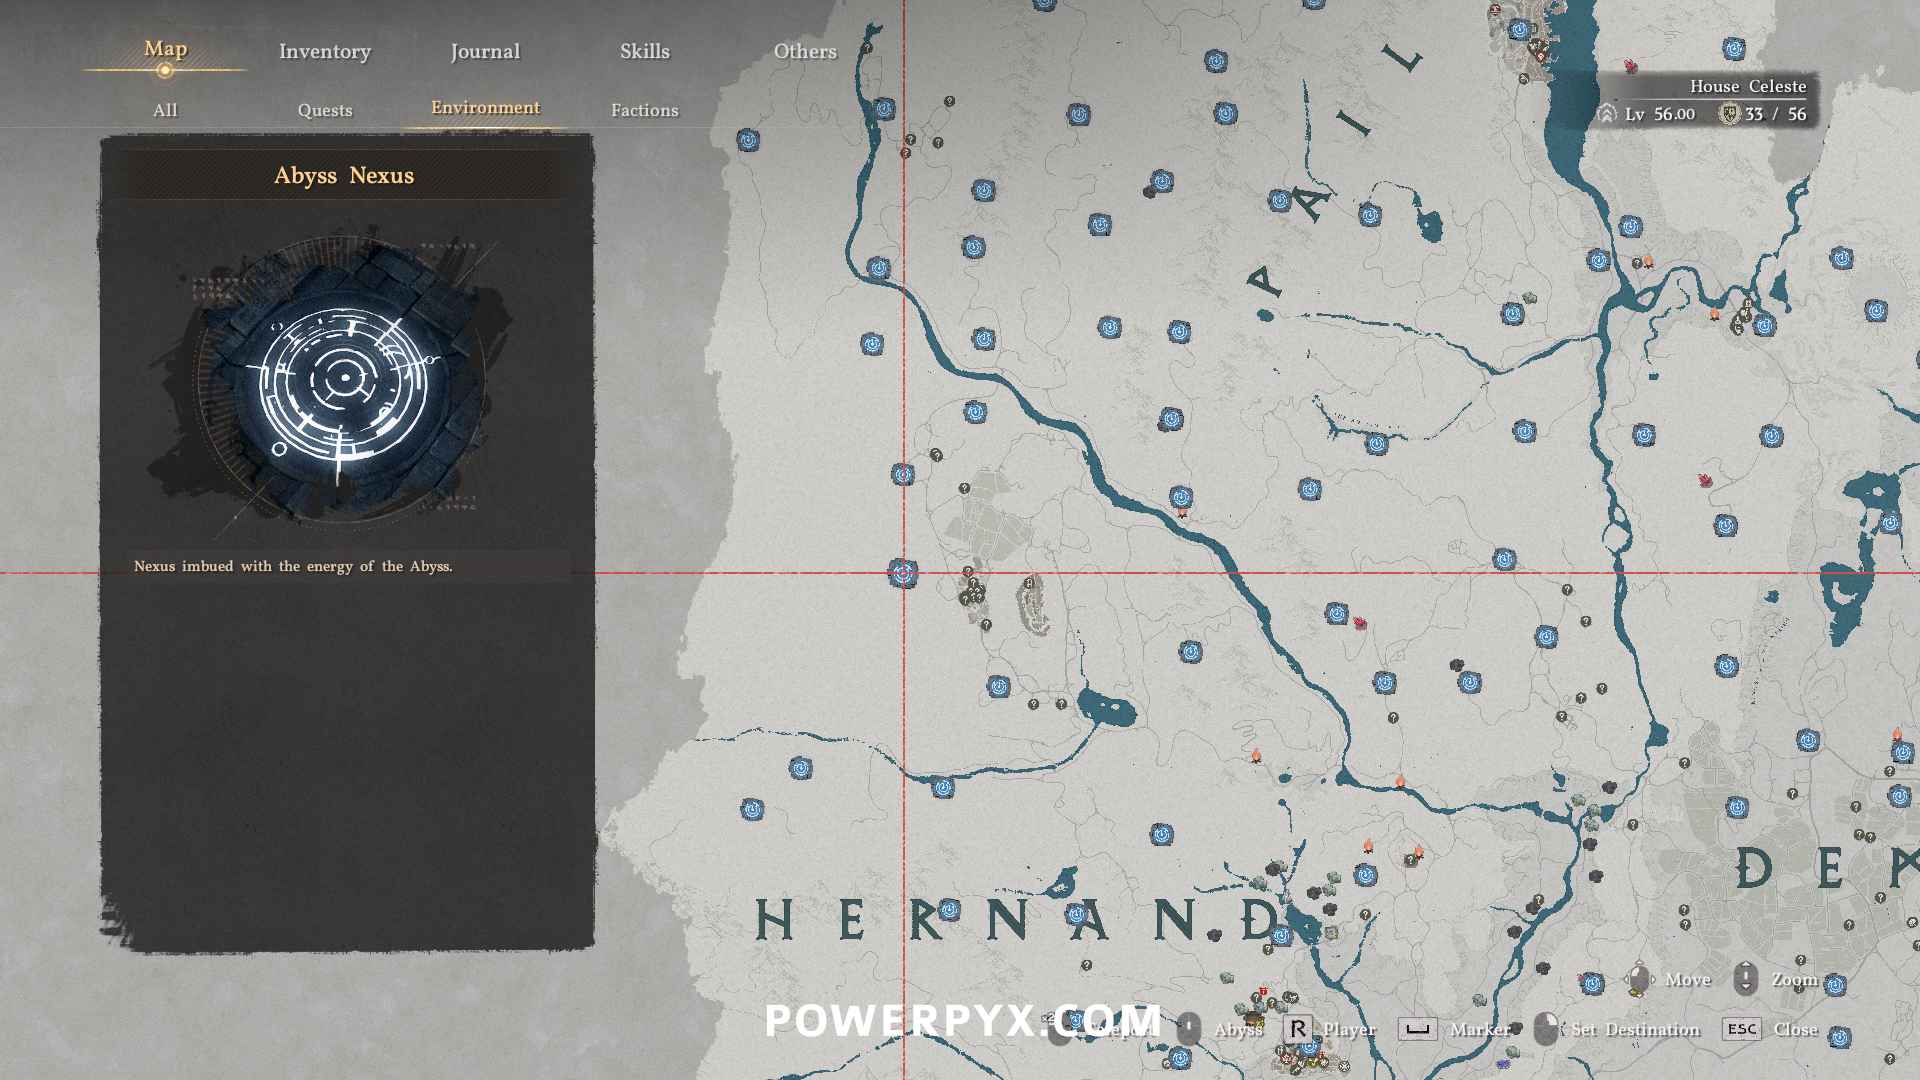
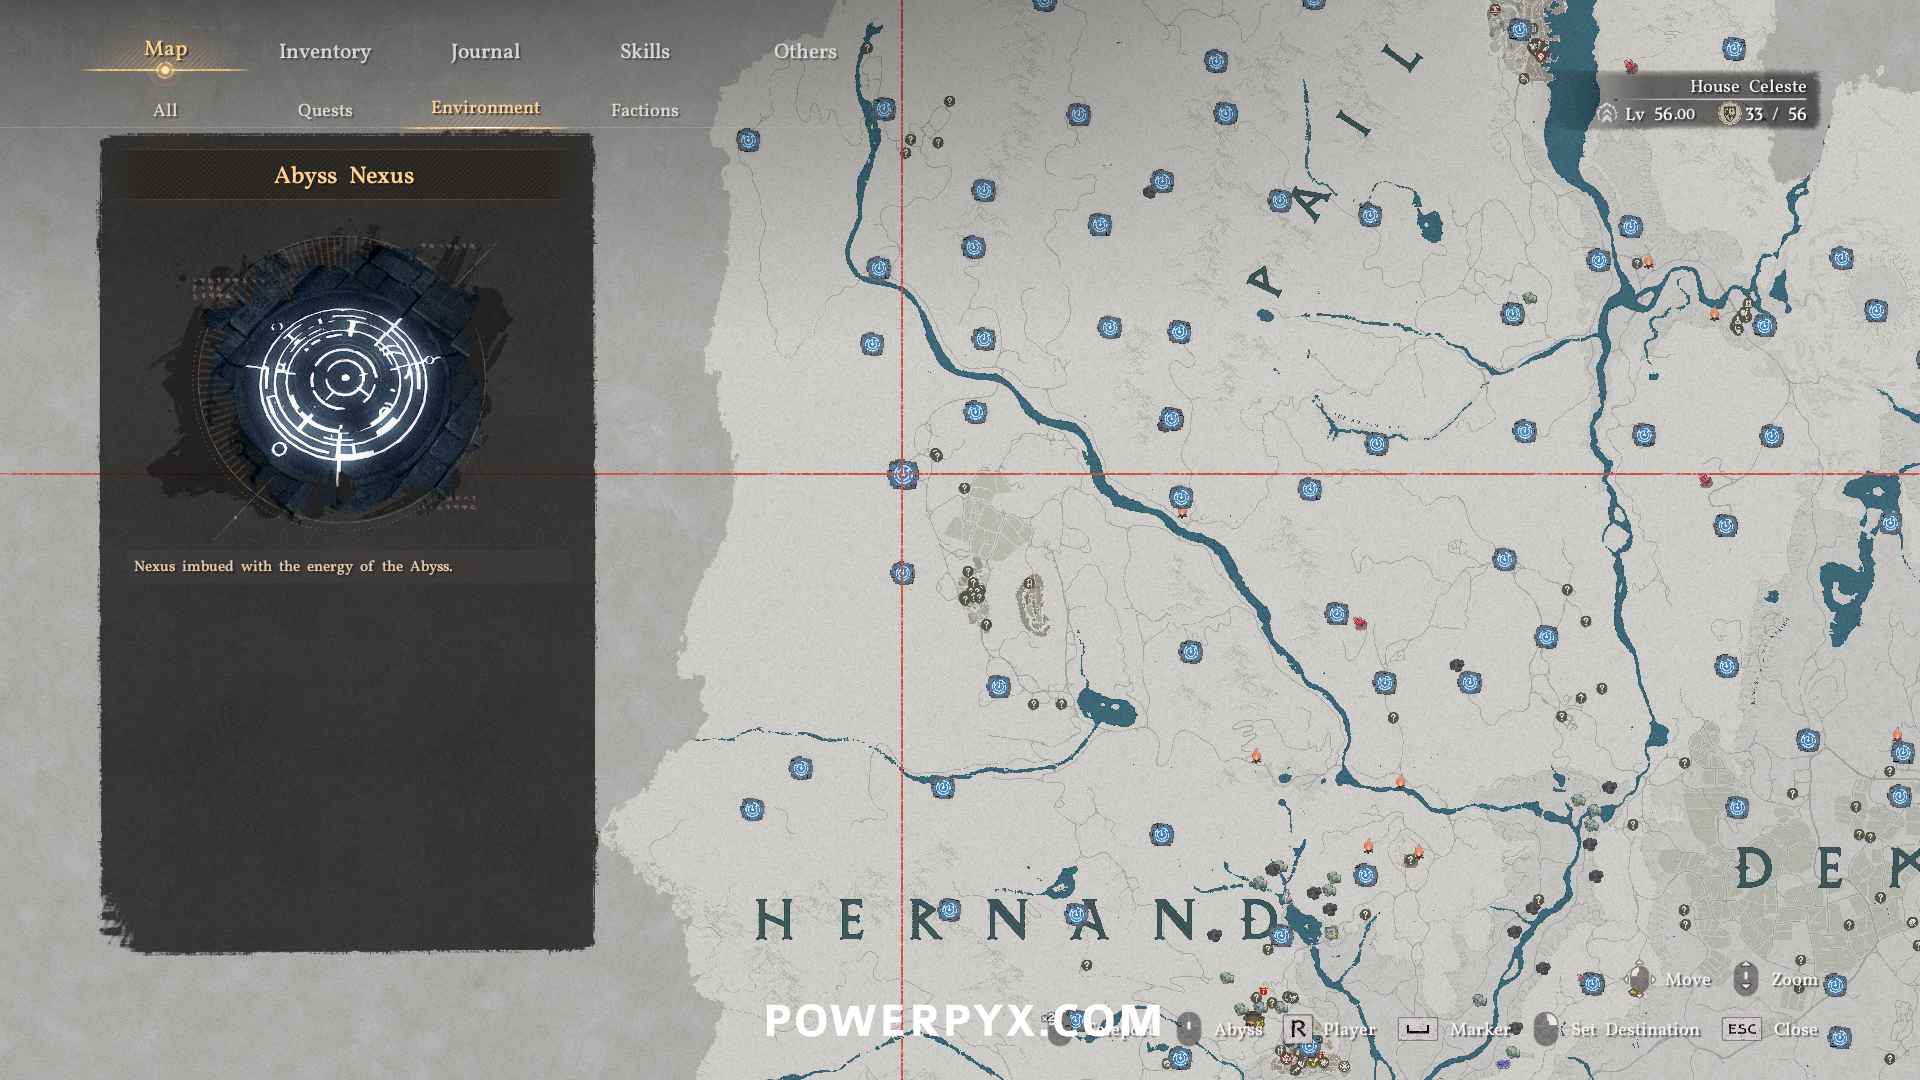
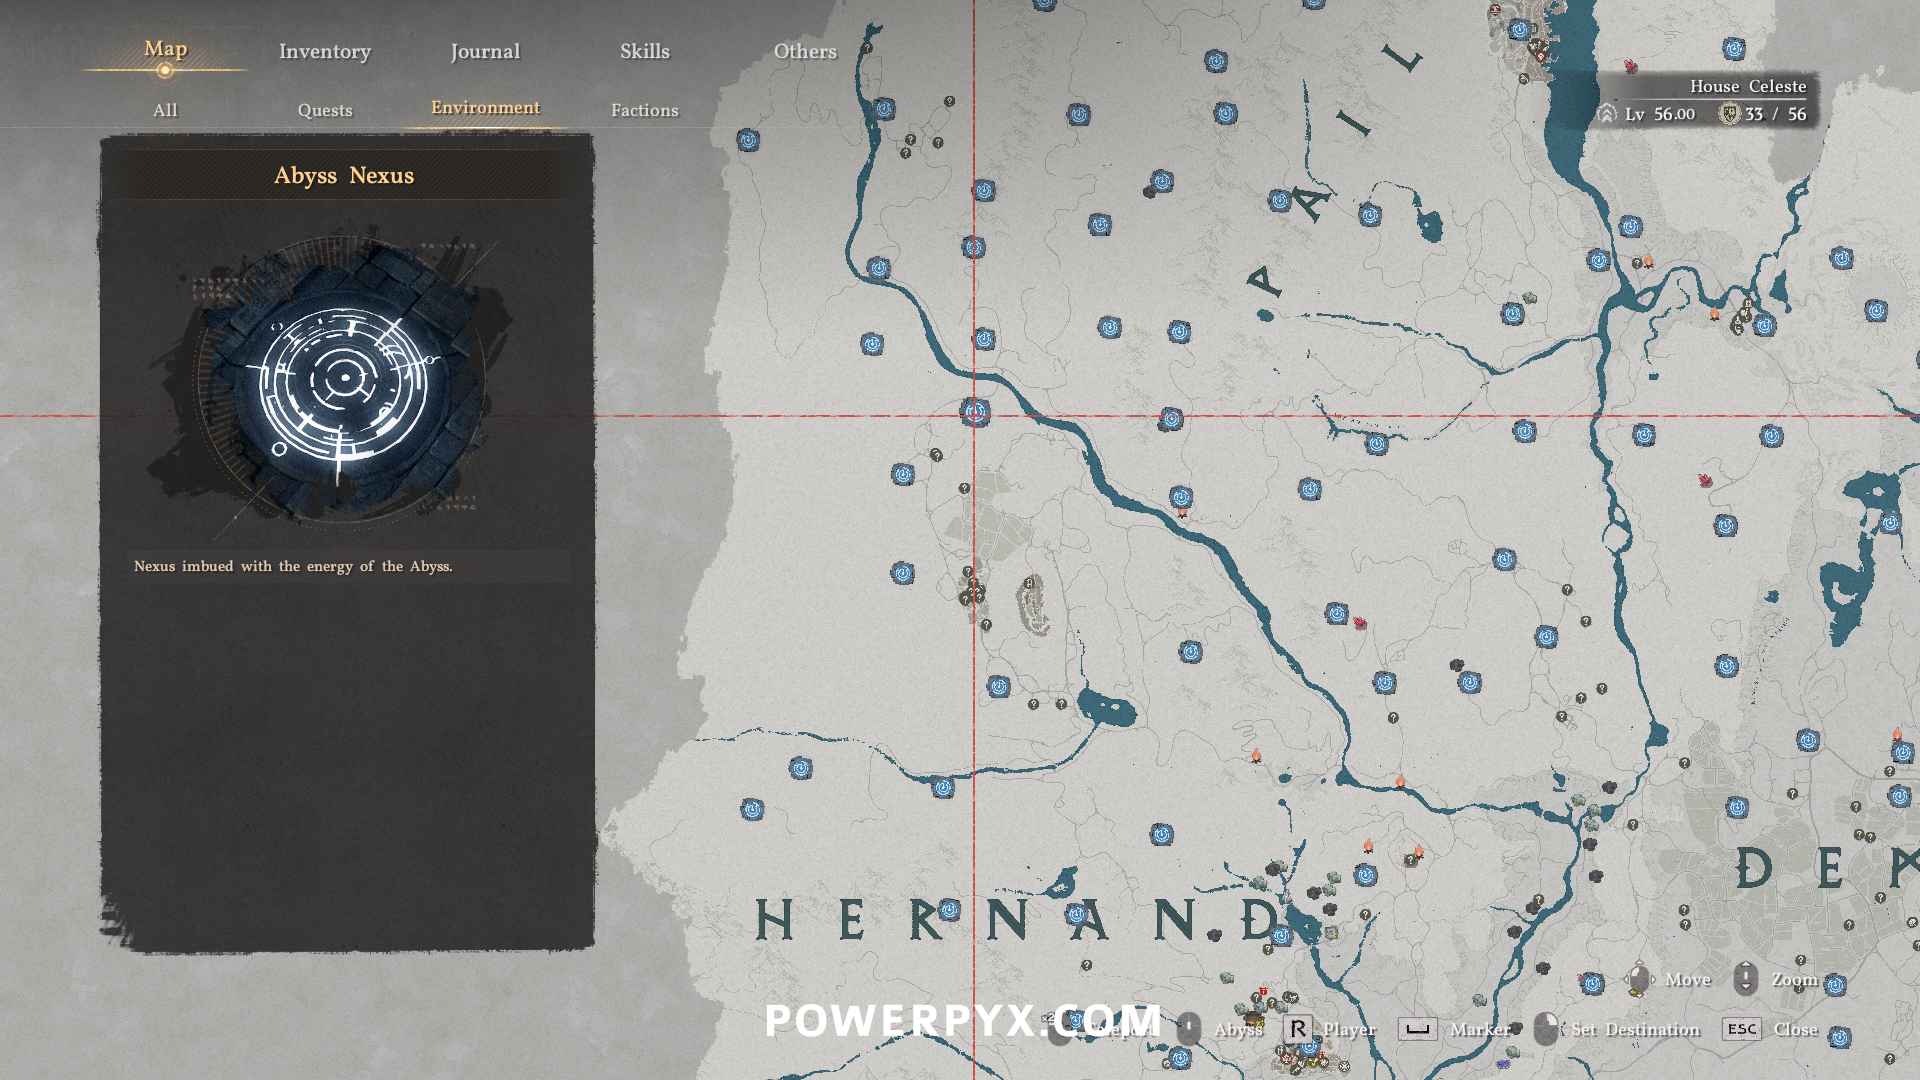
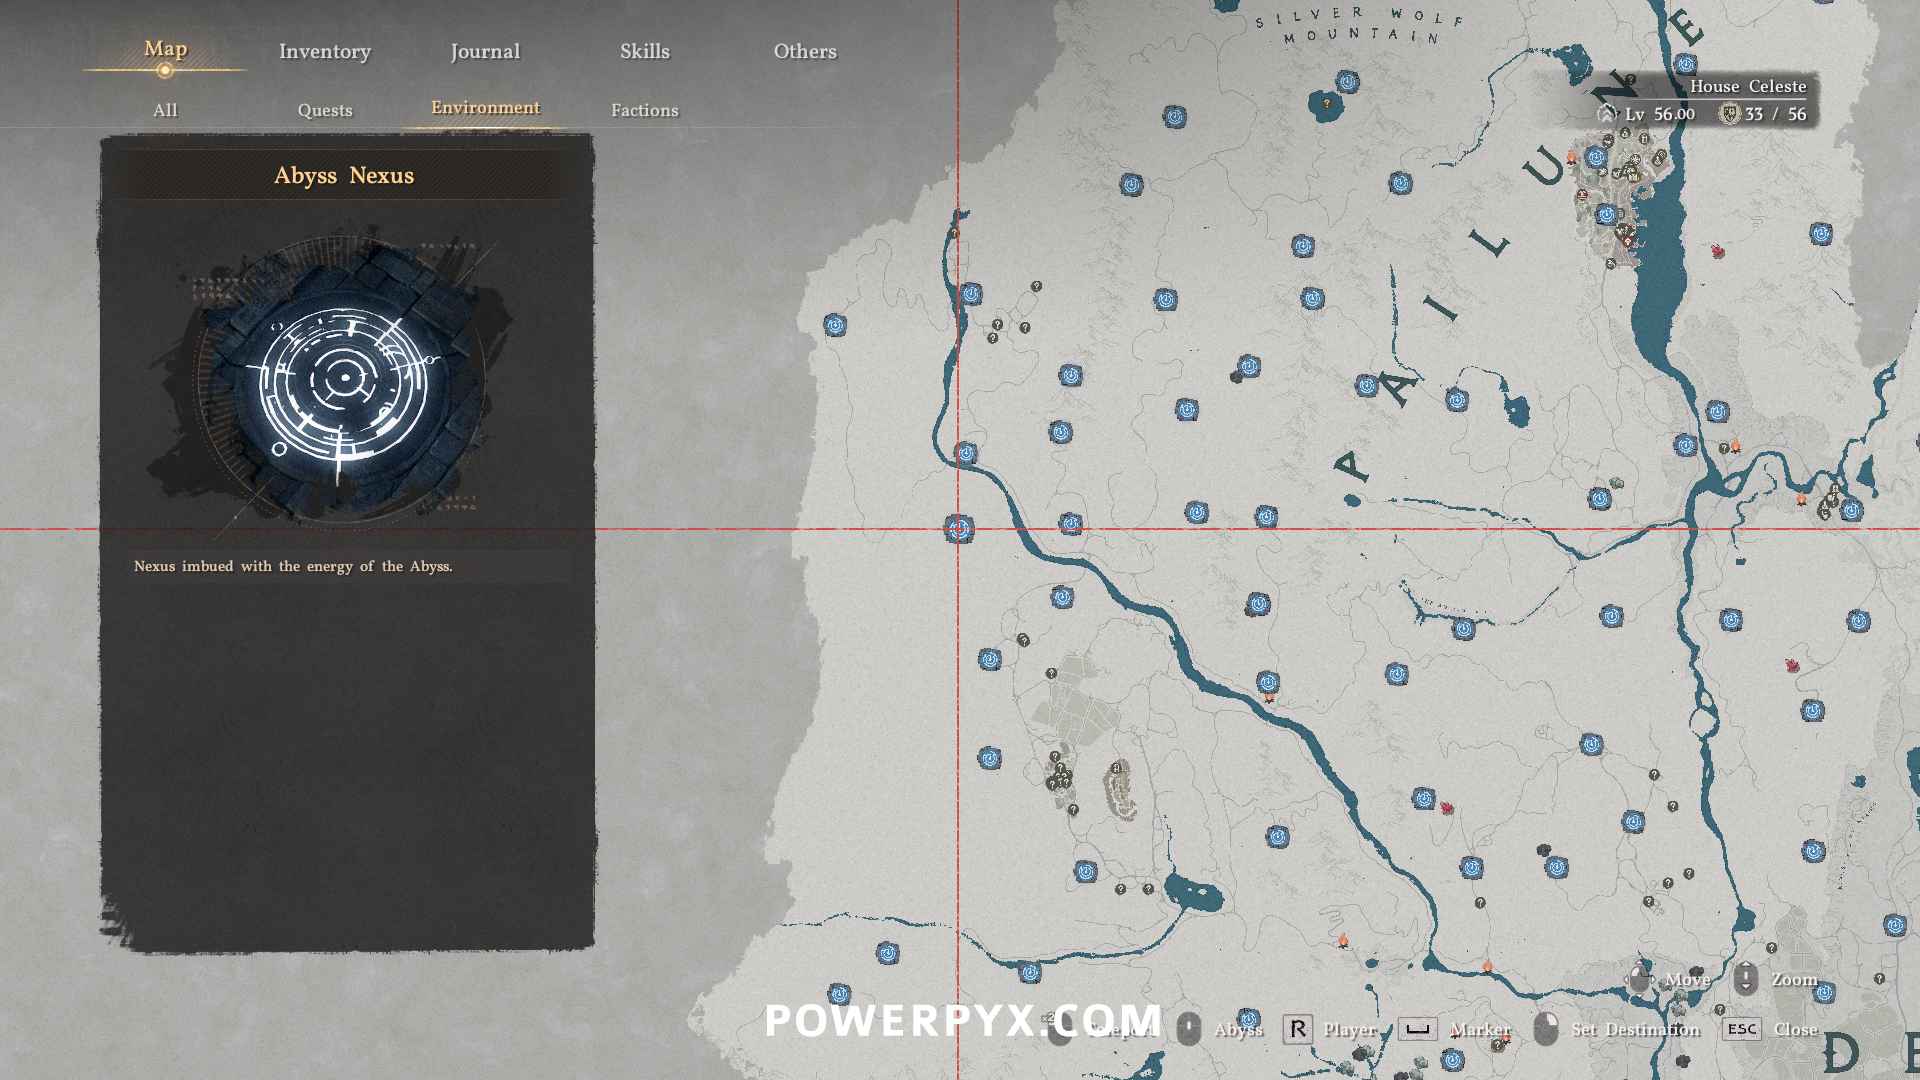
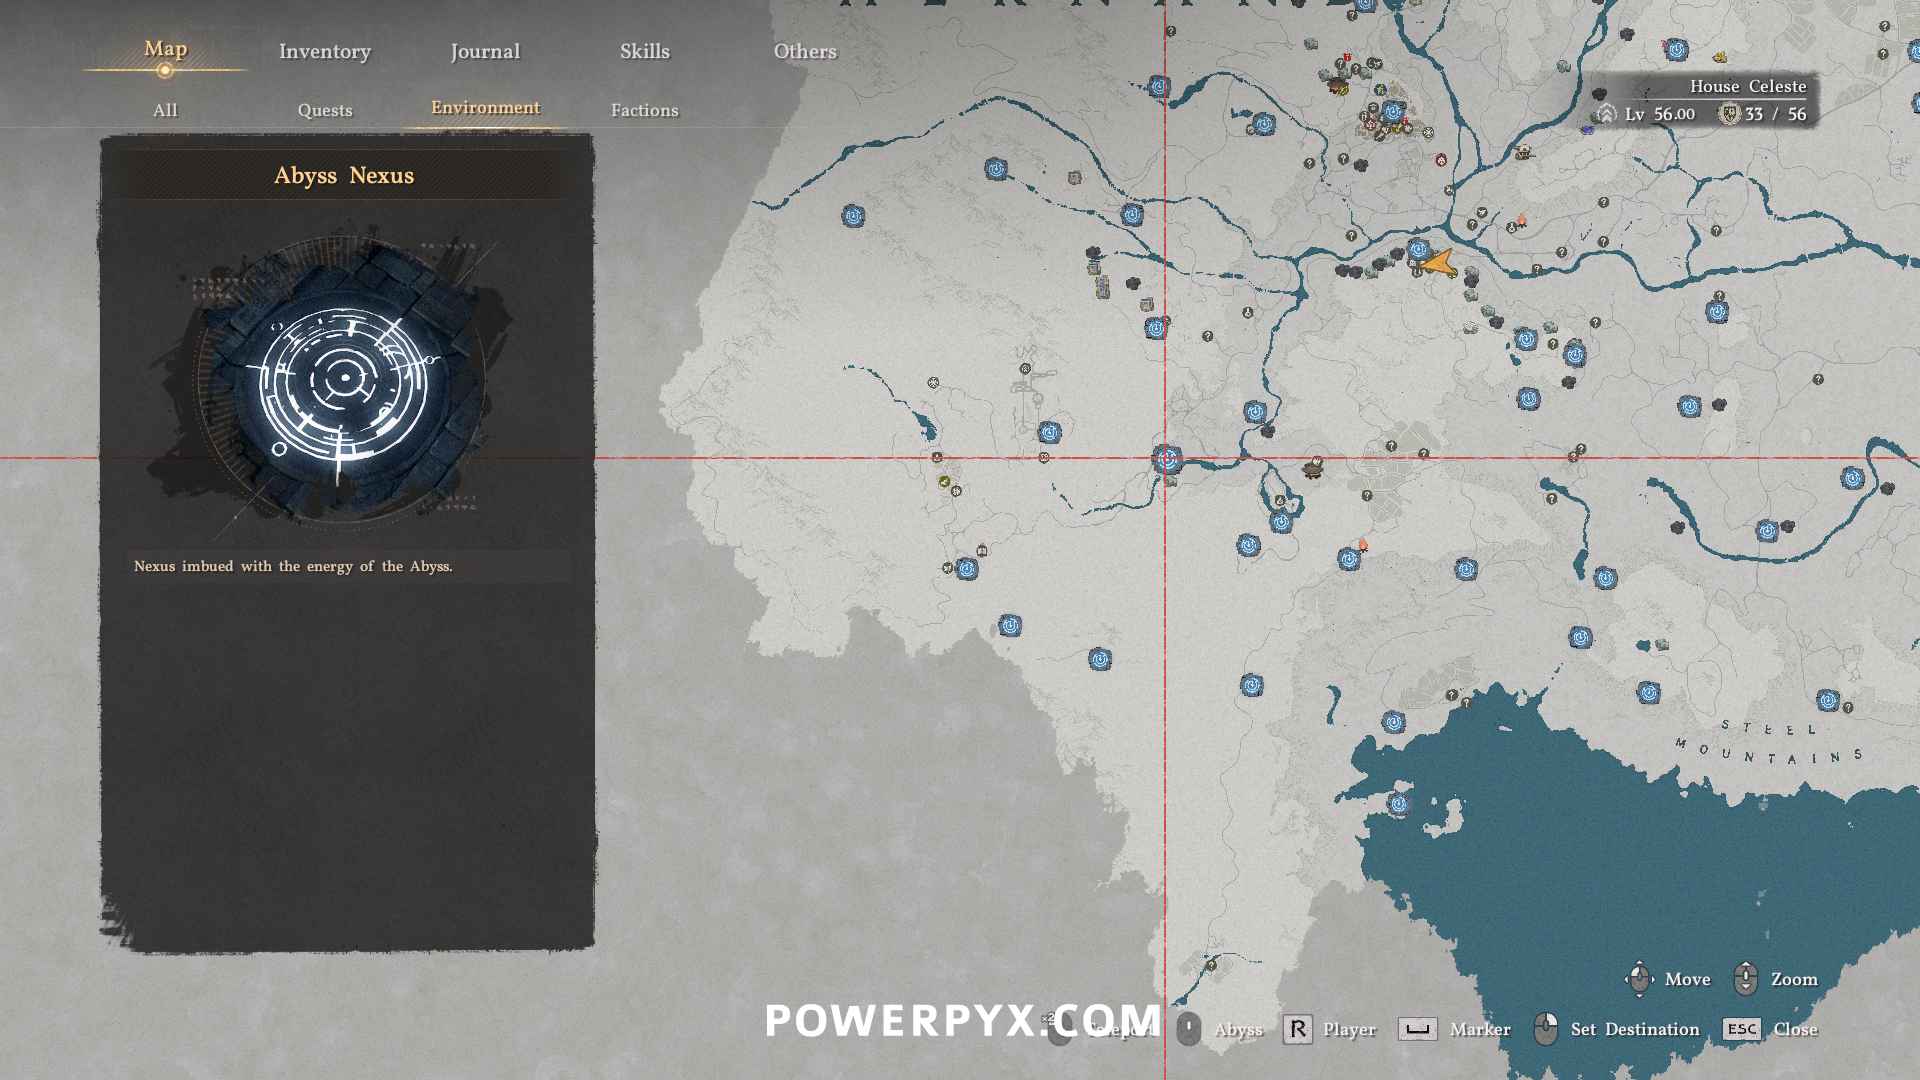
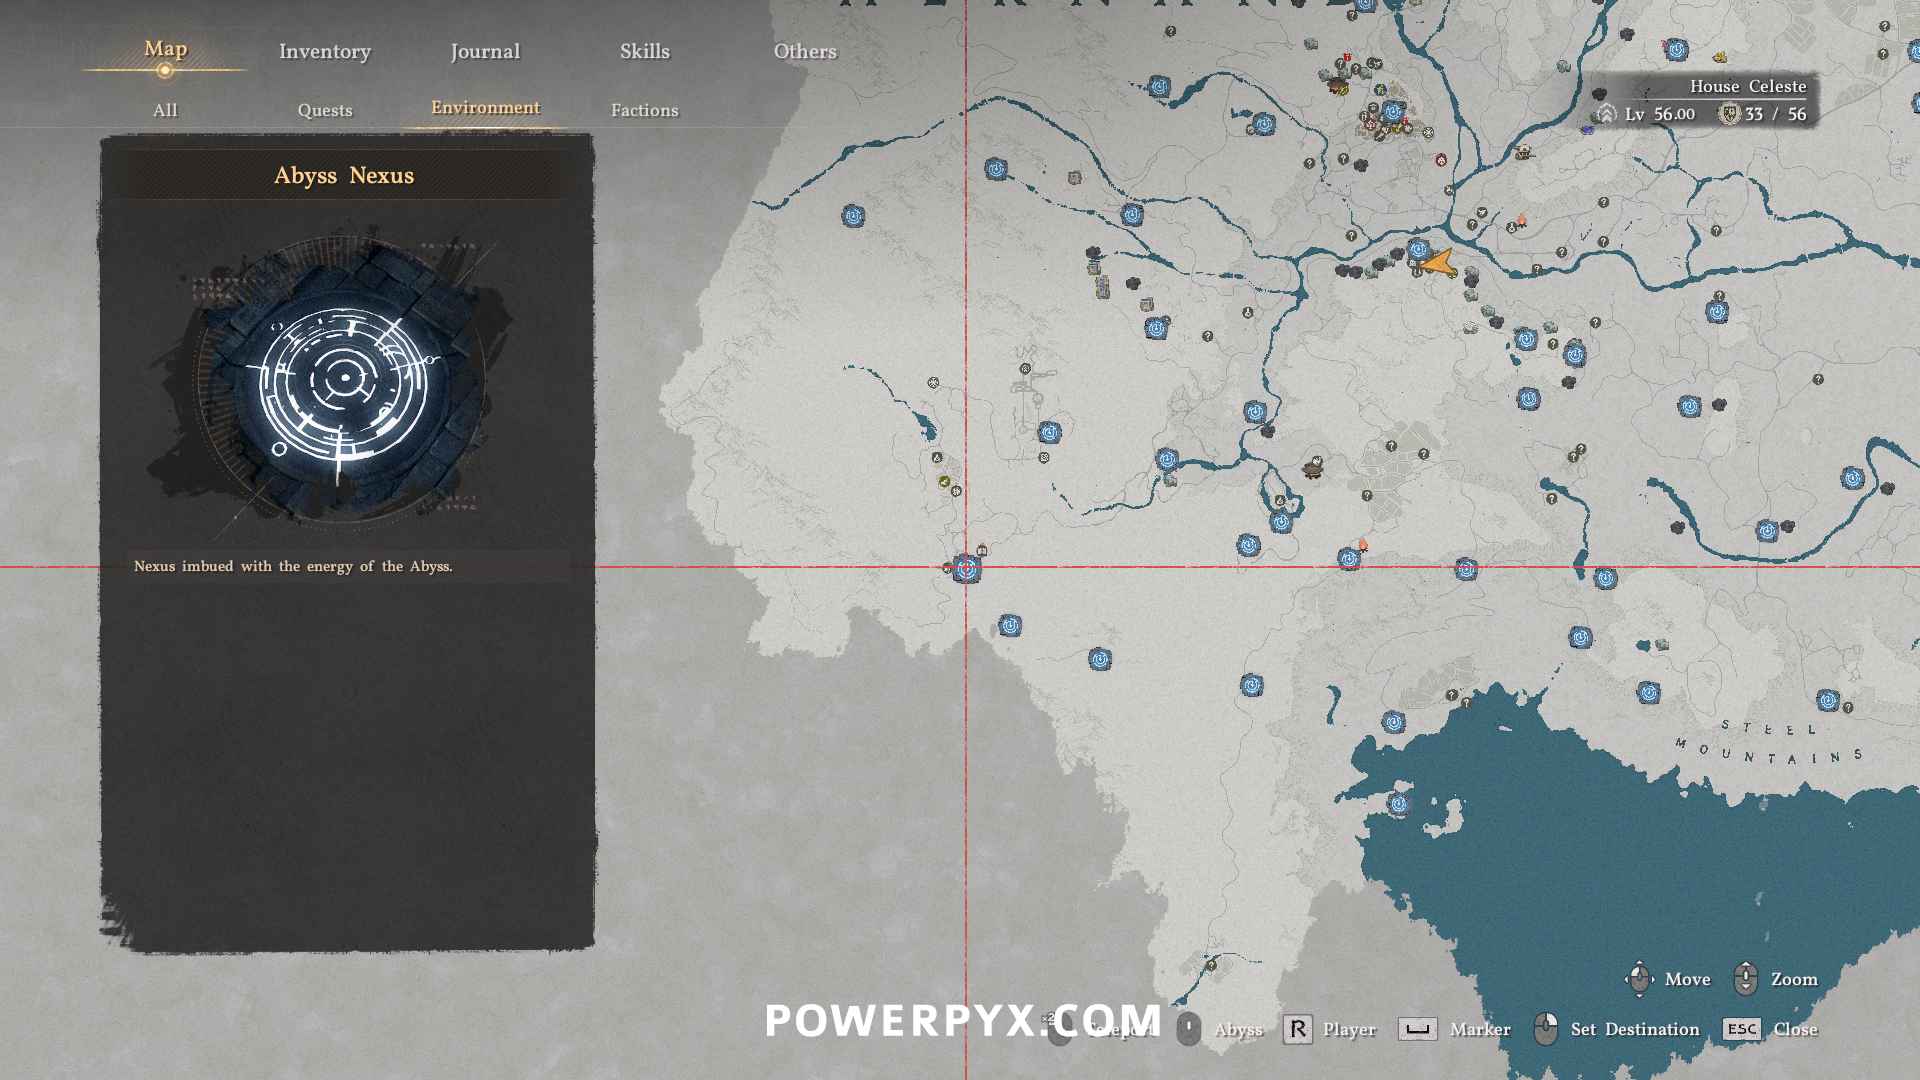
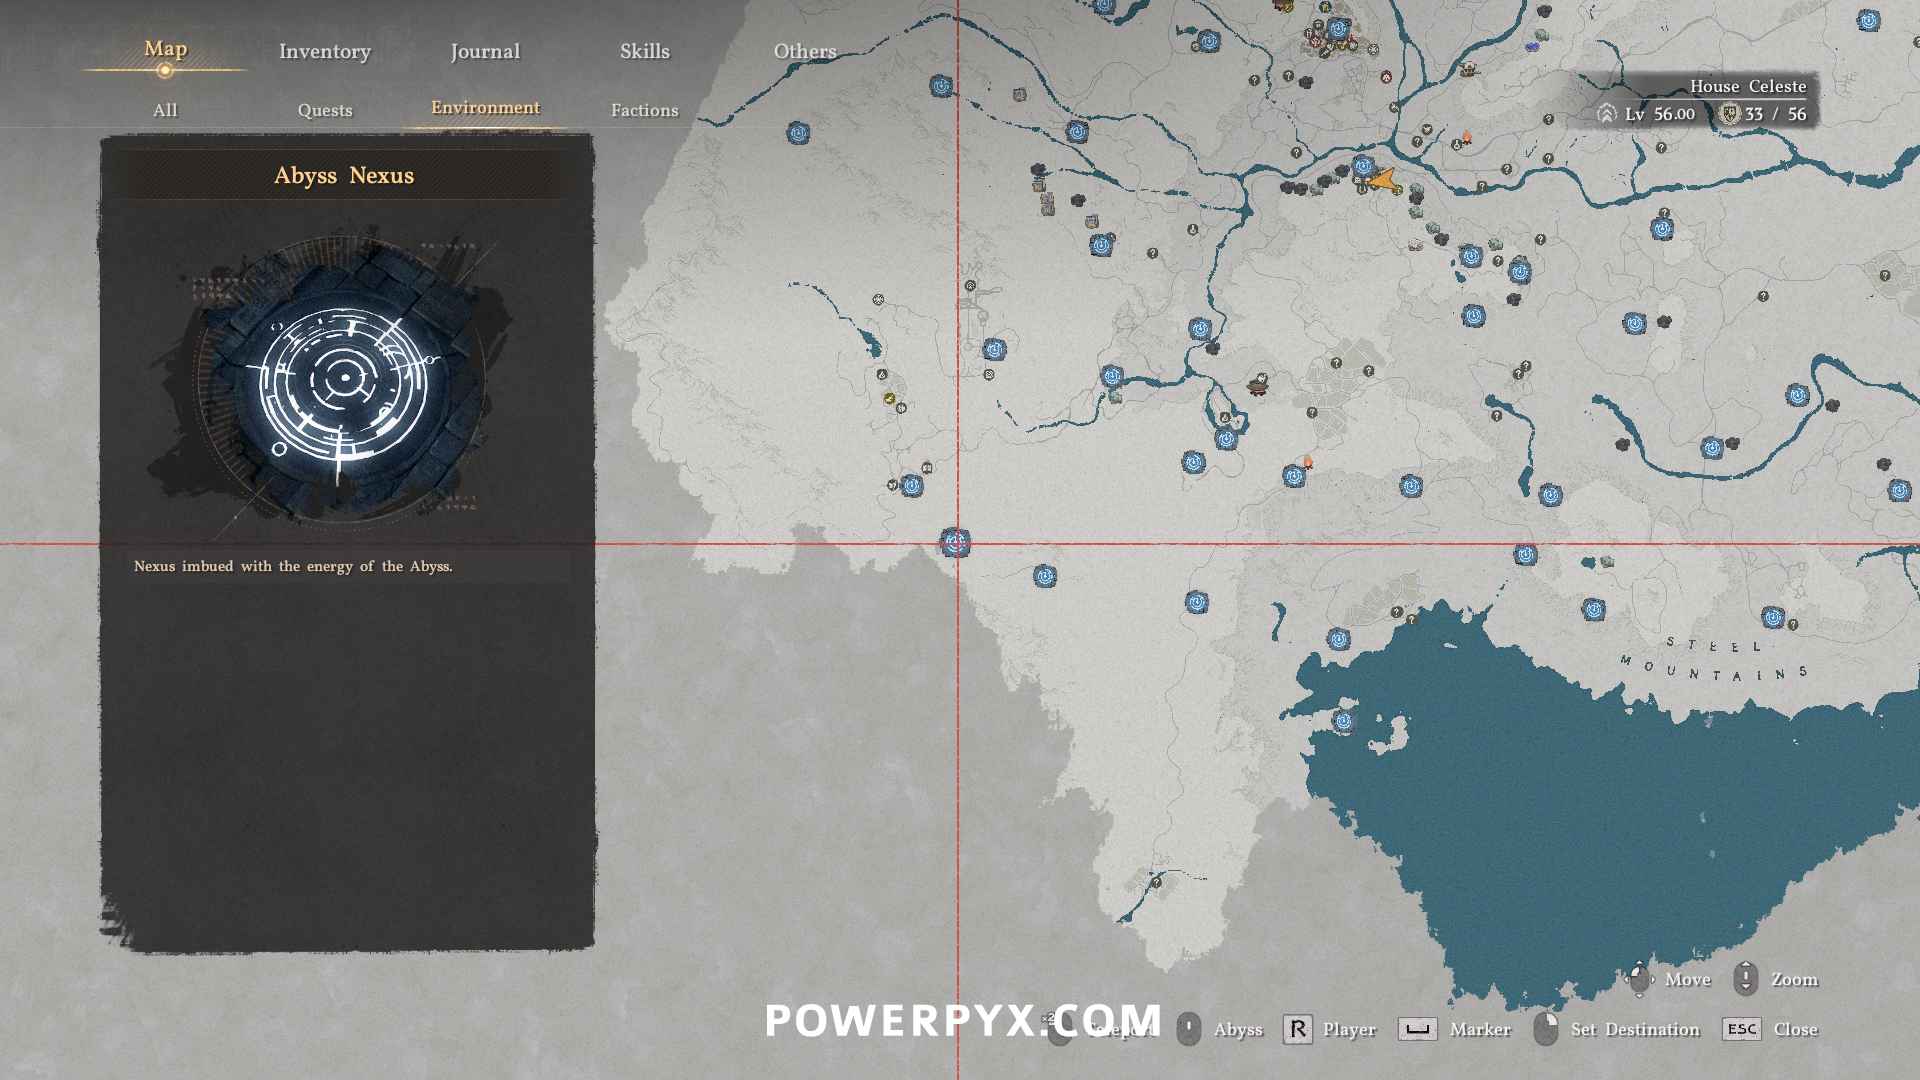
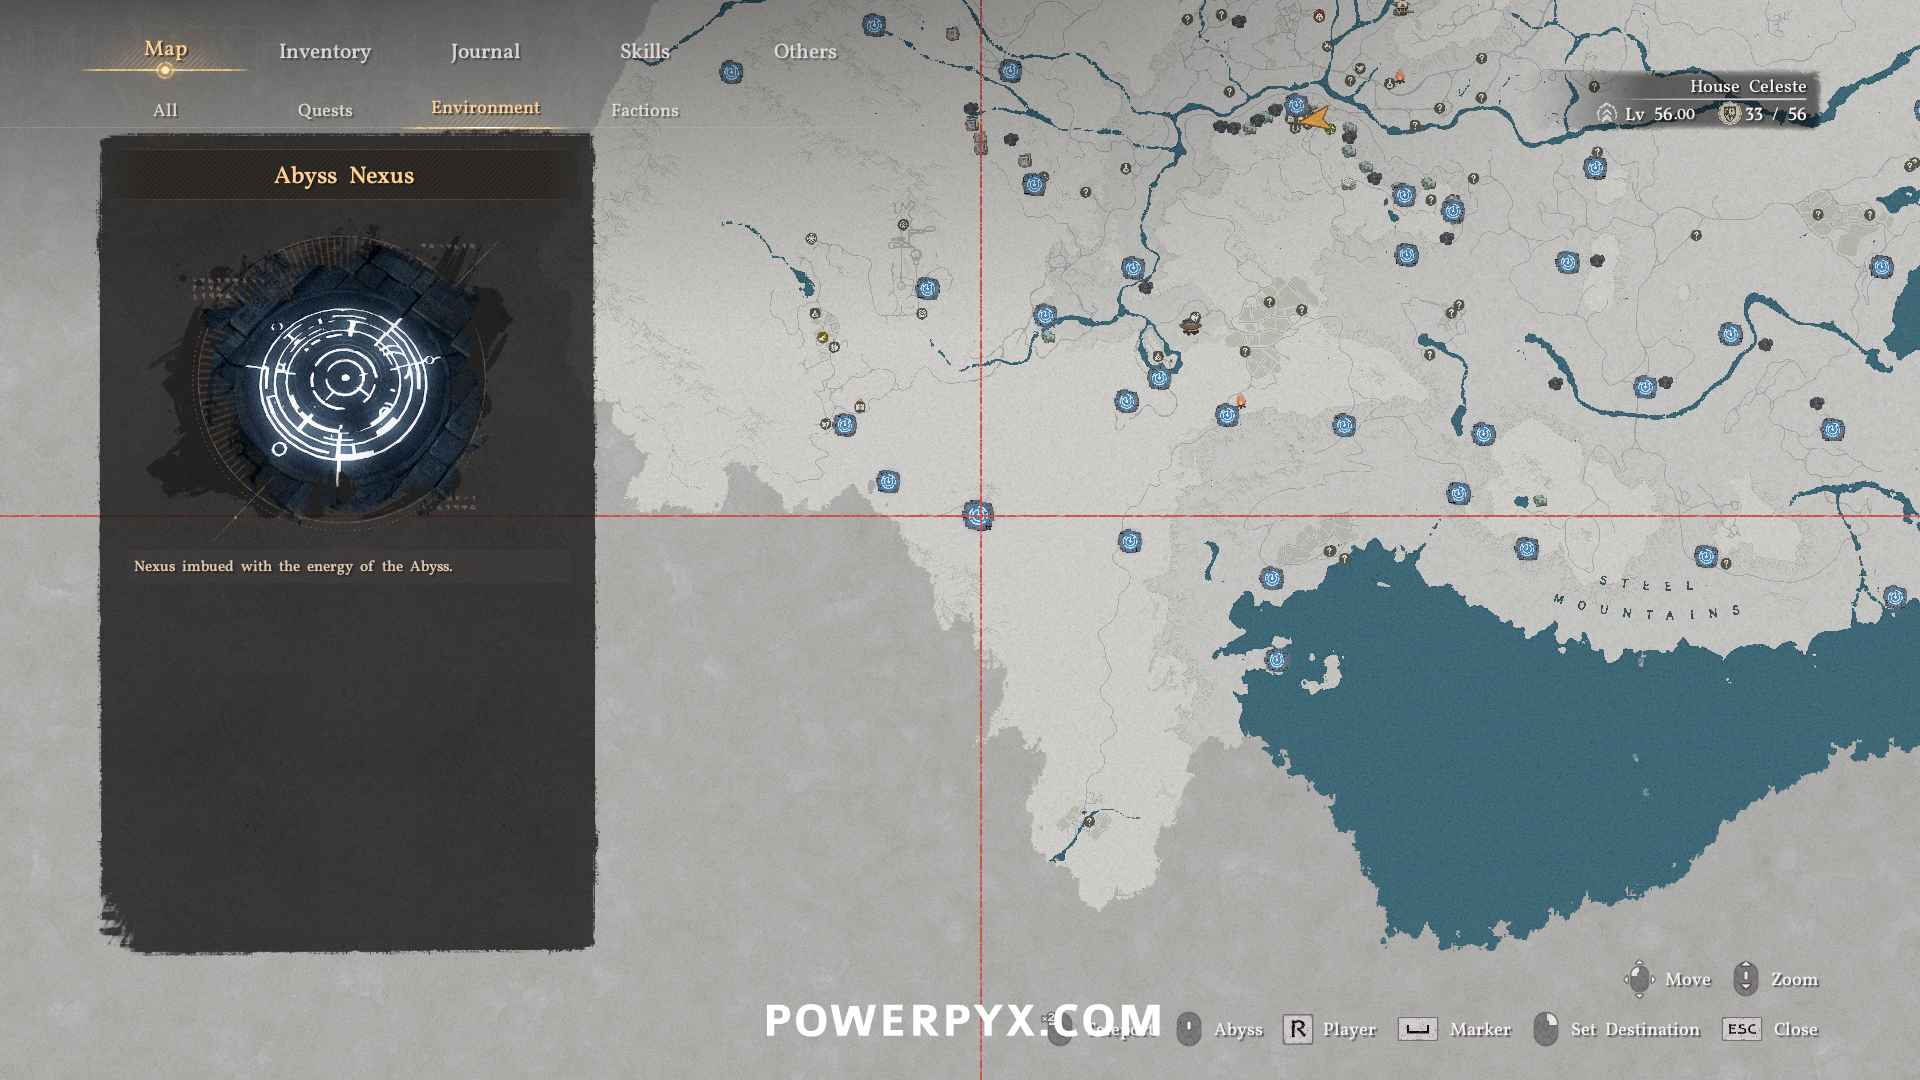
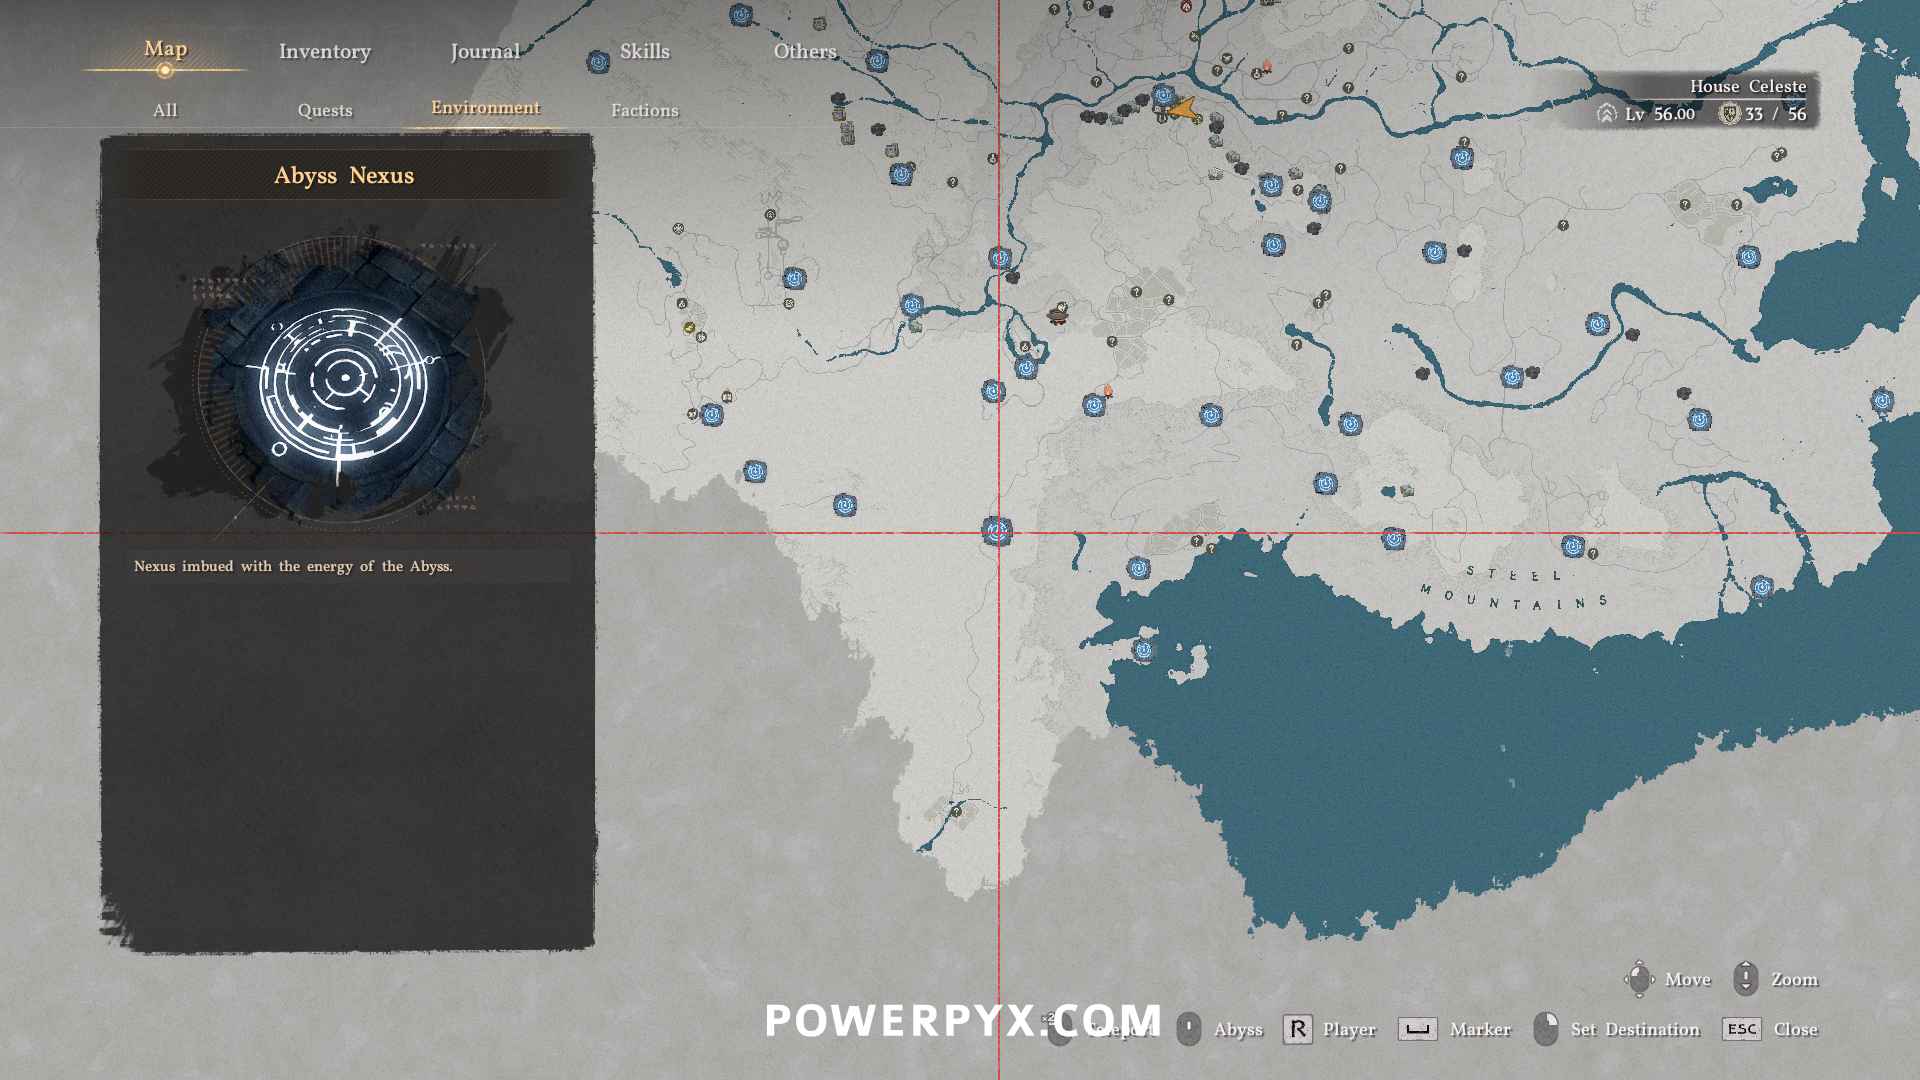
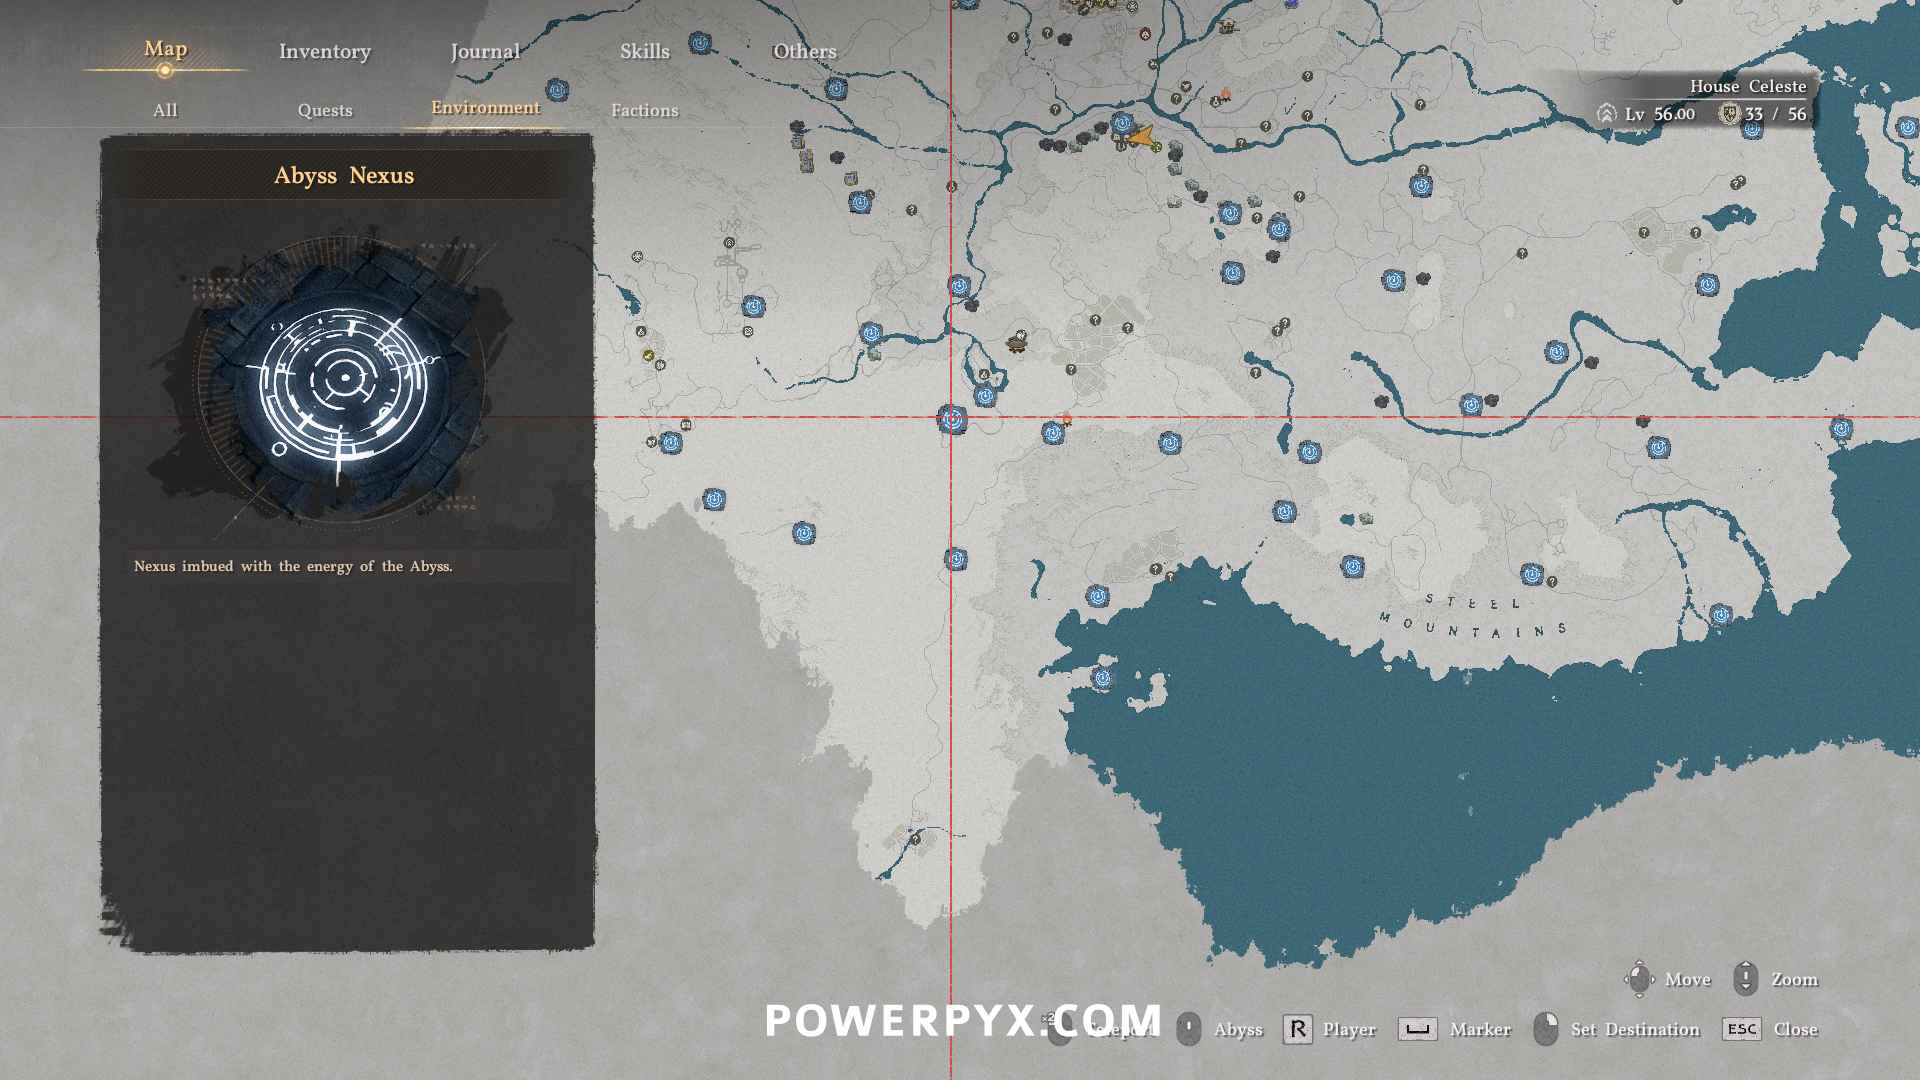
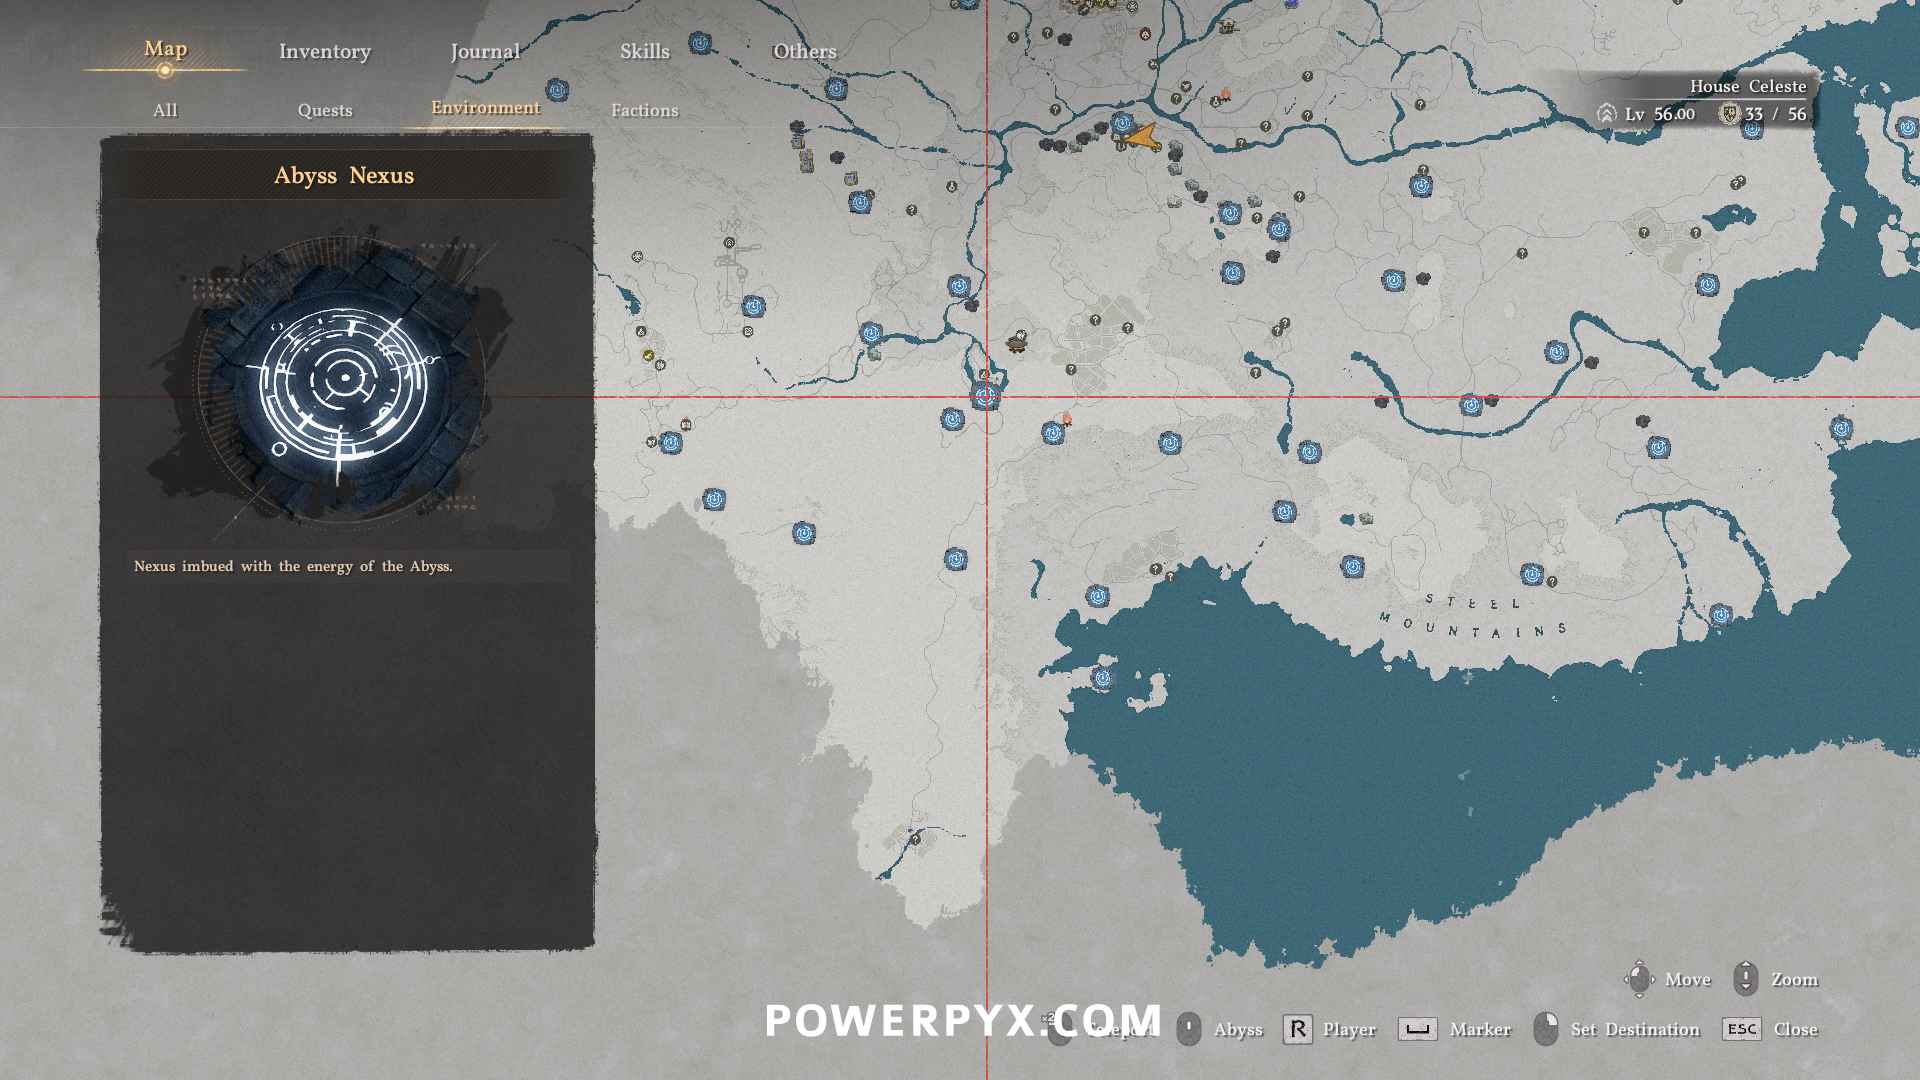
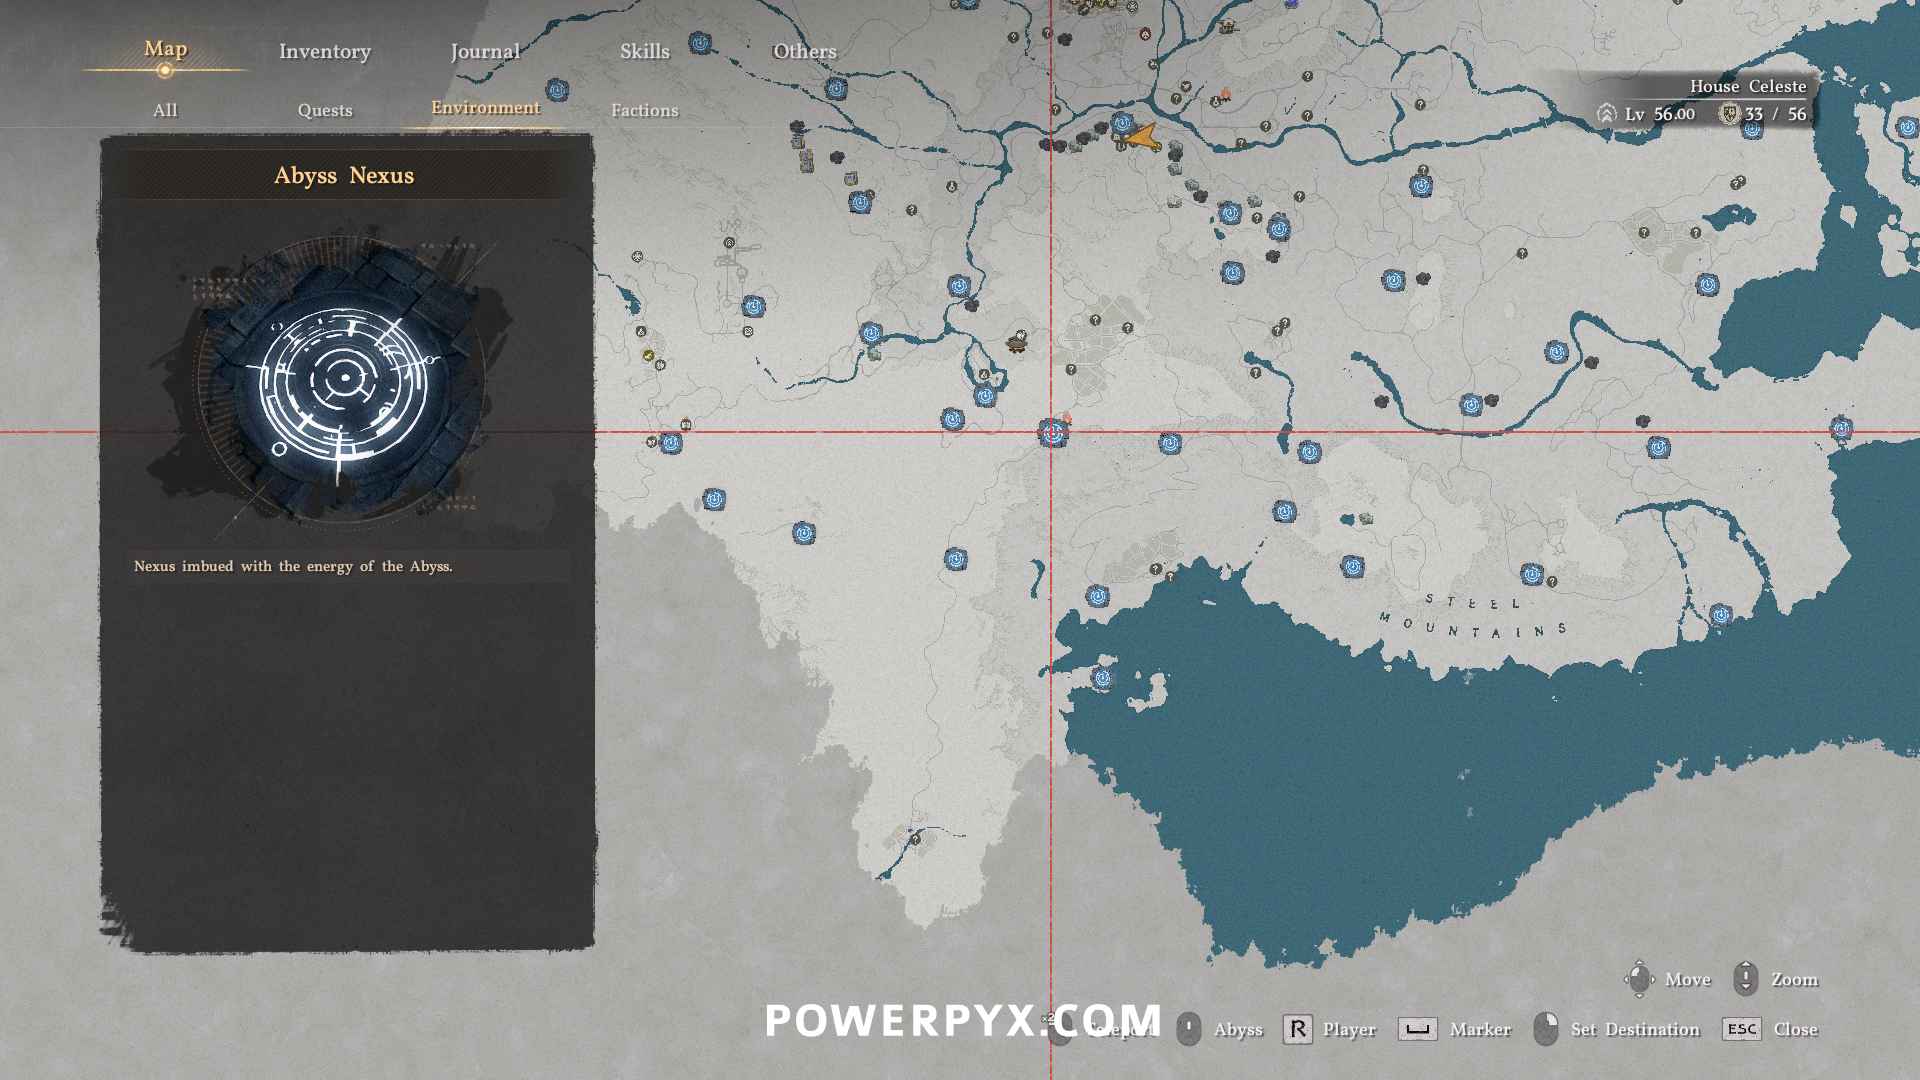
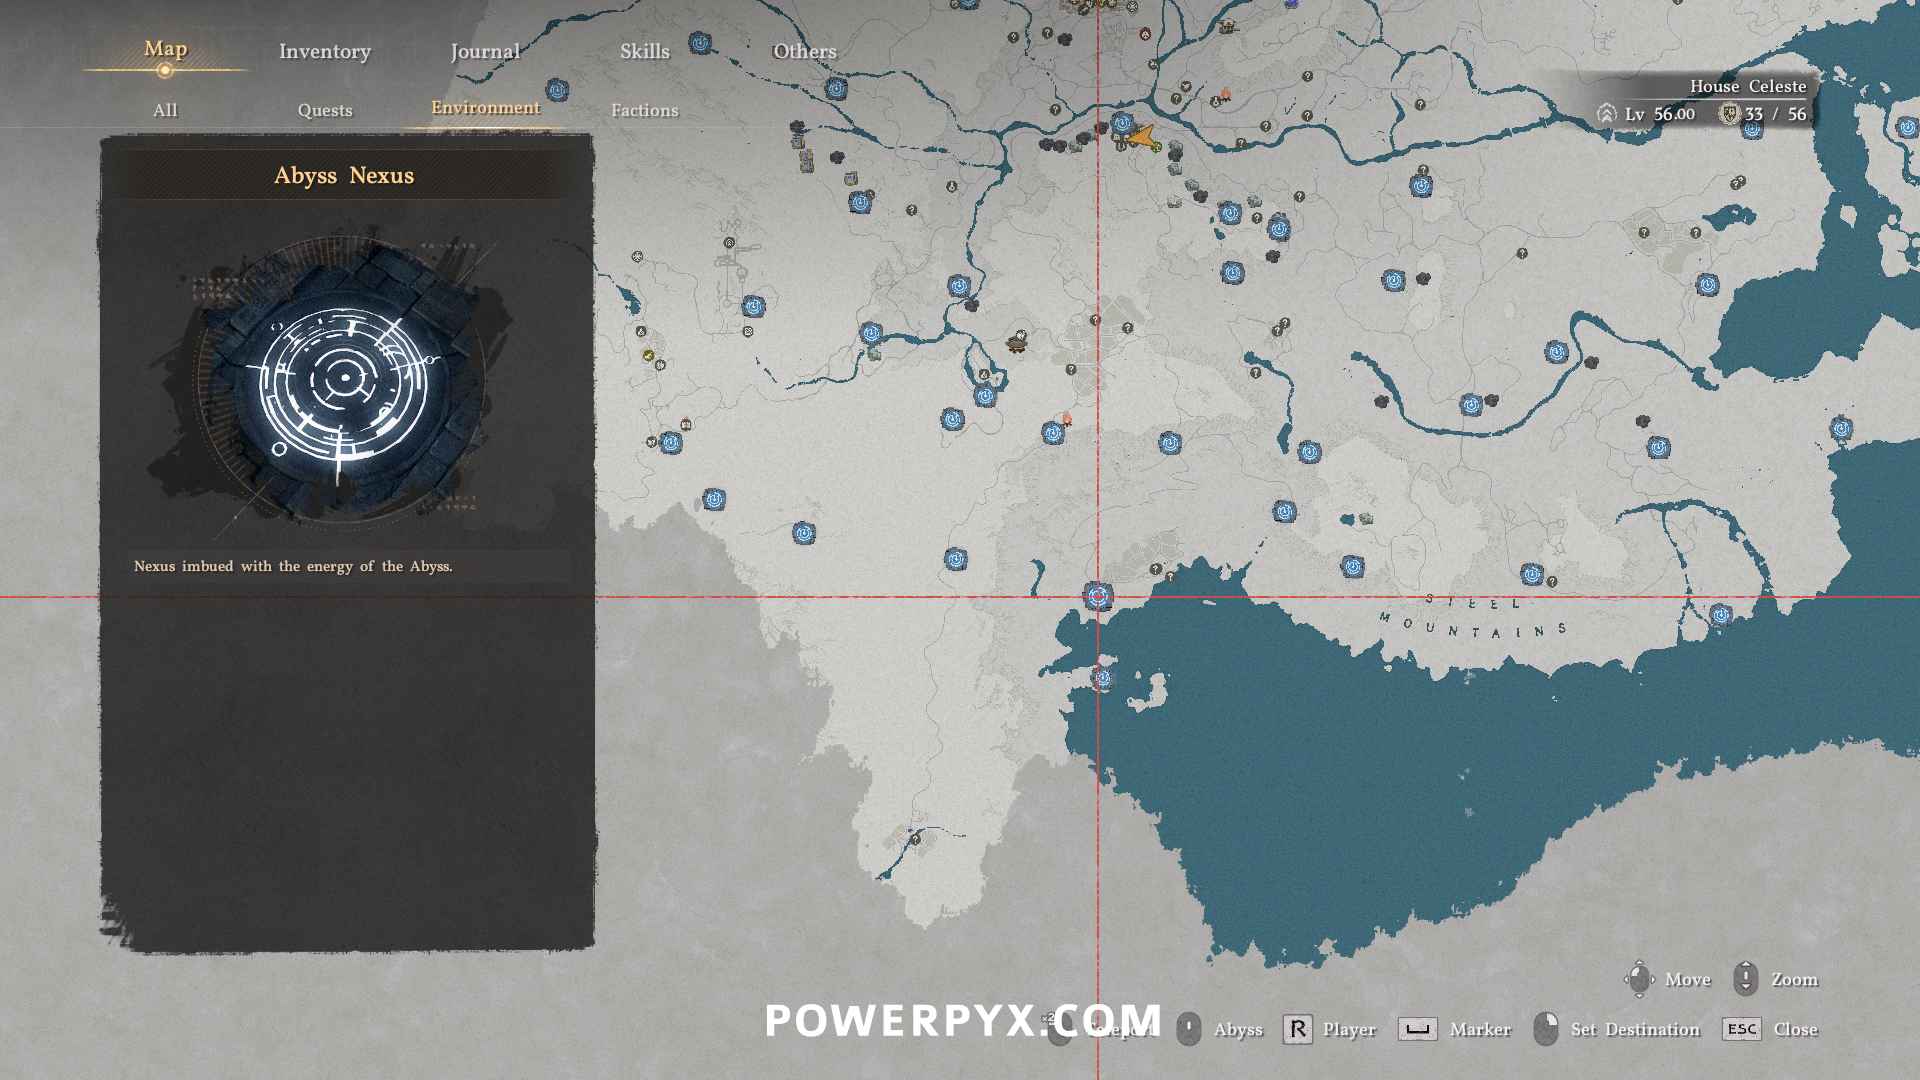
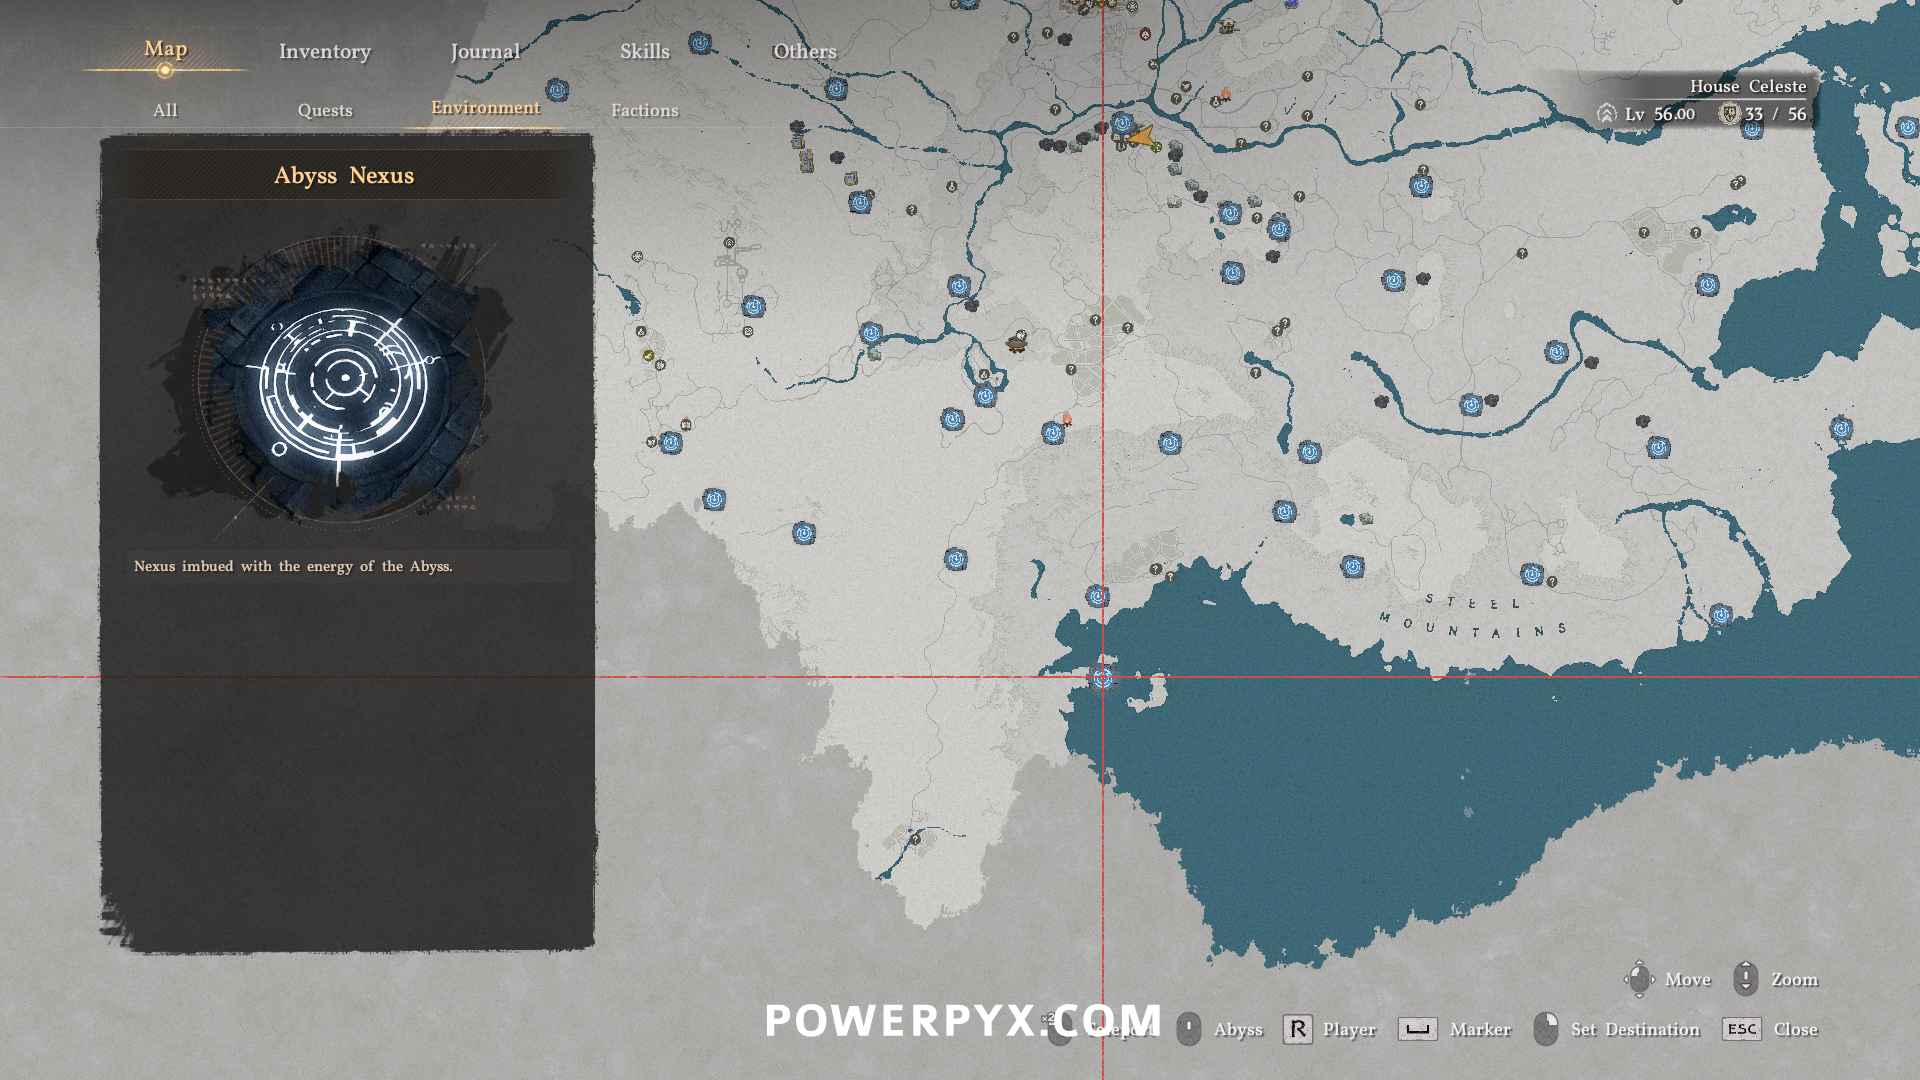
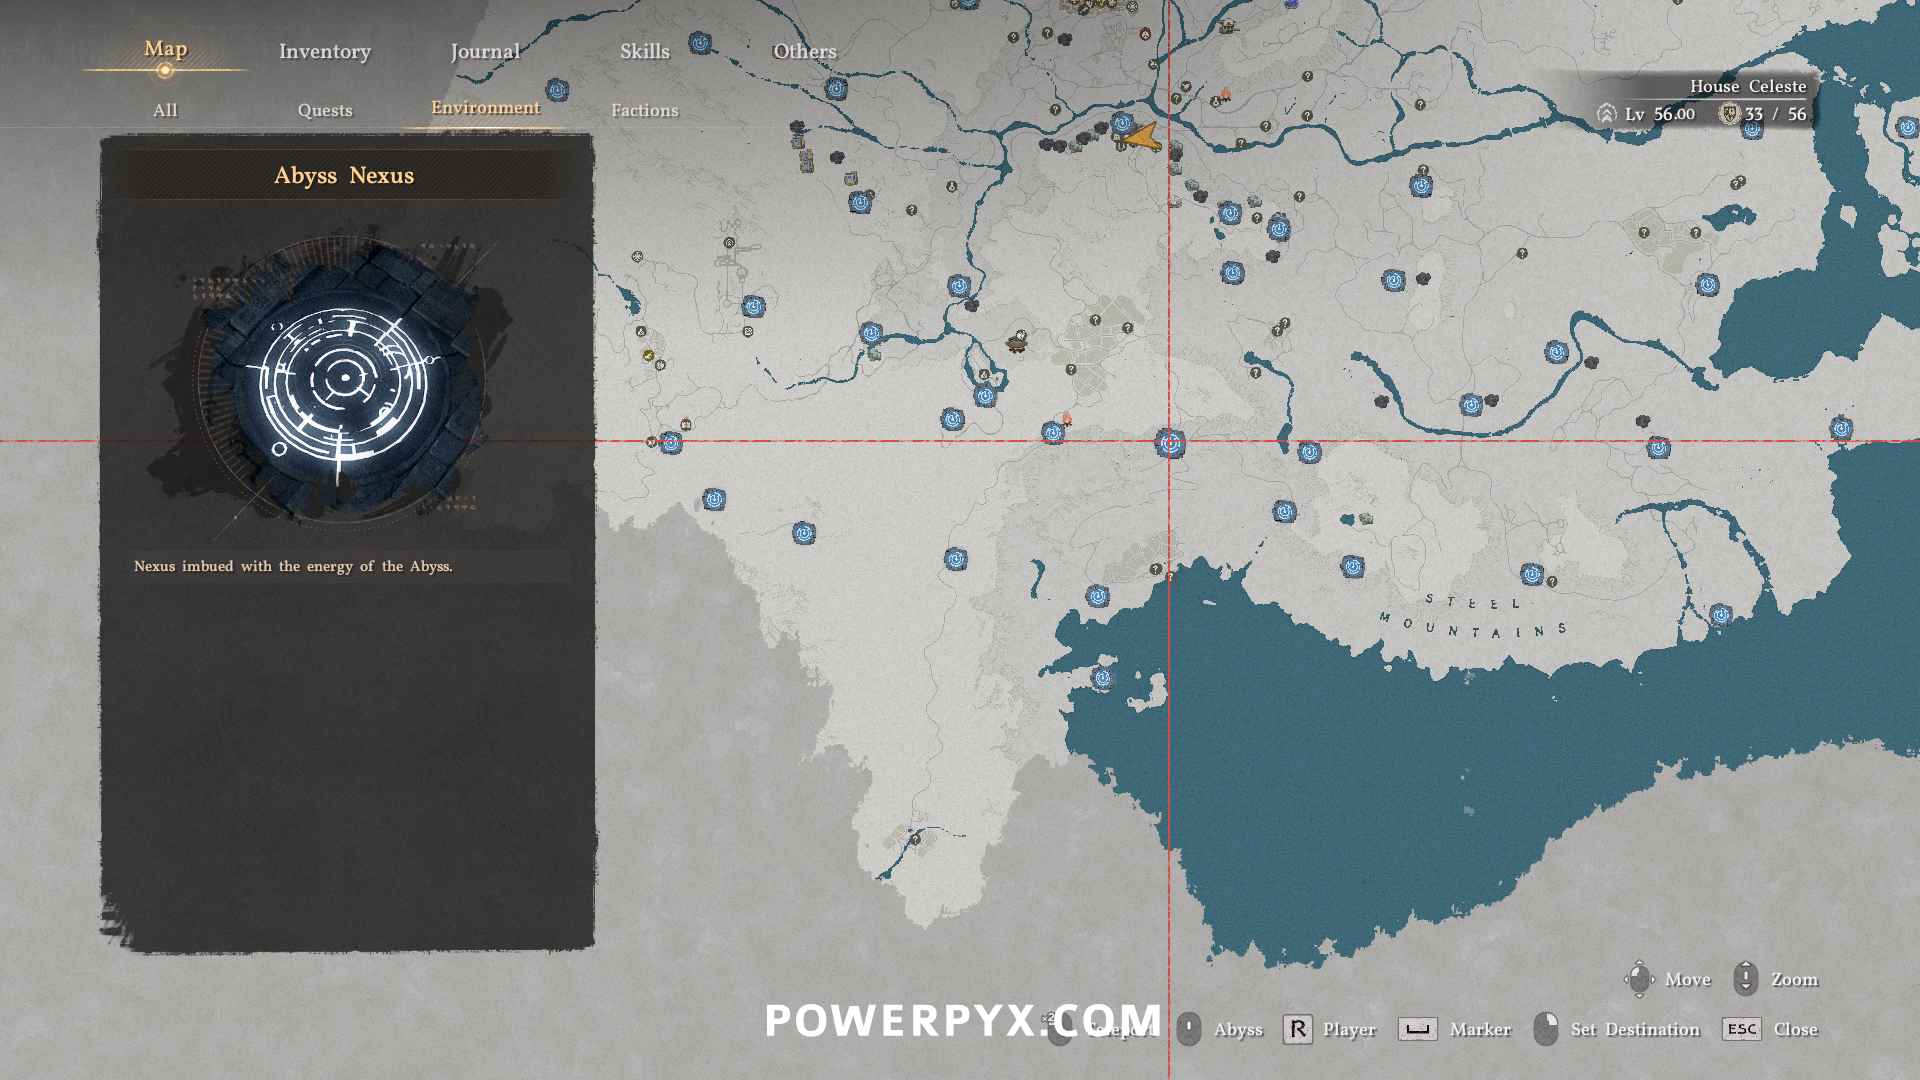
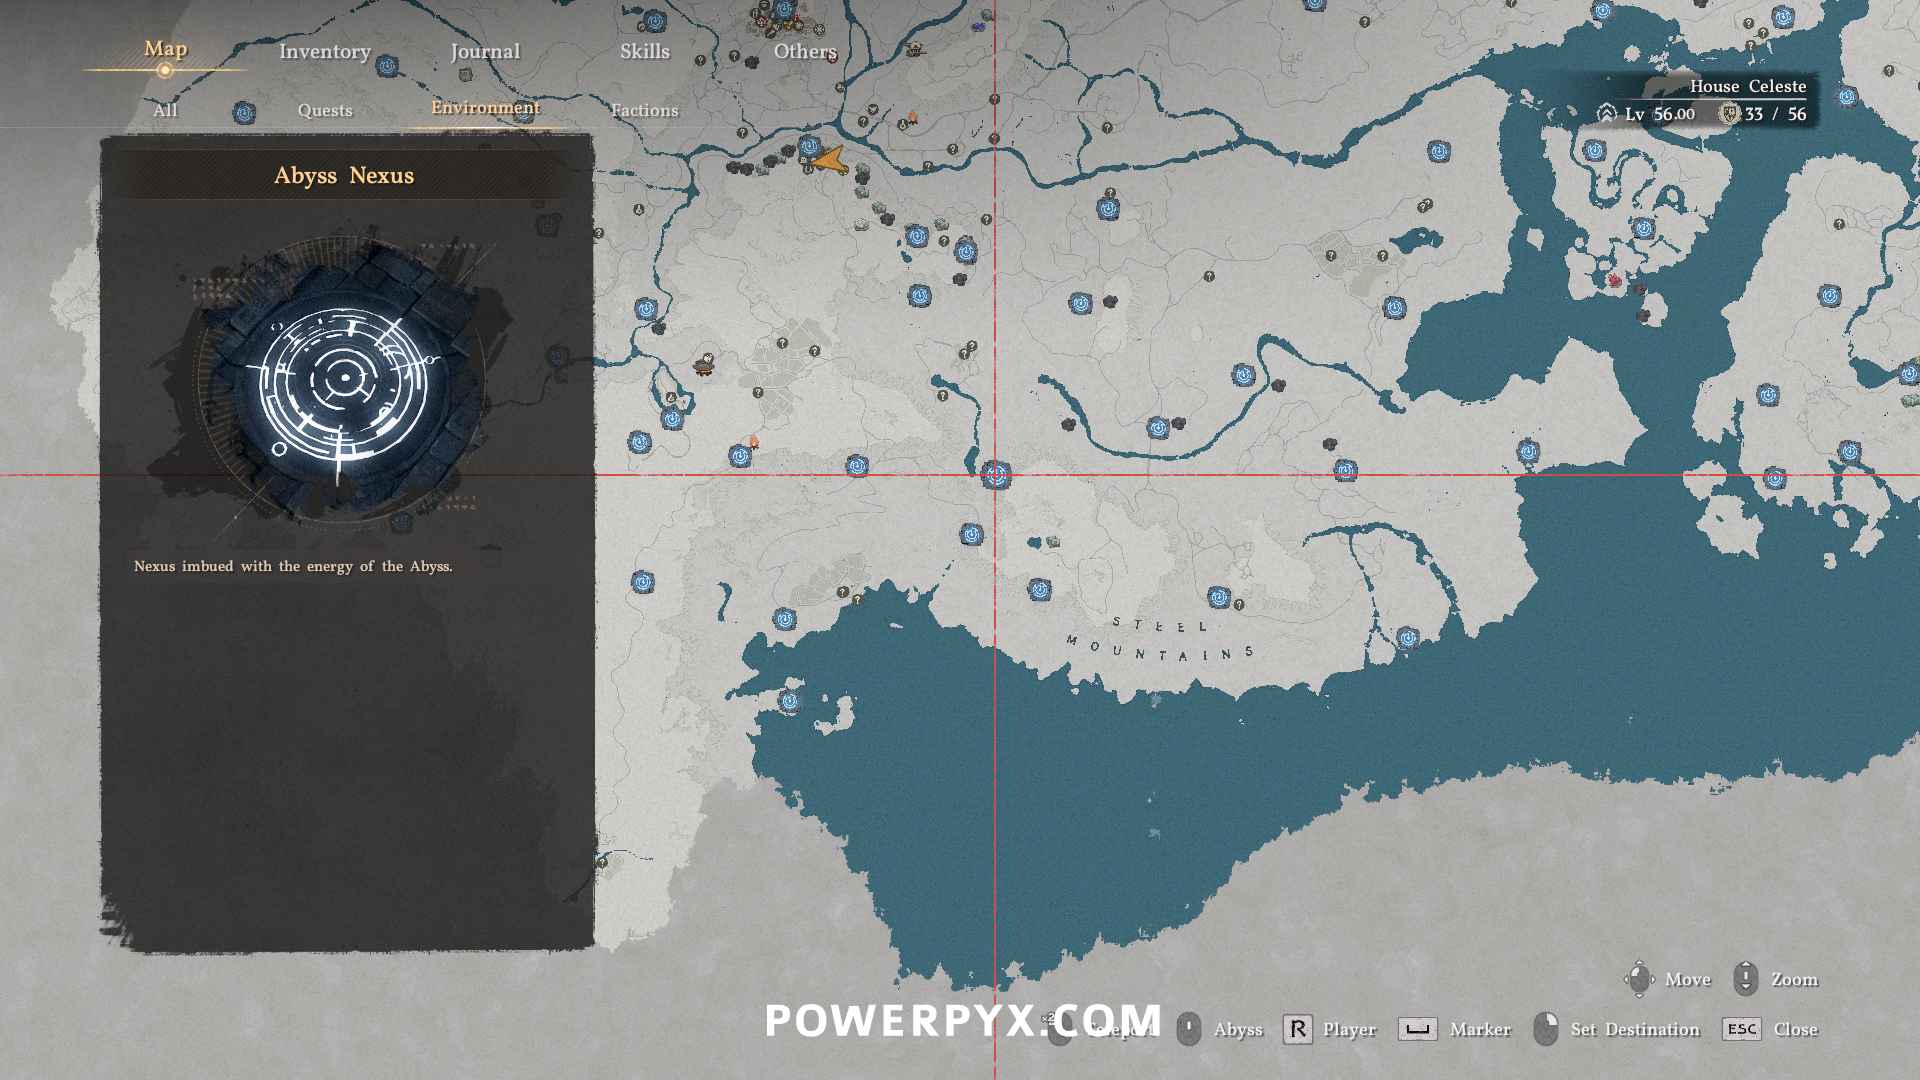
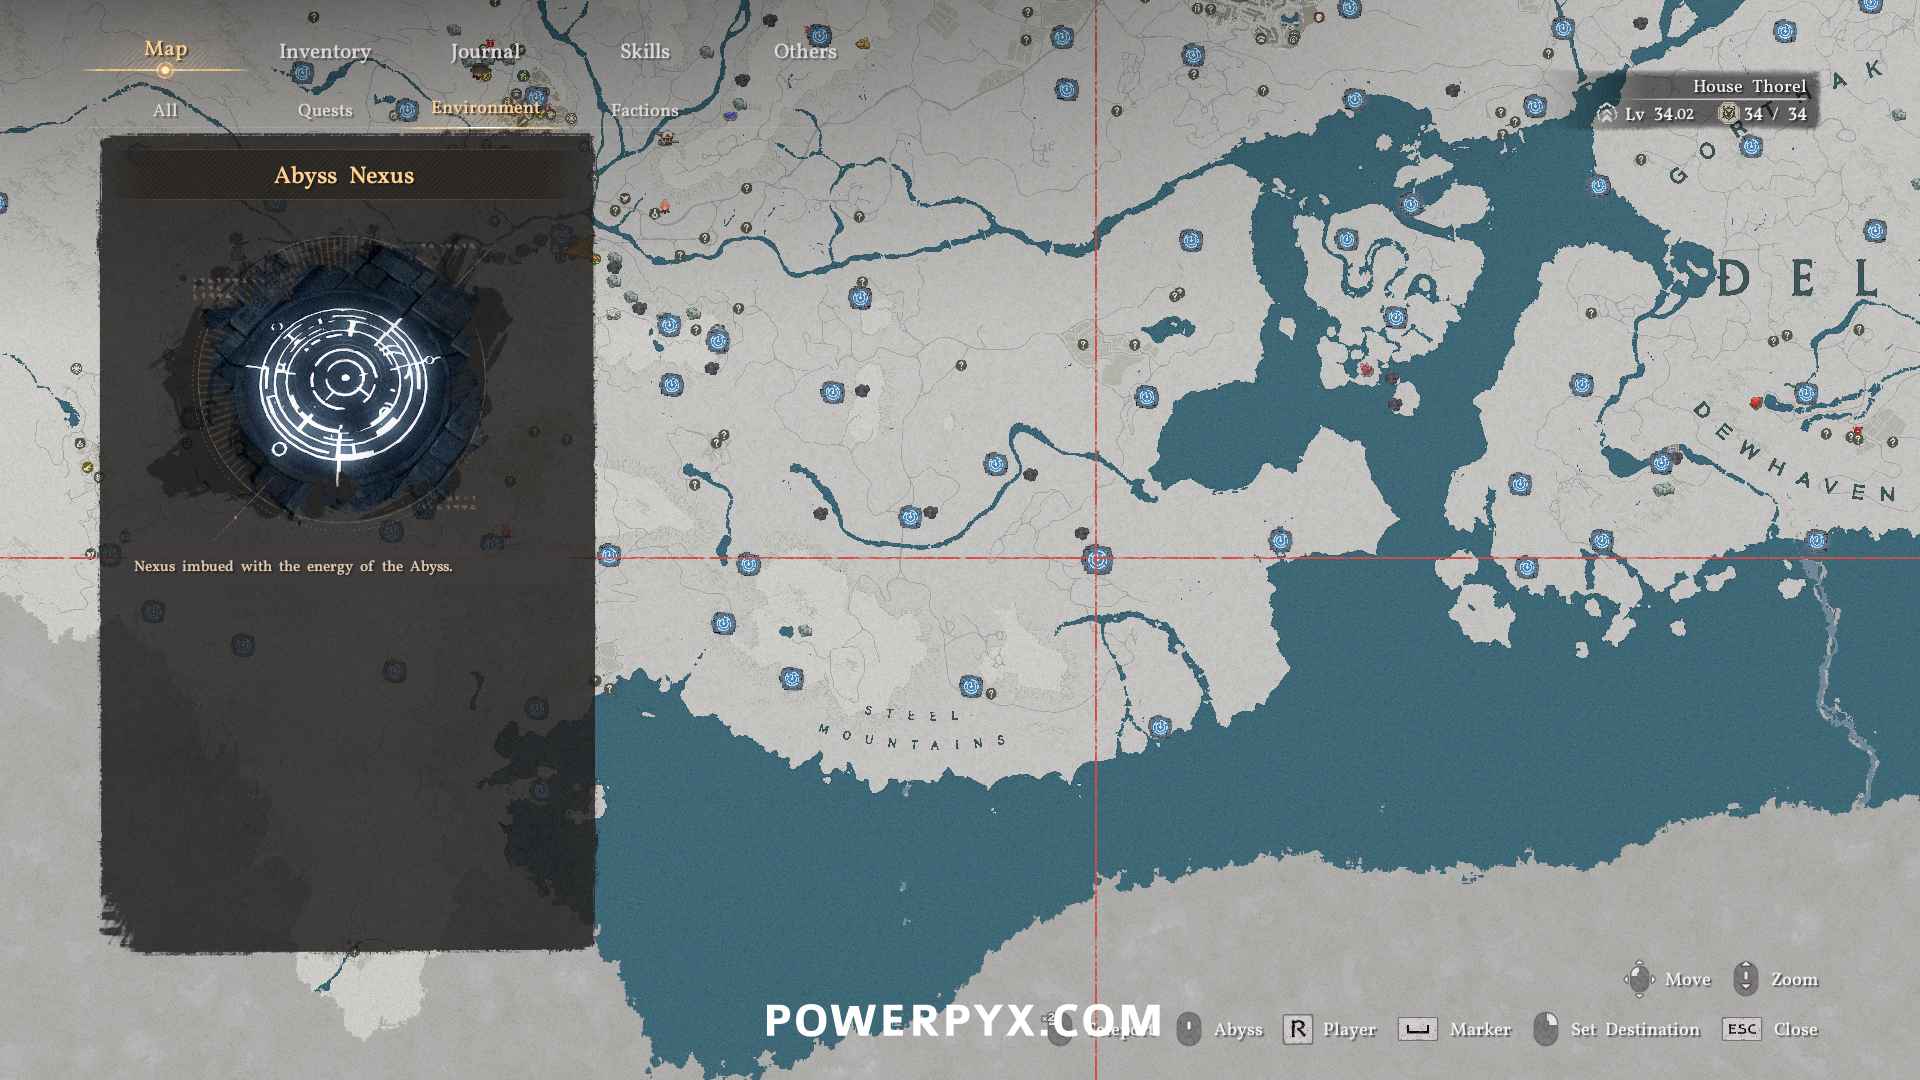
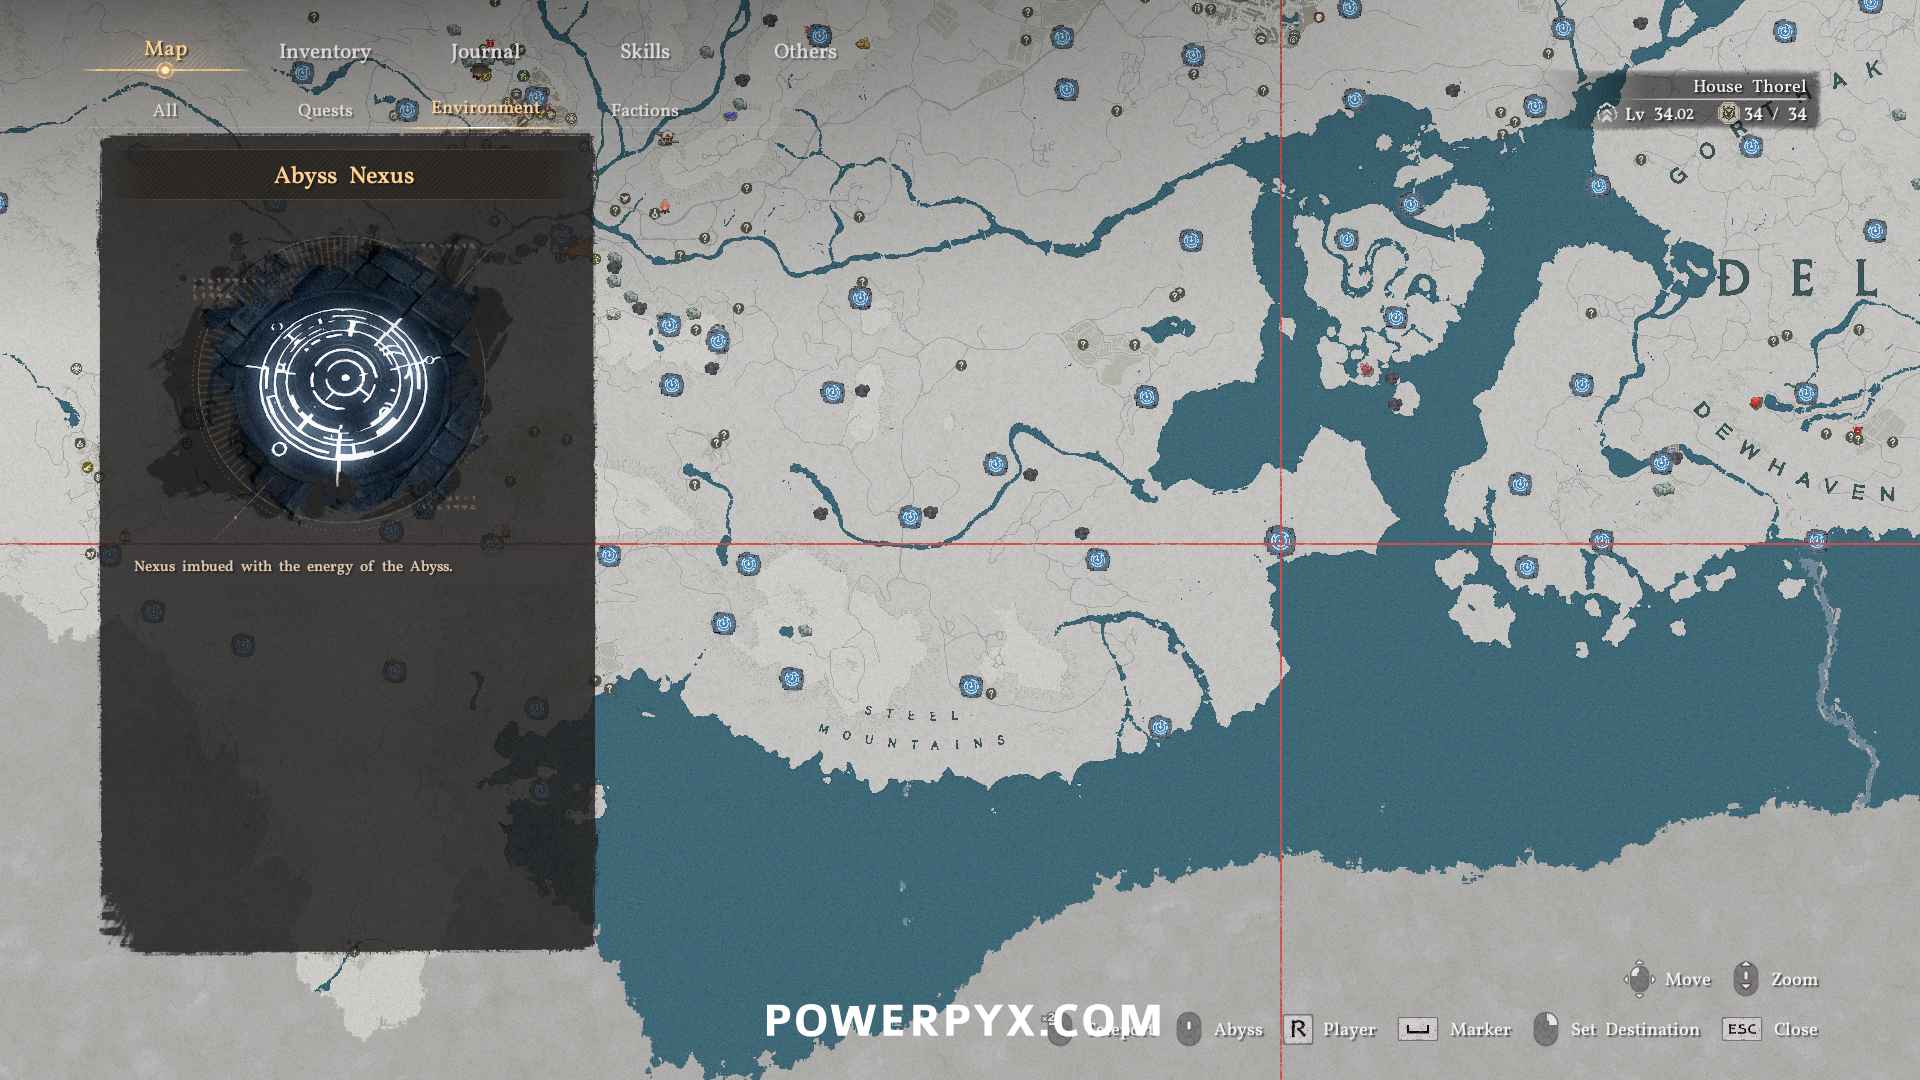
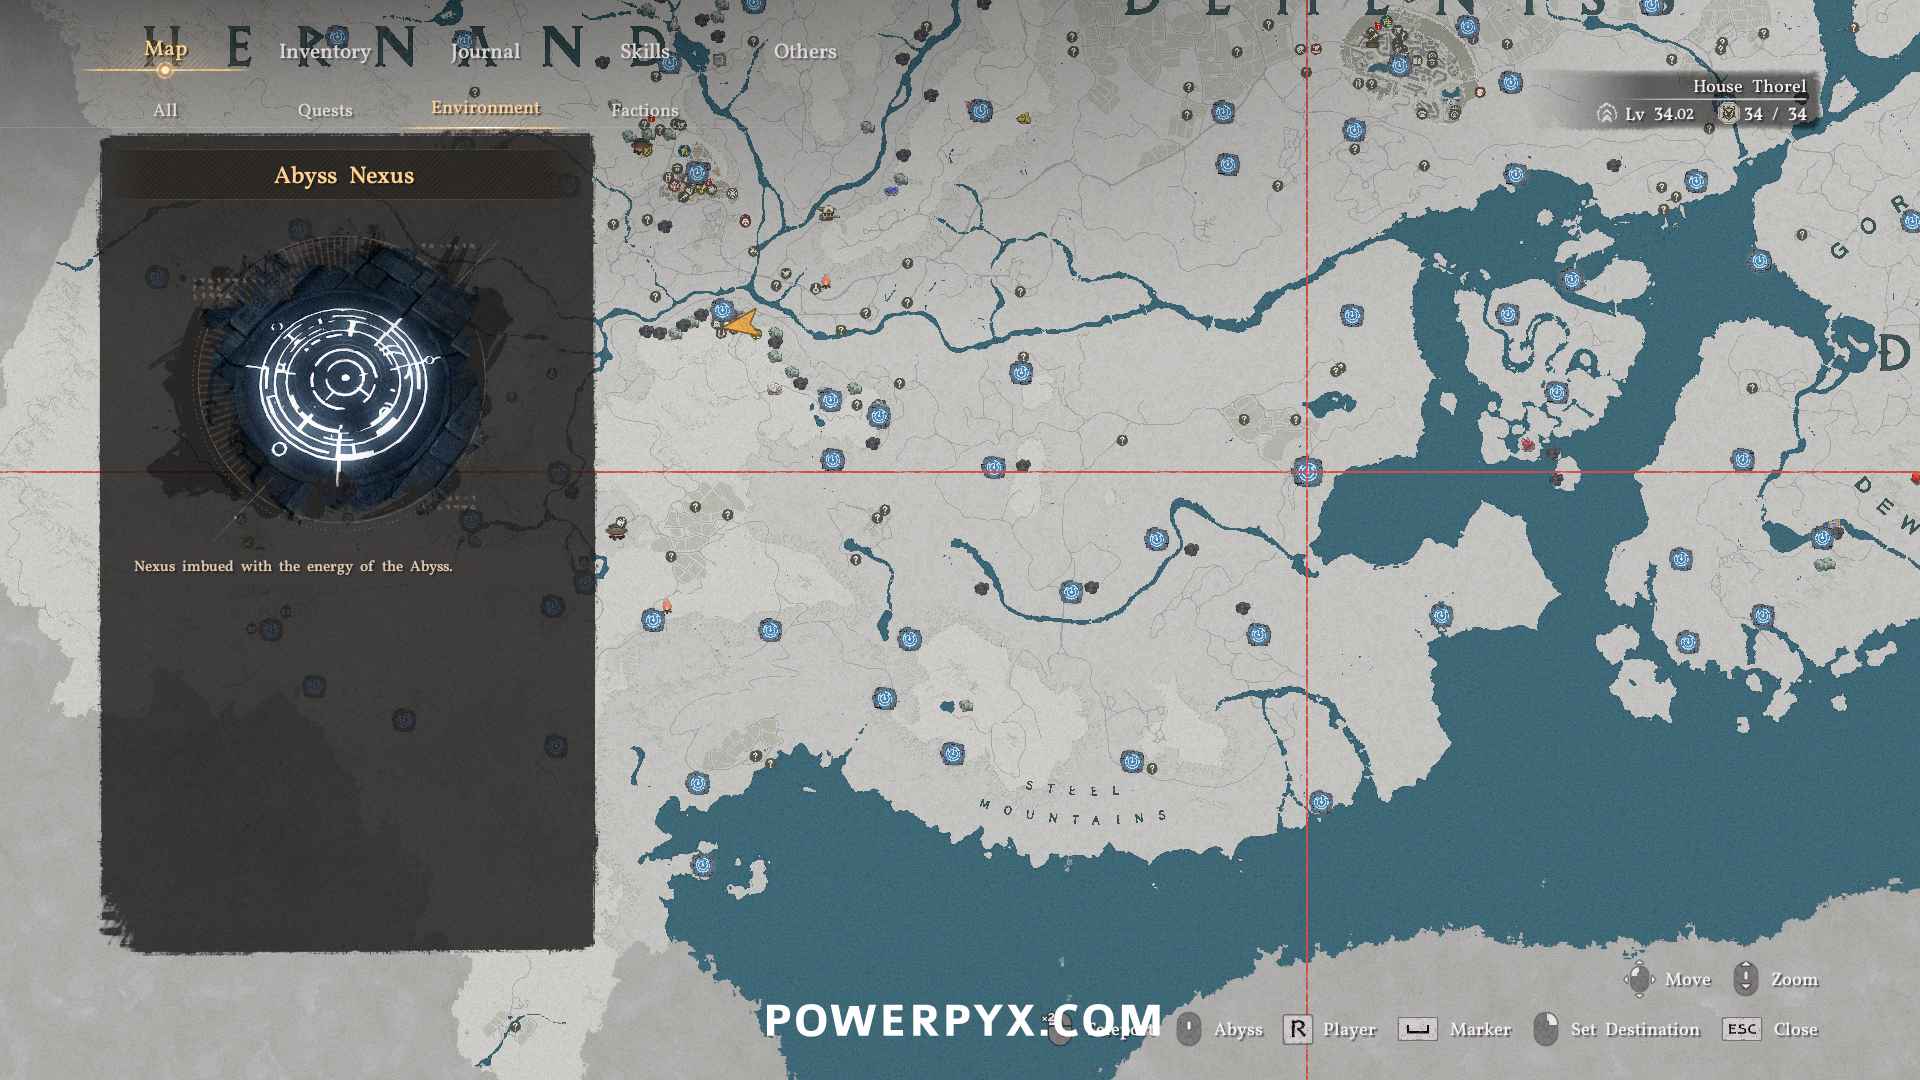
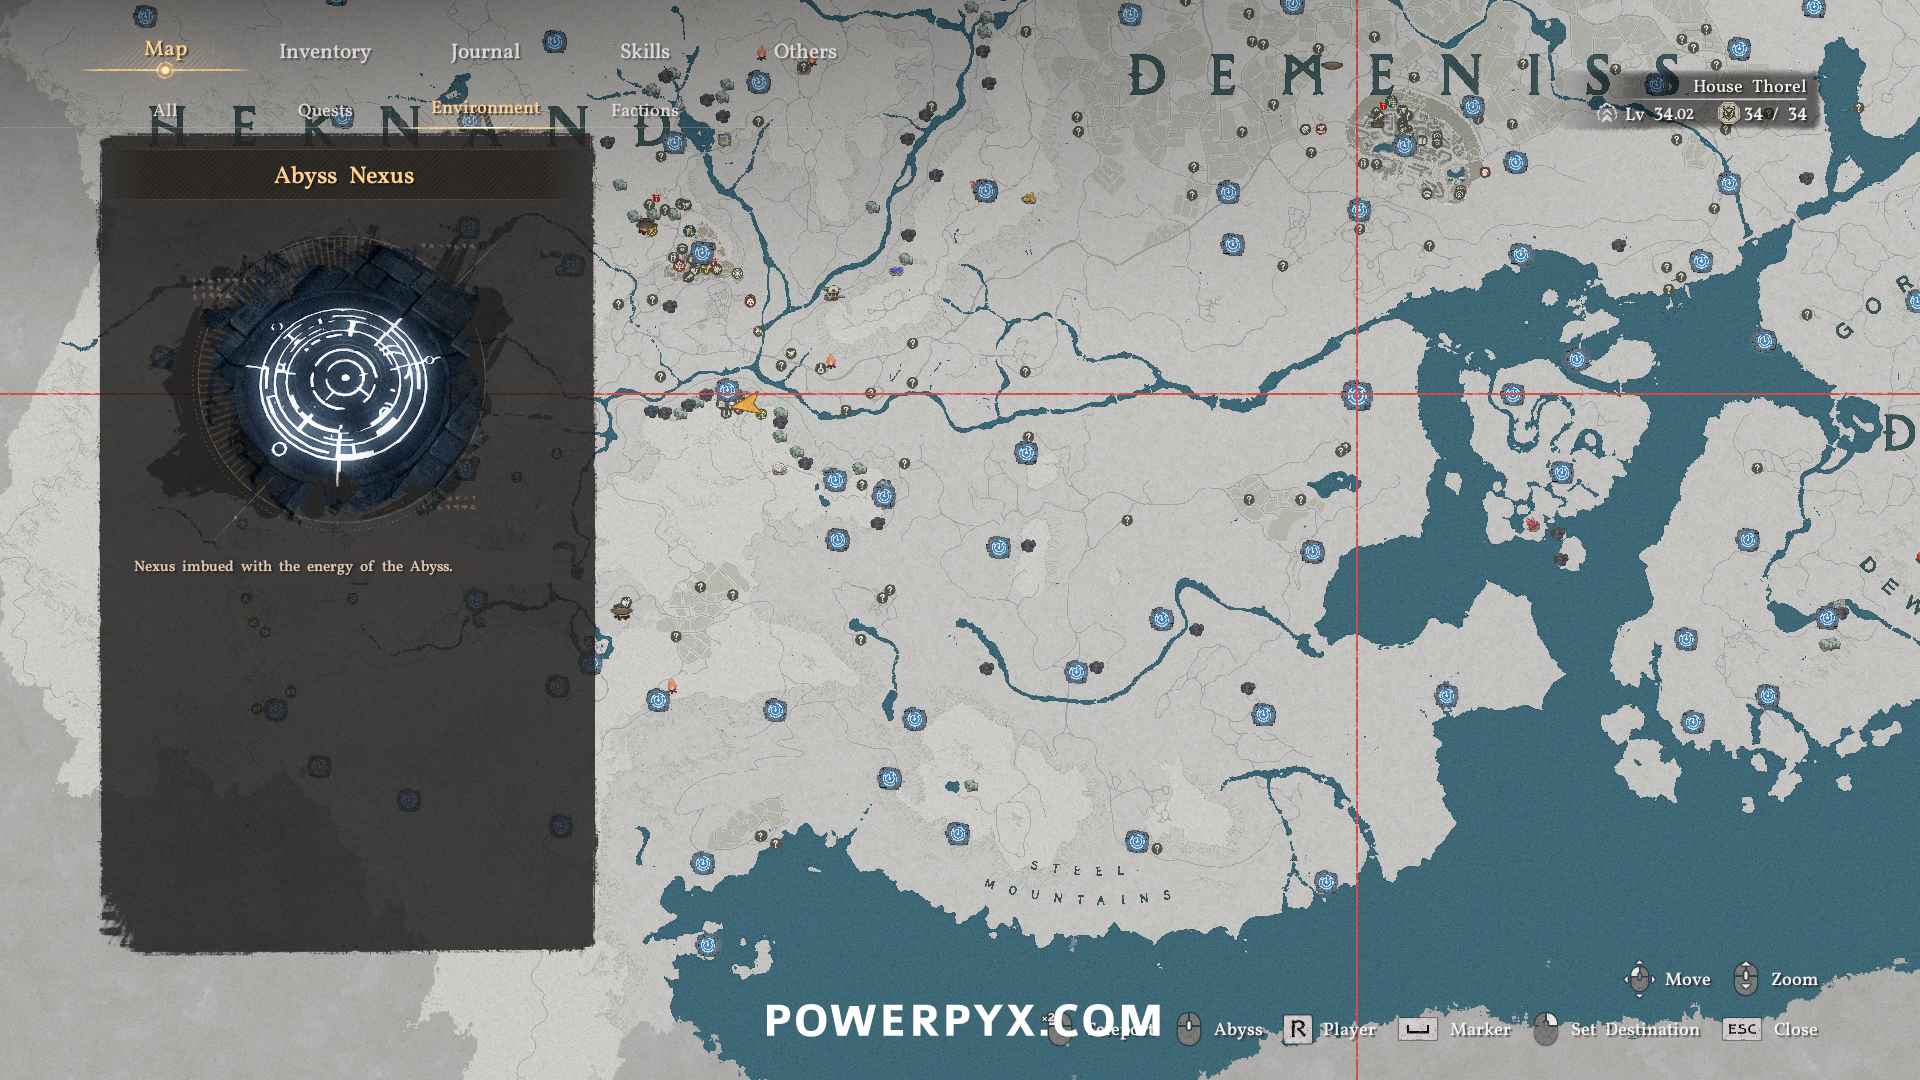
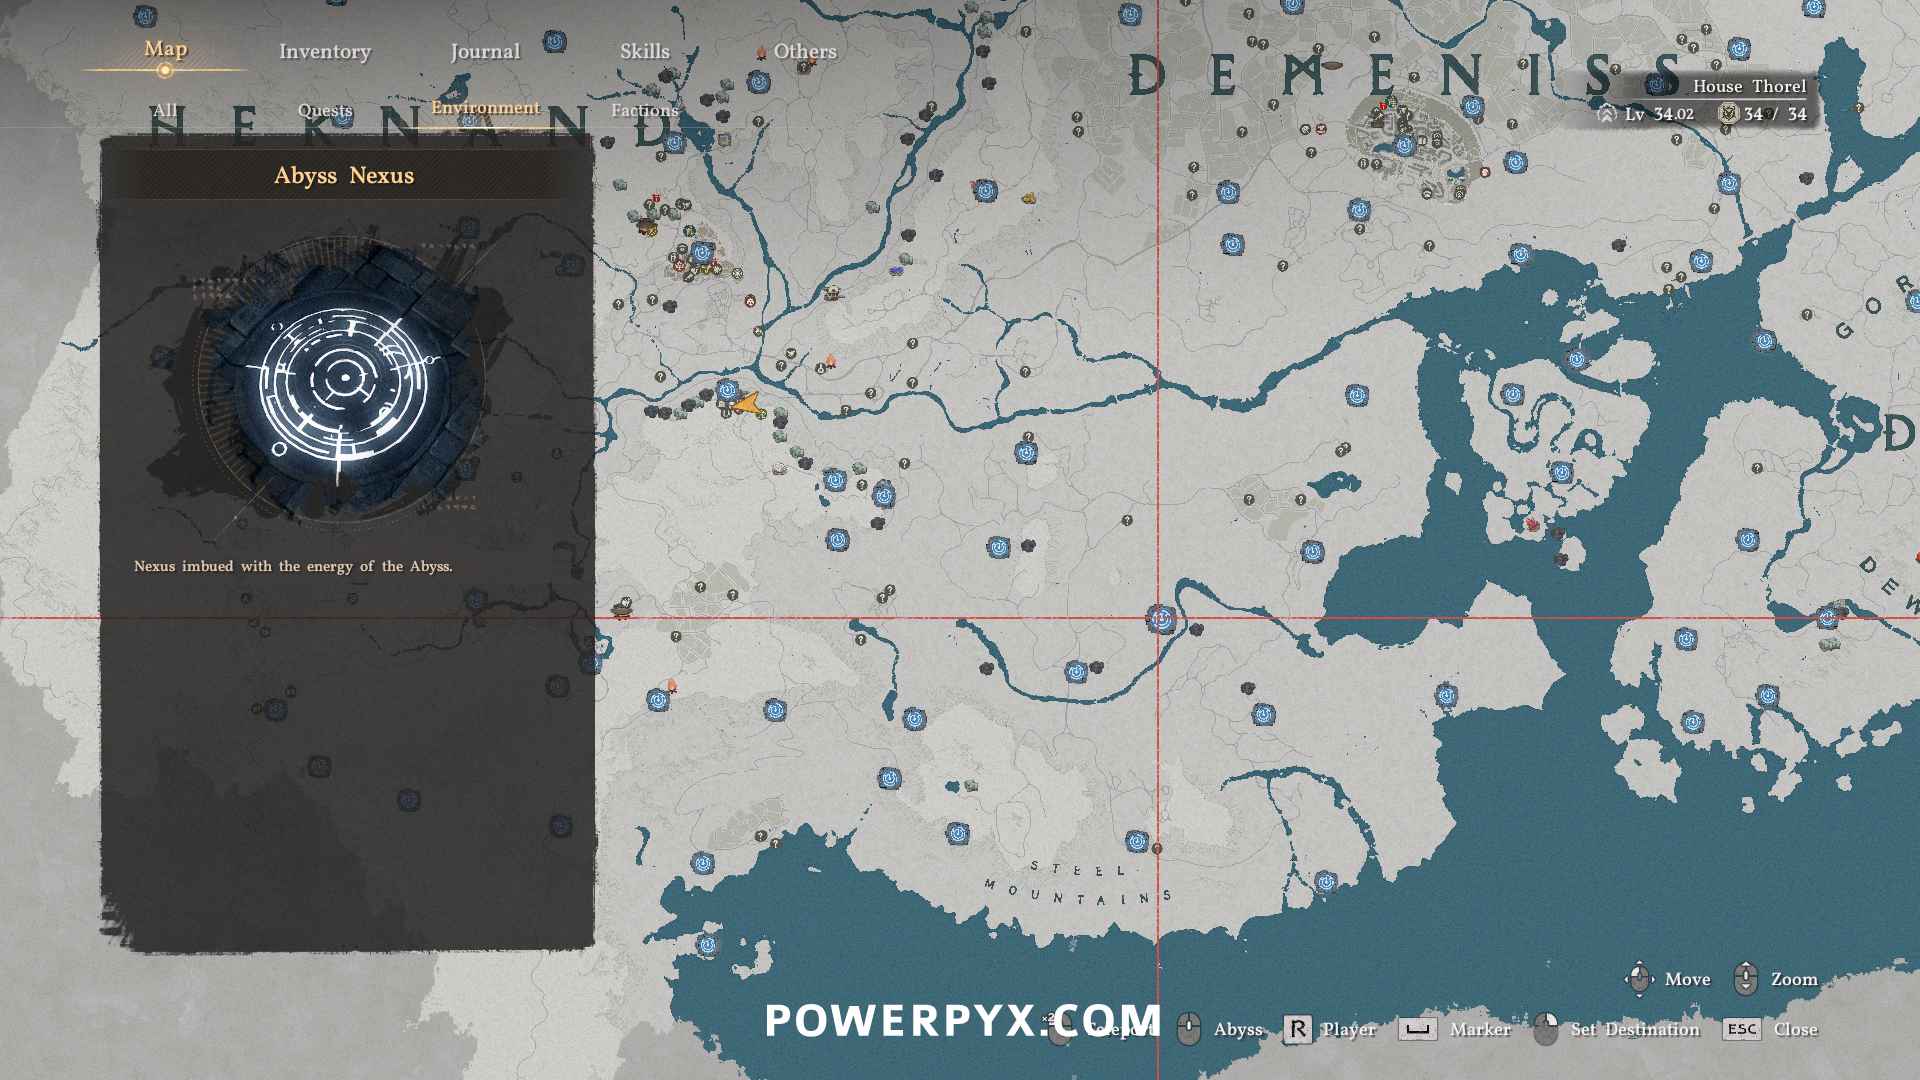
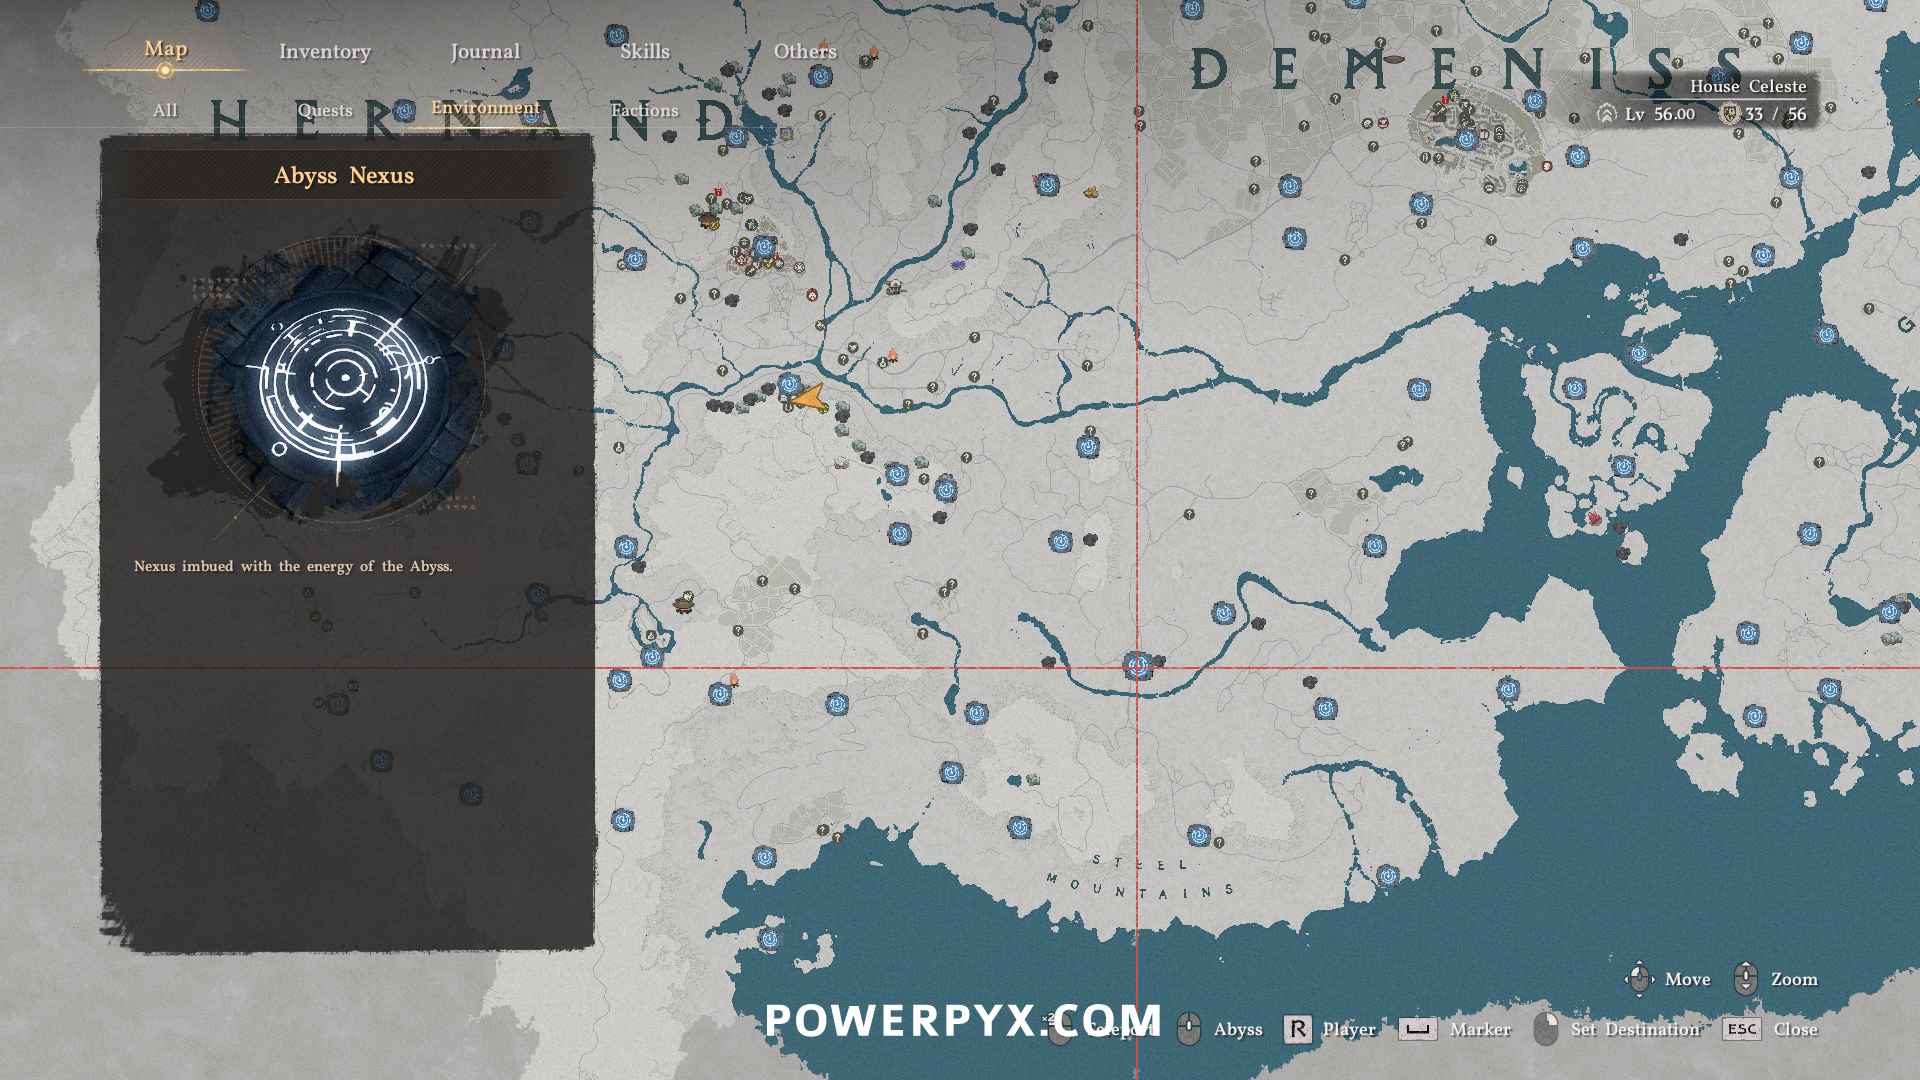
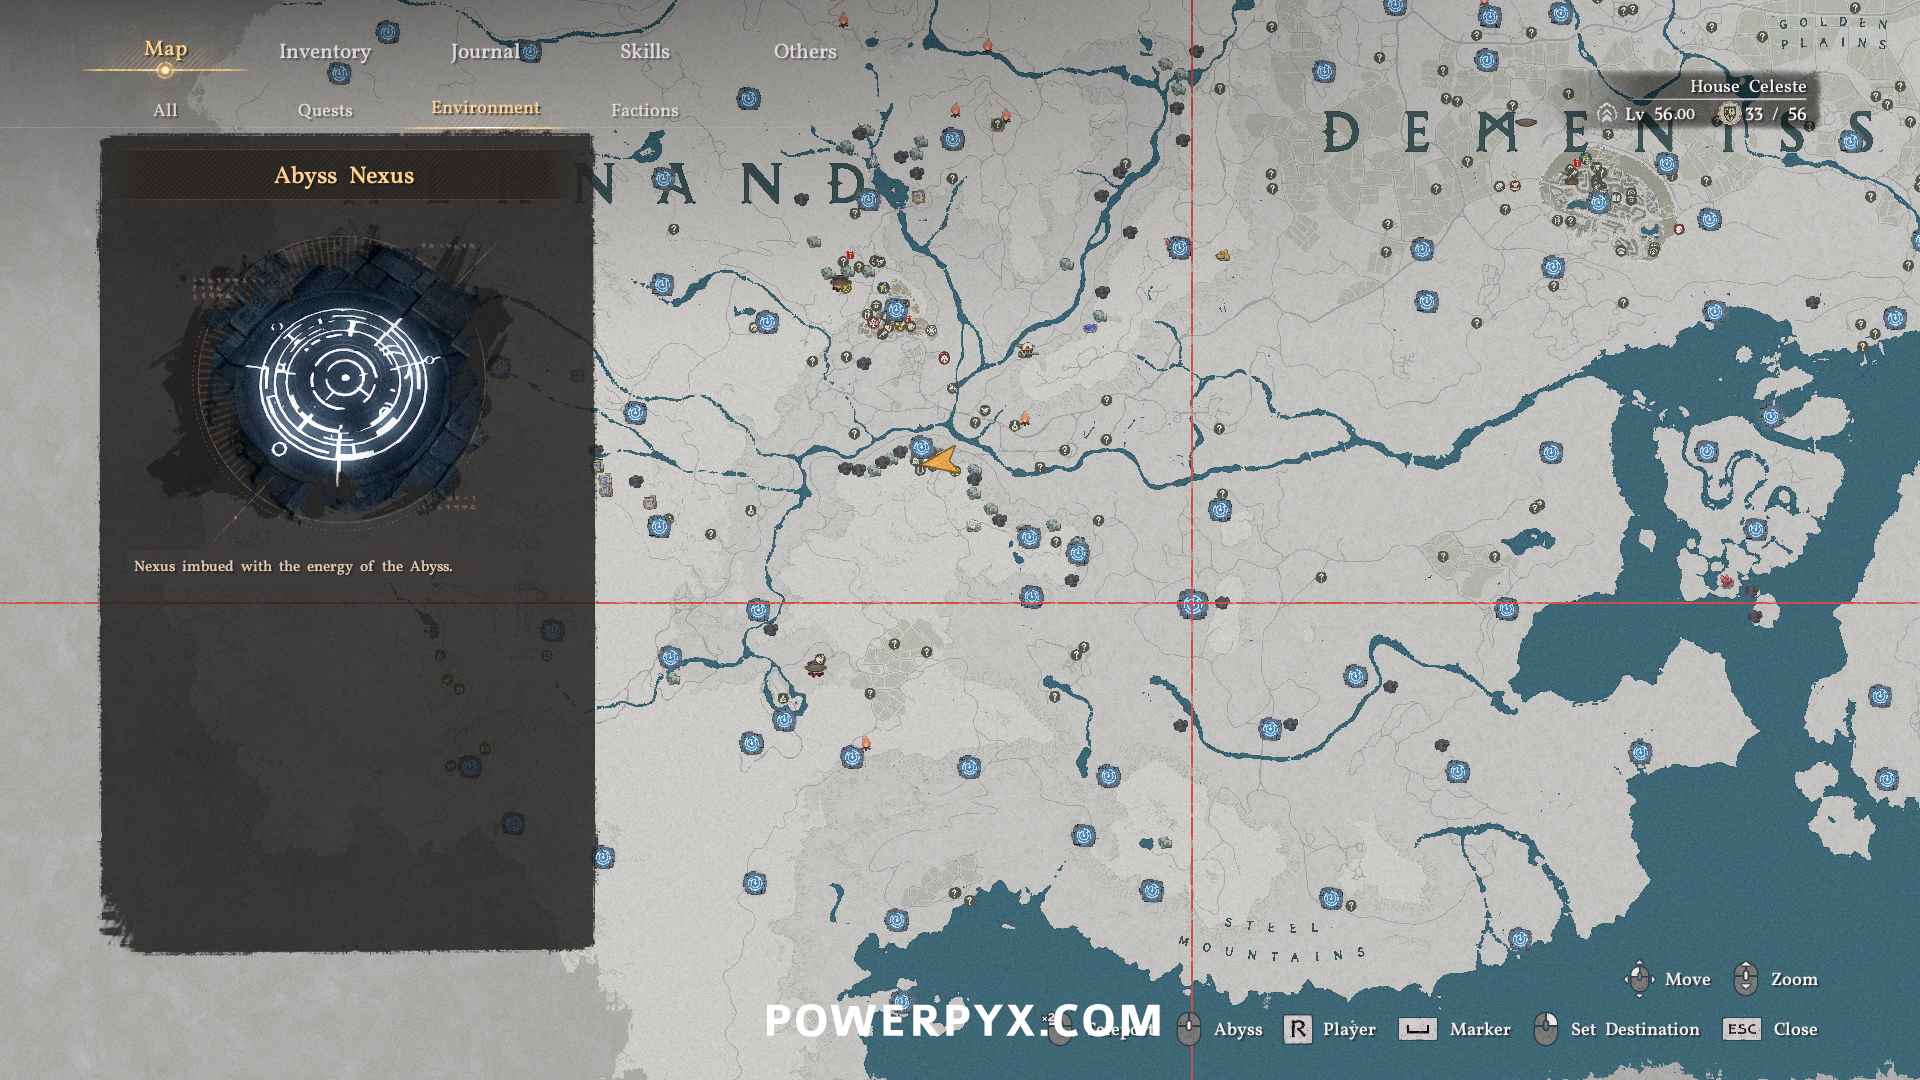
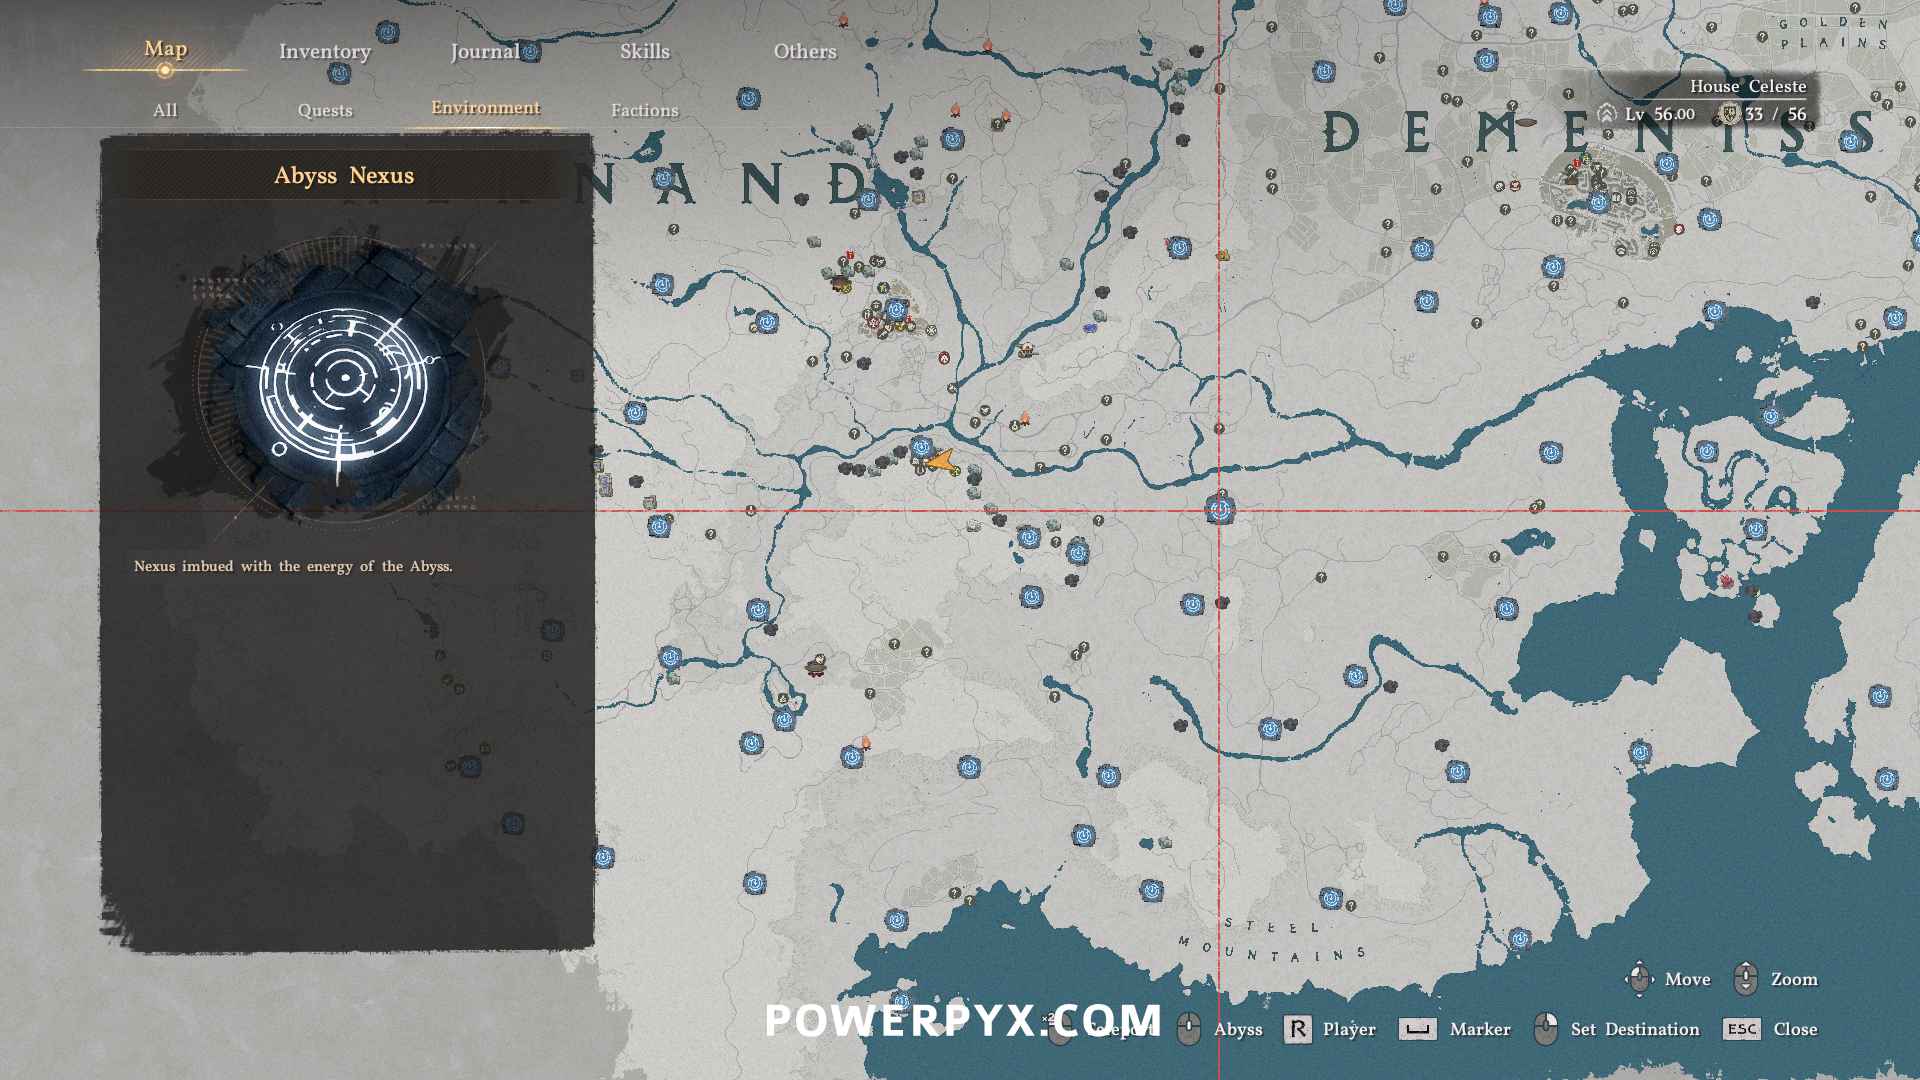
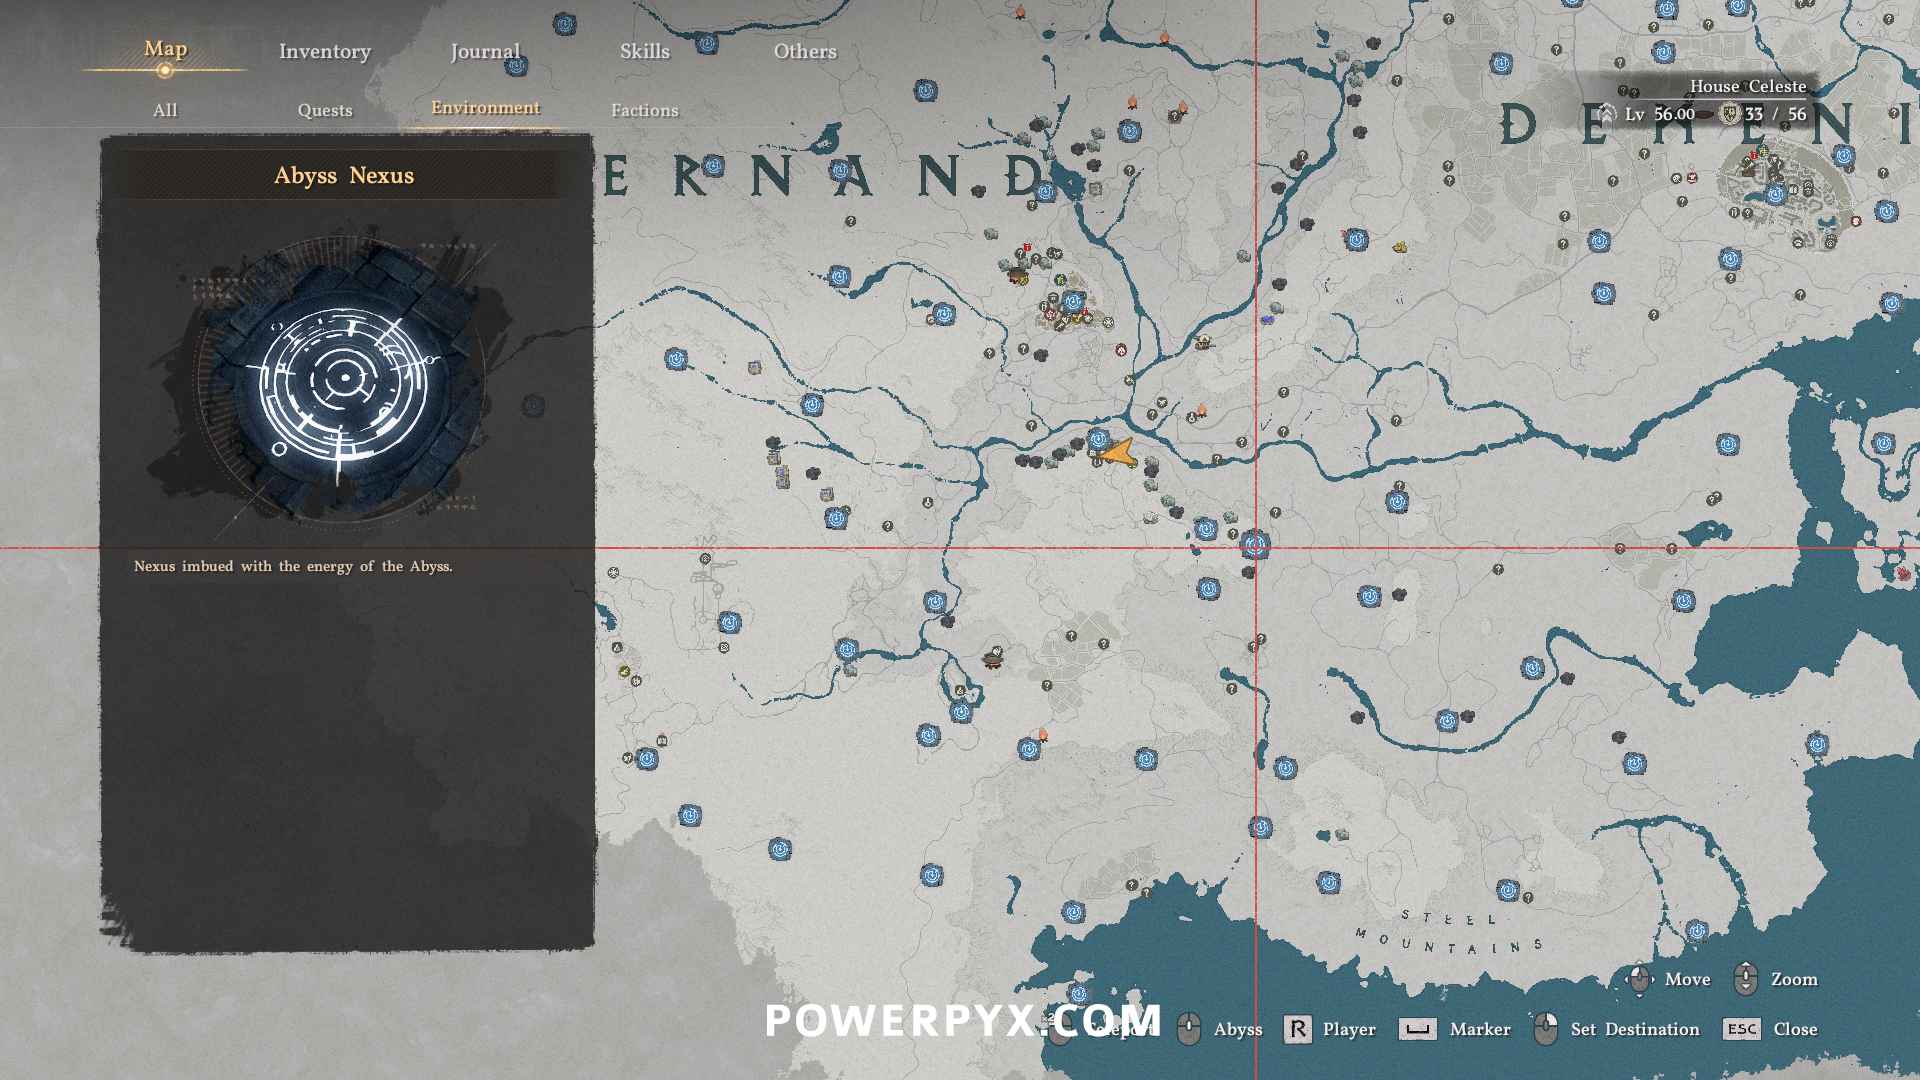
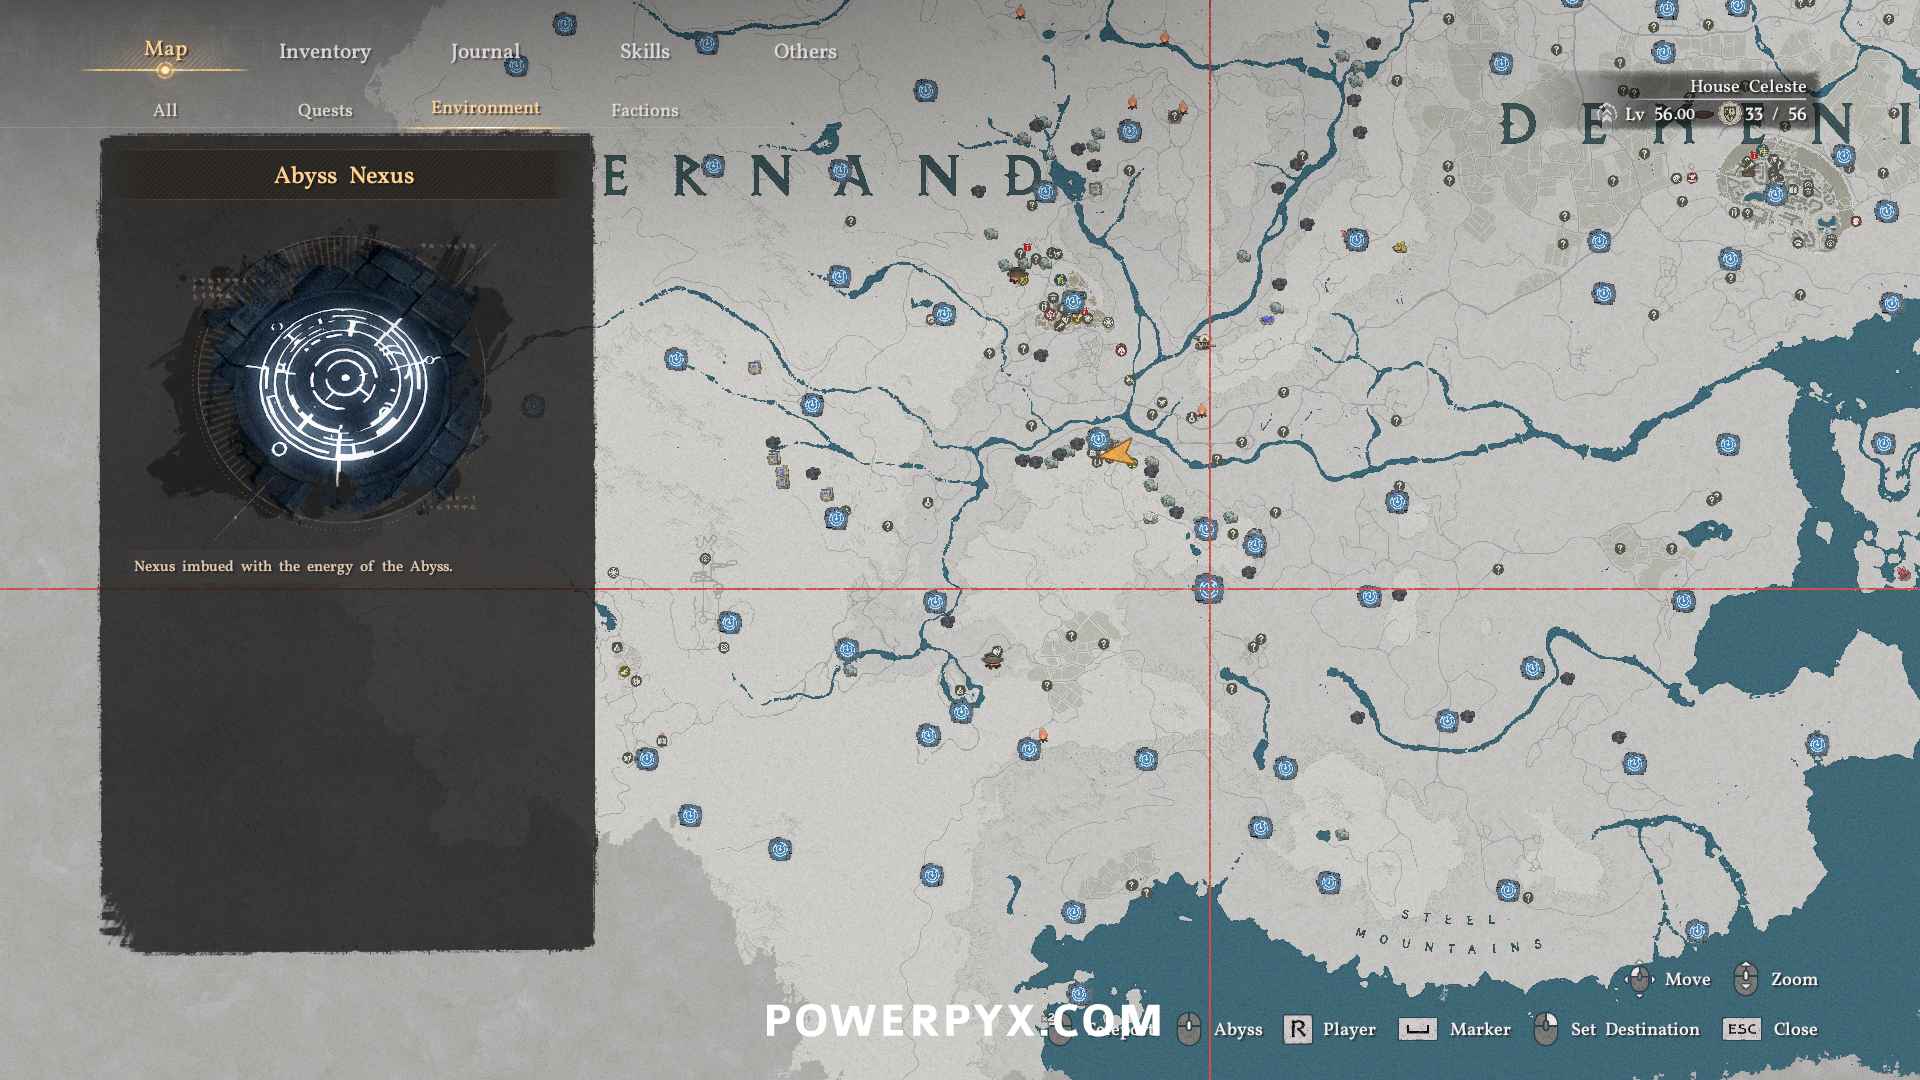
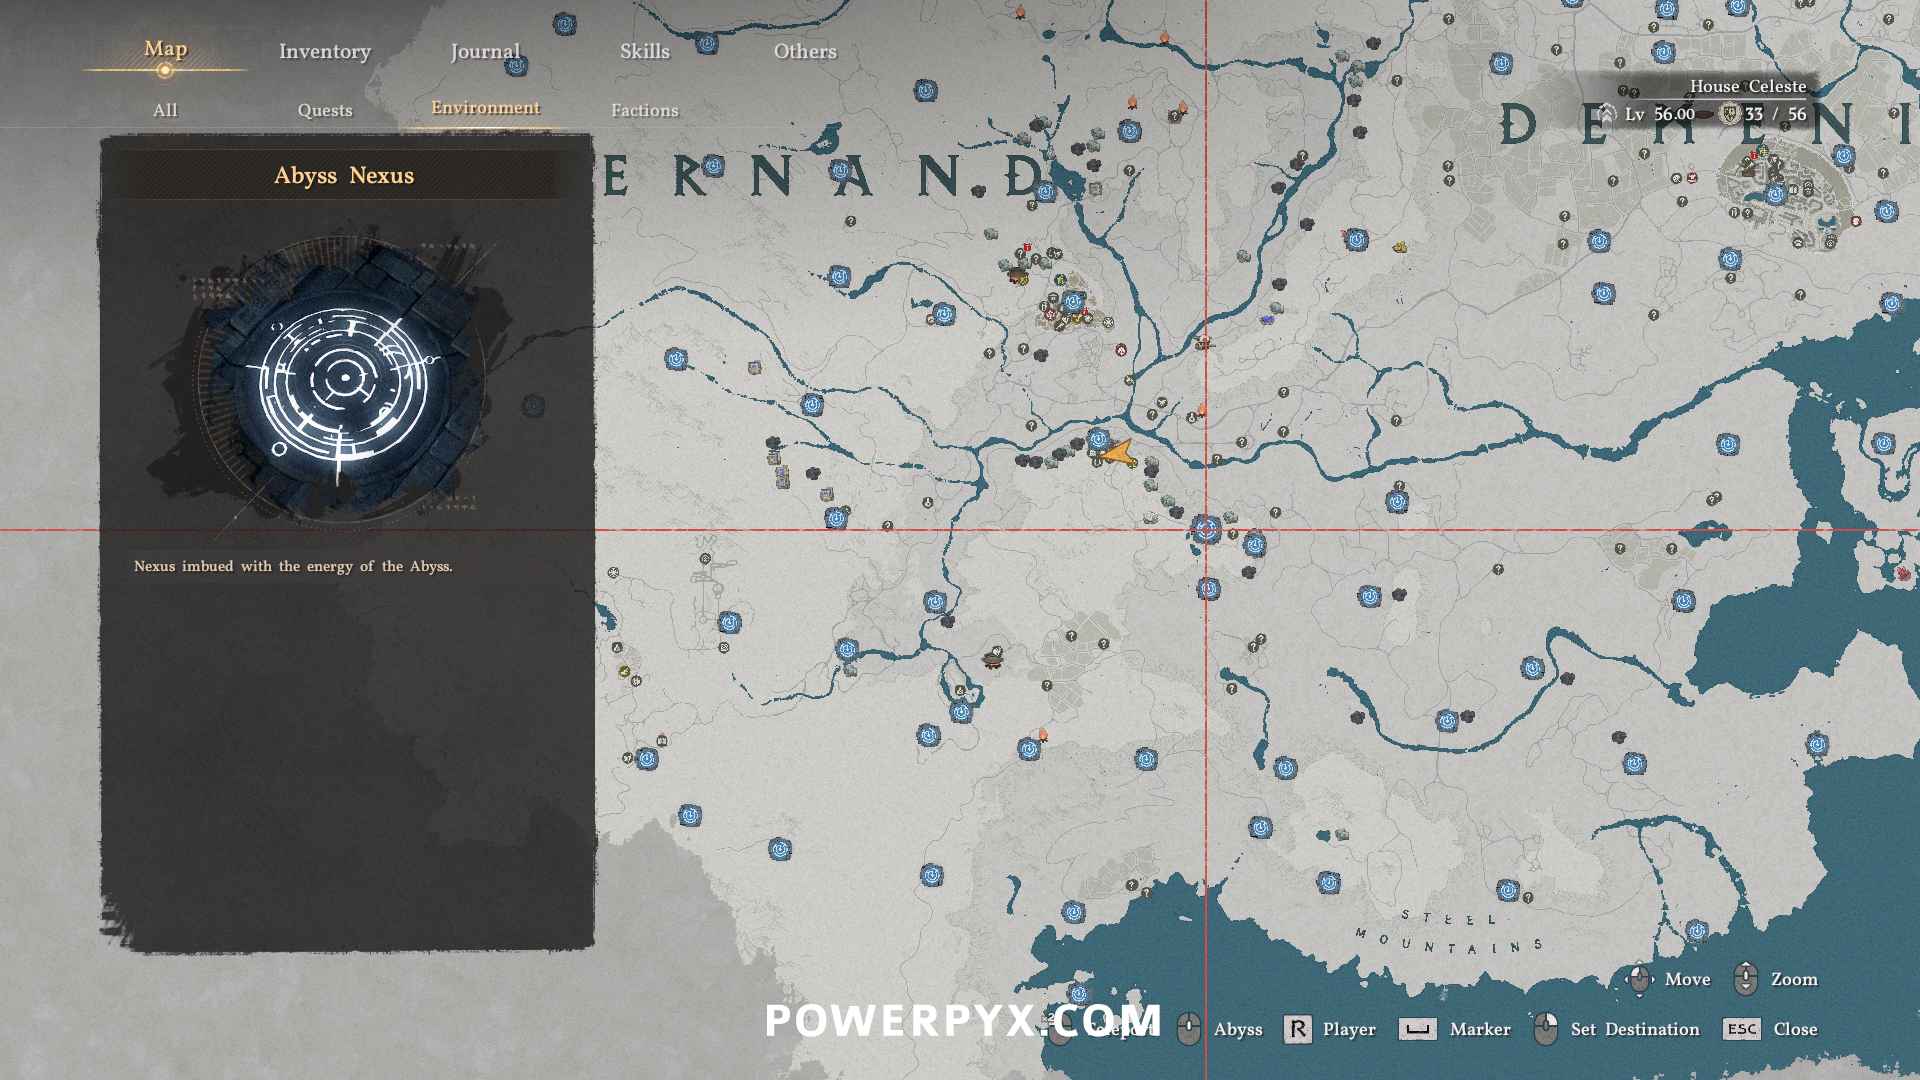
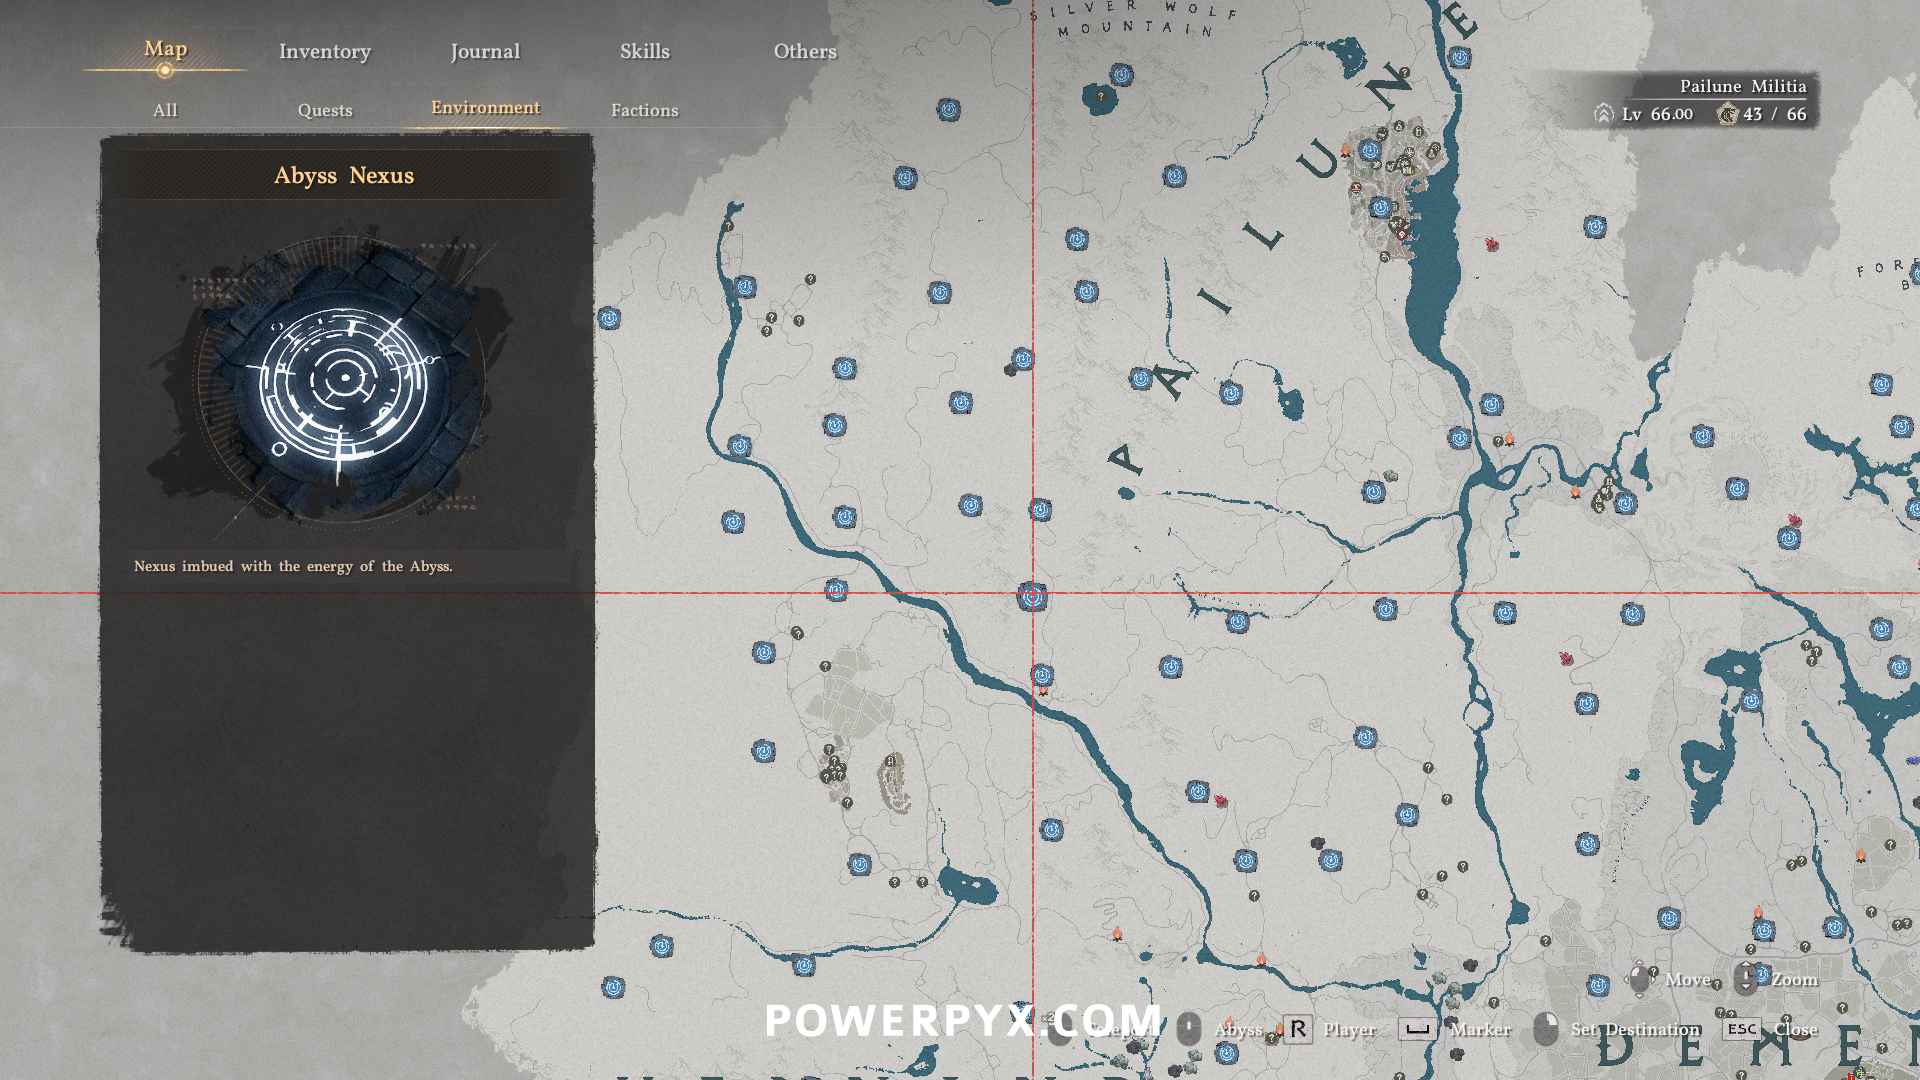
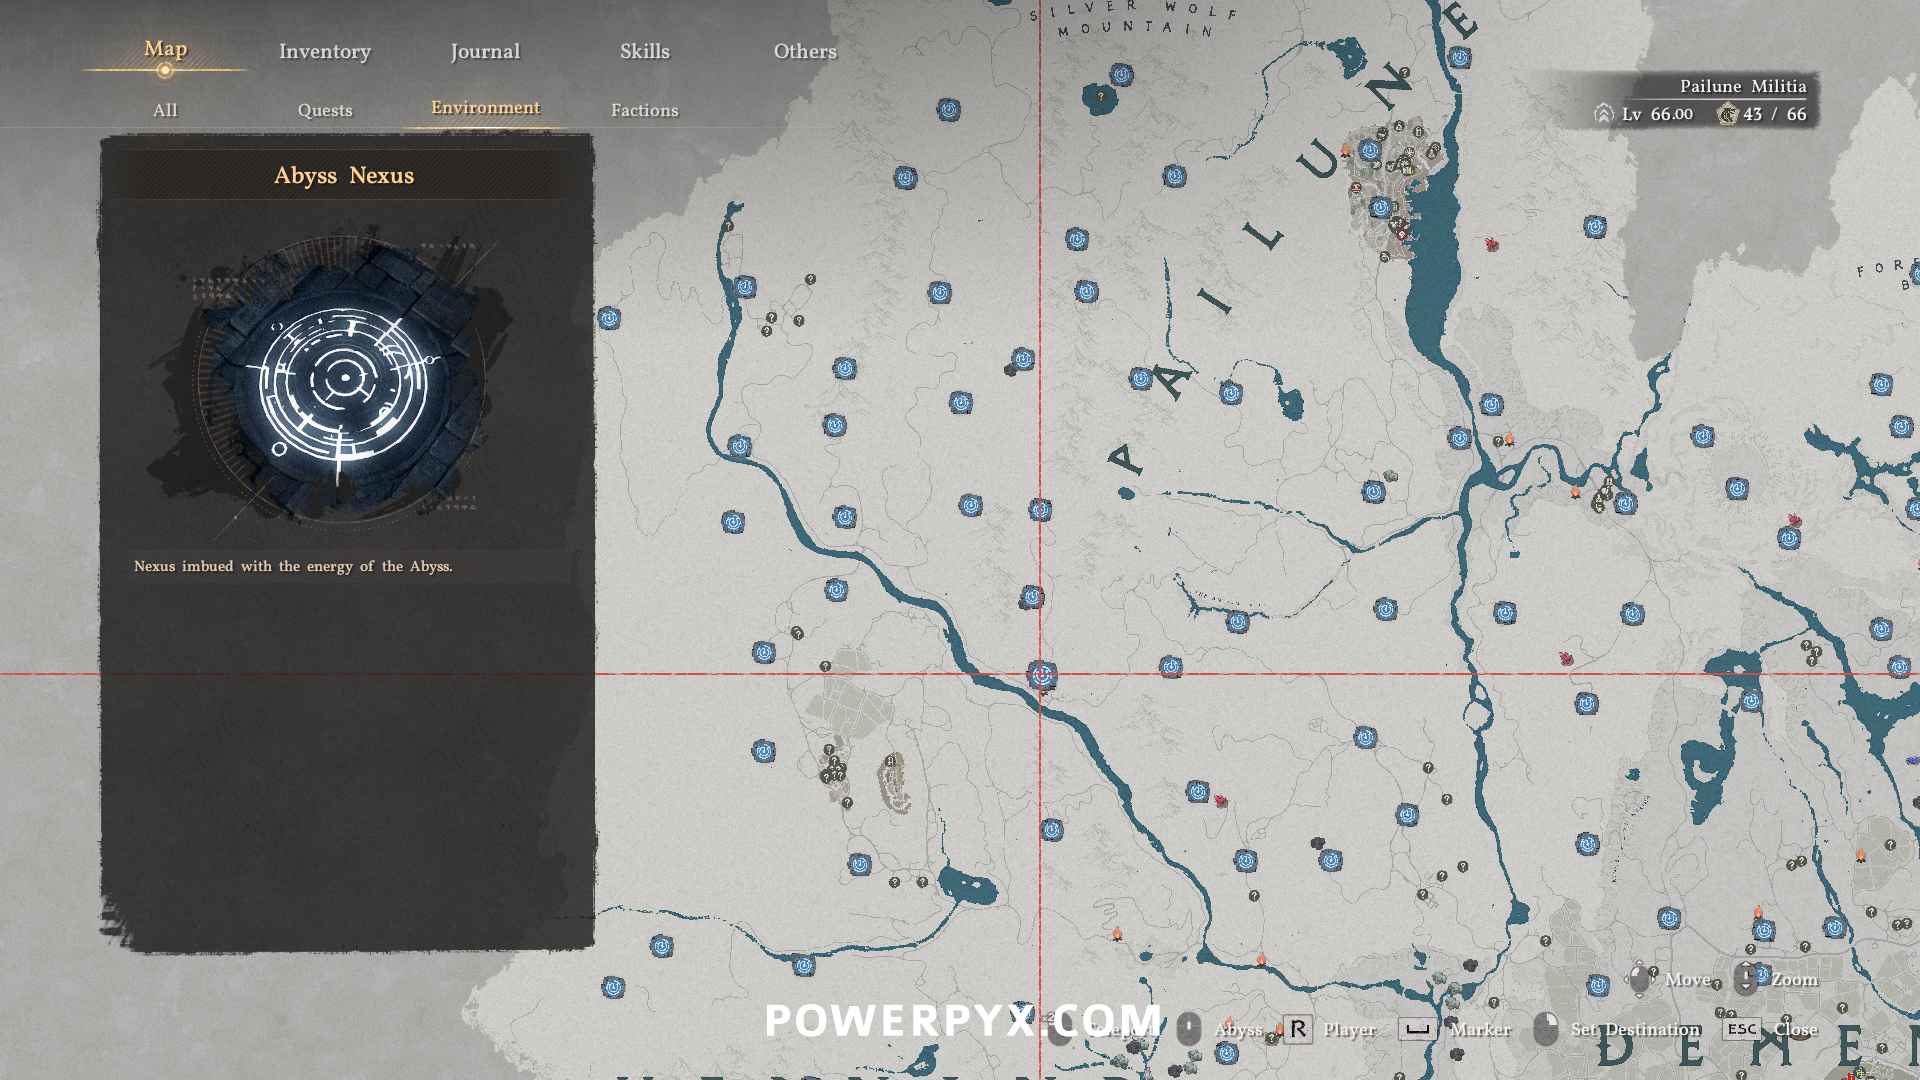
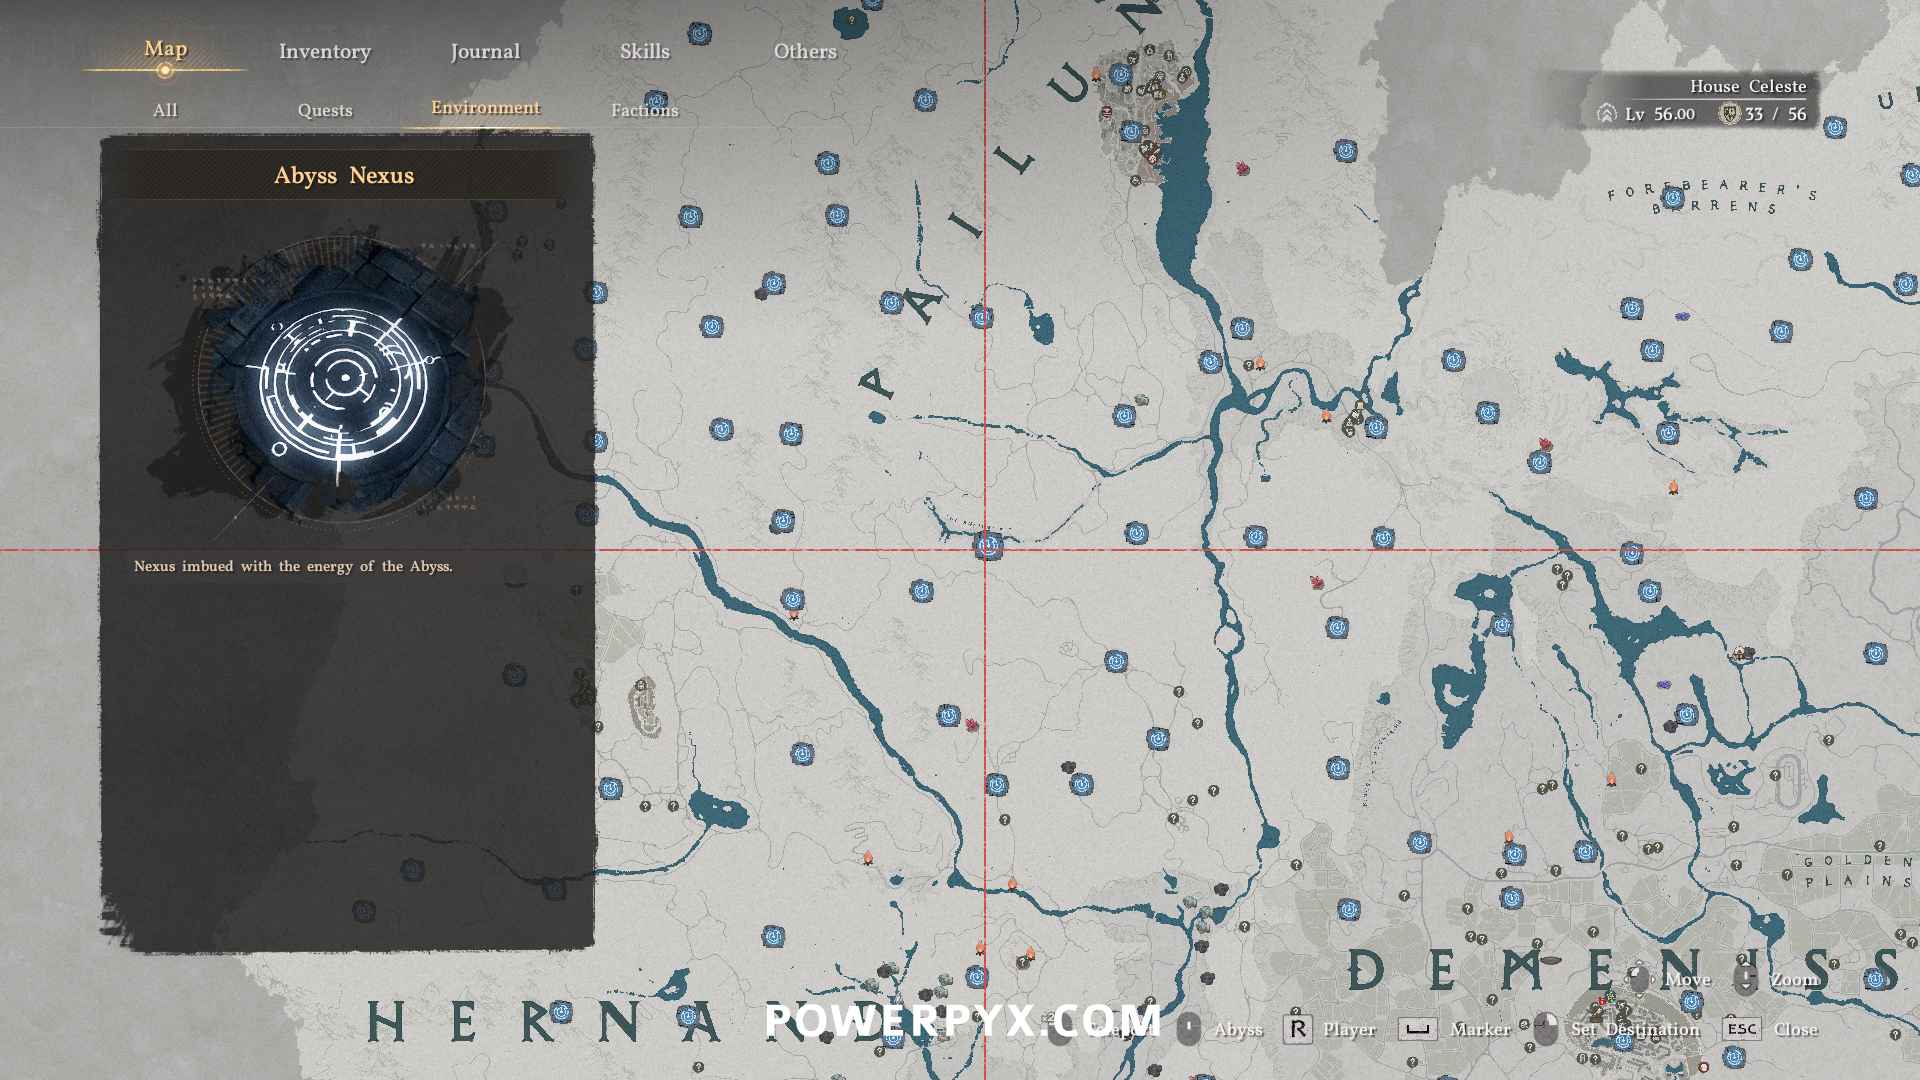
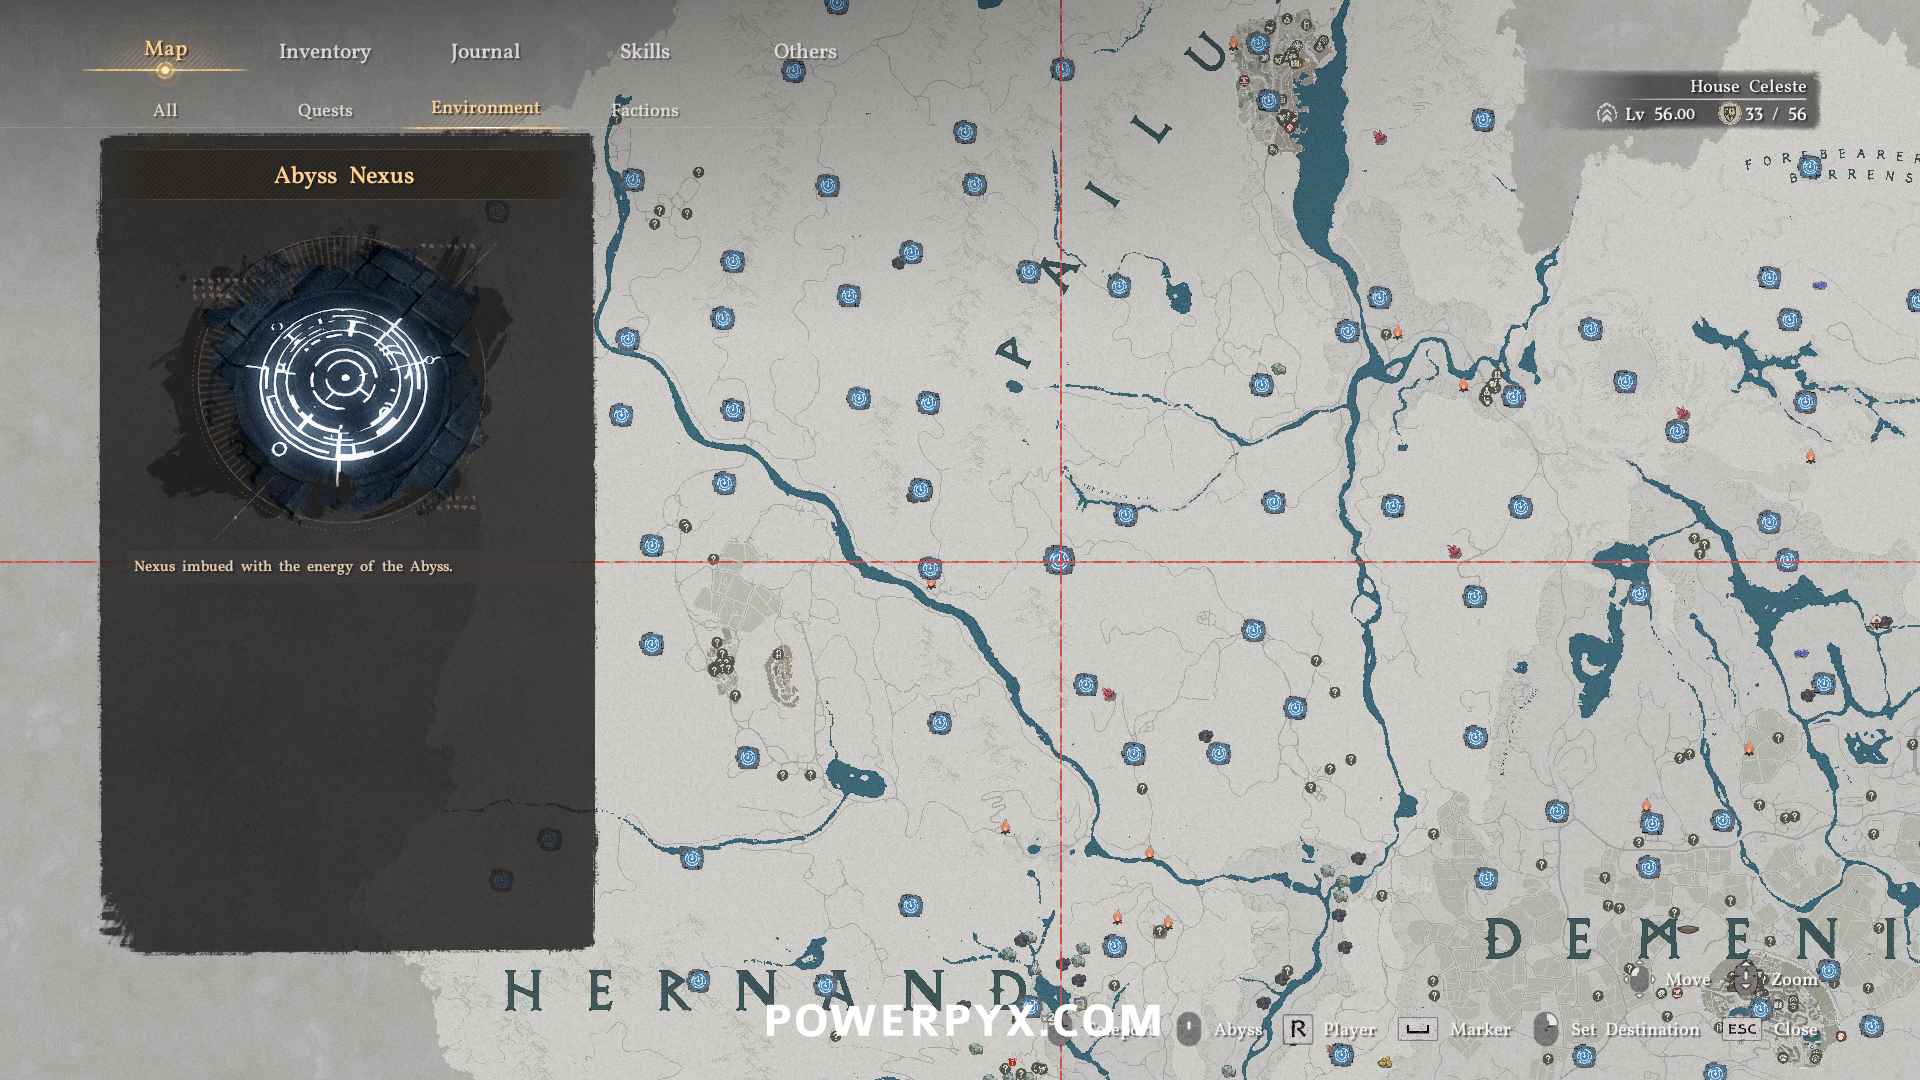
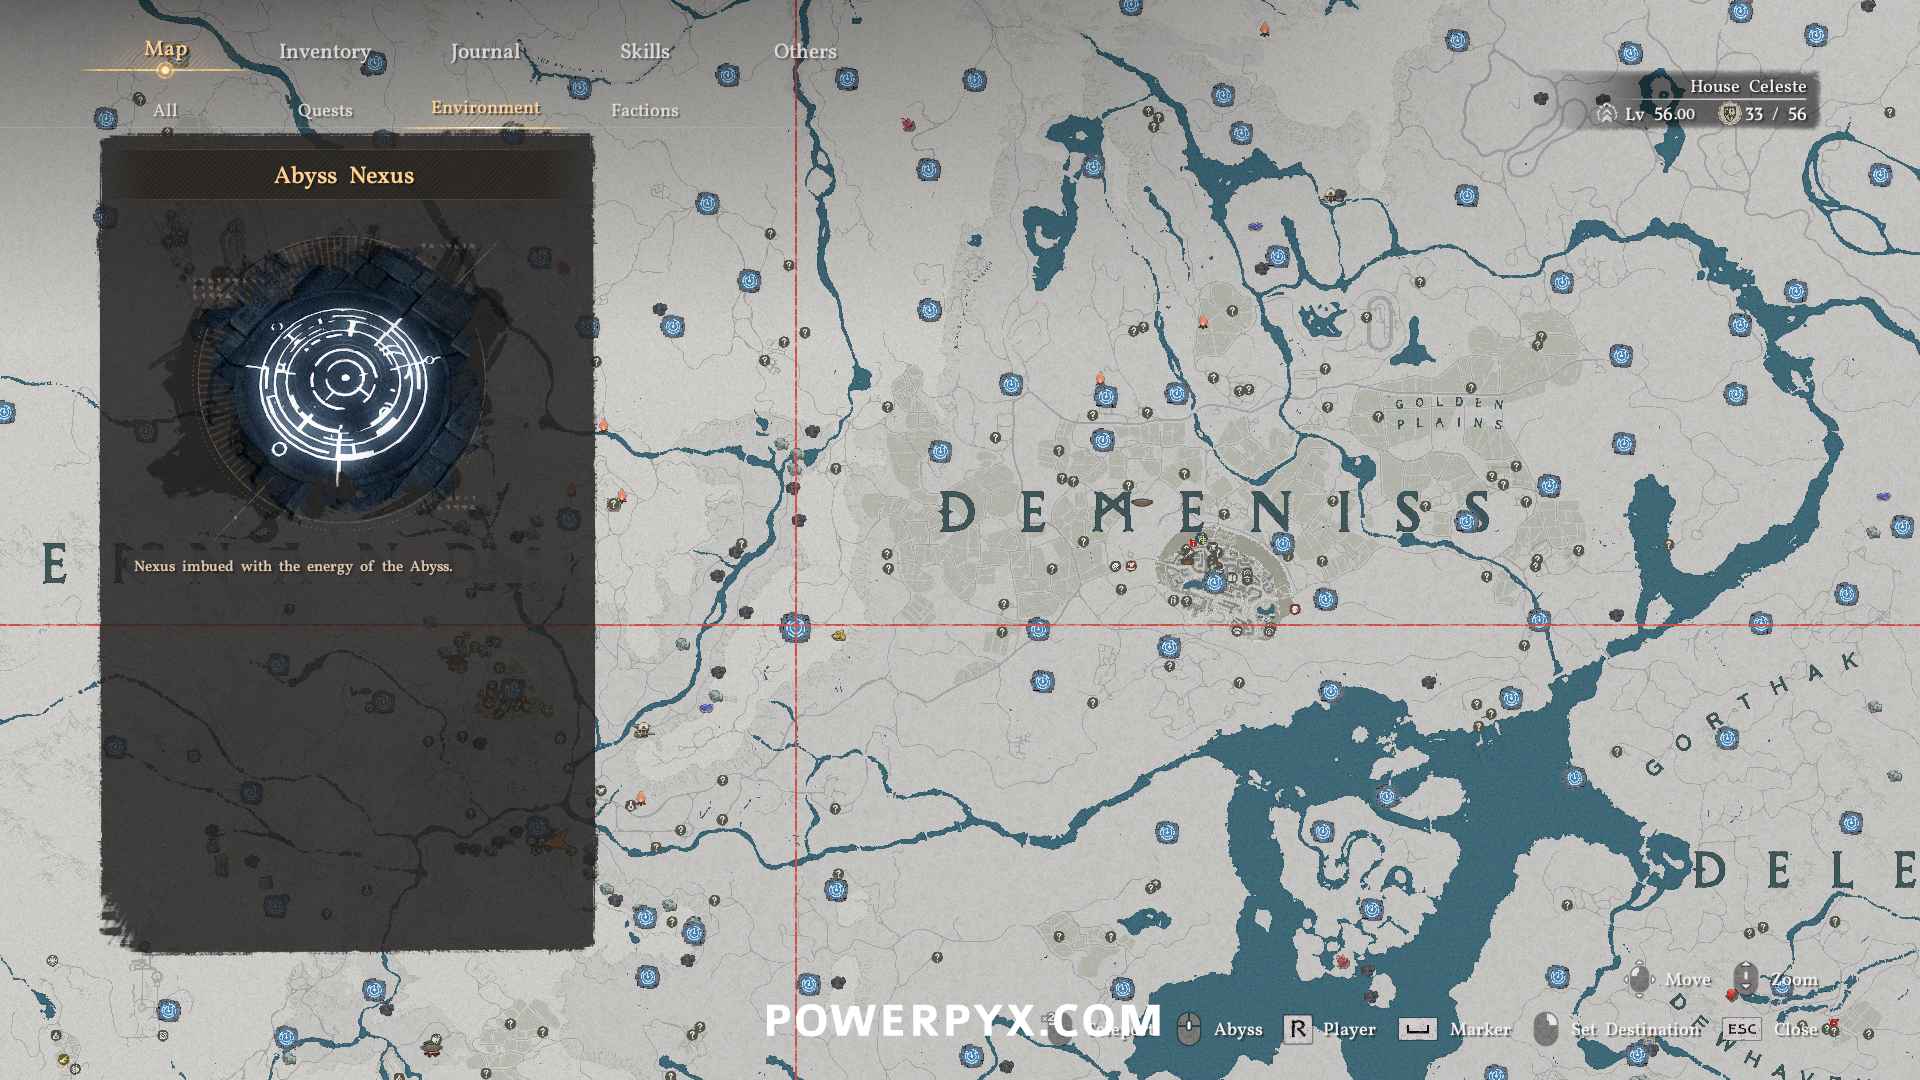
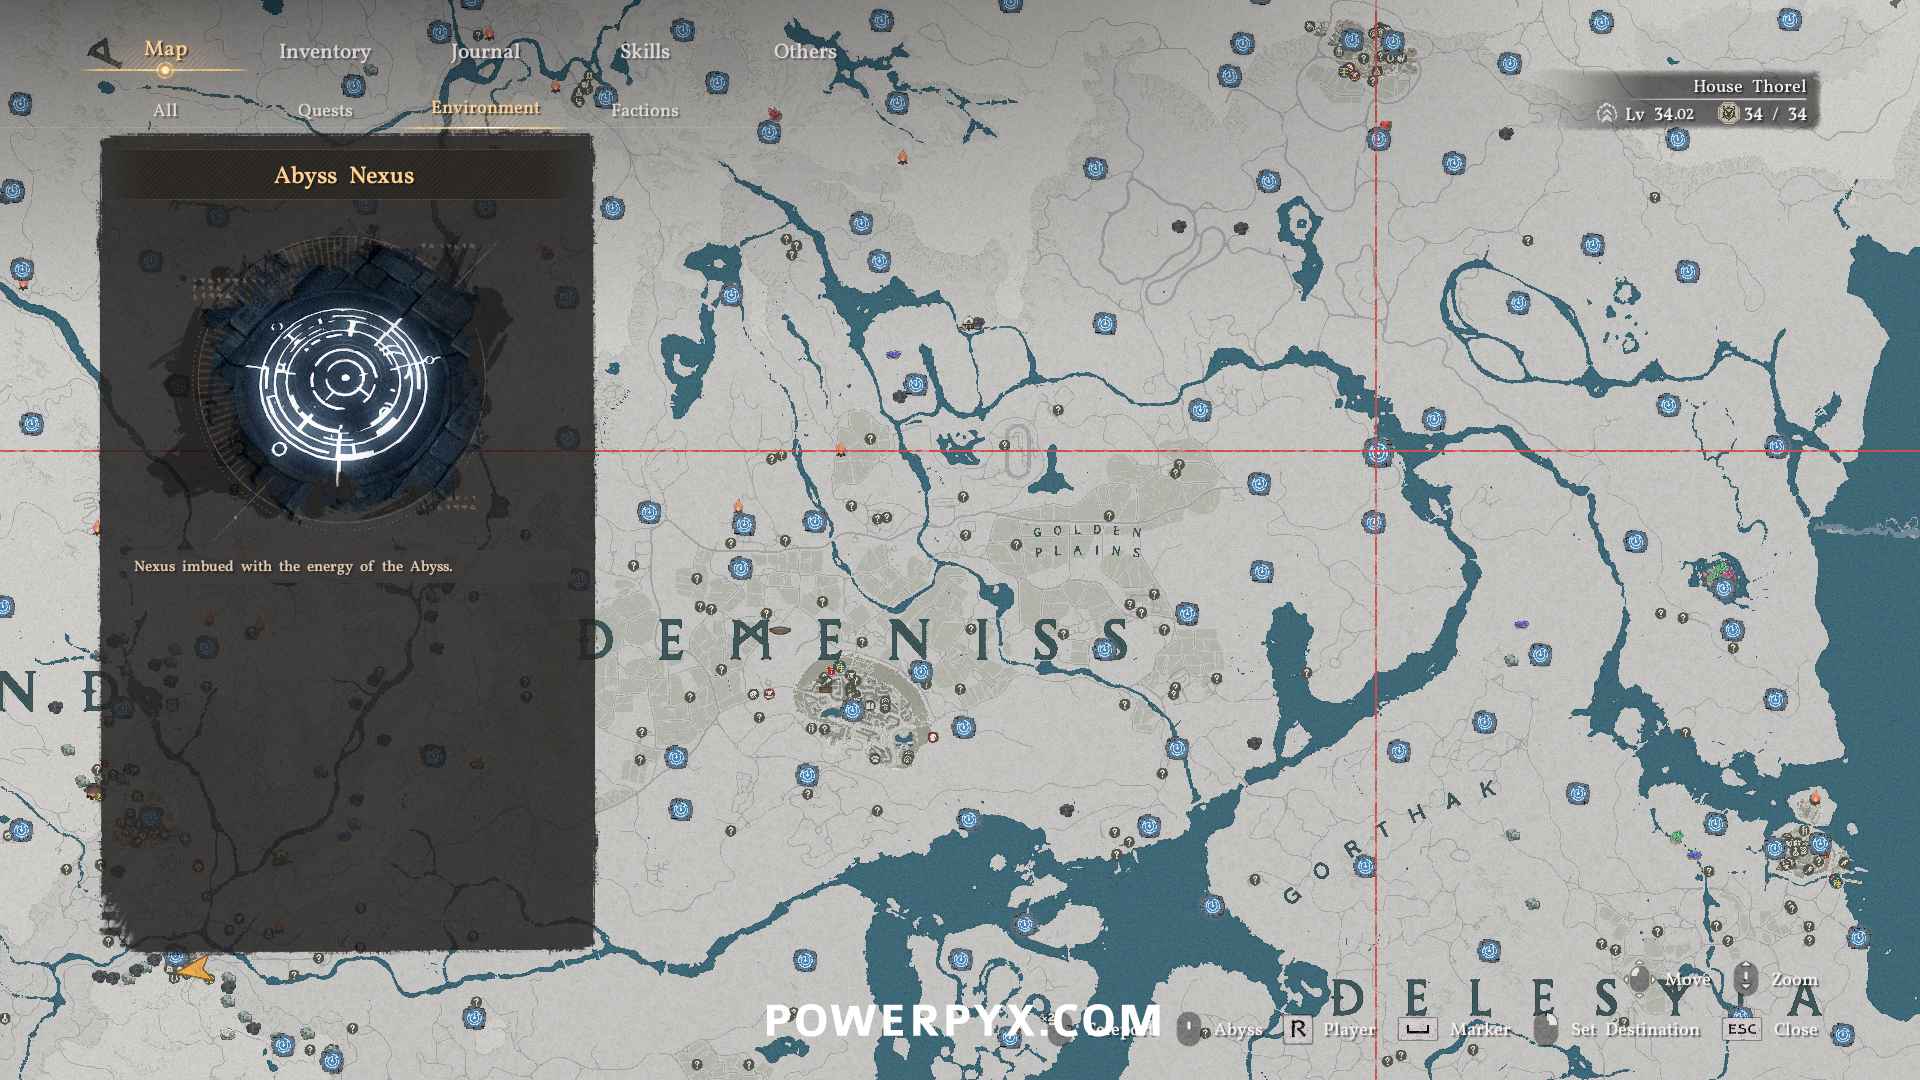
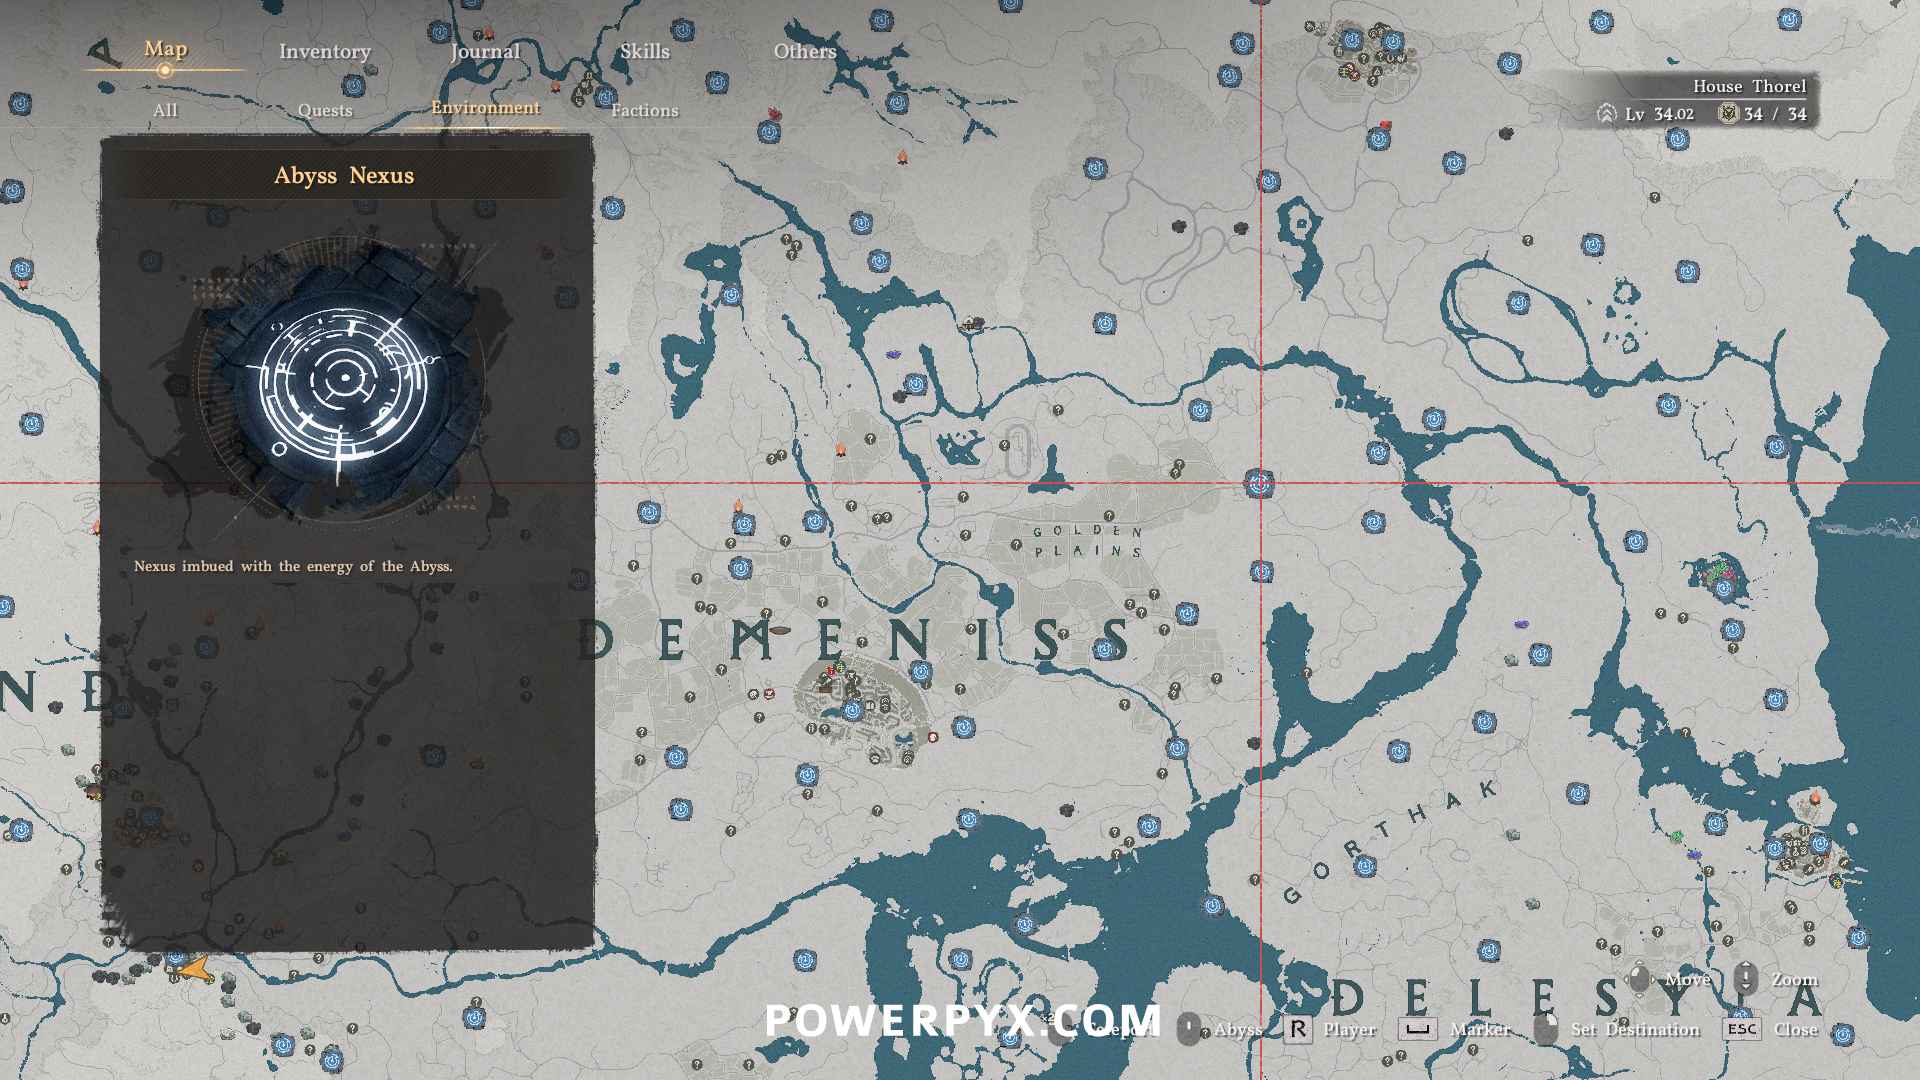
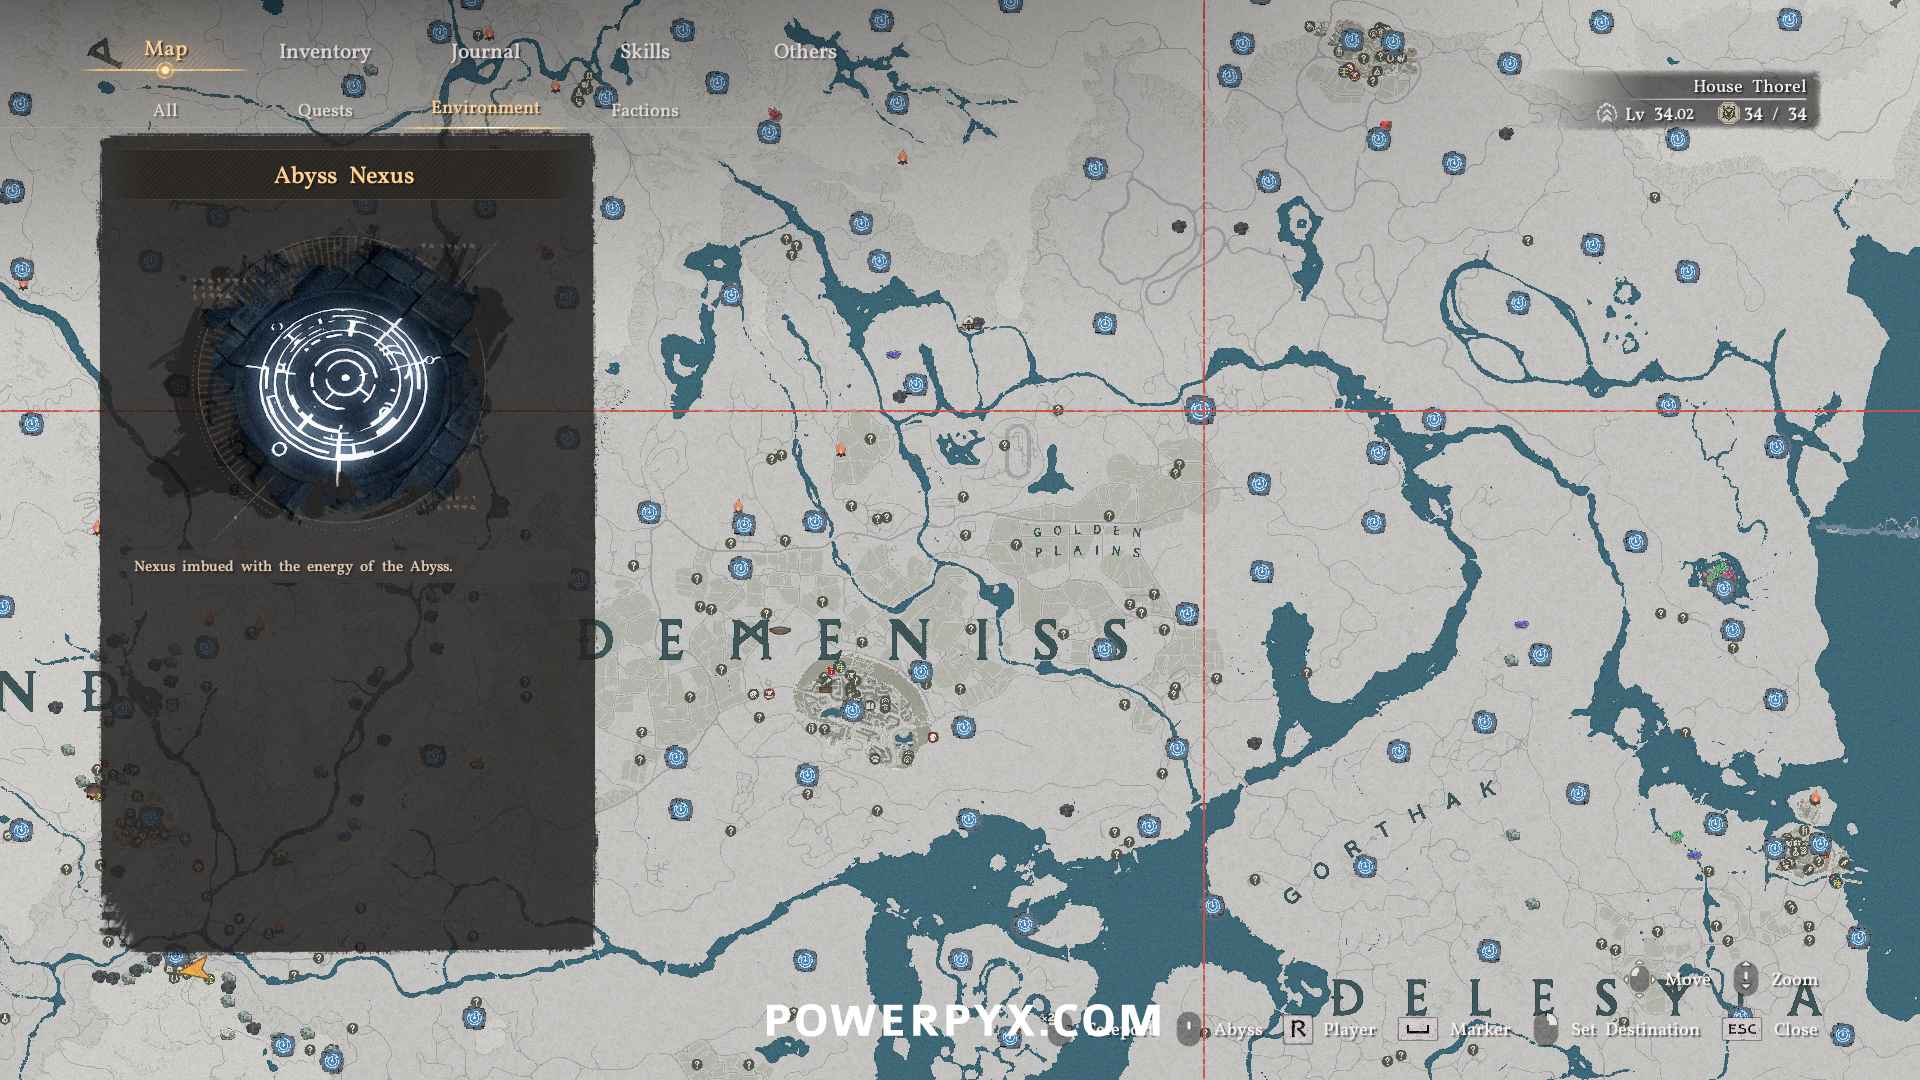
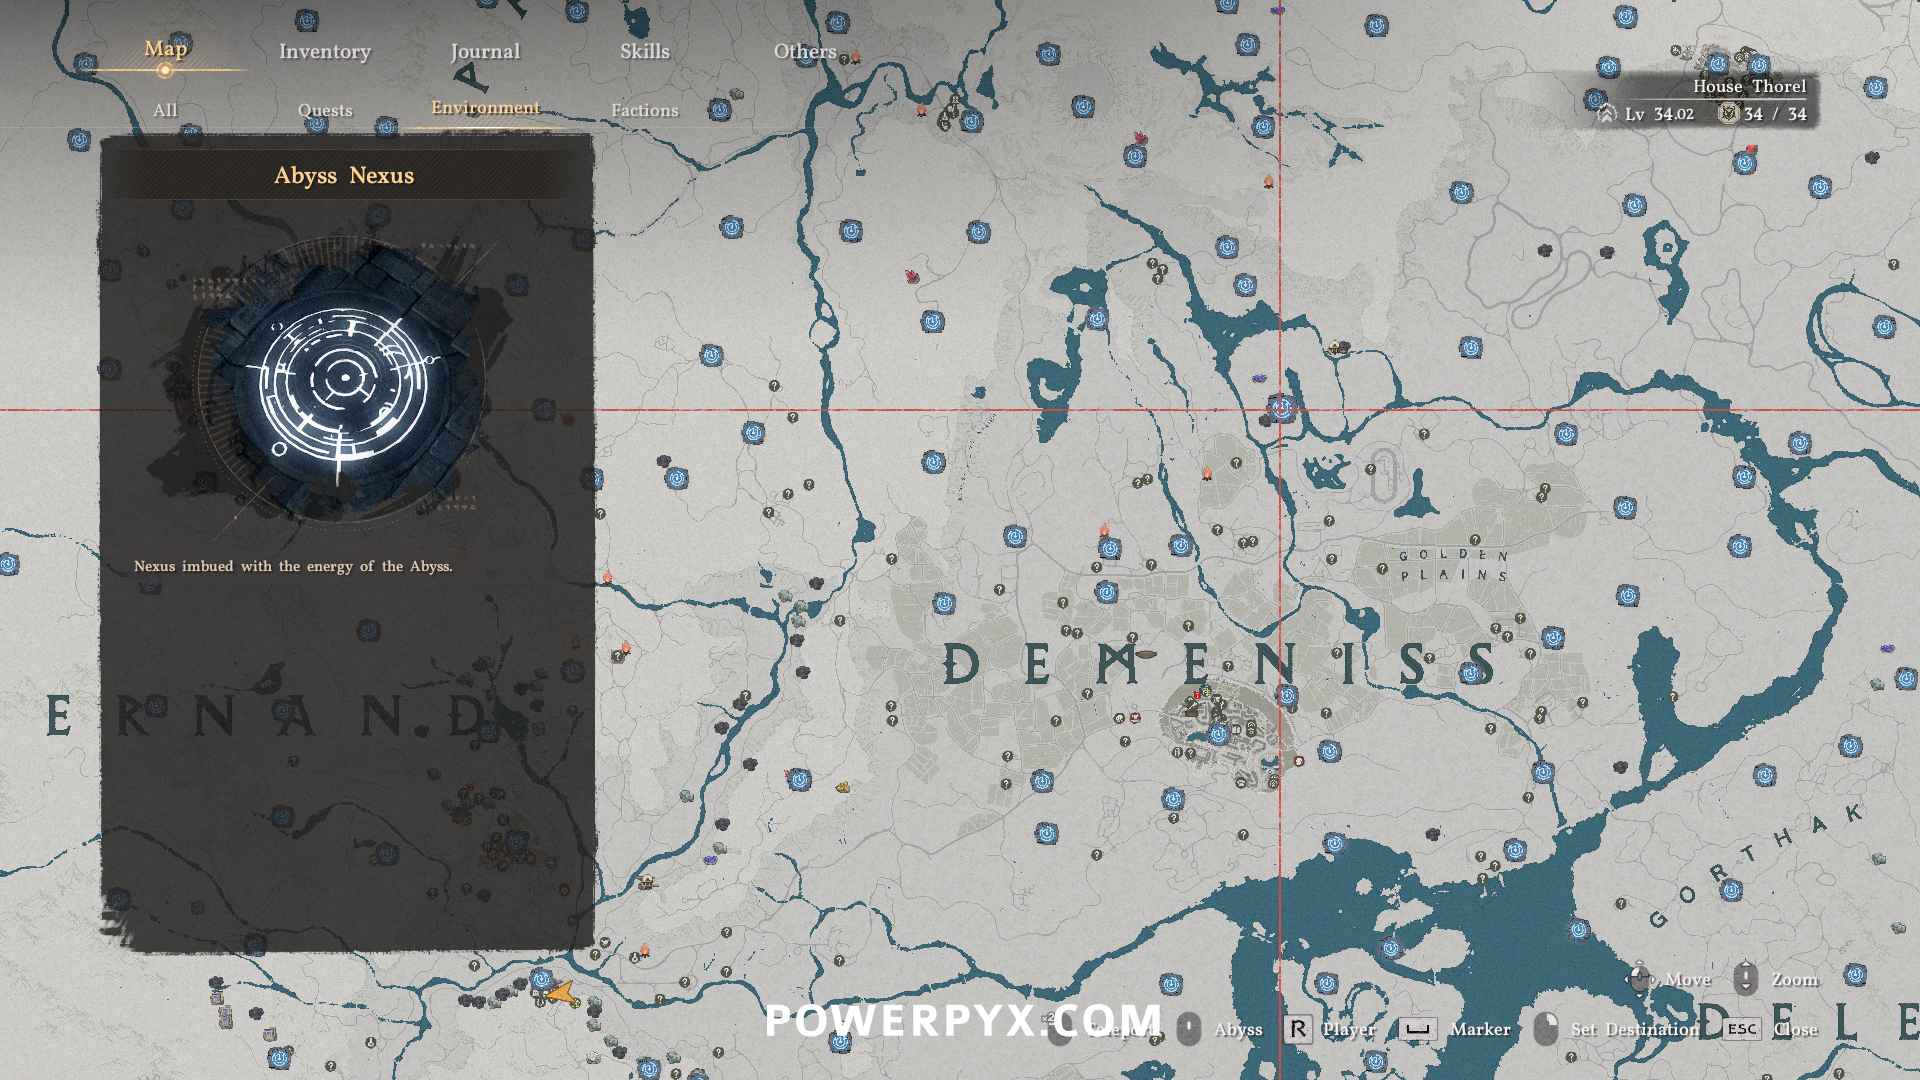
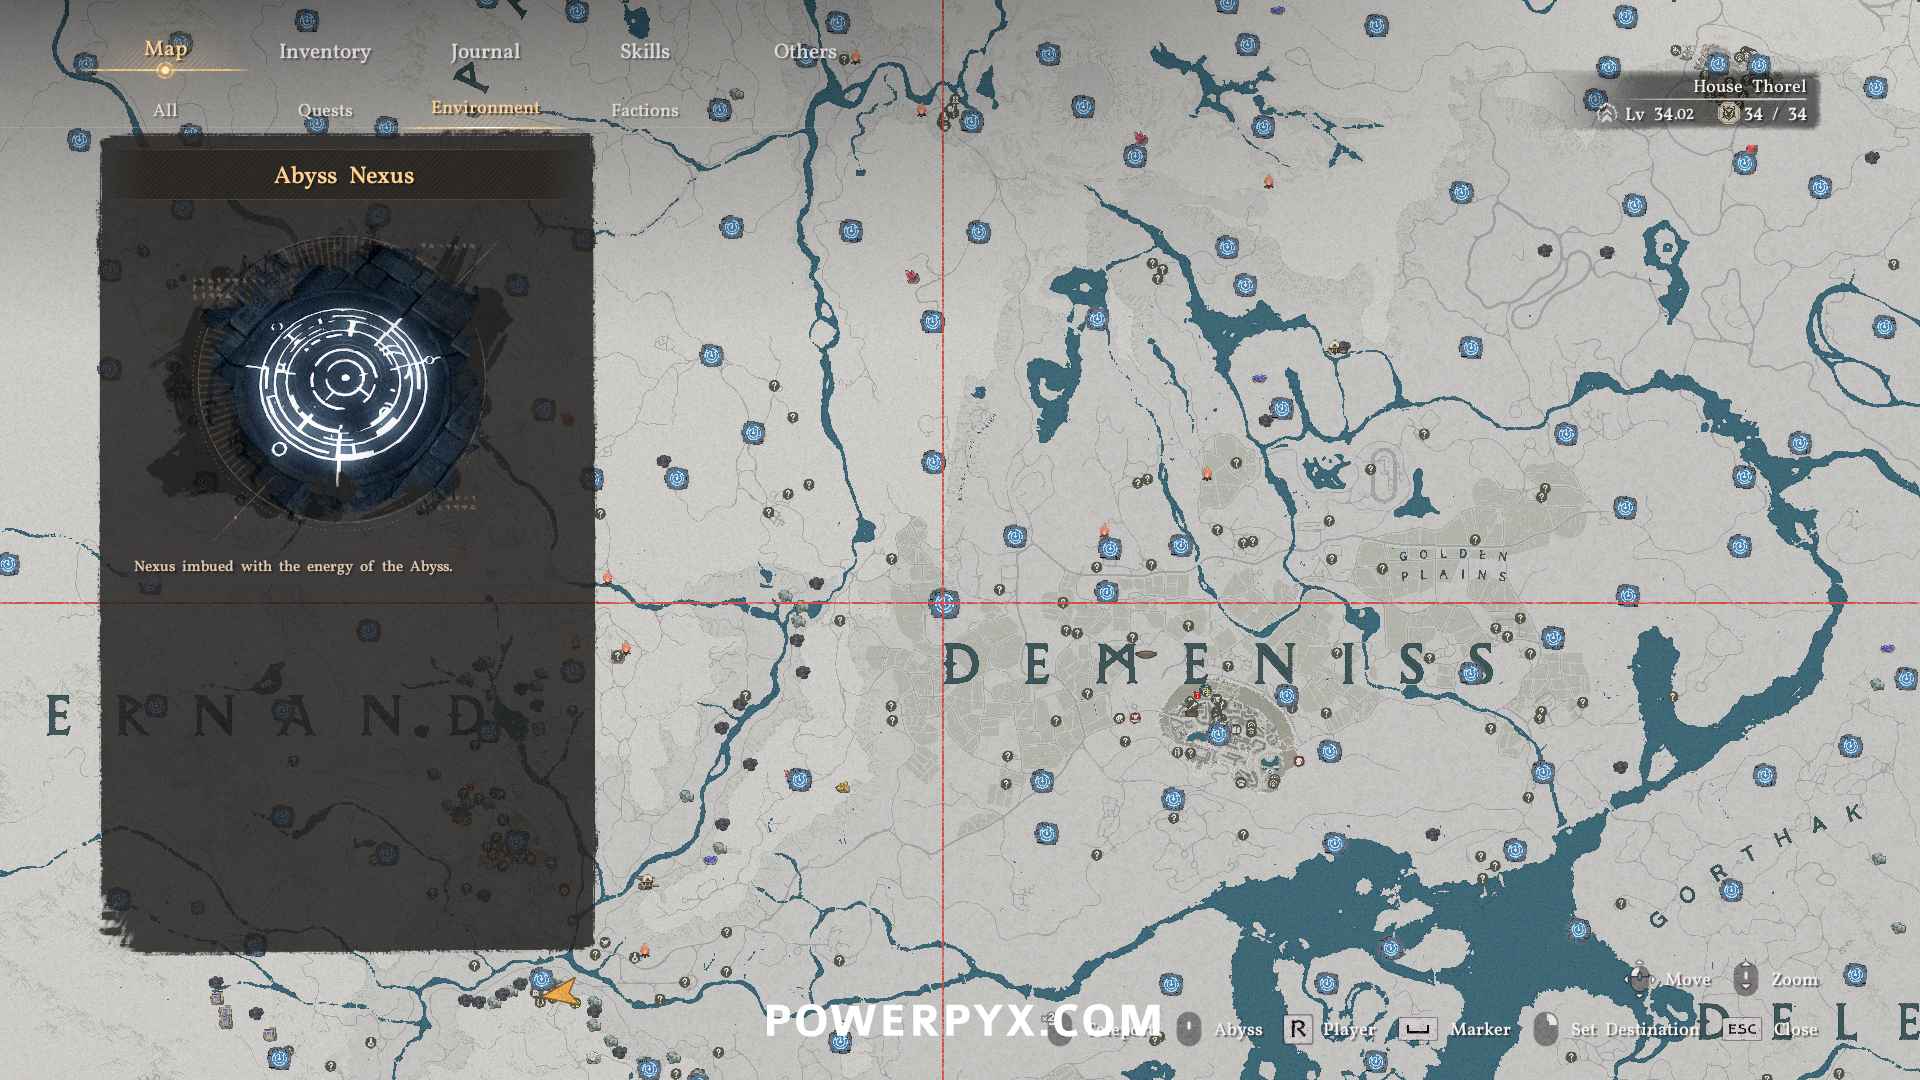
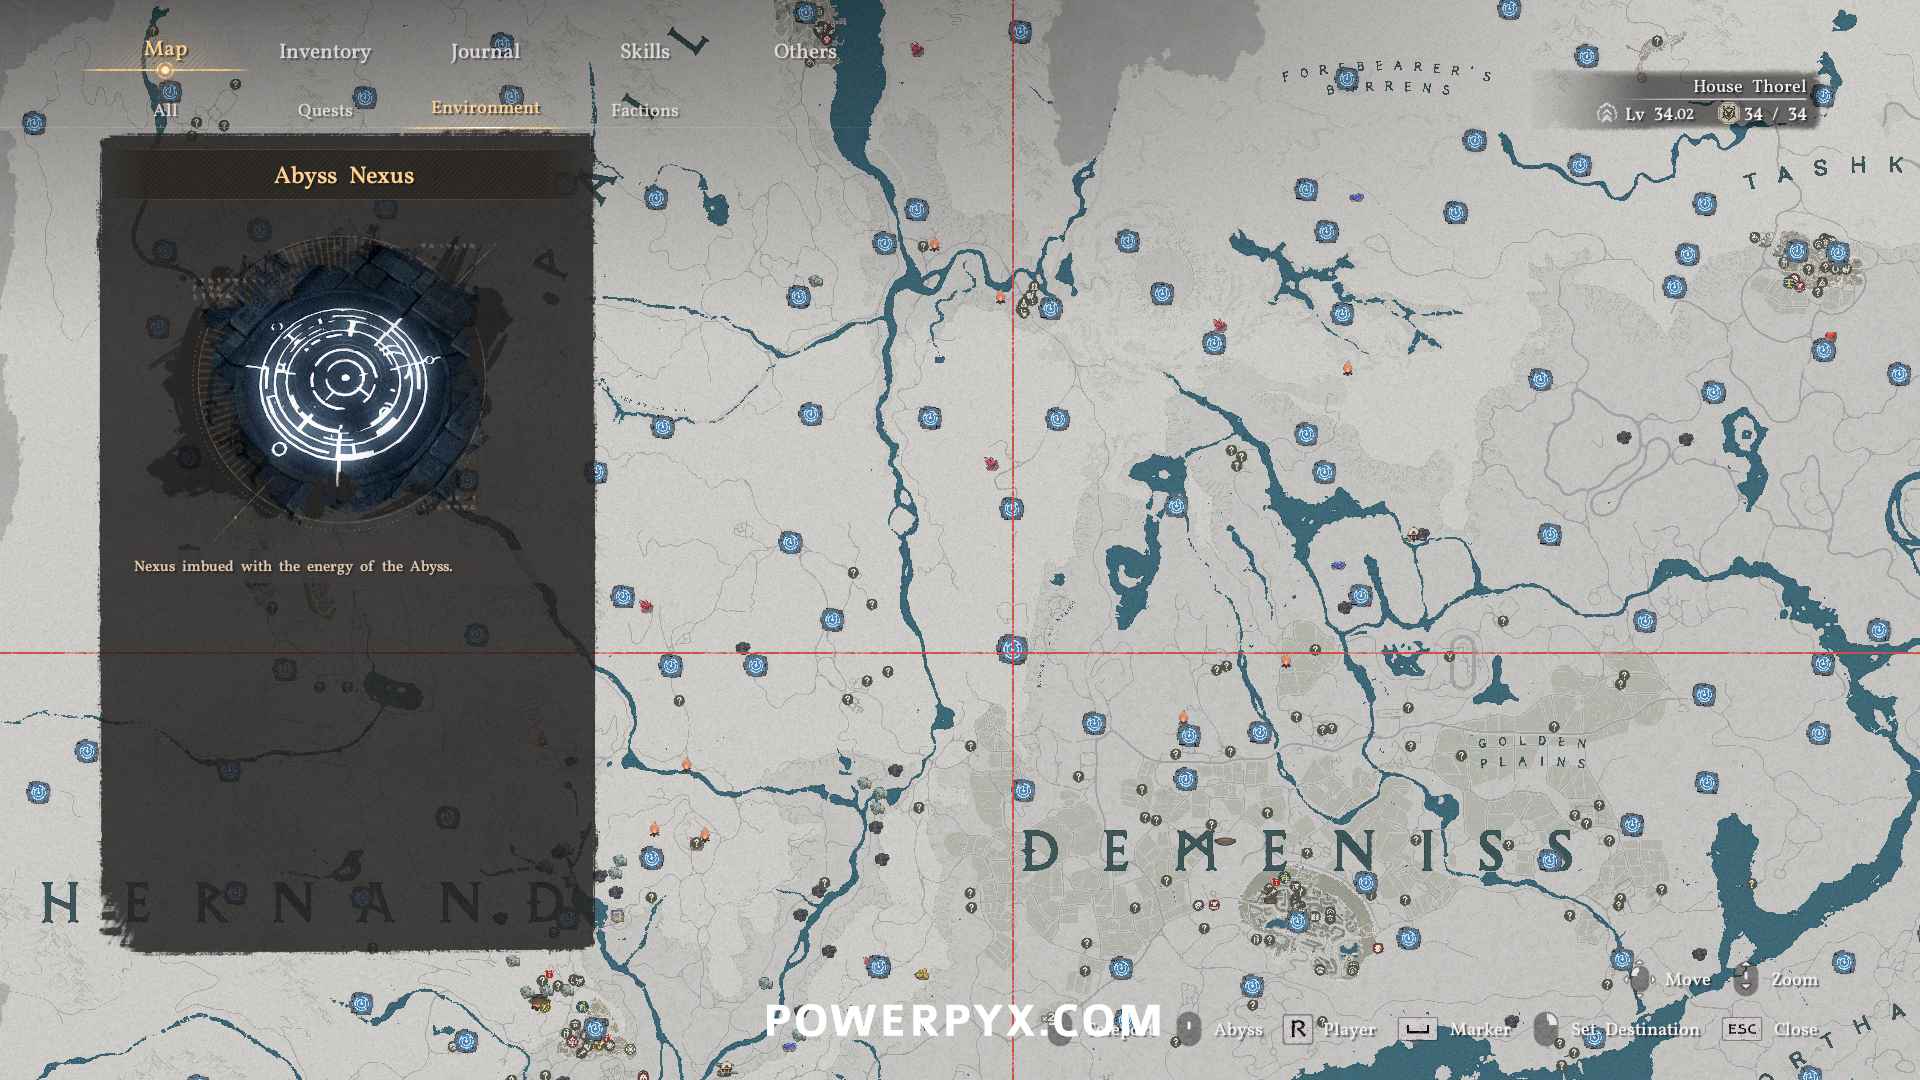
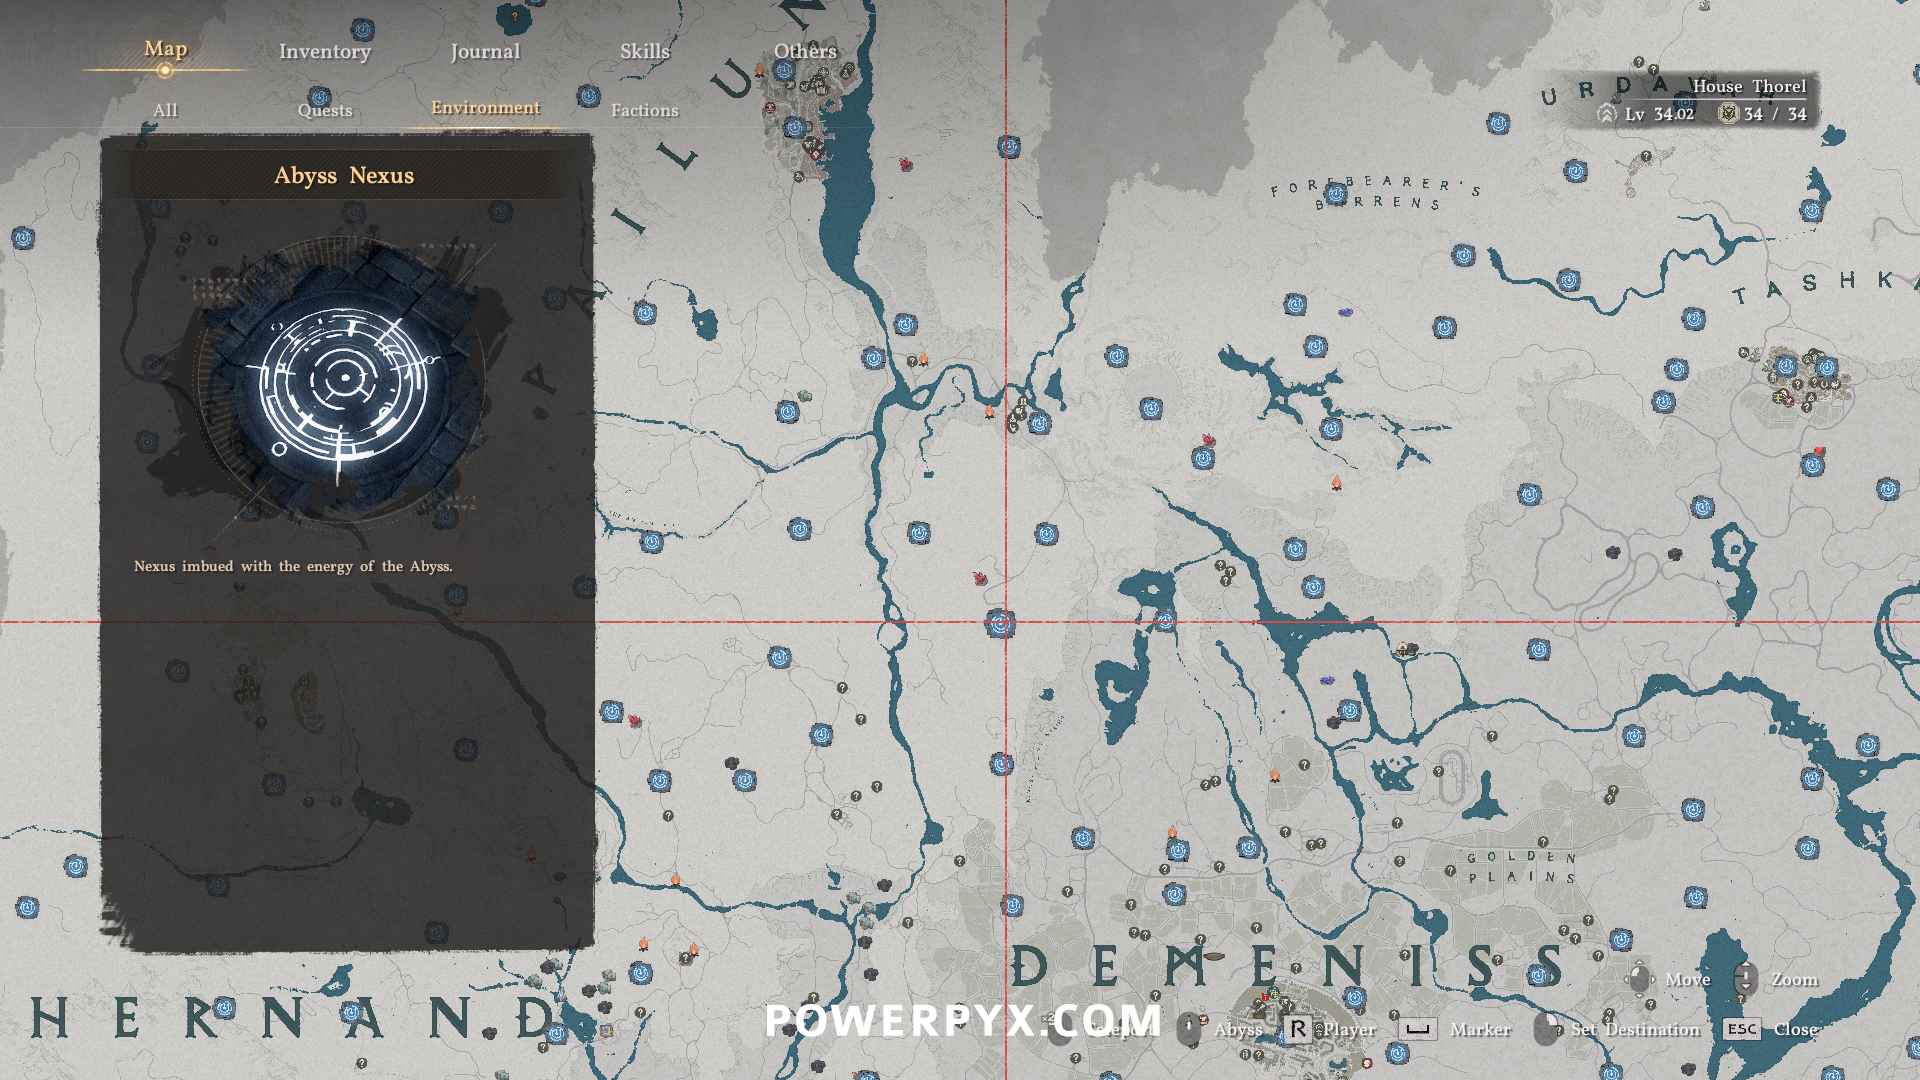
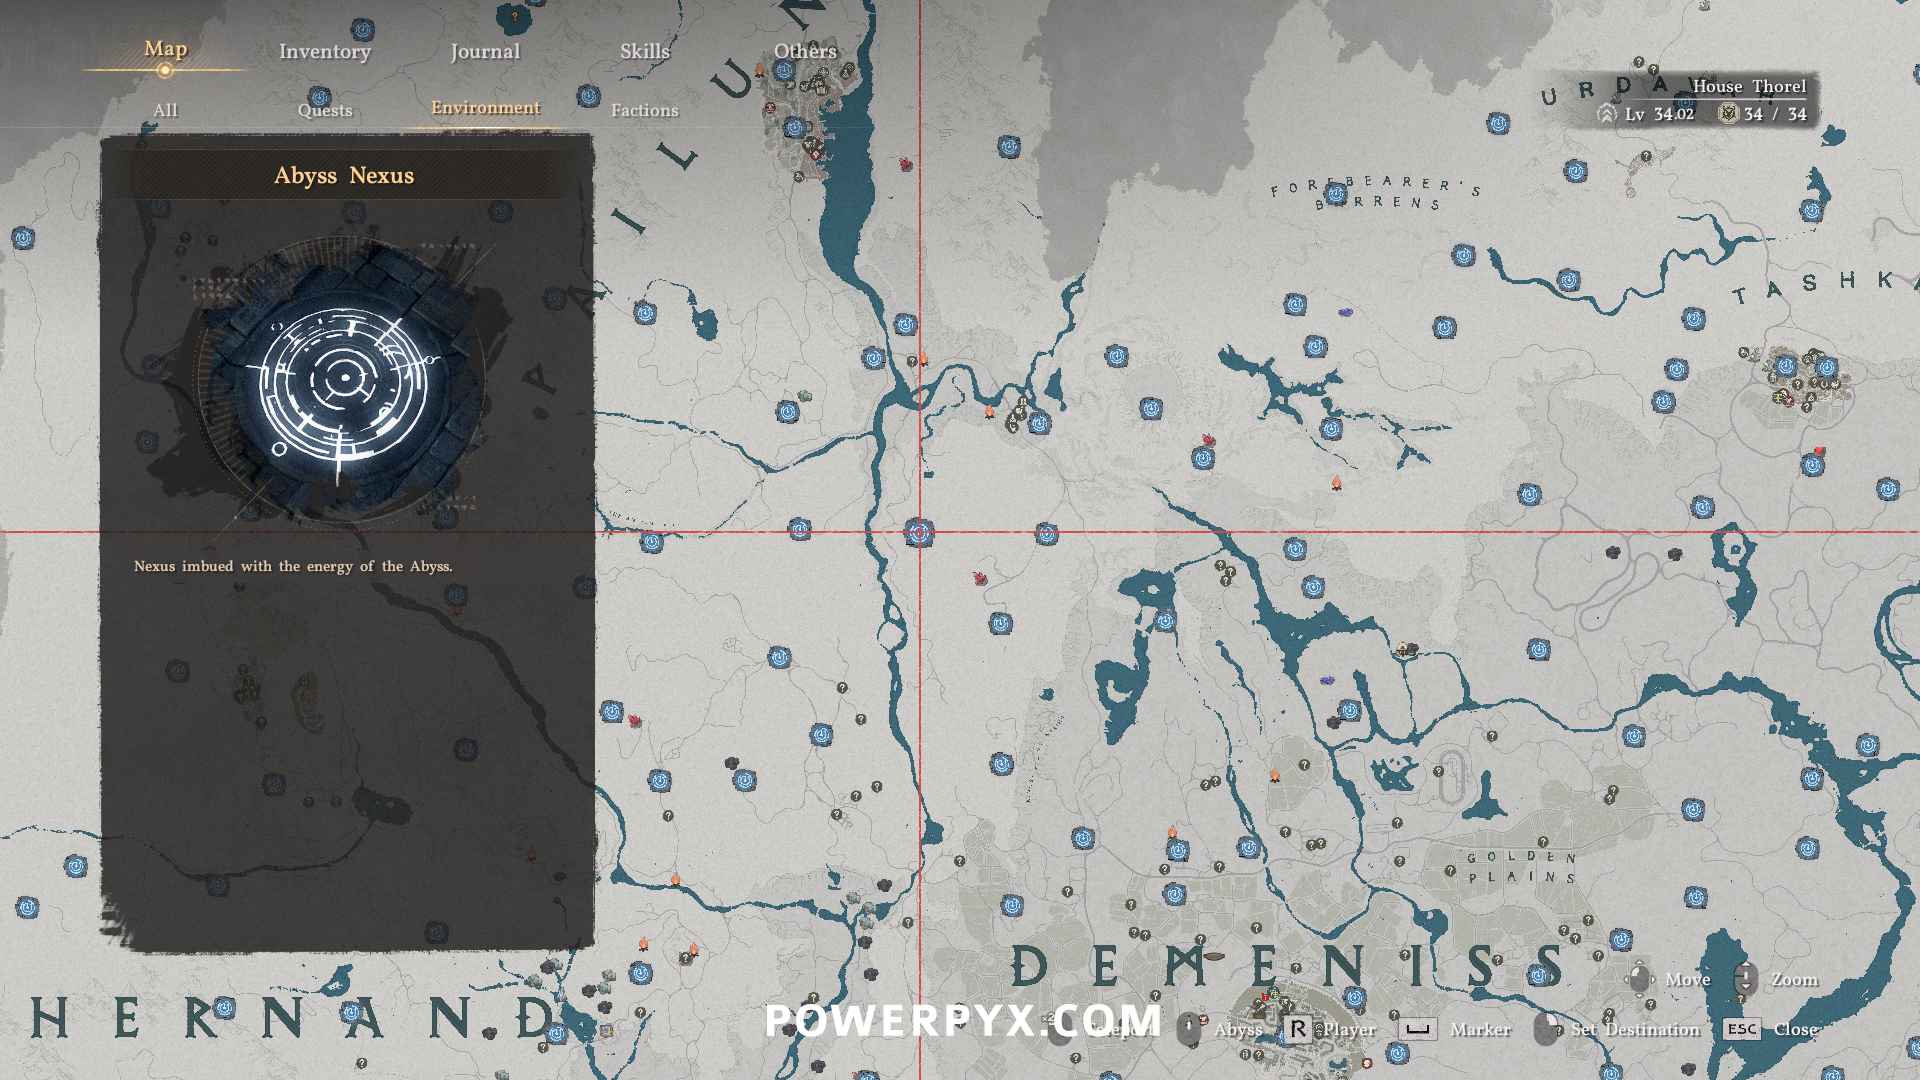
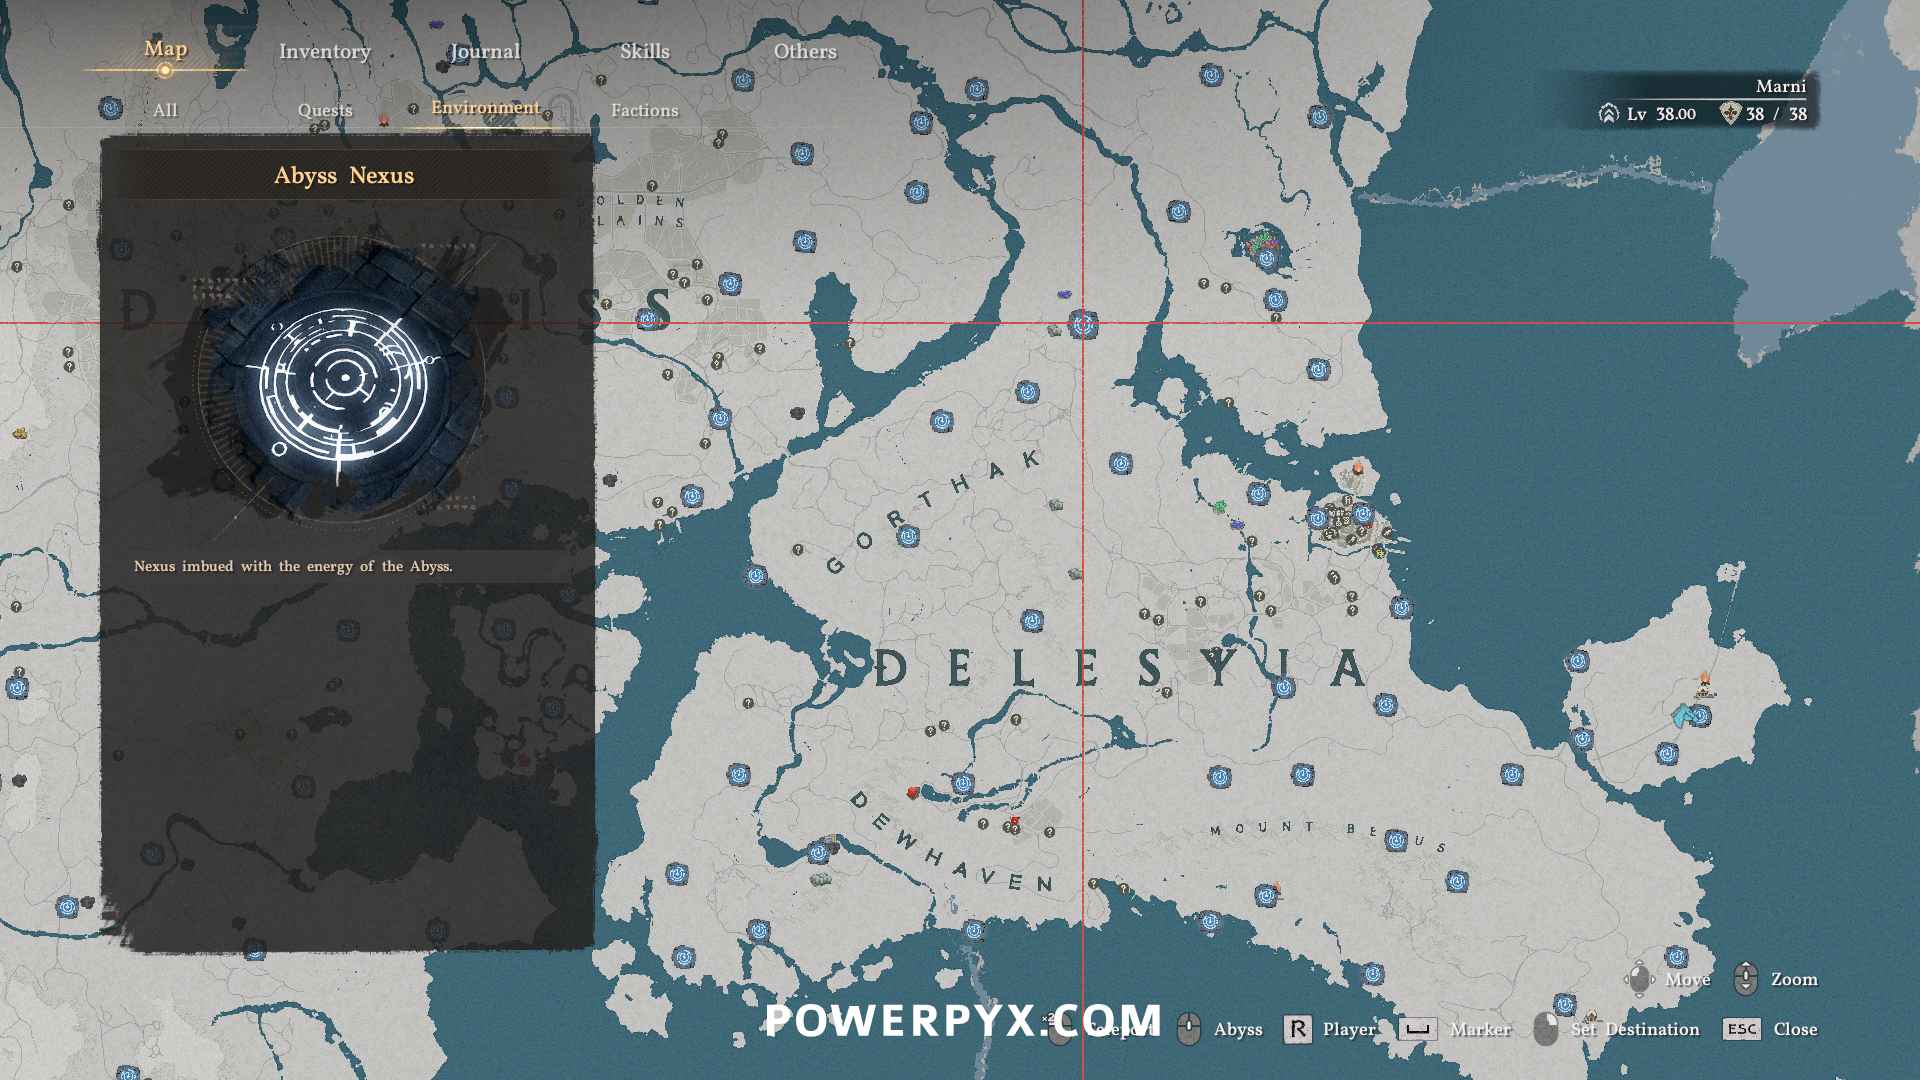
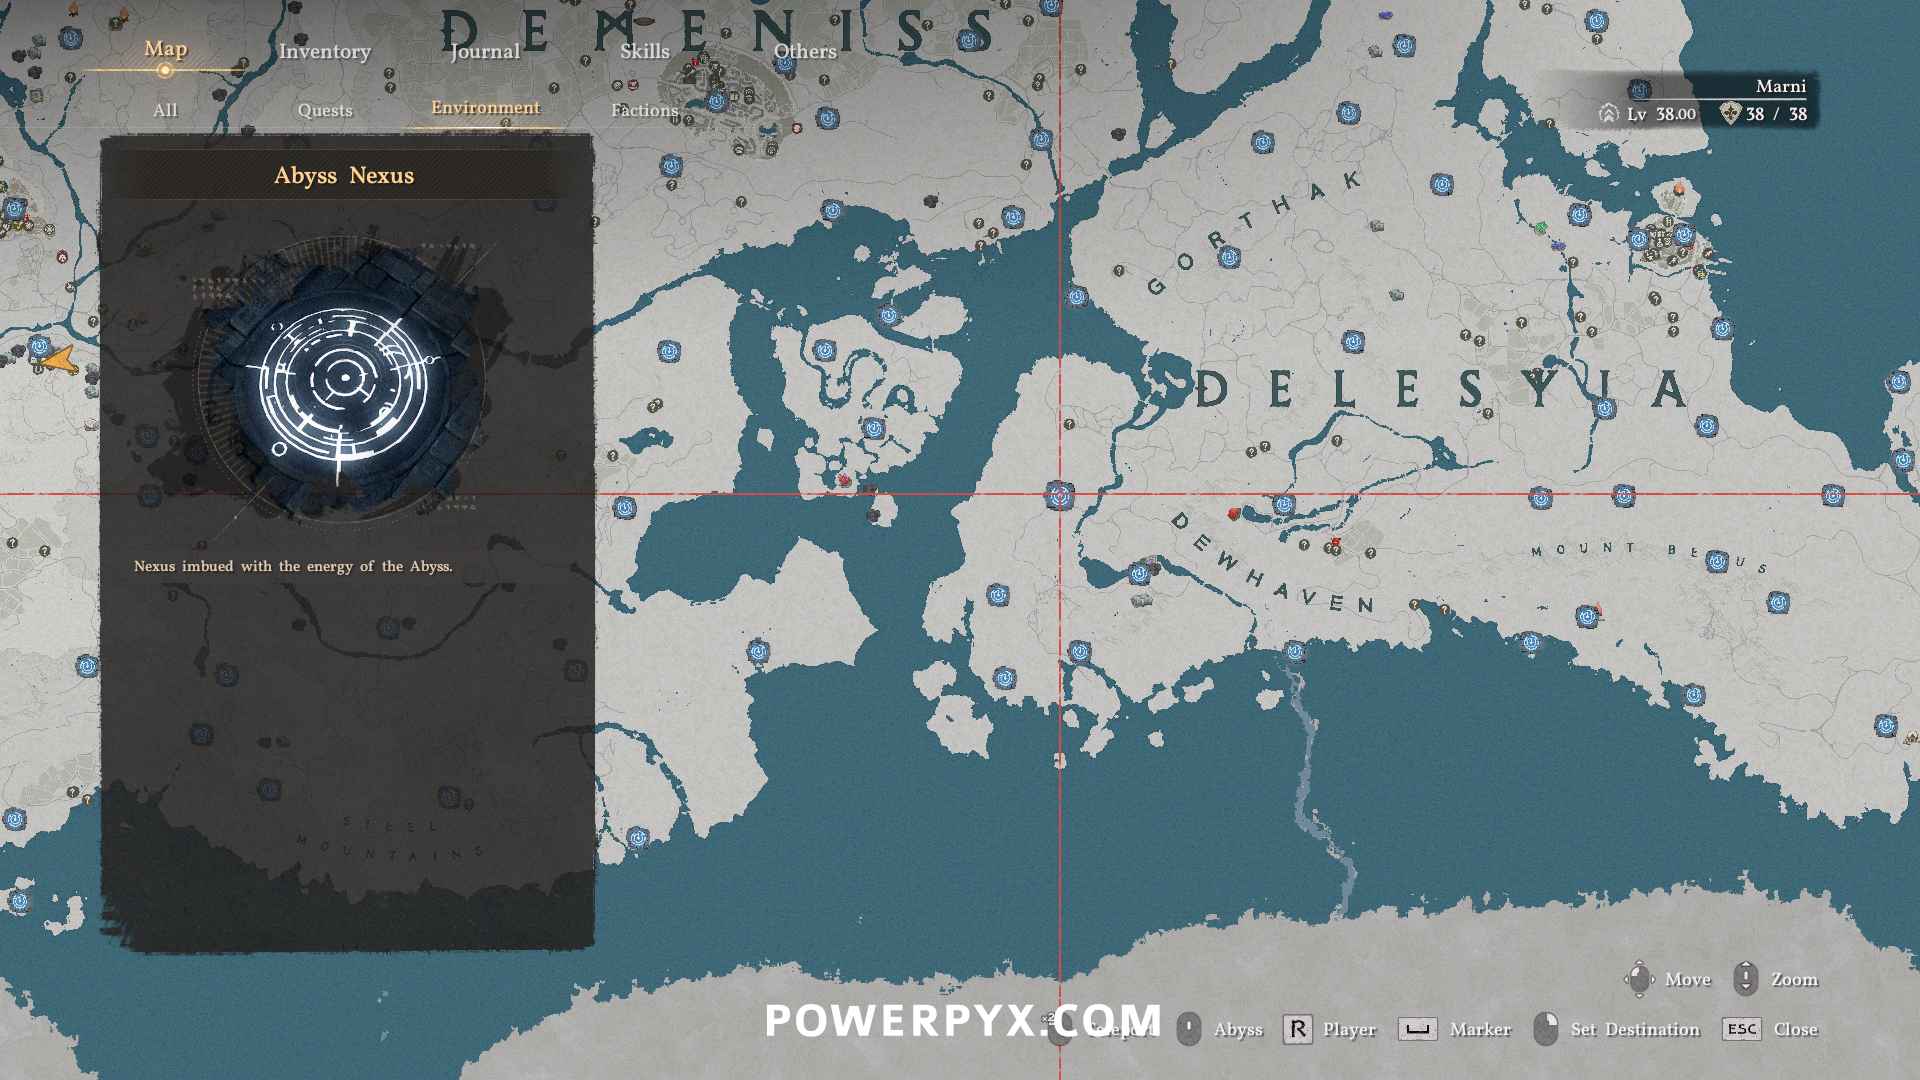
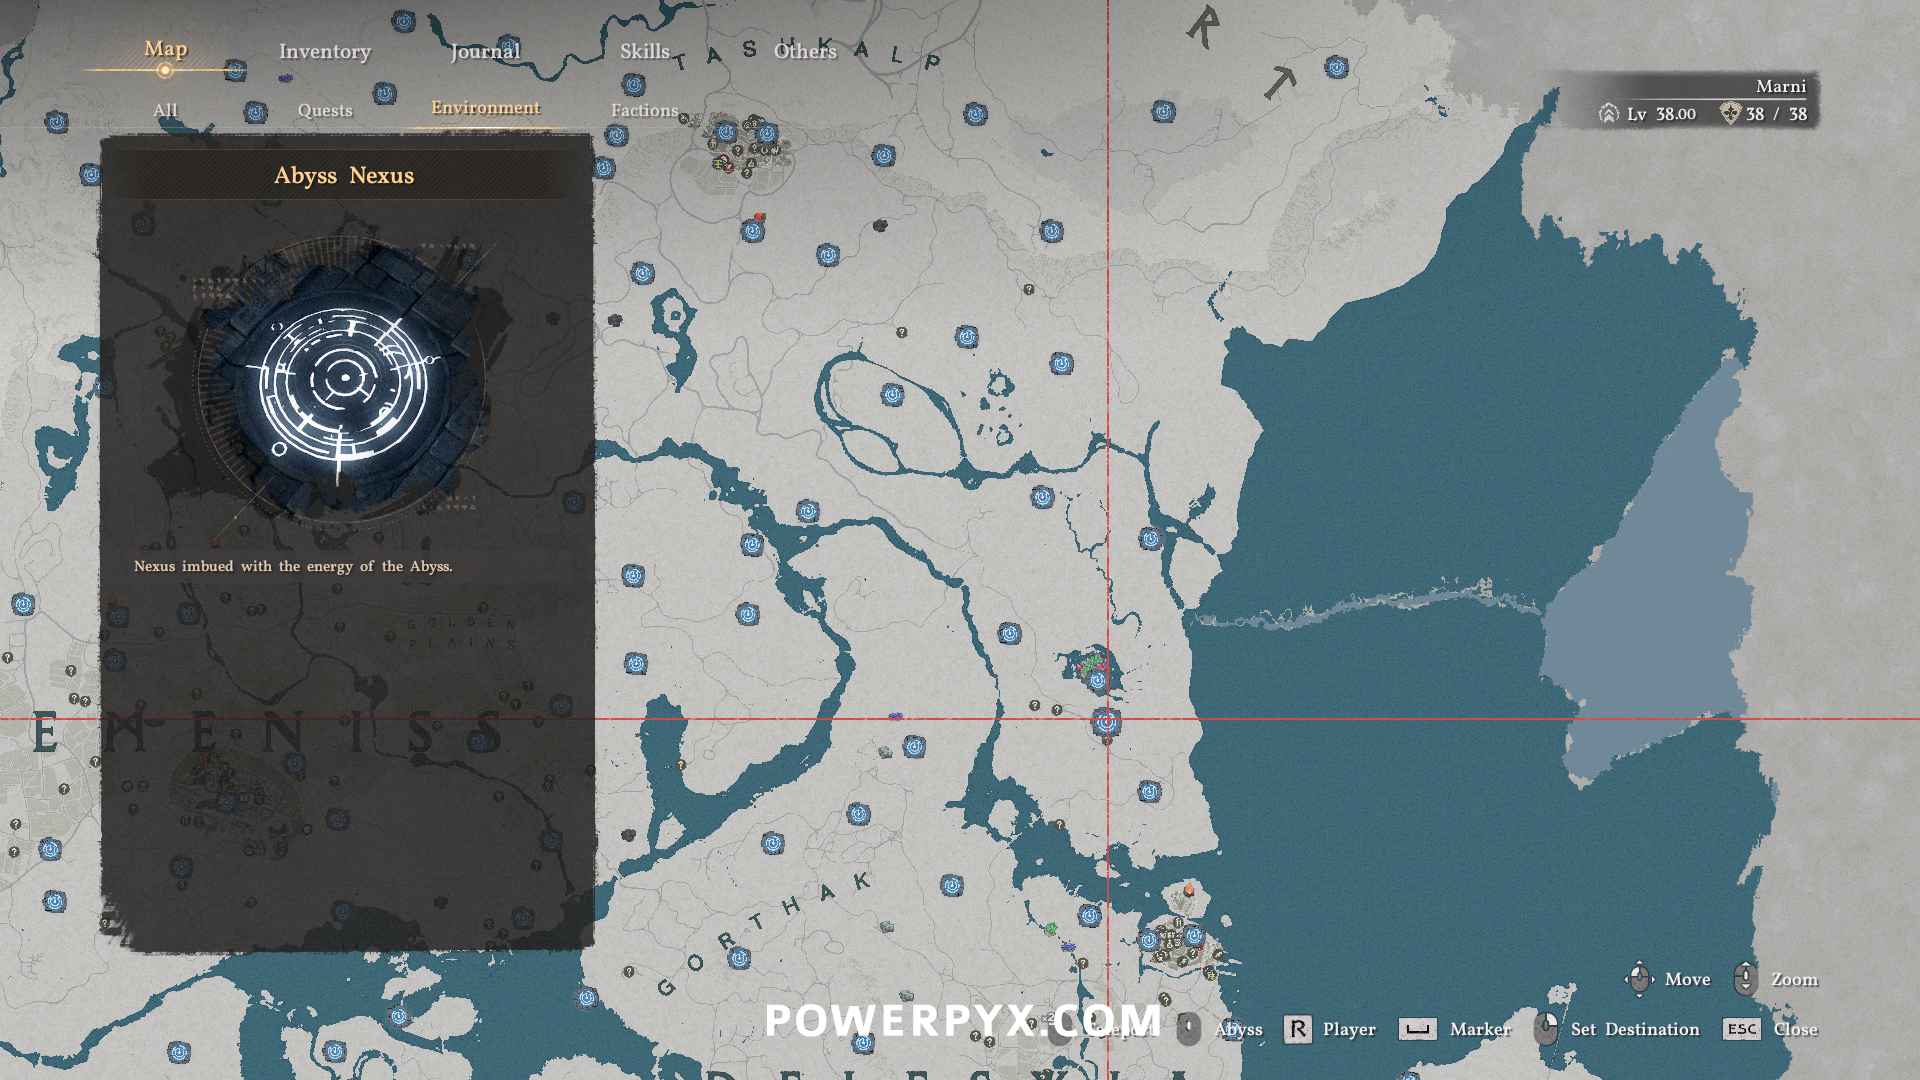
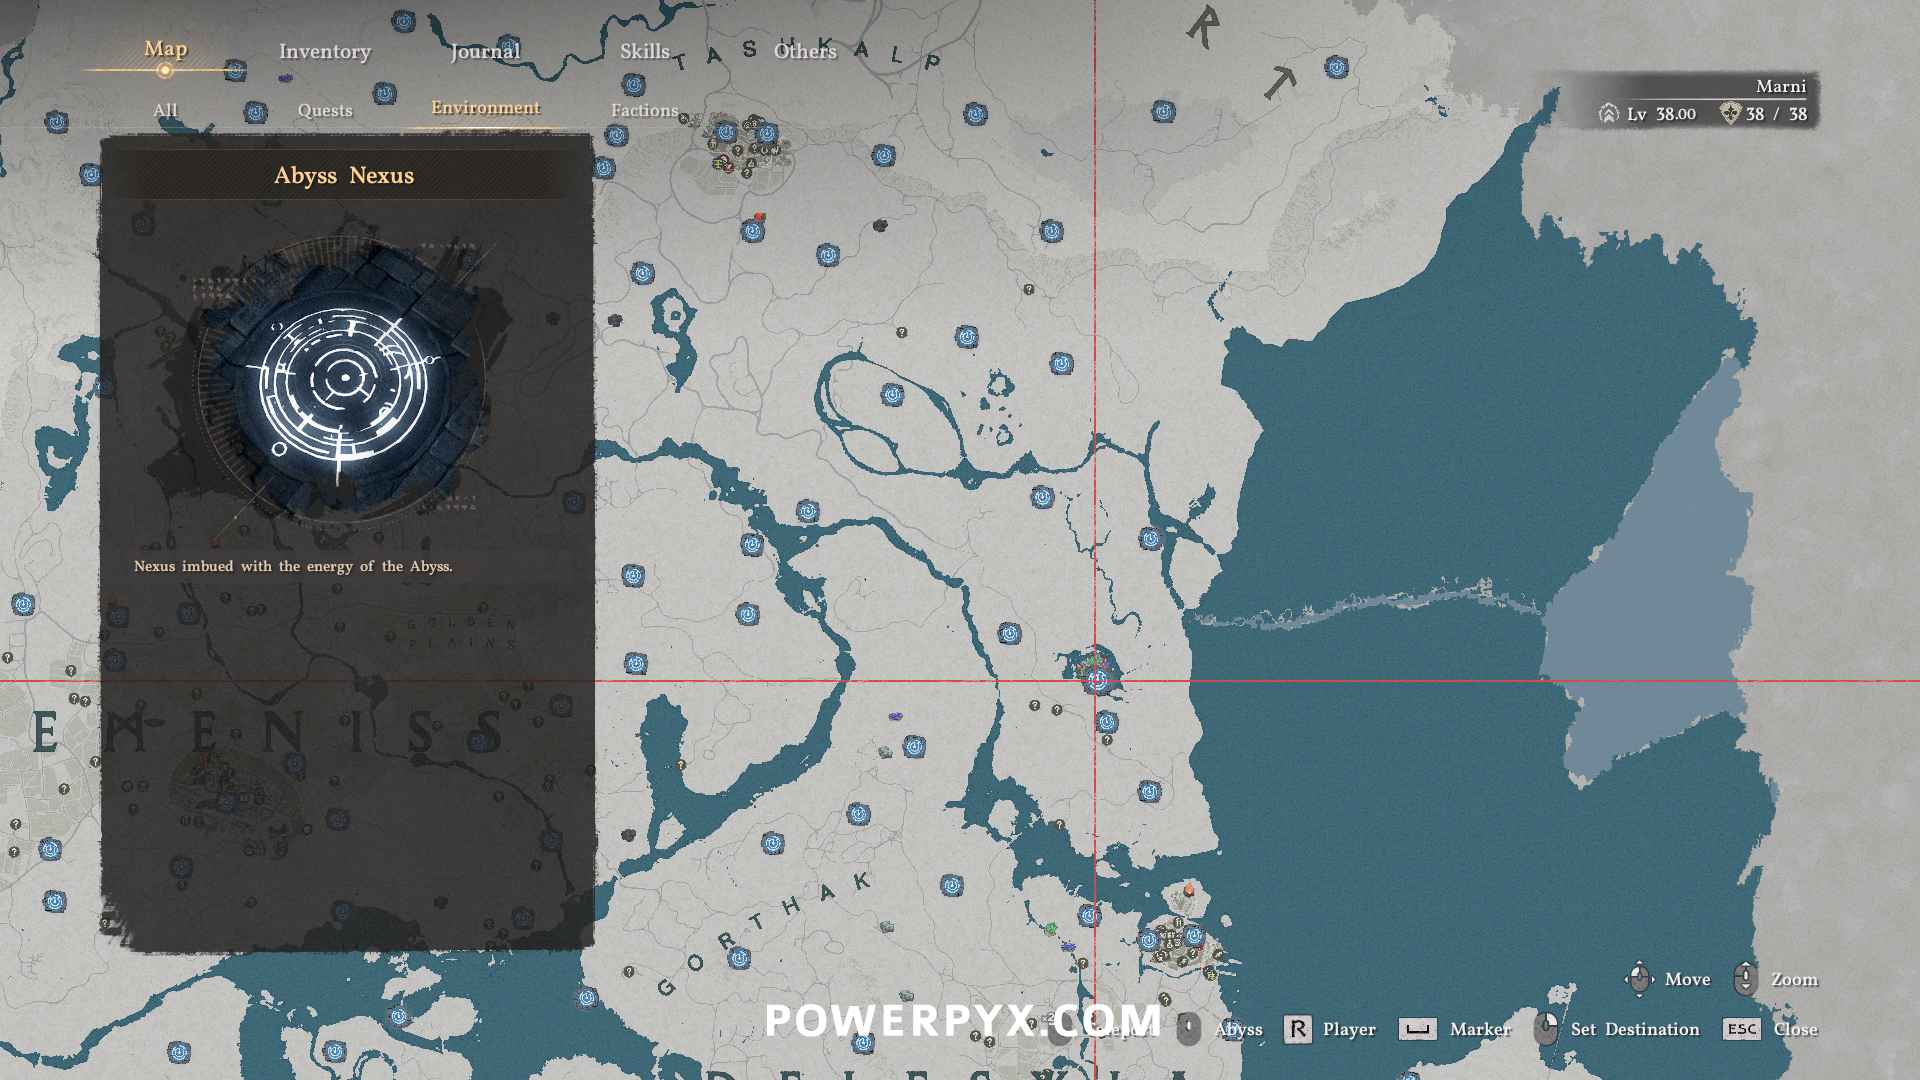
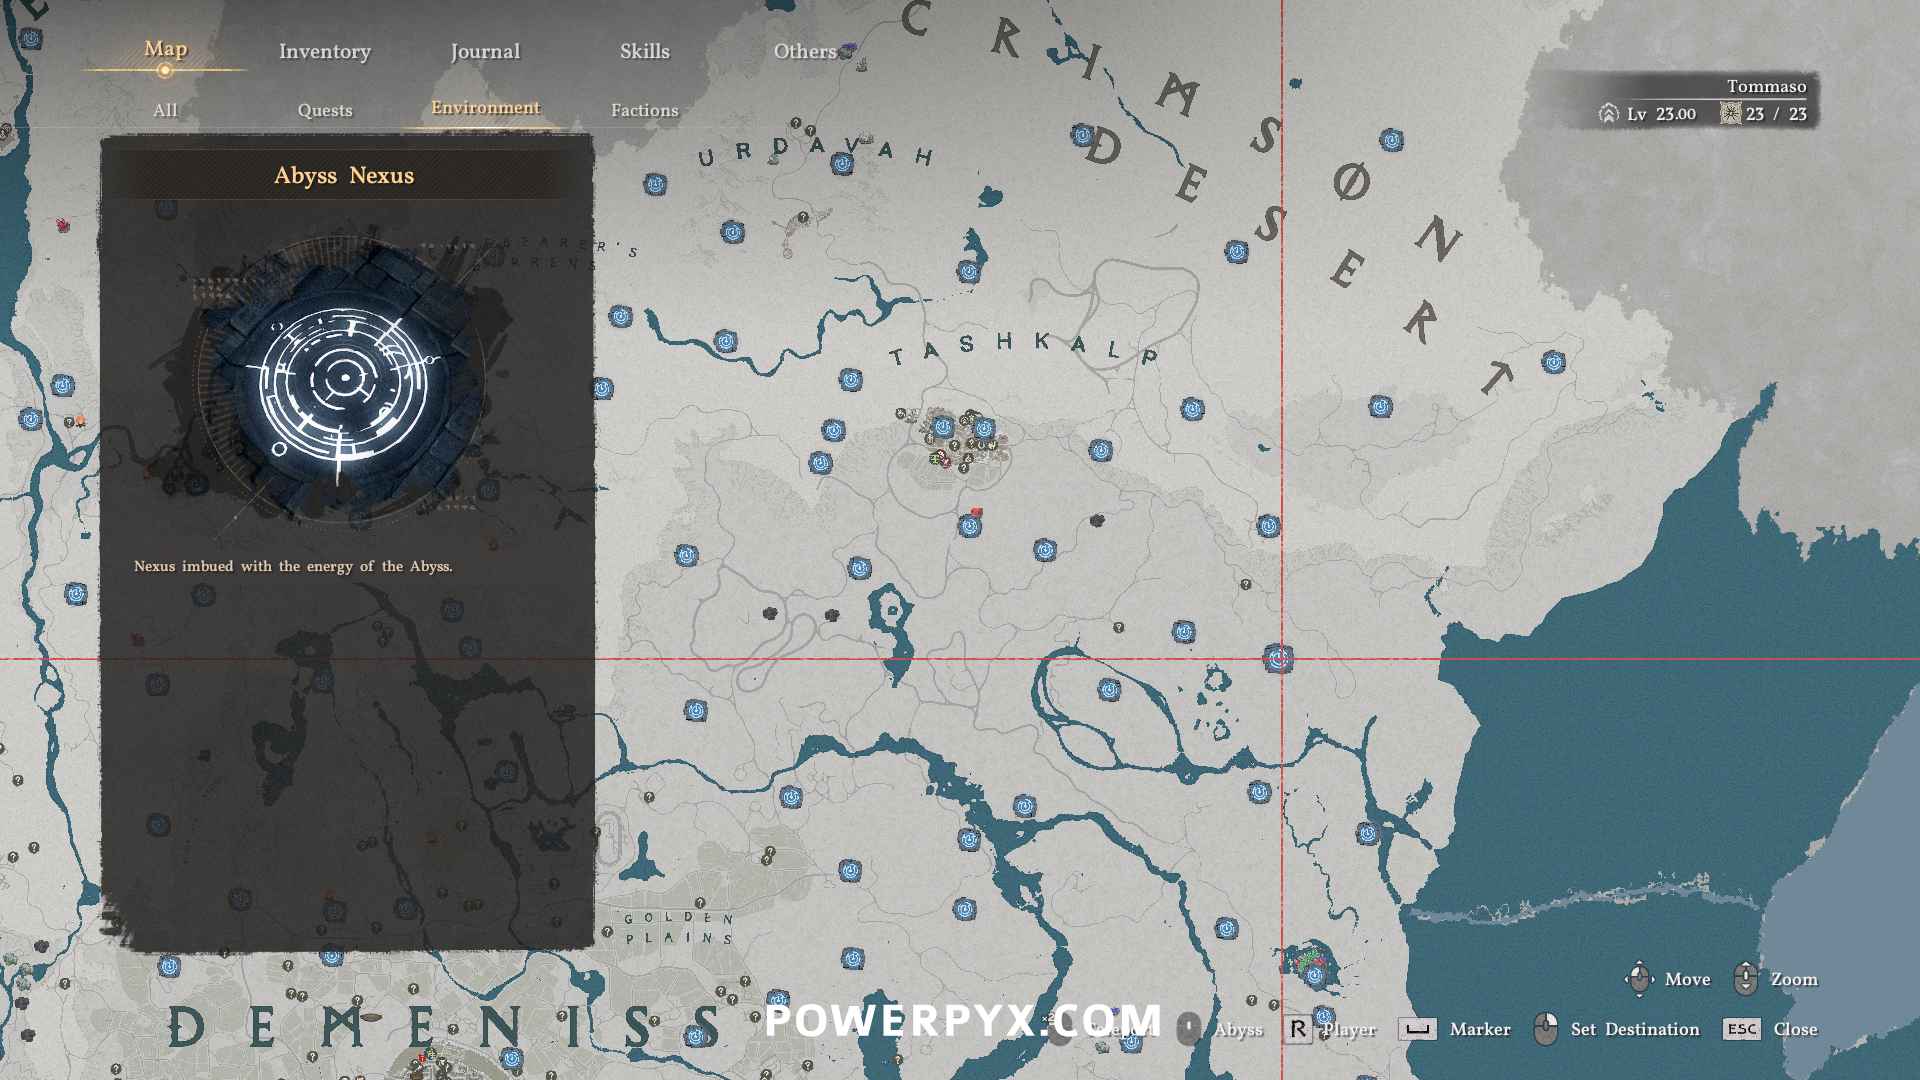
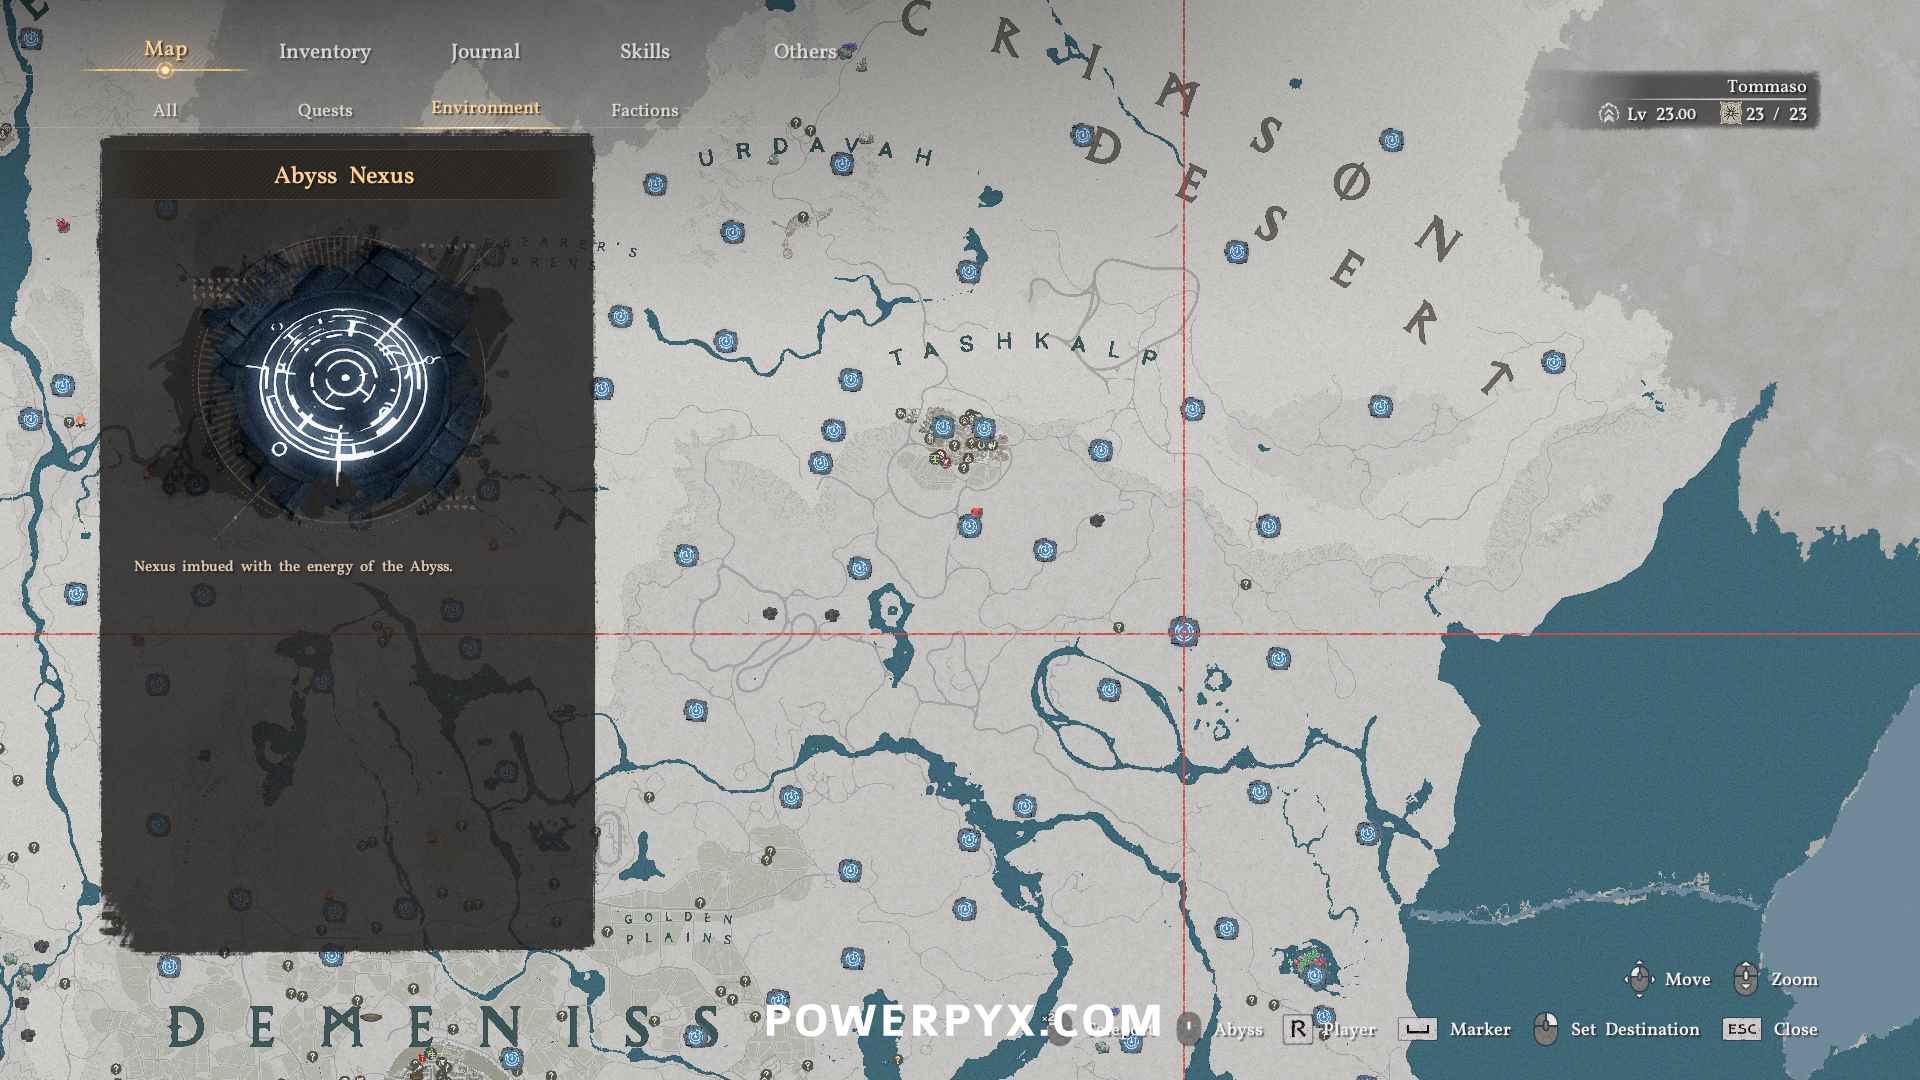
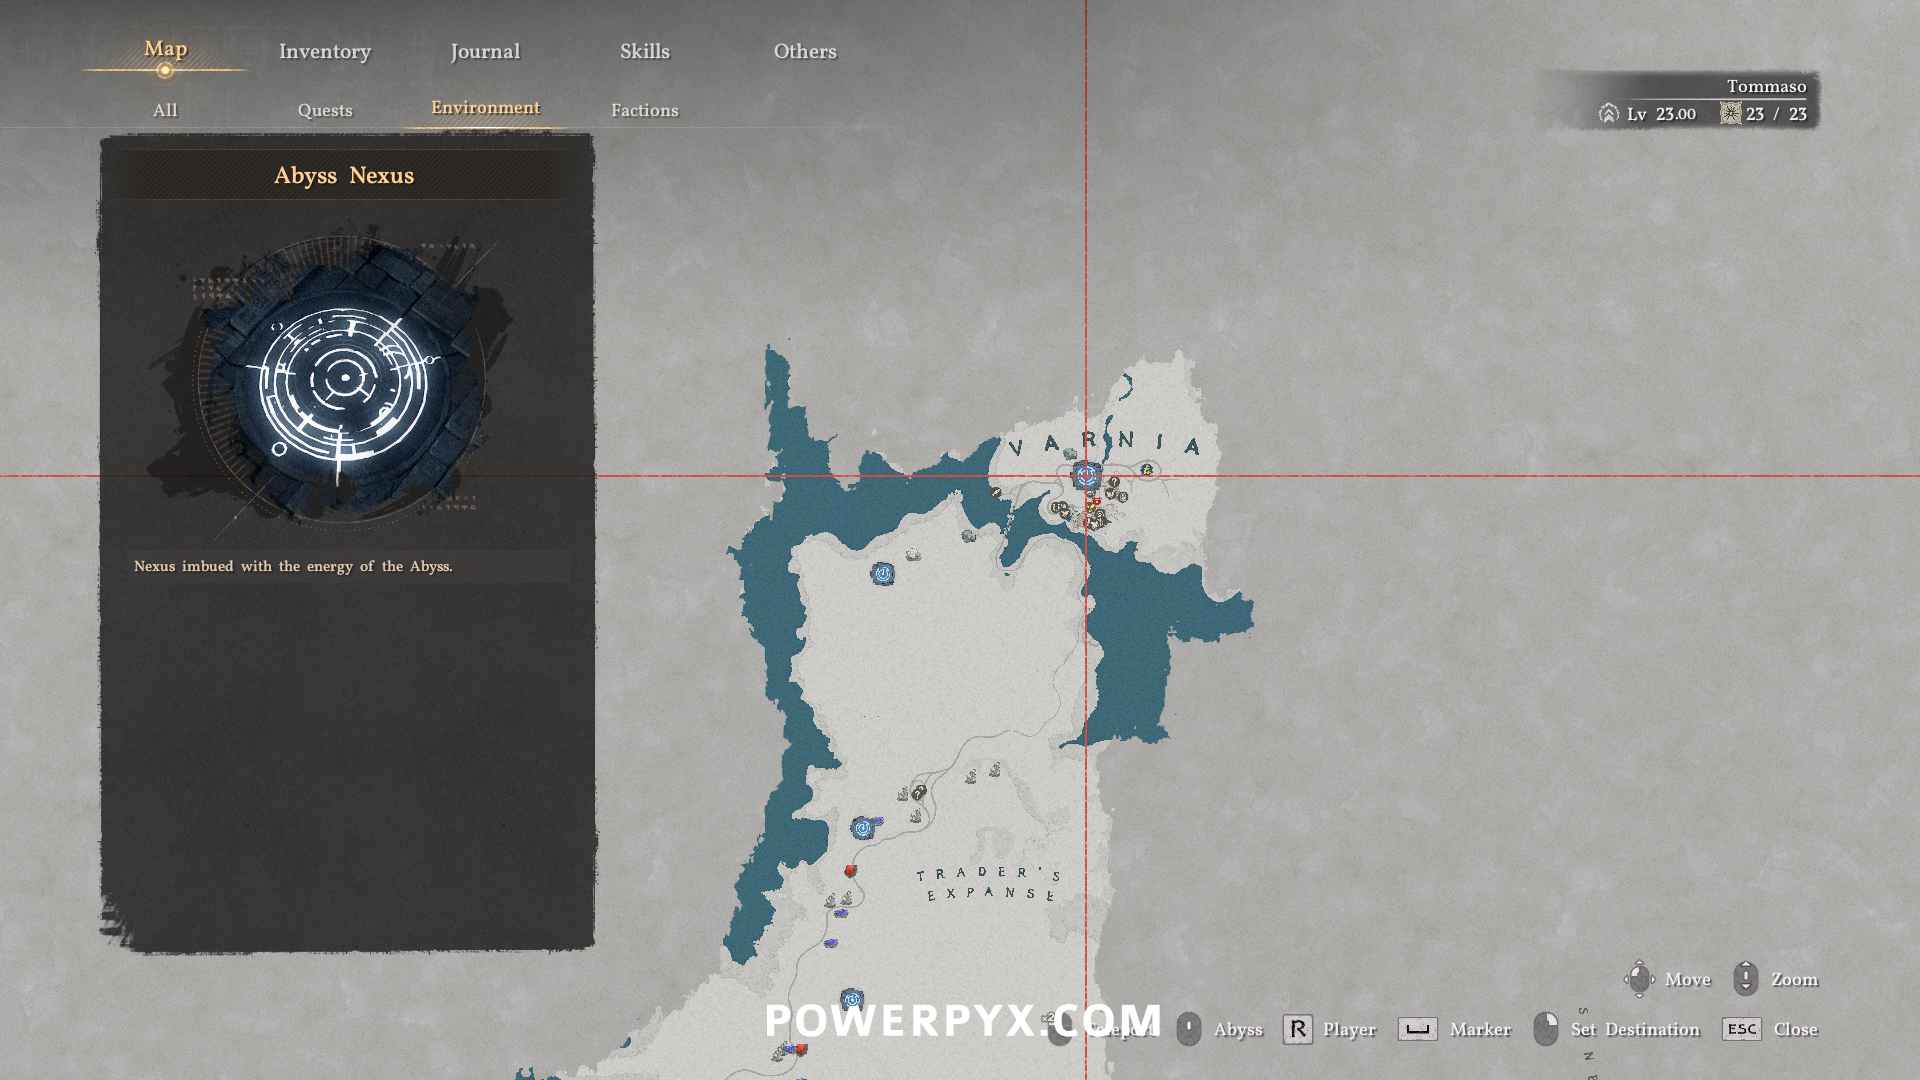
In Crimson Desert you can activate Fast Travel Points, also called Abyss Nexus. They are indicated on the map by white round question mark search areas (big “?” circles). When in the area use your sword’s Guiding Light to highlight them with a blue glow when in sight (press L1+R1 / LB+RB / CTRL + Left Click).
They look like round floor plates. You simply stand on them for a moment to activate the fast travel point. They remain marked by blue icons on the map and you can activate fast travel when hovering over them on the map. Not all white “?” search areas are an Abyss Nexus, they can also be other Exploration Challenges such as Secret Places or Ancient Ruins, which unlock a different fast travel points. You can also unlock fast travel points on the sky islands from each of the 40 Abyss Restoration challenges, then can skydive down to surrounding areas.
All regions are explorable from the start of the game. It’s highly recommended to ring all 8 bells first to fully unfog the map (see Bell Locations). On the way to the bells, grab the fast travel points that are on the way. Then you have the full map unfogged and fast travel available everywhere, which will save you time for the rest of the game.
This guide focuses specifically on the Abyss Nexus fast travel points (blue on map). For the Abyss Cressets (Secret Places) refer to Abyss Cresset Locations.
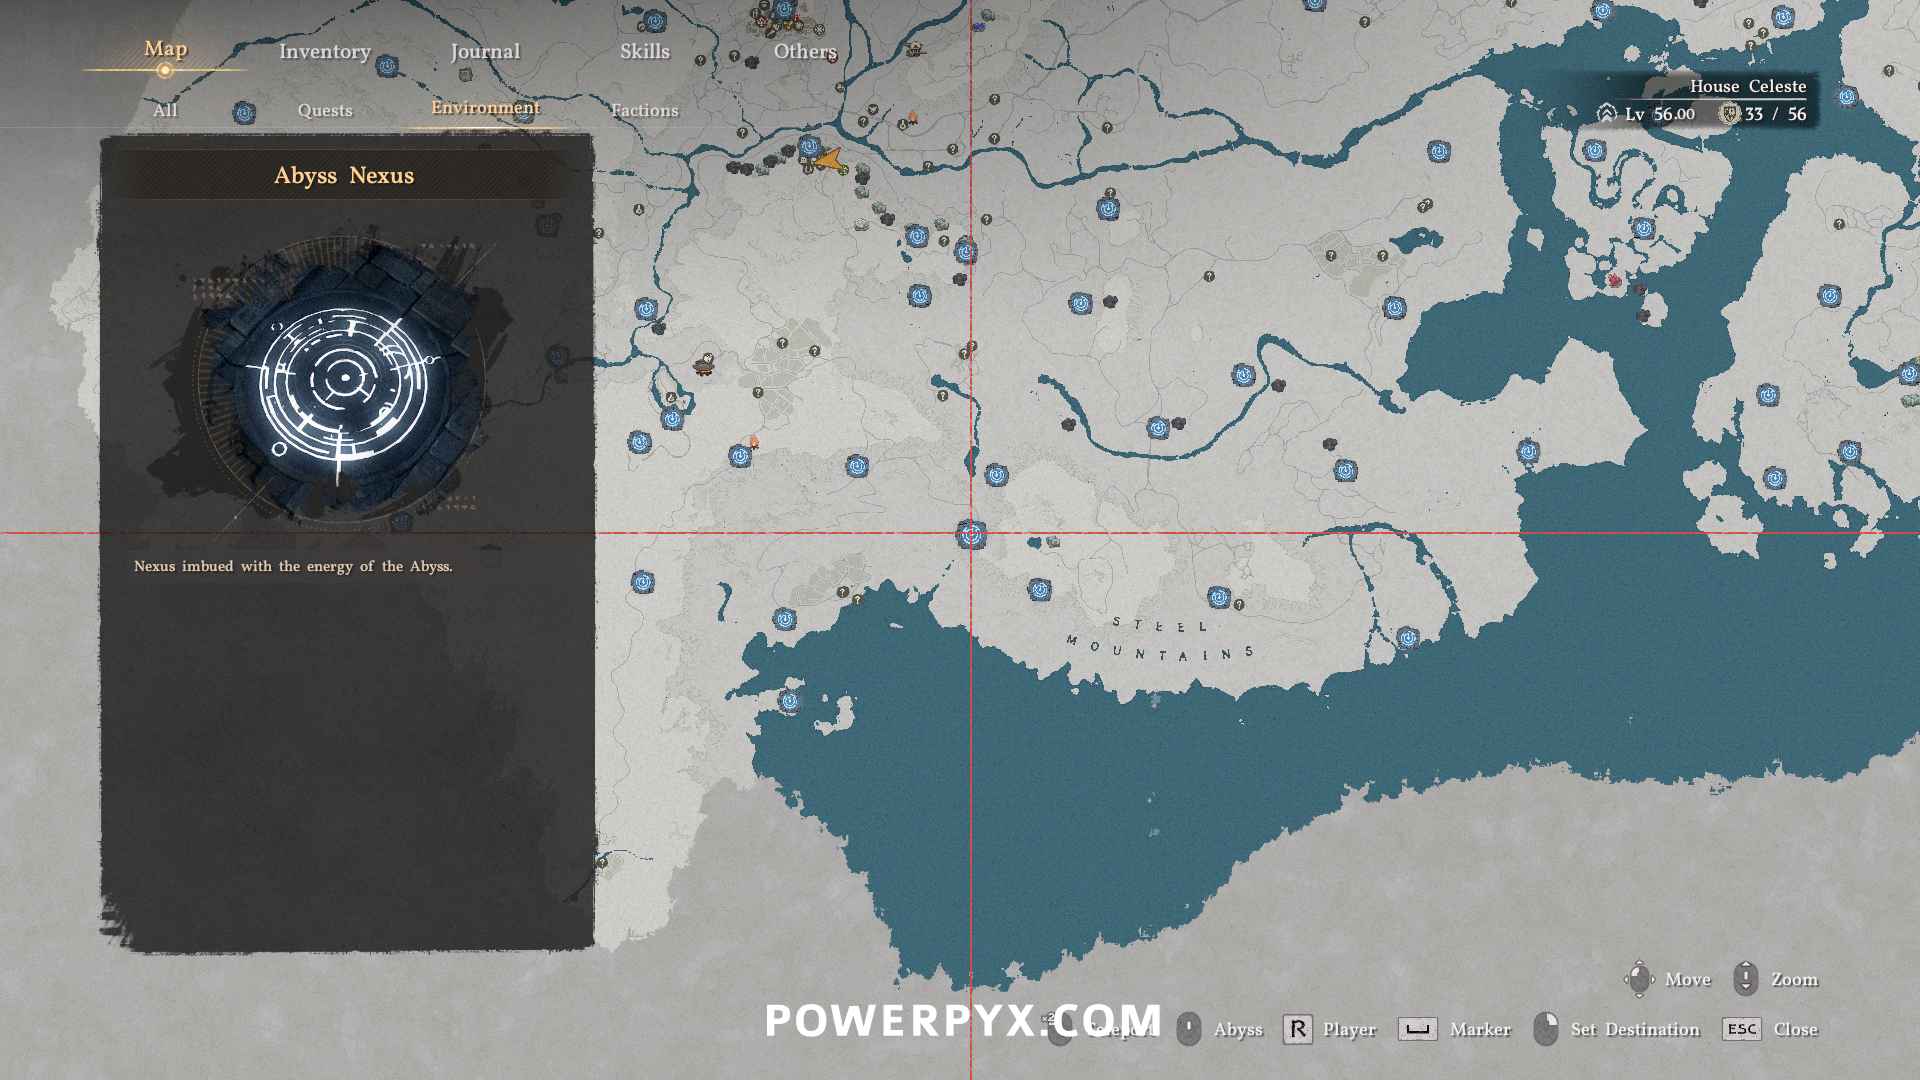
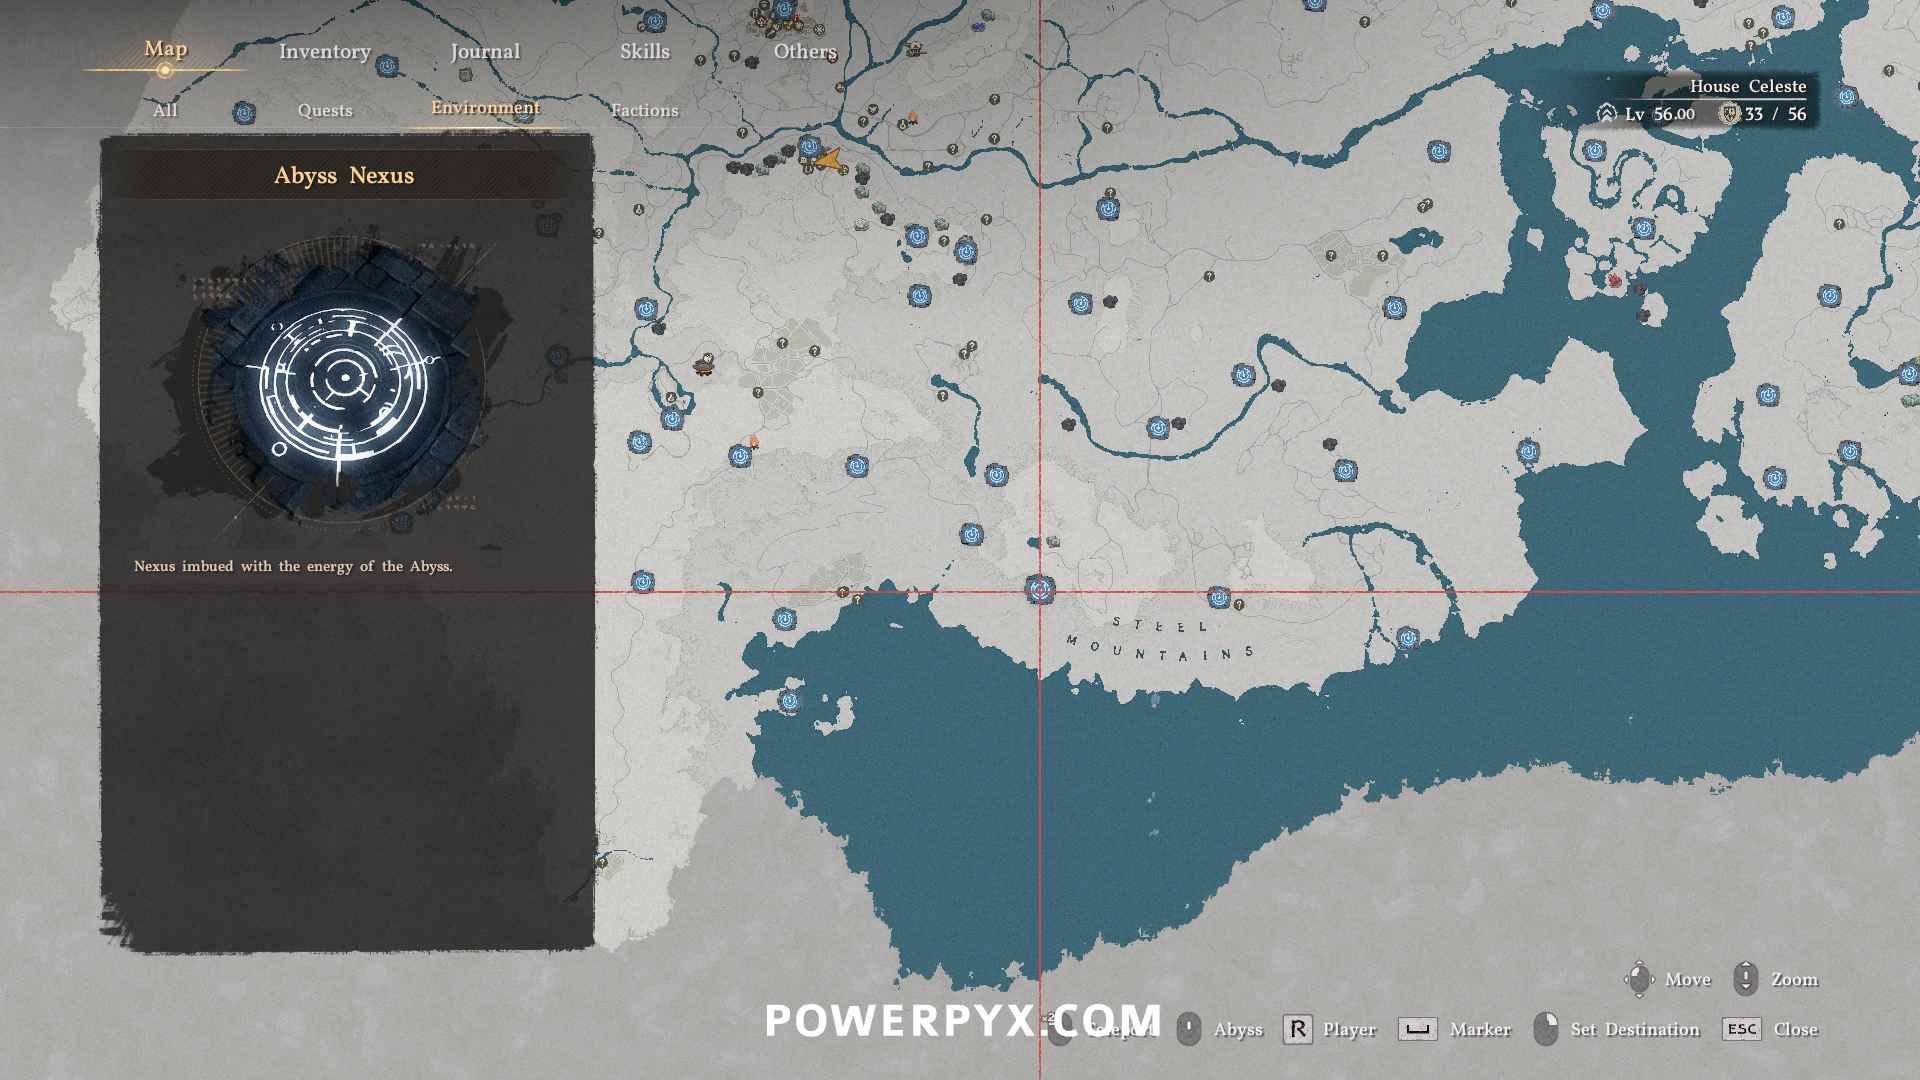
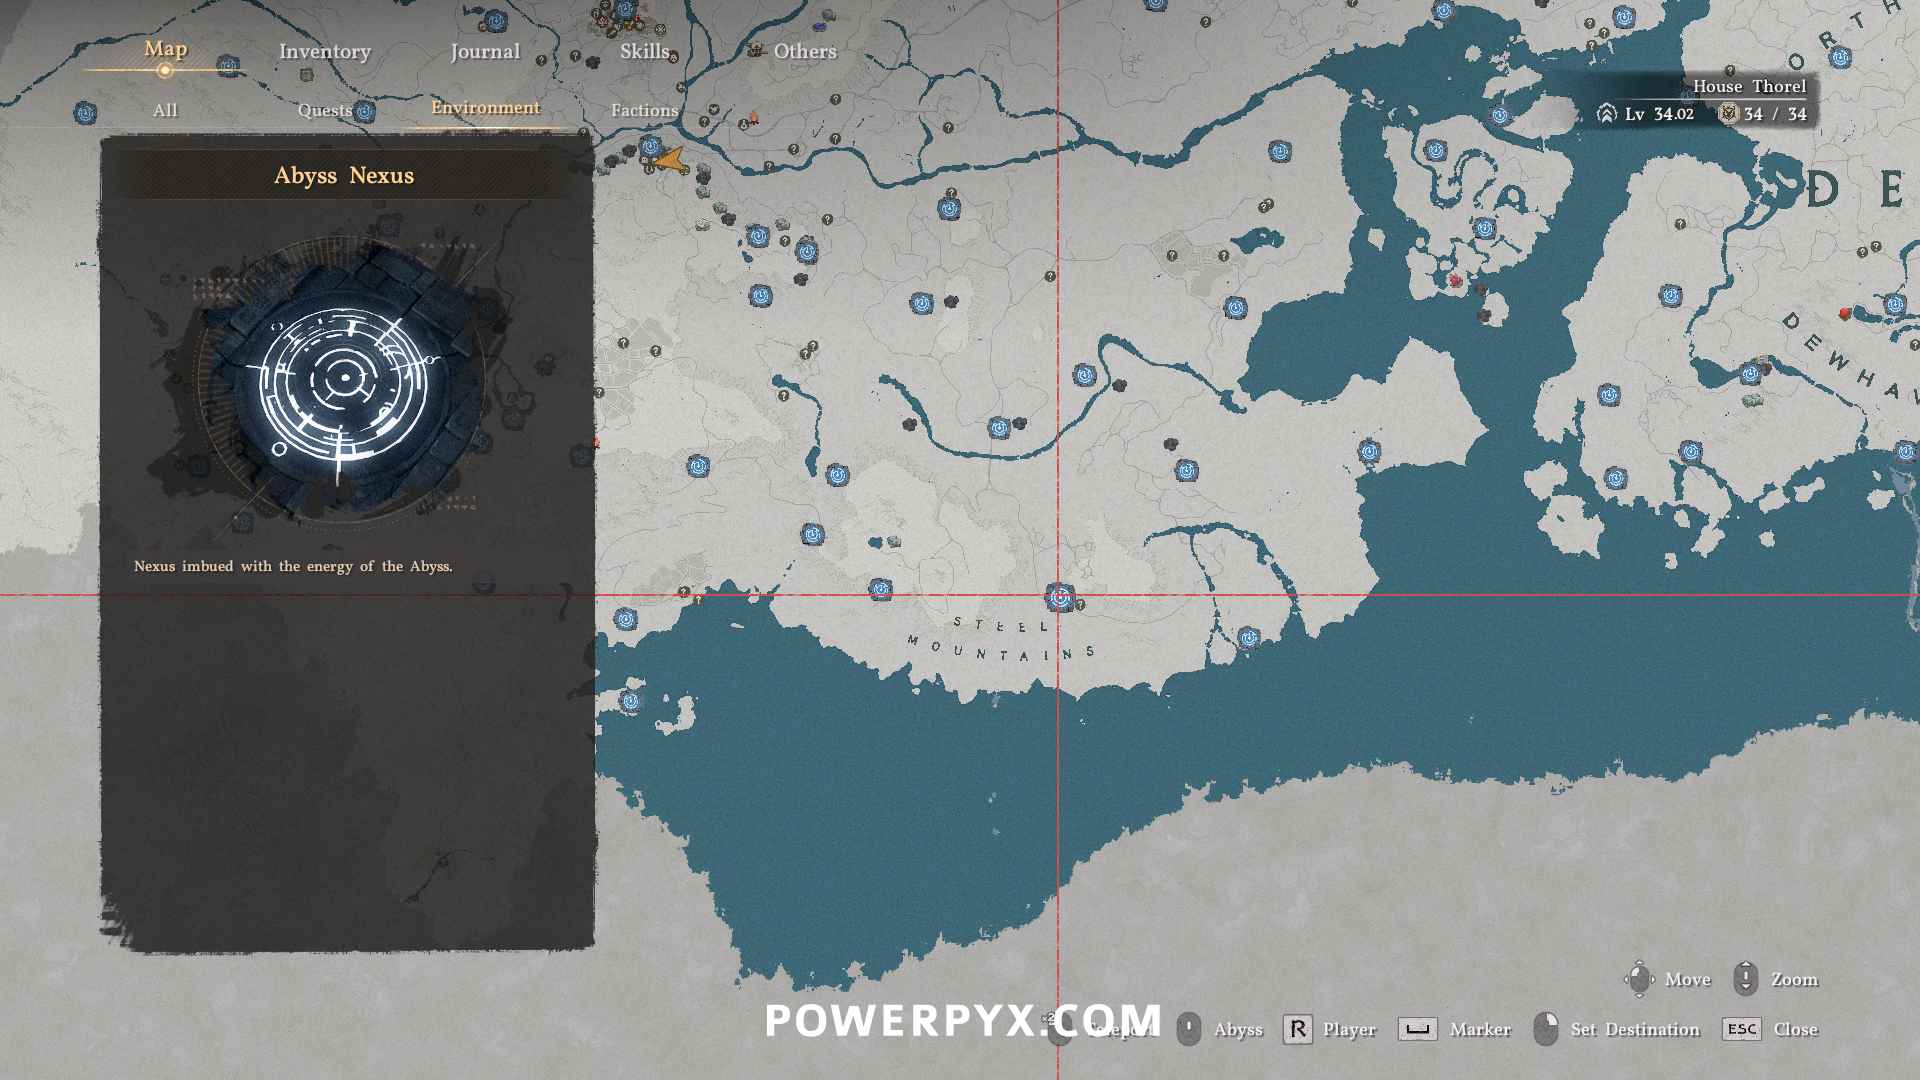
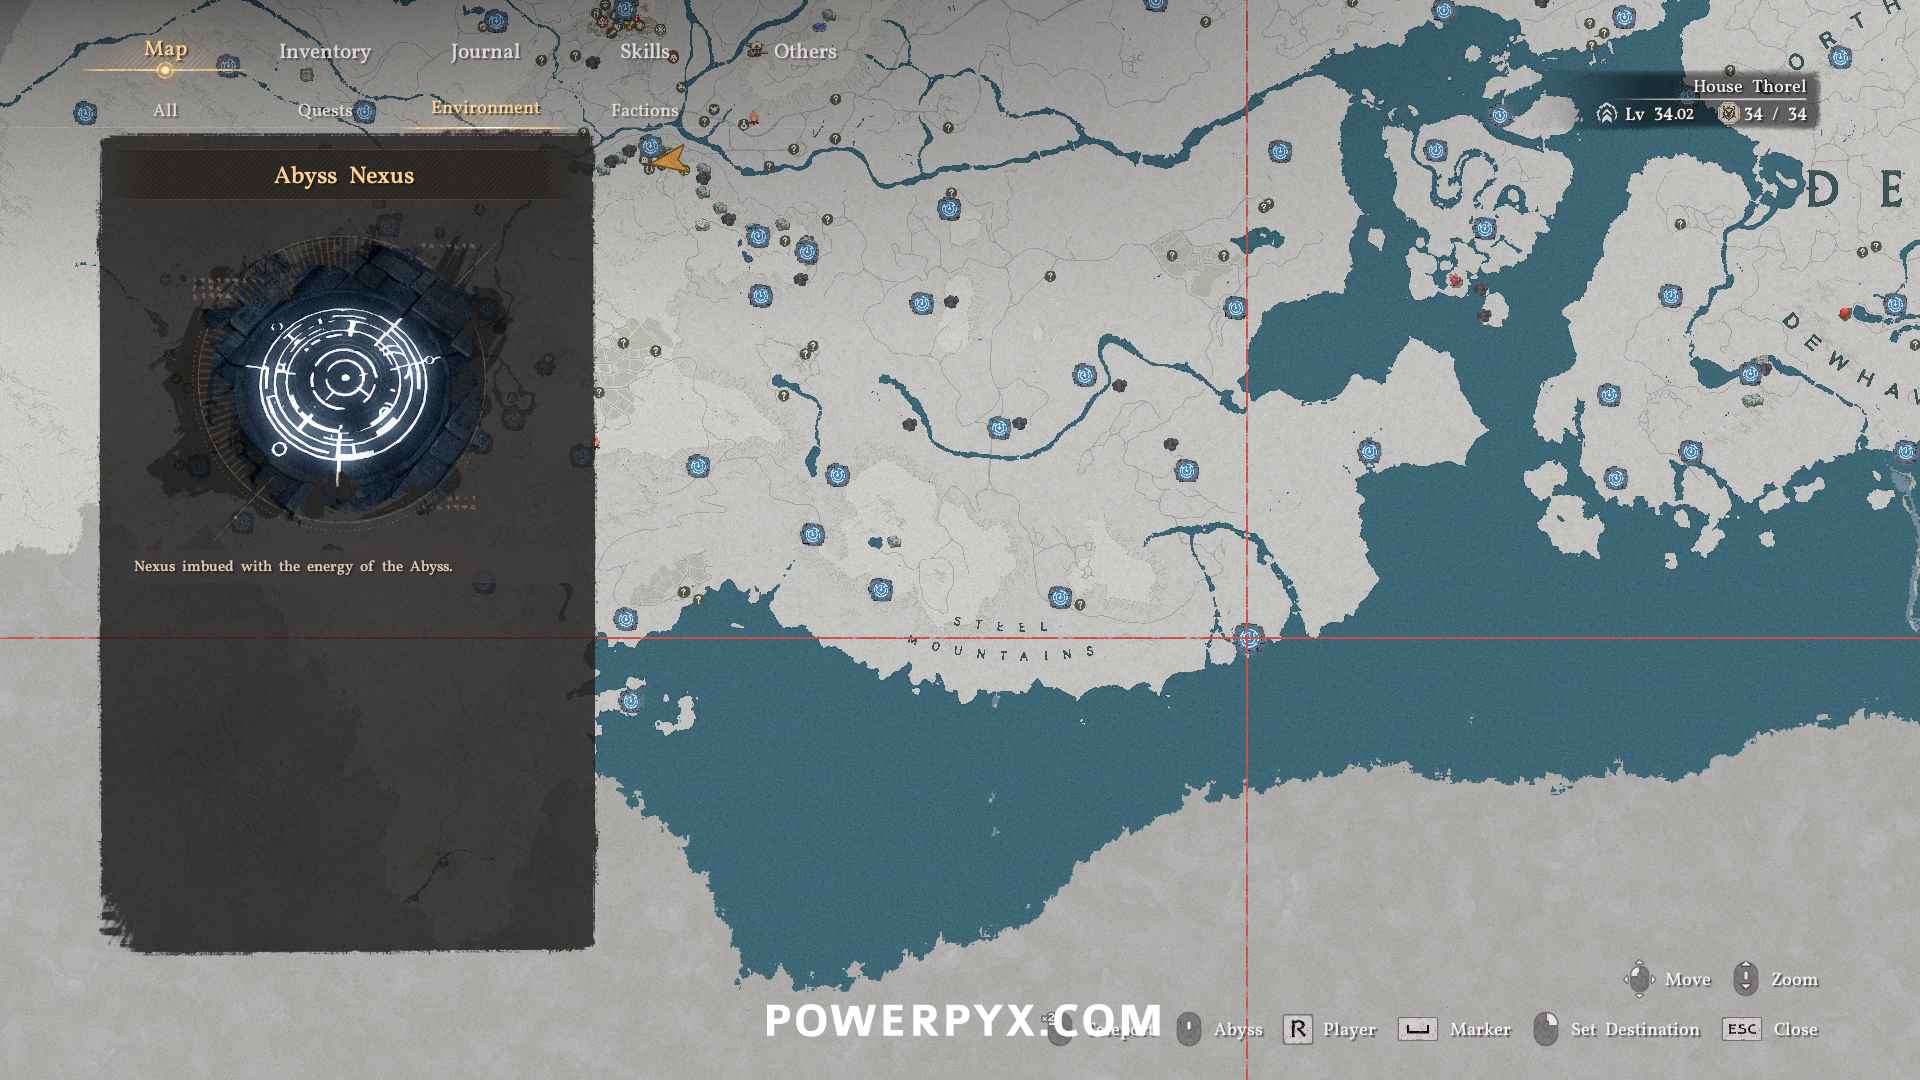
Fast Travel Points World Map
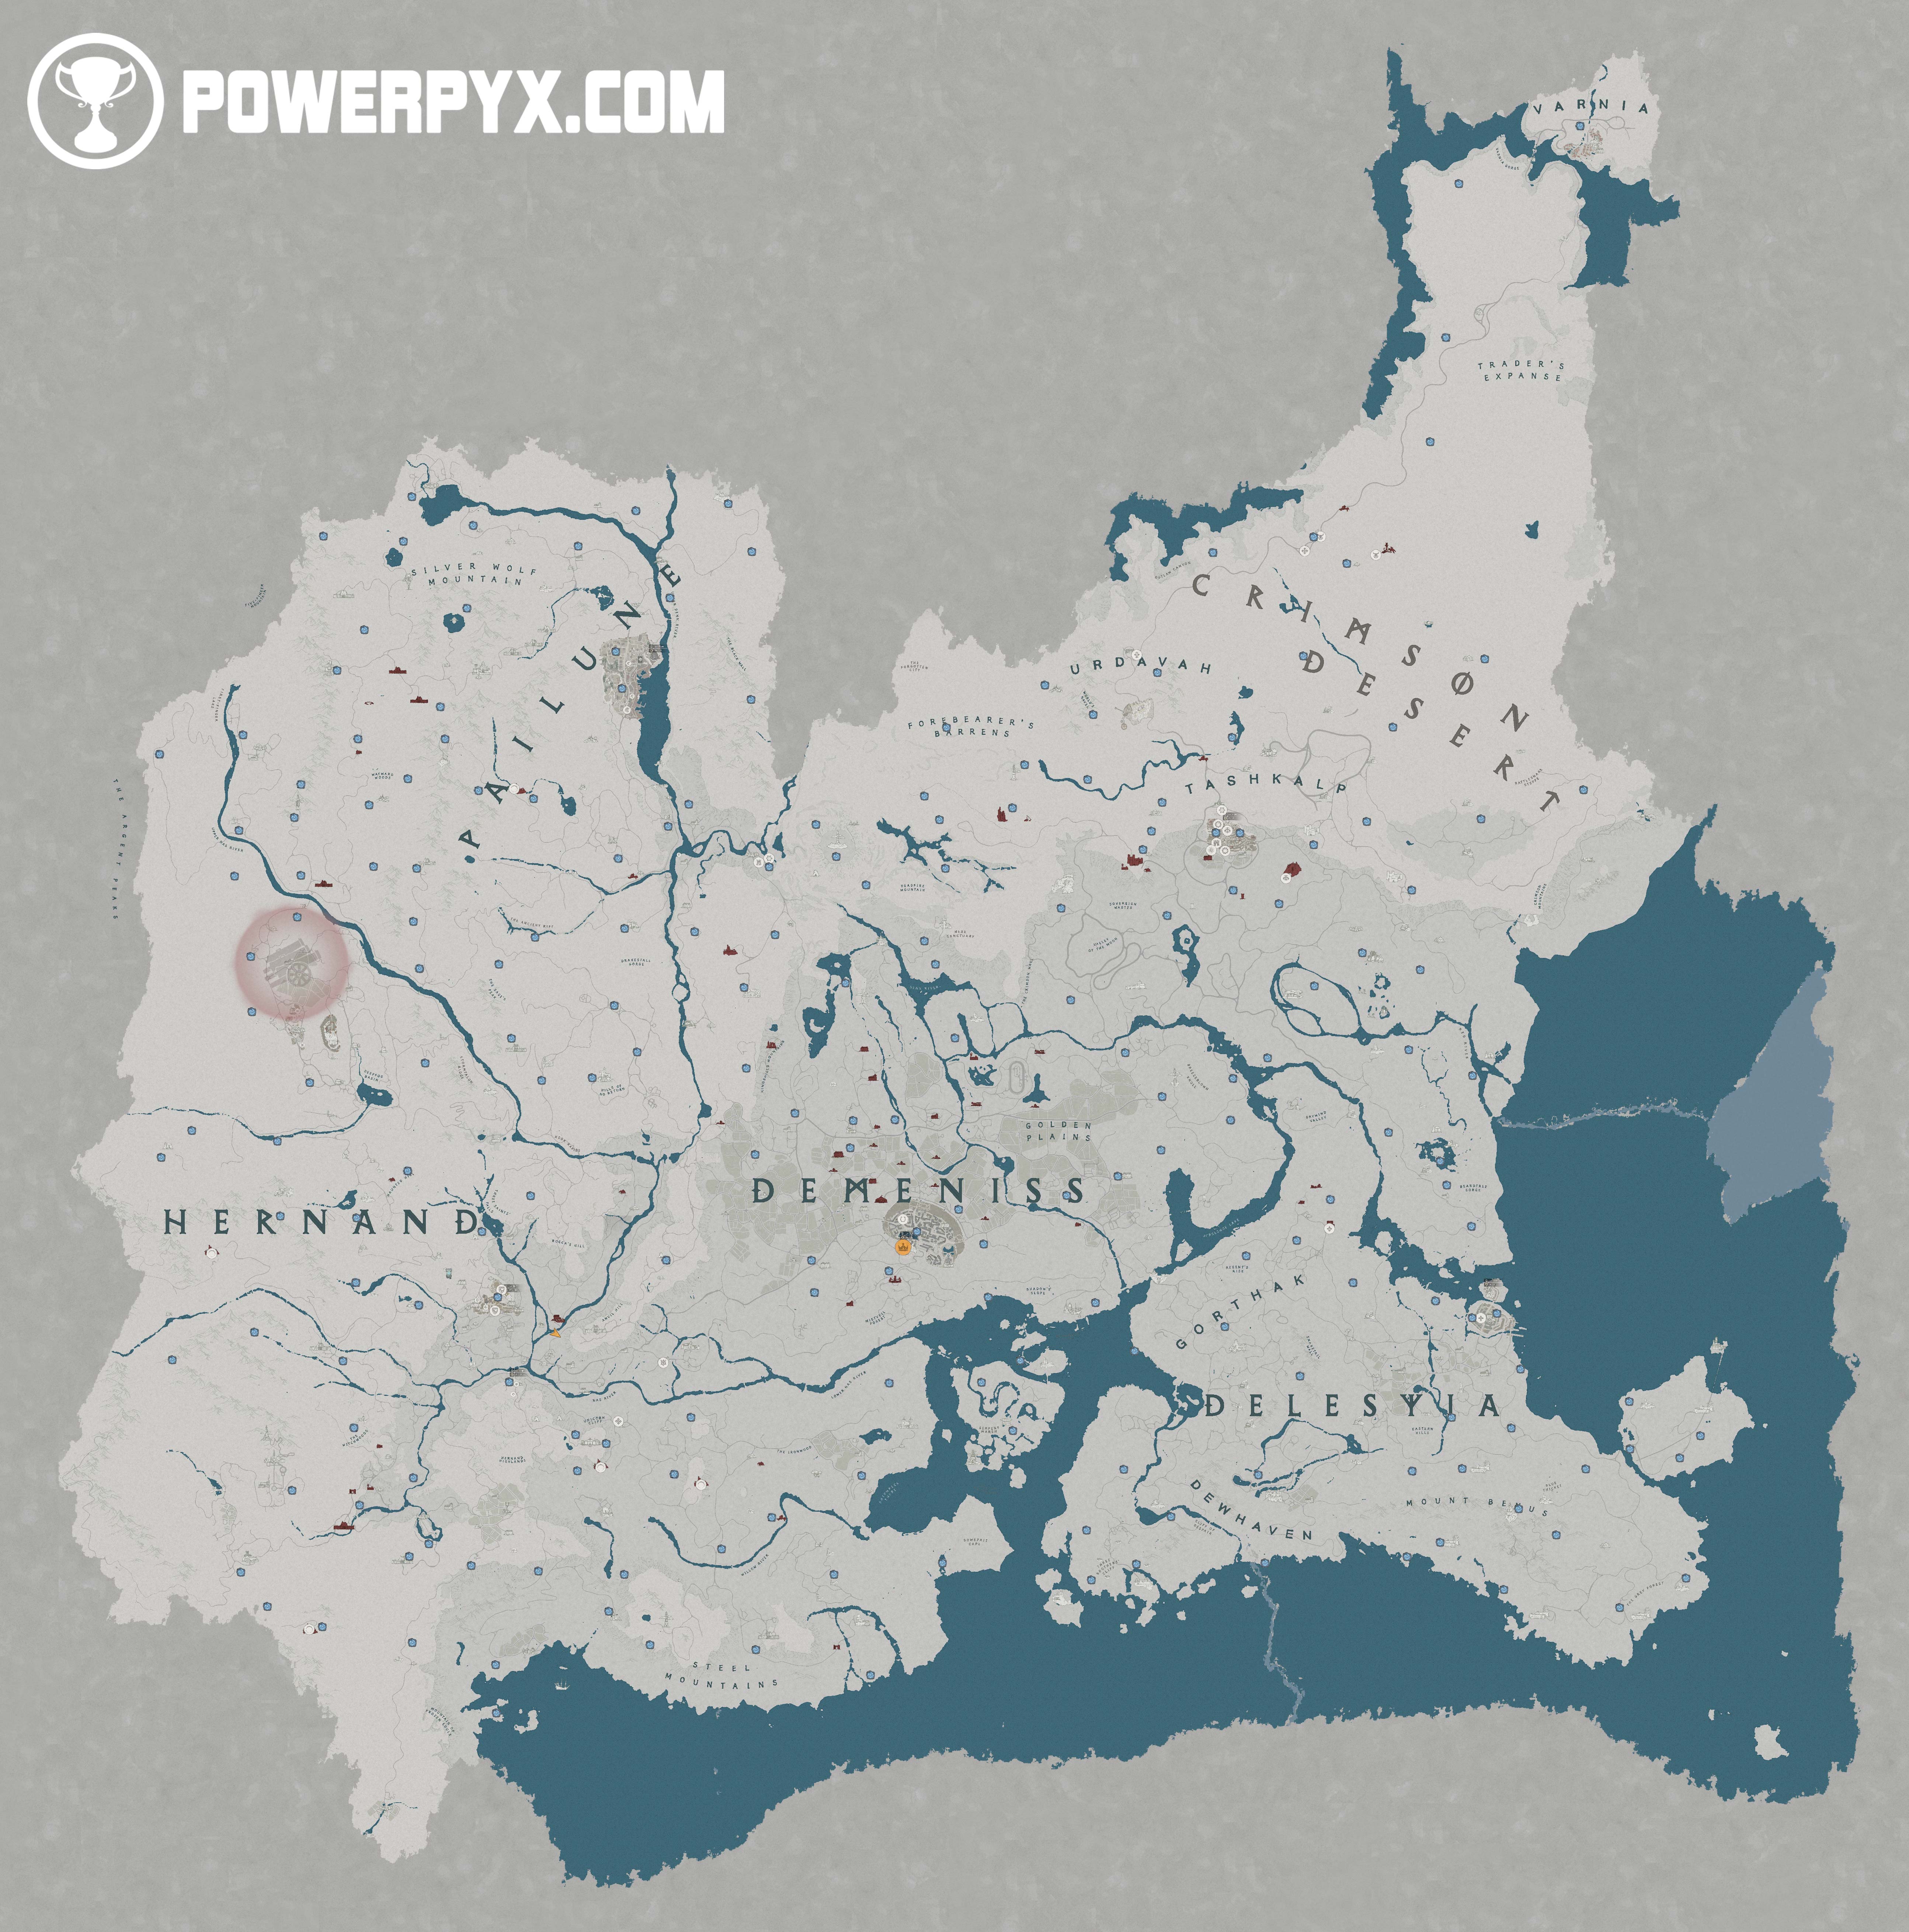
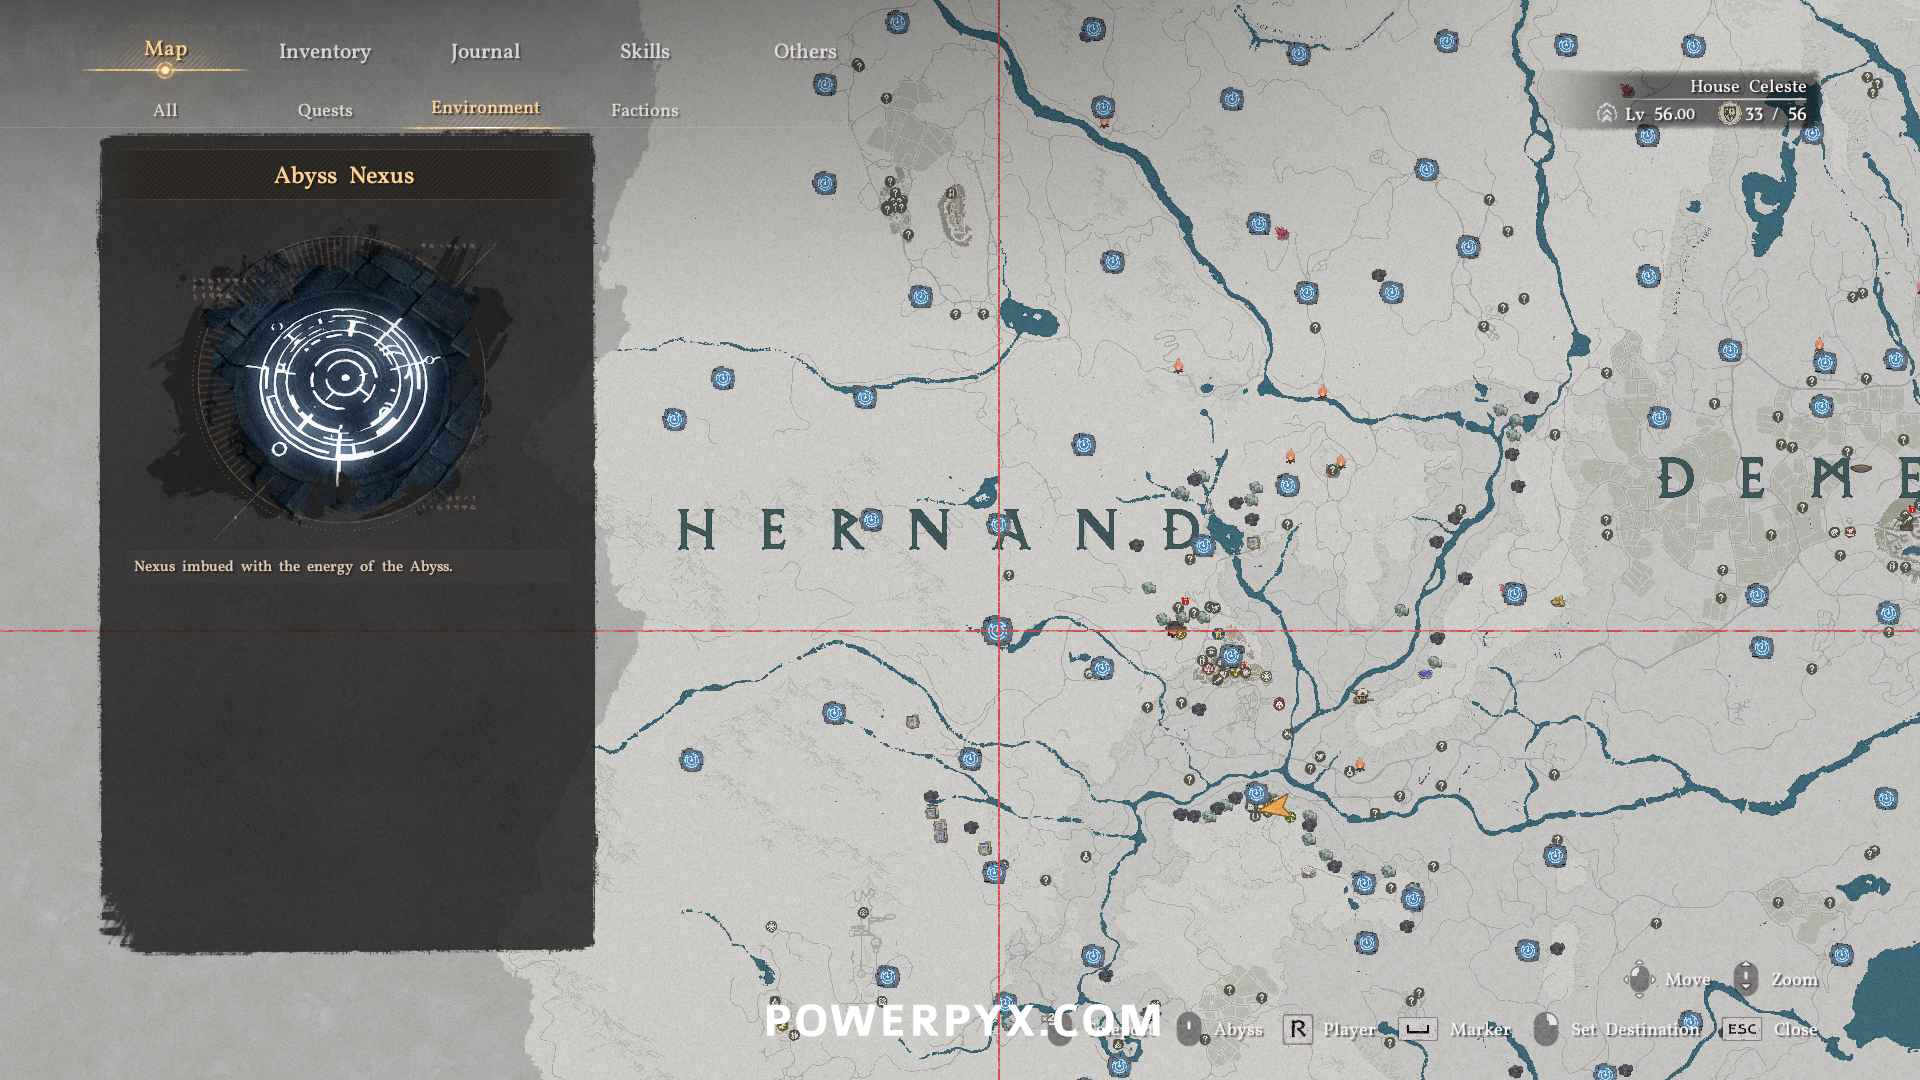
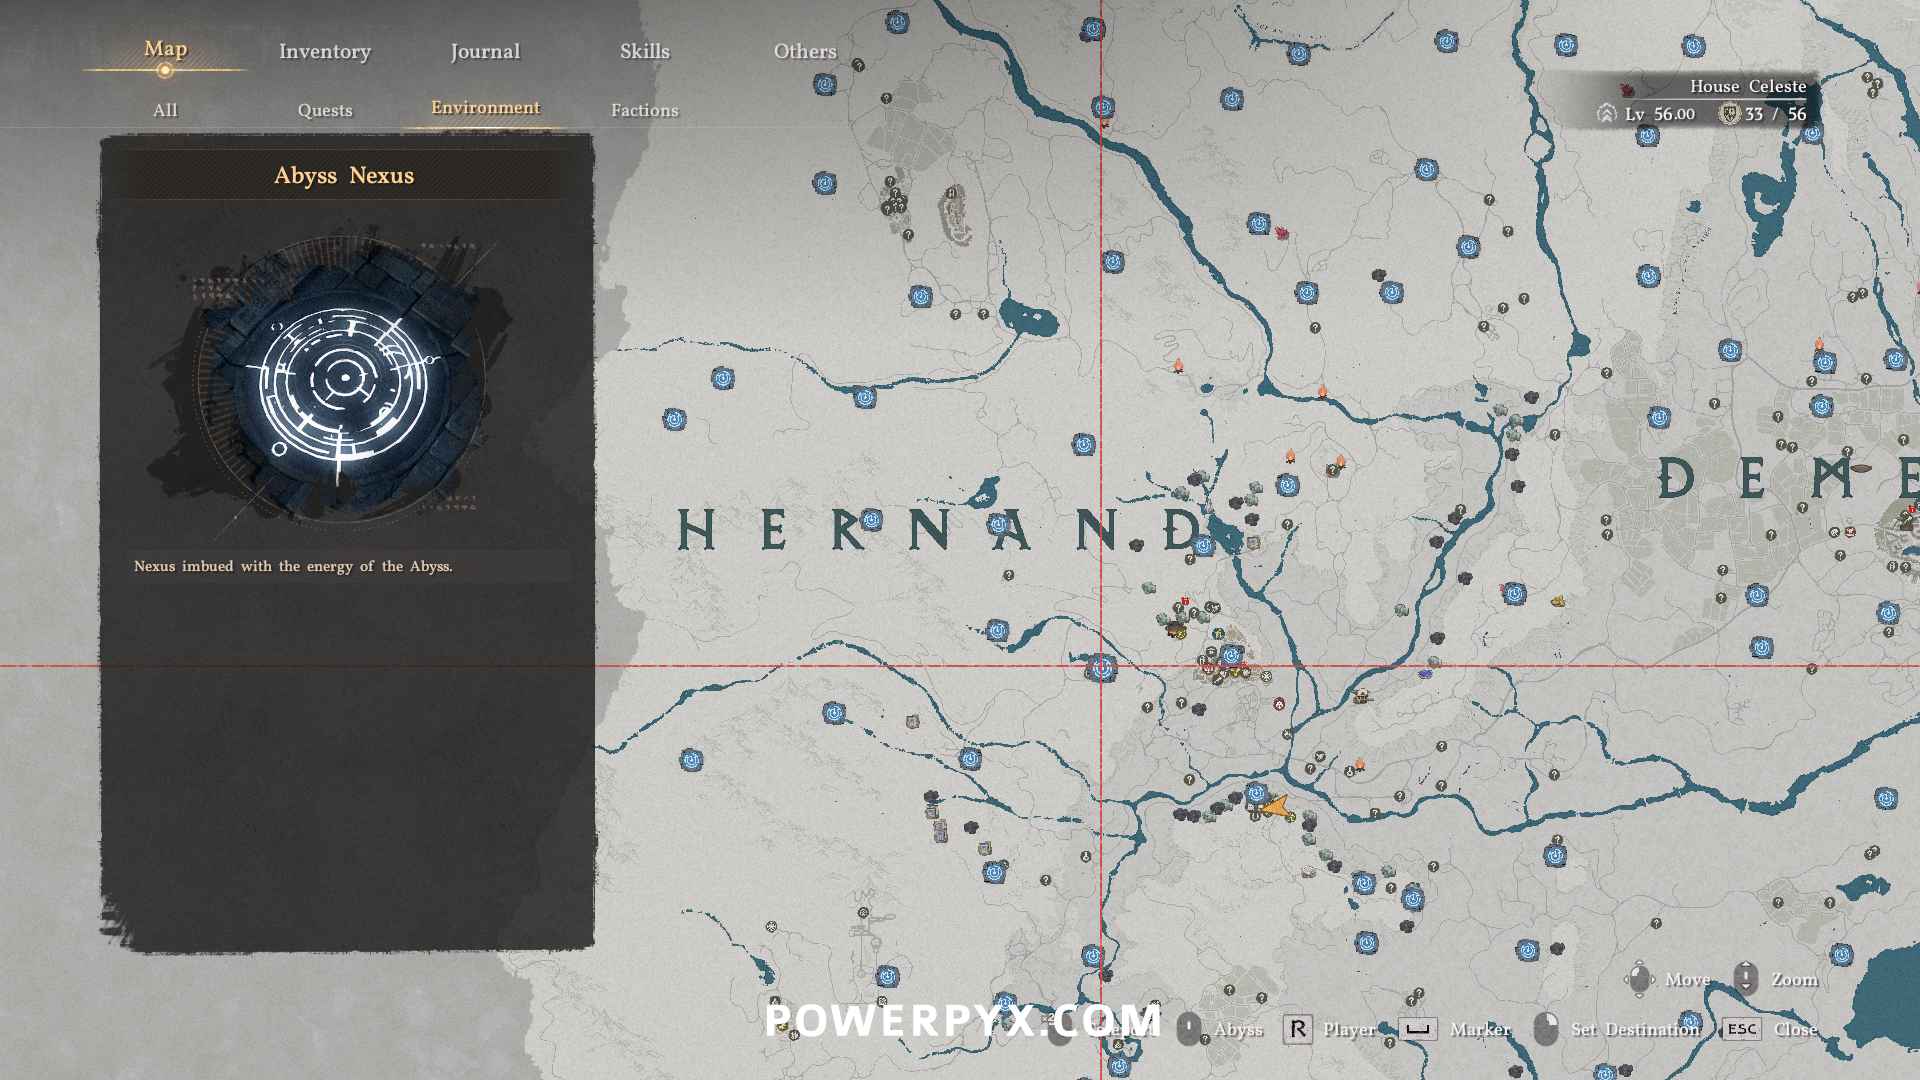
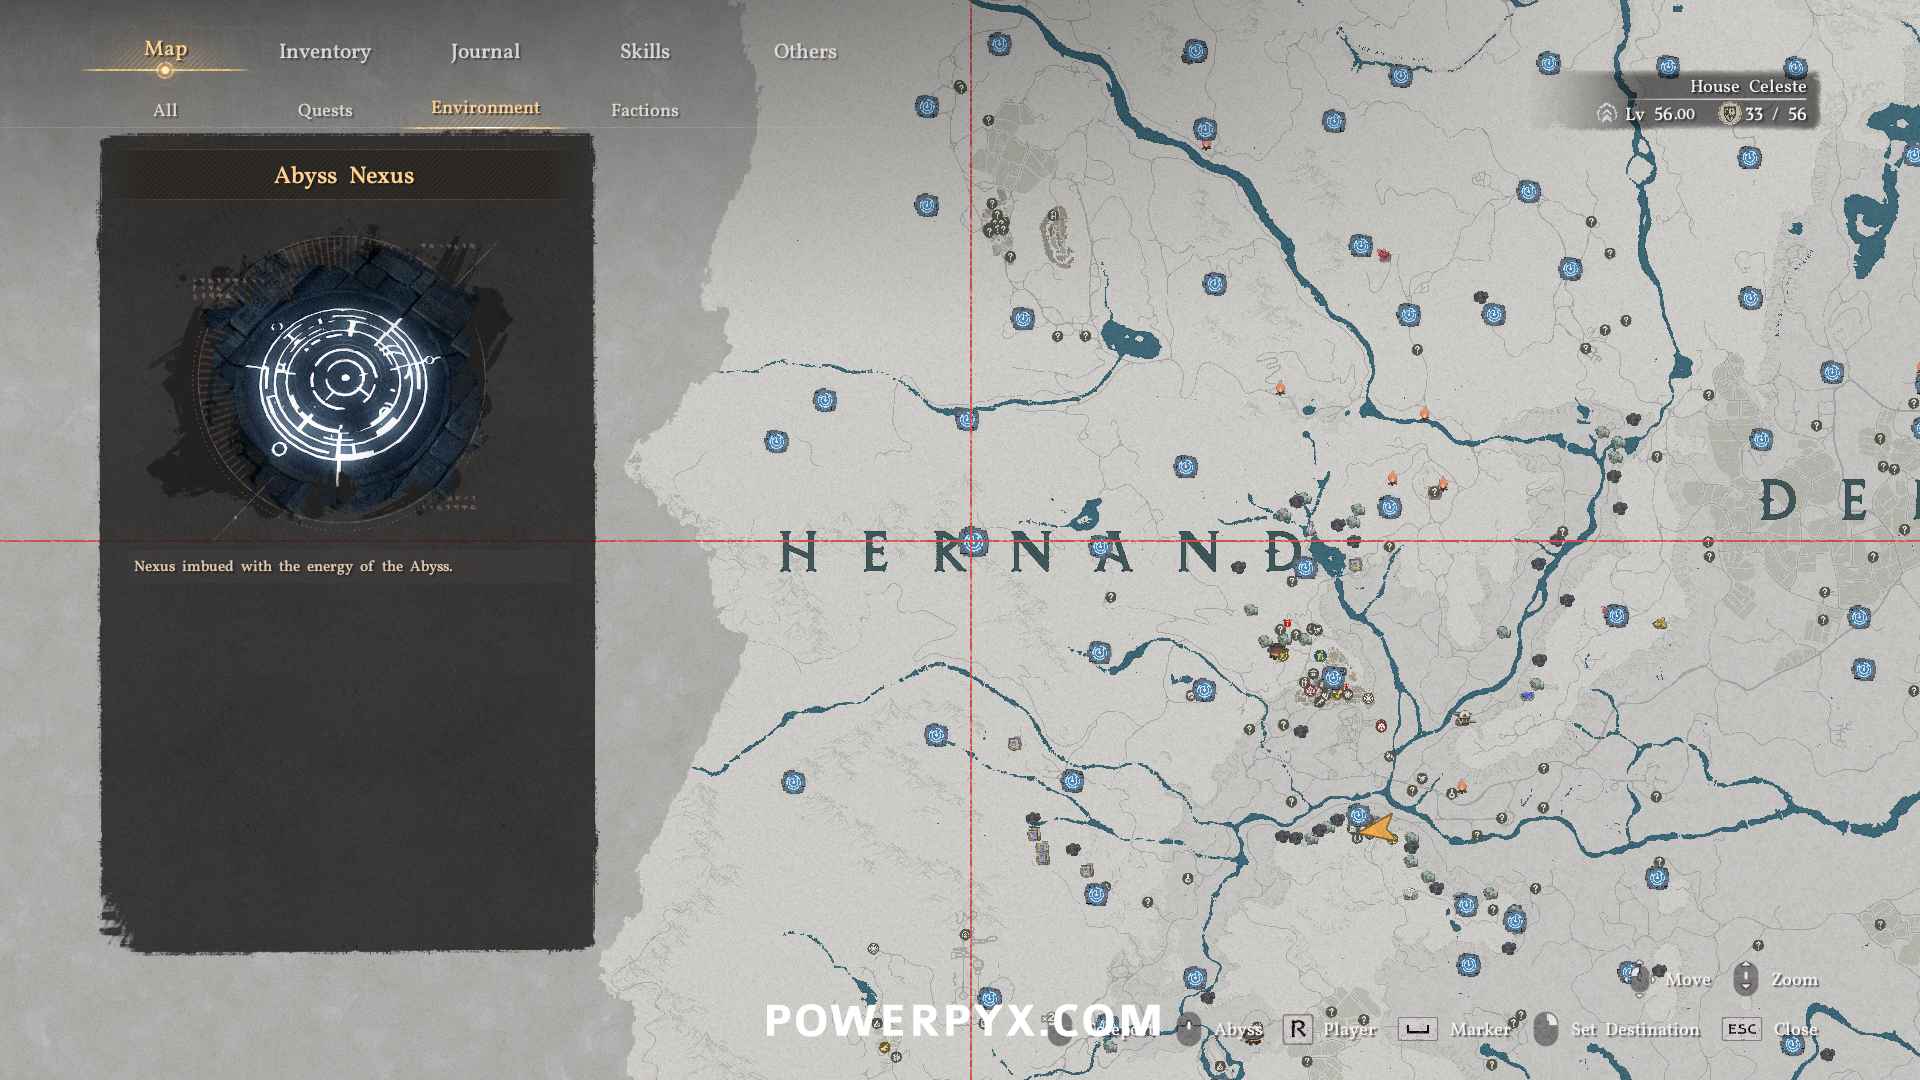
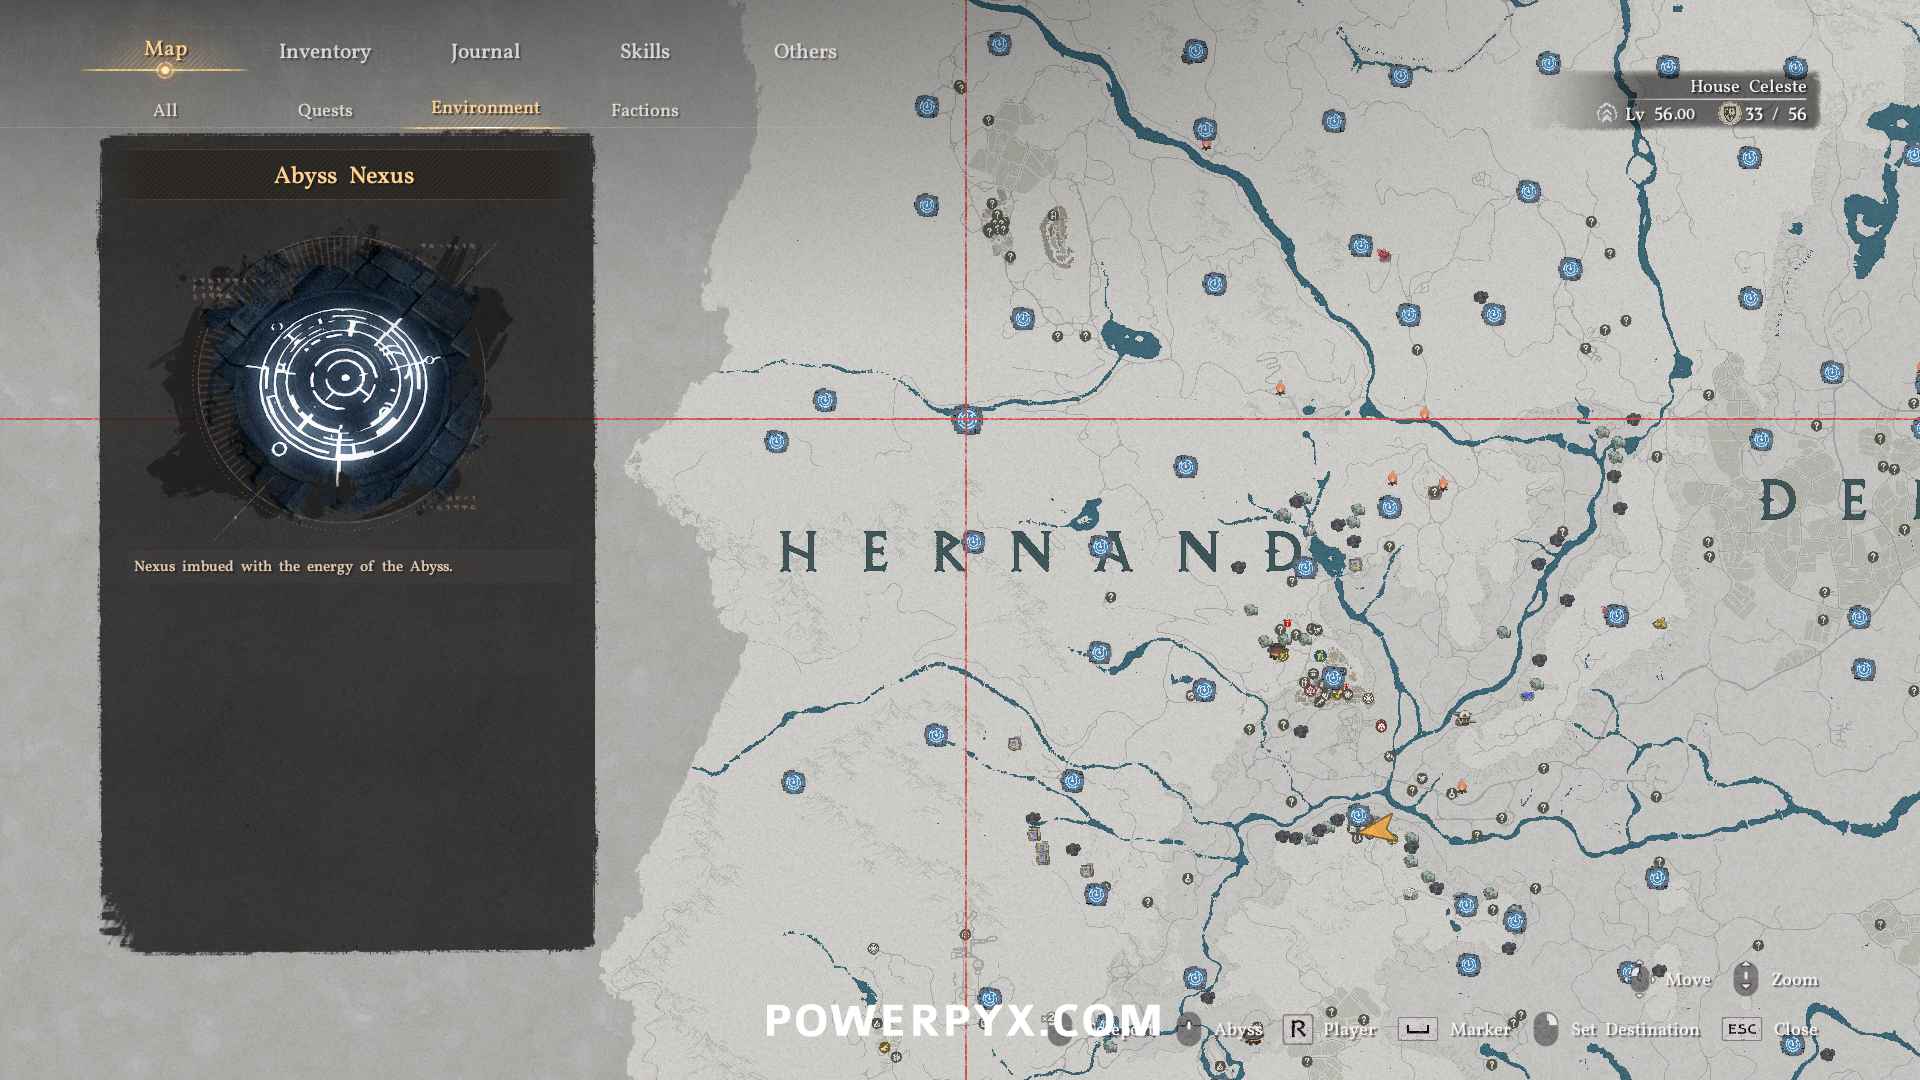
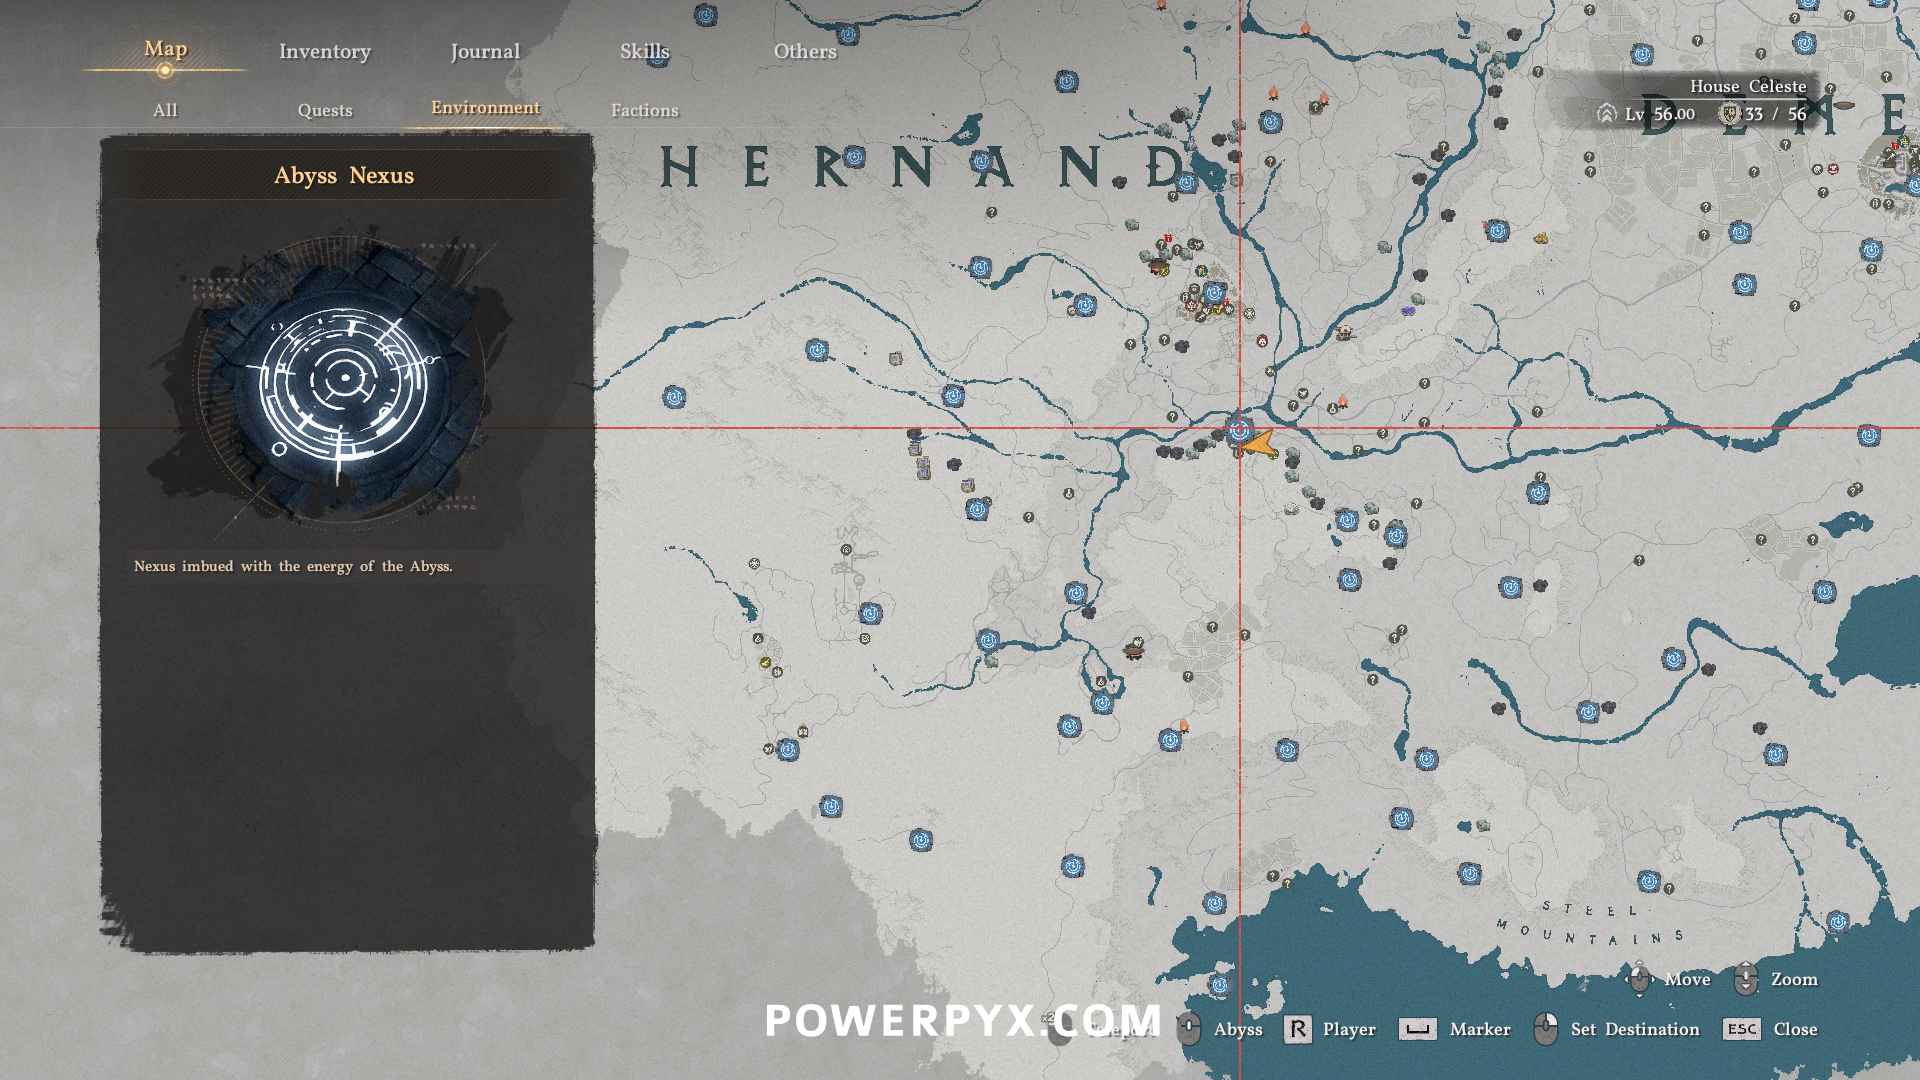
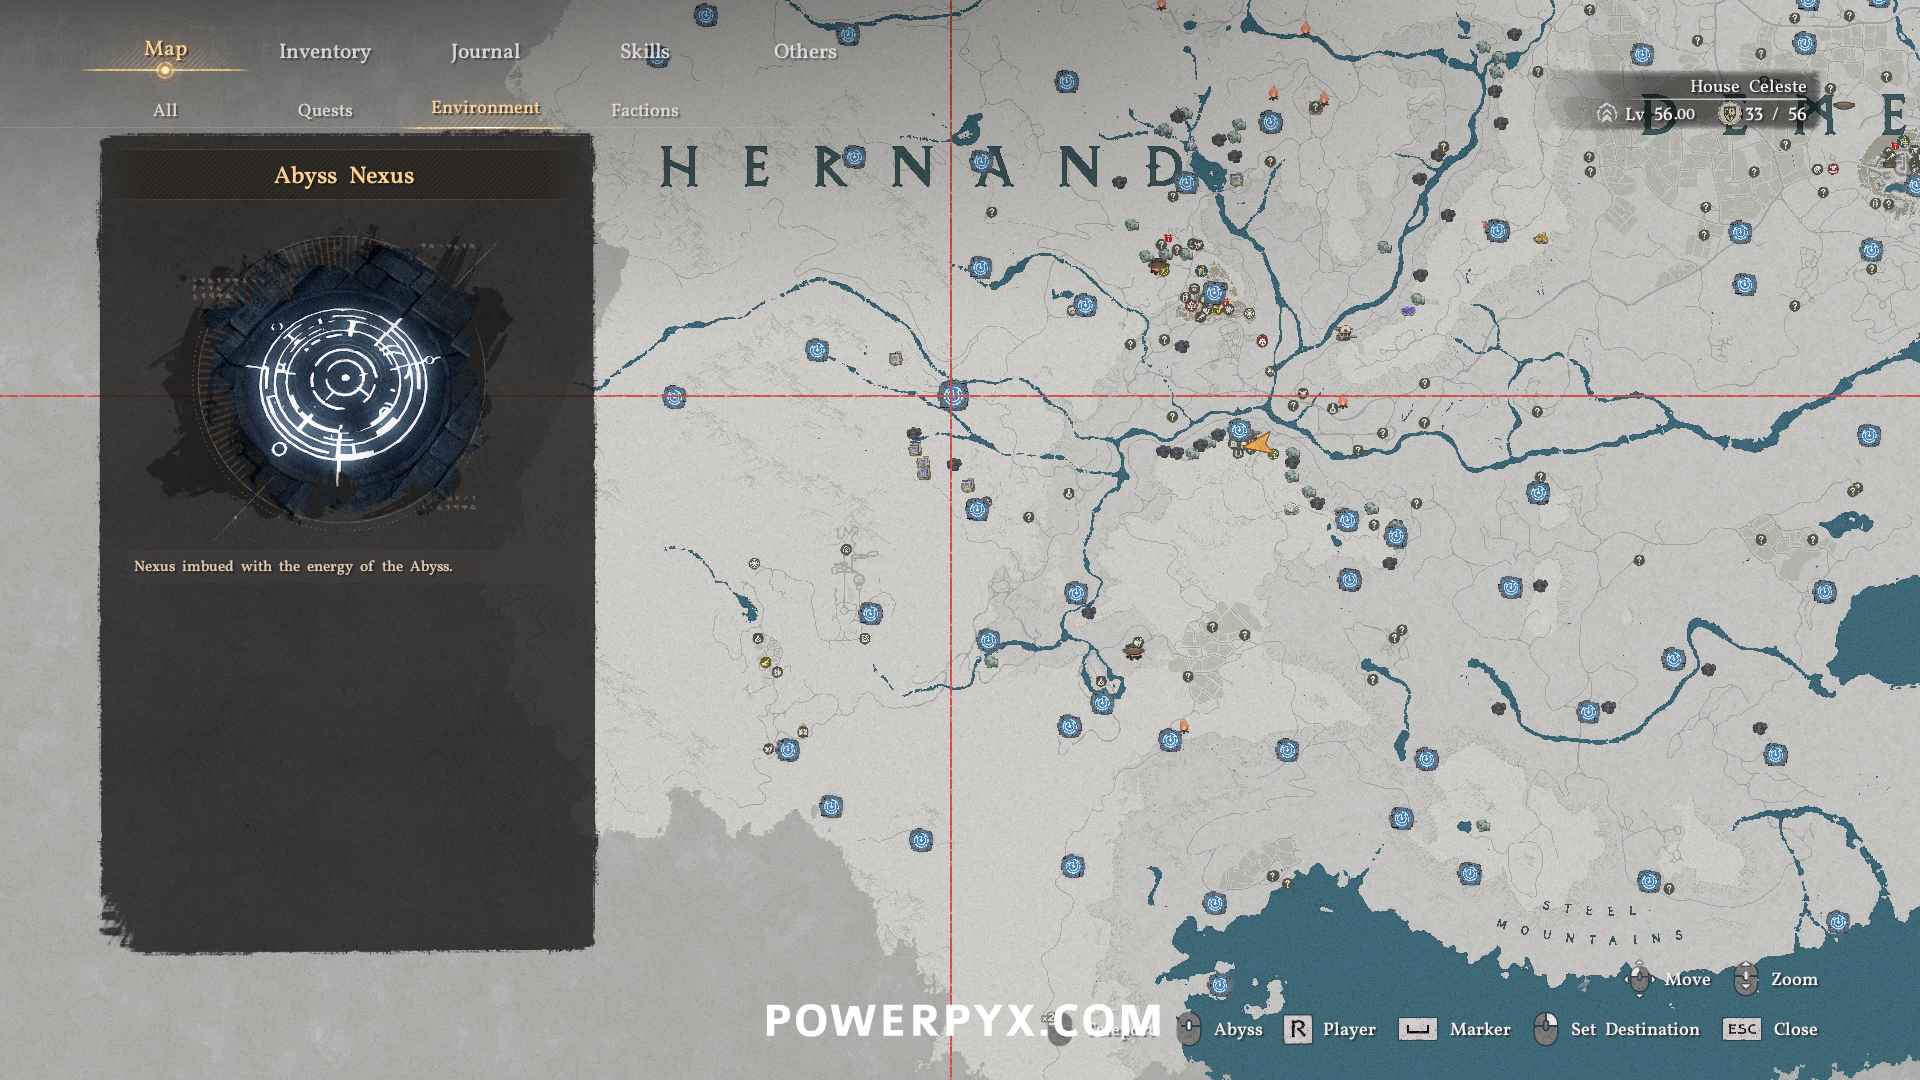
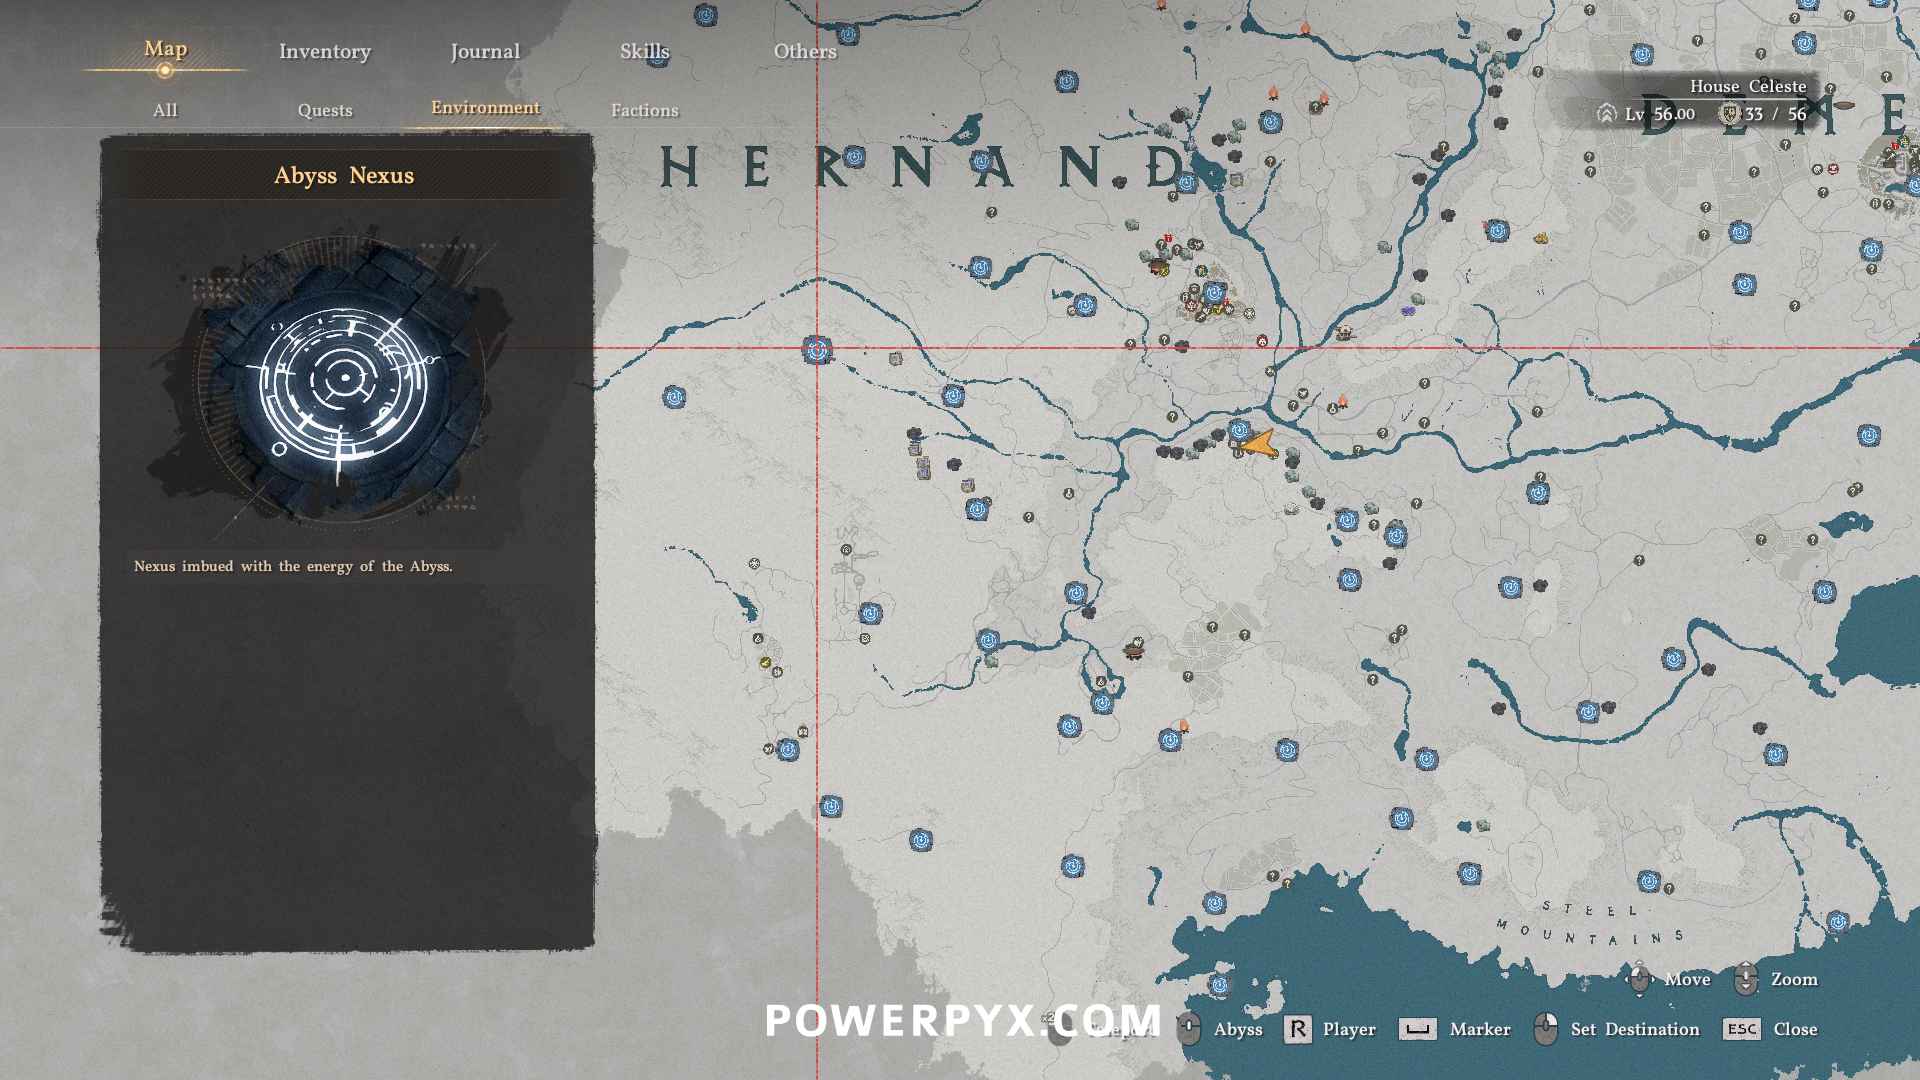
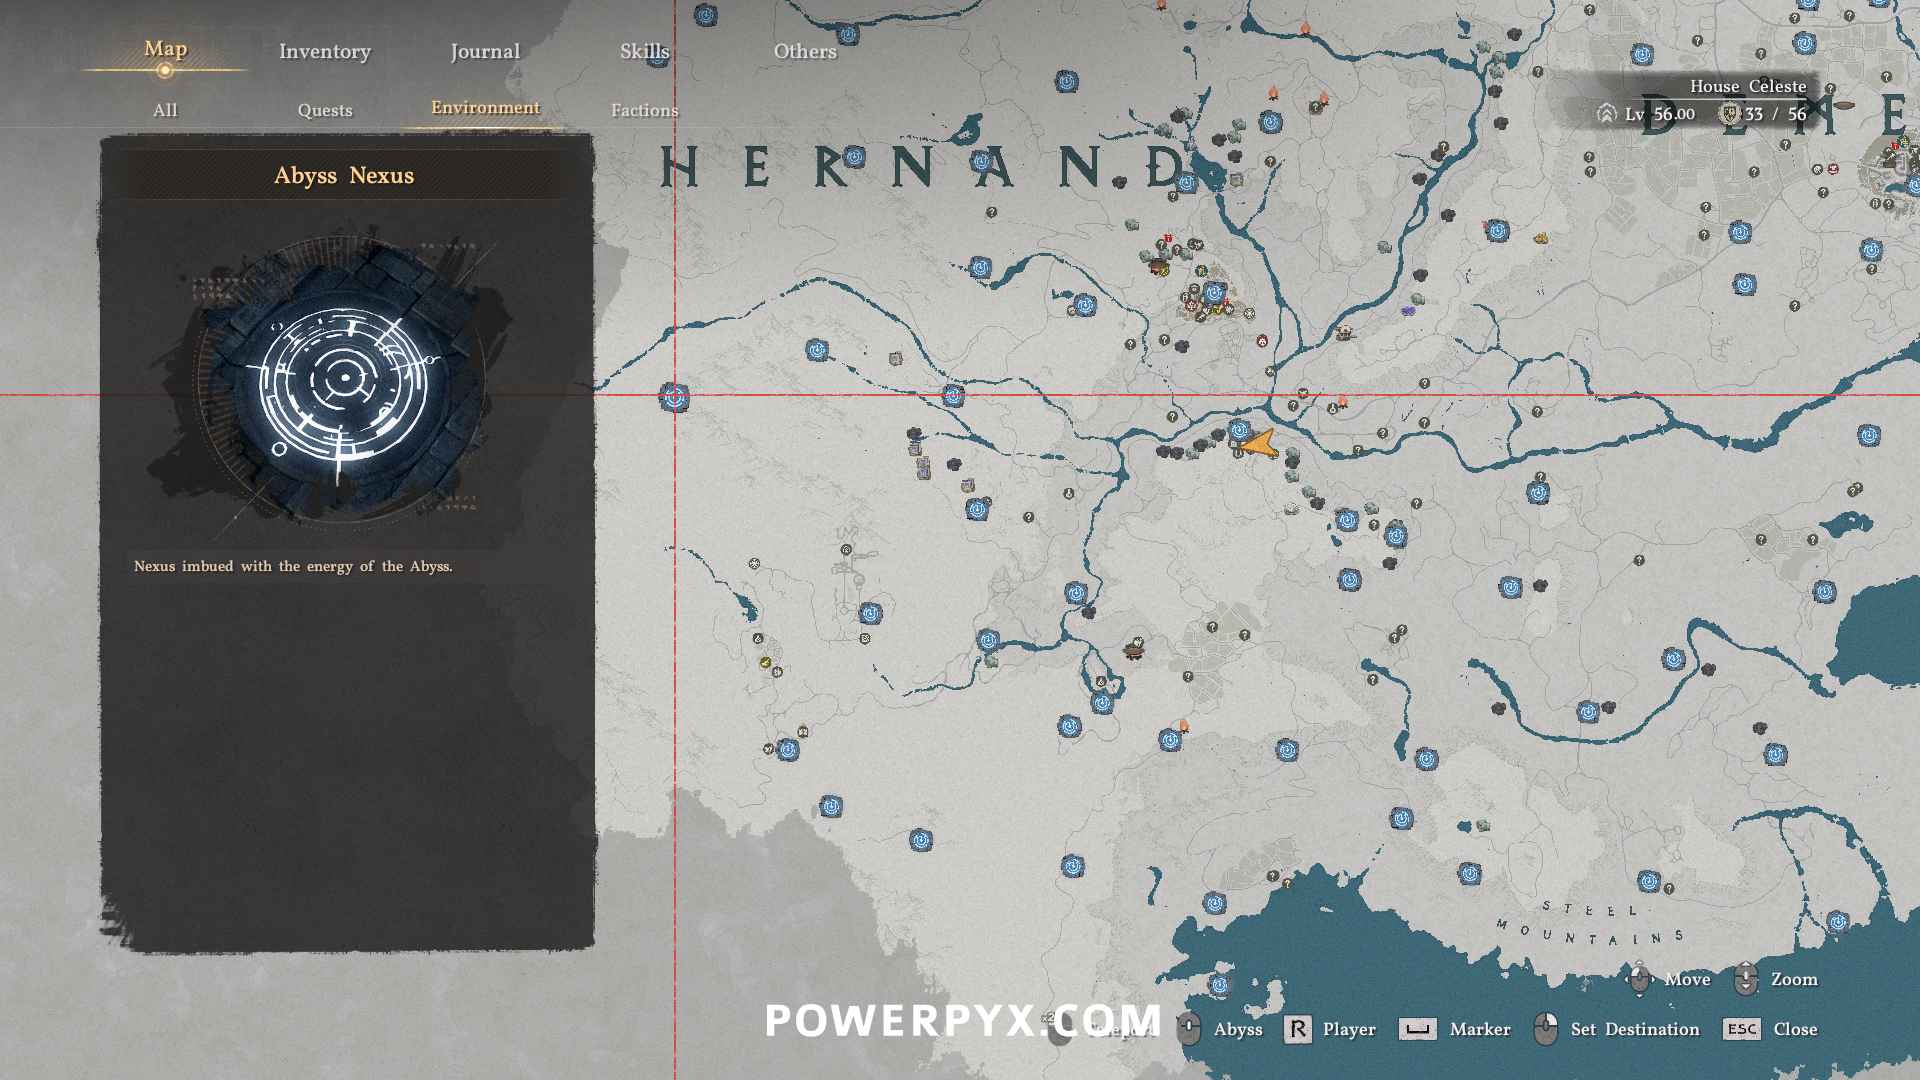
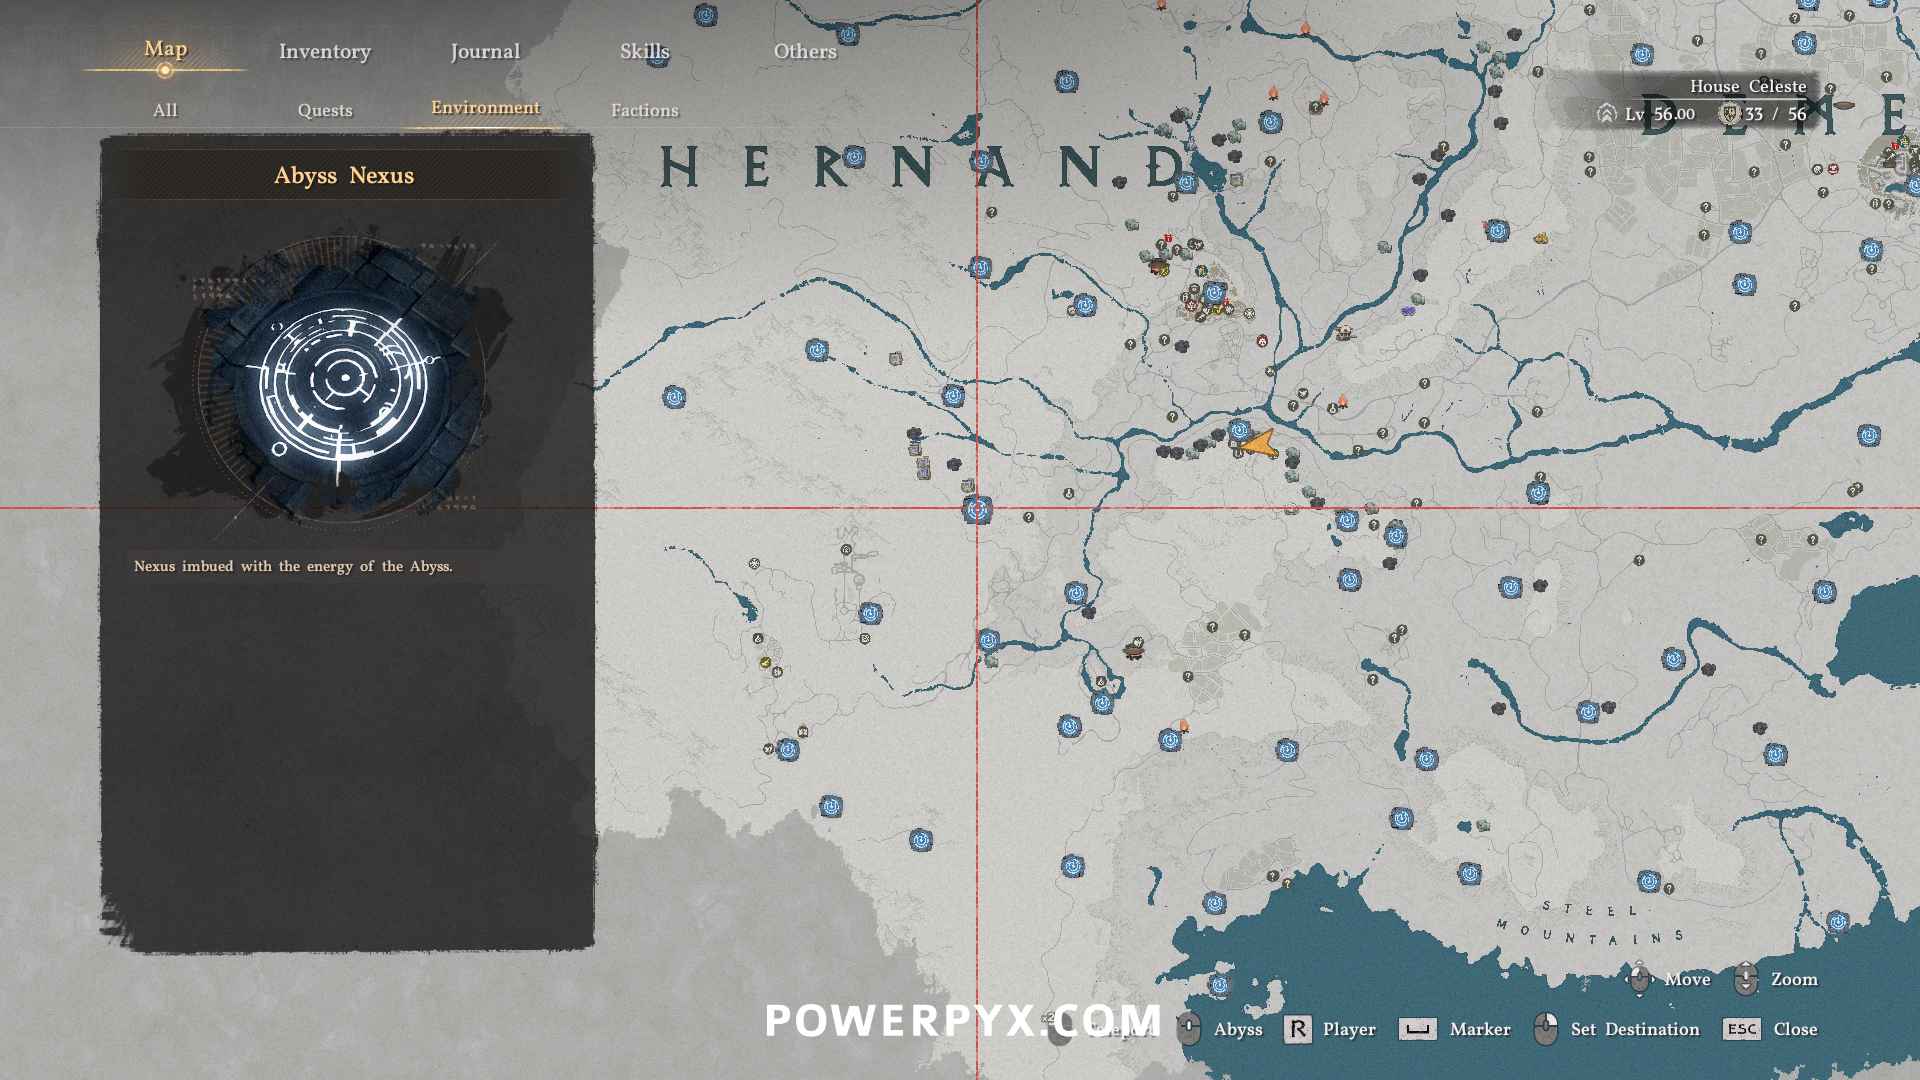
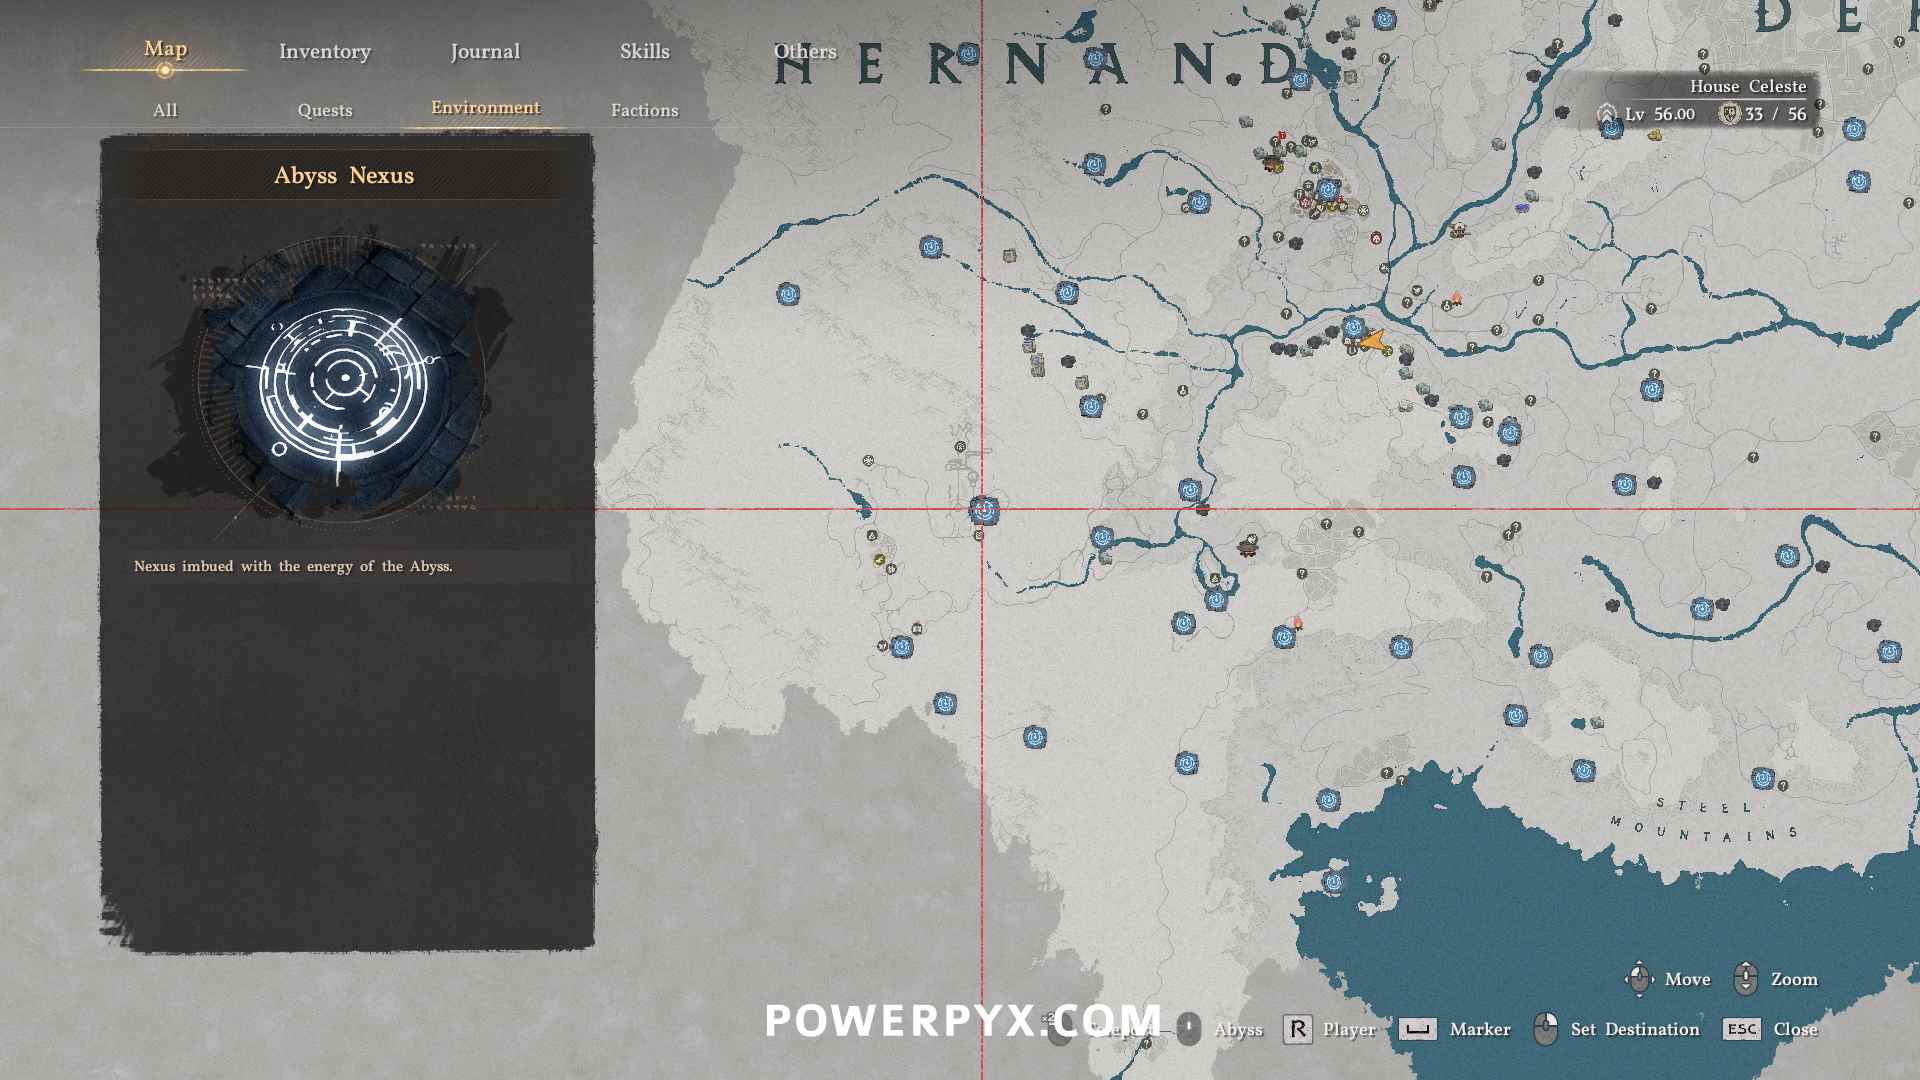
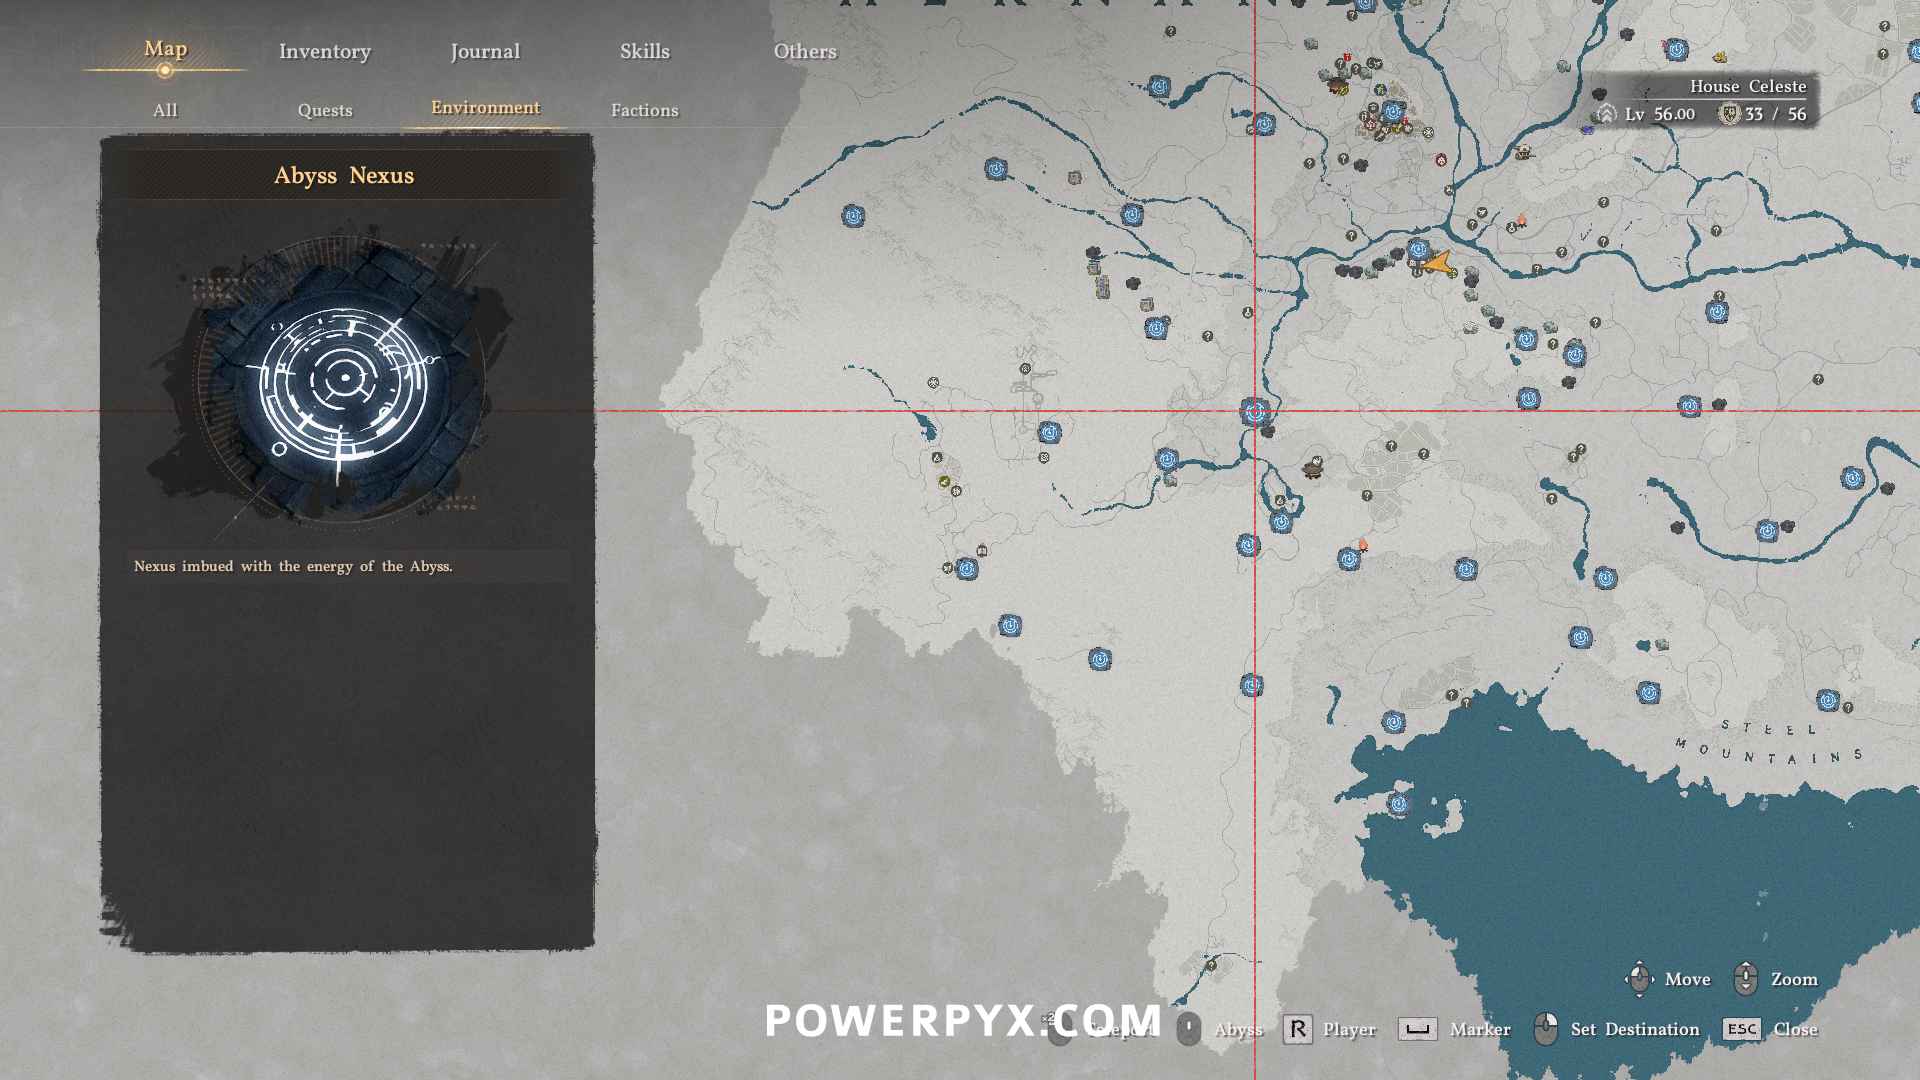
Hernand
Map:
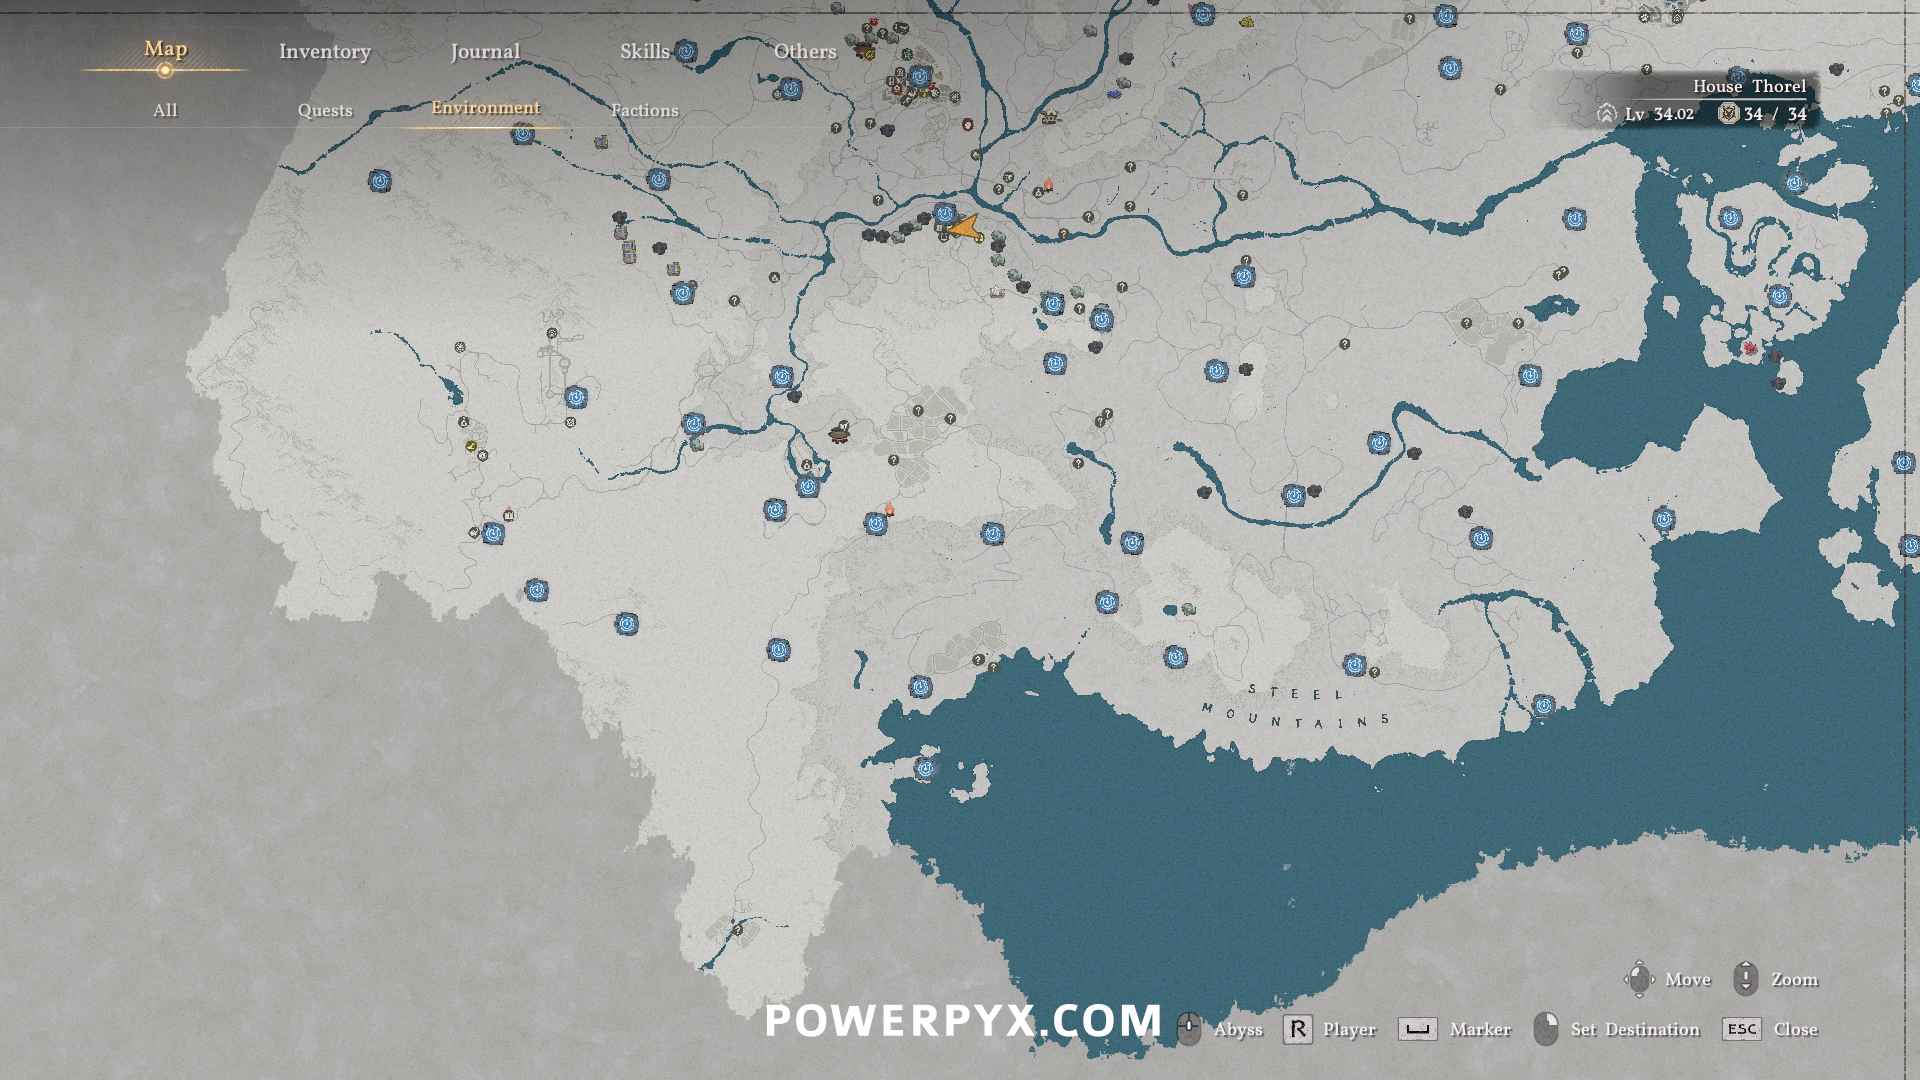
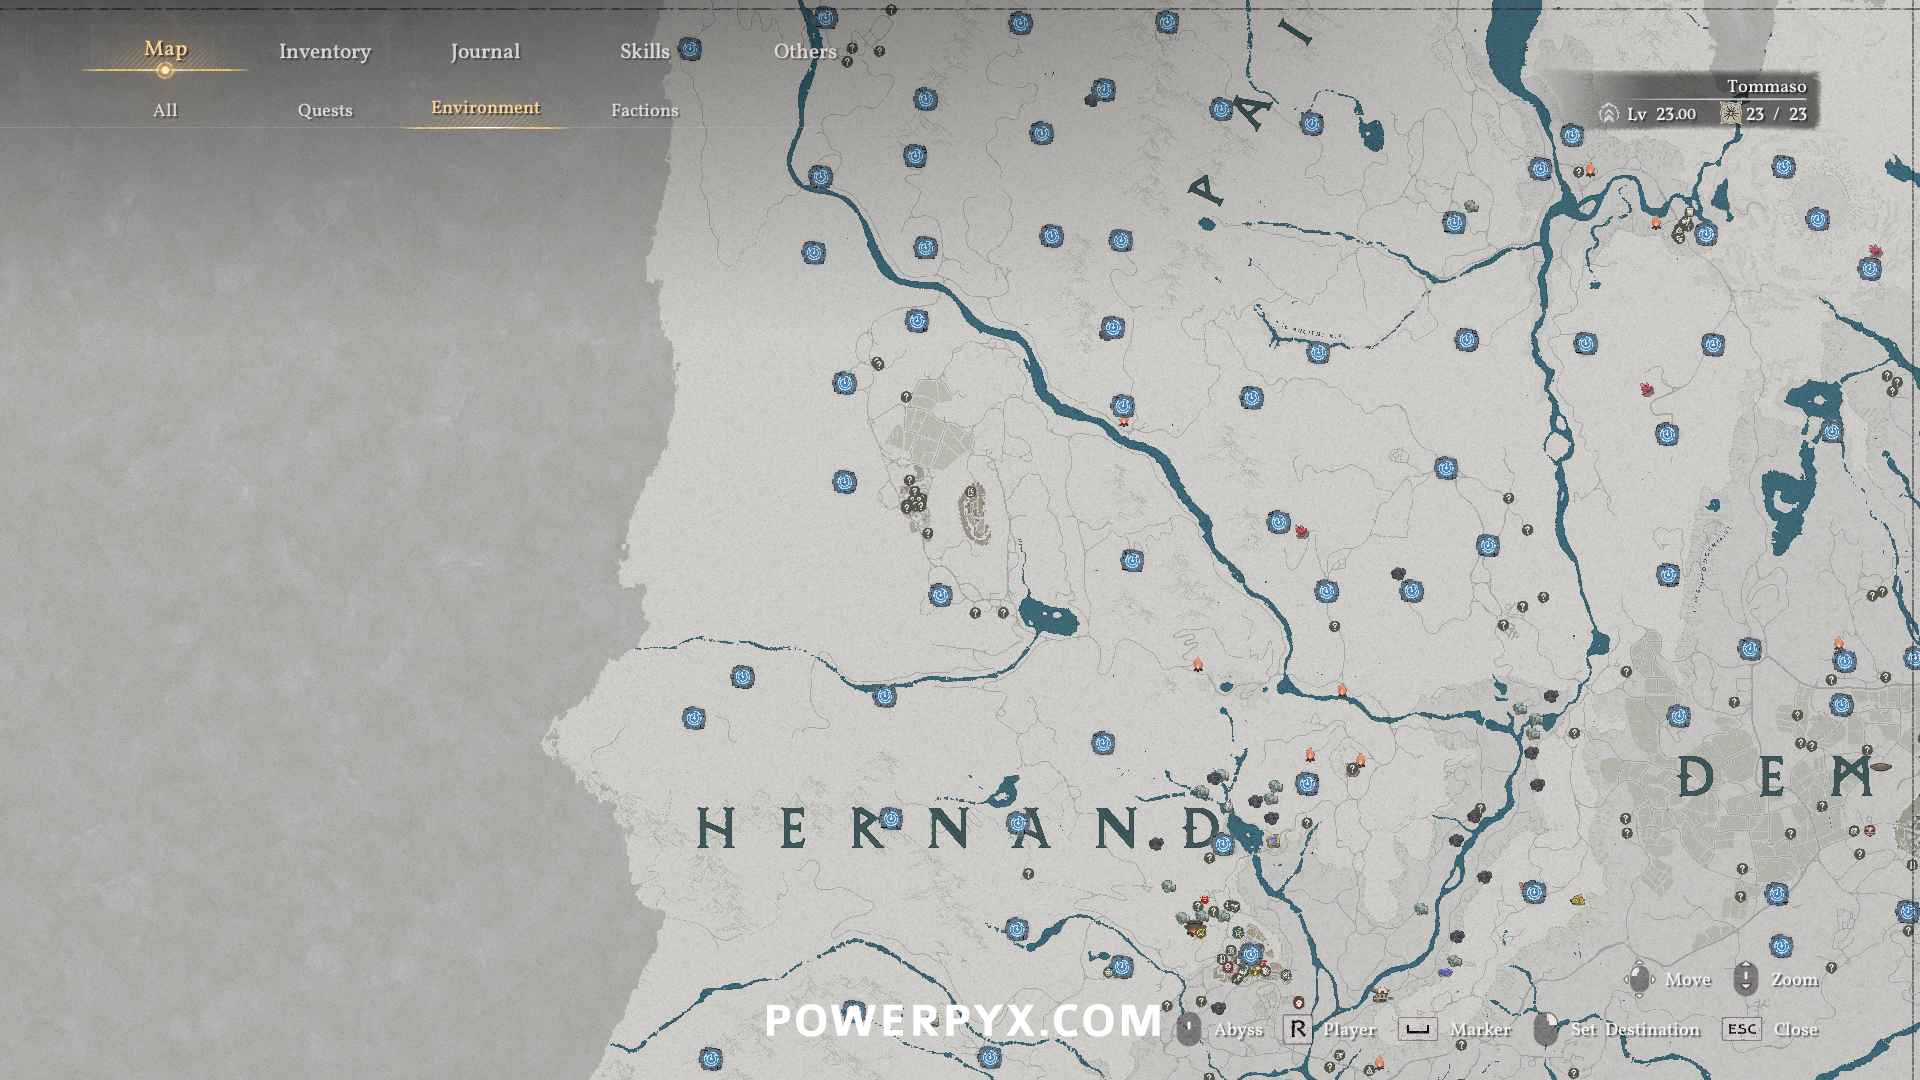
- Hernand Town
- Central Hernand 1
- Central Hernand 2
- Central Hernand 3 – Haunted Hill
- Central Hernand 4
- Central Hernand 5
- Central Hernand 6
- Central Hernand 7
- Central Hernand 8
- Central Hernand 9
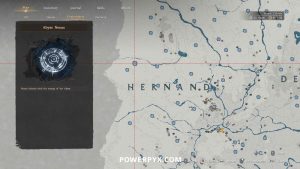
- Central Hernand 10
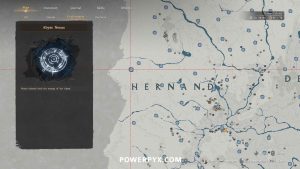
- Northern Hernand 1
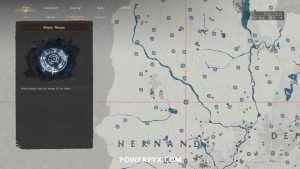
- Northern Hernand 2
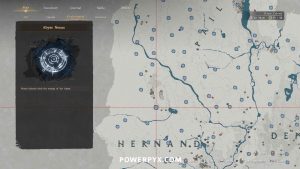
- Northern Hernand 3
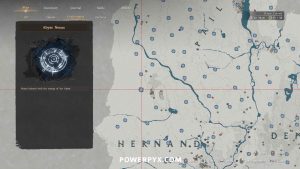
- Northern Hernand 4
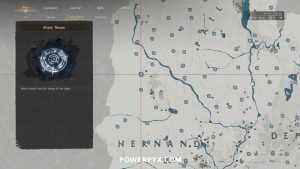
- Northern Hernand 5
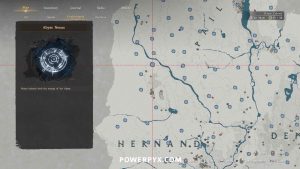
- Northern Hernand 6
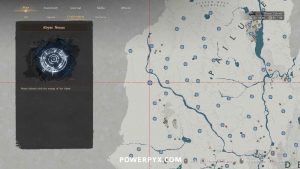
- Northern Hernand 7
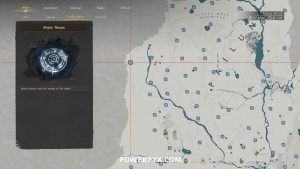
- Howling Hill
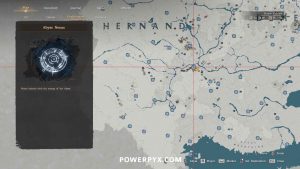
- Southern Hernand 1
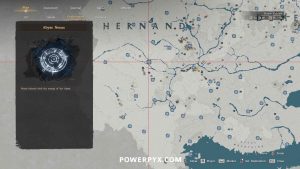
- Southern Hernand 2
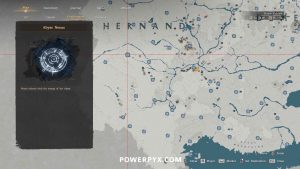
- Southern Hernand 3
- Southern Hernand 4 – The Witchwoods
- Southern Hernand 5 – Scholastone
- Southern Hernand 6
- Southern Hernand 7
- Southern Hernand 8
- Southern Hernand 9
- Southern Hernand 10
- Southern Hernand 11
- Southern Hernand 12
- Southern Hernand 13
- Southern Hernand 14
- Southern Hernand 15
- Southern Hernand 16
- Southern Hernand 17
- Southern Hernand 18
- Southern Hernand 19
- Southern Hernand 20
- Southern Hernand 21 – Steel Mountains
- Southern Hernand 22
- Southern Hernand 23
- Southern Hernand 24
- Southern Hernand 25 – The Ironwood
- Southern Hernand 26
- Southern Hernand 27 – Willow River
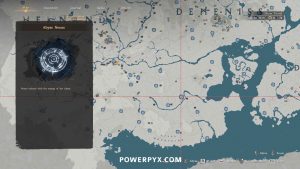
- Southern Hernand 28
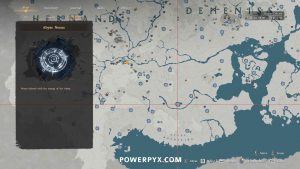
- Southern Hernand 29
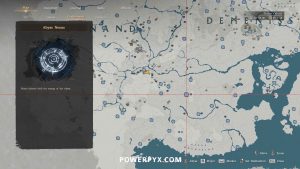
- Southern Hernand 30 – Lower Nas River
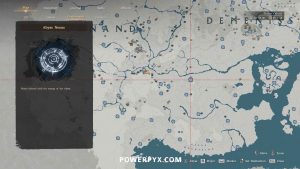
- Southern Hernand 31
- Southern Hernand 32
- Southern Hernand 33
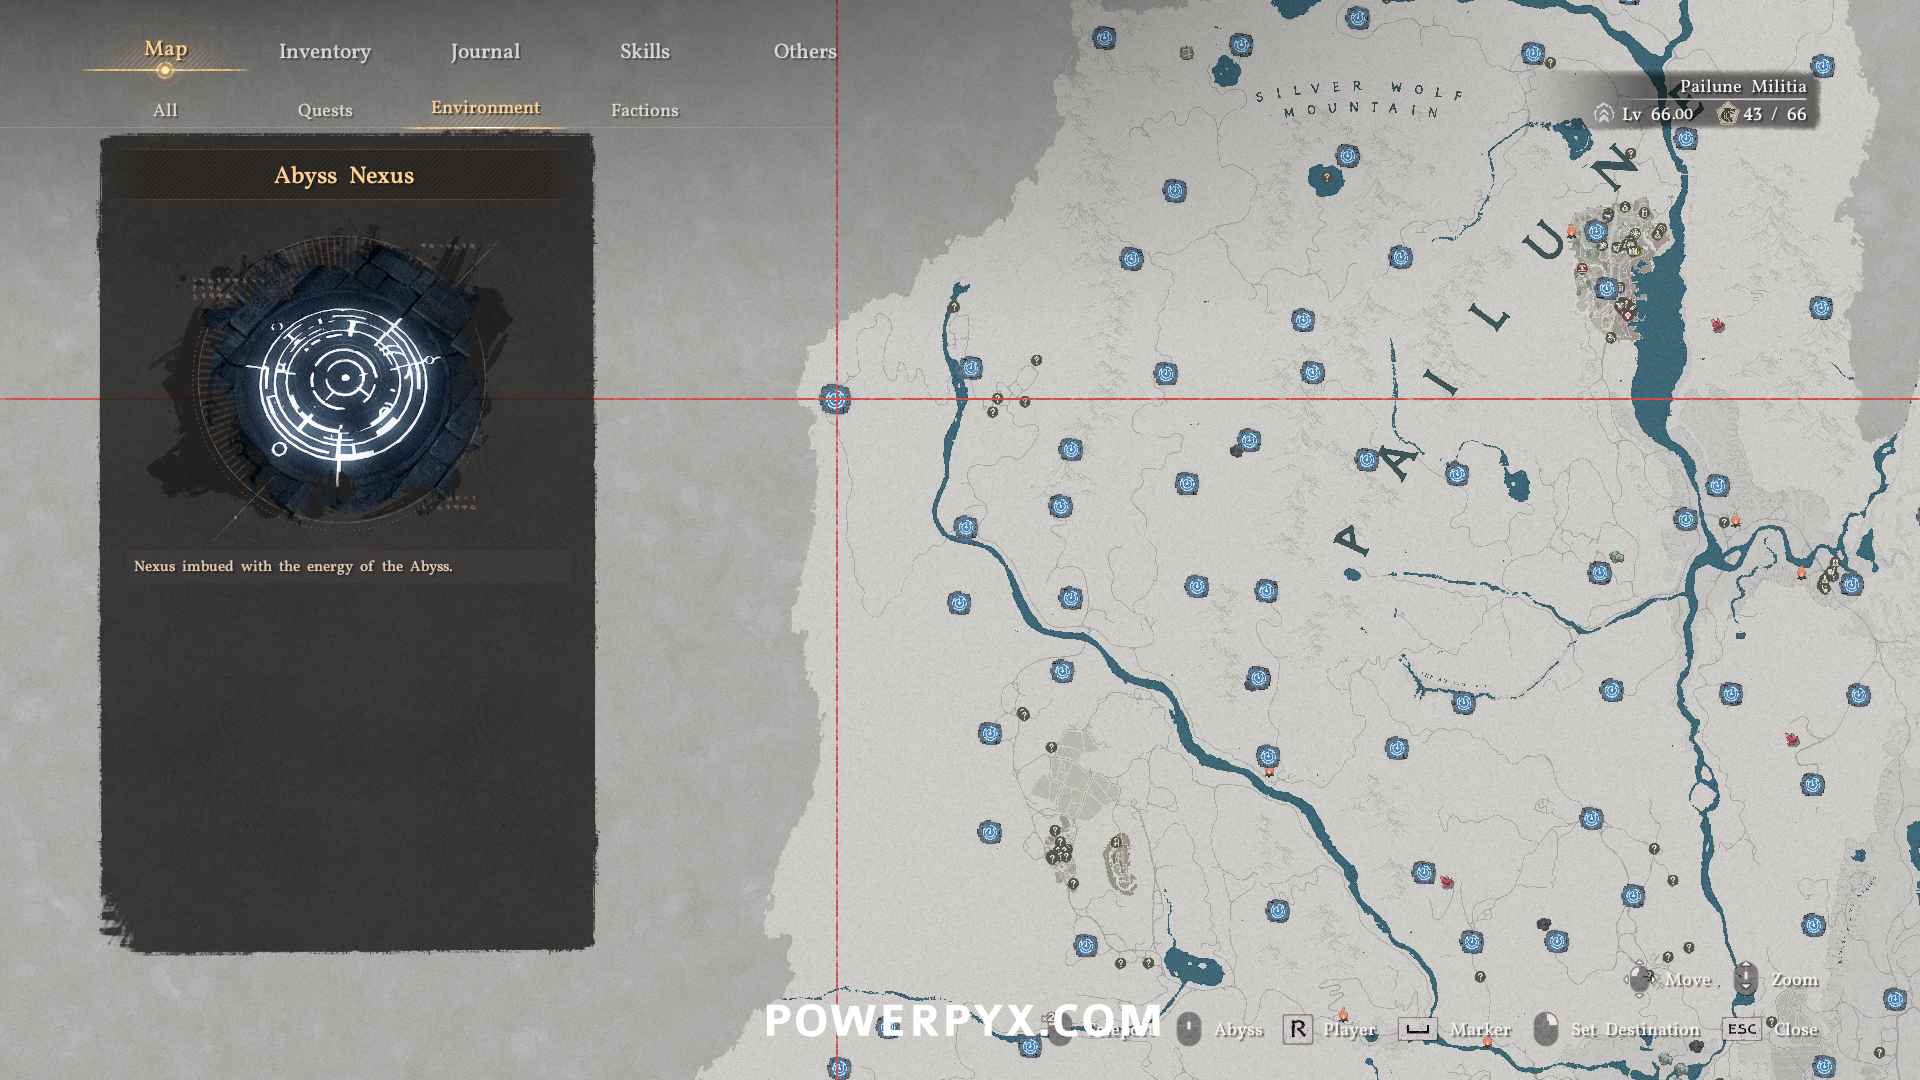
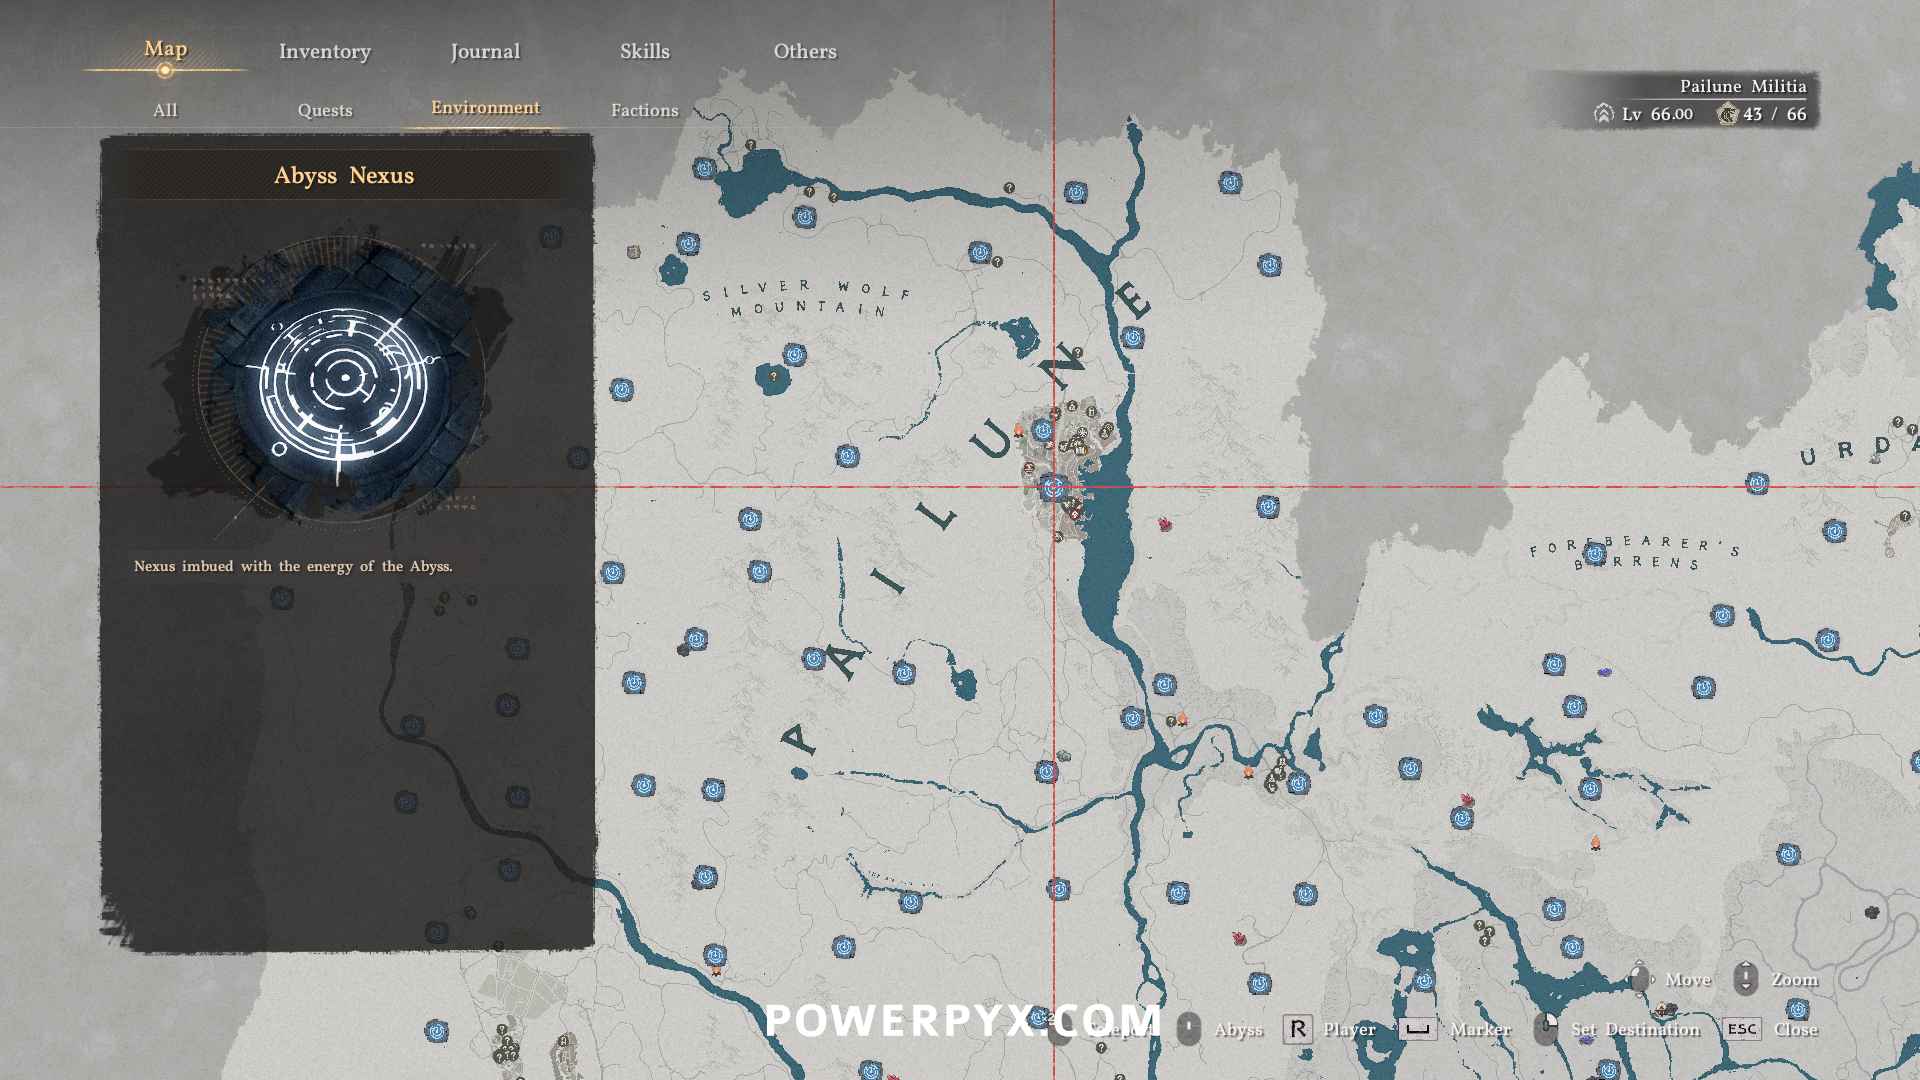
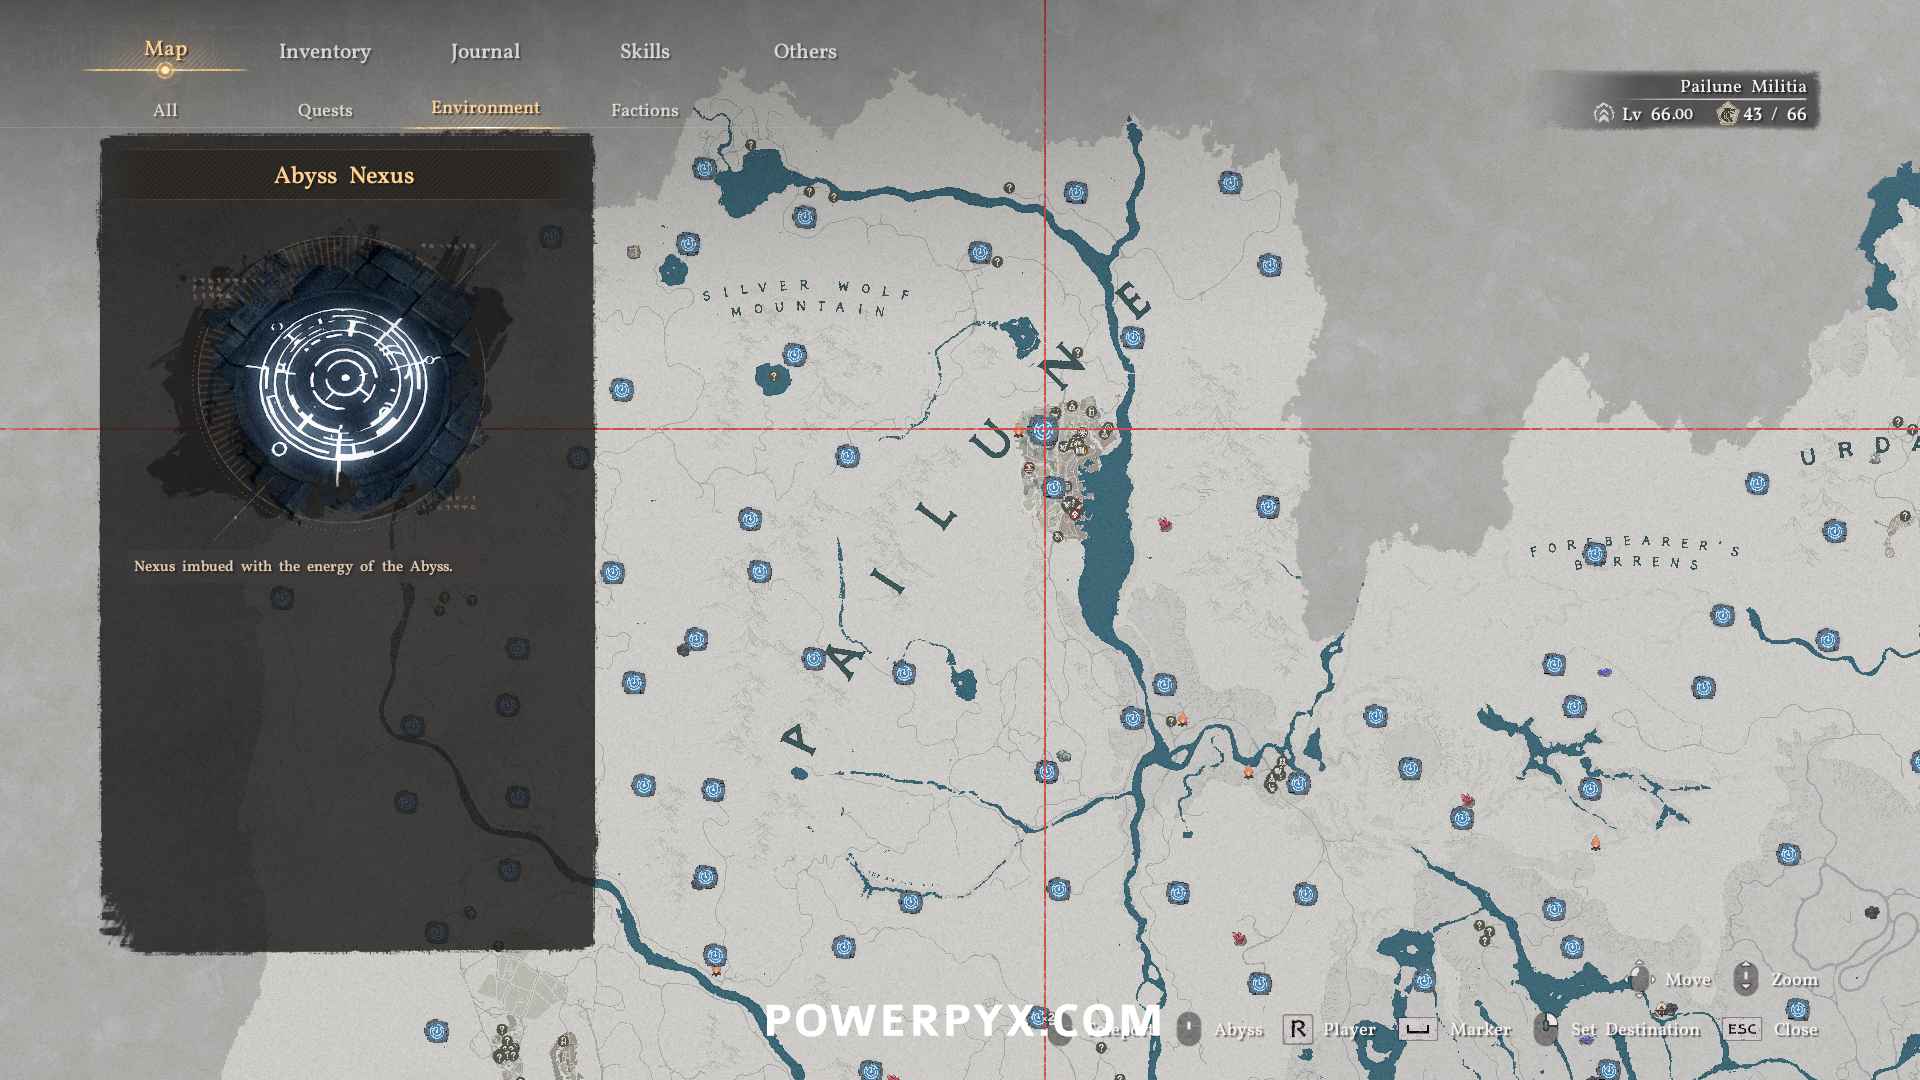
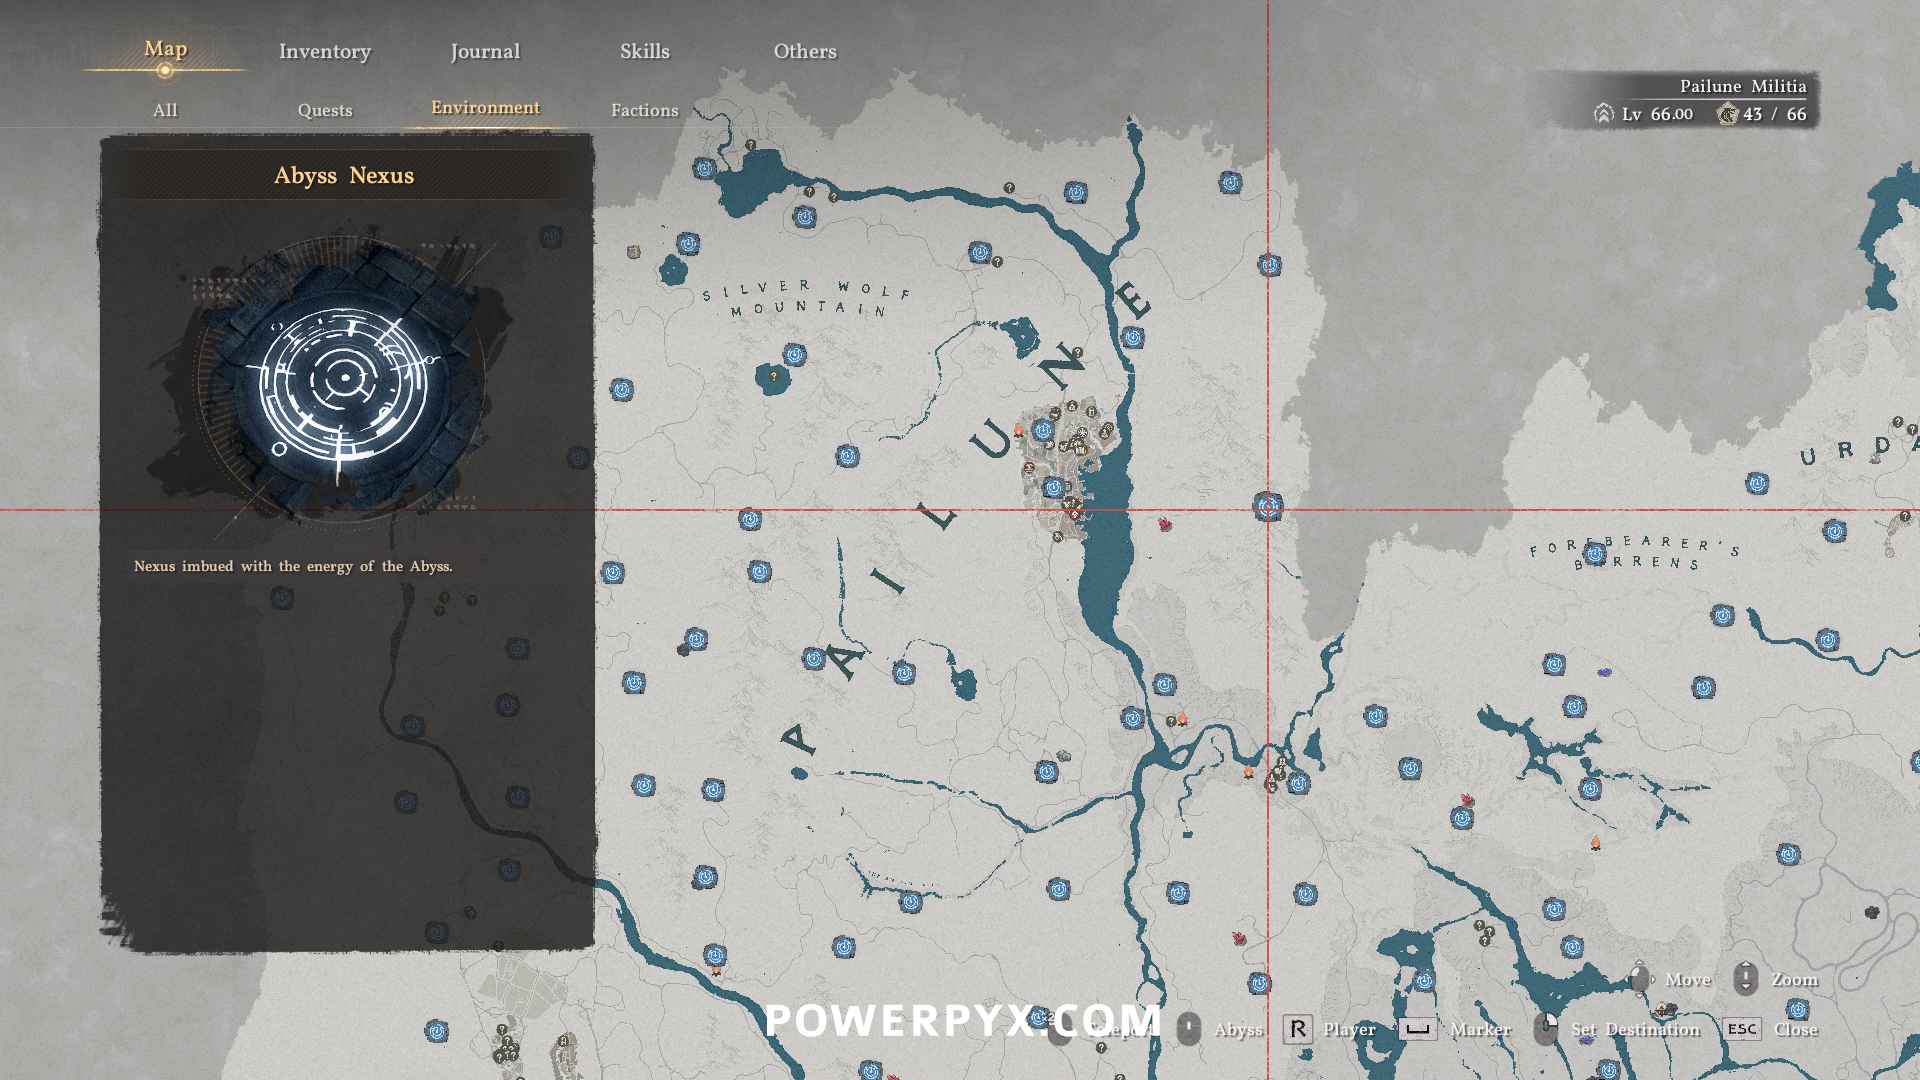
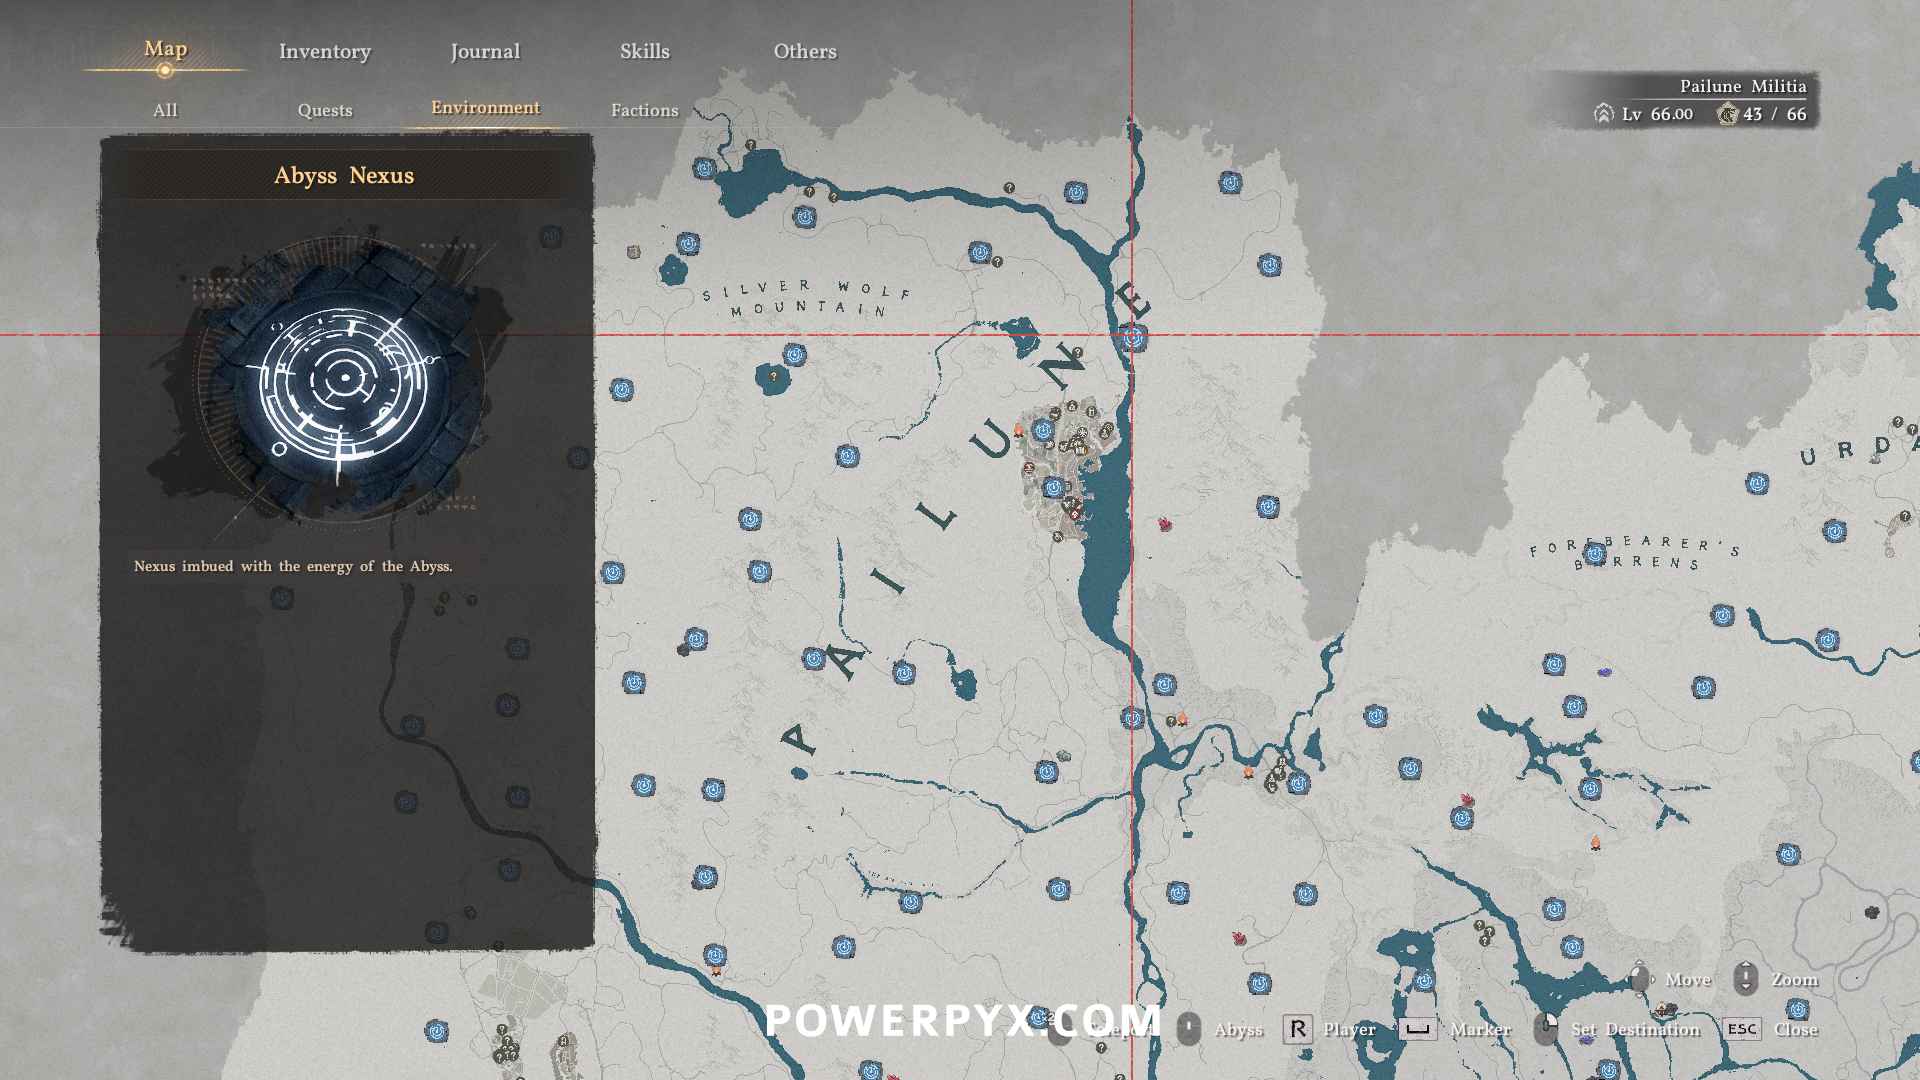
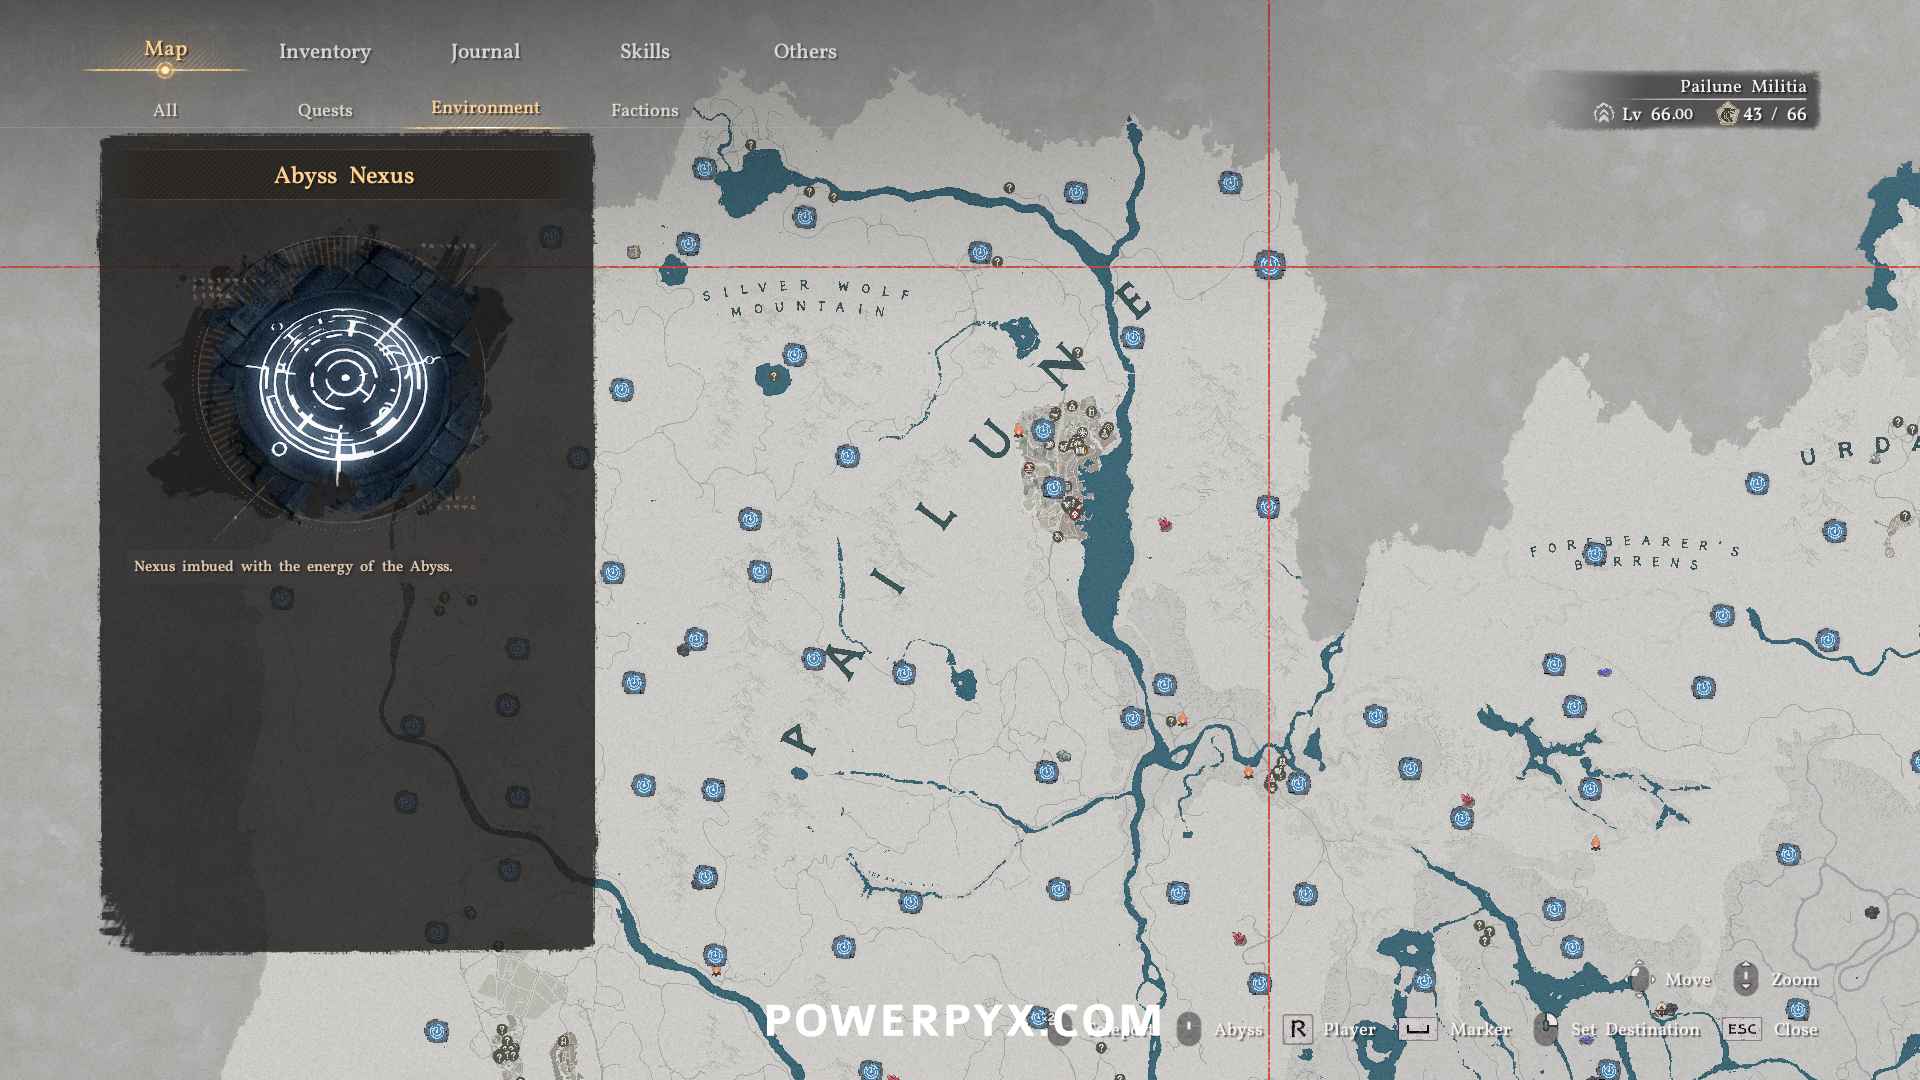
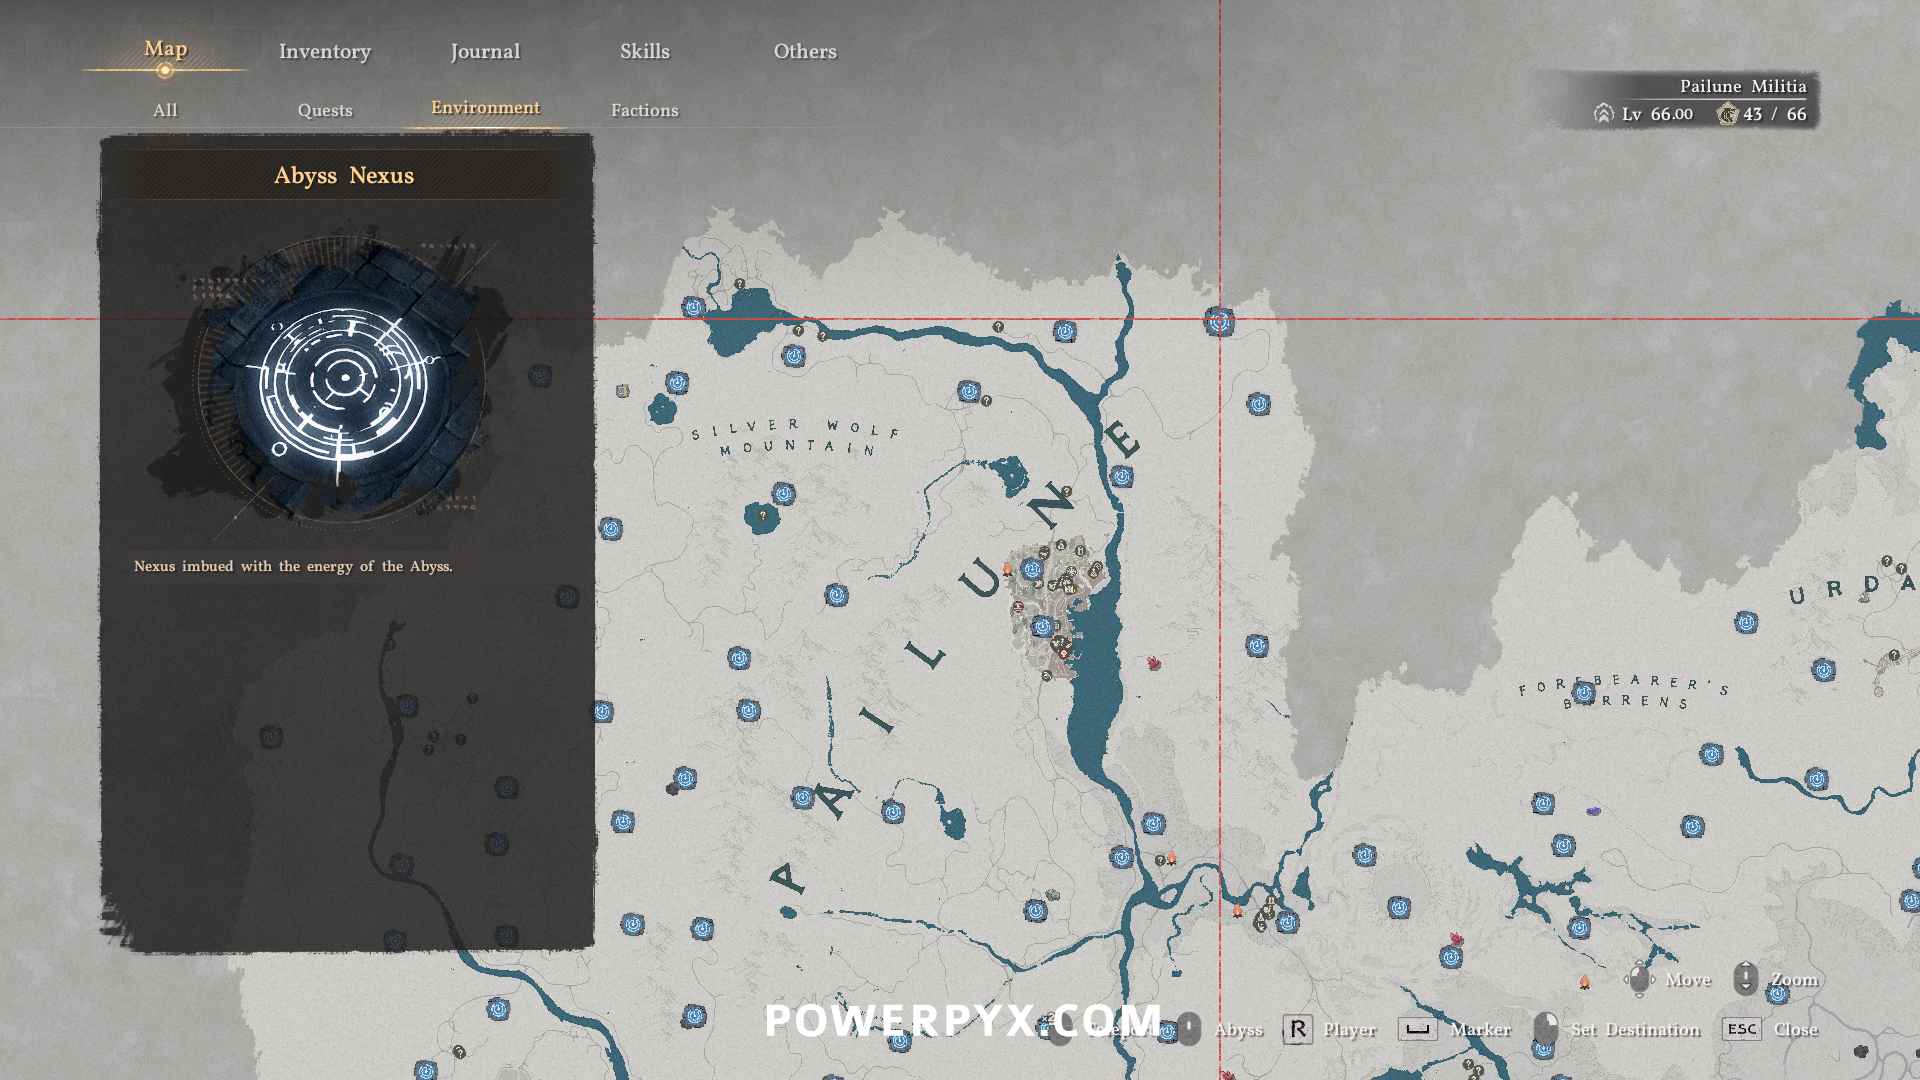
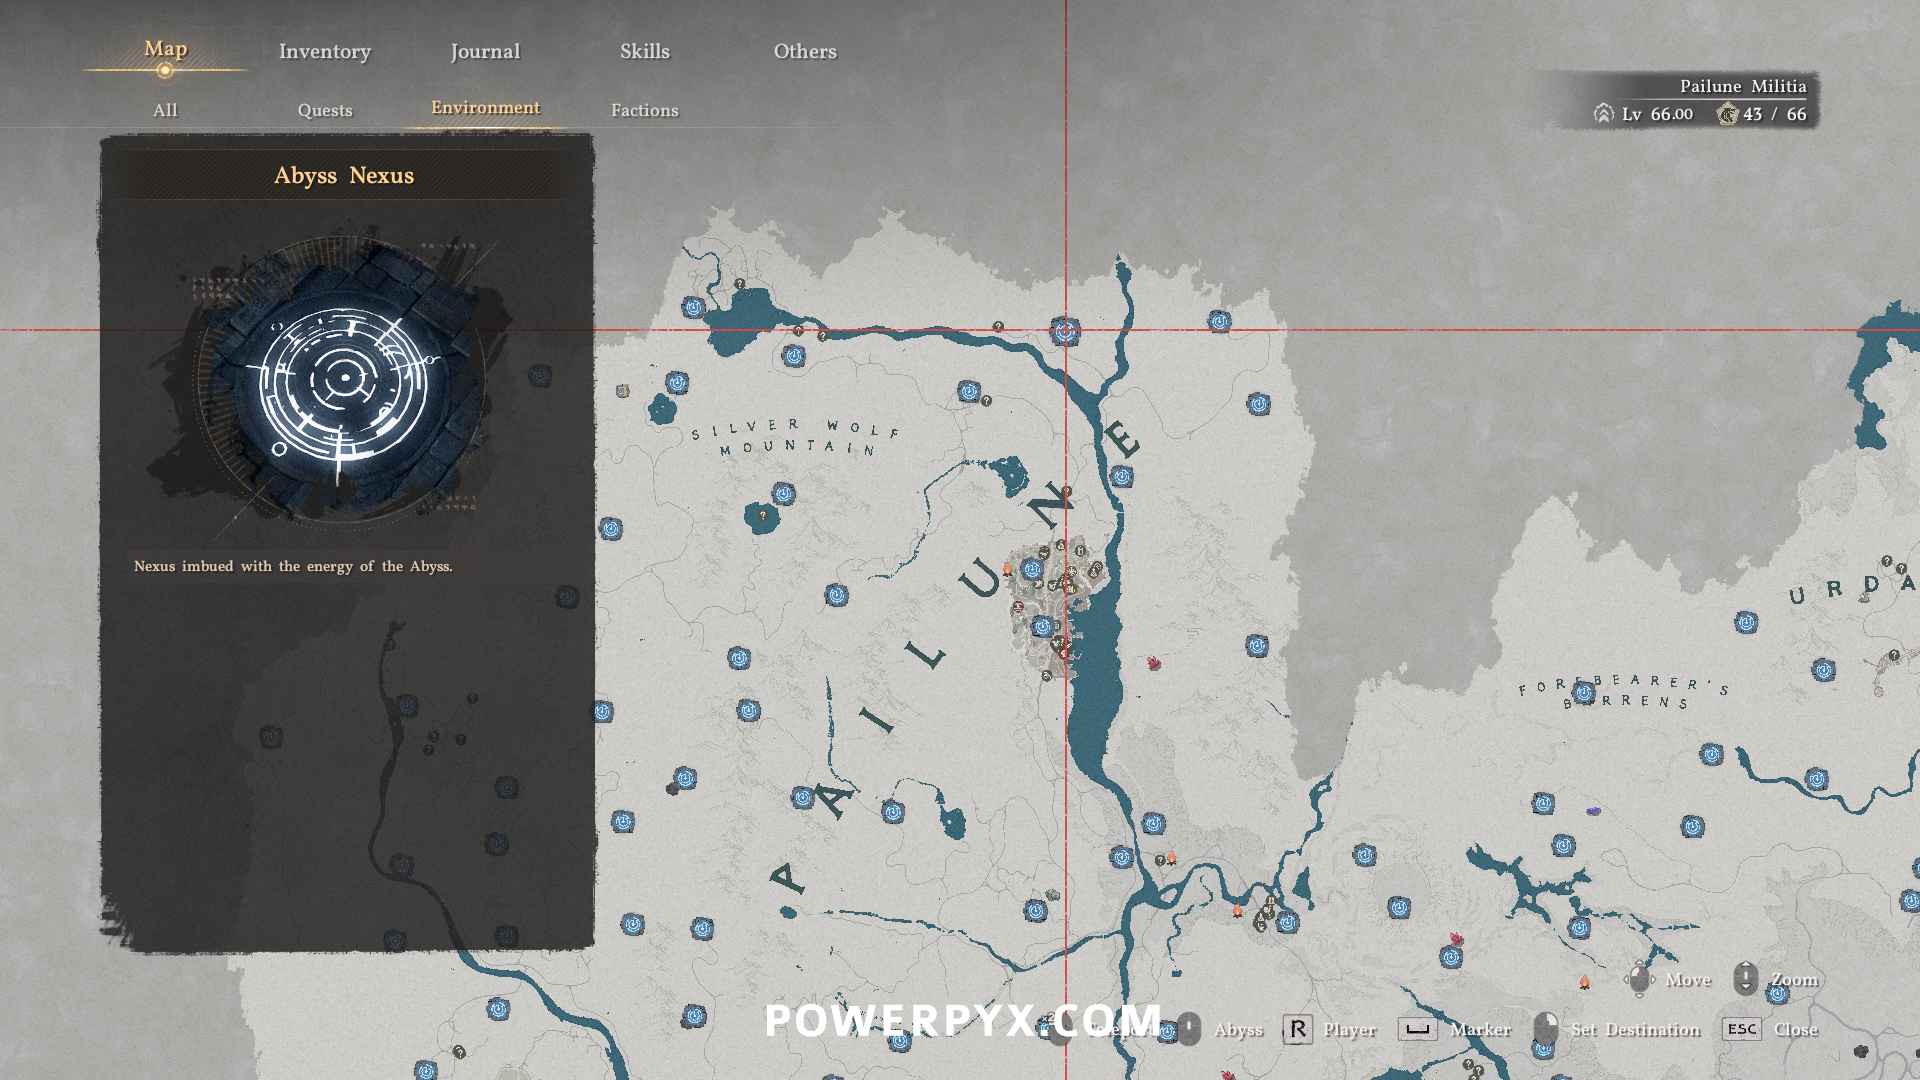
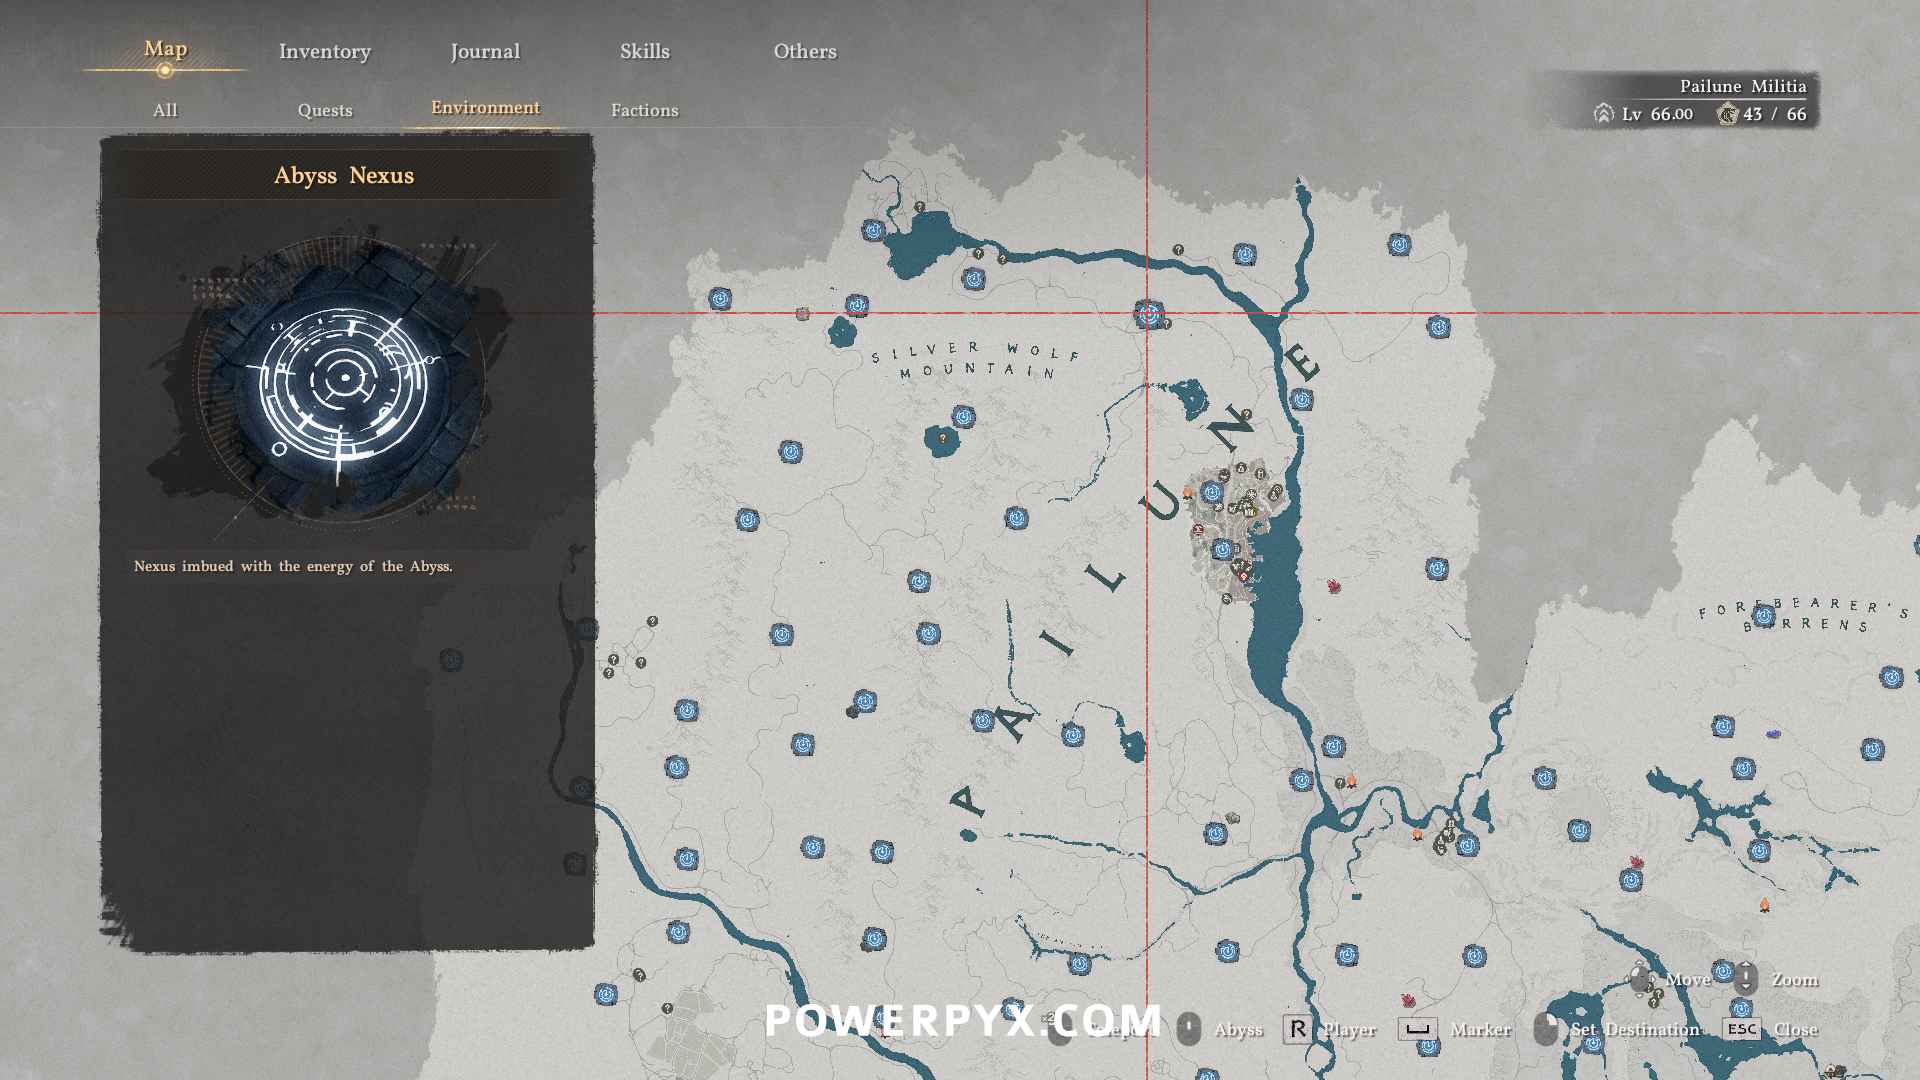
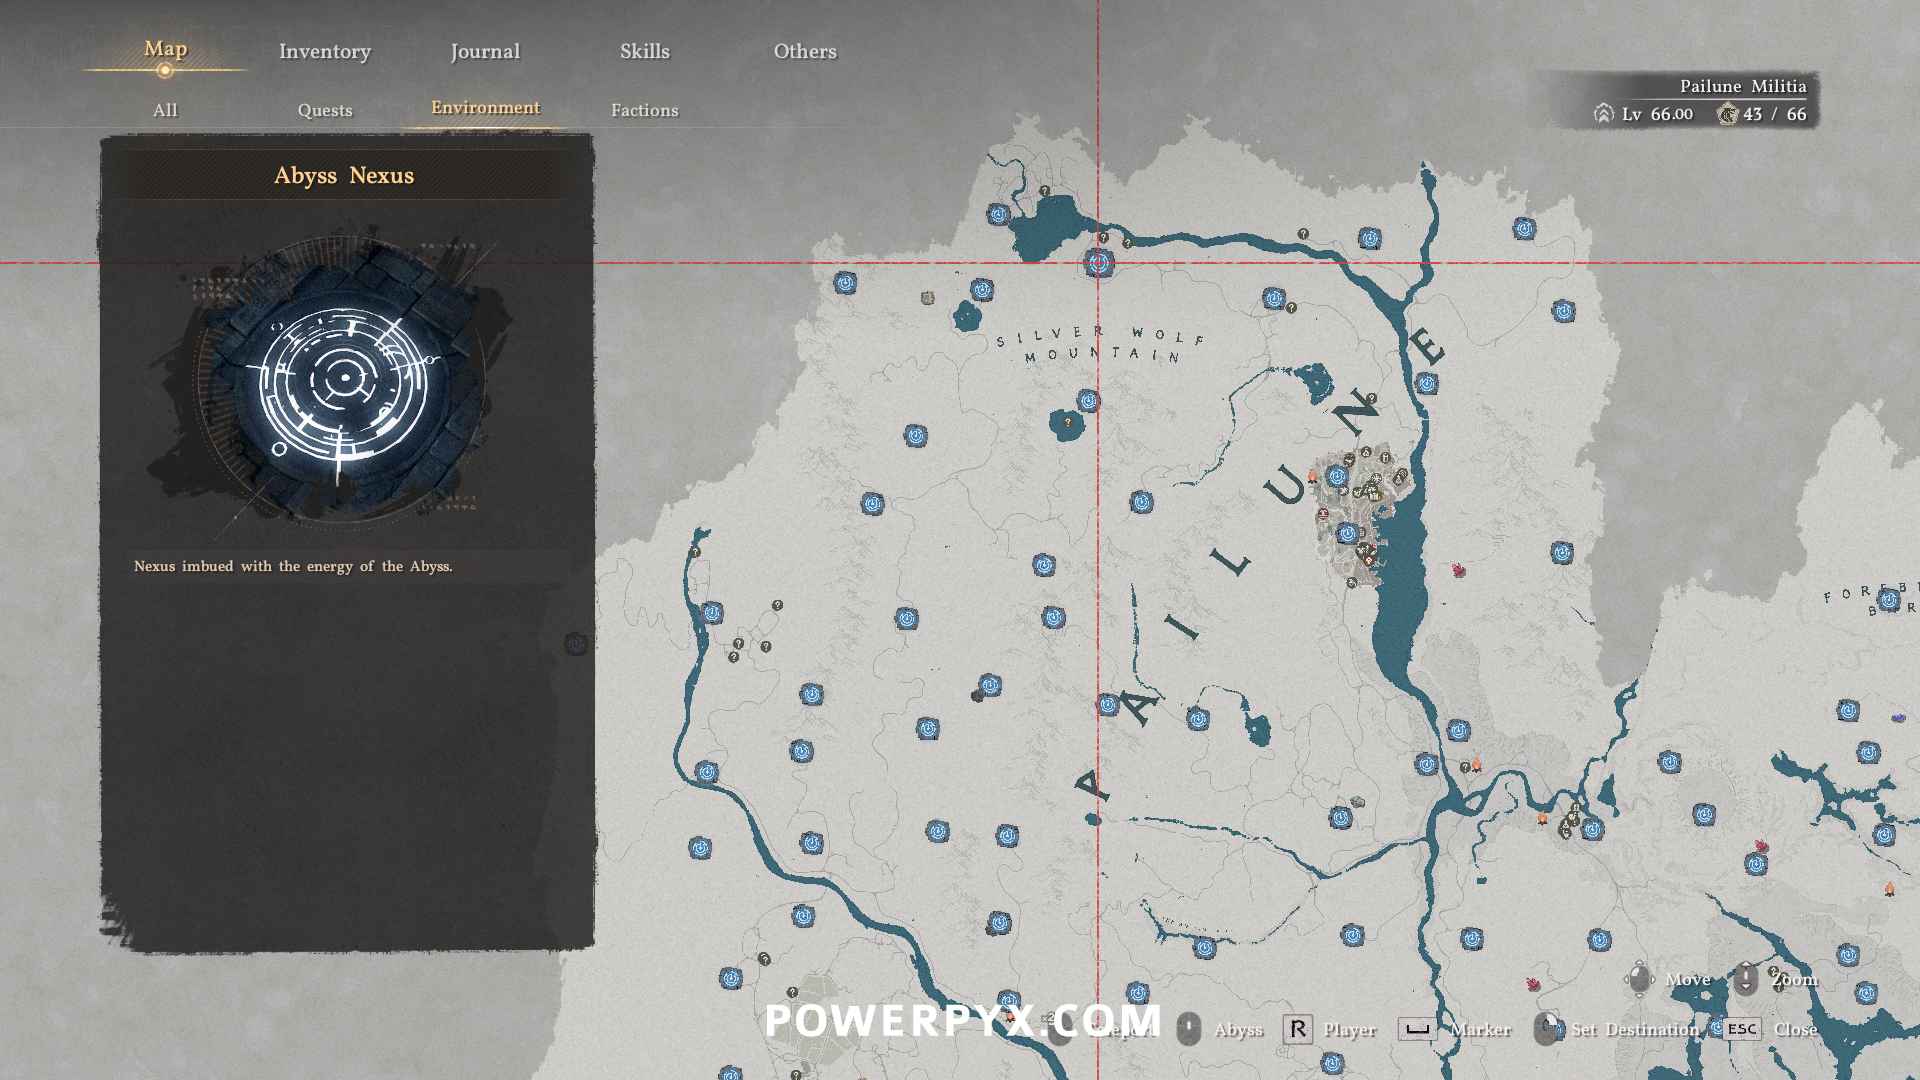
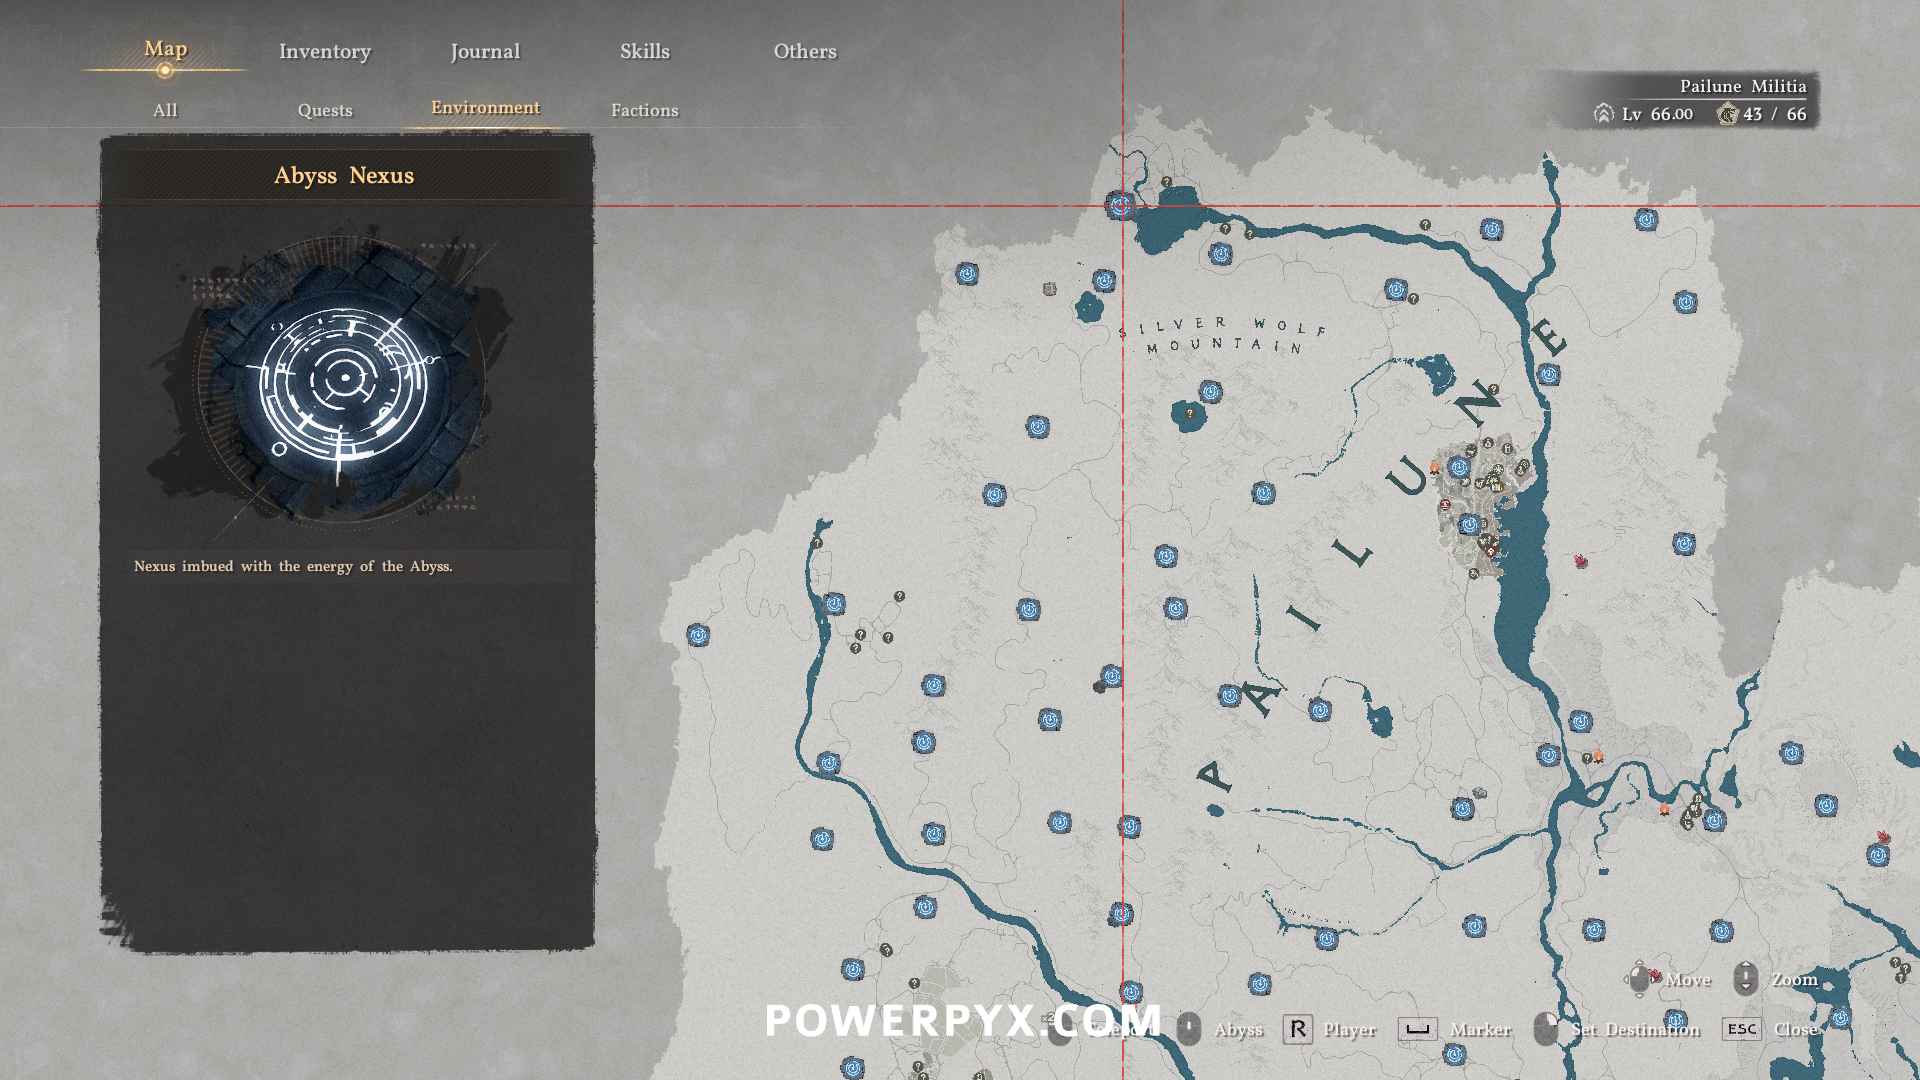
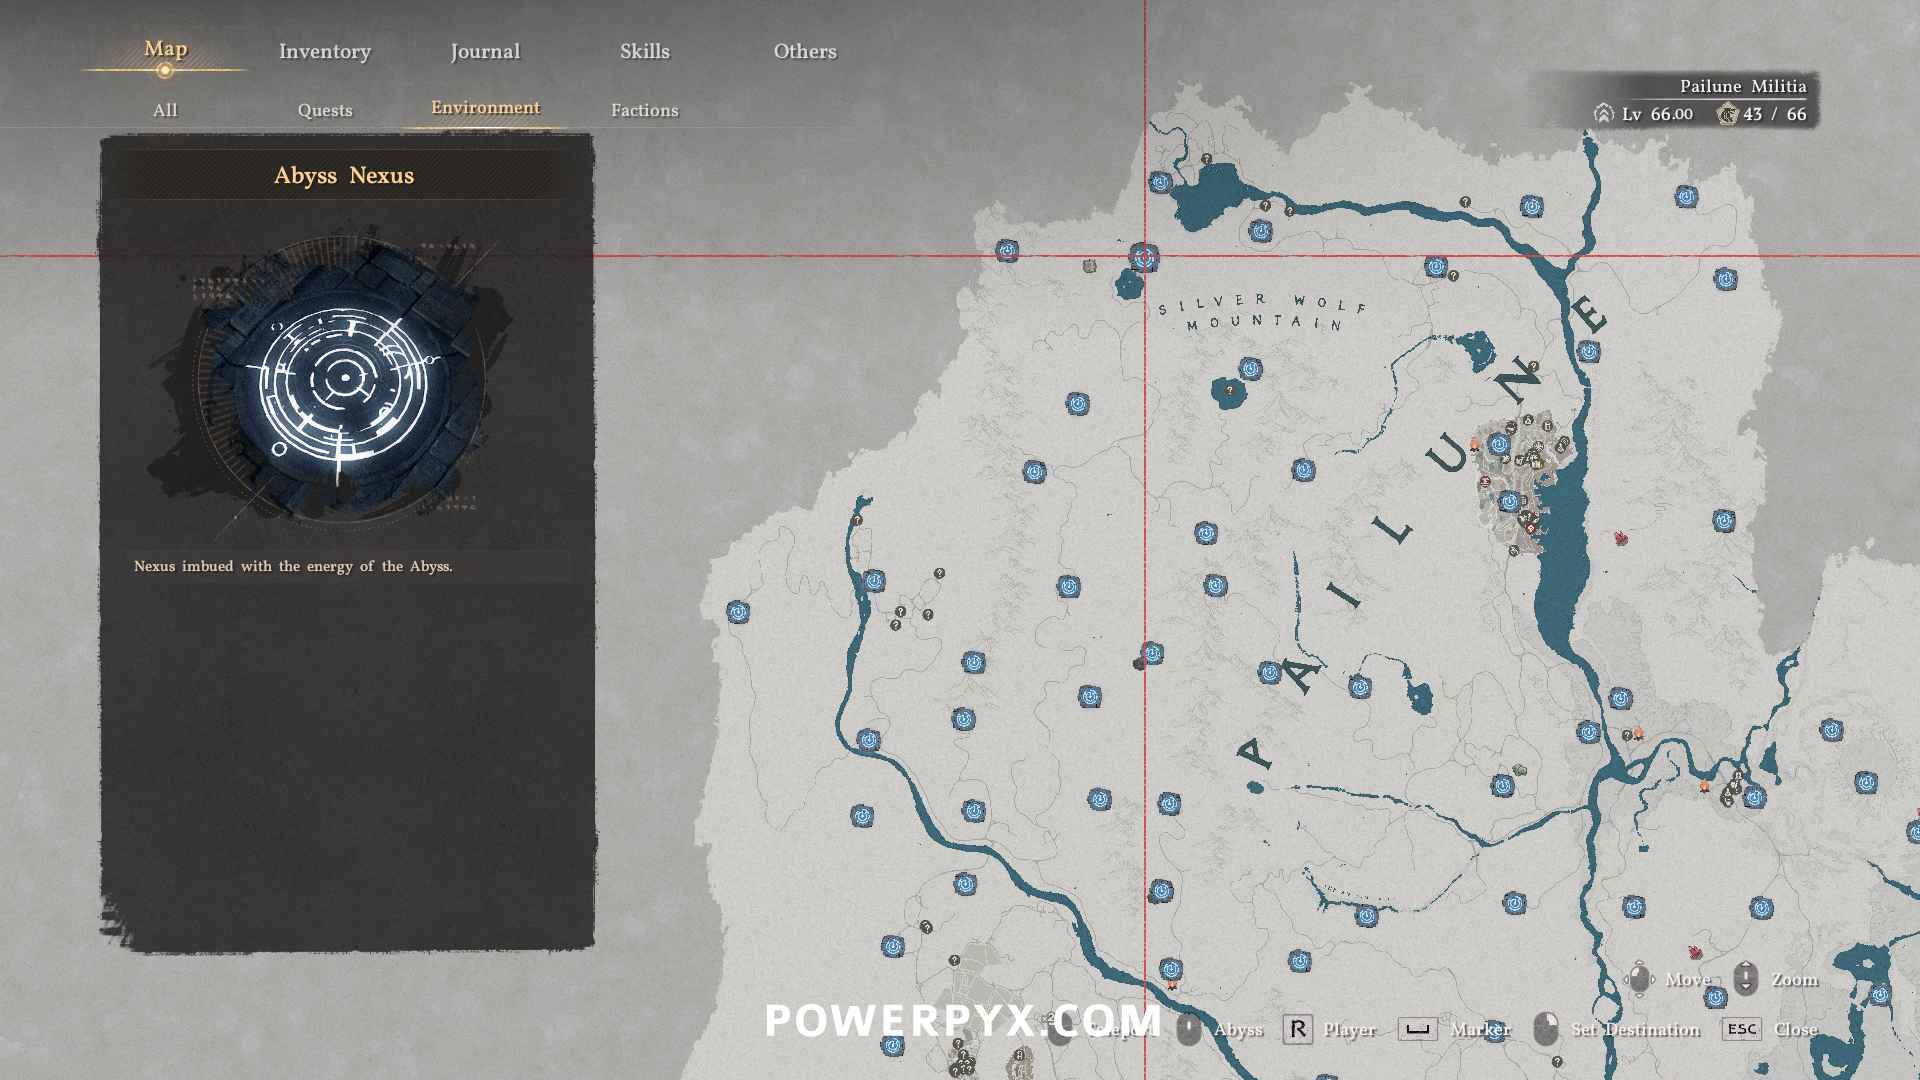
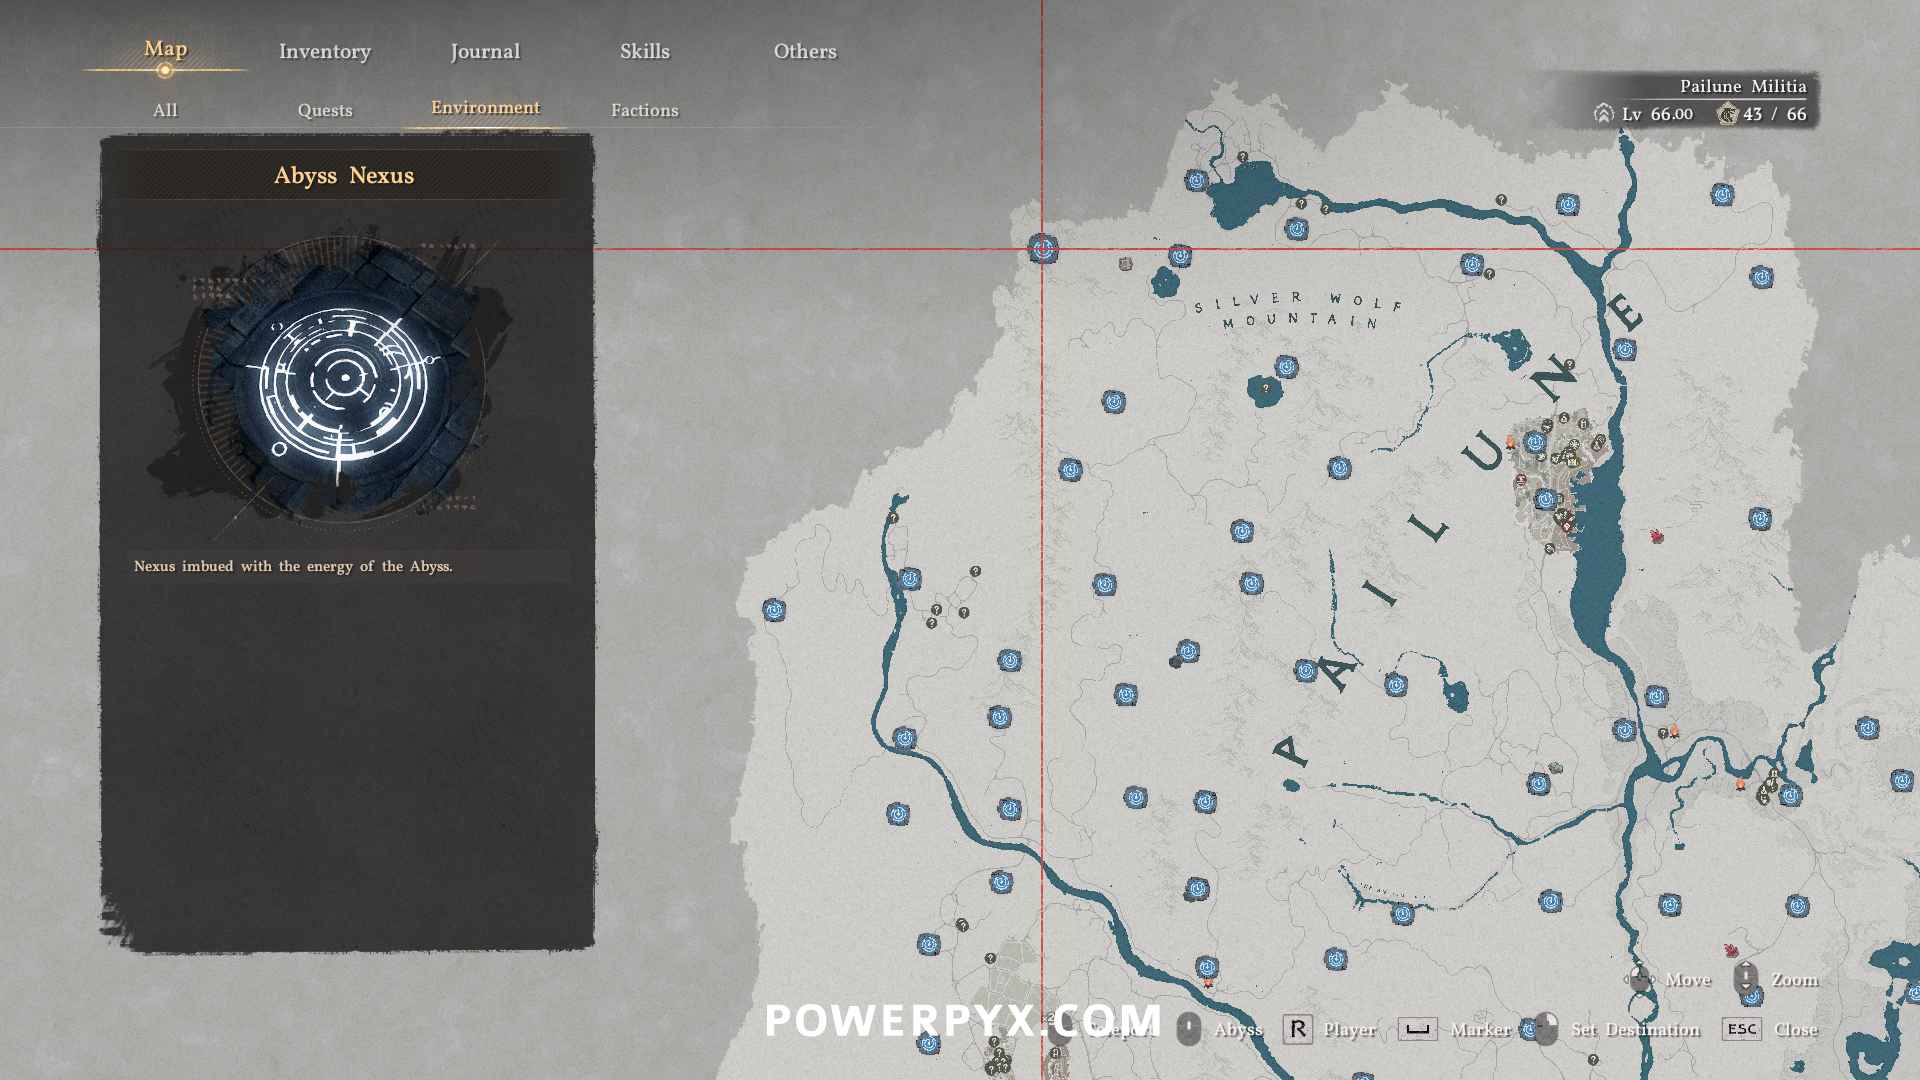
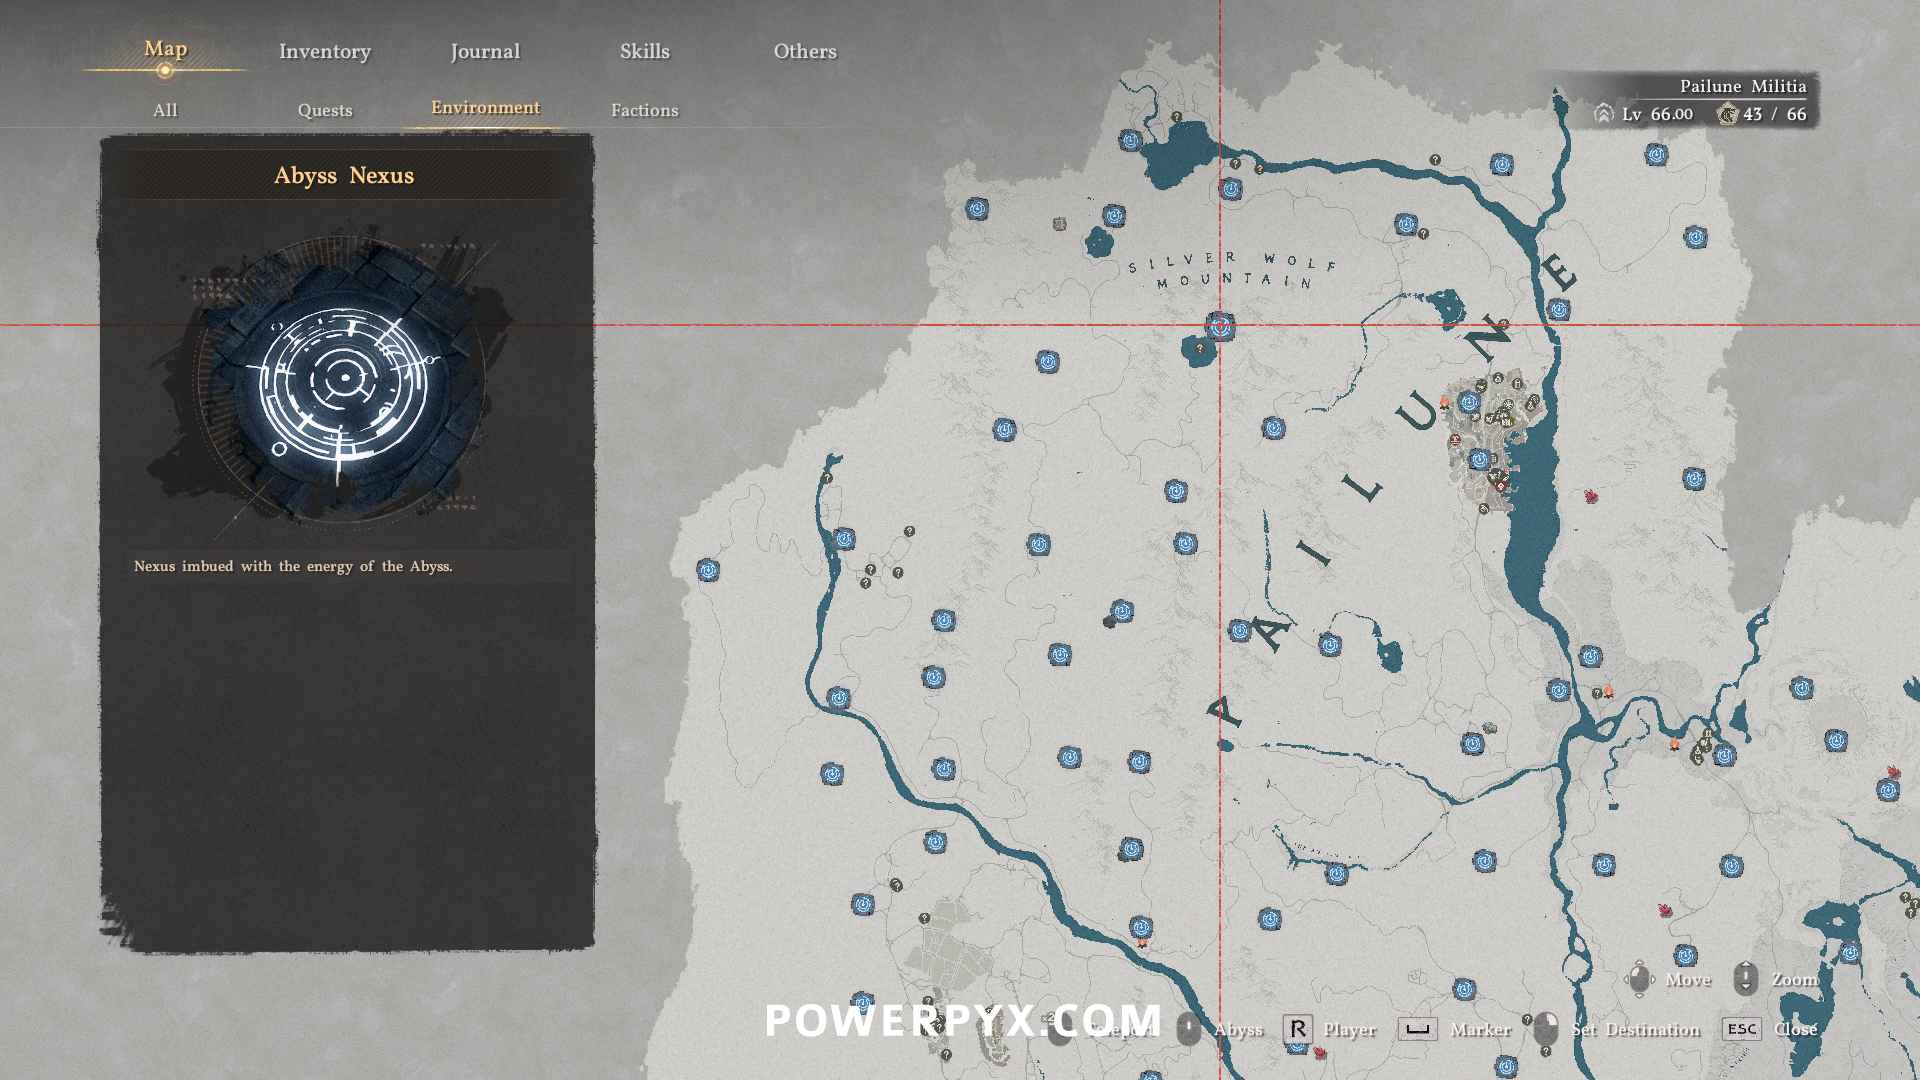
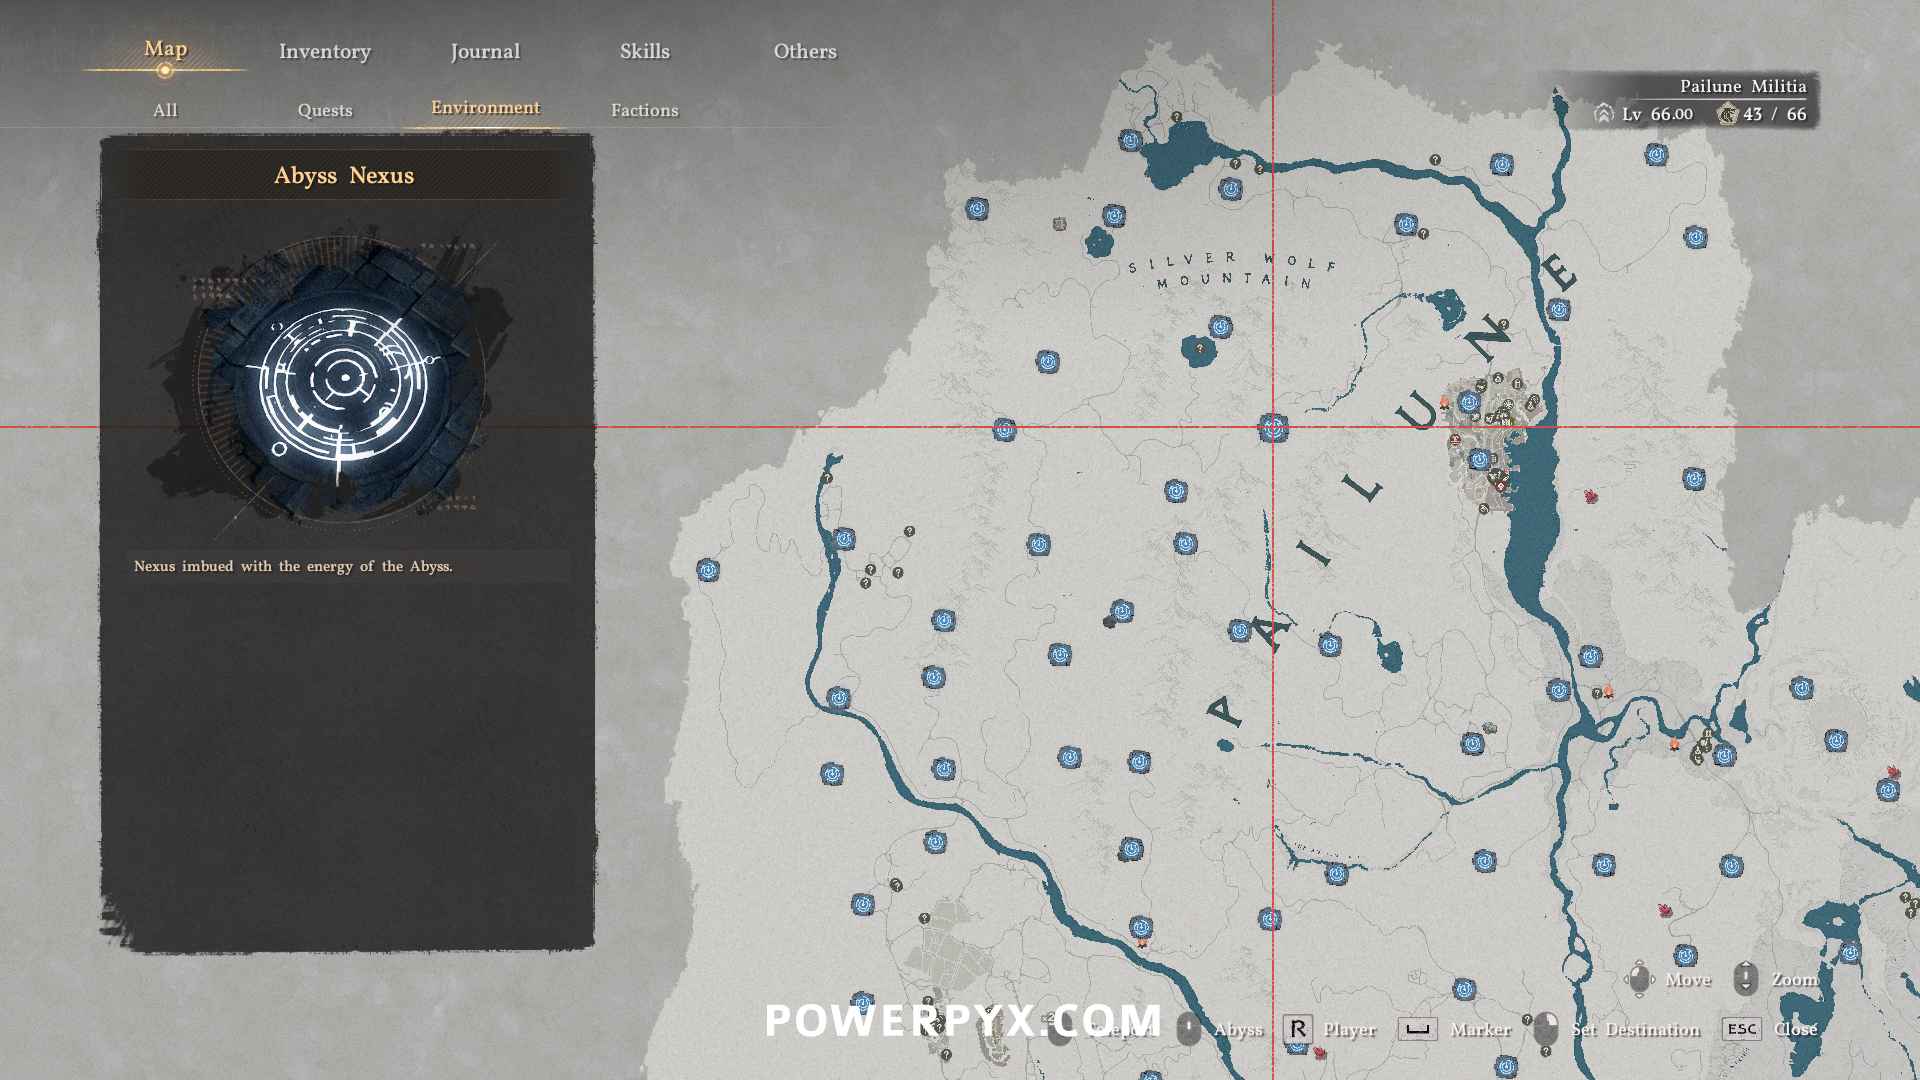
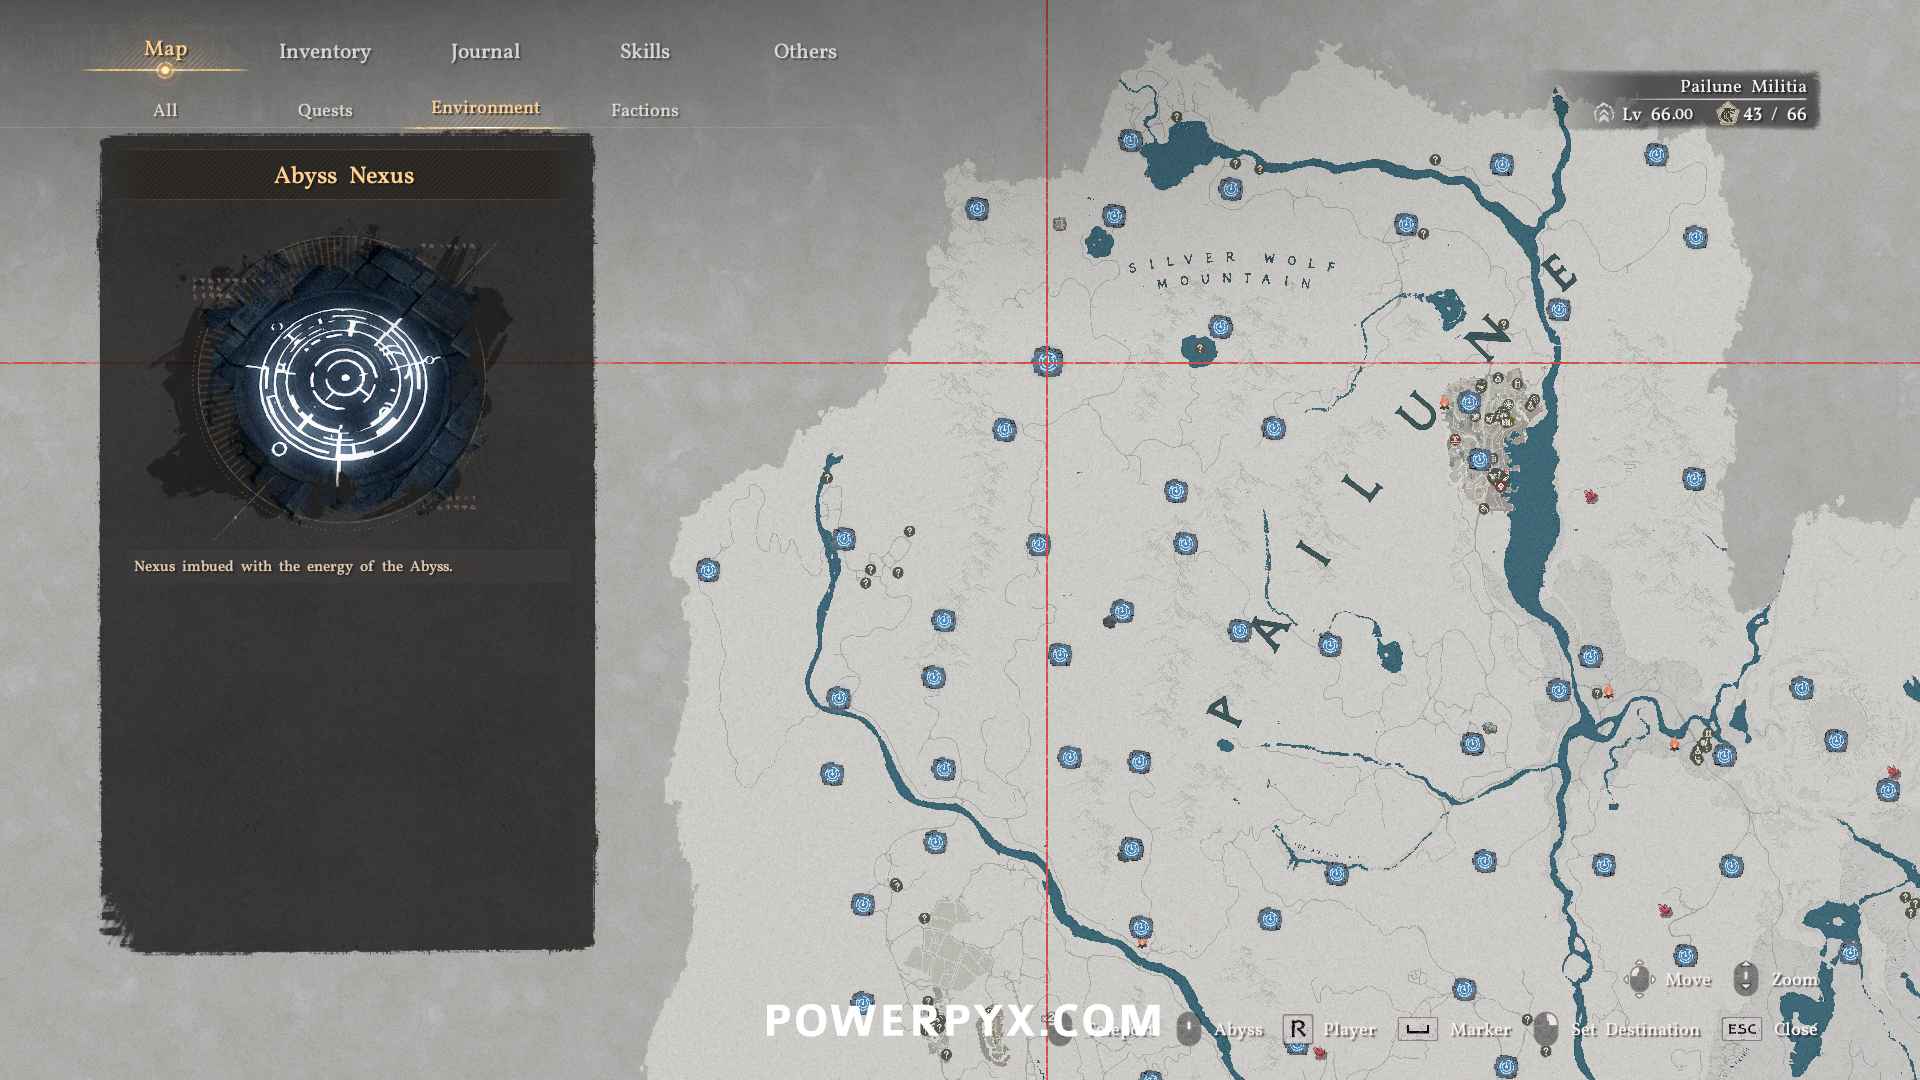
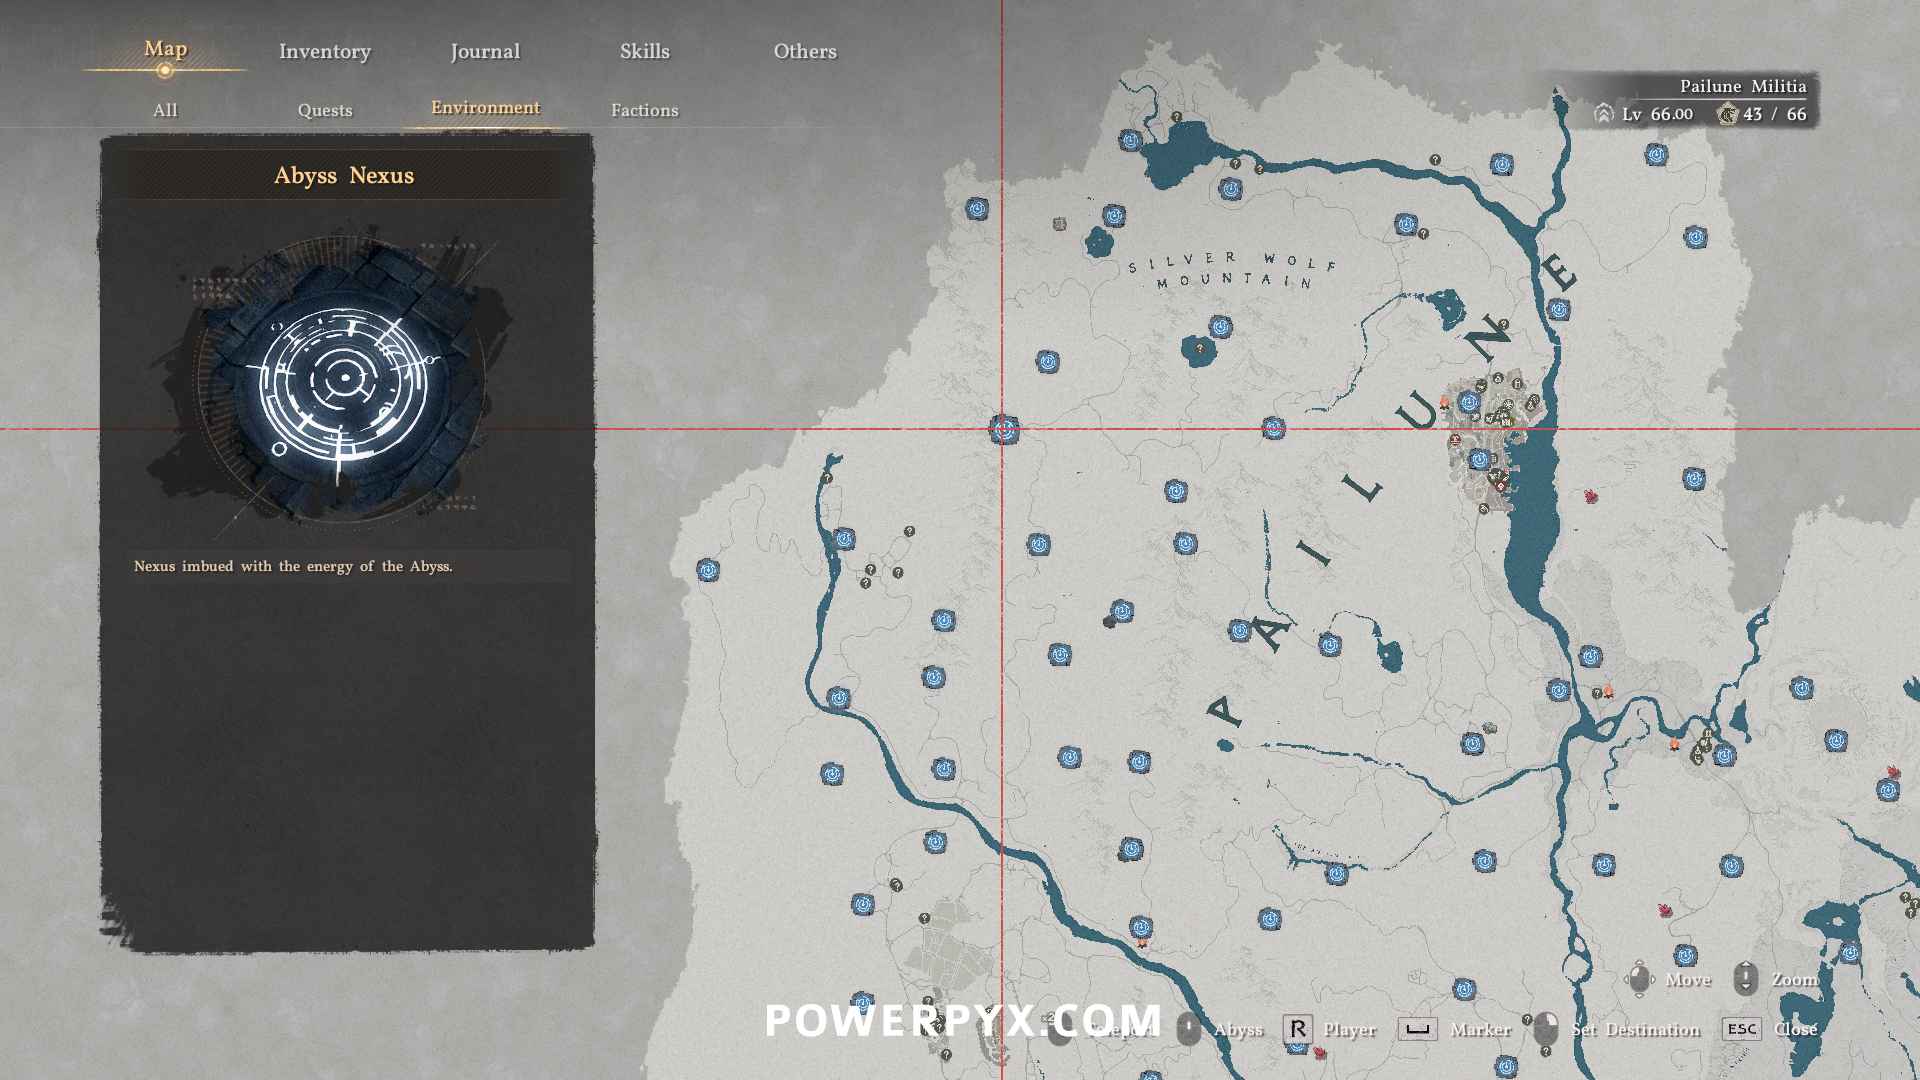
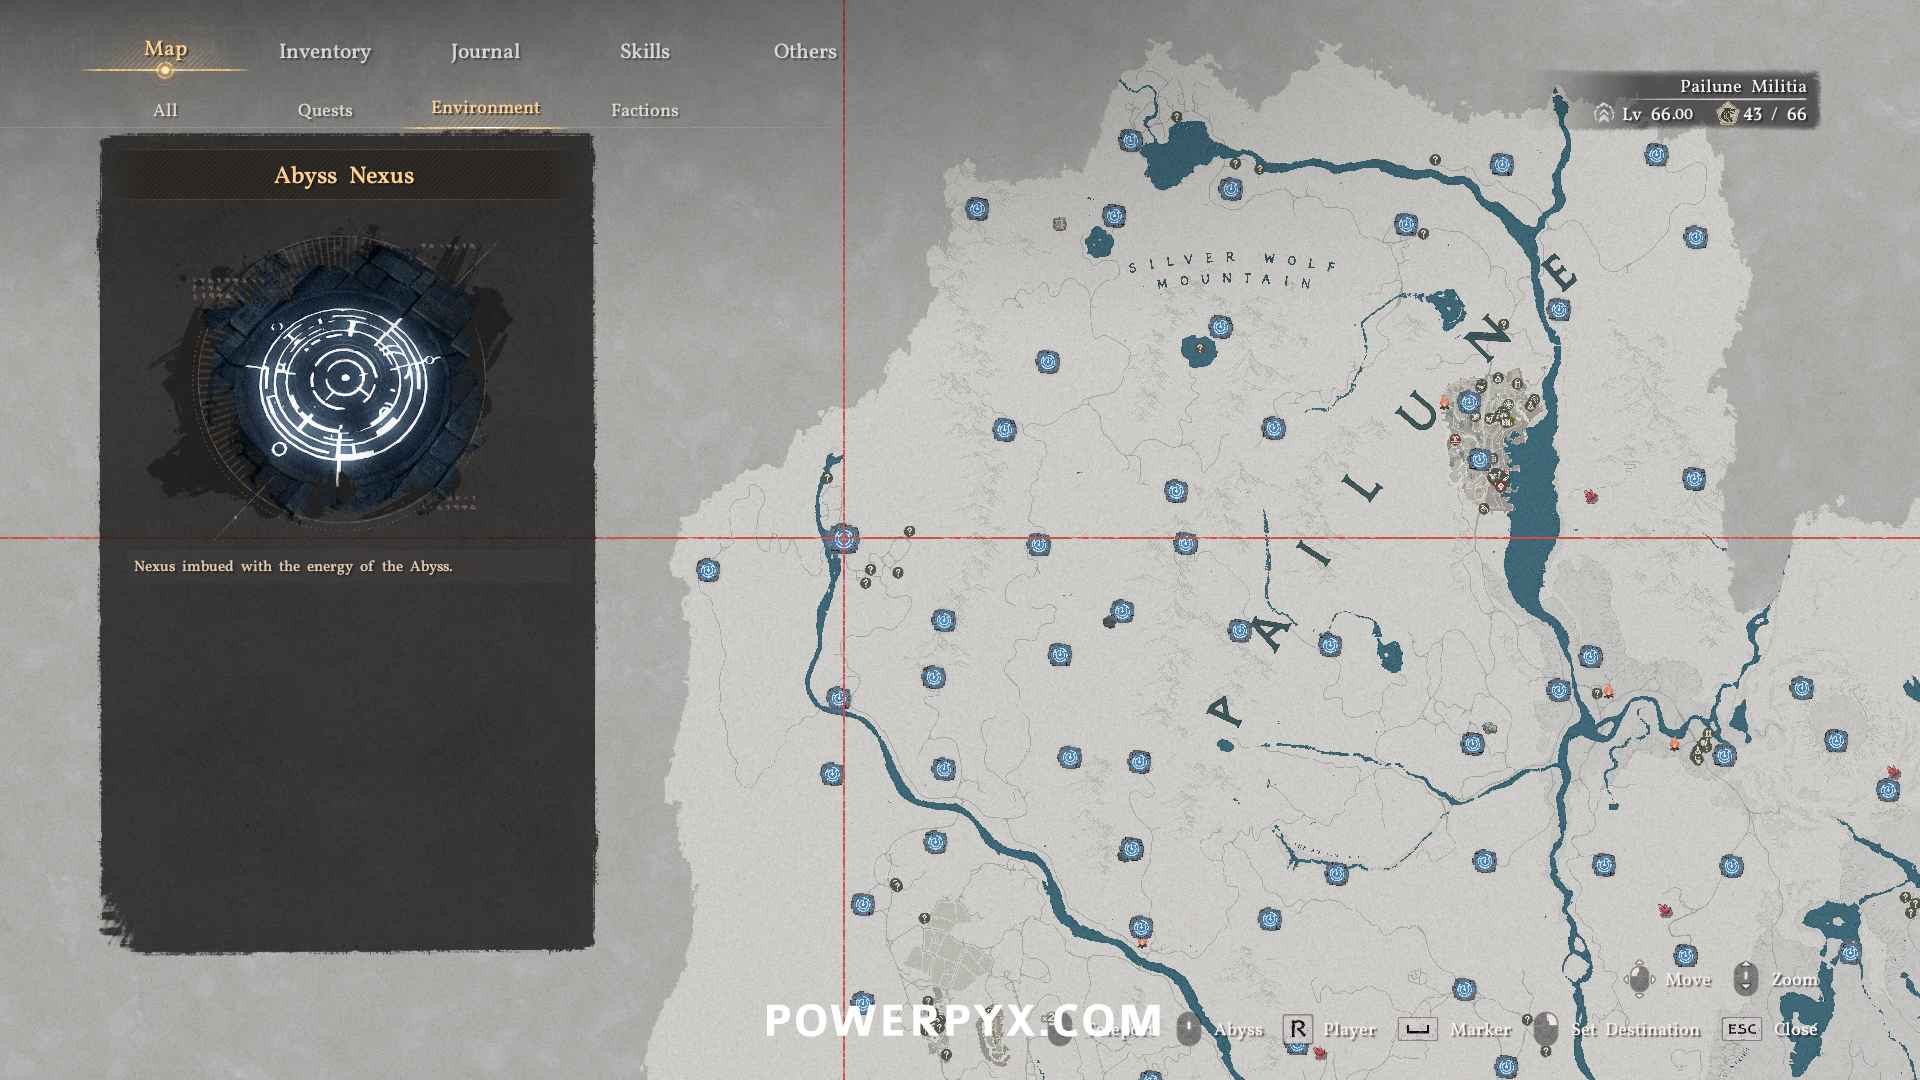
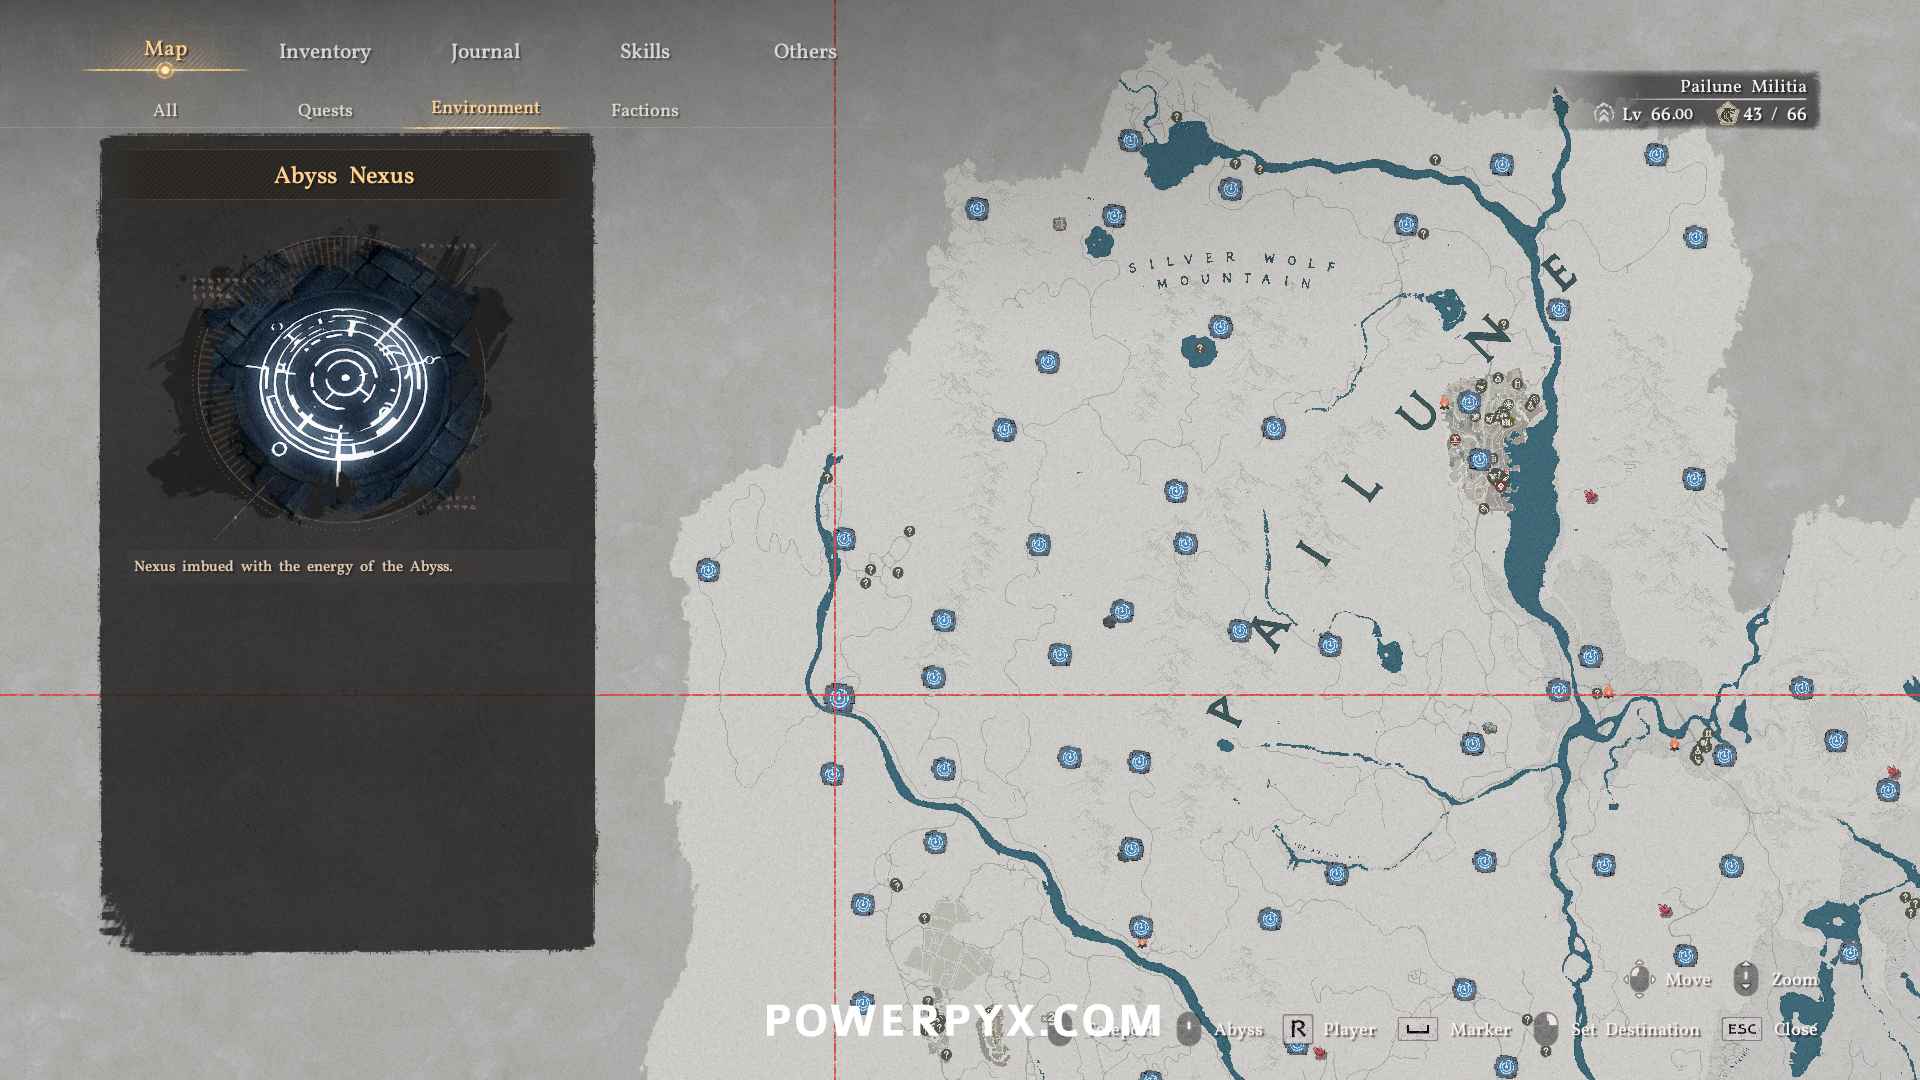
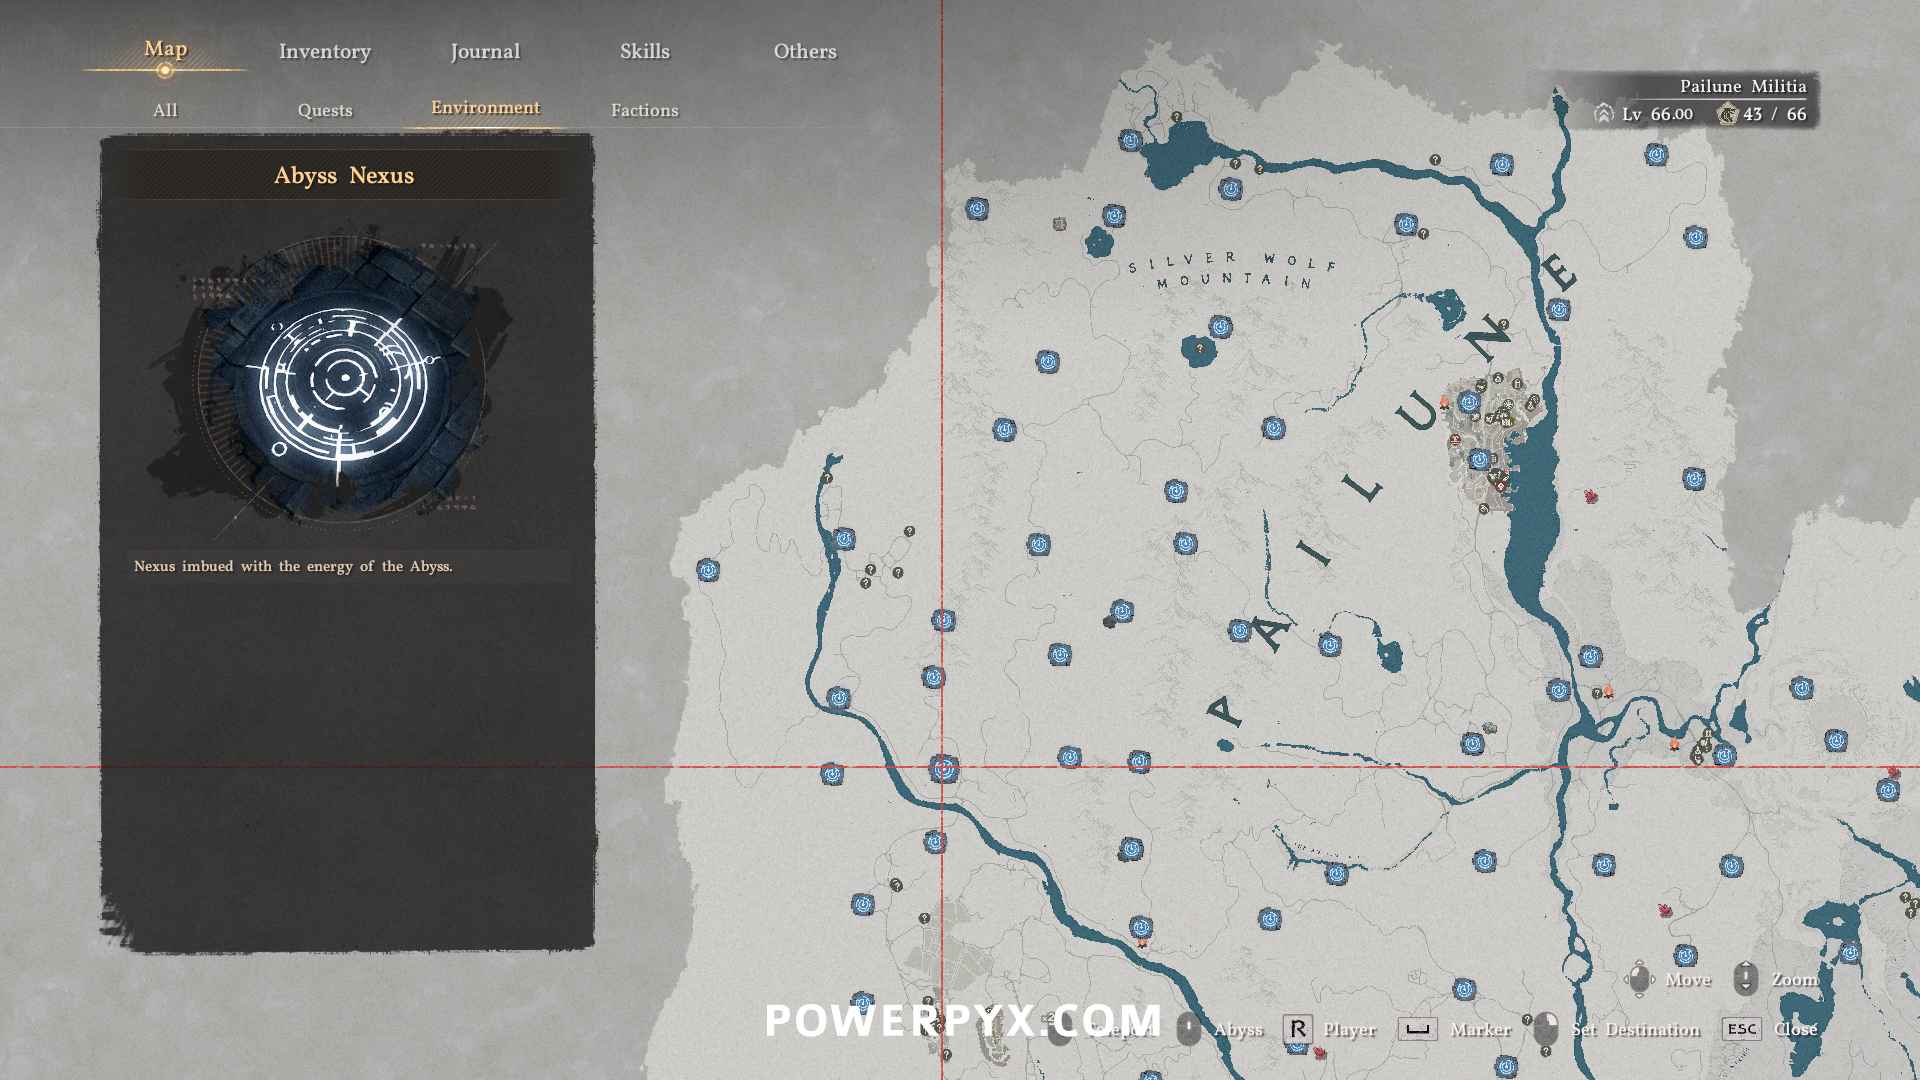
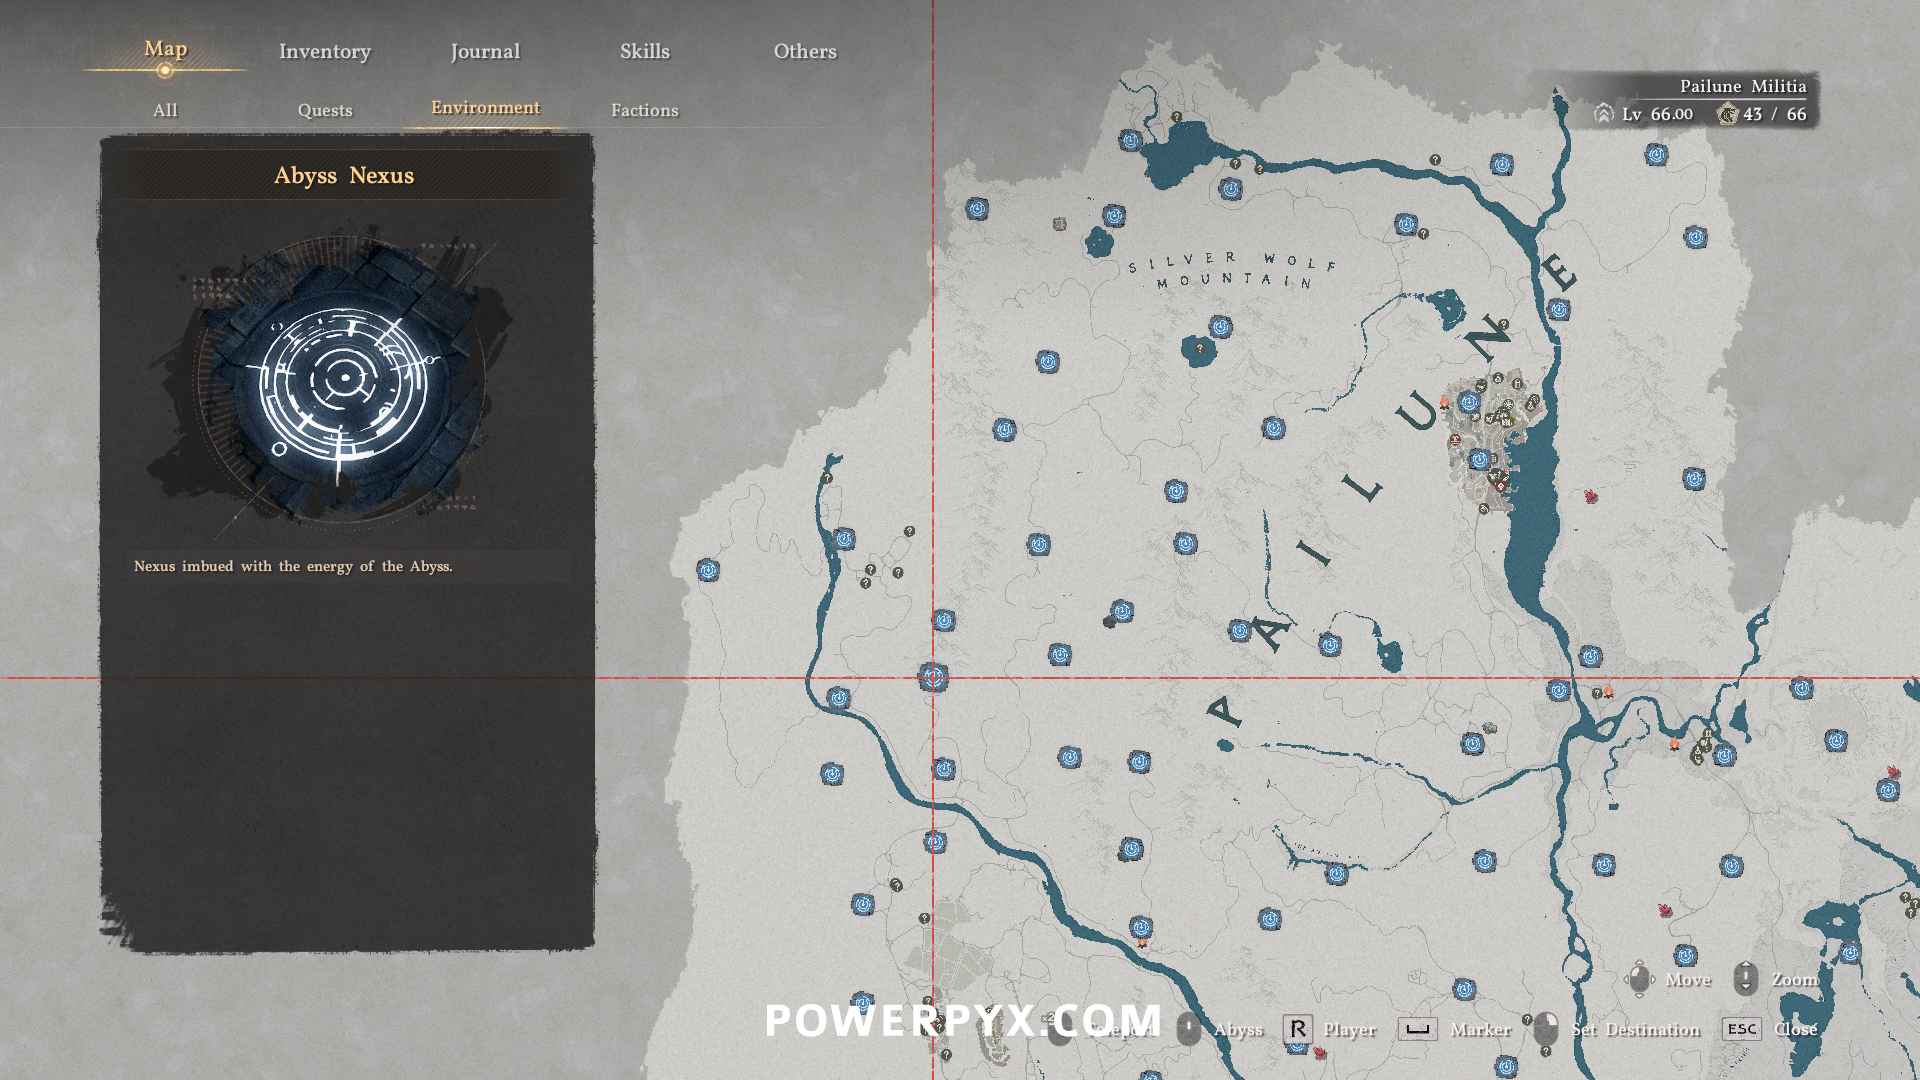
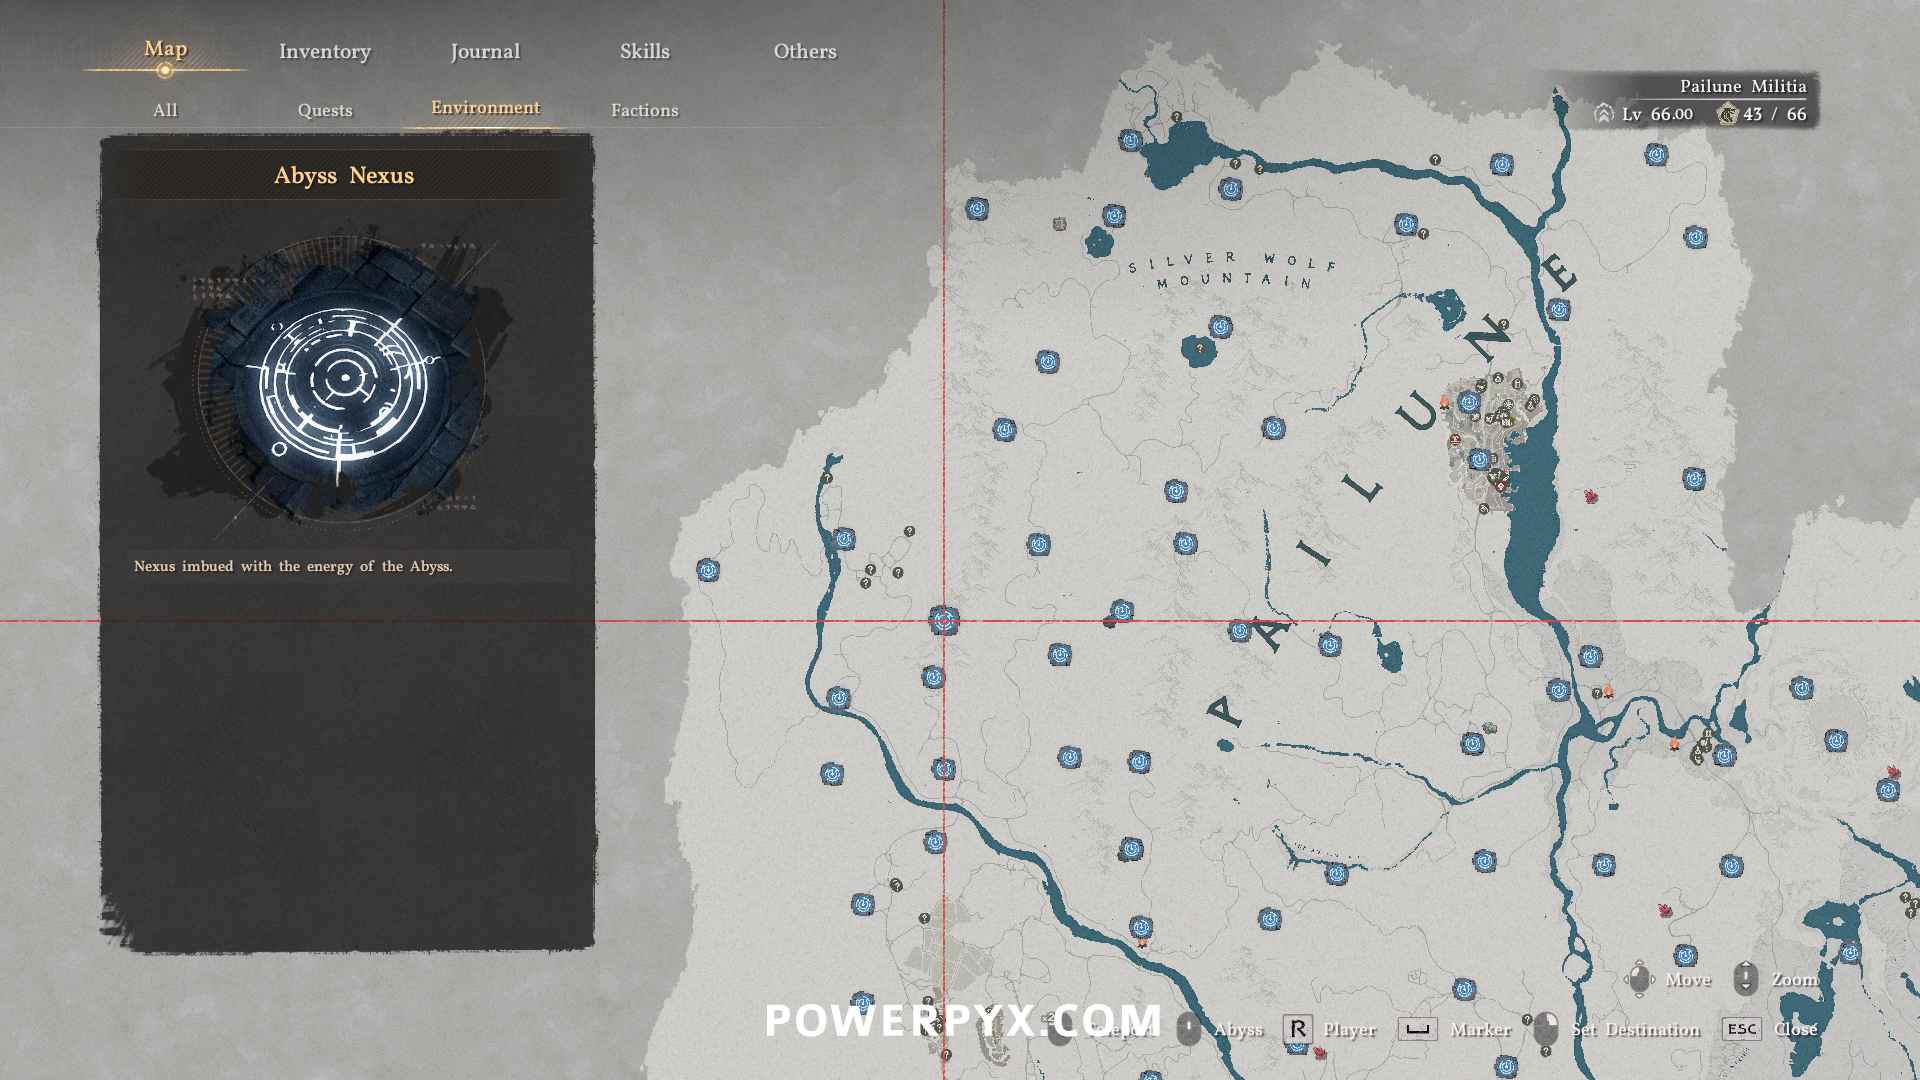
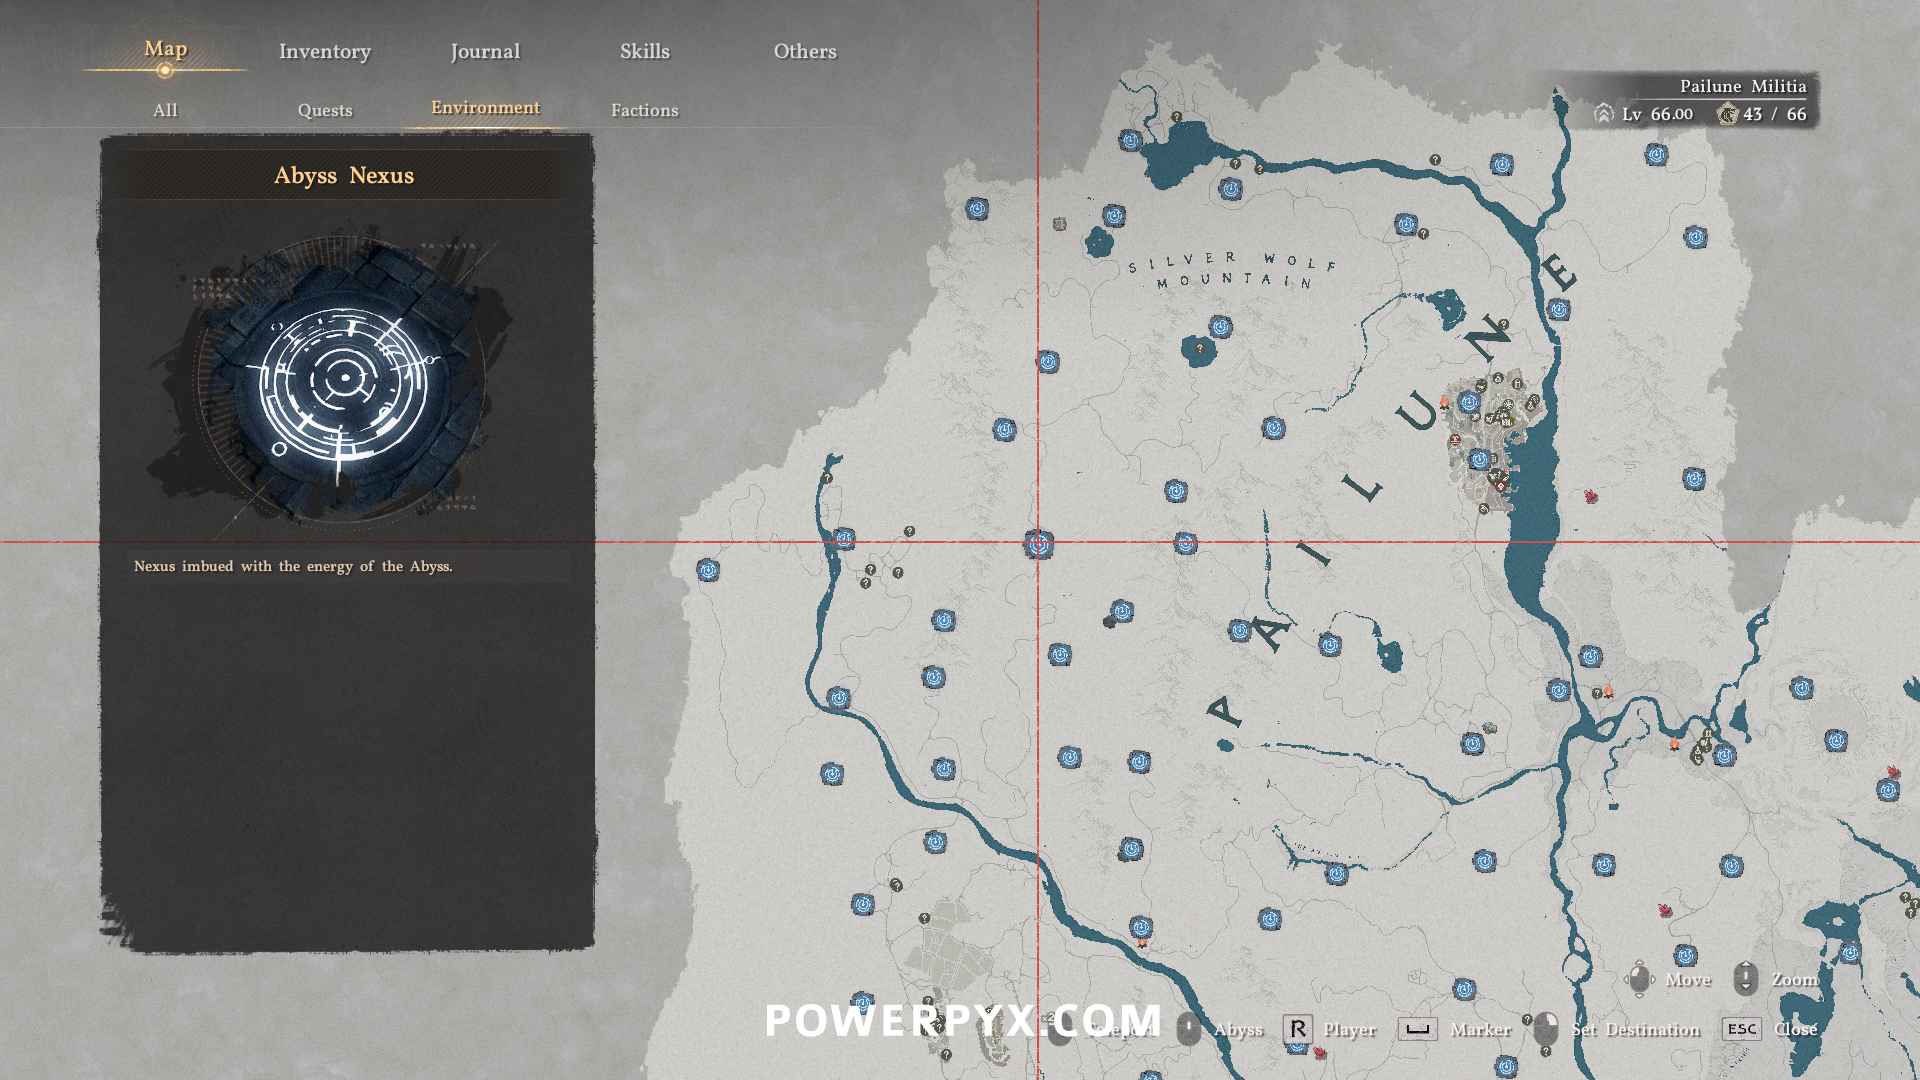
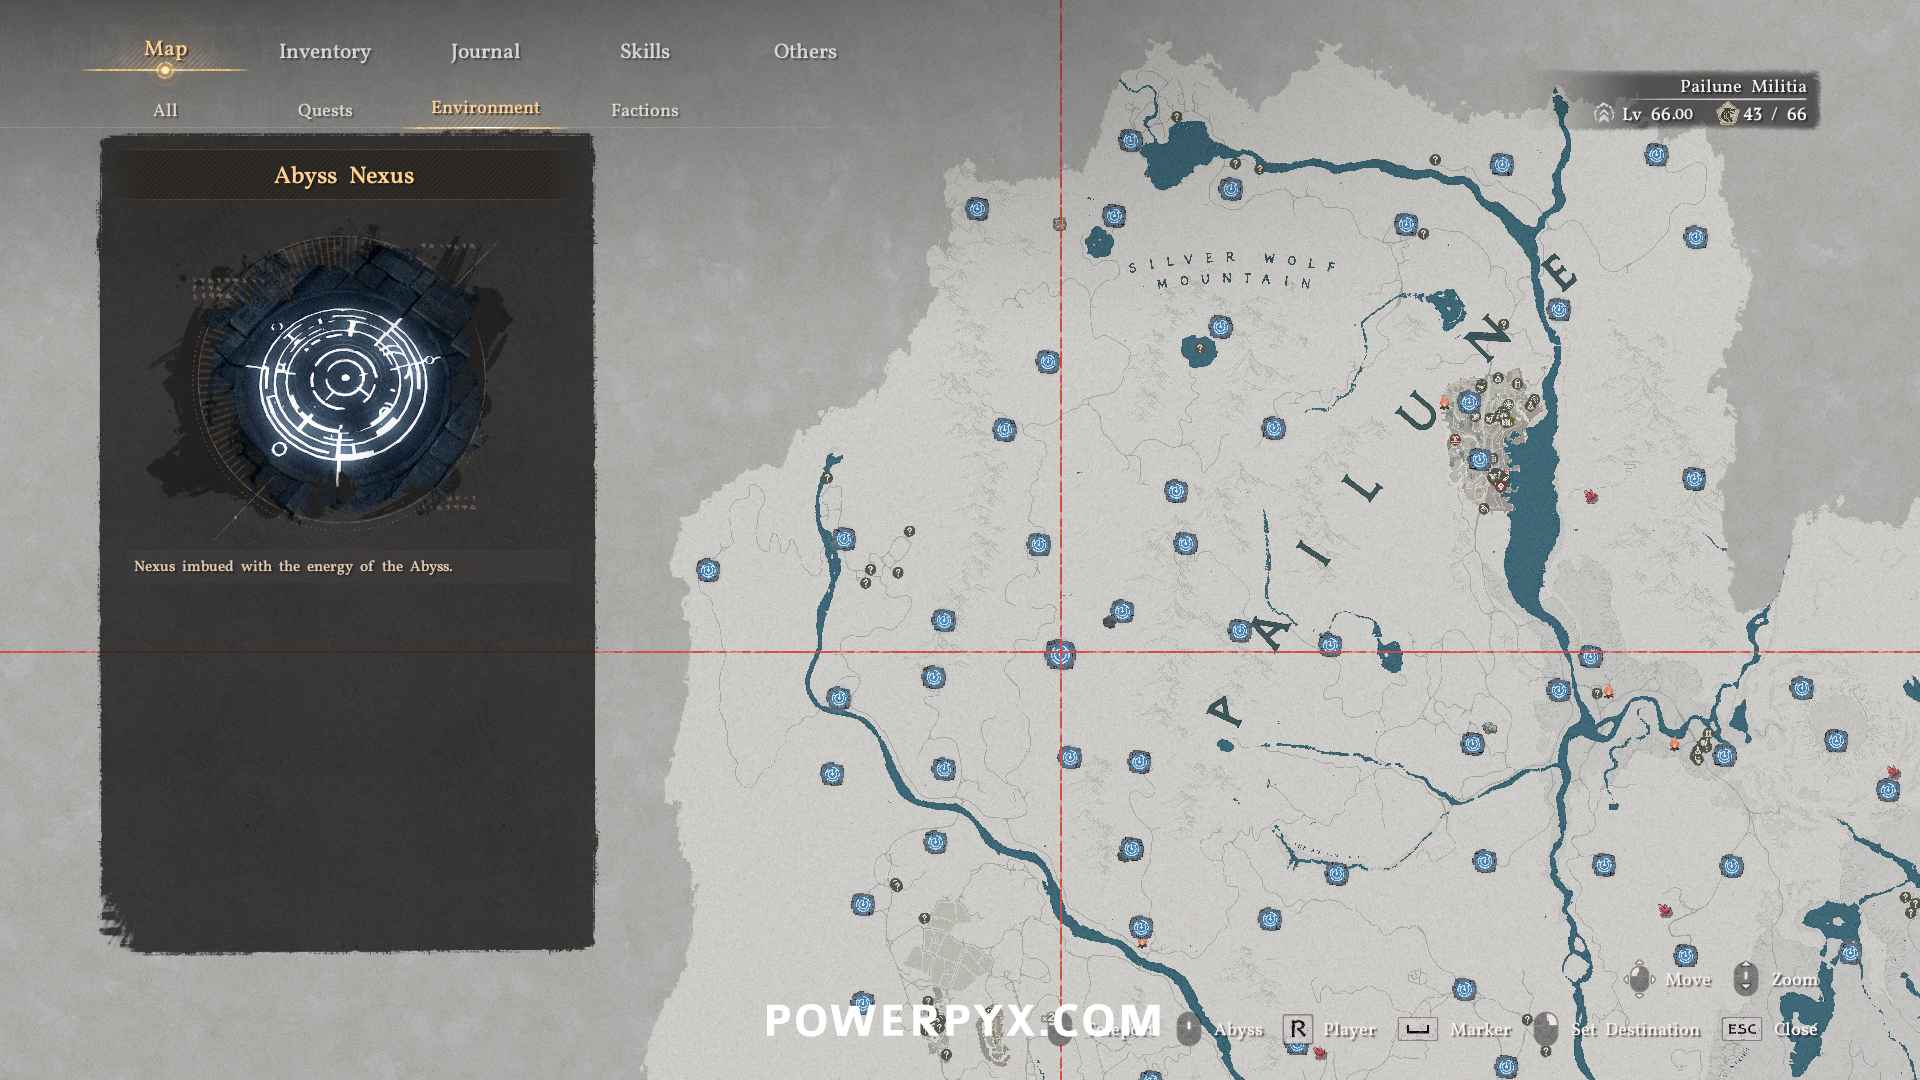
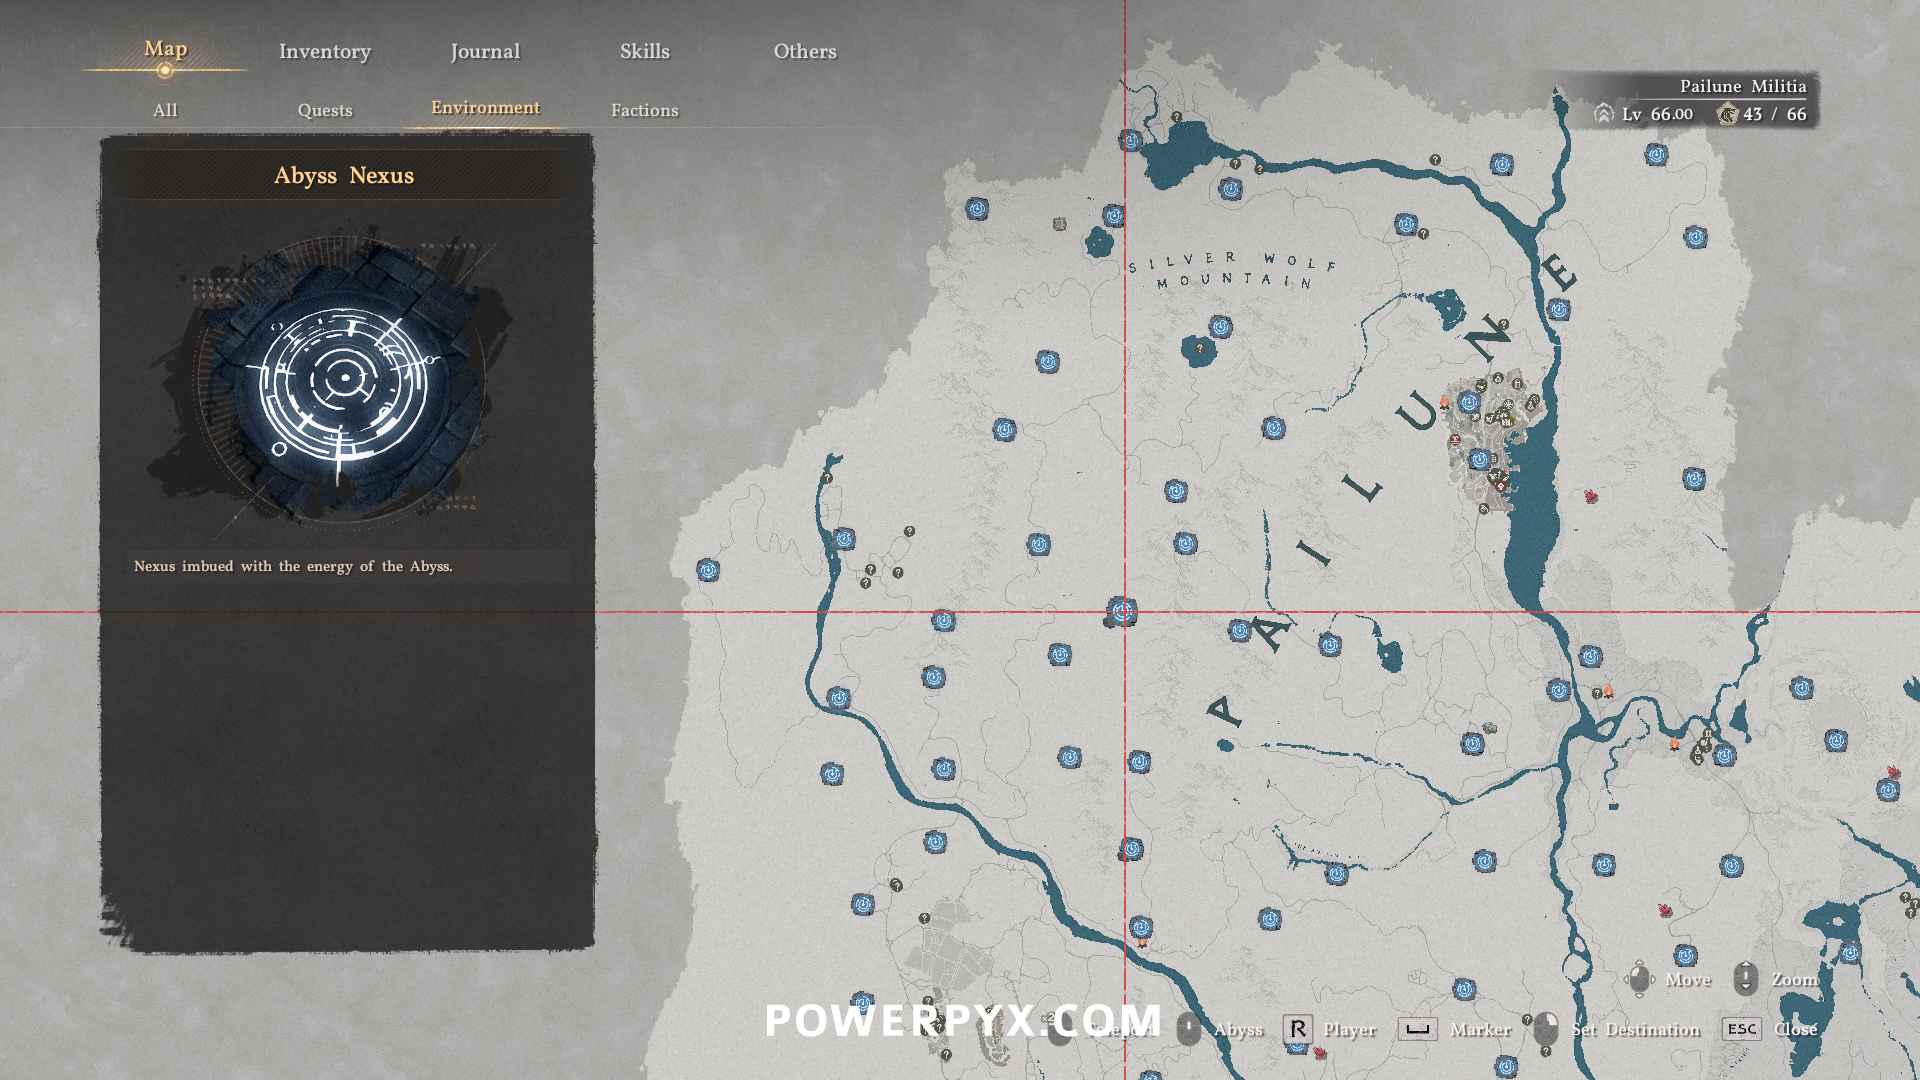
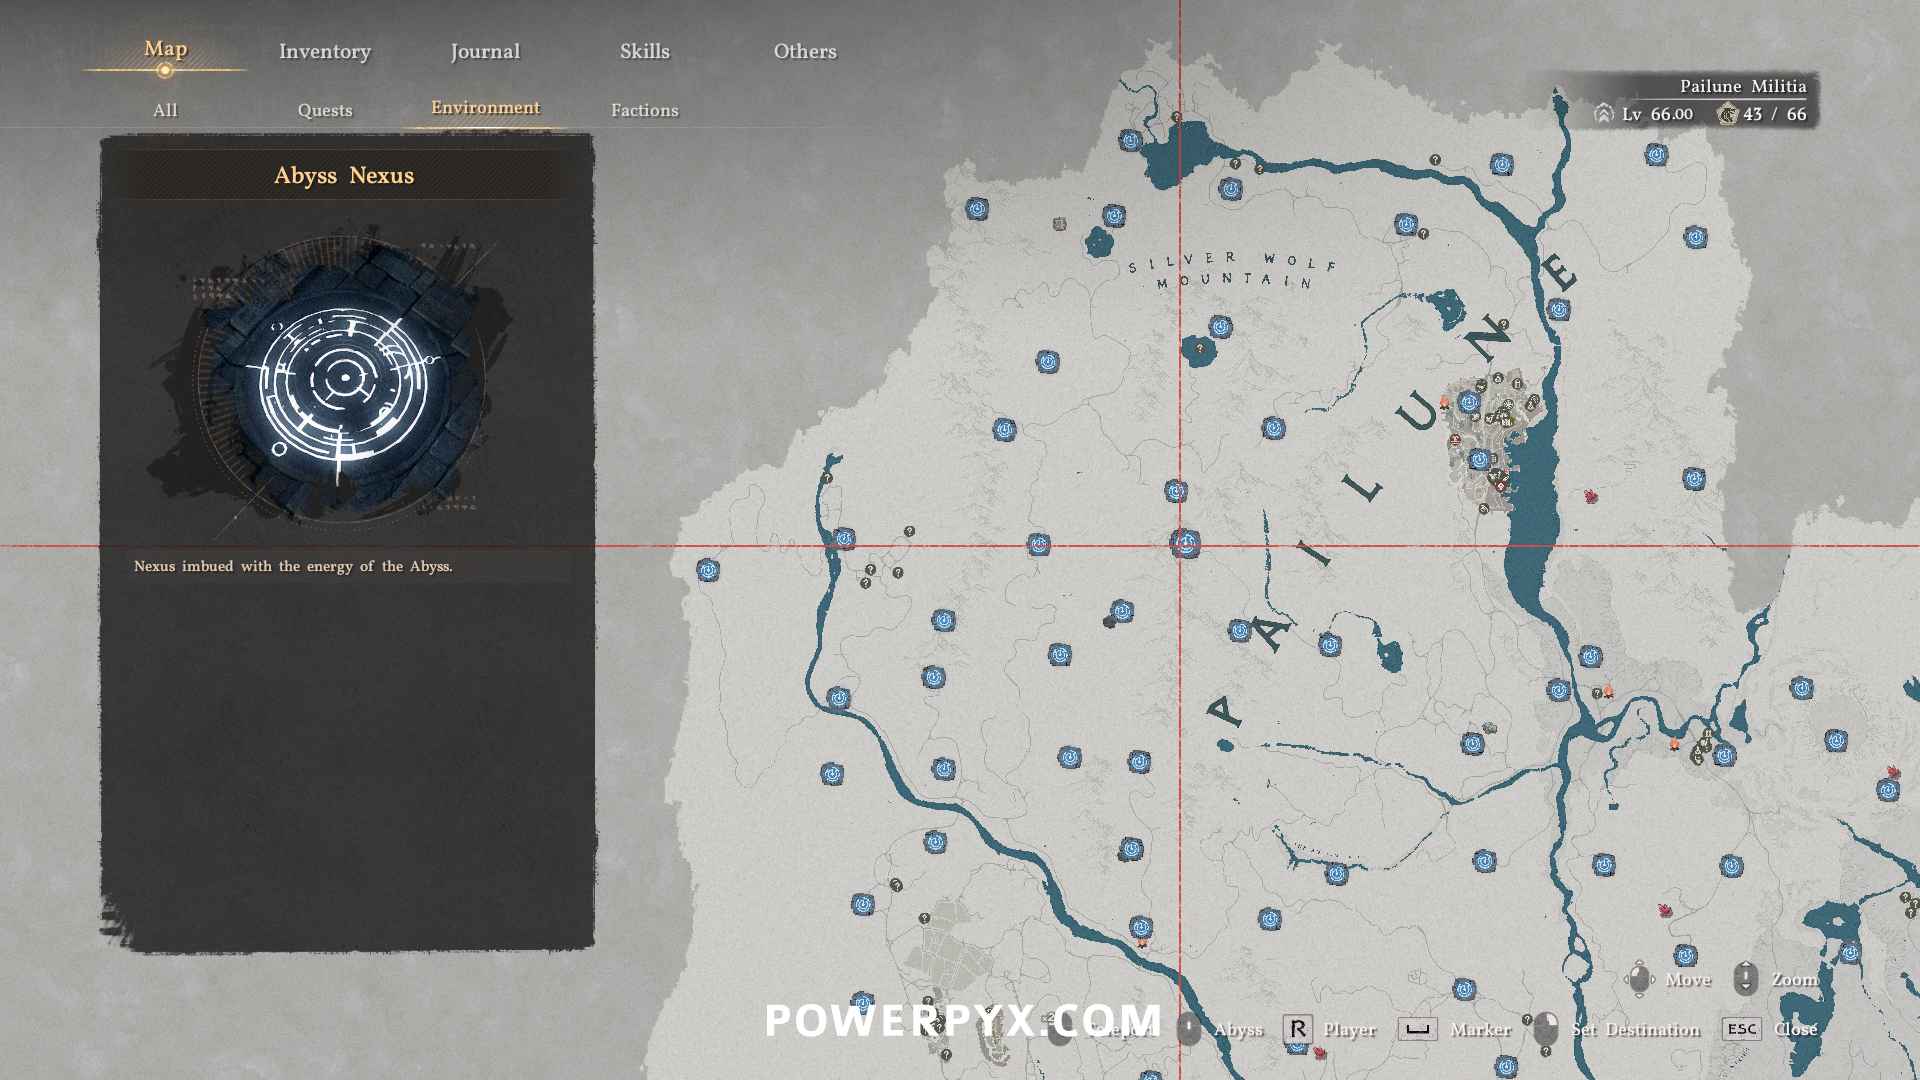
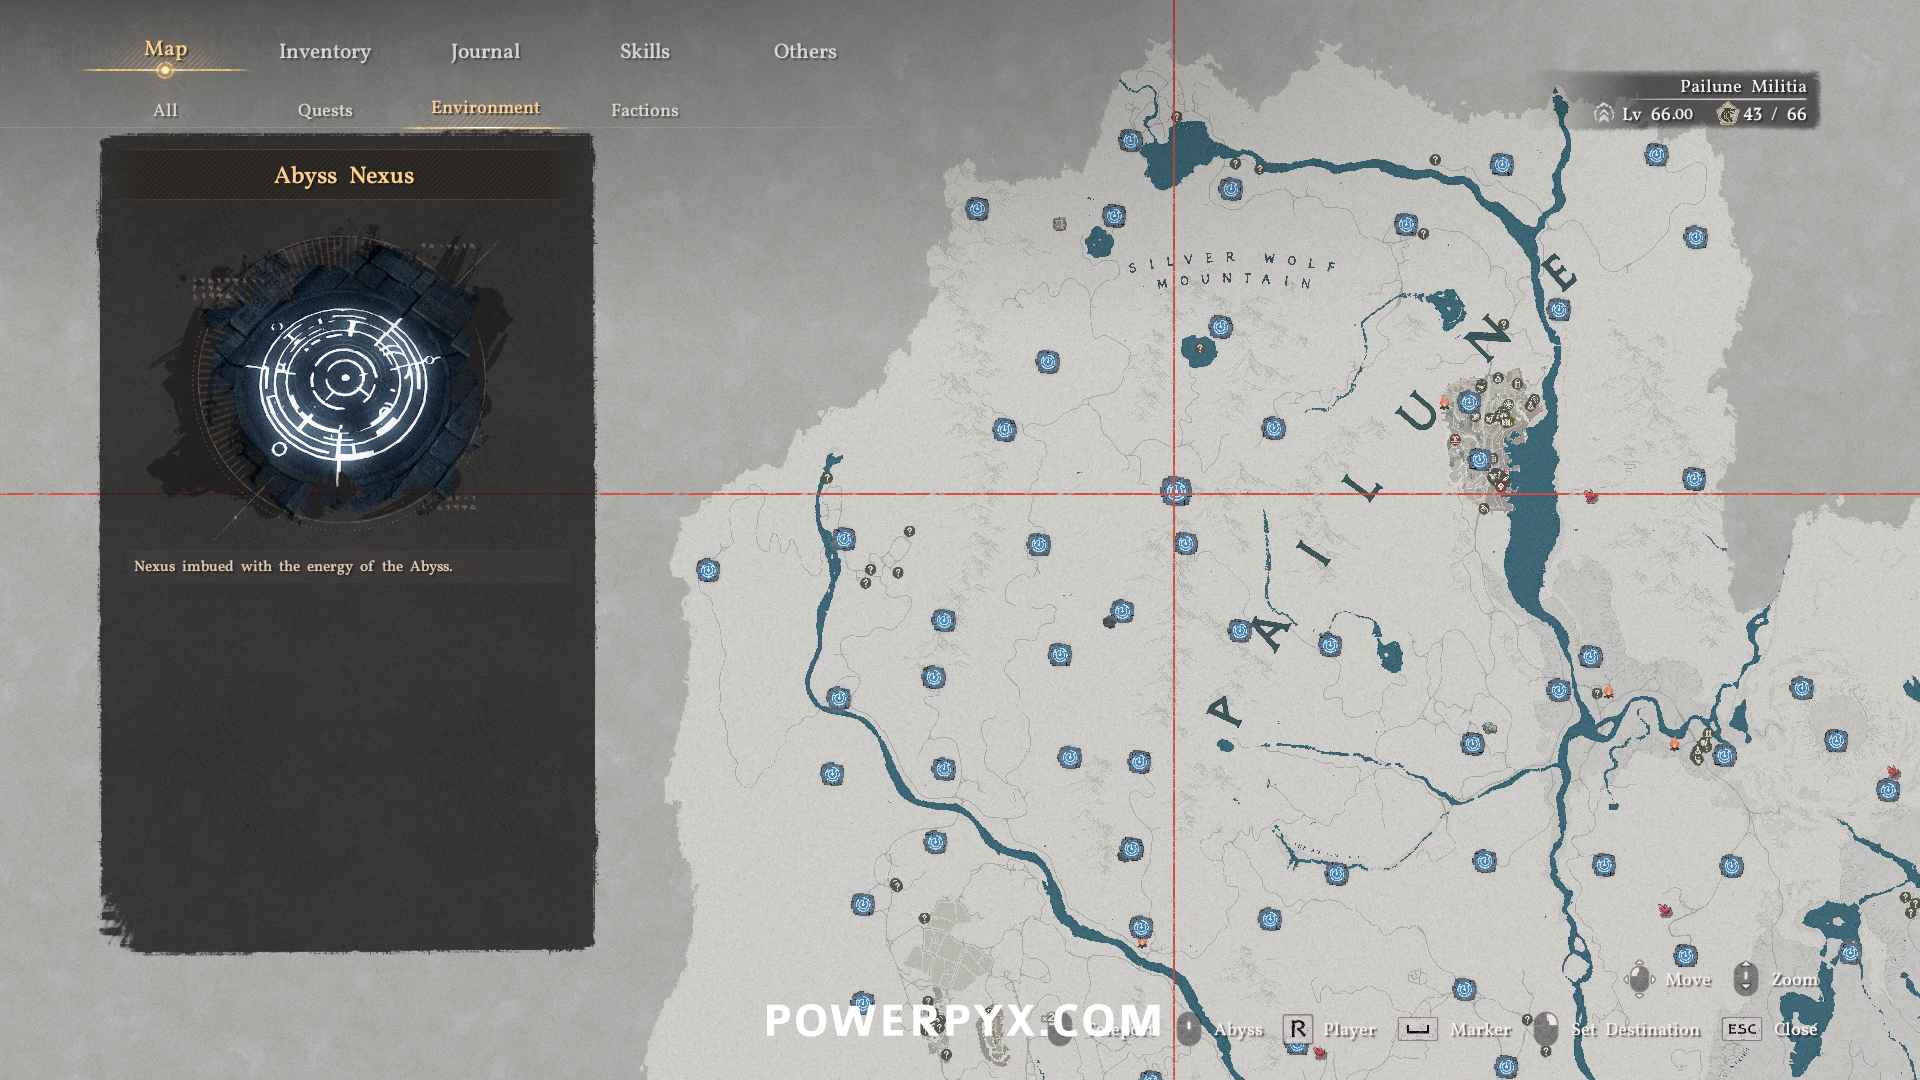
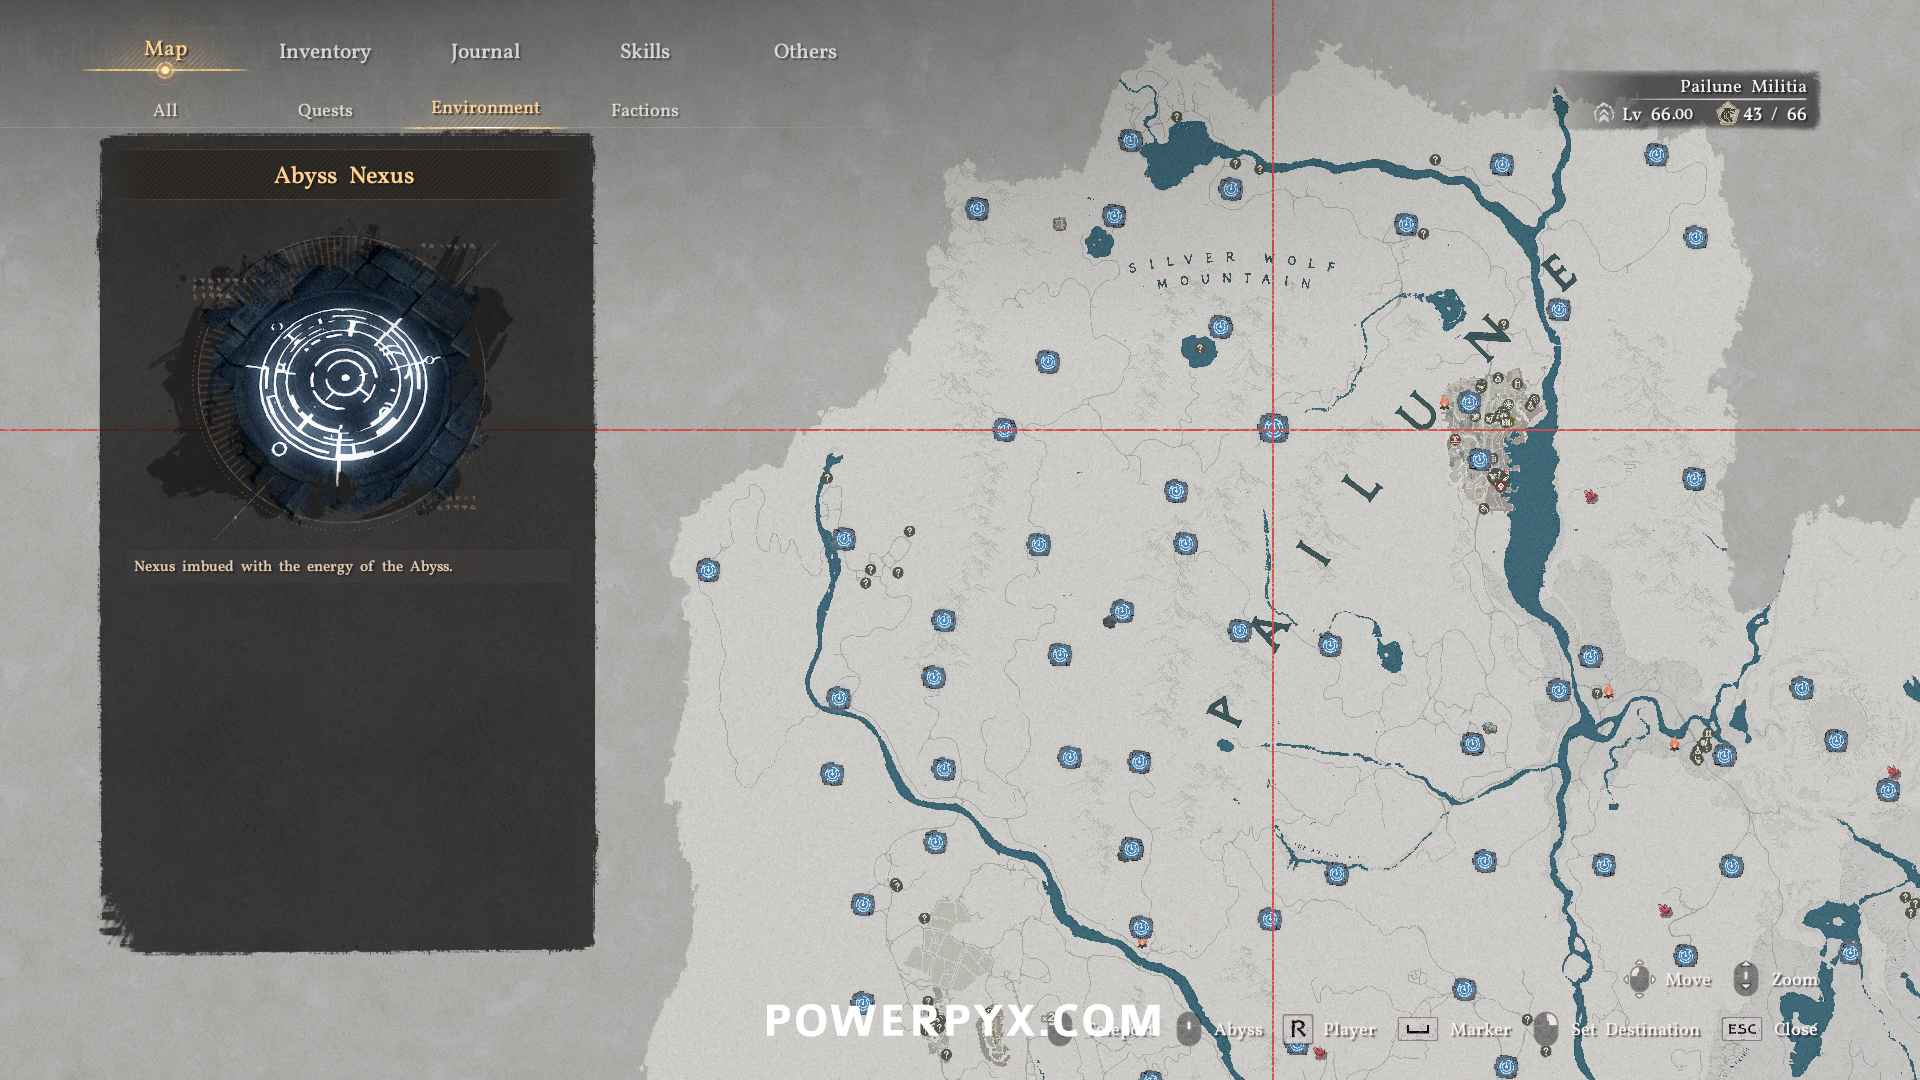
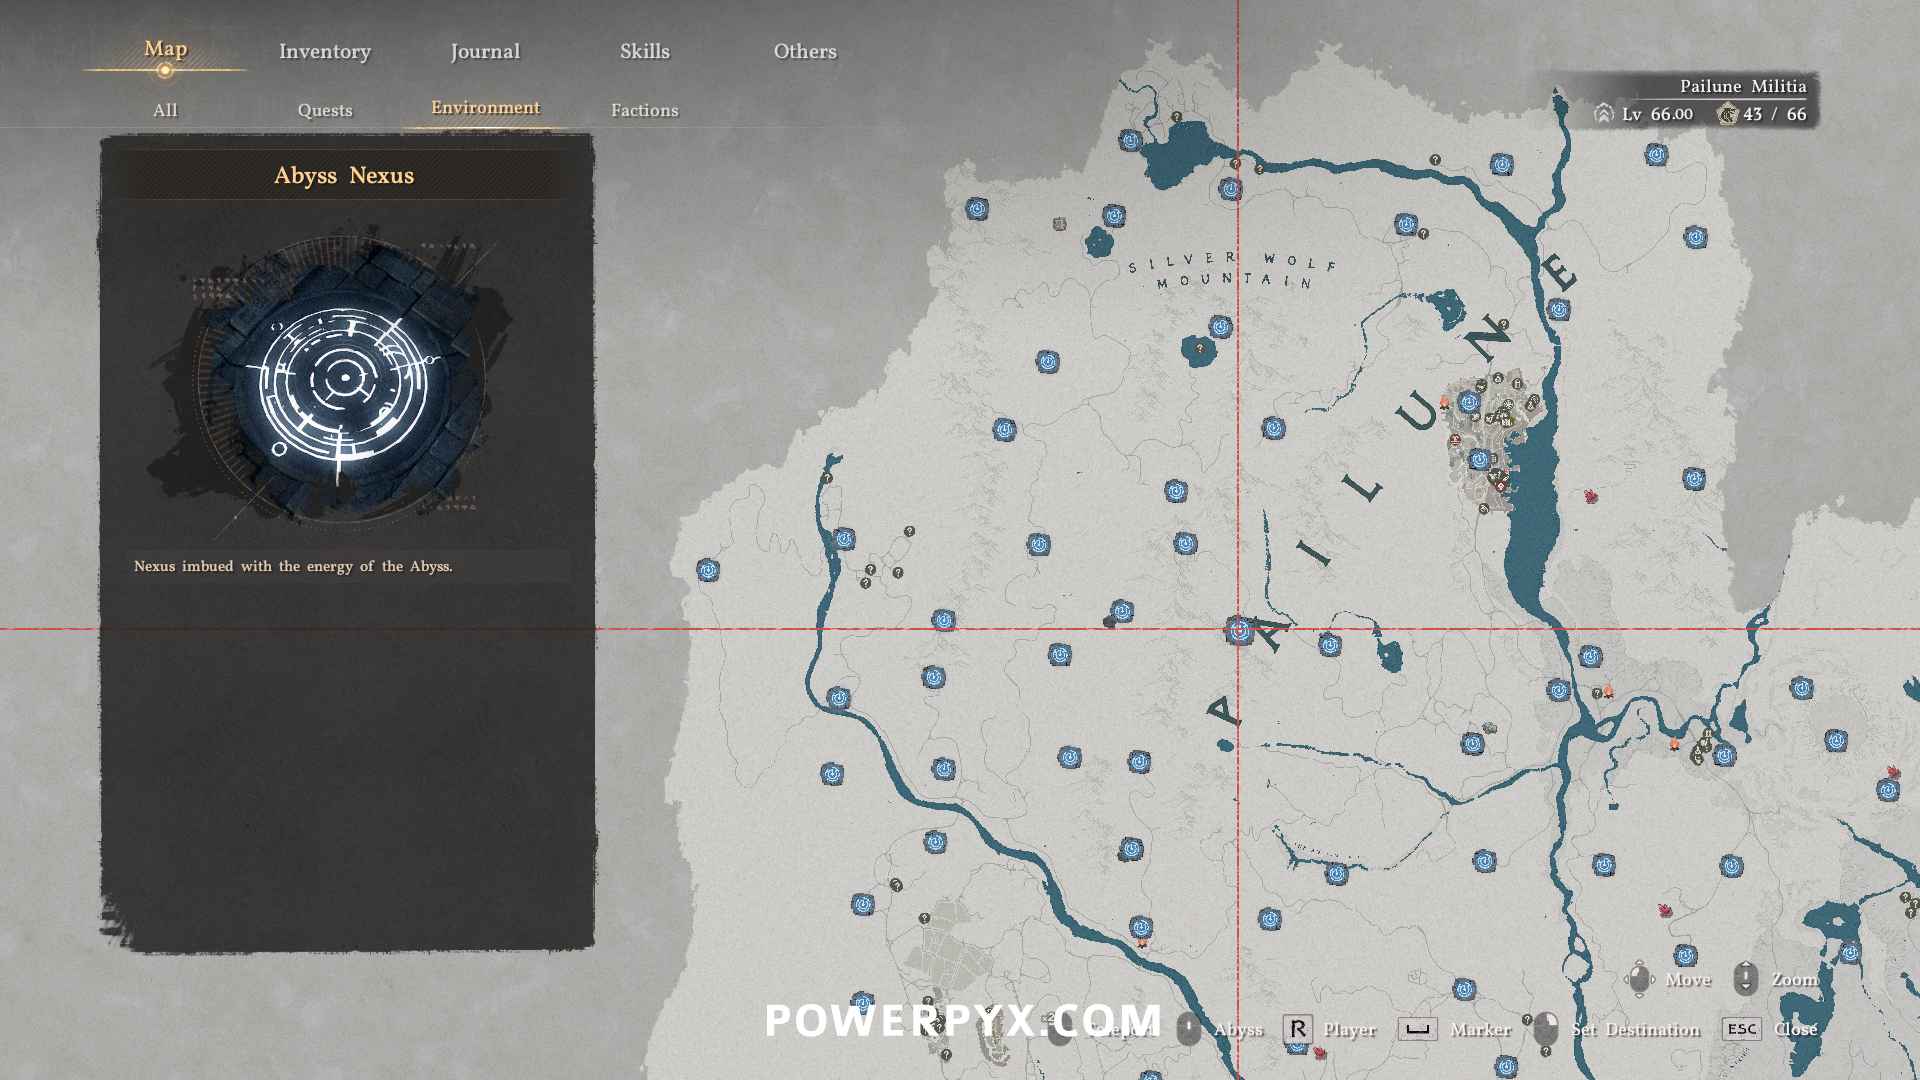
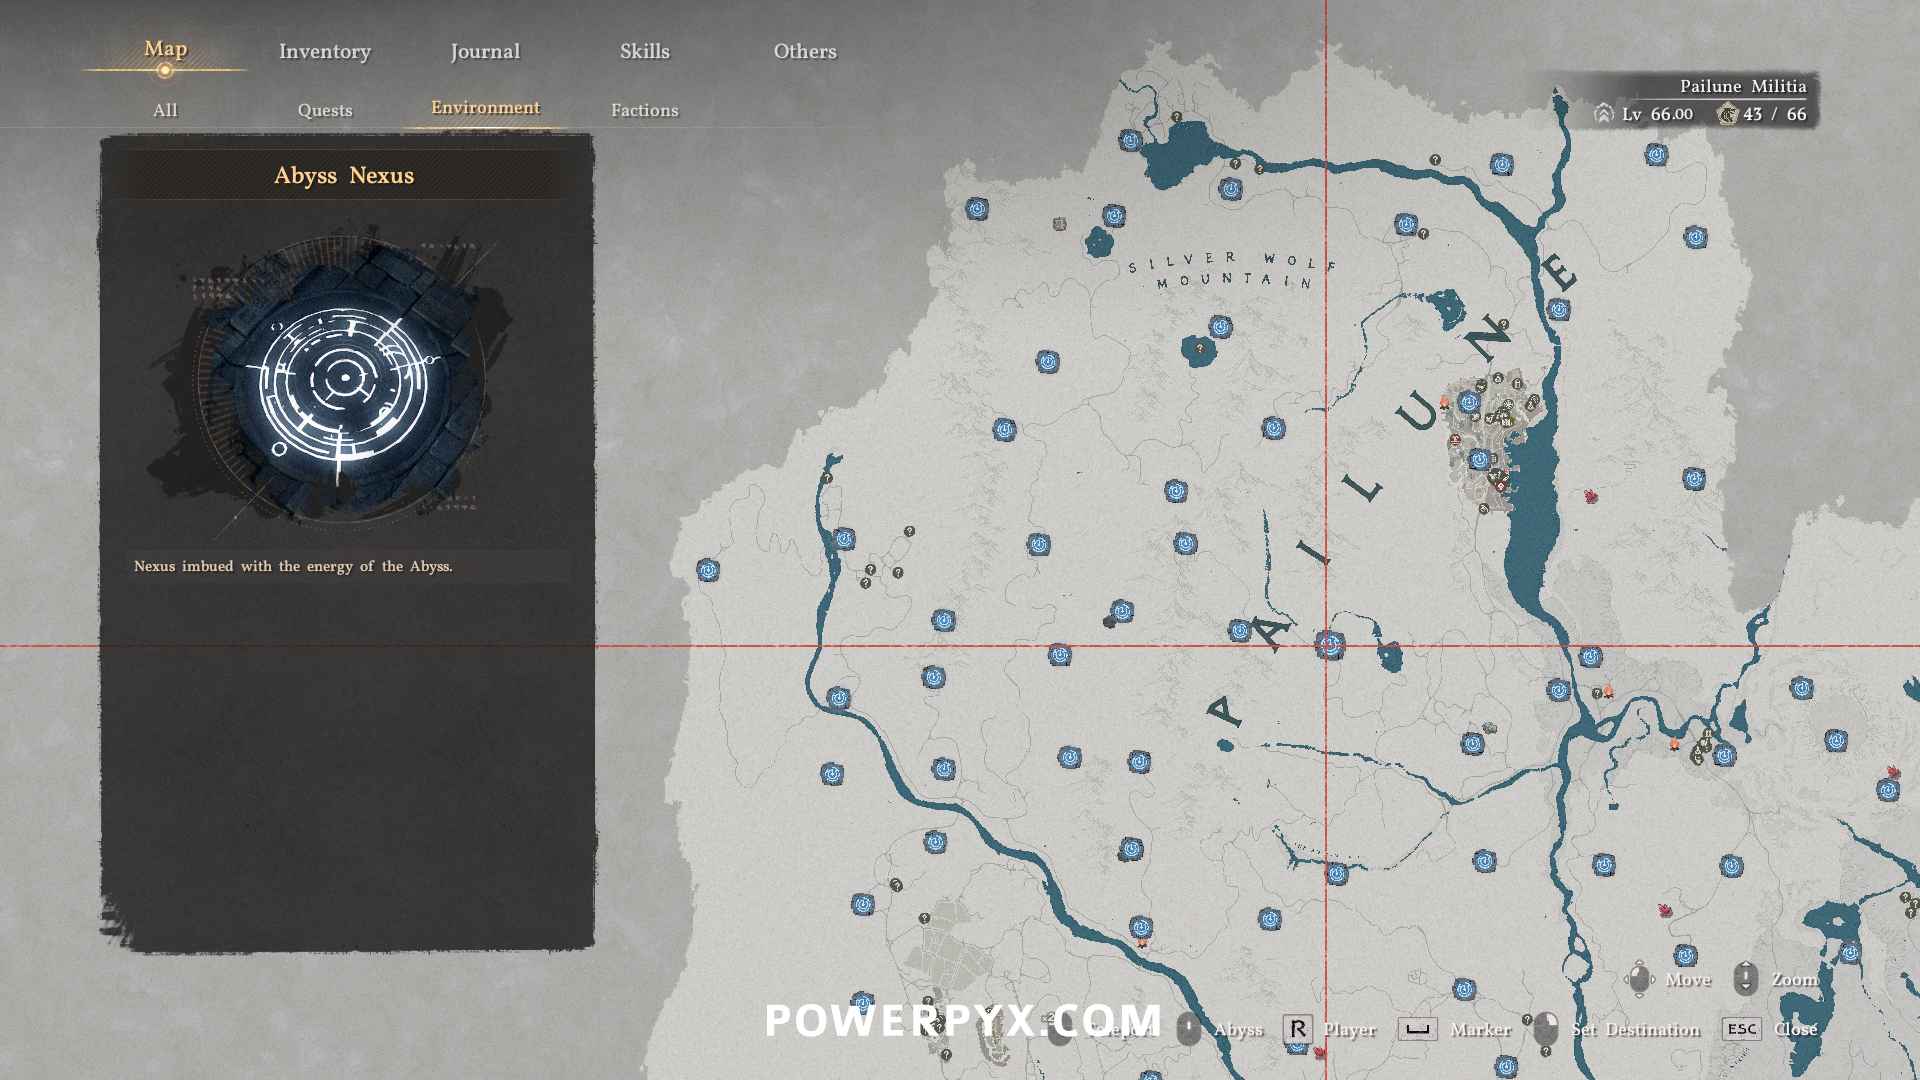
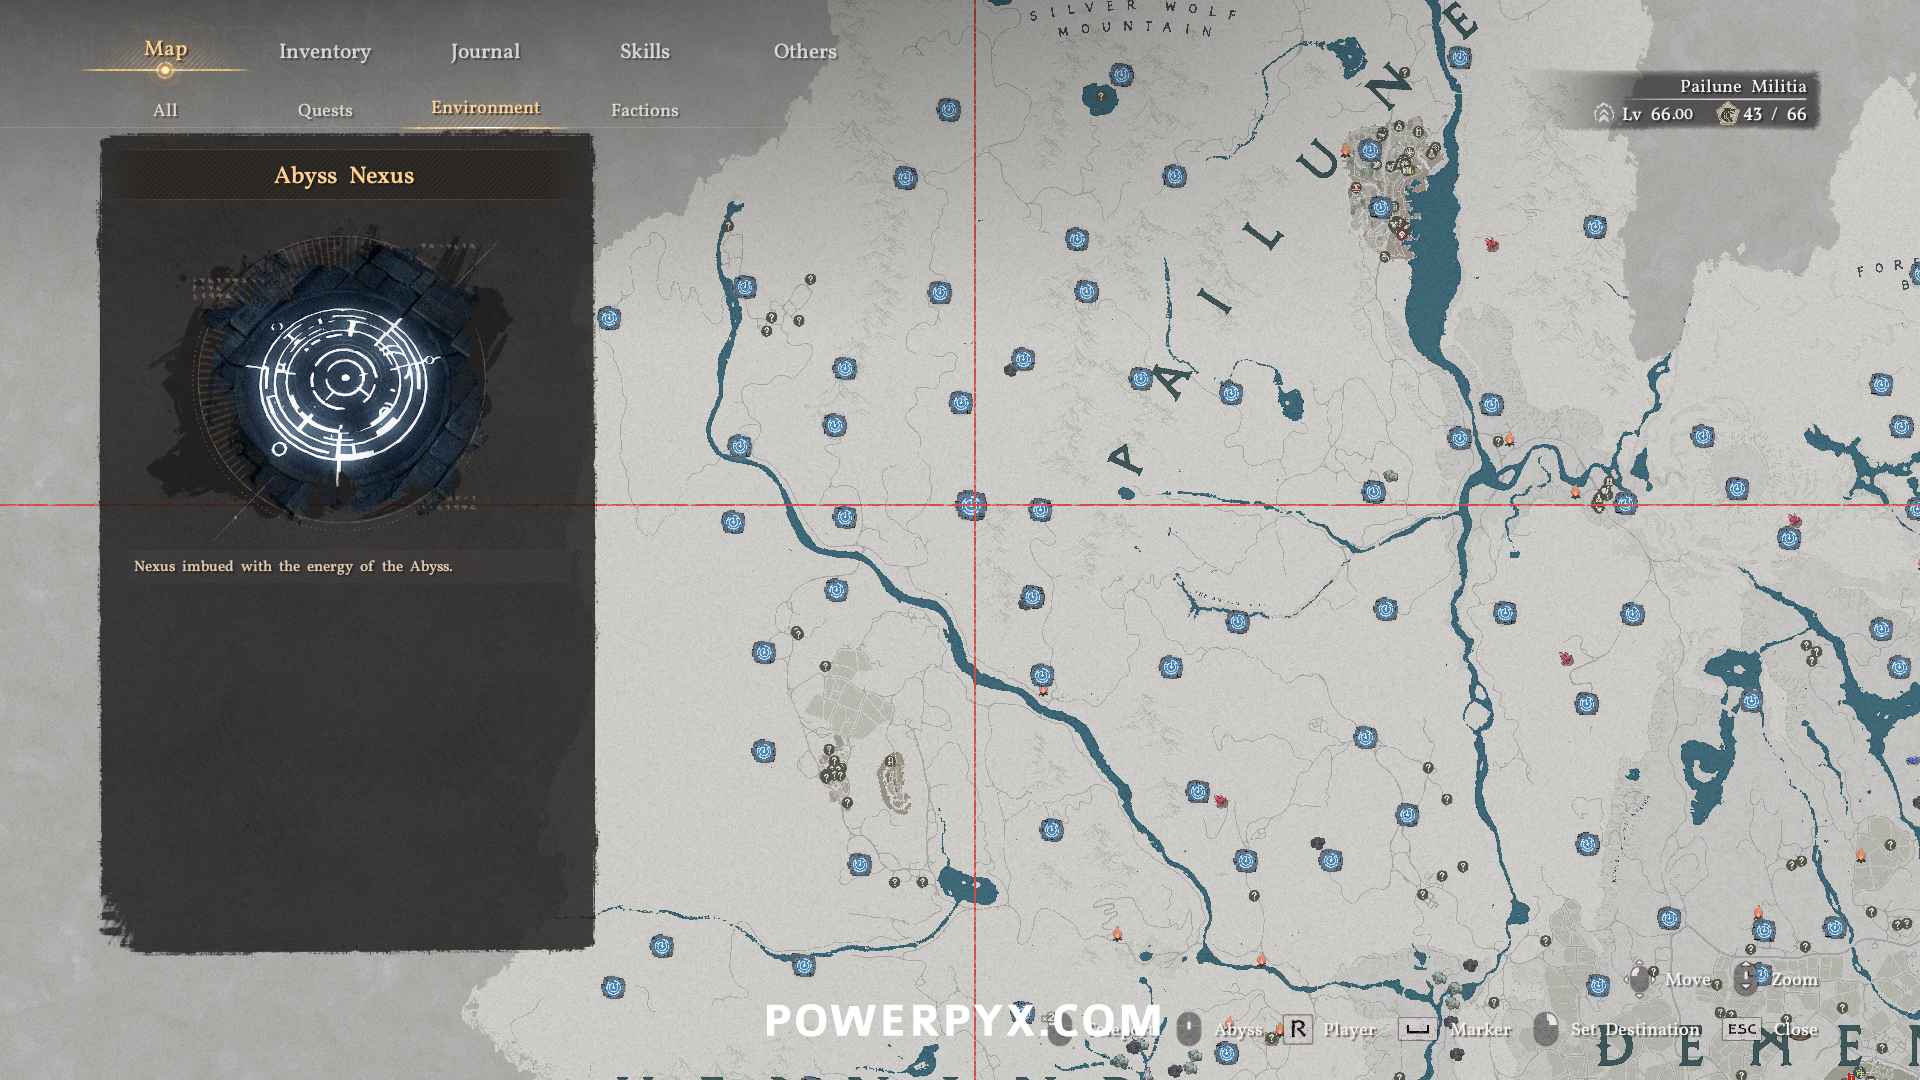
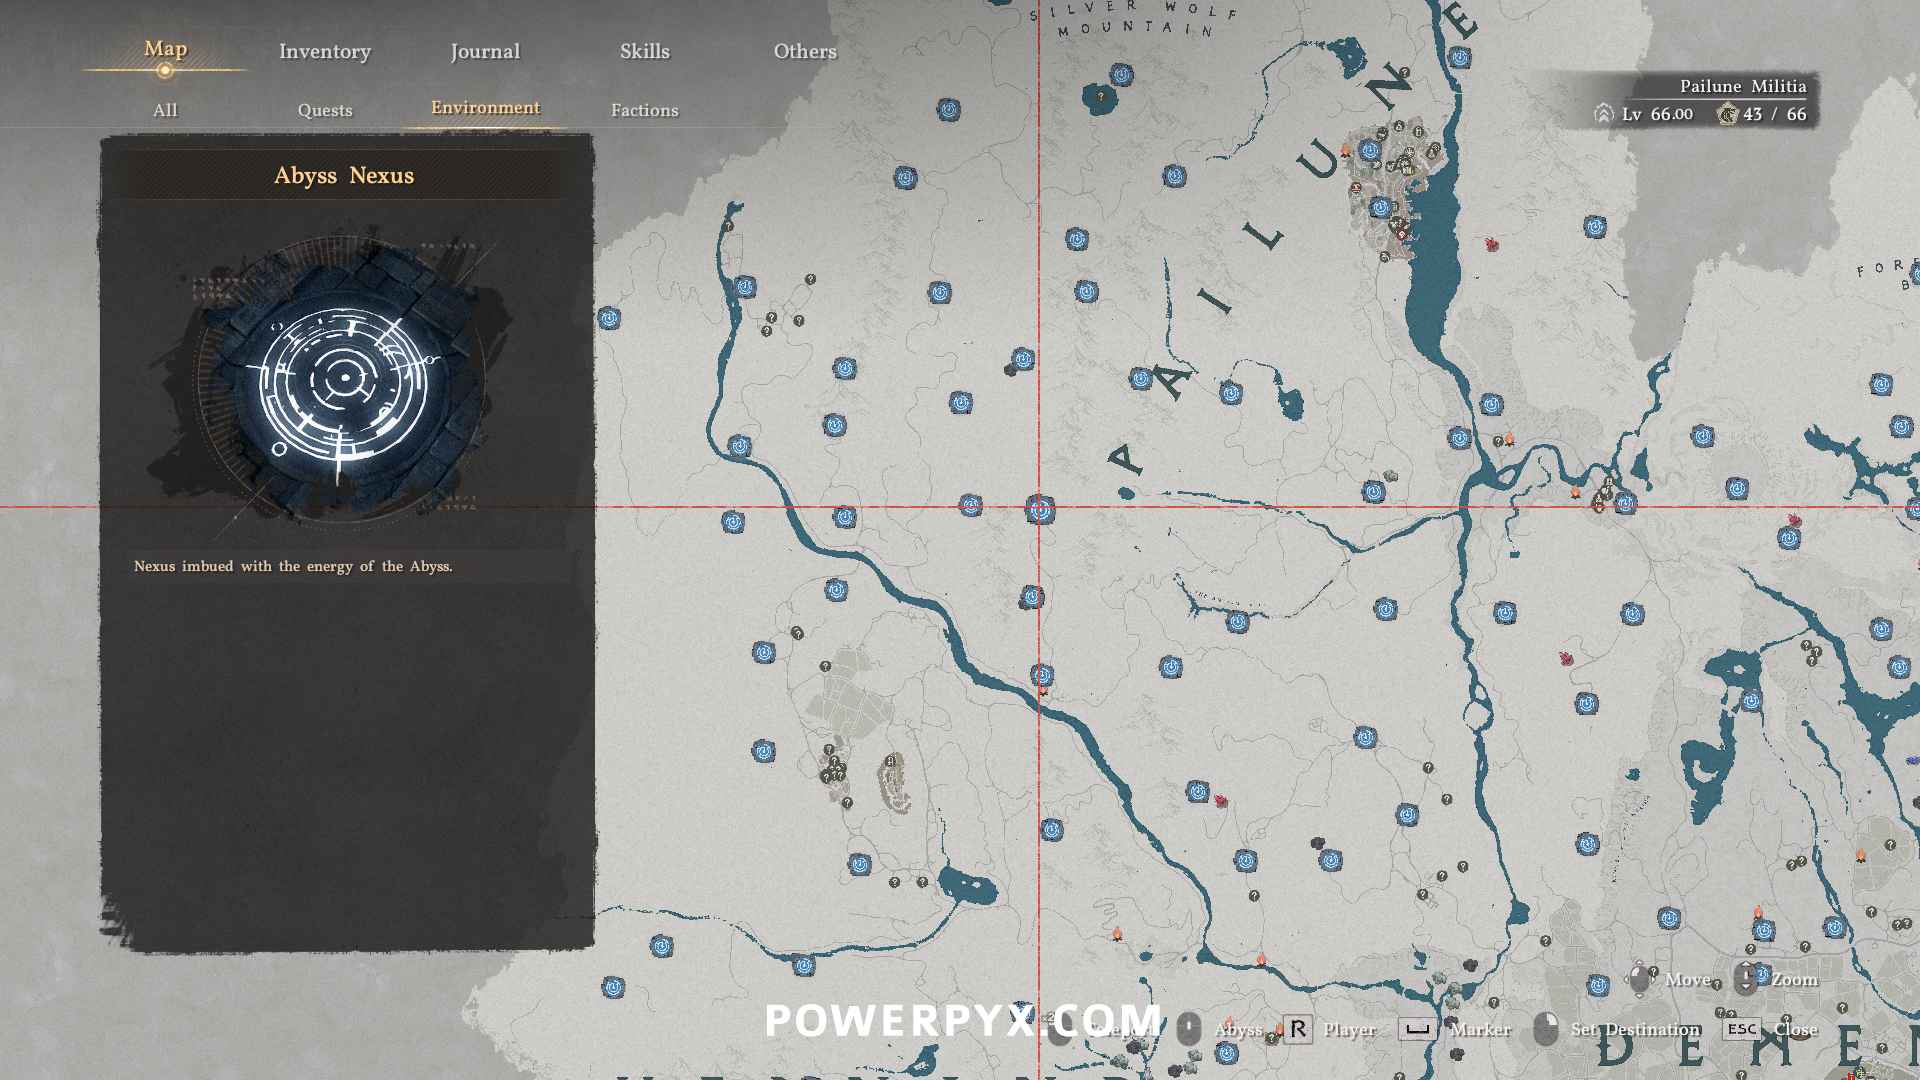
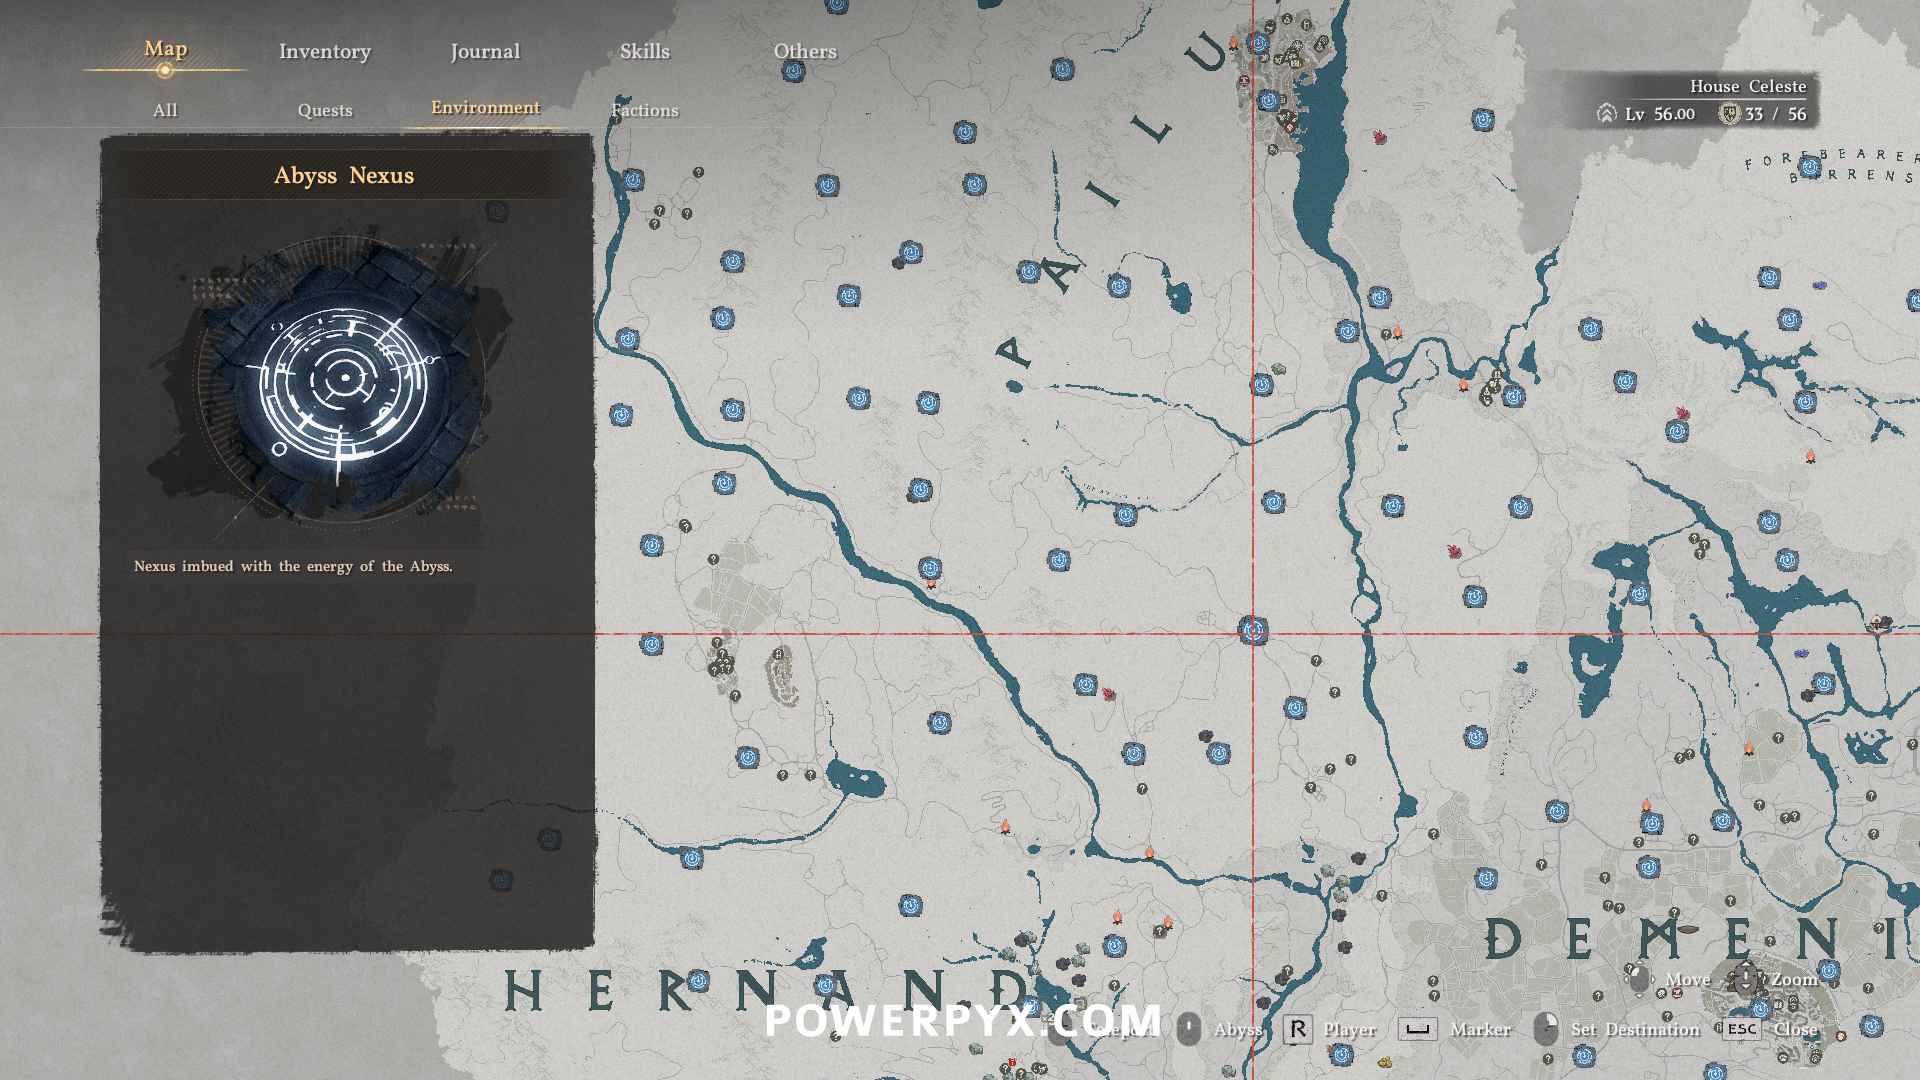
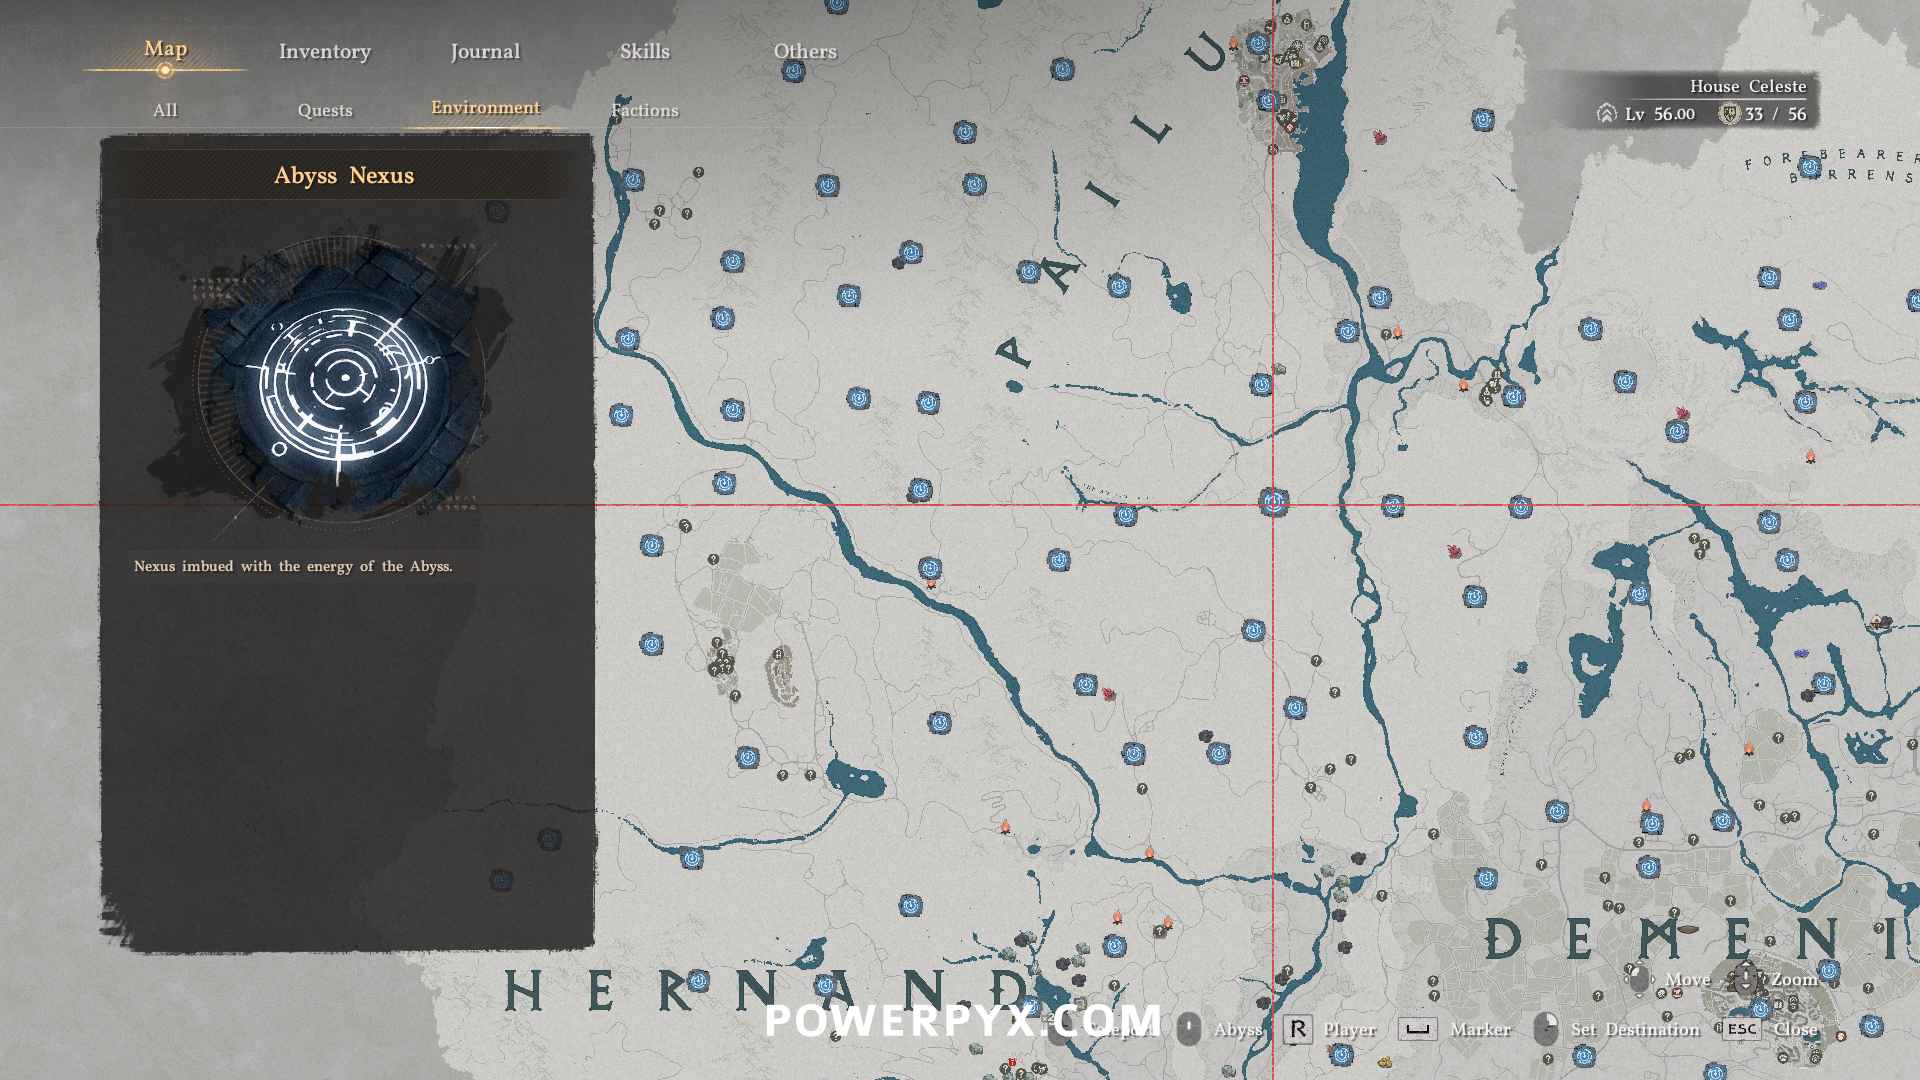
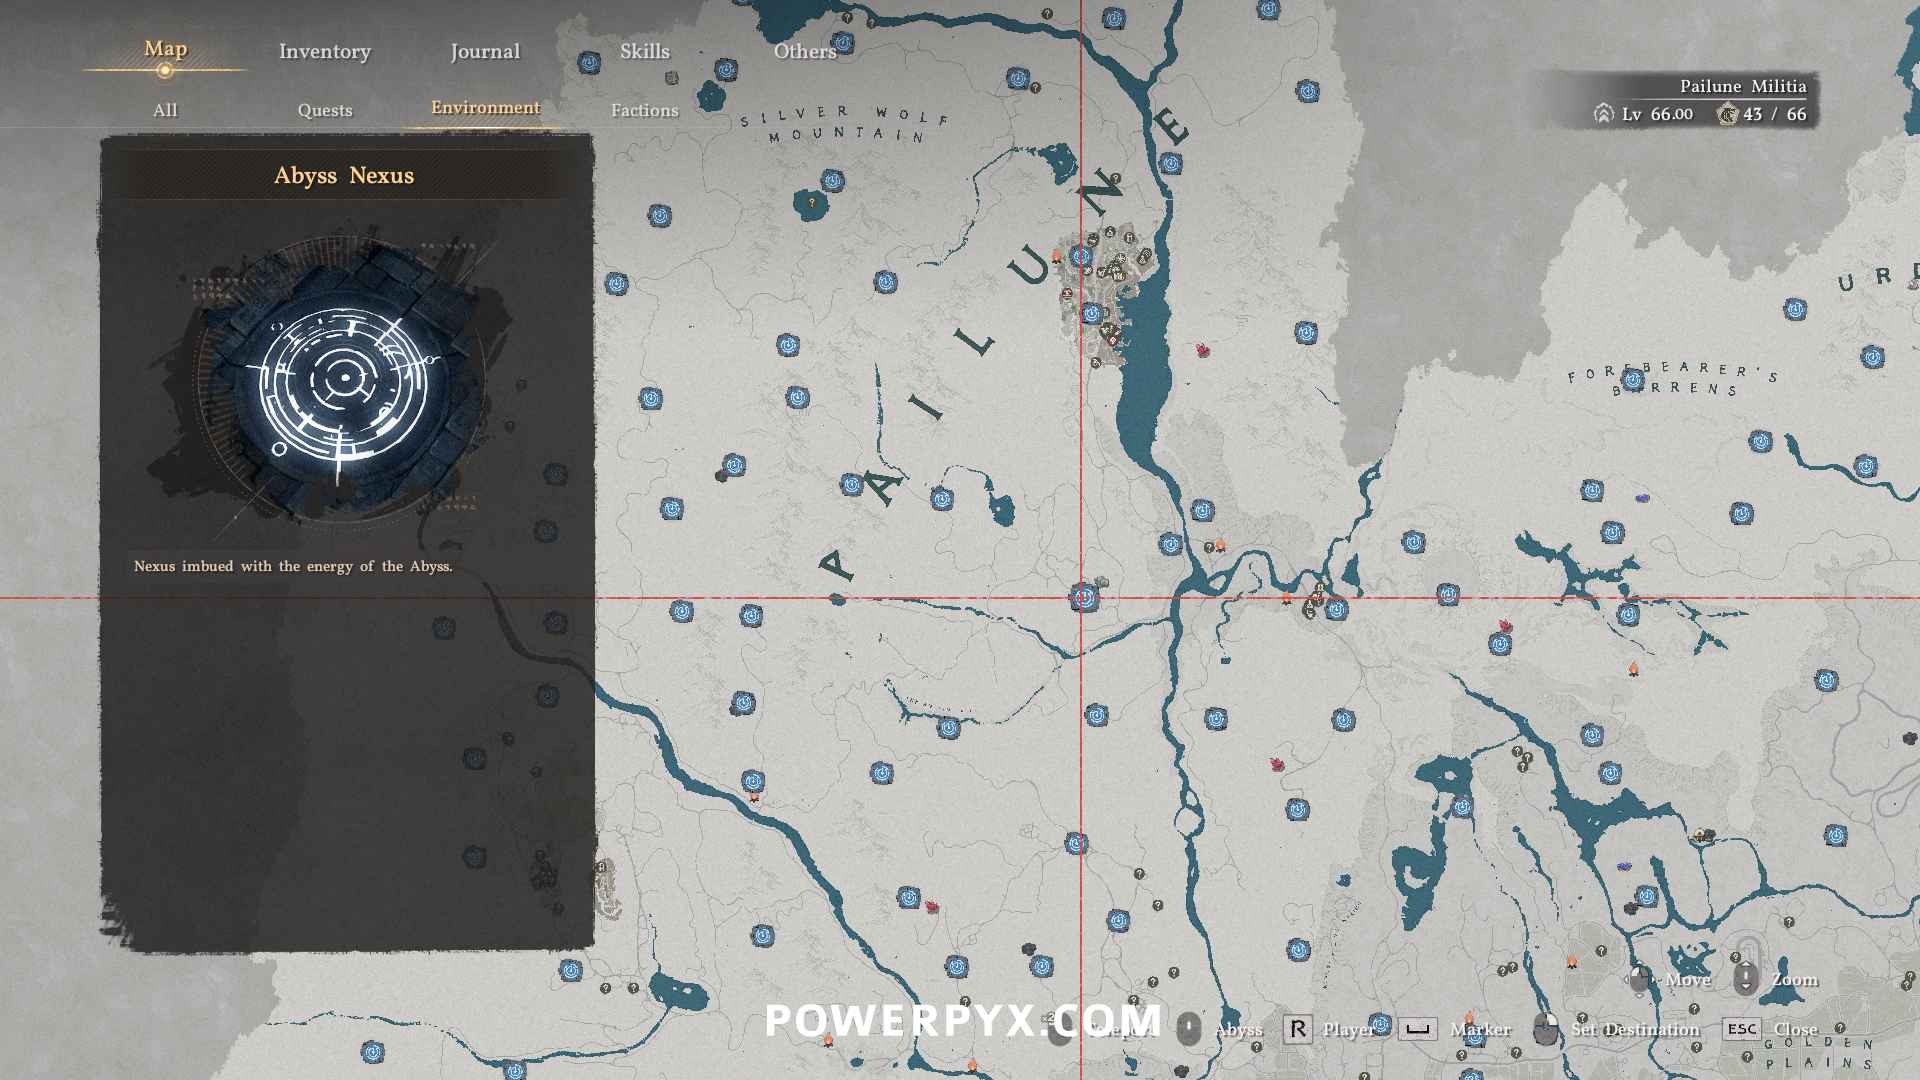
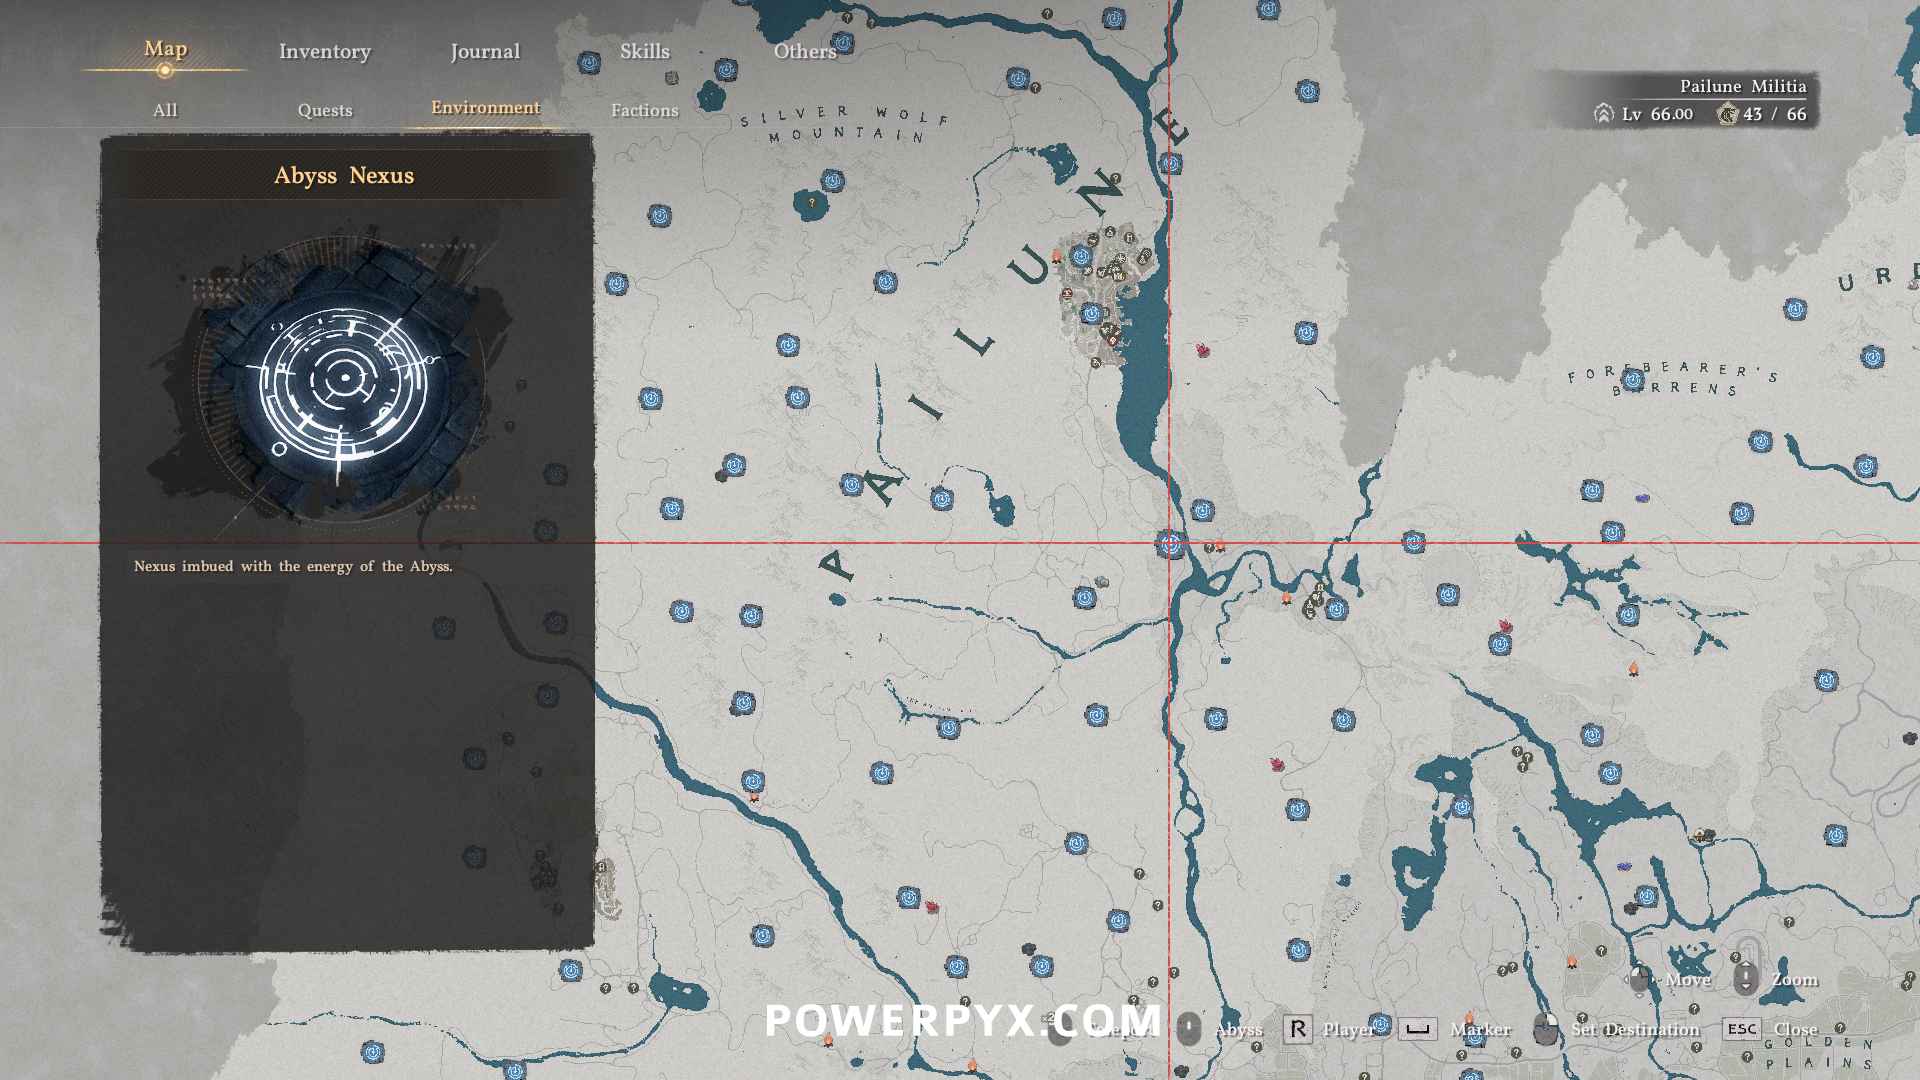
Pailune
Map:
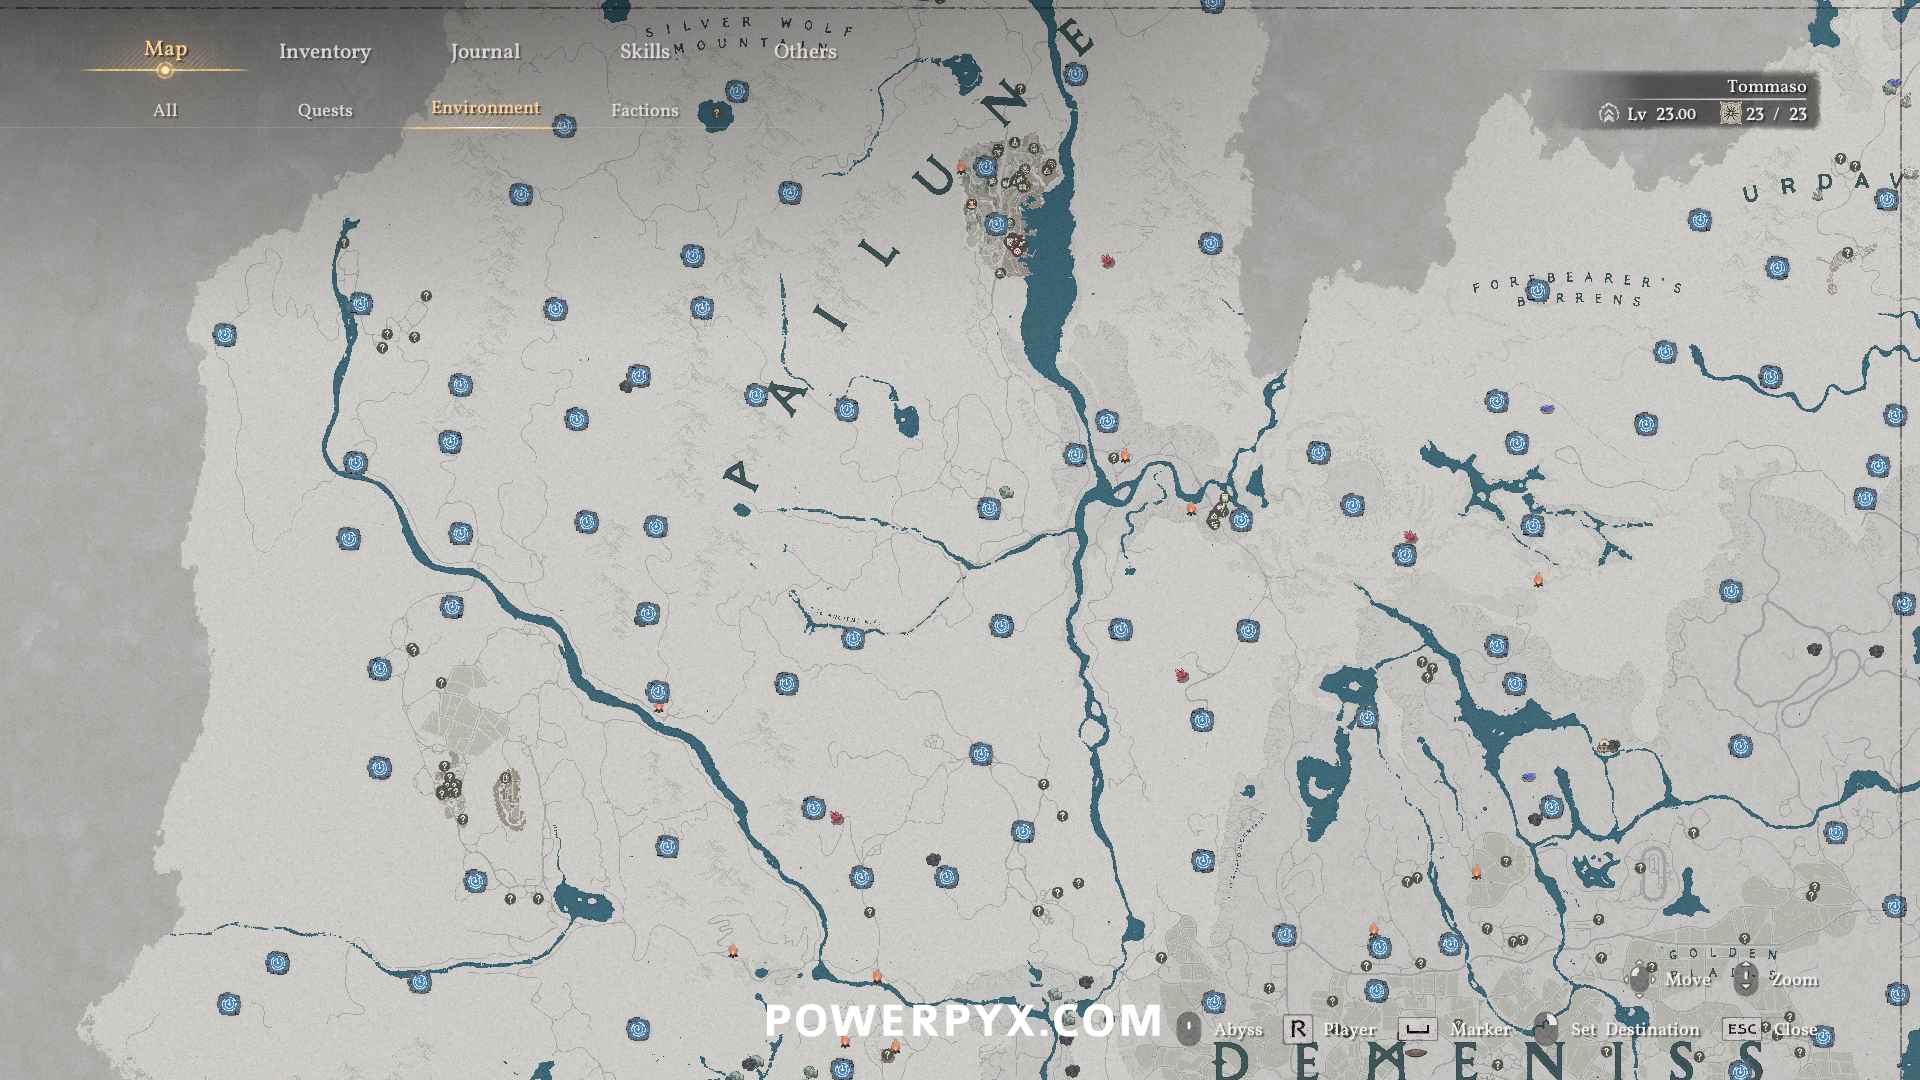
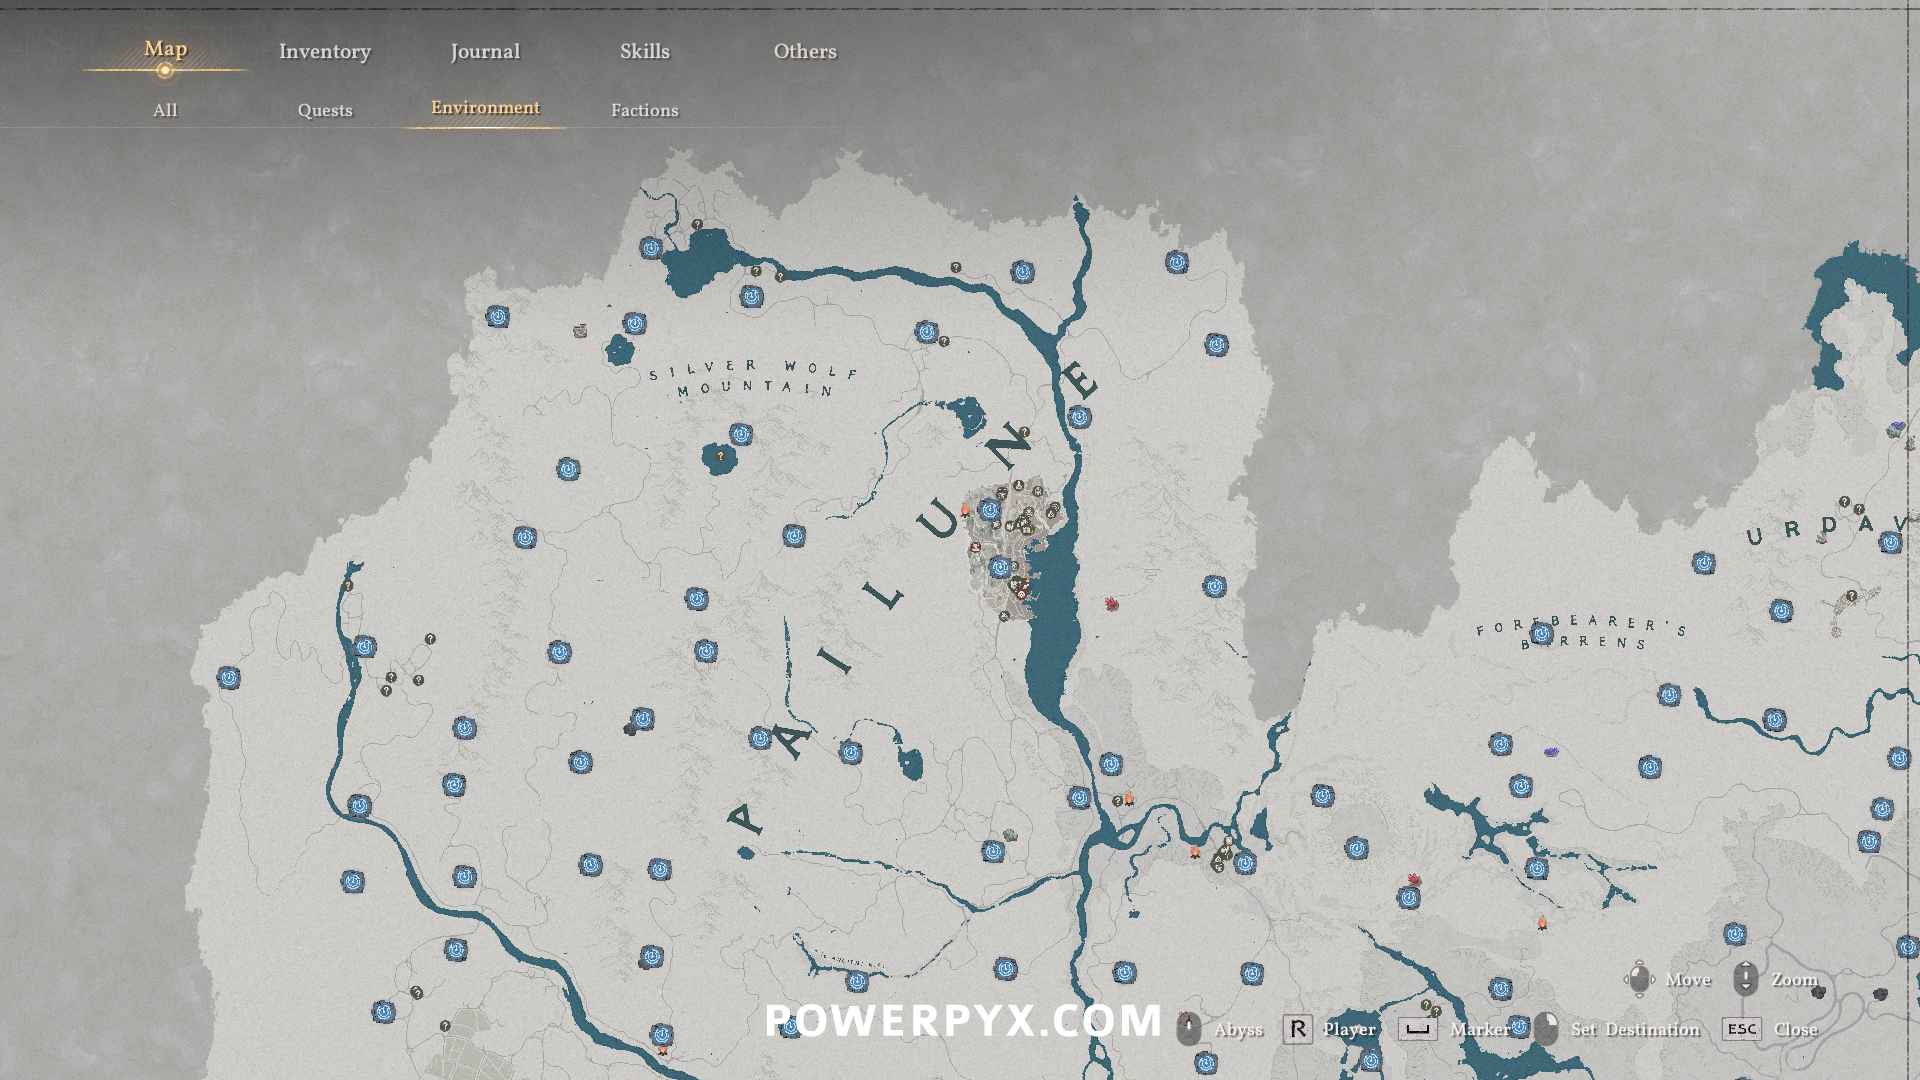
- Pailune Town 1
- Pailune Town 2
- North-East Pailune 1
- North-East Pailune 2
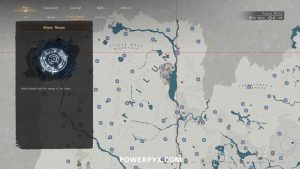
- North-East Pailune 3
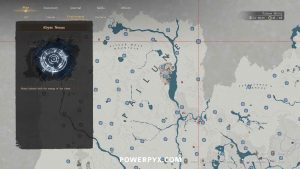
- North-East Pailune 4
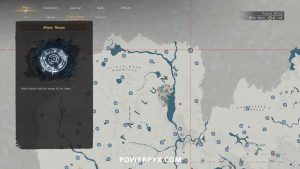
- North Pailune 1
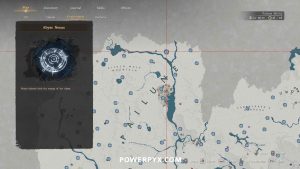
- North Pailune 2
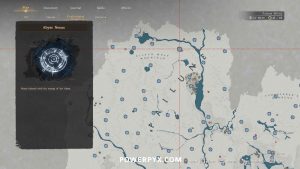
- North Pailune 3
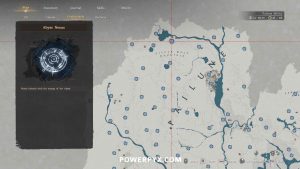
- North Pailune 4
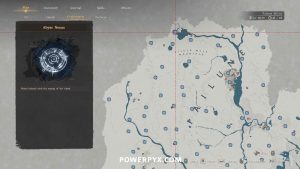
- North Pailune 5
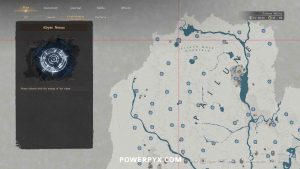
- North Pailune 6
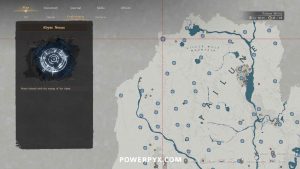
- North Pailune 7 – Silver Wolf Mountain
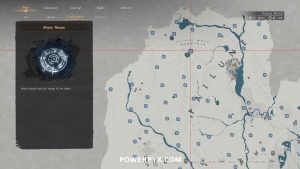
- North Pailune 8
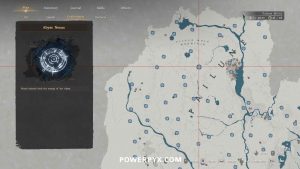
- North Pailune 9
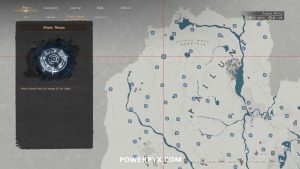
- North Pailune 10
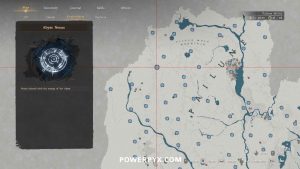
- West Pailune 1
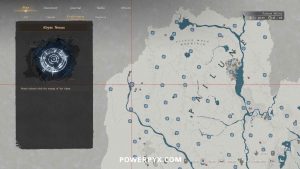
- West Pailune 2
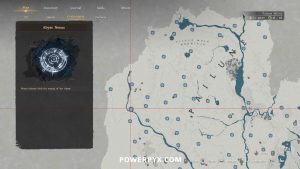
- West Pailune 3
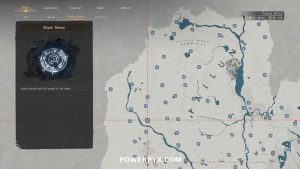
- West Pailune 4
- West Pailune 5
- Central Pailune 1
- Central Pailune 2
- Central Pailune 3 – Wayward Woods
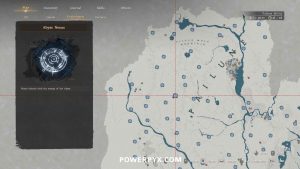
- Central Pailune 4
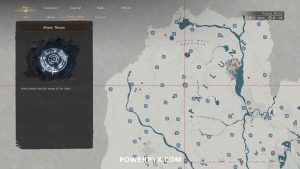
- Central Pailune 5
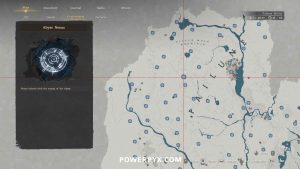
- Central Pailune 6
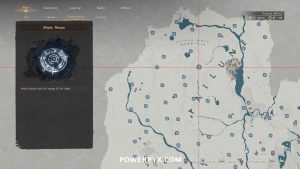
- Central Pailune 7
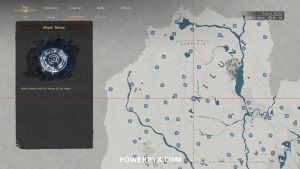
- Central Pailune 8
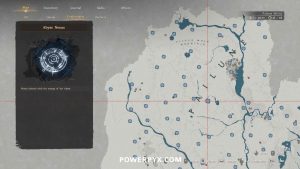
- Central Pailune 9
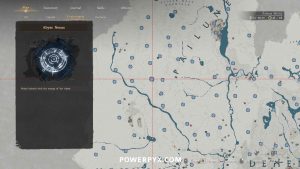
- Central Pailune 10
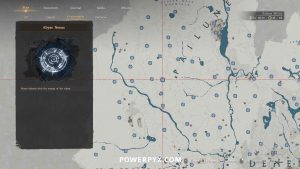
- Central Pailune 11
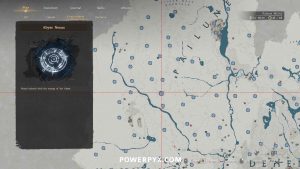
- Central Pailune 12
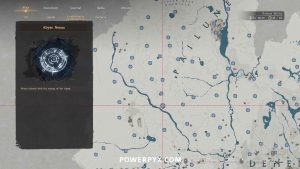
- Southern Pailune 1
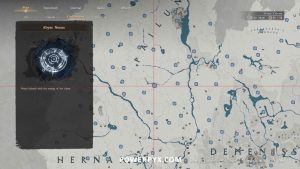
- Southern Pailune 2
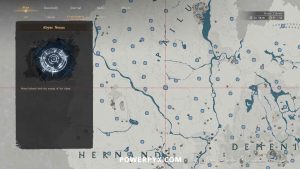
- Southern Pailune 3
- Southern Pailune 4
- Southern Pailune 5
- Southern Pailune 6
- Southern Pailune 7
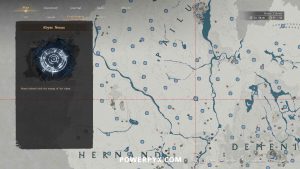
- Southern Pailune 8
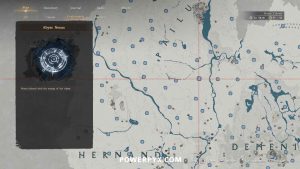
- East Pailune 1
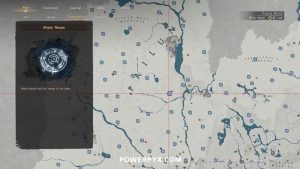
- East Pailune 2
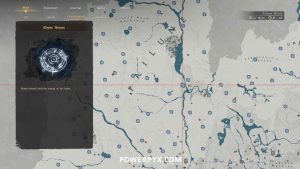
- East Pailune 3
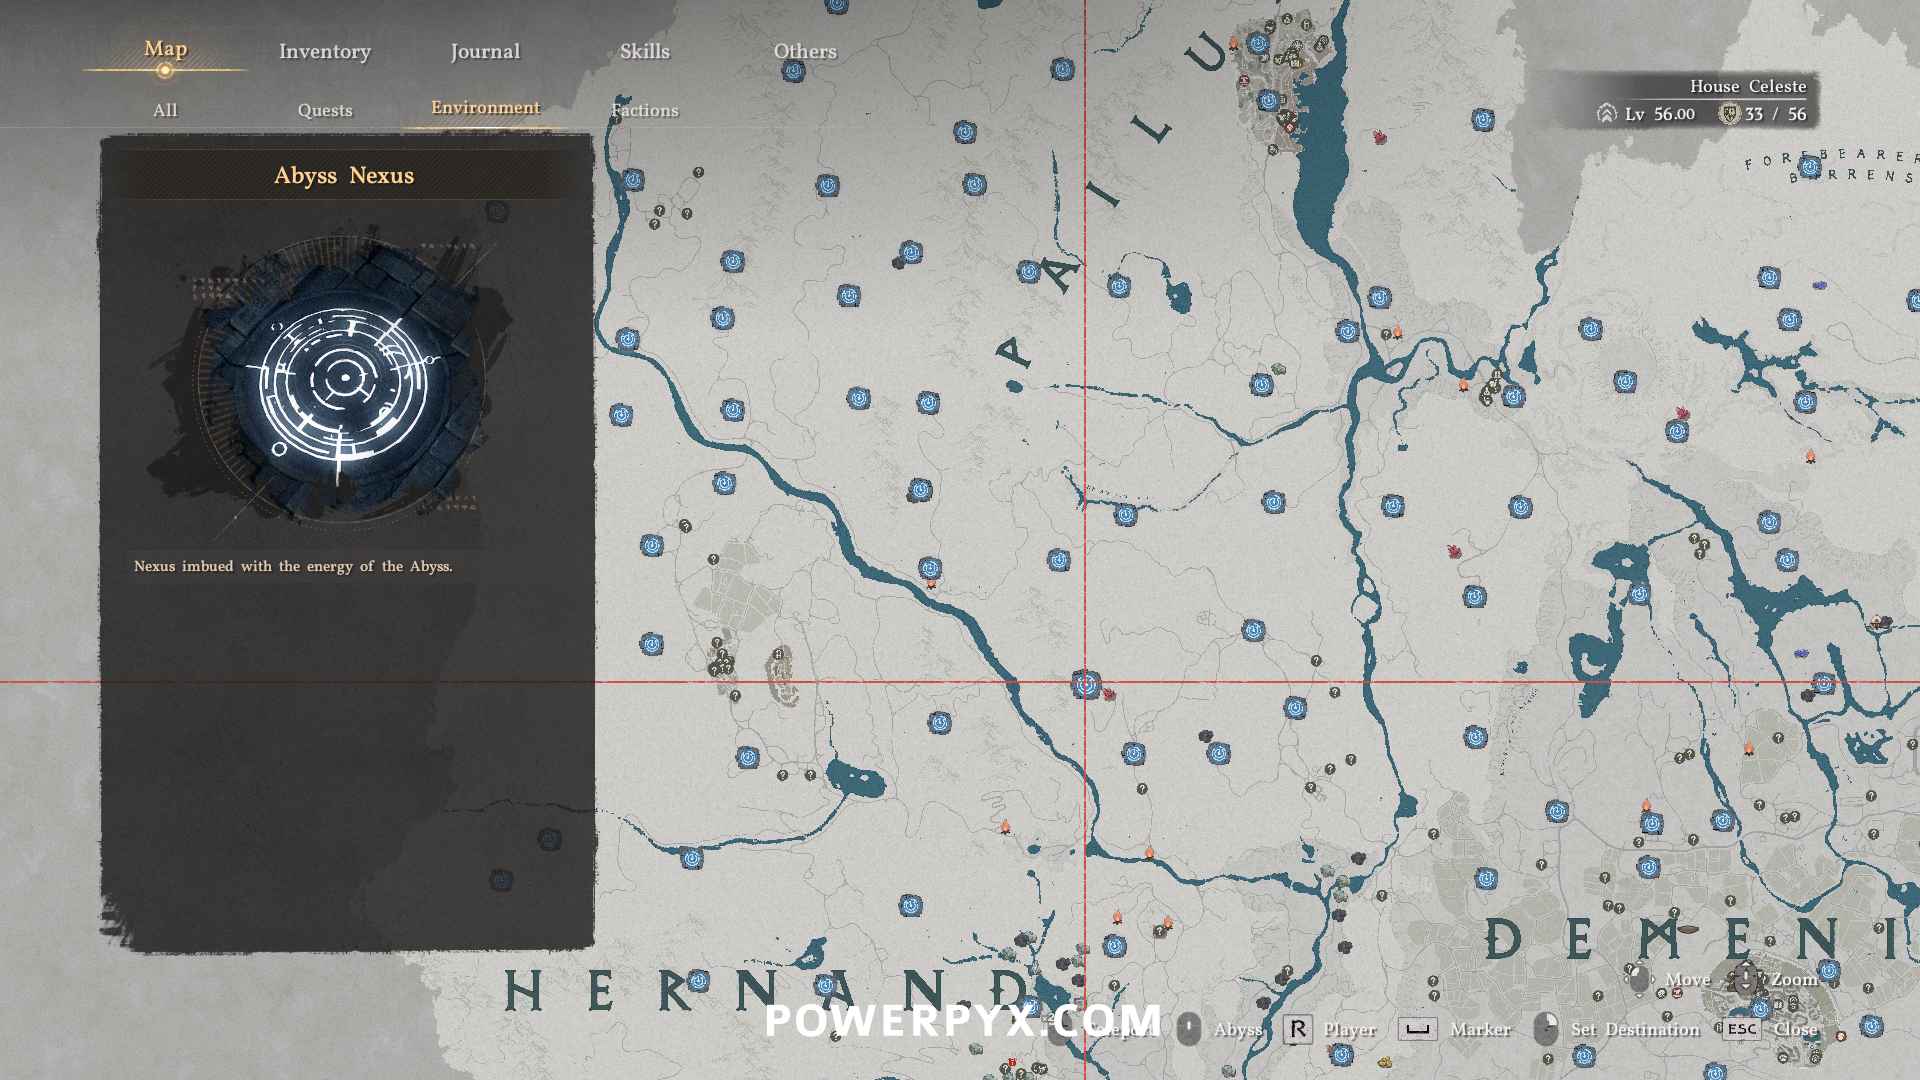
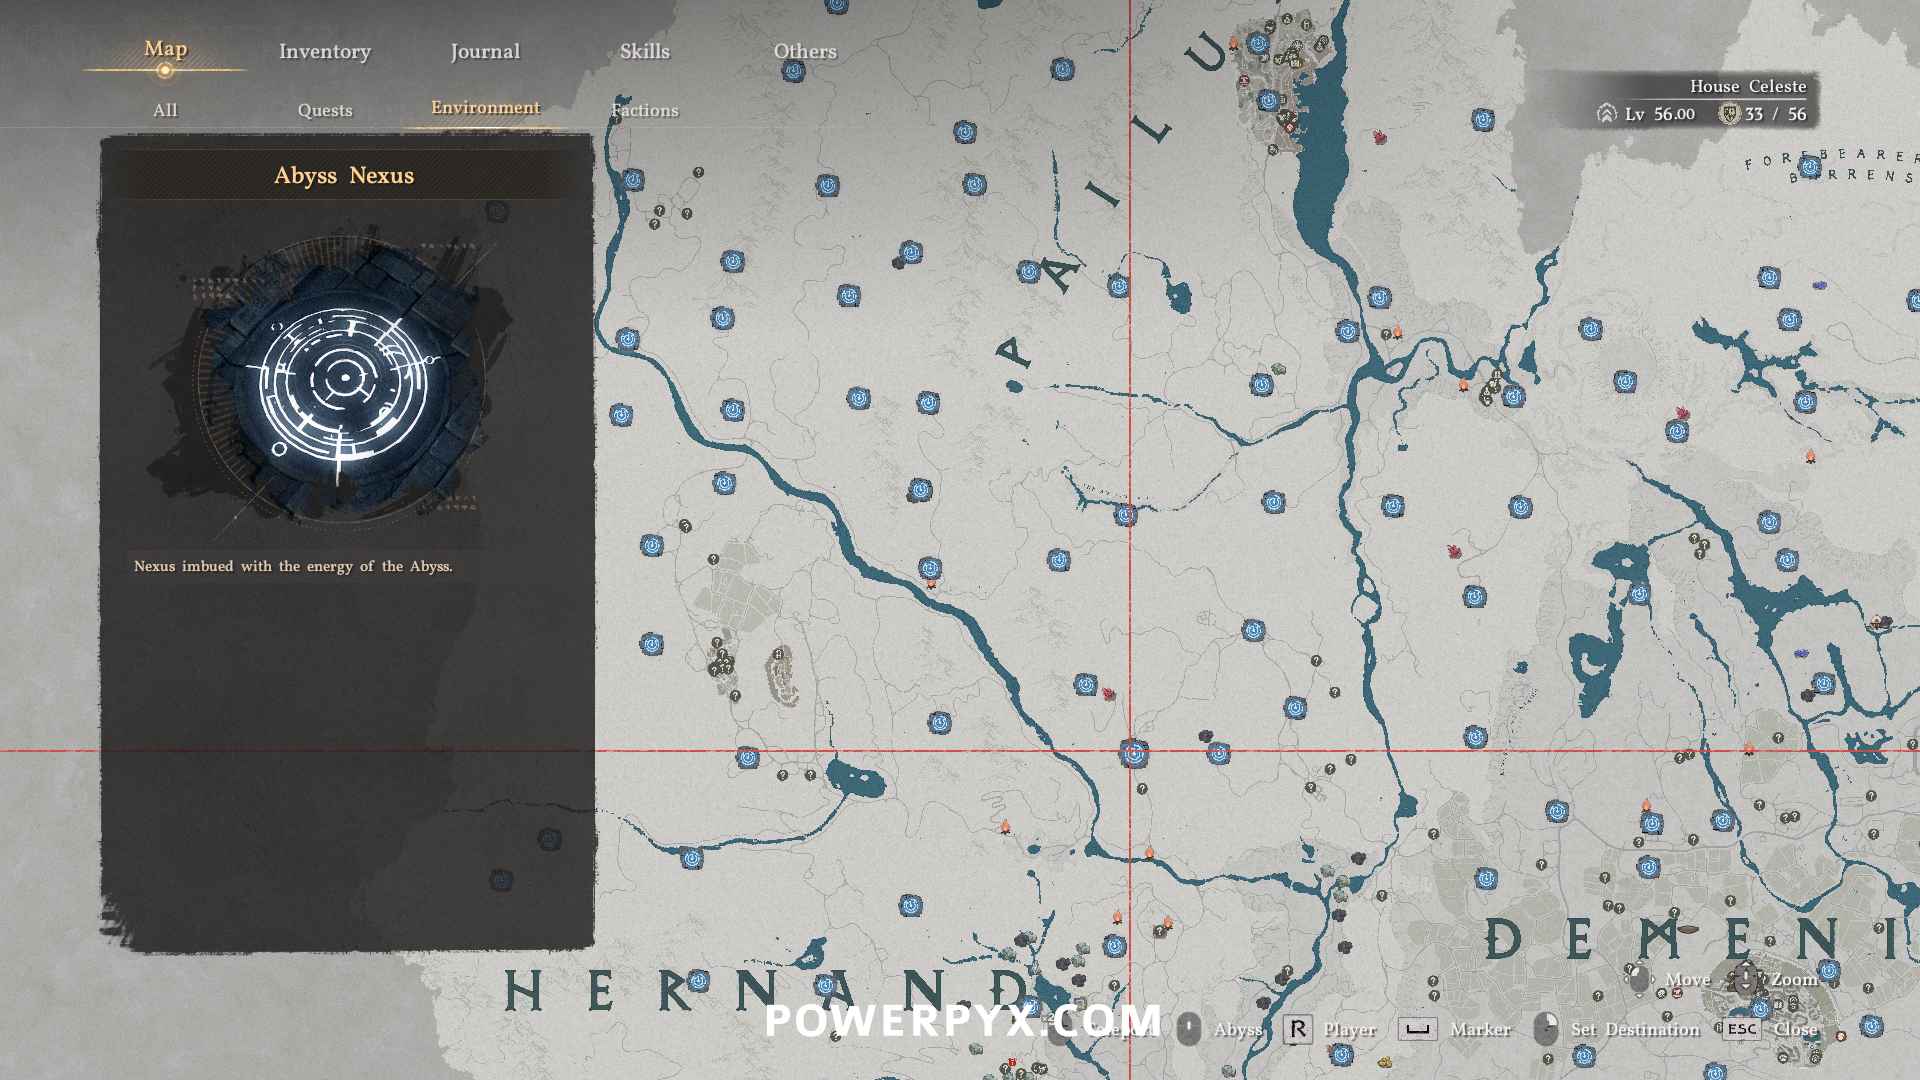
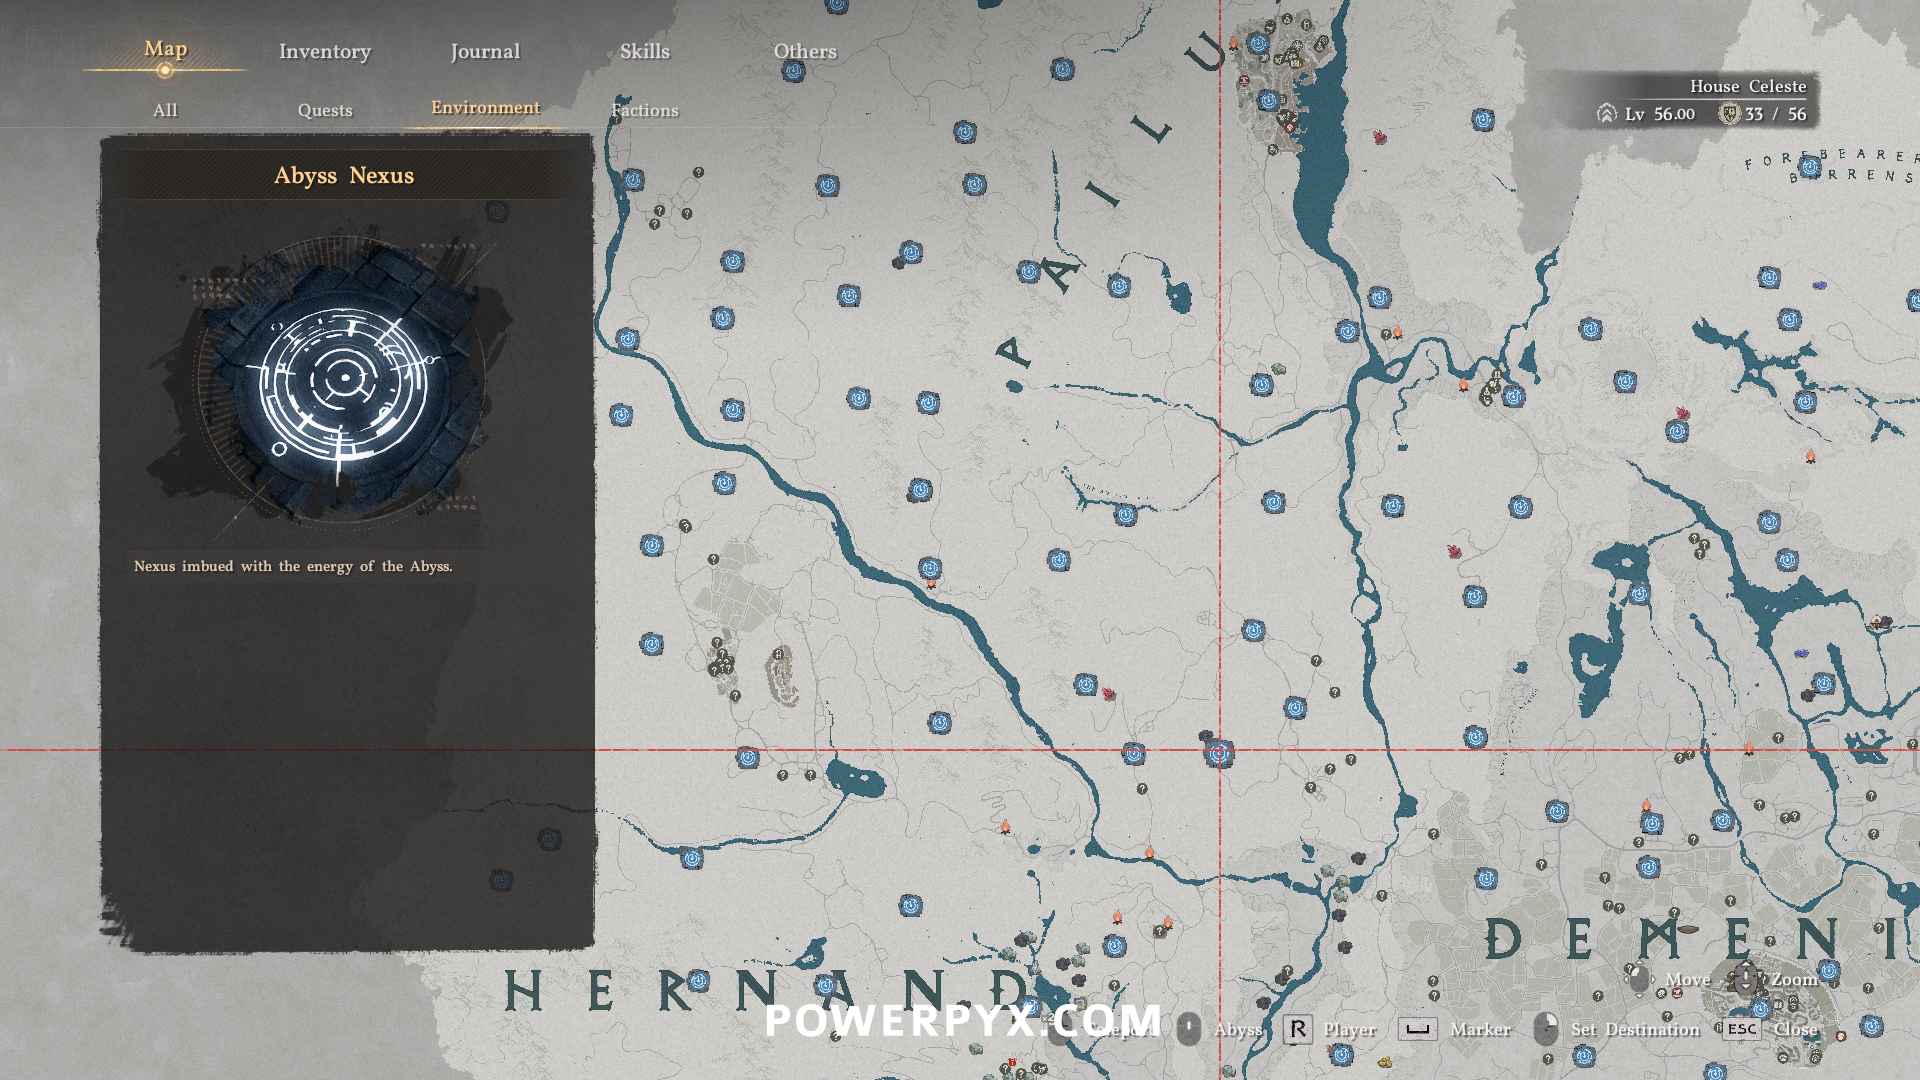
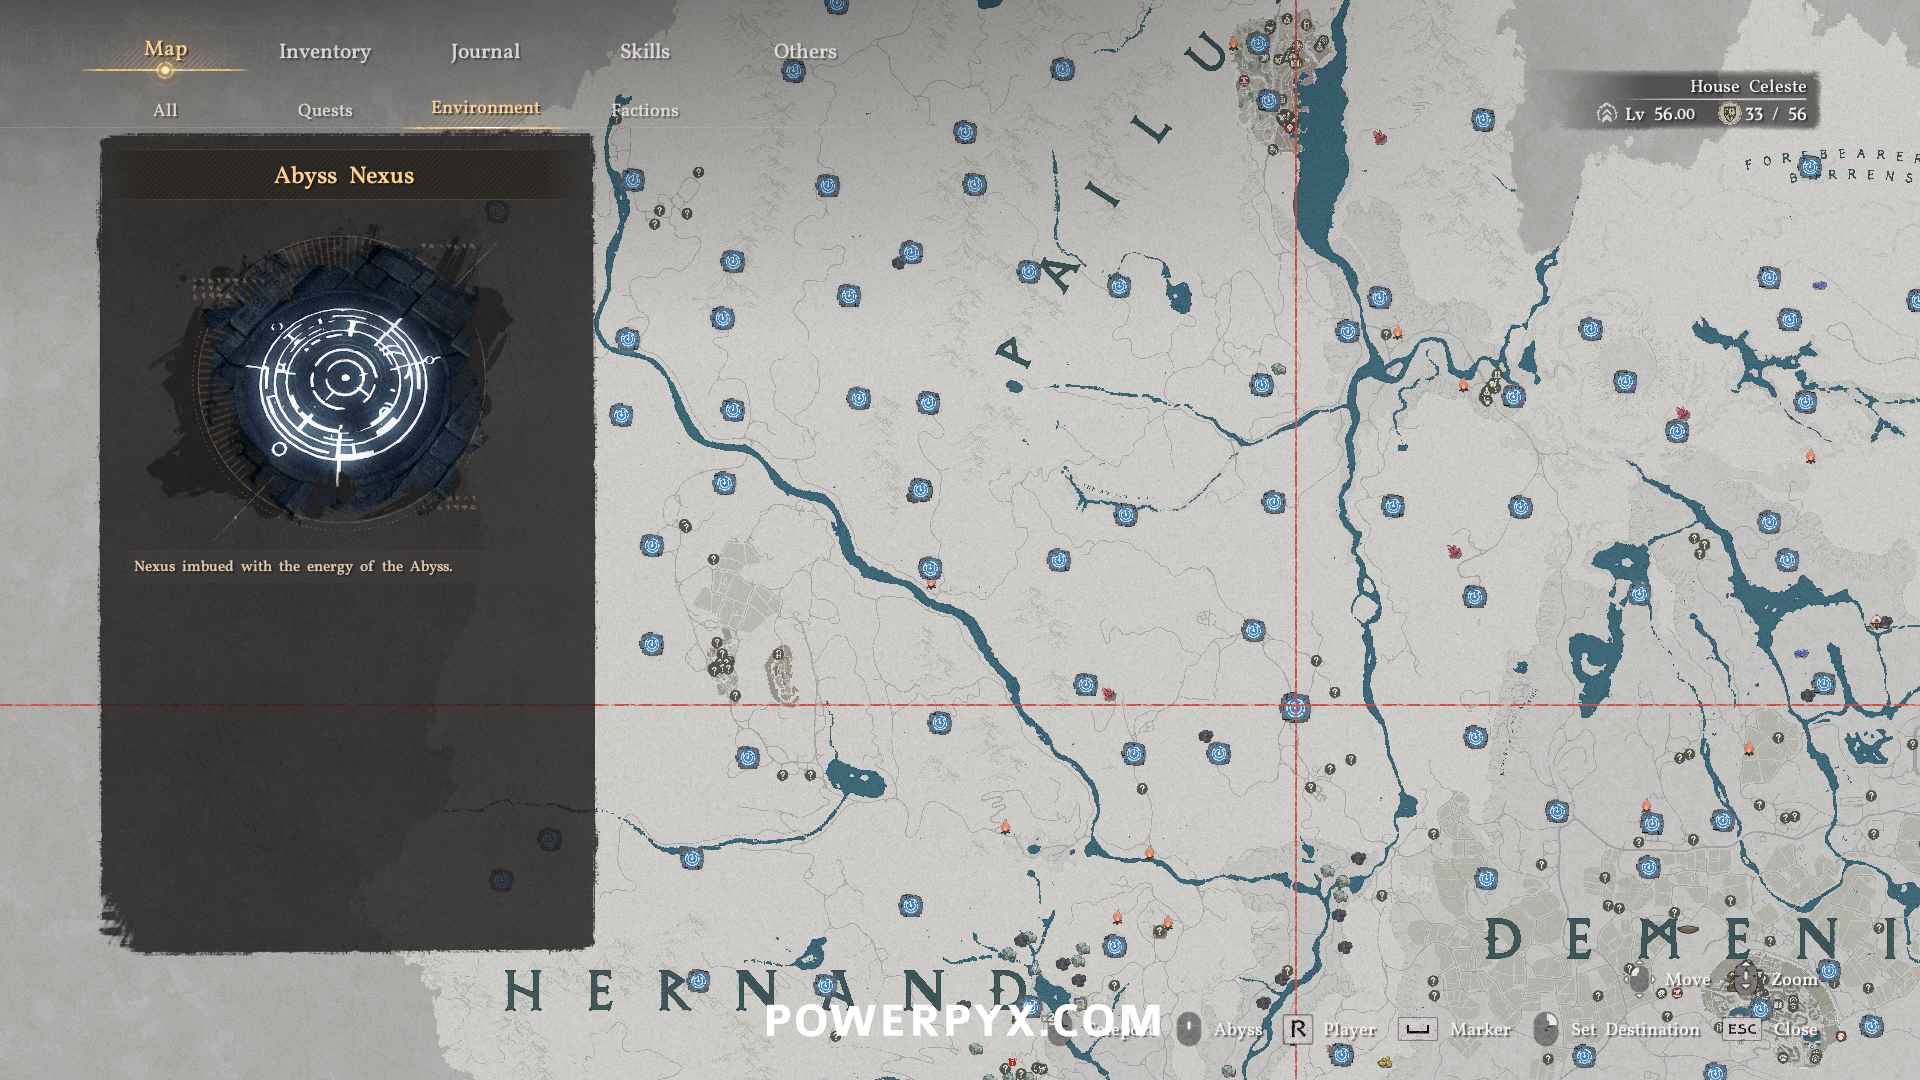
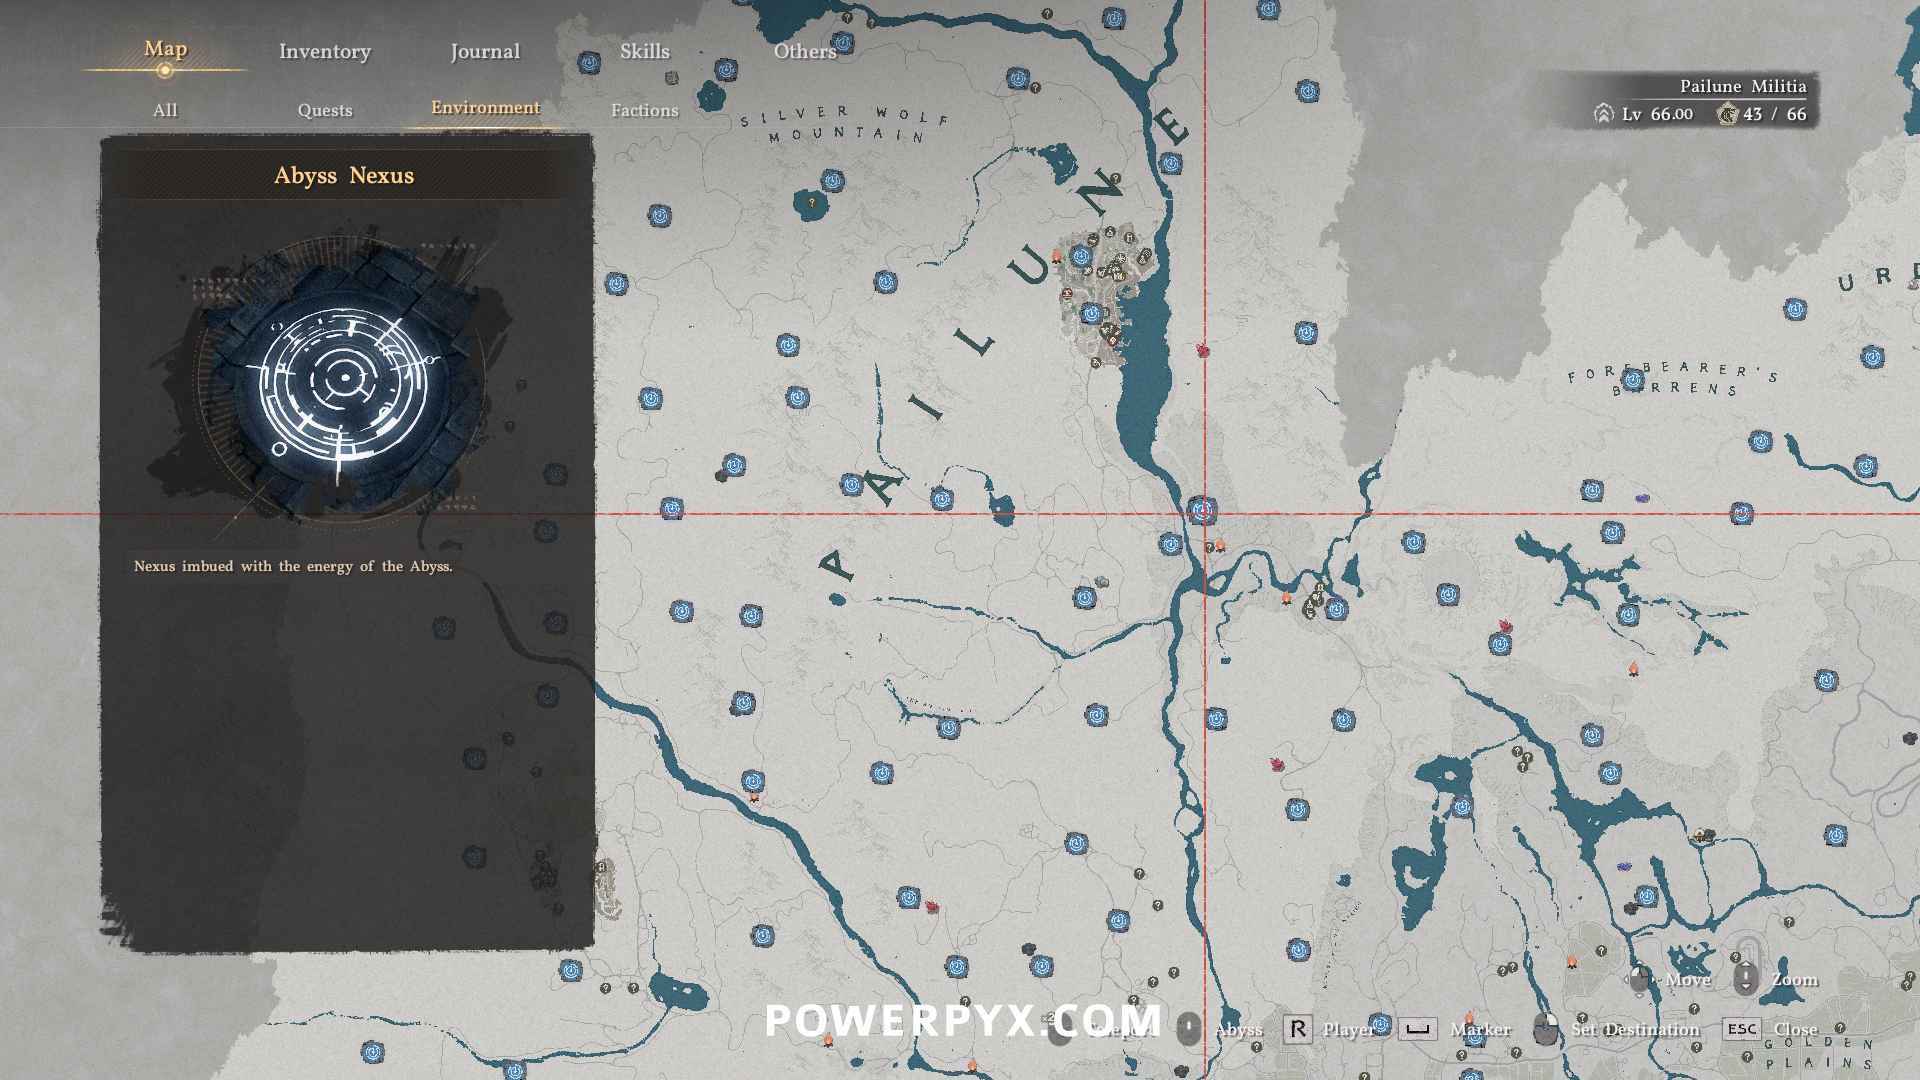
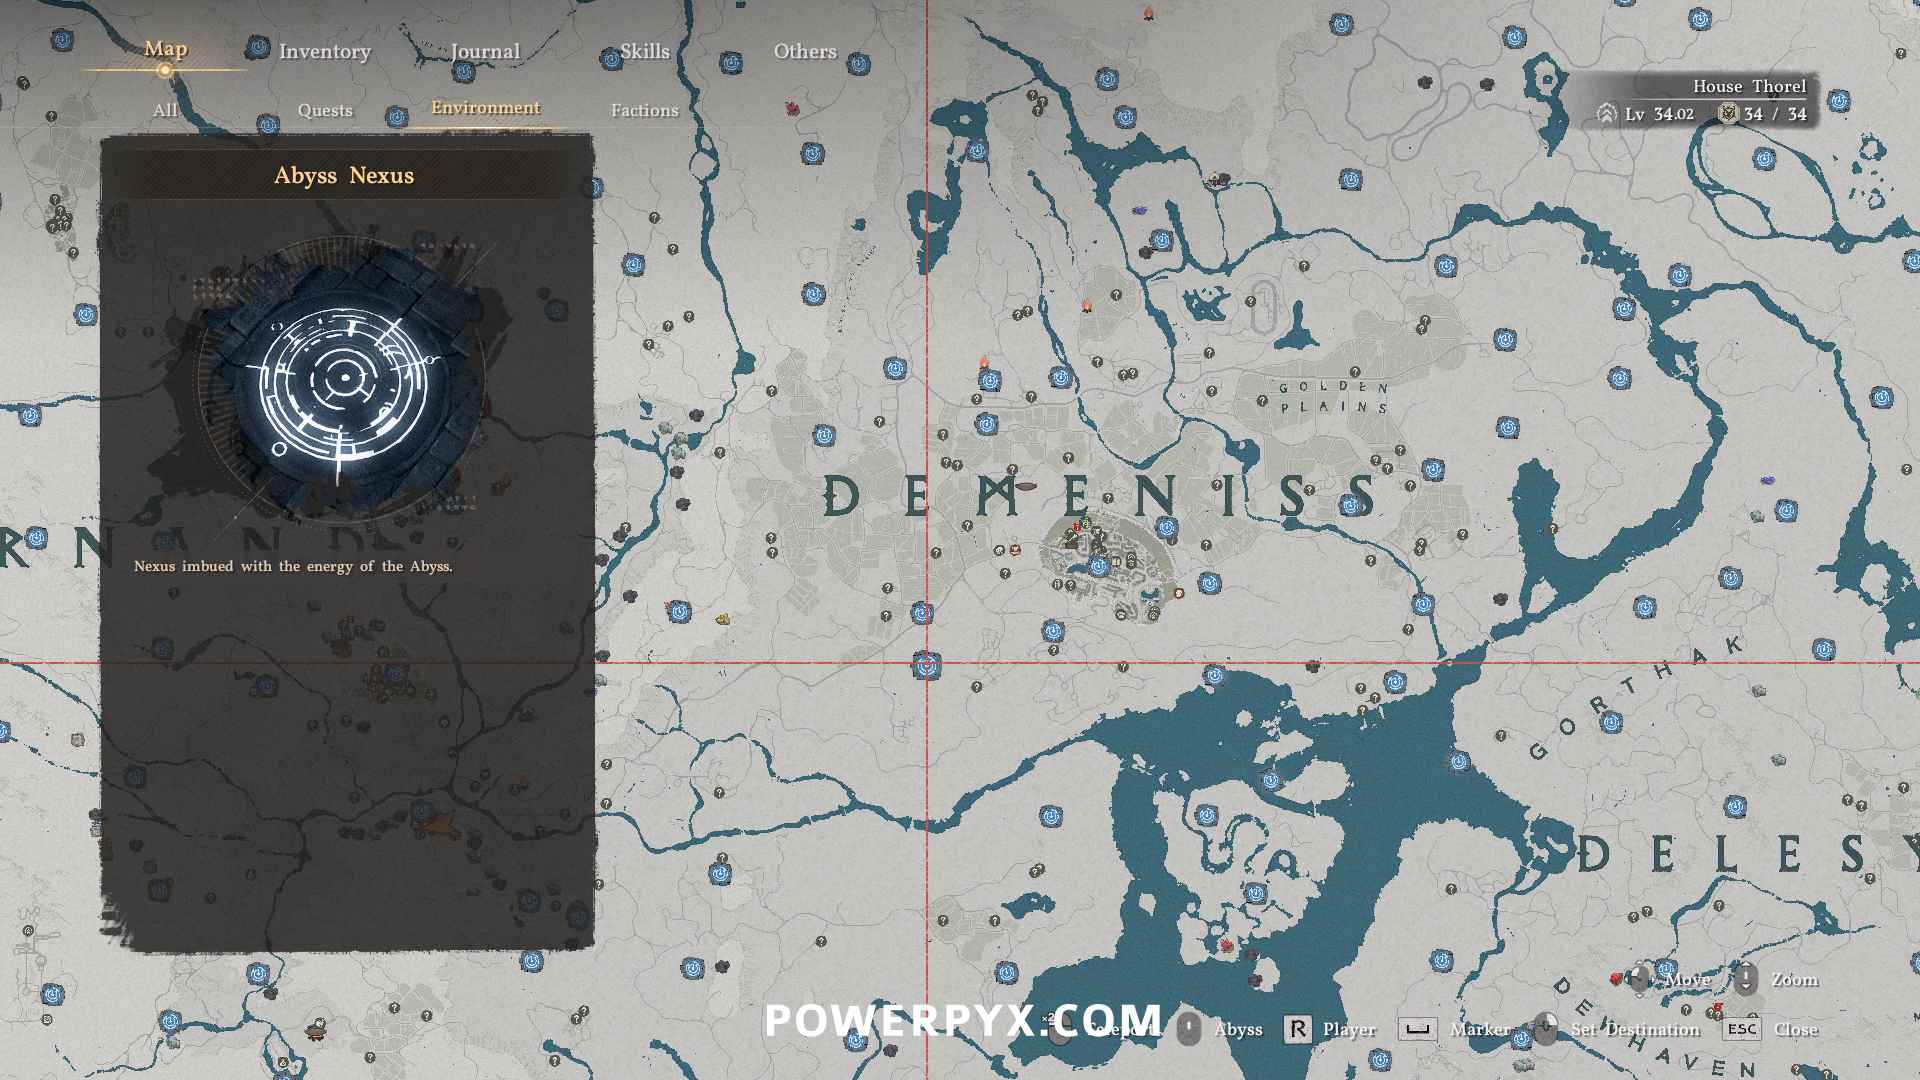
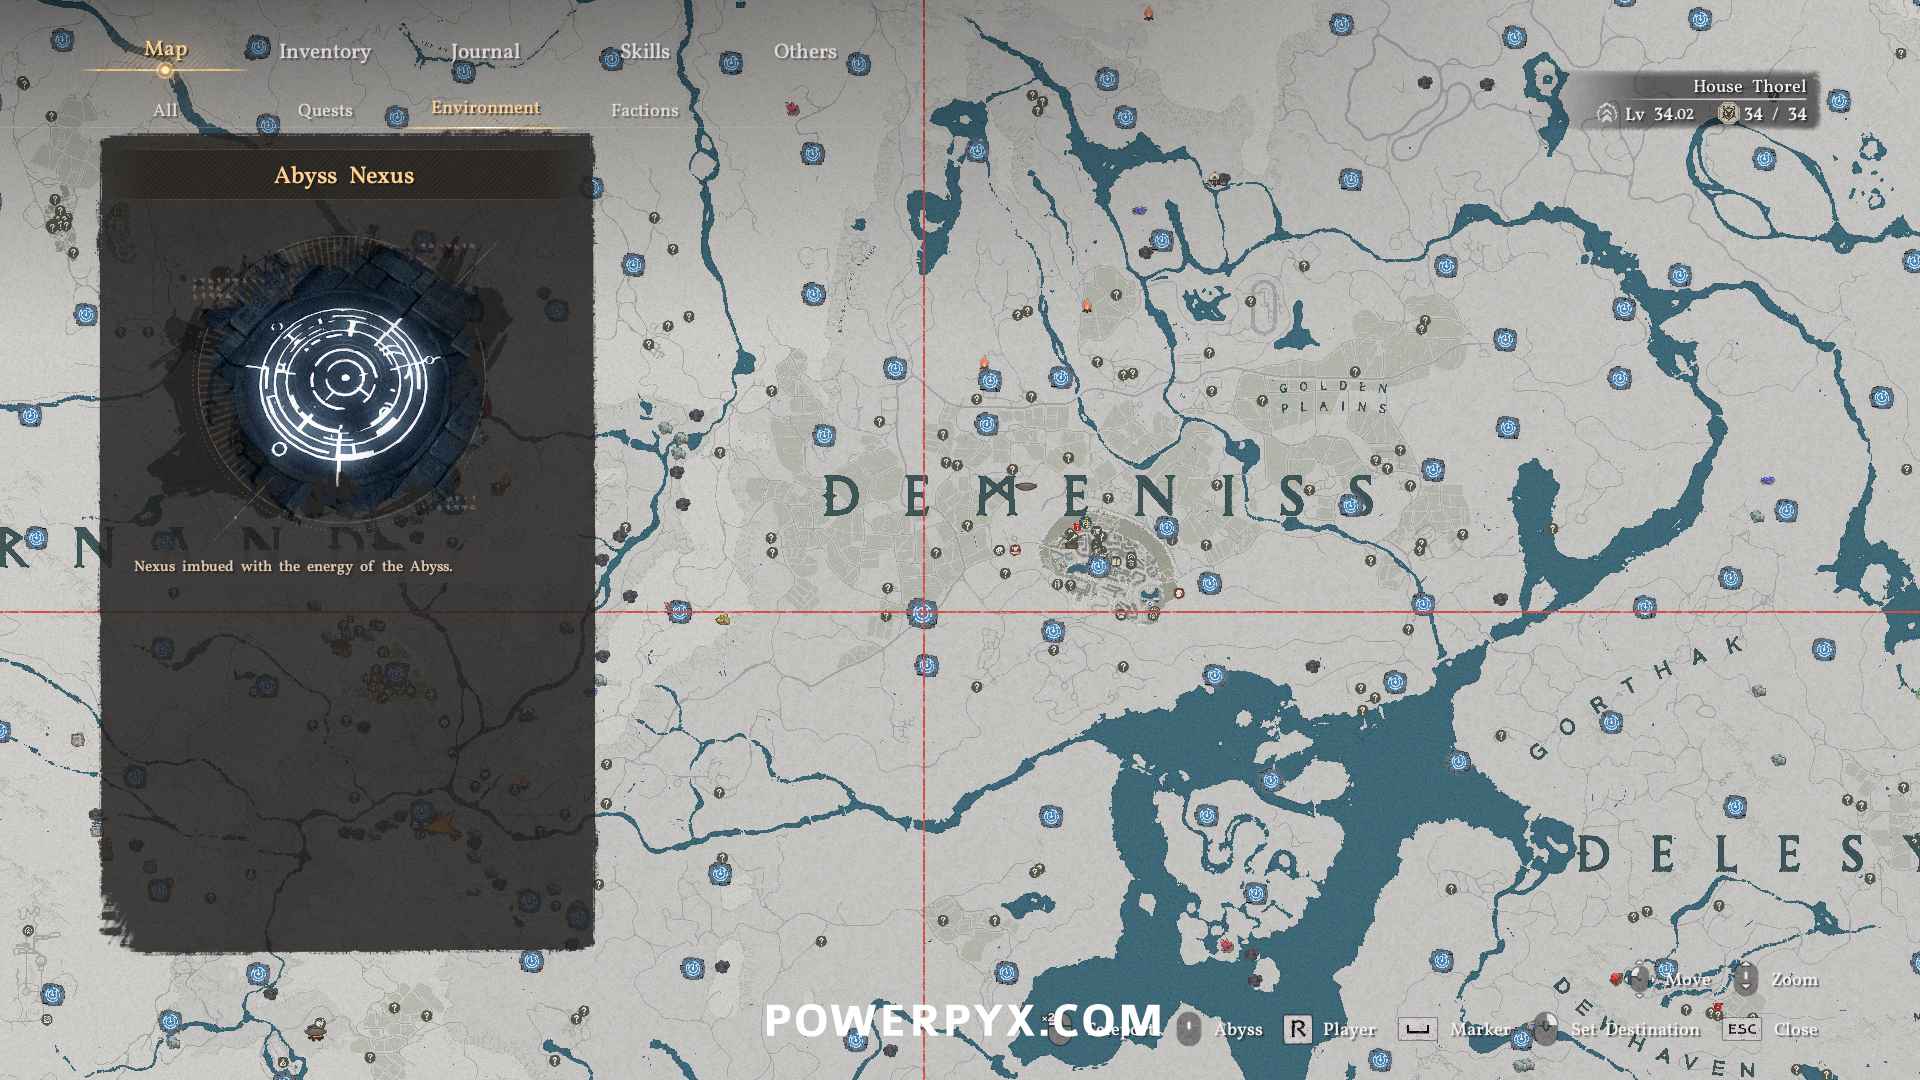
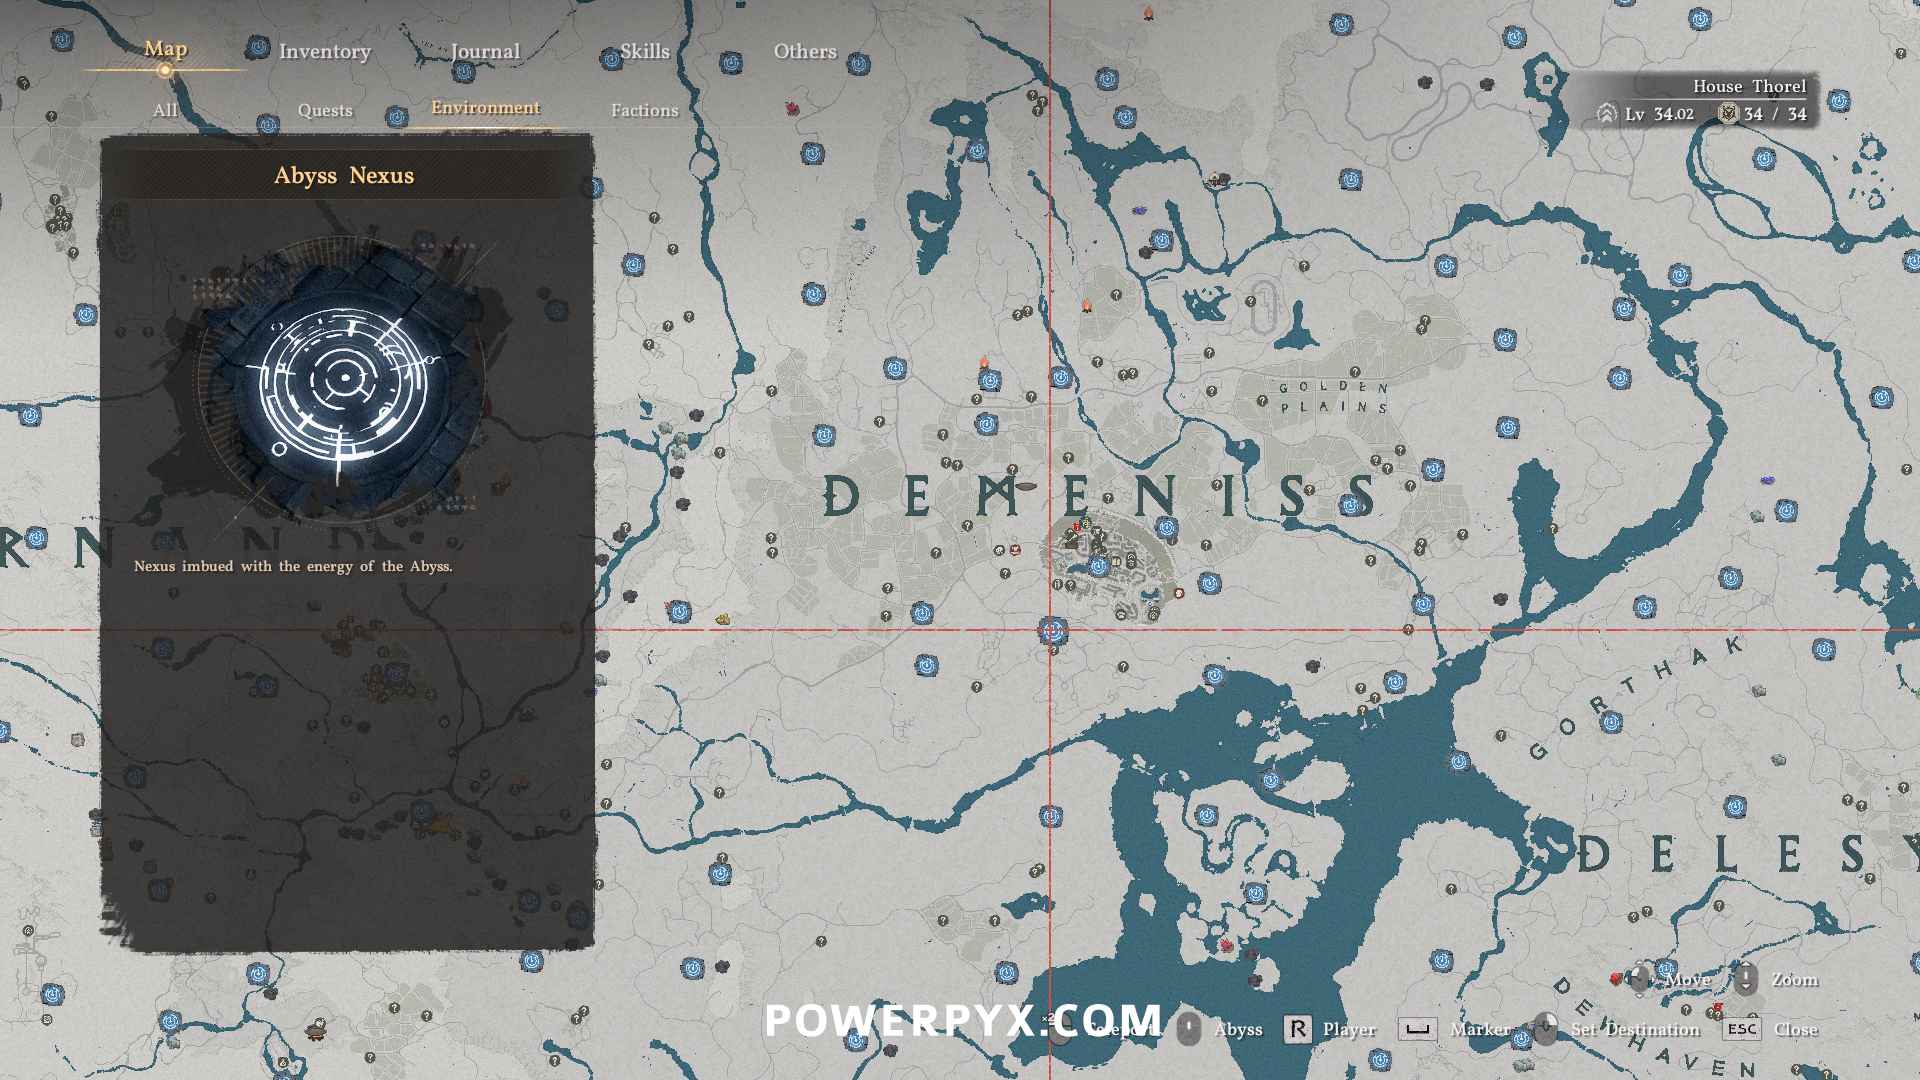
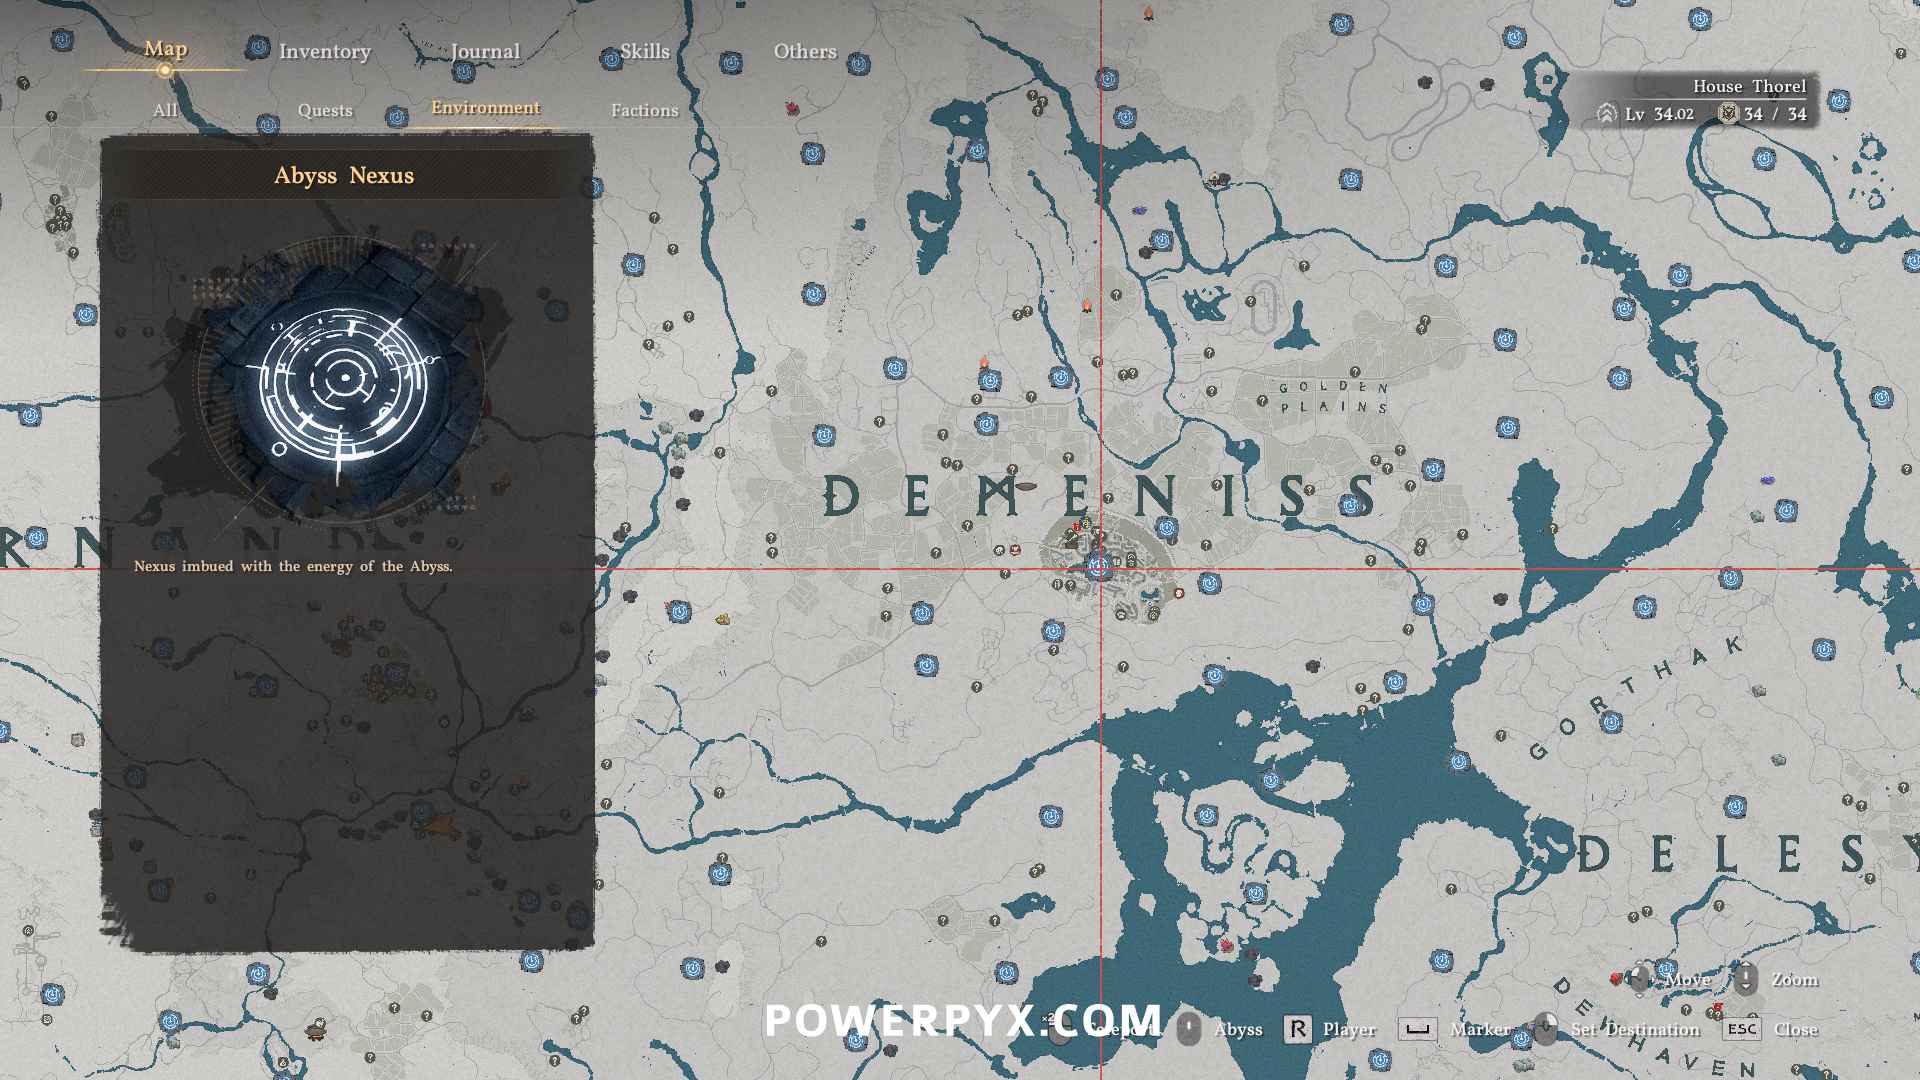
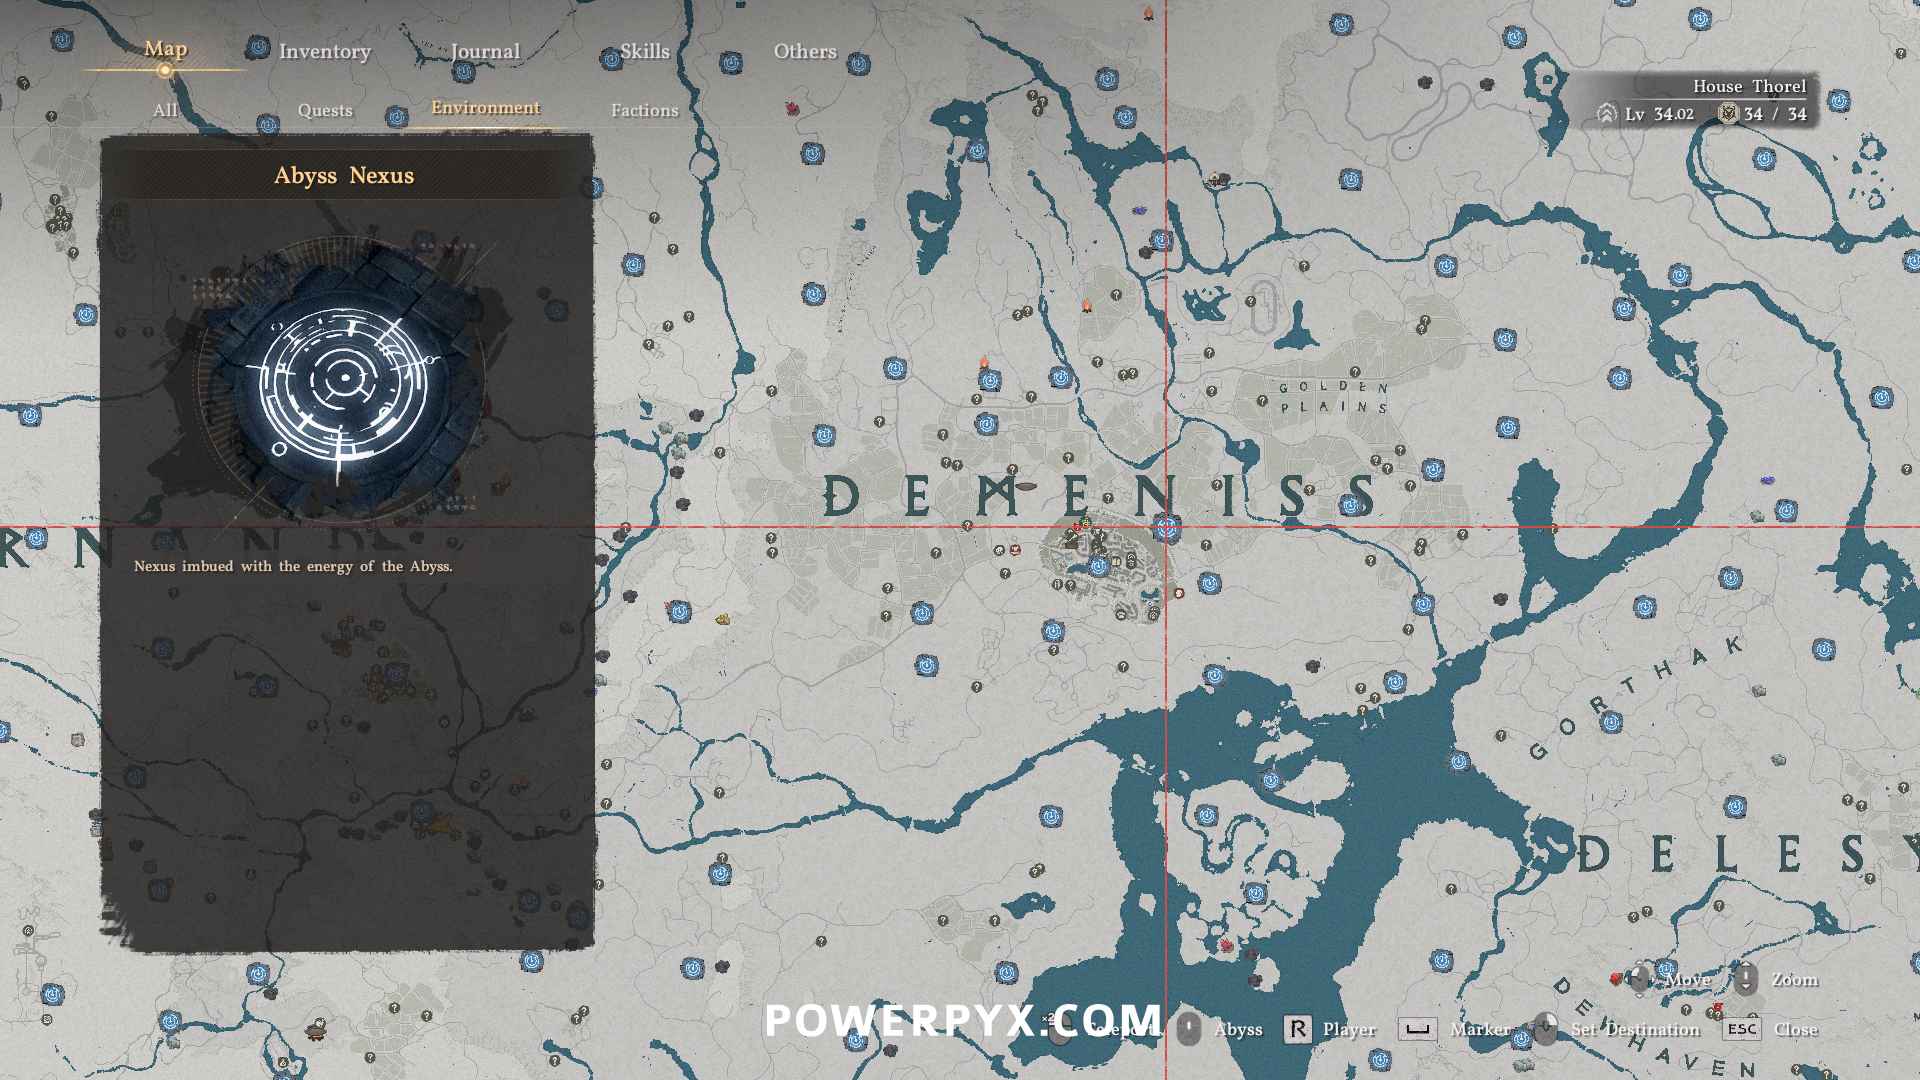
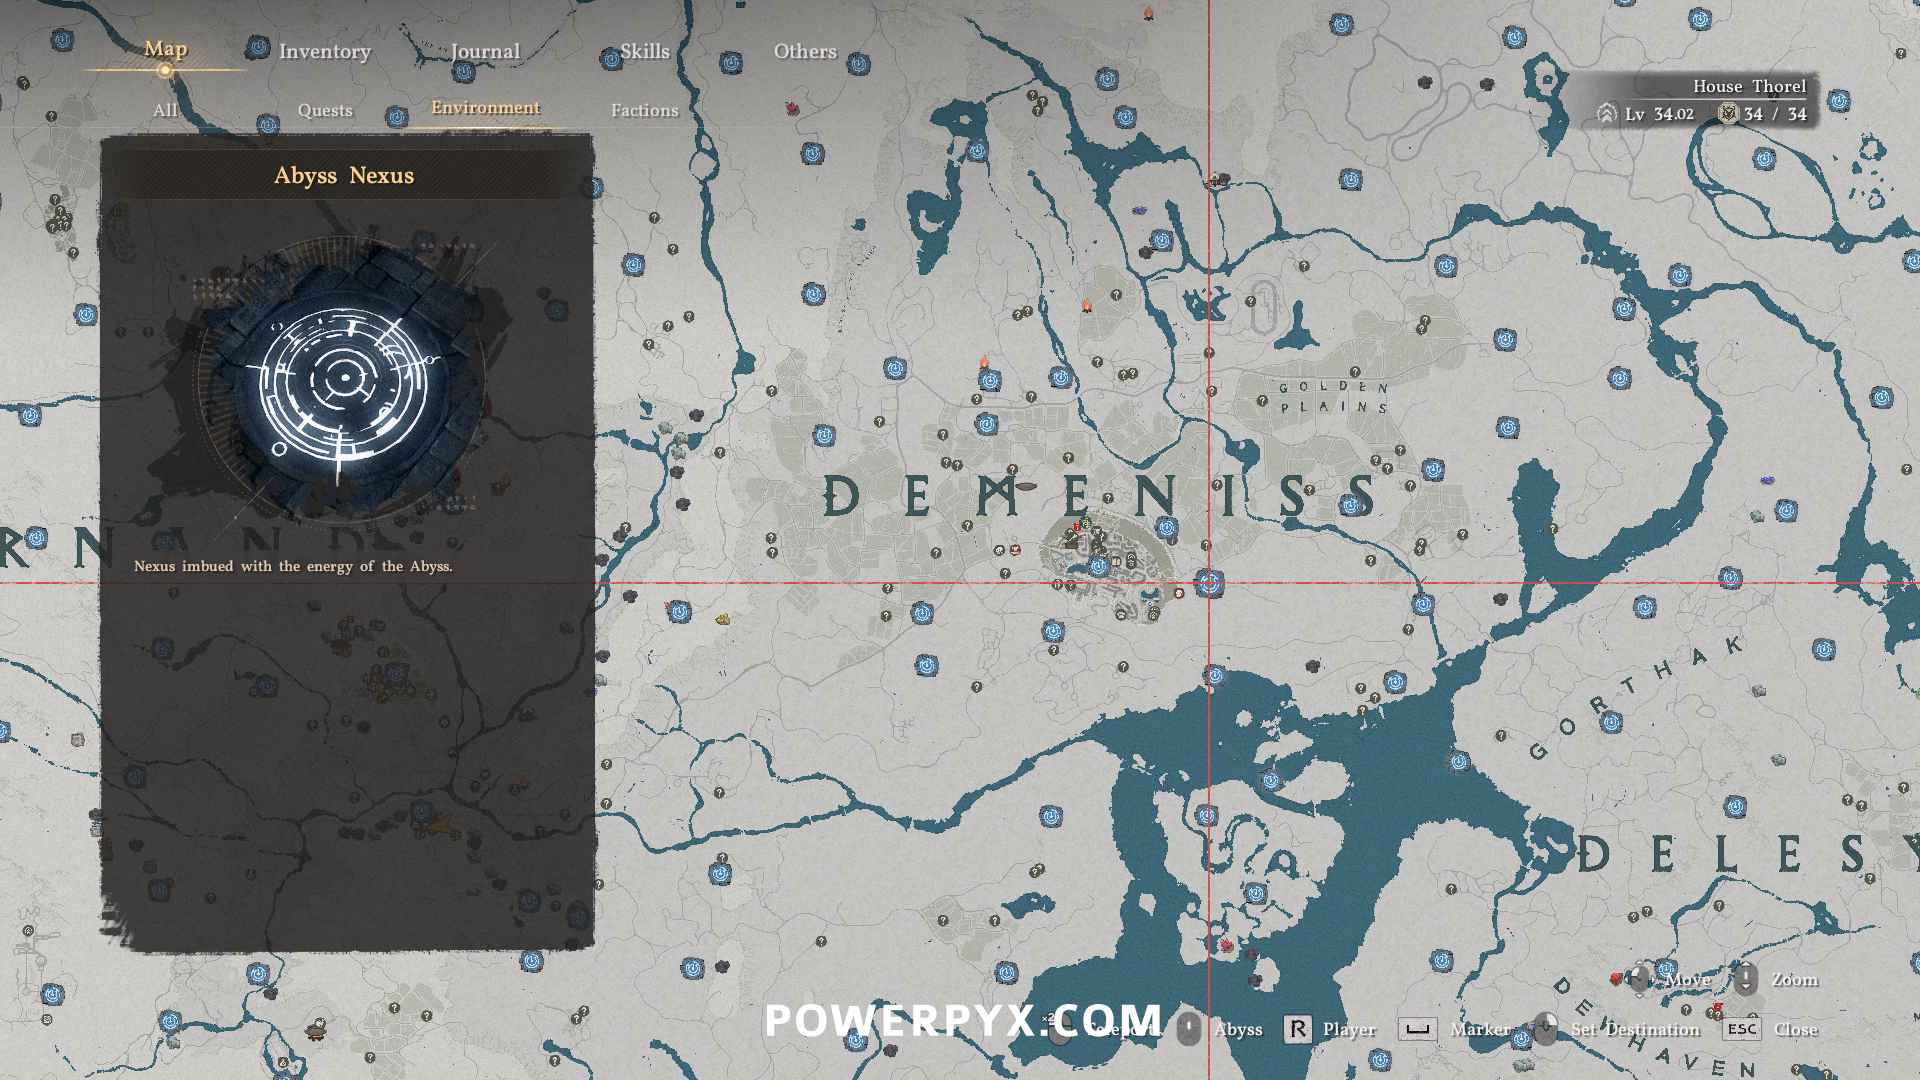
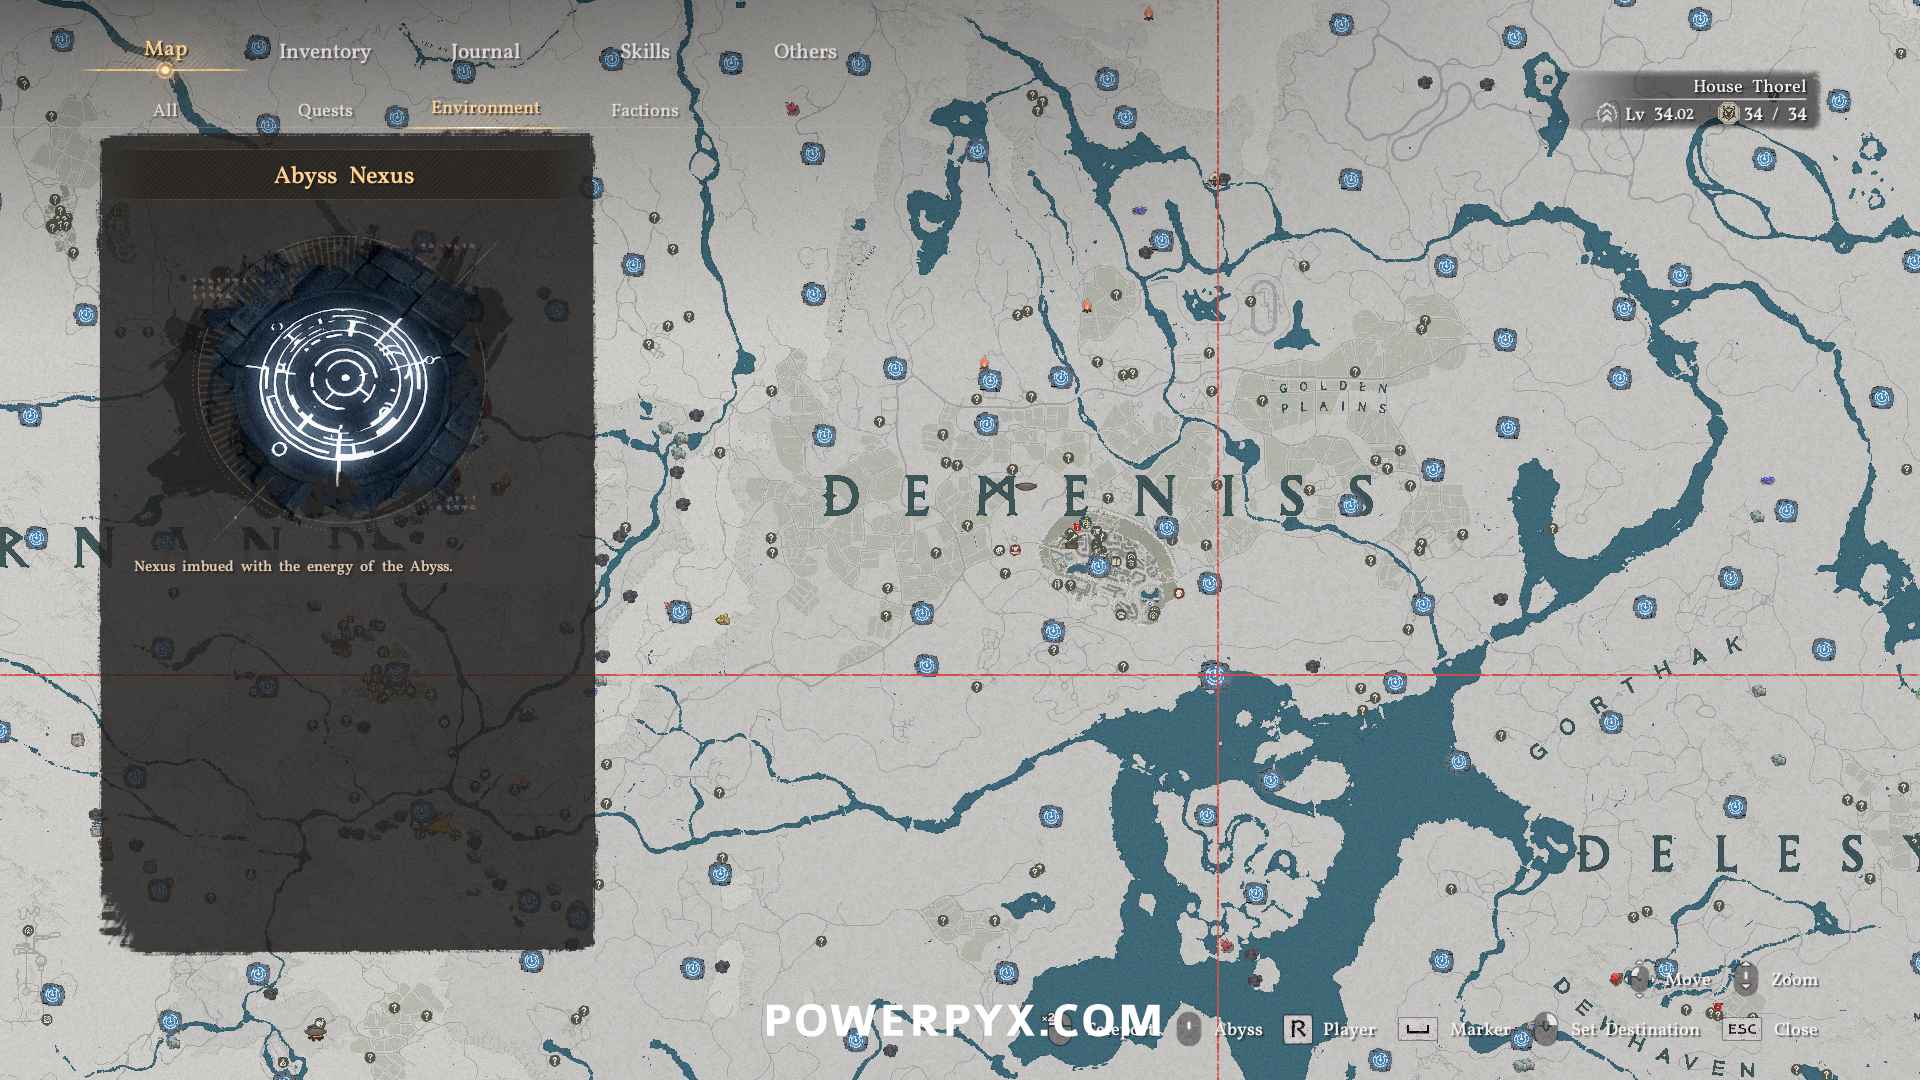
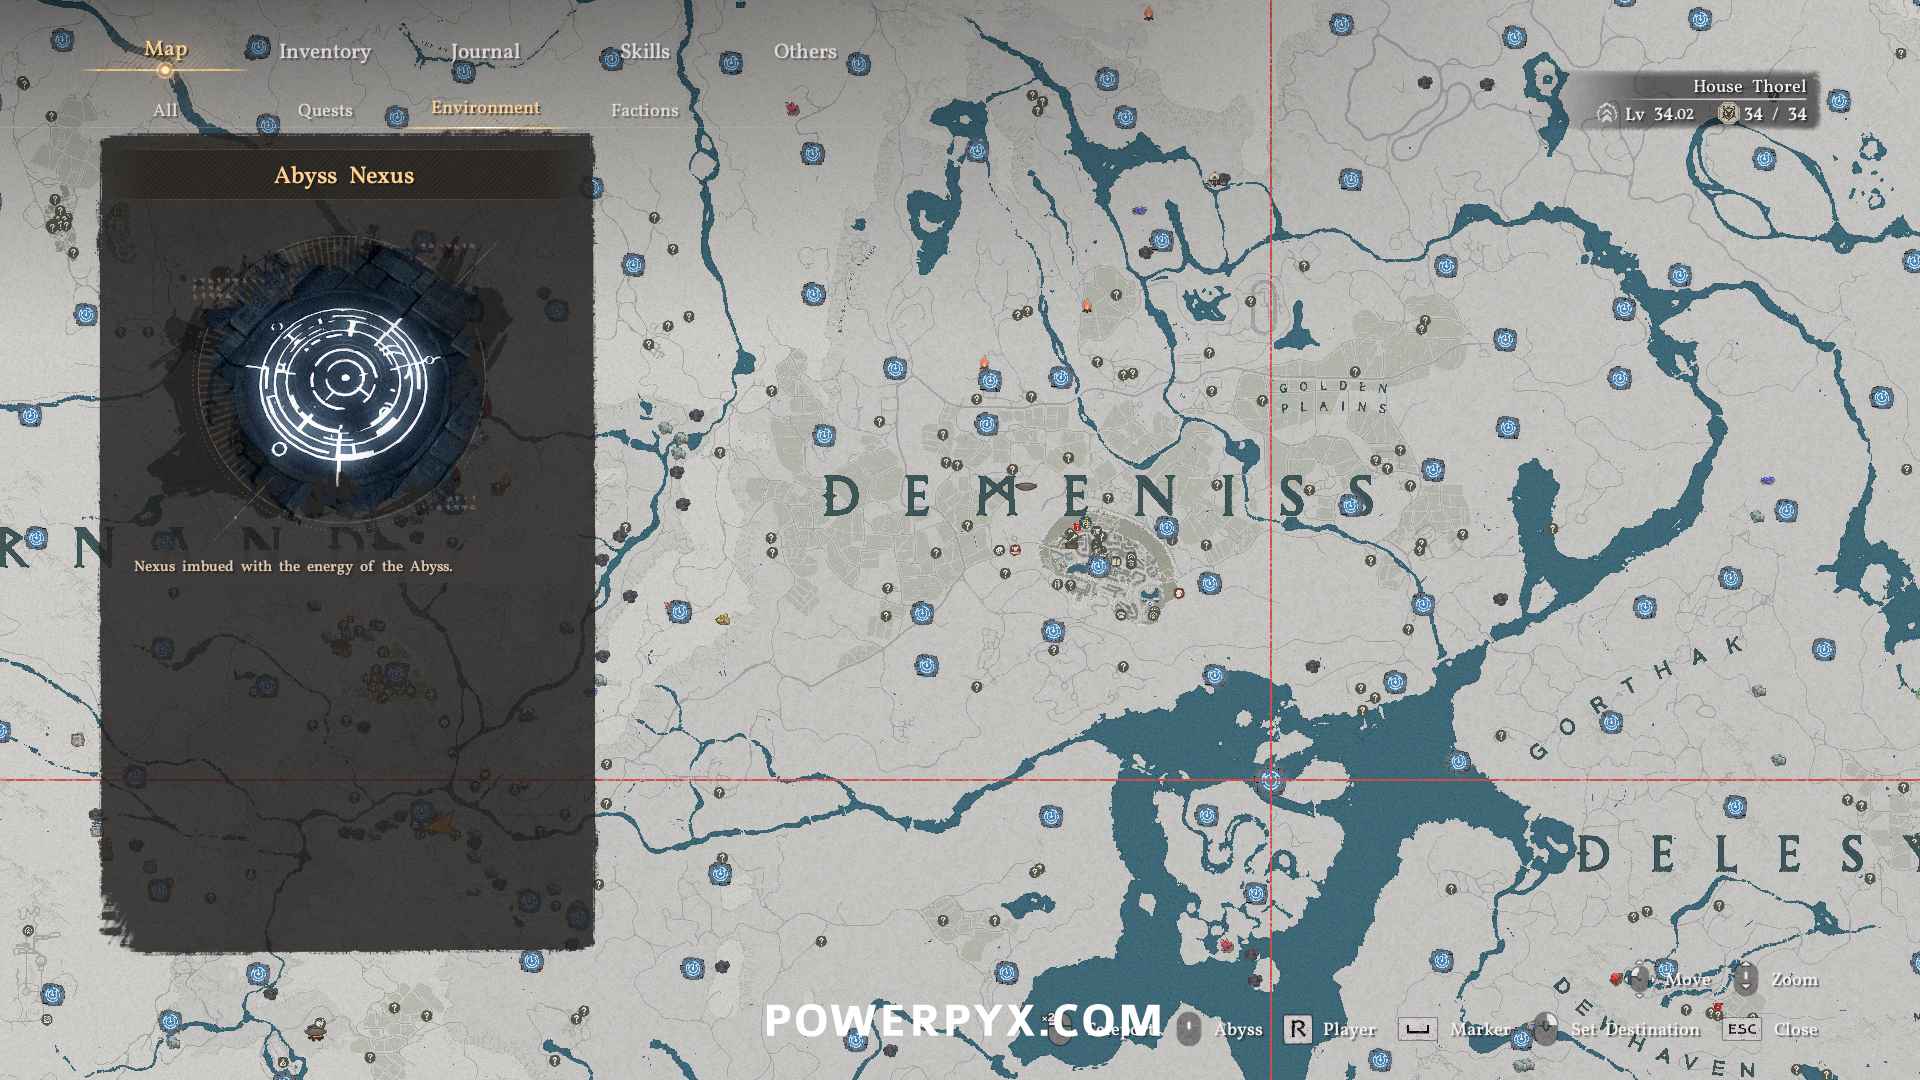
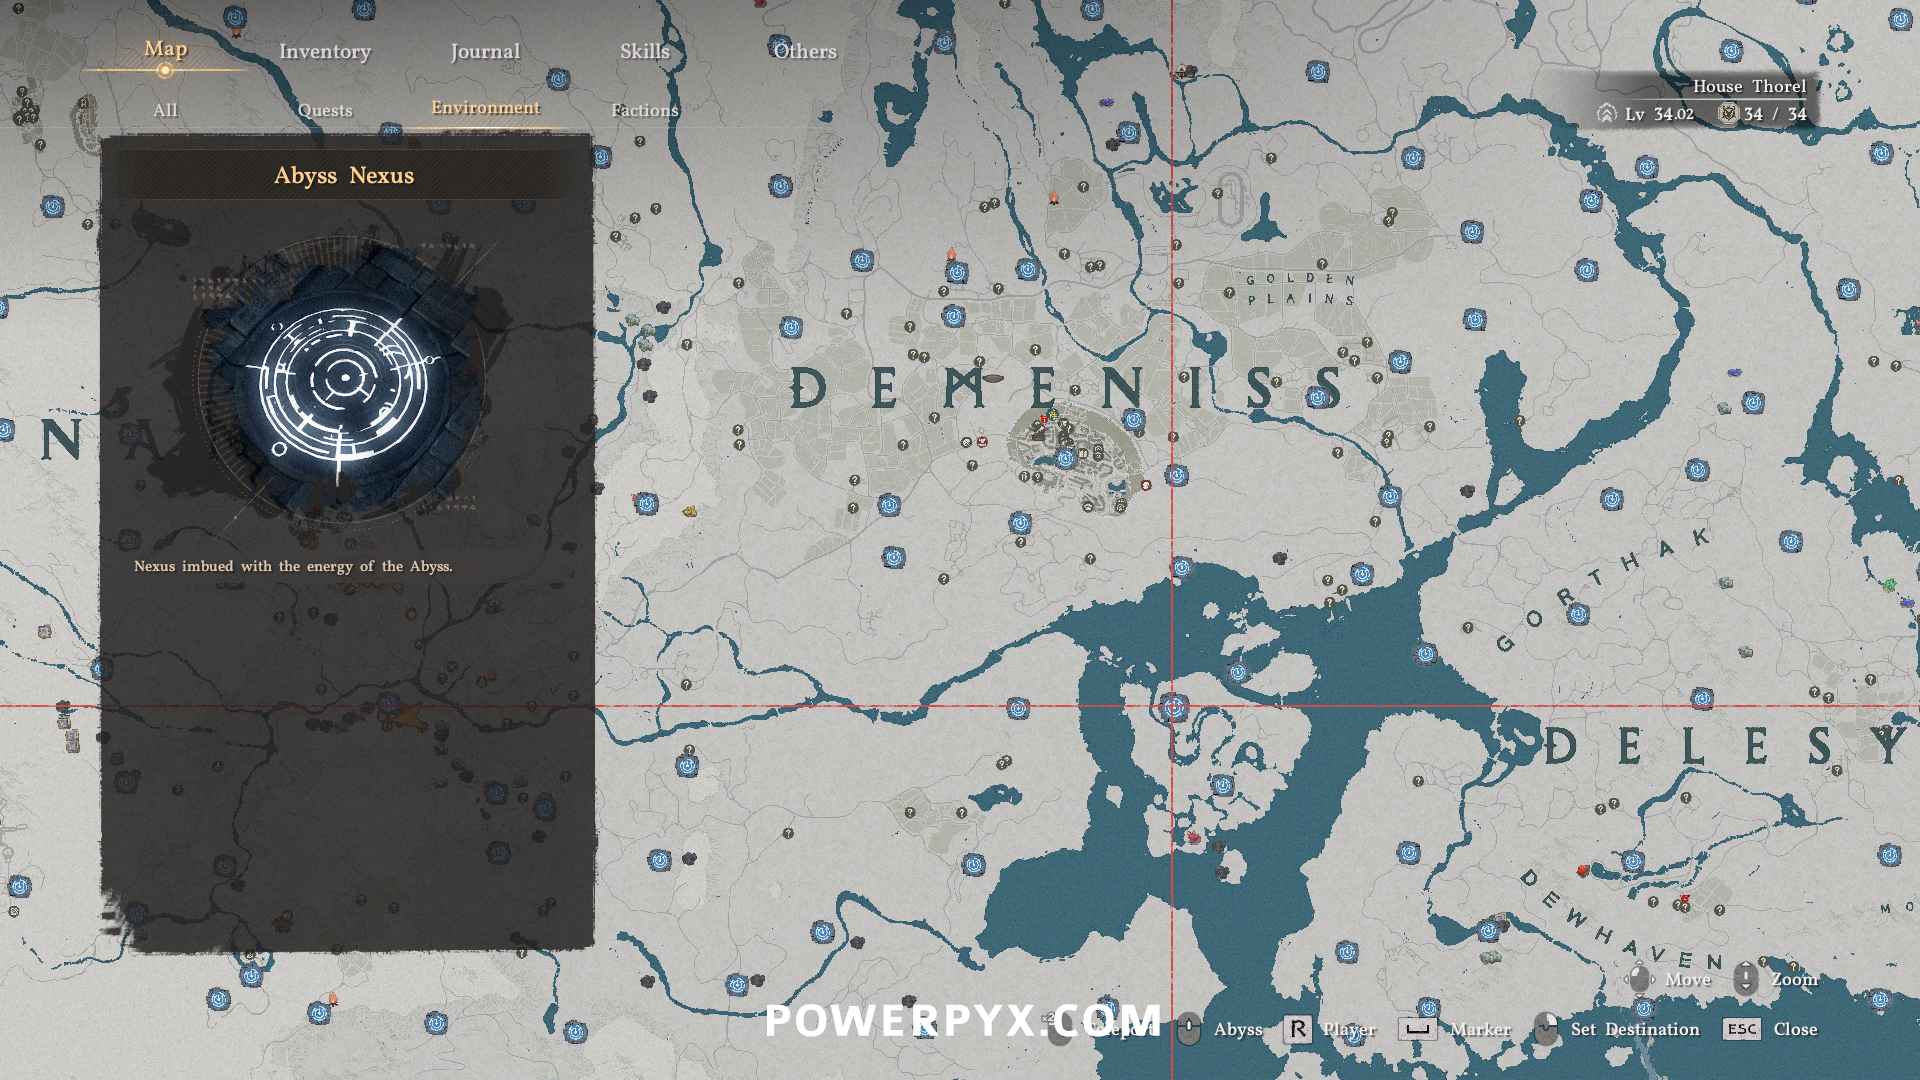
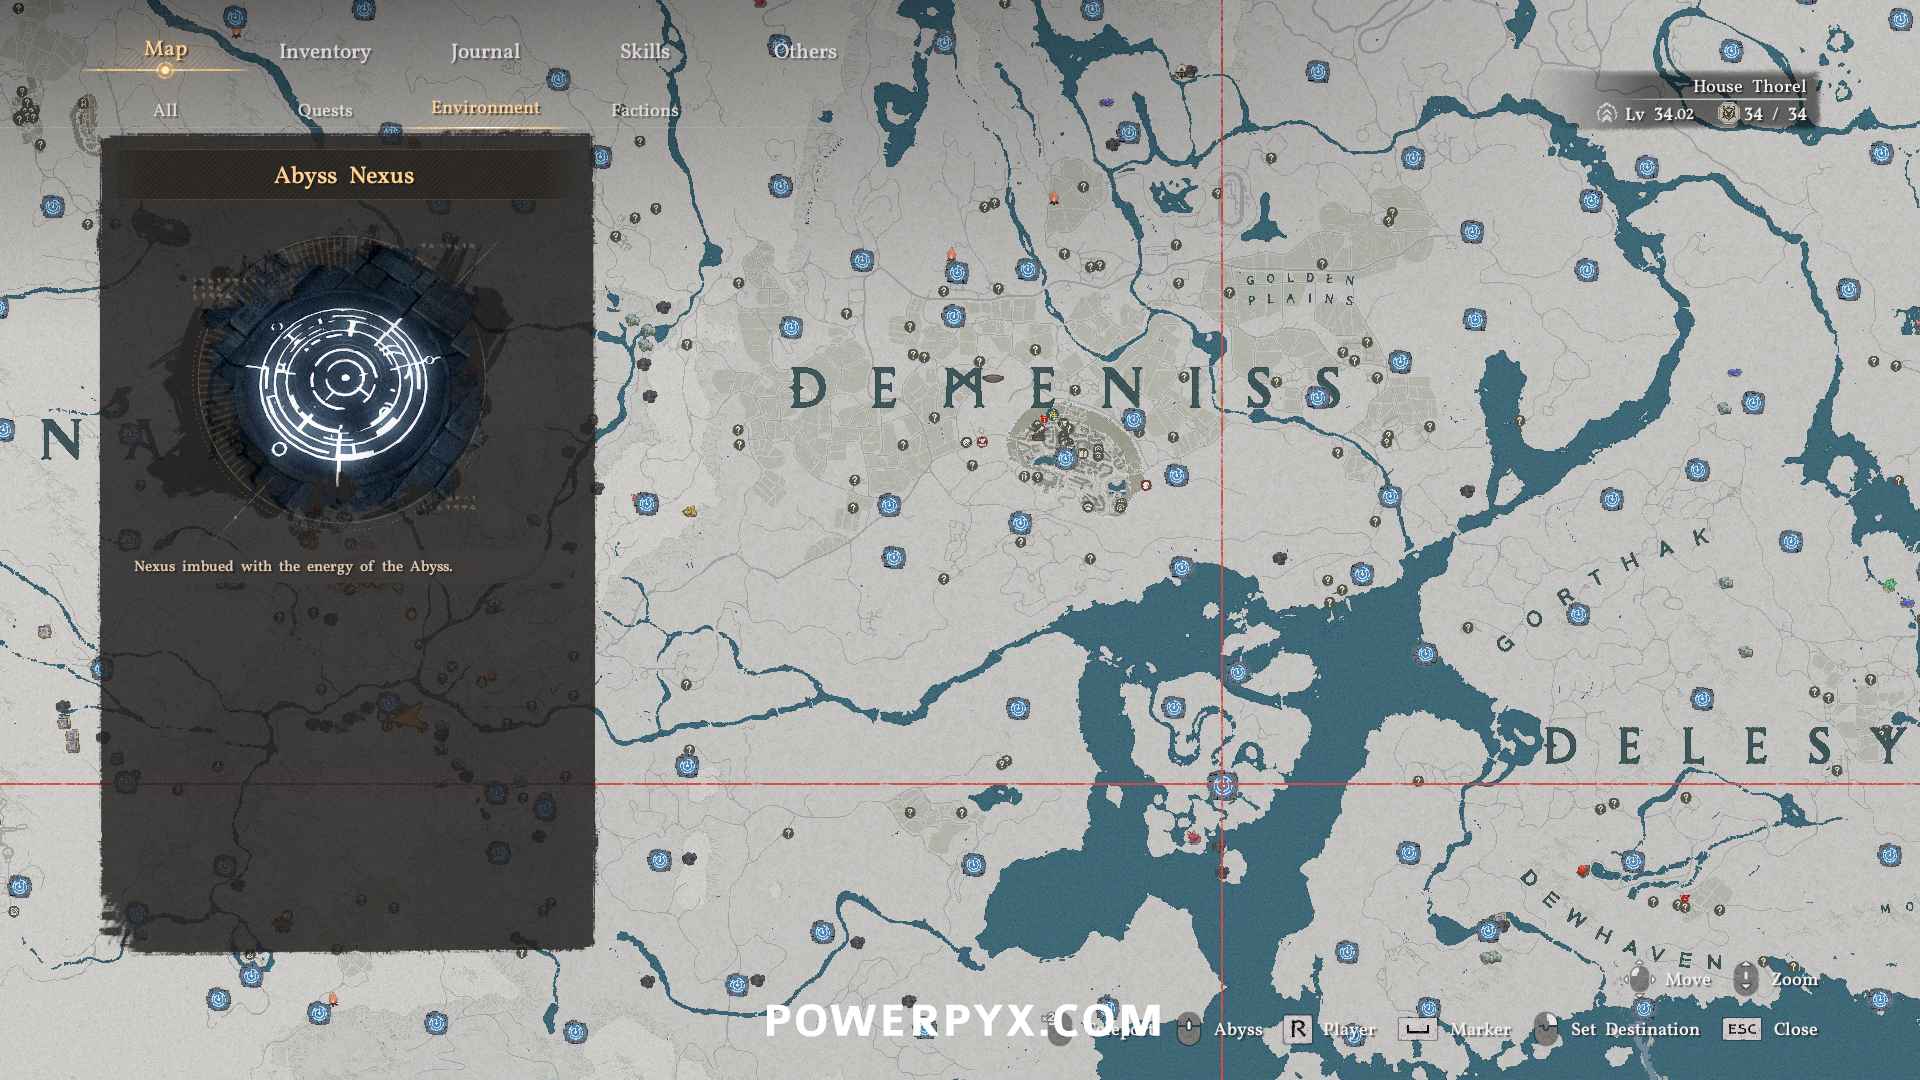
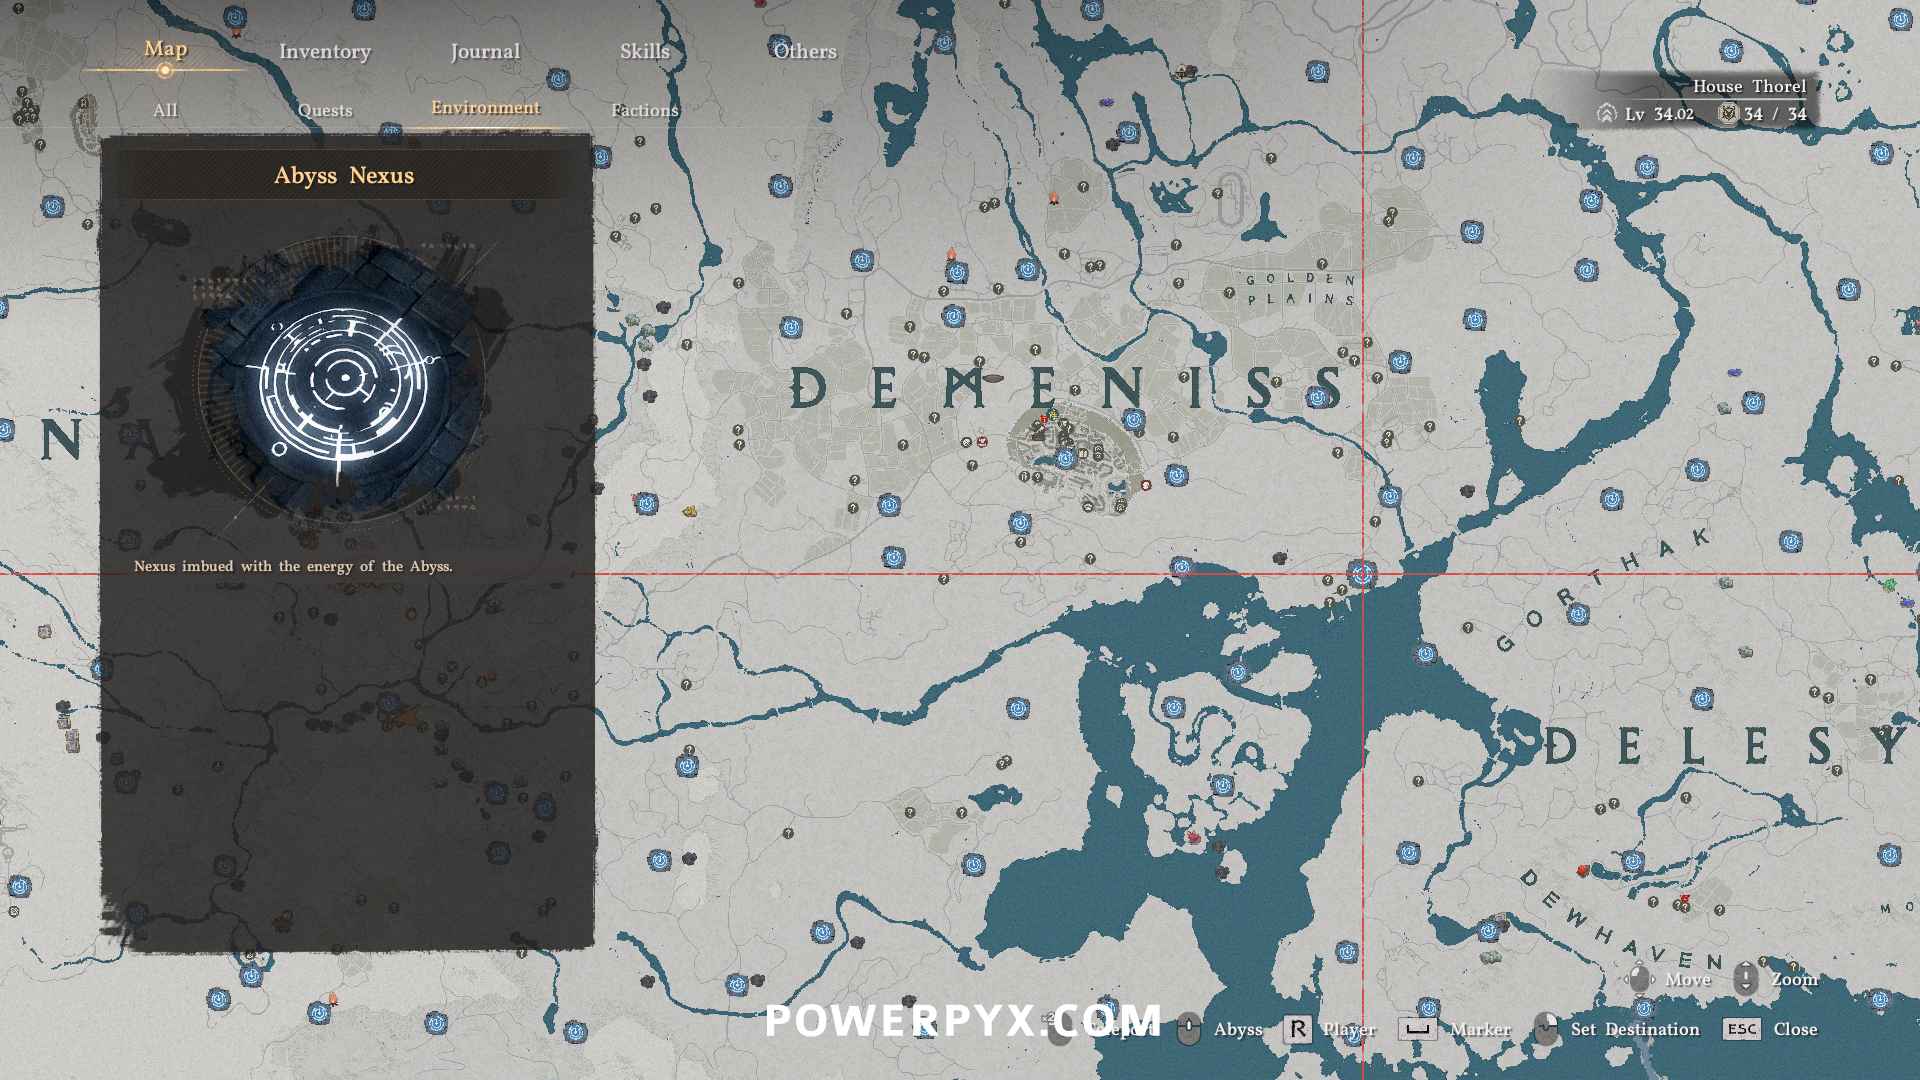
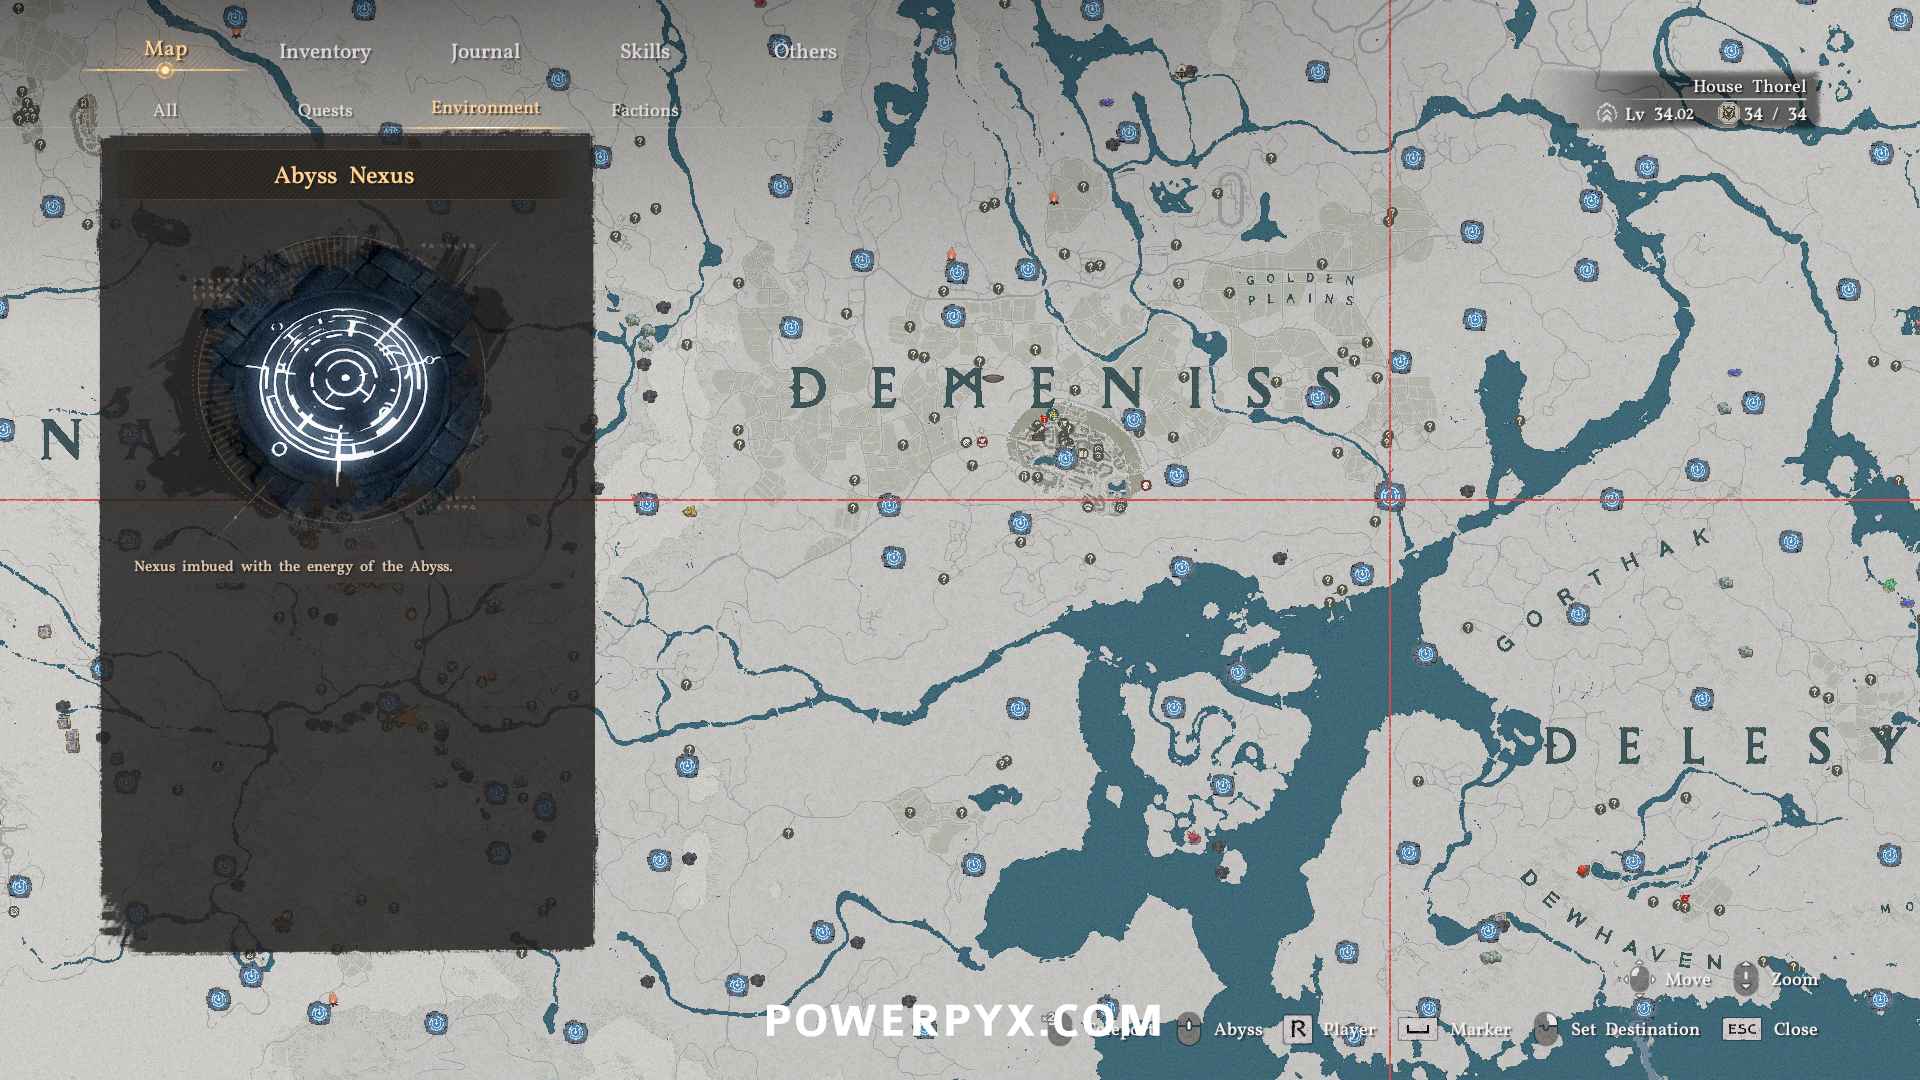
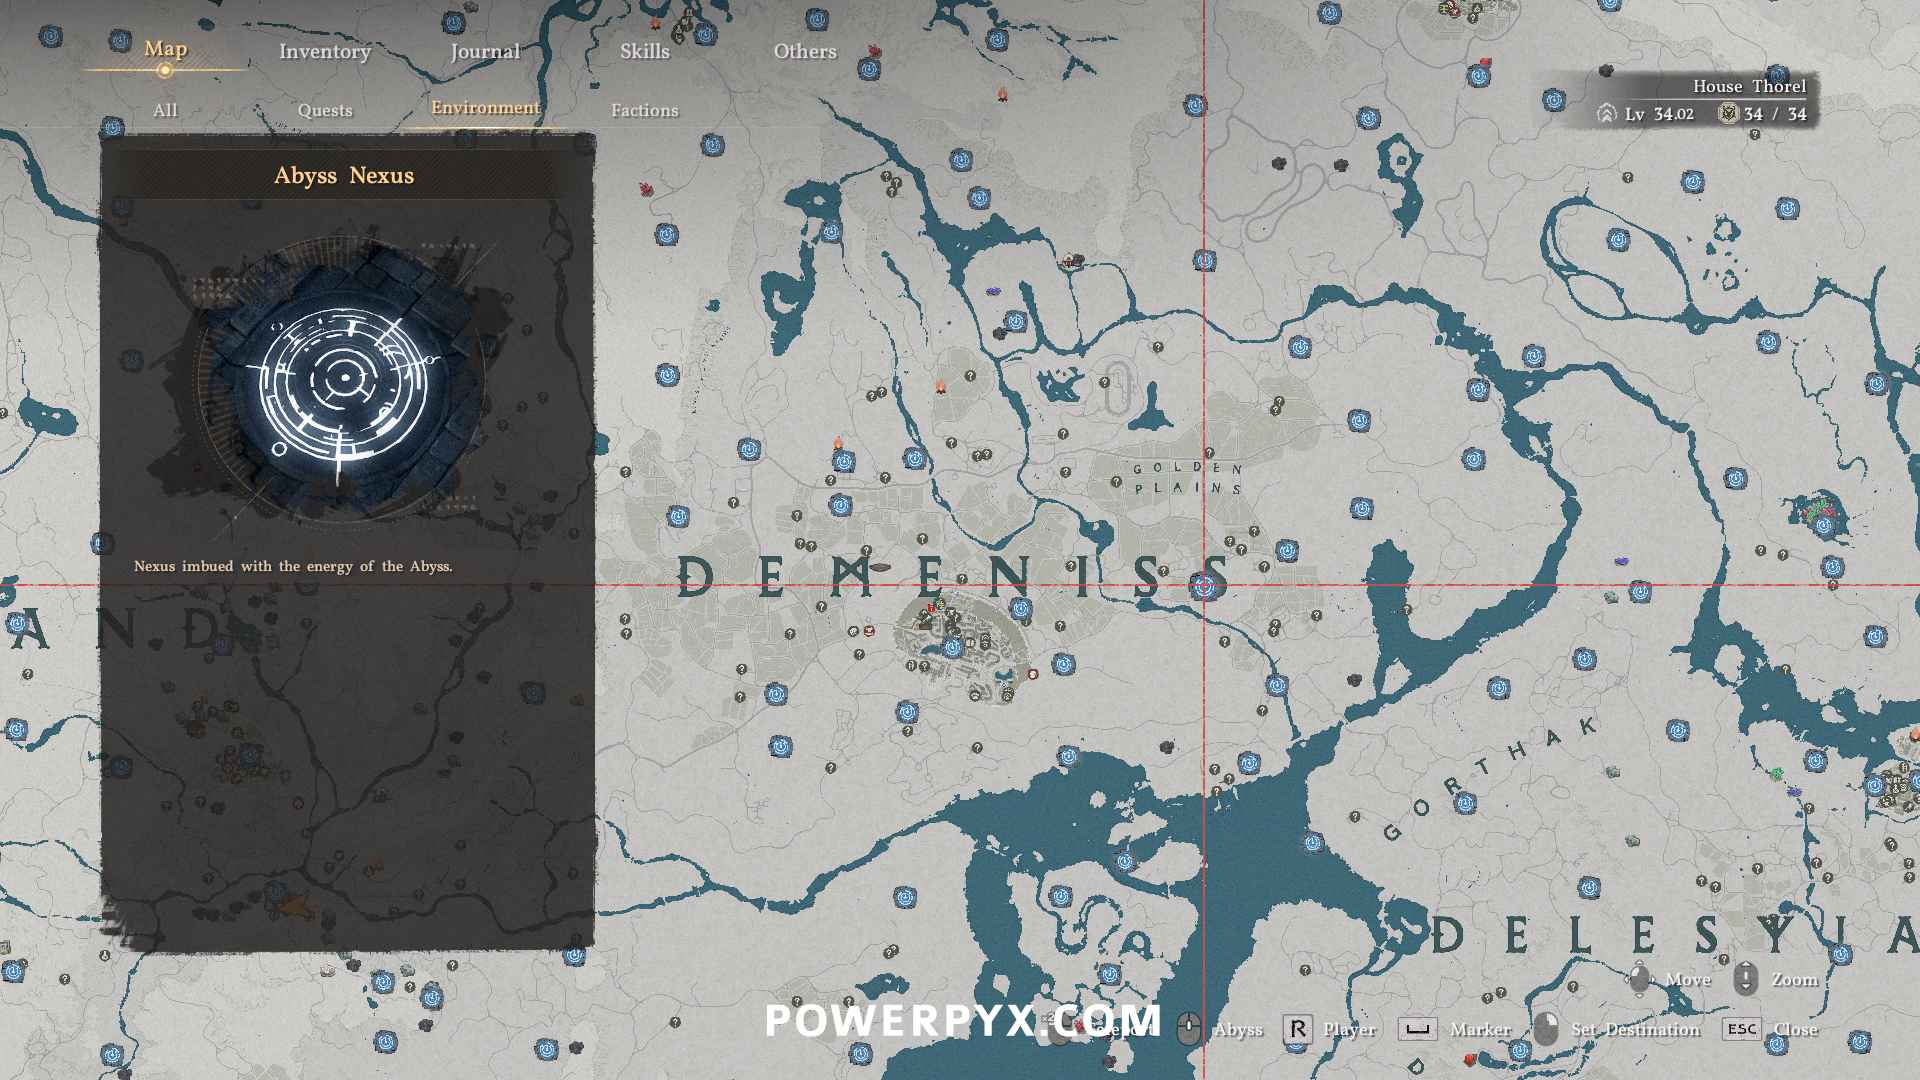
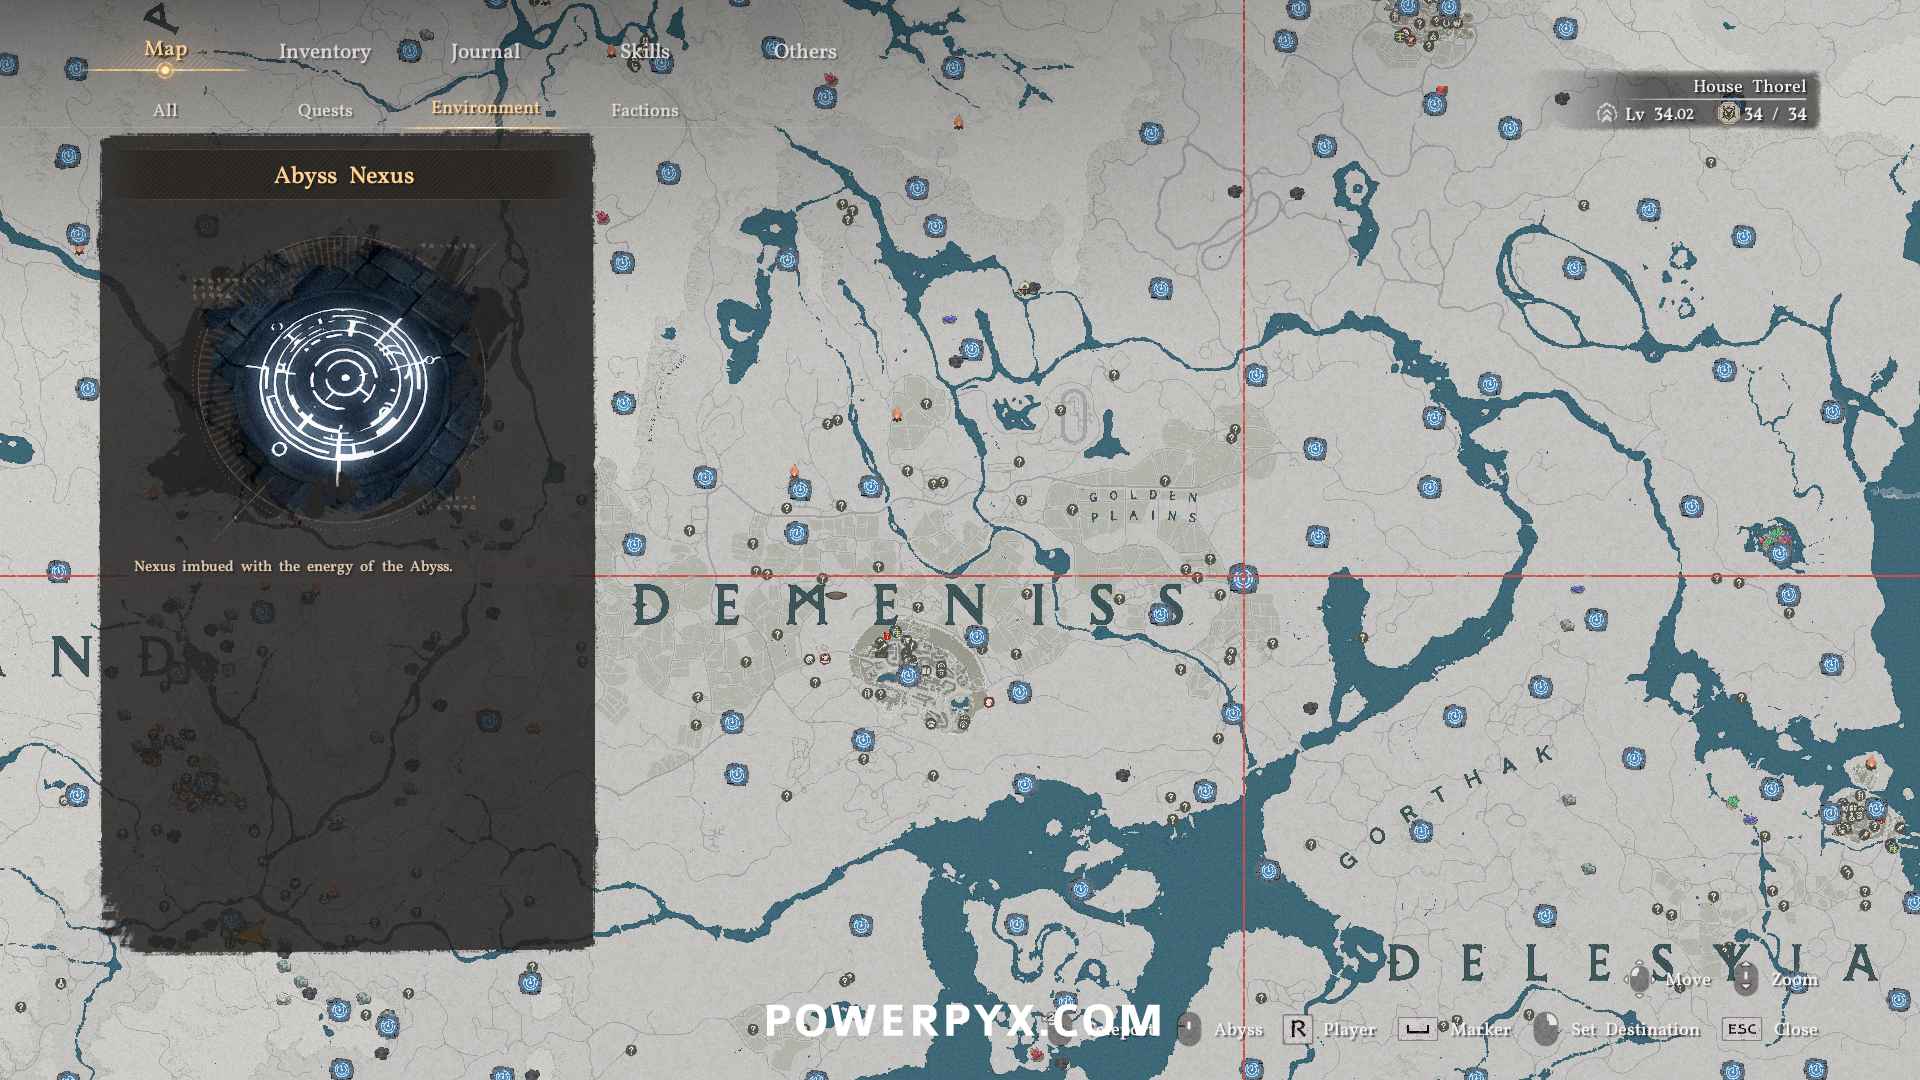
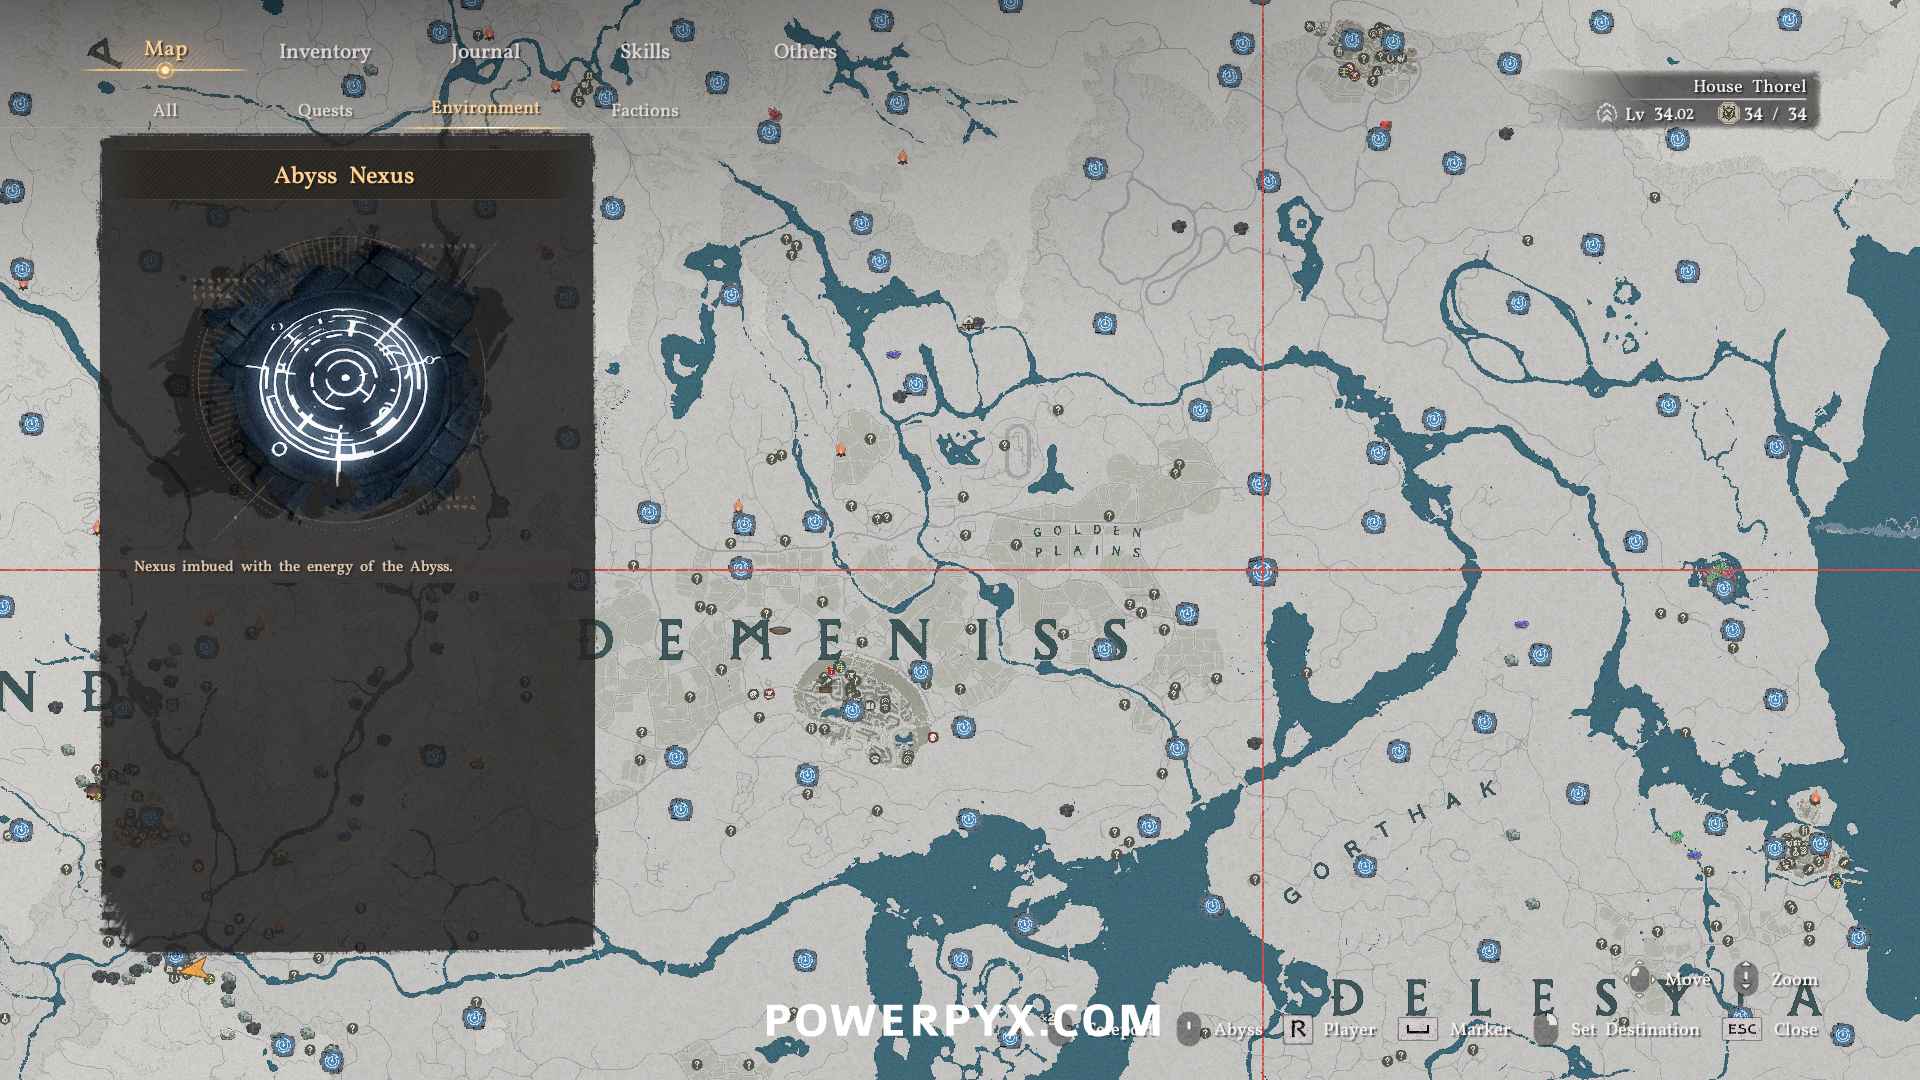
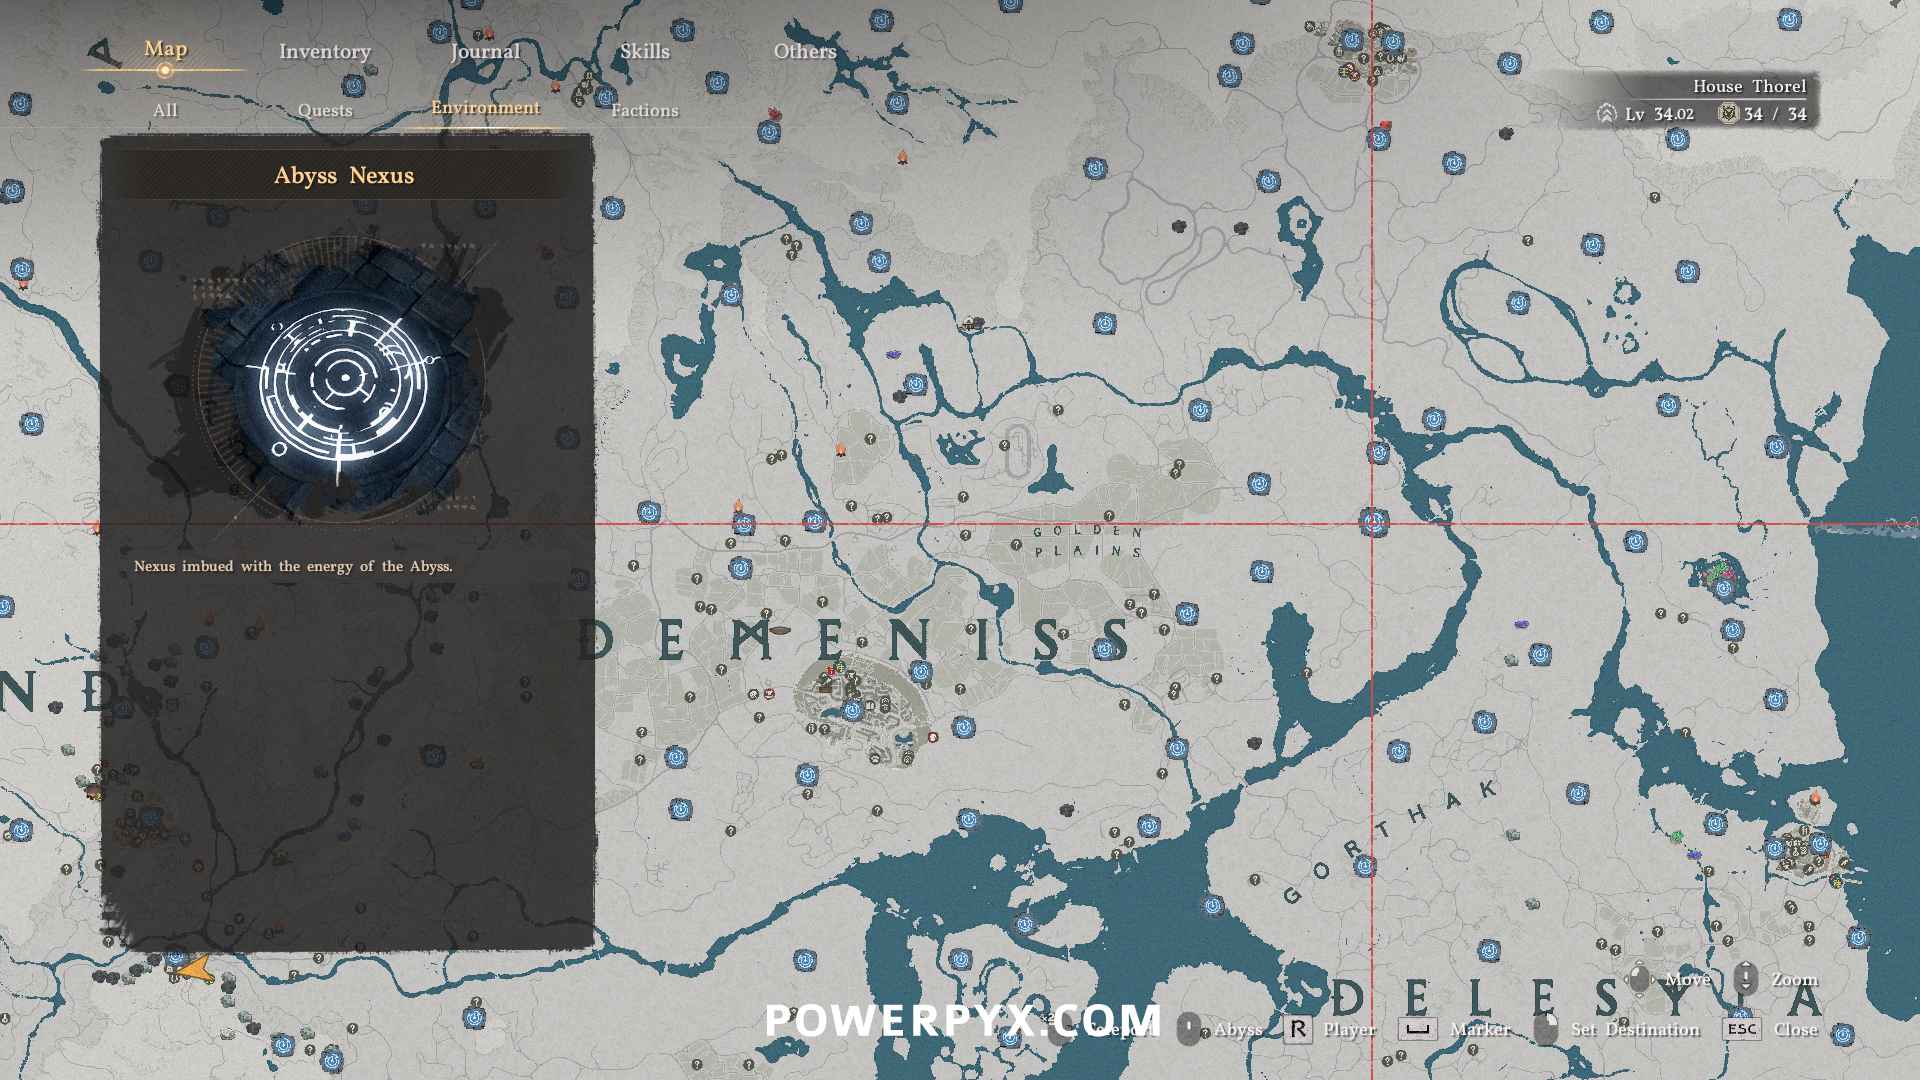
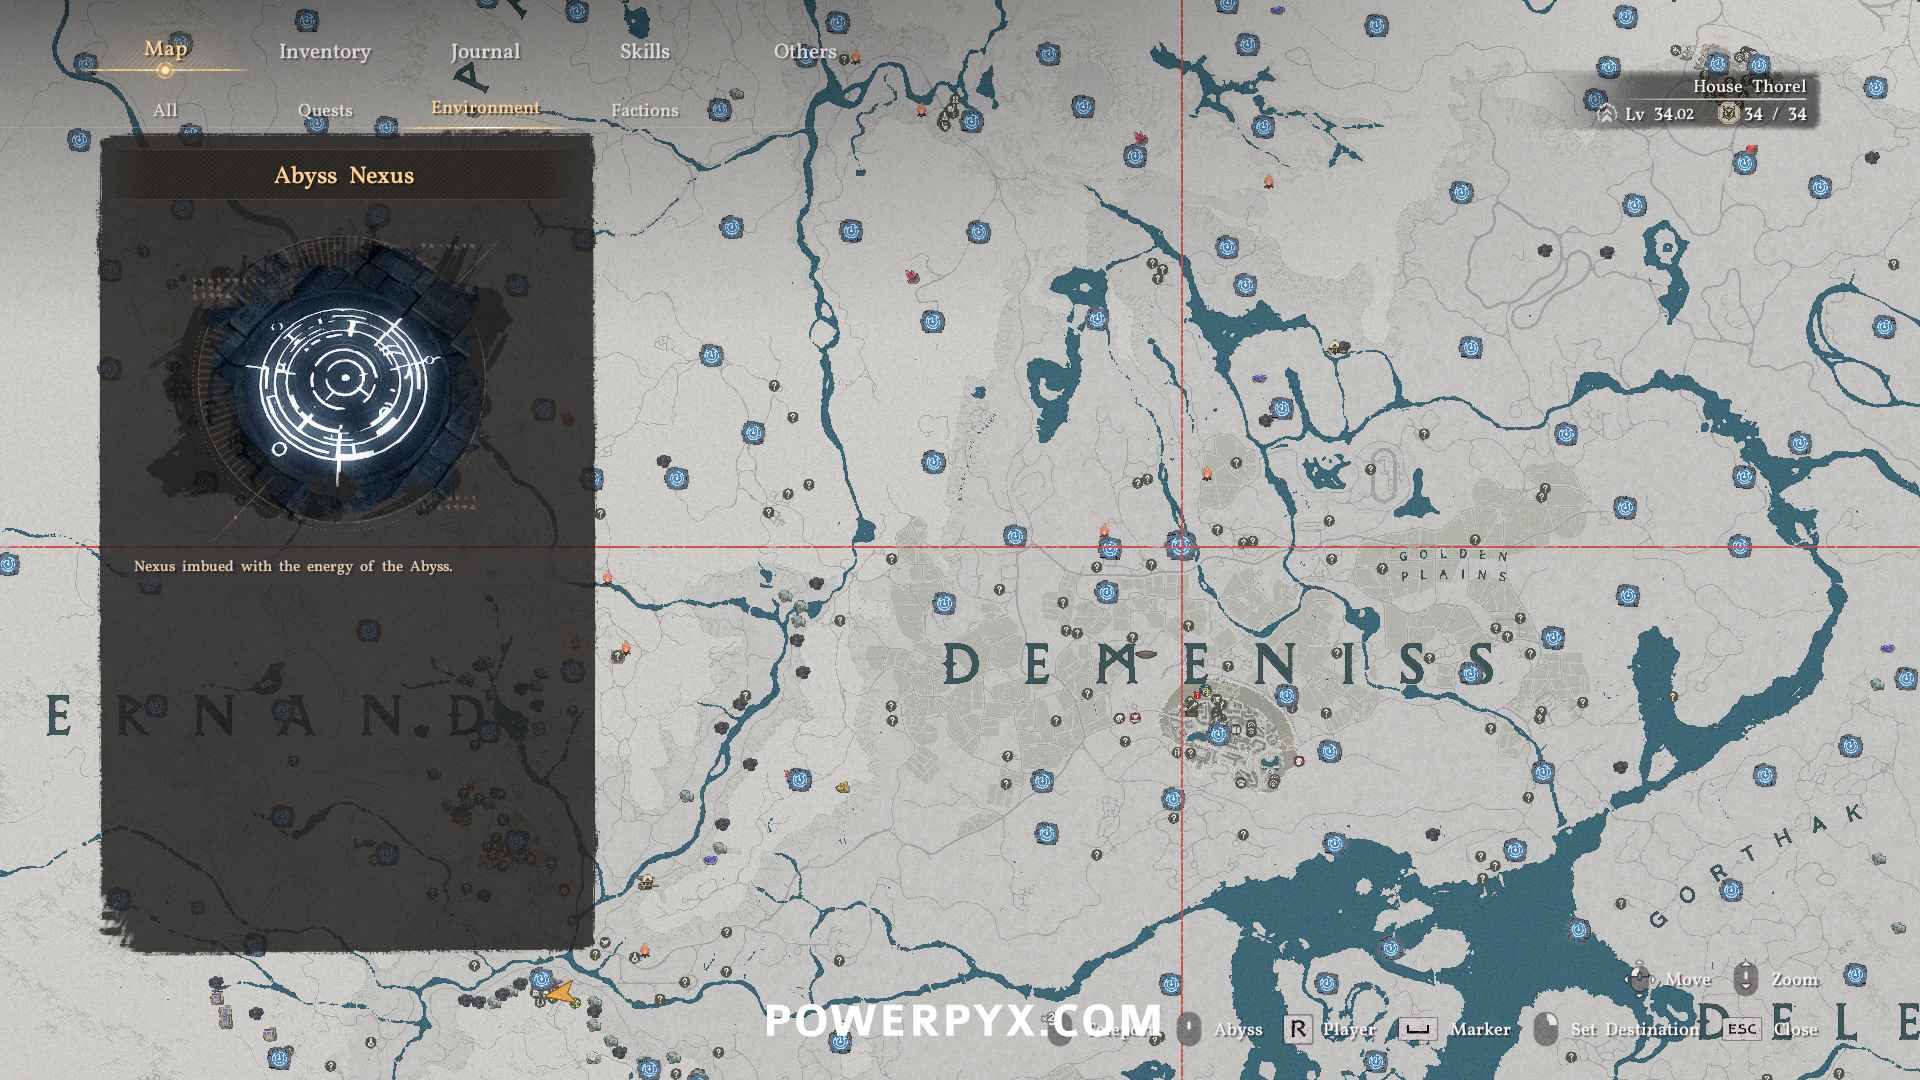
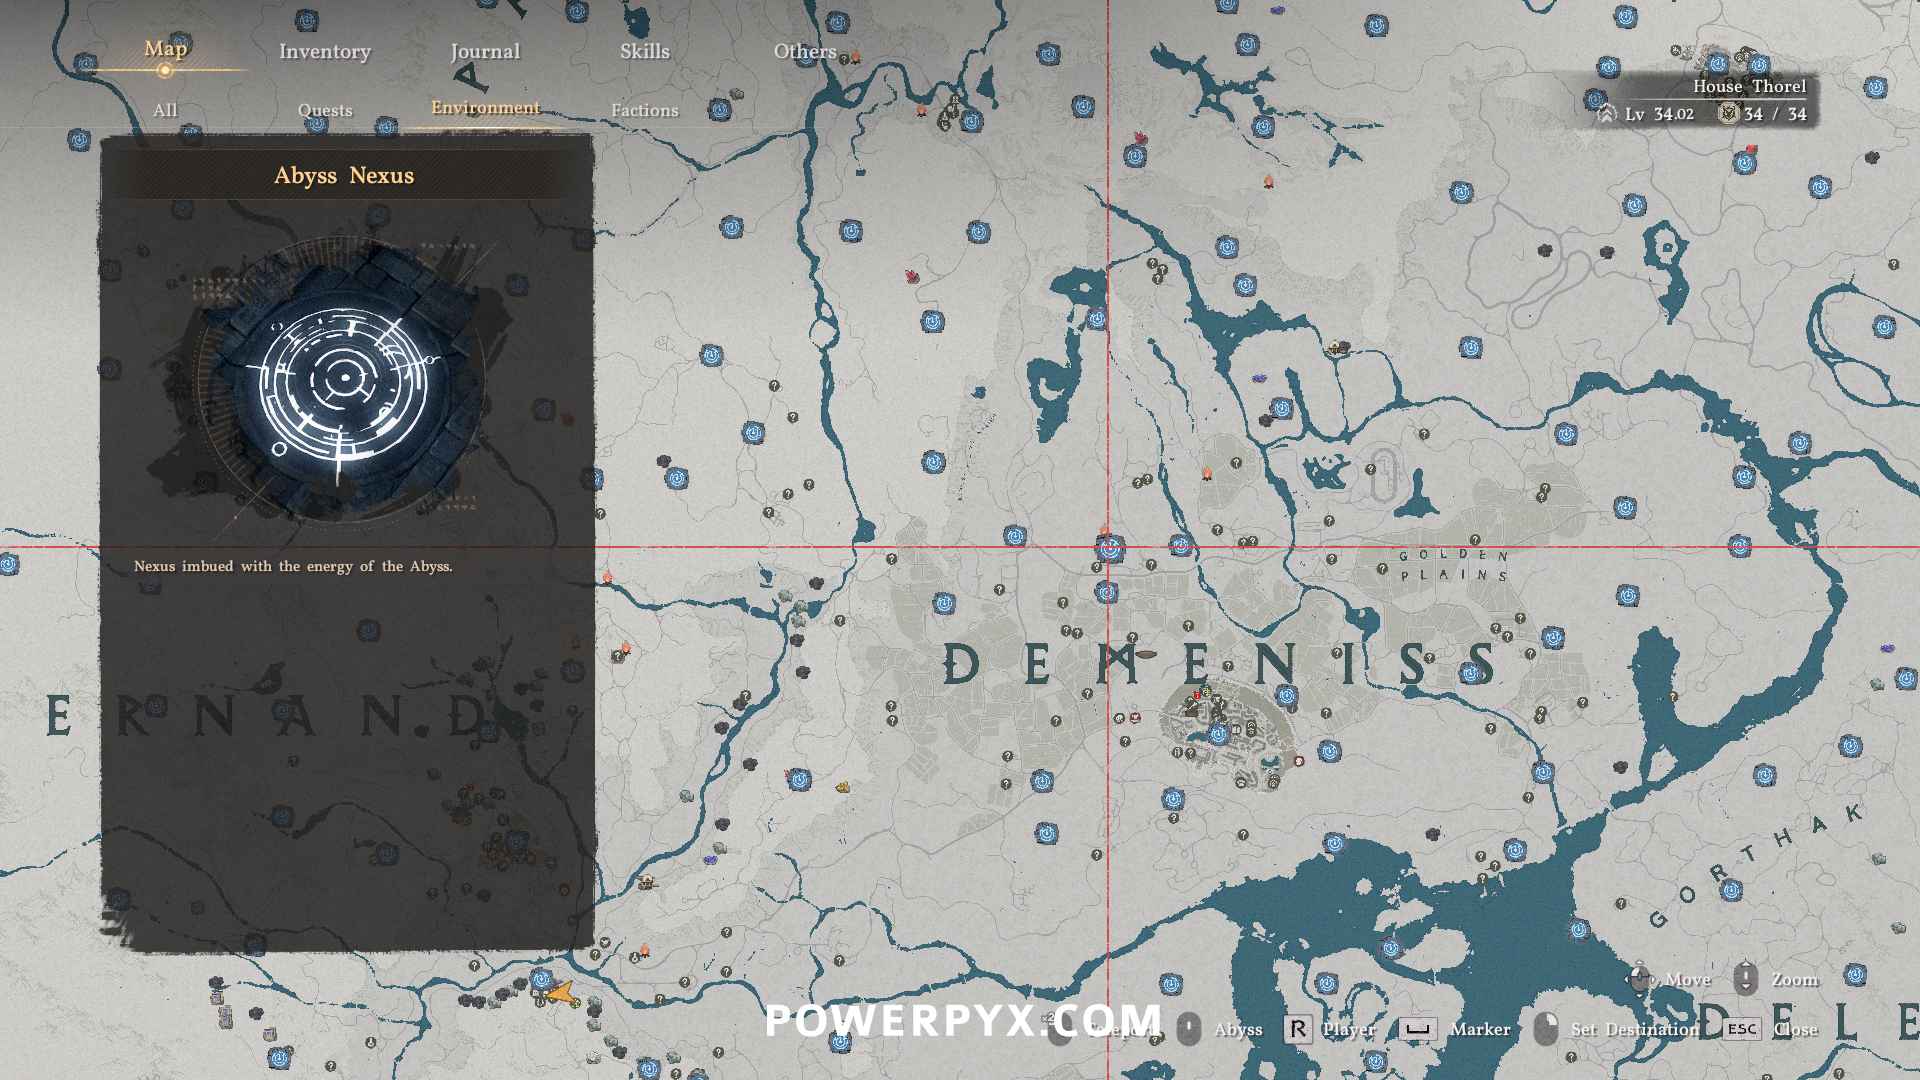
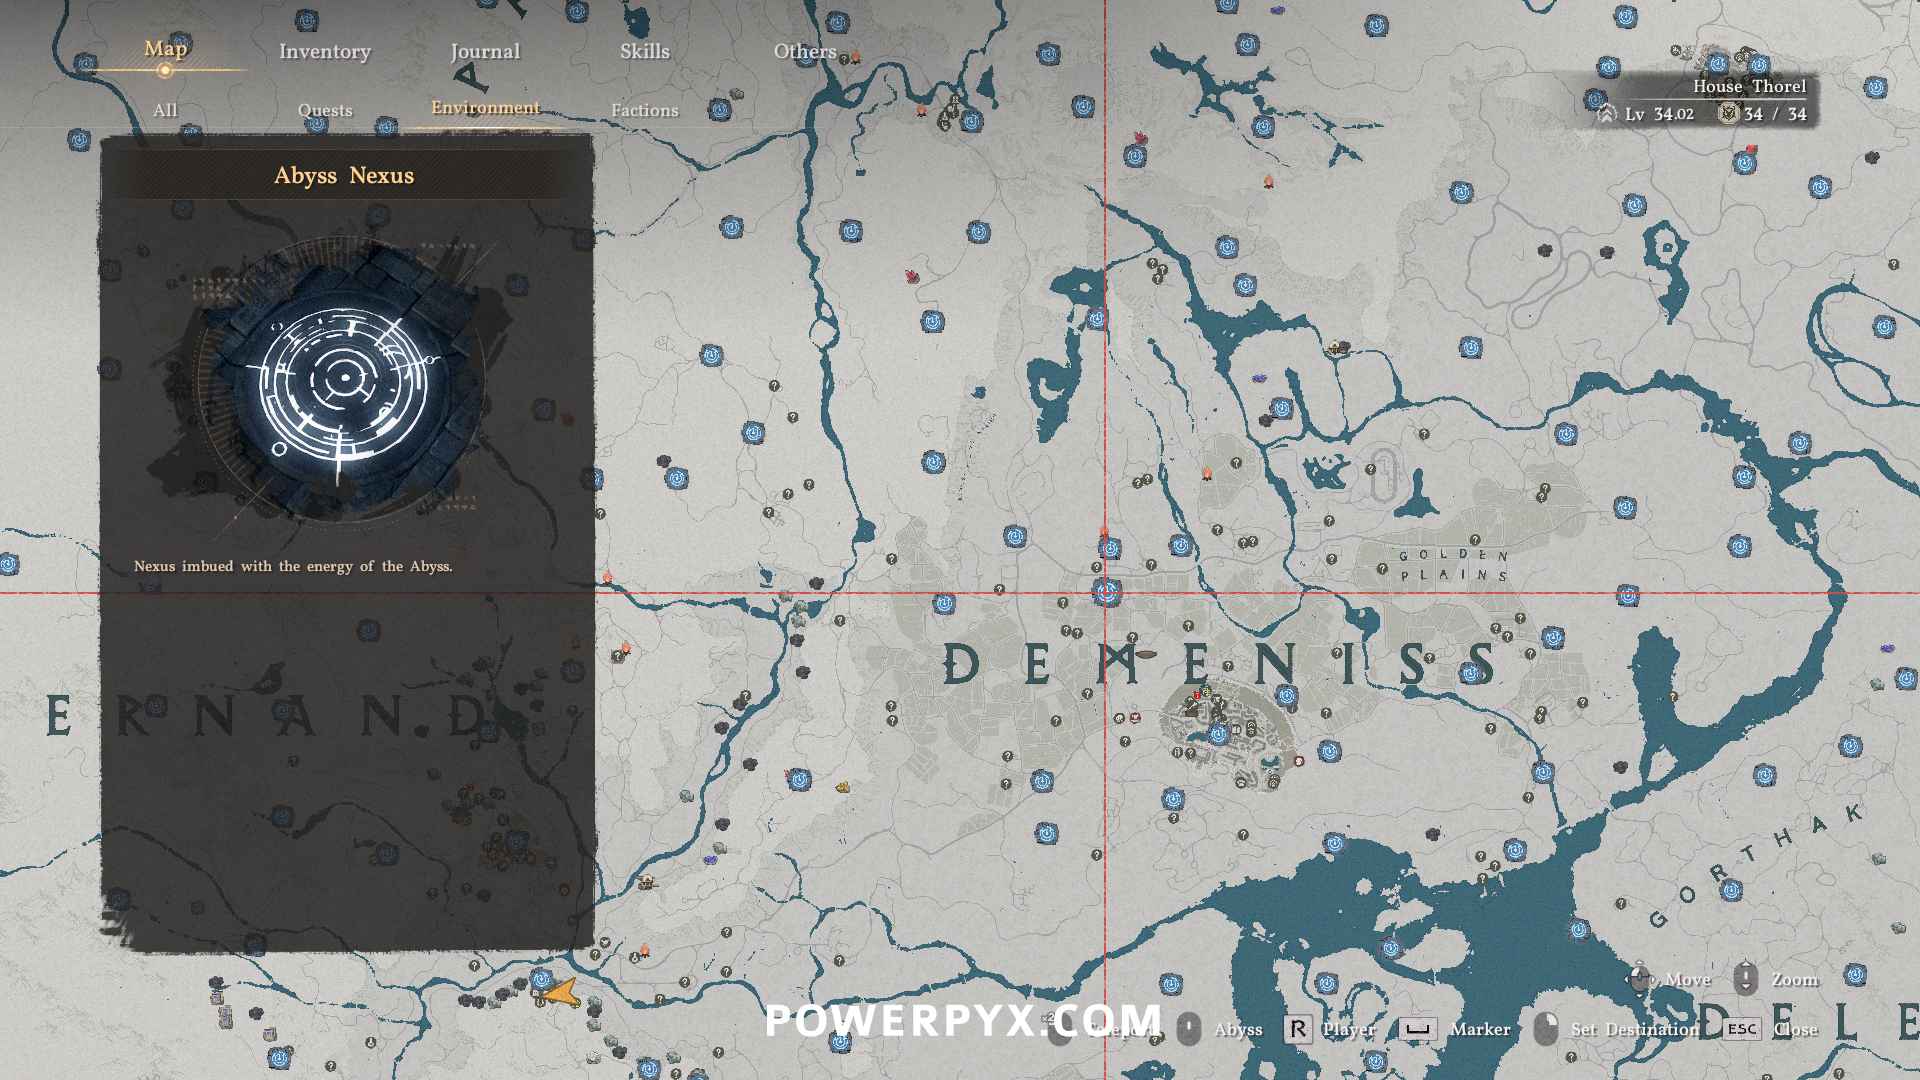
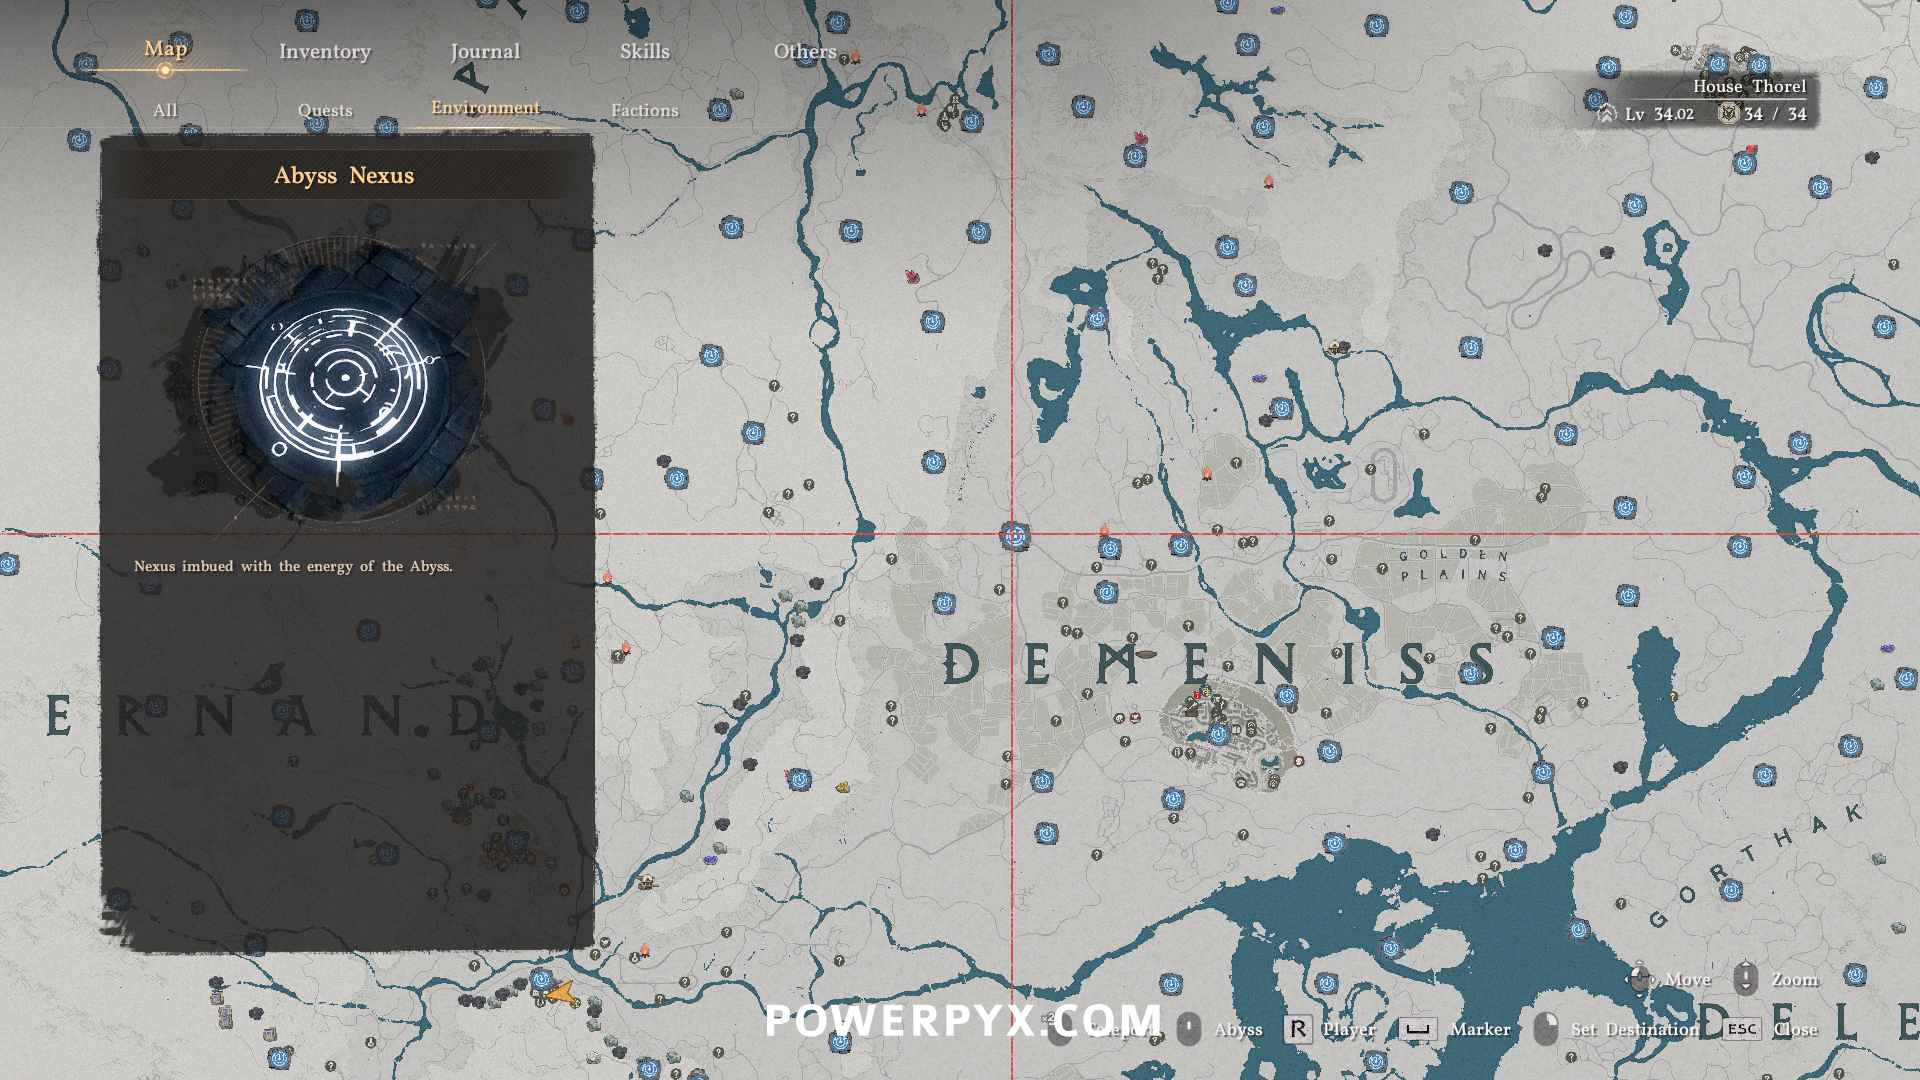
Demeniss
Map:
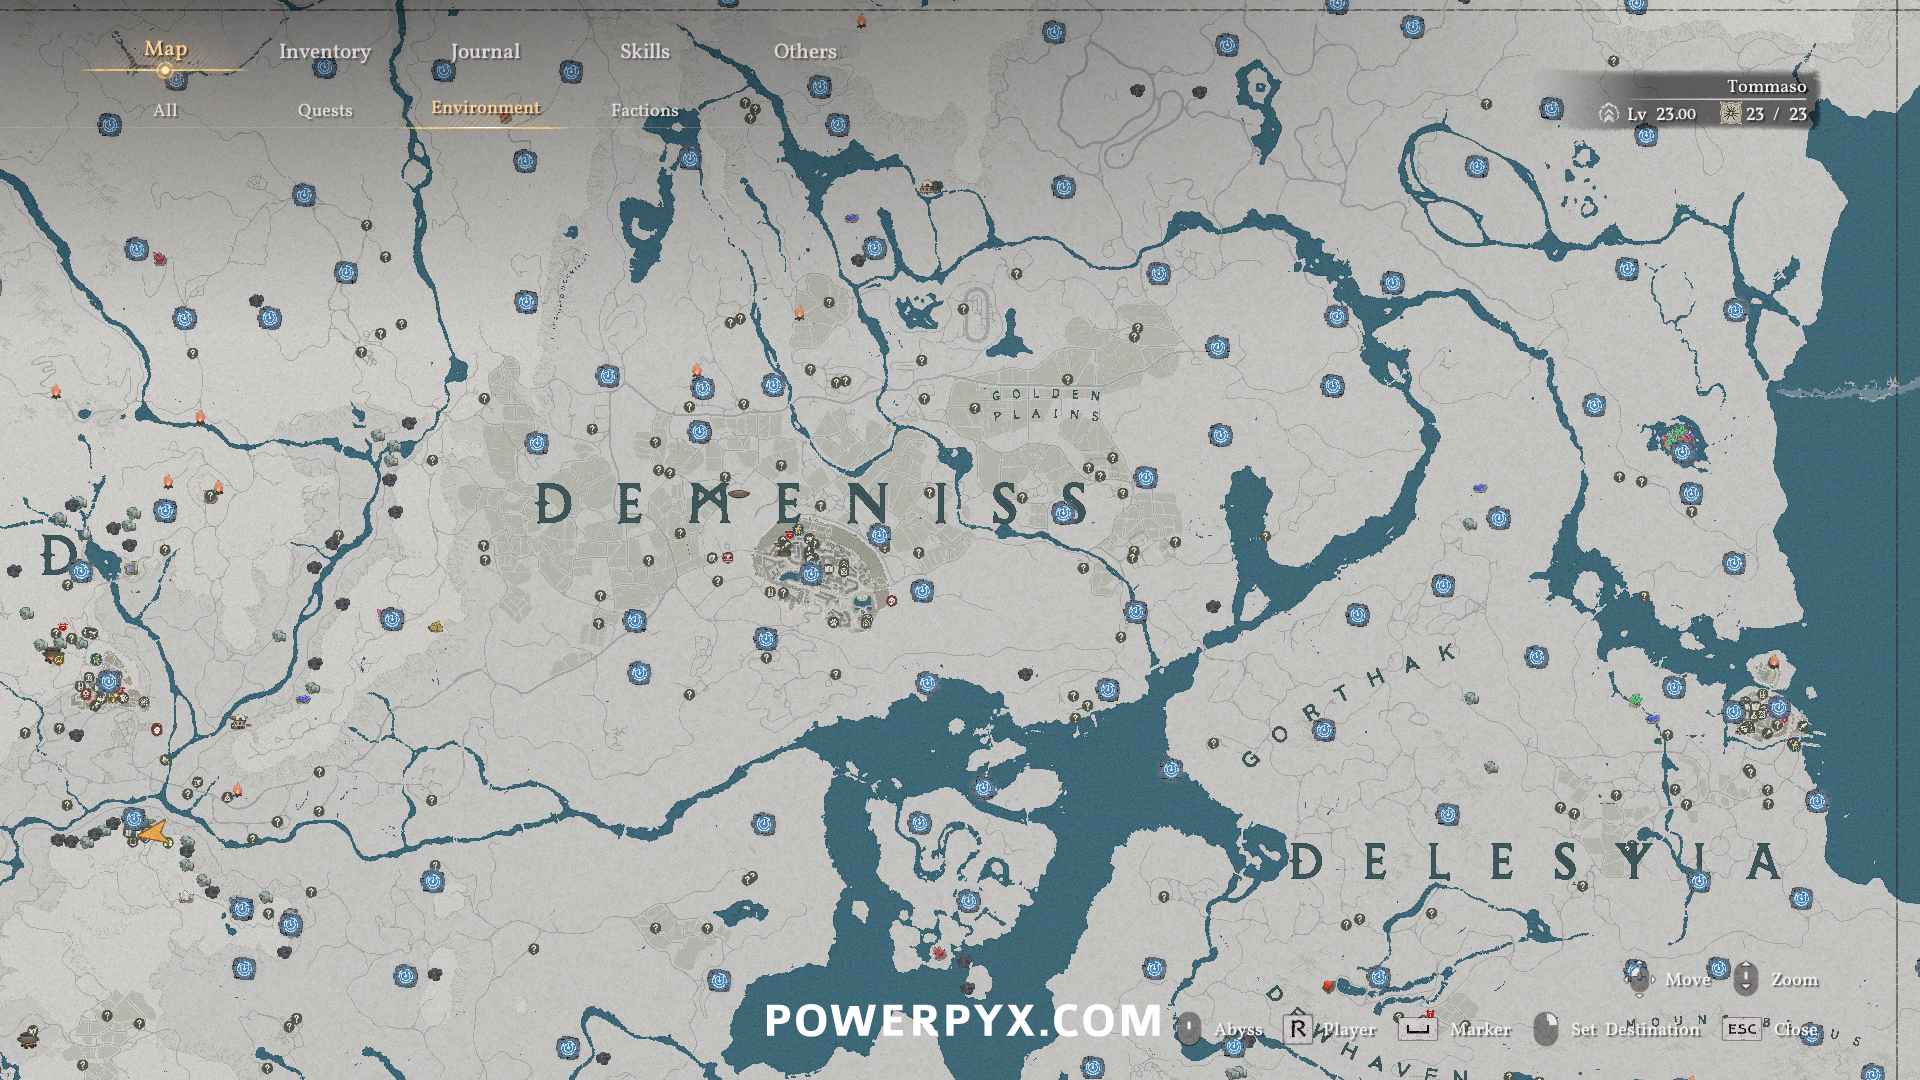
- West Demeniss 1 – Anvil Hill
- South Demeniss 1
- South Demeniss 2
- South Demeniss 3
- Demeniss City 1
- Central Demeniss 1
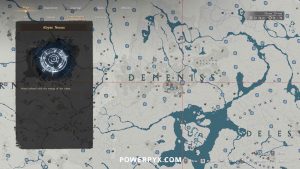
- Central Demeniss 2
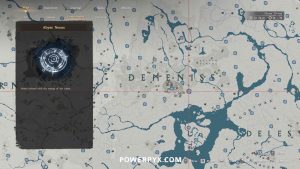
- Central Demeniss 3
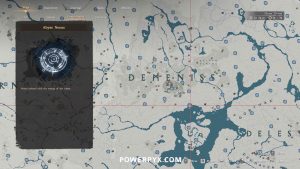
- Serpent Marsh 1
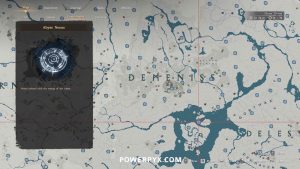
- Serpent Marsh 2
- Serpent Marsh 3
- East Demeniss 1
- East Demeniss 2
- East Demeniss 3
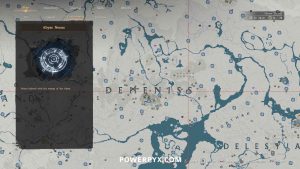
- East Demeniss 4
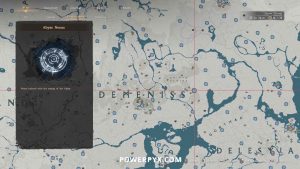
- East Demeniss 5
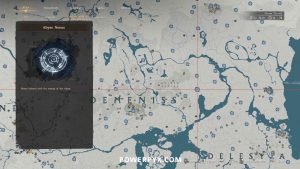
- East Demeniss 6
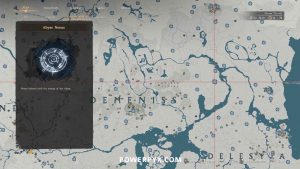
- East Demeniss 7 – Breezeblown Knoll
- East Demeniss 8
- East Demeniss 9
- East Demeniss 10
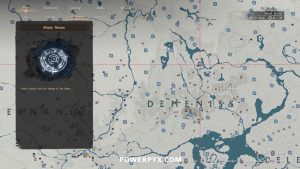
- North Demeniss 1
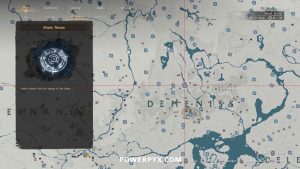
- North Demeniss 2
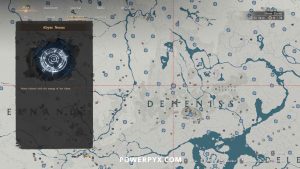
- North Demeniss 3
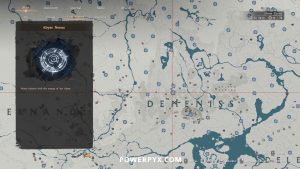
- North Demeniss 4
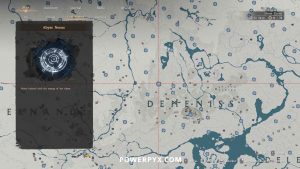
- North Demeniss 5
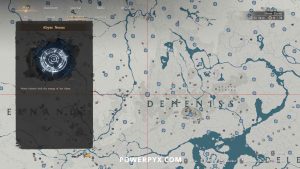
- North Demeniss 6
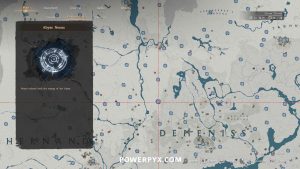
- North Demeniss 7
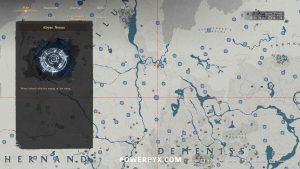
- North Demeniss 8
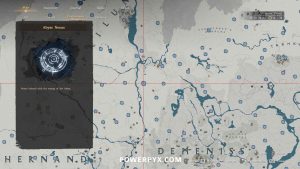
- North Demeniss 9
- North Demeniss 10
- North Demeniss 11
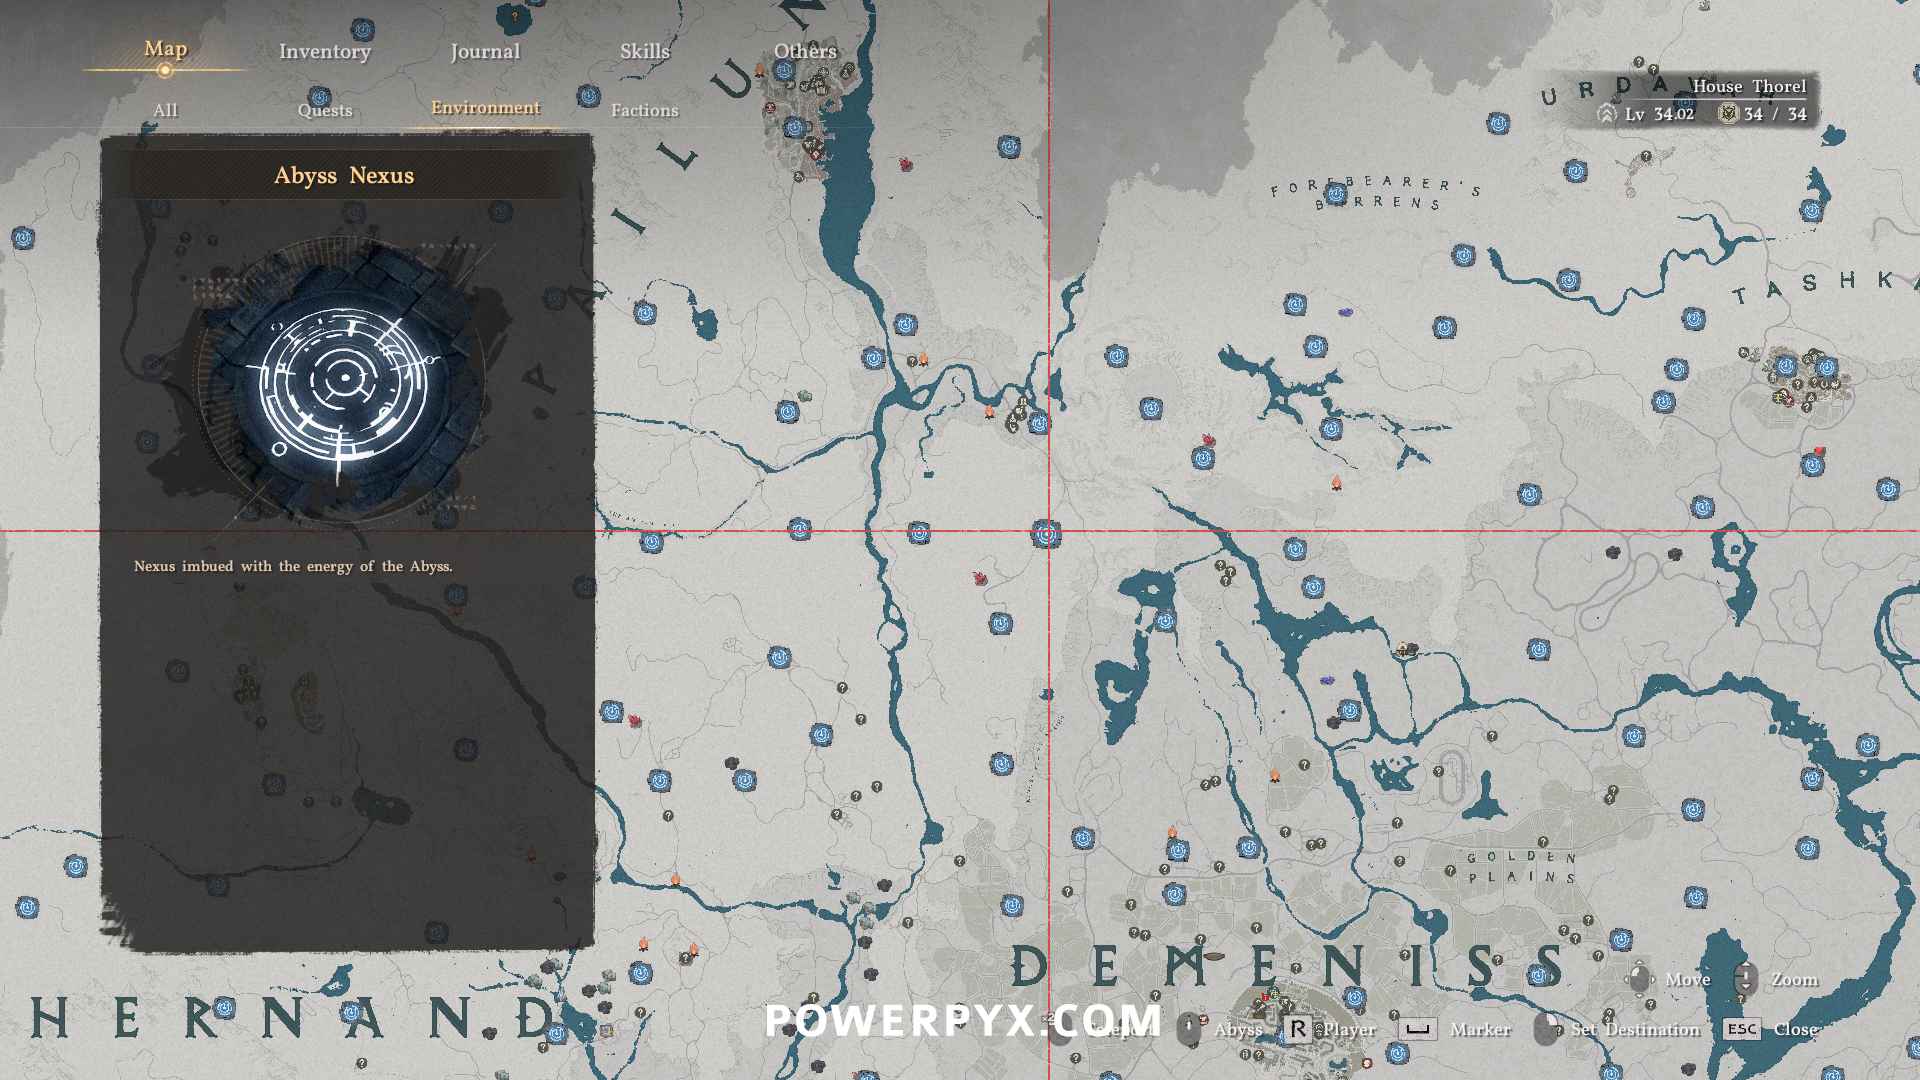
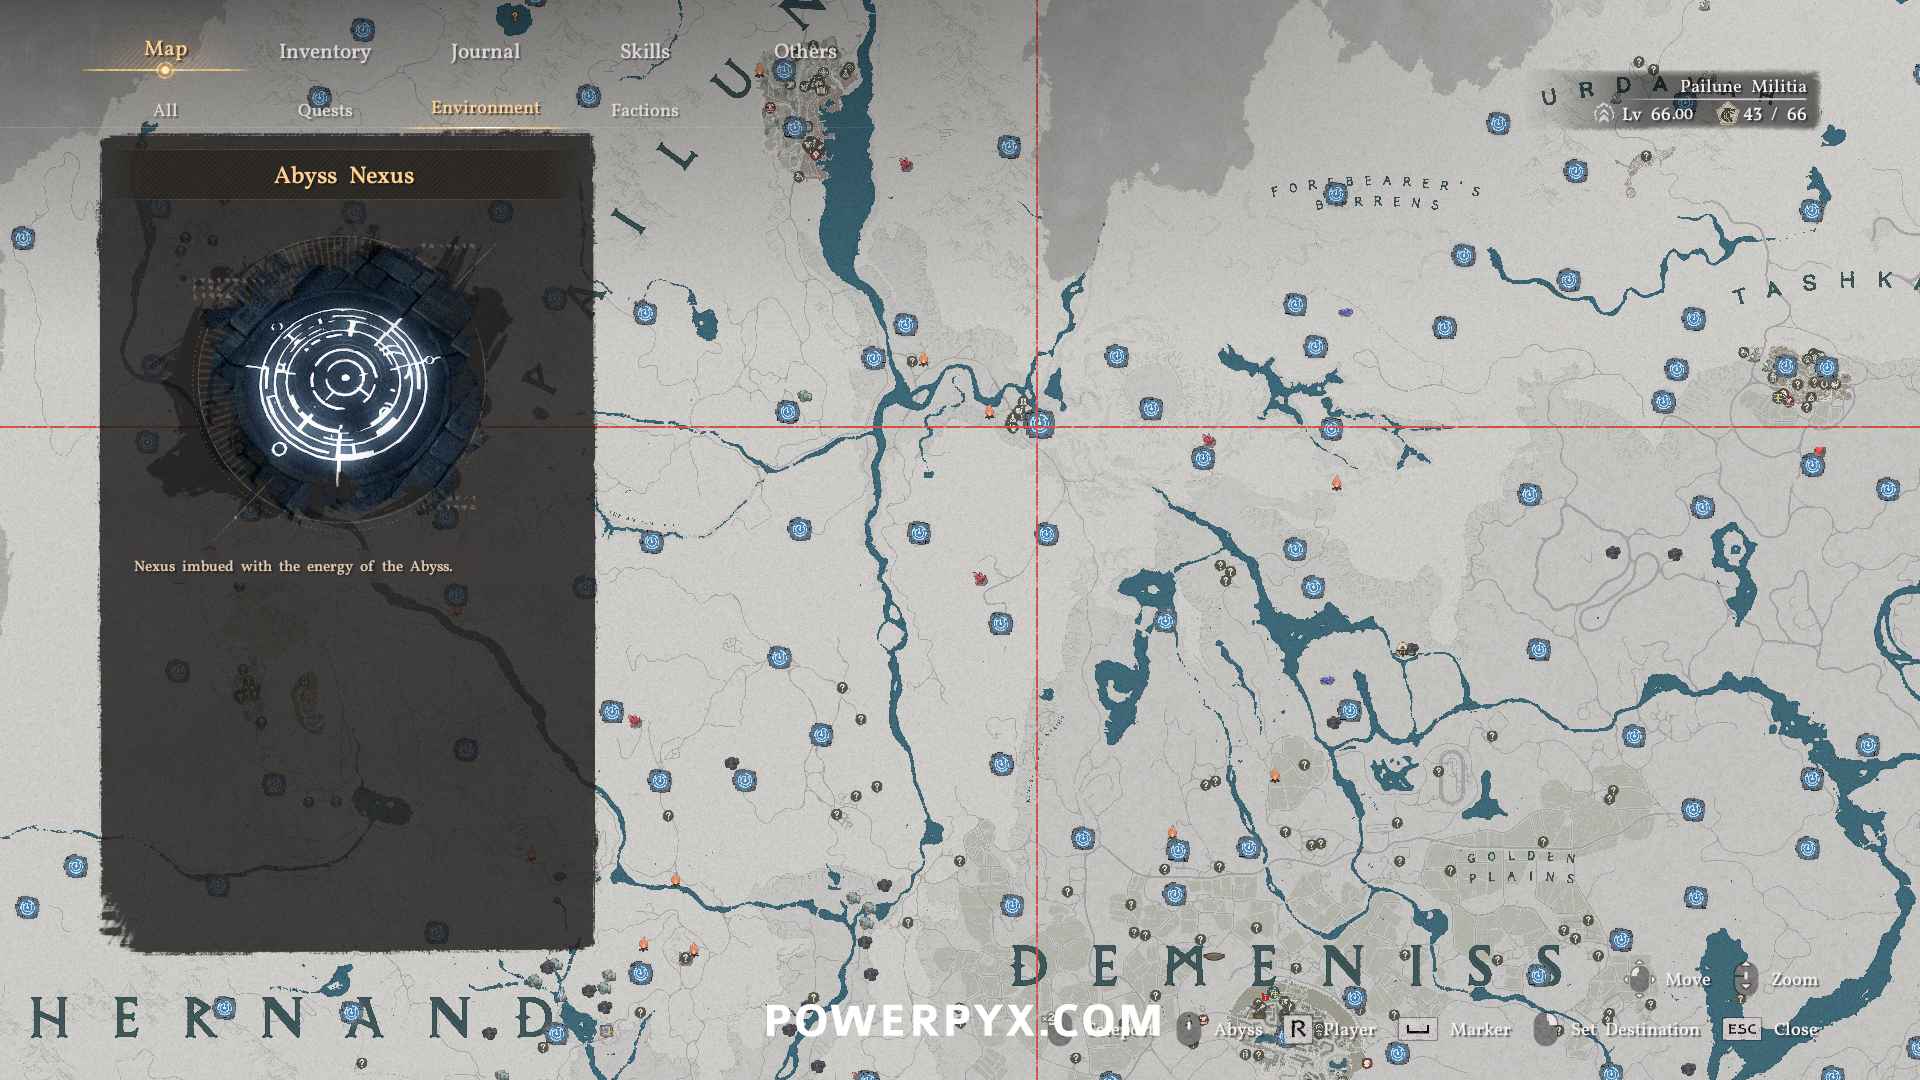
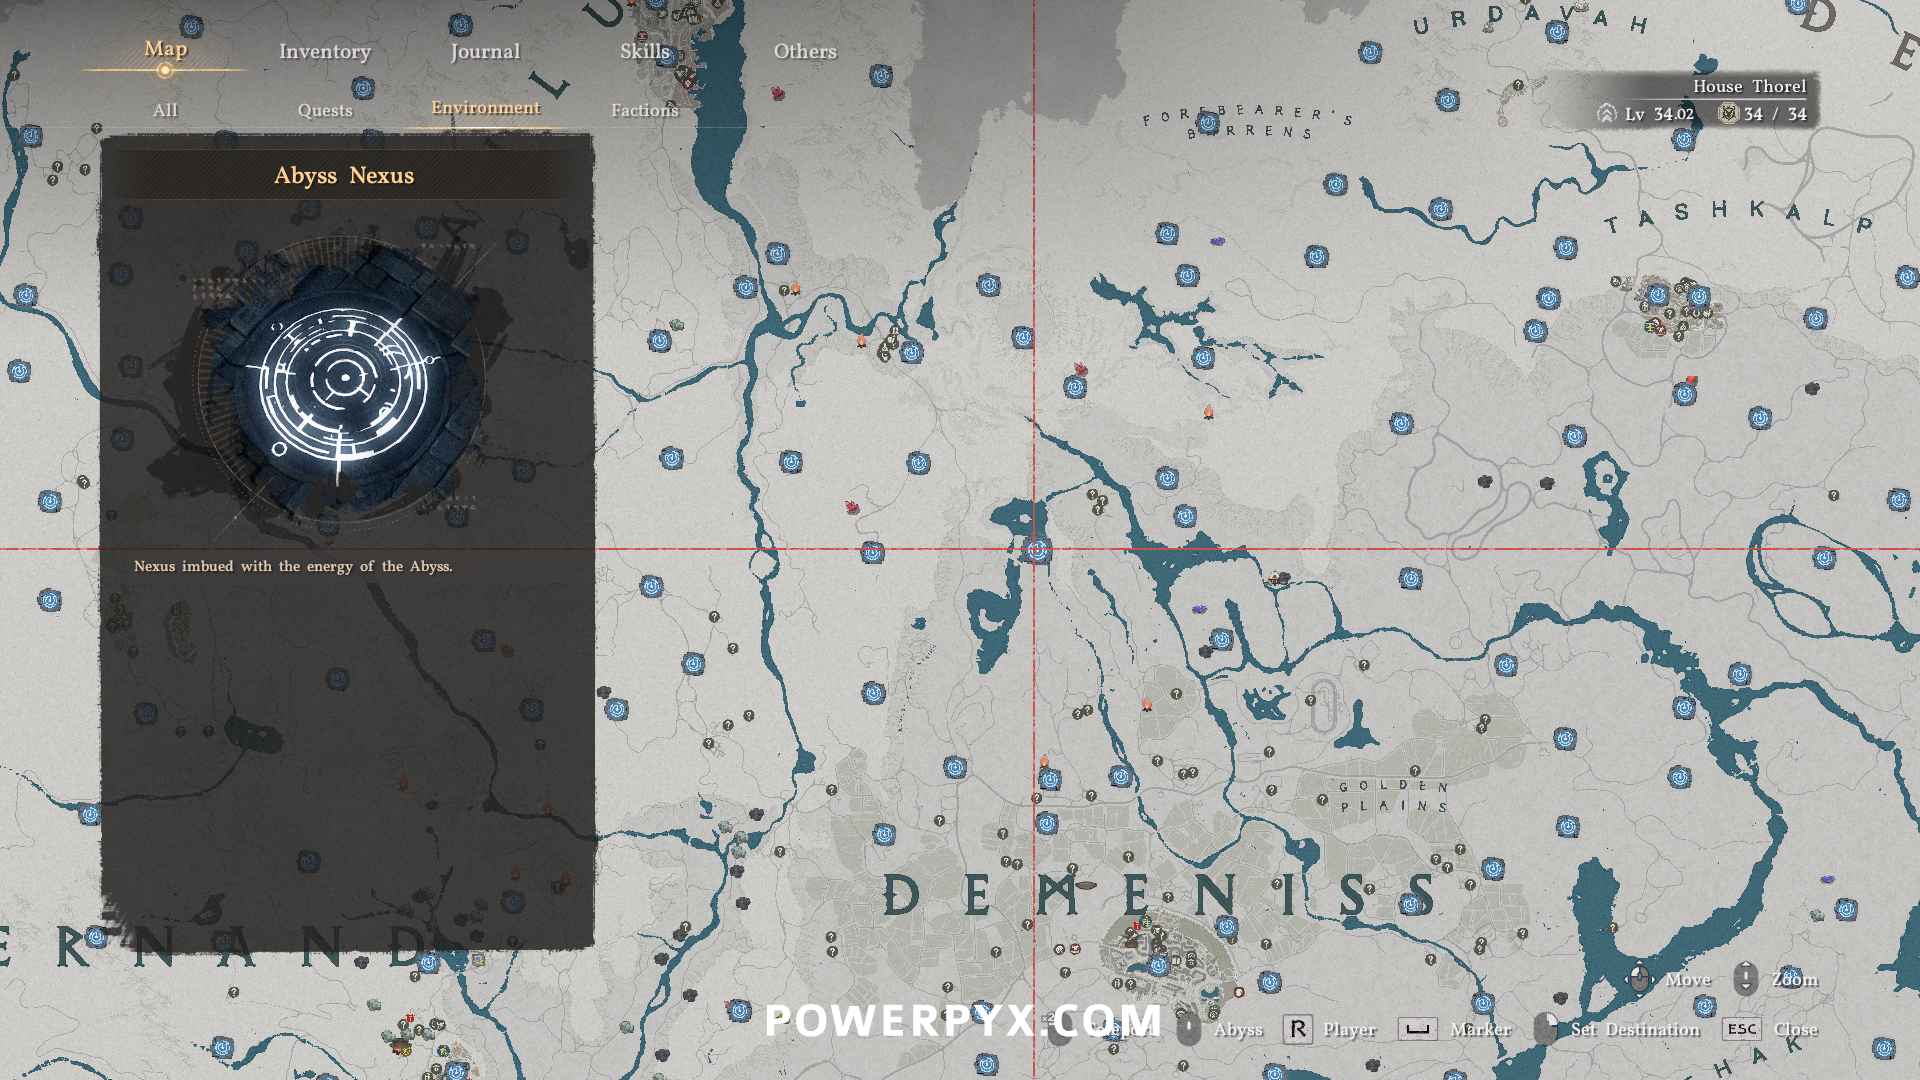
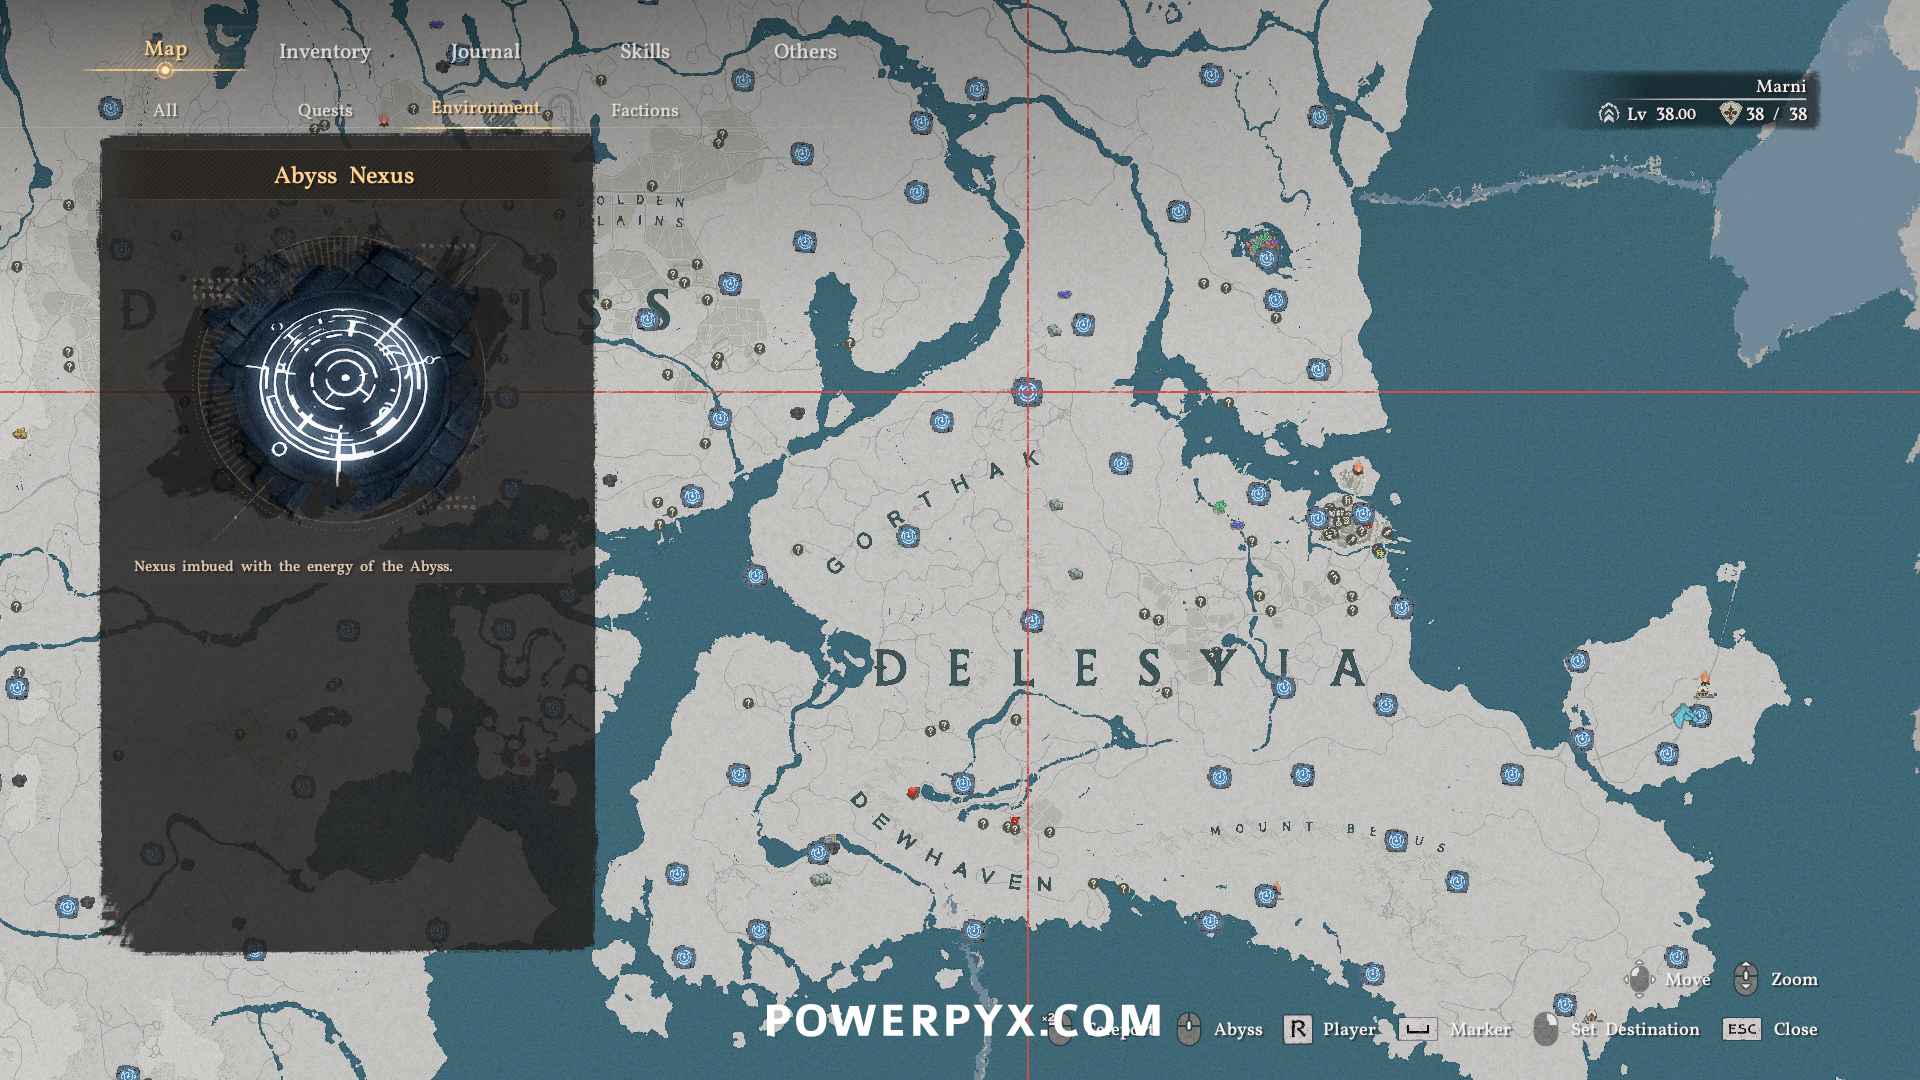
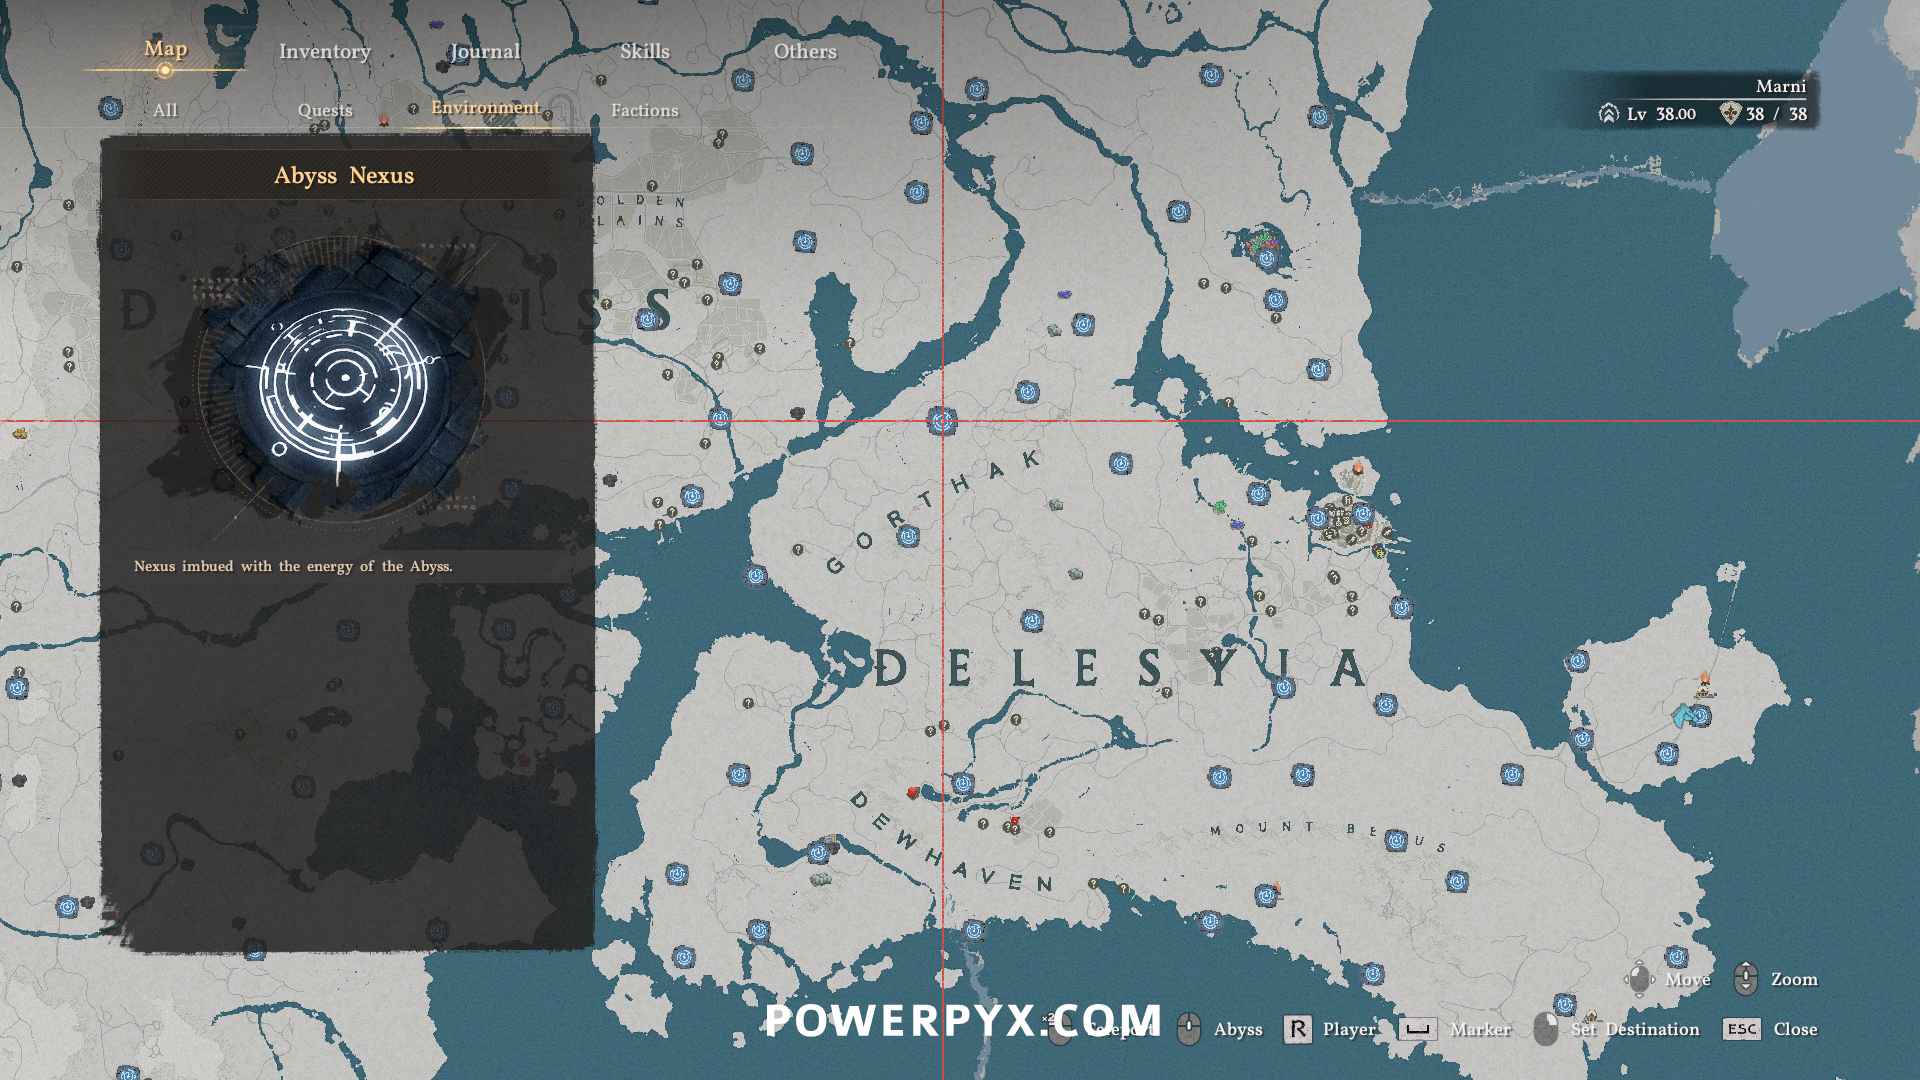
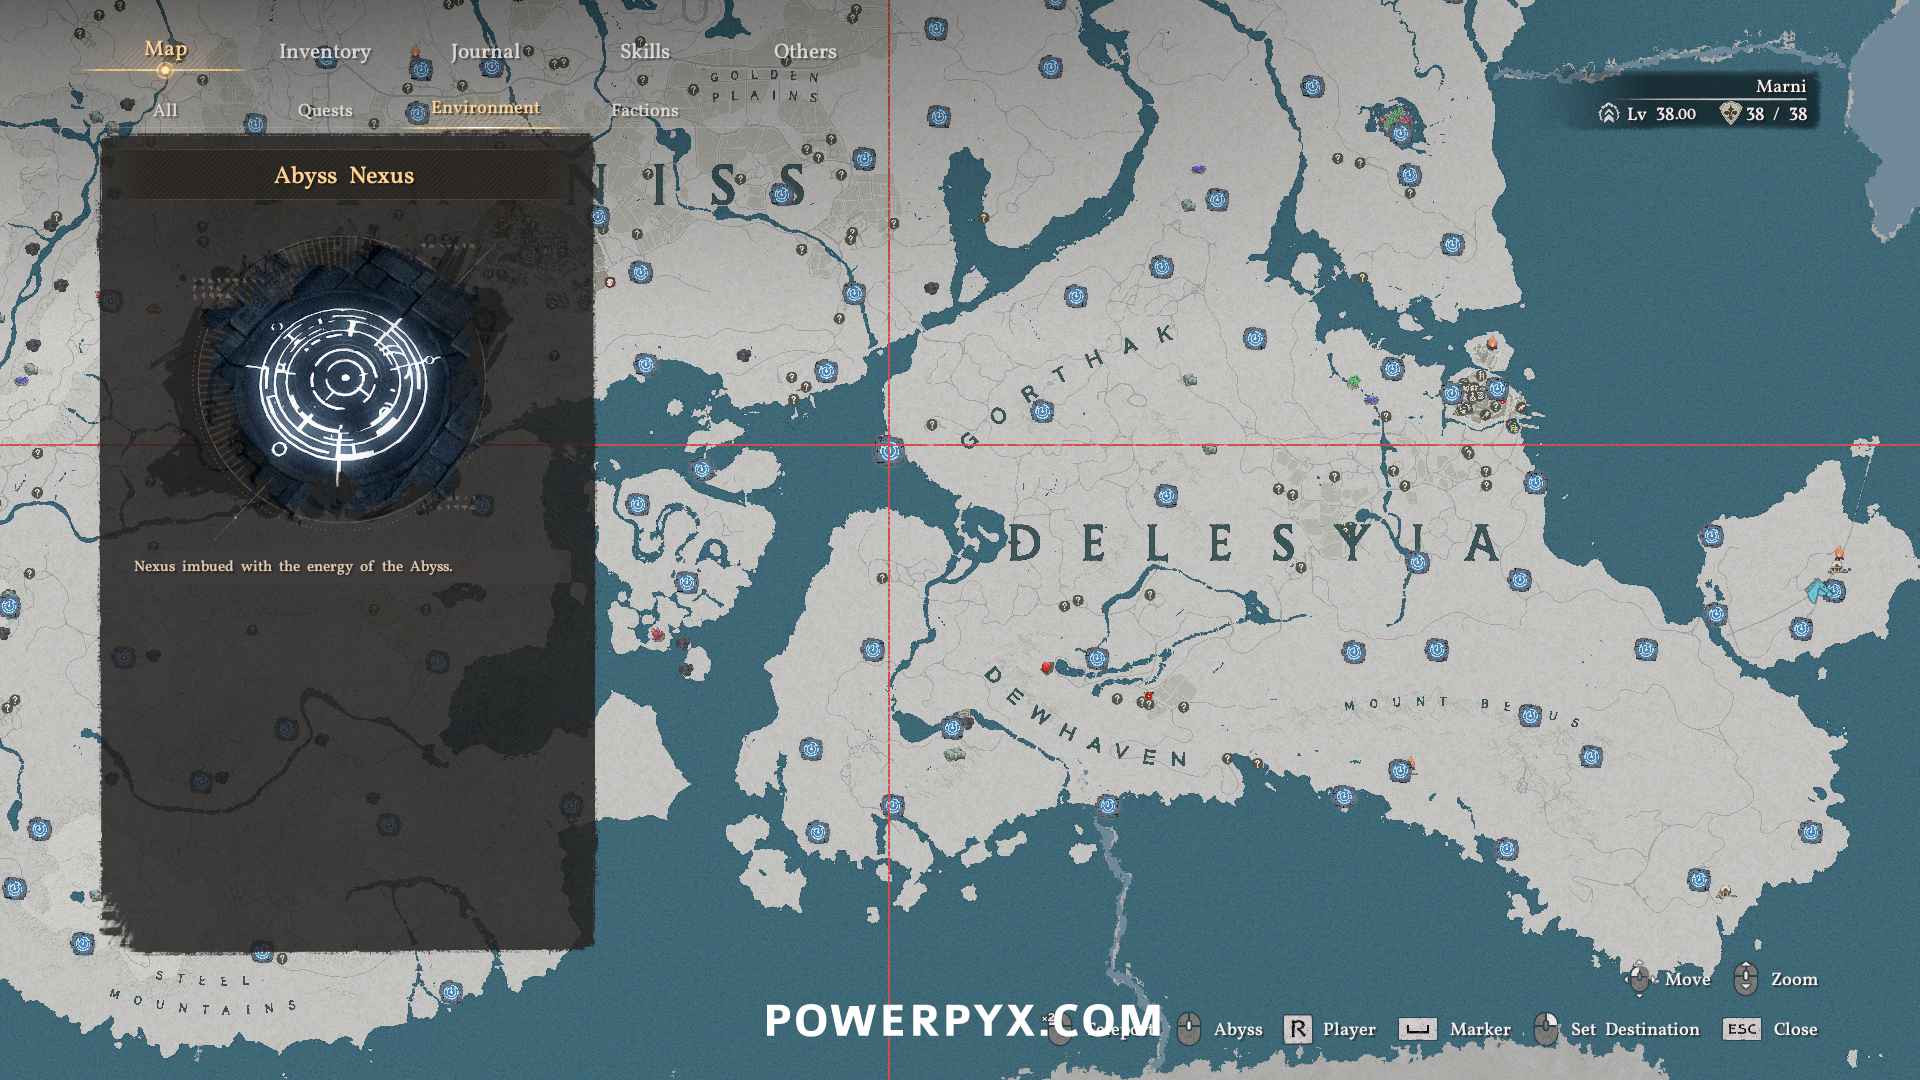
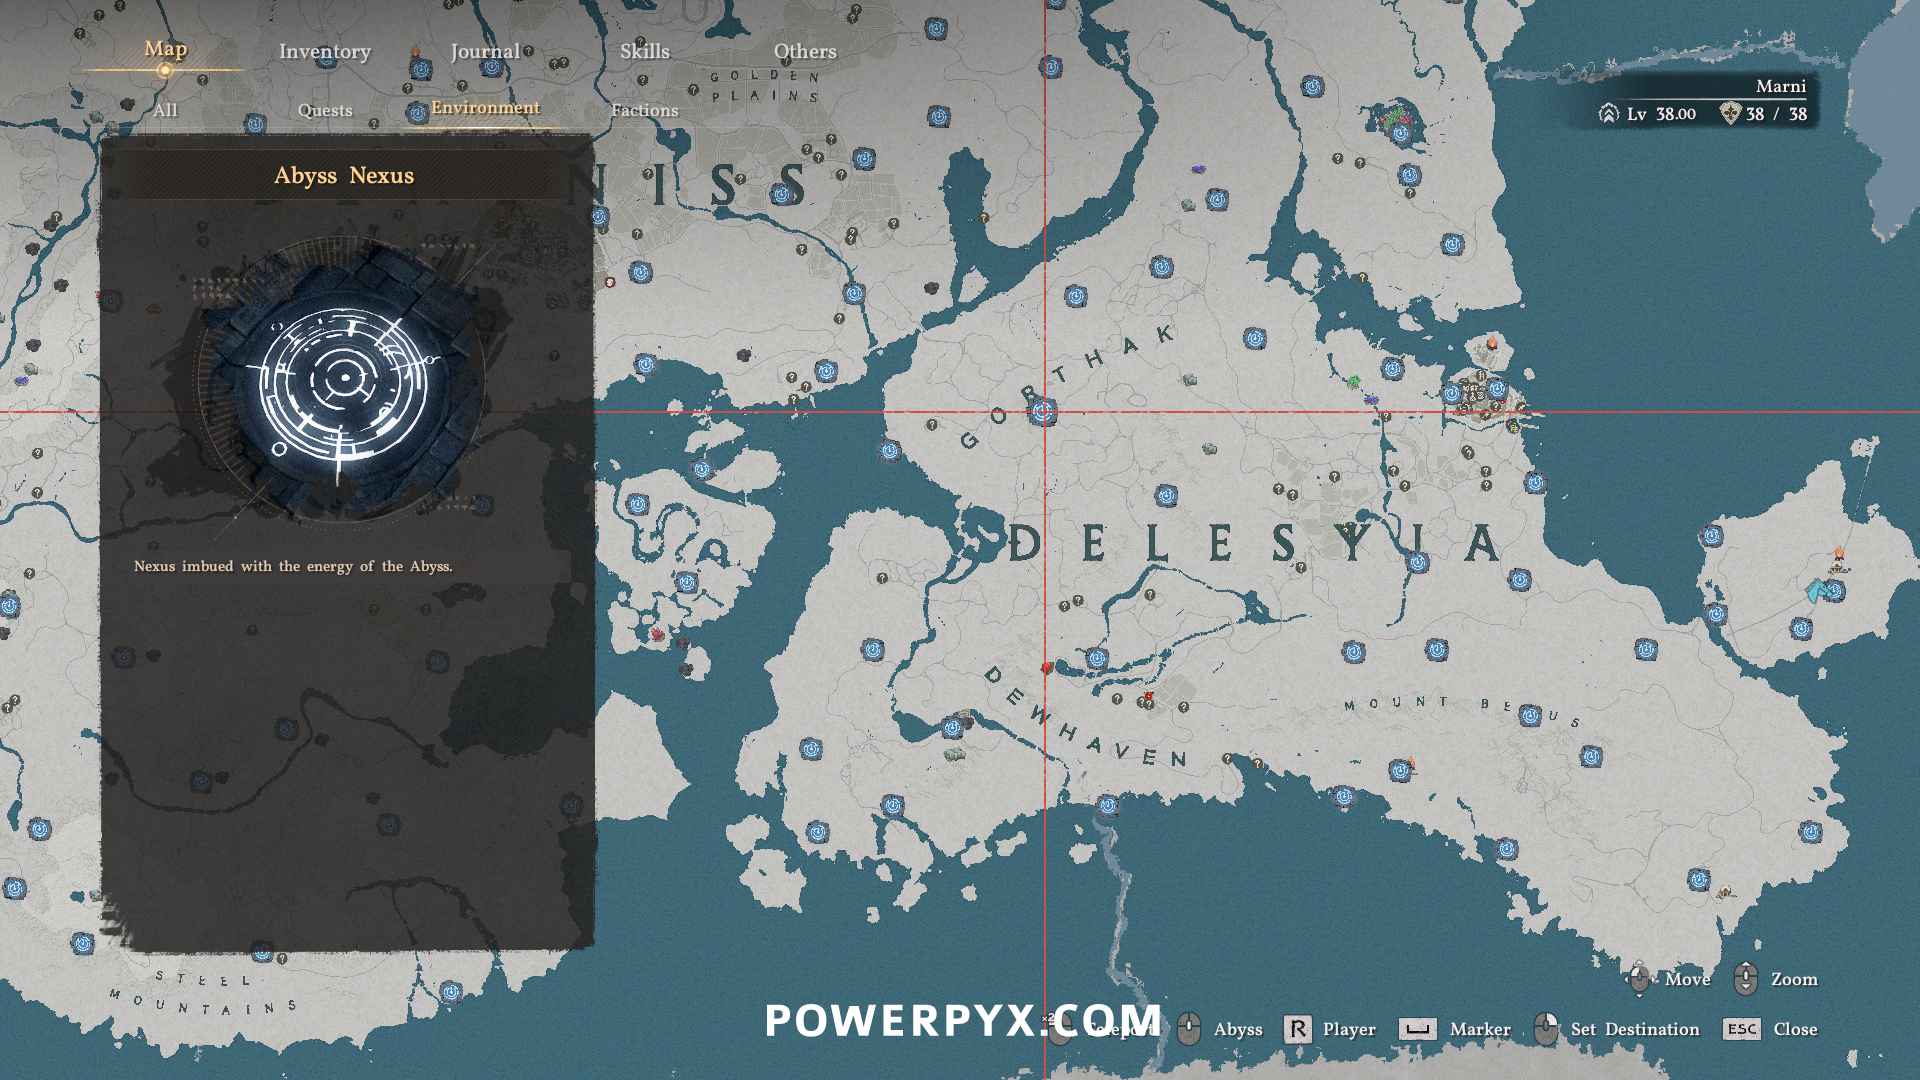
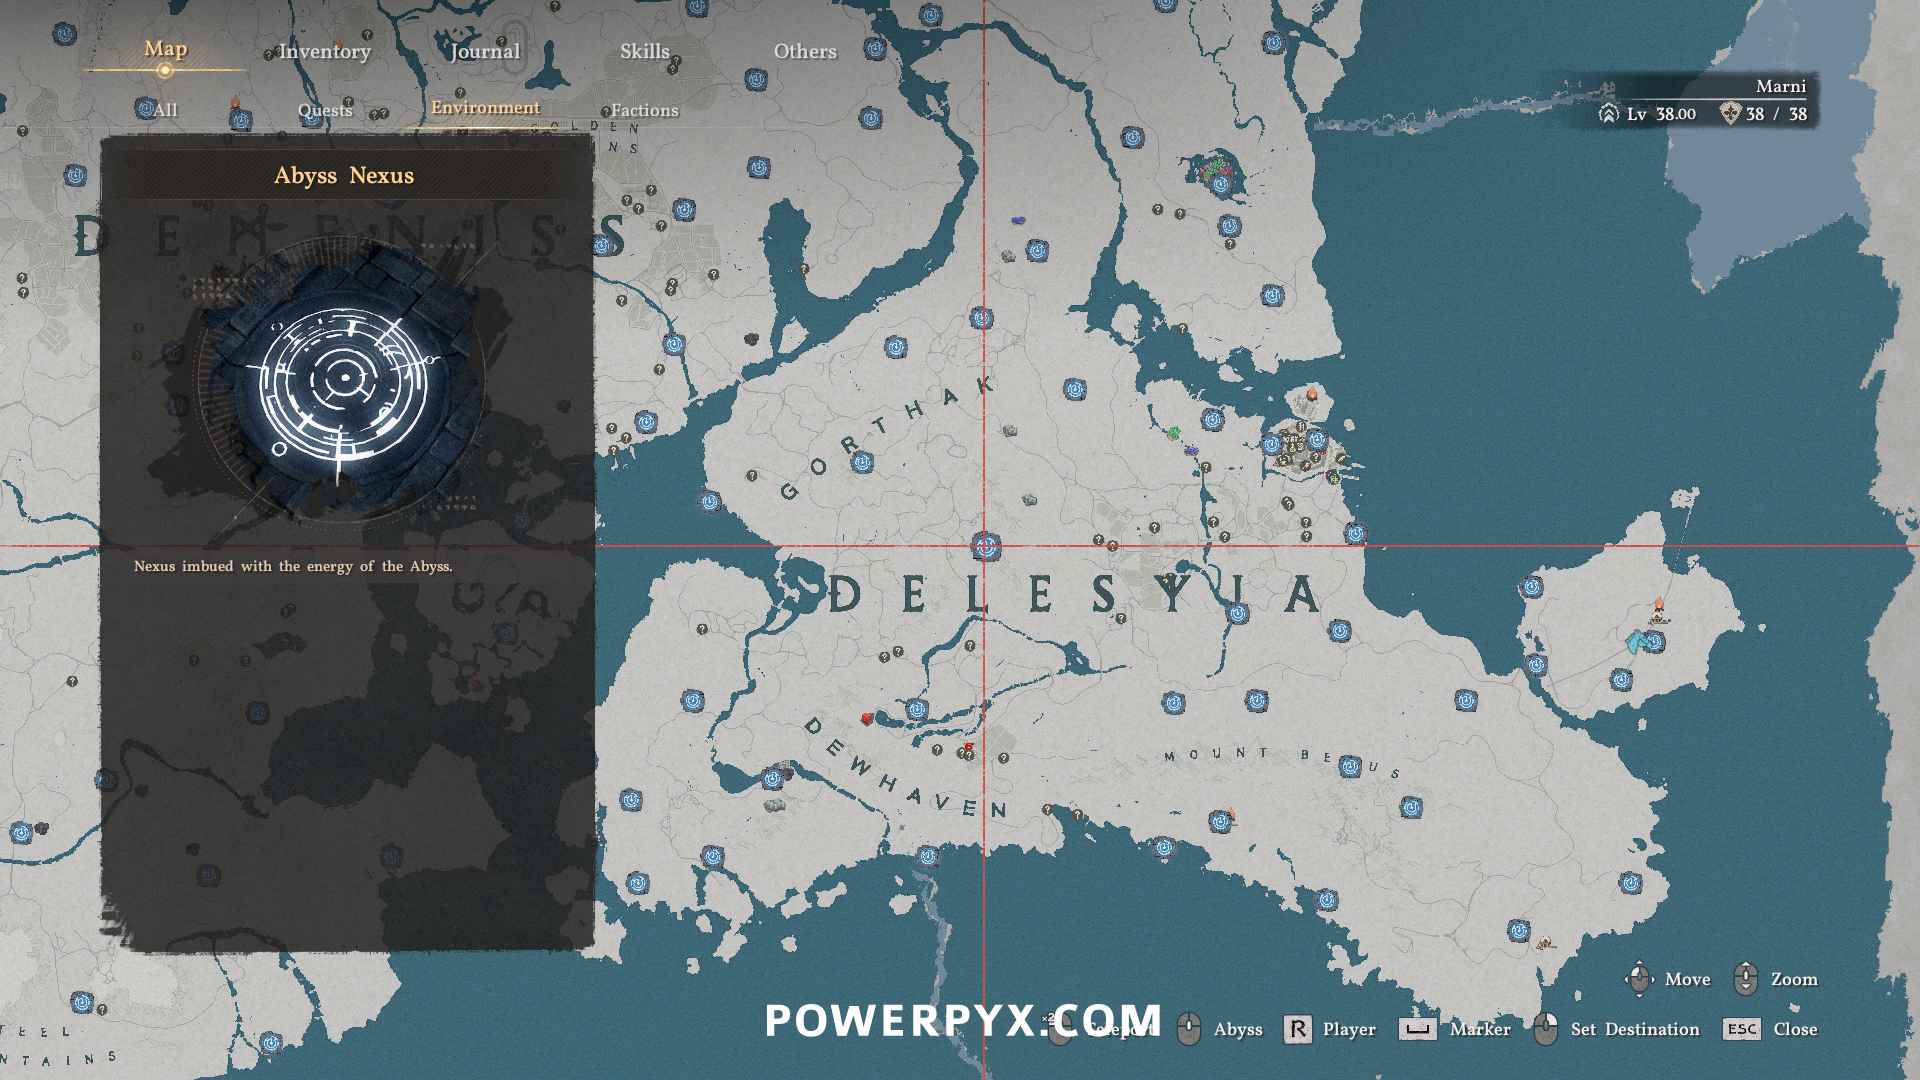
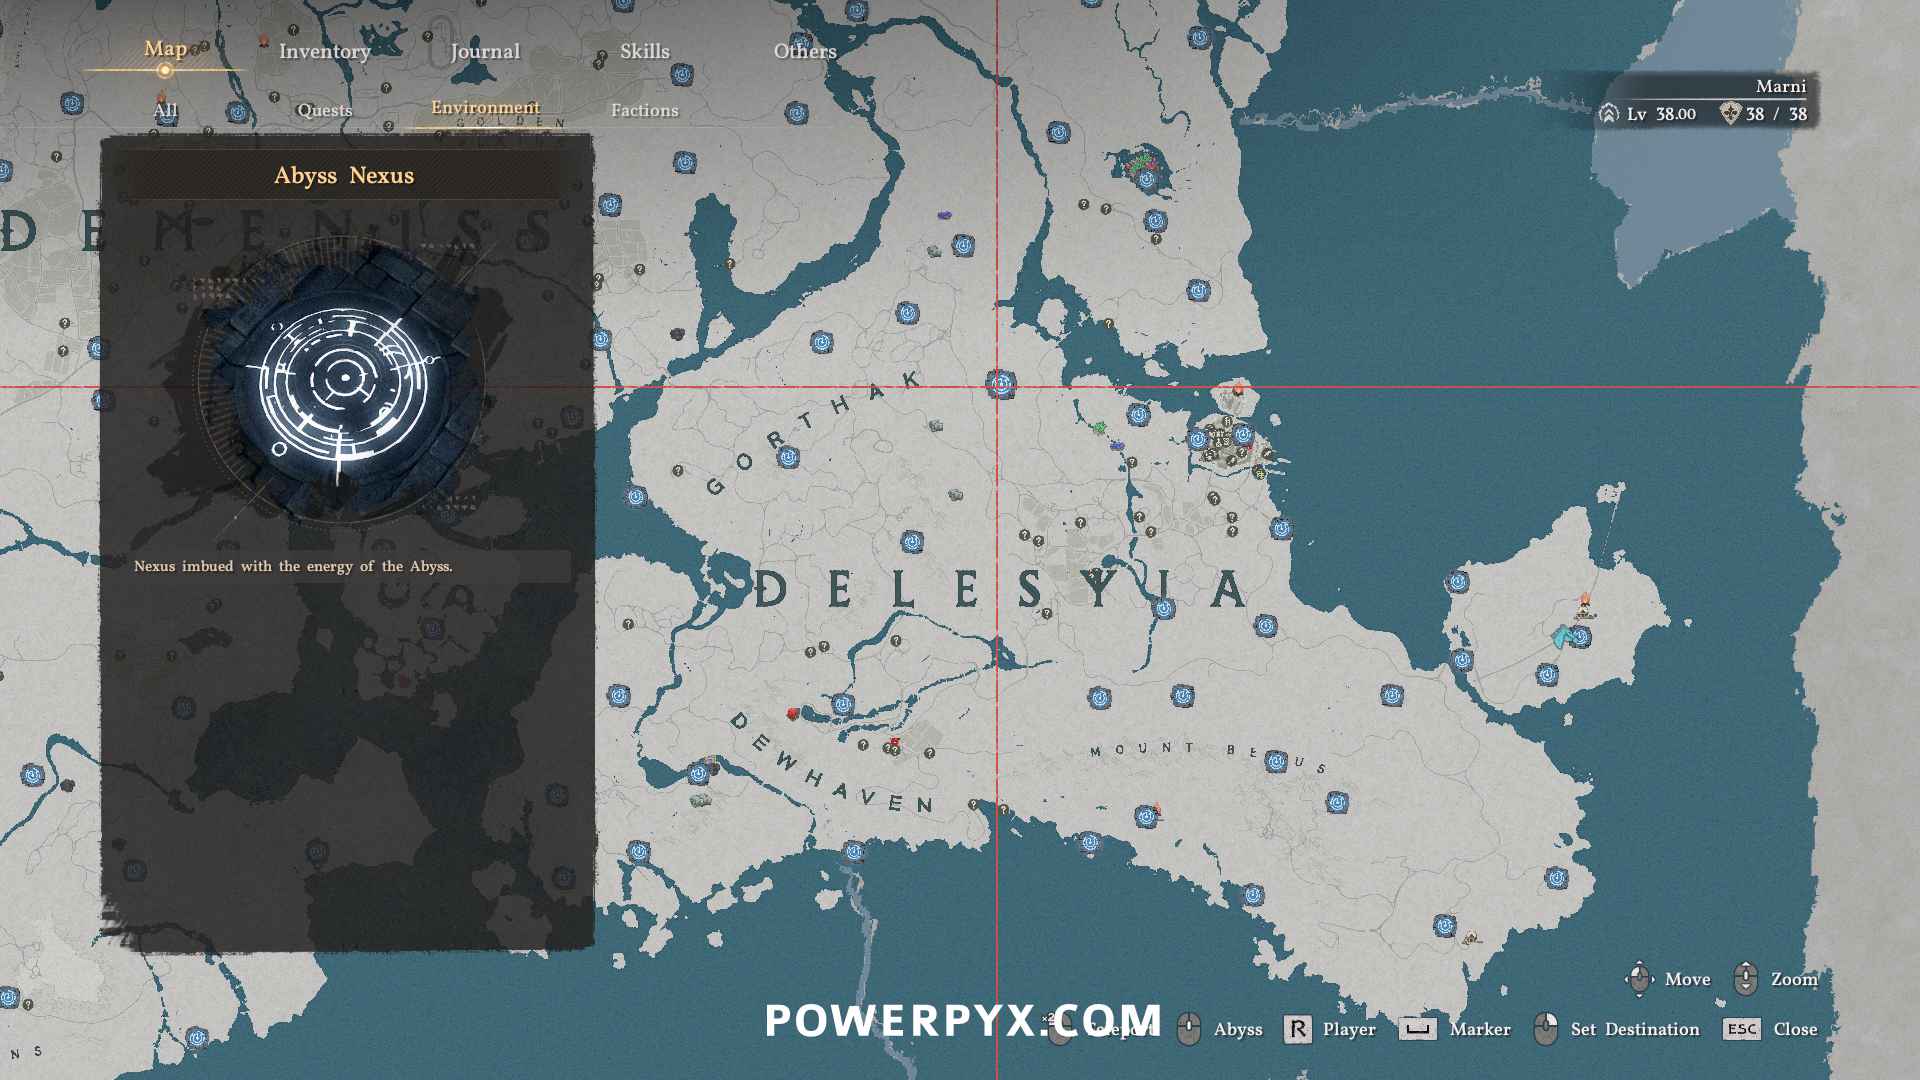
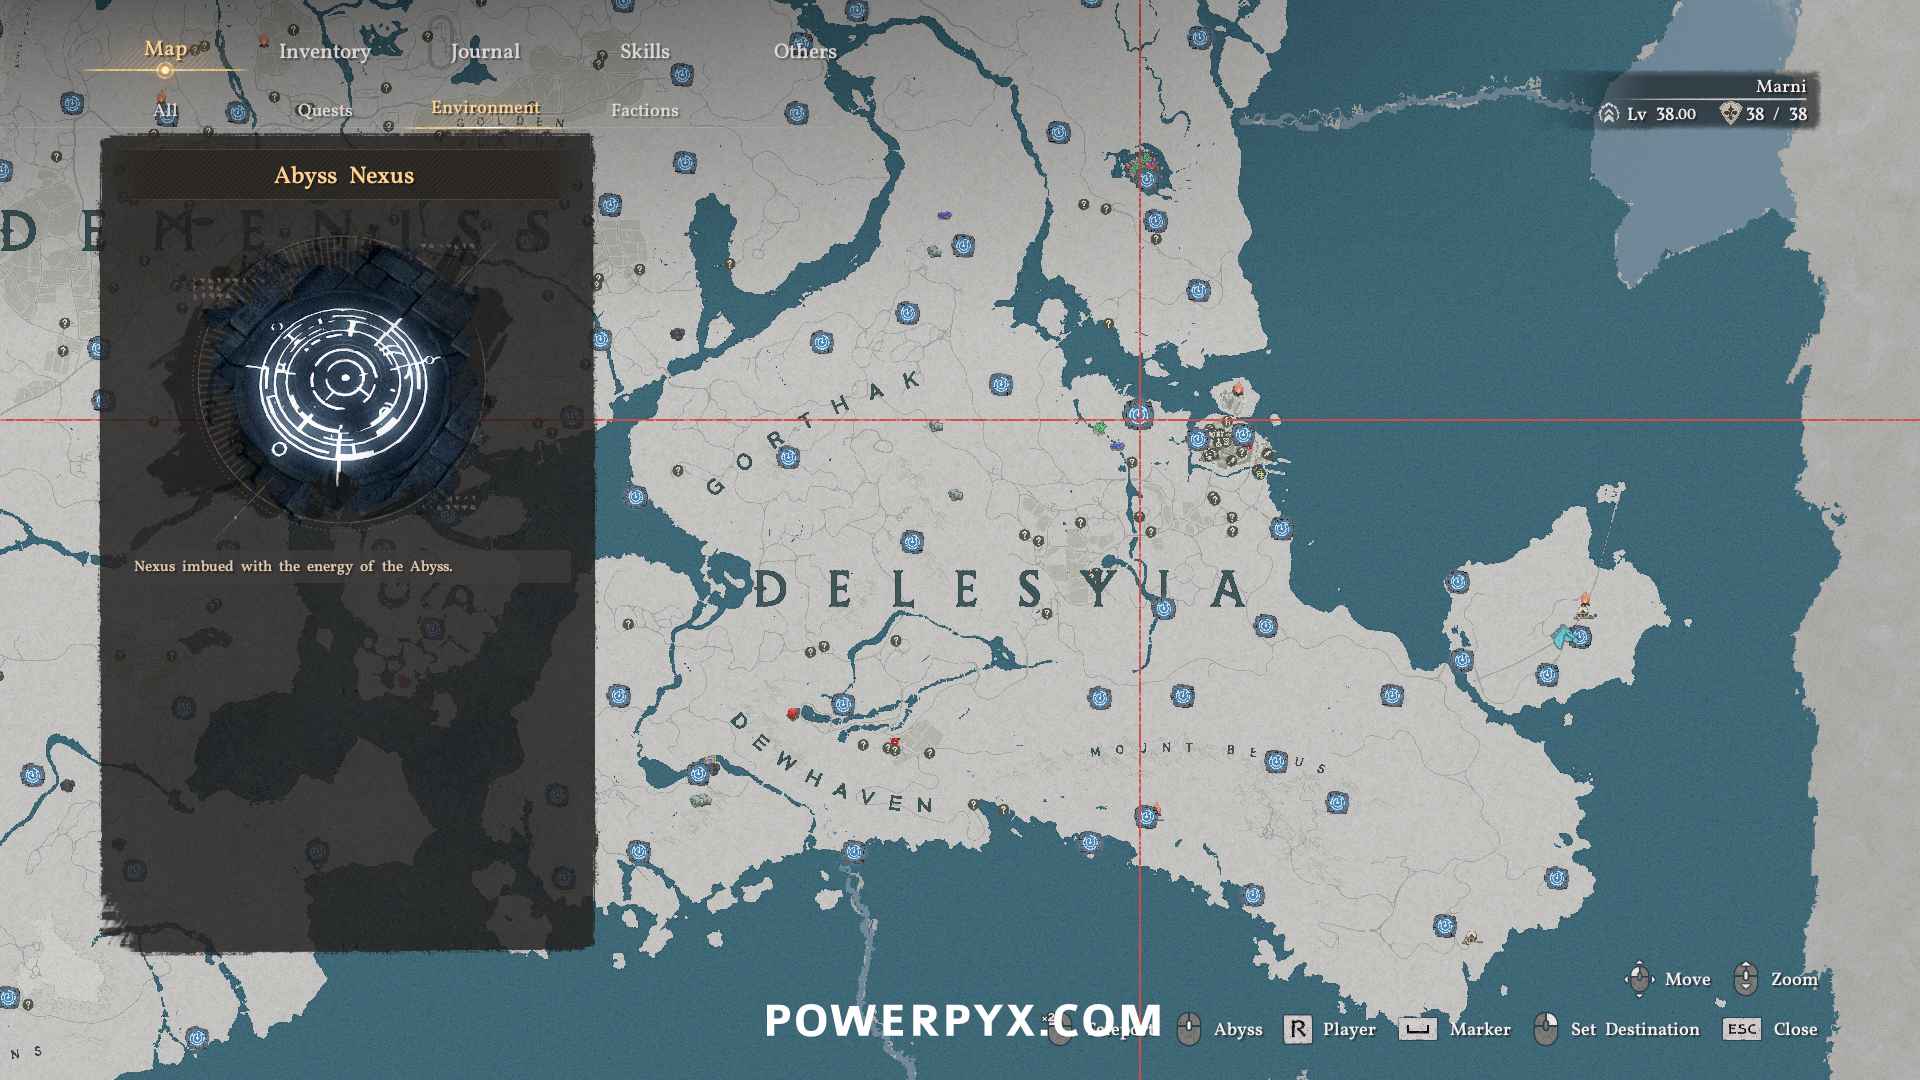
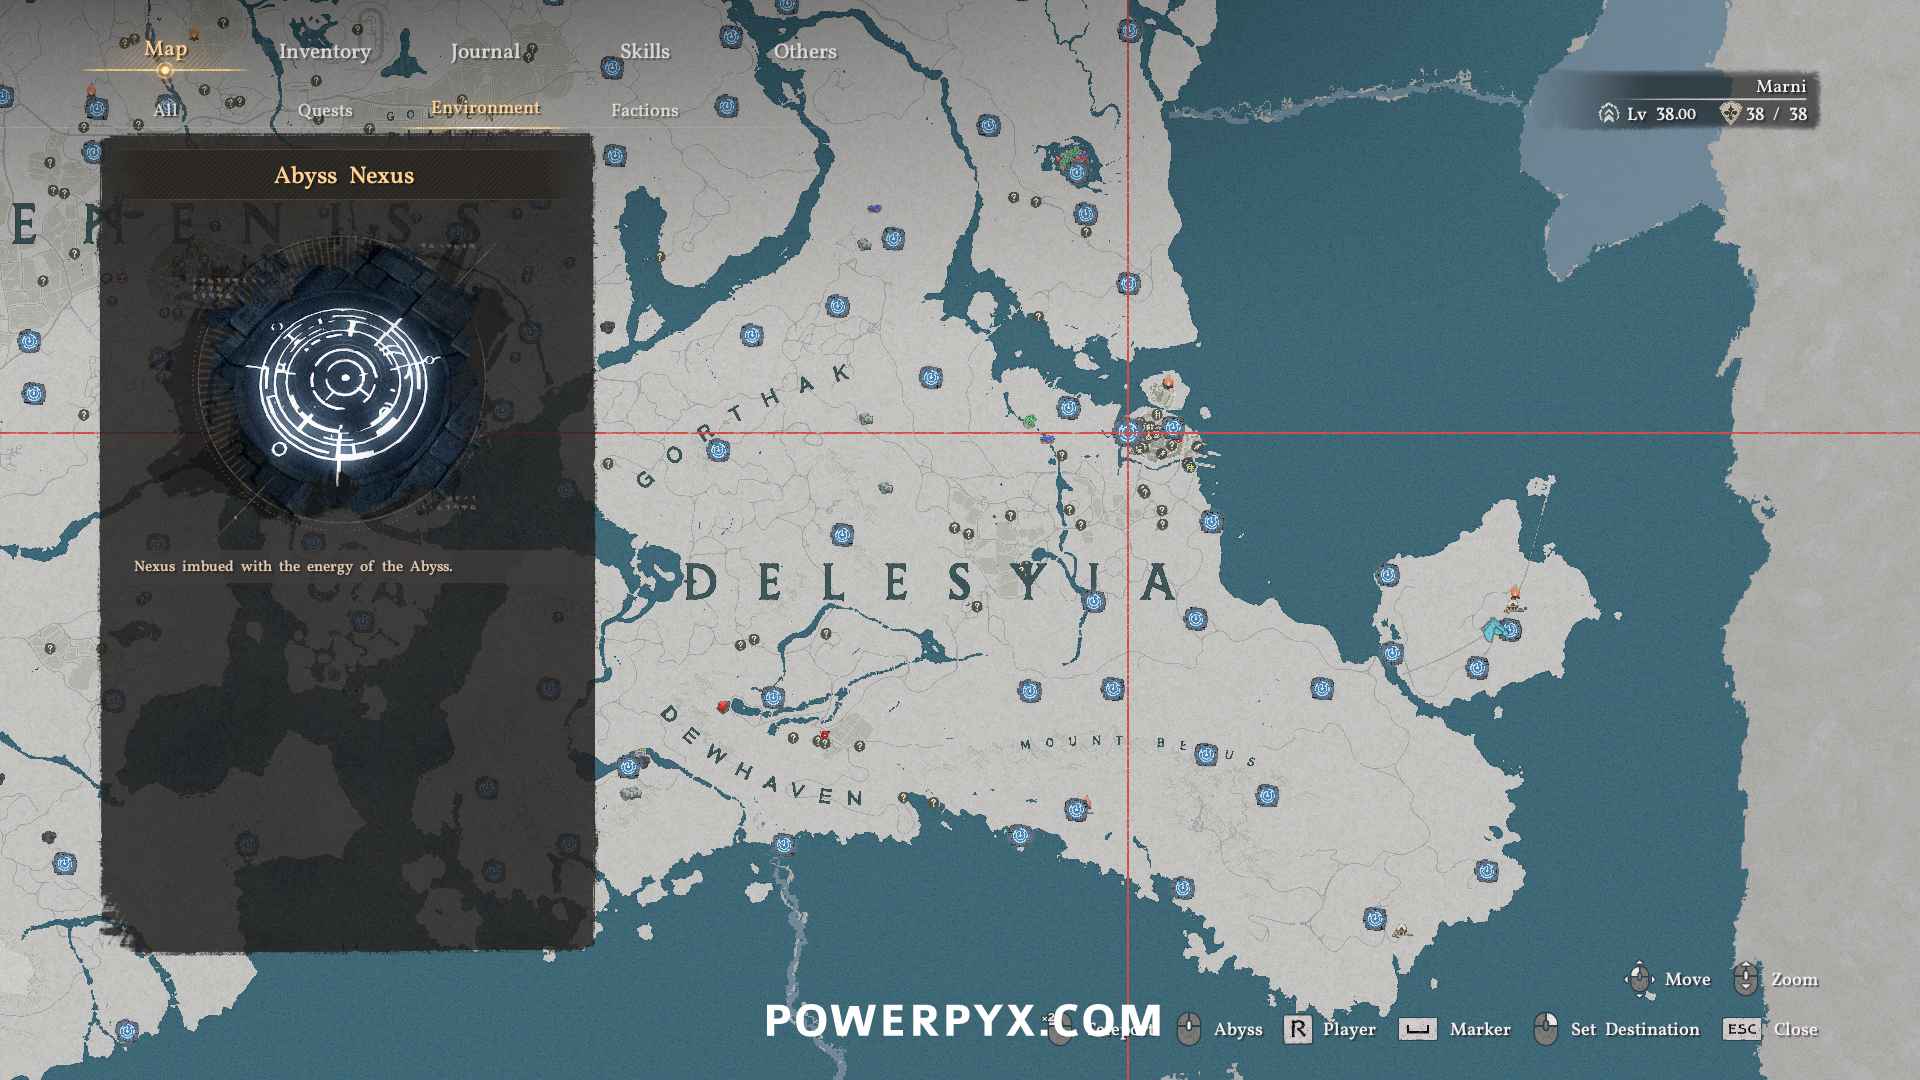
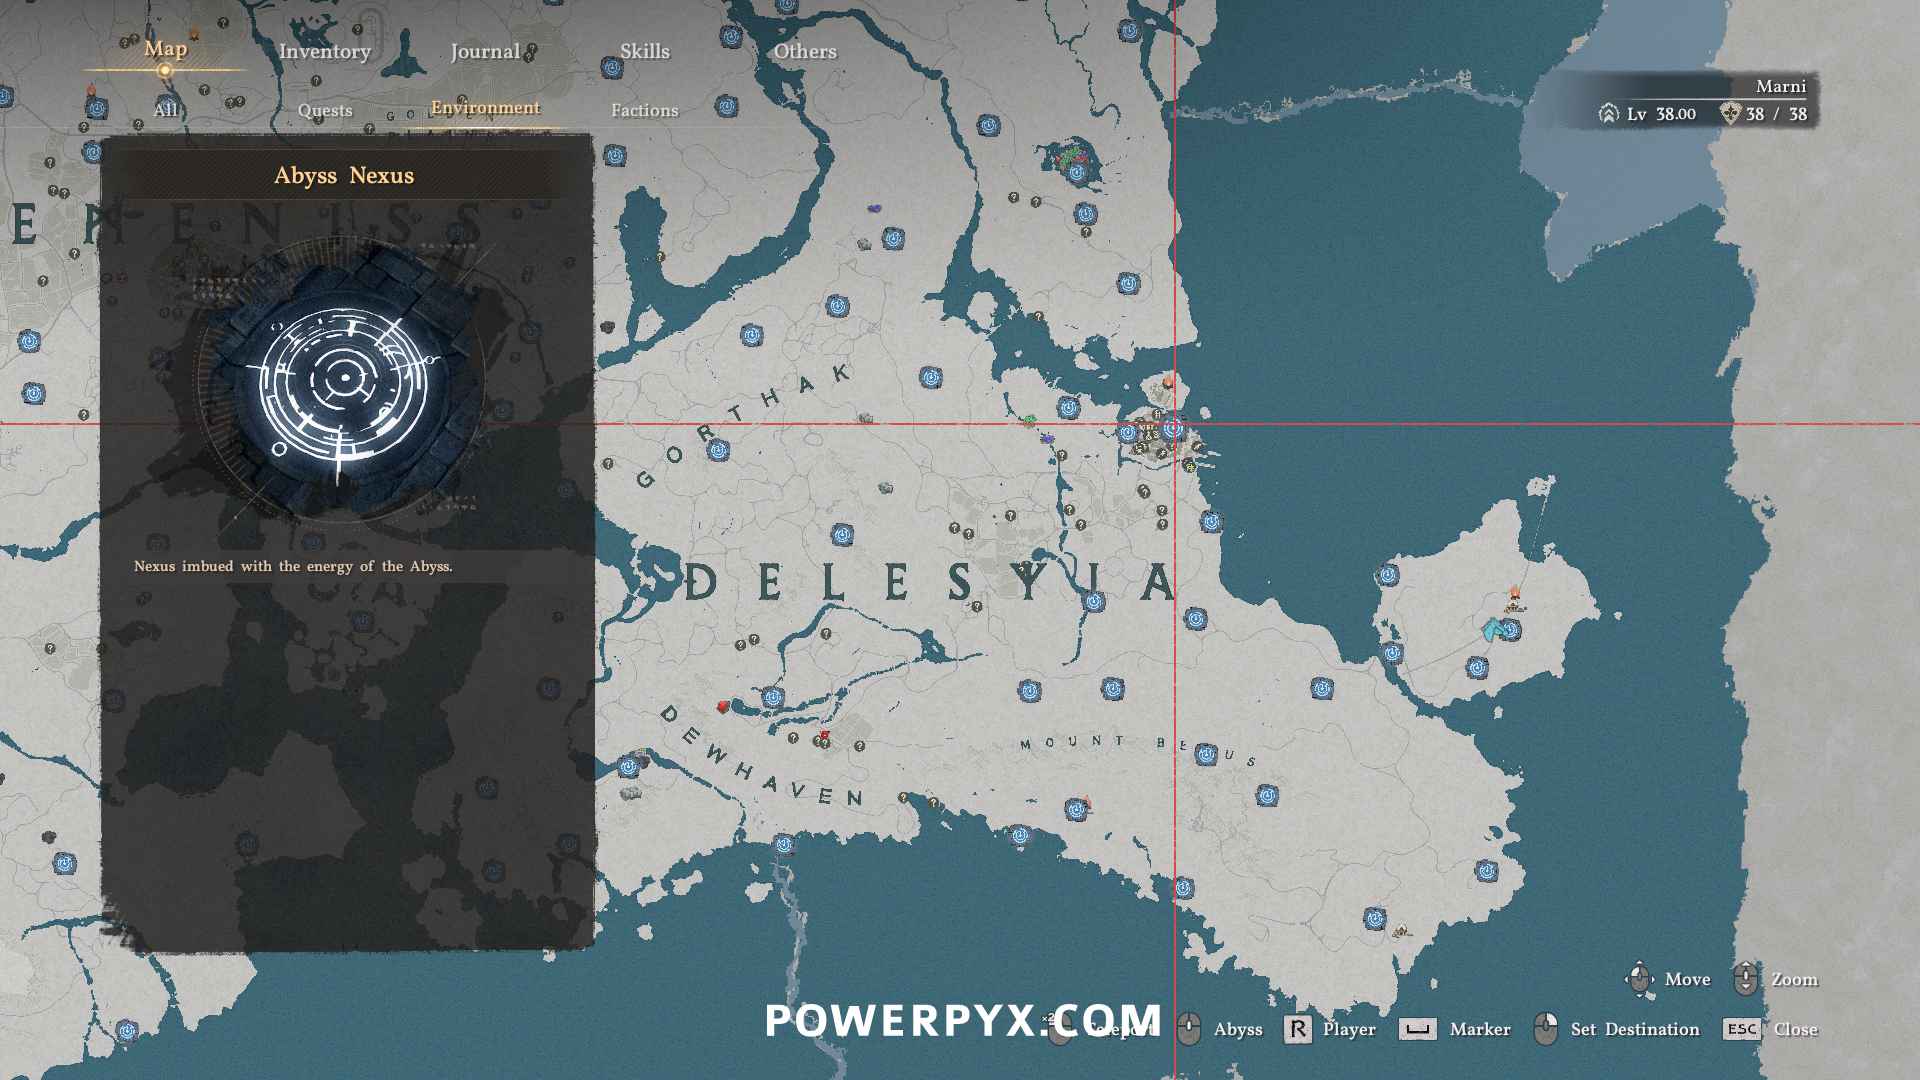
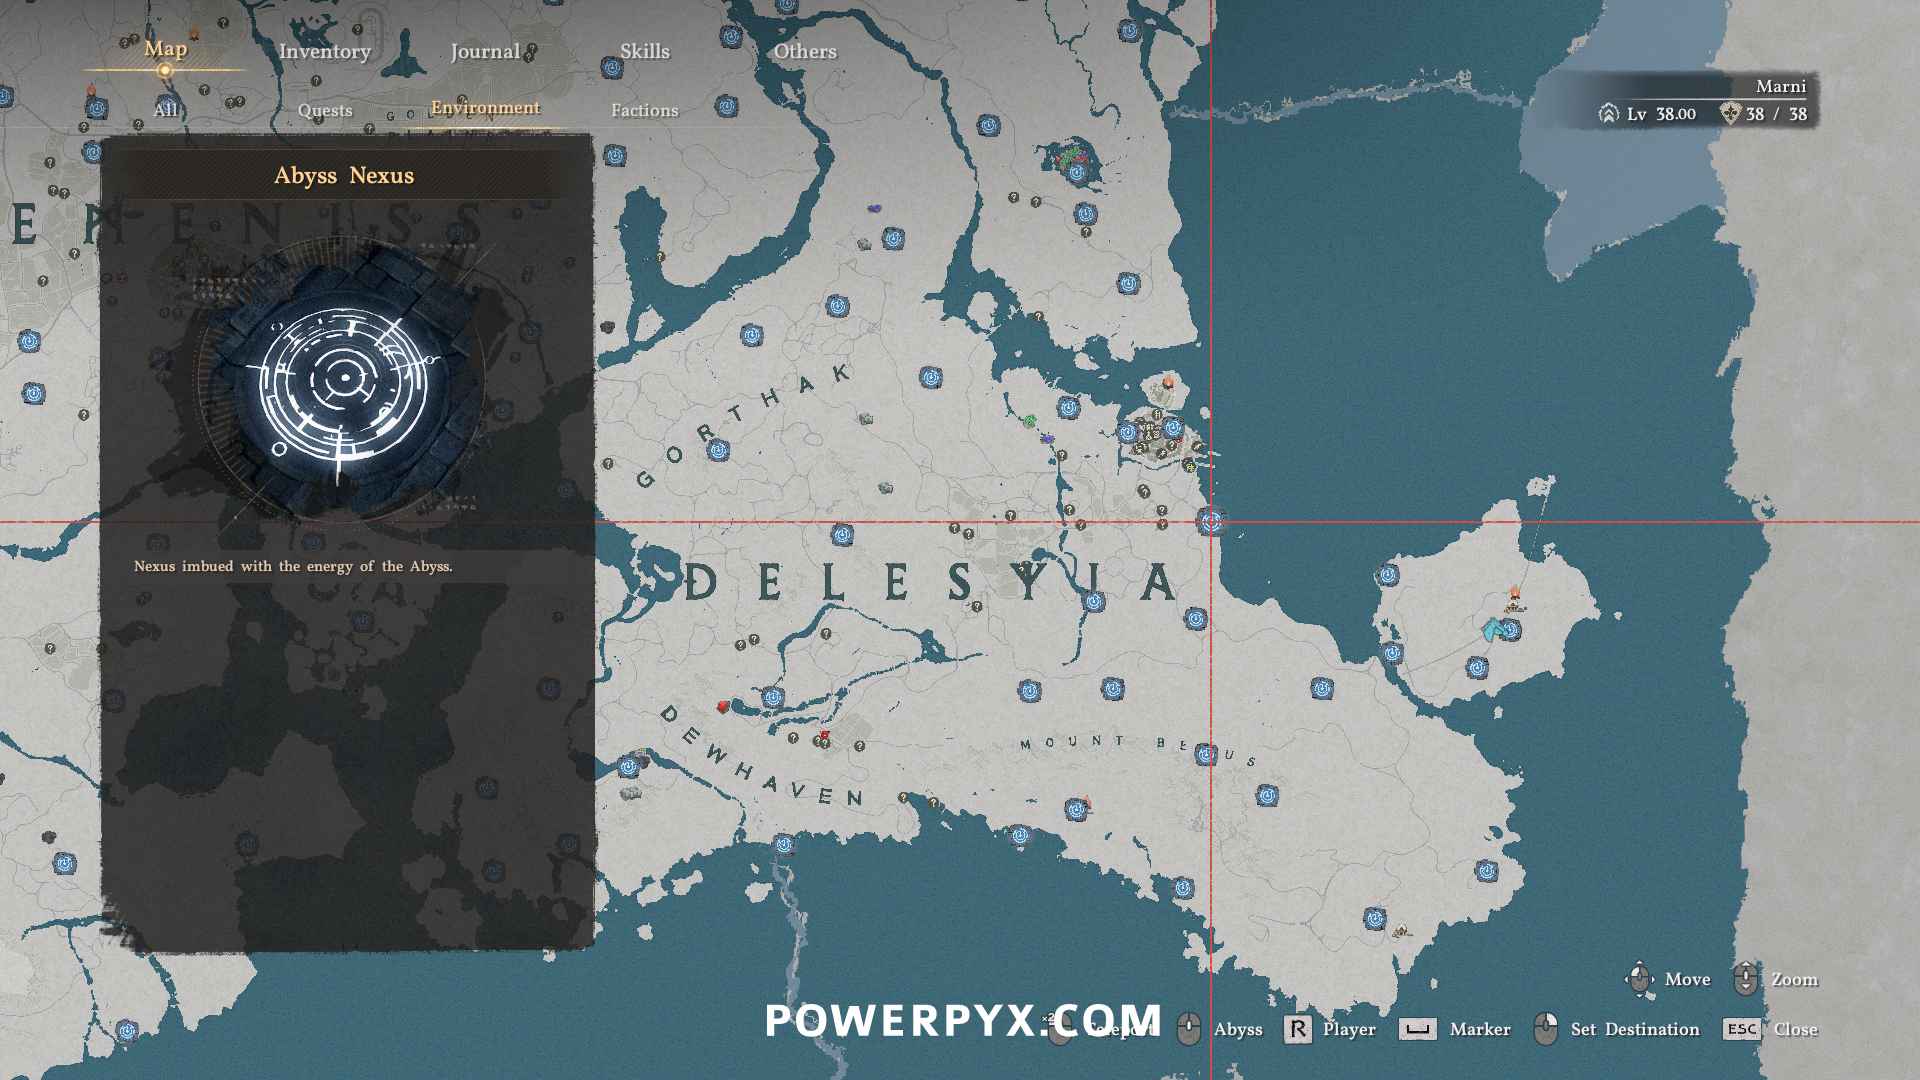
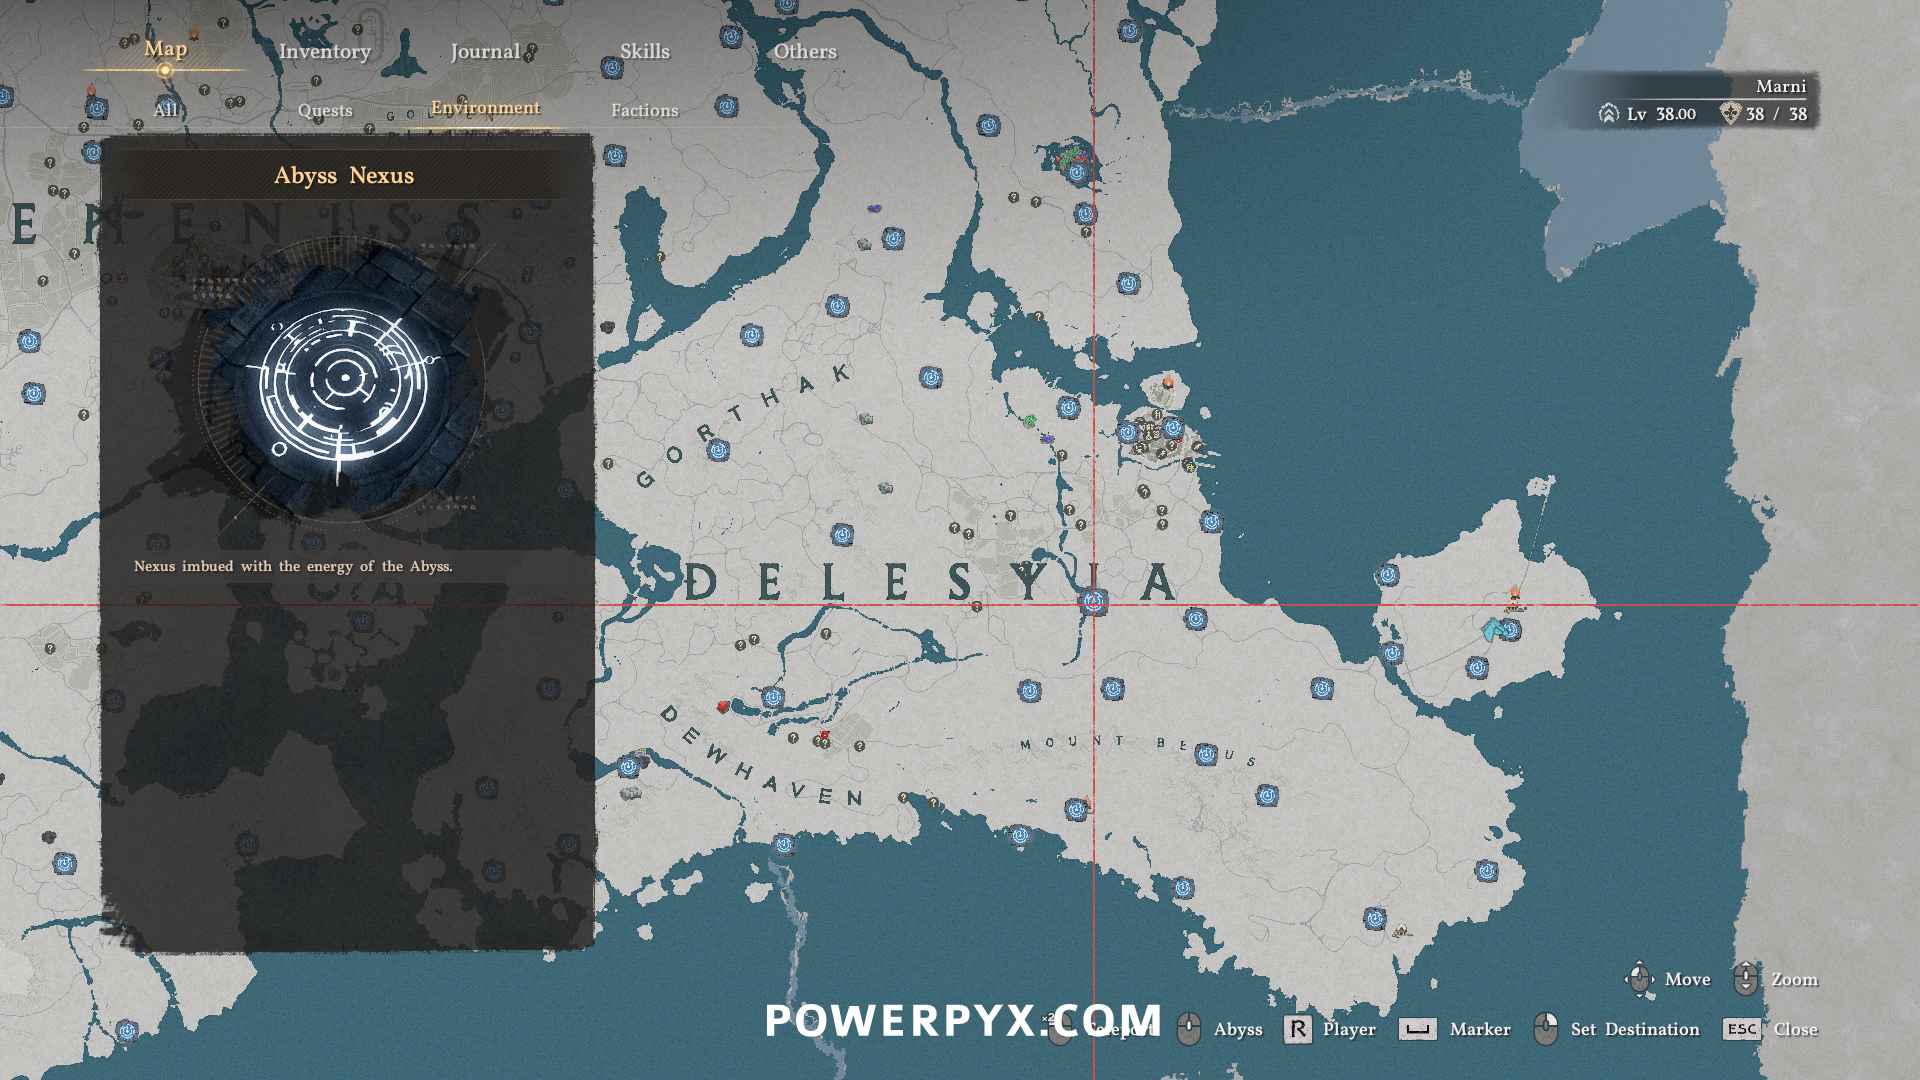
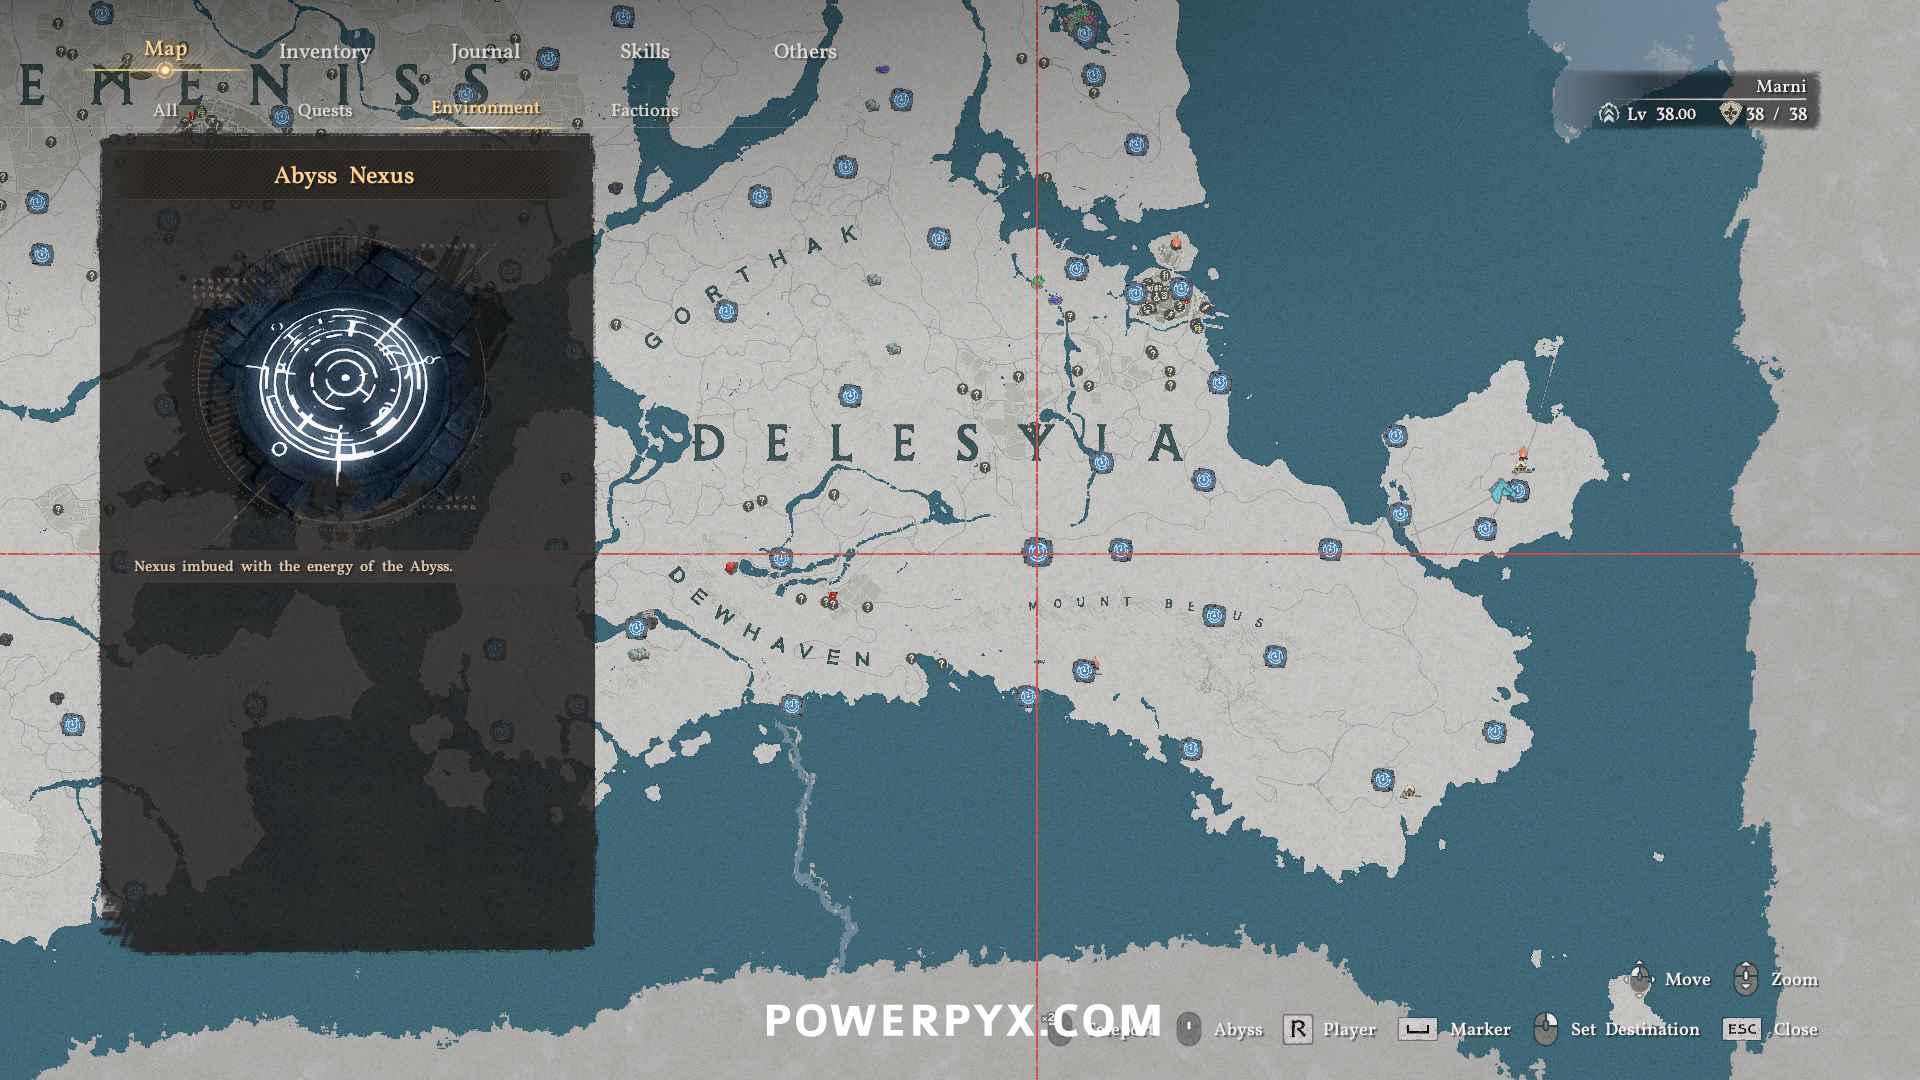
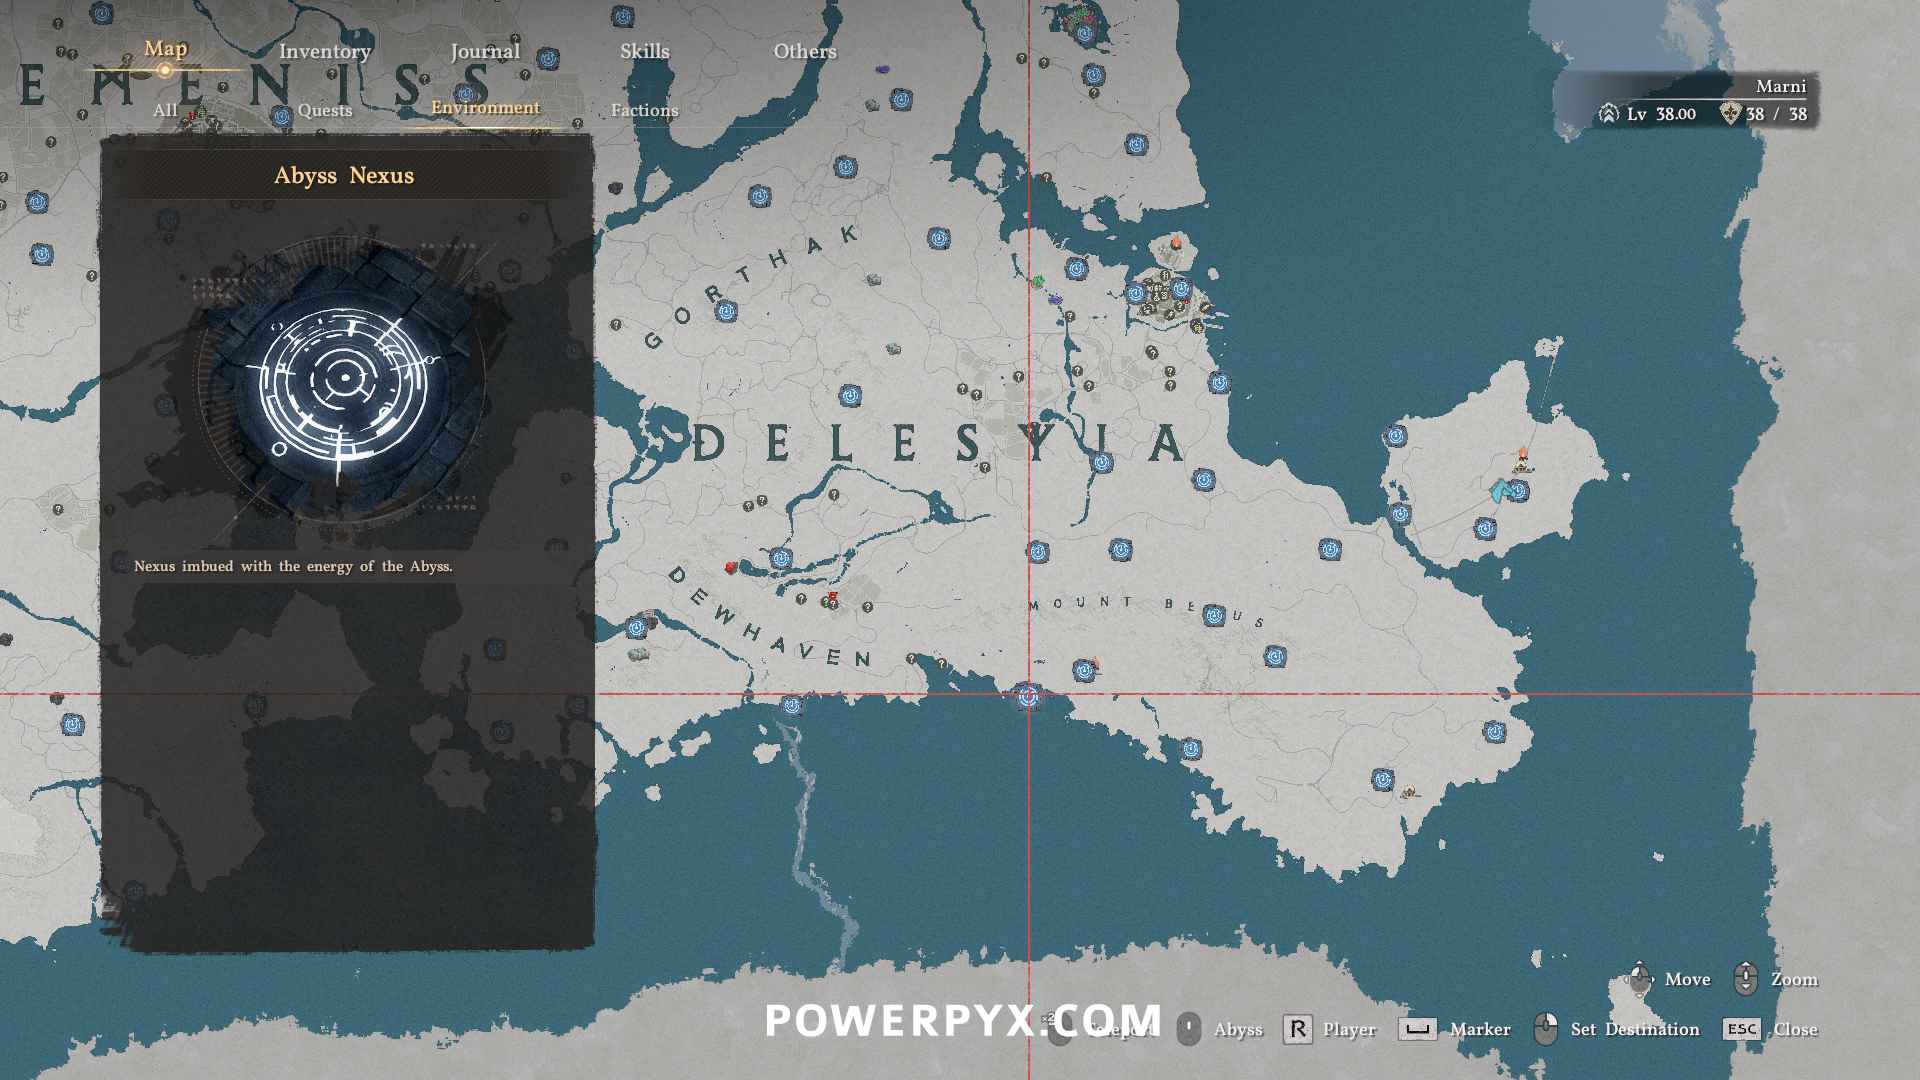
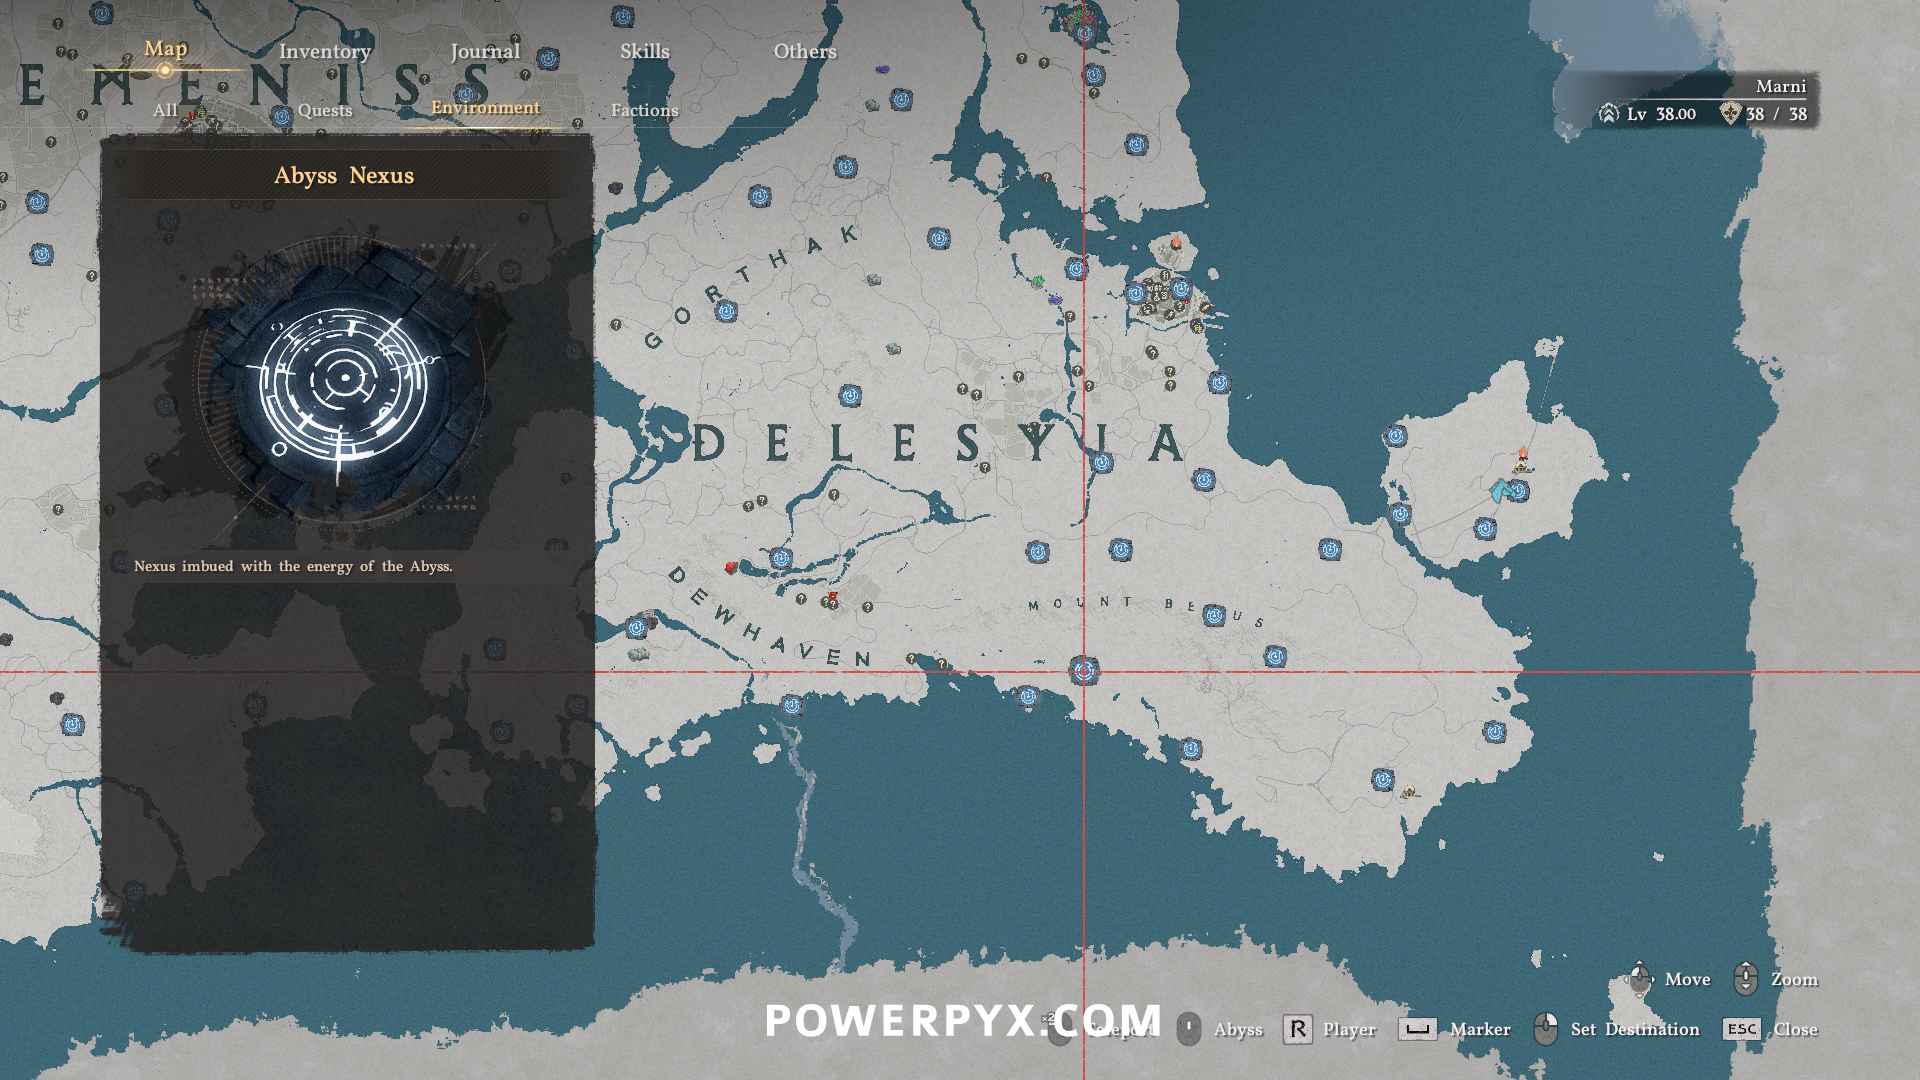
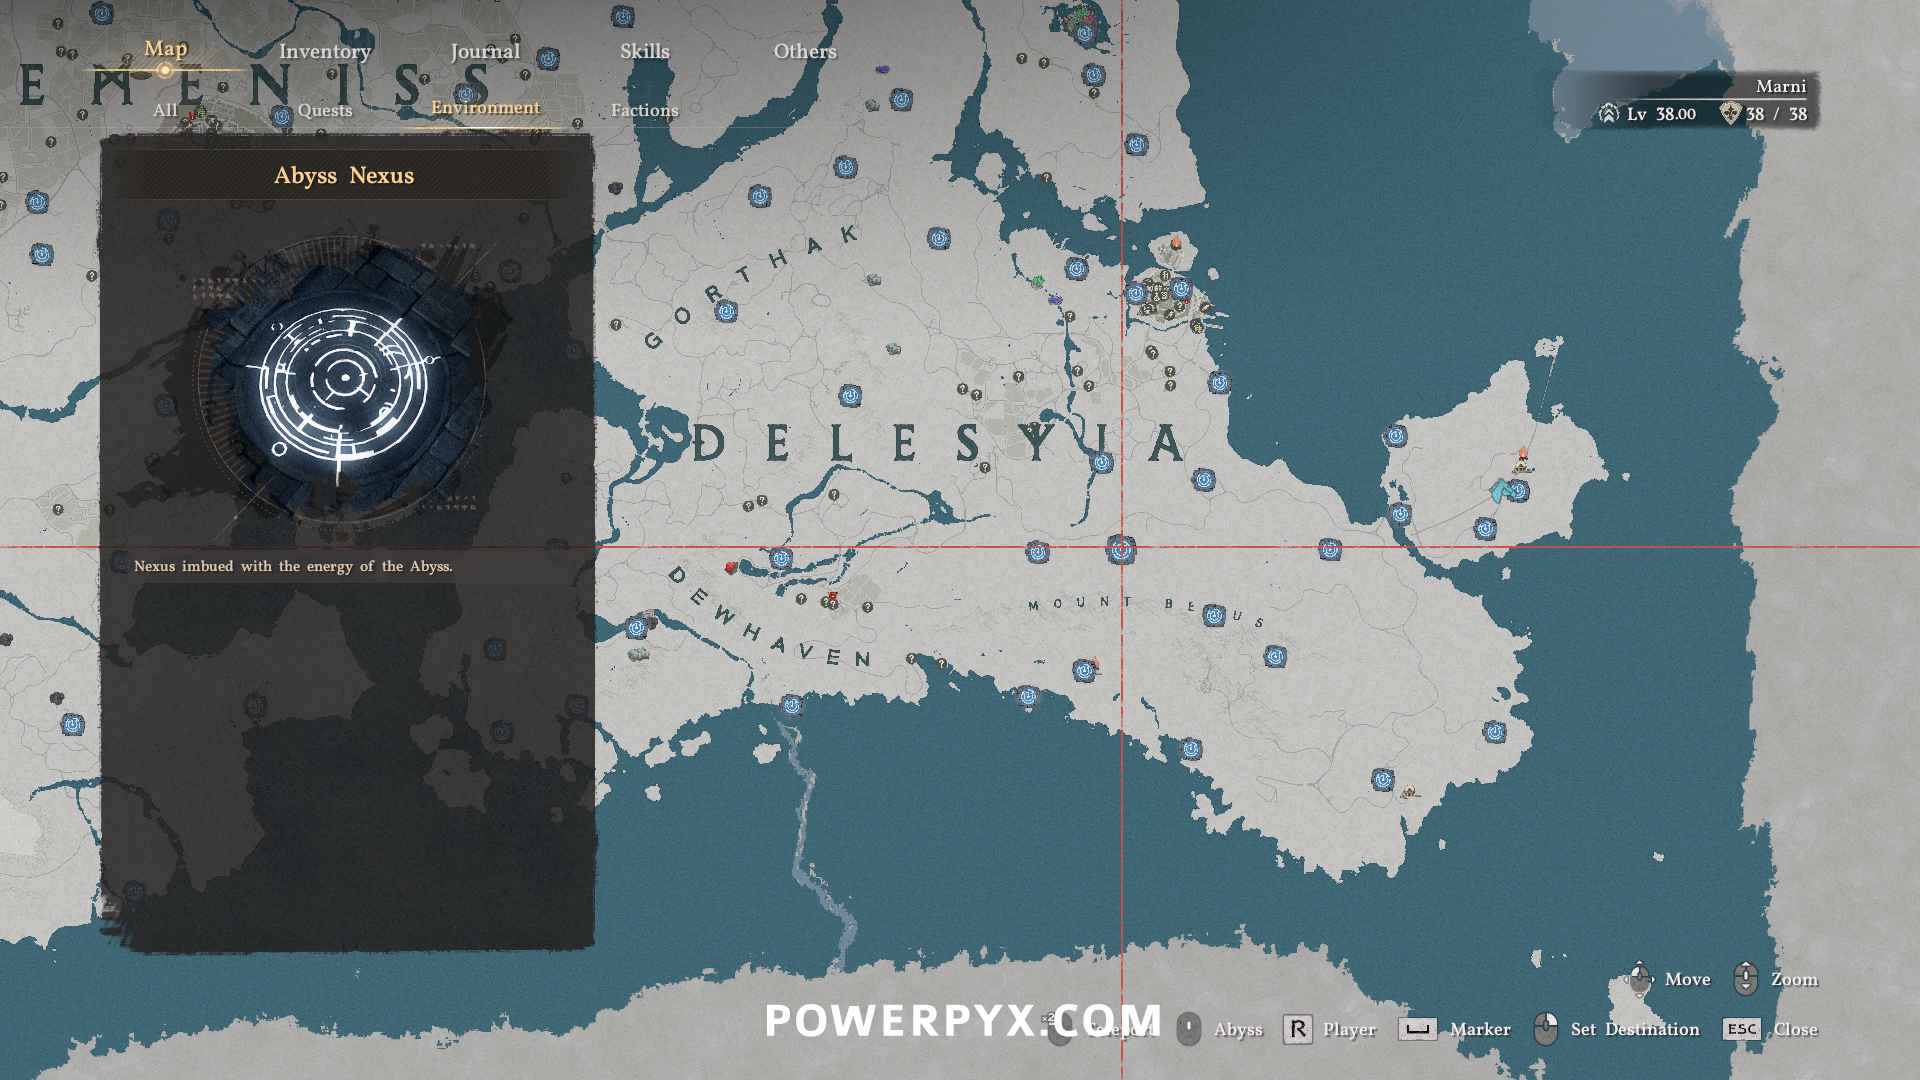
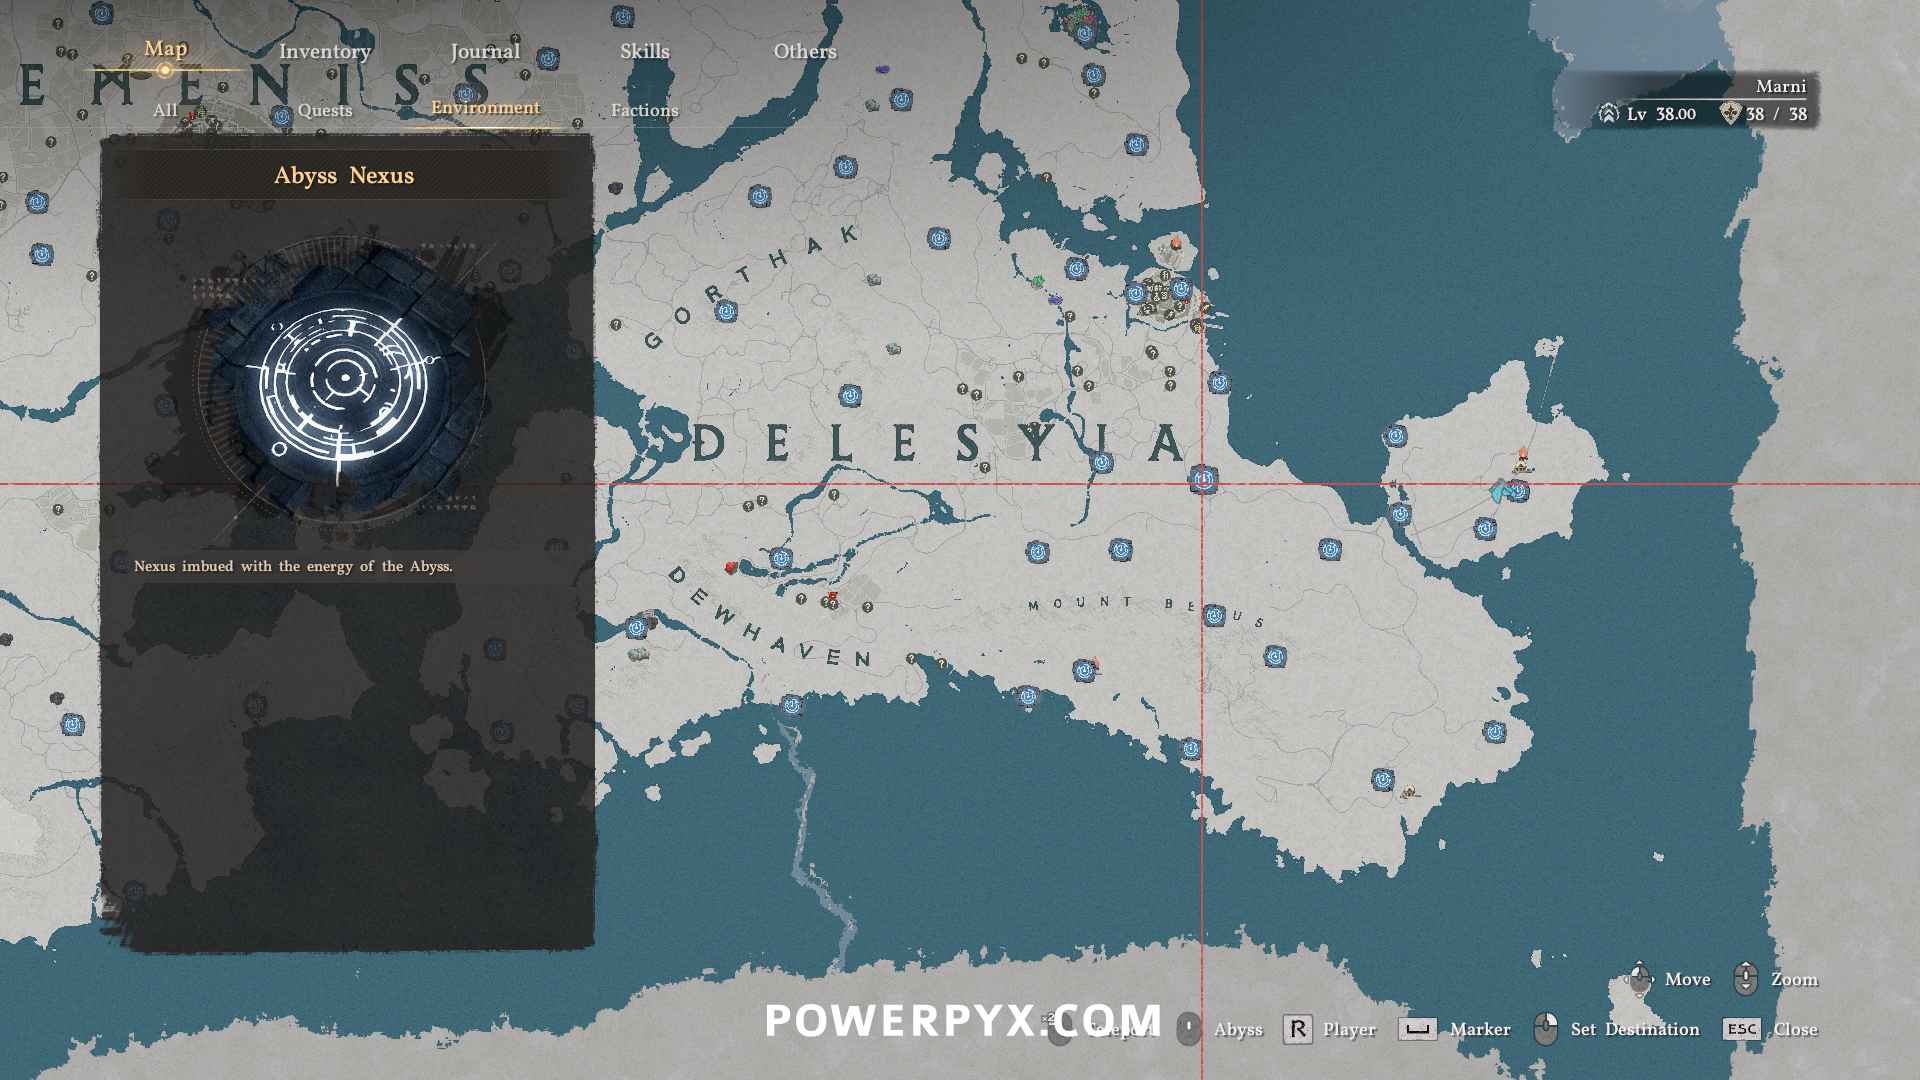
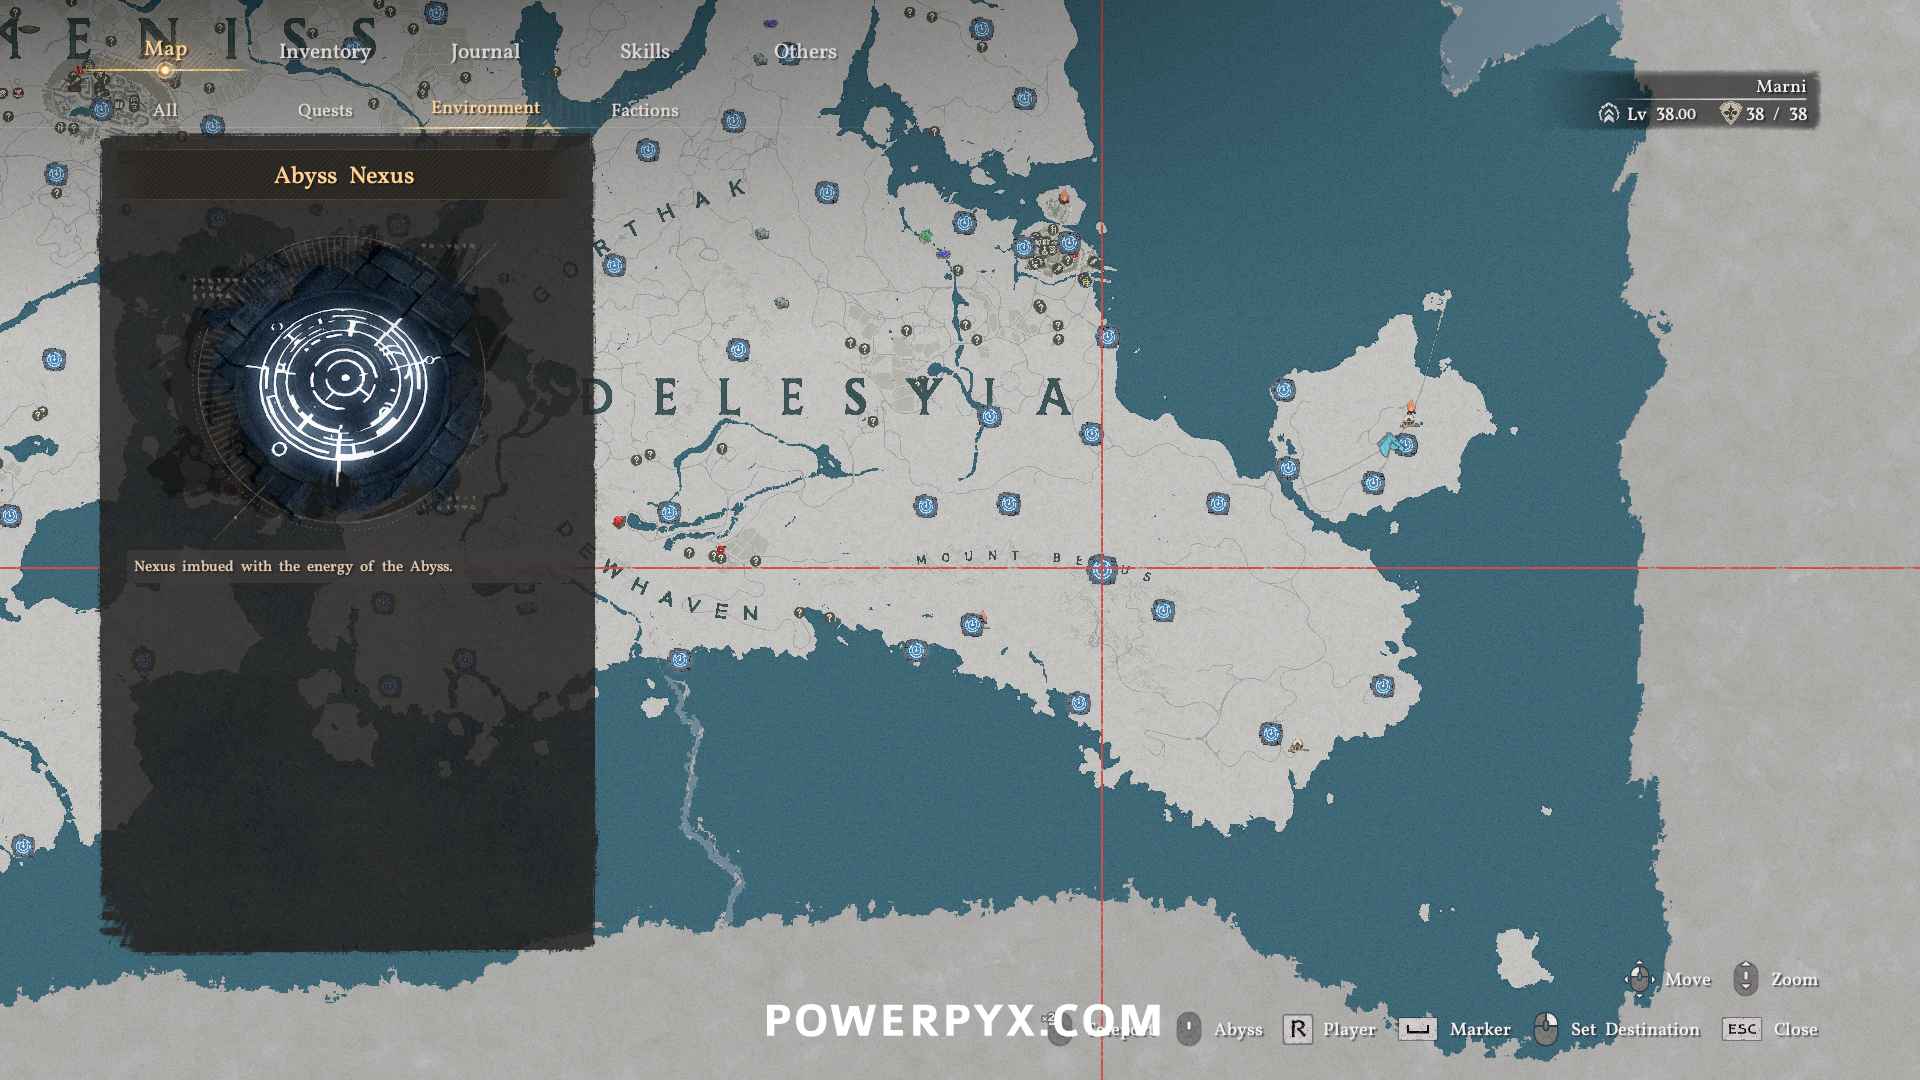
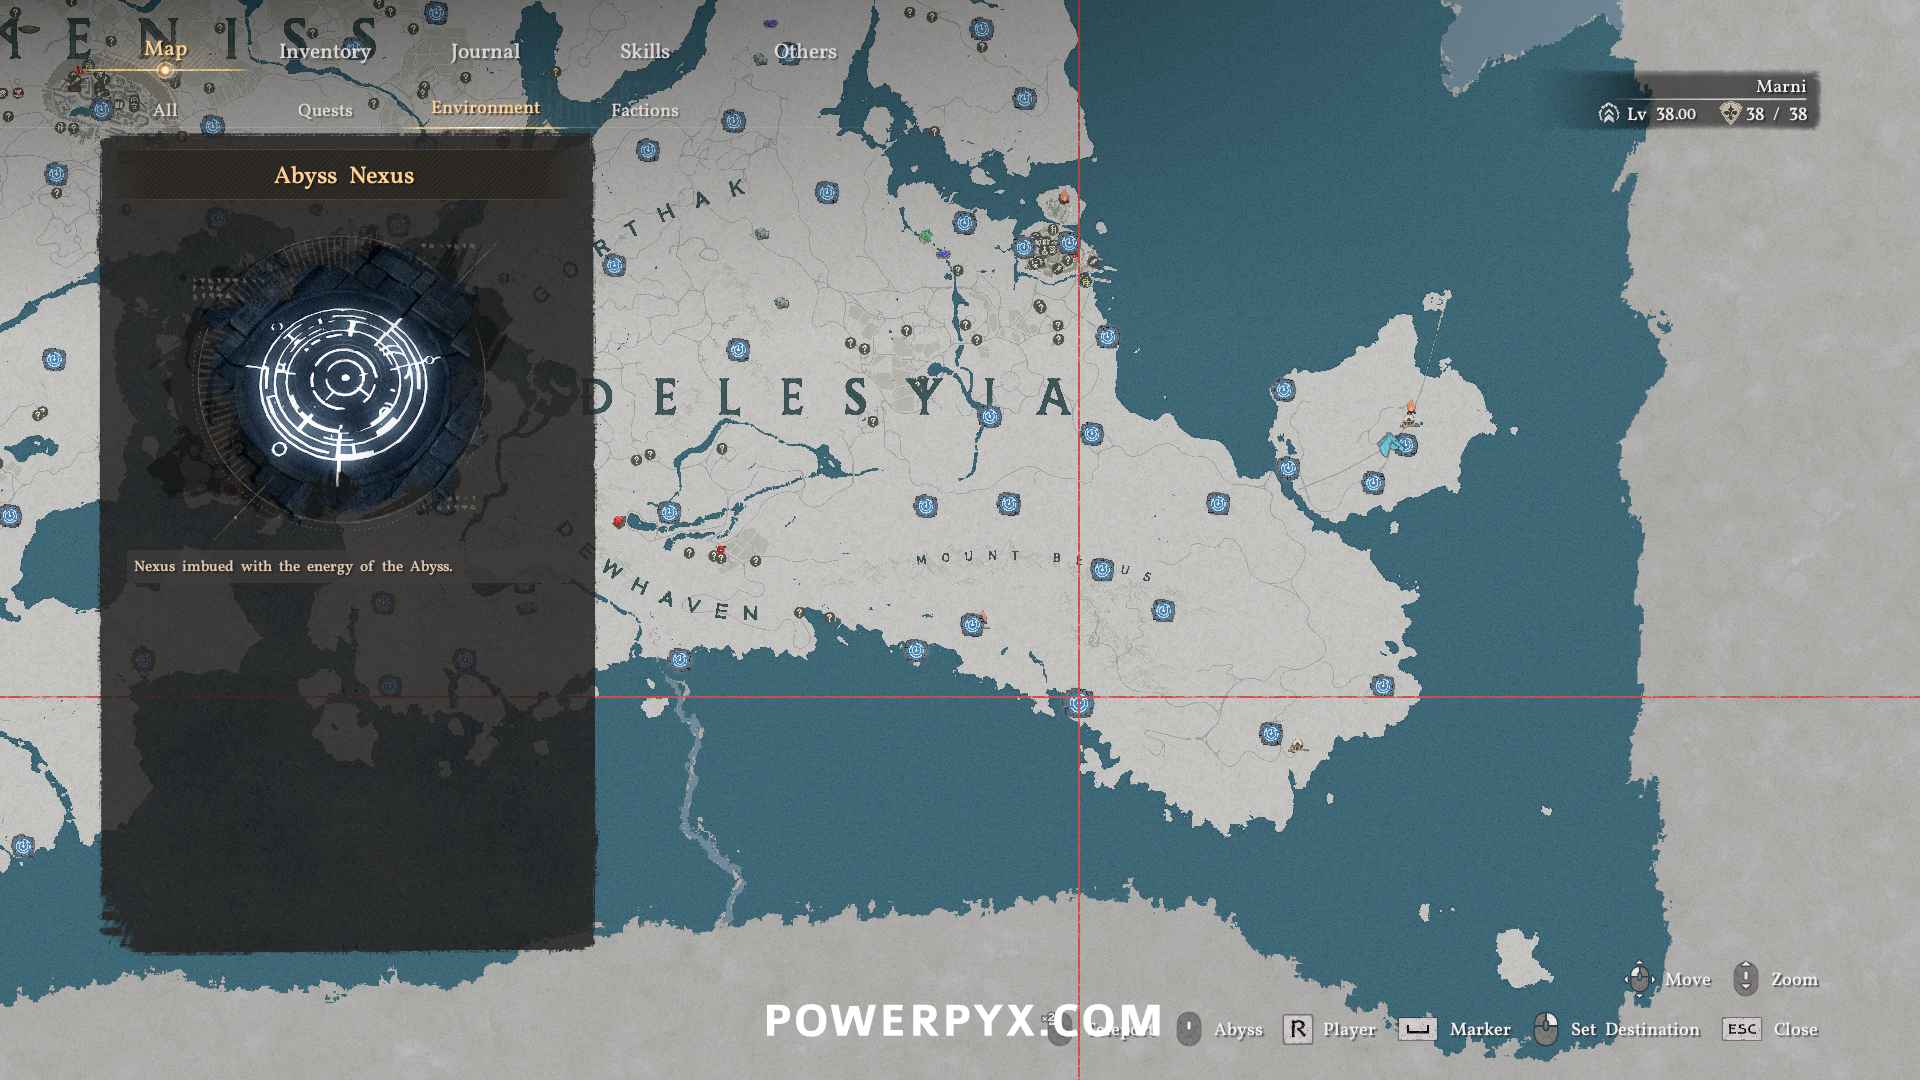
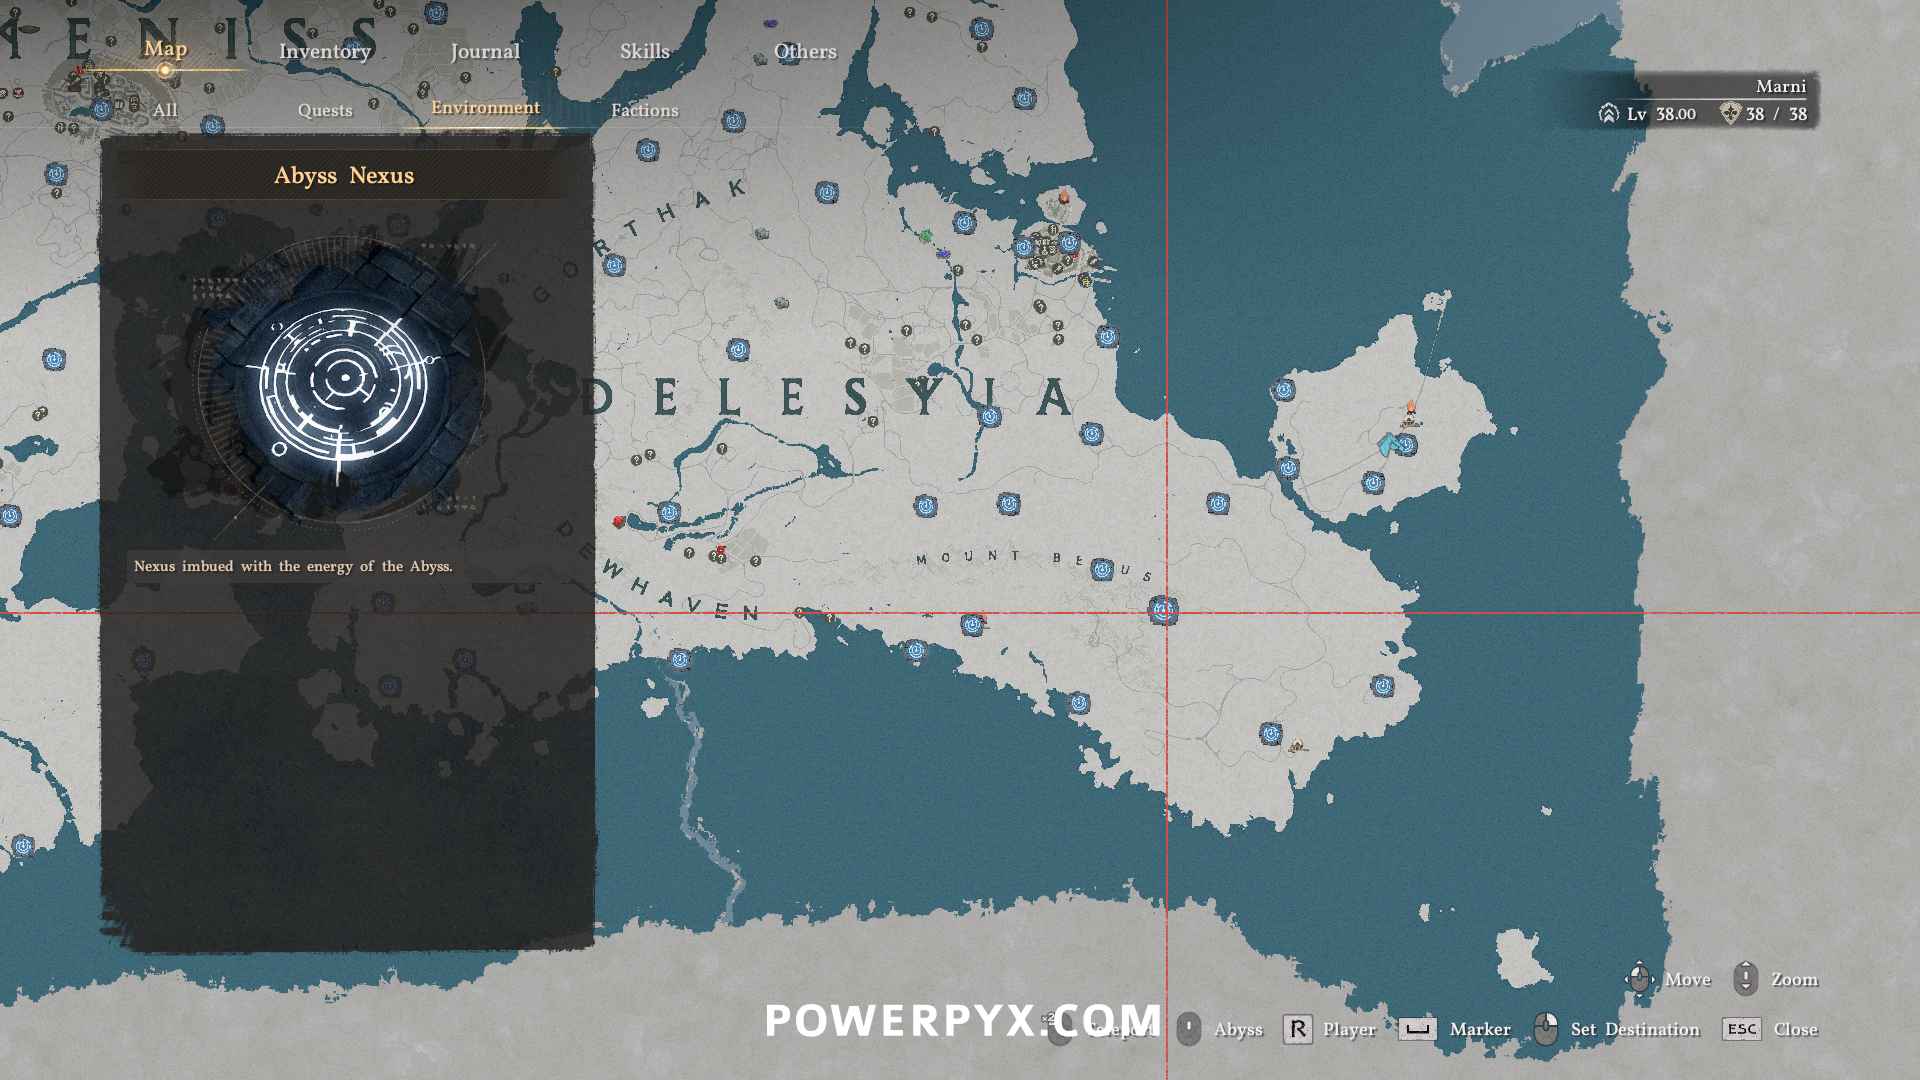
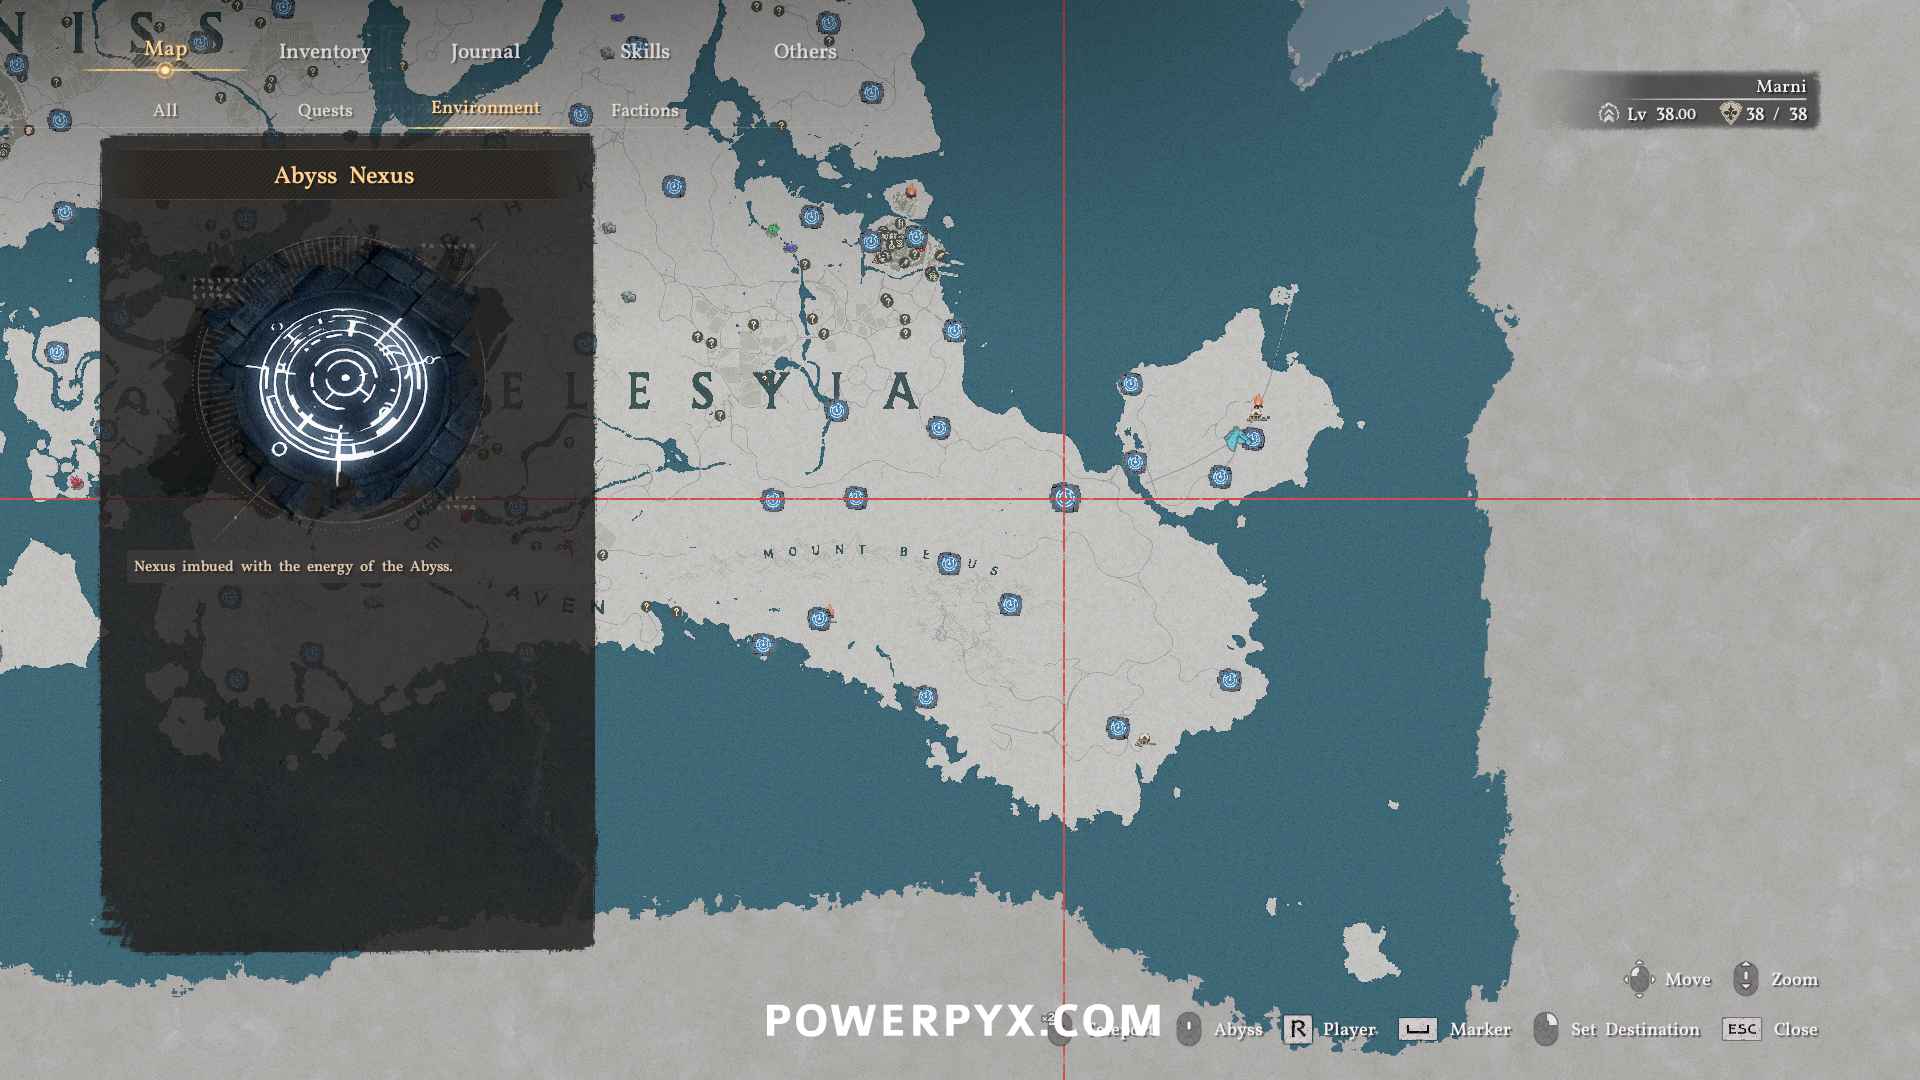
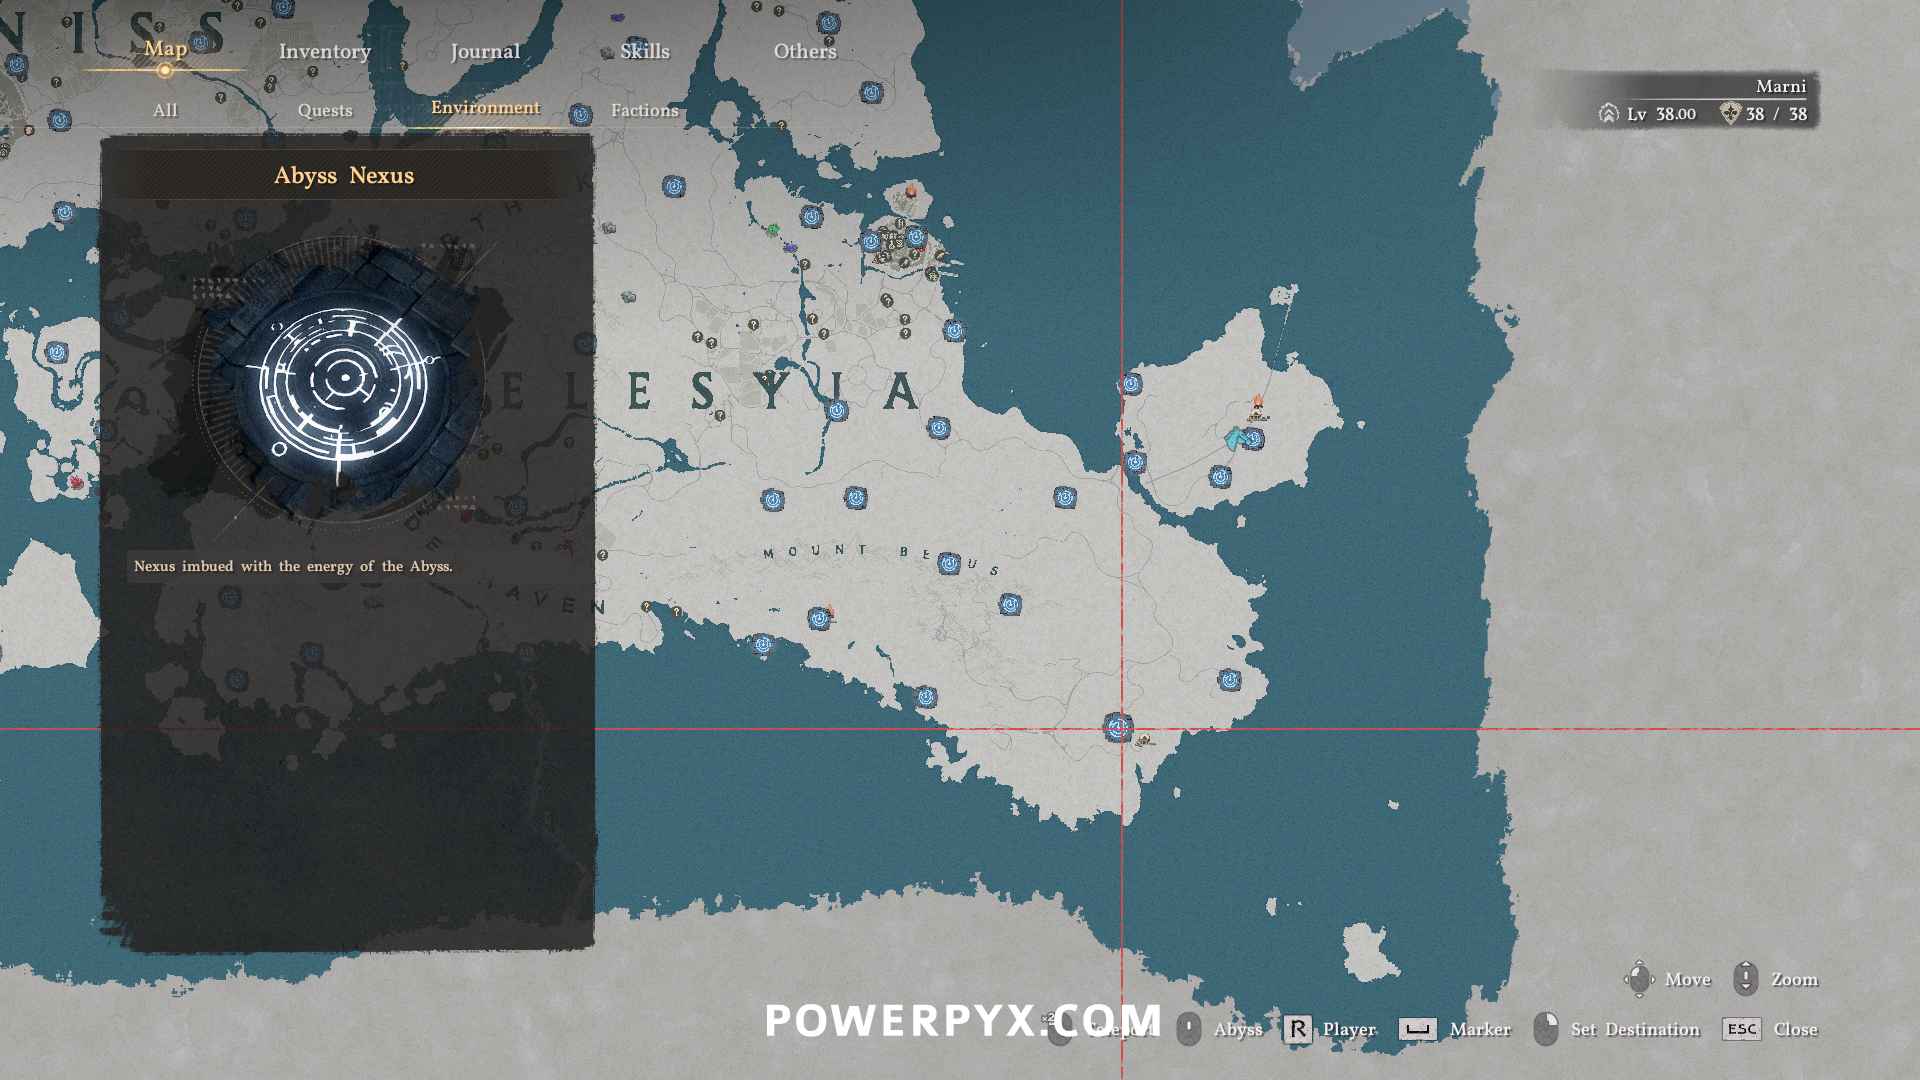
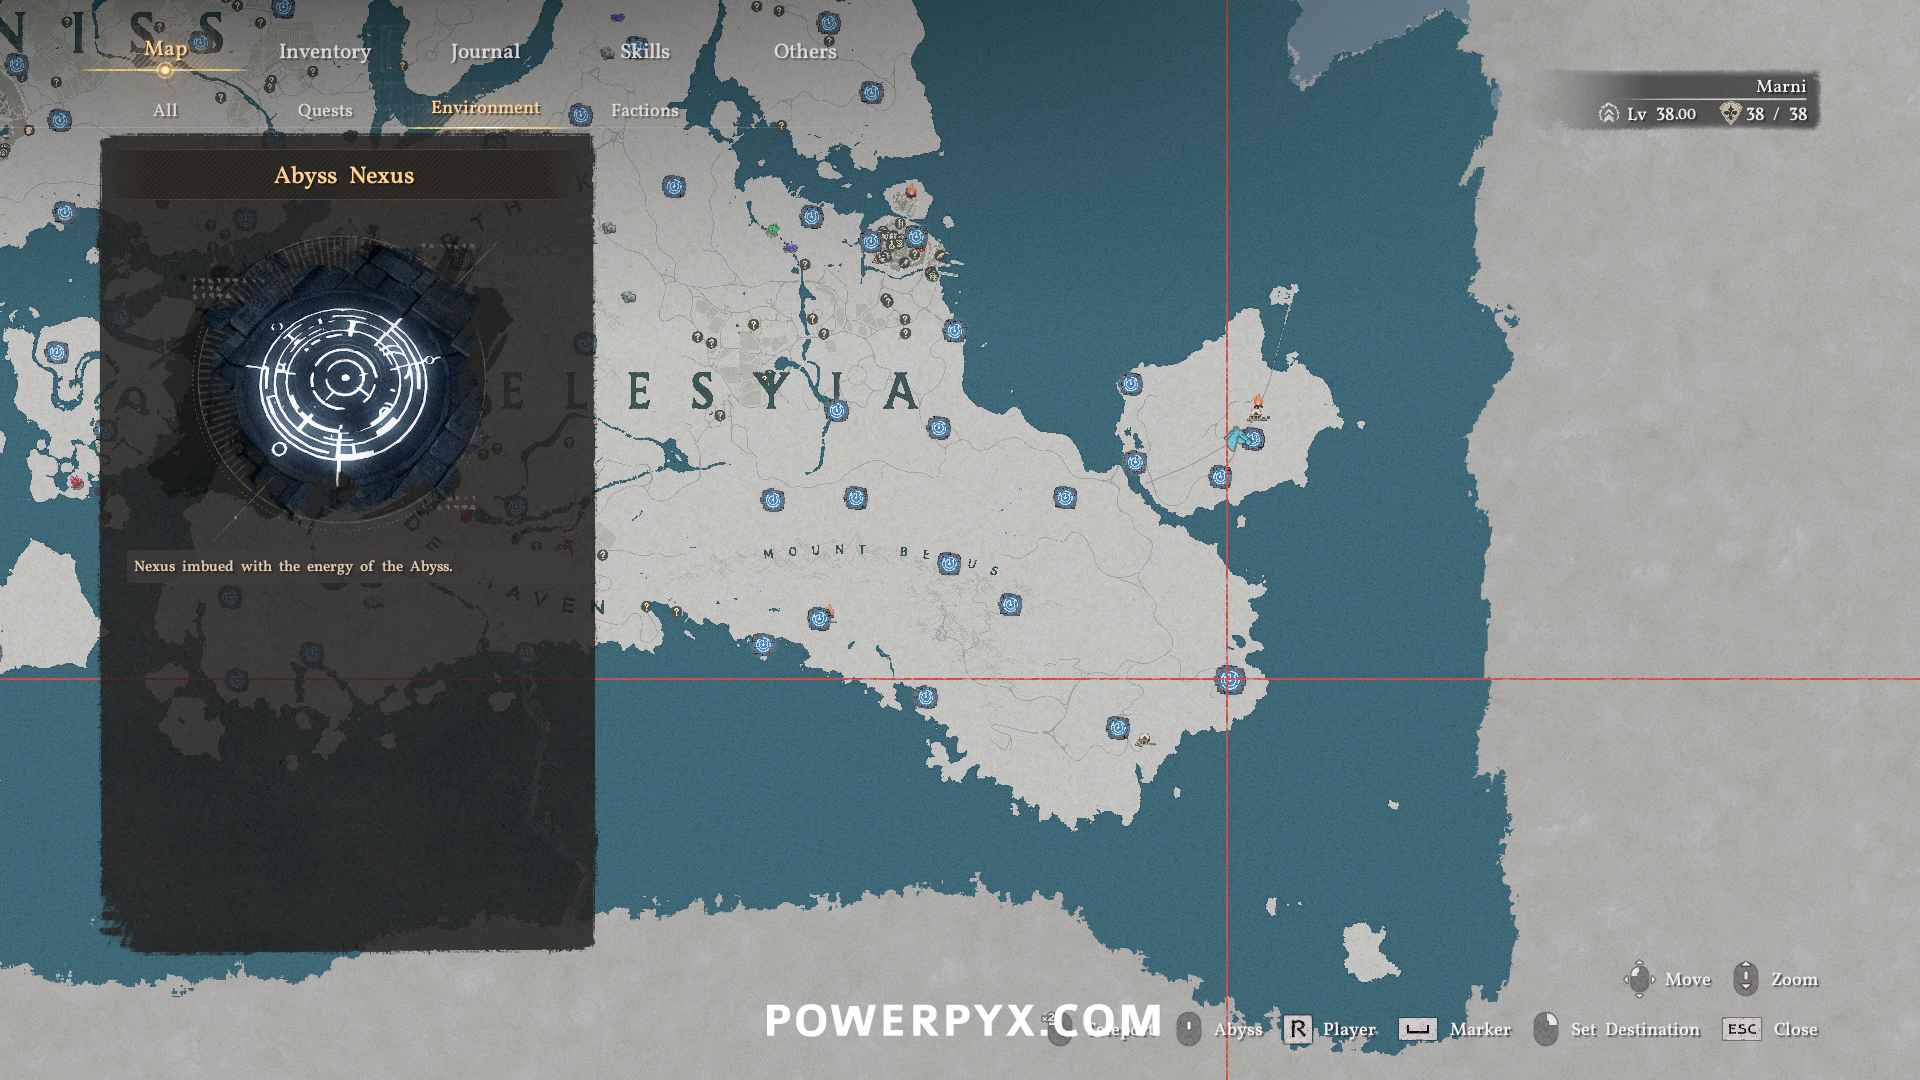
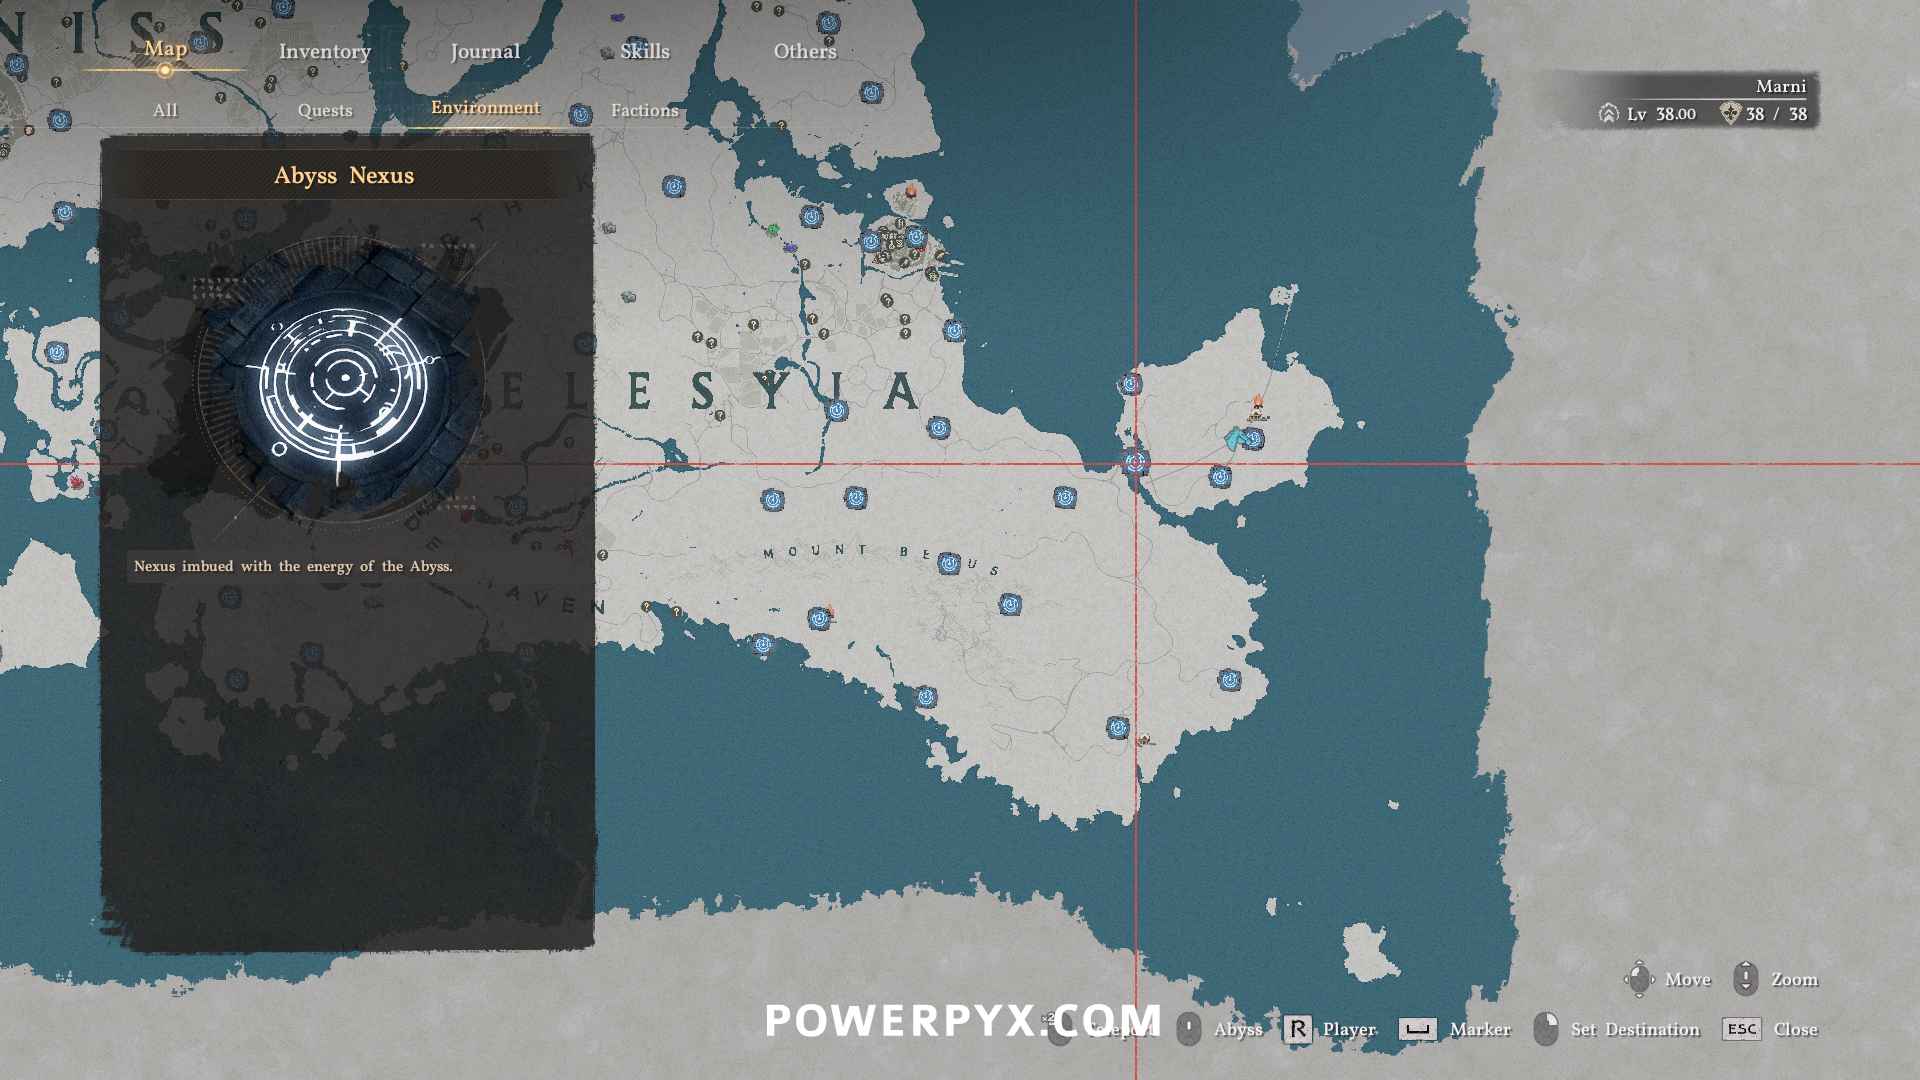
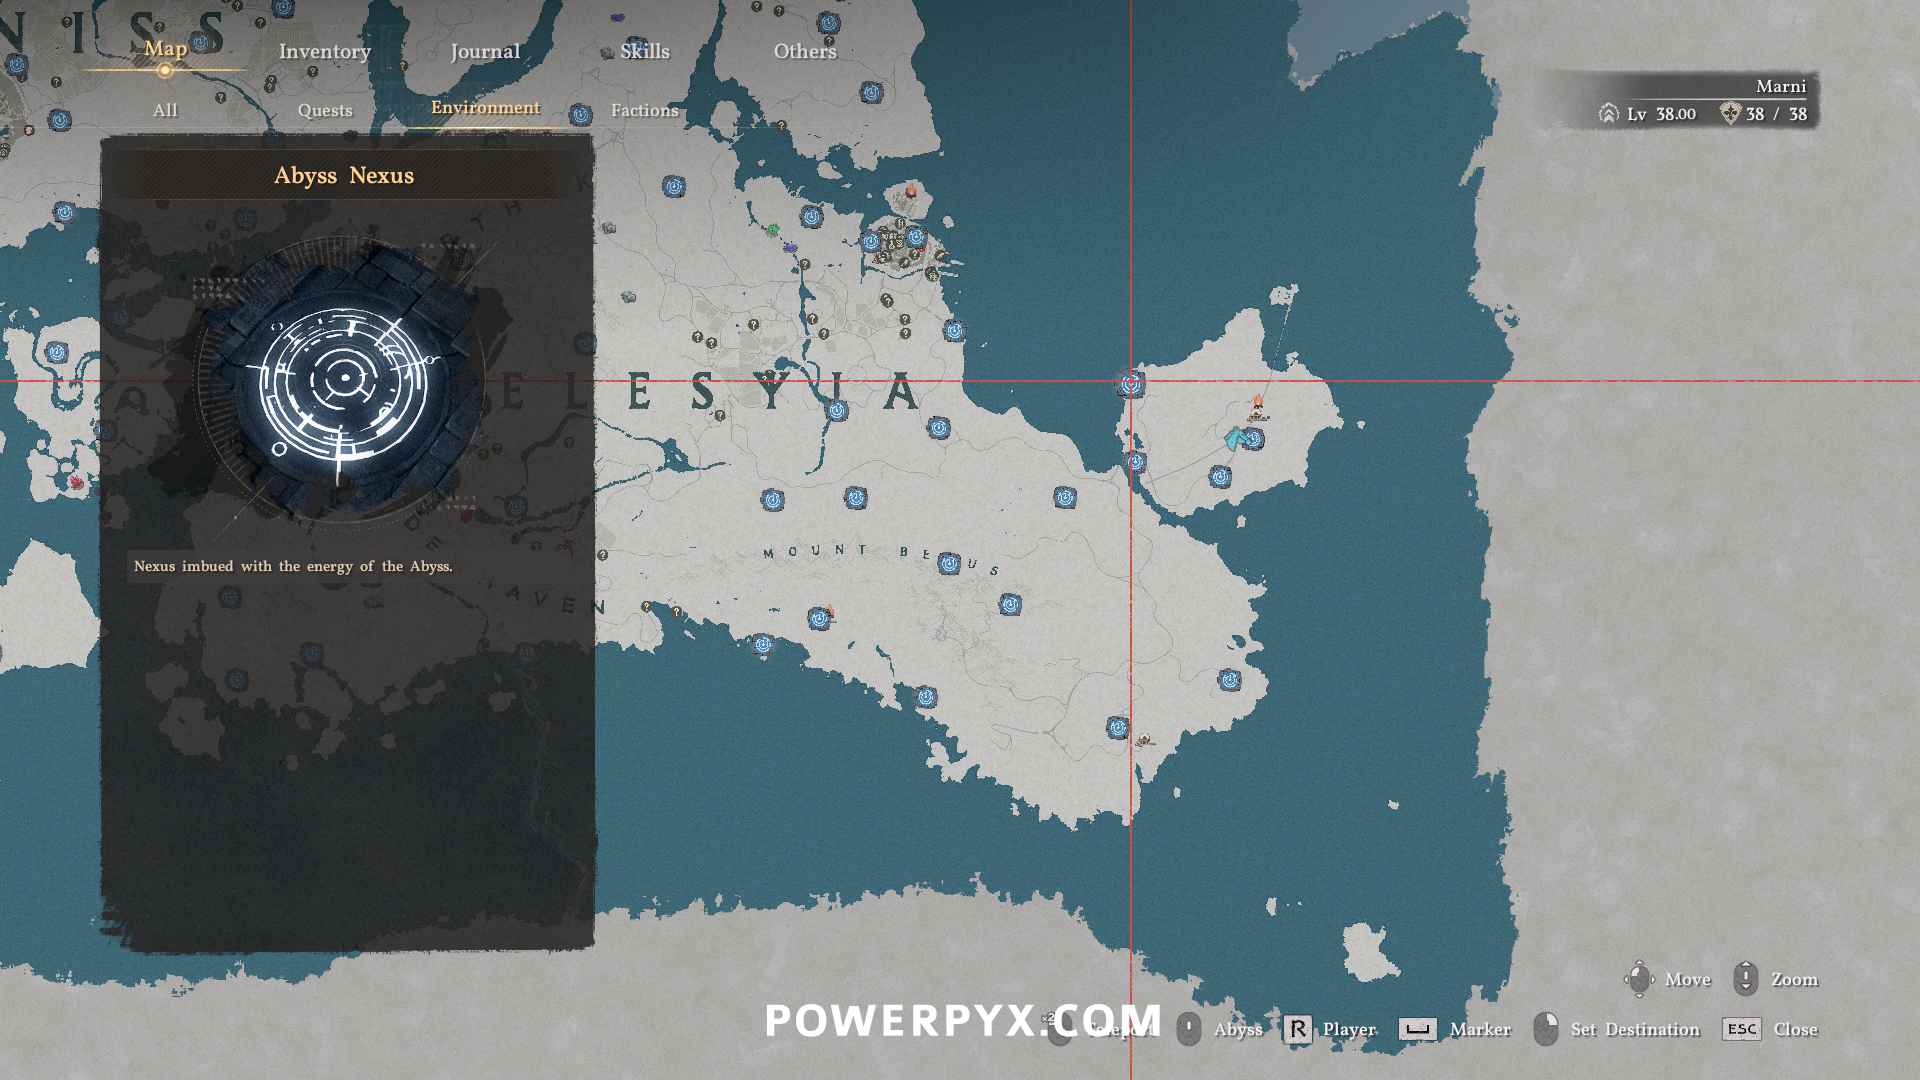
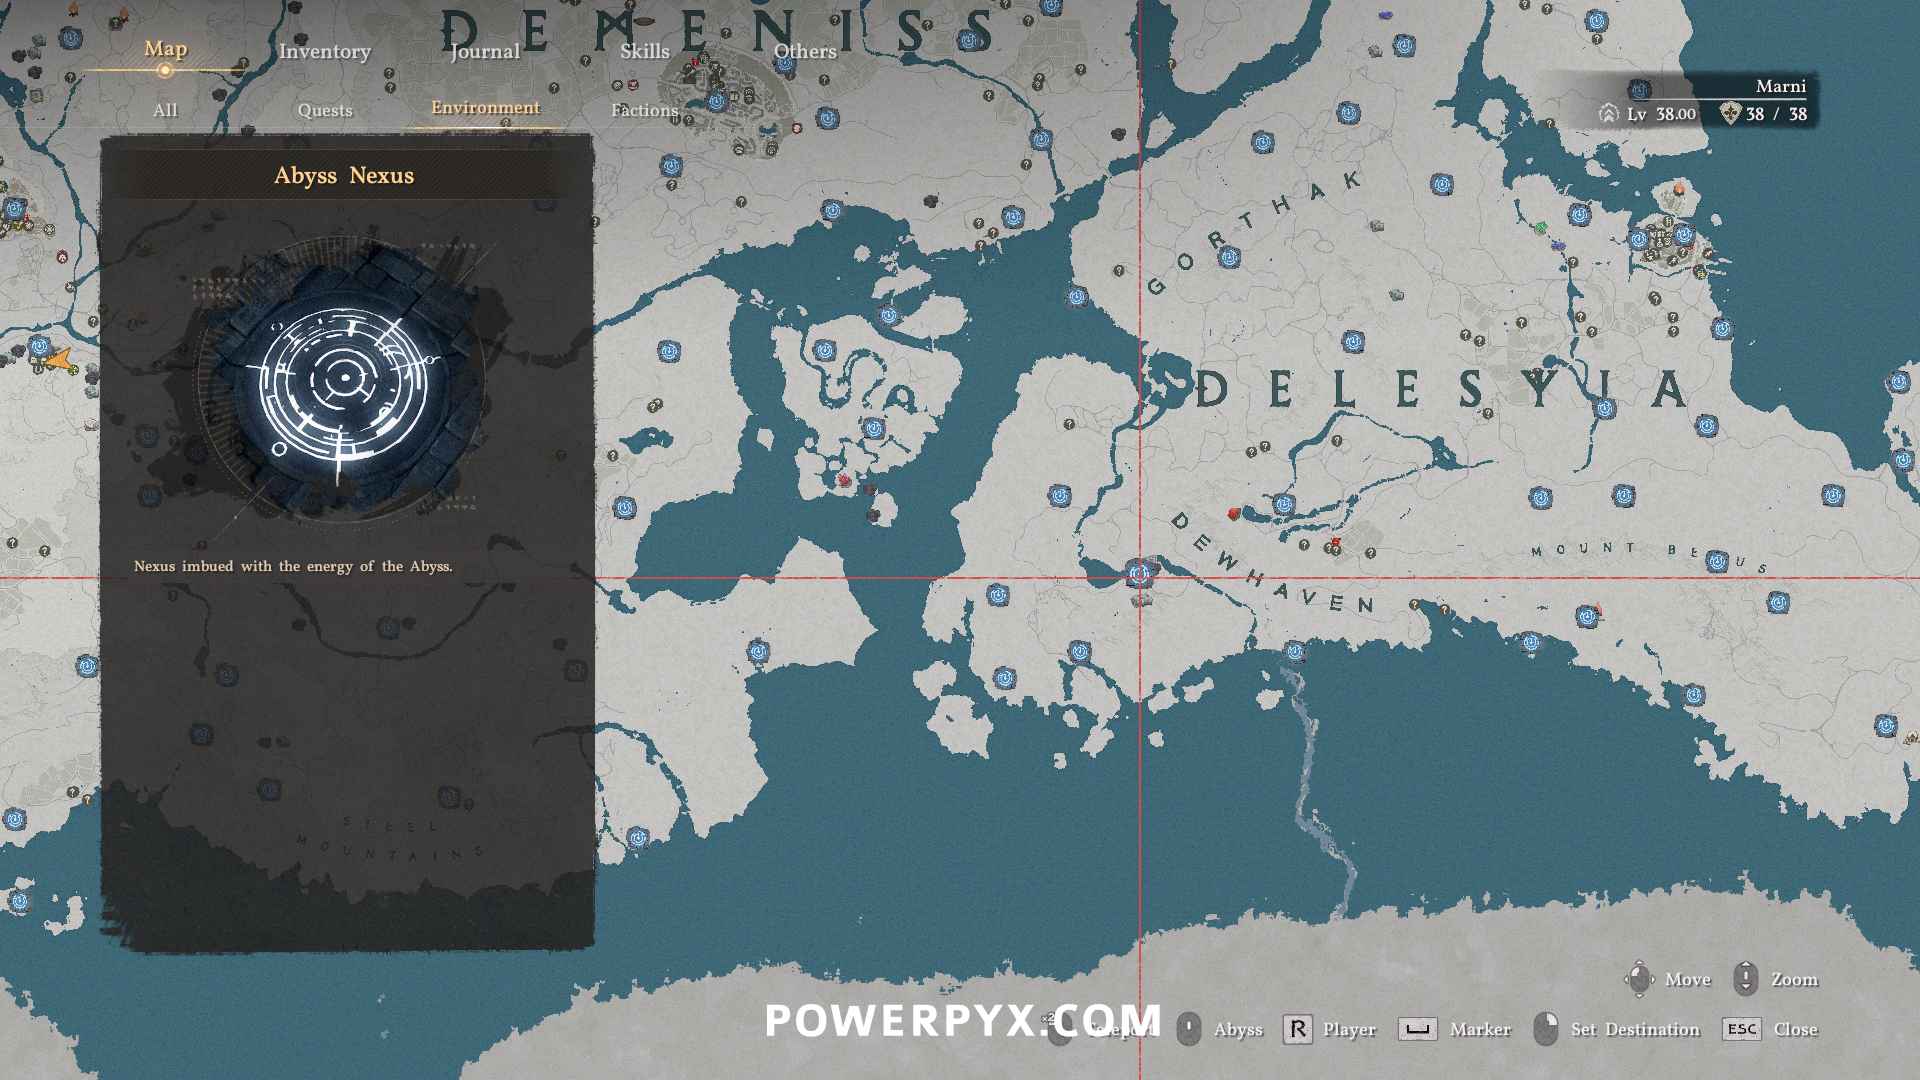
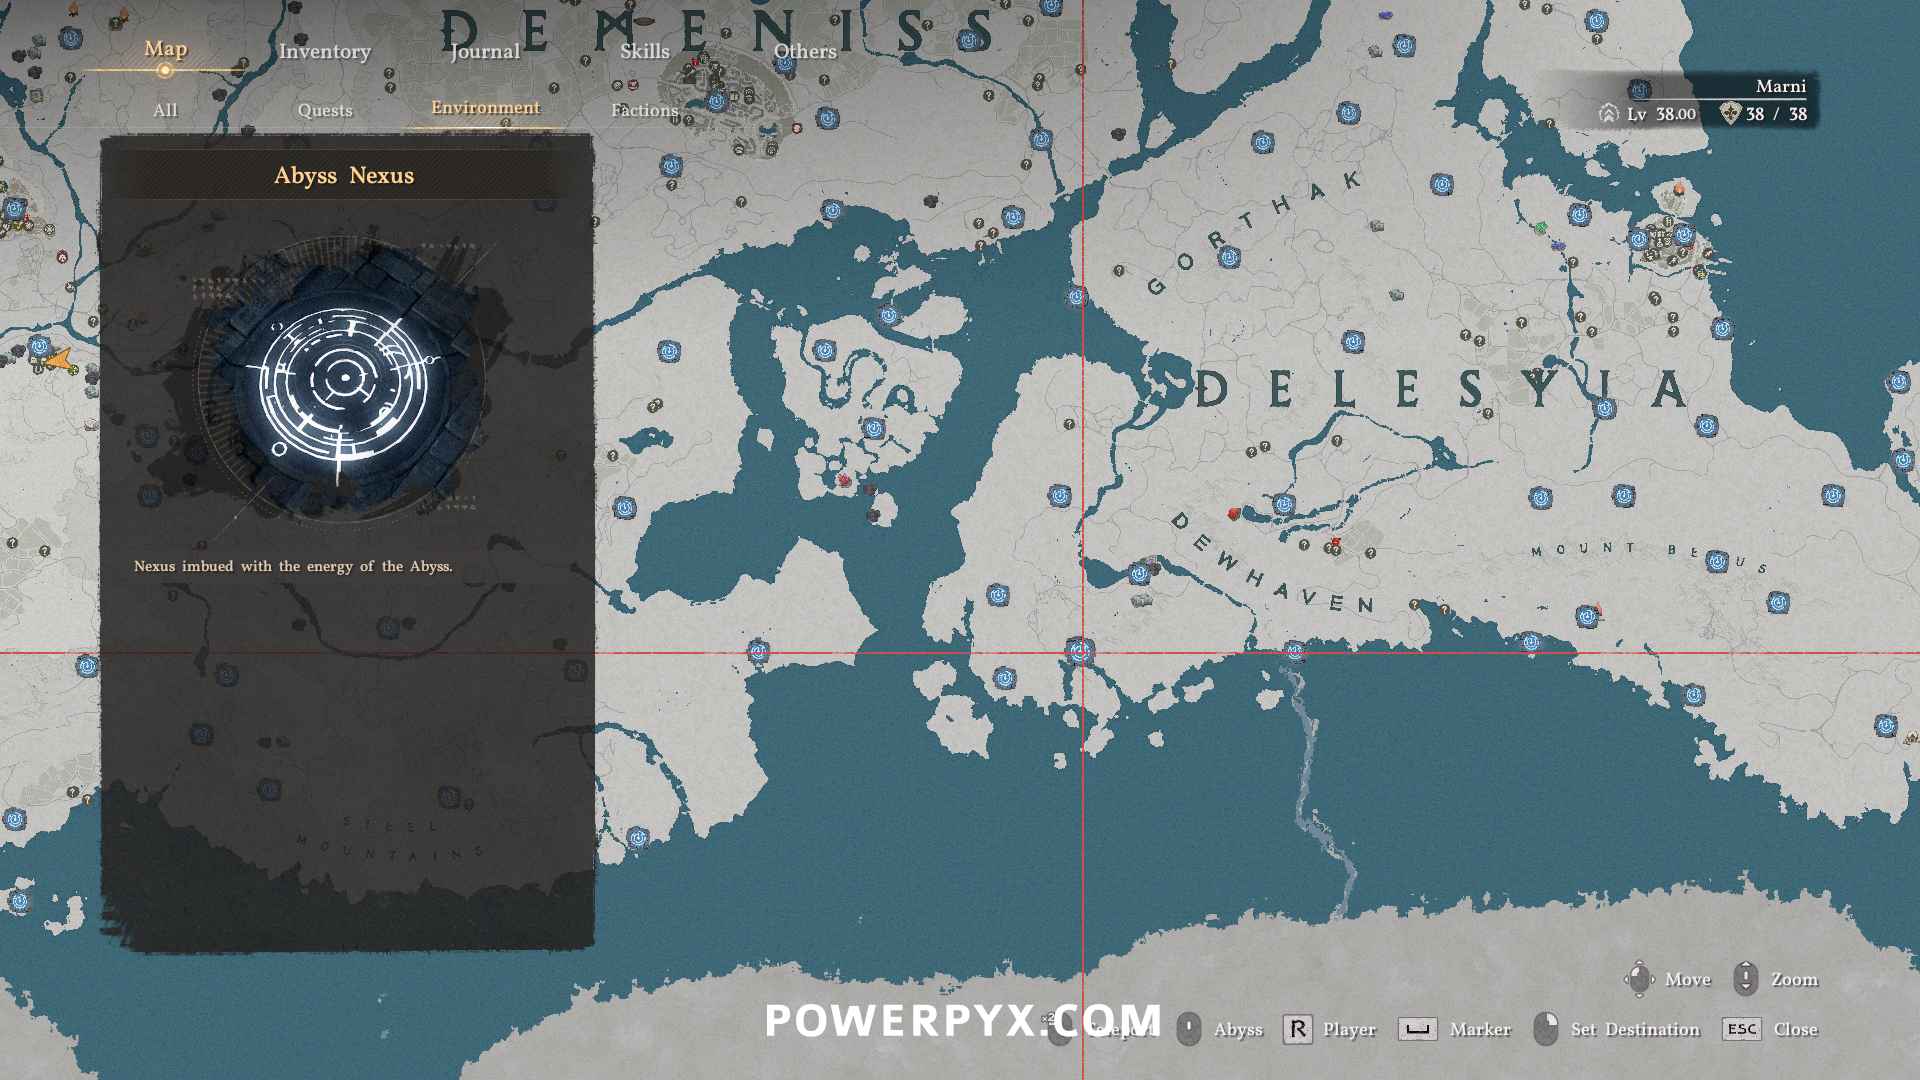
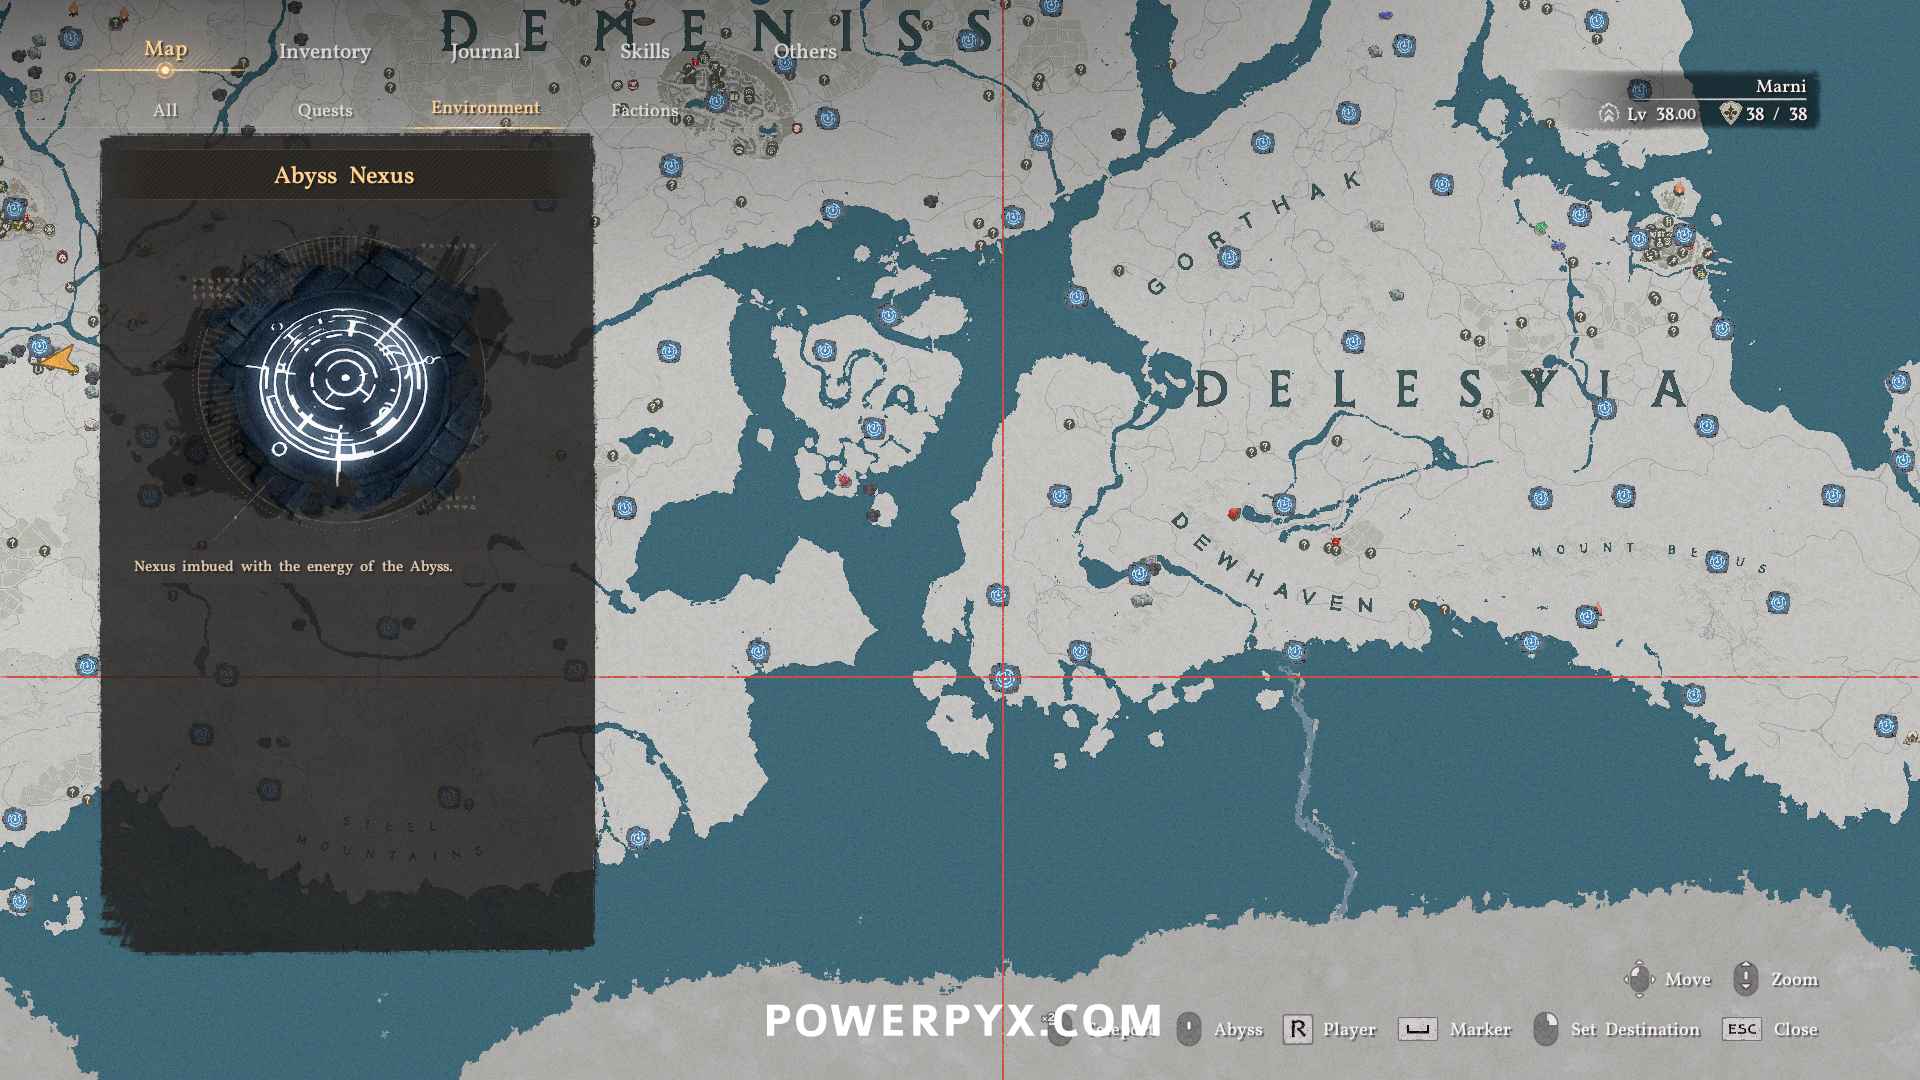
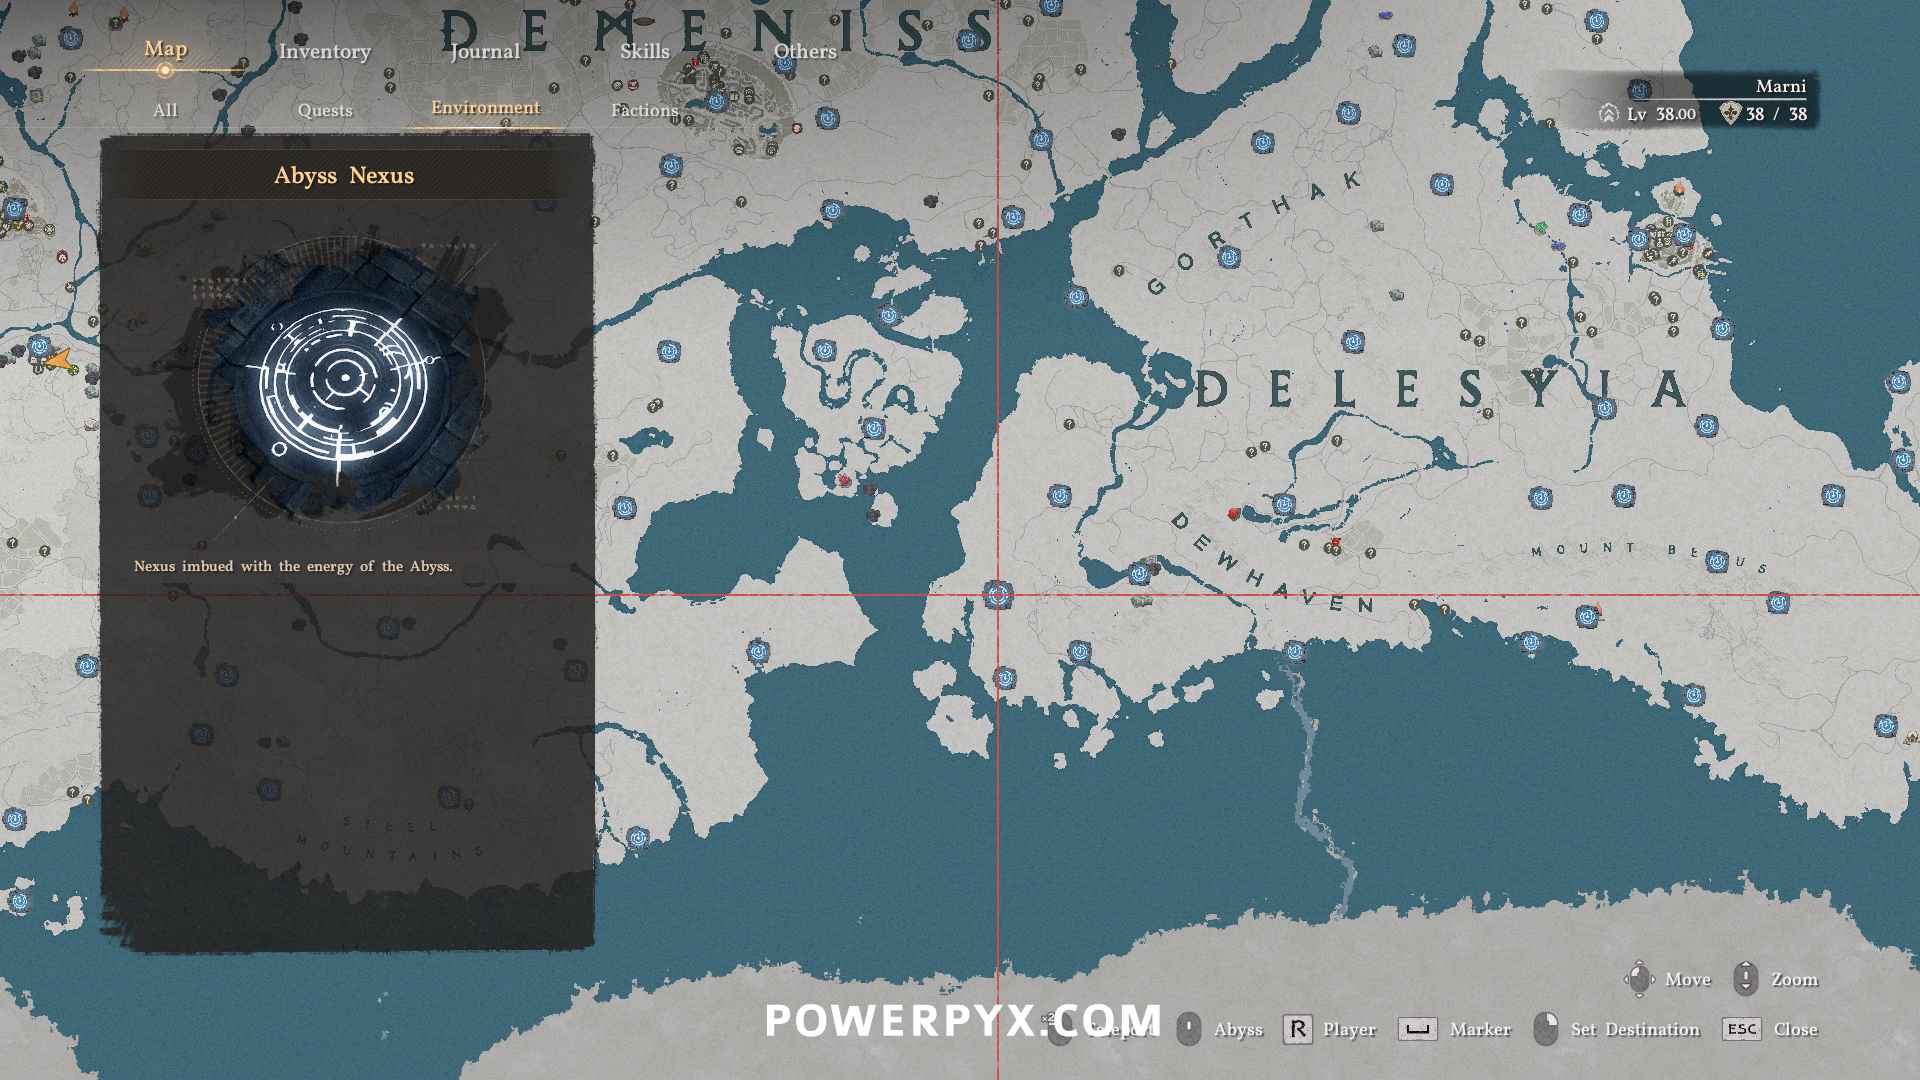
Delesyia
Map:
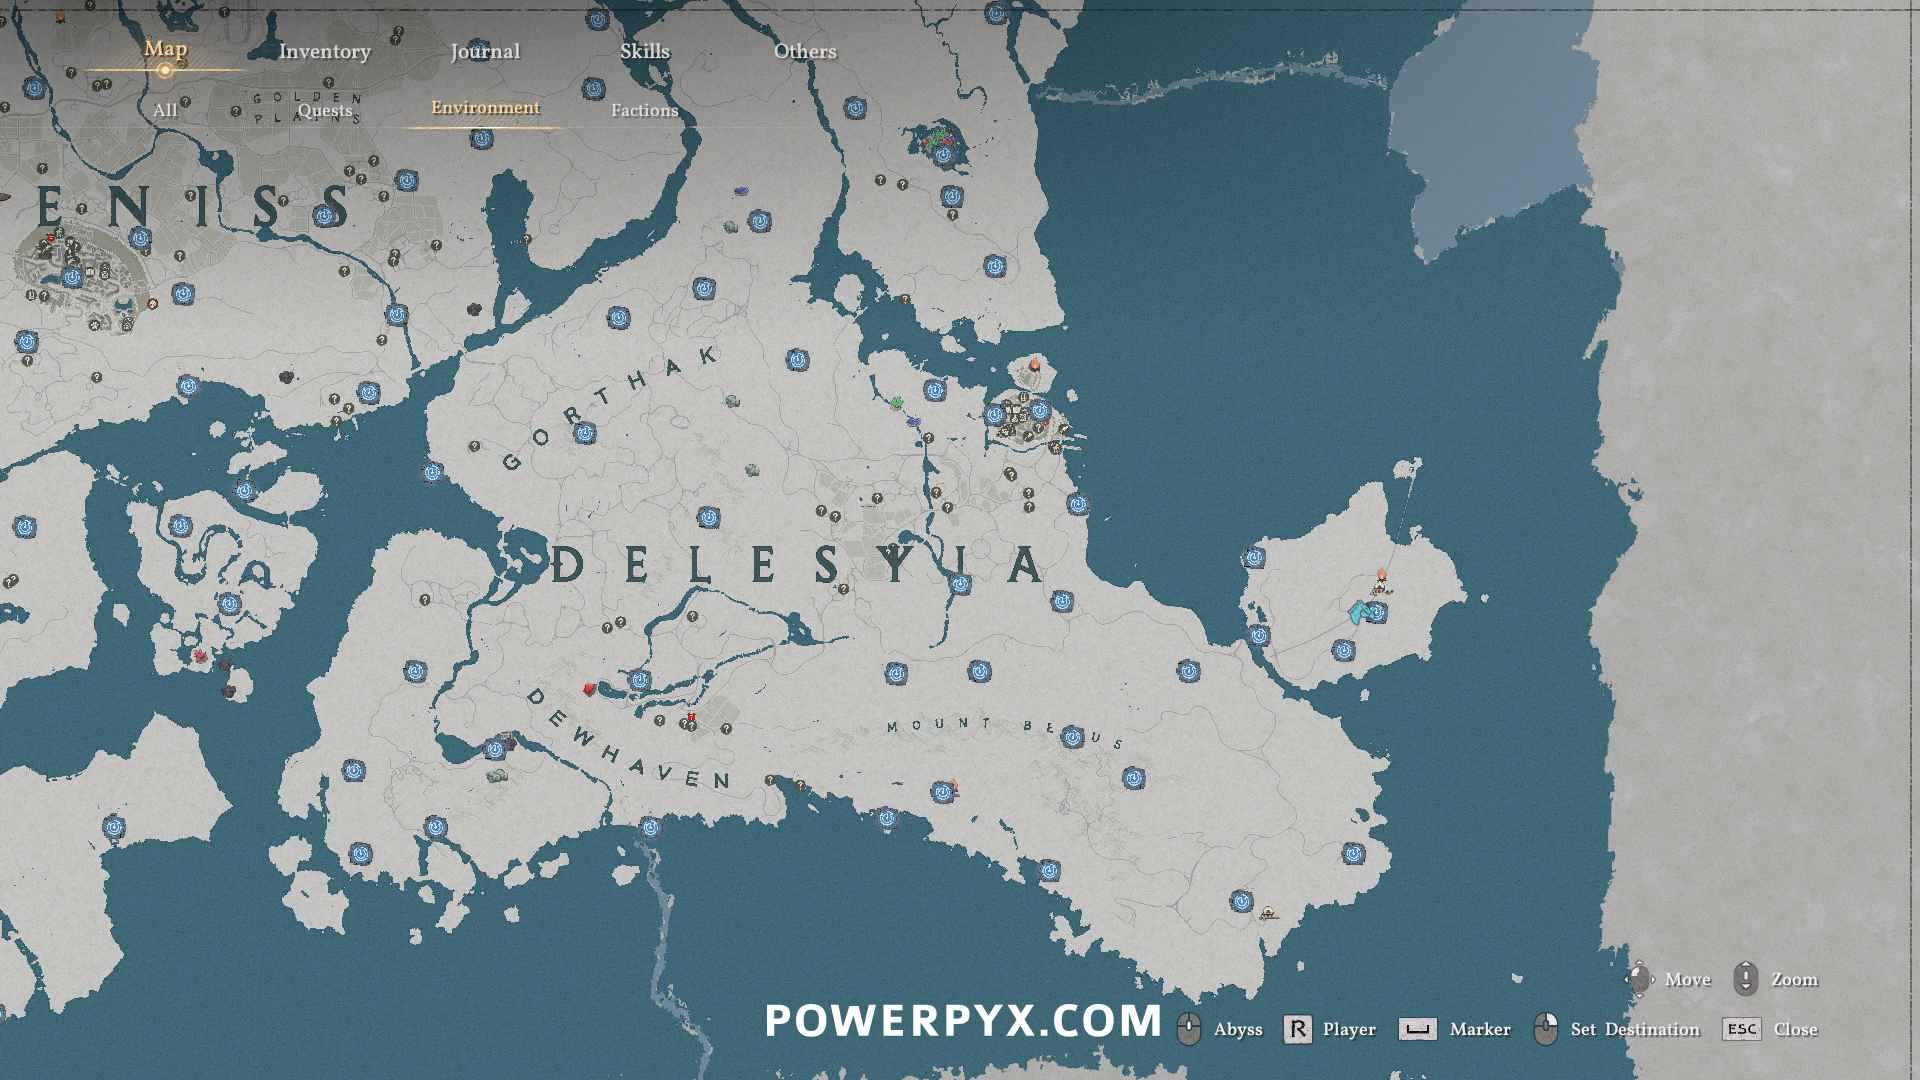
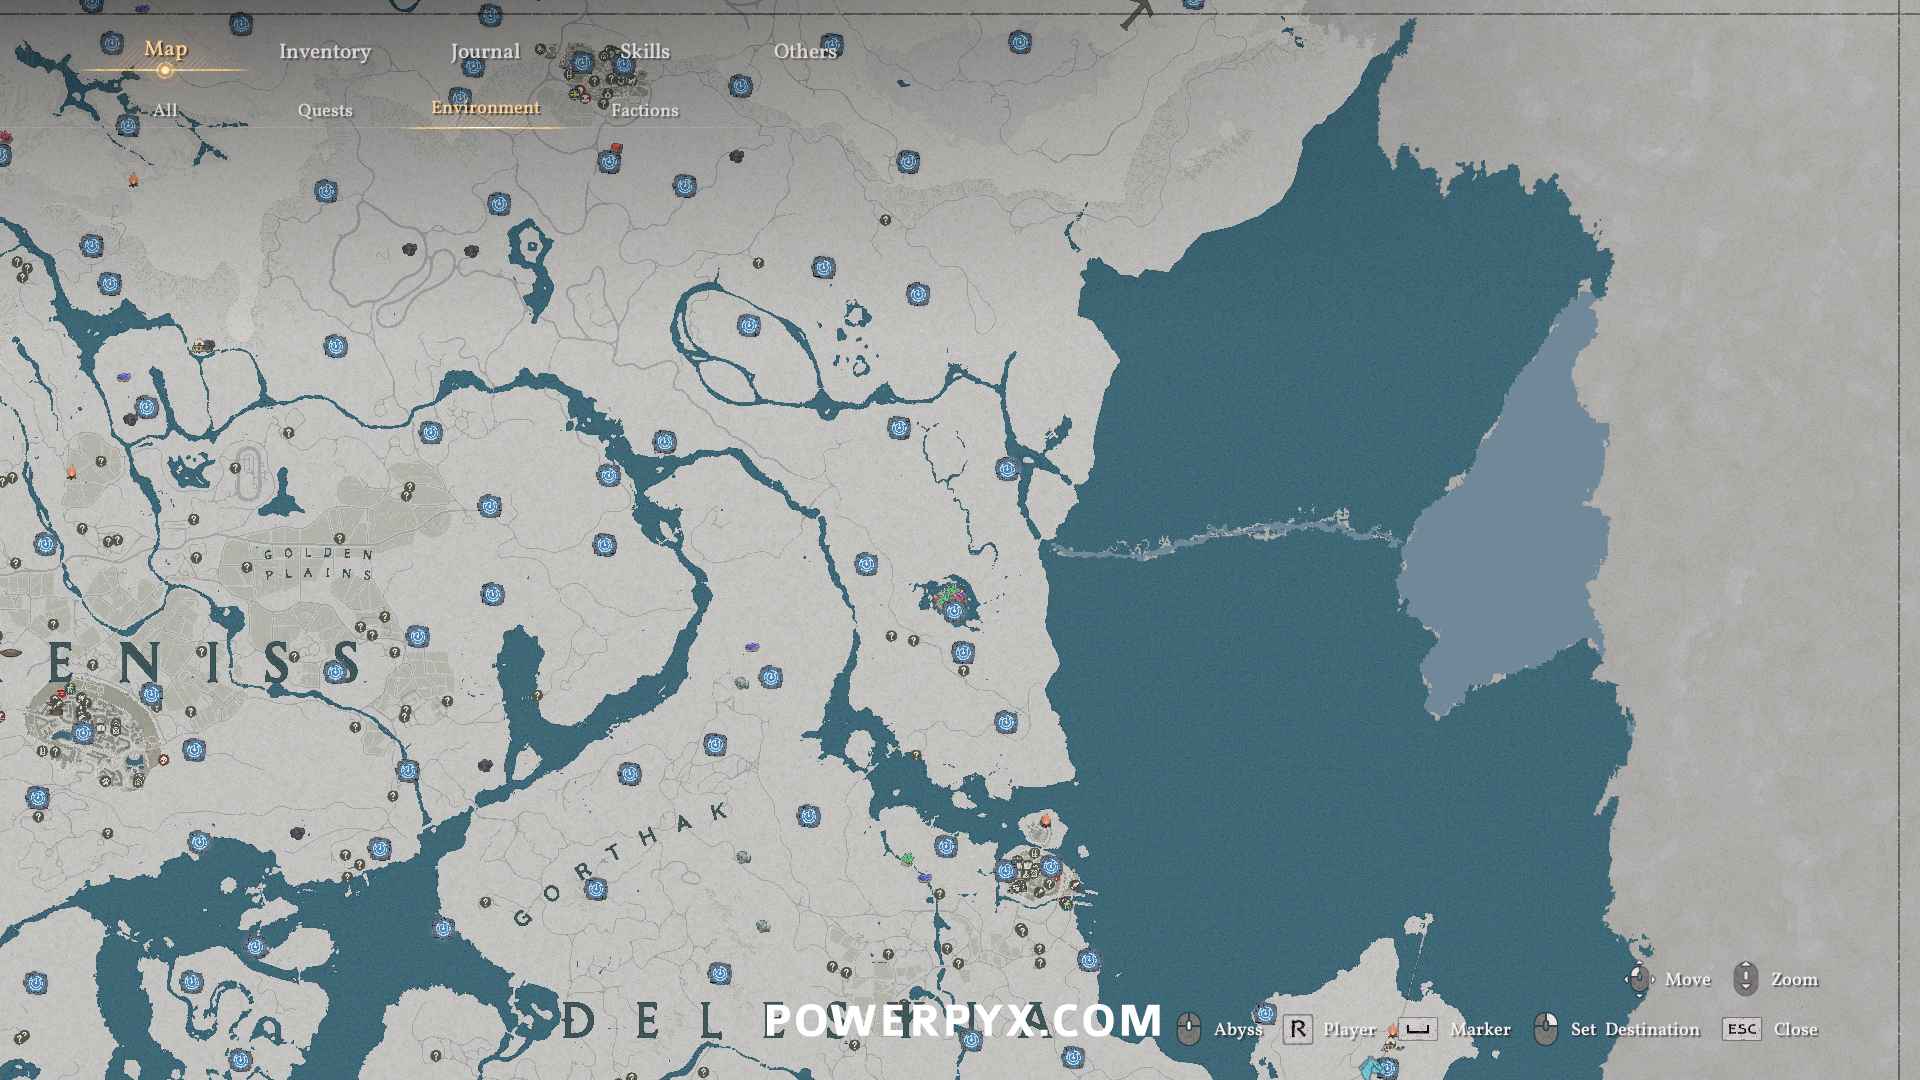
- Gorthak 1
- Gorthak 2
- Gorthak 3
- Gorthak 4
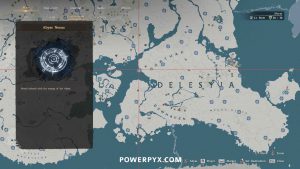
- Gorthak 5
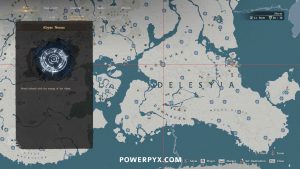
- Gorthak 6
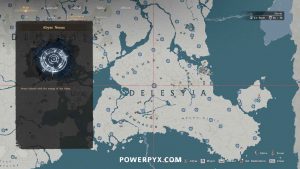
- Gorthak 7
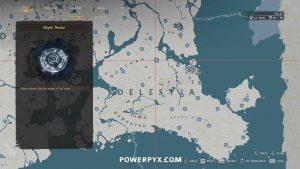
- Deleysia City 1
- Deleysia City 2
- Deleysia City 3
- Deleysia City 4
- East Delesyia 1
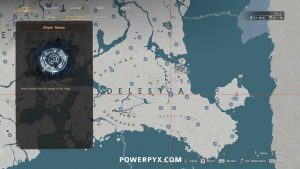
- East Delesyia 2
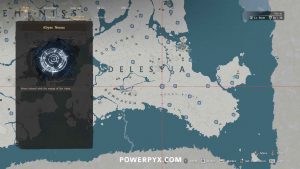
- East Delesyia 3
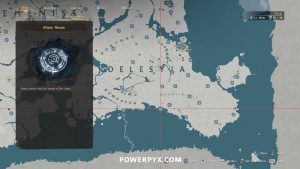
- East Delesyia 4
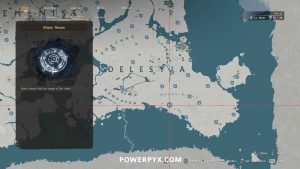
- East Delesyia 5 – Mount Benus
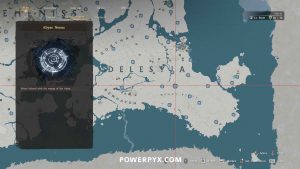
- East Delesyia 6
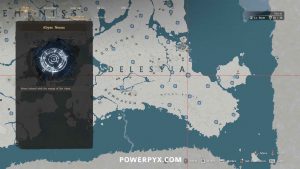
- East Delesyia 7
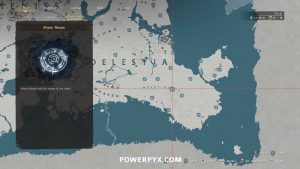
- East Delesyia 8
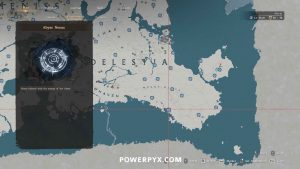
- East Delesyia 9
- East Delesyia 10
- East Delesyia 11
- East Delesyia 12
- East Delesyia 13
- East Delesyia 14
- East Delesyia 15
- East Delesyia 16
- South Delesyia – Dewhaven 1
- South Delesyia – Dewhaven 2
- South-East Delesyia 1
- South-East Delesyia 2
- South-East Delesyia 3
- South-East Delesyia 4
- South-East Delesyia 5
- North Delesyia 1
- North Delesyia 2
- North Delesyia 3
- North Delesyia 4
- North Delesyia 5
- North Delesyia 6
- North Delesyia 7
- North Delesyia 8
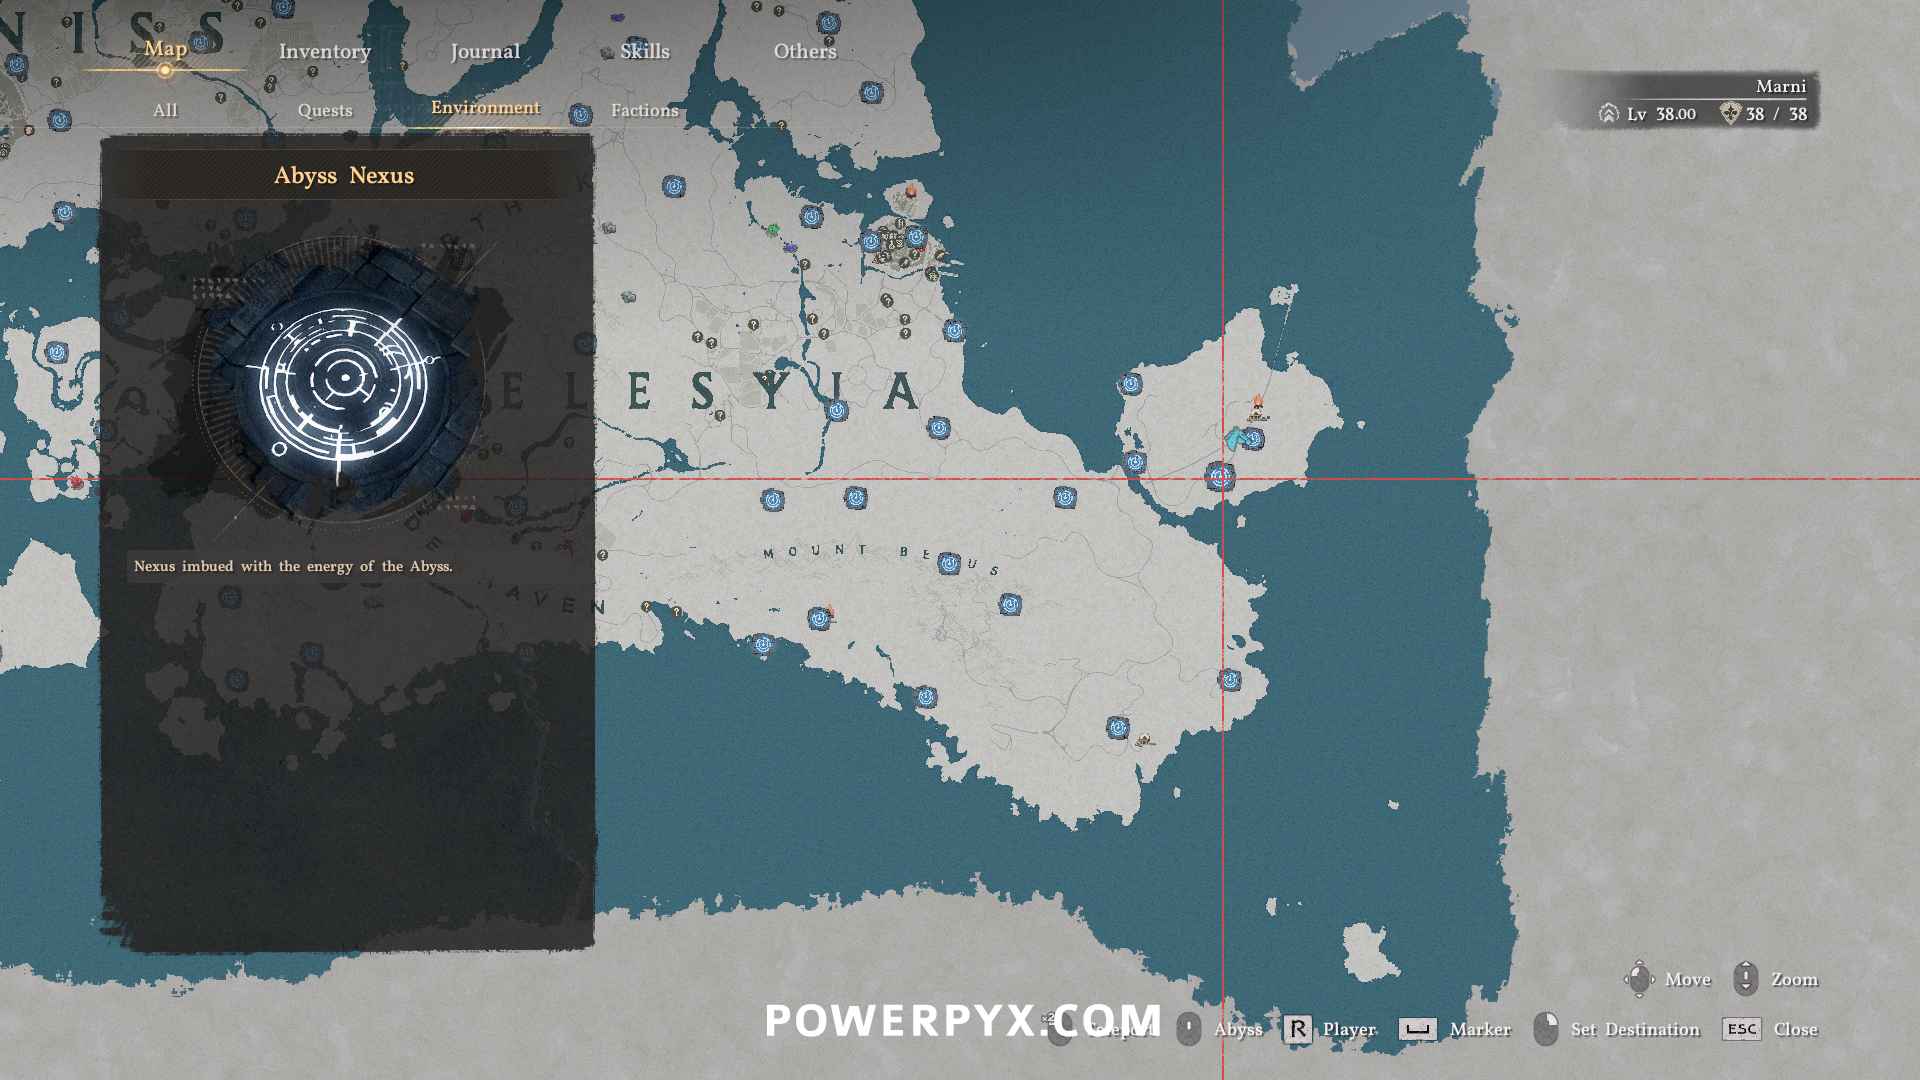
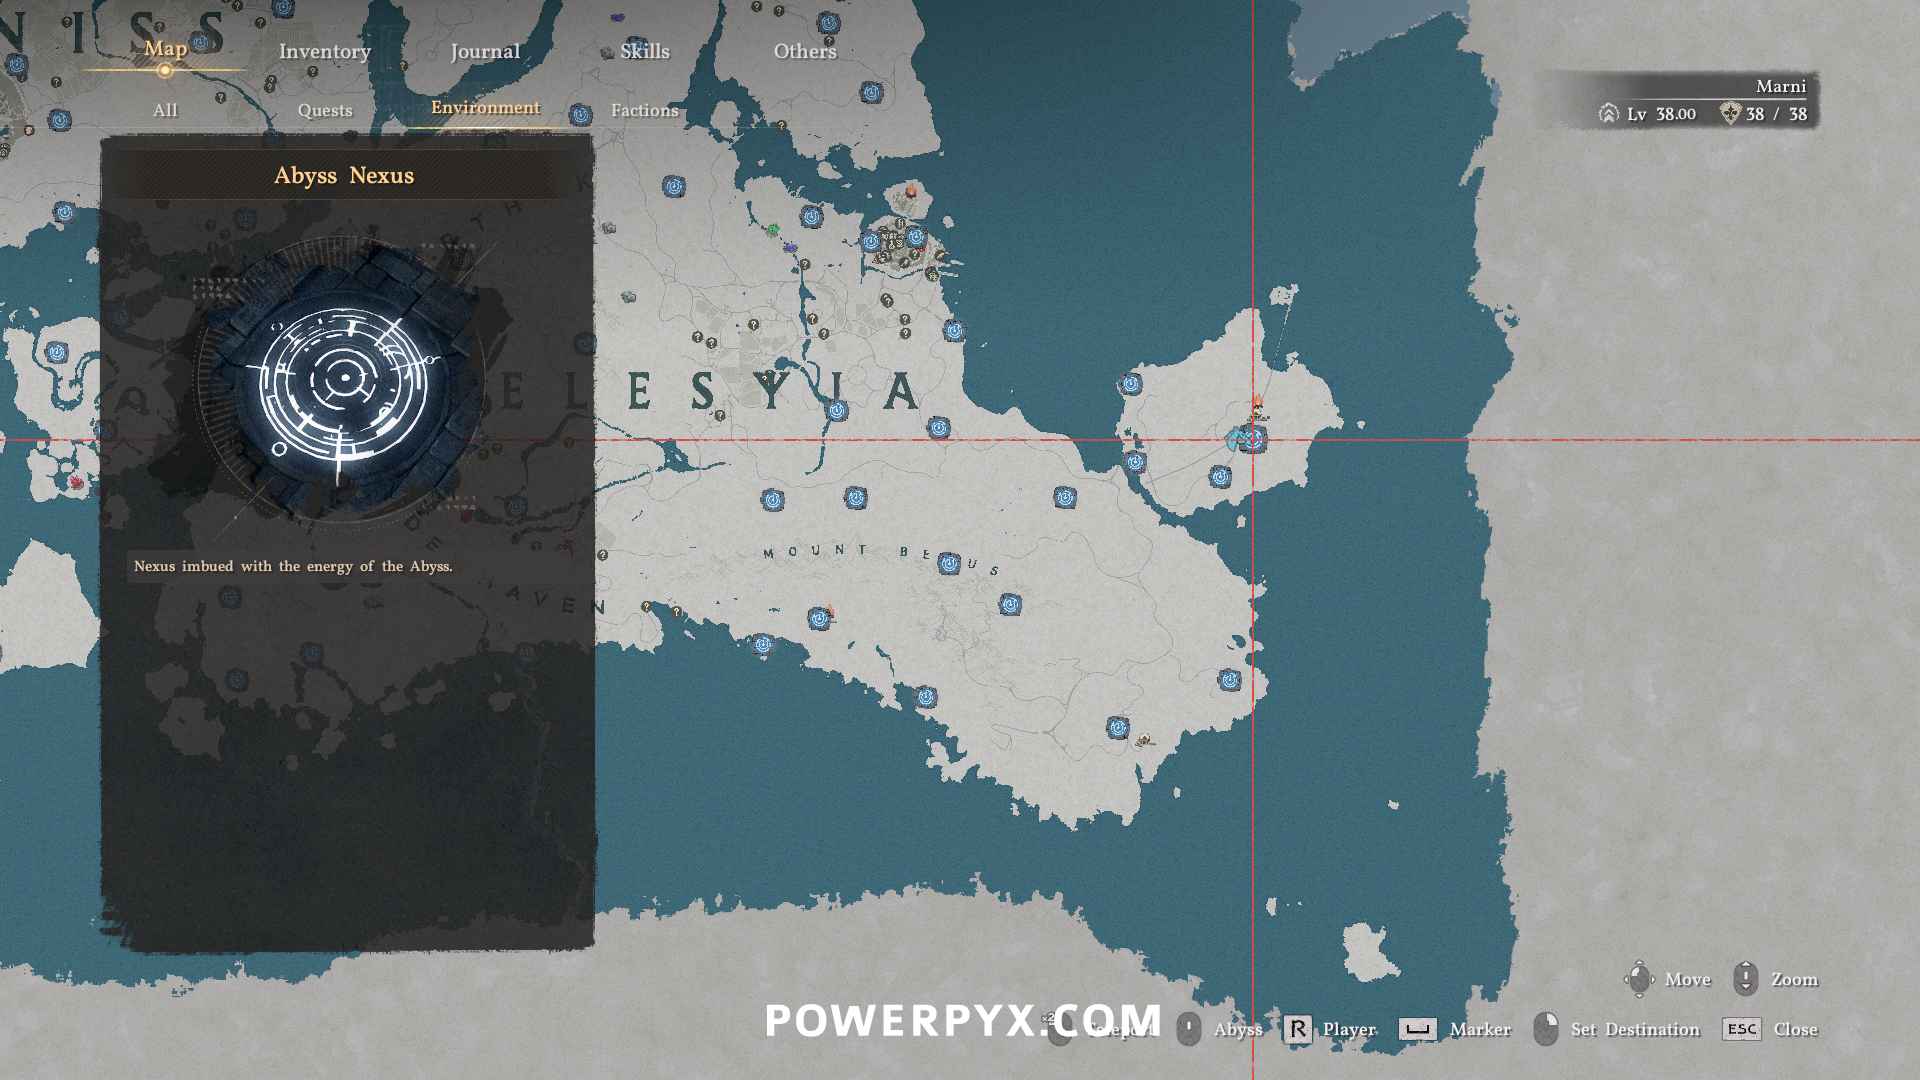
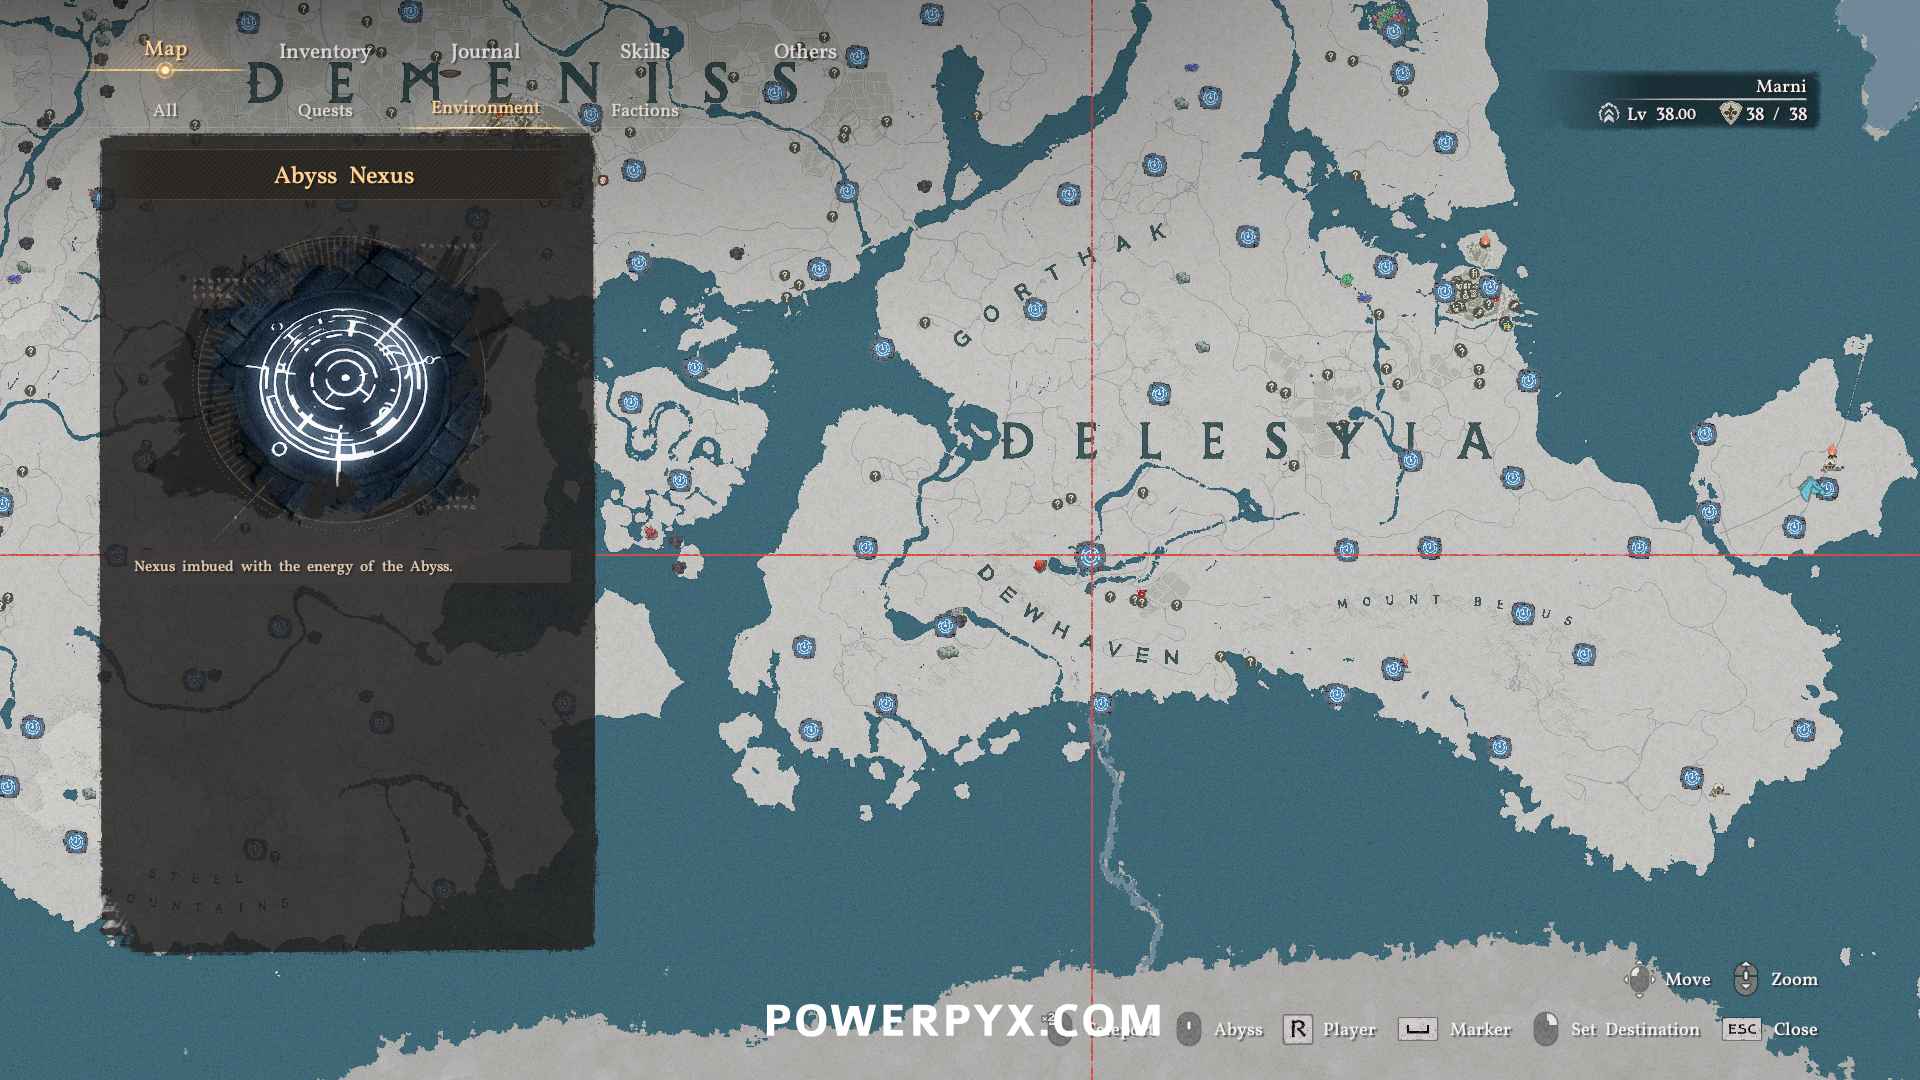
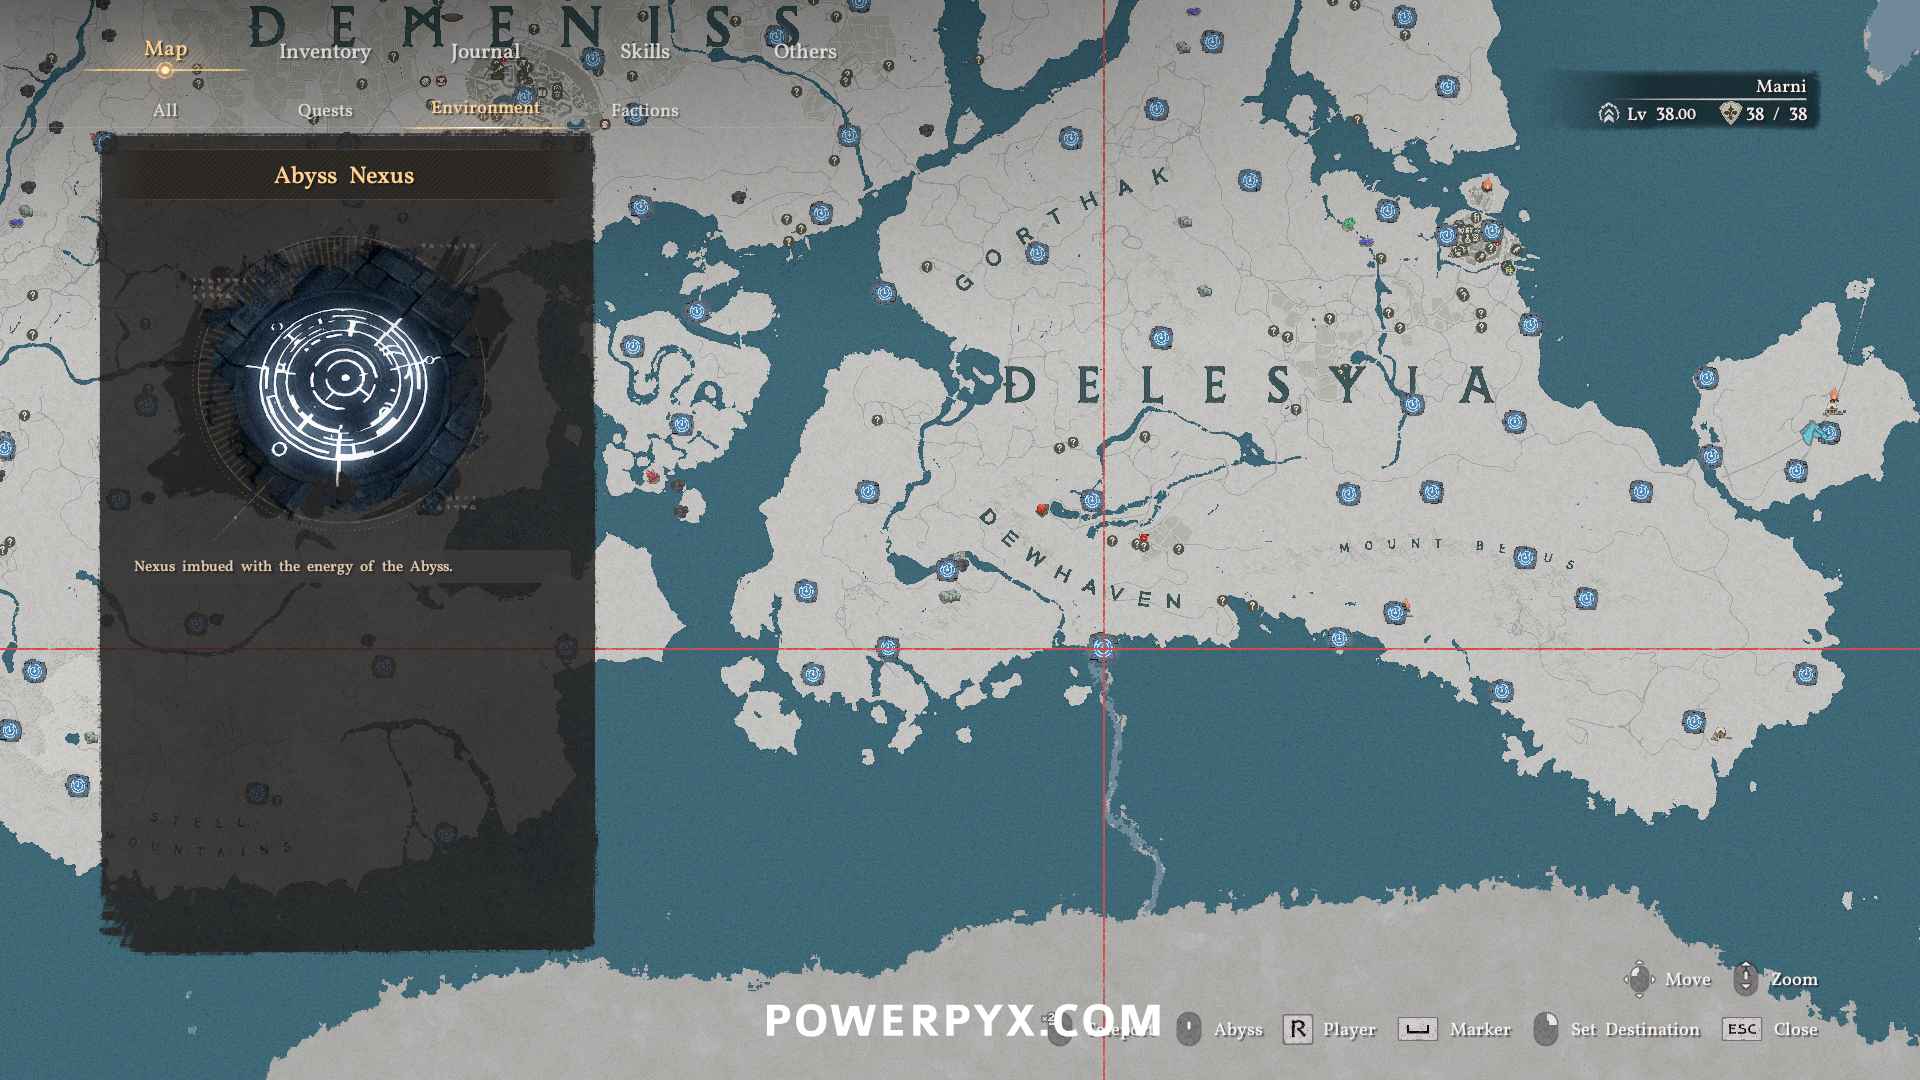
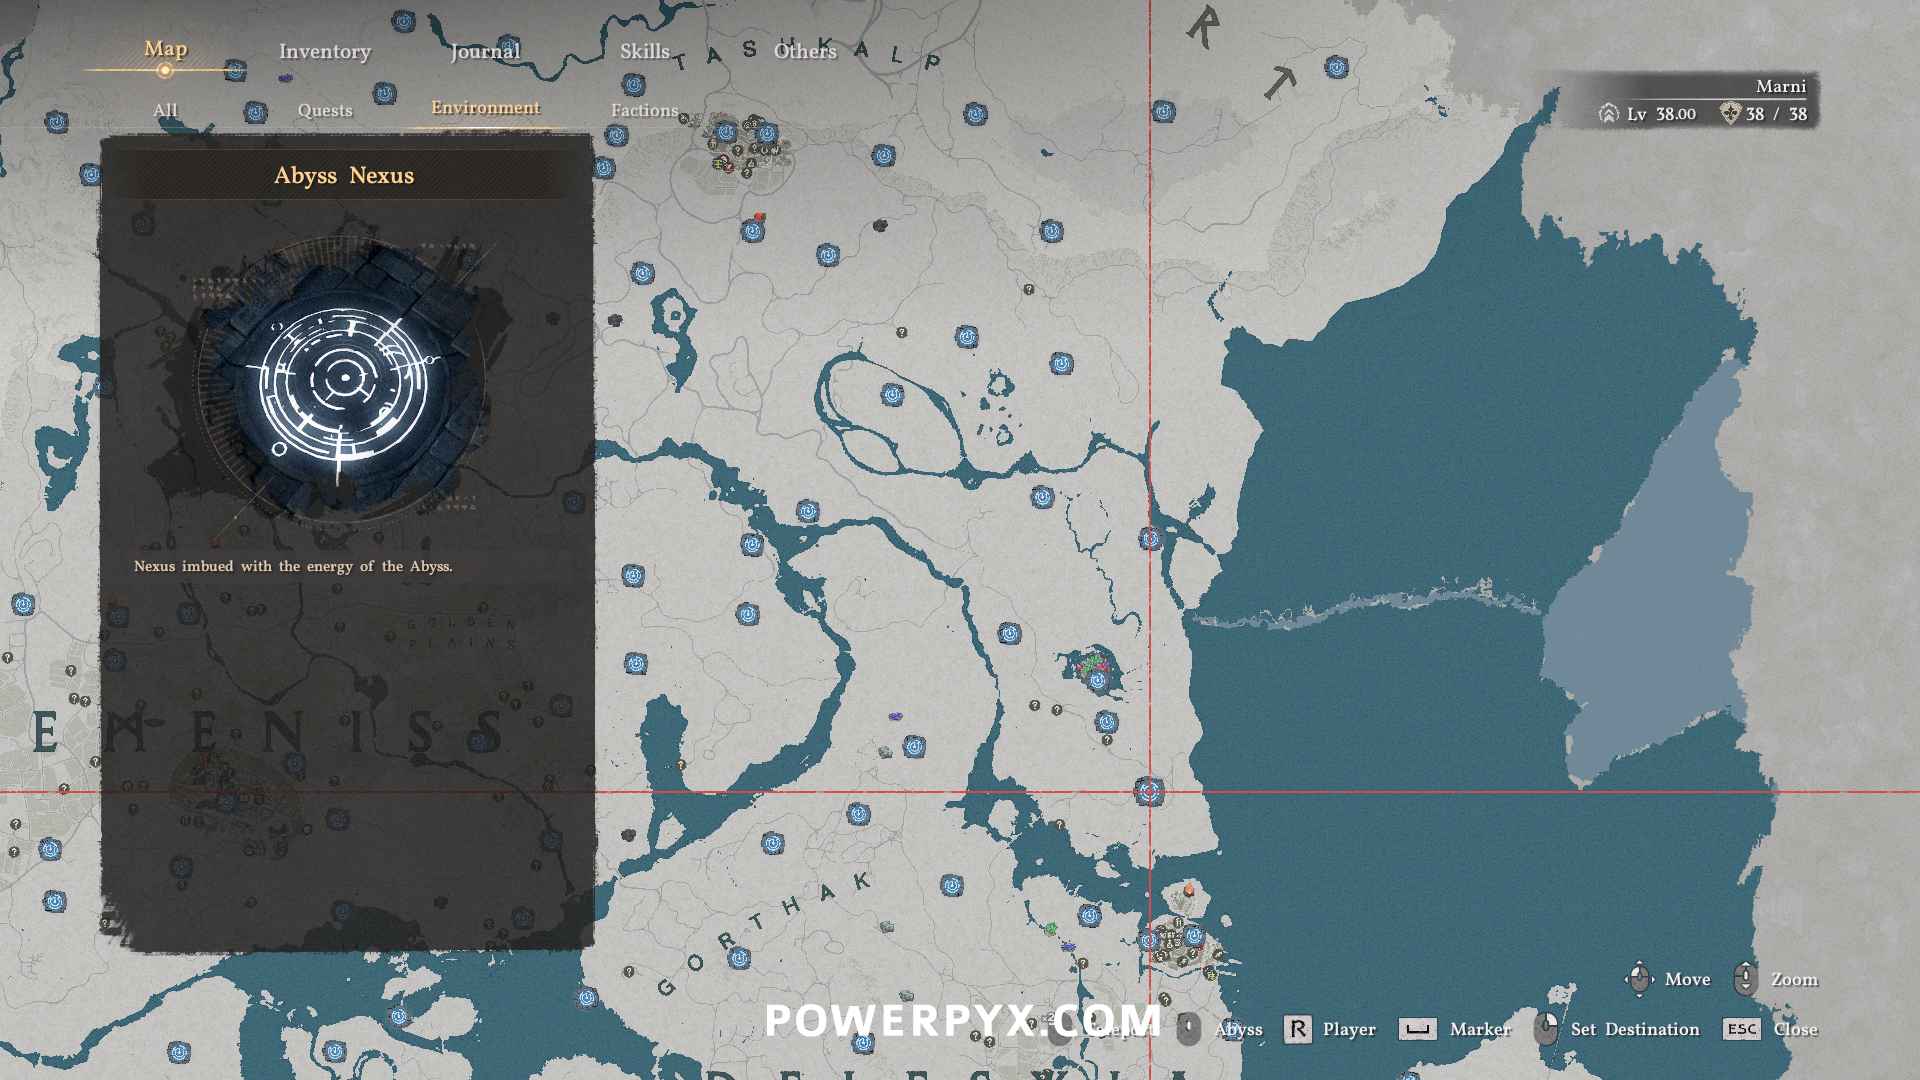
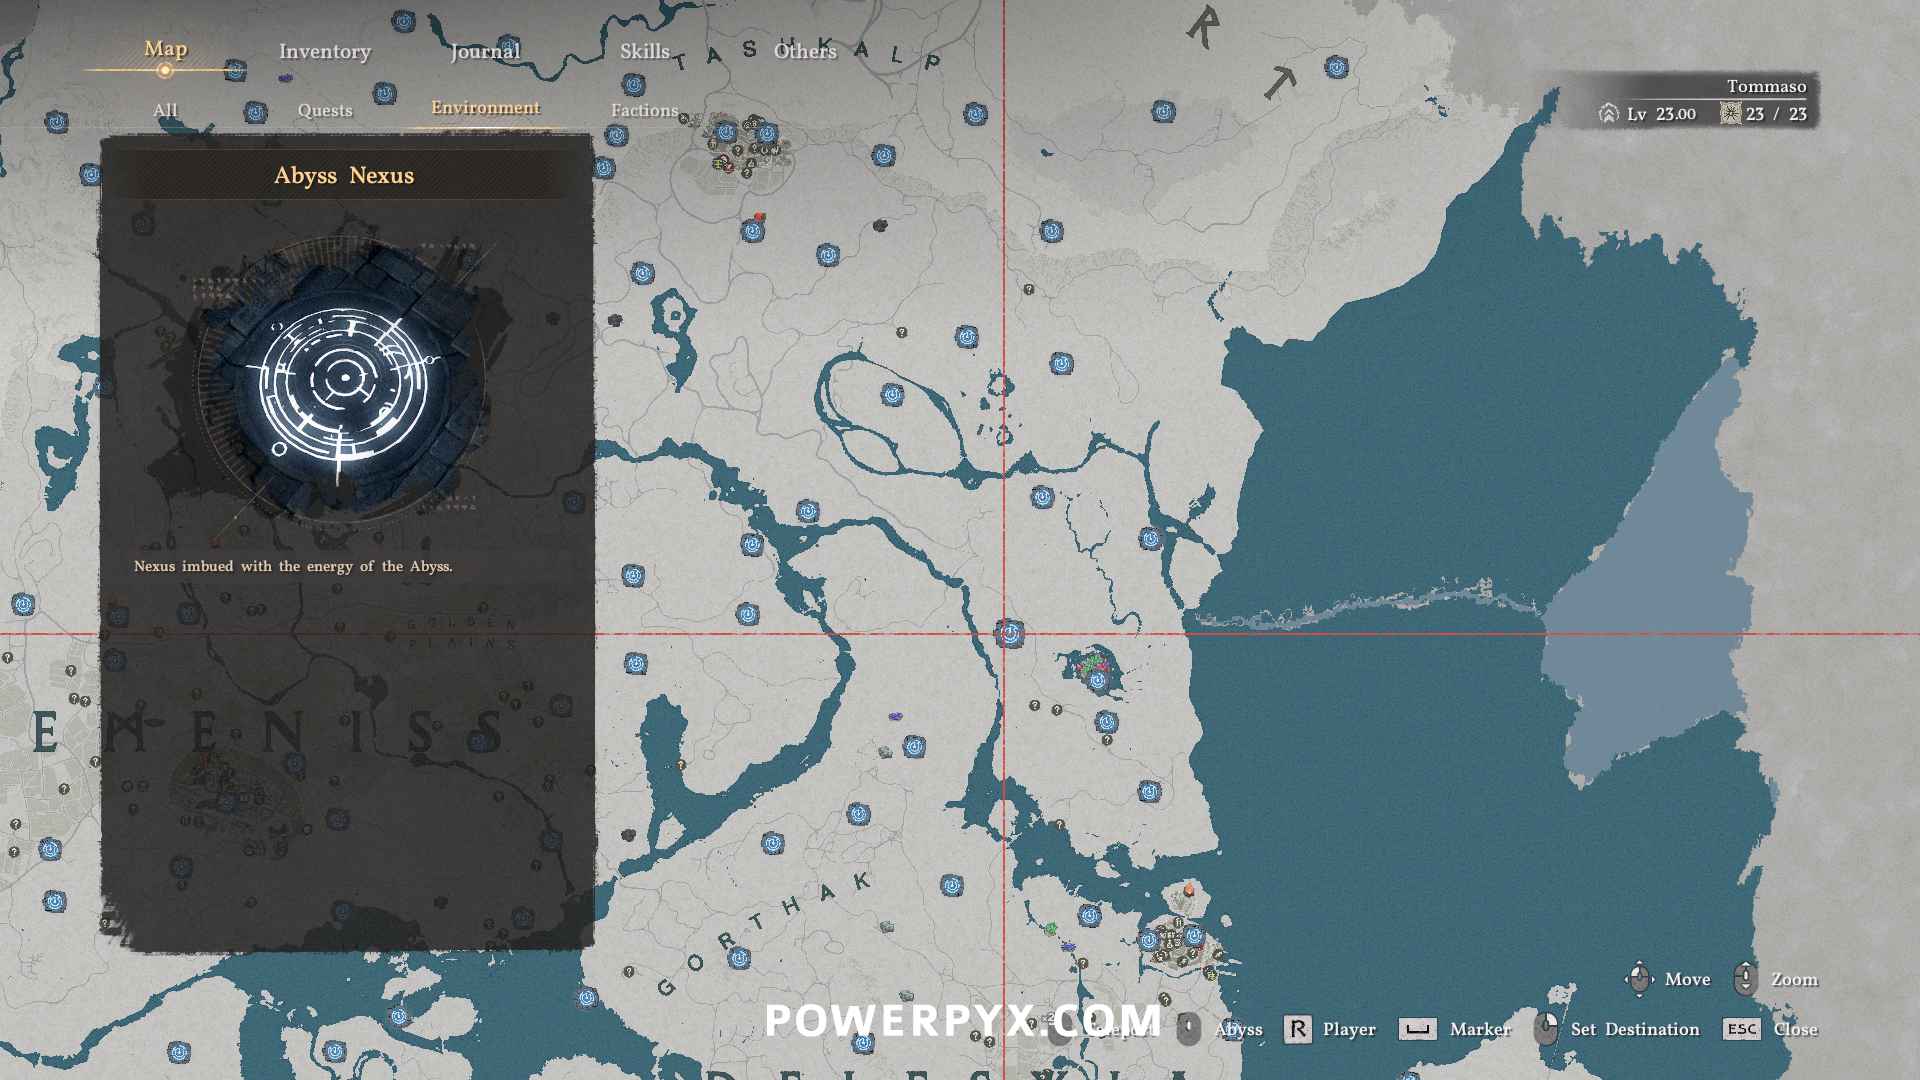
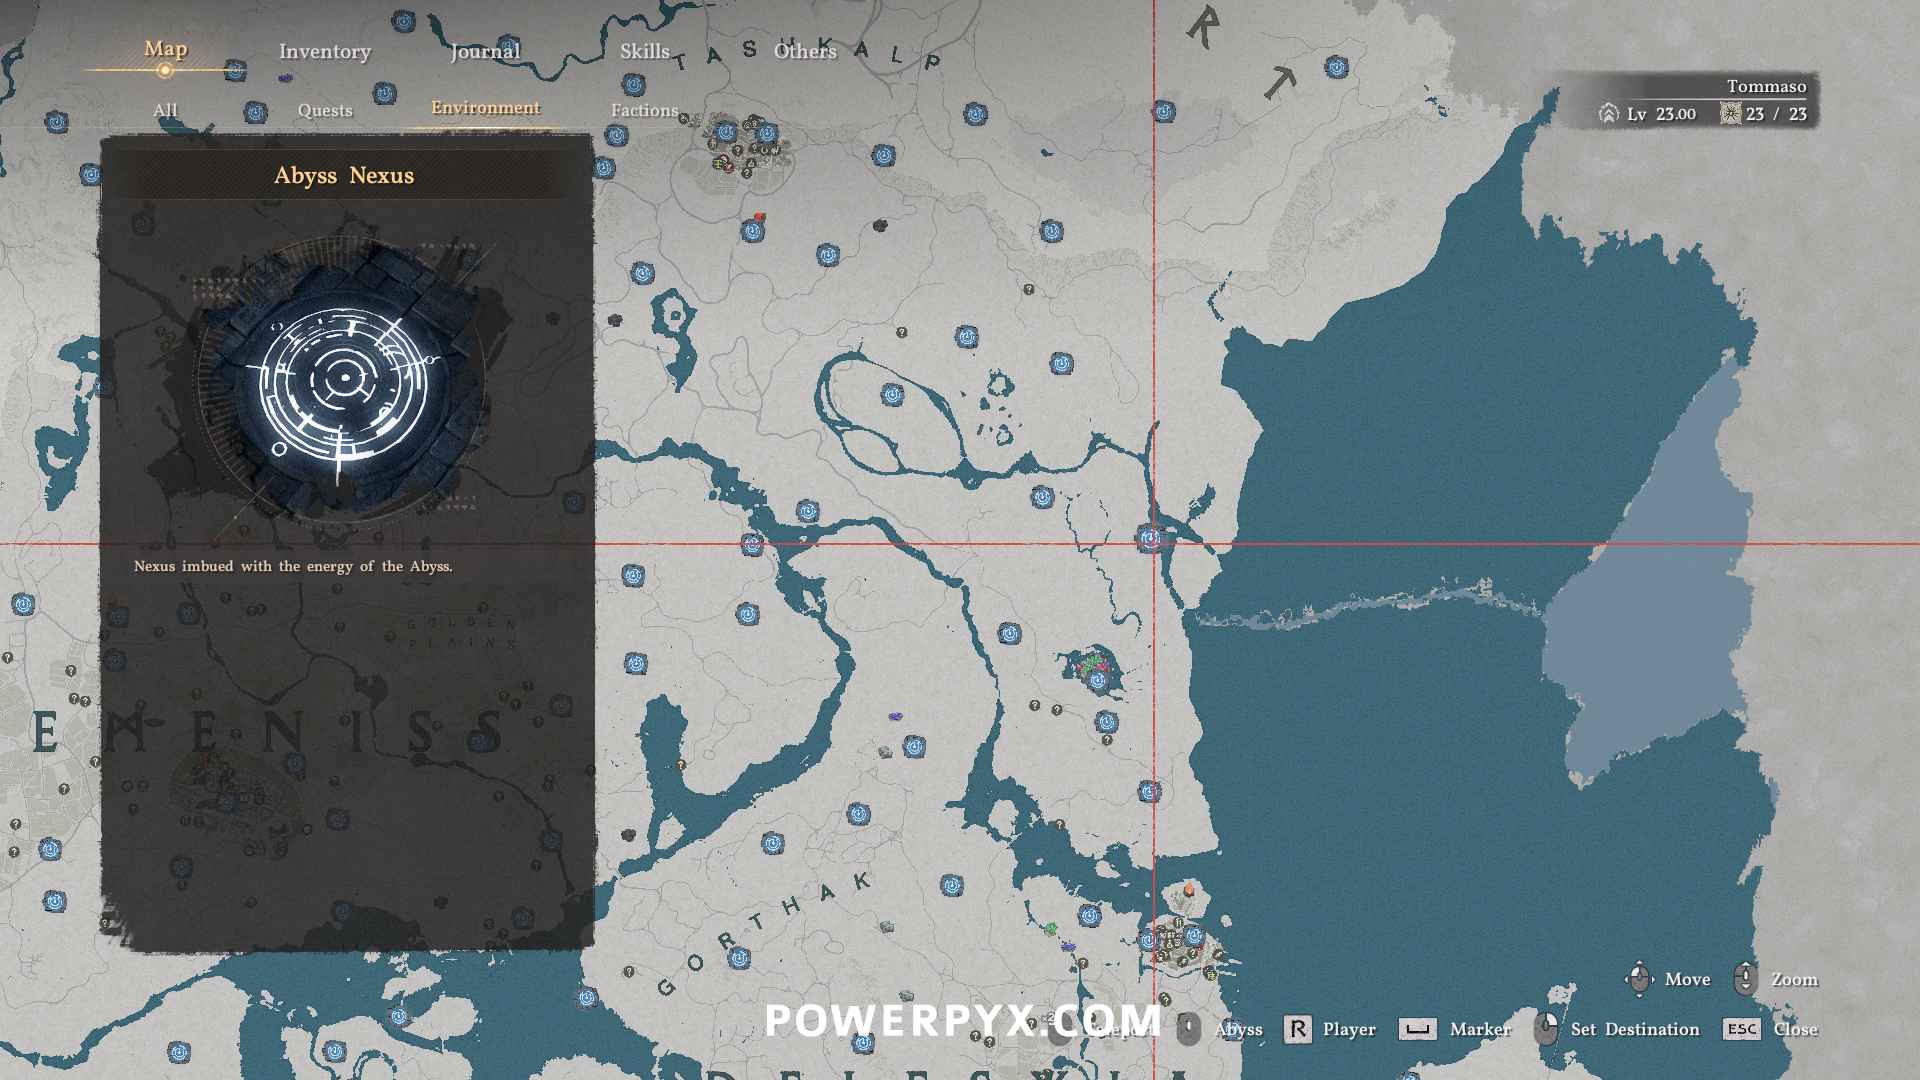
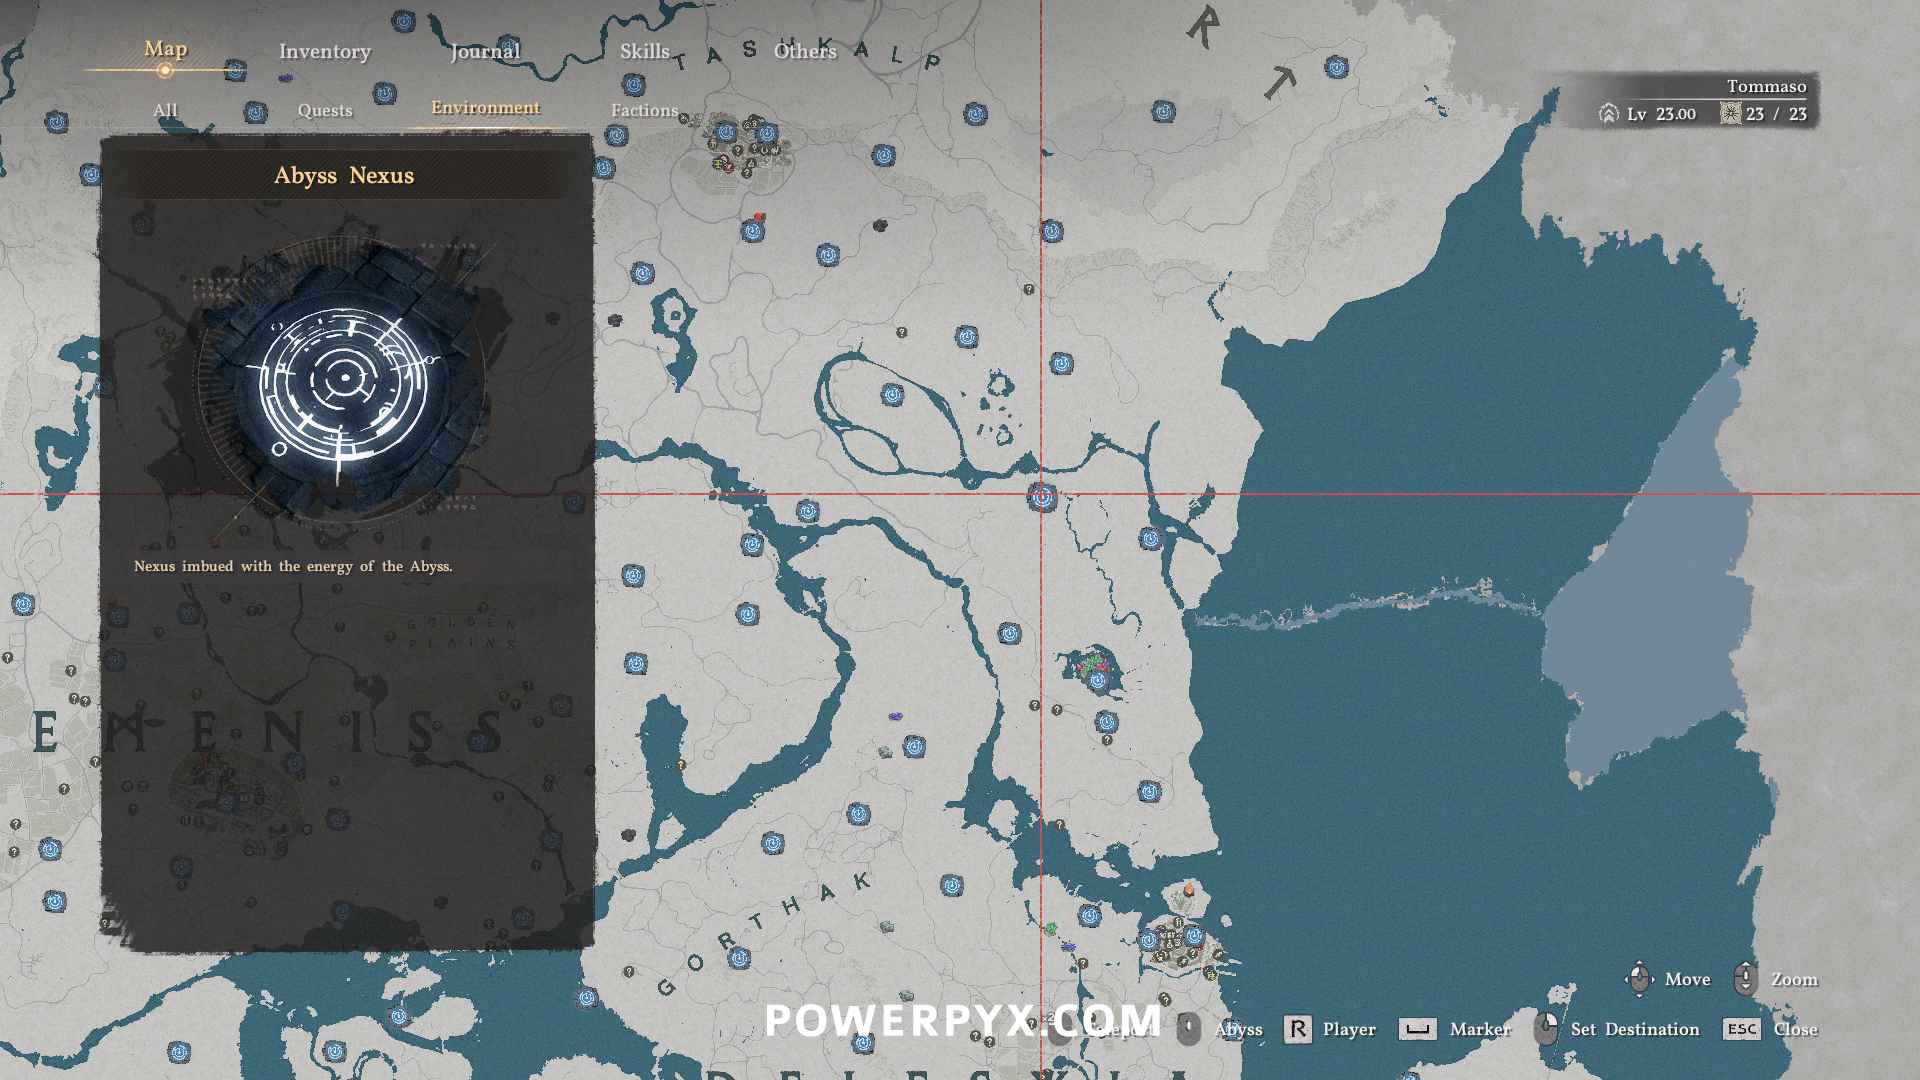
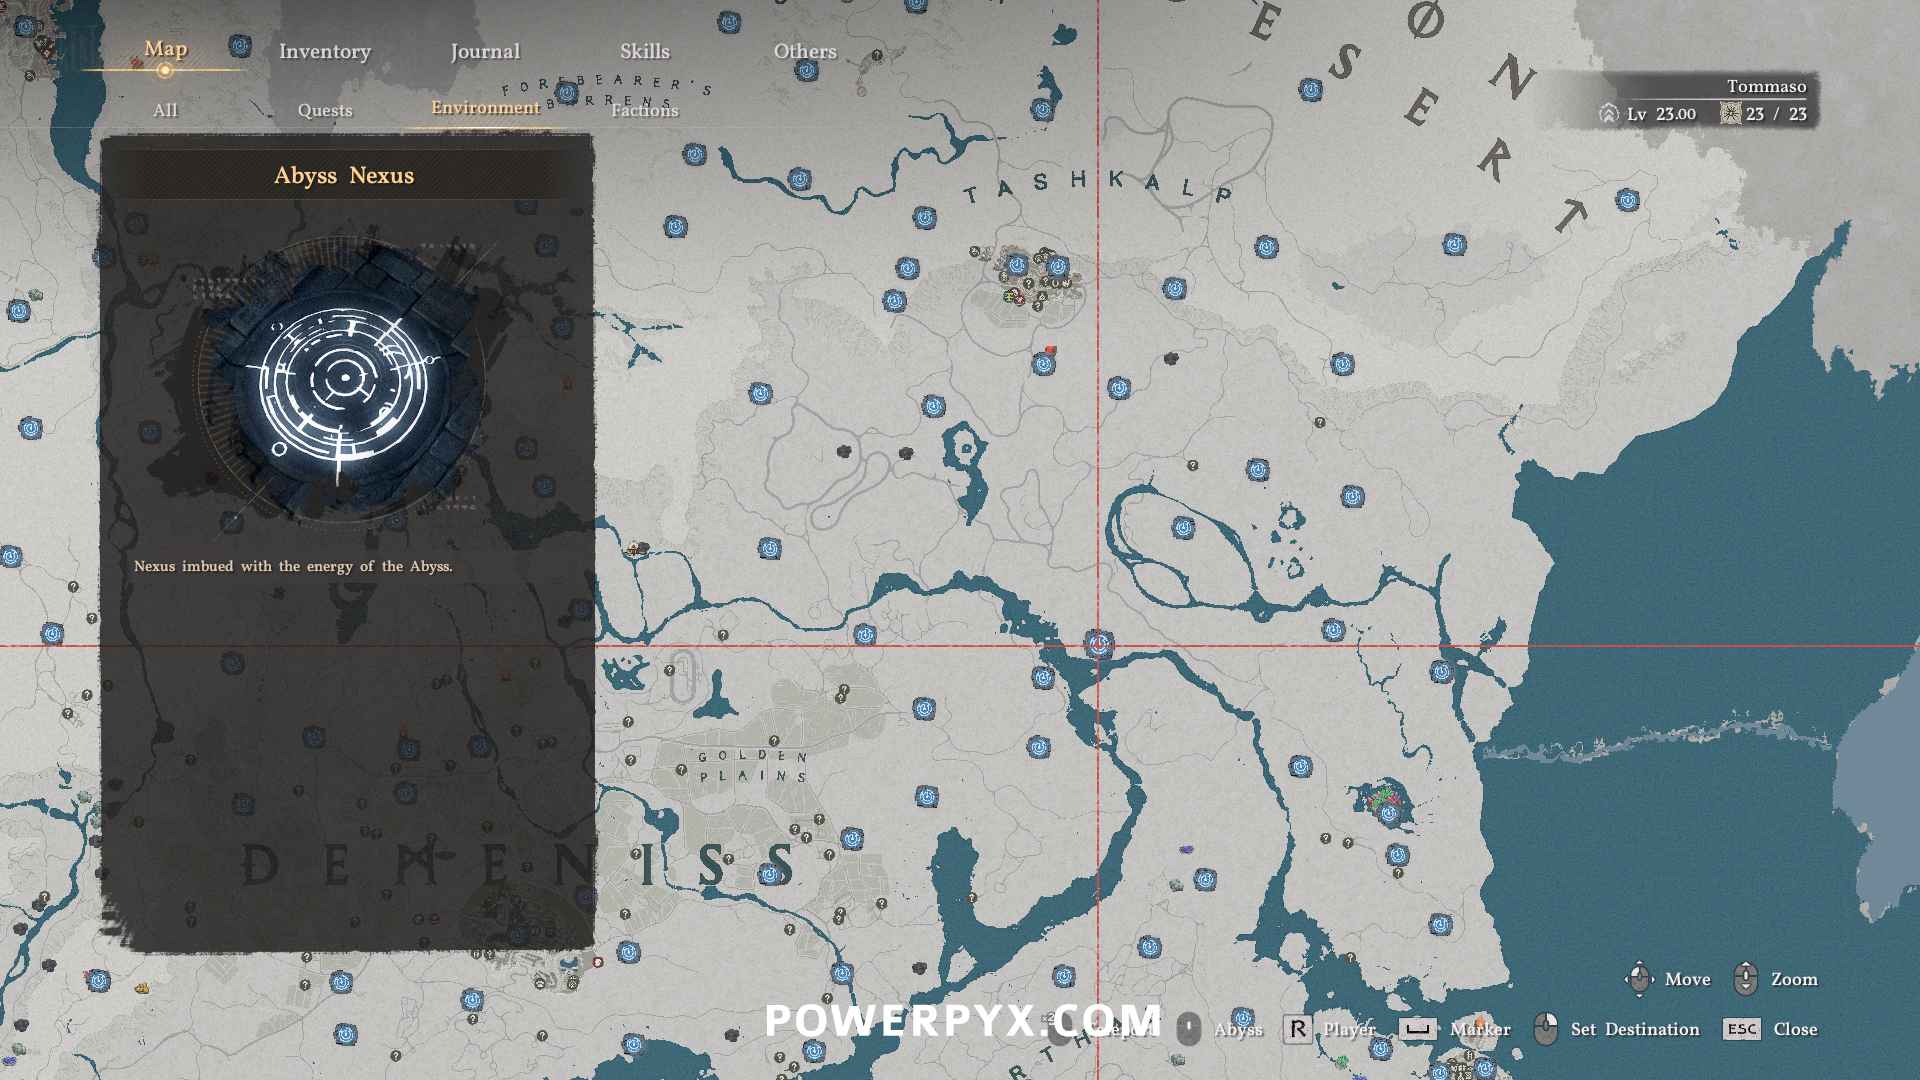
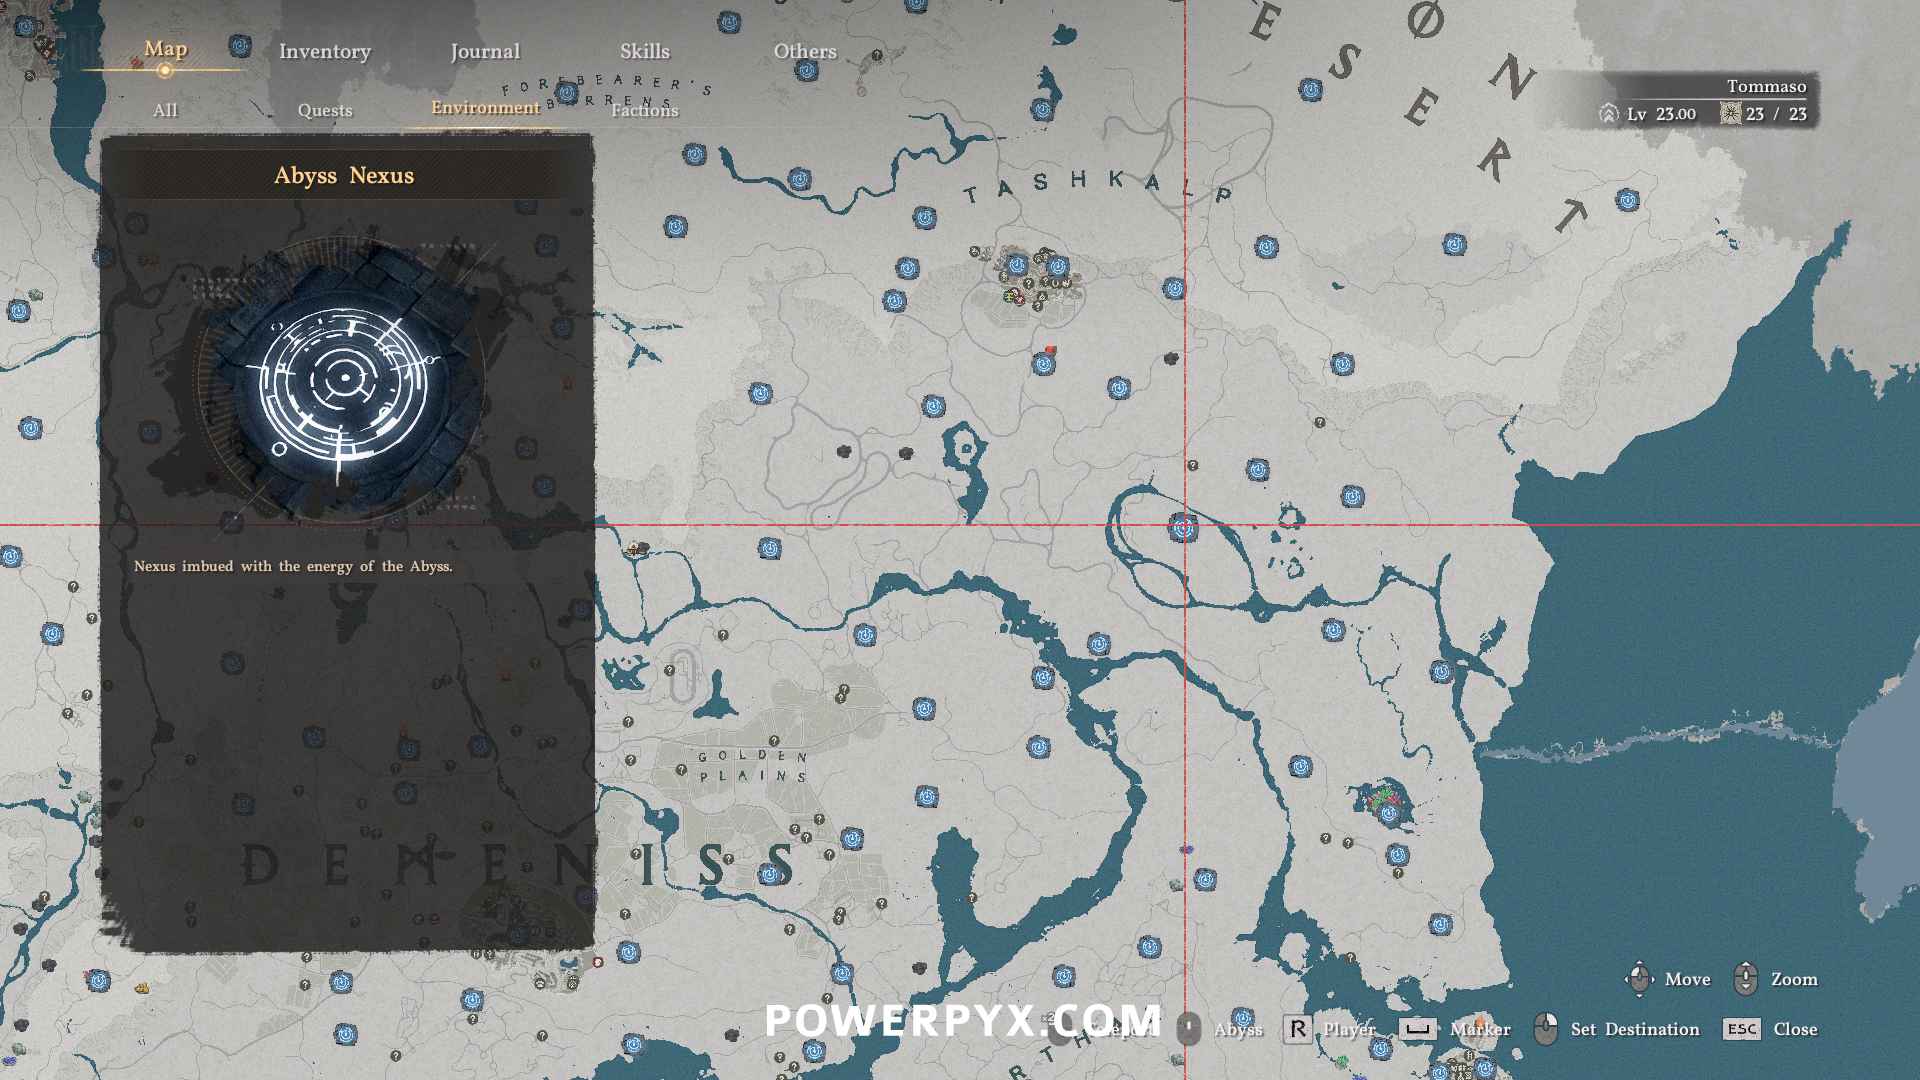
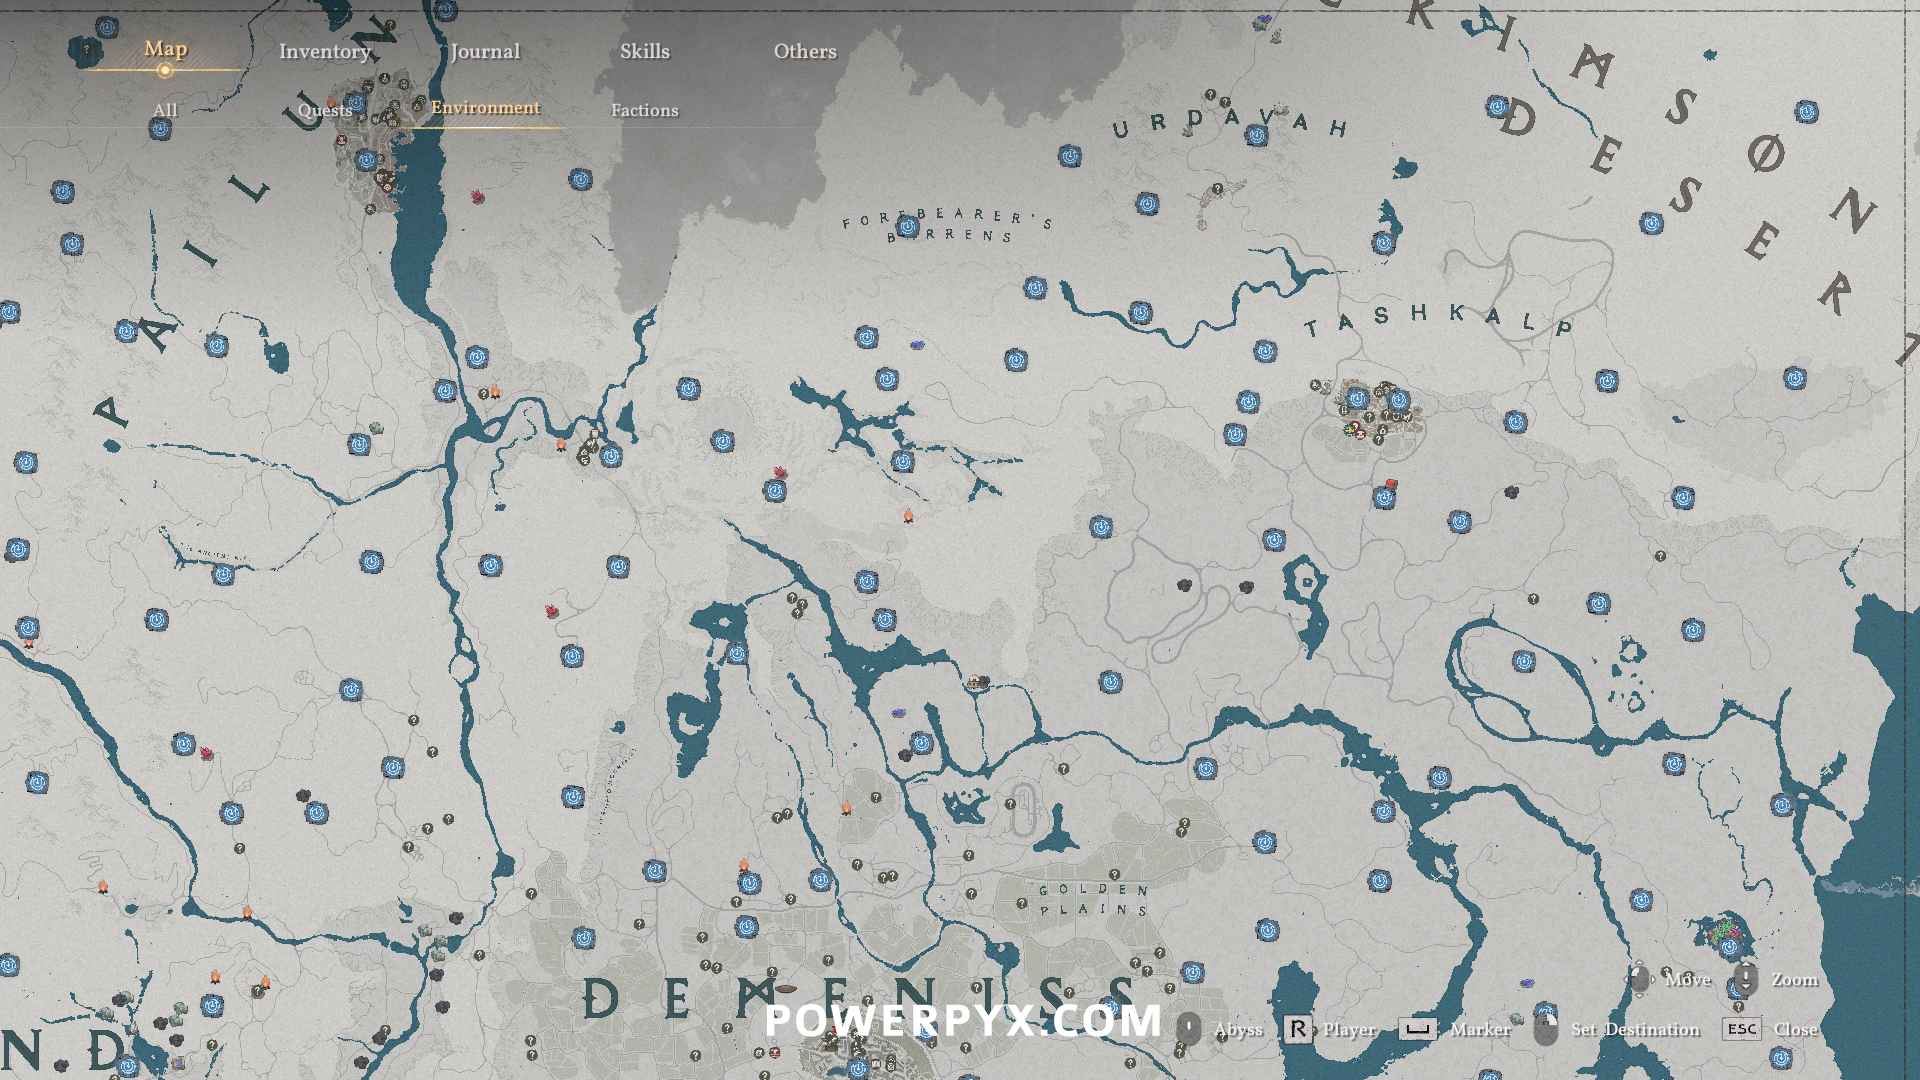
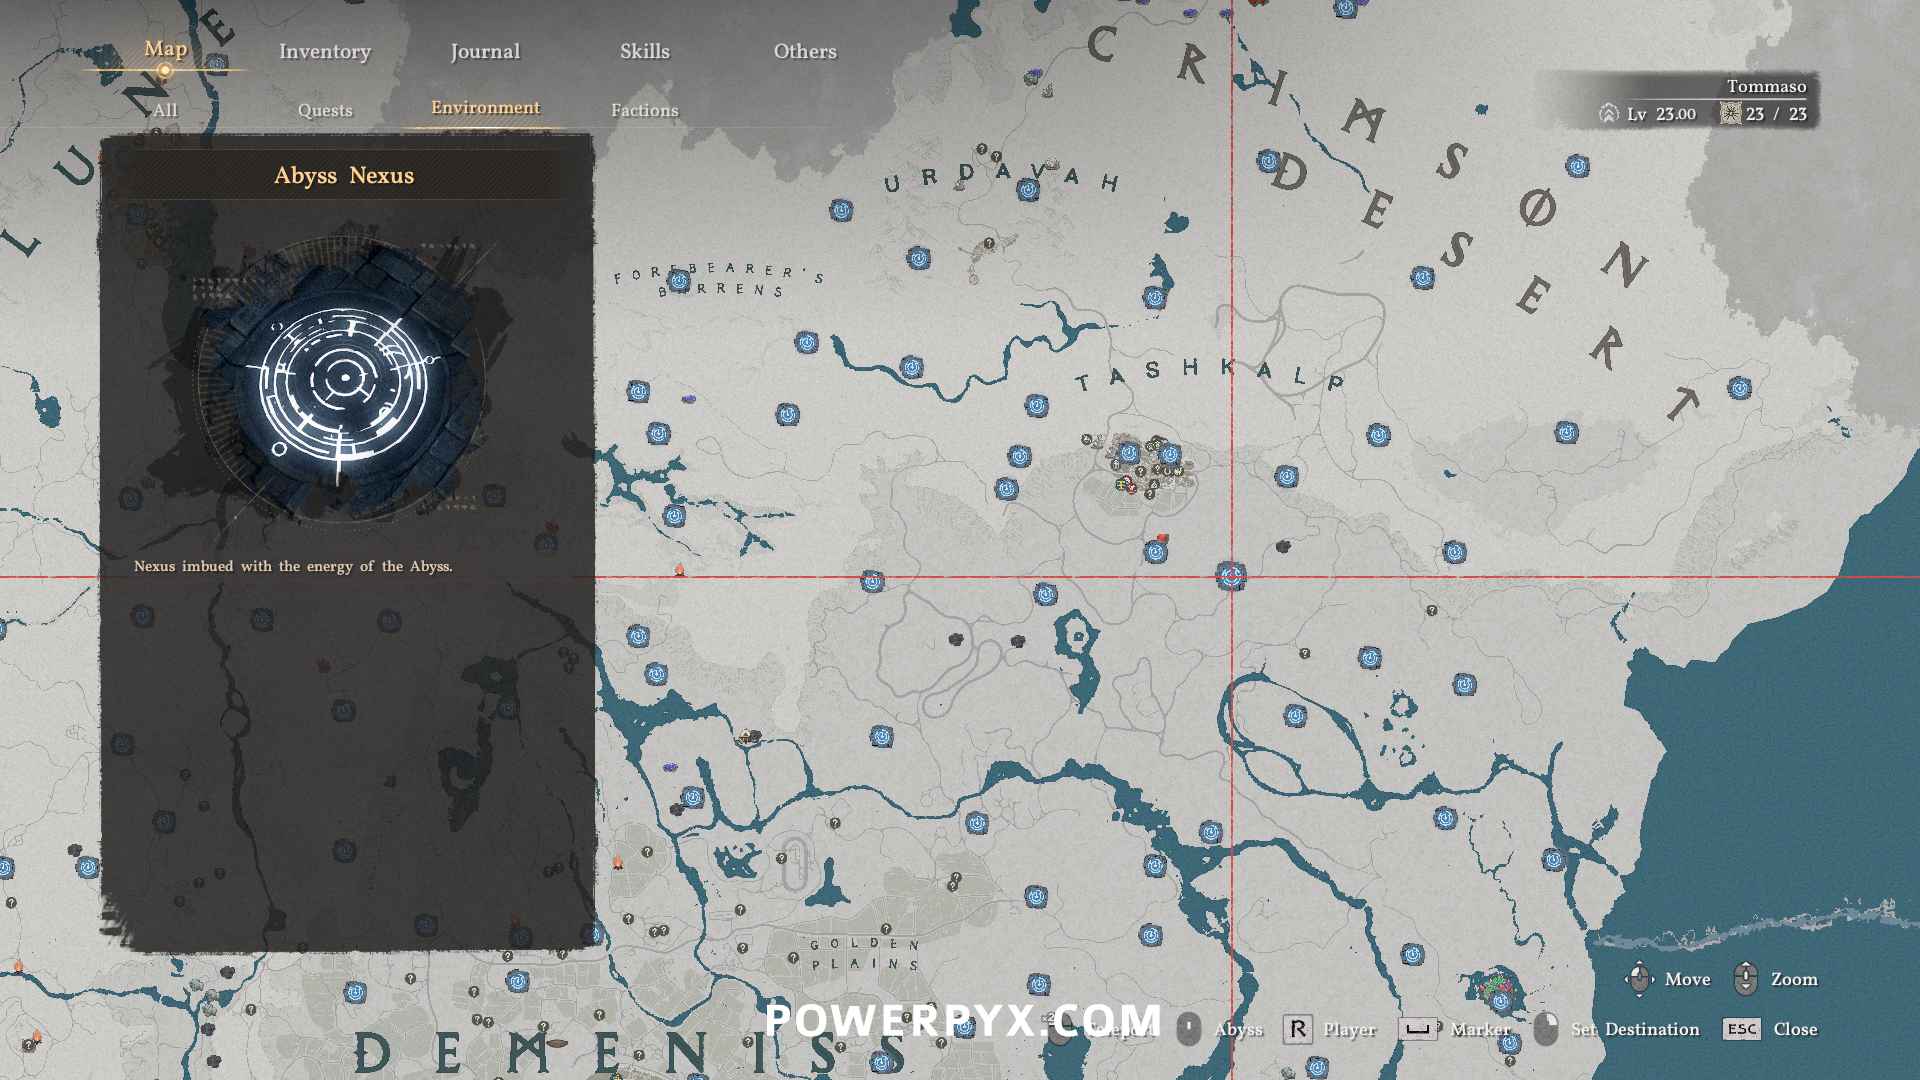
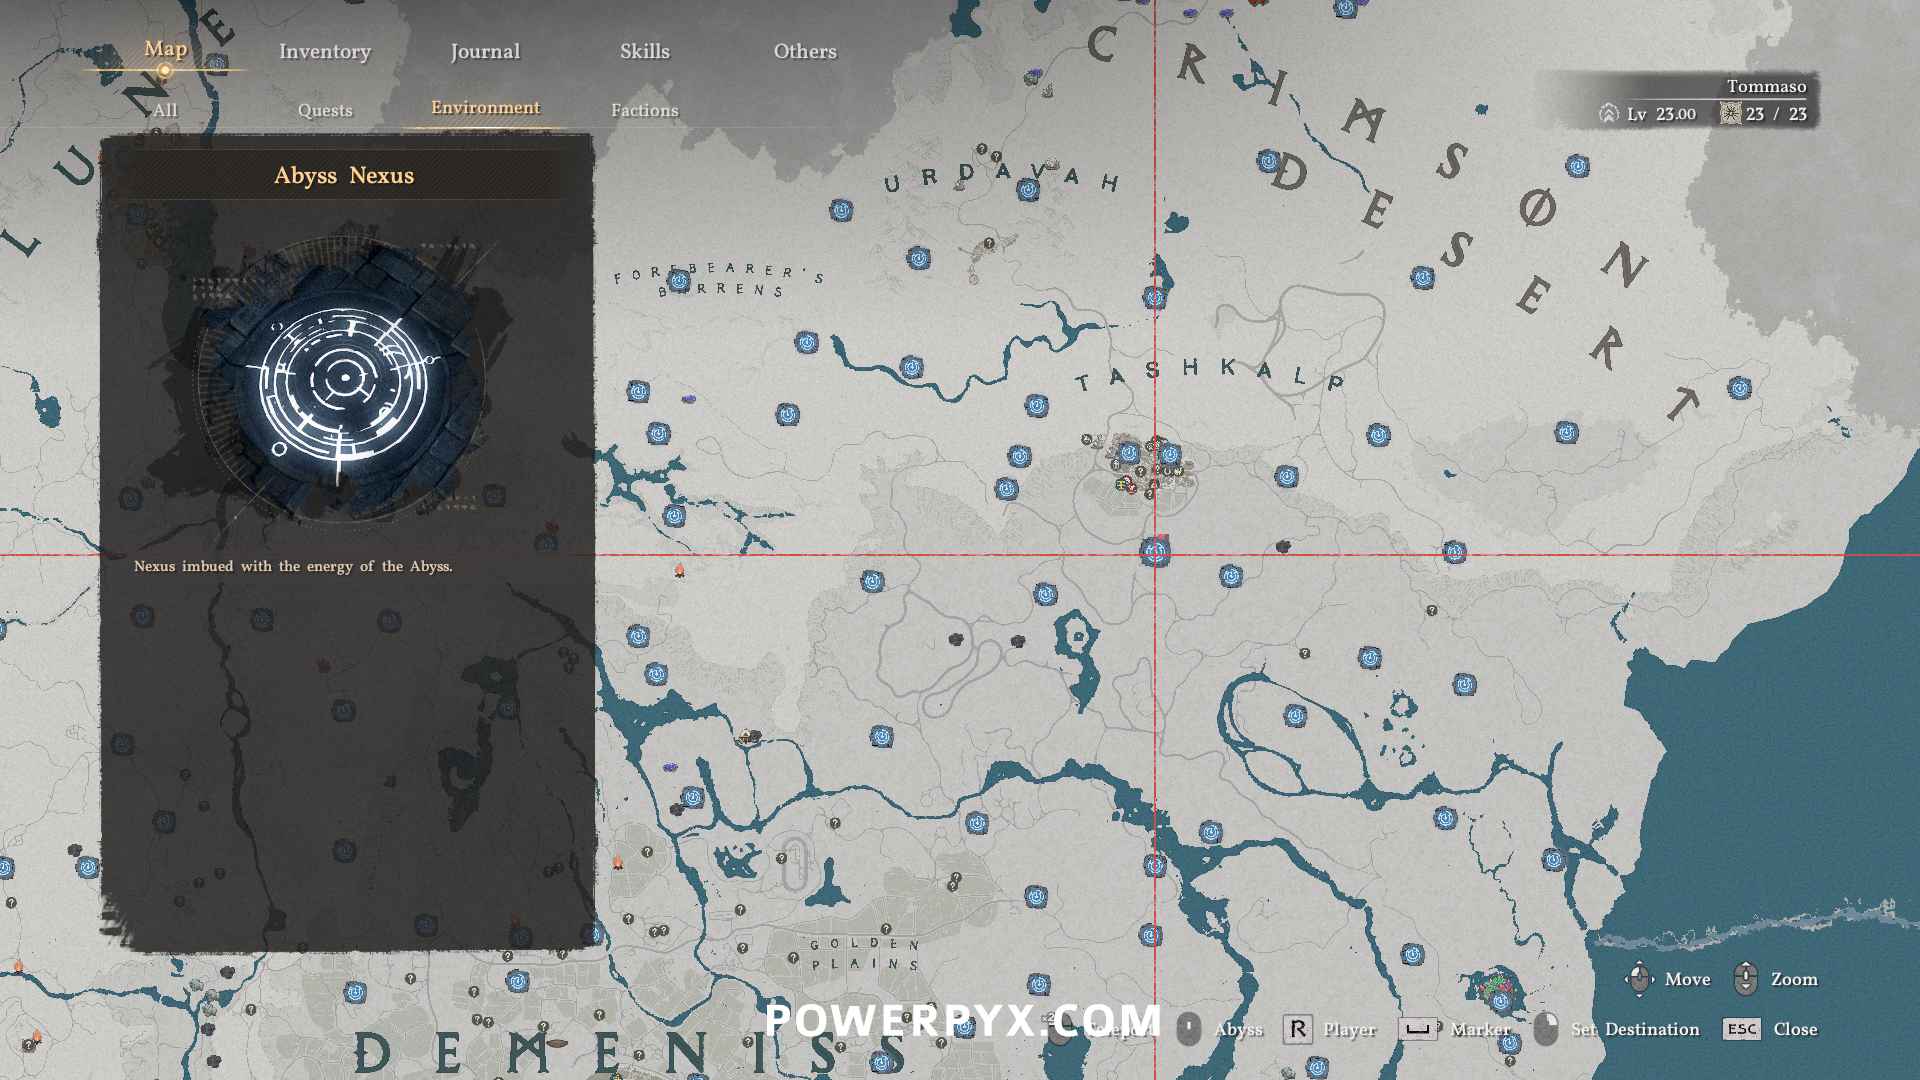
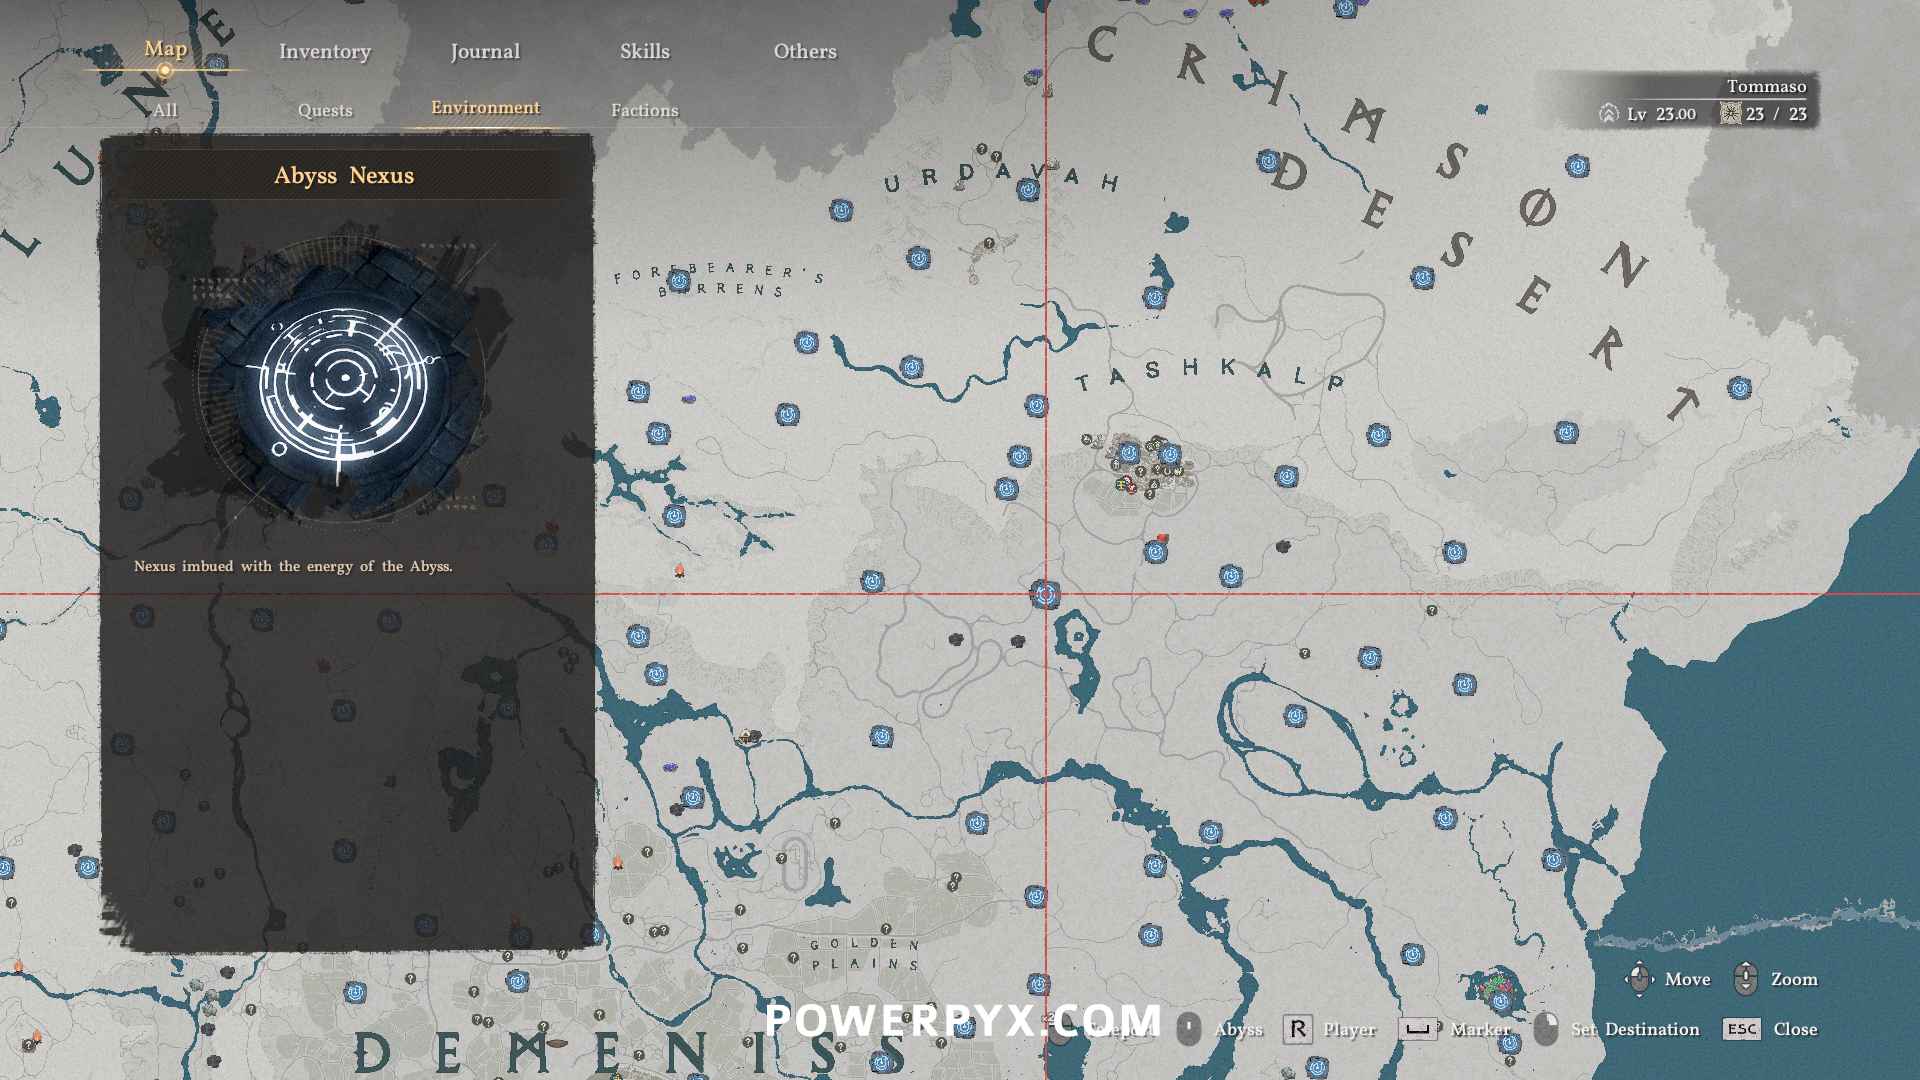
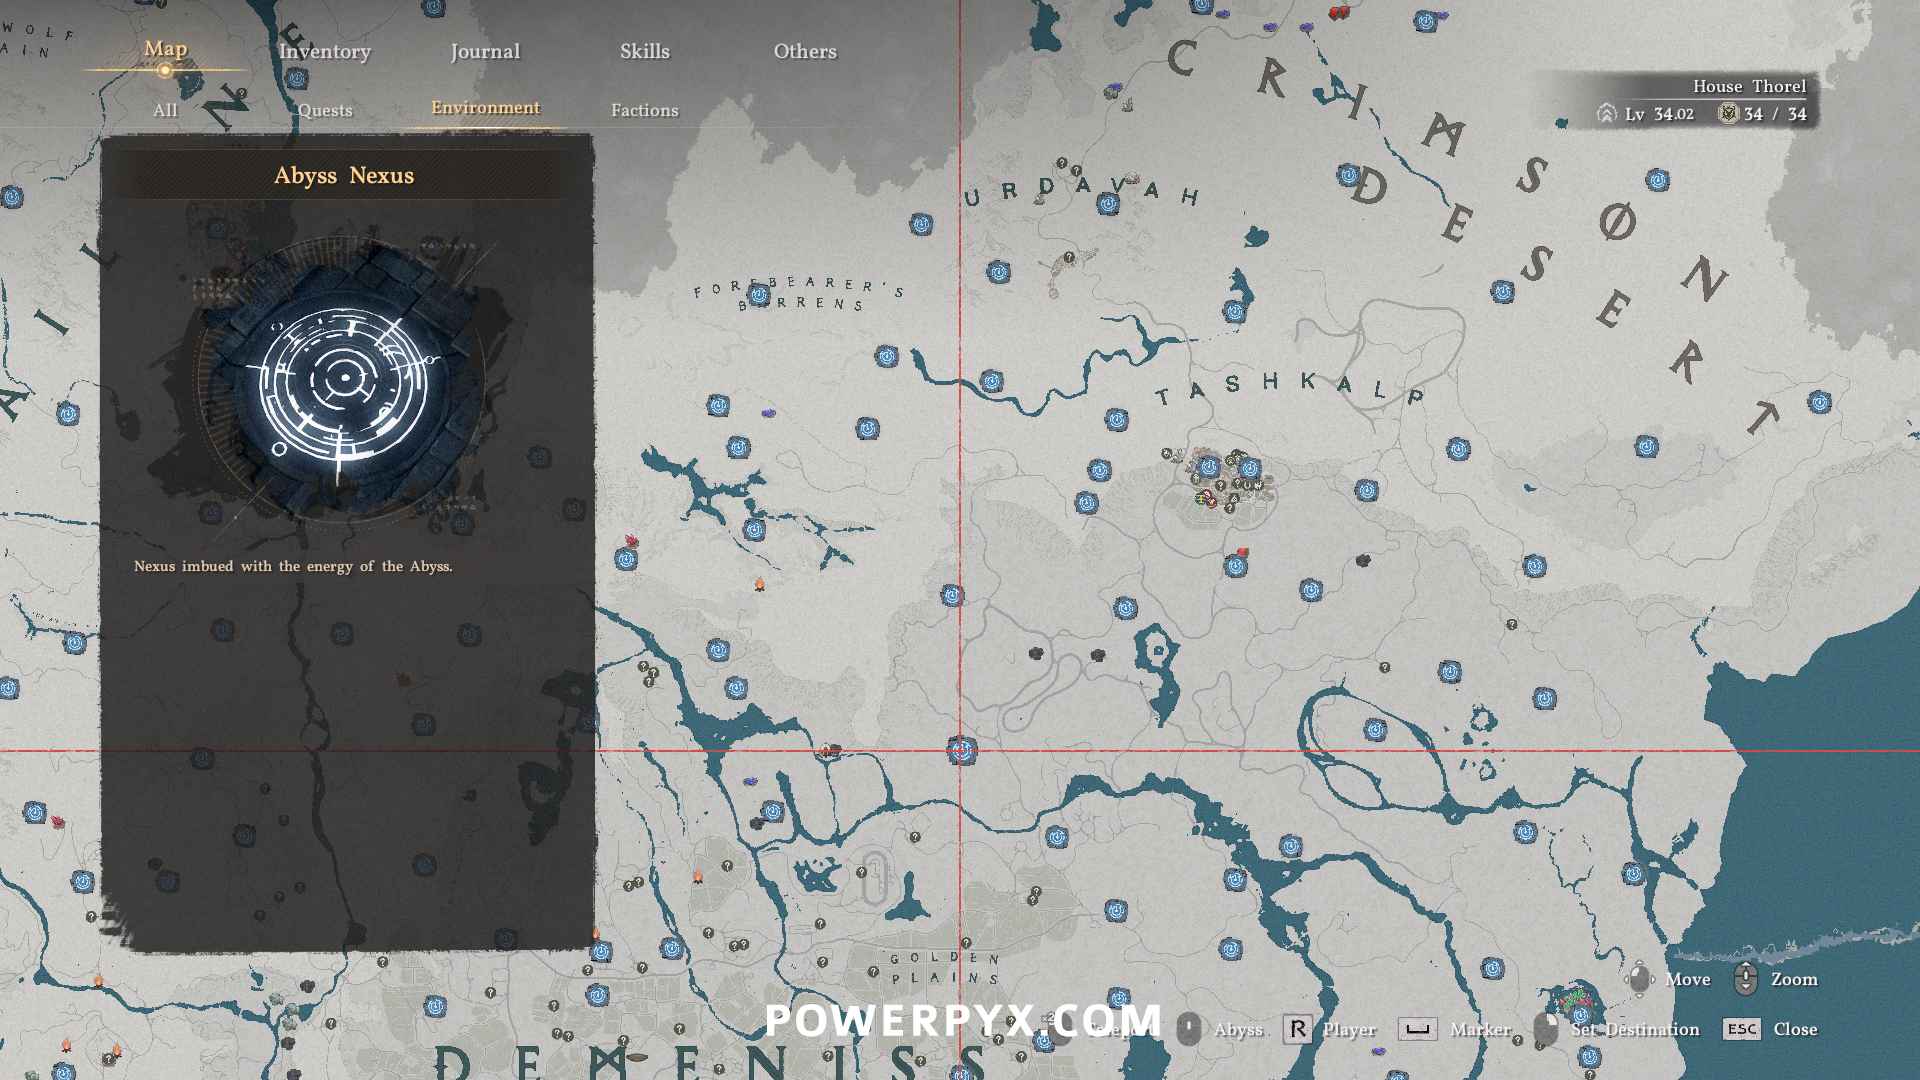
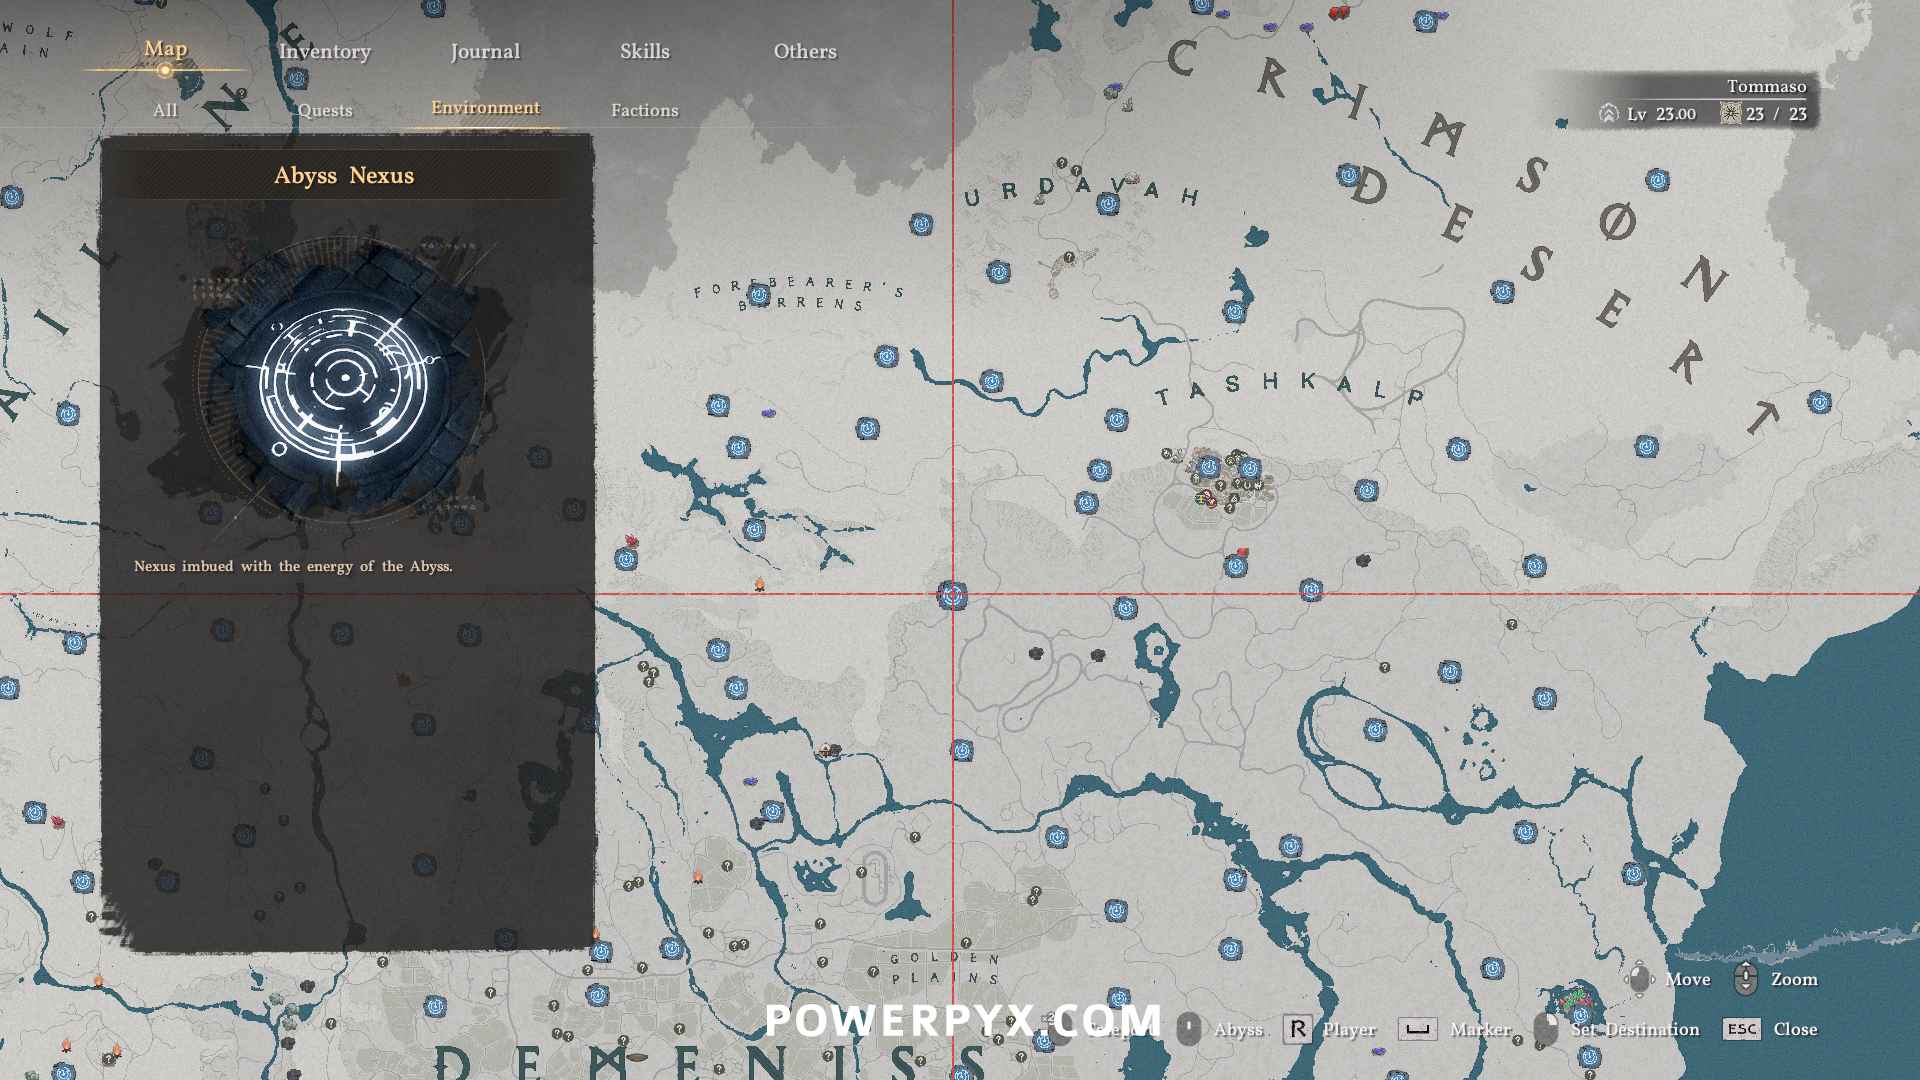
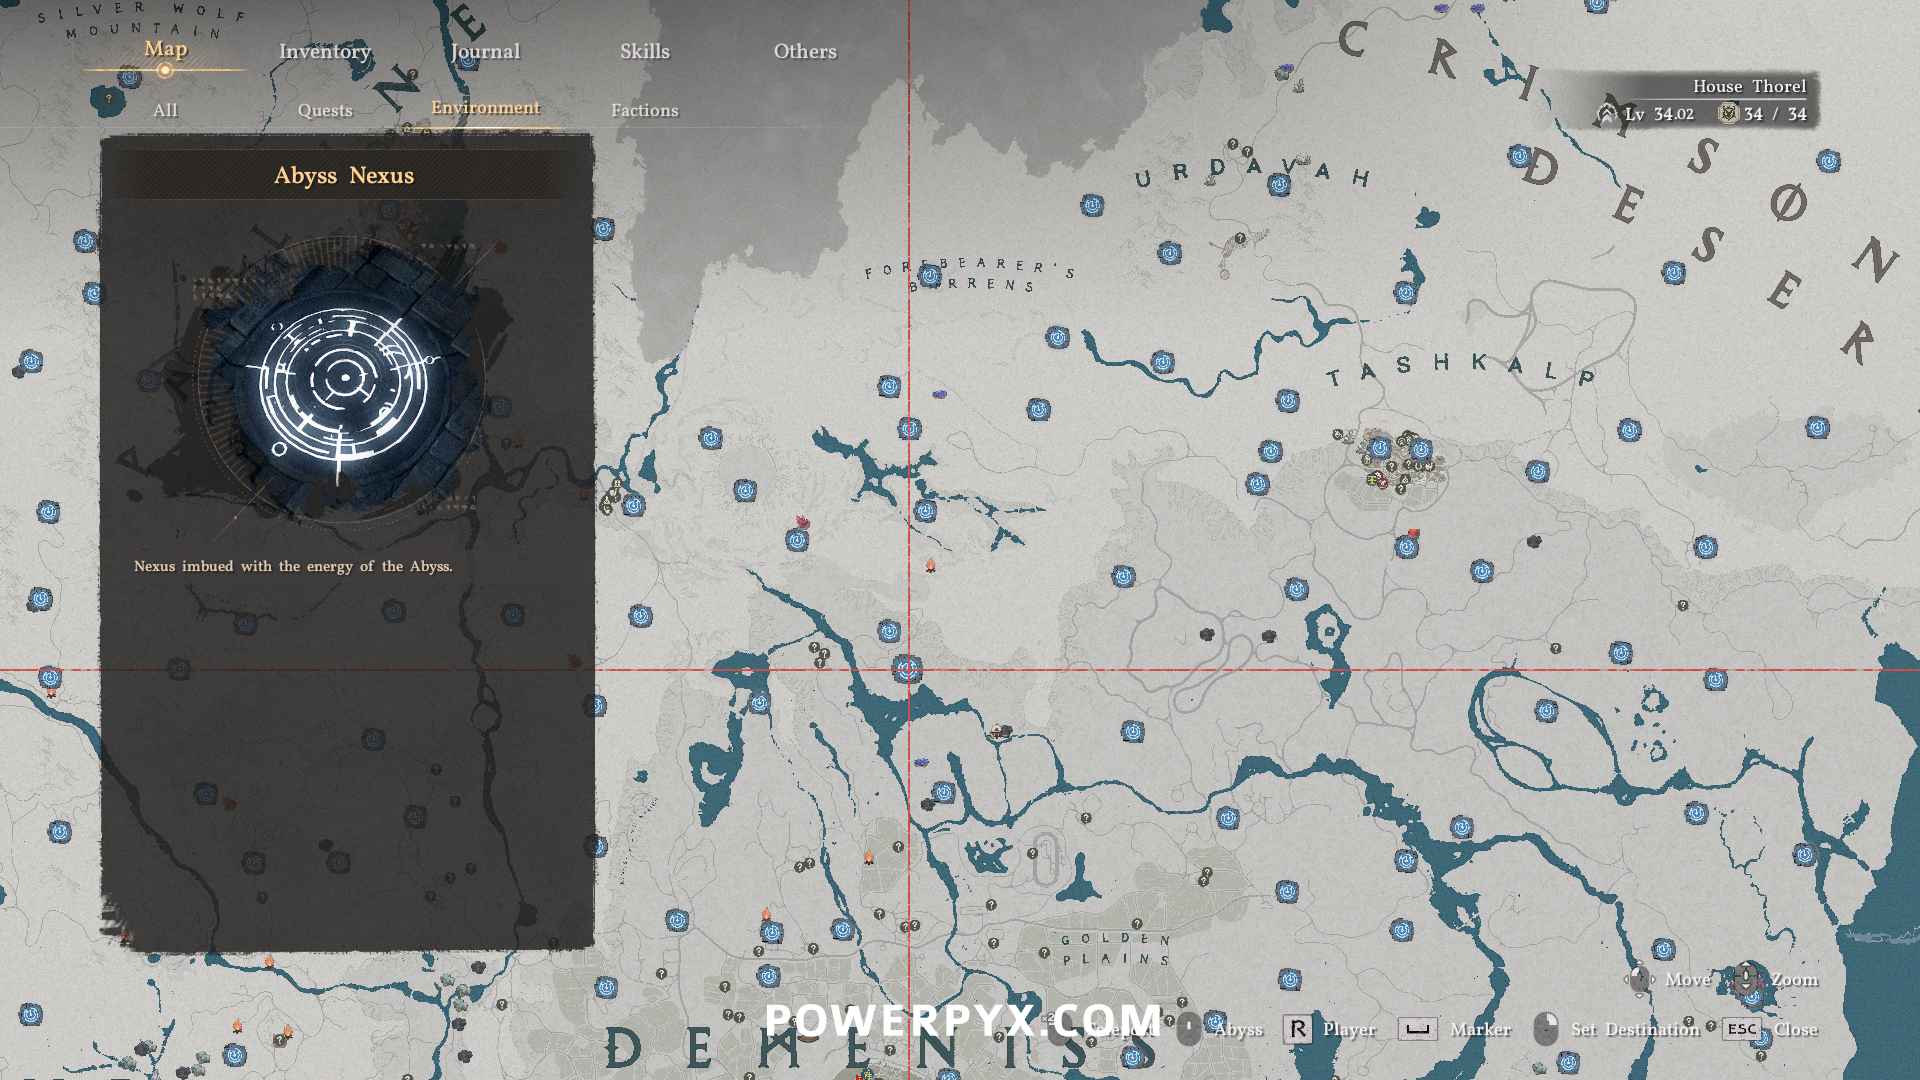
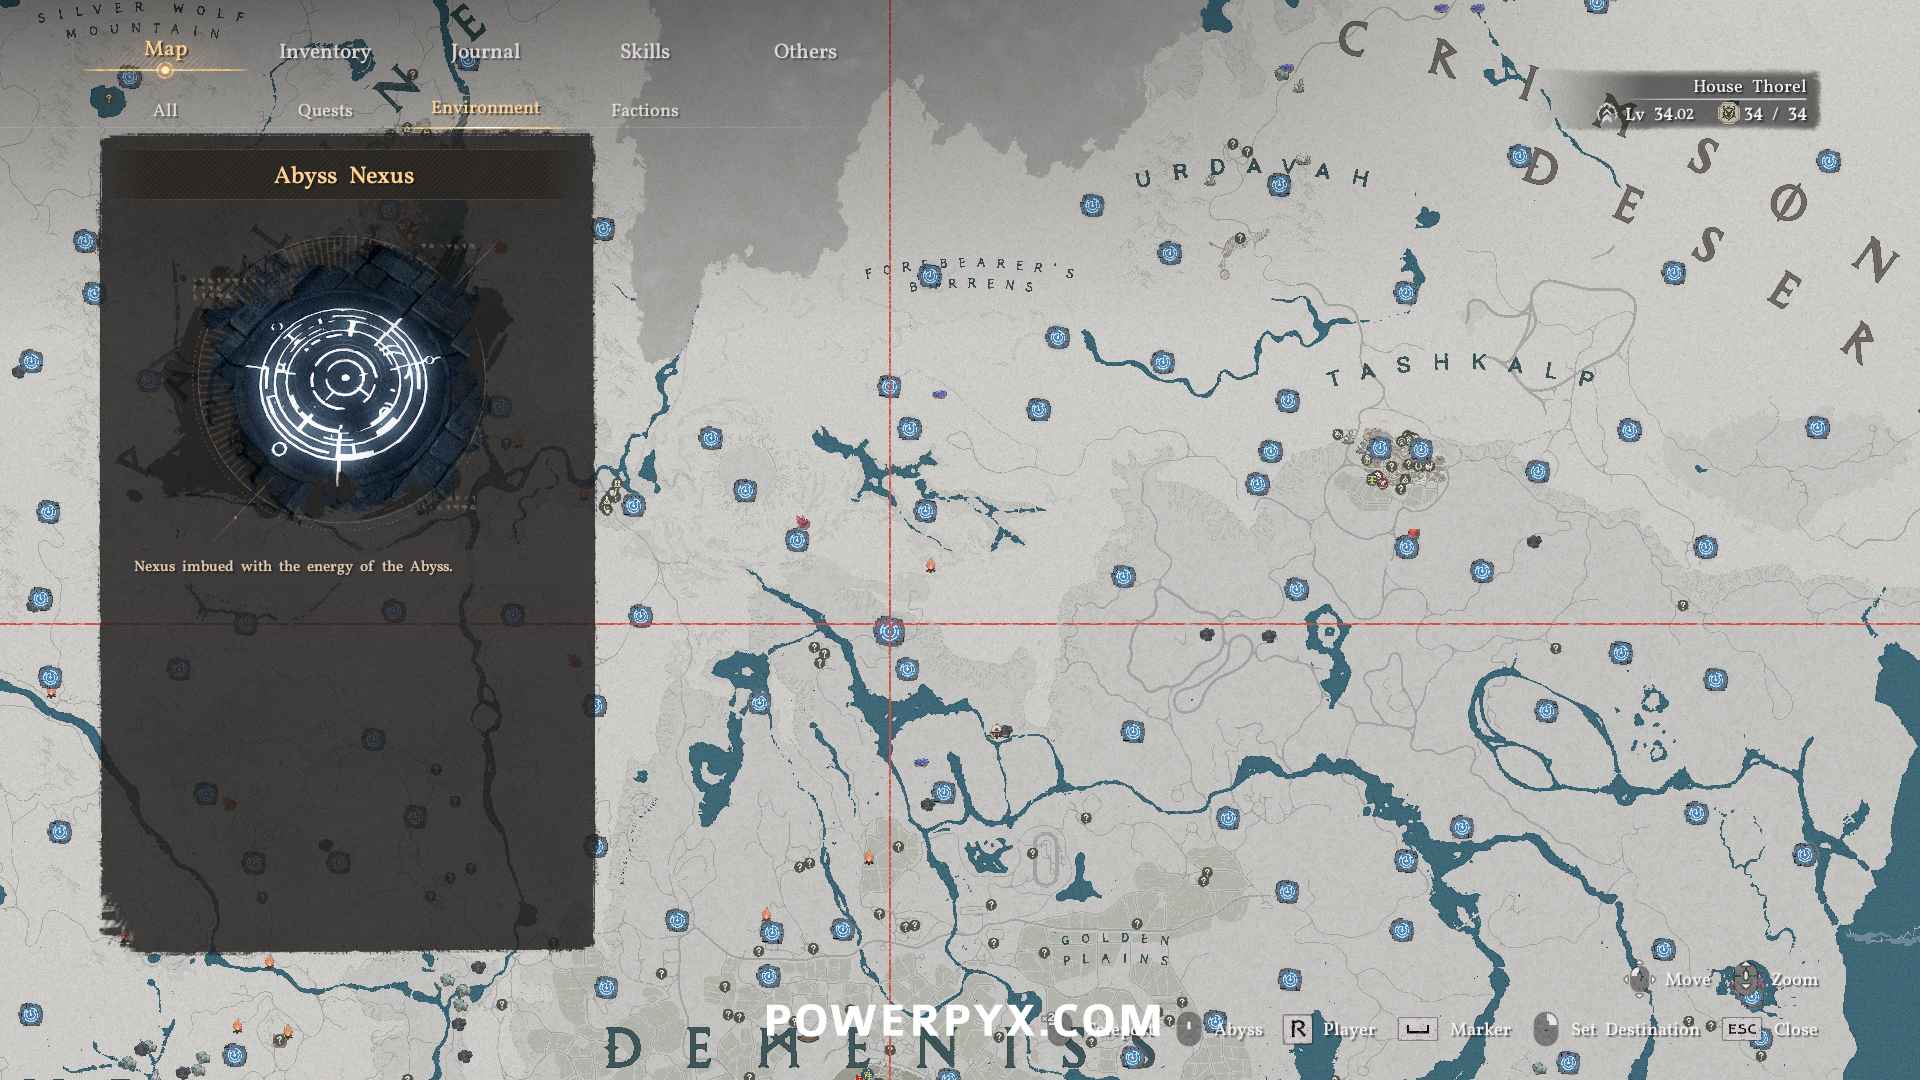
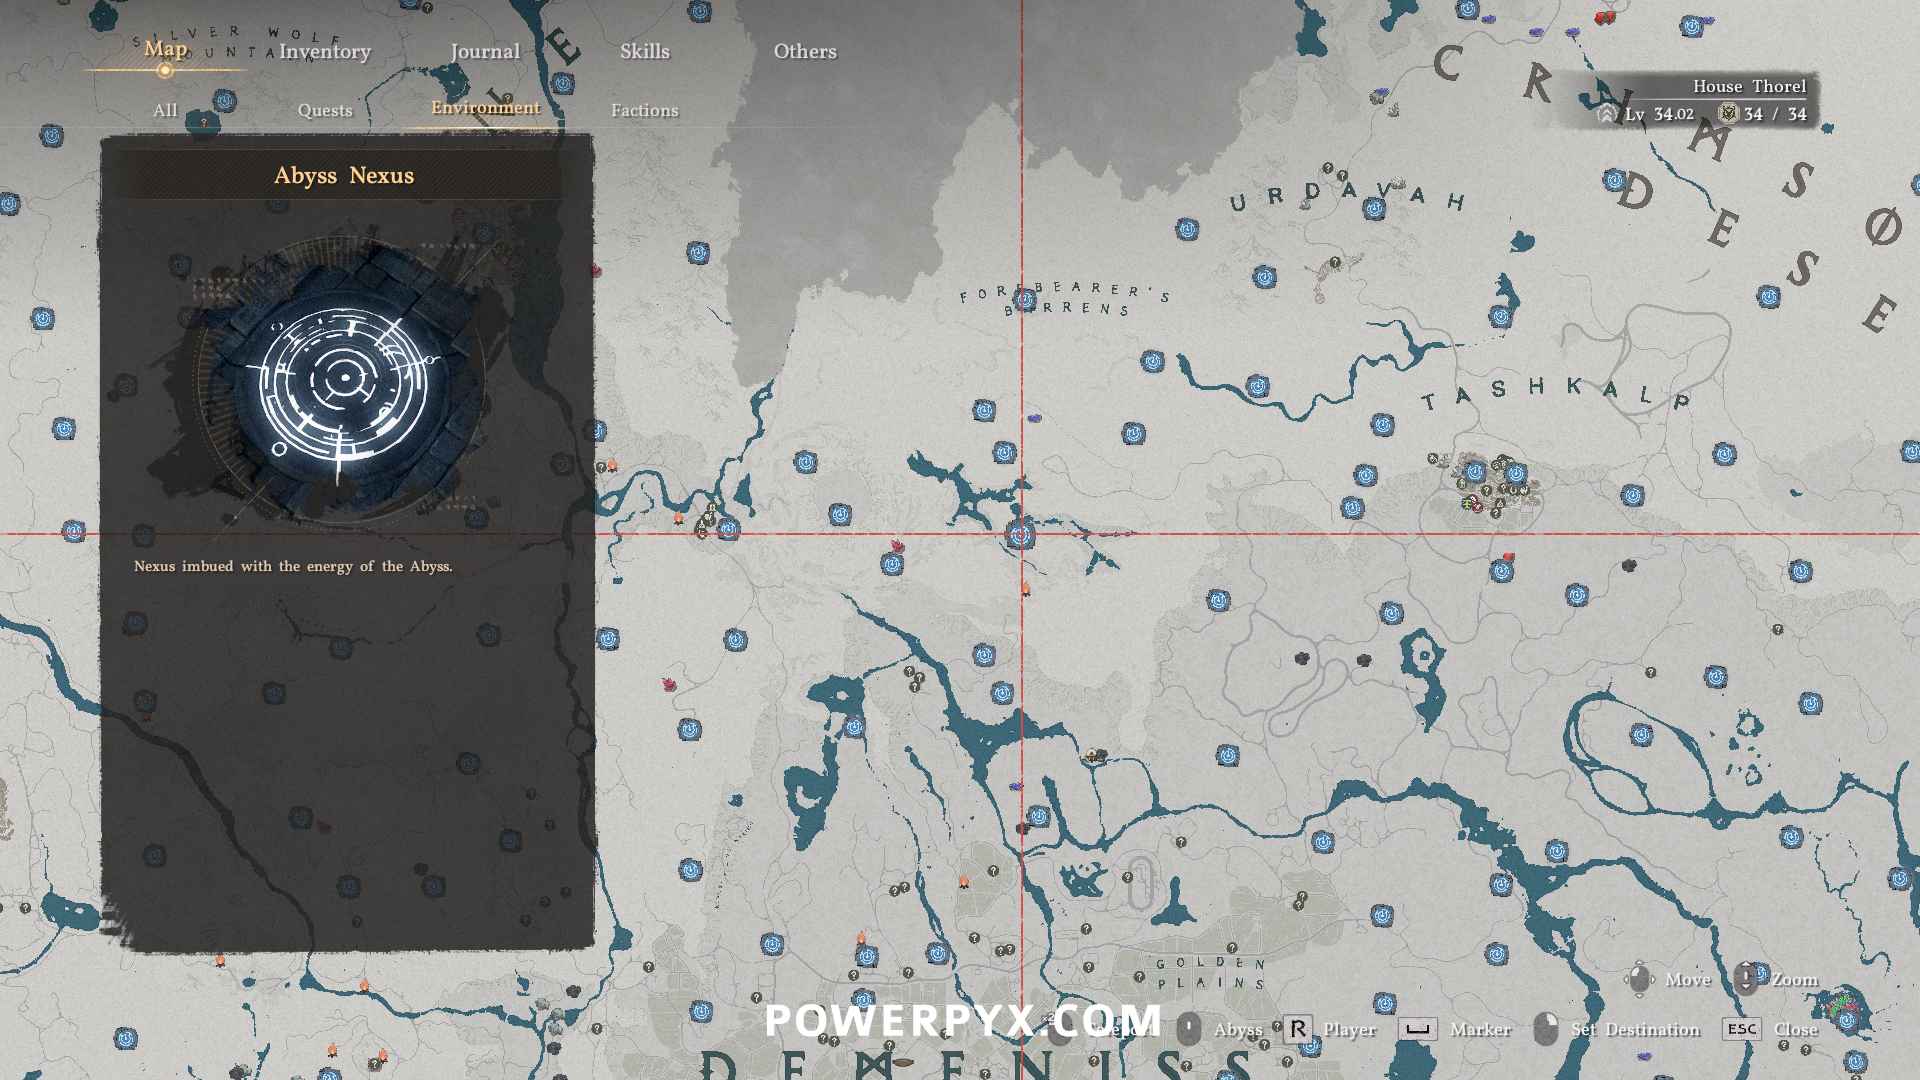
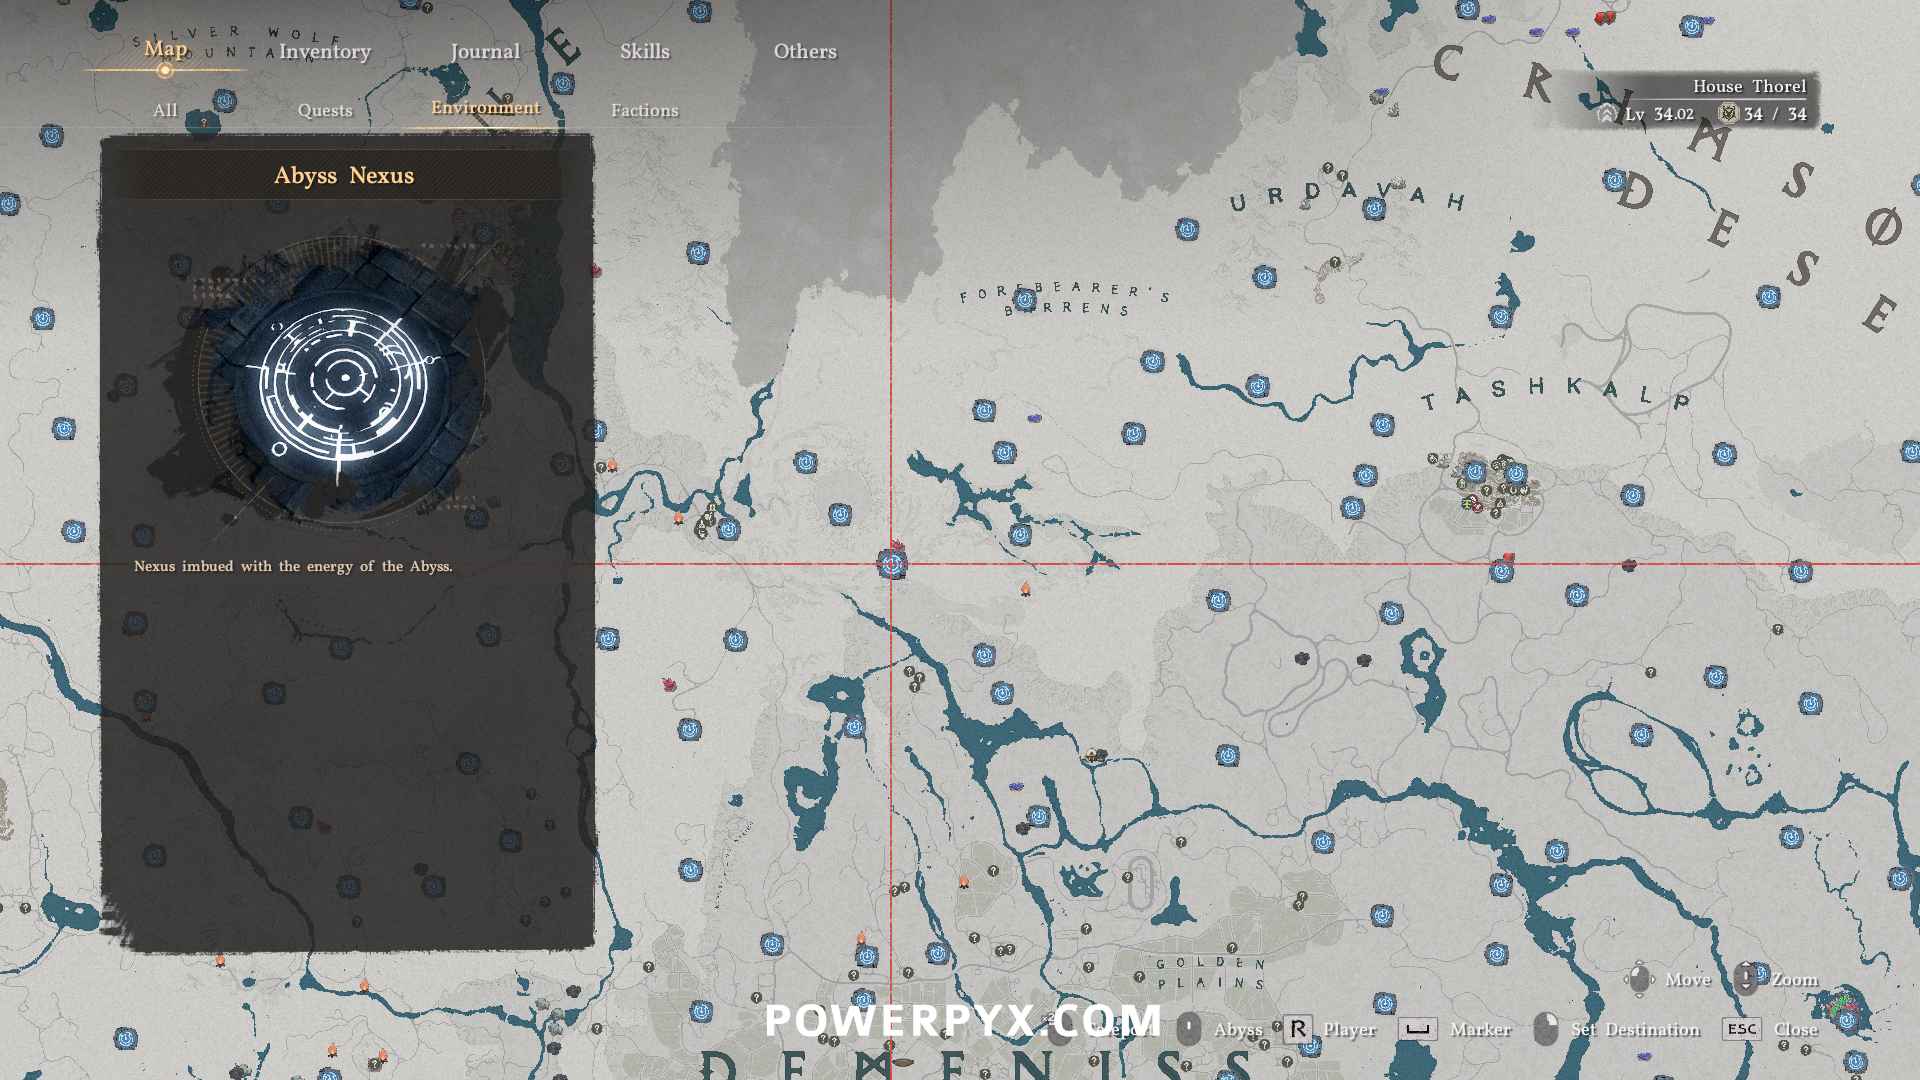
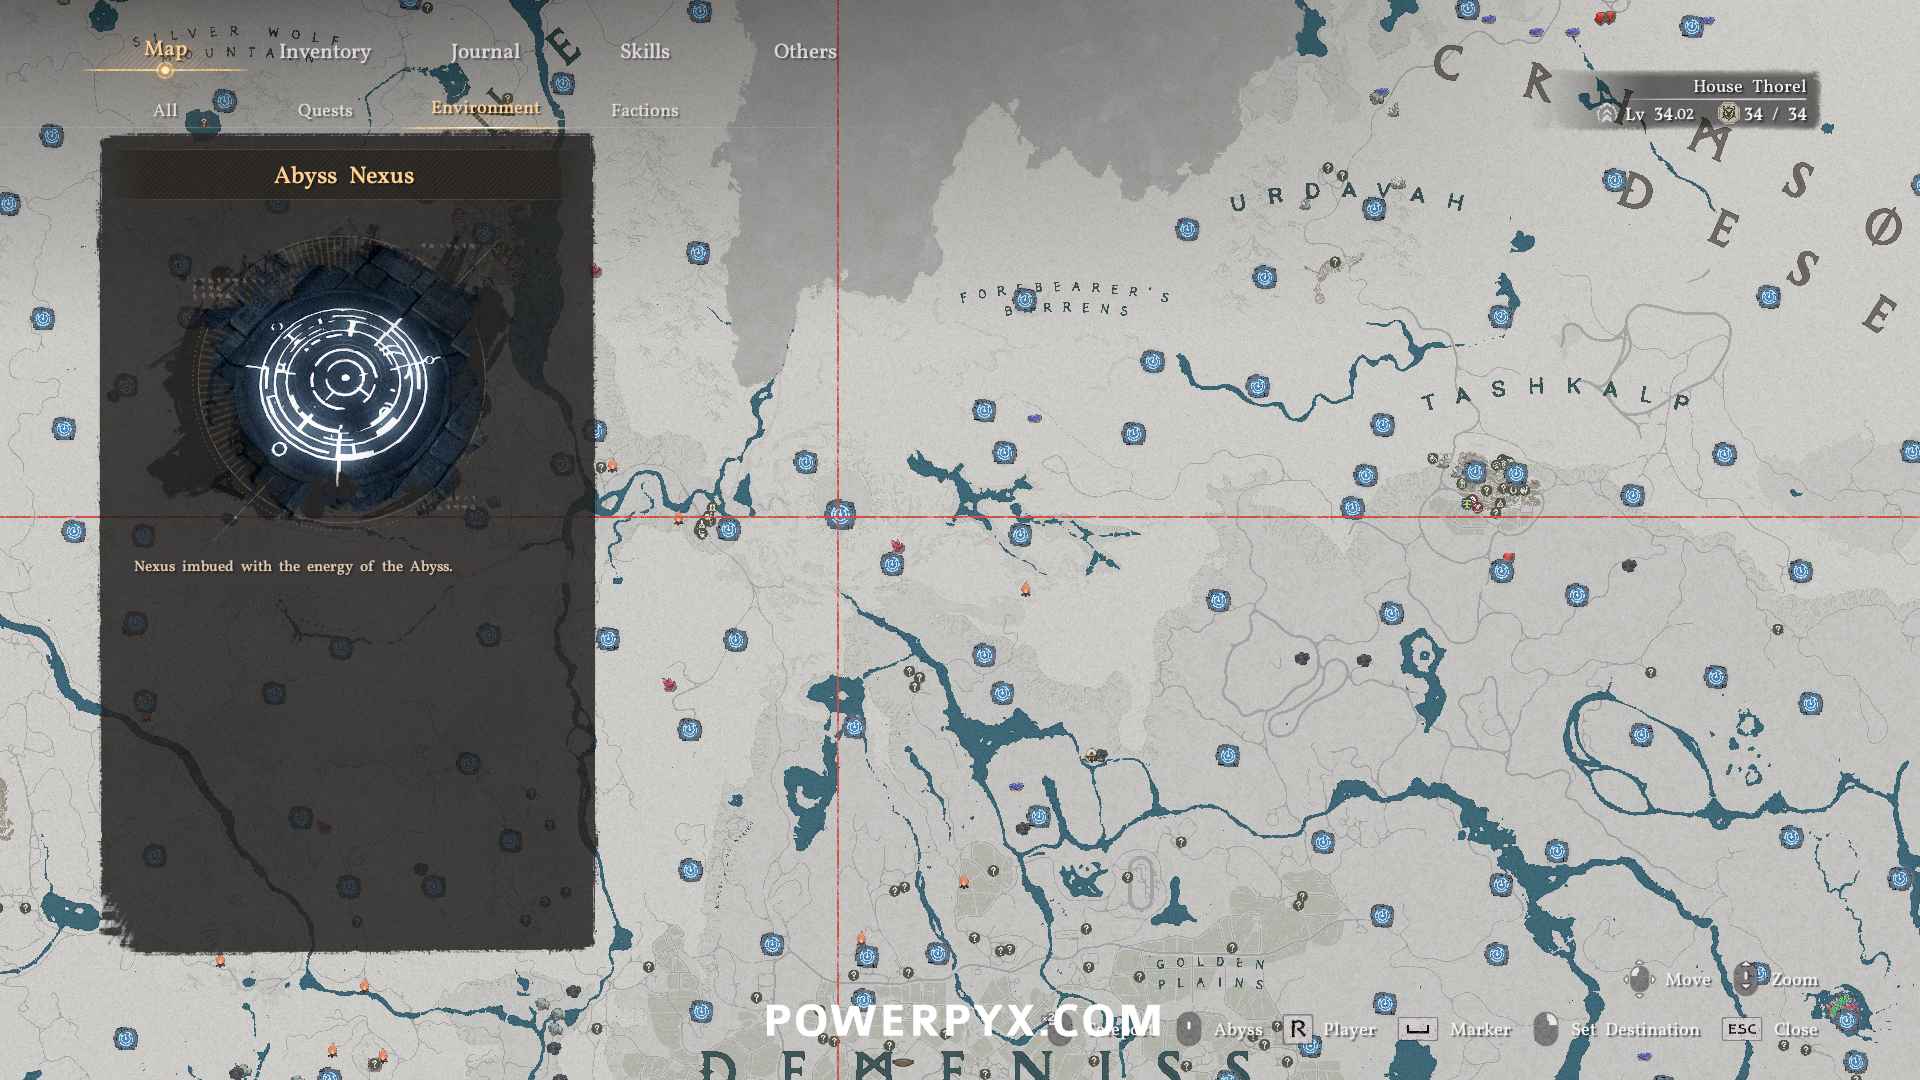
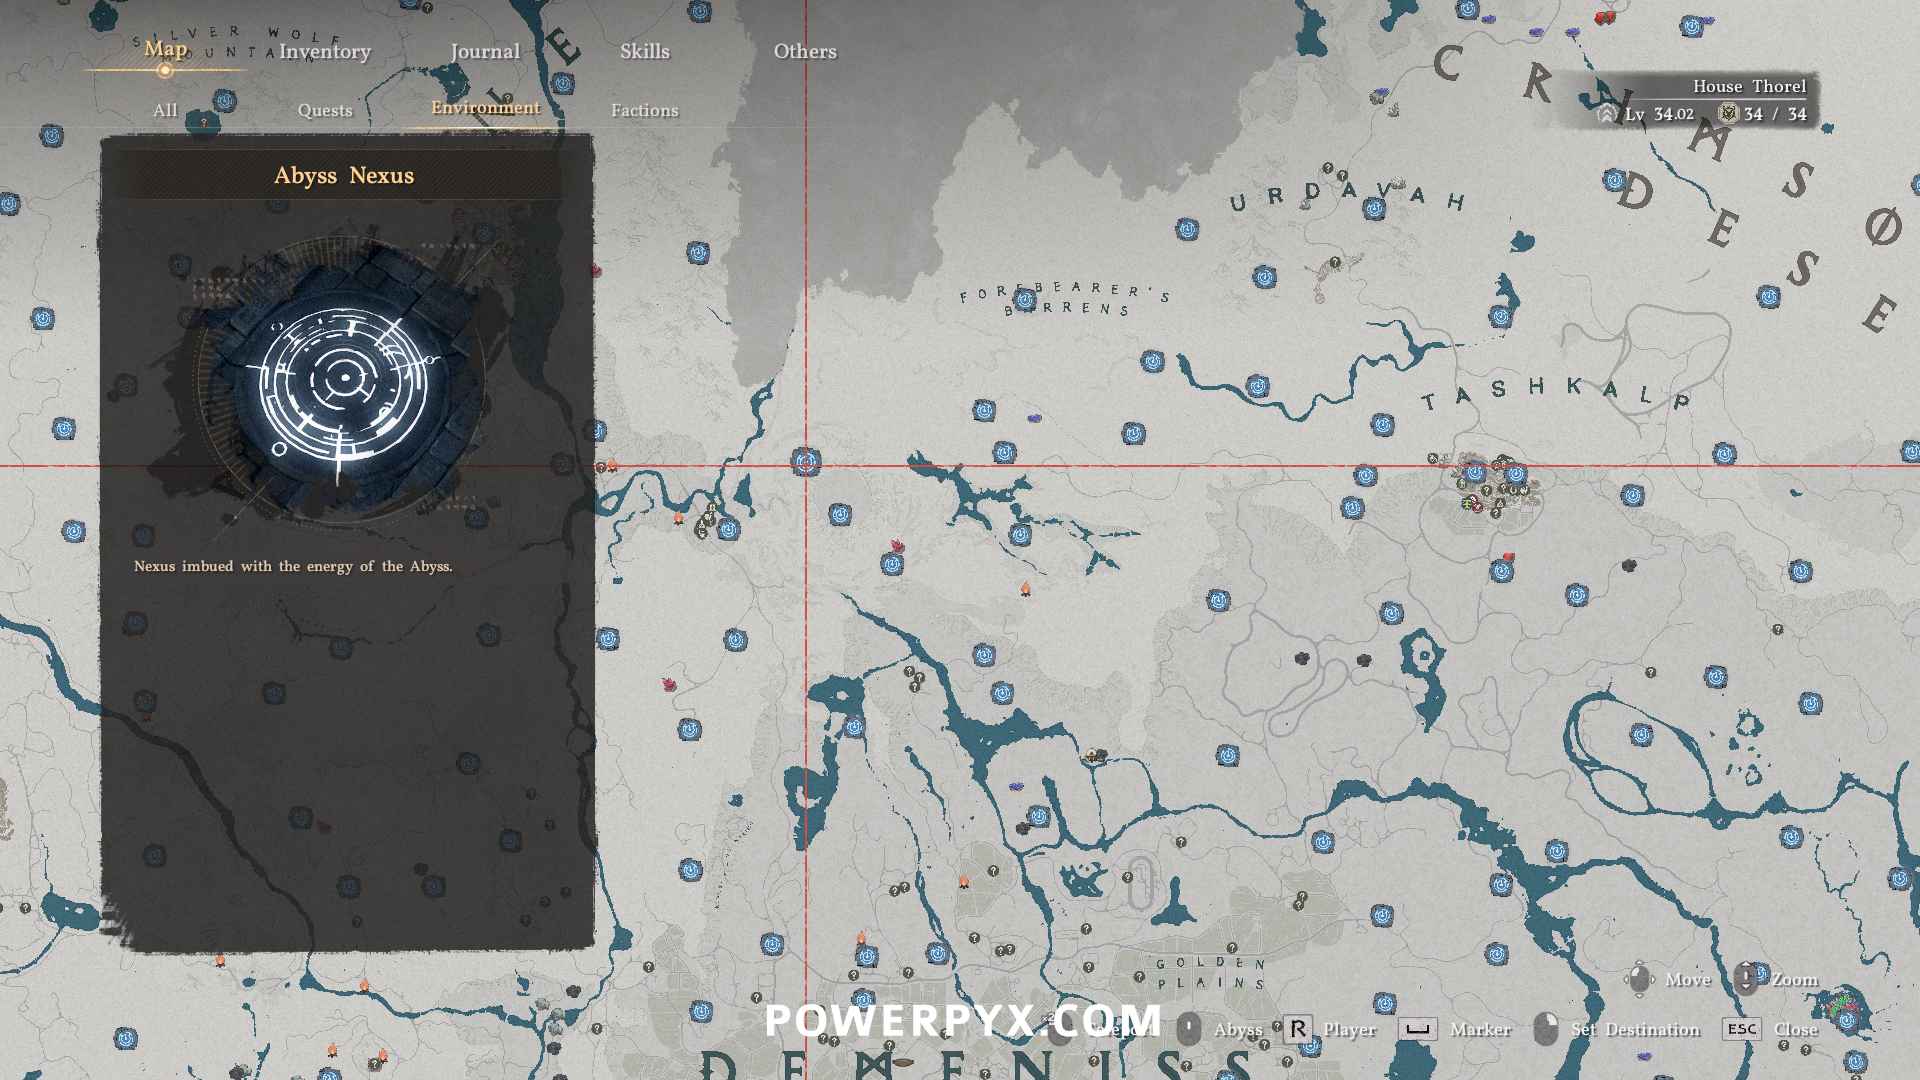
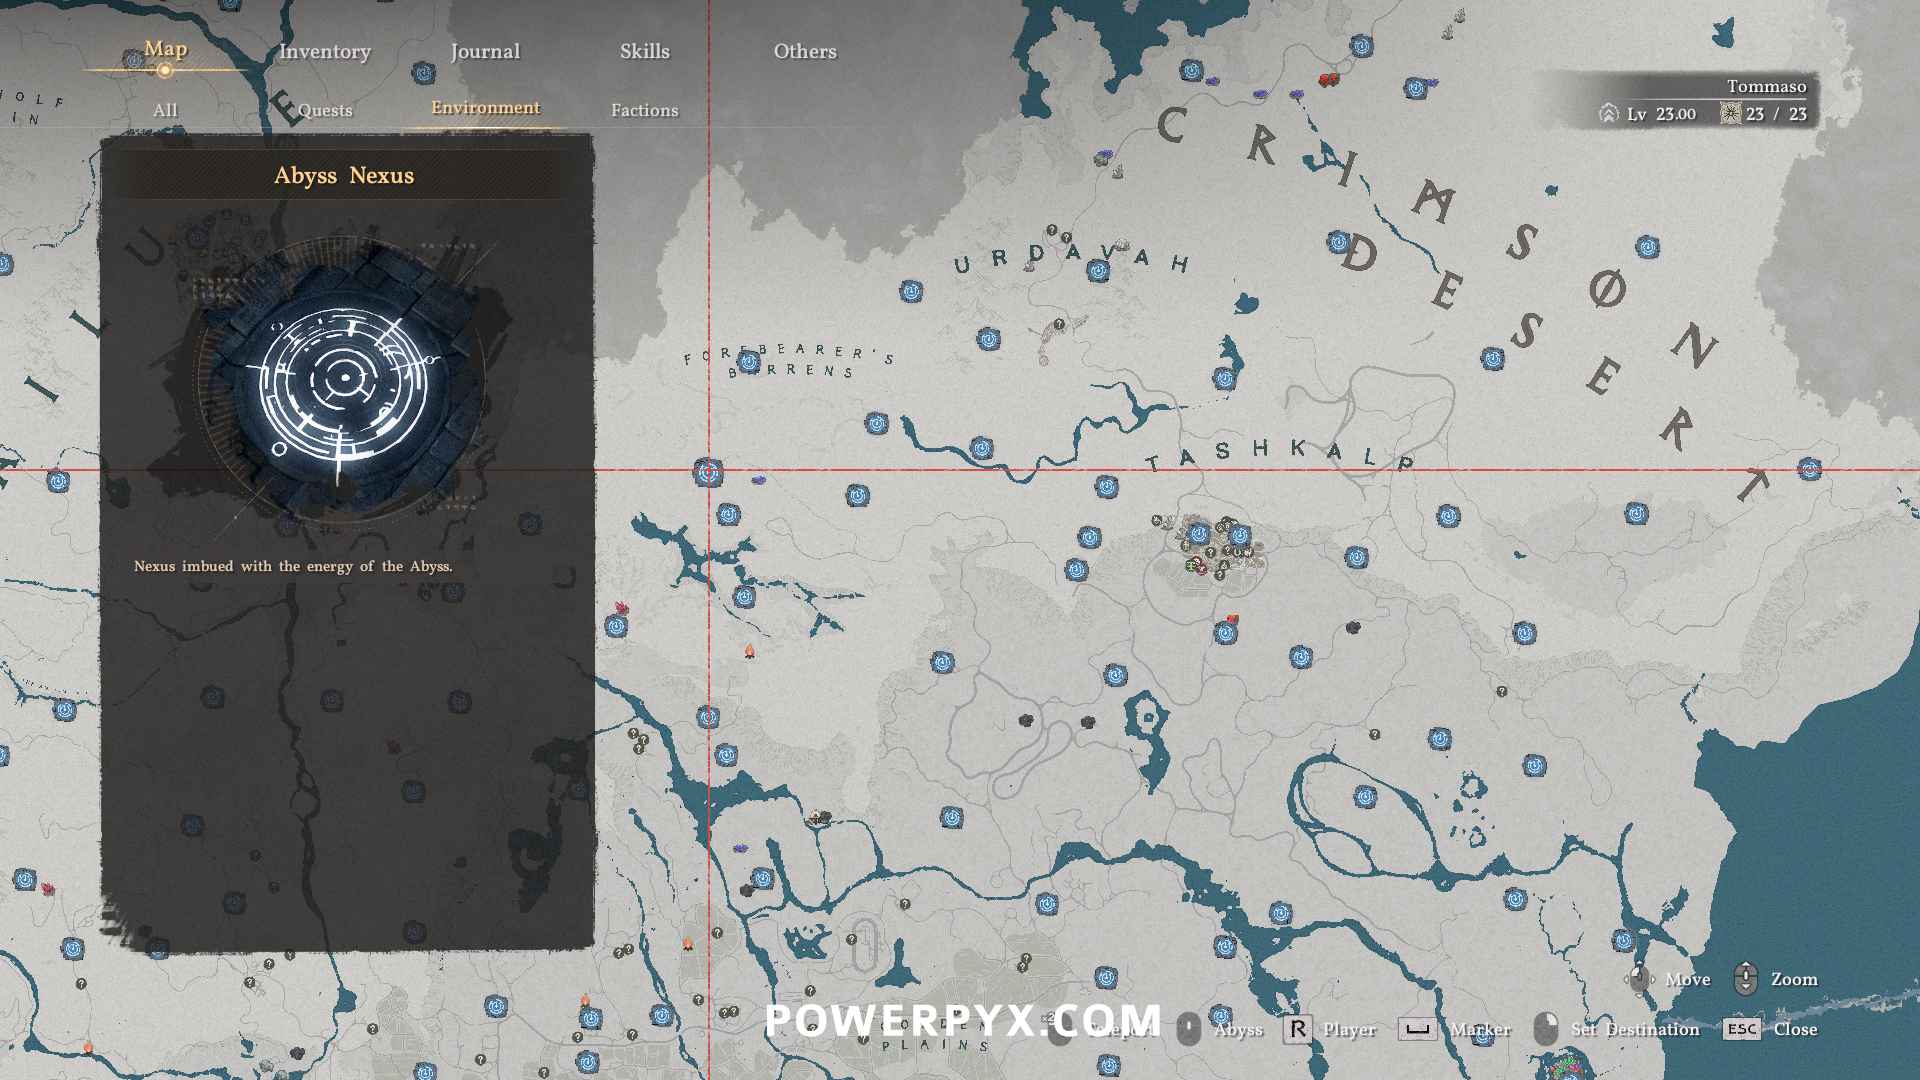
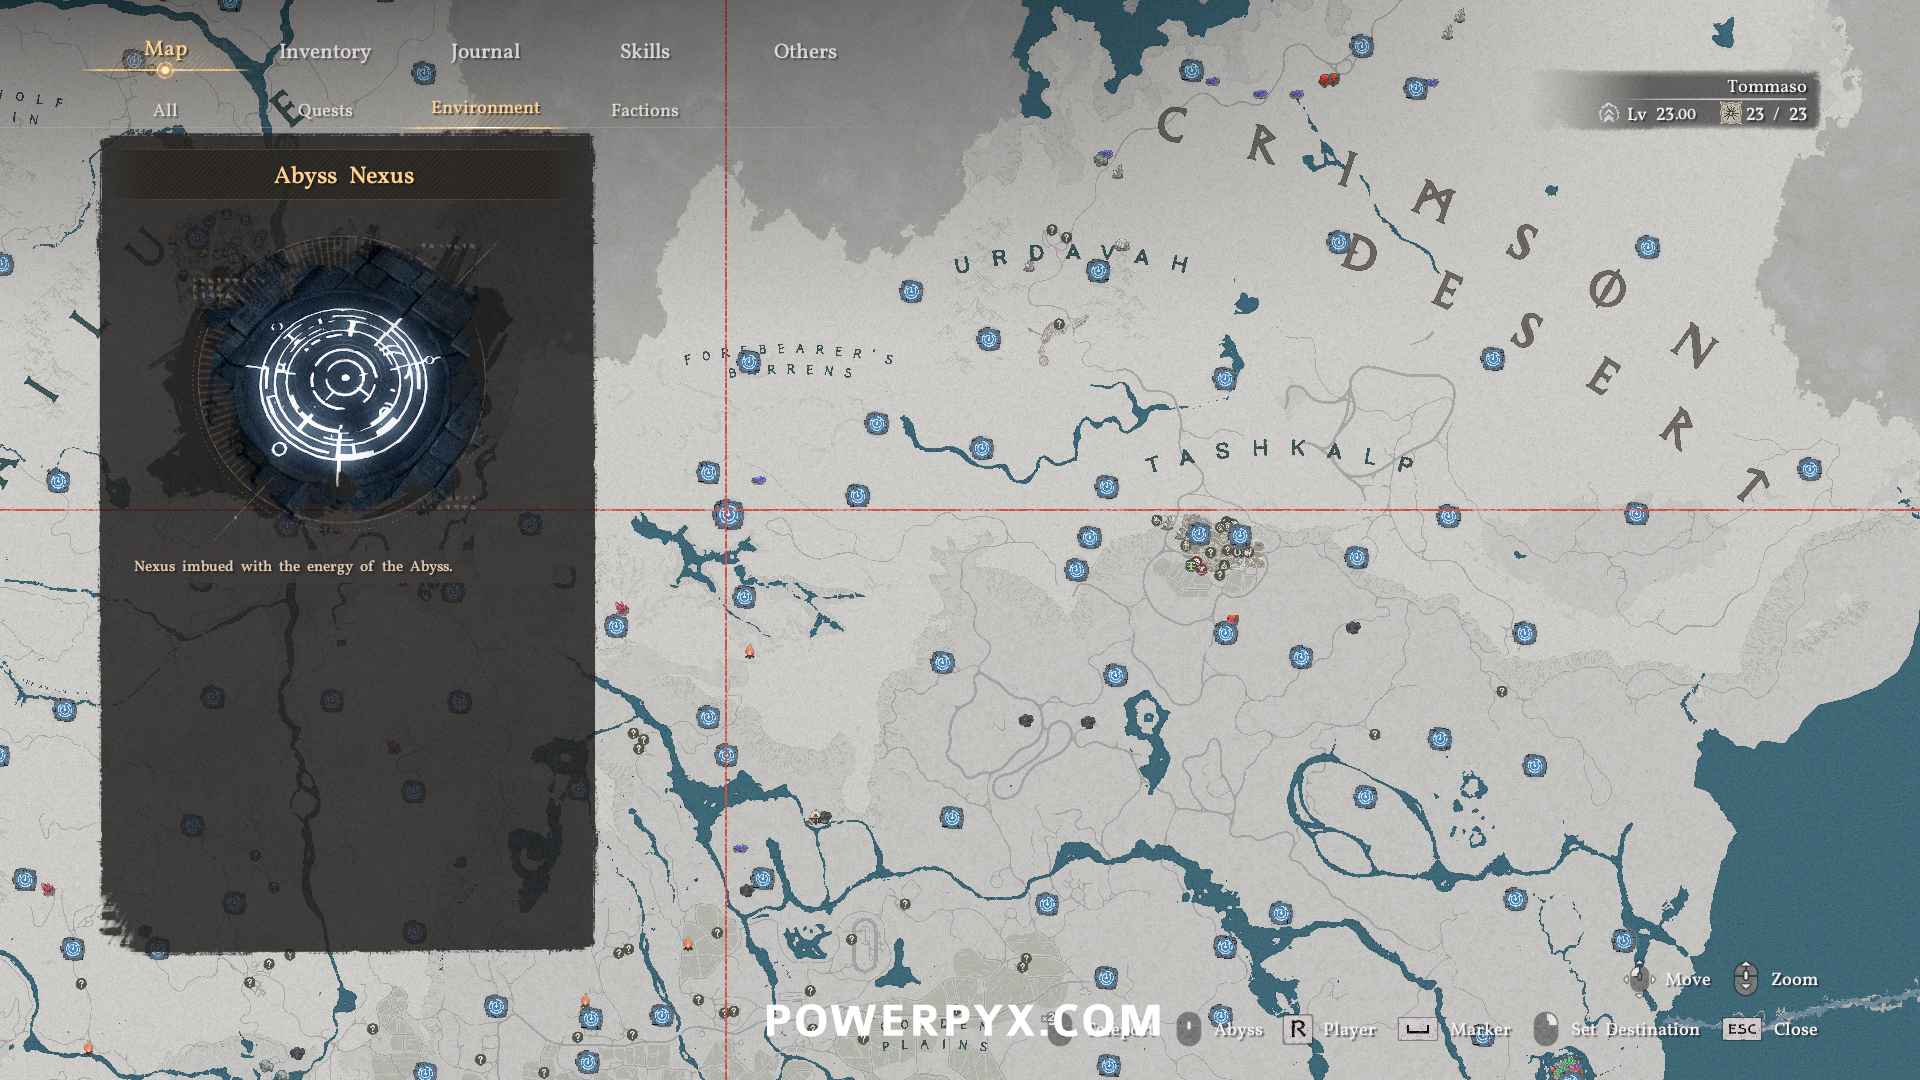
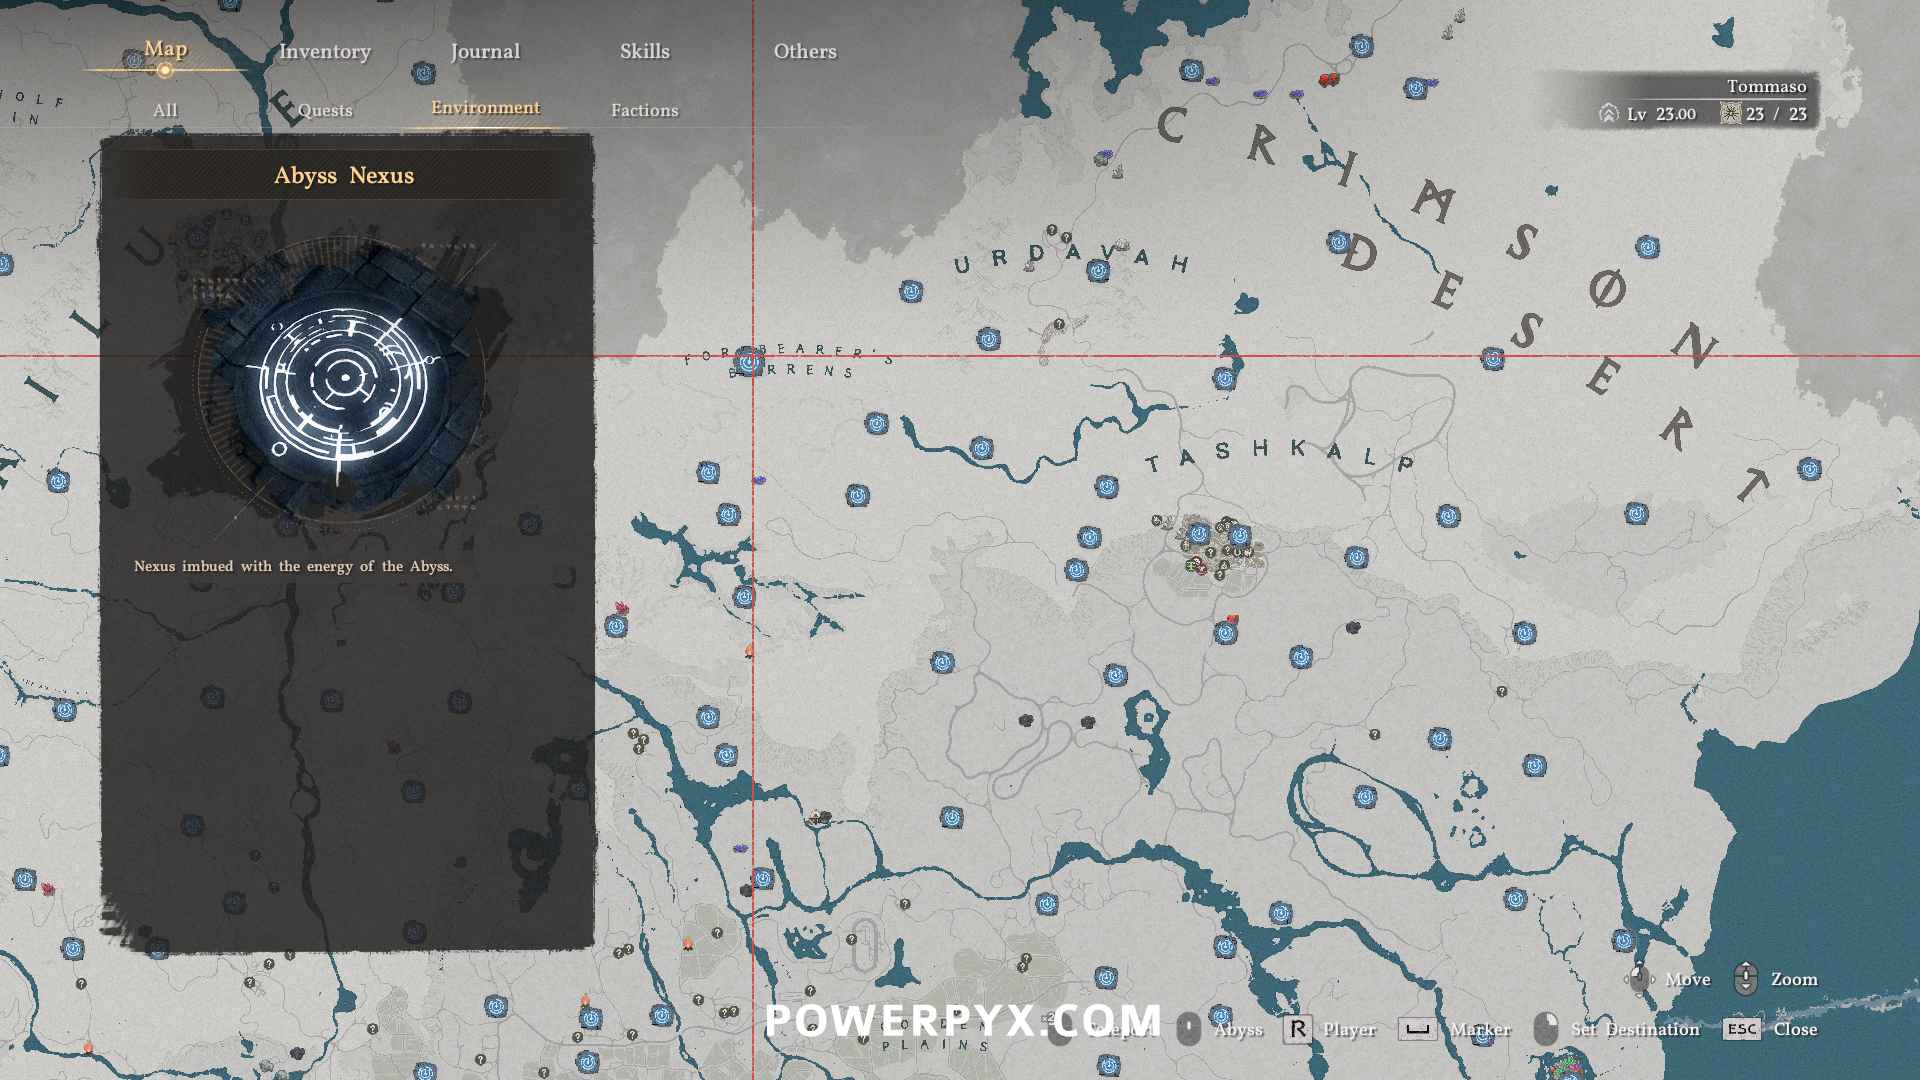
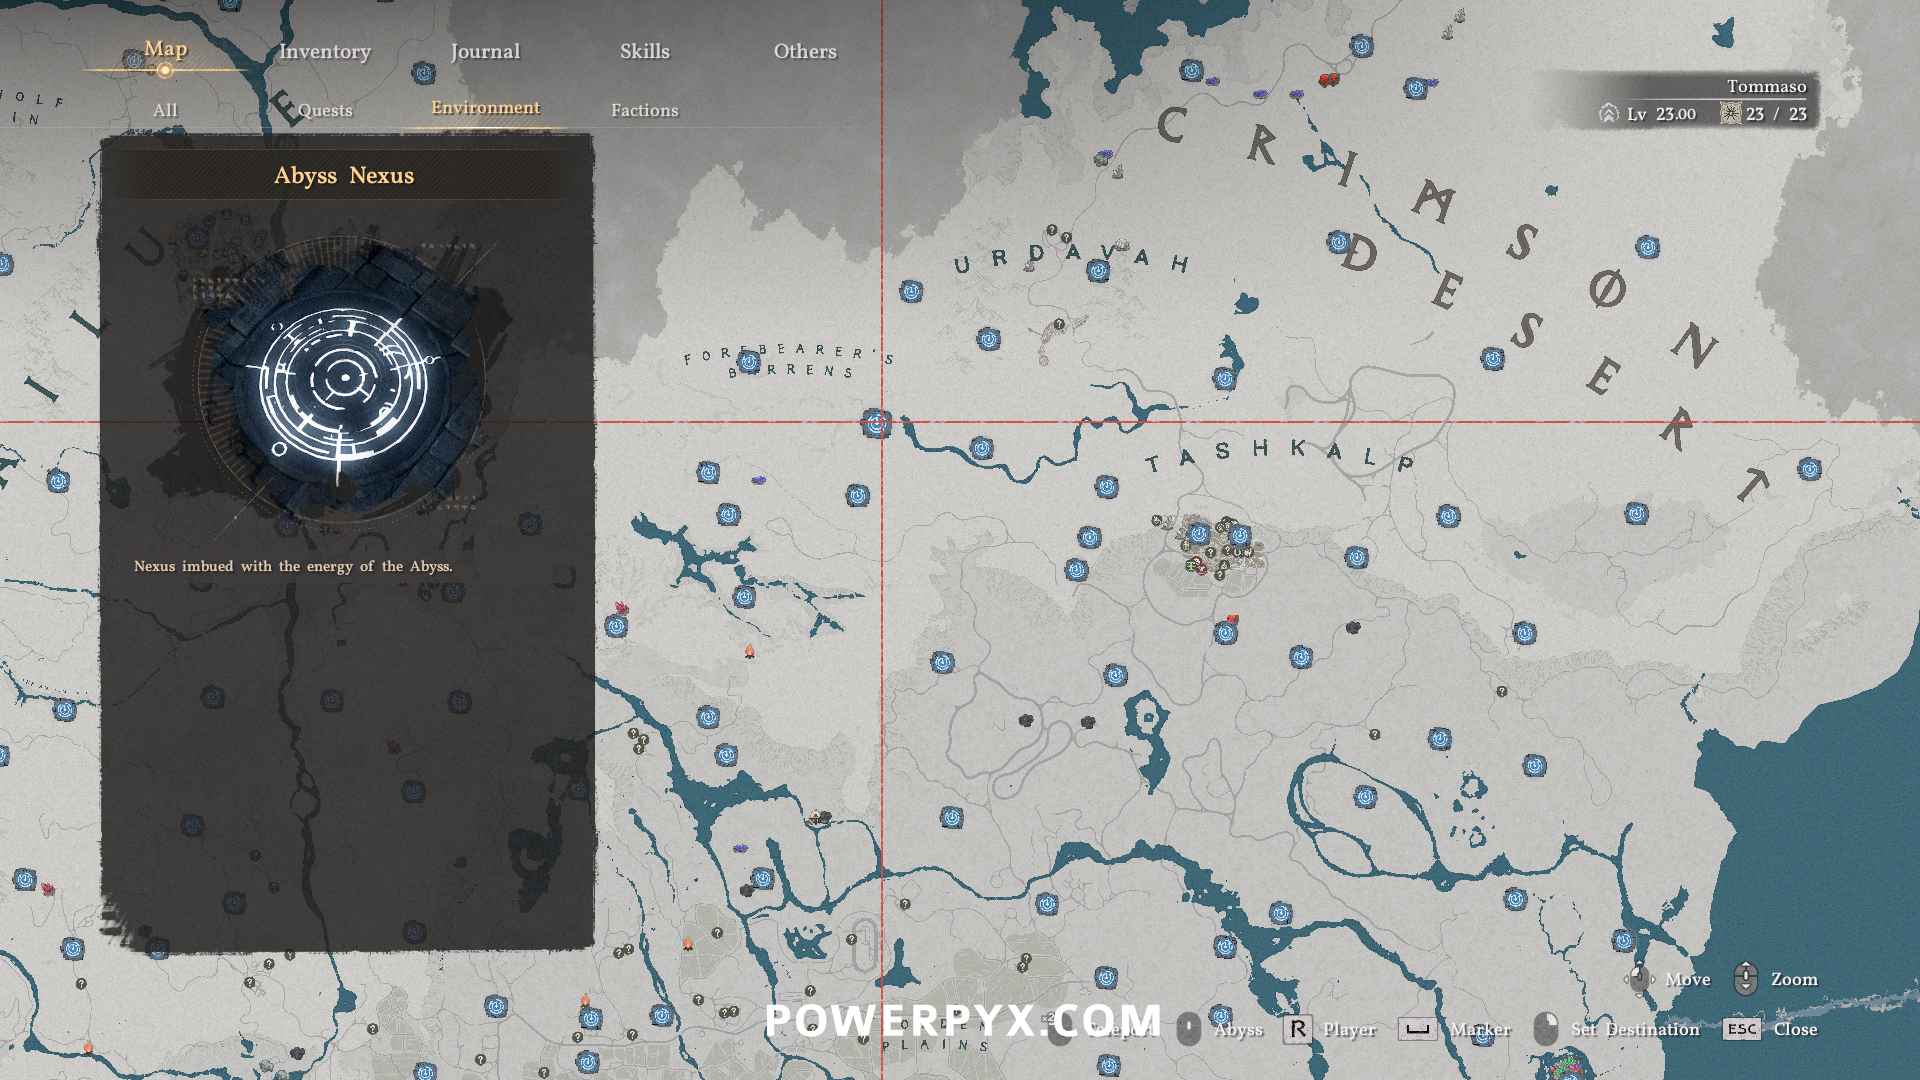
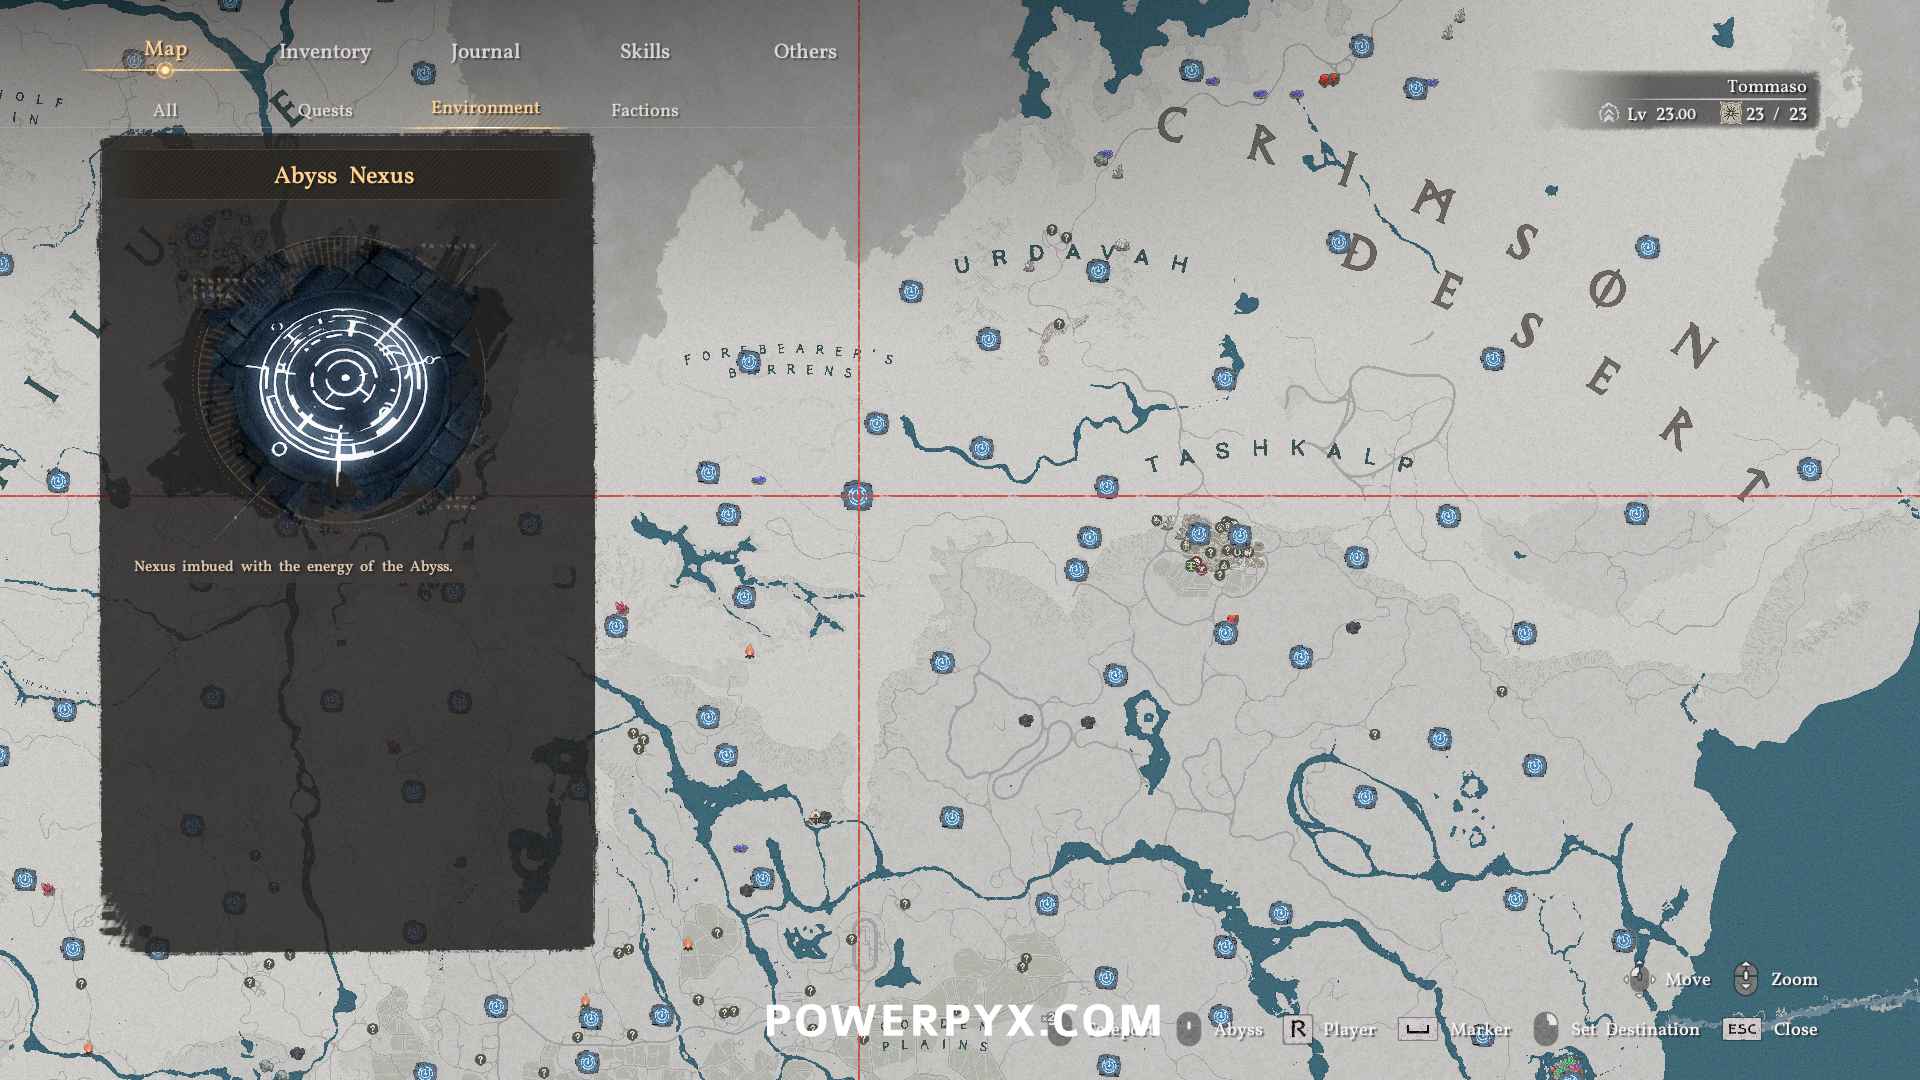
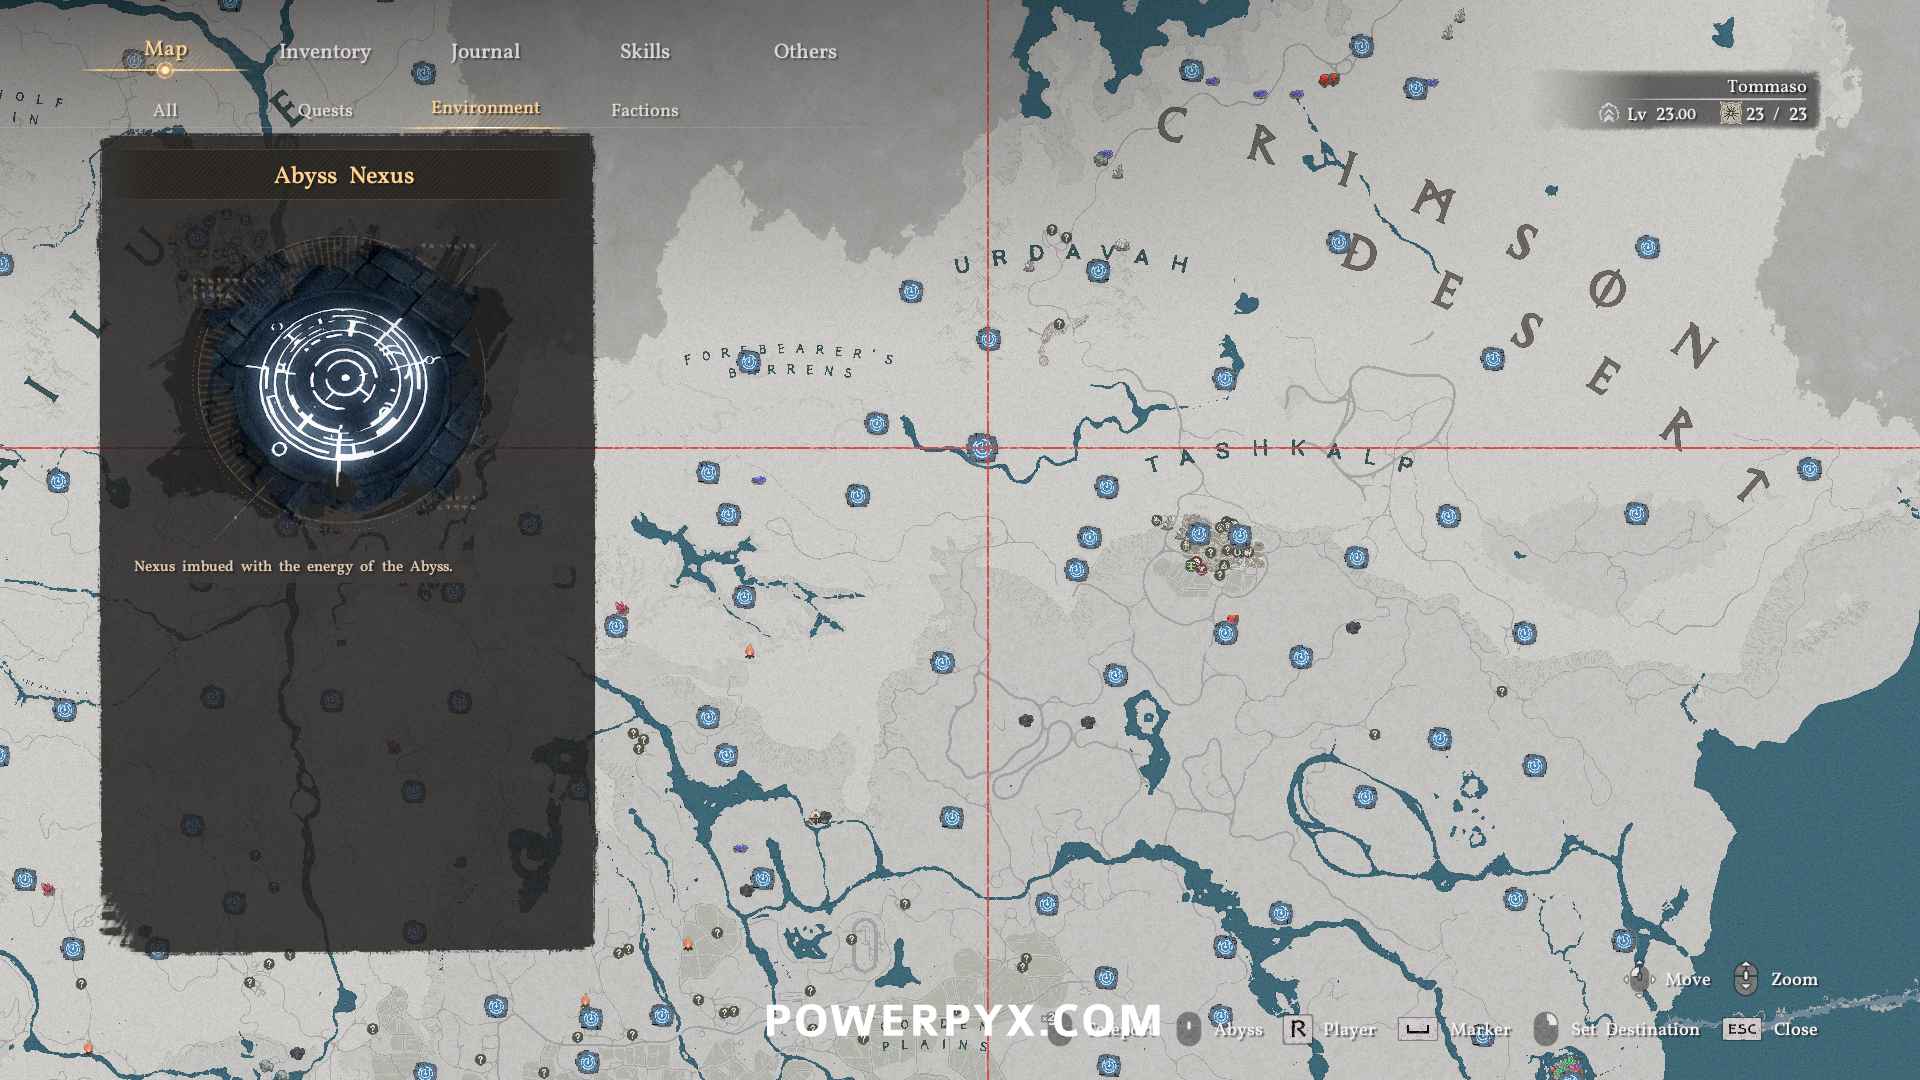
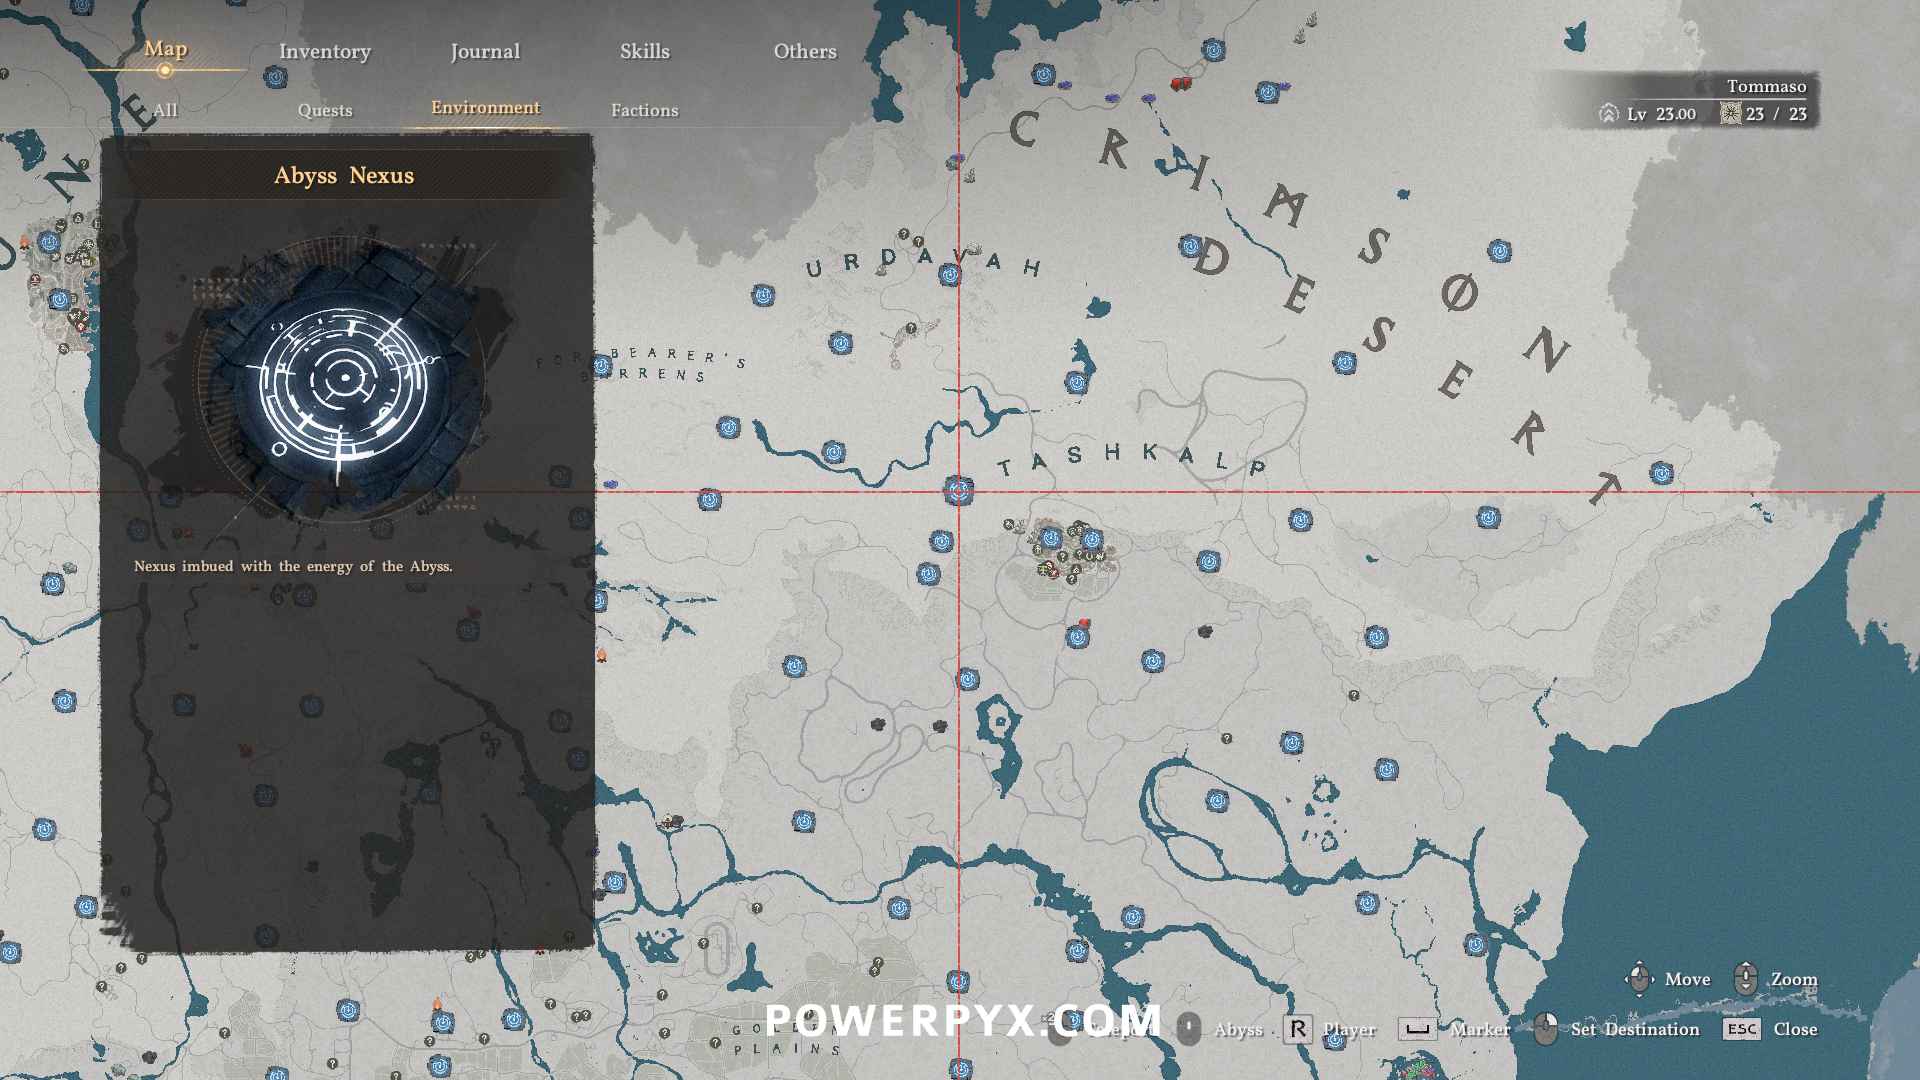
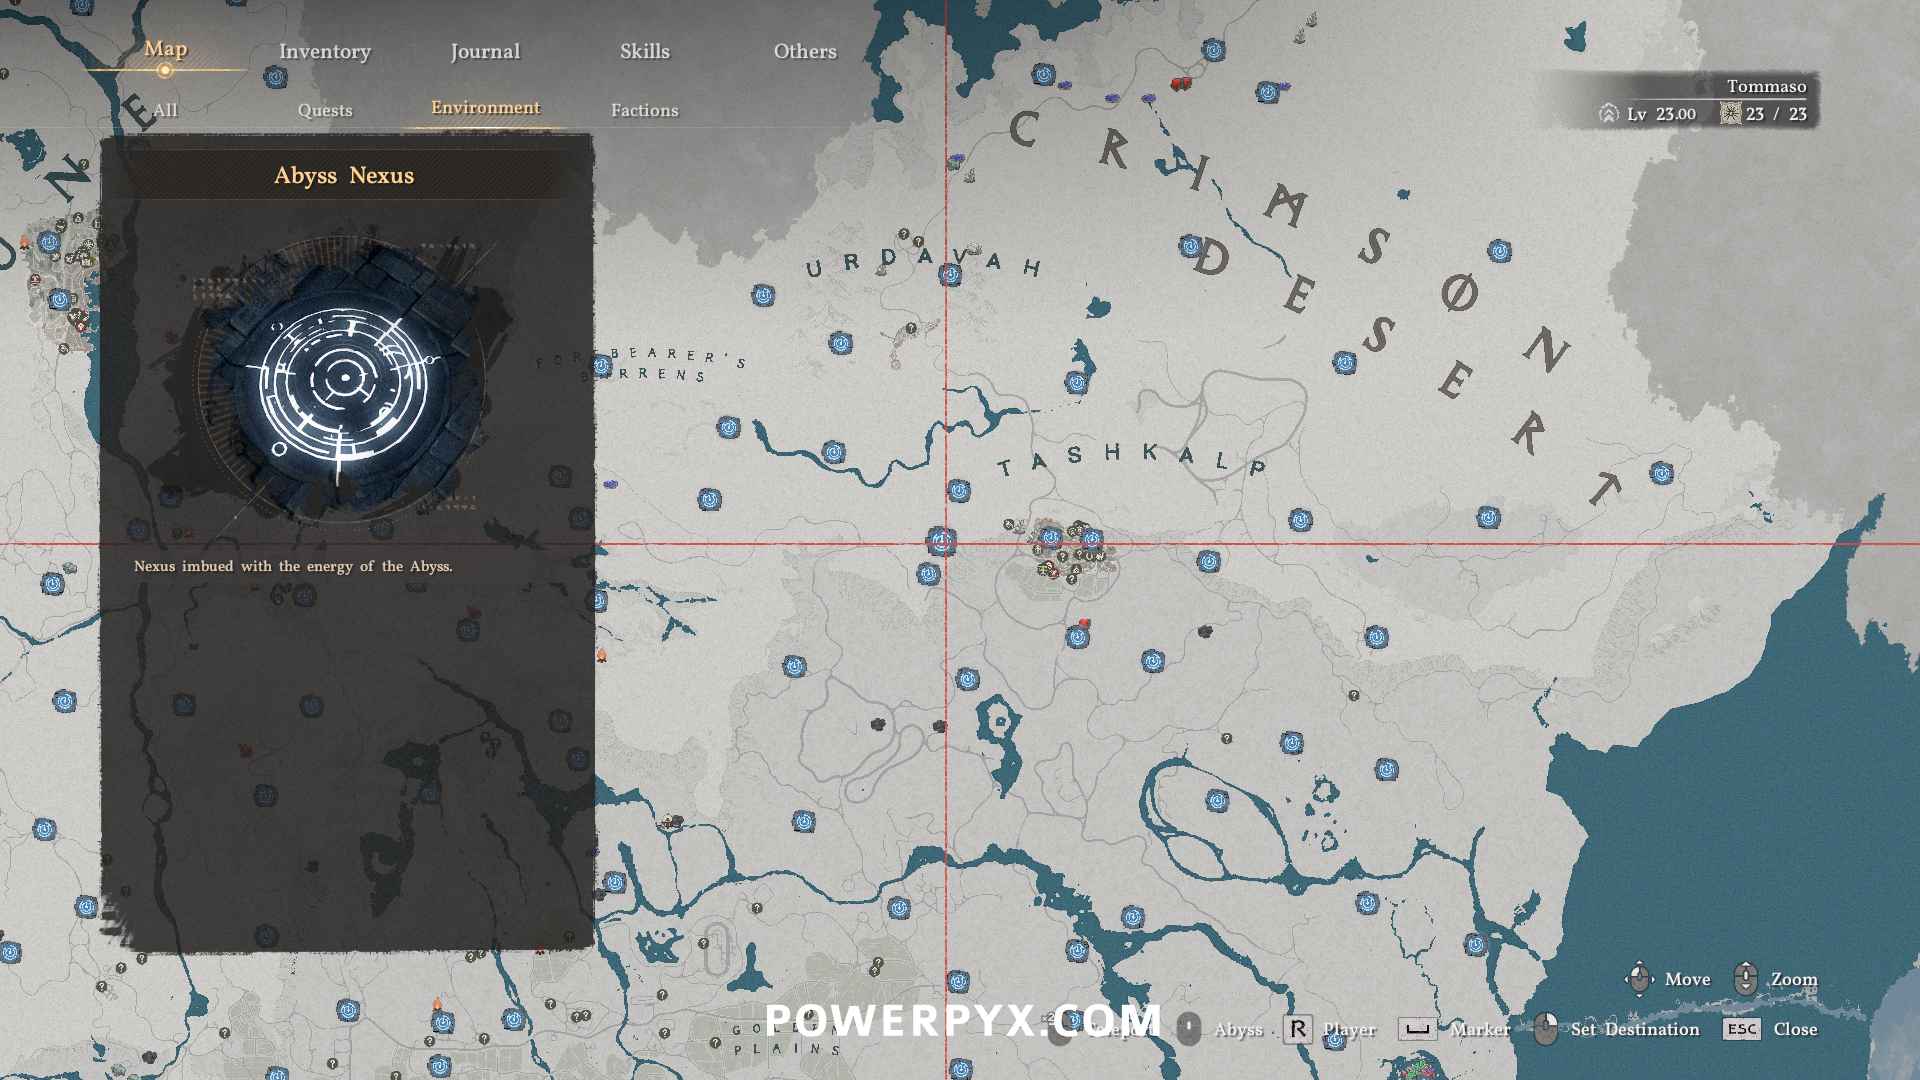
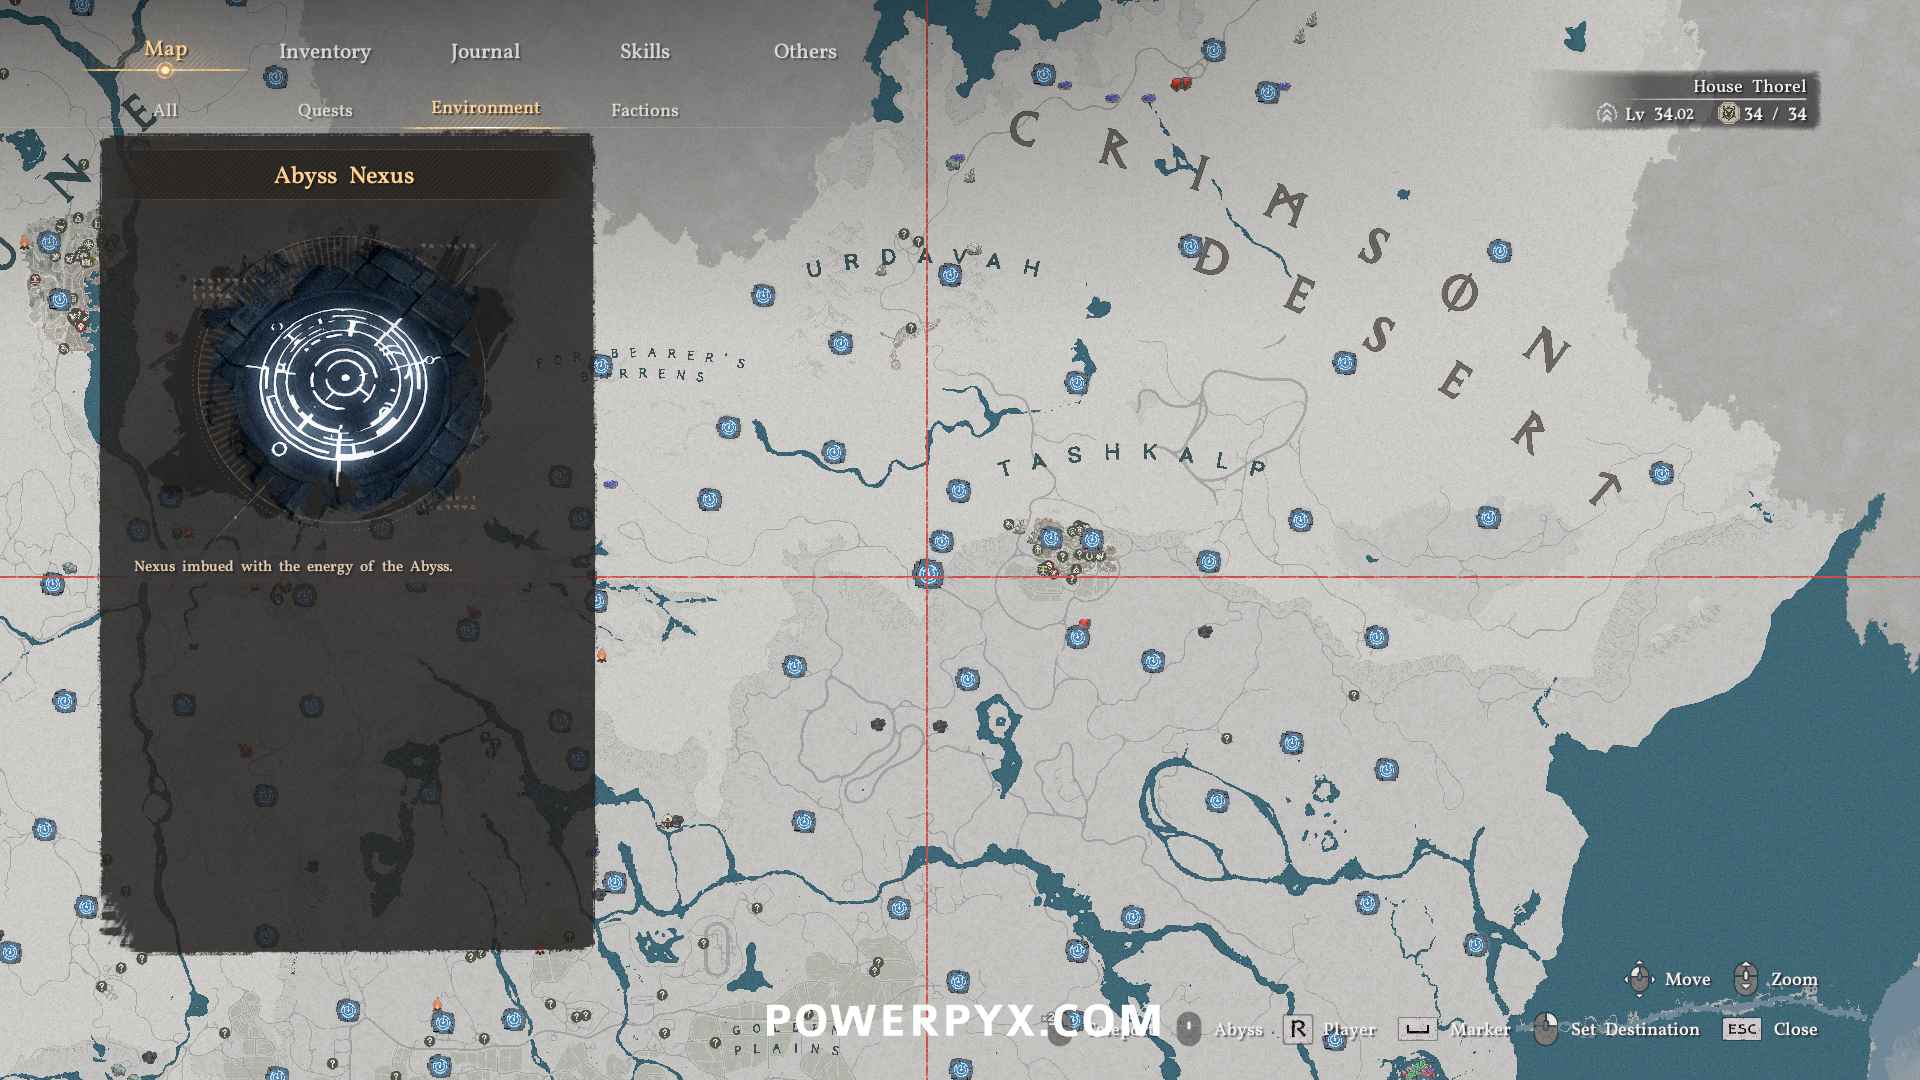
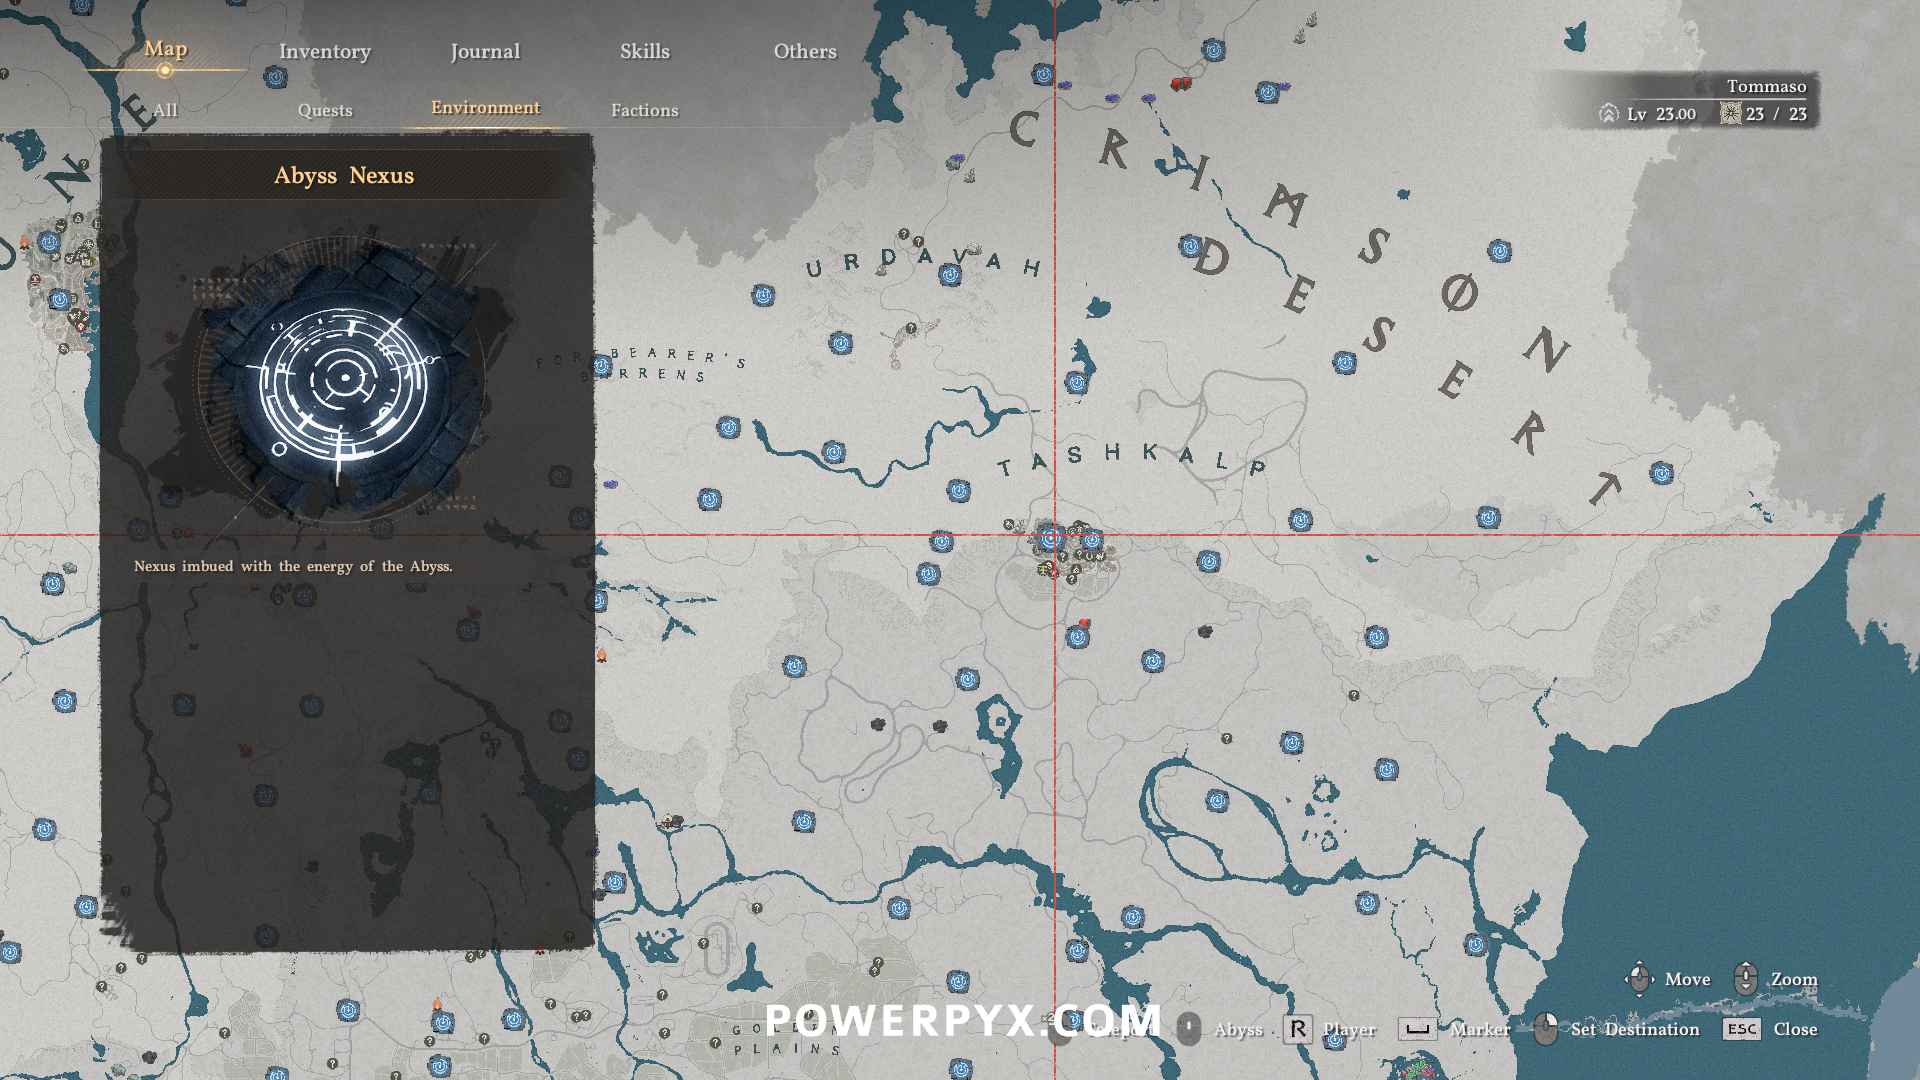
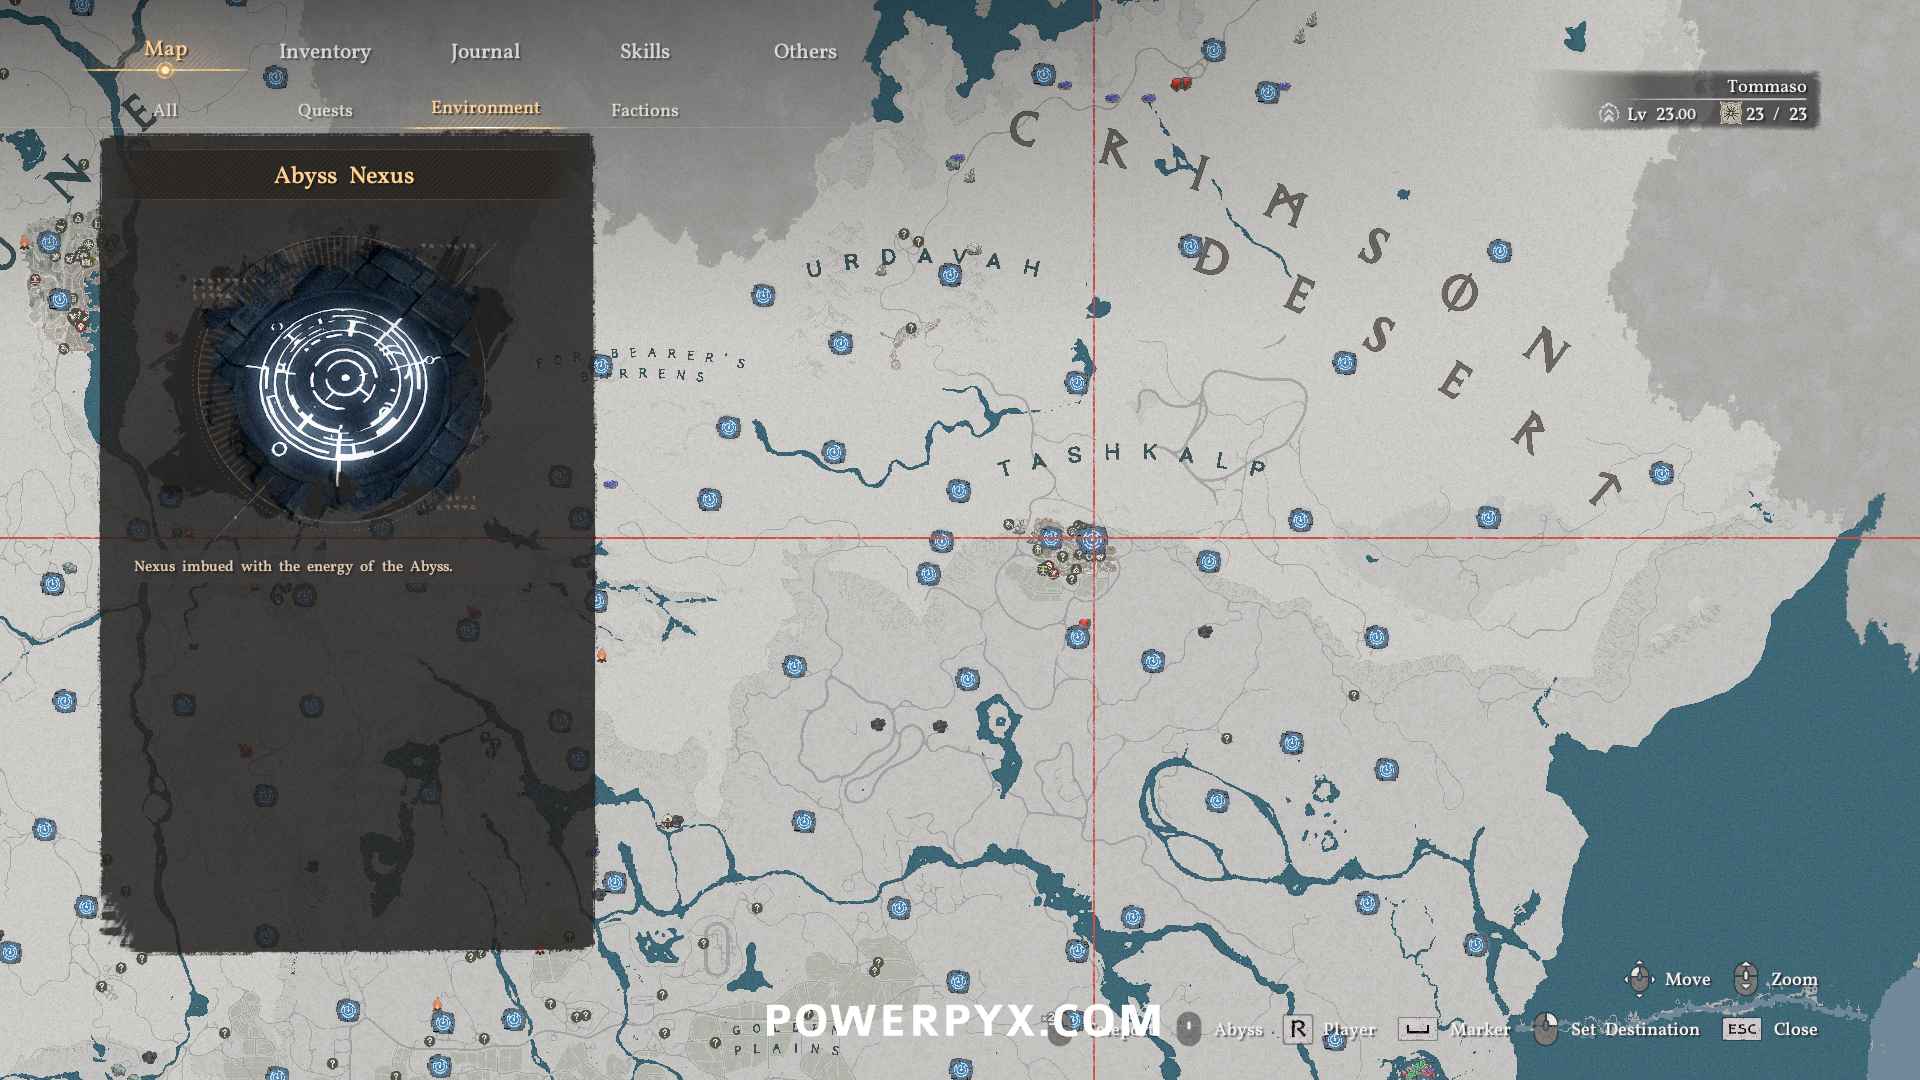
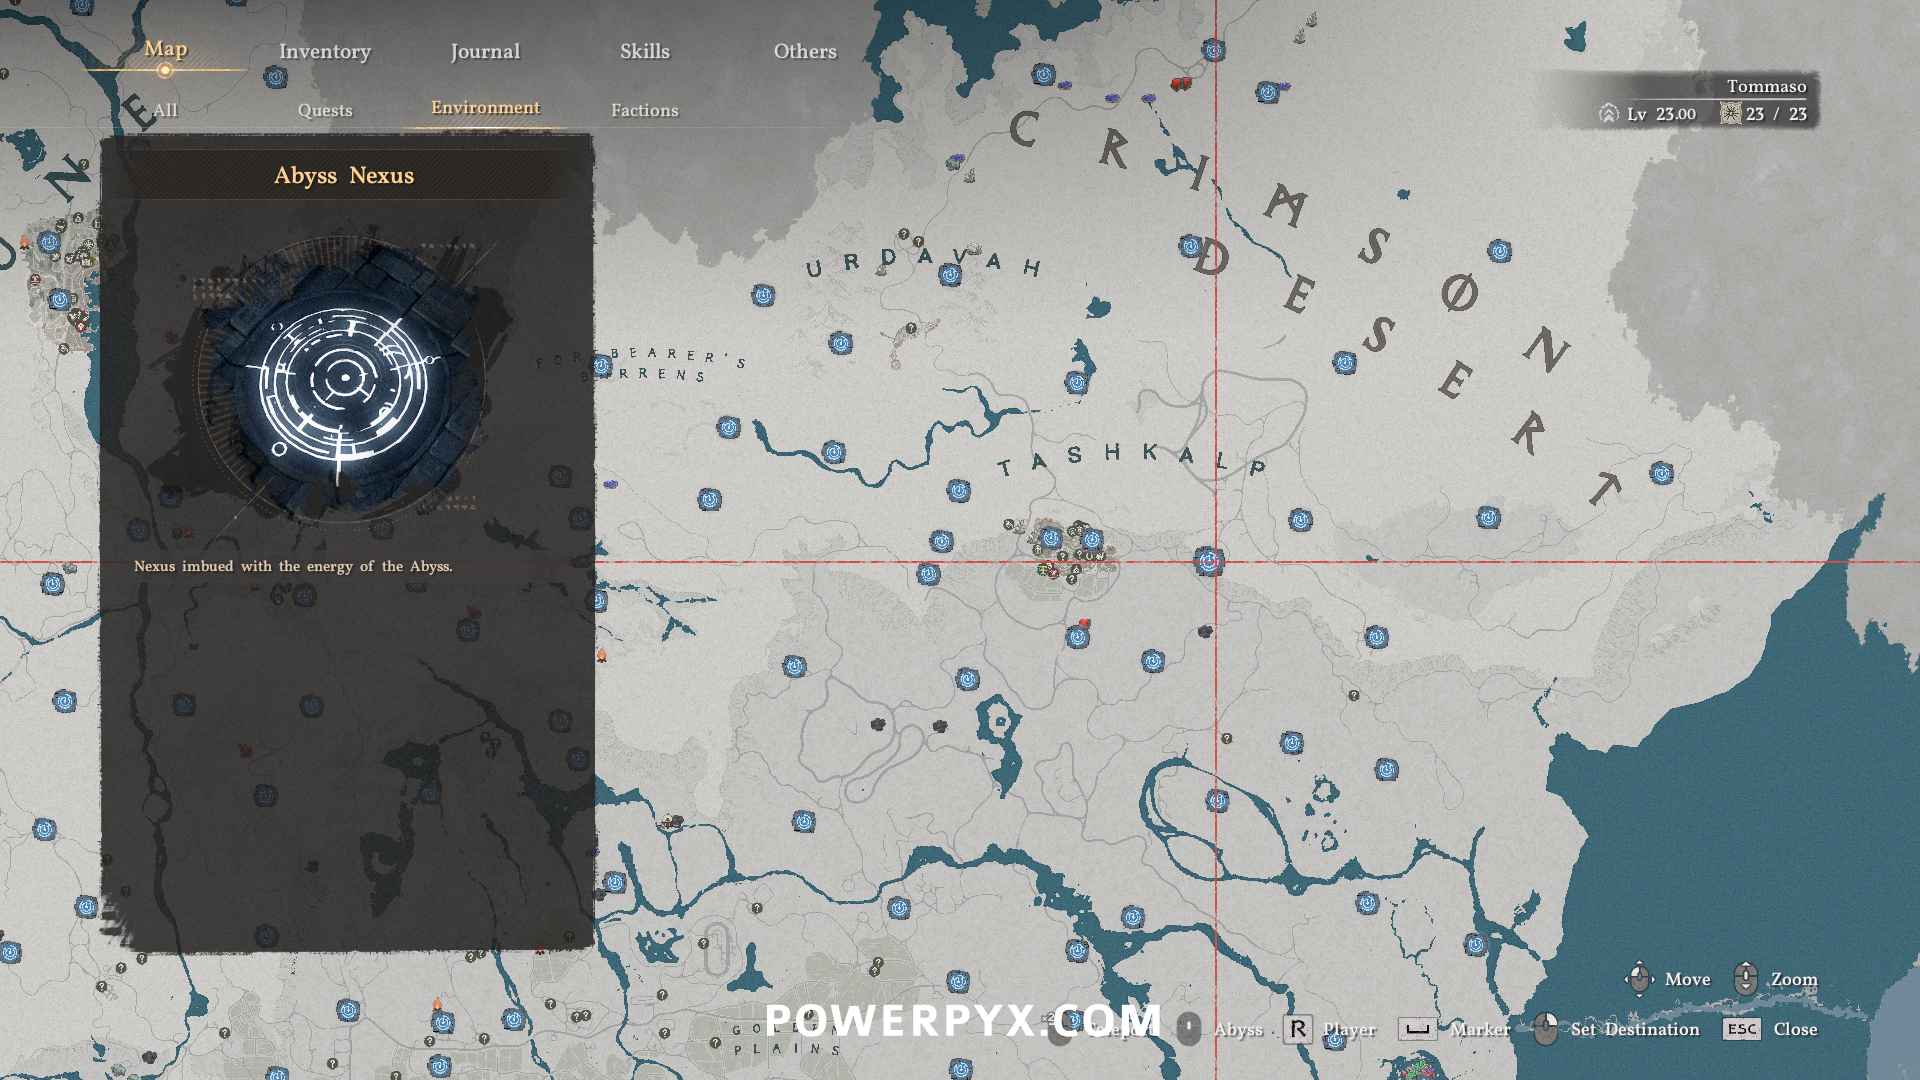
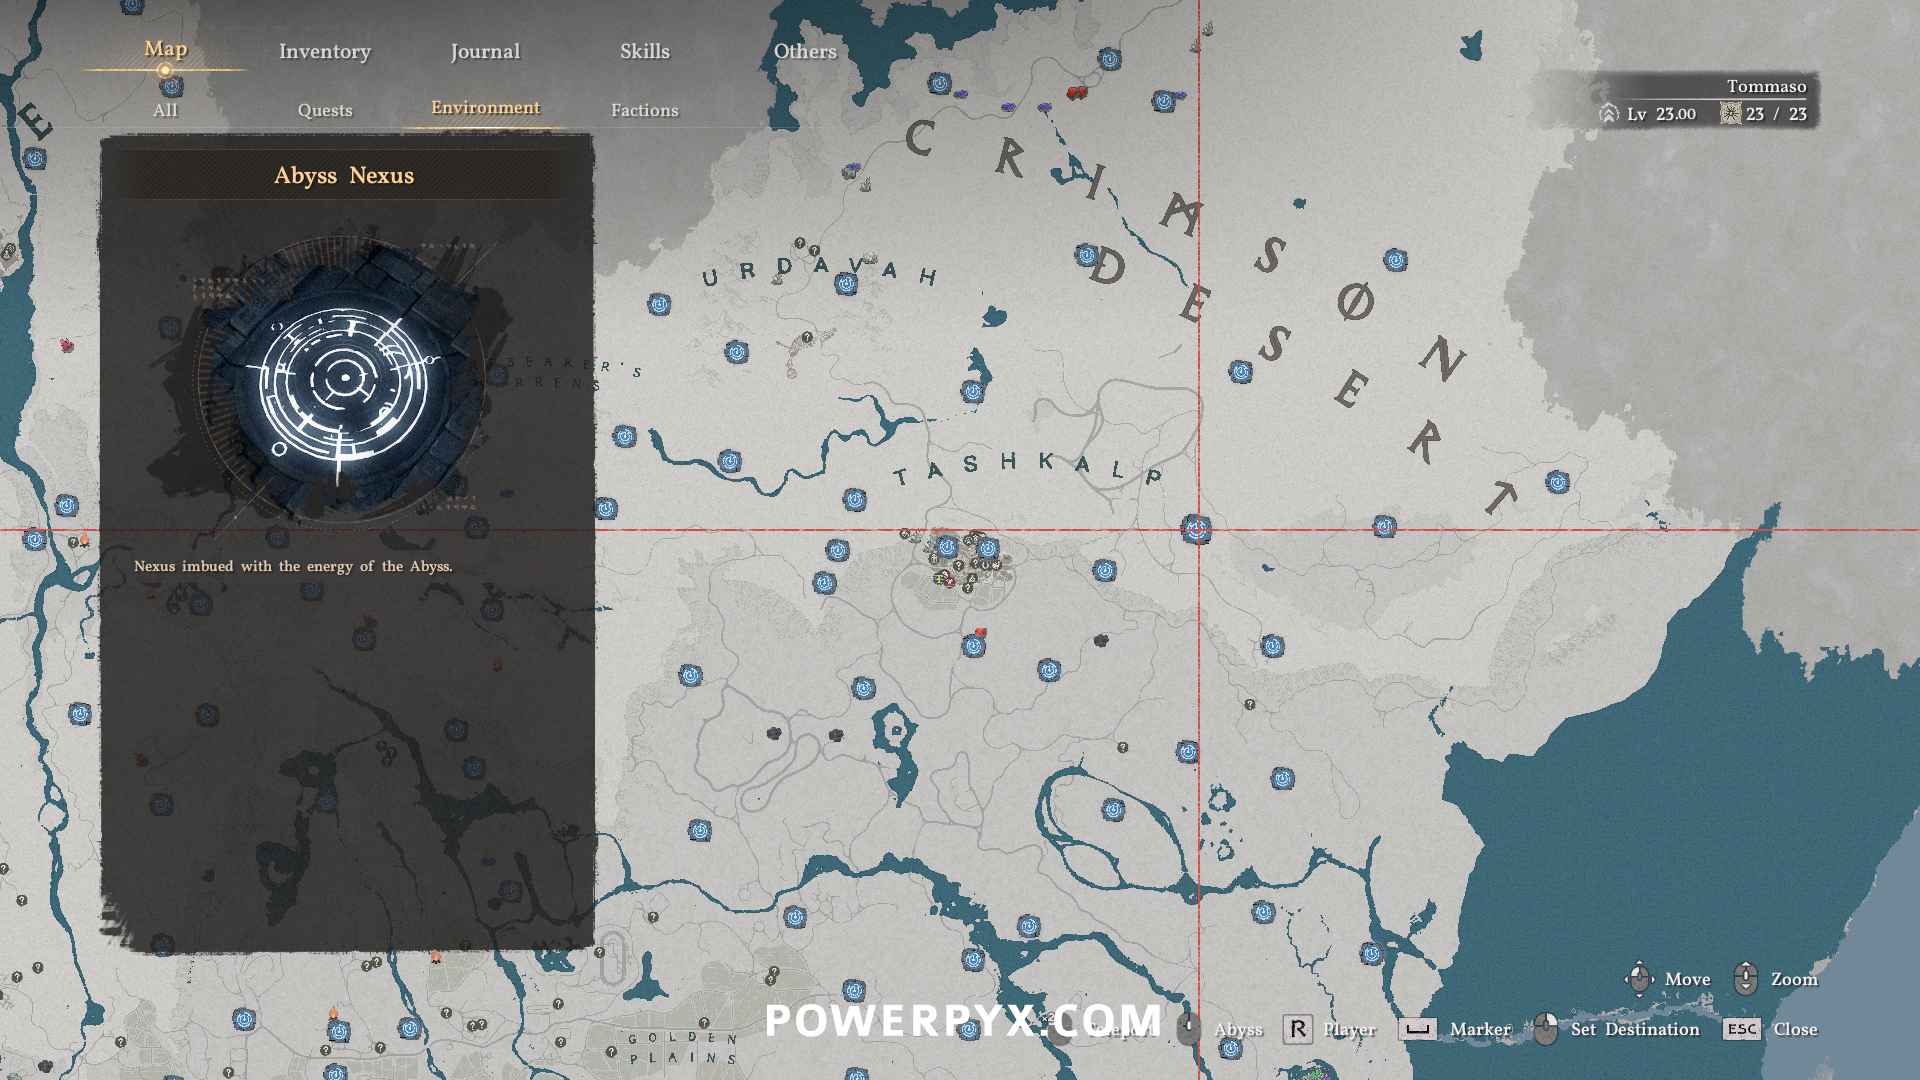
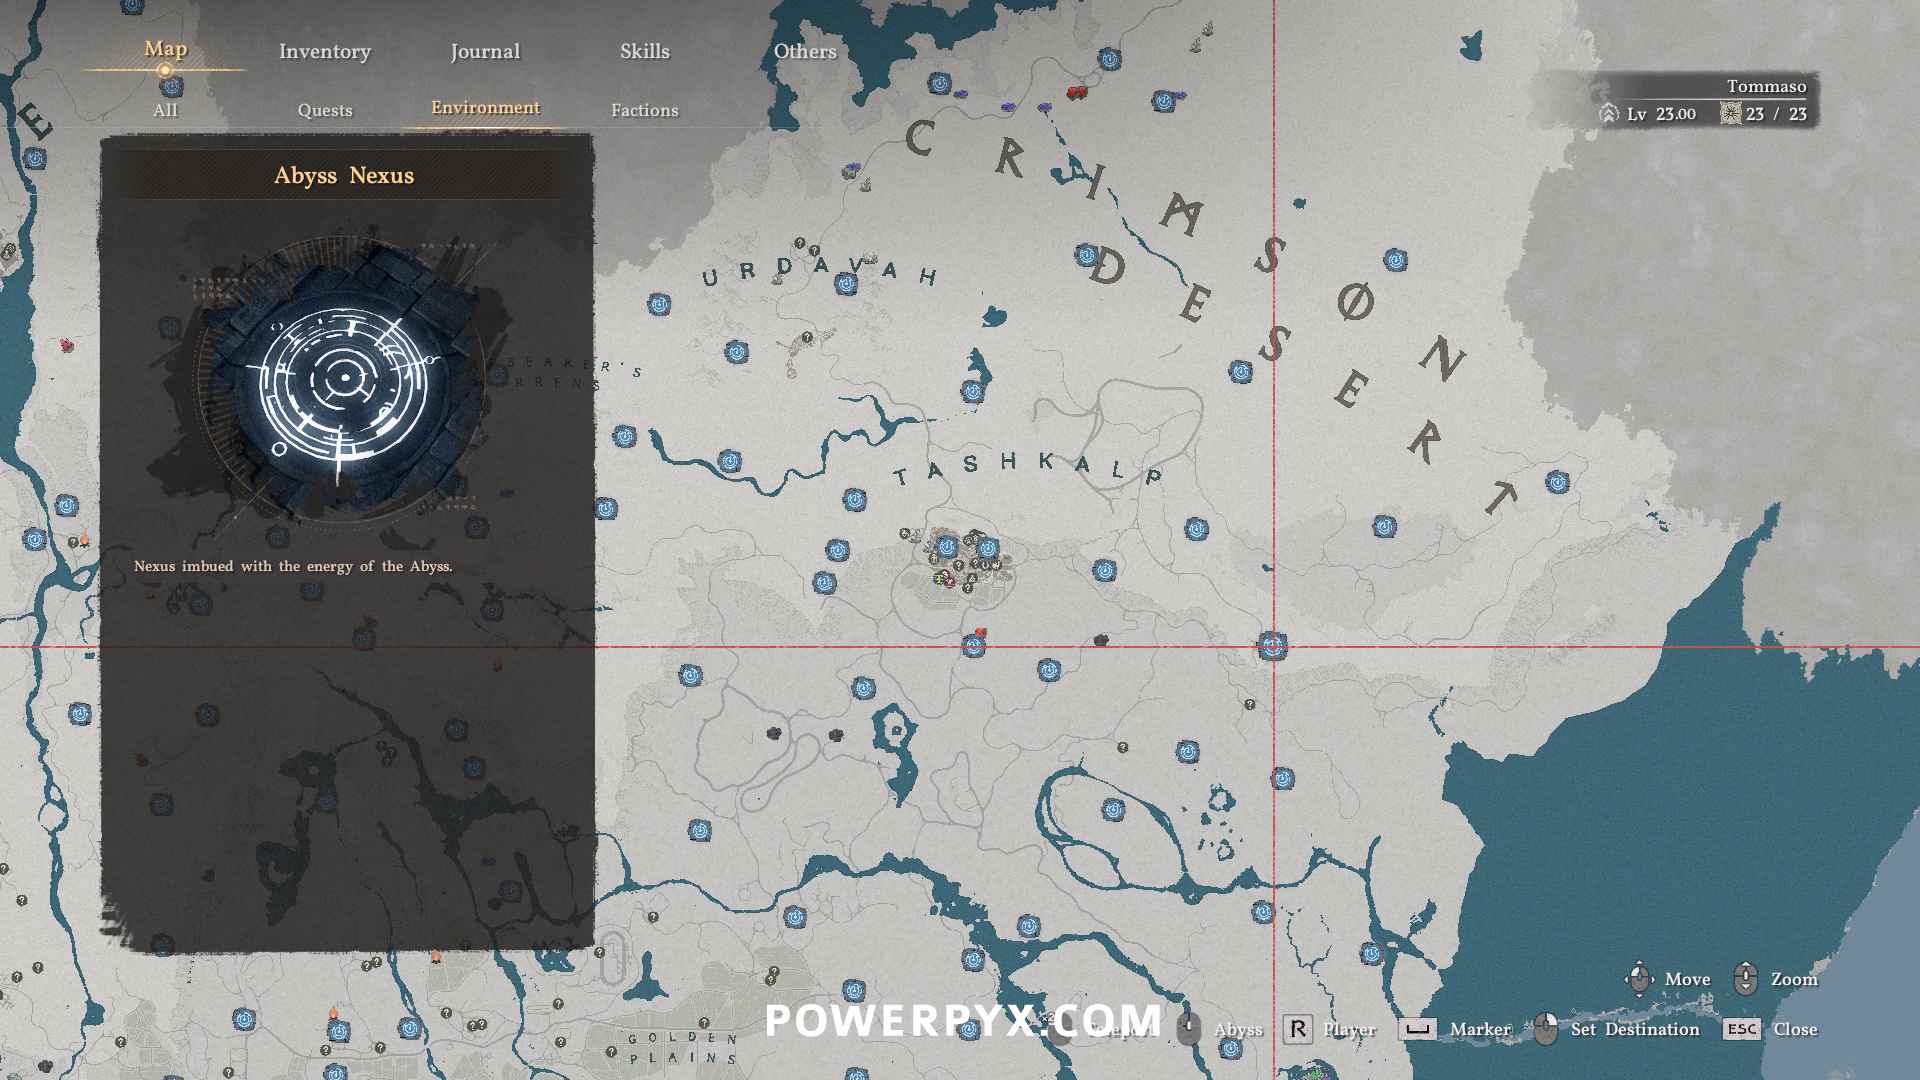
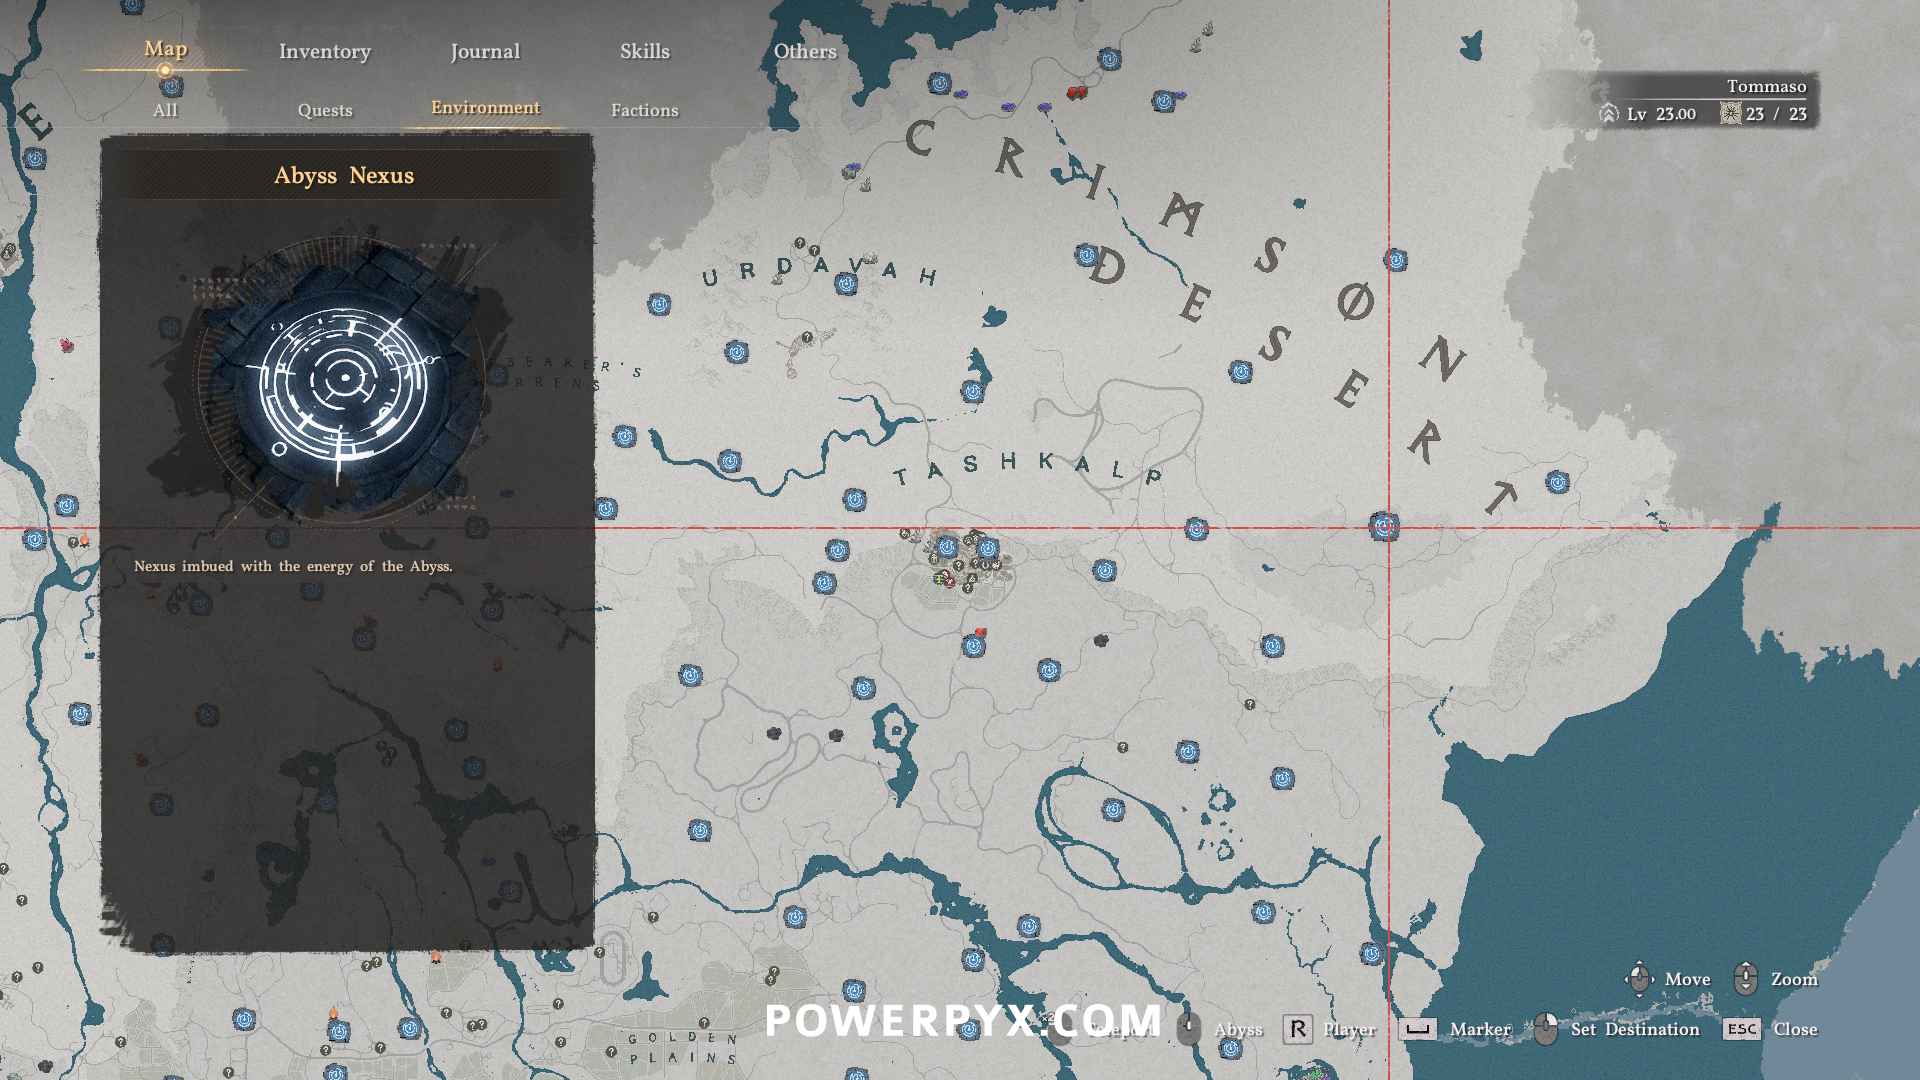
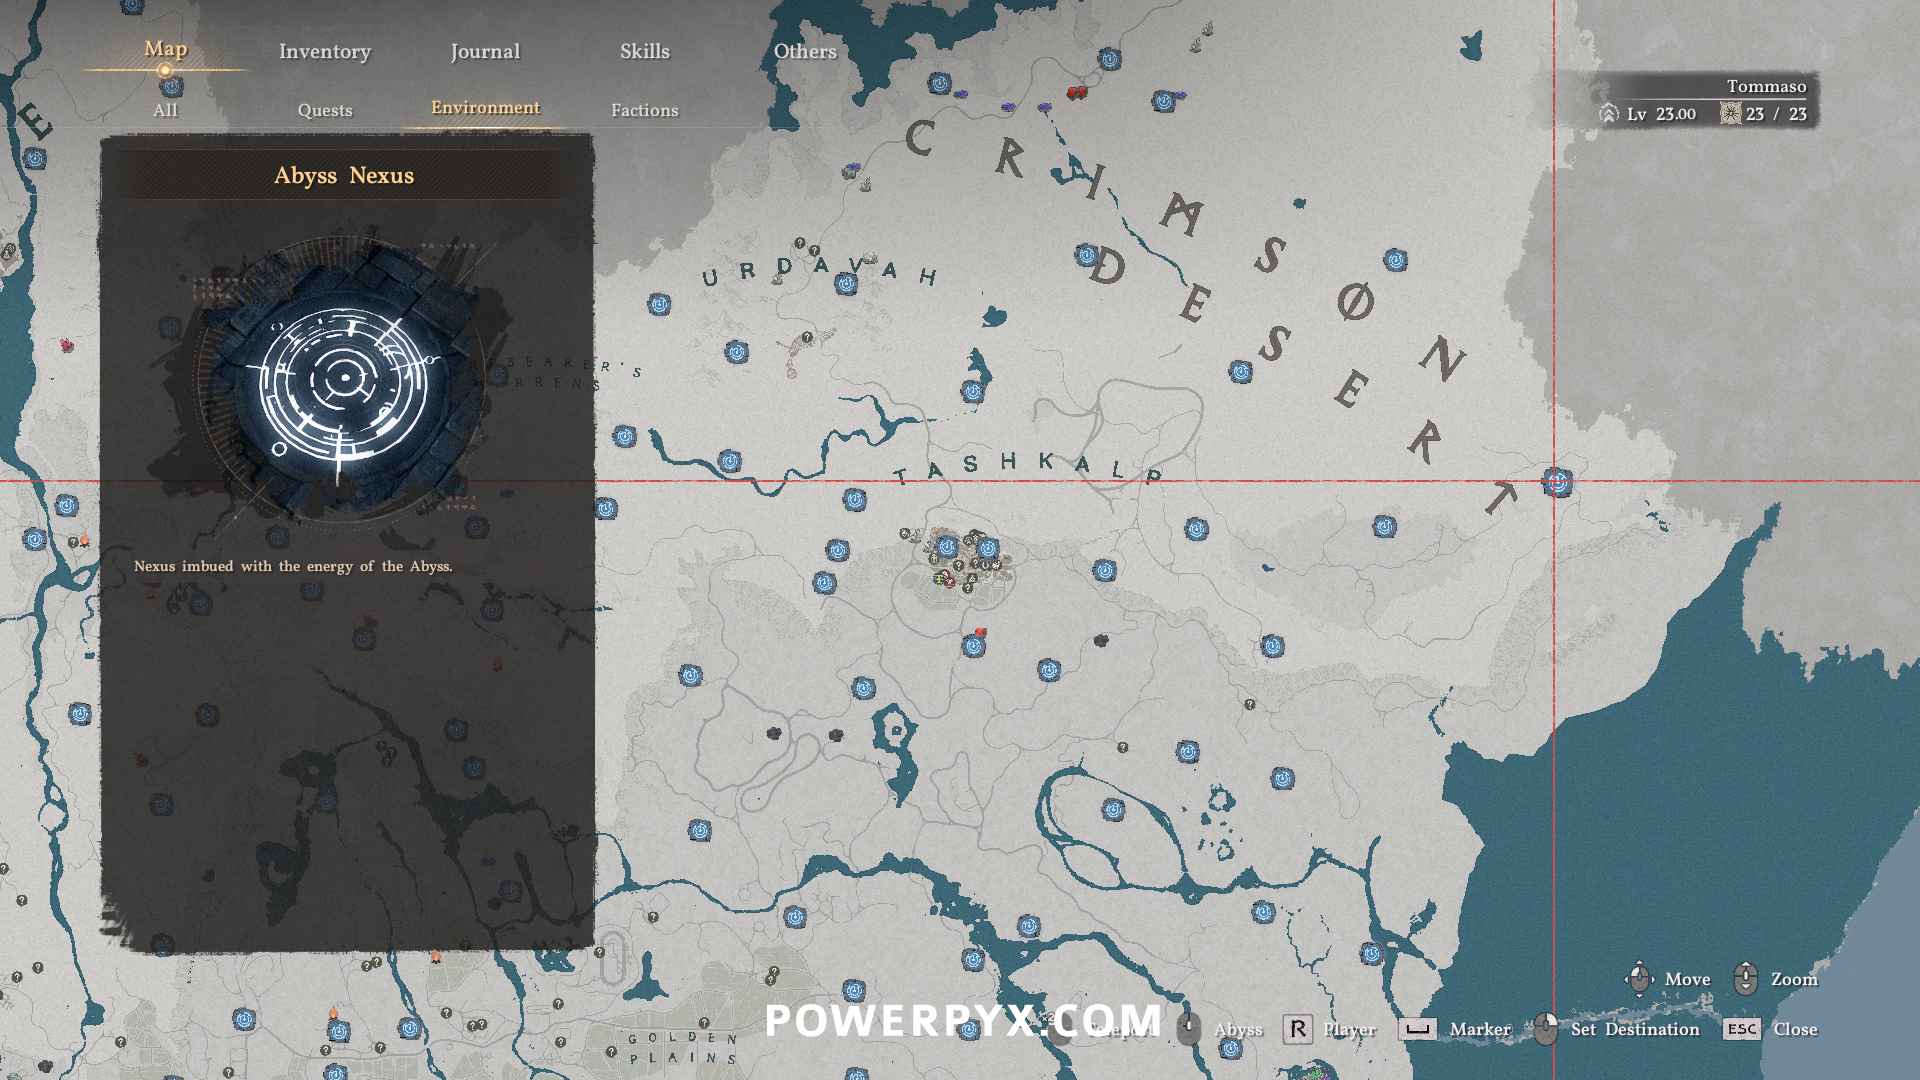
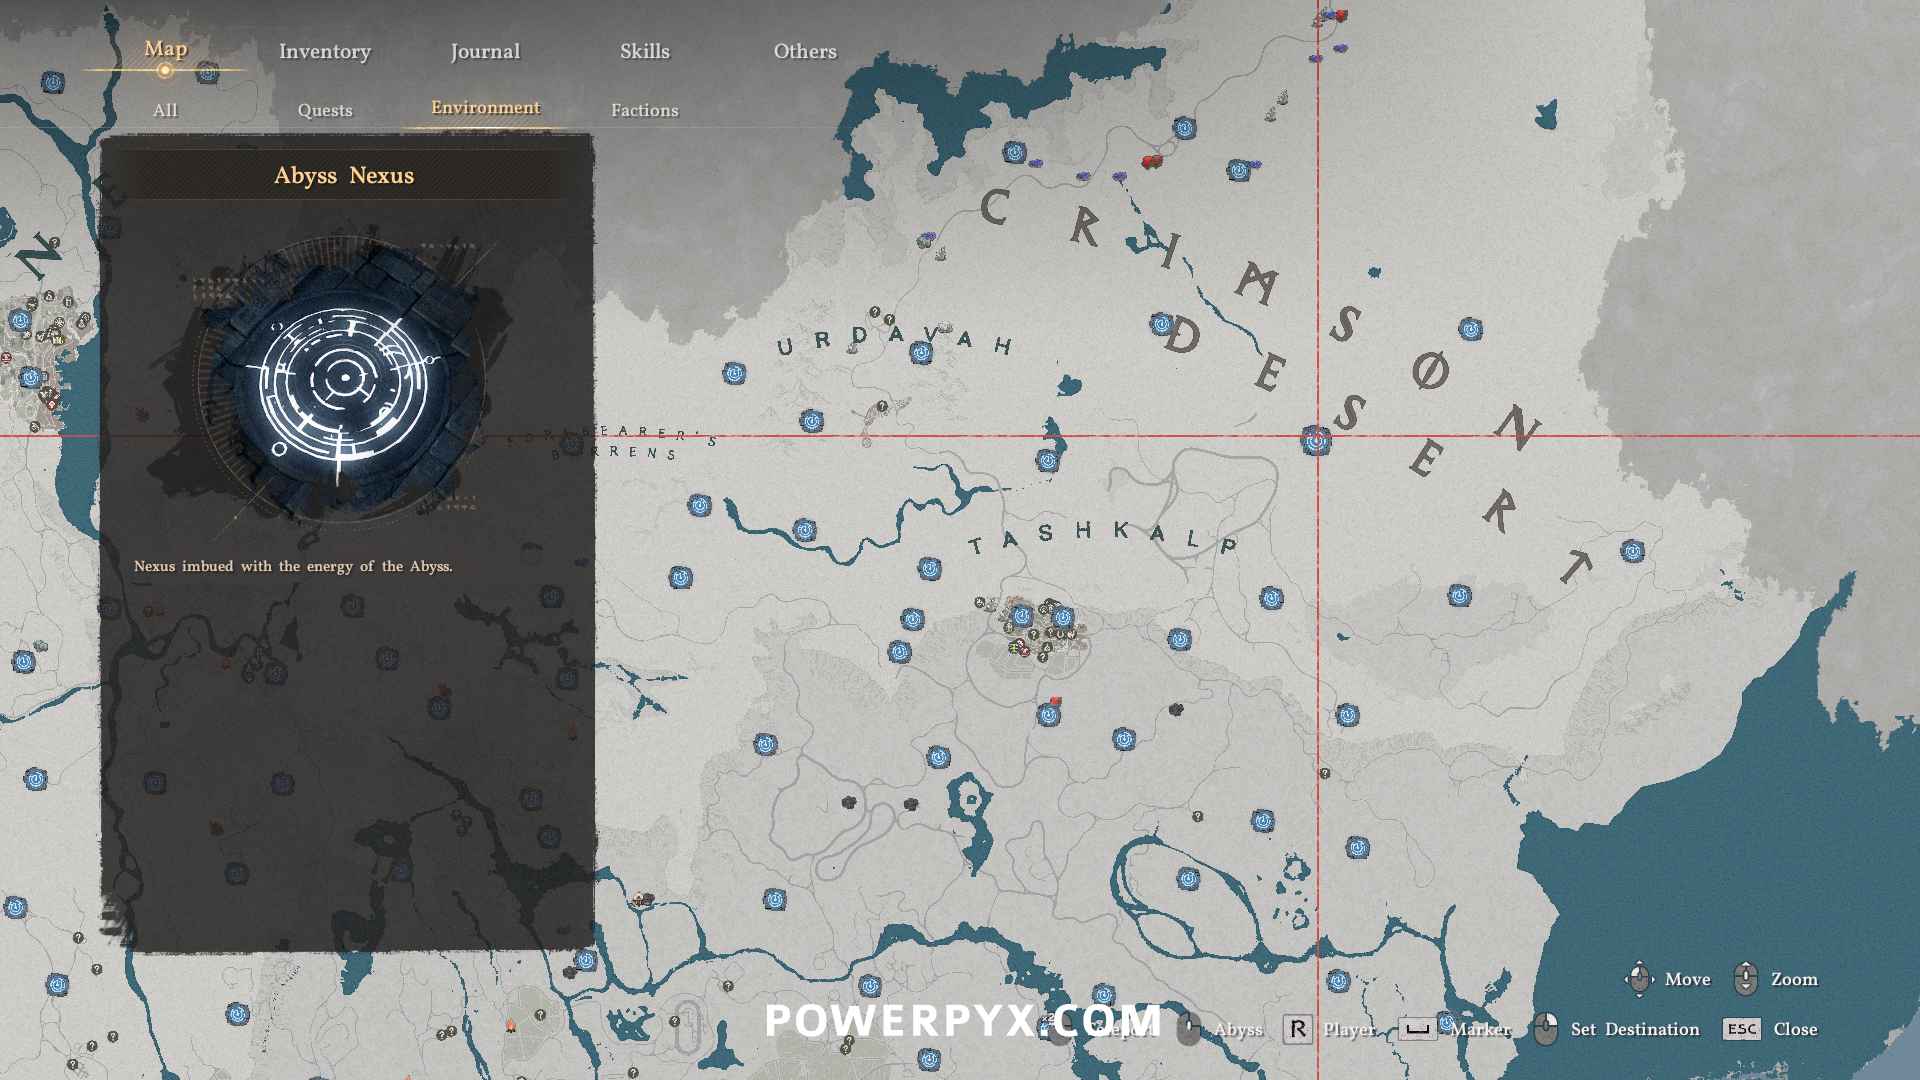
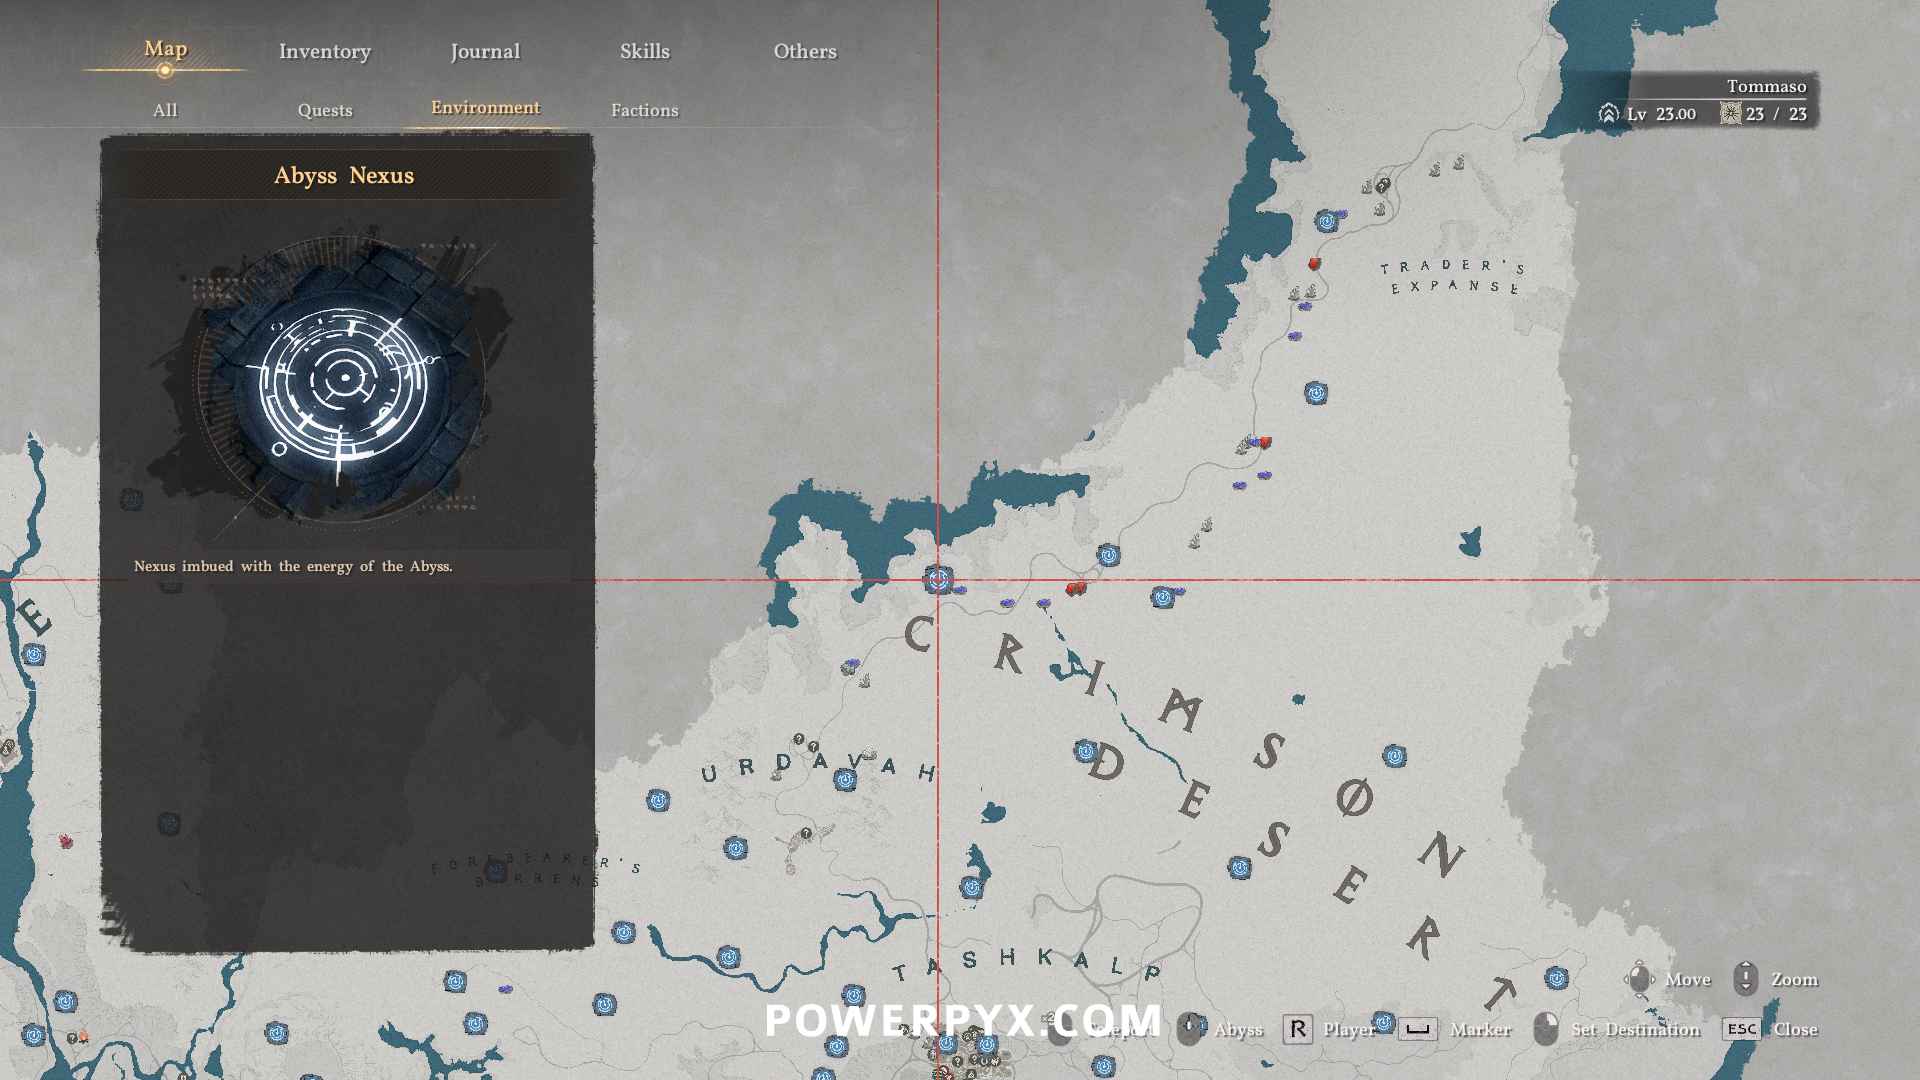
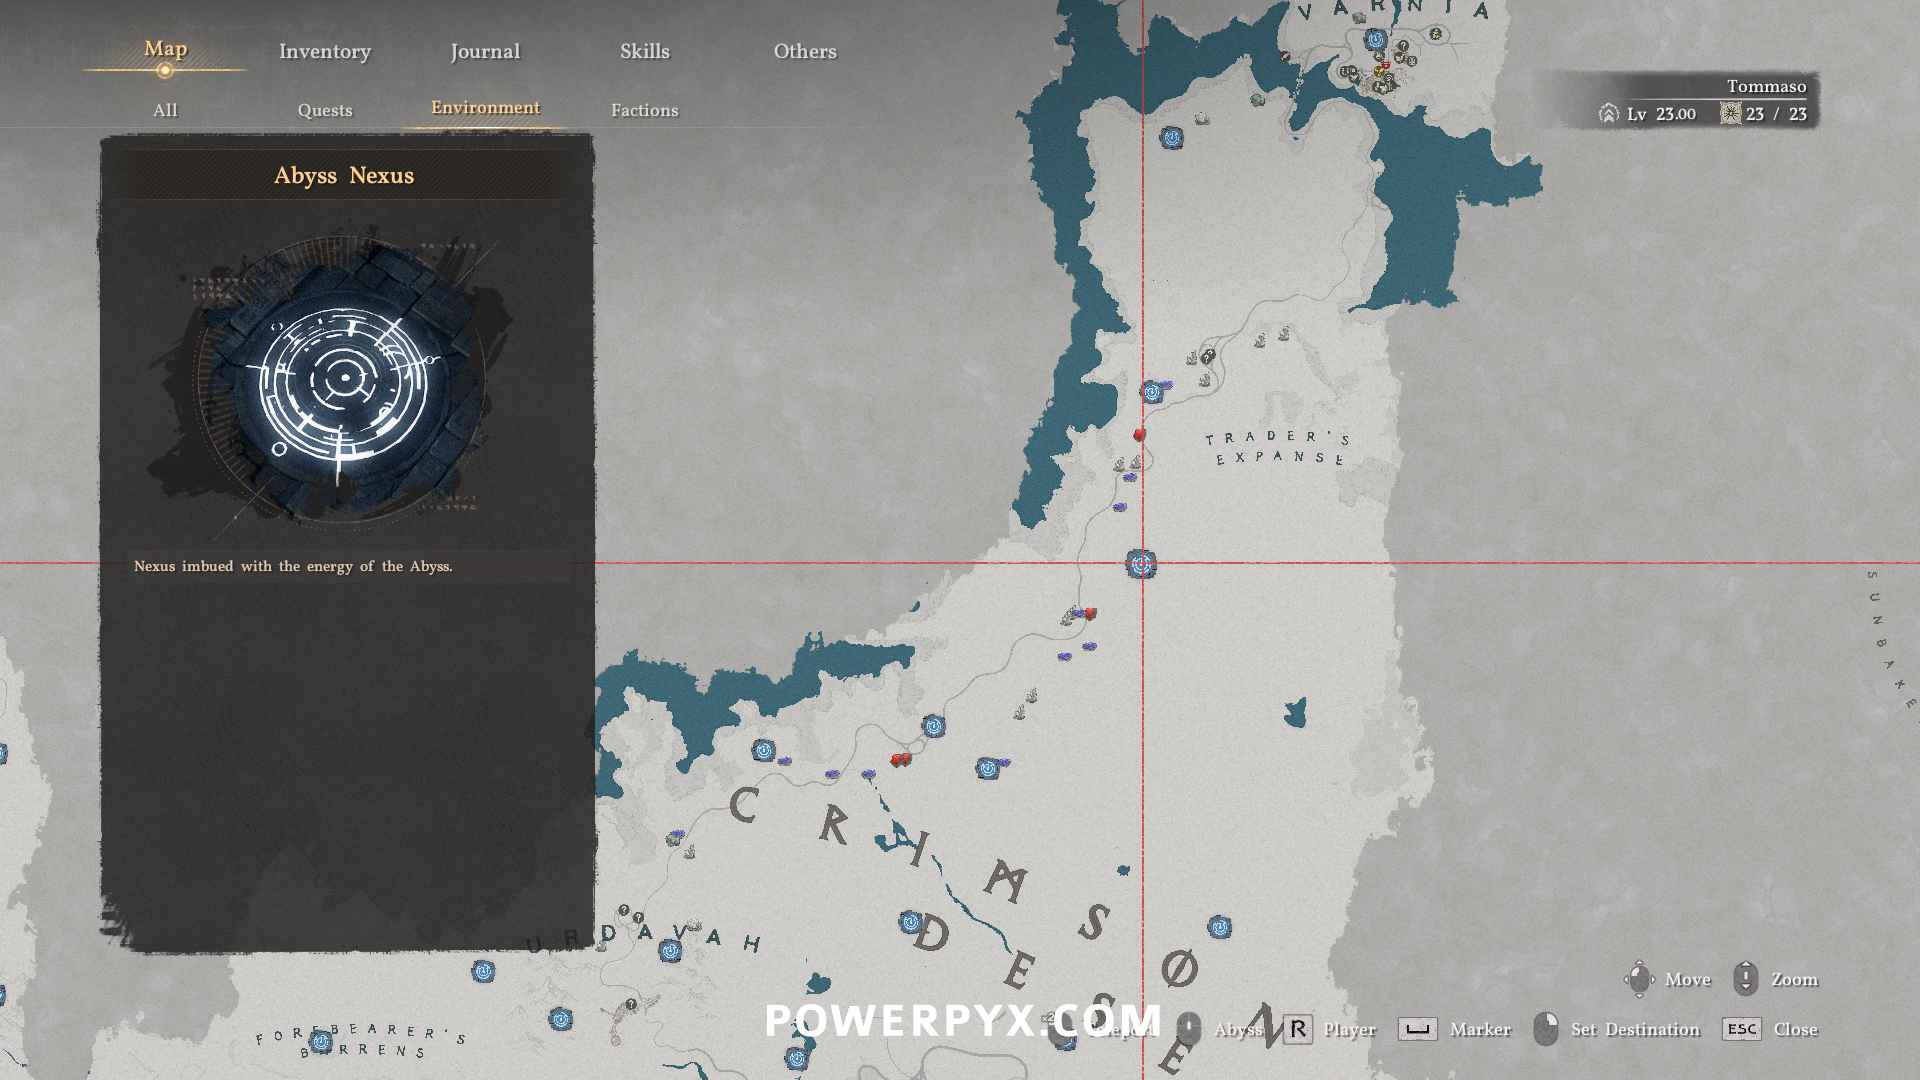
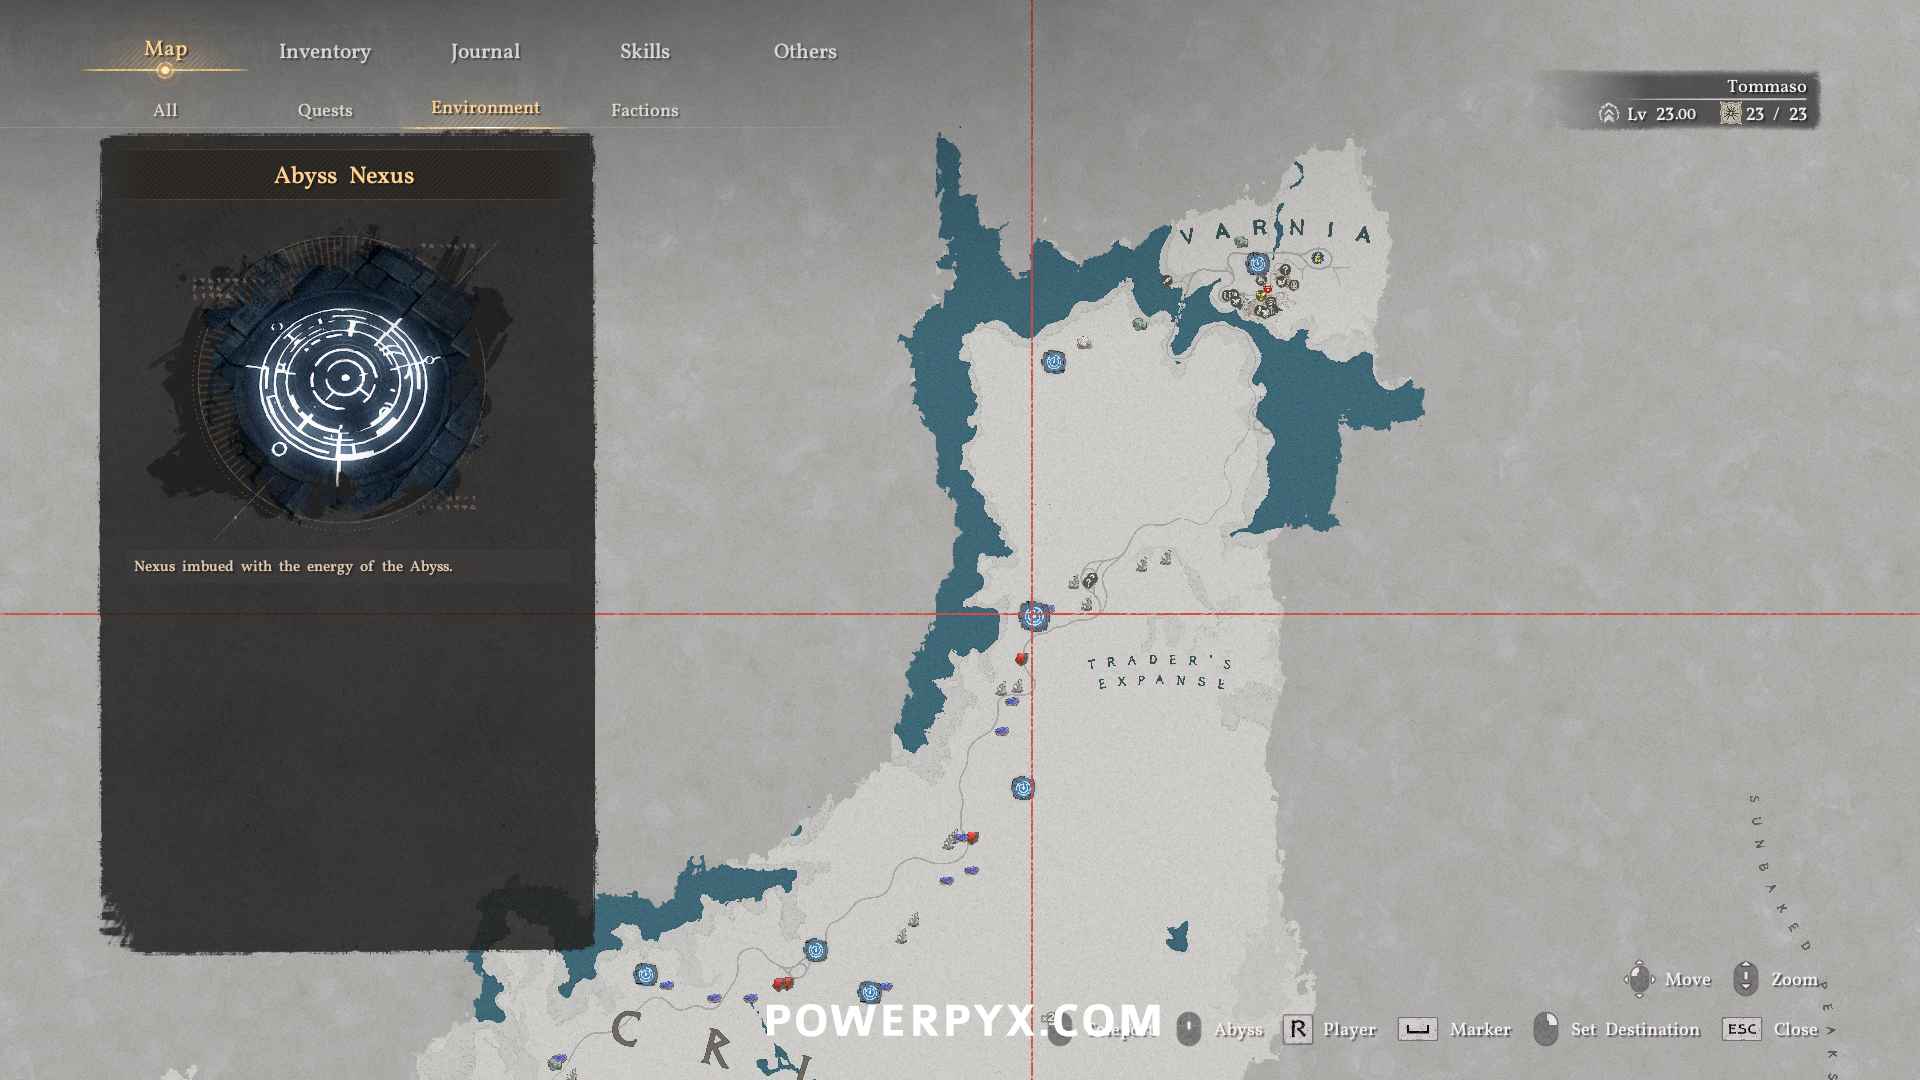
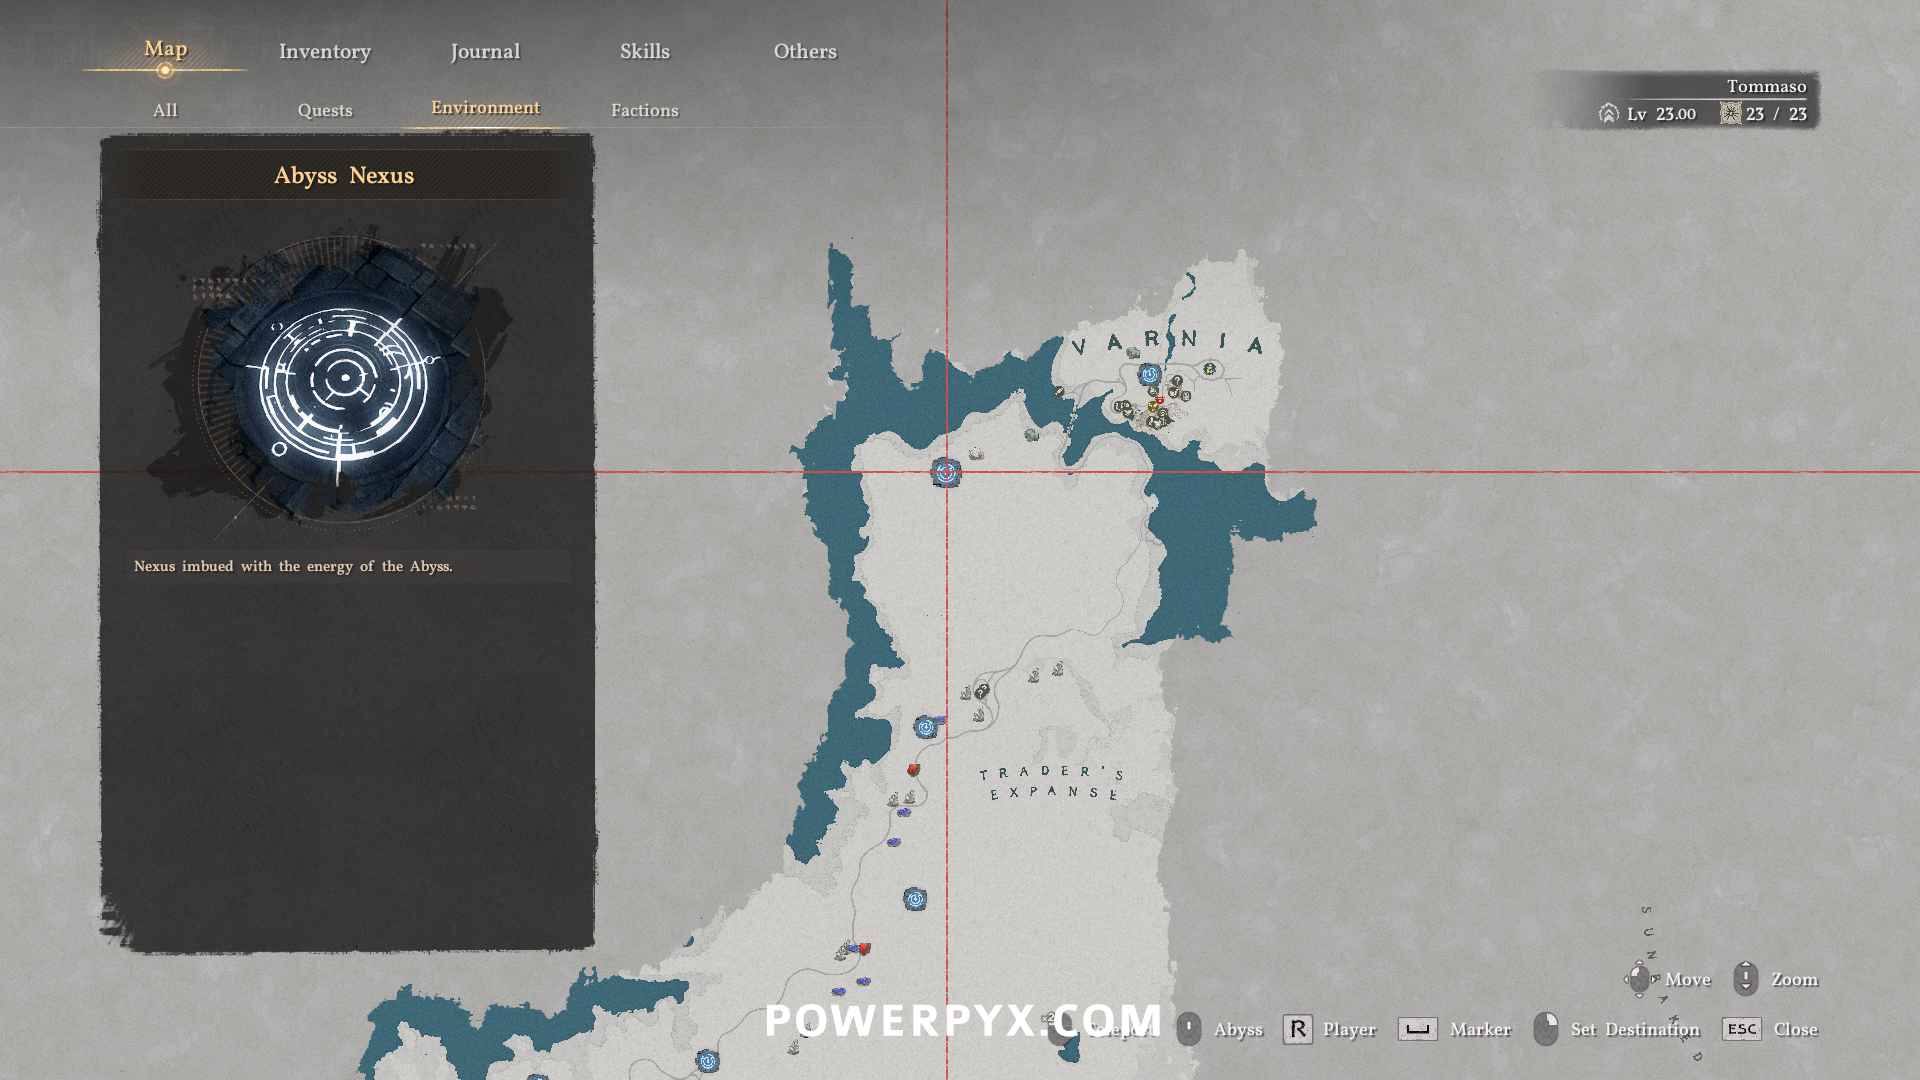
Crimson Desert
Map:
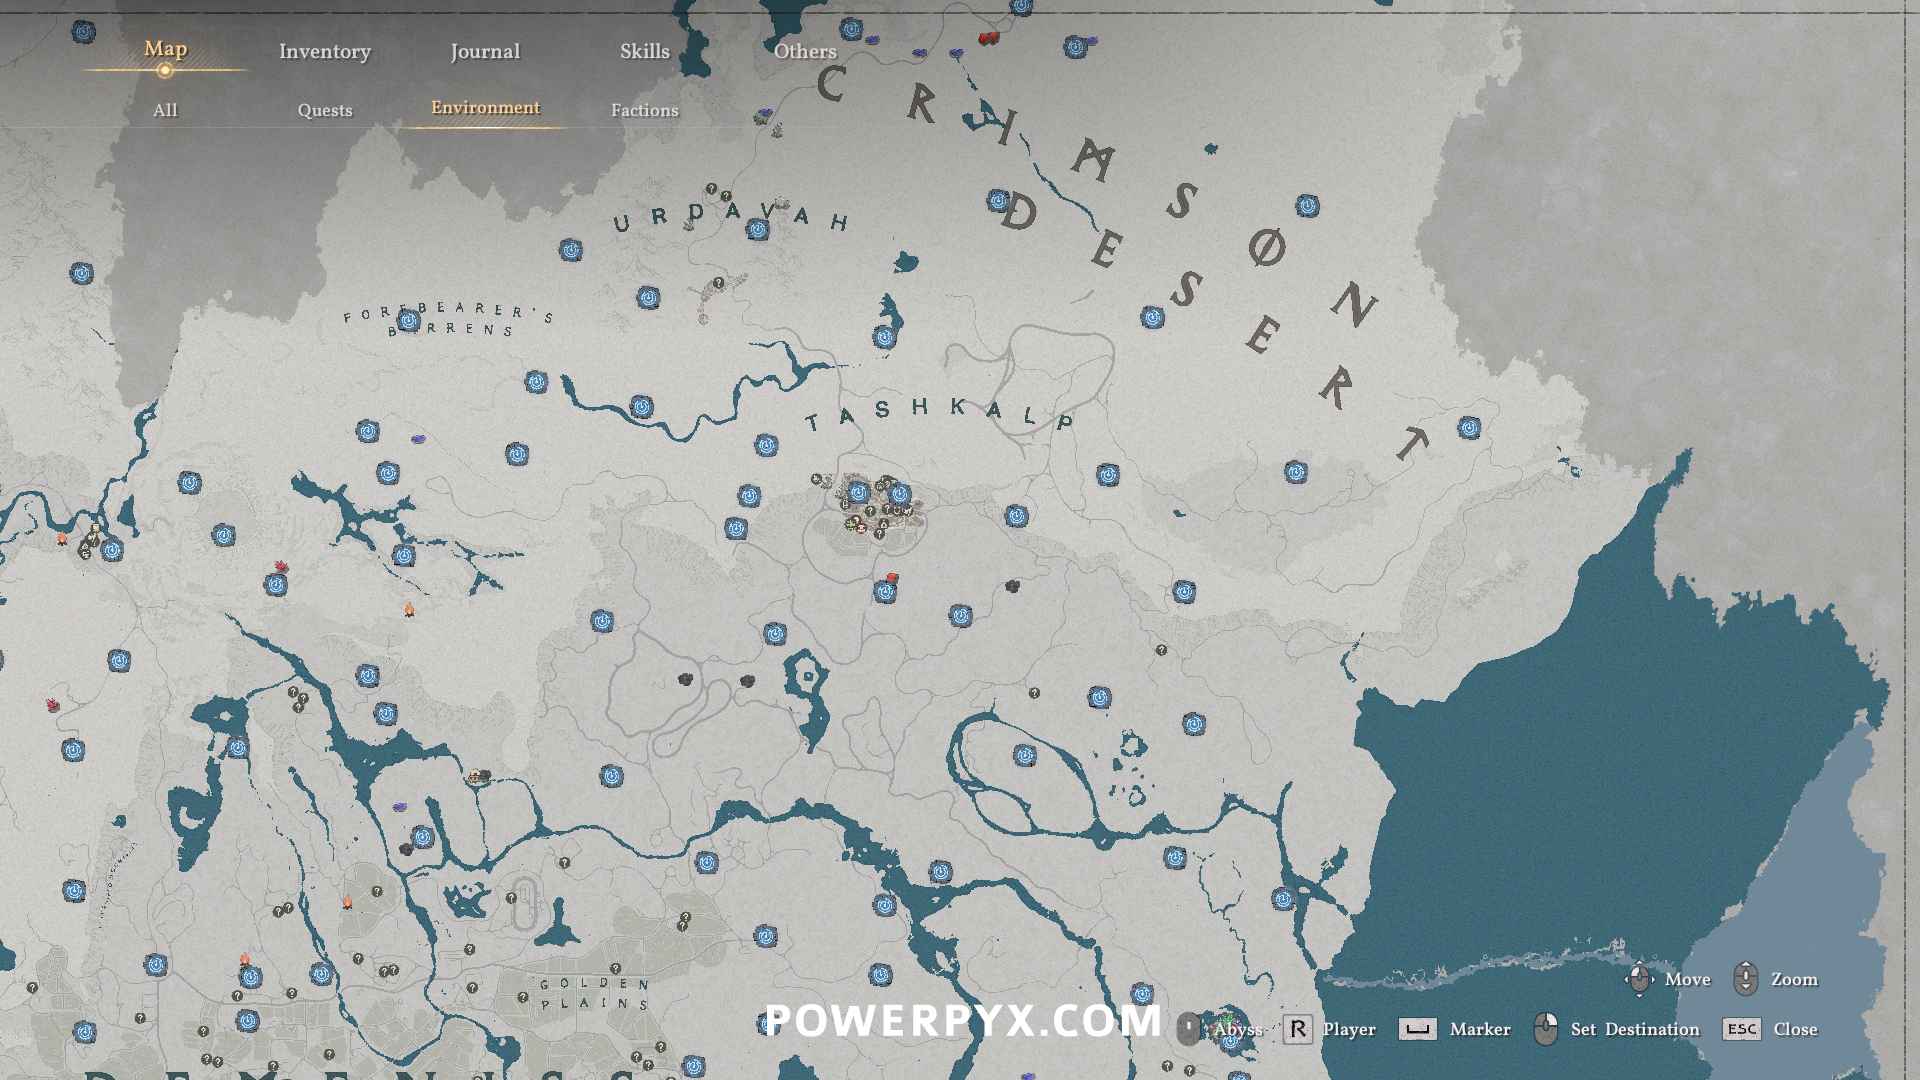
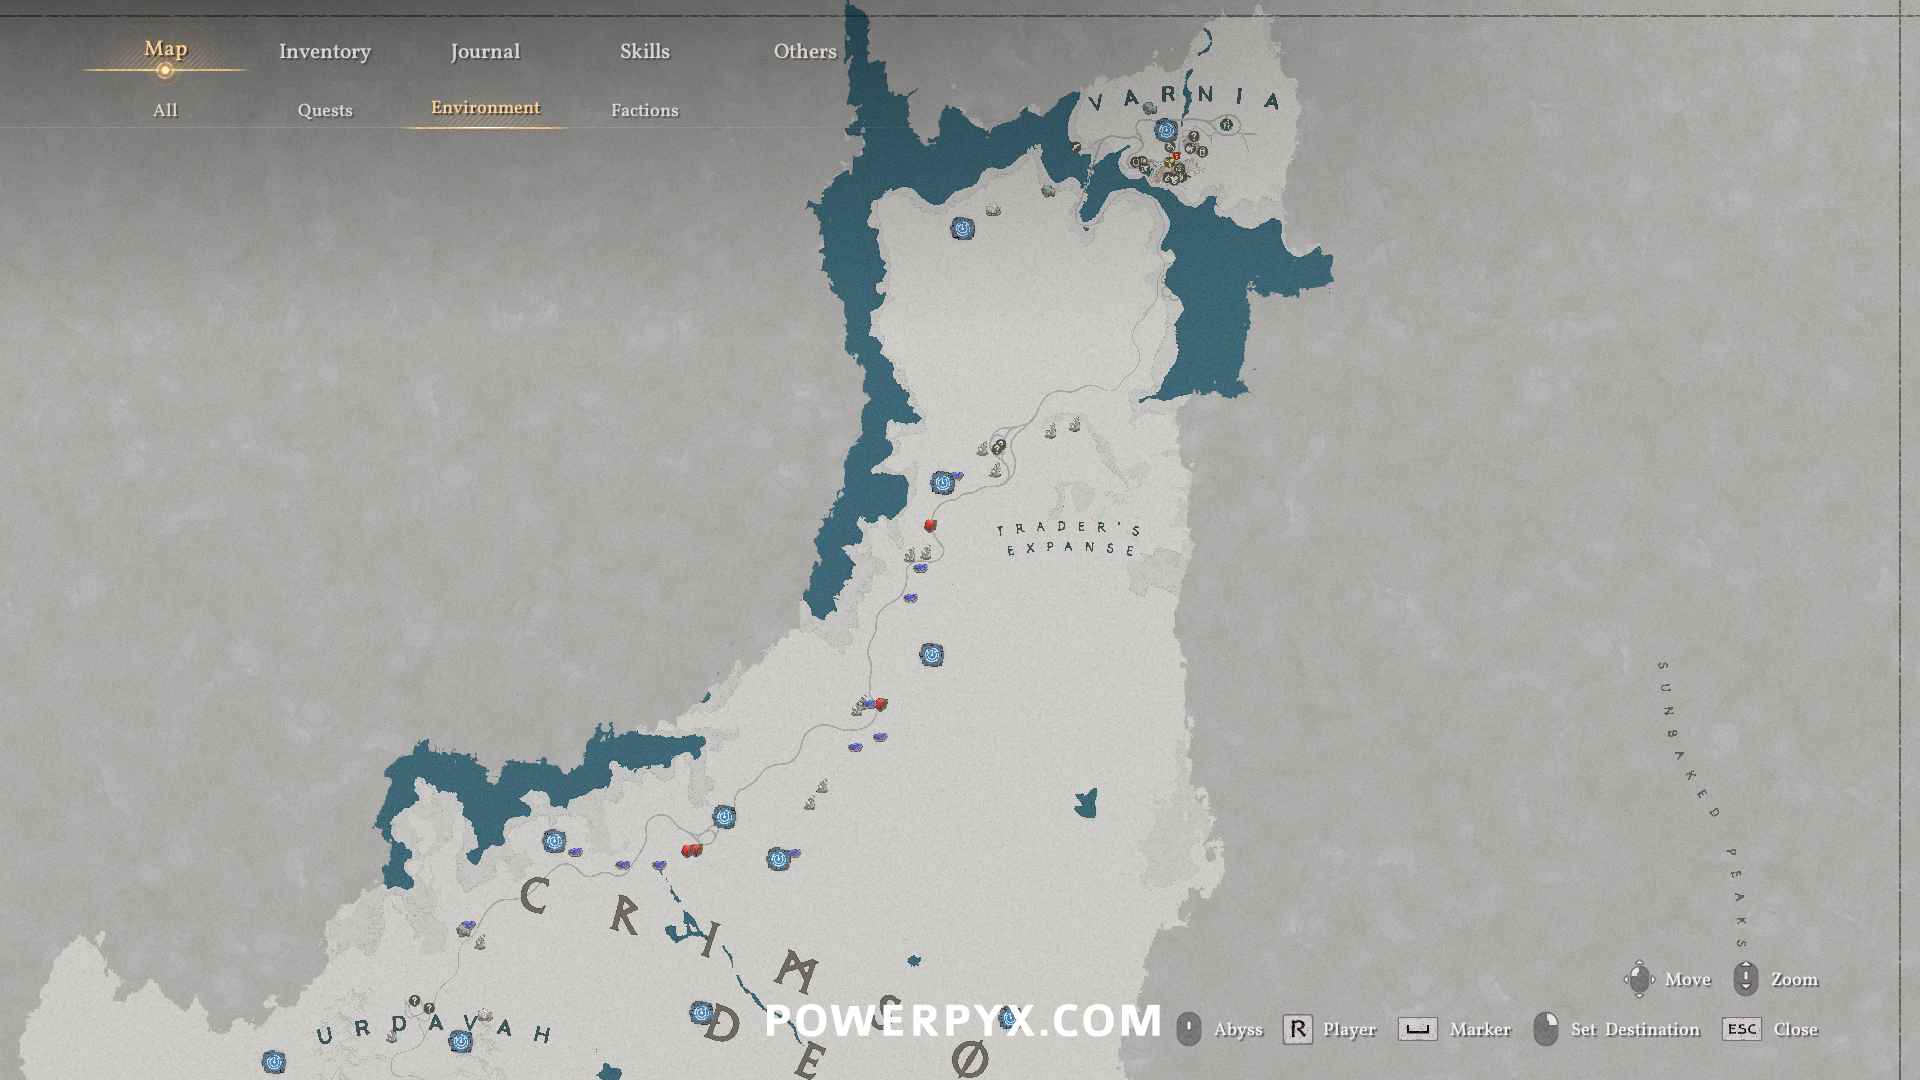
- South-East Desert 1
- South-East Desert 2
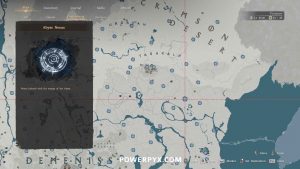
- Central Desert 1
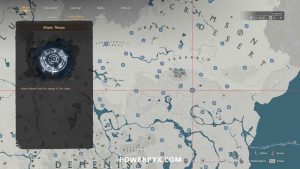
- Central Desert 2
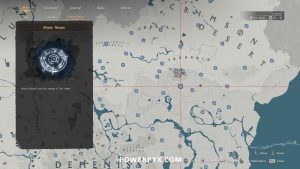
- Central Desert 3
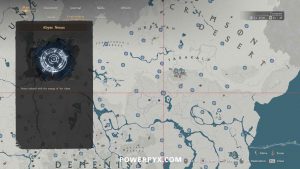
- Central Desert 4
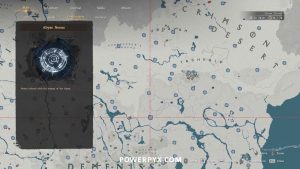
- Central Desert 5
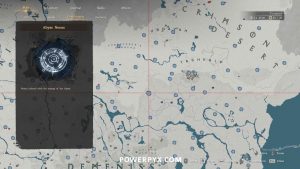
- Central Desert 6
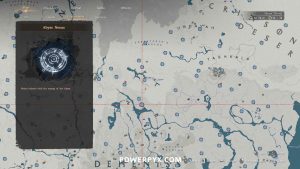
- Central Desert 7
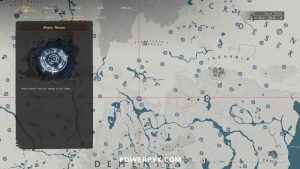
- Central Desert 8
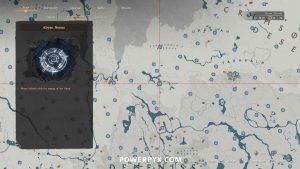
- Central Desert 9
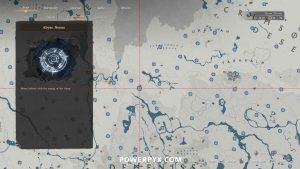
- Central Desert 10
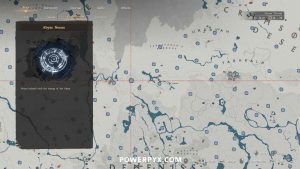
- Central Desert 11
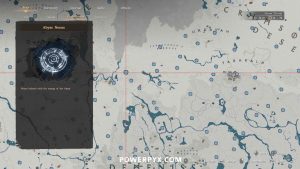
- Central Desert 12
- Central Desert 13
- Central Desert 14 – Forebearer’s Barrens
- Central Desert 15
- Central Desert 16
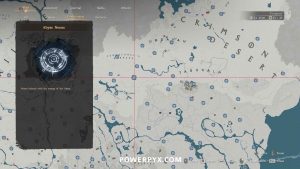
- Central Desert 17
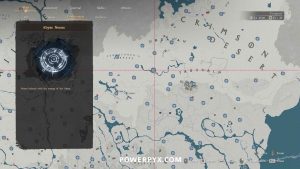
- Central Desert 18
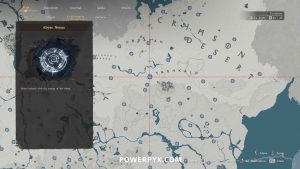
- Central Desert 19
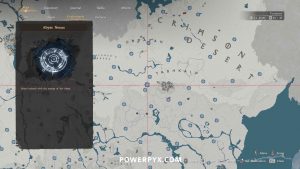
- Central Desert 20
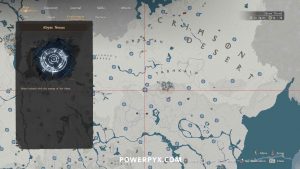
- Tashkalp Town 1
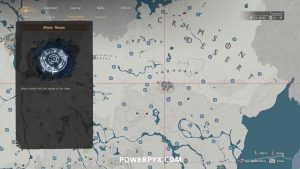
- Tashkalp Town 2
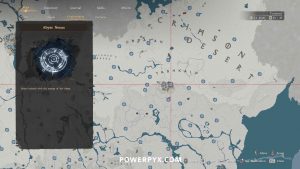
- East Desert 1
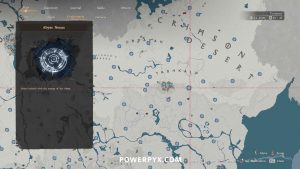
- East Desert 2
- East Desert 3
- East Desert 4
- East Desert 5
- East Desert 6
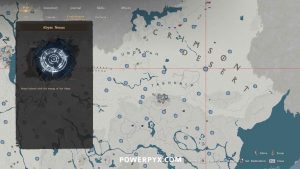
- North Desert 1
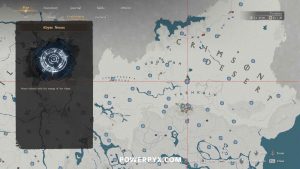
- North Desert 2 – Urdavah
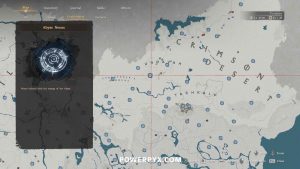
- North Desert 3 – Urdavah
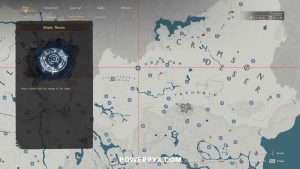
- North Desert 4 – Urdavah
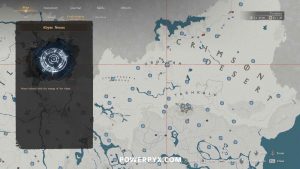
- North Desert 5
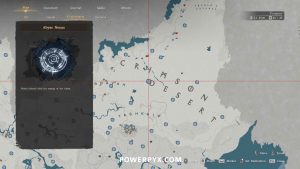
- North Desert 6
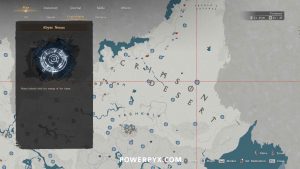
- North Desert 7
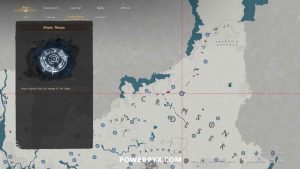
- North Desert 8
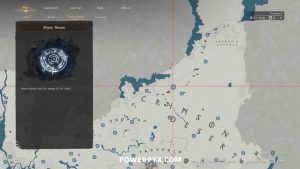
- North Desert 9 – Outlaw Canyon
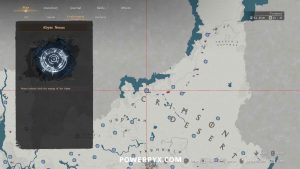
- North Desert 10
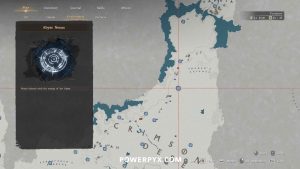
- North Desert 11 – Trader’s Expanse
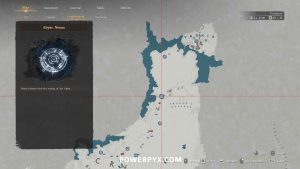
- North Desert 12
- Varnia Town
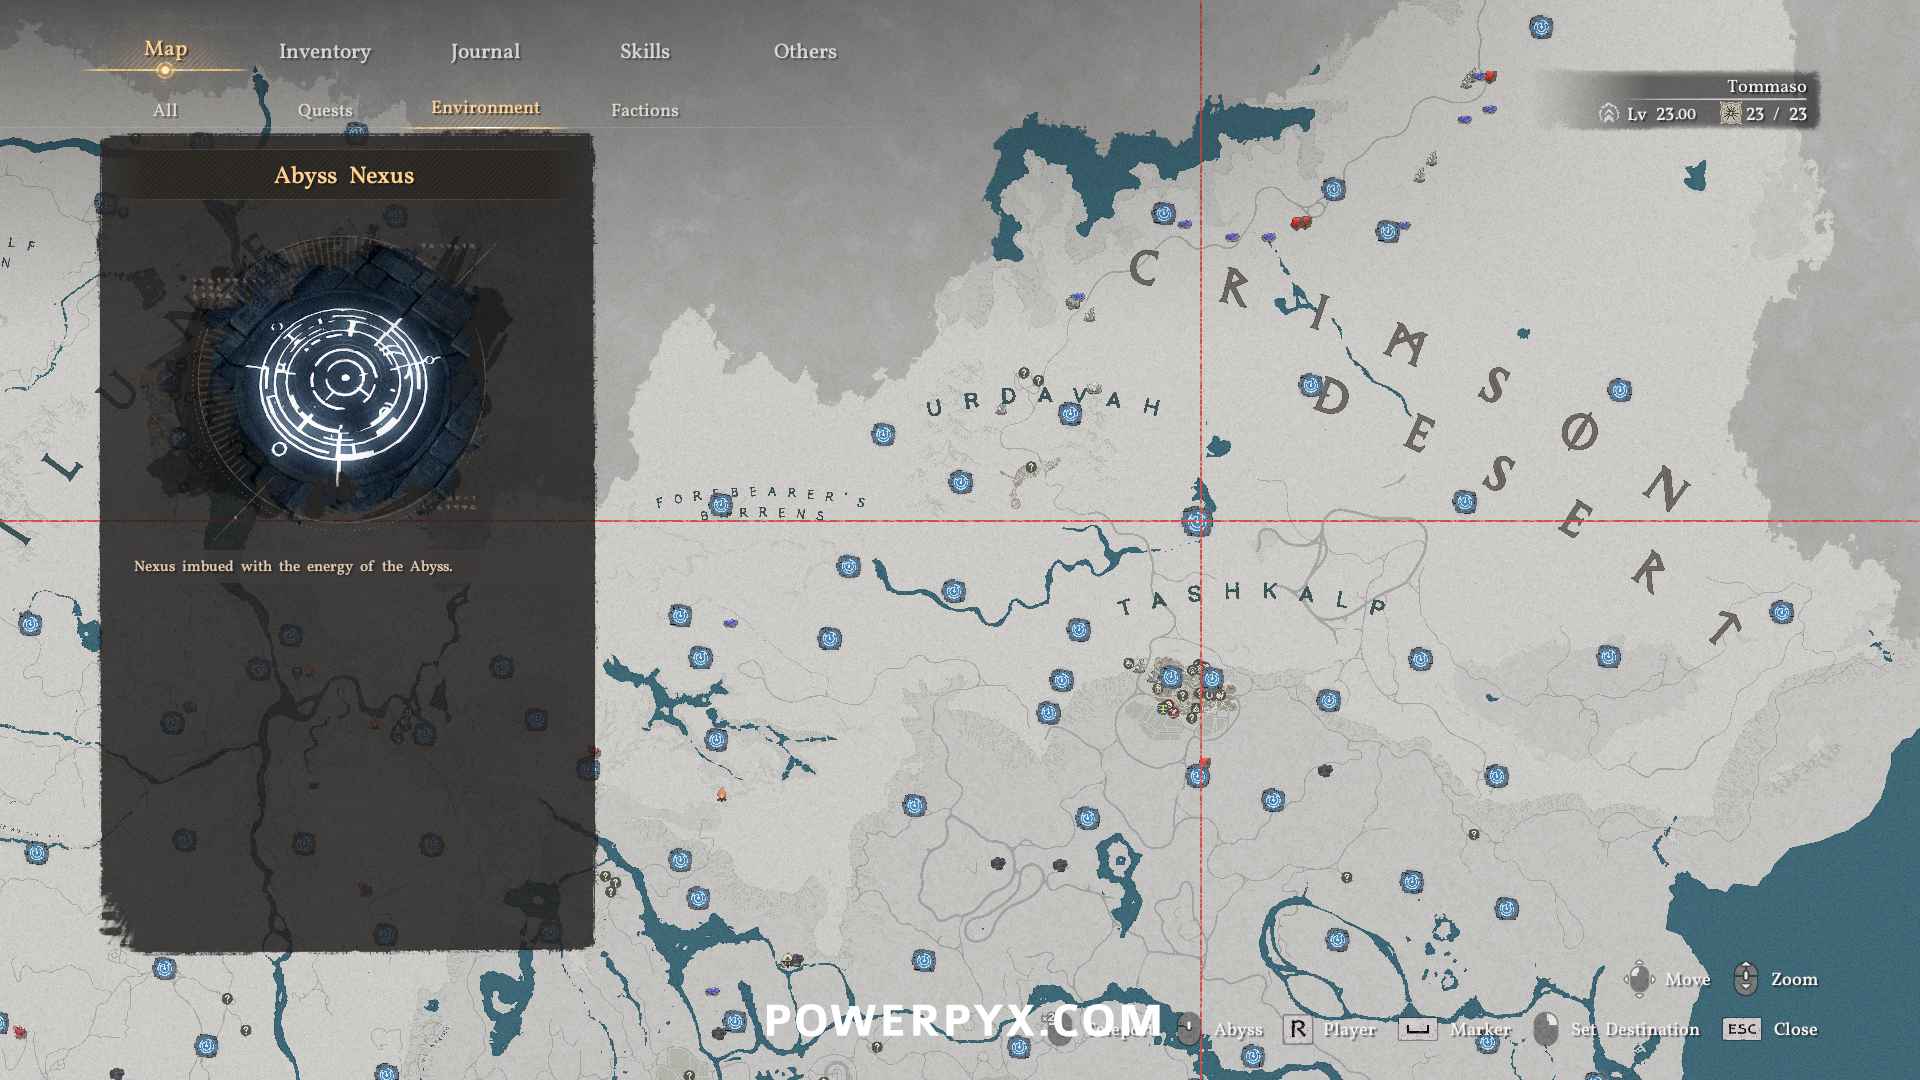
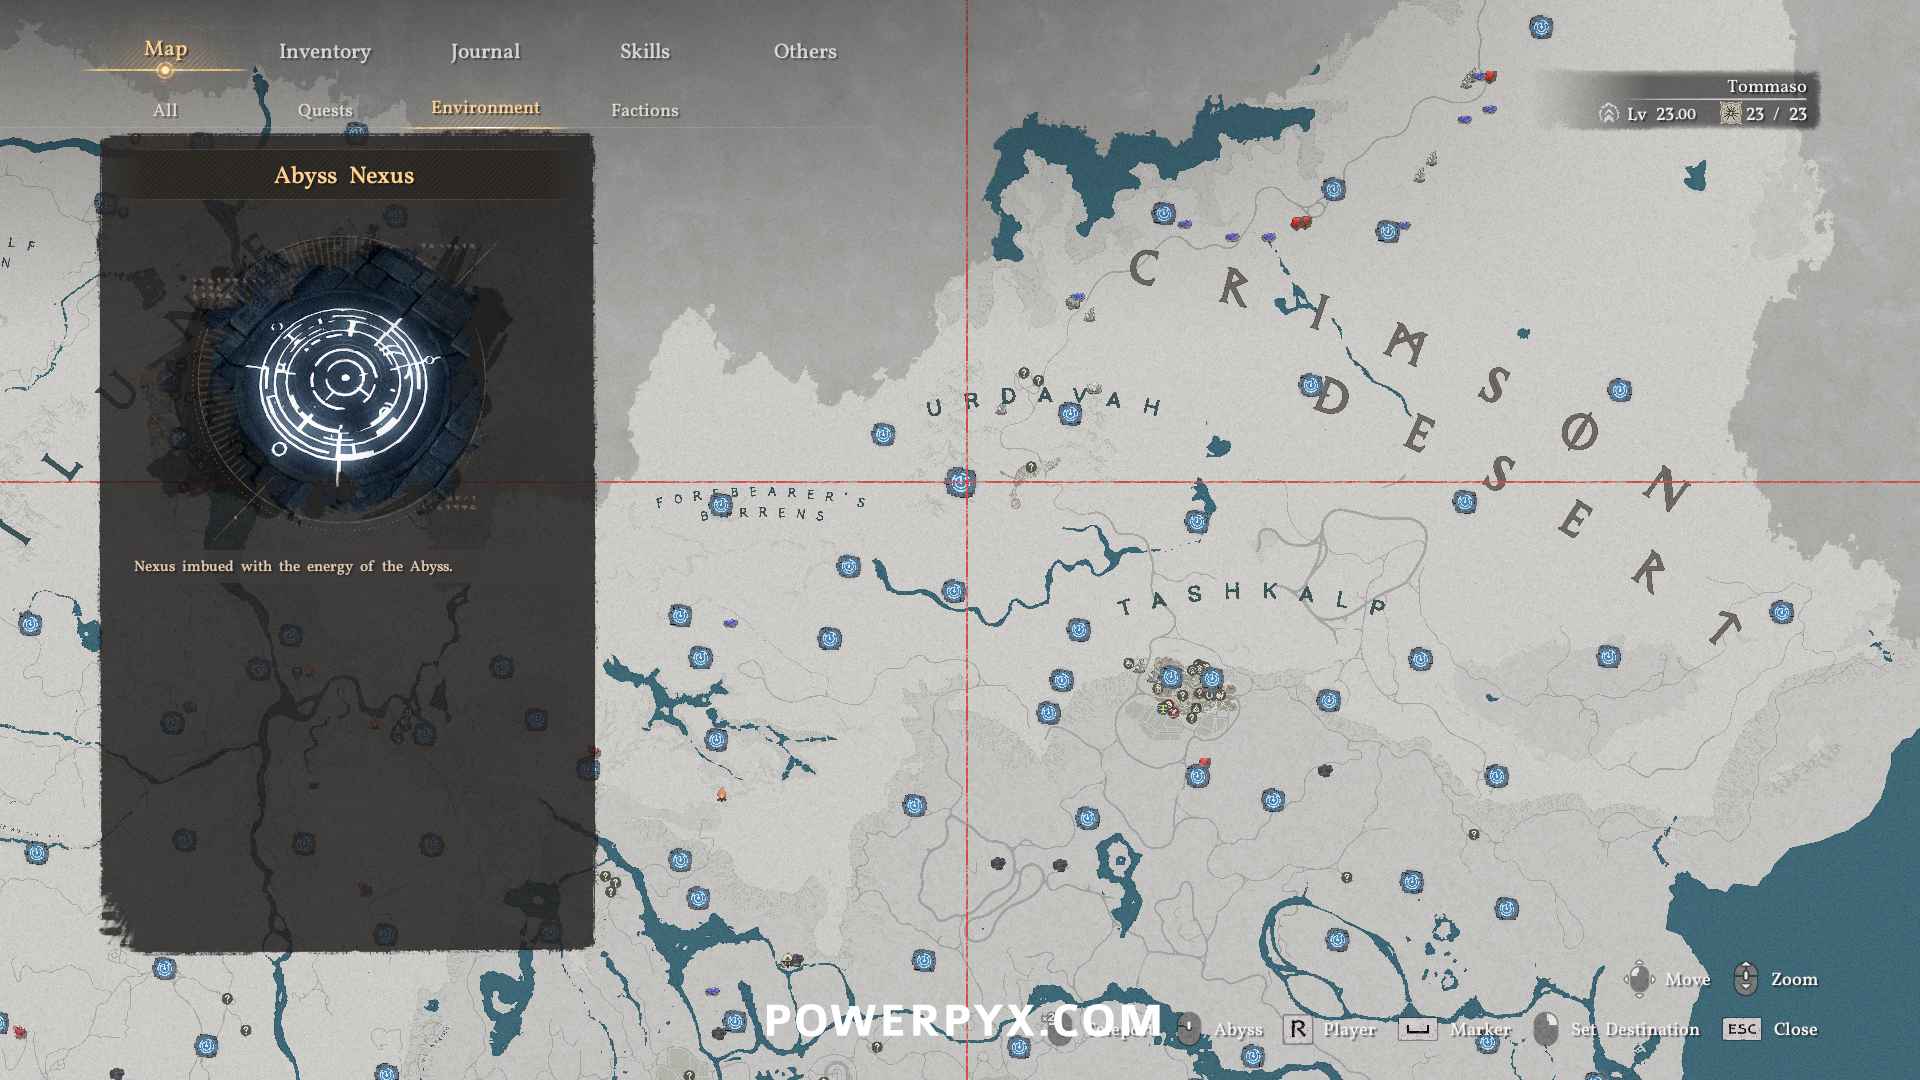
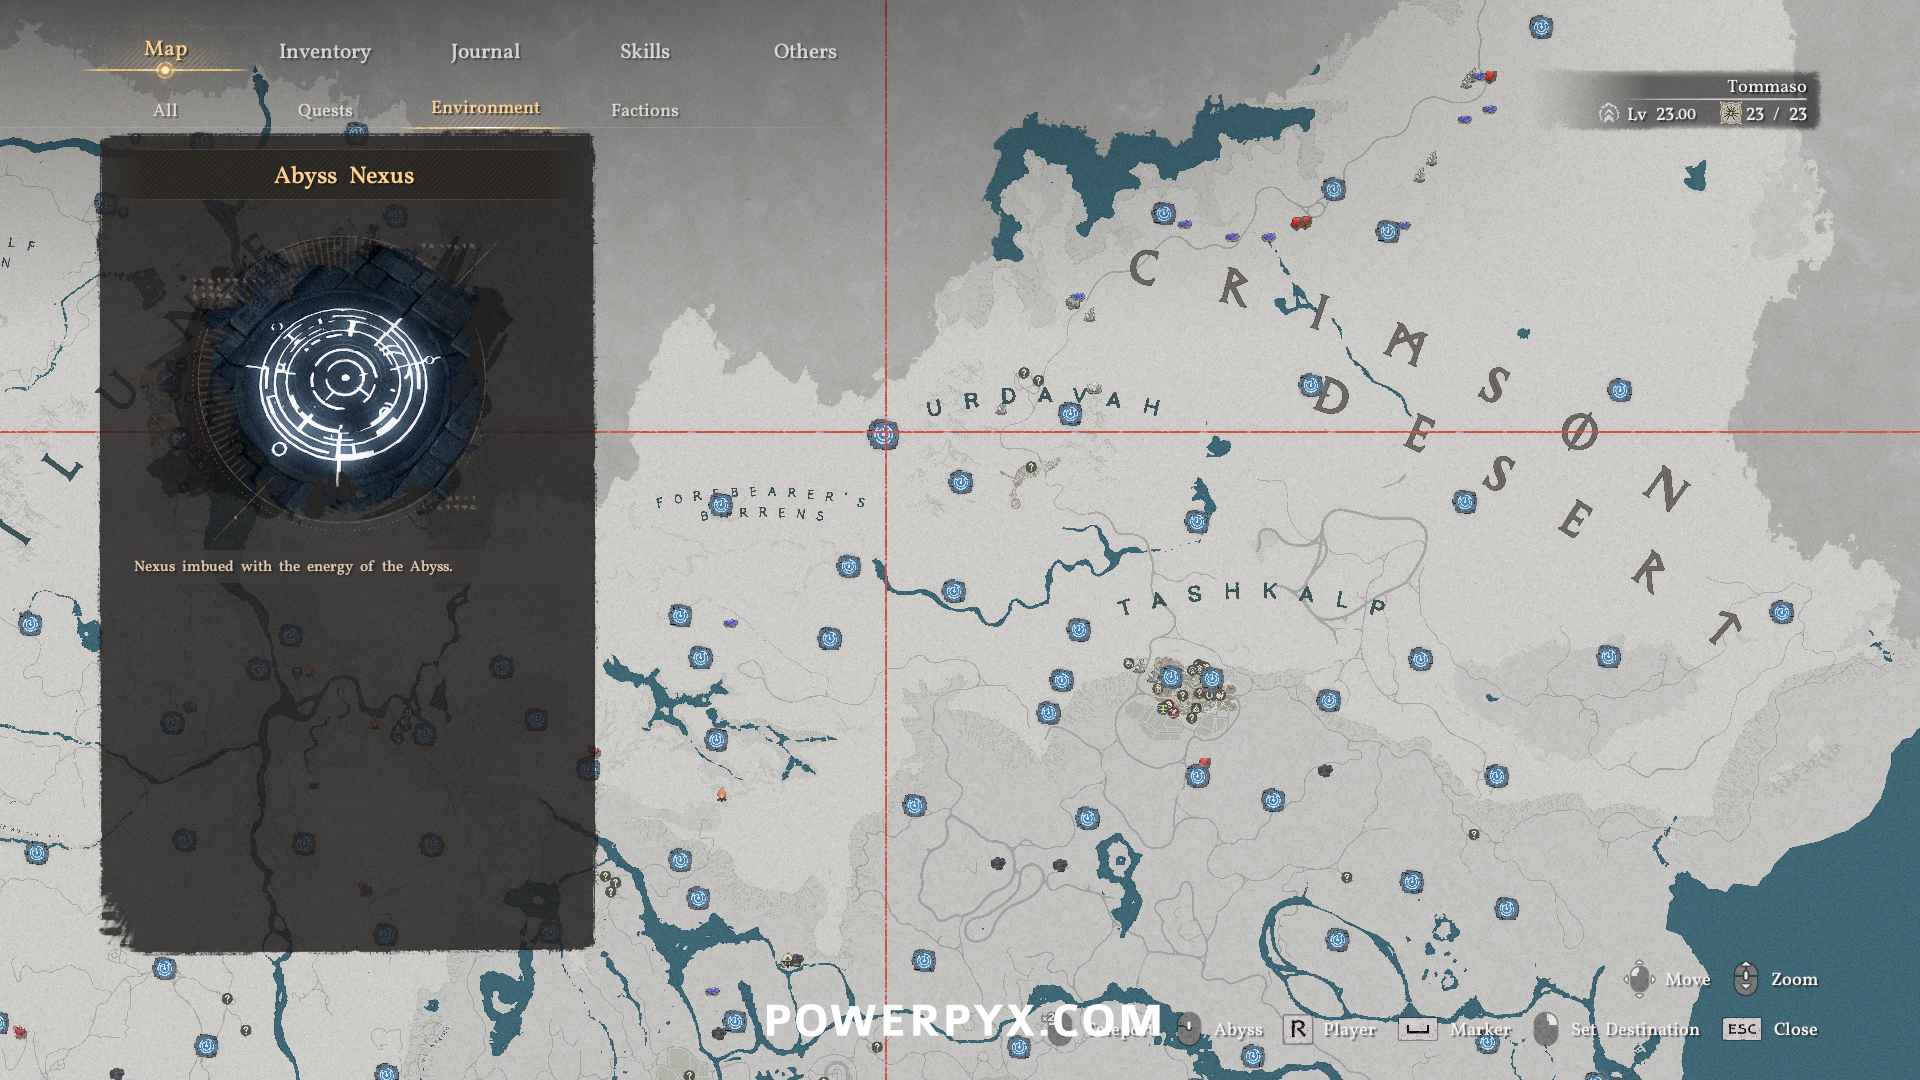
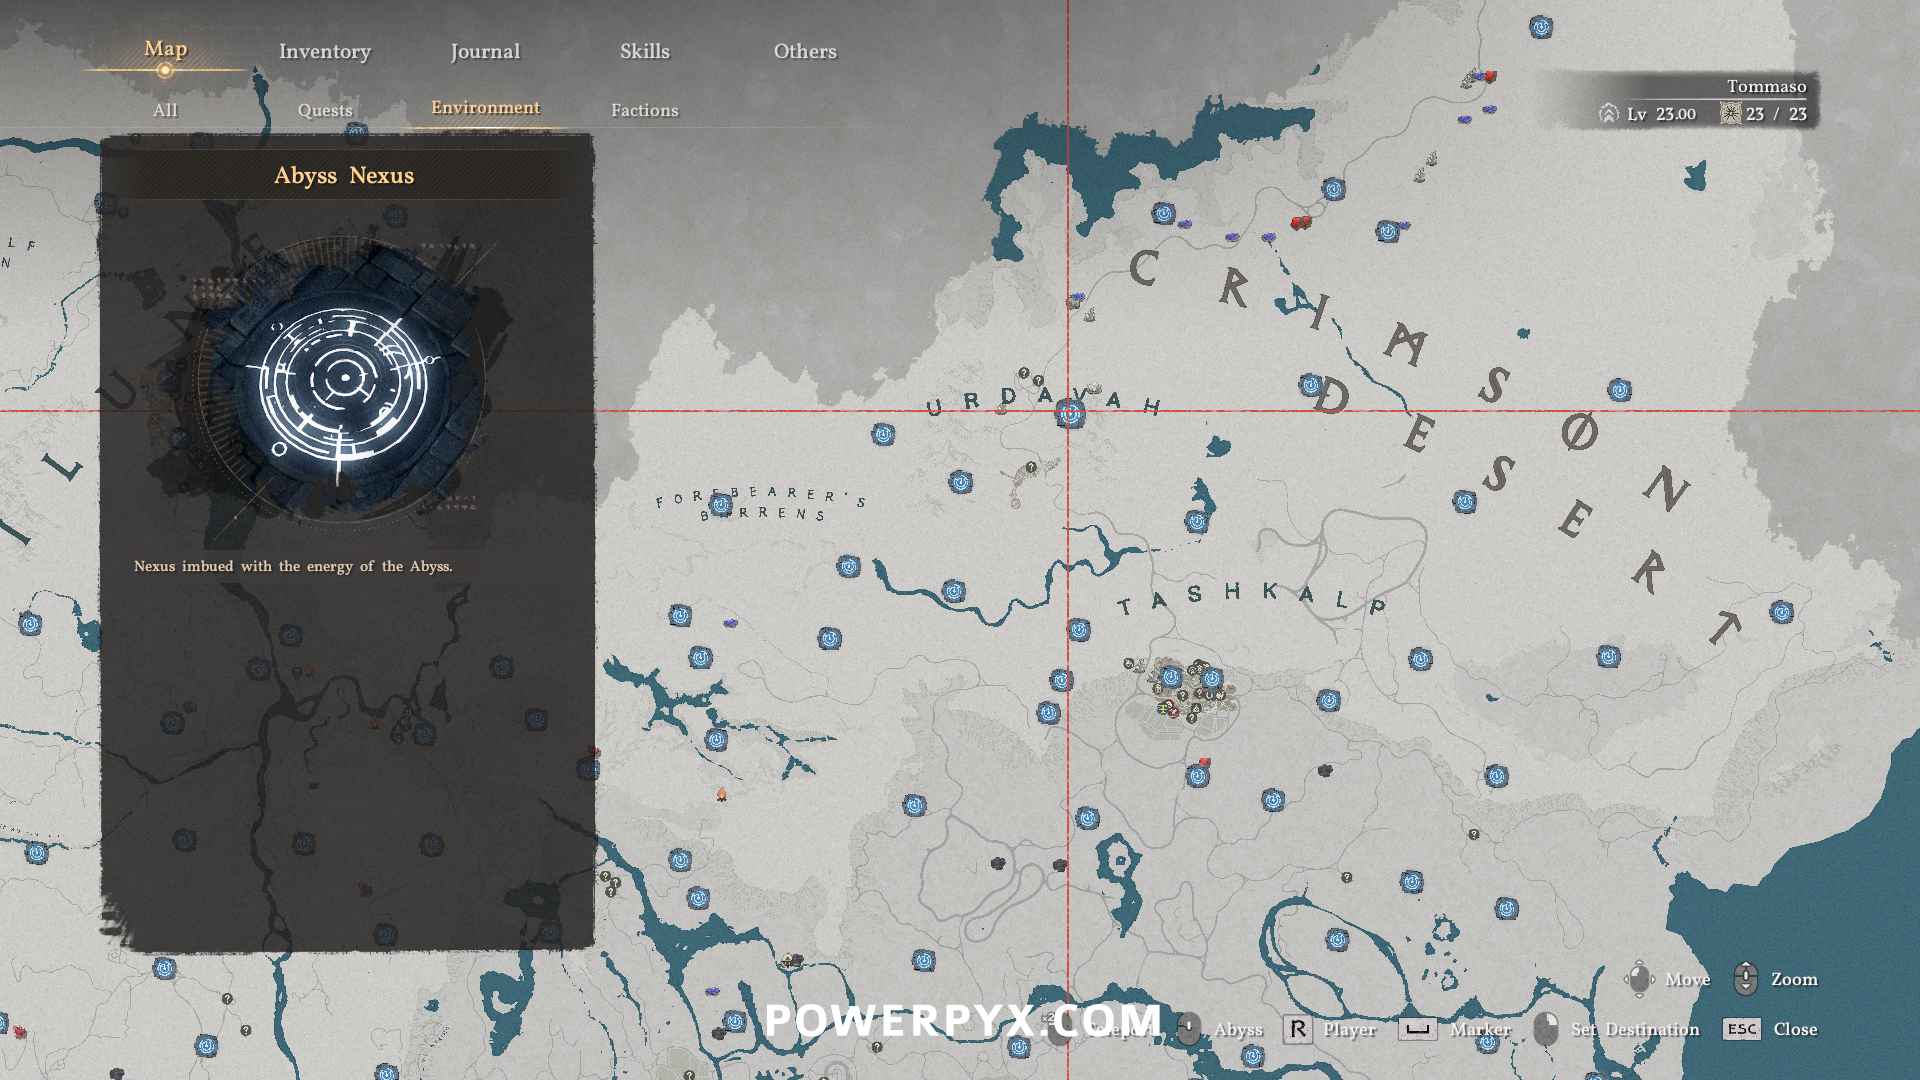
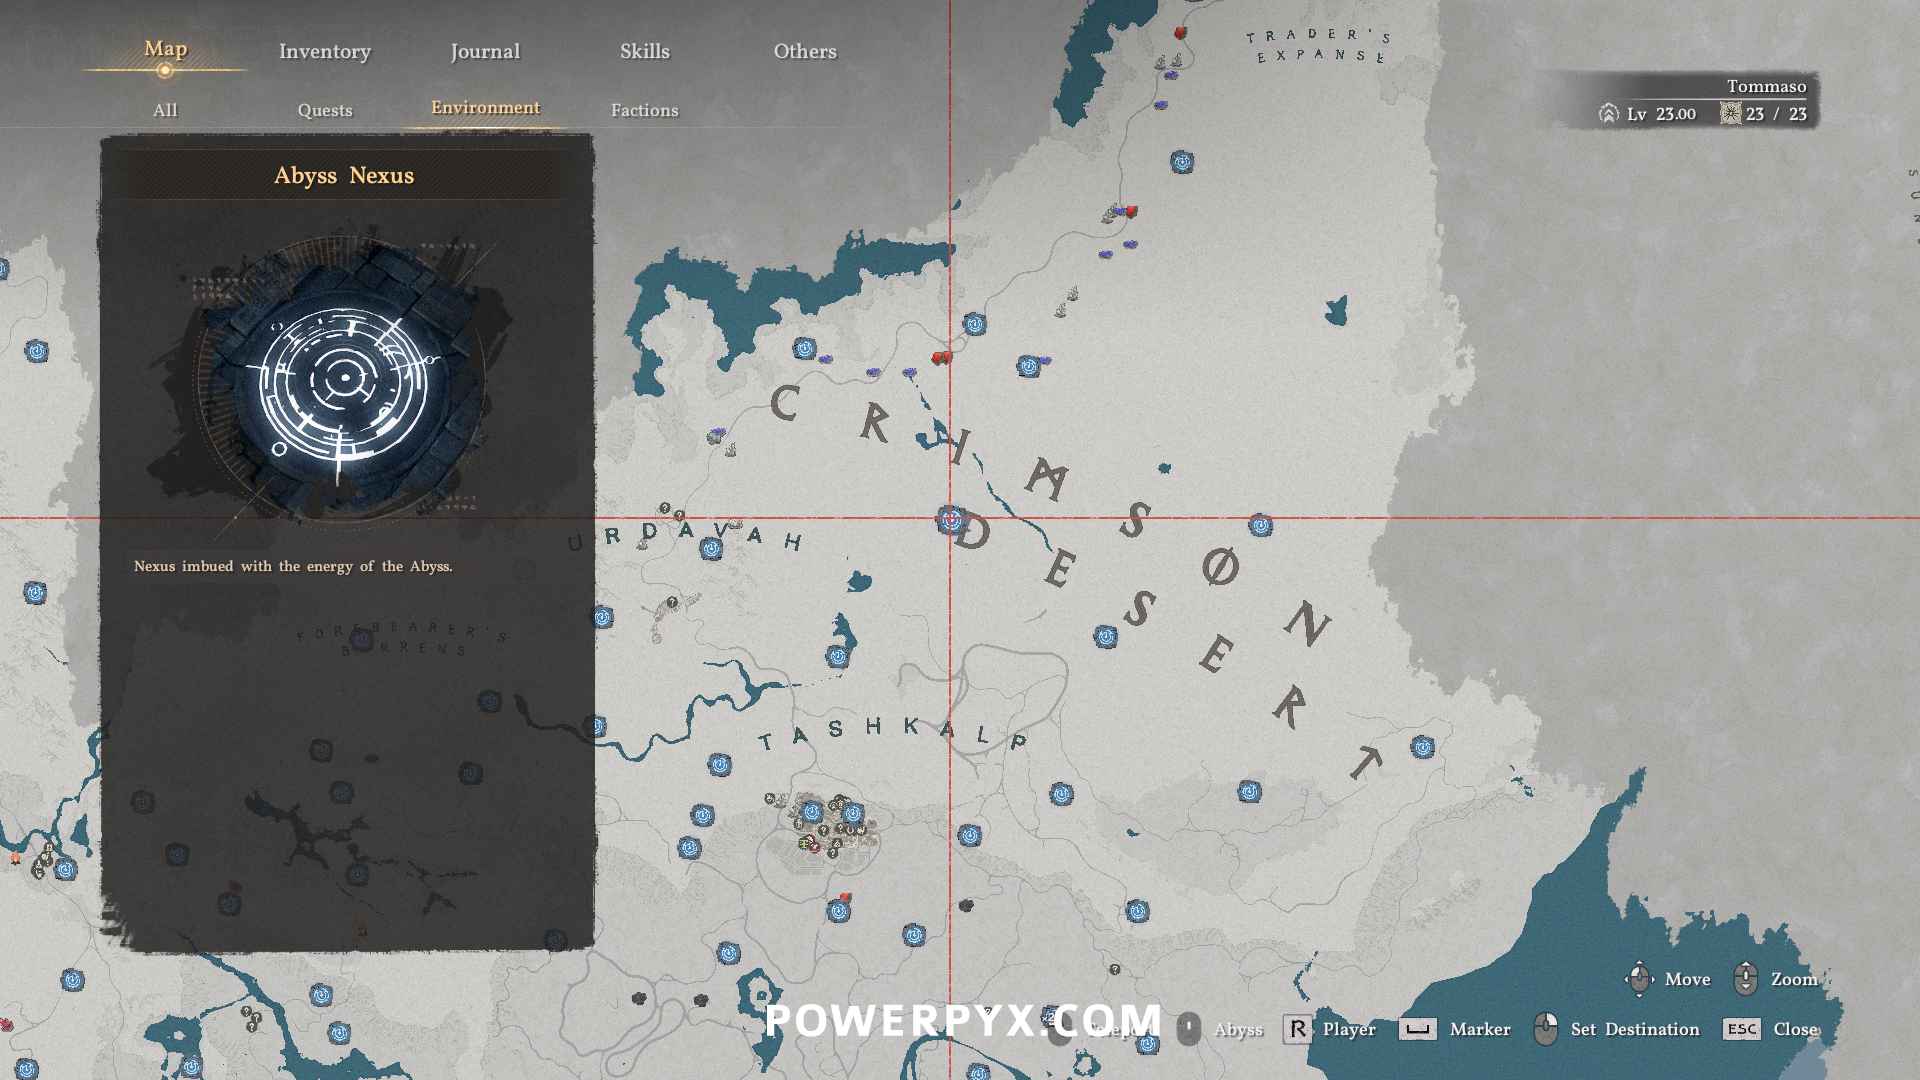
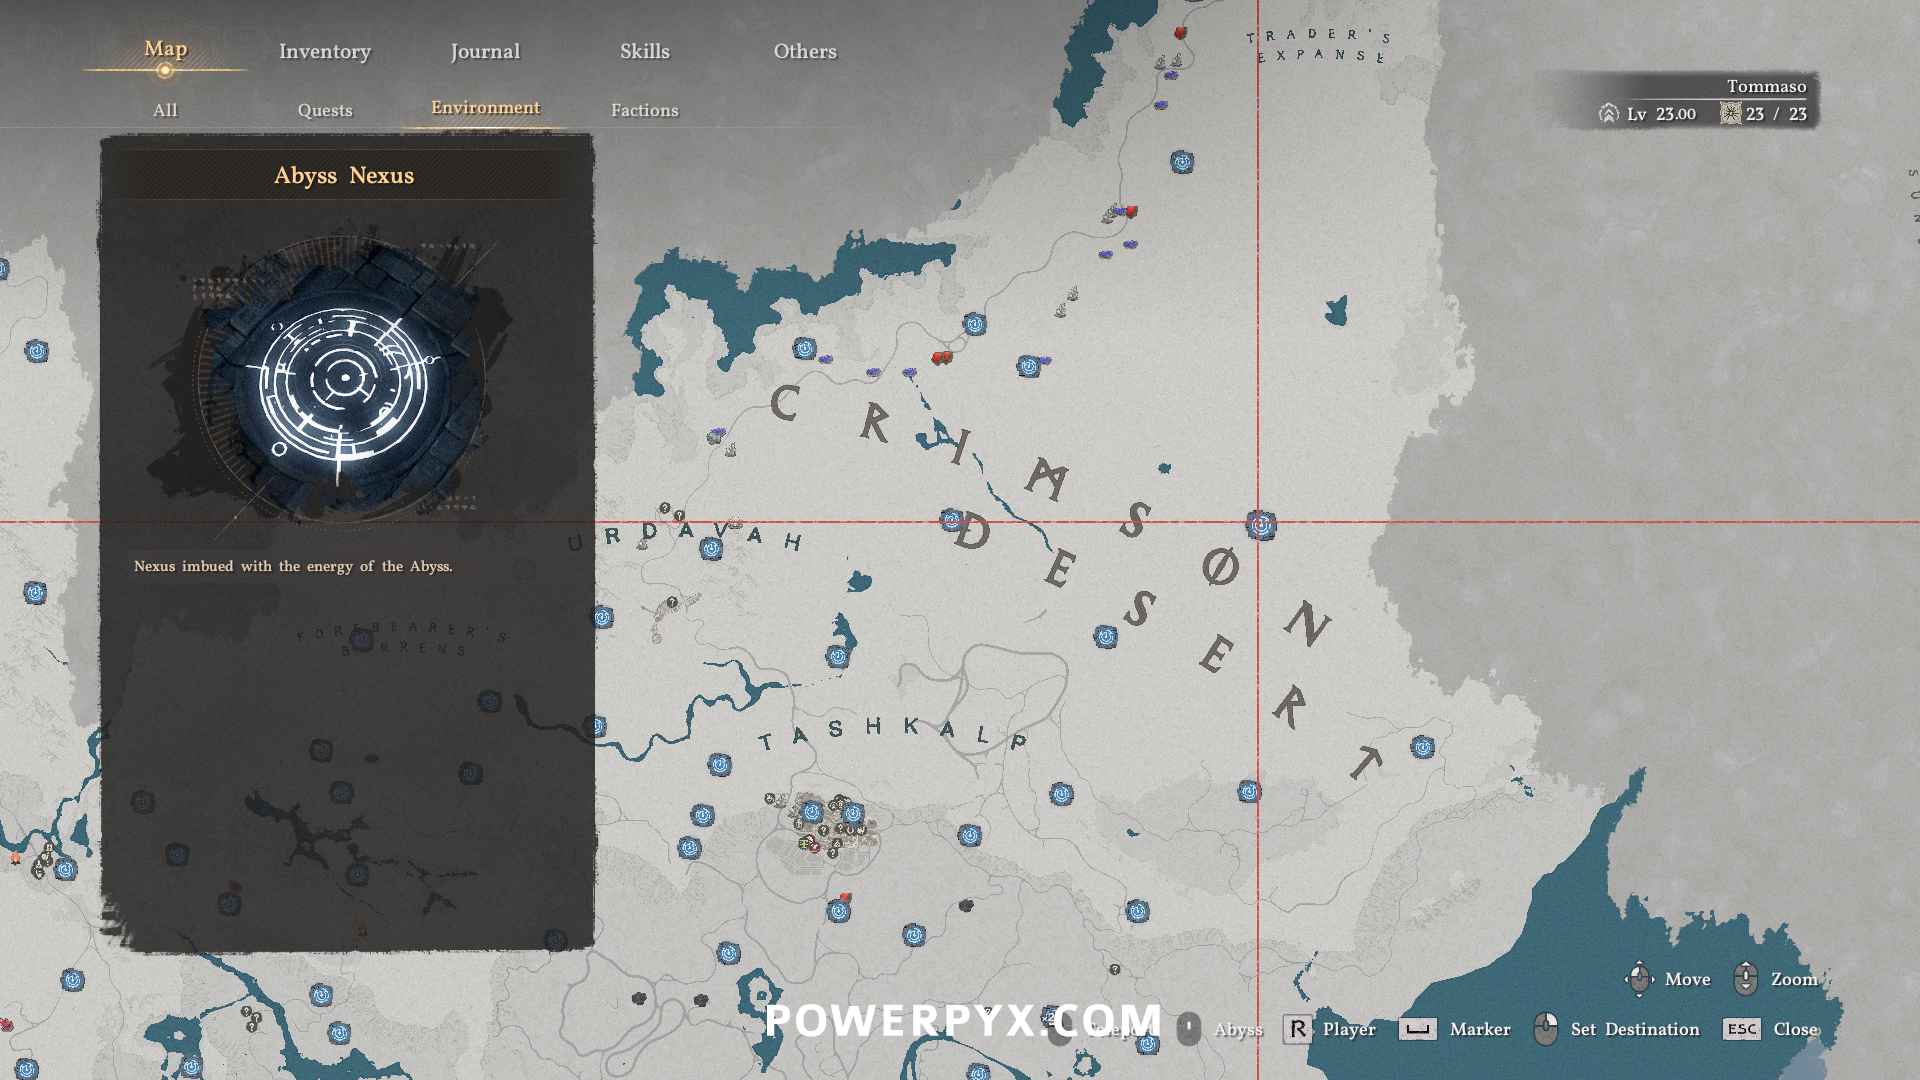
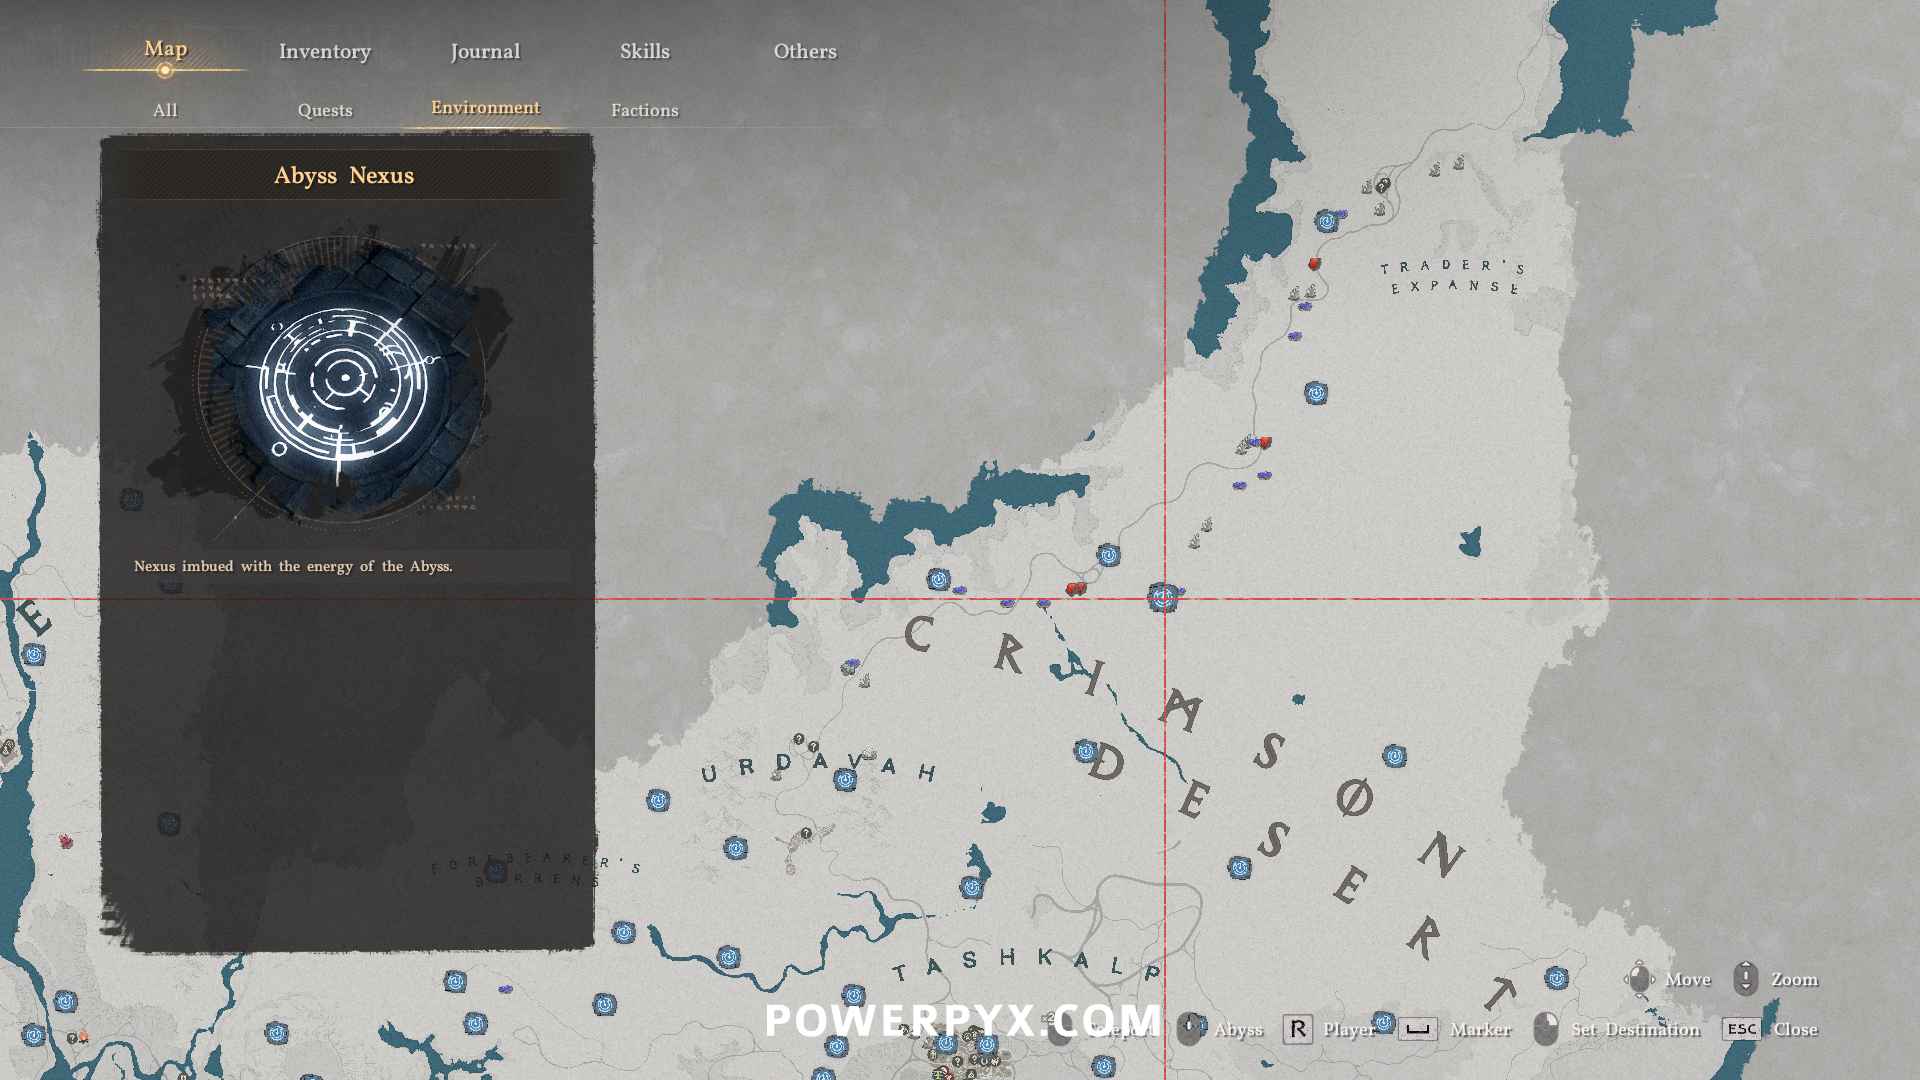
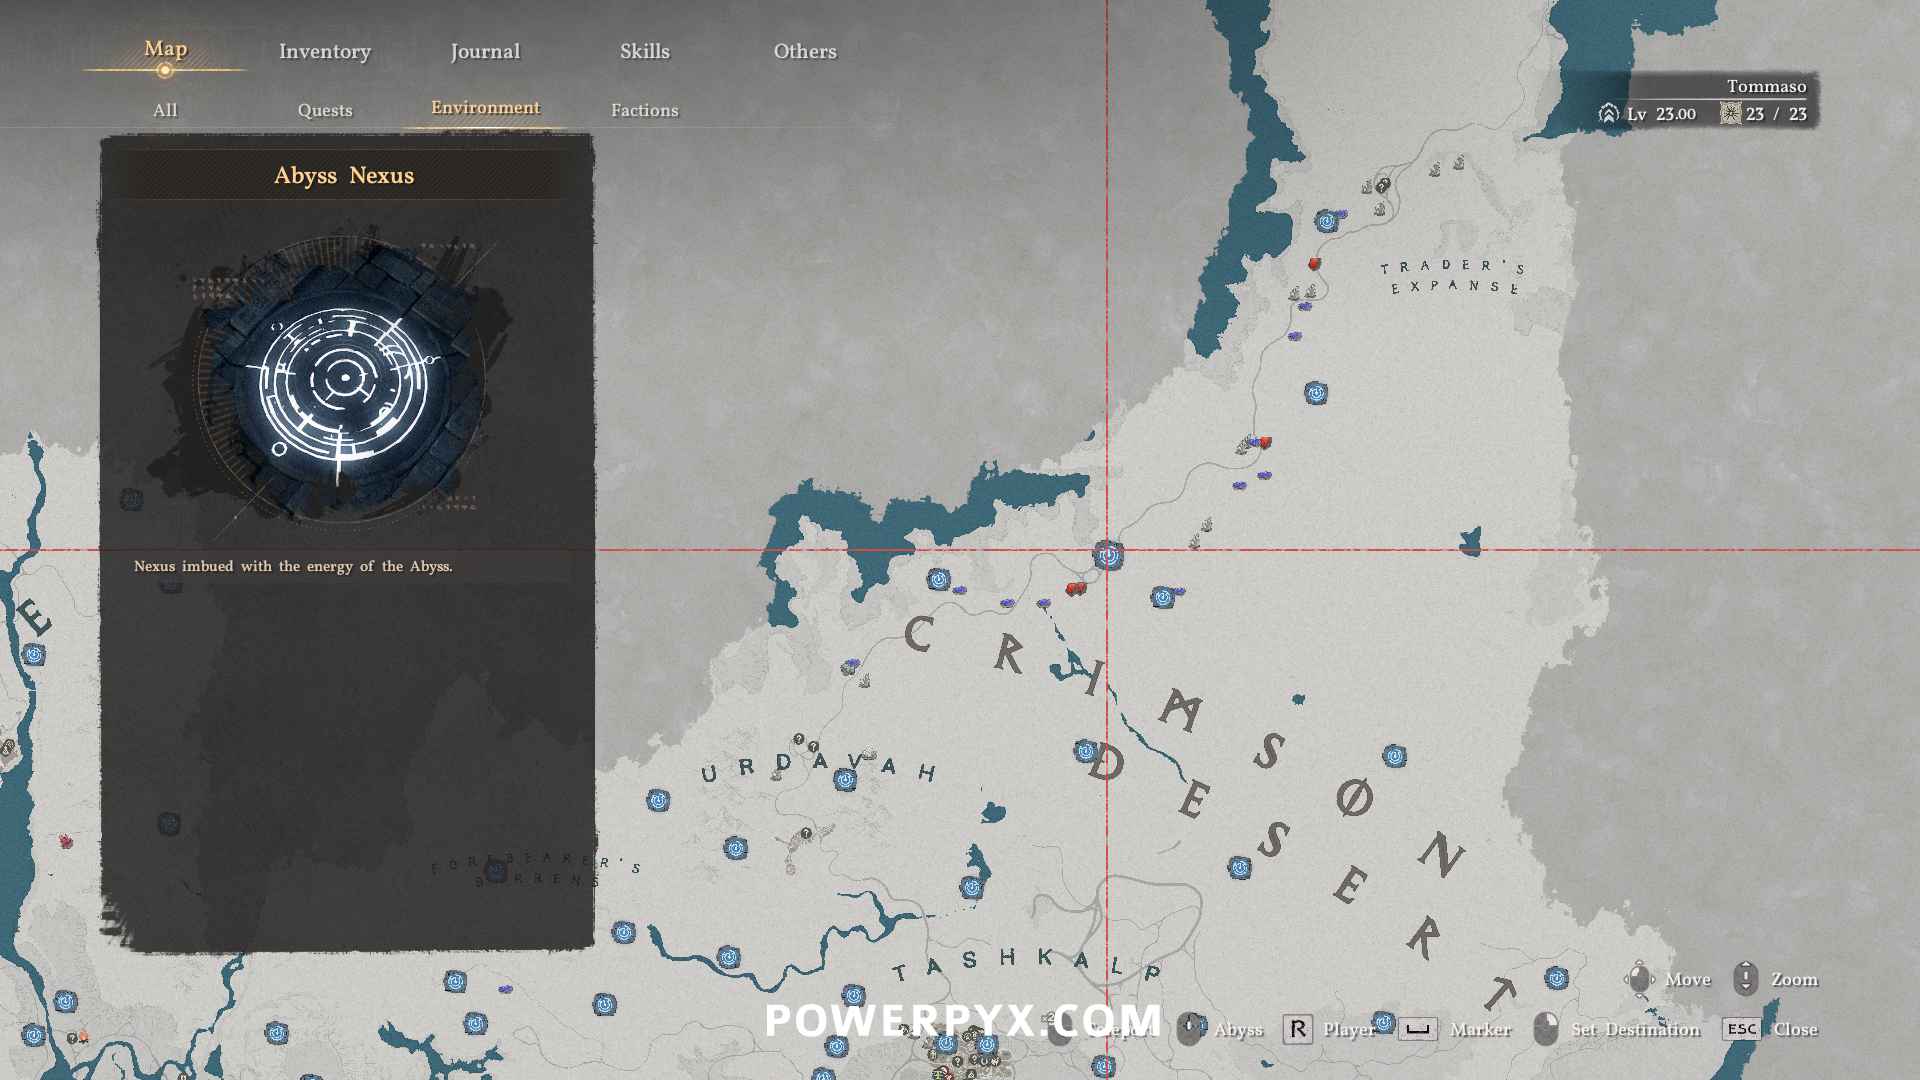
For other collectibles check our Crimson Desert Wiki.
PowerPyx says
Note: Day 1 patch changed many fast travel point locations. I’ve already updated them here. If your browser had the world map image cached already, you’ll need to refresh the map image to see the updated version. I’ll keep updating the map periodically as new fast travel points are found.
The fast travel points that got moved with patch are at towns:
– Hernand: the one north of Hernand was moved to the middle of the town
– Scholastone: was moved from the west of Scholastone to inside Scholastone
– Demeniss: moved from out of town to inside town
– Tashkalp: moved from south-east outside town to north-east inside town
– Howling Hill (Greymane Camp): completely new fast travel that didn’t exist before.
Austin says
Theirs one next to the A in Hernand just on the left of it
Geass says
I found several points from this game that should be there but it’s just this stone slab.
Is it a glitch ?
PowerPyx says
The patch moved several fast travel points, see my comment above (the first comment here). I’ve already updated them. If you had viewed the map before and your browser has the image cached you’ll need to refresh the image to see the updated version. Basically, anything near towns got moved into the towns. Annoying they keep changing so much.
GiGi says
Are all fast travel options unlockable from the start? Because the one from Hernand South to Scholastone Institute (8) seems to be locked for me. I’m on chapter 2.
PowerPyx says
Should be unlockable from the start. The one at Scholastone Institute just got changed with a patch and is now further east inside the town – the image has been updated here to new location. They keep changing everything >_>
The one at Hernand South is still in same place though.
Trophy hunter says
The first one by haunted hill is covered in green bush monsters, how do you deal with them or damage them?
PowerPyx says
Just attack them with R2 until they die.
Trophy hunter says
Fought them for 10-15 minutes and not one of them died, assumed I was doing something wrong but maybe it was bugged.
Archer says
There’s one on the left of Karin Quarry. Between the Three Saints’ Falls
Robin says
East of “mountain of frozen souls” on the peninsula, fast travel point that you haven’t marked. Close to the shipwreck
littlejay says
More fast travel points seem to have been added in the newest update.