
Space-Laser Tag is the 8th main story mission in Borderlands 3 (BL3). This walkthrough will guide you through all objectives of the Space-Laser Tag Main Quest.
Space-Laser Tag is unlocked when you complete The Impending Storm.
Planet: Promethea
Area: Meridian Metroplex
Quest Giver: Lilith/Rhys
Requirement: Complete The Impending Storm.
Recommended Level: 17
Reward: 2904$ / 11408XP / Epic Pistol “Refined Starkiller”
Mission Info: Rhys has asked us to disable the orbital laser so he can get Katagawa and the Maliwan army off his back, and so we can get the Vault Key from the laser.
Objectives:
- Meet Rhys at Launchpad 7
- Take Viper Drive
- Use Viper Drive
- Go to Skywell-27
- Go to main gate
- Defeat security
- Use Viper Drive
- Find service elevator
- Use Viper Drive
- Defeat security
- Go through ventilation ducts
- Proceed through maintenance
- Disable thruster
- Open chute
- Enter chute
- Use Viper Drive
- Inspect spheres: 0/3
- Use Viper Drive
- Follow Rhys-Ball
- Clear the way
- Follow Rhys-Ball
- Destroy servers
- Turn off firewall
- Return to Rhys-Ball
- Take elevator to control room
- Secure control room
- Defend Rhys-Ball
- Fire laser
- Defeat Katagawa Ball
- Take Vault Key fragment
- Return to Sanctuary
- Give Vault Key fragment to Tannis
- Talk to Lilith
Starting Location: Space-Laser Tag

Meet Rhys at Launchpad 7
After heading back down to Promethea, Rhys will ask you to meet him at Launchpad 7 so that you can go up on a ship to the laser.

Take Viper Drive
Things don’t go as planned per usual, and Rhys ship is destroyed by the laser. Instead you’ll steal a Maliwan ship and use that to get up there instead. Take the Viper Drive from him.

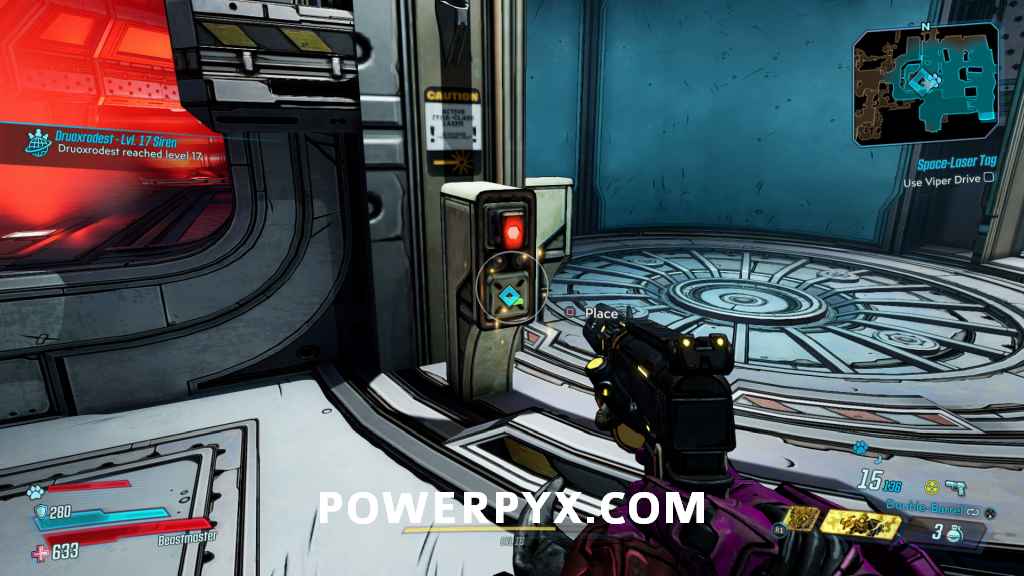
Use Viper Drive
Rhys explains that you should find a Maliwan shuttle and pop in the Viper Drive so that he can hack it. Pop it in the nearby console so that he can hack in to the doors.
Go to Skywell-27
Head inside the hanger and take out the Maliwan goons, then use the location barrier beside the ship to head up to the laser.

Go to Main Gate
Now that you’re on the asteroid, follow the markers heading down to the main gate of the laser facility. Keep in mind that the whole area has low gravity, so you can jump a lot higher than you normally would. Once you get through the first area you’ll come to the first main area with enemies, and be introduced to the Jet Troopers that can fly around and attack you from above.

Defeat Security
Once you reach the main gate itself there will be a load of enemies there, take them all out so you can get inside.

Use Viper Drive
Once all the security is dealt with, head into the building to the North and put a Viper Drive in the console so that Rhys can get you inside.

Find Service Elevator
Next you need to head inside and find a service elevator to go deeper into the facility, though you’ll need to deal with the group of enemies that come out the newly opened gate first. There will be 3 enemies, a Badass NOG and two Heavies. Take out the NOG first for an easier time.
Use Viper Drive
Inside the large main room you should find the service elevator at the center, and should then place your Viper Drive in the console so Rhys can call it for you.
Defeat Security
Katagawa stops you getting in, and calls security on you to try and take you out. Defend yourself from them. You’ll go through two waves of enemies while Katagawa and Rhys have a little back and forth banter in between.
Go Through Ventilation Ducts
Head out the East side of the room and into the ventilation system.
Proceed Through Maintenance
Down through ventilation and out the other side you’ll reach the maintenance area. You’ll have to do a bit of parkour to get up around the area to get outside. Once you reach the first marker you’ll have to fight your way through a bunch of COV enemies to continue.

After a few areas you’ll get a nice show of the laser shooting at the planet, then need to proceed farther into maintenance. When proceeding there will be large exhaust vents that you need to time going by so that they don’t hit you.

Disable Thruster
Rhys gets the idea to disable the thruster to stop Katagawa firing the laser again. Head up to the pipes just on the other side of it and activate the wheel to turn it off.

Open Chute
You can now proceed farther into the building. Take out all the waiting COV enemies, then pull the lever to open the chute.

Enter Chute
You can now jump into the large chute in the middle of the area that previously had a large number of spinning blades in it.

Use Viper Drive
Down in the lower area, Rhys says to pop another Viper Drive in. Take out all the “Death Spheres” and head over to the console.

Inspect Spheres: 0/3
Rhys tasks you with heading around the area and checking for a sphere he can use to remote in and hack the door manually. The final one is up on top of a platform you can get up to by climbing the box on the East side.

Use Viper Drive
Once you’re up there, interact with it, then again to place the Viper Drive inside so Rhys can remote in.

Follow Rhys-Ball
Follow the now Rhys controlled sphere over to the door, then through into the next room.
Clear the Way
Rhys’ ball doesn’t have any weapons attached, so you’ll have to clear out the enemies ahead without any help from him. Make sure to head into the side rooms in this area while you’re clearing enemies, there’s lots to loot in here.
Follow Rhys-Ball
Once all the enemies are dealt with, continue following Rhys to the next door. Katagawa has put up a firewall blocking you from entering the final room though.
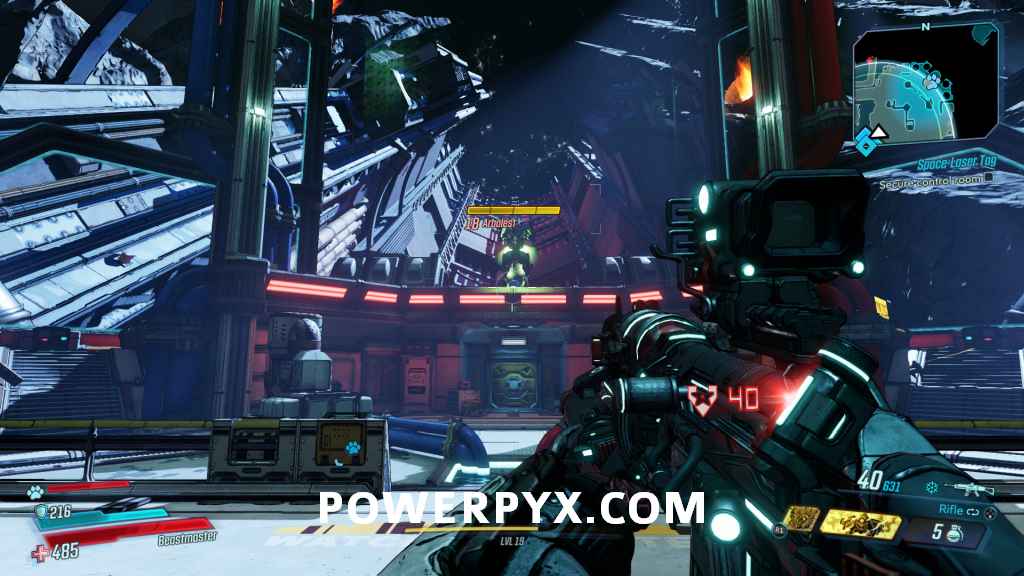
Destroy Servers
Head into the next area to go towards the server location. There will be more spheres and more Maliwan troops for you to fight through. This will be your first time seeing an Arbalest, which is a large bipedal mech that zips around and shoots rockets at you.

Head through into the next room, and shoot the barrels against the wall to destroy the servers.

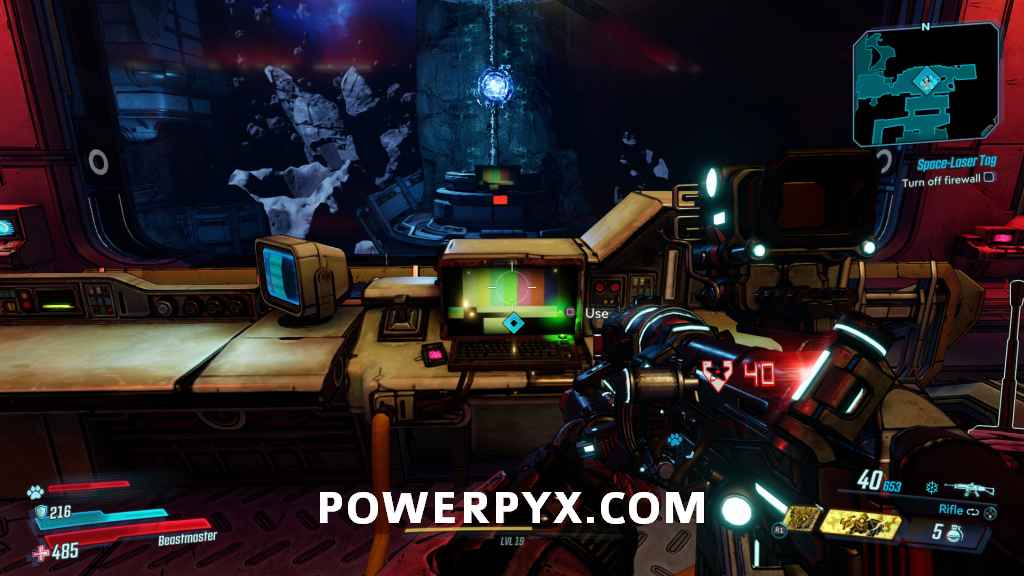
Turn off Firewall
Back in the main part of the room, interact with the console to disable the firewall.
Return to Rhys-Ball
Head back over to where Rhys is waiting for you.
Take Elevator into Control Room
Rhys opens the firewall, then you can head into the next room. Activate the elevator to head down to the control room.
Secure Control Room
You now will have to take out all the enemies in the room. There will be another Arbalest in here waiting for you, along with the general Maliwan riff raff.
Defend Rhys-Ball
After the first group of enemies are defeated Rhys will come in and start hacking the laser. Keep taking out the enemies while he’s working away.
Fire Laser
Head up to the console and do what you’re told.

Defeat Katagawa Ball

Katagawa shows up controlling a ball of his own now, stopping you getting the Vault key fragment. This boss has 3 life bars, one for it’s outer armor and two inner shields. For the first part it will shoot lots of rockets at you for the most part, and they do a ton of damage so make sure to get away when it’s firing unless you can tank the damage with an ability.
Once you’ve broken the outer armor it will start doing lots of line of sight attacks, where basically if you’re out of cover it will damage you while attack. Hide behind some cover if you can while it’s doing these, then come back out and pump into it when it’s not attacking. Both shield phases are about the same. Once it’s destroyed pick up all your loot.
Take Vault Key Fragment
Once you’ve got your loot, head back to the center of the room to grab the key fragment out of it’s receptacle.

Return to Sanctuary
Head back to Sanctuary once you’re done in this location.
Give Vault Key Fragment to Tannis
Head back to Tannis in her lab and give her the fragment of the Vault Key.
Talk to Lilith
Head over and speak to Lilith to finish off the mission and get your reward.

This finishes Space-Laser Tag main mission in Borderlands 3. Now the next quest Atlas, At Last becomes available.
Next Up: Atlas, At Last
For all other Mission Walkthroughs, check out our complete Borderlands 3 Walkthrough.
Leave a Reply