
Hostile Takeover is the 6th main story mission in Borderlands 3 (BL3). This walkthrough will guide you through all objectives of the Hostile Takeover Main Quest.
Hostile Takeover is unlocked when you complete Sanctuary.
Planet: Sanctuary
Area: Sanctuary
Quest Giver: Lilith
Requirement: Complete Main Mission Sanctuary
Recommended Level: 12
Reward: 935$ / 3961XP / ability to equip Class Mods / green Class Mod (for your character class)
Mission Info: The Calypsos want to open a Vault on Promethea, so we need to beat them to it. We’ll need to make friends with Atlas Corporation if we want to find the Vault. But Atlas has its own set of megacorp-sized problems that could be solved by a gun-wielding go-getter such as yourself.
Objectives:
- Talk to Ellie
- Navigate to Promethea (Potentially)
- Use drop pod
- Answer distress call
- Talk to Lorelei
- Contact Rhys
- Follow Lorelei
- Talk to Lorelei
- Digistruct vehicle
- Travel through Meridian Spillways
- Destroy a hover wheel technical
- Pick up ECHO log
- Travel through Meridian Spillways
- Follow Lorelei
- Talk to Lorelei
- Defend civilians
- Liberate Watershed Base
- Open base door
- Kill Maliwan pyros
- Contact Rhys
- Talk to Lorelei
- Digistruct vehicle
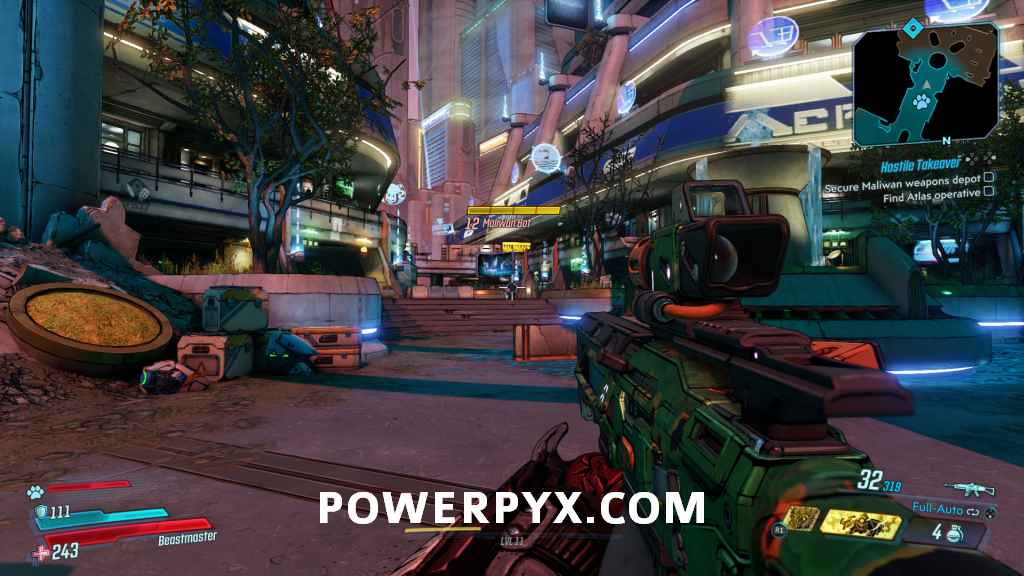
- Find Atlas operative
- Secure Maliwan weapons depot
- Talk to Zer0
- Defeat Maliwan security bots
- Lower security field
- Defeat Maliwan counterattack
- Loot weapons depot
- Pick up holoblade upgrade
- Take gun from Zer0
- Give Zer0 holoblade upgrade
- Meet Zer0 at Halcyon Spaceport
- Kill Gigamind
- Take Gigamind’s Gigabrain
- Return to Watershed Base
- Contact Rhys
- Insert Gigabrain into Gigareader
Starting Location: Sanctuary

Talk to Ellie
After the mission is started you need to head over and talk to Ellie. She is in a room just off the side of the large cargo bay that you vented everything out of during Sanctuary. Speak to her and she’ll tell you that you’ve got to get in to the drop pod to get down to the planet and establish the fast travel point.

Navigate to Promethea (Potentially)
If you did other missions on Pandora between finishing Sanctuary and now you’ll have to go back up to the bridge and use the console to navigate back to Promethea orbit.

Use Drop Pod
Interact with the drop pod to head down to Promethea, where you will start in the area Meridian Outskirts.

Answer Distress Call
Once you’re on the planets surface you’ll be dropped outside the city, and Lilith will task you with heading towards it to answer a distress call. The area on the way will have lots of small endemic animal type enemies for you to fight through.

Midway towards the objective Tyreen will start talking to you over the radio, then start spawning in a number of COV enemies to slow you down. Take them out and keep moving towards the objective.

Talk to Lorelei
Once you reach the waypoint you’ll be introduced to the character Lorelei, who finishes off the rest of the raiders then gets you to come over and speak to her.

Contact Rhys
She explains a little about what’s going on, and says you need to go contact Rhys, who is her boss and the CEO of Atlas Corporation.
Follow Lorelei
While she’s explaining some more things, follow her inside.
Talk to Lorelei
Speak to her again when you’re ready to progress.
Digistruct Vehicle
Activate the Catch-a-Ride terminal and pick a vehicle to drive.
Travel Through Meridian Spillways
Follow Lorelei forward with your vehicle, shortly bandits driving different manner of other vehicles will spawn and start attacking you.
Destroy a Hover Wheel Technical
Some bandits will spawn driving a new vehicle type, which is a large more armoured vehicle on a hover setup. Destroy it so that you can find out where the COV are getting the Maliwan items from.

Pick Up ECHO Log
After it’s destroyed it will drop an ECHO log, head out of your vehicle and grab it off the ground.

Travel Through Meridian Spillways
You won’t learn much from that ECHO log. Get back in your vehicle and keep progressing towards the objective marker.
Follow Lorelei
Once you get to the dead end tunnel, get out of your vehicle and follow Lorelei on foot. She explains about what’s going on with the war between Atlas and Maliwan.
Talk to Lorelei
Speak to her again when you want to continue, or just continue down the path and that will trigger the mission to progress as well.
Defend Civilians
A number of COV Bandits and Maliwan soldiers will start spawning into the tunnel, take them out with Lorelei and the other Atlas soldiers. This will likely be your first run in with enemies with blue regenerating shields on the Maliwan soldiers.

Liberate Watershed Base
Head forward and interact with the force field to travel to the next area, Meridian Metroplex.

Head forward into the tunnel where you’ll run into the first group of enemies, all Maliwan soldiers with shields. Push through and out to the street.

Head to the right to take on the next group of enemies, where you’ll have your first run in with the Maliwan Heavy Soldiers. These guys take a lot more damage than the prior enemies and will lob large projectiles and elemental area of effect attacks at you.

Open Base Door
Once all the enemies are dealt with, head over to the marked button to open the door and get inside.
Kill Maliwan Pyros
Once you’re inside two more heavies will spawn, this time a pair of Pyros that shoot fire elemental attacks at you. If you shoot the ball on their back that functions as a critical, so get behind them if you can and shoot that.

Contact Rhys
You’re now finally at the terminal that you can use to contact Rhys in Atlas HQ. Interact with it to give him a call.

Talk to Lorelei
Before heading out go speak to Lorelei again. She gives you a cyclone vehicle to use now, which is a giant wheel that you sit inside.
Digistruct Vehicle
Use the terminal to spawn a Cyclone.

Find Atlas Operative
Head through the streets over to the map objective, you’ll reach a barricade that you have to exit your vehicle to proceed through.

Secure Maliwan Weapons Depot
Head forward into the main plaza area, pushing through the enemies that spawn in. Once you get to the next area, you’ll run into some Maliwan robots for the first time.
Continue past all the enemies and down the stairs to meet the Atlas operative, looking out over a balcony.

Talk to Zer0
Head over and speak to him after you’ve watched him chop up some robots, then head towards the next area.
Defeat Maliwan Security Bots
Zer0 explains that all the security bots in the area are malfunctioning, and helps you take them out while you progress.
Lower Security Field
Head up to where Zer0 is waiting, and interact with the console to lower the security field around the area so you can get into the weapons depot.

Defeat Maliwan Counterattack
Dropping the field allows a number of drop ships to come in, dropping off a number of angry Maliwan soldiers. Defend the area and take them all out with Zer0’s help.
Loot Weapons Depot
Head upstairs and into the newly opened door. Before dropping in the hole there will be a red Maliwan chest just to the left that you should loot, along with a white one on the opposite side of the room. Just in the hole you should find another few one chests before heading into the room with the objective.

Pick Up Holoblade Upgrade
Go to the marked chest and open it, and grab the holoblade upgrade for Zer0.

Take Gun From Zer0
Zer0 offers you a trade for the upgrade, take the unique gun from him (which you also seem to be able to get out of one of the white chests in this area as well.

Give Zer0 Holoblade Upgrade
Place the upgrade in his now outstretched hand, so he can stick it to the bottom of his sword.
Meet Zer0 at Halcyon Spaceport
After a bit of monologuing from Katagawa Jr., Zer0 explains that he can now cut through Maliwan shields with his sword, and that you’re going to go take out the Maliwan Gigamind to steal it’s information. Head over to the marked area to meet up with him.

Kill Gigamind

The Gigamind is the final boss for this story mission. He uses a number of drones to launch attacks at you and protect himself, as well as uses them to shield all the small enemies that spawn around the arena. If you see one of these with a blue line attached to an enemy you need to destroy the drone first before you can damage the enemy it was attached to. Take out these small enemies first, then focus on the Gigamind itself. Once you take out his main blue shield he’ll use the drones to create a circular shield in front of himself and launch attacks using that, so when he stops moving get around behind him and lay into him until he dies.
Take Gigamind’s Gigabrain
Once he dies he’ll explode into a shower of loot, along with dropping his brain on the ground which you should pick up when you’re ready.

If you head over to the North side of the room there is also another red chest you can grab.

Return to Watershed Base
Fast travel yourself back to Watershed Base.
Contact Rhys
Interact with the console to call Rhys again and you’ll give him a little what’s what about helping out with the vault.
Insert Gigabrain into Gigareader
Slap the brain onto the marked spot on the terminal, and you’ll now complete the mission, earning yourself some money, a green class mod, and the ability to use them.
This finishes Hostile Takeover main mission in Borderlands 3. Now the next quest The Impending Storm becomes available.
Next Up: The Impending Storm
For all other Mission Walkthroughs, check out our complete Borderlands 3 Walkthrough.
Leave a Reply