
Deals with the Devil is a Story Quest (Side Mission) in Dying Light 2. This walkthrough will guide you through all objectives of the Deals with the Devil Side Mission.
Region: Houndfield
Quest Giver: Juan
Requirement: Agree to Juan’s proposal in Veronika, agree to help Juan in Welcome on Board and therefore complete the quest Cathedral, give the antenna to Juan in Broadcast
Reward: 1500 Combat XP, 4500 Parkour XP
Mission Info: Juan grew more obsessed with whatever he thought Matt was planning. Juan asked me for more help to locate the missing UV lamps.
Objectives:
- Adjust the frequency of the antenna
- Locate the signal
- Eavesdrop on the Renegades
- Don’t kill the Peacekeepers
- Avoid being detected
- Catch the Renegade driver
- Contact Juan
- Meet Juan at the canteen
- Track down the Renegade officer
- Defeat the Renegades
- Talk to Hakon
- Defeat Hakon
- Search the church for Hakon
- Leave the church
- Kill Hakon
- Report to Juan
Starting Location: Deals with the Devil
 |
 |
Adjust the frequency of the antenna
Juan wants your help looking for the UV lamps again, and asks you to climb up to the top of the smokestack by the substation in Old Villedor.

You can climb to the top using the ladders up the side closest to the roof which have handholds in between, then interact with the box at the top.
Locate the signal
The signal will be located in a small building nearby, slightly inside the THV covered area. You can glide directly to it from the smokestack using the Paraglider.
 |
 |
Enter the hatch, then climb down the ladder all the way to the bottom of the shaft.

Head through the hallway and interact with the door at the end.

Eavesdrop on the Renegades
After the scene, you will need to move down the tunnel to eavesdrop further on what is happening.
Don’t kill the Peacekeepers / Avoid being detected
This is another area where you aren’t allowed to be spotted or kill any enemies, so make sure to use your Survivor Sense to spot where the PKs are.

The first location for eavesdropping you can just move directly to, the enemies won’t spot you near it.

You now need to move down further to eavesdrop more. To do that, you want to climb up onto the platform in the spot where there is no railing and go through the door into the hallway behind.

There is one enemy in the next room who you can avoid by going through the lower area to the left, then climbing up to the other side.

Through the next doorway there will be two PKs to the right, then one walking back and forth along the tracks in front of you. The two on the right can be ignored, they don’t move so won’t spot you, just wait for the one on the tracks to walk back to the left to allow you to move to the train car.
 |
 |
Catch the Renegade driver
After you are finished eavesdropping you will need to chase down the driver who spotted you. Follow the objective marker through the train and tunnels until you catch up with him.

After you catch up you can speak with him, then interact however you want.

Contact Juan
You will automatically contact Juan, then need to leave the area. You can get out of the tunnels by going through the vent behind Steve, then climbing out of the shaft.
Meet Juan at the canteen
 |
 |
Head back to the Fish Eye, where you can meet Juan upstairs in the VIP area.

Track down the Renegade officer
Juan wants you to find a Renegade officer to help as a witness against Jack Matt.
 |
 |
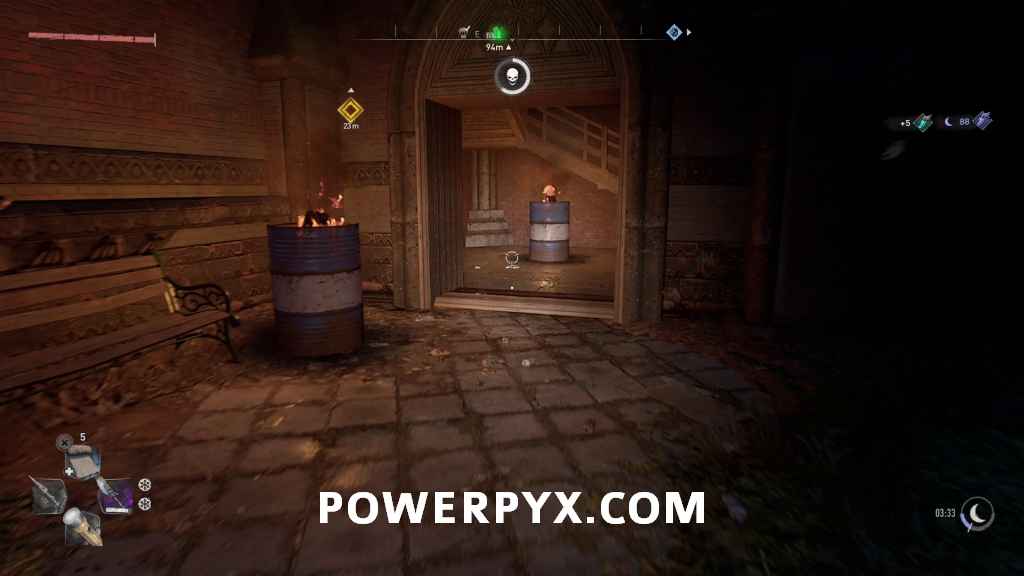
Head to the marked location to reach the church. To get inside you can go to the west corner of the building where there is a burning barrel outside an open door.
Climb up into the church, then interact with the board blocking the window to enter the church proper.

Hakon shows up but turns out he just wants the GRE key from you. This first timed choice doesn’t really matter.

Defeat the Renegades
Hakon summons some Renegades to attack you and attempt to get the key. There will be some on the lower level with you, then a few more on the upper level shooting at you with bows. Deal with them all to continue.

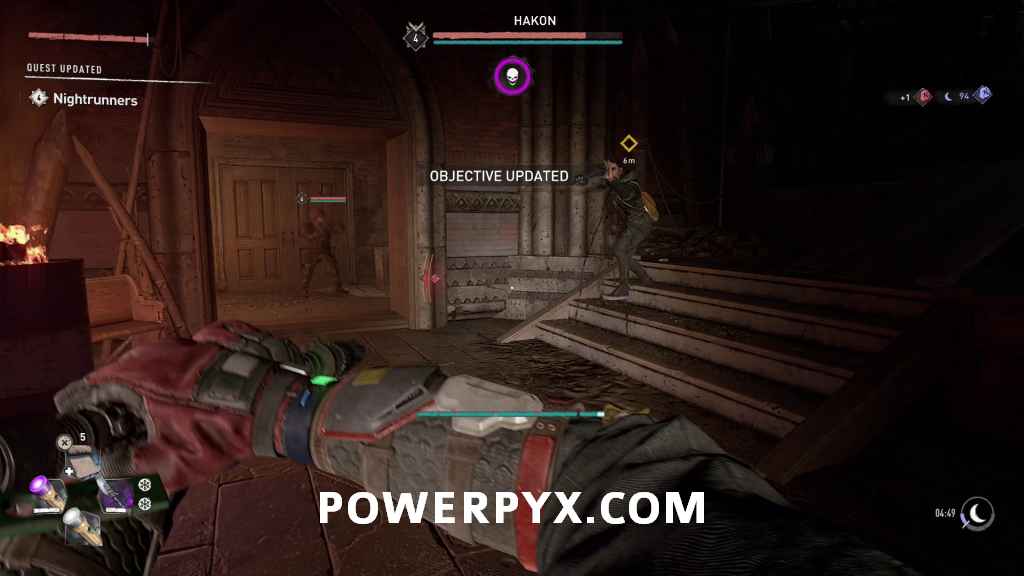
Talk to Hakon
After all the Renegades are dealt with Hakon will appear again downstairs. Go over and speak with him again.

Defeat Hakon
Hakon still wants the key, so now you will have to fight him. Some more Renegades also appear to make the fight more interesting.
Like normal human bosses, you can set Hakon on fire to more easily deal with him.
Search the church for Hakon
Once you get Hakon down to low health you will pass out and he will run off. Before going to find him, you can grab a memento off a nearby bench.
Memento – The Ambush Tactic

To find Hakon, you need to the upper section of the Church. Jump from the middle walkway up to the balcony with the red fabric hanging from it.

Interact with the door on the left.

Hakon knocks you down to the lower level, and you will have to fight him again.

Leave the church
Having defeated Hakon for good, you can now leave the church through the door on ground level.

Just kidding Hakon isn’t dead yet. You now get another choice, but what occurs here is dependent on a prior story choice.

If you had chosen to help Hakon all the way back in Revolution or Into the Dark and subsequently did the side quest Sniper’s Alley, choosing “Let’s not fight” will result in Hakon backing down.
If you didn’t choose to help Hakon or choose “Come any closer, and I’ll have no choice.”, then Hakon attacks again, resulting in you killing him for good.
Report to Juan
After you are done you can leave the church, and you will automatically report what has happened to Juan.
This finishes Deals with the Devil side quest in Dying Light 2 Stay Human.
For all other Main Quests and Side Quests, check out the complete Dying Light 2 Walkthrough.
Leave a Reply