PowerPyx.com

PowerPyx

  • Trophy Guides
  • Game Guides
  • Wikis
  • Trophy Lists
  • Next Guides
  • Contact
Show SearchHide Search
Home » Game Guides » GTA V » GTA V Casing the Jewel Store Gold Medal Walkthrough

GTA V Casing the Jewel Store Gold Medal Walkthrough

August 1, 2026 by Jack McBastard Leave a Comment

Casing the Jewel Store is the 11th main story mission in GTA V (Grand Theft Auto 5). This walkthrough shows how to get all Gold Medals in Casing the Jewel Store for 100% completion.

Gold Medal Requirements:

  • Mission Time: Complete within 08:00
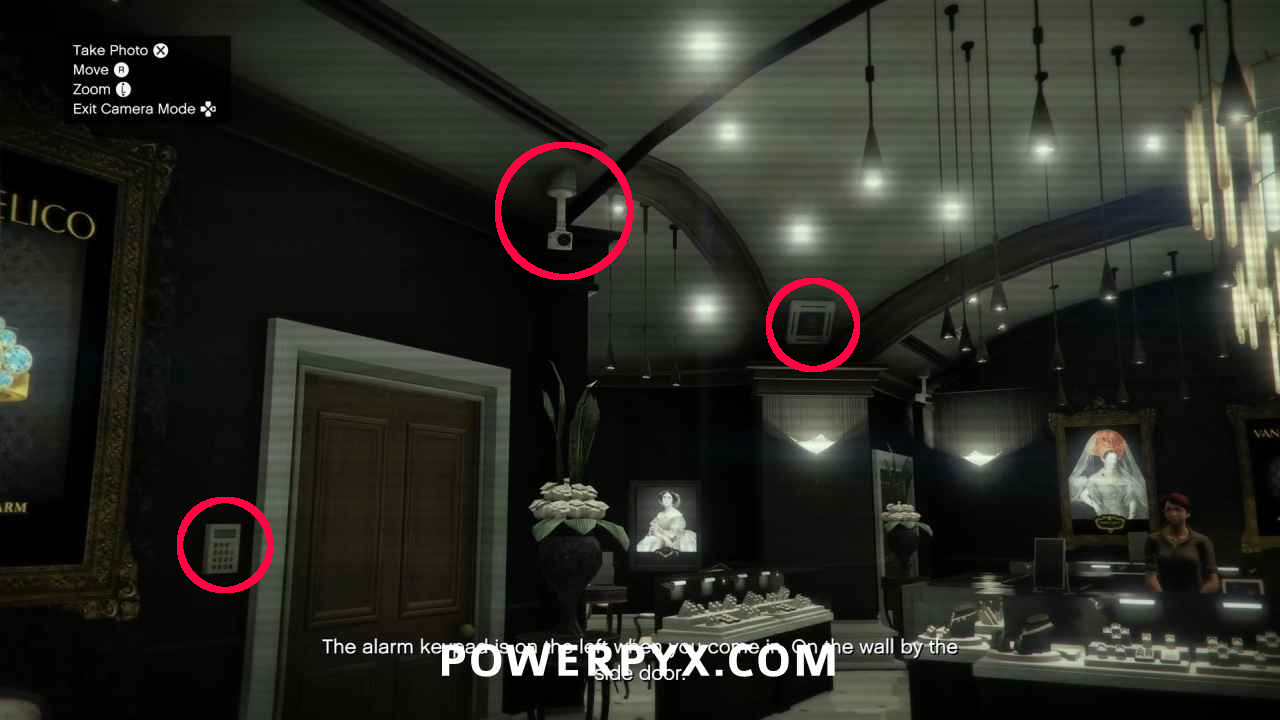
  • Perfect Picture: Capture all 3 security features in one picture

Walkthrough Video

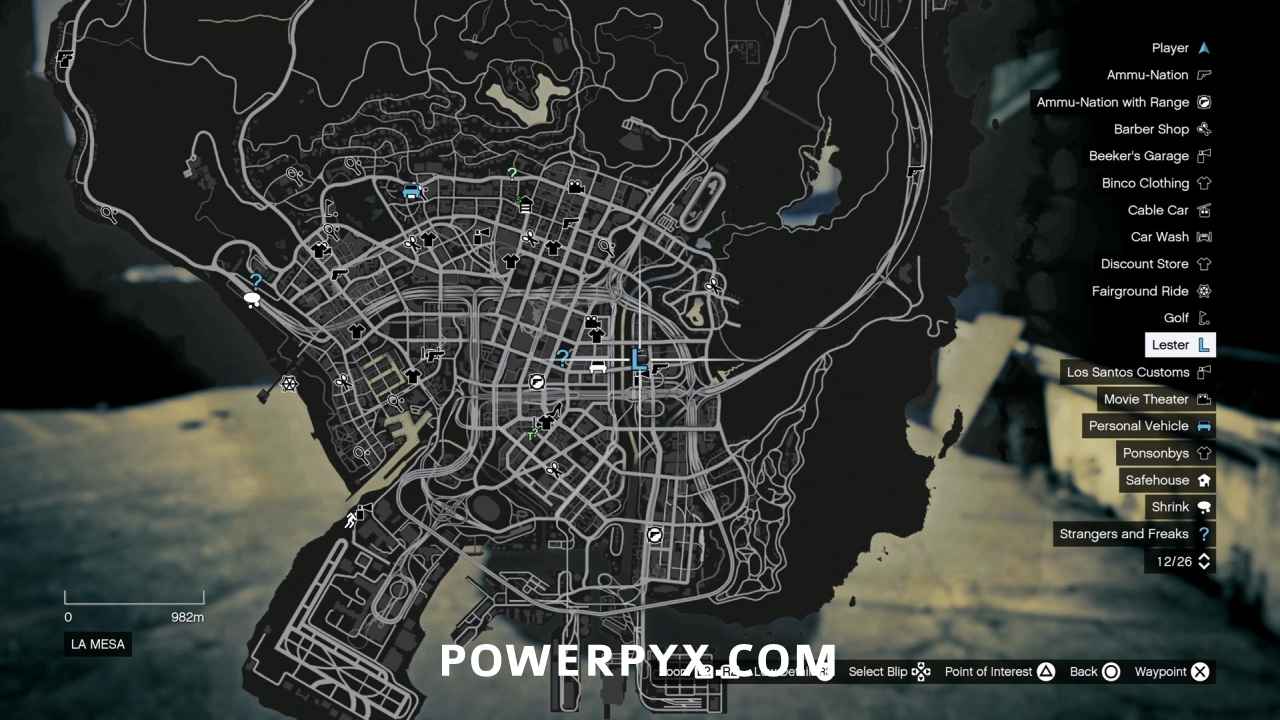
Starting Location: Casing the Jewel Store

  • Location: La Mesa / Popular Street
  • Quest Giver: Lester
  • Requirement: Complete “Friend Request” and be wearing a suit
  • Can Be Started By: Michael

Go to Rockford Hills

You’re working against the clock, so skip the cutscenes!

  • Mission Time: Complete within 08:00

Quickly drive Lester to the objective marker and park. Since vehicle damage is not a Gold Medal requirement in this mission, feel free to drive aggressively.

Go to the Jewelers

Run to the north and go around the corner towards Vangelico. When you get within range of the store you will be forced to walk so you don’t seem unusual to security.

Take Photos of Security

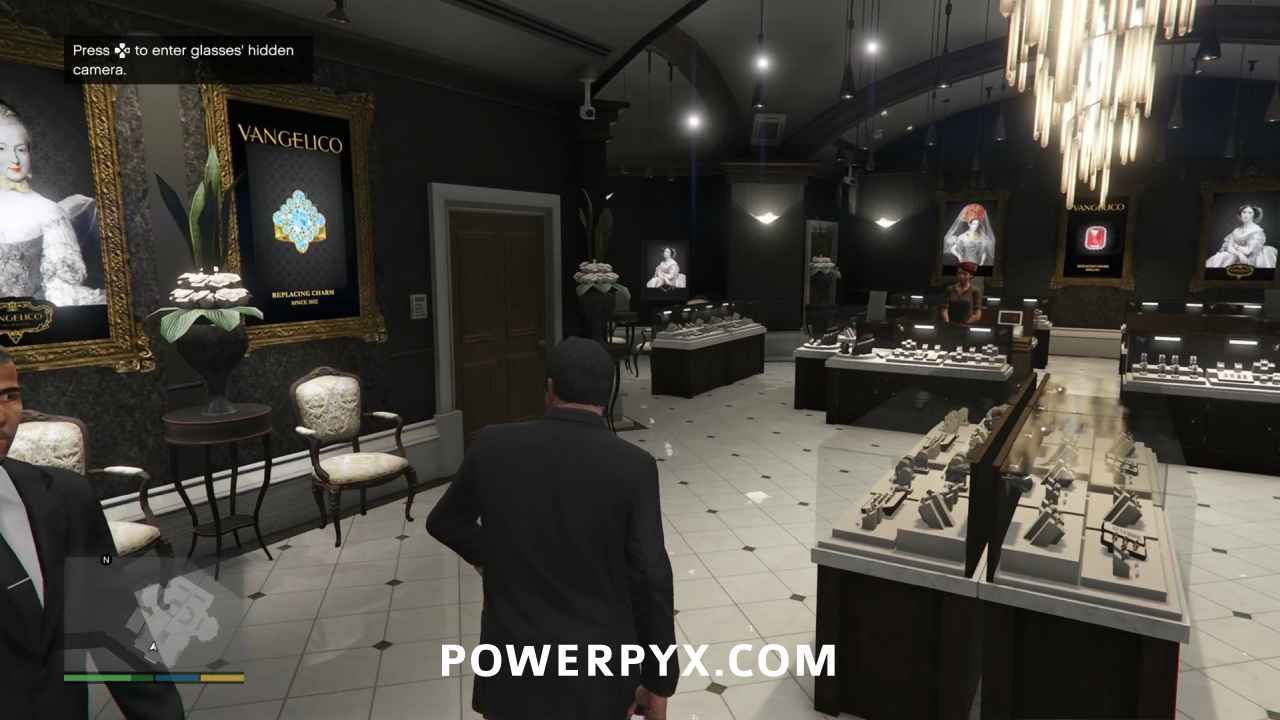
Immediately when you enter Vangelico, you can complete the first Gold Medal requirement:

  • Perfect Picture: Capture all 3 security features in one picture

Turn slightly to the left and you will be able to capture the alarm keypad, a camera, and a vent in the same photo. Press :right: to activate your glasses’ camera mode then press :x: / :a: to take the photo.

Speak to the Shop Assistant

Lester asks you to speak to the shop assistant to see if there’s “anything else we need to know”. Walking over to her triggers a cinematic, which you should skip.

Get Back in Your Car

Head back the way you came, breaking into a run when you are able to do so.

Find an Access Point to the Roof Top

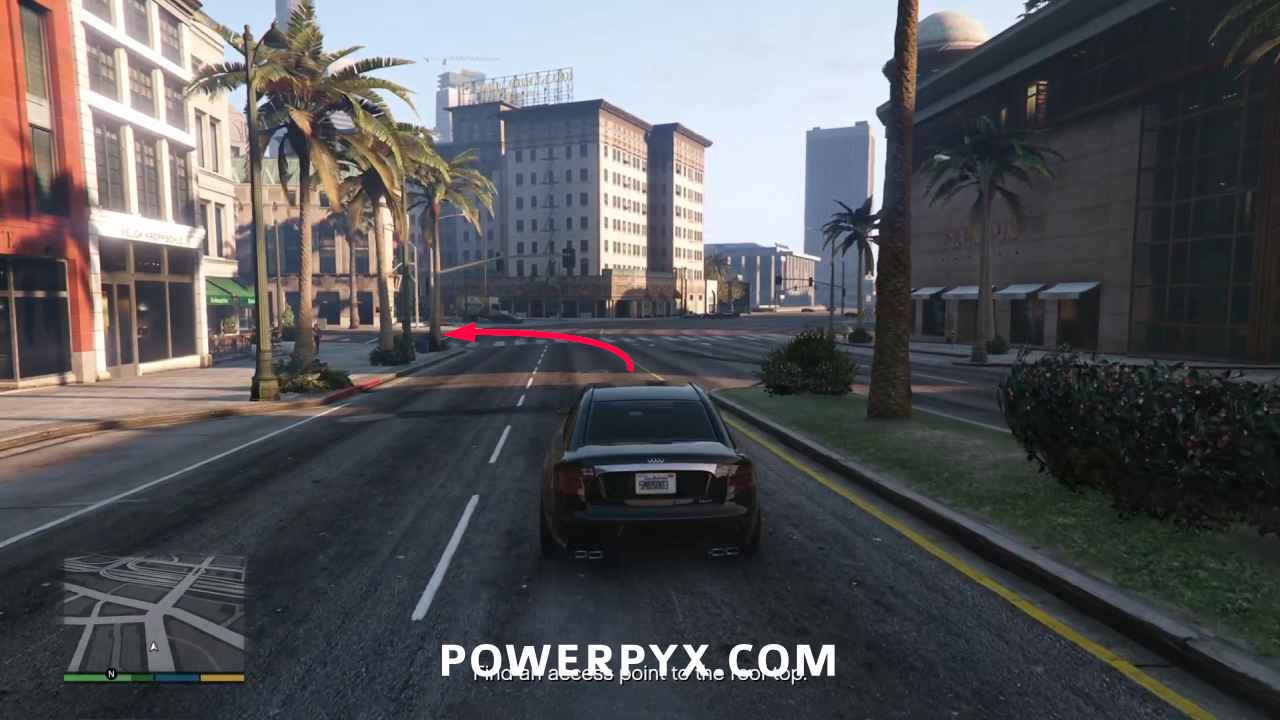
Turn around and head southeast on Portola Dr., then make a left at the corner onto Carcer Way. At the corner on your left Lester will point out a store that is under construction. Park on the objective marker and go inside.

Go to the Roof Top

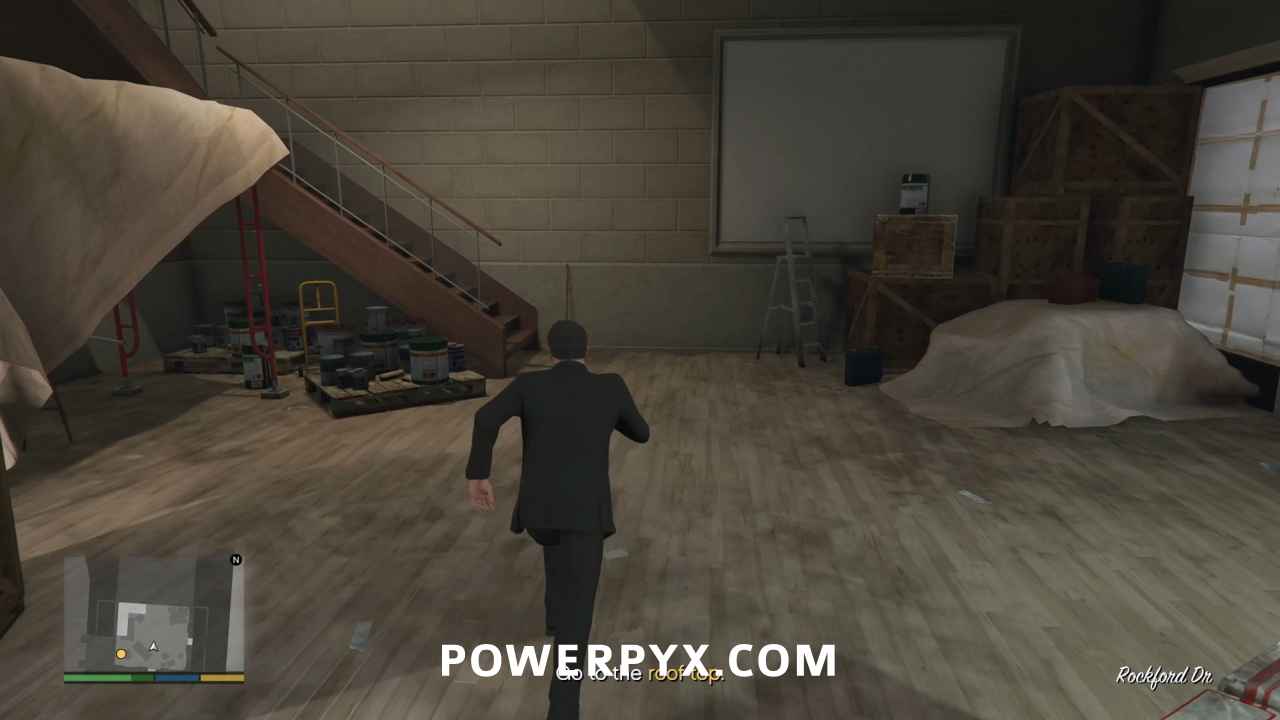
Keep in mind that you’re still on the clock, so always be running. Go inside the store, go up the stairs, and at the top turn right to find a door leading to a ladder.
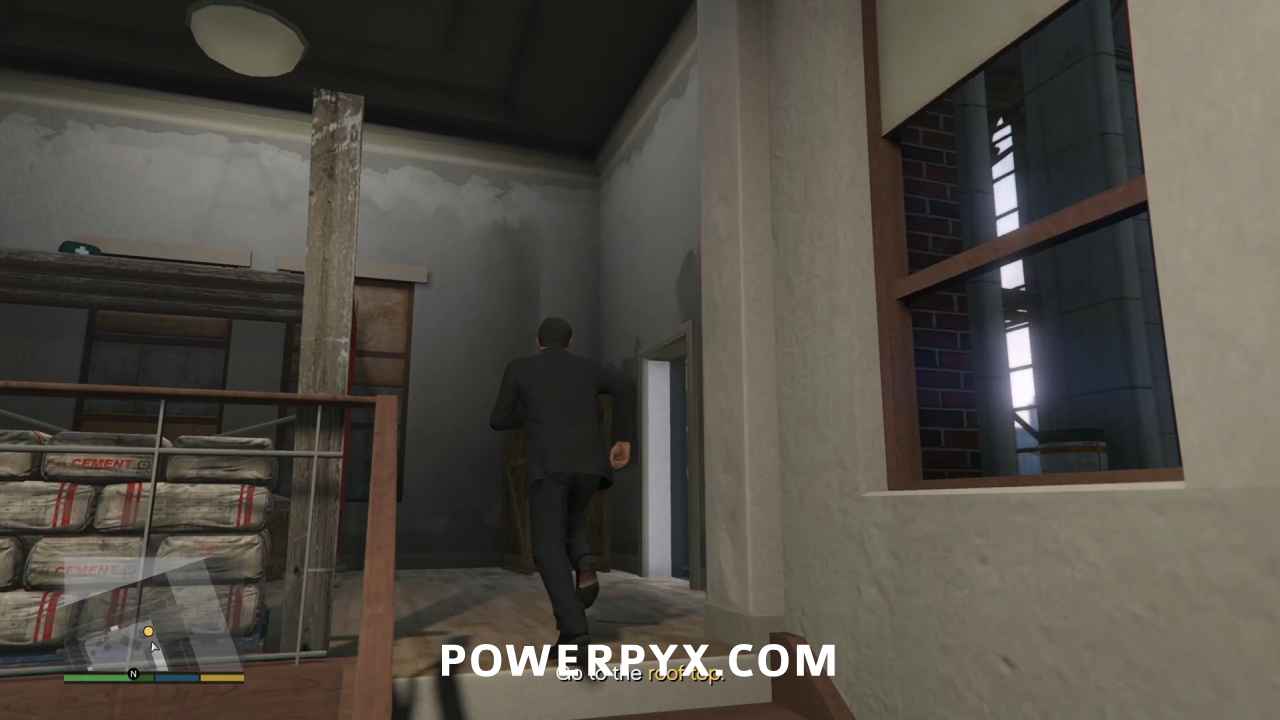
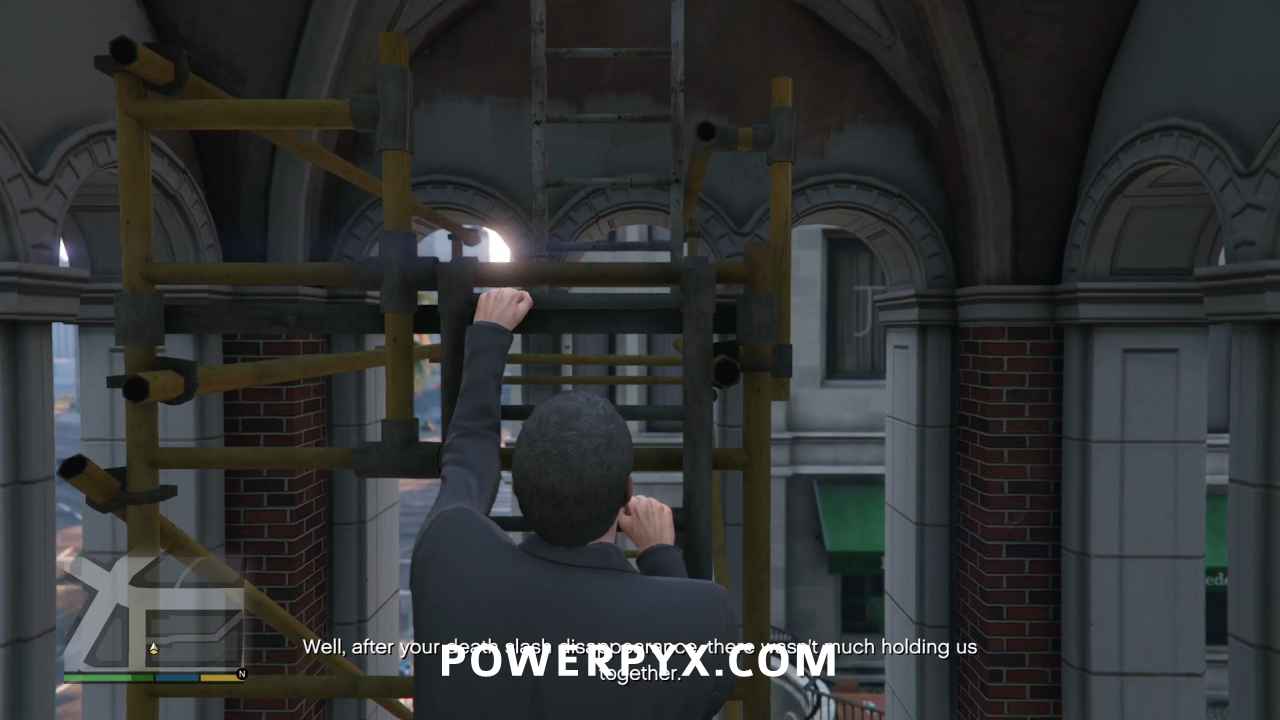
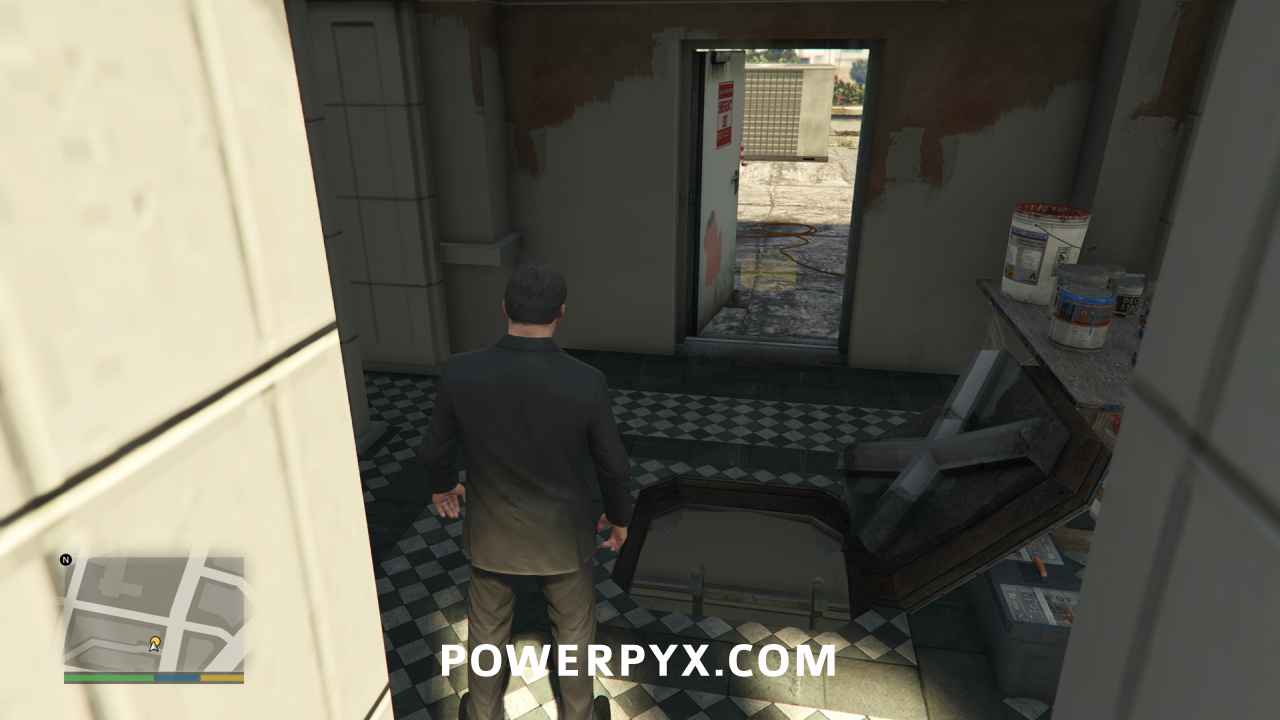
Climb the ladder to the top of the scaffolding, then climb a second ladder through a hole in the ceiling. Once through the roof hatch, turn around and go through the door onto the roof.
Get to High Ground and Take Some Shots

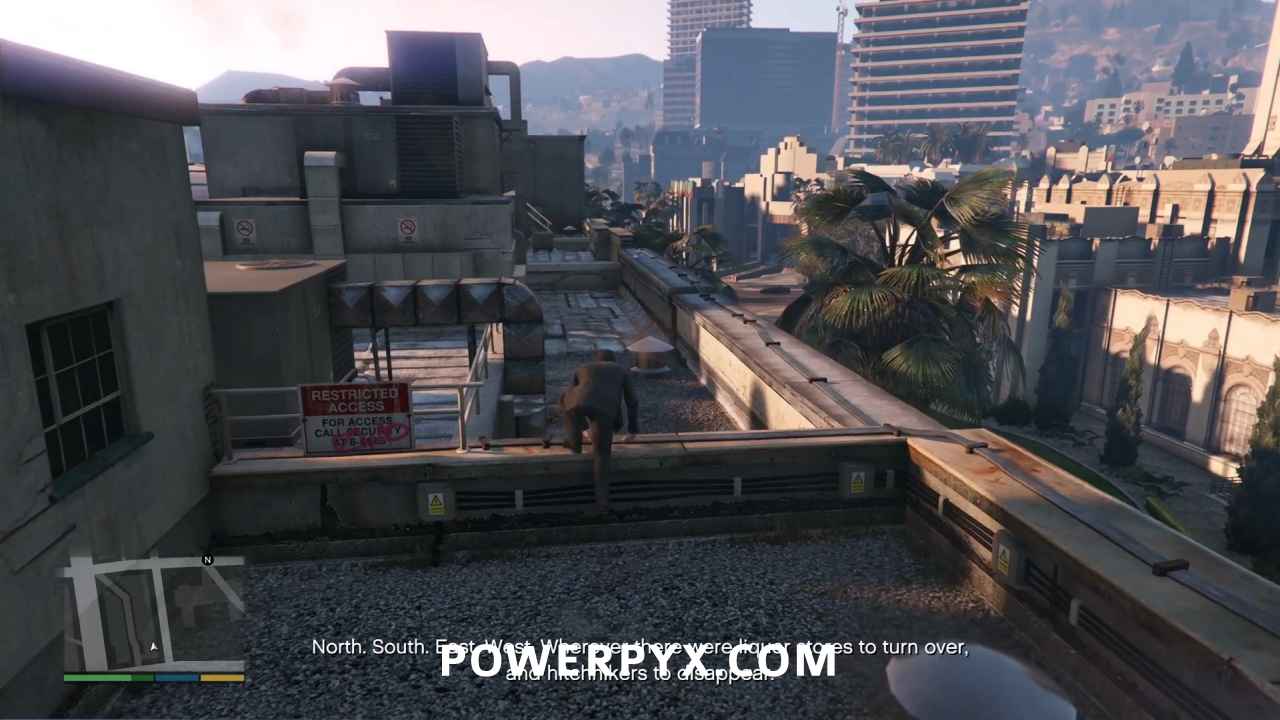
Turn left and run across the rooftops until you reach the stairs.
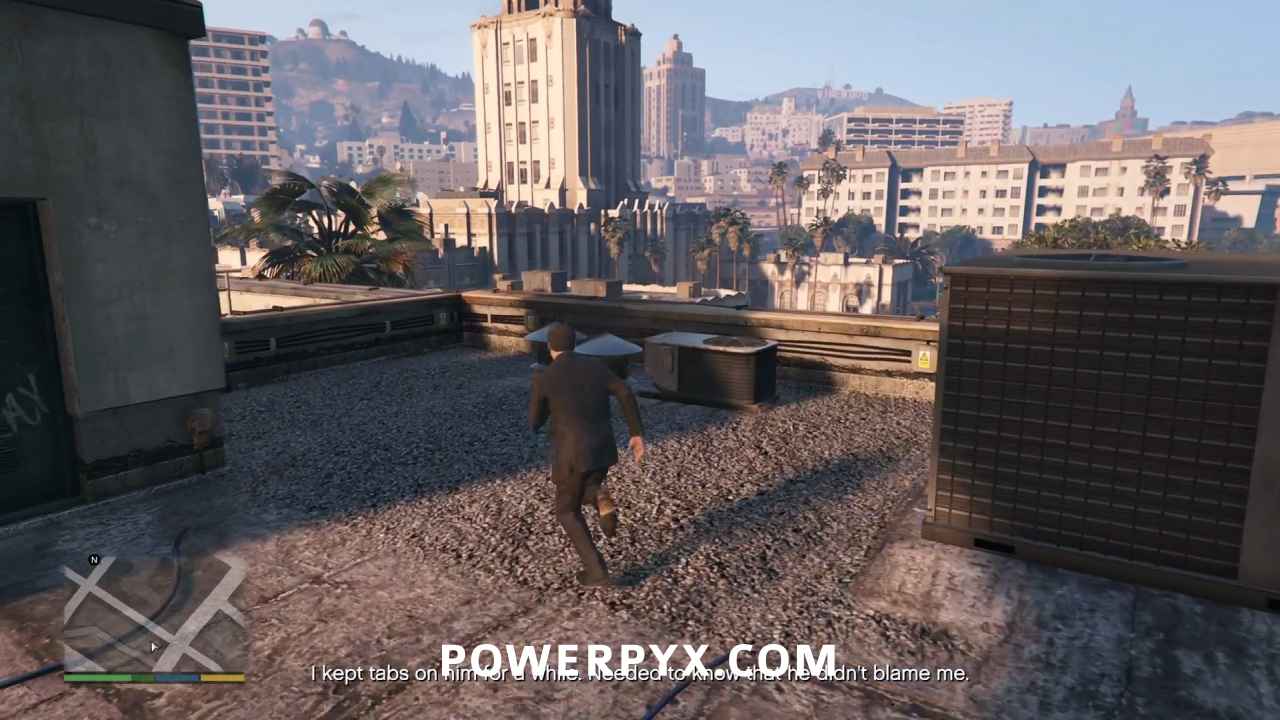
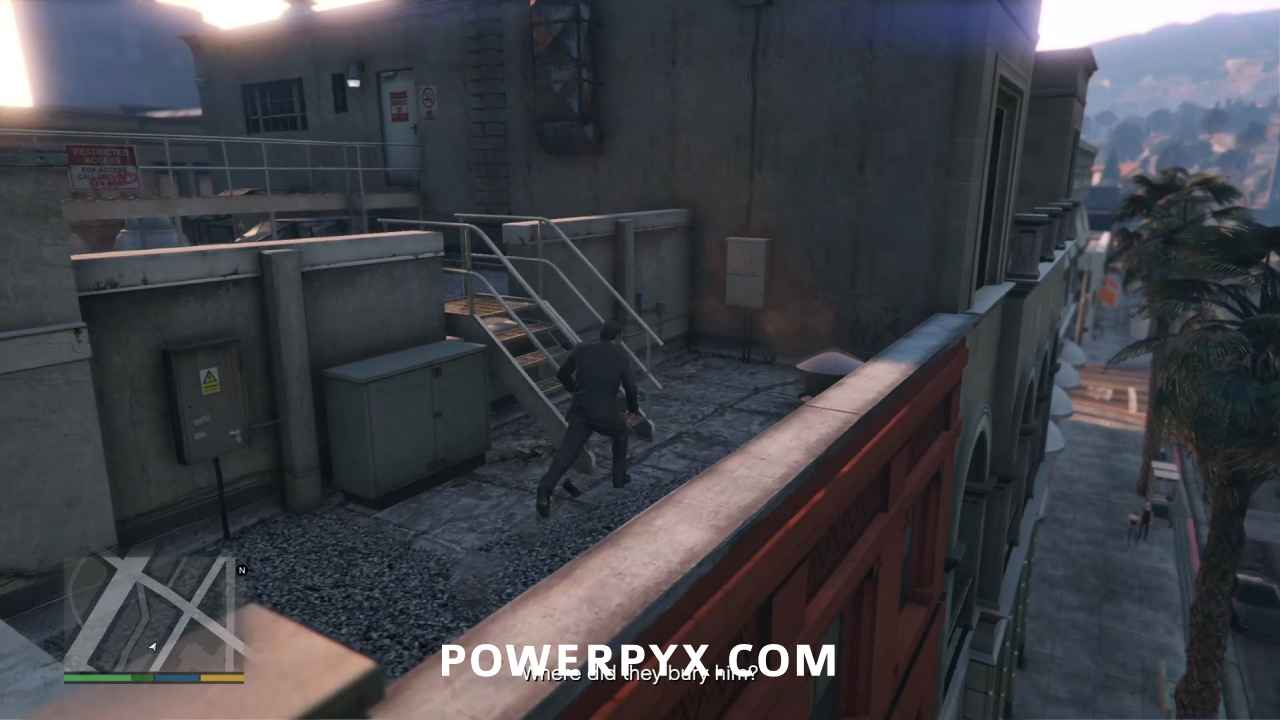
Climb the stairs then go up the ladder on the nearby wall. Then run around the walled off HVAC unit and keep going straight ahead to the edge of the roof.
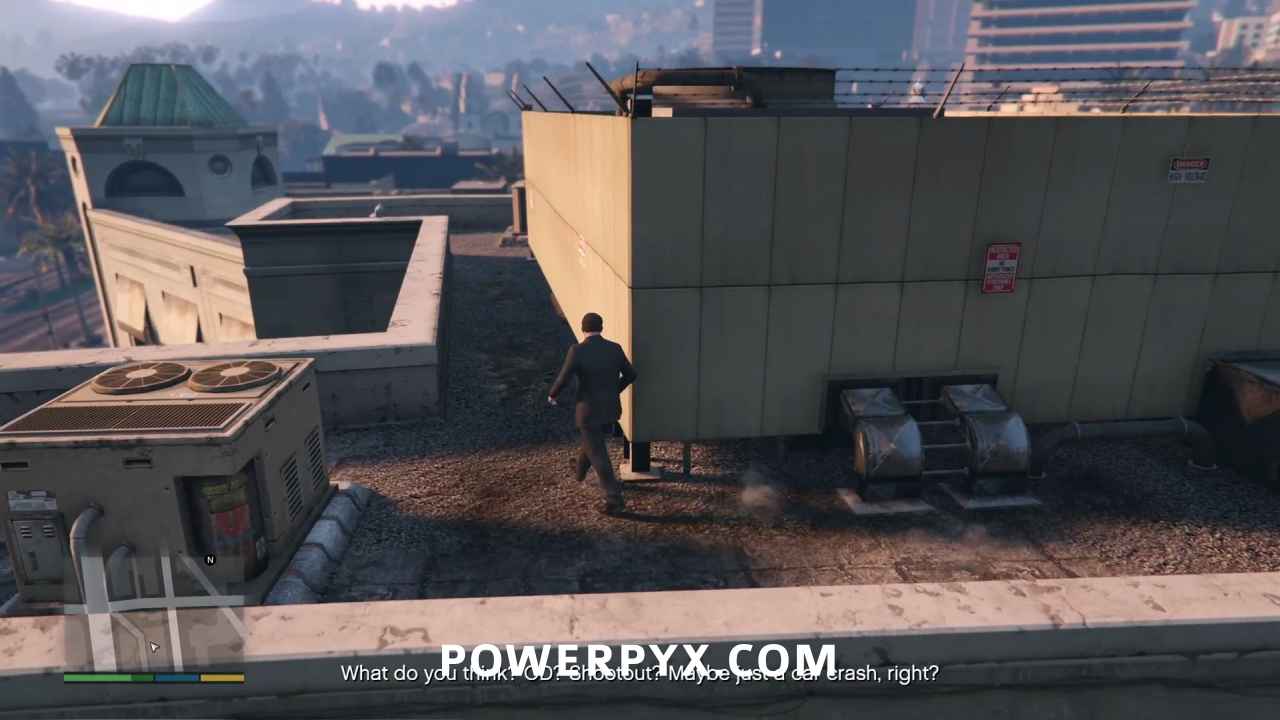
Go to the Vantage Point

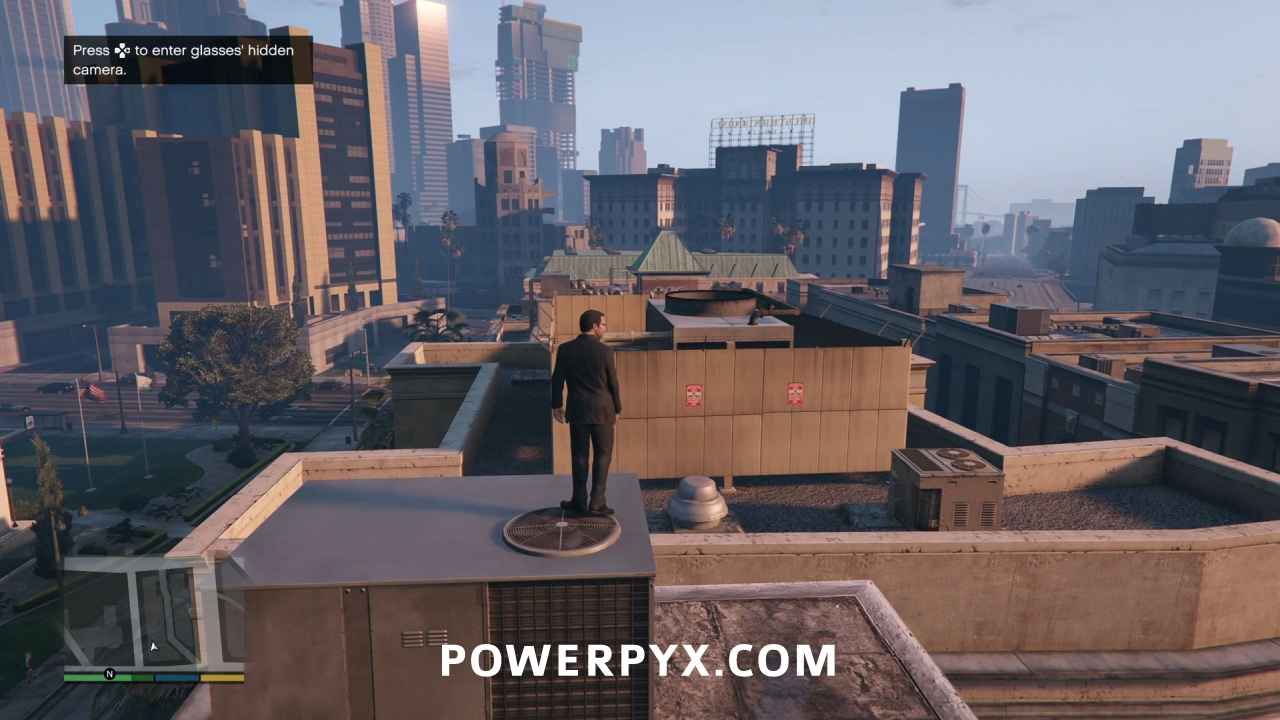
Drop down onto the next roof, then climb the HVAC units to your right until you’re at the very top. Turn around to face the walled off HVAC unit you’d just passed, and now from your elevated position you will be able to see over the wall.
 

Take a Photo of the Vent

Once again, press :right: to activate your glasses’ camera mode then press :x: / :a: to take the photo of the vent.

Get Back in Your Car

Quickly drop down and run all the way back to your car.

Go to the Garment Factory

Drive back to Lester’s factory as fast as possible. When you reach the objective marker, you will trigger another cinematic which you should skip.

Select Your Heist Strategy

Lester will explain the heist plans, laying out the elements needed for each approach. While all of this is useful information, your mission clock is still running while he is talking so you should keep hitting :x: / :a: to skip the heist dialogue.

The only important choices are:

  • Which heist approach you will choose. Press :up: / :up2: for Loud, and :down: / :down2: for Smart, then press :x: / :a: to select.
  • Which crew members you want for each role.

For the purpose of getting gold in this mission, your choices don’t matter as much as the time it will take to make them. If this is your first time through this mission however you should take a couple things into consideration while making your choices.

  • Choosing the Smart Approach will unlock two heist prep missions with Gold Medals, as opposed to the Loud Approach which only unlocks one. These are easy Gold Medals to earn, if you are having difficulty reaching your 70 needed for :gold: Solid Gold, Baby!
  • Choosing a talented driver and gunman will make the Clean Sweep Gold Medal requirement on “The Jewel Store Job” much easier to accomplish as they will loot cases more efficiently.
  • Choosing a talented hacker gives you more time in the heist before the alarms go off, but if you are trying to get all Gold Medal requirements at once you won’t gain any additional benefit. The least talented hacker Rickie will give you 0:50 before the alarms sound, which is exactly enough to meet the Gold Medal requirement for Quick Grab. That said, it is extremely tight timing to get Quick Grab and Clean Sweep simultaneously, as it will largely come down to how well the other crew members loot cases, which can sometimes put you at the mercy of RNG.

Once you’ve made all your selections and finalized your decisions, a cinematic will play to end the mission. The clock’s still running though, so skip it!

This finishes Casing the Jewel Store in GTA V.

For all other Missions refer to GTA V Walkthrough.

This walkthrough has been updated for the Enhanced Version on PC / PS5 / PS4 / Xbox Series S/X and is also still applicable to the Legacy version.

« PrevGTA V The Long Stretch Gold Medal WalkthroughNext »GTA V Bugstars Equipment Gold Medal Walkthrough
Share
Tweet
Shares 0

Filed Under: Game Guides, GTA V

Leave a Reply Cancel reply

Your email address will not be published. Required fields are marked *

Youtube 1,230,000Subscriber
Facebook 15,000Fans
Twitter 19,700Followers

Latest Trophy Guides

Halo Campaign Evolved Trophy Guide

Assassin’s Creed Black Flag Resynced Trophy Guide

UFC 6 Trophy Guide

007 First Light Trophy Guide

Pragmata Trophy Guide

Crimson Desert Trophy Guide

Resident Evil Requiem Trophy Guide

Ghost of Yotei Trophy Guide

Kingdom Come Deliverance 2 Trophy Guide

Red Dead Redemption 2 Trophy Guide

Latest Game Wikis

Assassin's Creed Black Flag Resynced Wiki

Crimson Desert Wiki

Resident Evil Requiem Wiki

Ghost of Yotei Wiki

Borderlands 4 Wiki

Kingdom Come Deliverance 2 Wiki

Elden Ring Wiki

Hogwarts Legacy Wiki

God of War Ragnarok Wiki

Cyberpunk 2077 Wiki

Red Dead Redemption 2 Wiki

GTA V Wiki

Recent Posts

  • GTA V Trophy Guide & Roadmap
  • GTA V 100% Completion Checklist & Guide
  • GTA V Gold Medals Walkthrough – All Missions
  • GTA V Collectibles Guide – All Collectible Locations
  • GTA V All Monster Stunt Jump Locations

GTA V Wiki

  • Wiki
  • Story Missions
    • Prologue
    • Franklin and Lamar
    • Repossession
    • Complications
    • Chop
    • Father/Son
    • Marriage Counseling
    • Daddy’s Little Girl
    • Friend Request
    • The Long Stretch
    • Casing the Jewel Store
    • Bugstars Equipment
    • BZ Gas Grenades
    • Carbine Rifles
    • The Jewel Store Job (Smart Approach)
    • The Jewel Store Job (Loud Approach)
    • Mr. Philips
    • Trevor Philips Industries
    • Nervous Ron
    • Crystal Maze
    • Friends Reunited
    • Fame or Shame
    • Dead Man Walking
    • Three’s Company
    • By the Book
    • Hood Safari
    • Did Somebody Say Yoga?
    • Scouting the Port
    • Minisub (Freighter Approach)
    • Cargobob (Off-Shore Approach)
    • The Merryweather Heist (Freighter Approach)
    • The Merryweather Heist (Off-Shore Approach)
    • Boiler Suits
    • Trash Truck
    • Masks
    • Tow Truck
    • Getaway Vehicle (Blitz Play Vehicle)
    • Hotel Assassination
    • Blitz Play
    • I Fought The Law…
    • The Multi Target Assassination
    • The Vice Assassination
    • The Bus Assassination
    • The Construction Assassination
    • Eye in the Sky
    • Mr. Richards
    • Caida Libre
    • Deep Inside
    • Minor Turbulence
    • Paleto Score Setup
    • Predator
    • Military Hardware
    • The Paleto Score
    • Derailed
    • Monkey Business
    • Hang Ten
    • Surveying the Score
    • Bury the Hatchet
    • Pack Man
    • Fresh Meat
    • The Ballad of Rocco
    • Cleaning Out the Bureau
    • Architect’s Plans
    • Fire Truck
    • The Bureau Raid (Fire Crew Approach)
    • The Bureau Raid (Roof Entry Approach)
    • The Wrap Up
    • Reuniting the Family
    • Legal Trouble
    • Lamar Down
    • Meltdown
    • Planning the Score
    • Stingers
    • Driller
    • Sidetracked
    • Gaunlet: Pillbox Hill
    • Gauntlet: Rockford Hills
    • Gauntlet: Mission Row
    • The Big Score (Obvious Approach)
    • The Big Score (Subtle Approach)
    • Something Sensible
    • The Time’s Come
    • The Third Way
  • Side Missions (Strangers & Freaks)
    • Abigail – Death At Sea
    • Abigail – What Lies Beneath
    • Barry – Grass Roots Michael
    • Barry – Grass Roots Trevor
    • Barry – Grass Roots Franklin
    • Barry – Grass Roots The Pickup
    • Barry – Grass Roots The Drag
    • Barry – Grass Roots The Smoke-In
    • Beverly – Paparazzo
    • Beverly – Paparazzo The Tape
    • Beverly – Paparazzo The Meltdown
    • Beverly – Paparazzo The Highness
    • Beverly – Paparazzo Reality Check
    • Cletus – Target Practice
    • Cletus – Fair Game
    • Dom – Risk Assessment
    • Dom – Liquidity Risk
    • Dom – Targeted Risk
    • Dom – Uncalculated Risk
    • Dreyfuss – A Starlet in Vinewood
    • Epsilon – Seeking The Truth
    • Epsilon – Accepting The Truth
    • Epsilon – Assuming the Truth
    • Epsilon – Chasing The Truth
    • Epsilon – Bearing The Truth
    • Epsilon – Delivering The Truth
    • Epsilon – Exercising The Truth
    • Epsilon – Unknowing The Truth
    • Hao – Shift Work
    • Josh – Extra Commission
    • Josh – Closing the Deal
    • Josh – Surreal Estate
    • Josh – Breach of Contract
    • Mary-Ann – Exercising Demons – Michael
    • Mary-Ann – Exercising Demons – Trevor
    • Mary-Ann – Exercising Demons – Franklin
    • Maude – Special Bonds
    • Minute Men – The Civil Border Patrol
    • Minute Men – An American Welcome
    • Minute Men – Minute Man Blues
    • Mrs. Philips – Mrs. Philips
    • Mrs. Philips – Damaged Good
    • Nigel – Nigel and Mrs. Thornhill
    • Nigel – Vinewood Souvenirs – Willy
    • Nigel – Vinewood Souvenirs – Tyler
    • Nigel – Vinewood Souvenirs – Kerry
    • Nigel – Vinewood Souvenirs – Mark
    • Nigel – Vinewood Souvenirs – Al Di Napoli
    • Nigel – Vinewood Souvenirs – The Last Act
    • Omega – Far Out & The Final Frontier
    • Tonya – Pulling Favors
    • Tonya – Pulling Another Favor
    • Tonya – Pulling Favors Again
    • Tonya – Still Pulling Favors
    • Tonya – Pulling One Last Favor
    • Sasquatch – The Last One
  • 100% Checklist
  • Collectibles
  • Stunt Jumps
  • Letter Scraps
  • Spaceship Parts
  • Under the Bridge
  • Knife Flights
  • Nuclear Waste
  • Cheats
  • Trophy Guide
  • Terms of Service
  • Privacy Policy
  • Cookie Policy
  • YouTube
  • Facebook
  • Twitter

© 2008-2026 PowerPyx.com, all rights reserved.