
The Big Score (Obvious Approach) is the 68th main story mission in GTA V (Grand Theft Auto 5). This walkthrough shows how to get all Gold Medals in The Big Score (Obvious Approach) for 100% completion.
For the opposite approach refer to The Big Score (Subtle Approach), the mission depends on the player’s choice.
Gold Medal Requirements:
- Headshots: Kill 20 enemies with a headshot
- Mission Time: Complete within 16:00
- Cha-Ching: Drop the gold onto the train within 00:30
- Accuracy: Finish with a shooting accuracy of at least 60%
Walkthrough Video

Starting Location: The Big Score (Obvious Approach)
- Location: Strawberry / Elgin Avenue / Vanilla Unicorn
- Quest Giver: Lester
- Requirement: Complete “Sidetracked“, “Driller“, and “Getaway Vehicle”
- Can Be Started By: Franklin, Michael, Trevor
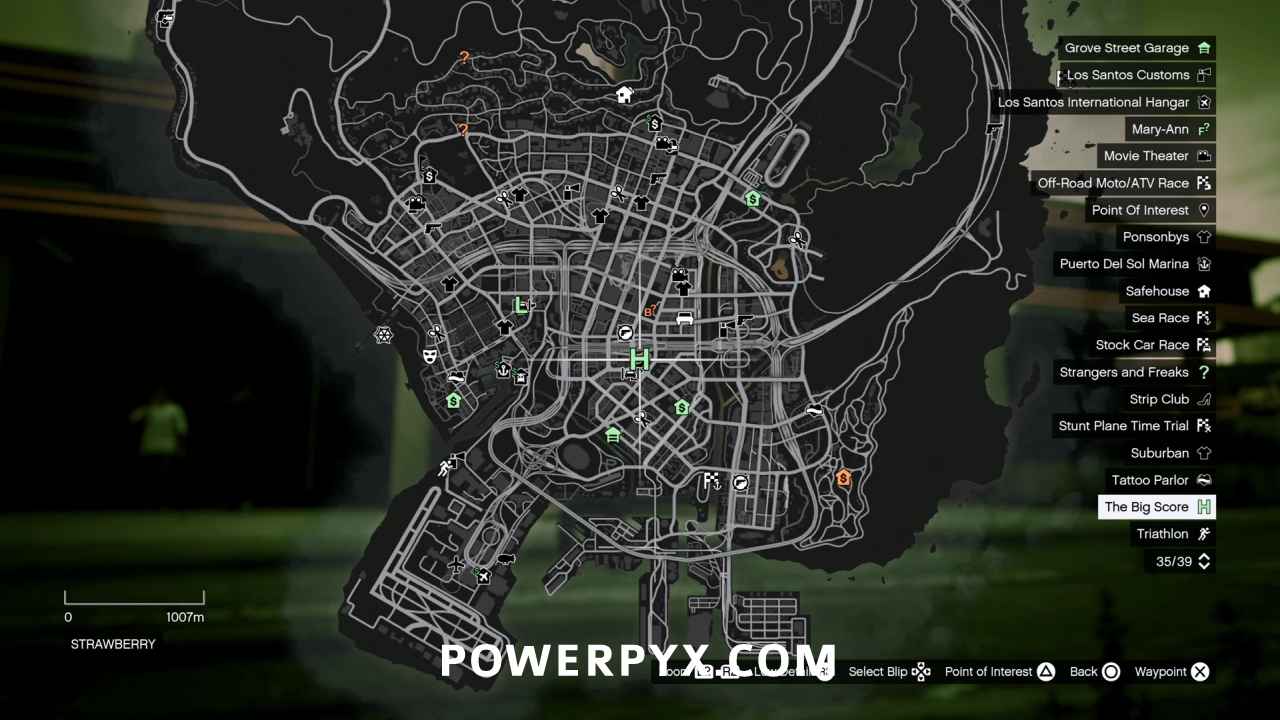
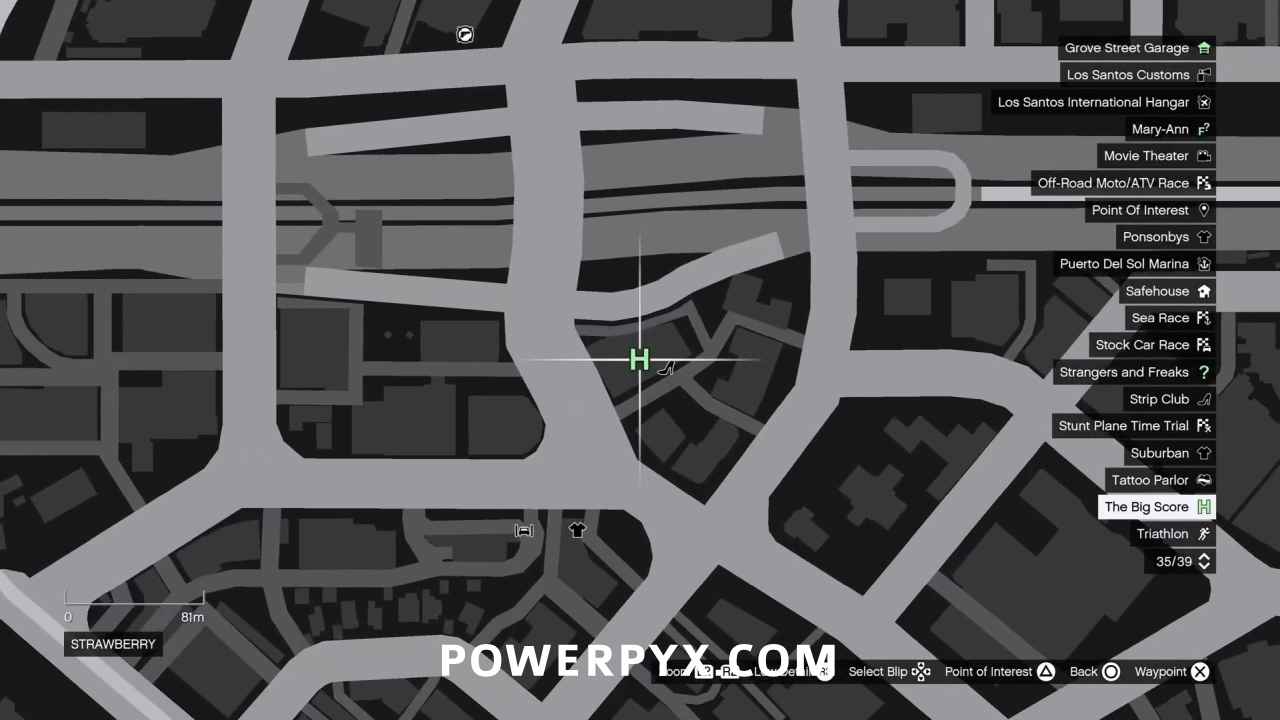
Go to the Bank
You’re working against the clock, so skip the cutscenes!
- Mission Time: Complete within 16:00
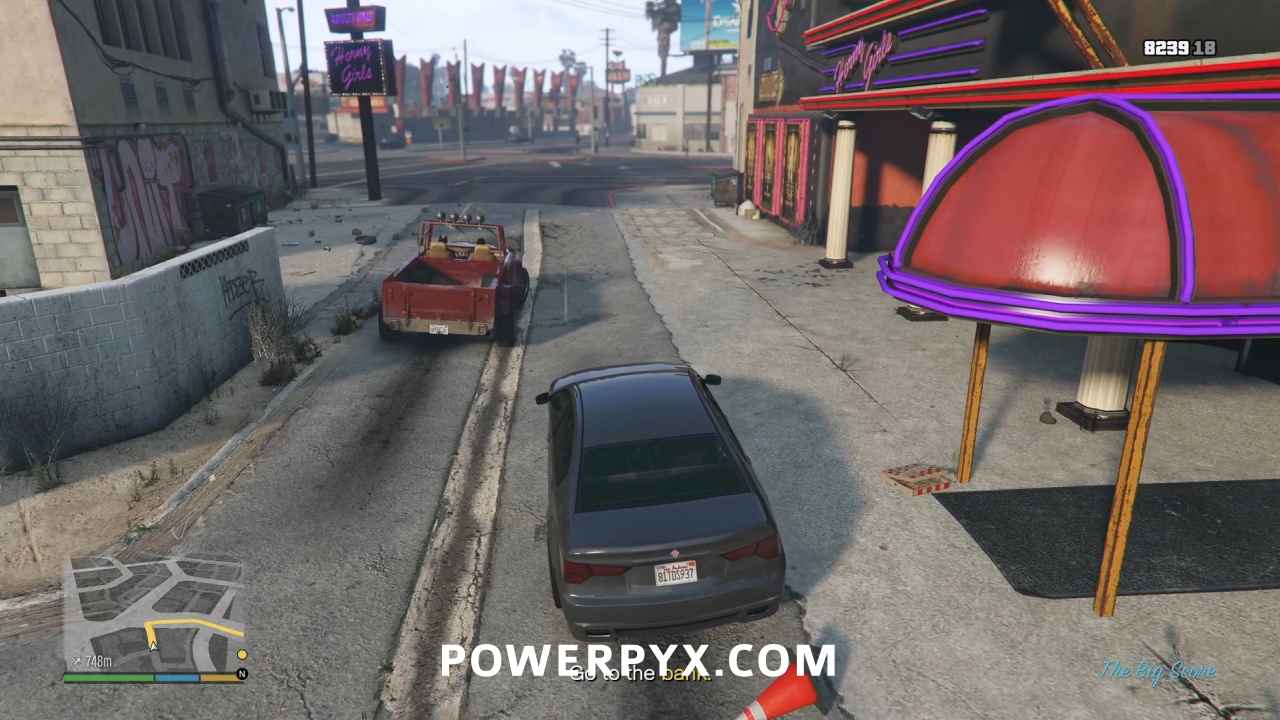
Skip the opening cutscene at the Vanilla Unicorn. You’ll start in control of Michael who will be picking up the gunman for the distraction robbery upstairs at the Union Depository office. Get in your car and head for the objective marker. There will be a short unskippable cutscene and then you will automatically switch to Franklin in the driller.
Drill Through the Wall Into the Bank Vault
The driller handles similarly to the container handler from “Scouting the Port” way back in The Merryweather Job. It steers with its back tires, which means it pivots from near the middle when you turn. This may cause you problems with your turn timing as you line up on the narrow path leading to the wall you have to dig. Start to turn as soon as your back tires pass the corner on your left and try to aim for the path.
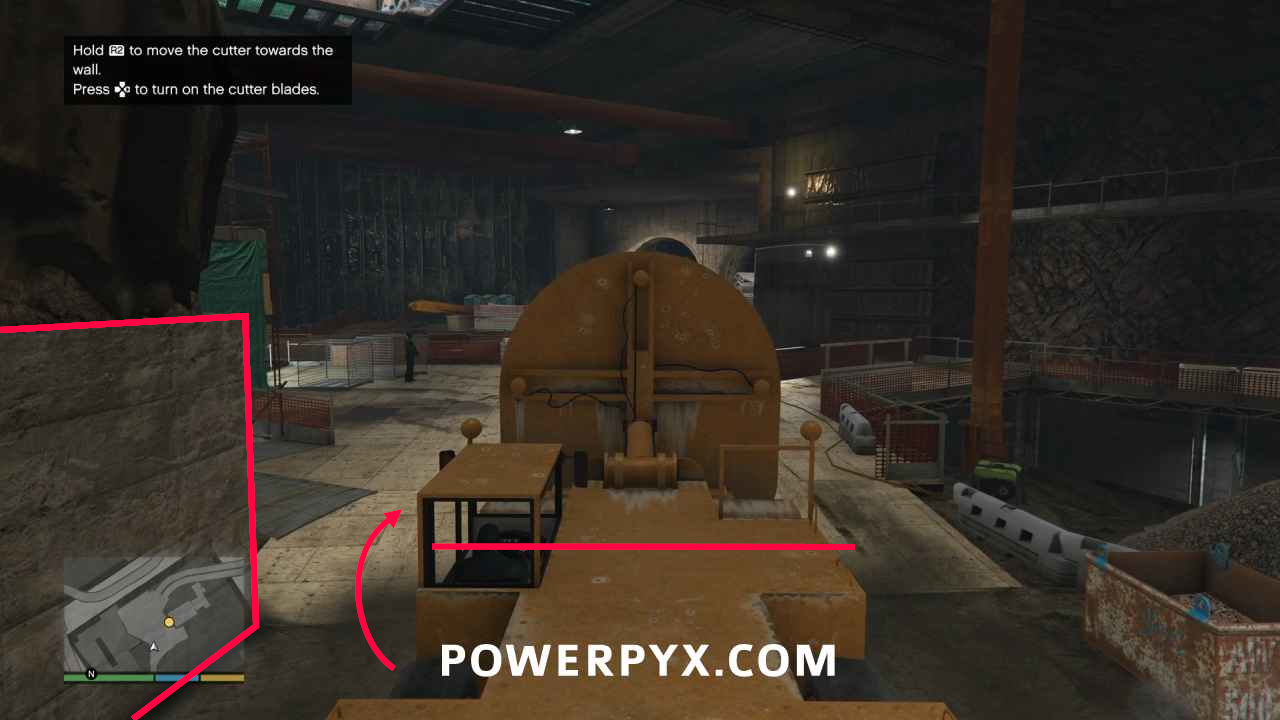
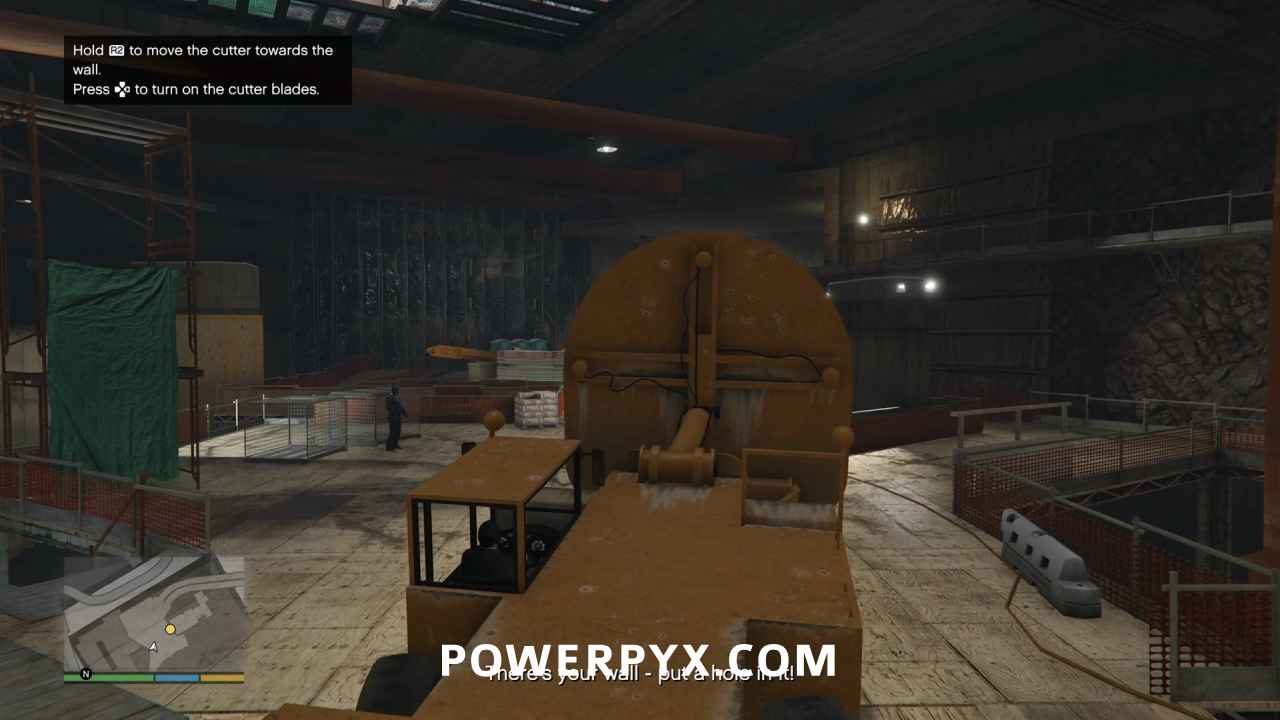
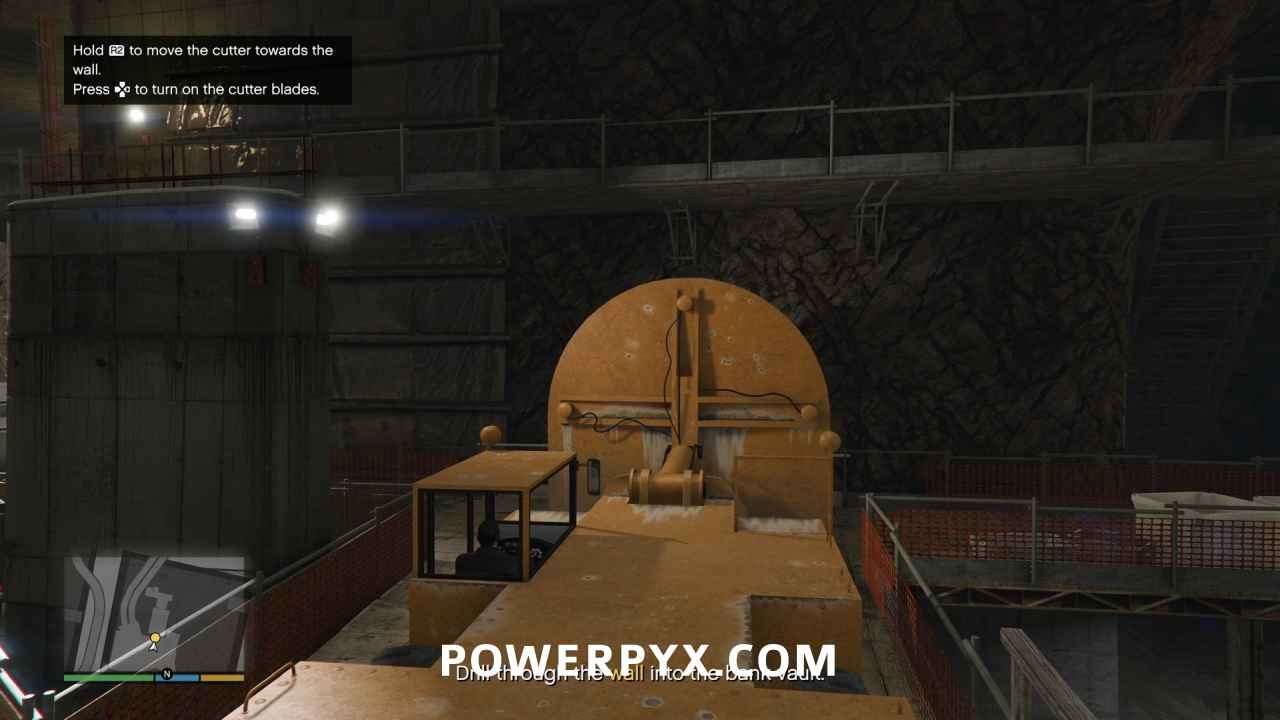
Once you’re on the path to the wall, move up close to it but don’t put the drill right up against the wall. You have to press  /
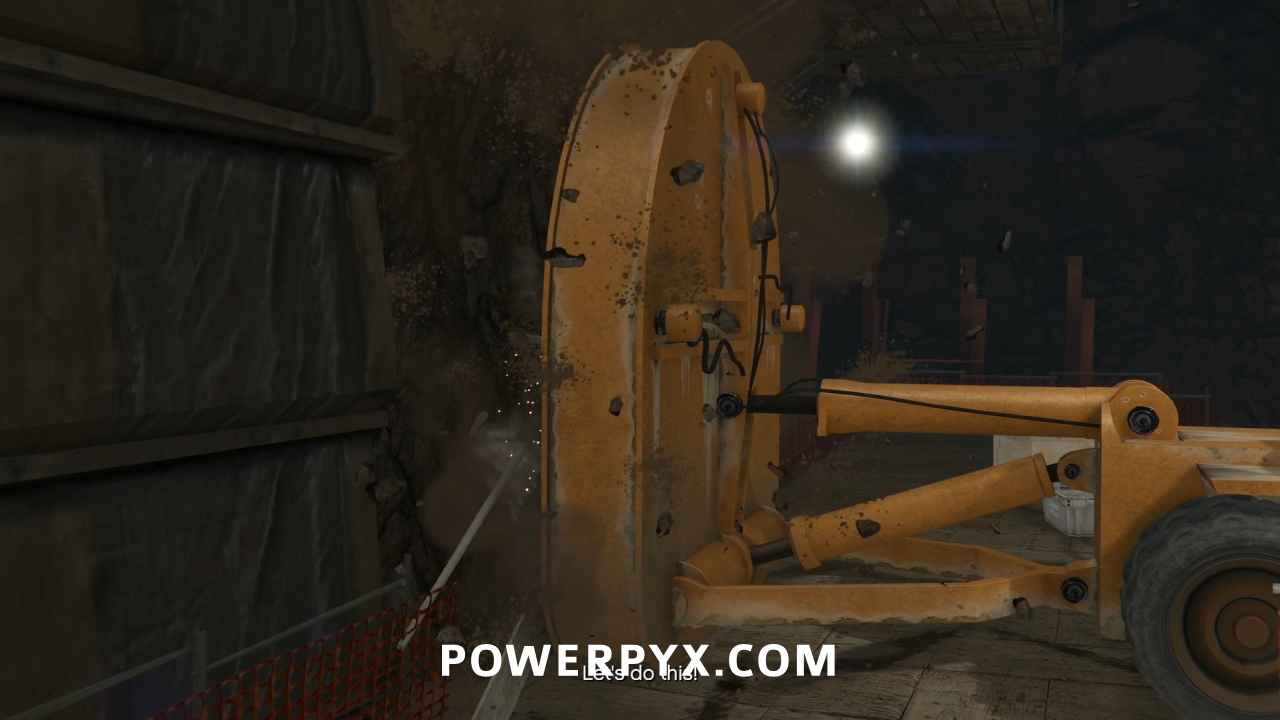
/  to activate the digger’s cutter blades. If you’re touching the wall you won’t be able to engage the cutter blades, but after you activate them your acceleration in the digger is going to be extremely slow. So ideally you want to be as close as possible without touching the wall before engaging the blades, to strike the right balance between effectiveness and time. Skip the cinematic.
Park the Cutter Out of the Way by the Wall
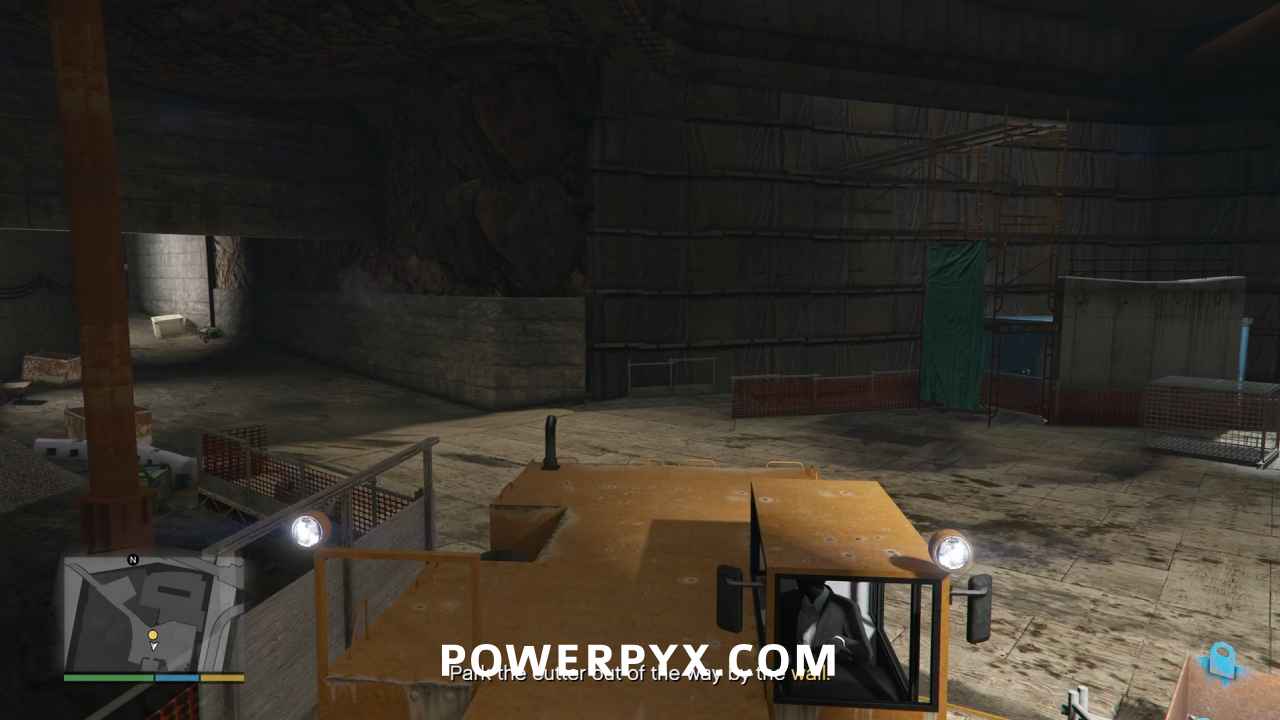
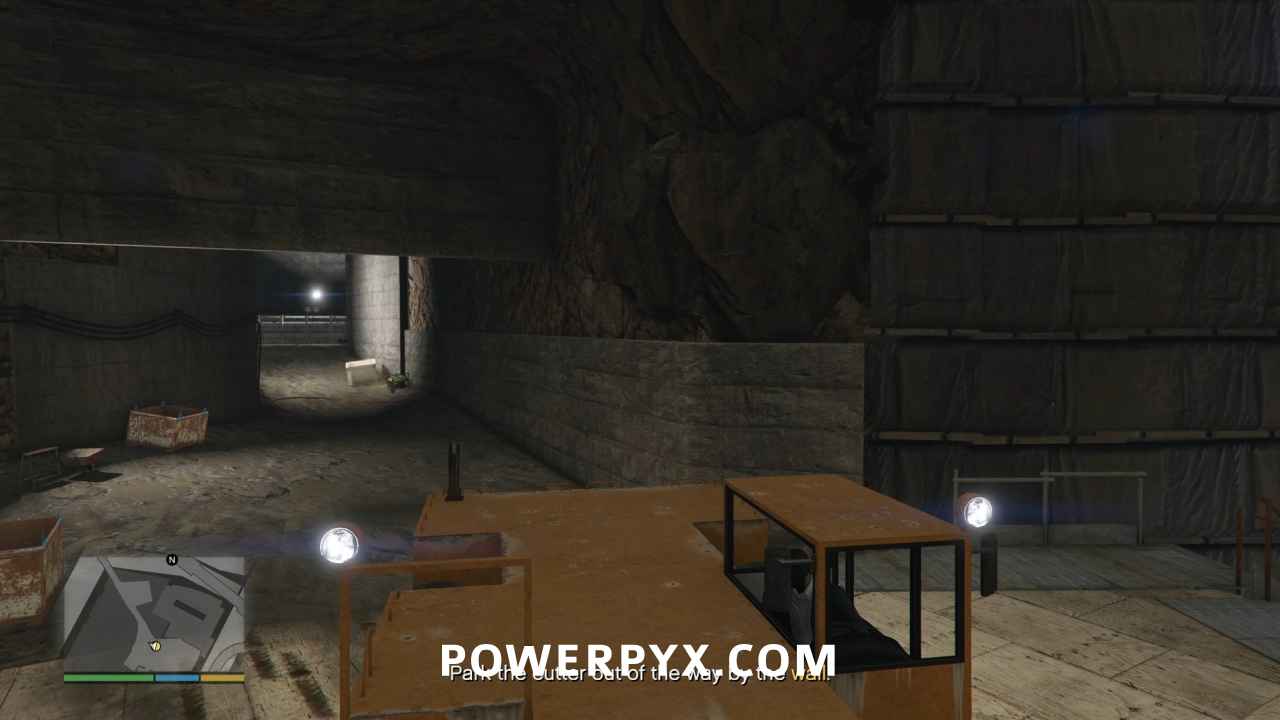
Hit reverse the second you have control again. Start to turn as soon as your rear tires are past the corner, and back it up to the right (left if you’re facing backwards as you reverse). Franklin will automatically get out of the digger when you’re far enough out of the way, and the goal is to turn enough to be able to use the front digging platform as cover from the NOOSE agents who will be coming from the north tunnel.
Plant Explosive Charges on the Vault Doors
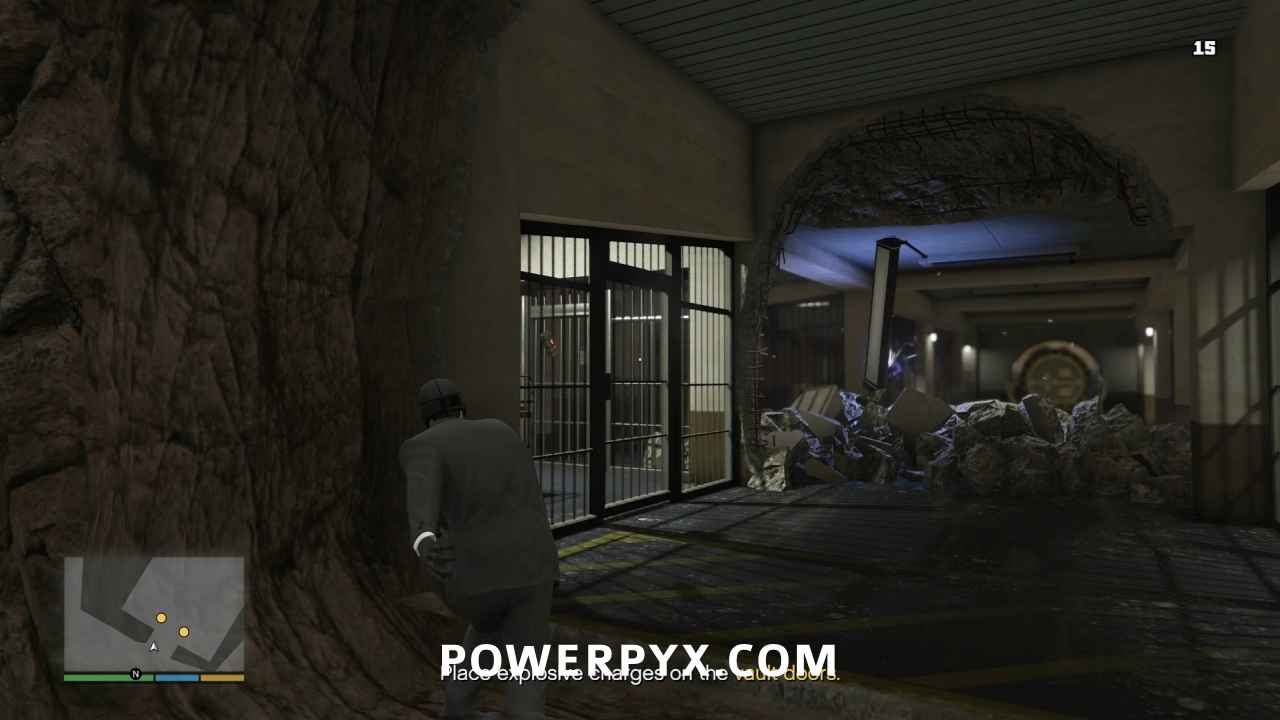
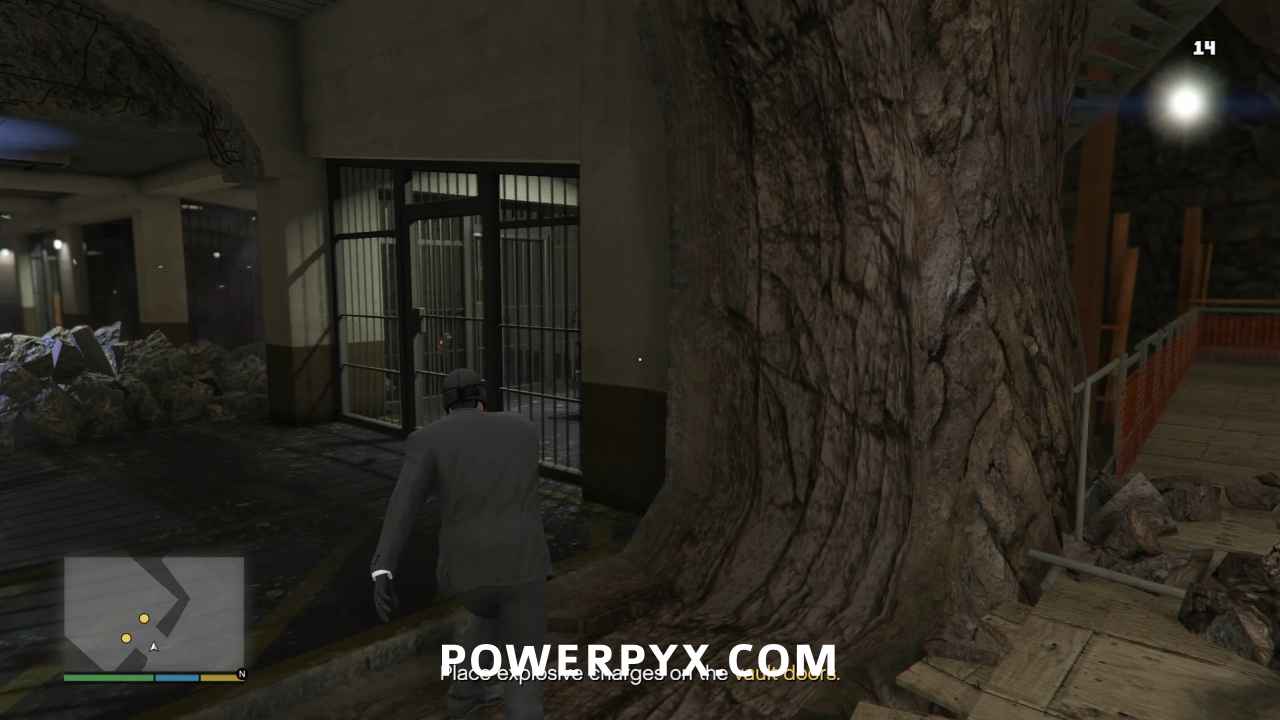
Run into the hole you dug in the vault and throw sticky bombs on the cages on the left and right of the vault. Get clear and detonate them.
Defend Gunman From the NOOSE Team
Take cover behind the metal bin at the end of the path to the vault, and remember the next Gold Medal requirements:
- Headshots: Kill 20 enemies with a headshot
- Accuracy: Finish with a shooting accuracy of at least 60%
Two sets of four NOOSE agents will stream out of the south tunnel. Take them out with headshots as they arrive.
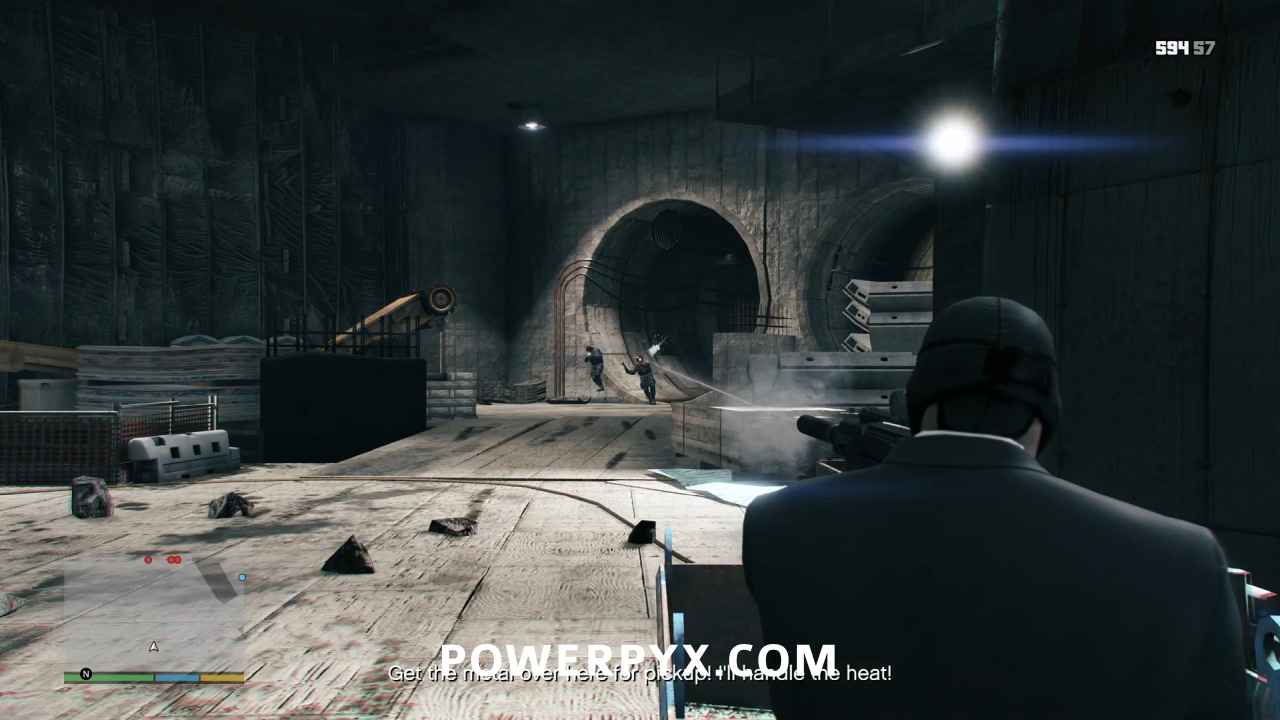
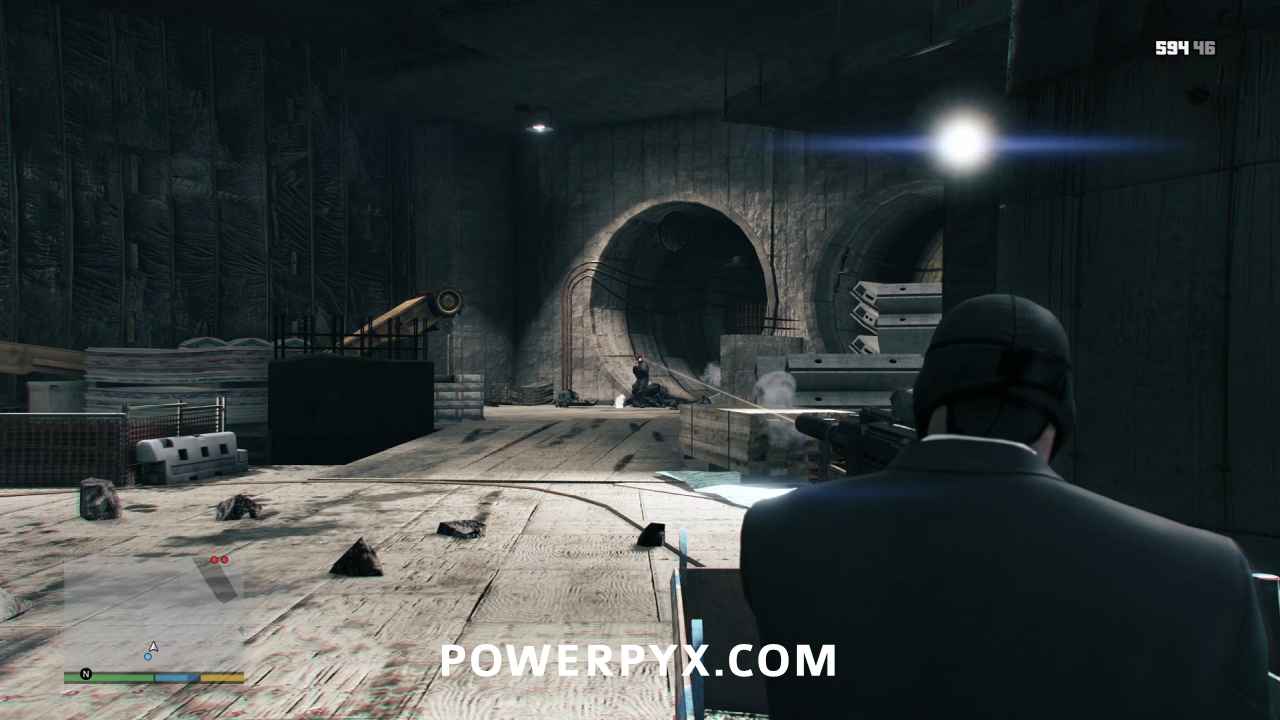
When you are down to the last one or two, a wave of four NOOSE agents will appear in the north tunnel. Take cover behind the drill platform and headshot those as well.
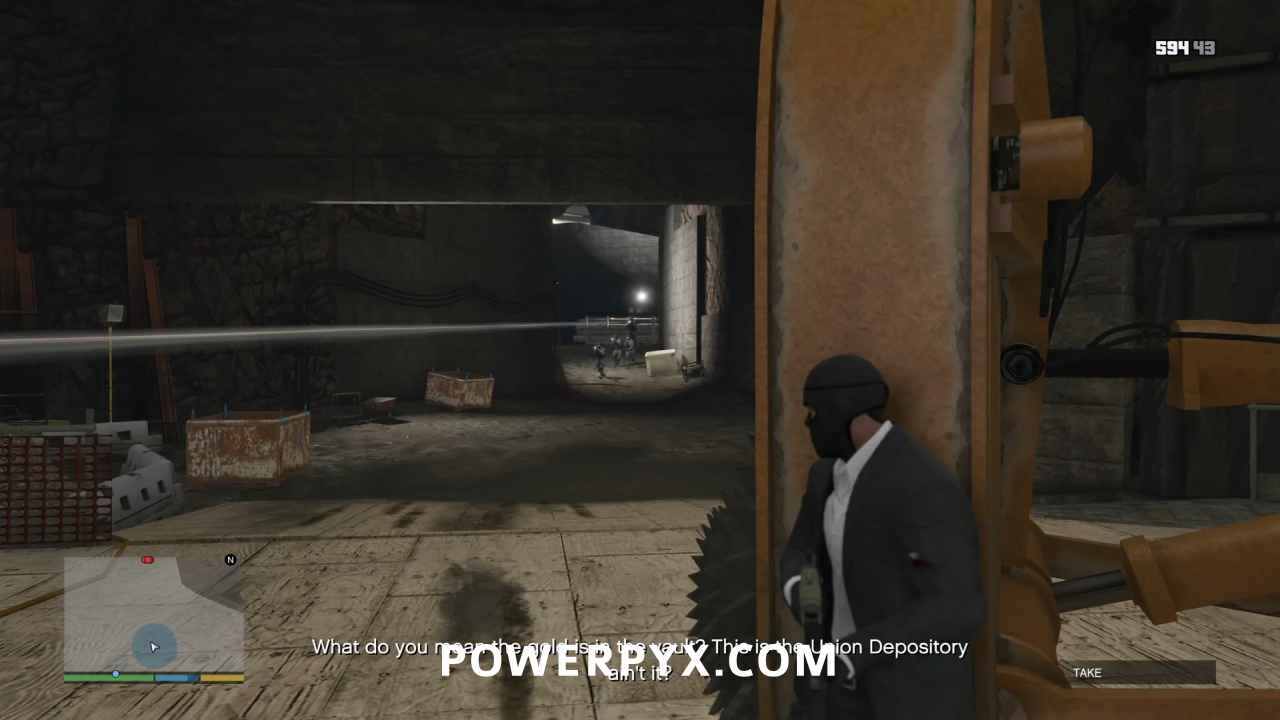
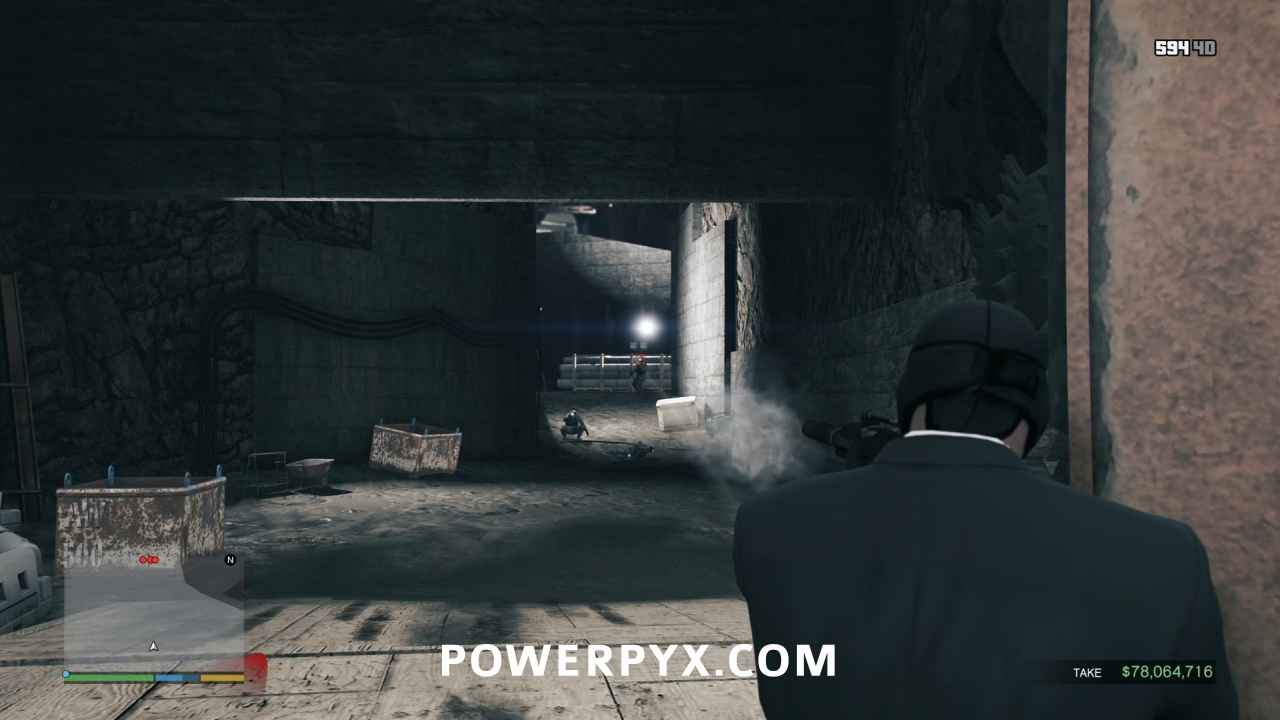
A second wave of four NOOSE agents will appear from the north as the last of the first wave falls. Once they’re dead, you’ll get a cinematic of Trevor picking up the gold, which you should skip.
Defend Against the NOOSE Team
After the cinematic, you’ll hear a blast and NOOSE agents will stream into the vault from the other side. Run to the hole that you’d dug and take cover against the wall on either side of it. Continue to get headshots. If you’ve gotten headshots on the other 16 NOOSE agents from the north and south, you should only need four more from the vault team to bring you up to 20, but it never hurts to get a few extra for safety.
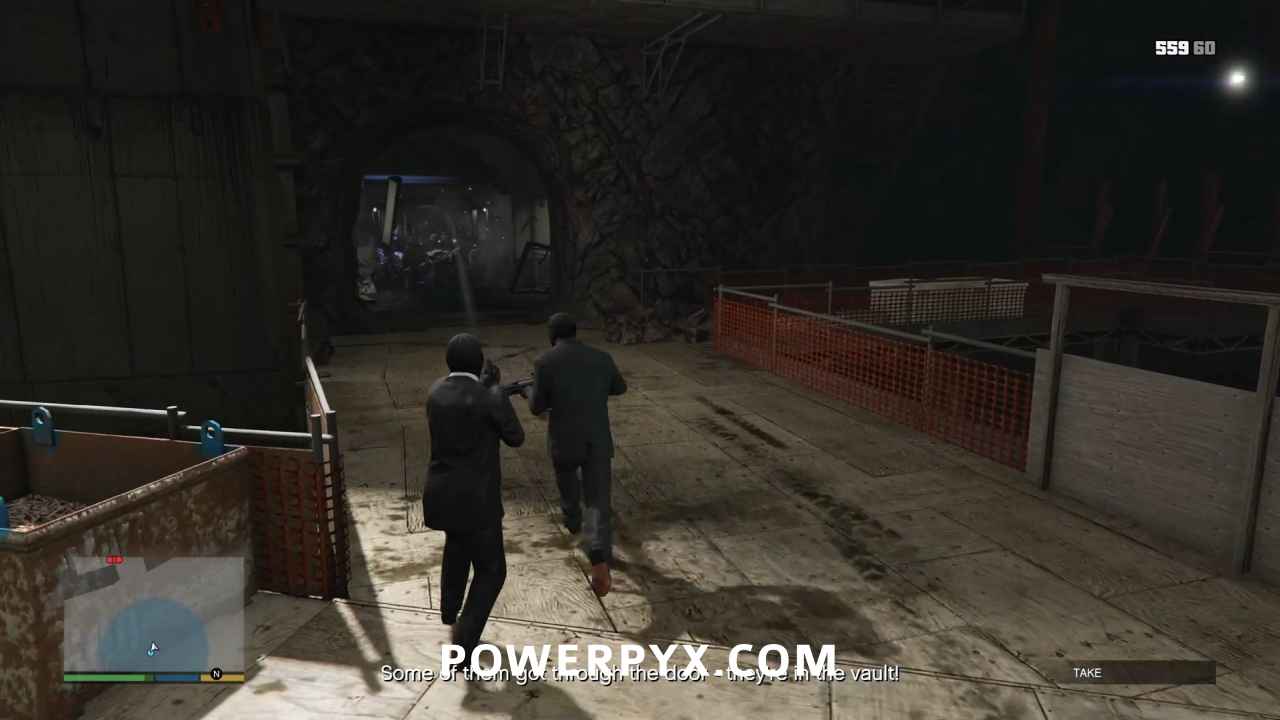
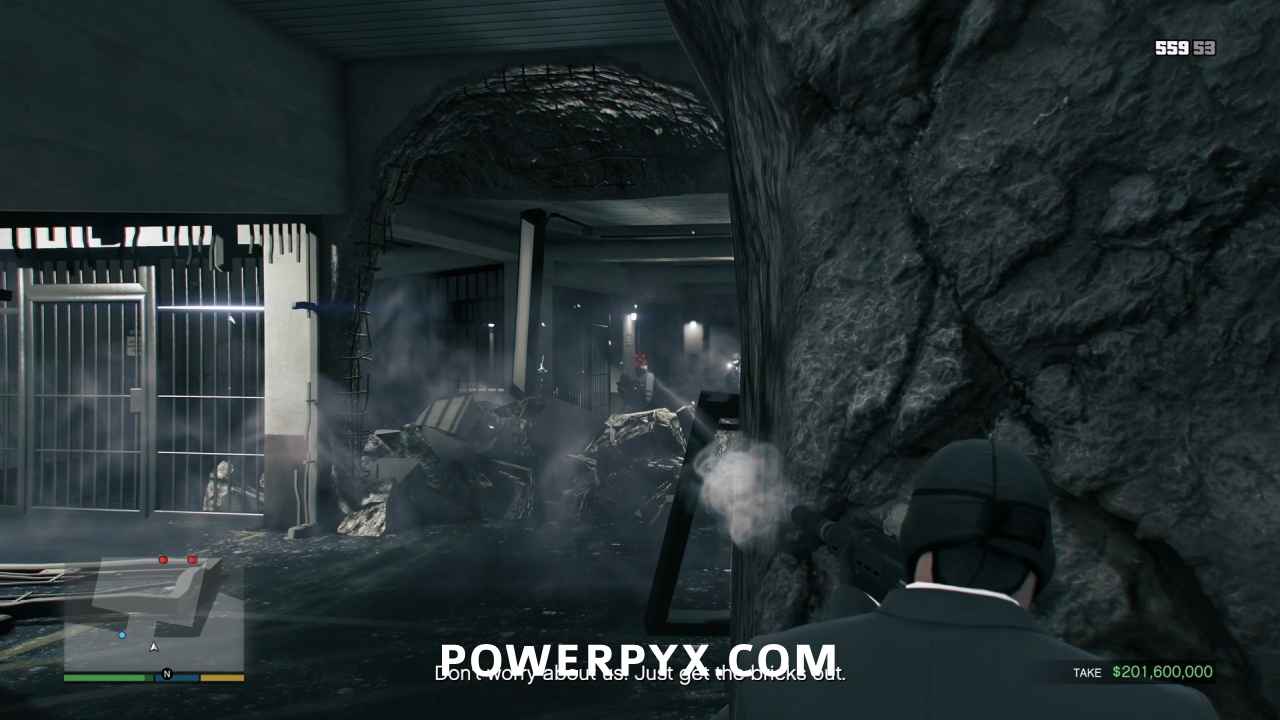
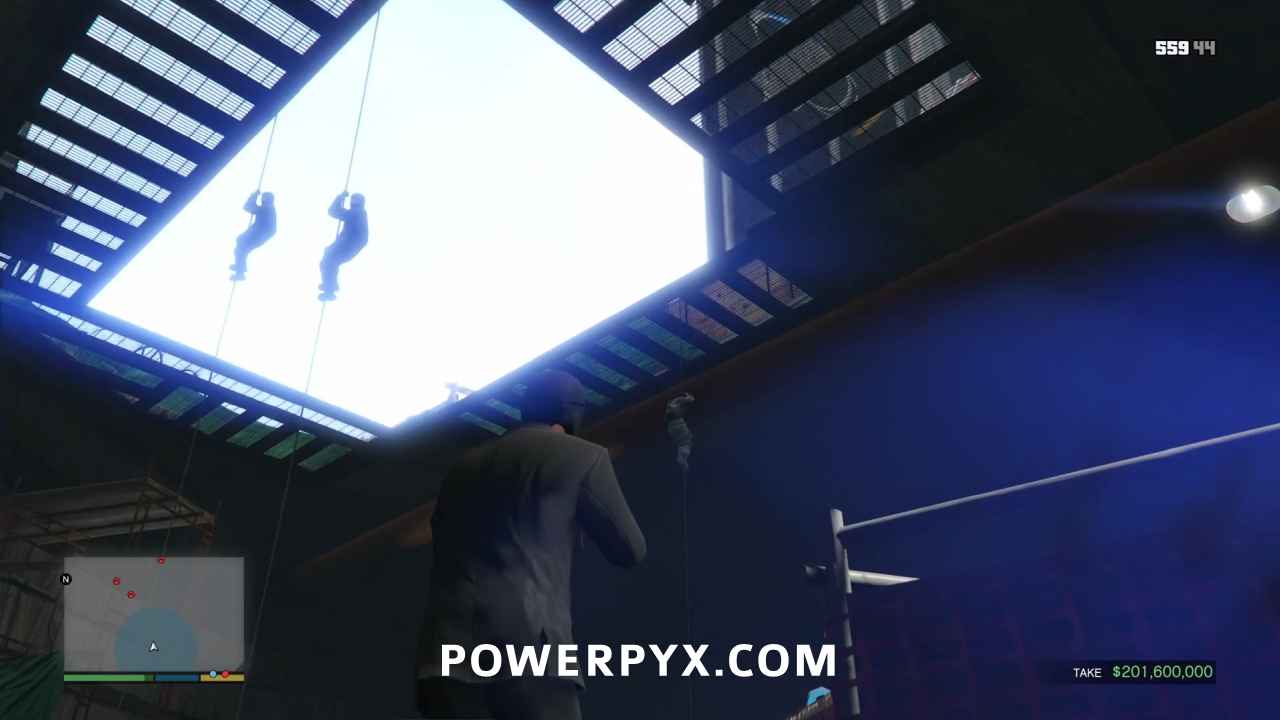
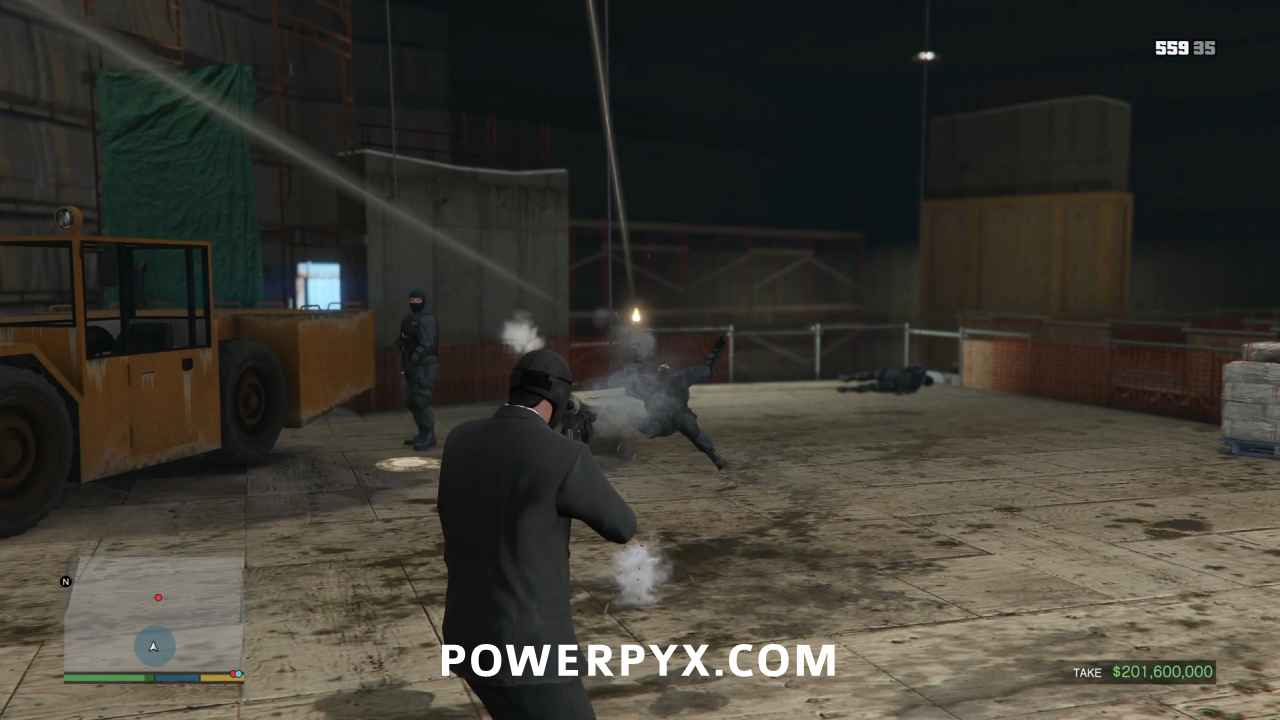
When you’re down to your last one or two in the vault, Trevor will warn you about NOOSE agents rappelling down through the hole in the ceiling. Technically they’re not rappelling, they’re just sliding down a rope, but this isn’t the time to argue. Leave the vault to your gunman and unload on the new threat before they can ready their weapons. Then come back and help him clear the remaining agents out. In the interests of time, it may be quicker to lob a grenade into the vault if they’re sticking to cover. Once the last agents are dead, you will be prompted to switch to Trevor.
Fly Out of the City
Follow the other chopper as you fly above Power Street towards the Vinewood hills. Make sure you gain enough altitude by the time you leave the city that the cage of gold doesn’t hit the ground as the hills rise to meet you.
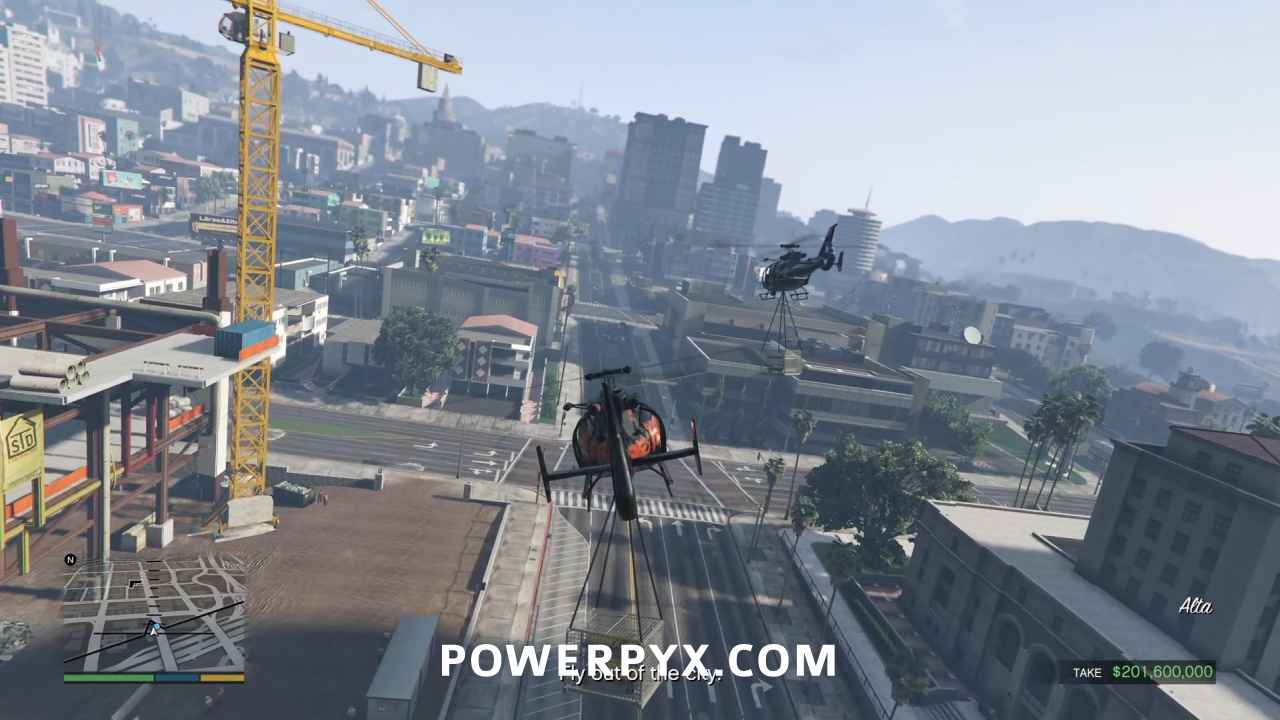
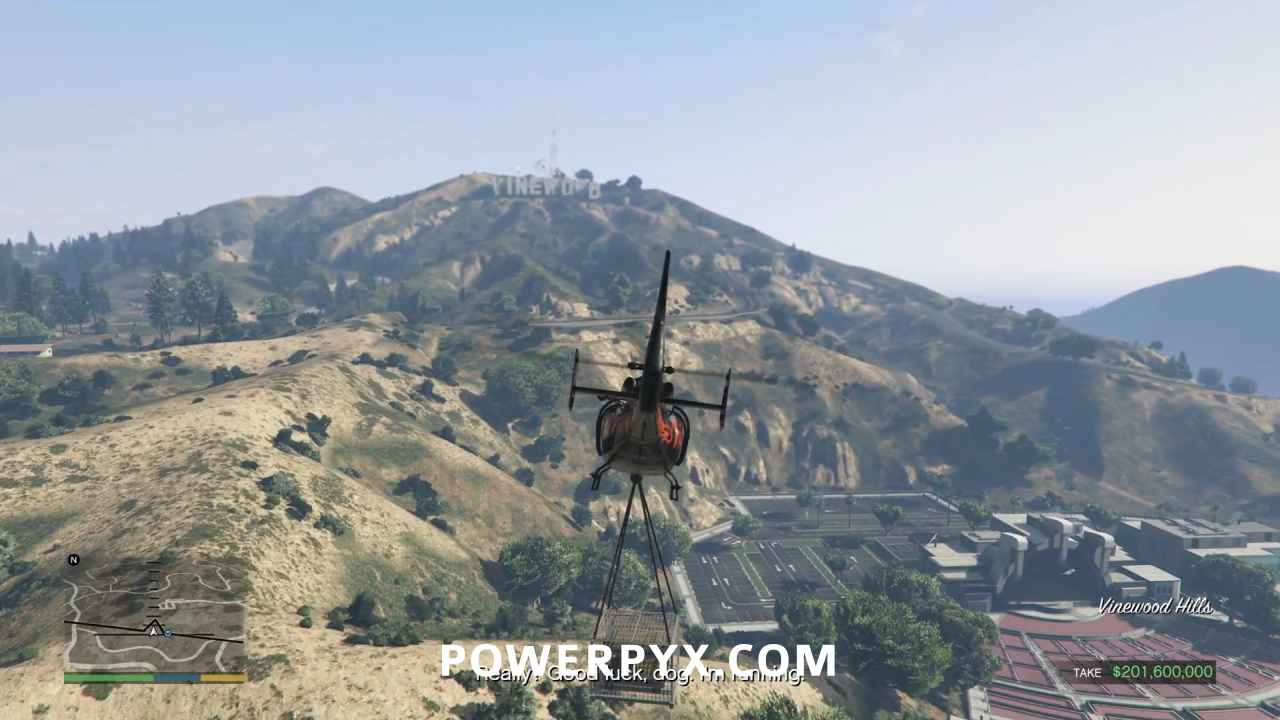
You’re prompted again to switch, but this time to Michael who is making his getaway after his hilariously inept robbery ‘attempt’.
Escape With Your Gunman
You’ll pick up mid-gunfight with Michael in cover outside the UD building. Three cops will be shooting at you, with three more about to arrive from the stairs to the southwest. Even if you’ve gotten your Gold Medal requirement for headshots, it’s worth continuing to headshot enemies as Michael to keep your accuracy up and to continuously top up his special ability. At any time if you’re running low on your special ability, take cover and pop off a few headshots to charge it back up again. Each headshot kill recharges it by about 25%. Conserve energy for deactivating it while enemies are in cover or defeated, only reactivating it just before you take your next shot. While using Michael’s ability the mission clock is slowed as well, meaning that you’re killing in a faster and therefore more efficient way, spending less real time stuck in firefights.
Waste these guys, and then finish off the next three before they can get to cover.
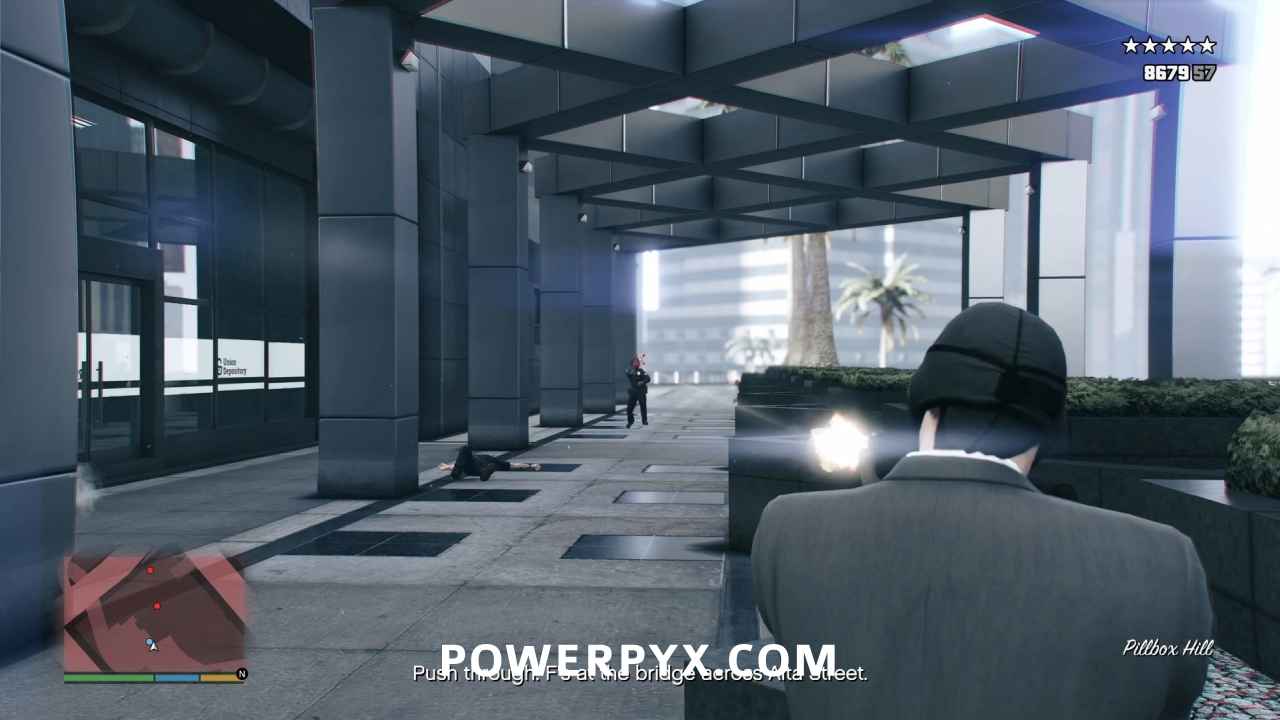
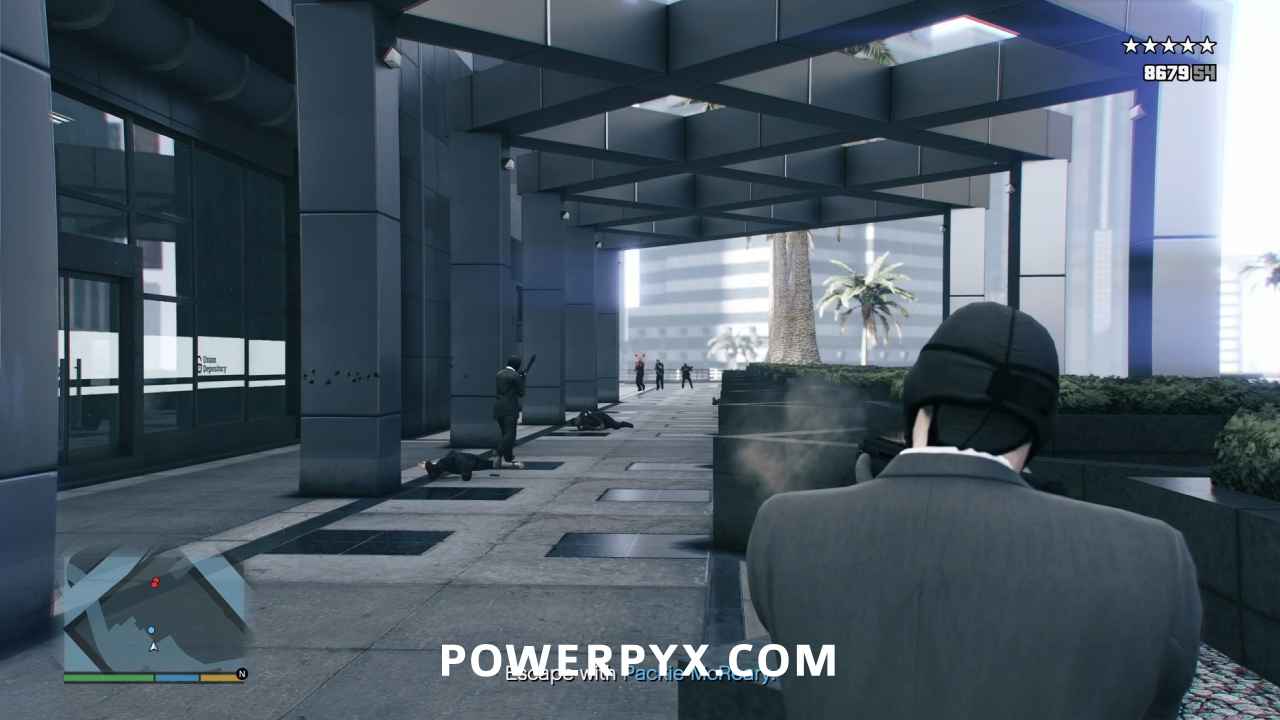
Start running straight ahead along the walkway towards the stairs, as two more cops come up the stairs at you. Use Michael’s special ability to kill them while you’re on the run so you don’t have to stop.

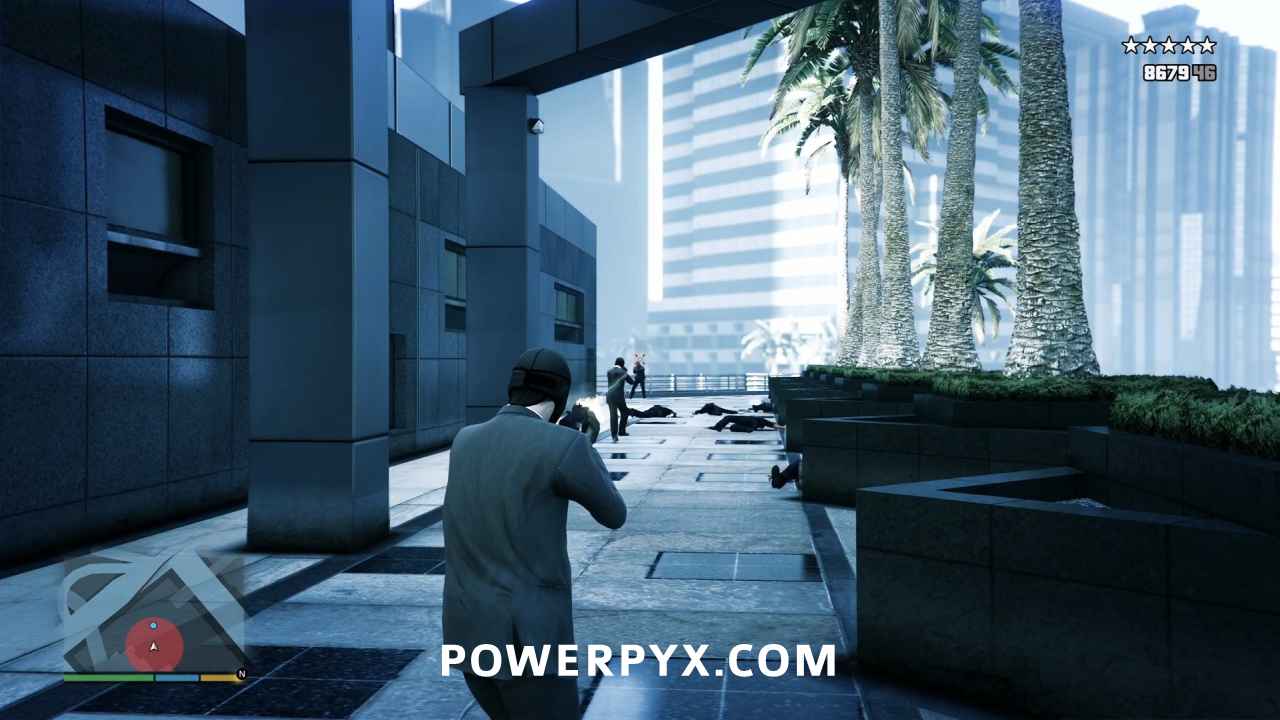
As you approach the stairs, a Maverick with police snipers will fly by. There will be a lot of helicopters to deal with for the remainder of this mission. Ideally you’re going to have a railgun to kill them quickly and without having to wait for a lock on. If you don’t have one, you can use a RPG but you’ll be trading speed for accuracy, or a homing missile launcher where you’ll be trading accuracy for speed. For the best of both worlds, you can’t beat a railgun. You’ll usually kill it in a single shot, but occasionally you may need two. In any case, whatever your weapon of choice, kill that helicopter before it can drop off reinforcements, then head down the stairs.
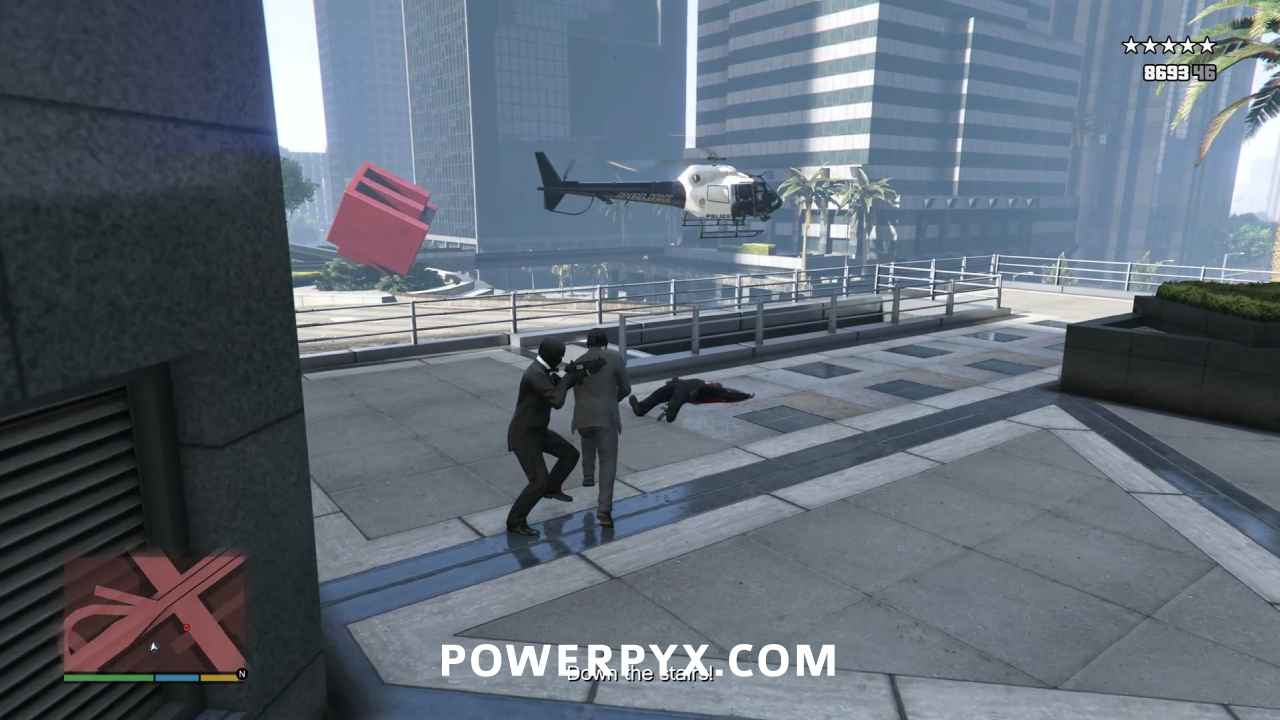
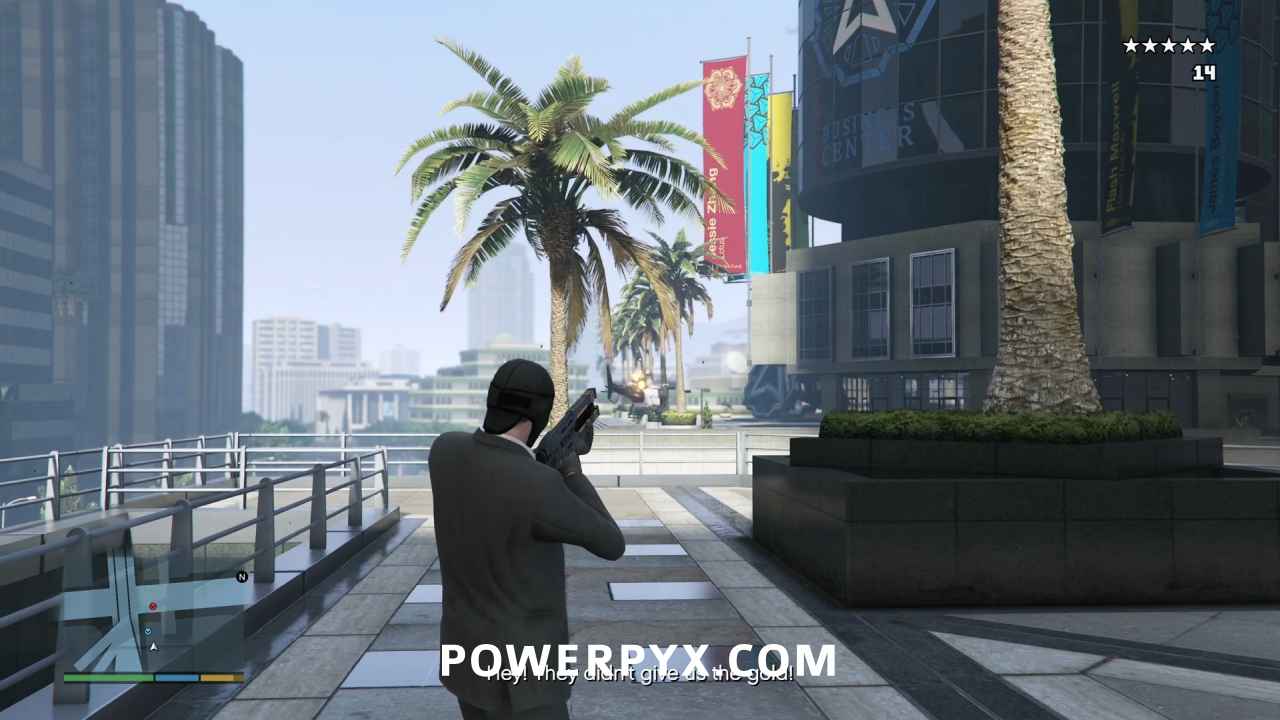
At the bottom, you’ll link up with Franklin. Briefly stop by the front railing to pop this sniper.
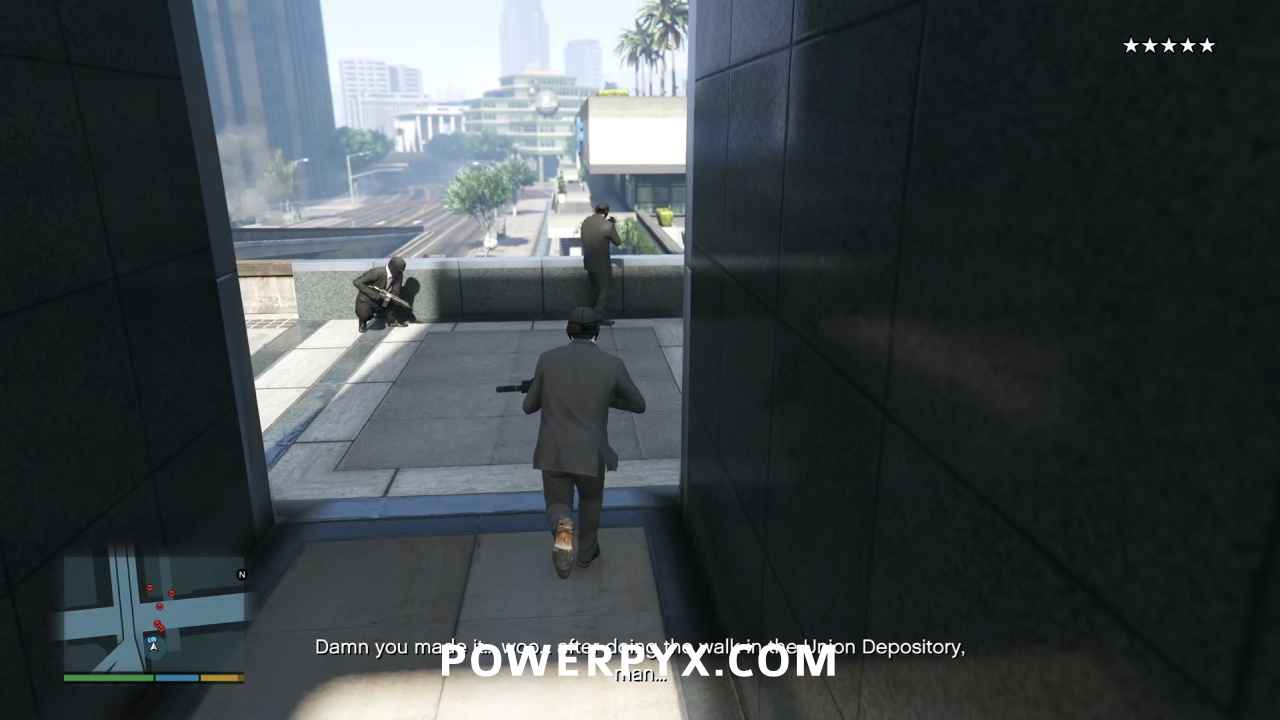
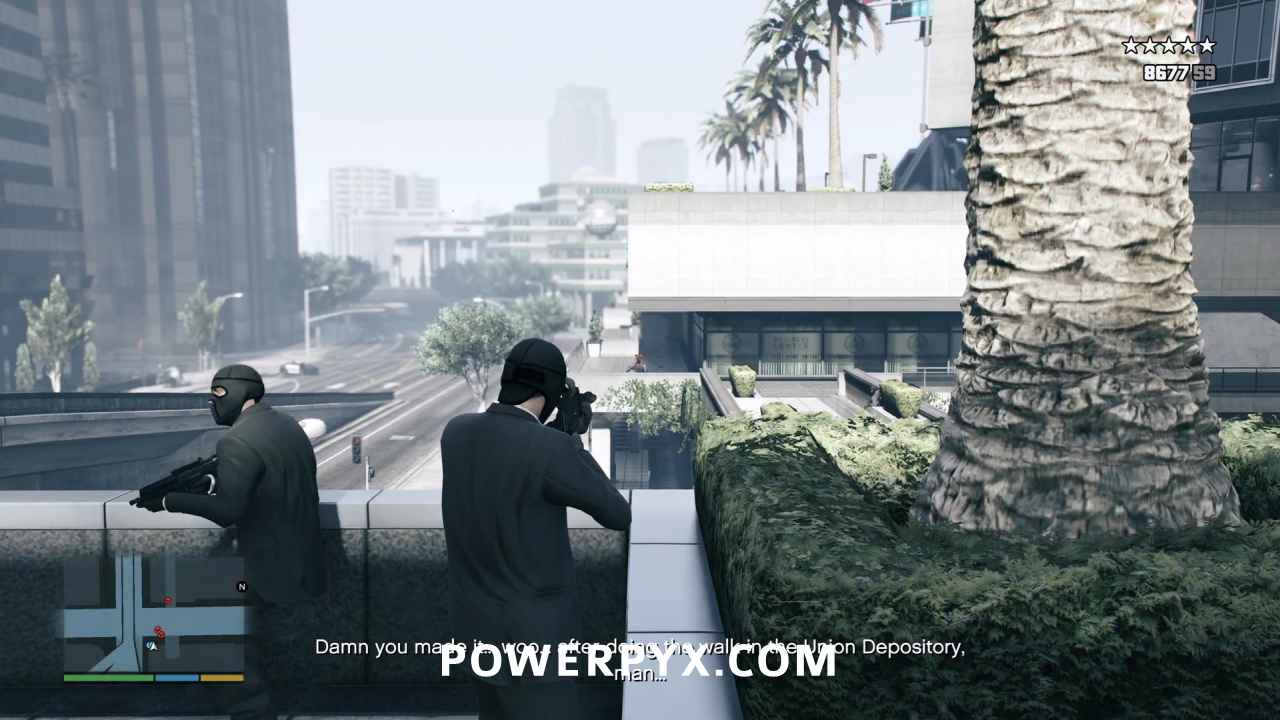
Don’t stop here though! Immediately run to the right down the stairs and activate Michael’s special ability as soon as you hit the corner. John Wick your way across the bridge, killing the four NOOSE agents in cover.
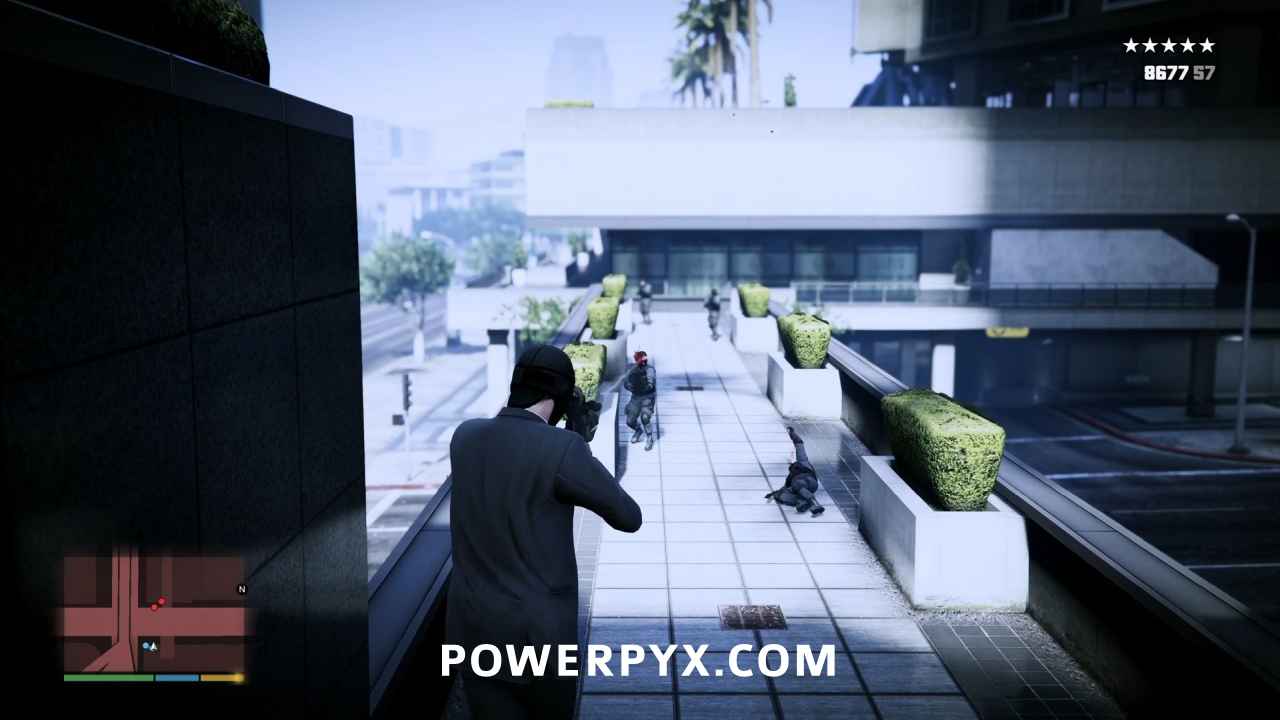
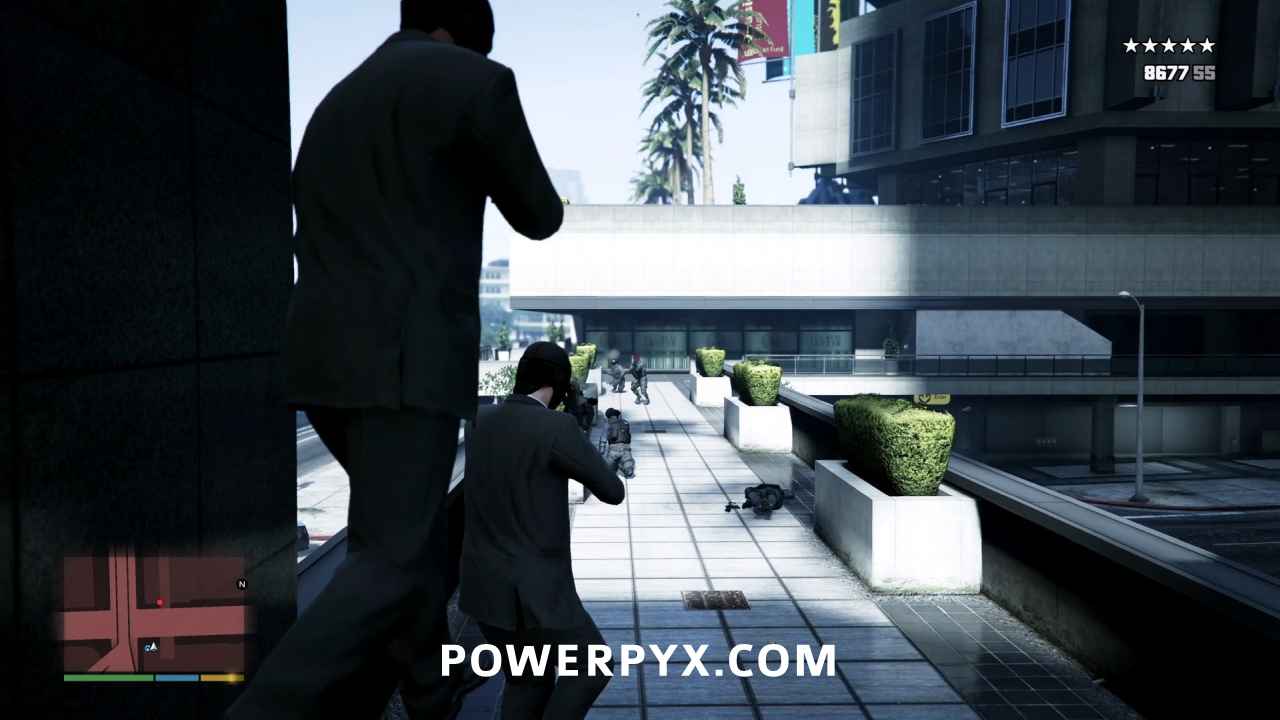
Then pull out your railgun to be ready to kill the helicopter that suddenly appears.
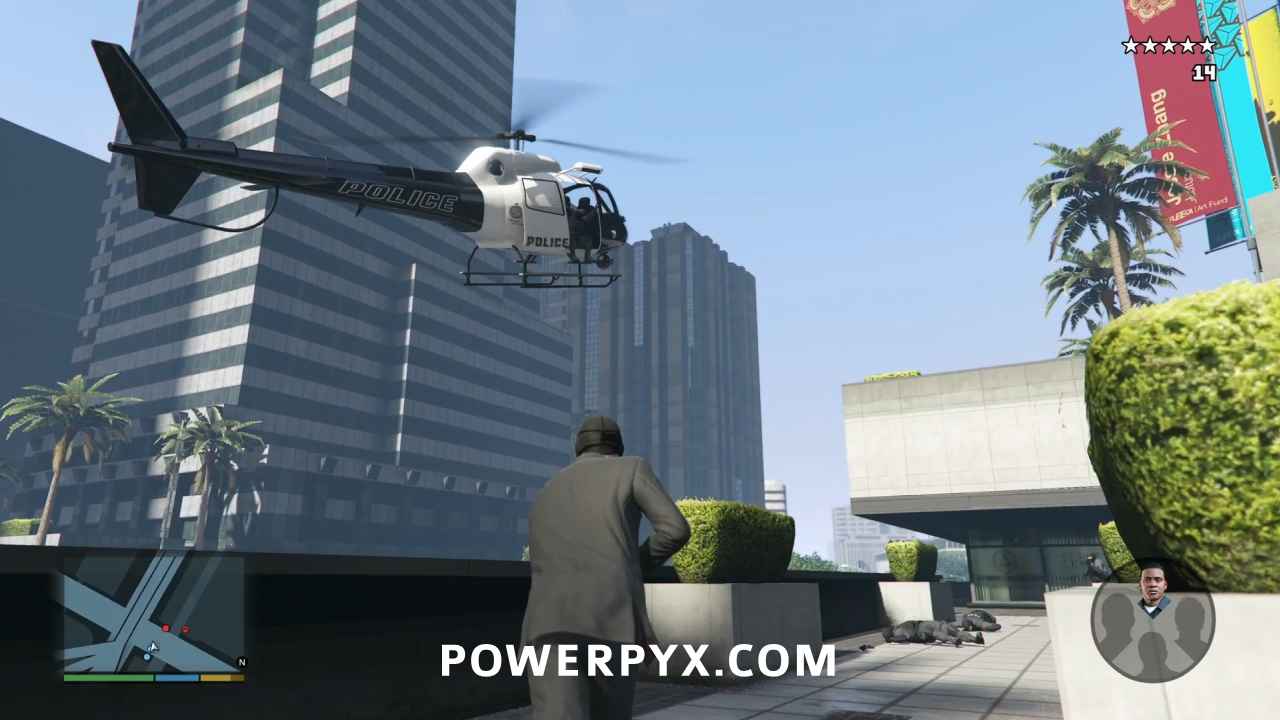
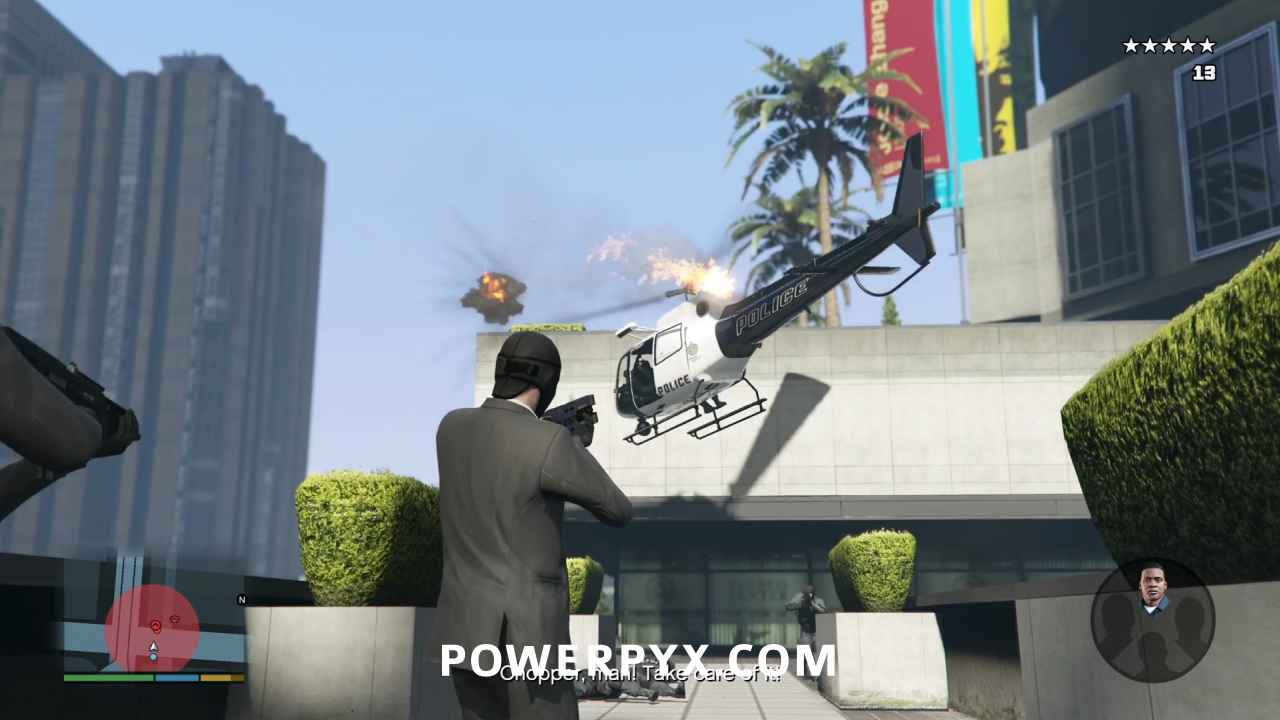
Four more NOOSE agents will appear on the far walkway, coming in from the north.
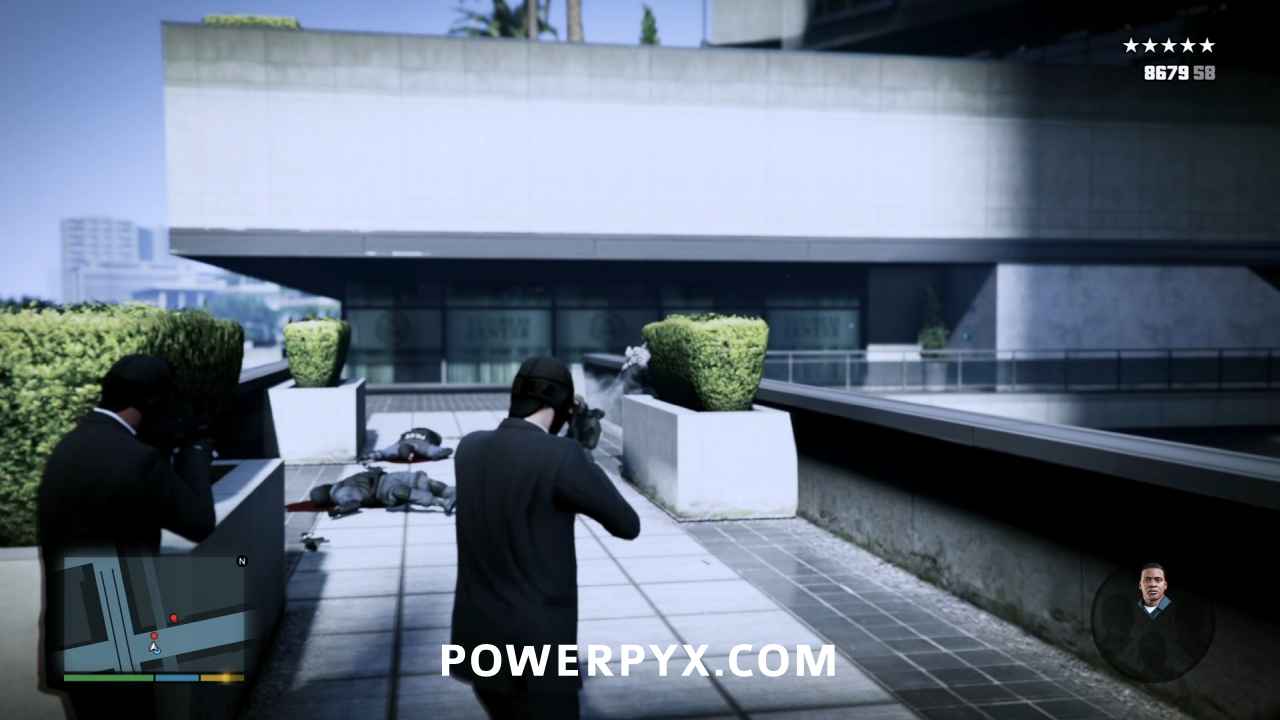
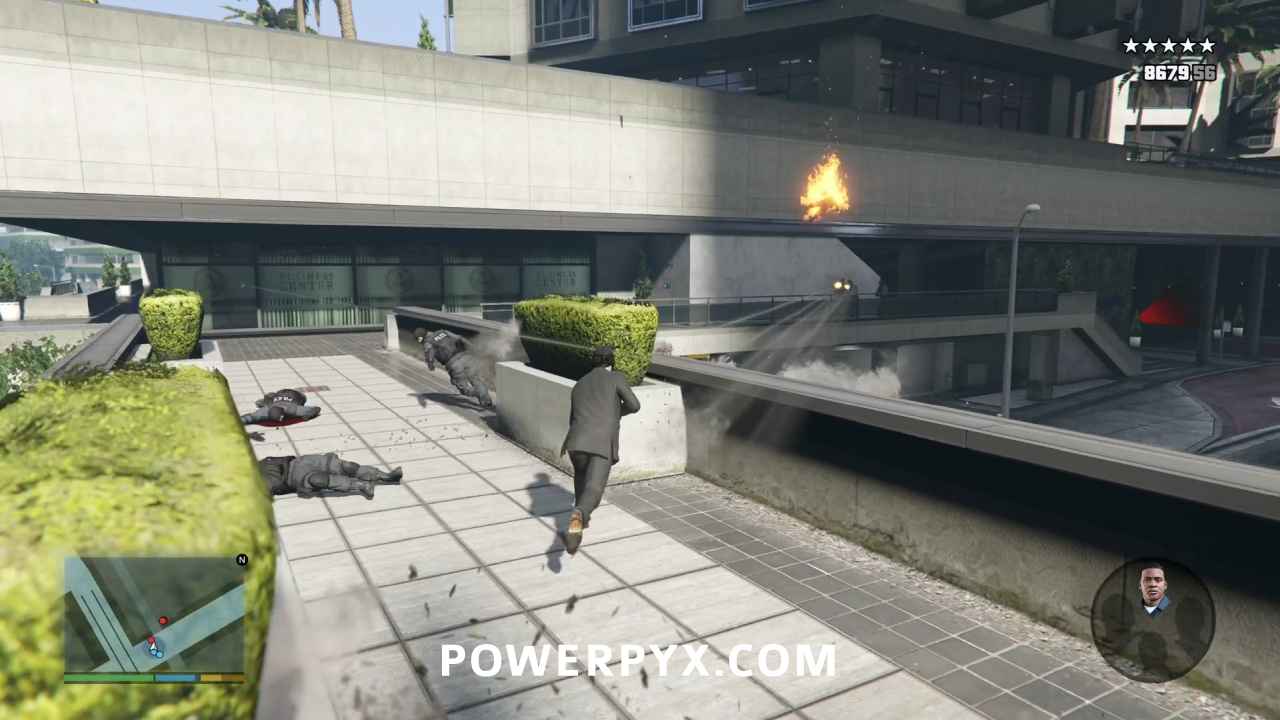
Don’t forget that if you’re running low on your special ability, take cover and pop off a few headshots to charge it back up again.
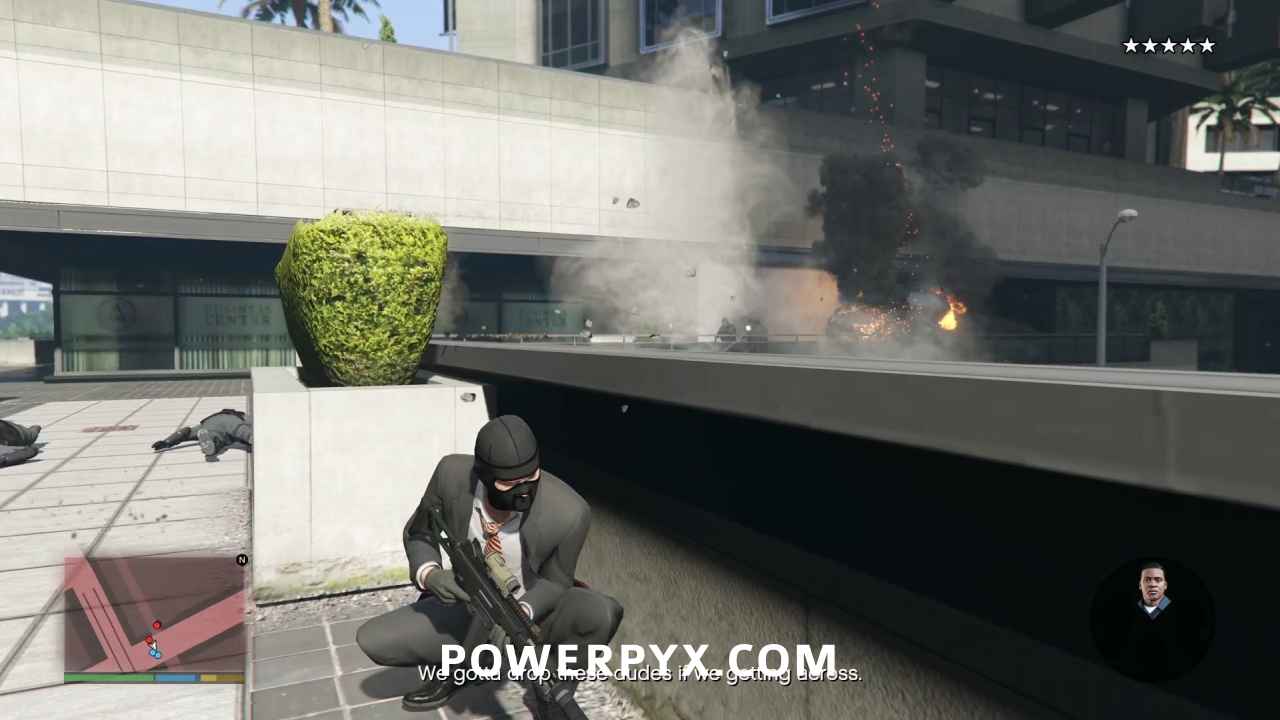
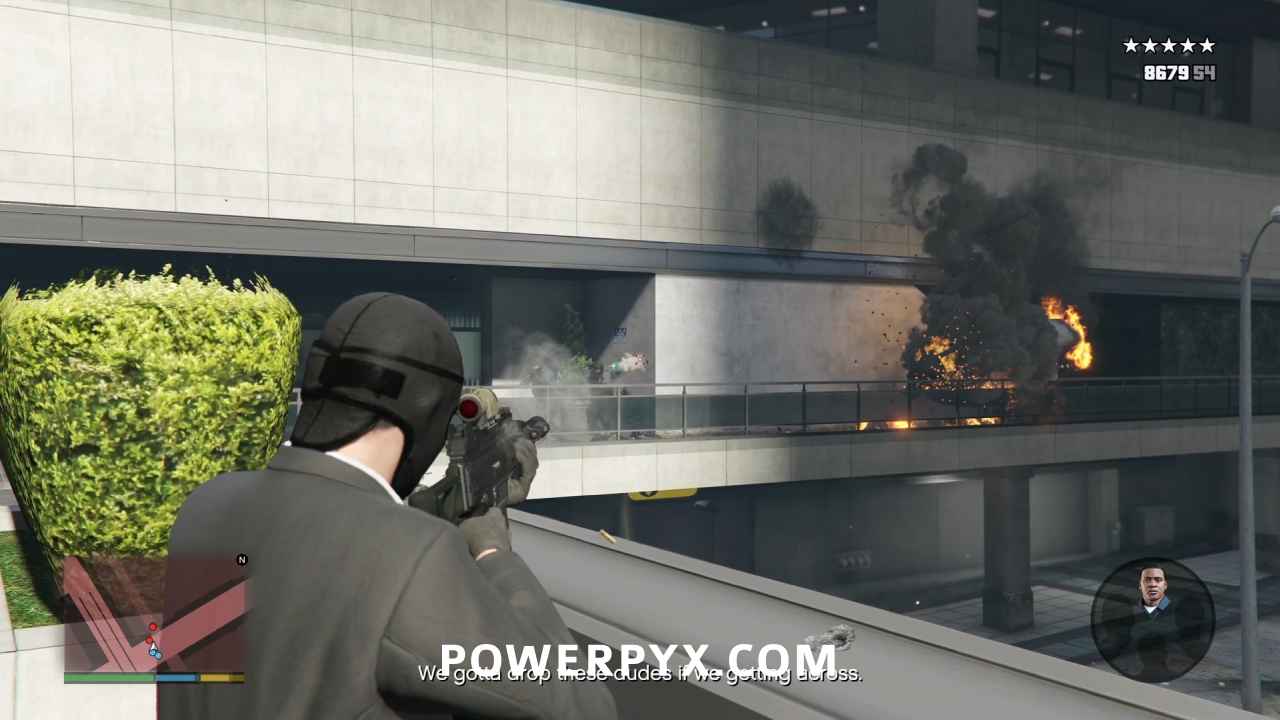
When those NOOSE agents are dead, push up to the corner of the Arcadius Business Center and you’ll see three NOOSE agents appearing on the walkway ahead of you. Try to kill them before they reach cover, otherwise you can push forward using Michael’s special ability to kill them while on the run.
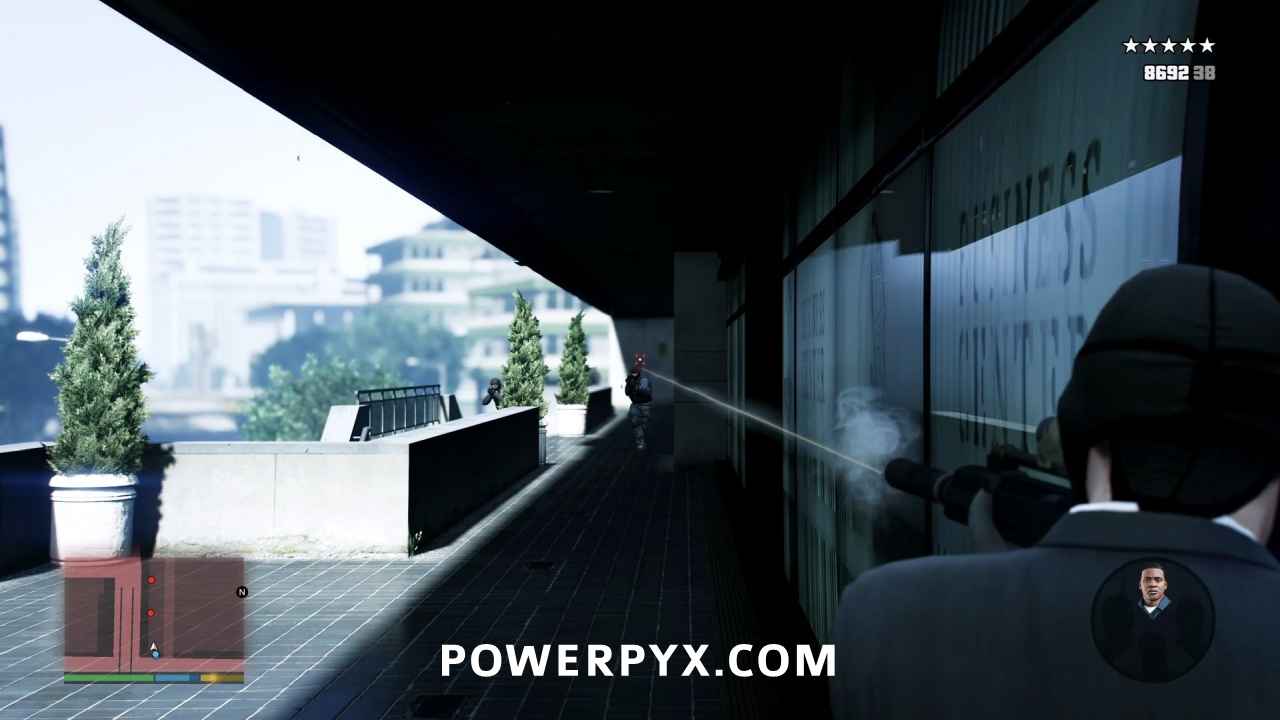
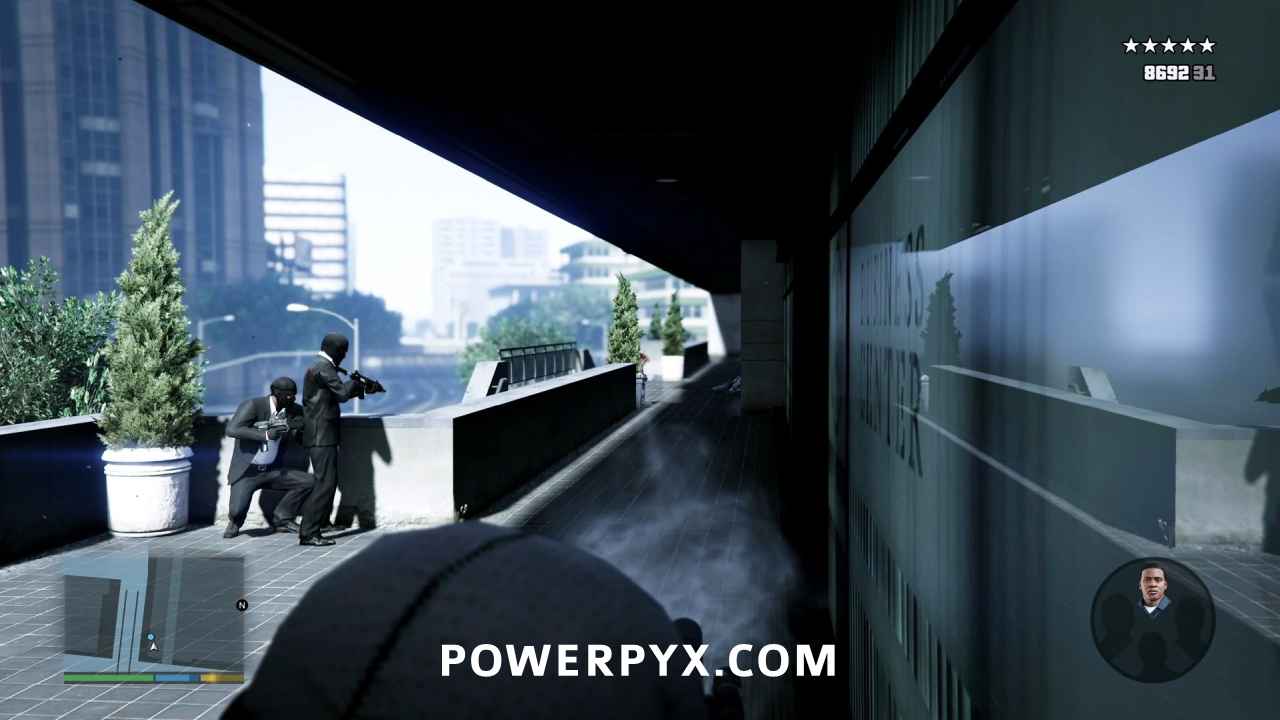
Pull out your railgun to be ready for a helicopter that swoops in. Kill it, then immediately switch back to your rifle.
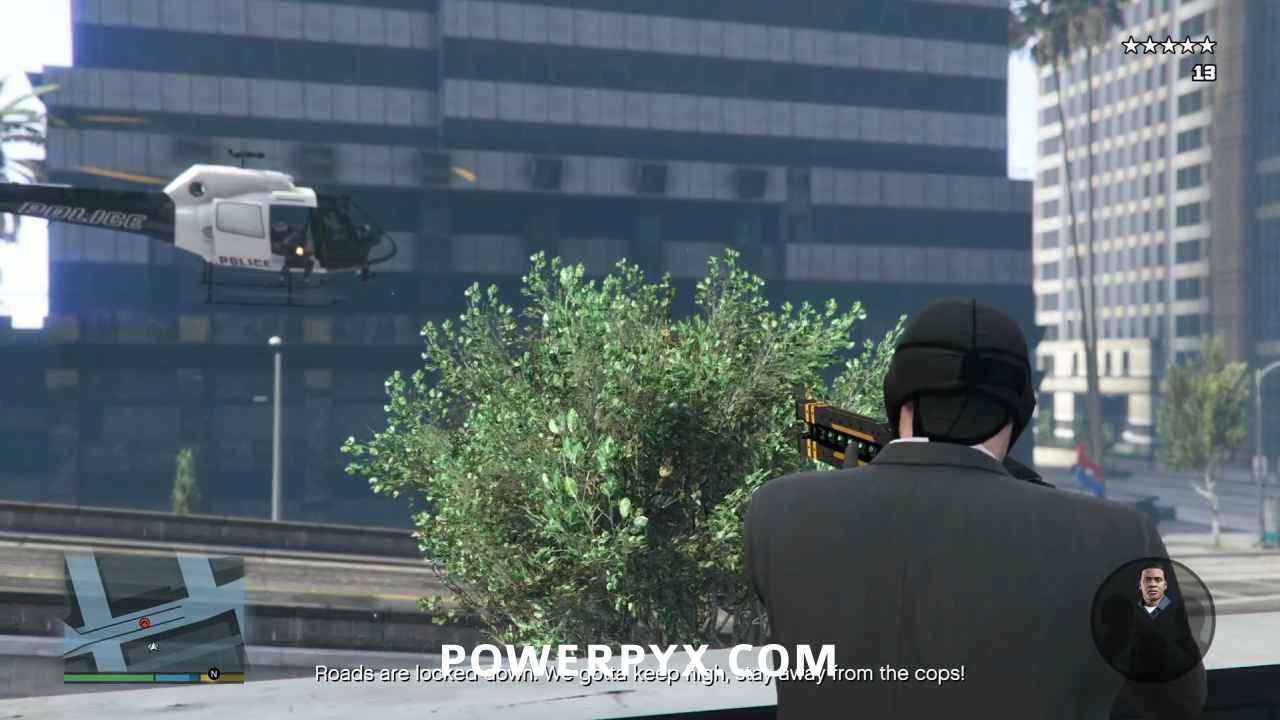
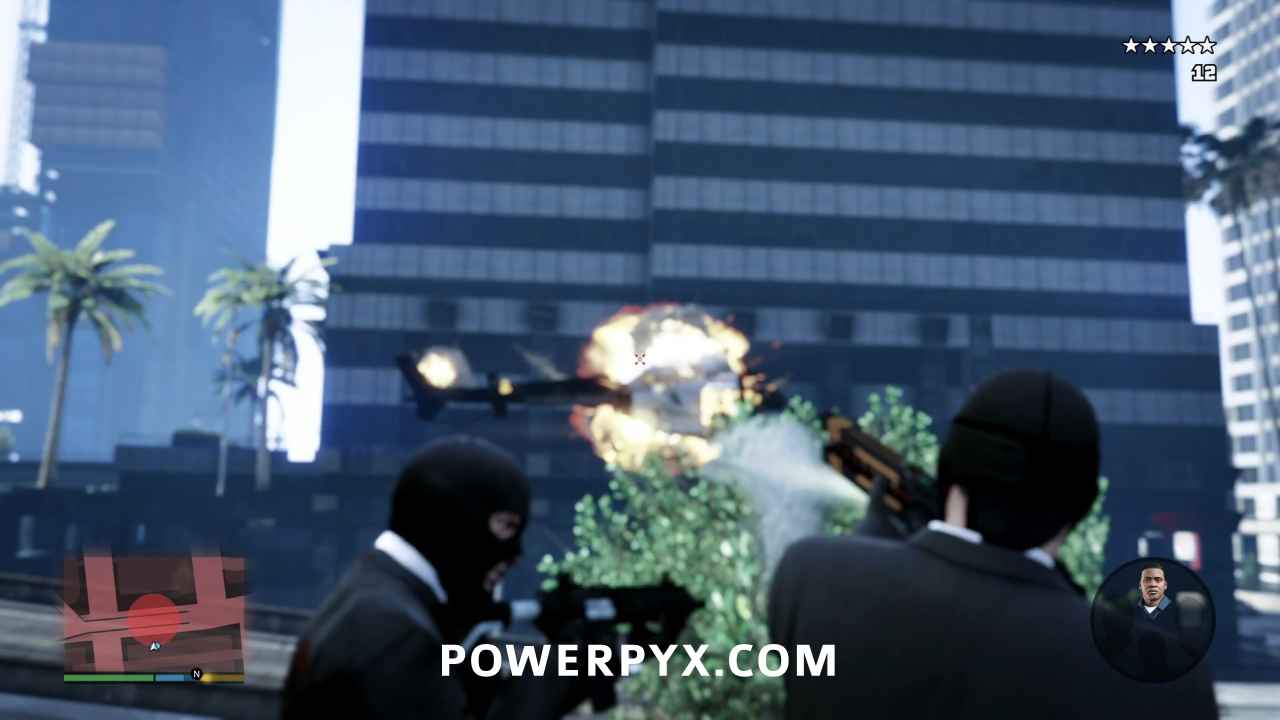
Continue down the walkway towards the corner, and take stock of your special ability meter. If you’re low, you can move to the railing and kill the cops on the street below with headshots to charge up. If not, you can ignore them completely and head up the stairs behind you.
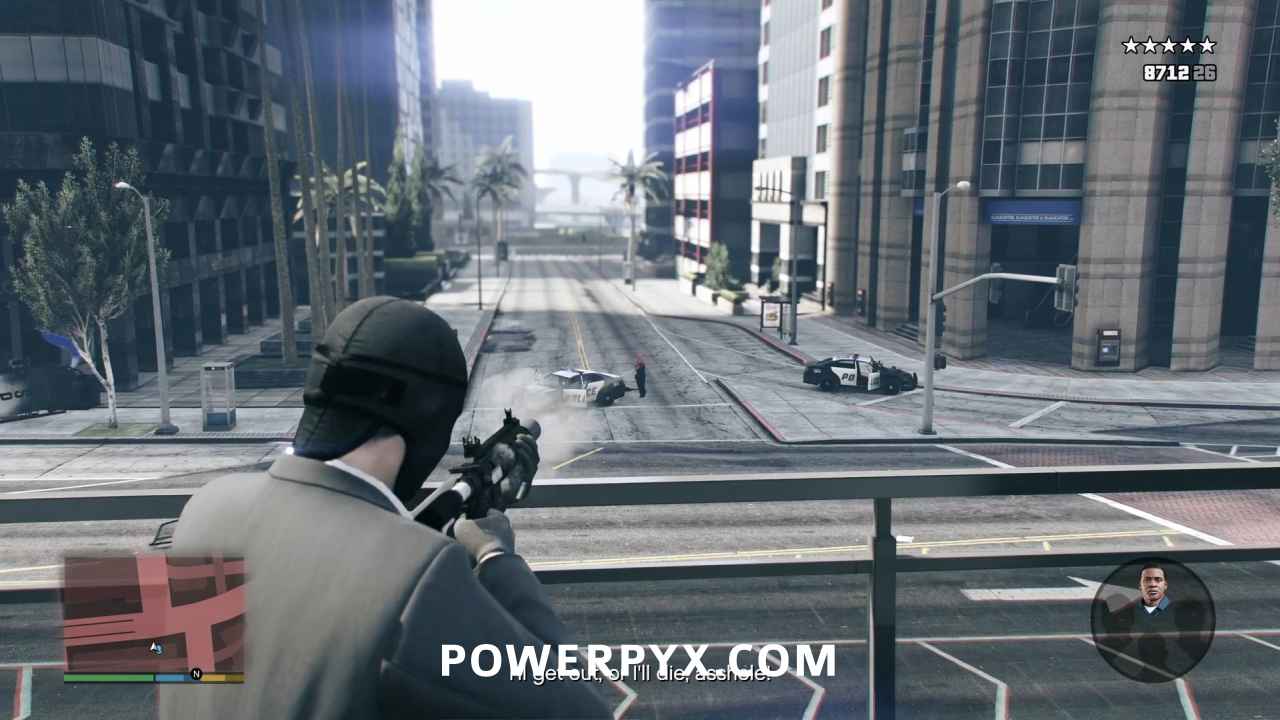
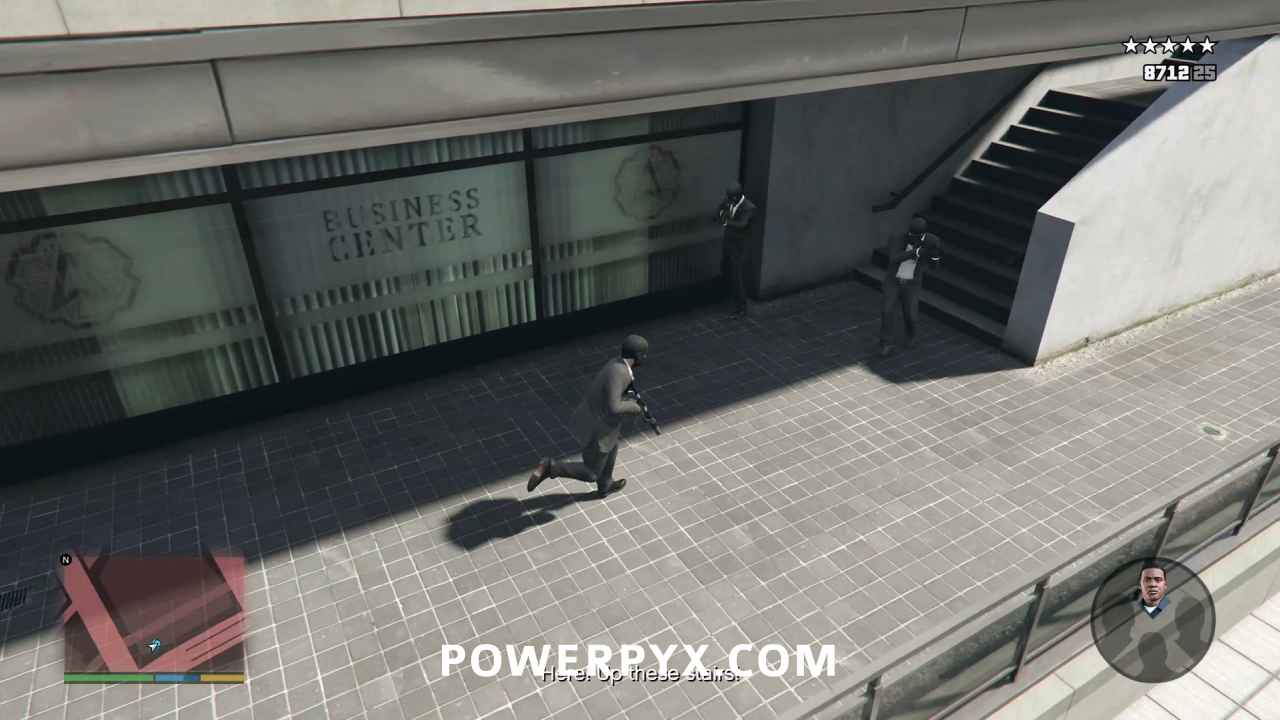
While running up the stairs, switch to your railgun and be ready for the Police Maverick that will swoop in around the left side of the building. Kill it then swap back to your rifle.
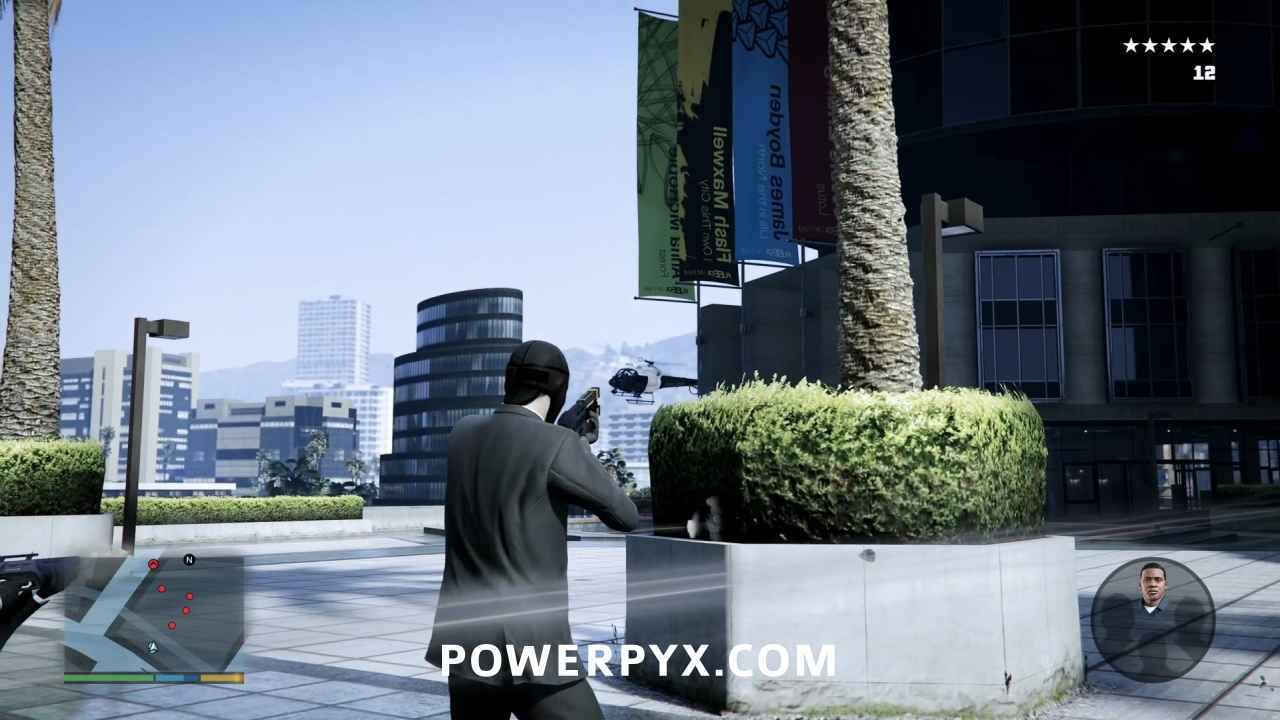
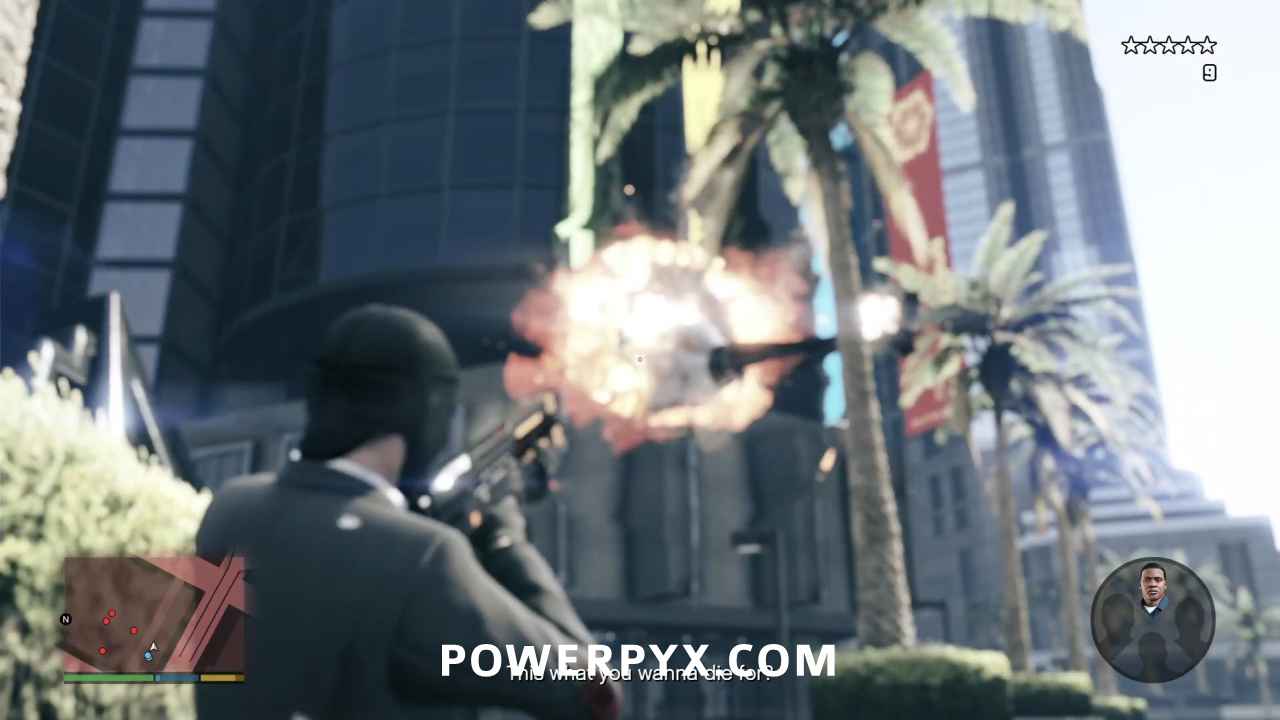
Take cover behind the concrete planters ahead of you until you have a target. There are four NOOSE agents in the plaza and more will be arriving soon. When they are in the open, activate Michael’s special ability and push forward towards the northeast.
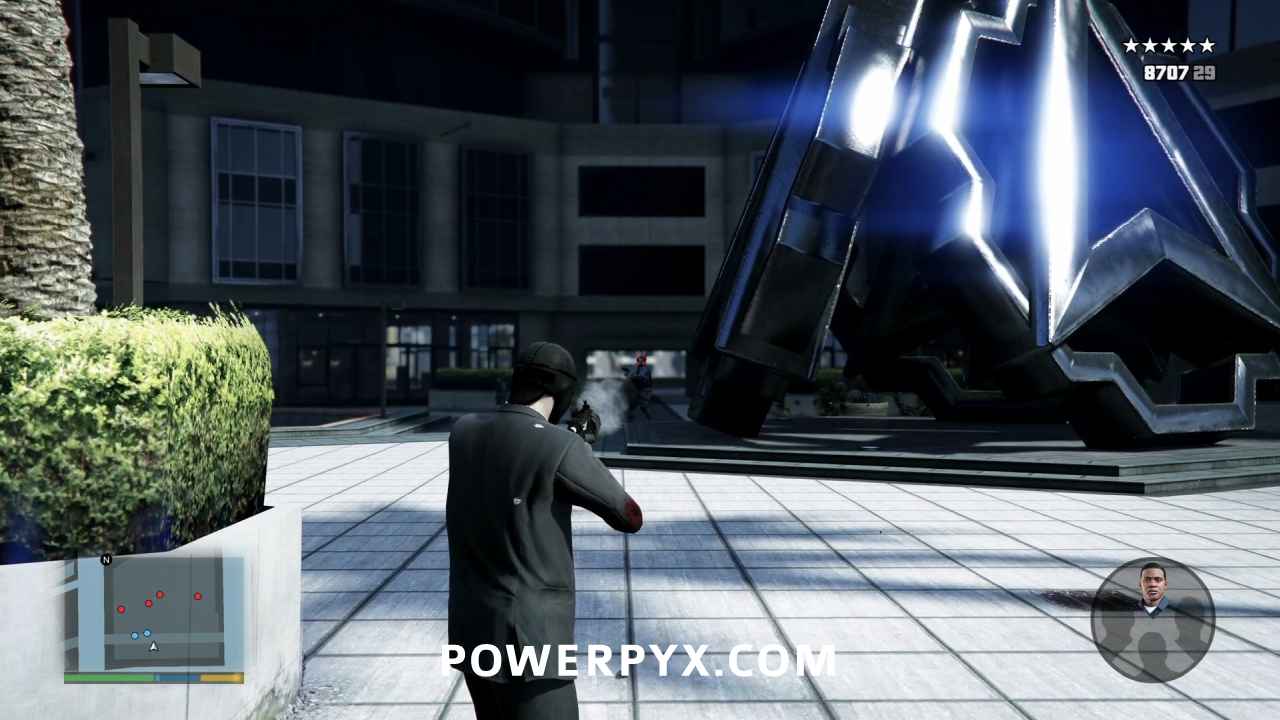
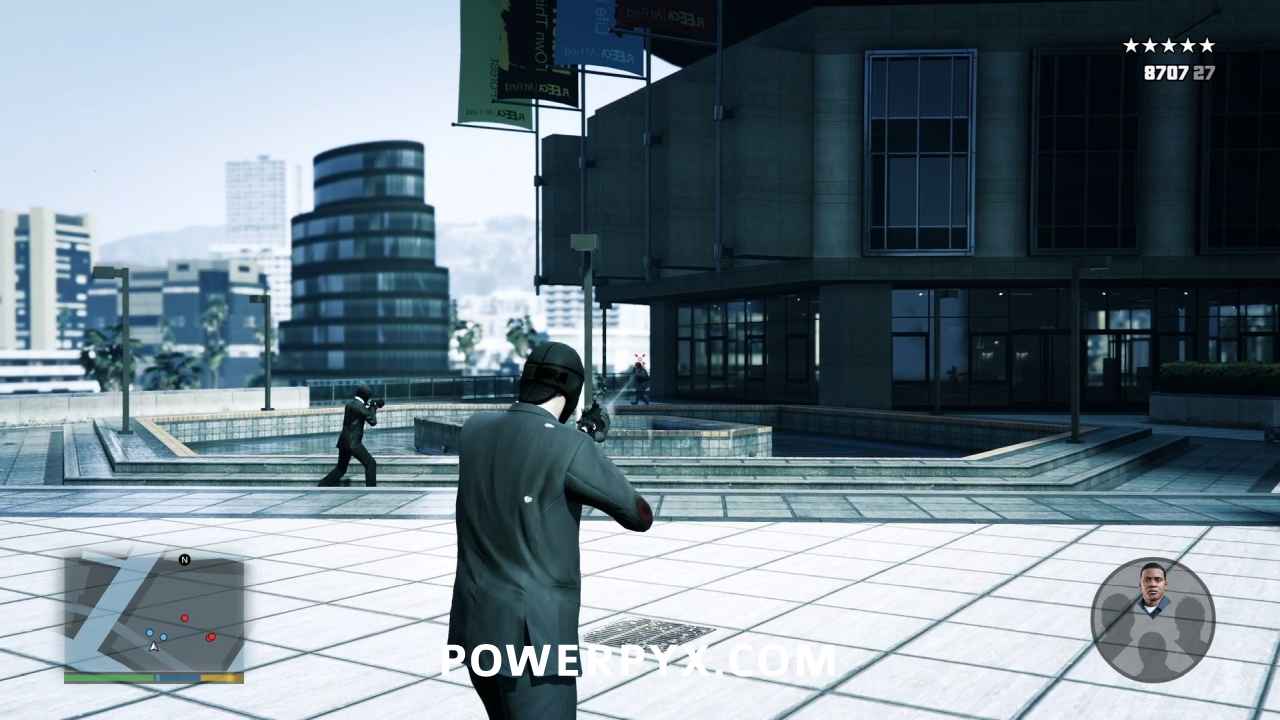
Two more will appear through the tunnels to the southeast. Kill them as you continue to the northeast tunnel.
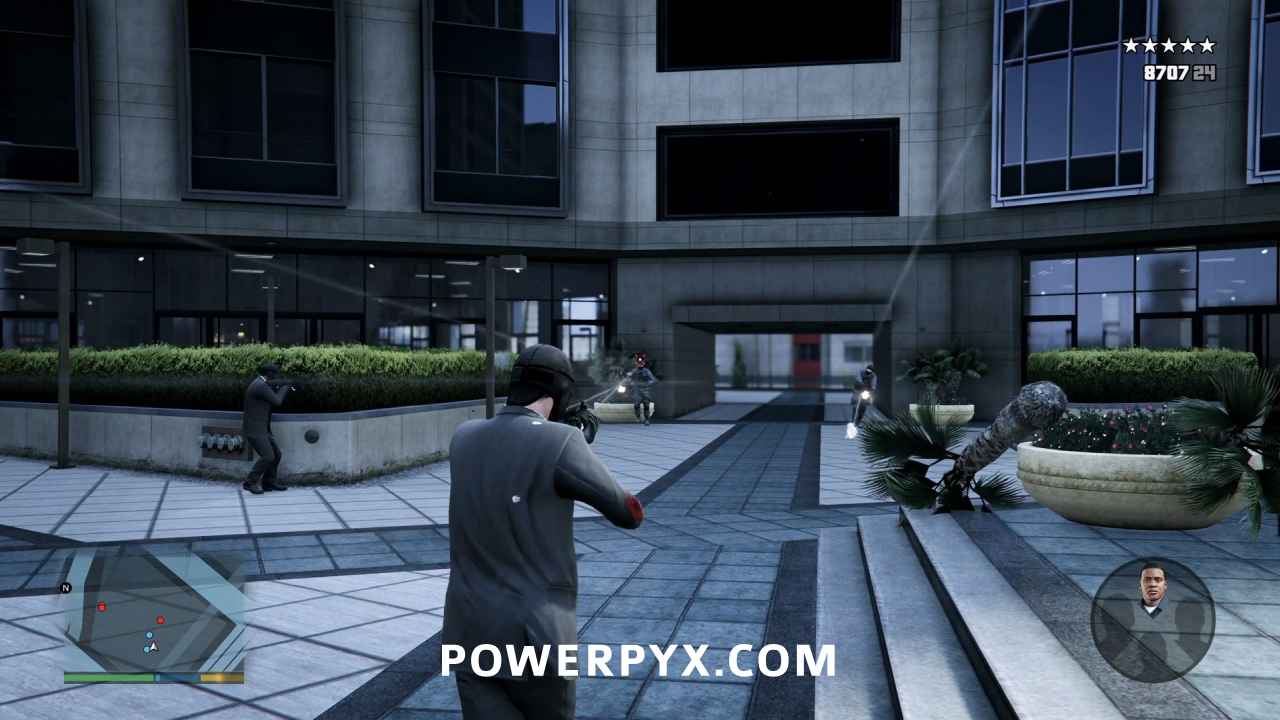
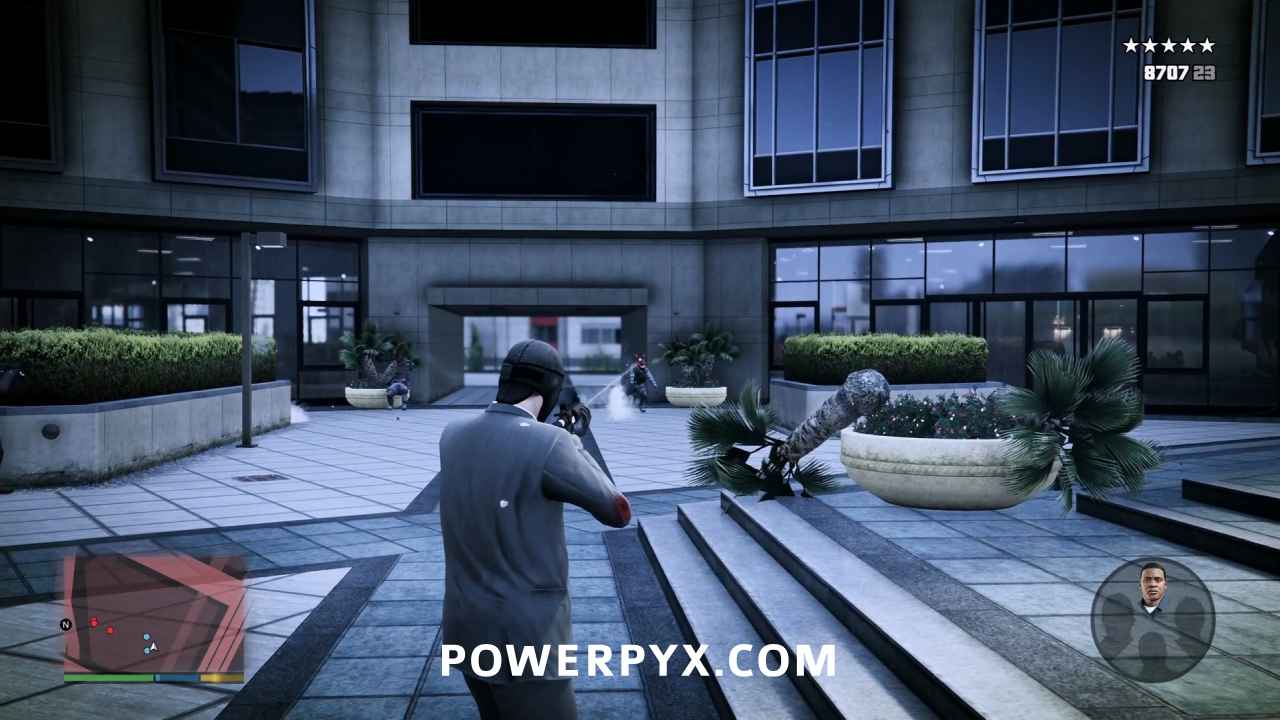
As you advance, three more will appear in the distance to the northeast on the other side of the tunnel. Kill them while pressing forward.
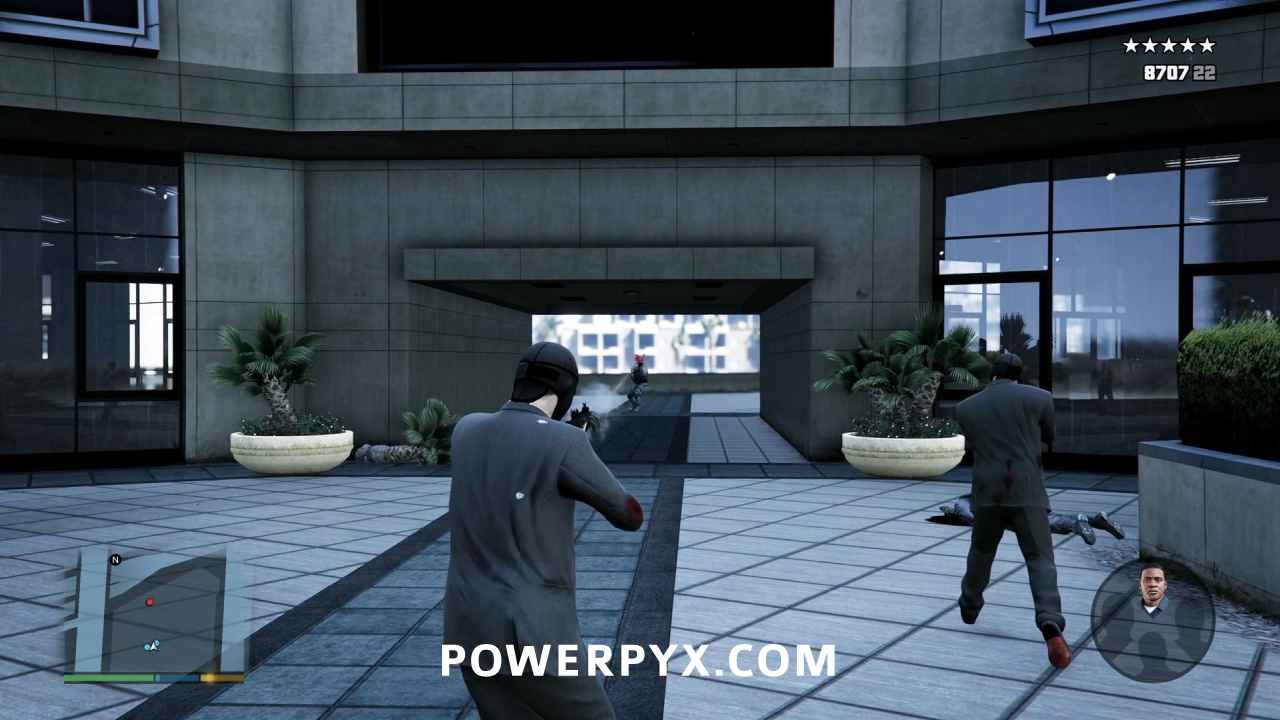
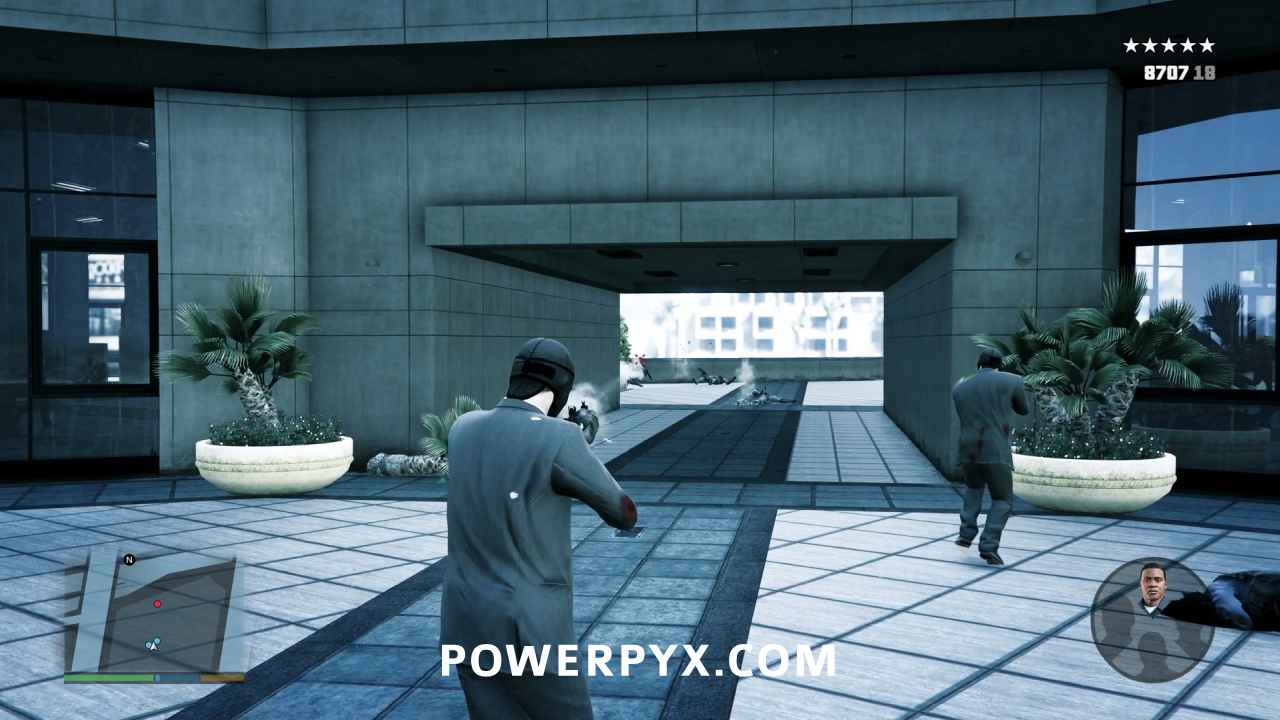
As soon as they’re dead, pull out your railgun again. A Police Buzzard will come around the building to your right. Kill it, then swap back to your rifle and head down the stairs.
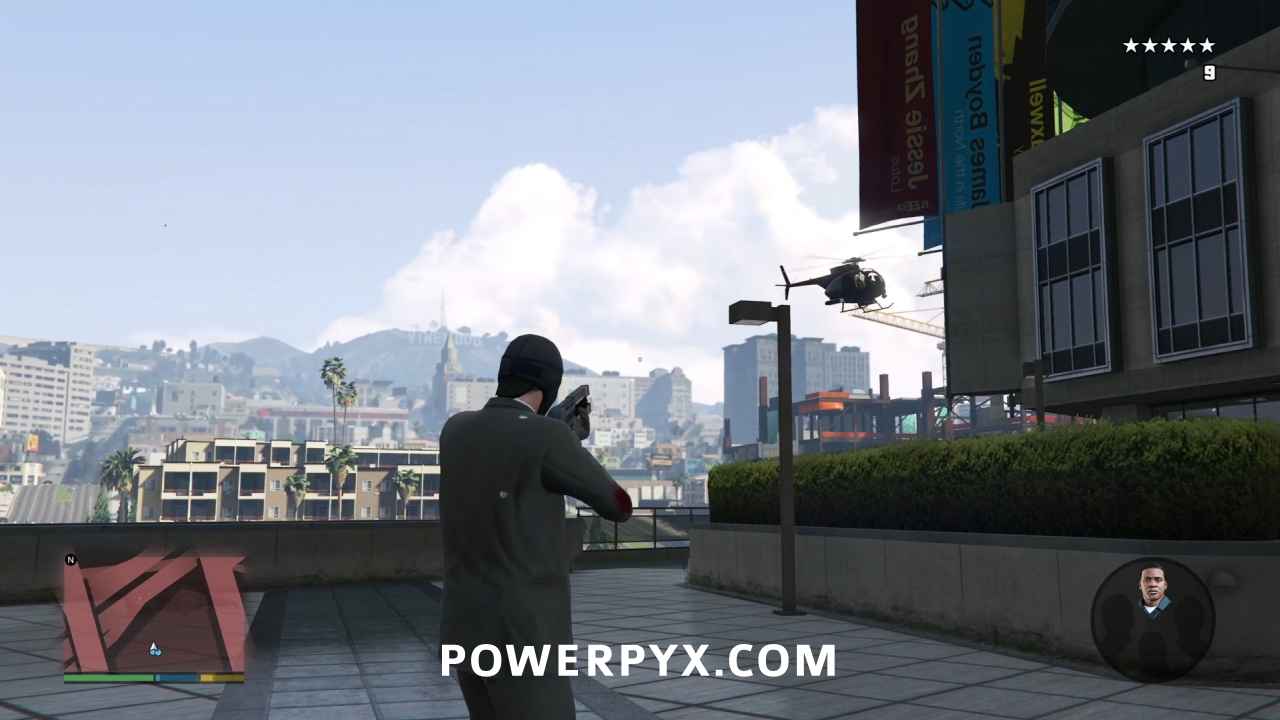
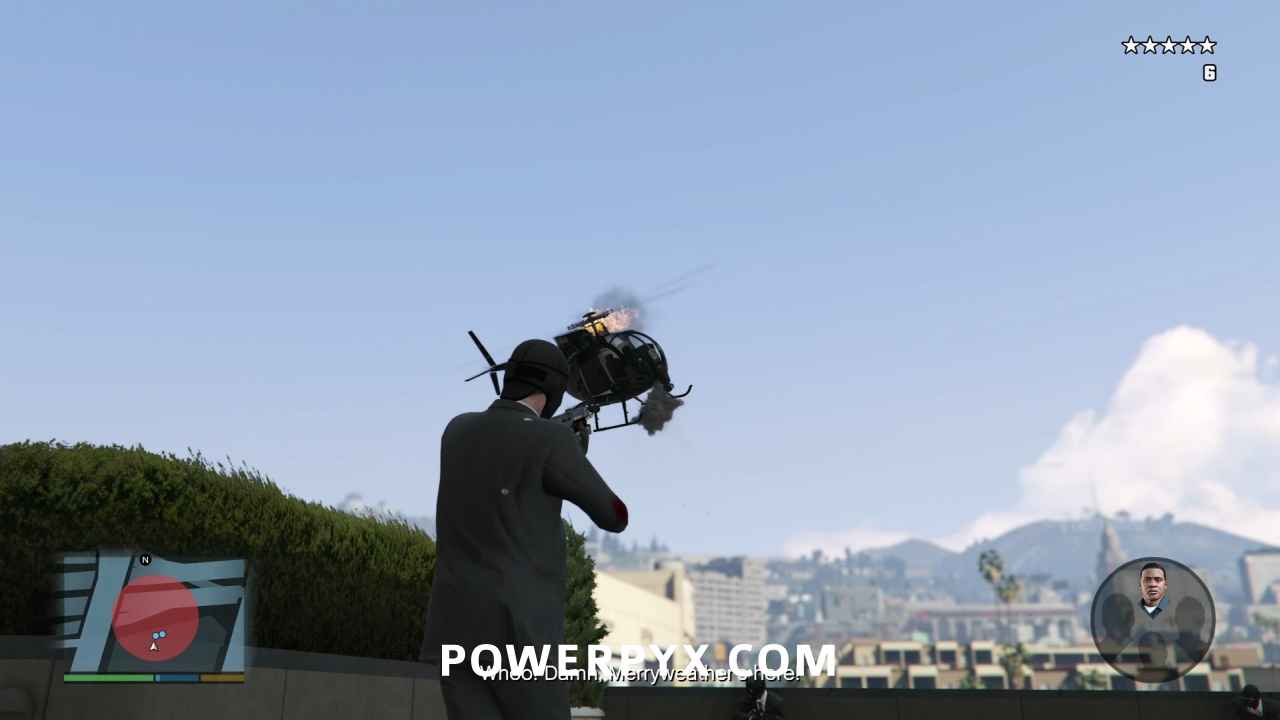
At the bottom of the stairs, kill one NOOSE agent directly ahead of you as he comes around the corner, then turn around and follow the walkway to kill three more.
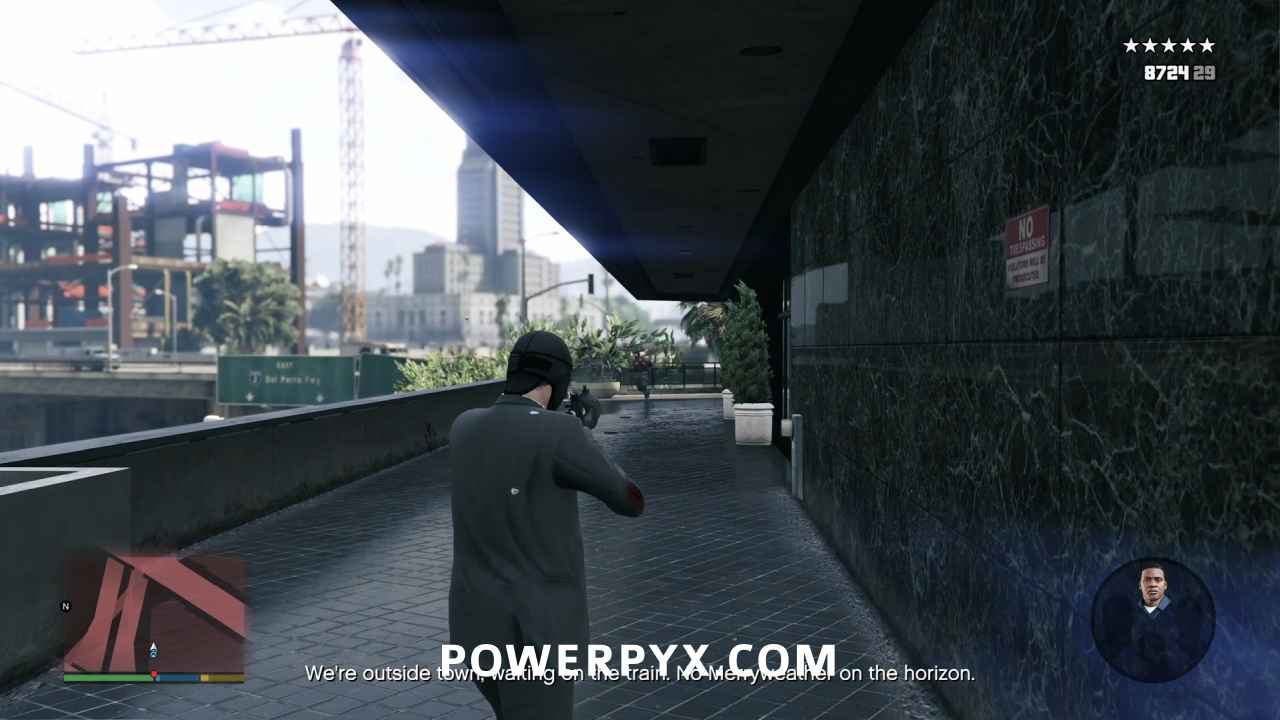
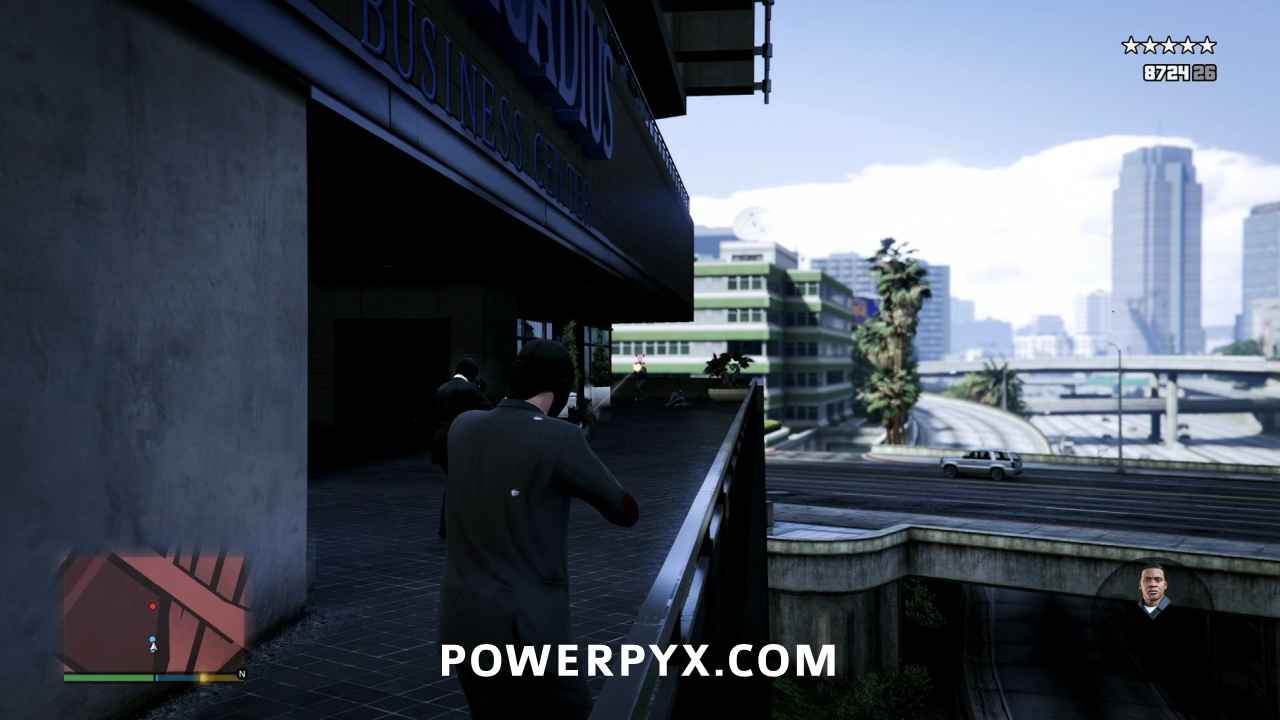
Run to the corner then turn left. Stop at the railing to charge up your special ability meter to at least half. Then continue running to the southeast and down the ramp.
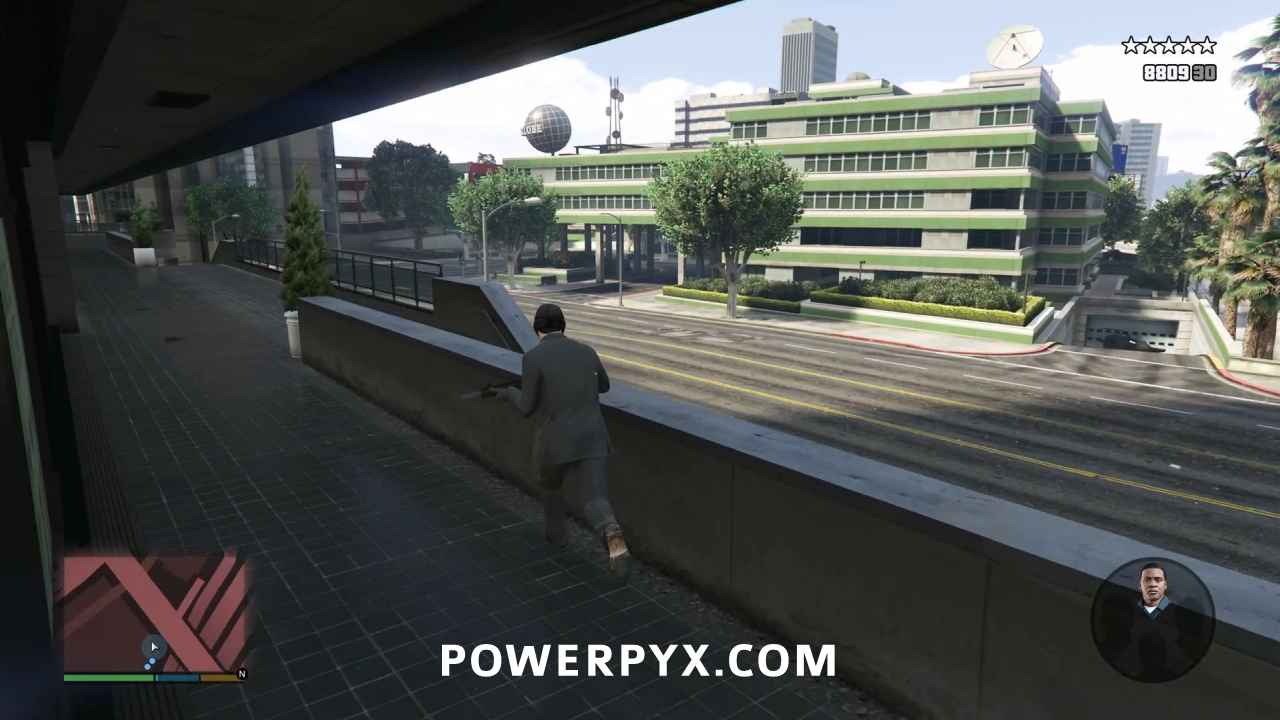
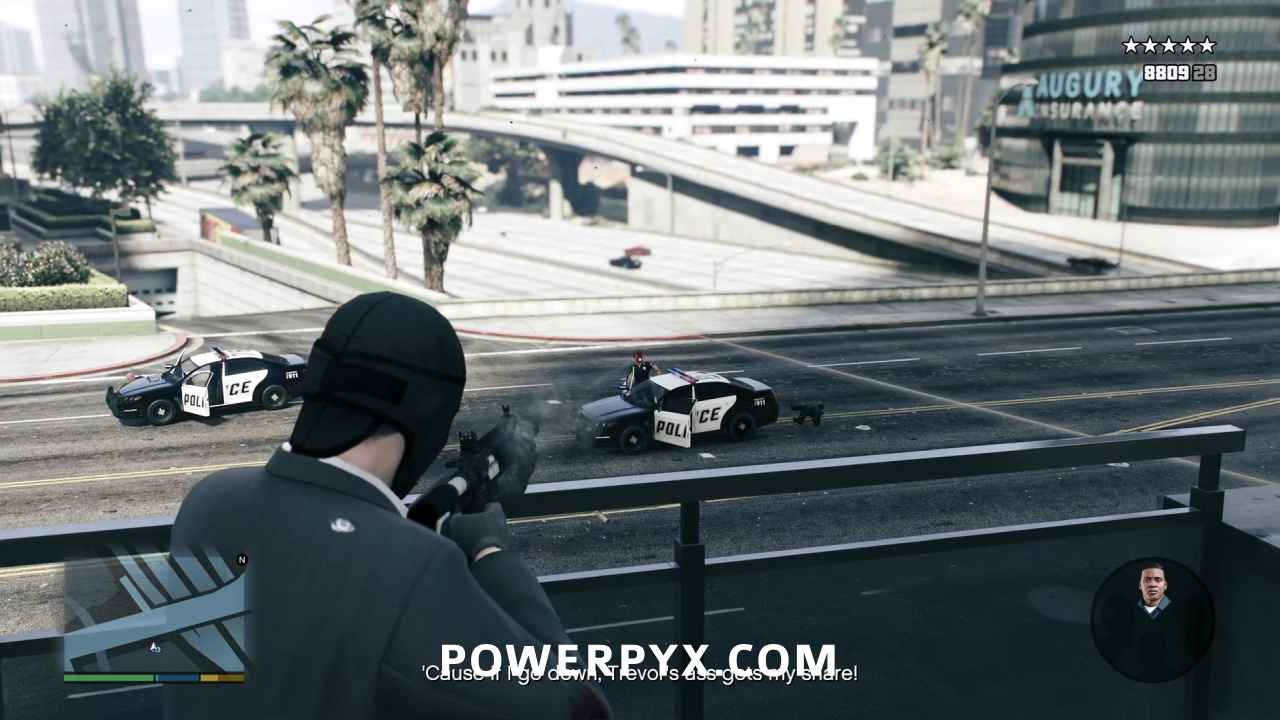
At the bottom of the ramp turn left and go into the parkade entrance, ignoring any police that show up.
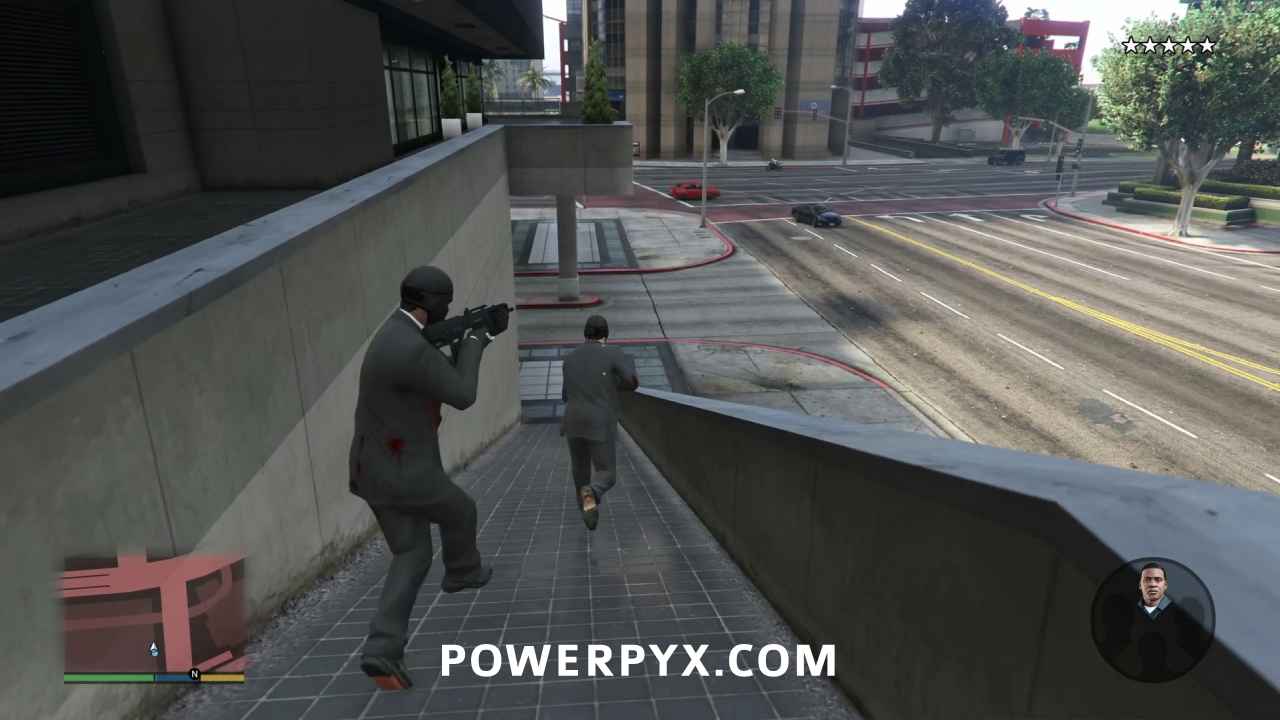
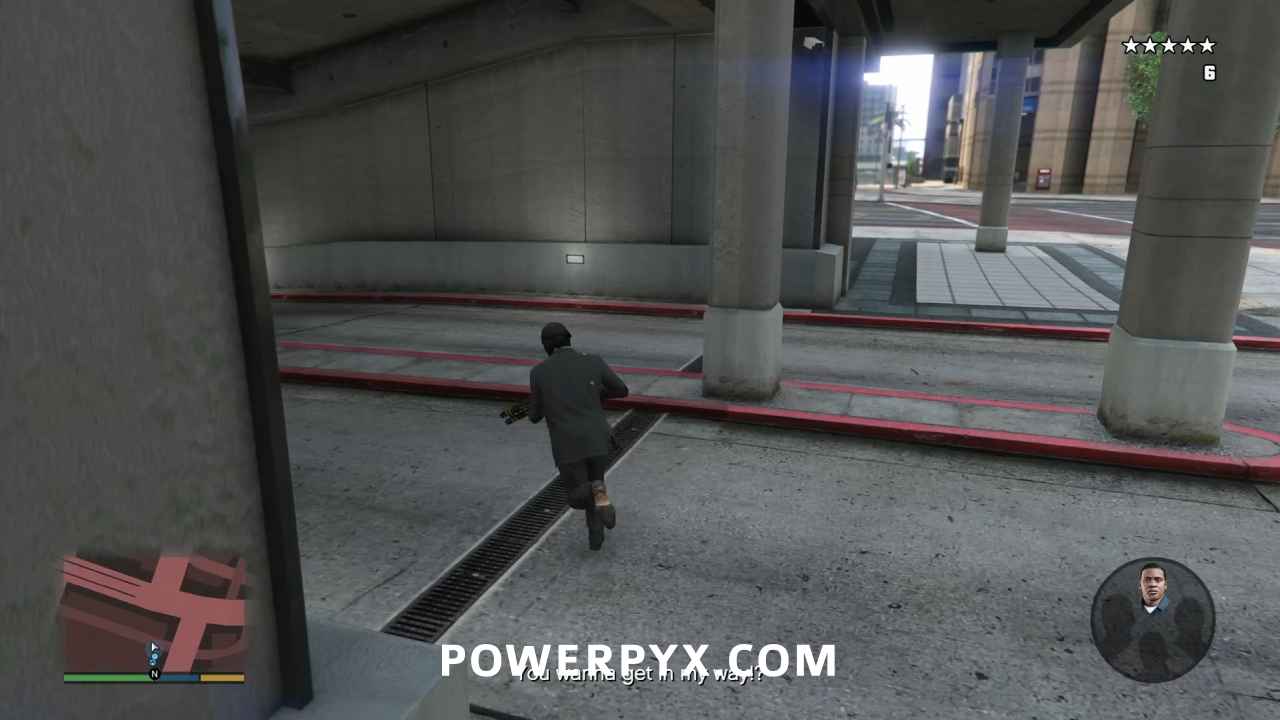
Switch to Franklin at this point, if you want to have access to his special ability for the getaway. You will lose the ability to switch after the next encounter.
Three NOOSE vehicles will come down the ramp ahead of you. Blow them up with the railgun to avoid a firefight with the agents inside.
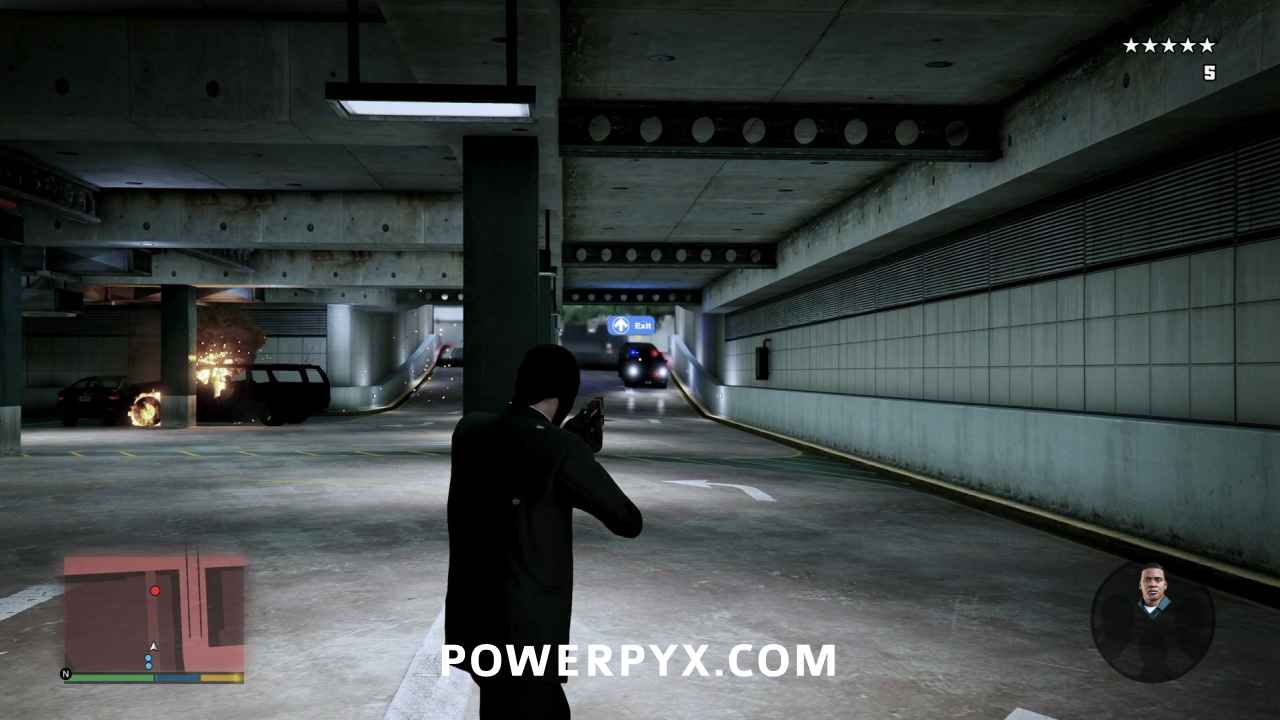
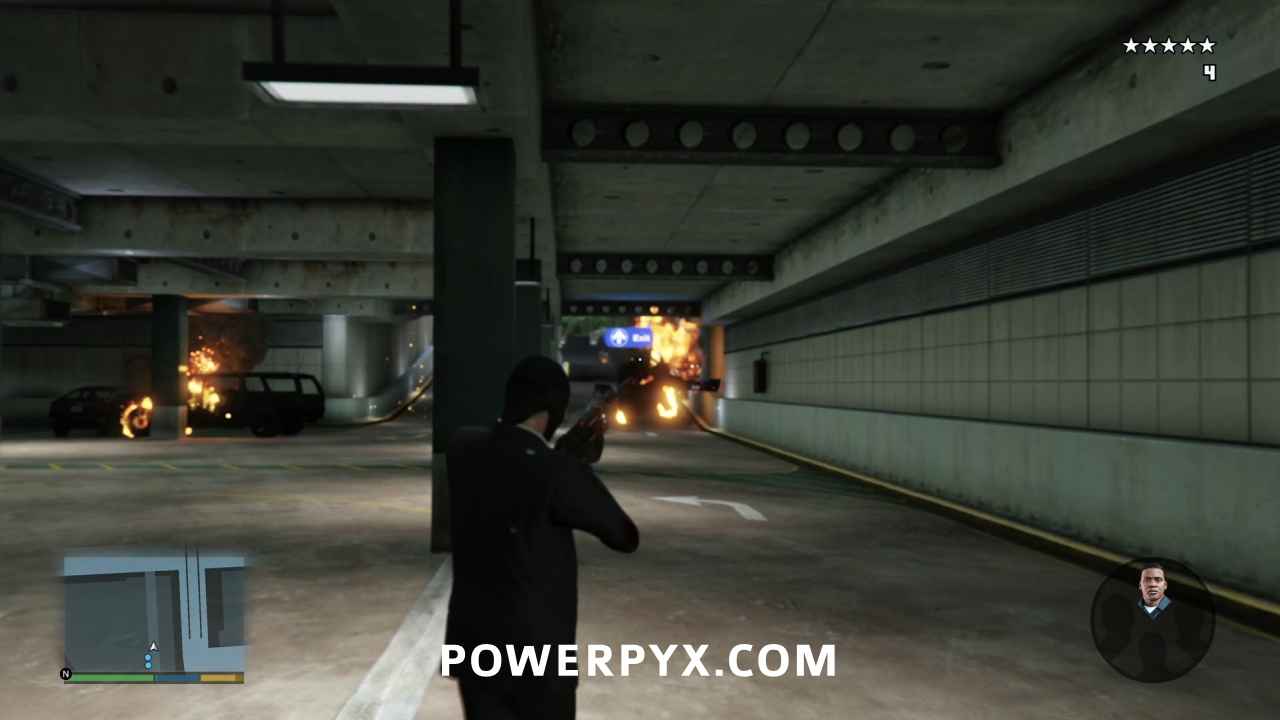
Once all agents in the three vehicles are dead, you will lose the ability to switch to Franklin. So if you haven’t switched to Franklin already, you will be stuck using Michael.
Get Into the Car
Why the game wouldn’t automatically switch to Franklin driving on the most important getaway of their lives I don’t pretend to understand. Anyhow, head to the getaway car. Whoever you’re controlling will be driving.
Lose the Cops
Head out of the parking garage, and into a full five star wanted level. There will be police everywhere, and multiple air units, which is the first thing you’ll have to deal with. Don’t go straight on any street for more than a block. Keep taking corners, zig-zagging away from pursuit until you can go down an alley that goes through to the next block. It’s much easier to lose air pursuit in an alley, so take every one you can find that doesn’t dead end or loop back into other police. If you can go through a tunnel, or pass through a parking structure, or hide under a freeway, that will help. Anything that will block line of sight to your car. Once you’ve broken line of sight with the helicopters and gotten out of their cone of vision, your job becomes much easier.
Watch your minimap closely to see where there are police looking for you, and where their cones of vision are. You can follow police if they’re moving away from you on the same street, but don’t get too close. They can sometimes turn around, or spawn going in the opposite direction, forcing you to backtrack or take a turn that you didn’t want to. Also, just because you are in their cone of vision, if you are hiding behind something and not actually visible to them you won’t be discovered. Though if you do go to ground in an area, the AI sometimes has the police make a more intense search of the area, even though they would have no way of knowing where you are. Driving cross country works on all but air units, or driving down the tracks and into the subway tunnels is usually a sure bet. Constant turns and alleys are your friends otherwise.
Once you’ve lost your wanted level, you will be prompted to switch to Trevor who is having some Merryweather troubles. Now it’s a party.
Follow the Driver
Swapping back to Trevor and Lester in their Frogger, you’ll see Merryweather Buzzards coming over the hills towards you. You’ll have to follow your driver’s helicopter and try to keep your Frogger steady while Lester fires RPGs at the enemy helicopters. Your driver will lead them towards the RON Alternates windfarm, making for some precarious flying since the two tons of gold you’re carrying tends to affect your maneuverability when trying to avoid giant metal blades scything through the air around you. In any case, as long as you’re flying relatively steadily, have the broadside of the Frogger facing the enemy, and are within range, Lester will fire rockets at Merryweather. He will have to destroy all three Buzzards to move to the next objective.
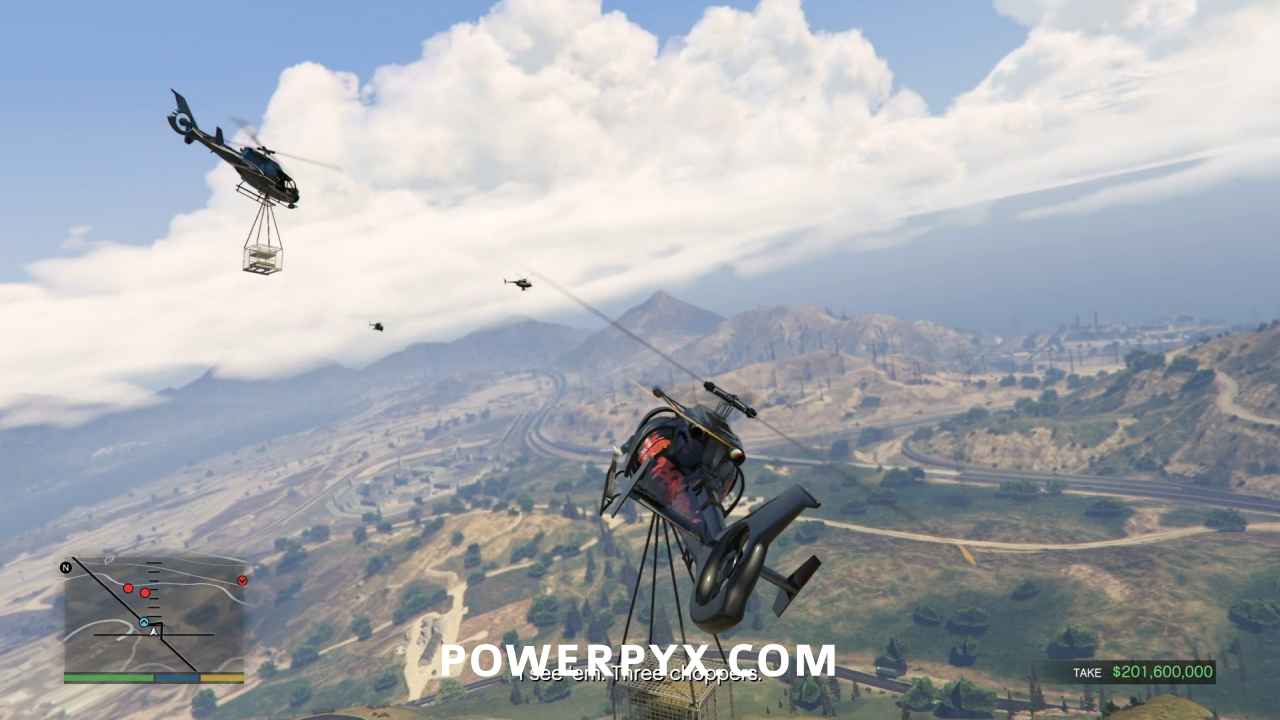
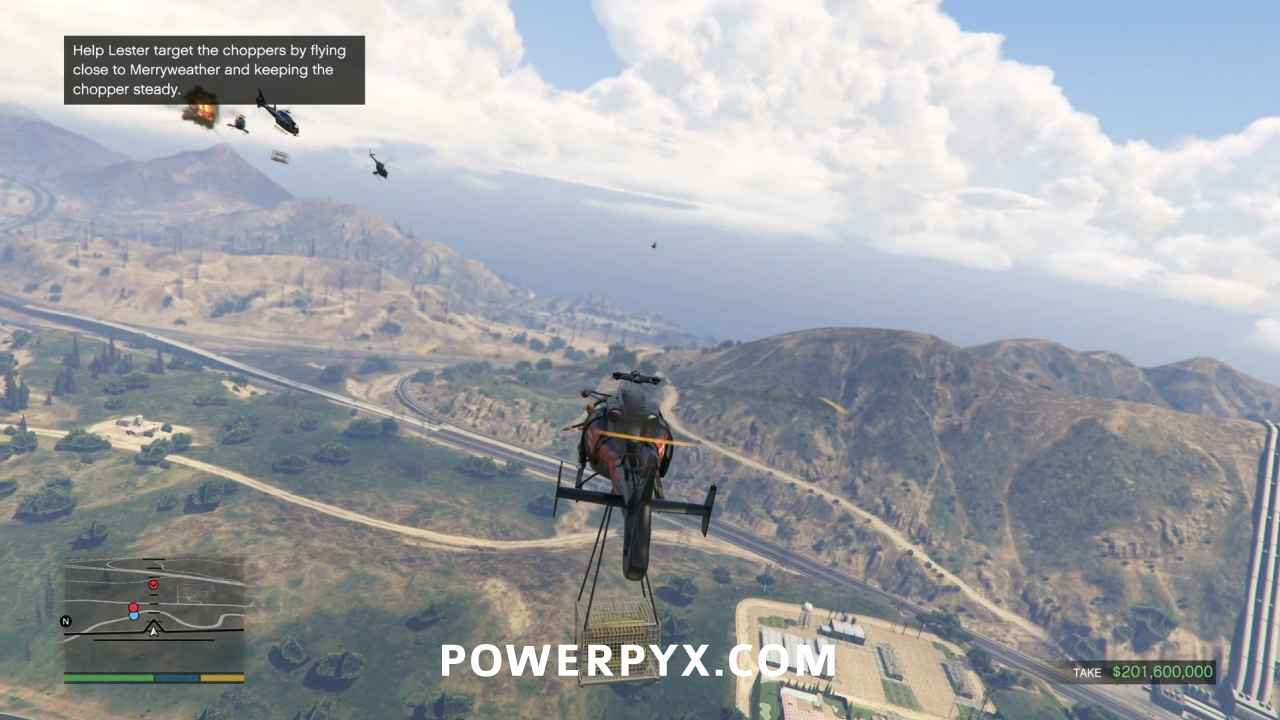
As dangerous as it is, it is best that you enter the wind farm at a low altitude since you’ll need to drop off your cargo on the train in the next minute or so. Just be aware that not only are the blades deadly to your helicopter, if any of them hits your dangling payload, you will lose it and fail the mission. Fly as steady as possible to let Lester aim, anticipating your path through the turbines ahead of you. He should have all three downed before you leave the farm’s airspace.
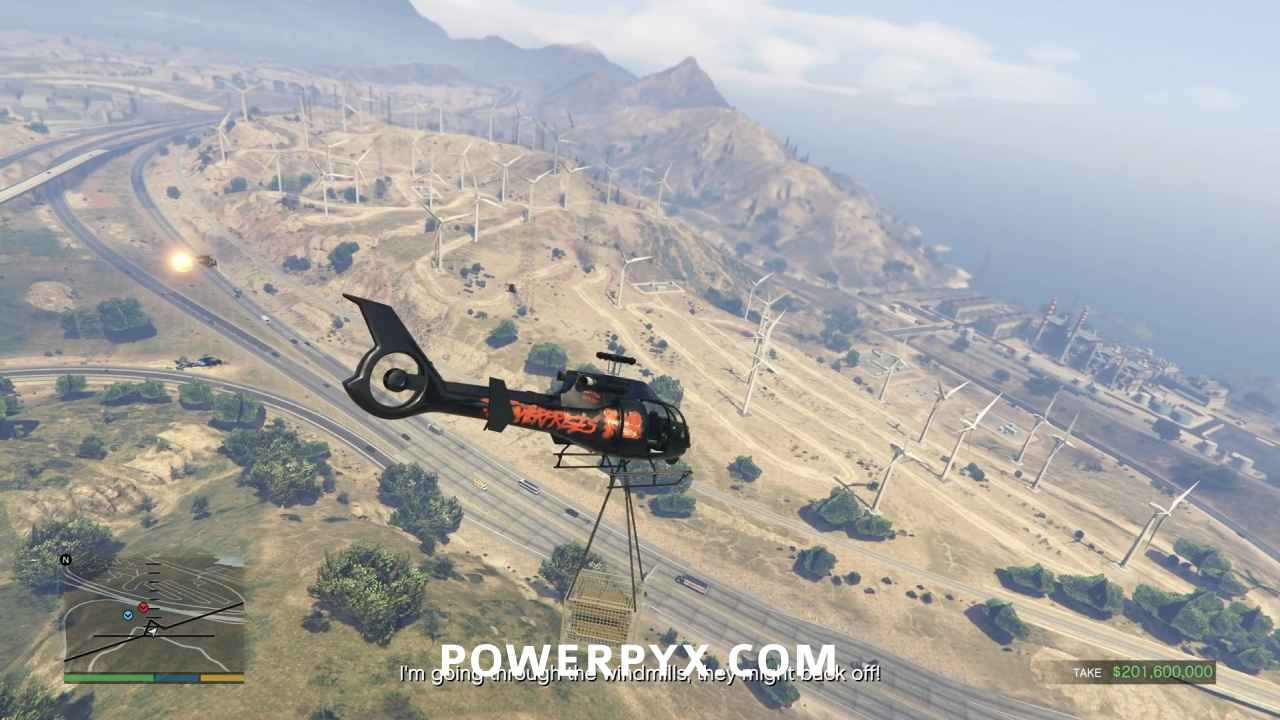
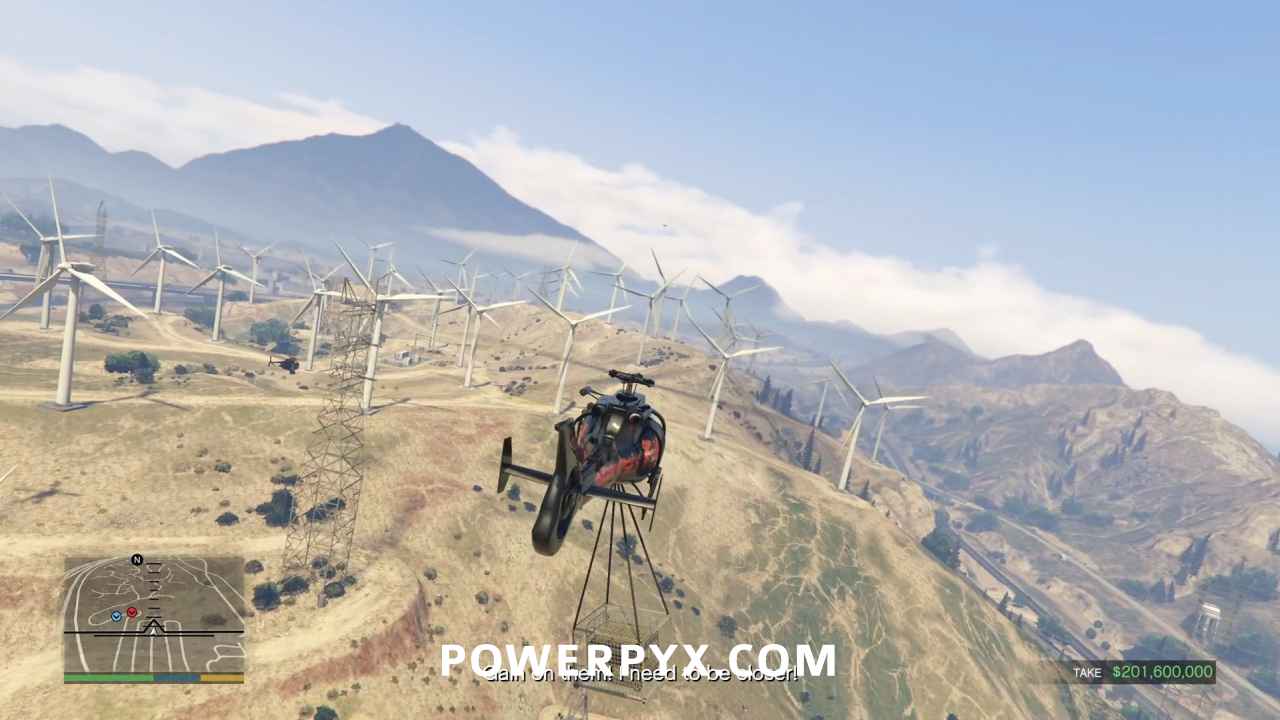
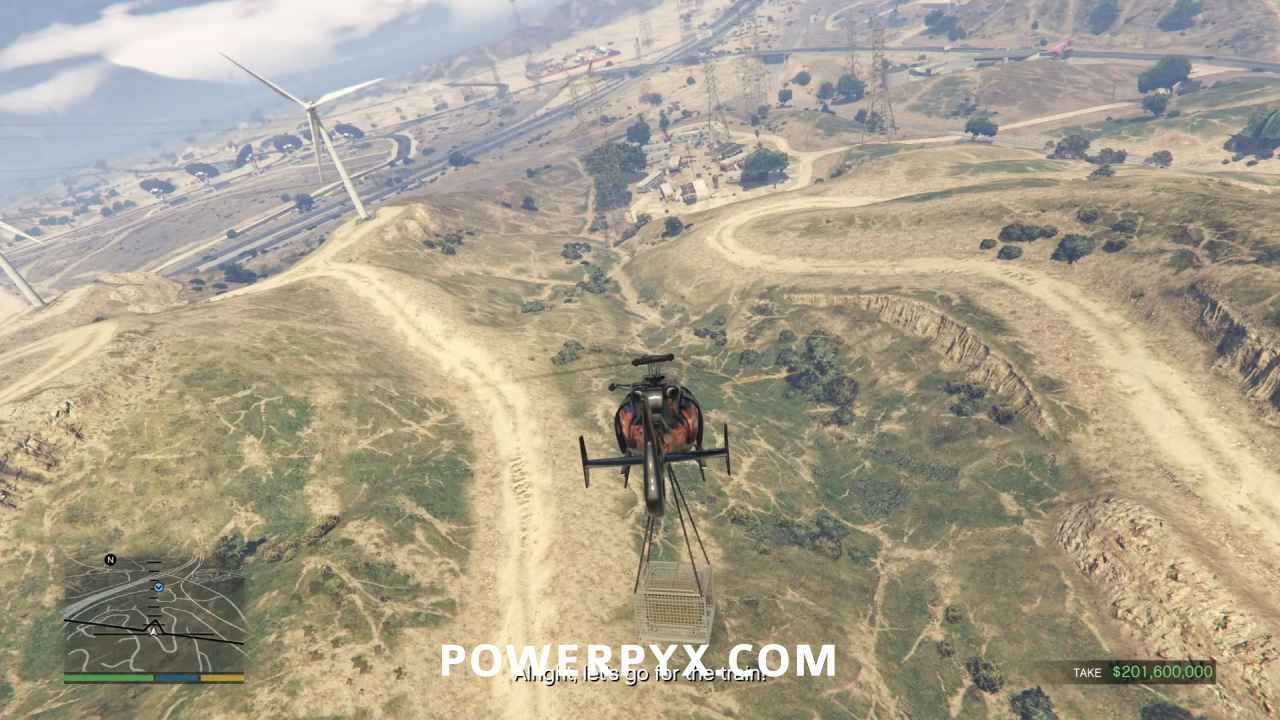
As soon as you can see the valley on the north side of the windfarm, drop down into it. It’s clear of turbines, and it aims you directly at your target. Luckily for what the gold takes away from your helicopter in maneuverability, it more than makes up for it in rate of descent.
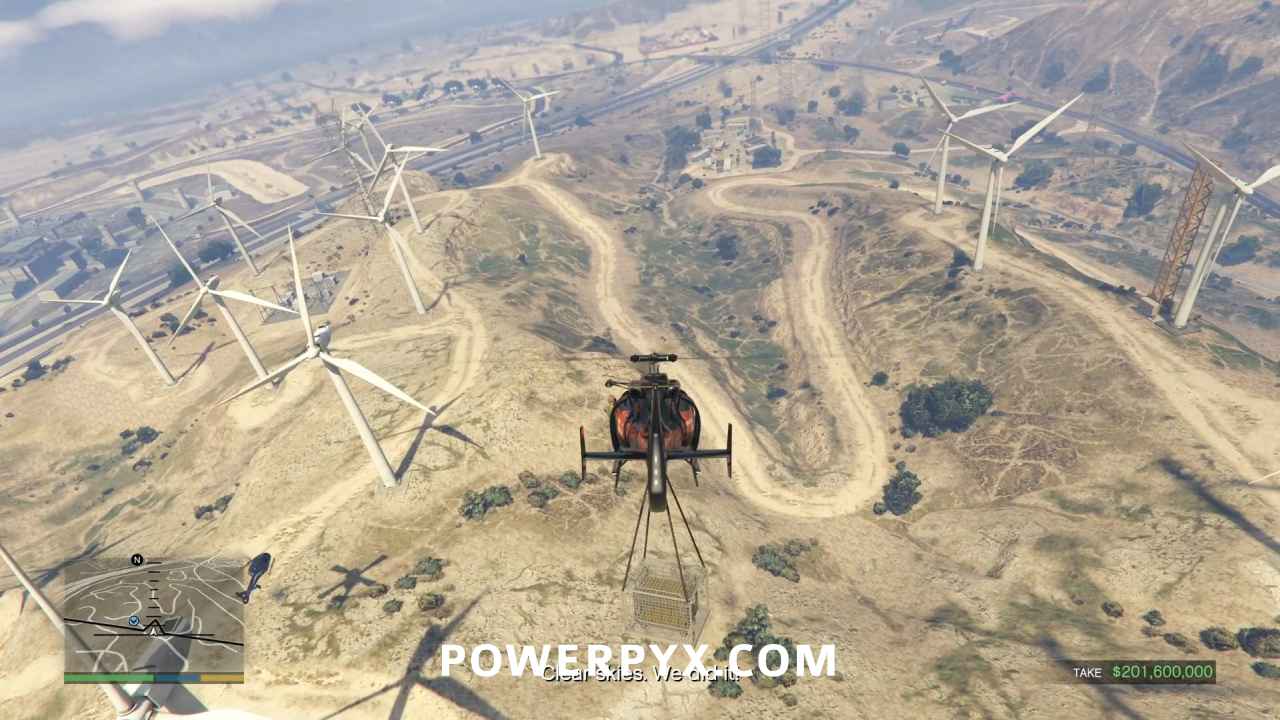
Drop the Gold Into the Train Car
Just in case you were already celebrating, don’t forget that you still have one Gold Medal requirement left:
- Cha-Ching: Drop the gold onto the train within 00:30
The clock starts as soon as the objective appears on screen. Coming out of the valley, continue to reduce altitude as you skim over a trailer park between multiple electrical towers. You will see the train tracks below you, merging to go under an overpass ahead of you. The train should just now be starting to move on your left, heading towards the underpass. As you pass the last electrical tower, start your turn to the right to line up with the train below you.
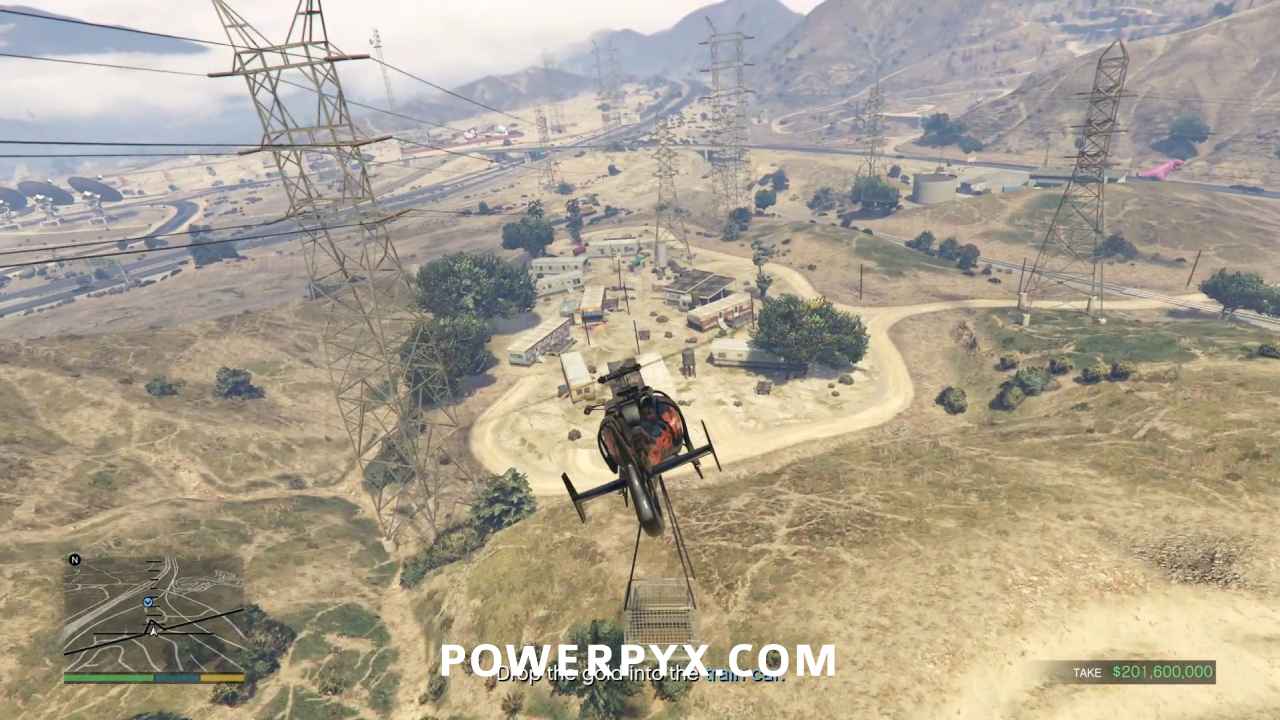
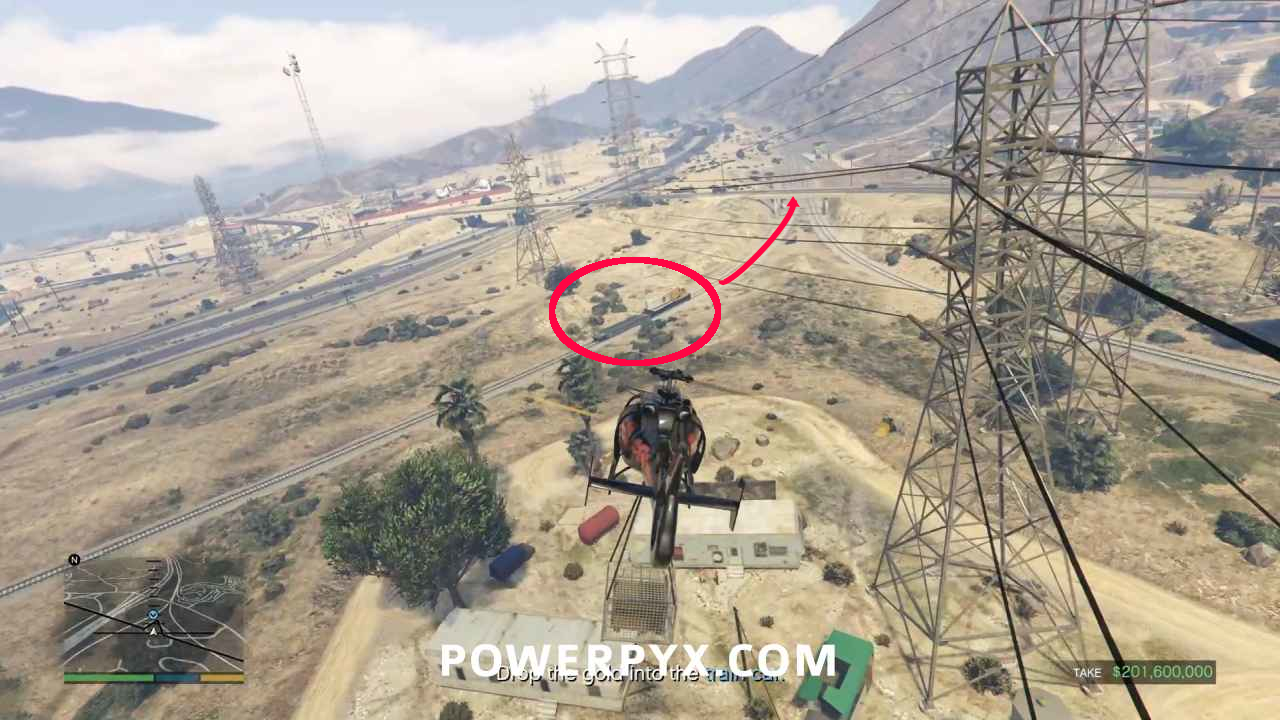
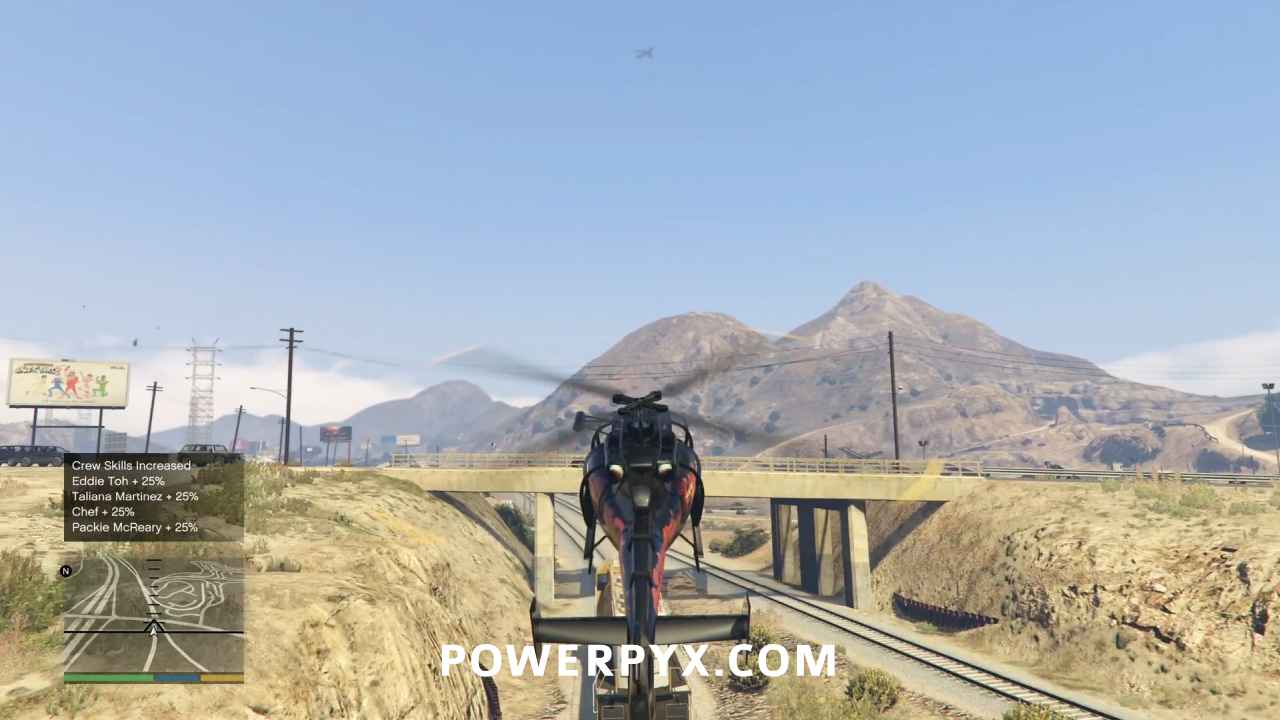
At this moment, you will have to make a judgement call. Based on your position and speed relative to the train, you must decide whether or not you will be able to reach it before it passes beneath the overpass. You will have to fly low enough to be able to drop the gold, and if you aren’t able to do it in time, it’s very difficult for the Frogger to climb fast enough to avoid colliding with the overpass.
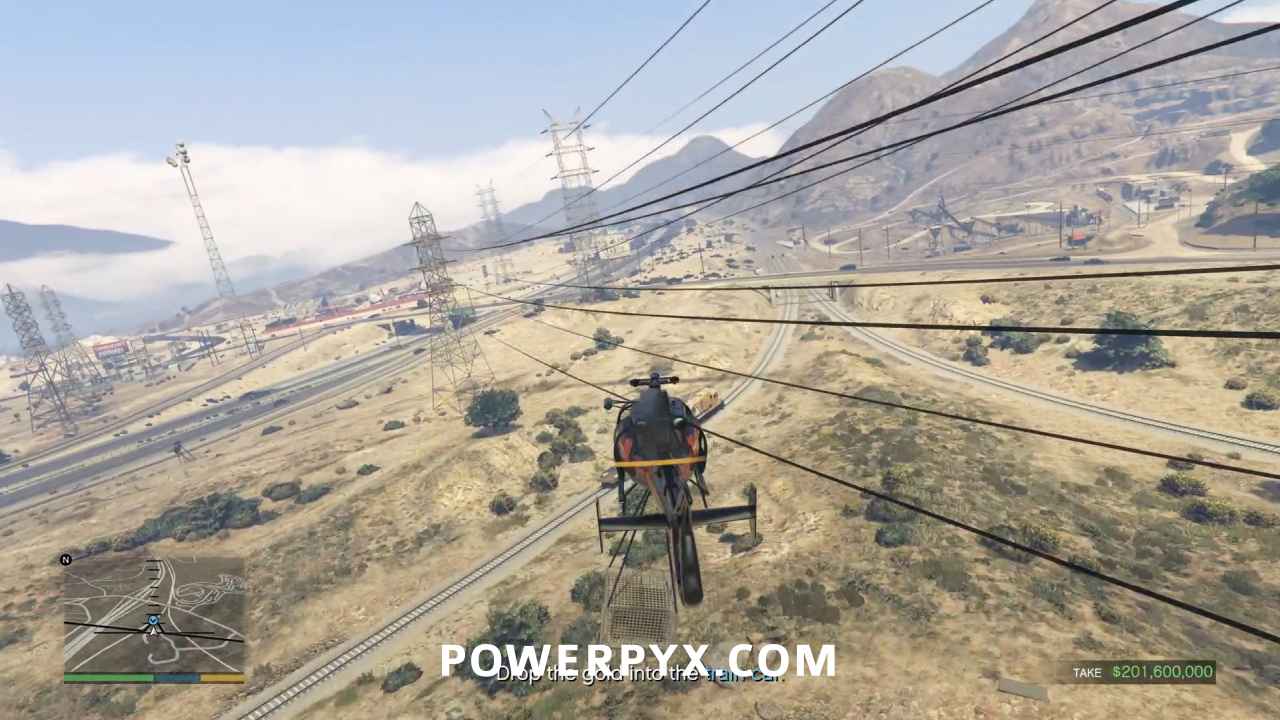
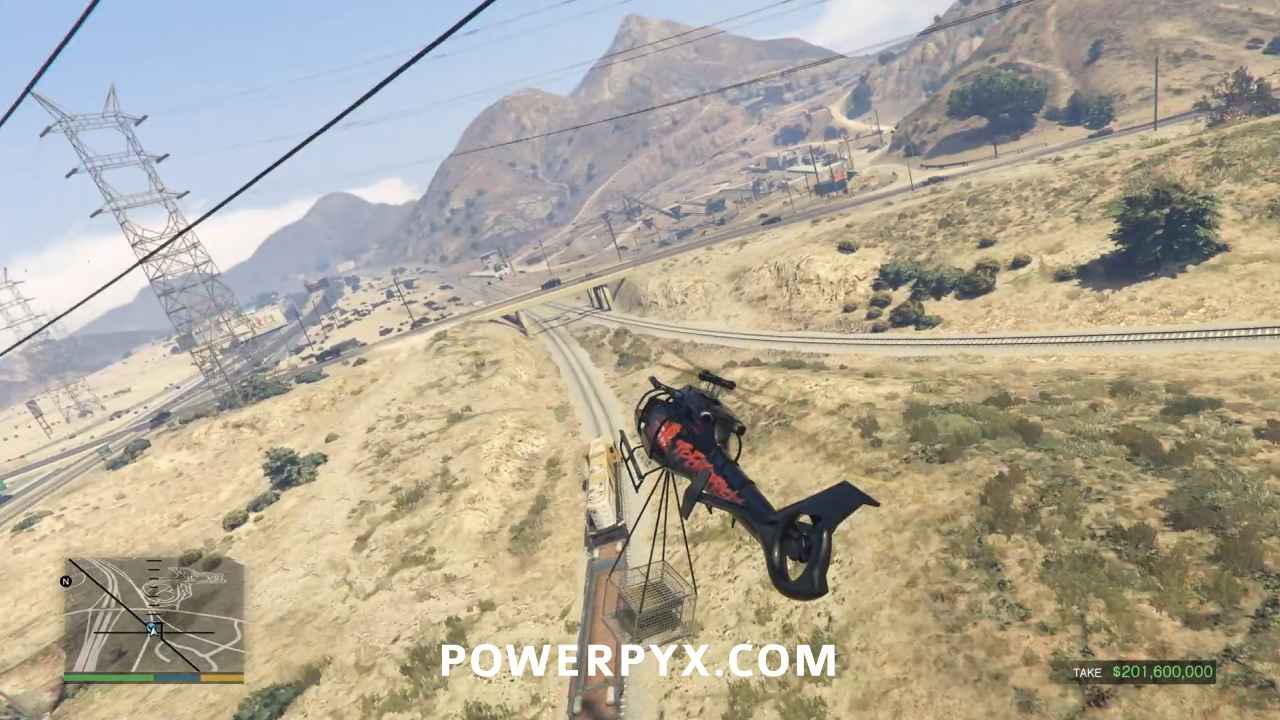
Luckily you have a little leeway on dropping the gold, much like you did with the Skylift in “Sidetracked”. If you drop down and get the gold close to the railcar, you’ll get a prompt to press / to drop the gold. As long as you press / while that prompt is up, you’ll successfully drop the gold on the train in a short cinematic.
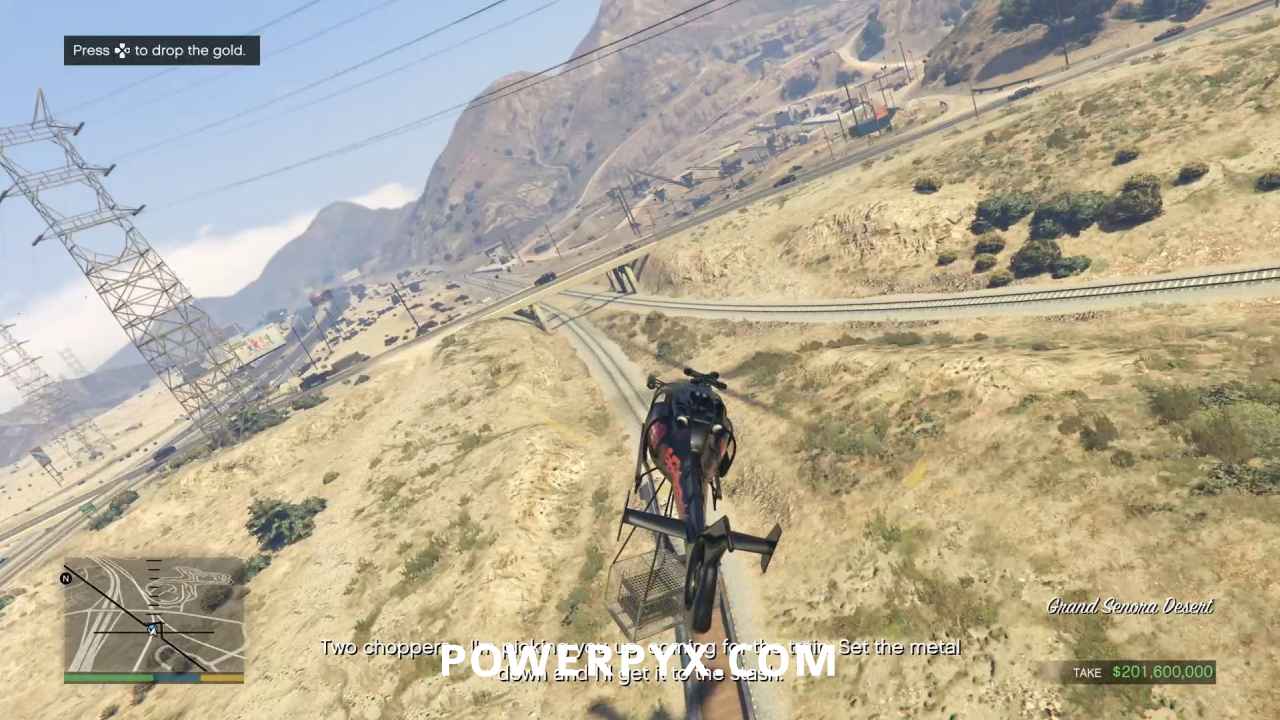
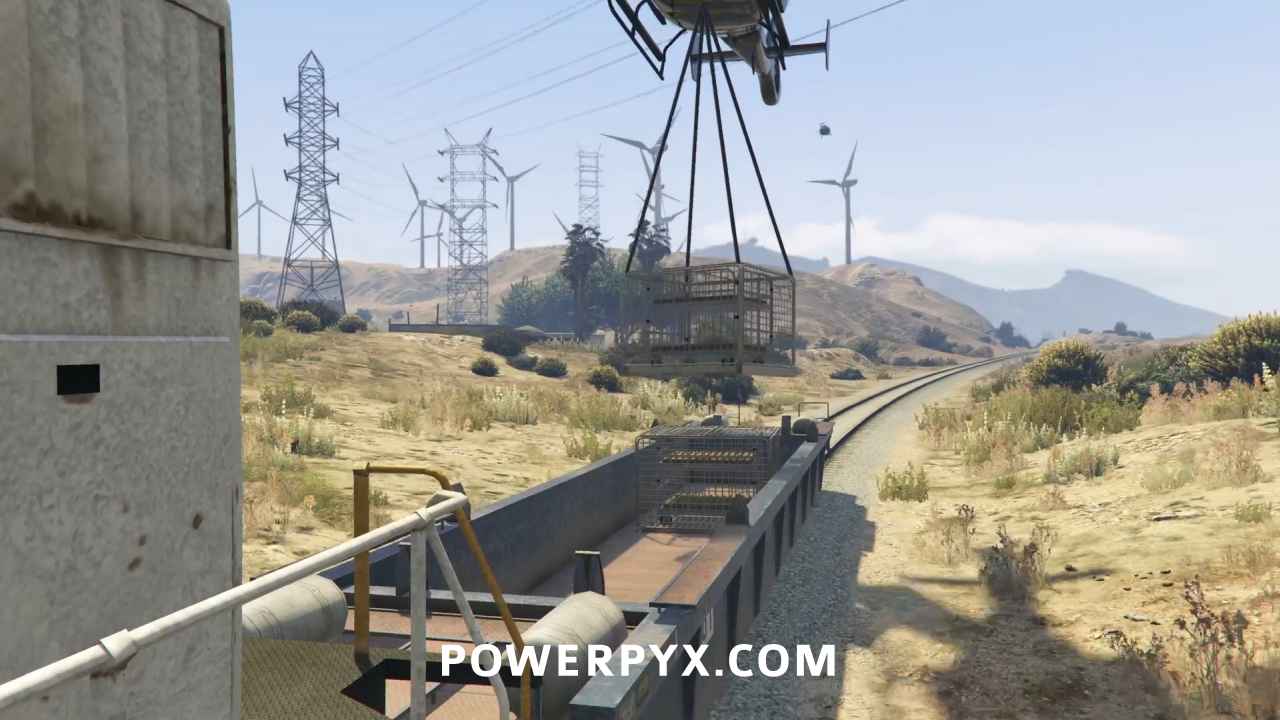
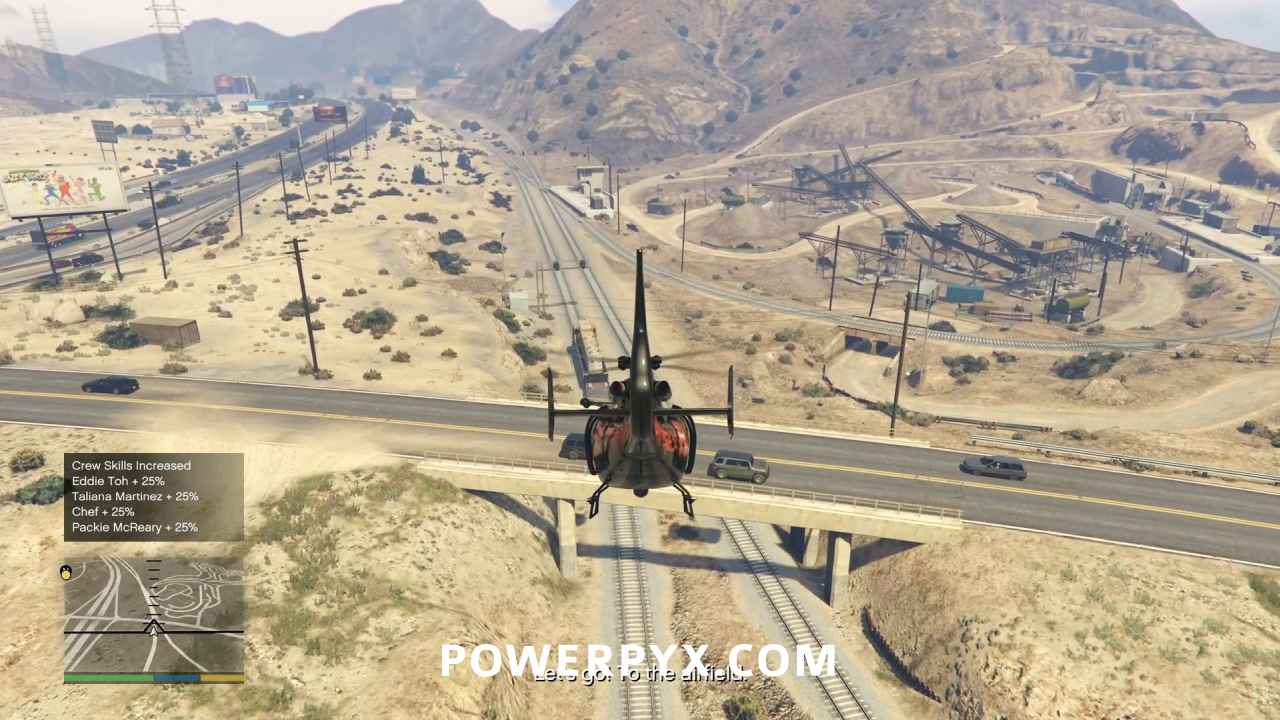
You’ll still have to avoid colliding with the overpass, but that will be much easier without two tons of drag!
Land at the Airfield
Take the Frogger back to Mackenzie Field and land, then skip the cinematic to end the mission.
This finishes The Big Score (Obvious Approach) in GTA V.
For all other Missions refer to GTA V Walkthrough.
This walkthrough has been updated for the Enhanced Version on PC / PS5 / PS4 / Xbox Series S/X and is also still applicable to the Legacy version.
Leave a Reply