
Casing the Jewel Store is the 11th main story mission in GTA V (Grand Theft Auto 5). This walkthrough shows how to get all Gold Medals in Casing the Jewel Store for 100% completion.
Gold Medal Requirements:
- Mission Time: Complete within 08:00
- Perfect Picture: Capture all 3 security features in one picture
Walkthrough Video

Starting Location: Casing the Jewel Store
- Location: La Mesa / Popular Street
- Quest Giver: Lester
- Requirement: Complete “Friend Request” and be wearing a suit
- Can Be Started By: Michael
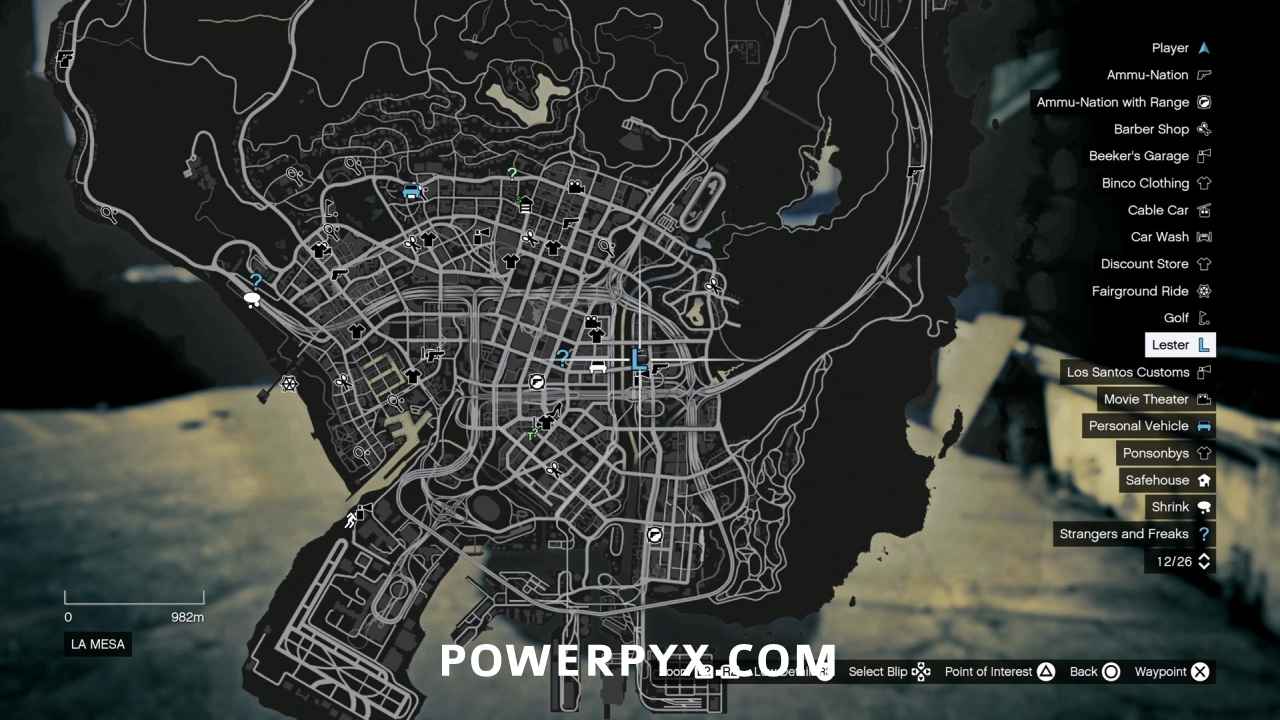

Go to Rockford Hills
You’re working against the clock, so skip the cutscenes!
- Mission Time: Complete within 08:00
Quickly drive Lester to the objective marker and park. Since vehicle damage is not a Gold Medal requirement in this mission, feel free to drive aggressively.

Go to the Jewelers
Run to the north and go around the corner towards Vangelico. When you get within range of the store you will be forced to walk so you don’t seem unusual to security.
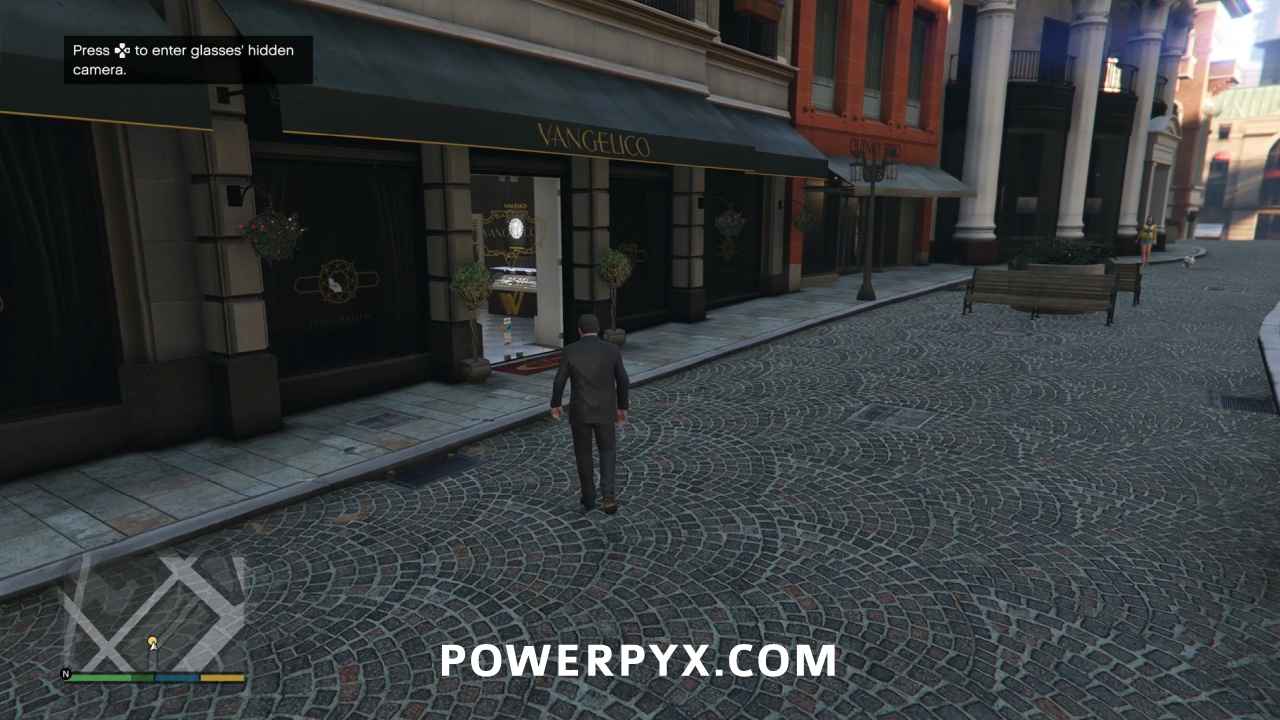
Take Photos of Security
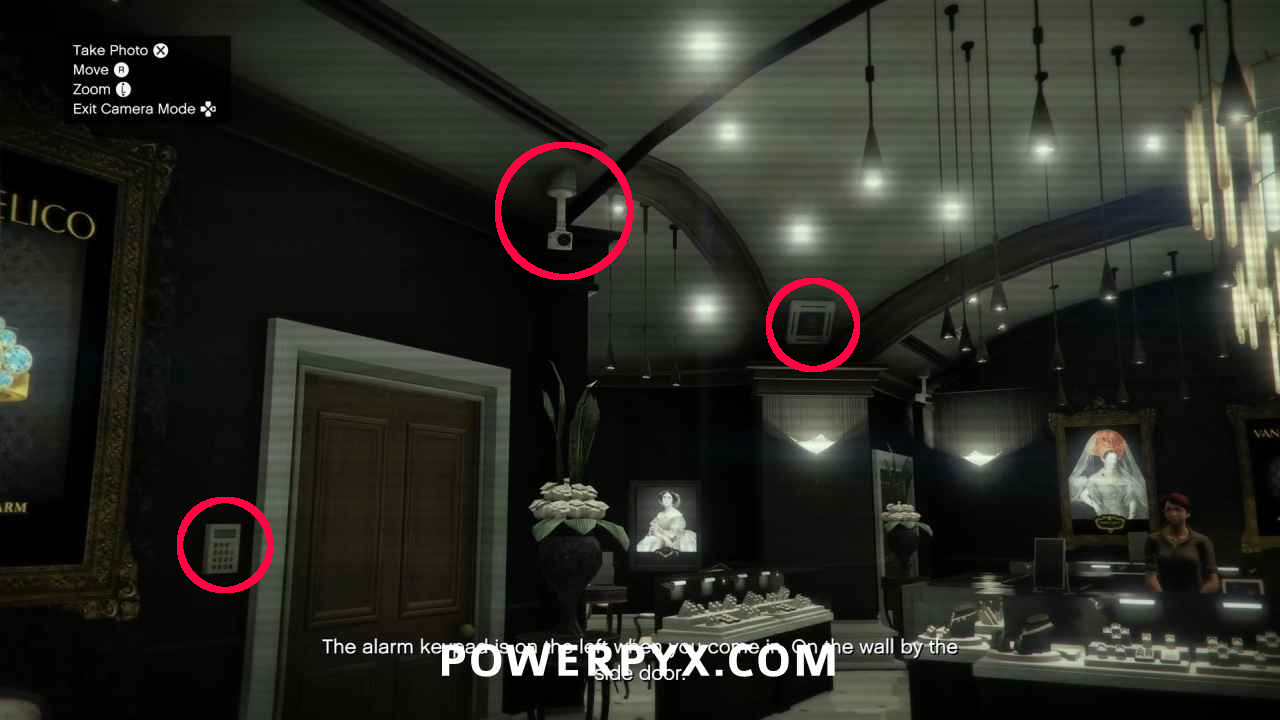
Immediately when you enter Vangelico, you can complete the first Gold Medal requirement:
- Perfect Picture: Capture all 3 security features in one picture
Turn slightly to the left and you will be able to capture the alarm keypad, a camera, and a vent in the same photo. Press  to activate your glasses’ camera mode then press
  /
/  to take the photo.

Speak to the Shop Assistant
Lester asks you to speak to the shop assistant to see if there’s “anything else we need to know”. Walking over to her triggers a cinematic, which you should skip.

Get Back in Your Car
Head back the way you came, breaking into a run when you are able to do so.
Find an Access Point to the Roof Top
Turn around and head southeast on Portola Dr., then make a left at the corner onto Carcer Way. At the corner on your left Lester will point out a store that is under construction. Park on the objective marker and go inside.
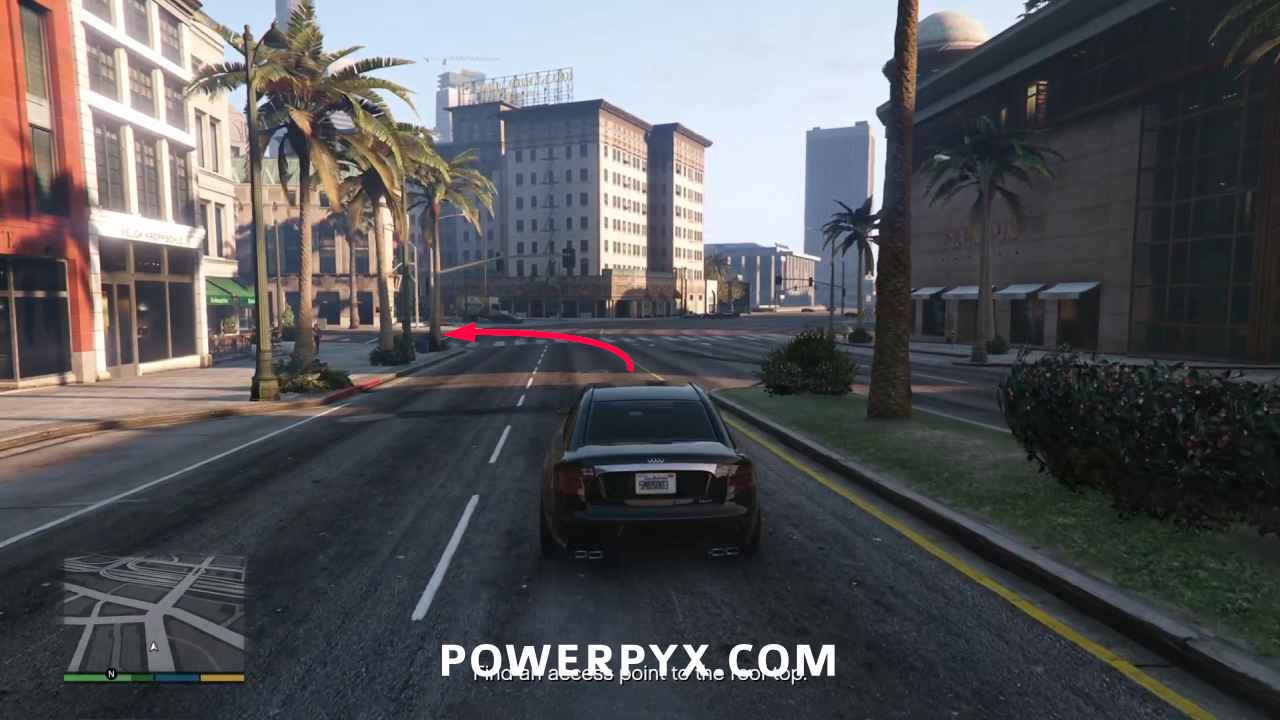

Go to the Roof Top
Keep in mind that you’re still on the clock, so always be running. Go inside the store, go up the stairs, and at the top turn right to find a door leading to a ladder.
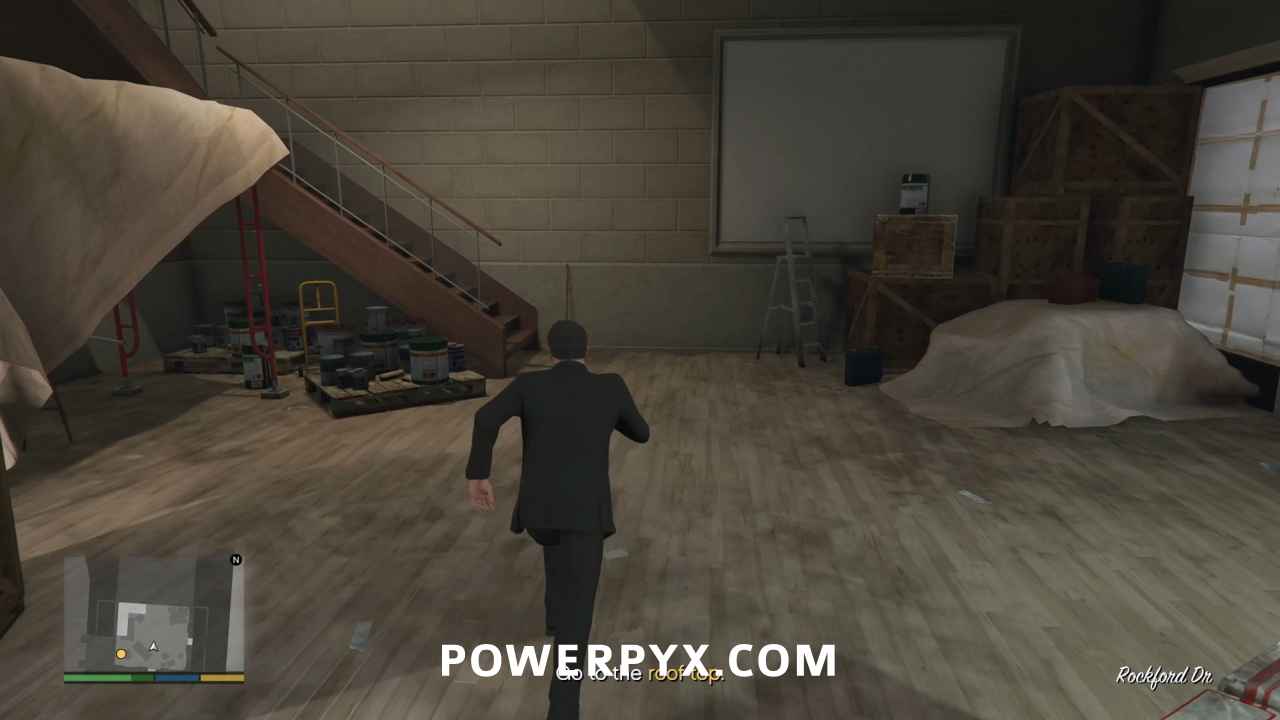
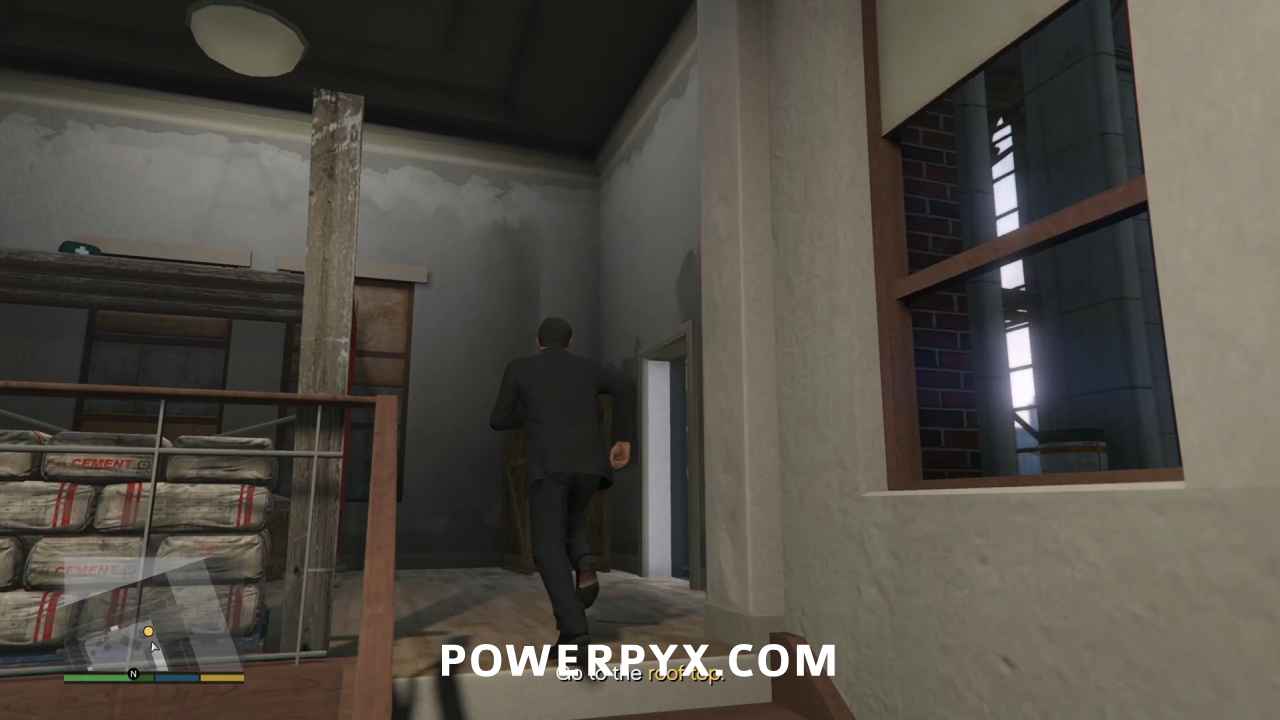
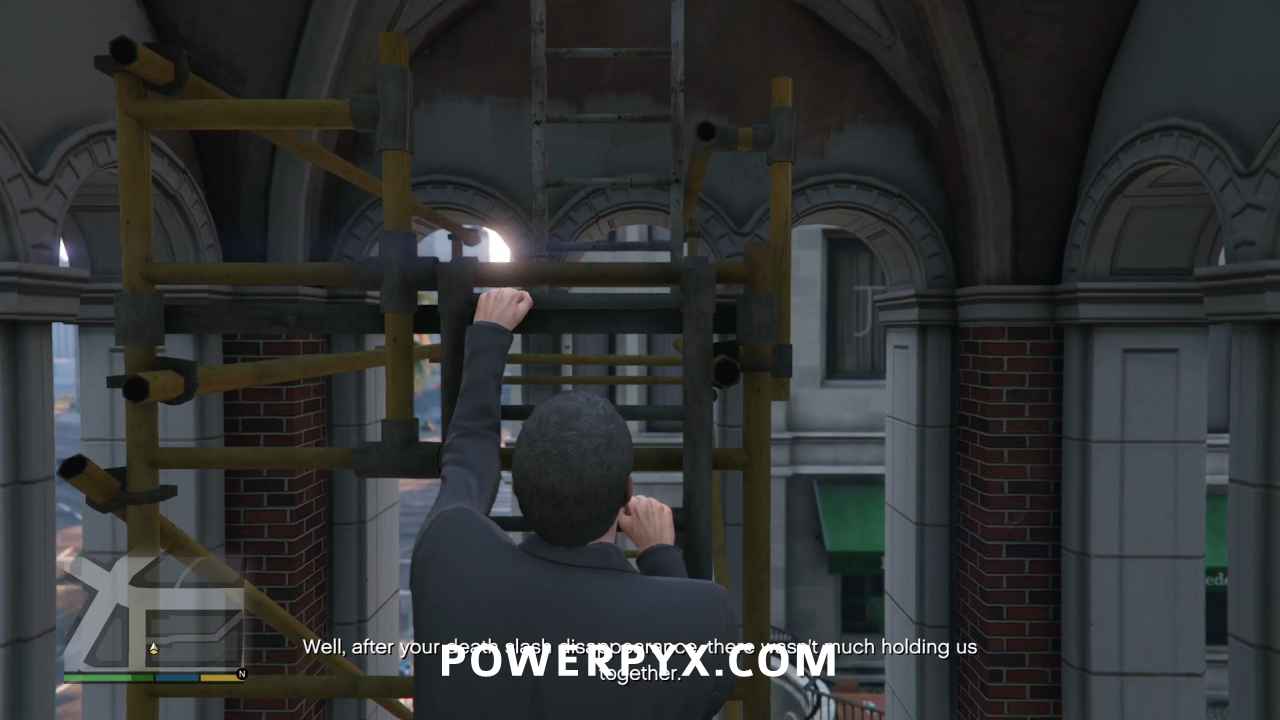
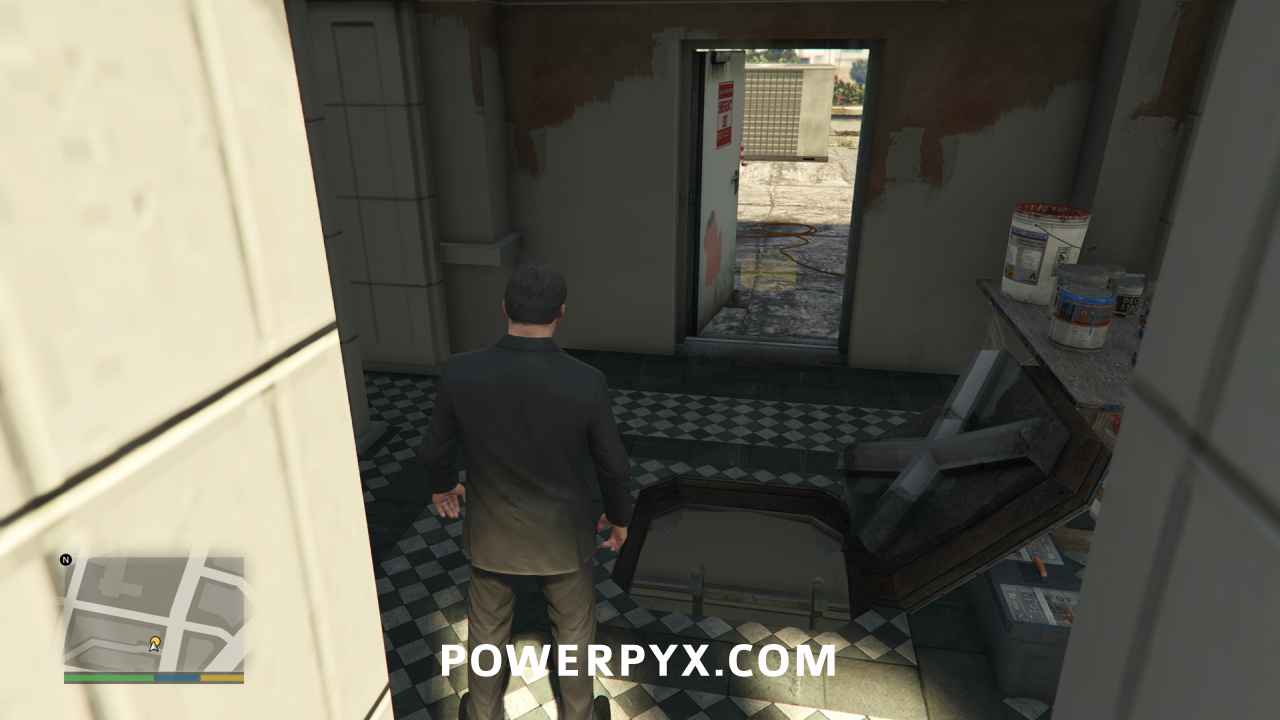
Climb the ladder to the top of the scaffolding, then climb a second ladder through a hole in the ceiling. Once through the roof hatch, turn around and go through the door onto the roof.
Get to High Ground and Take Some Shots
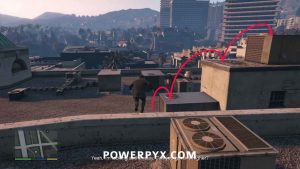
Turn left and run across the rooftops until you reach the stairs.
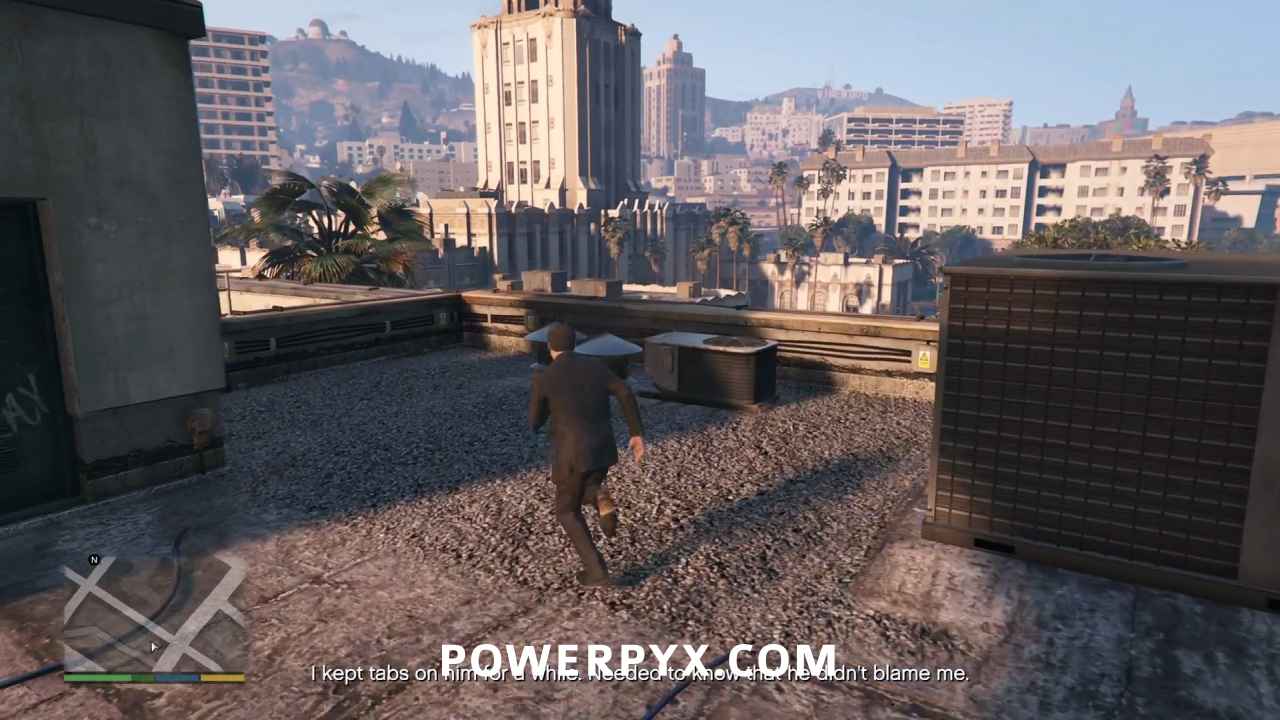
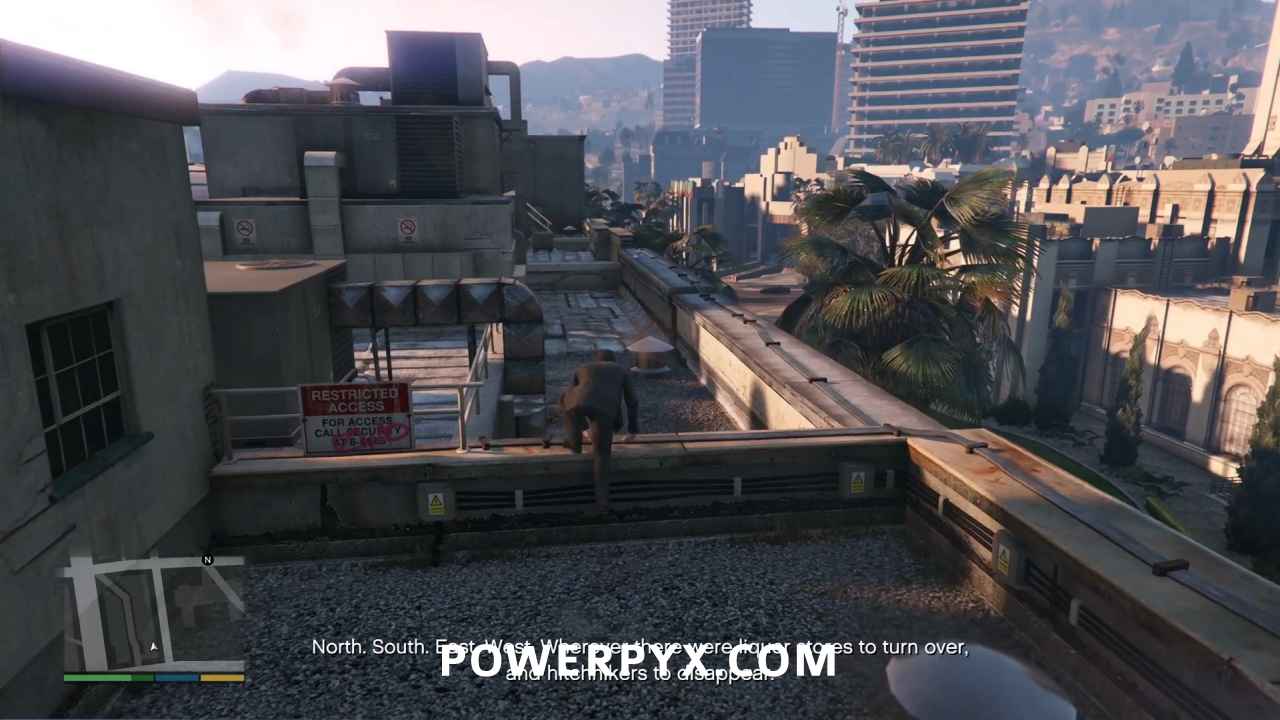
Climb the stairs then go up the ladder on the nearby wall. Then run around the walled off HVAC unit and keep going straight ahead to the edge of the roof.
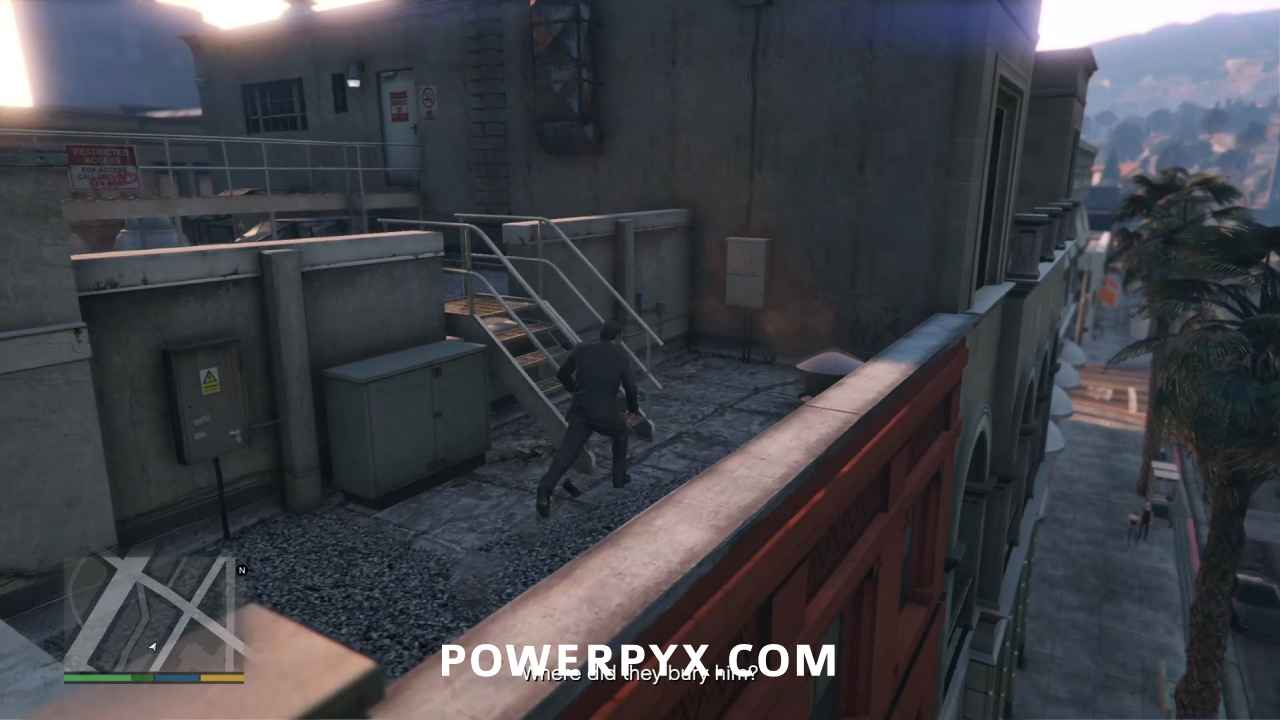
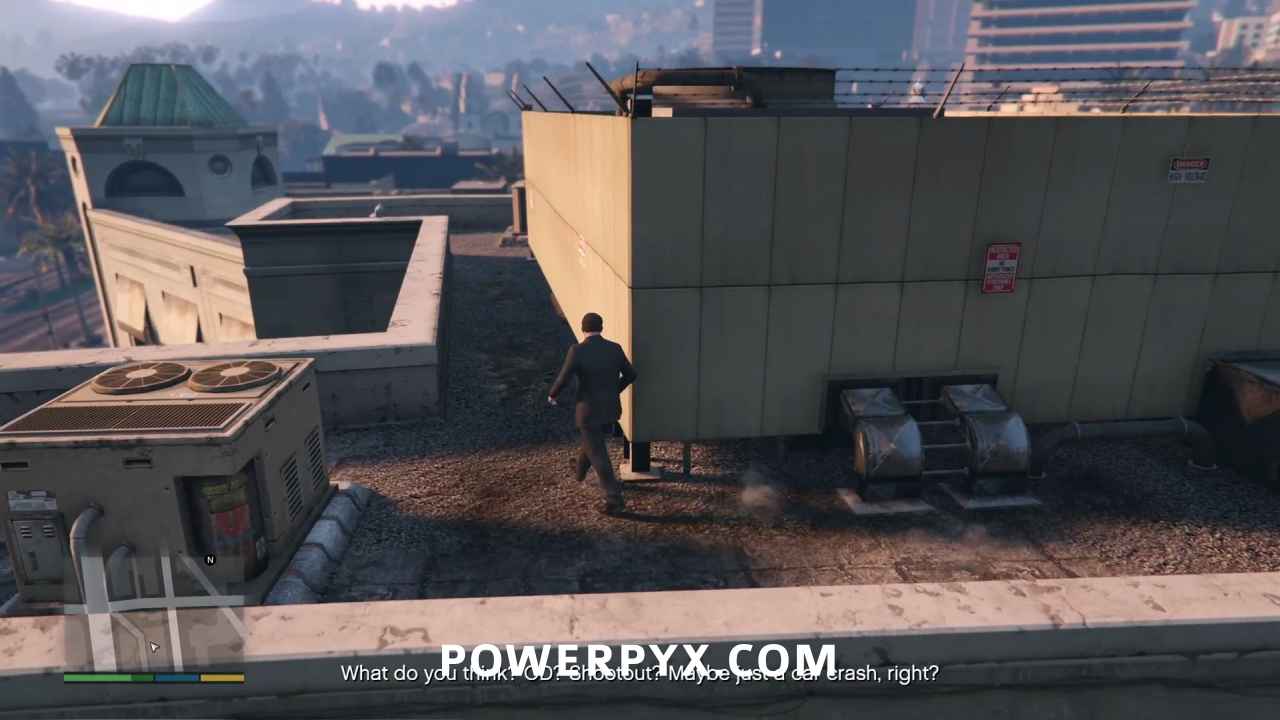
Go to the Vantage Point
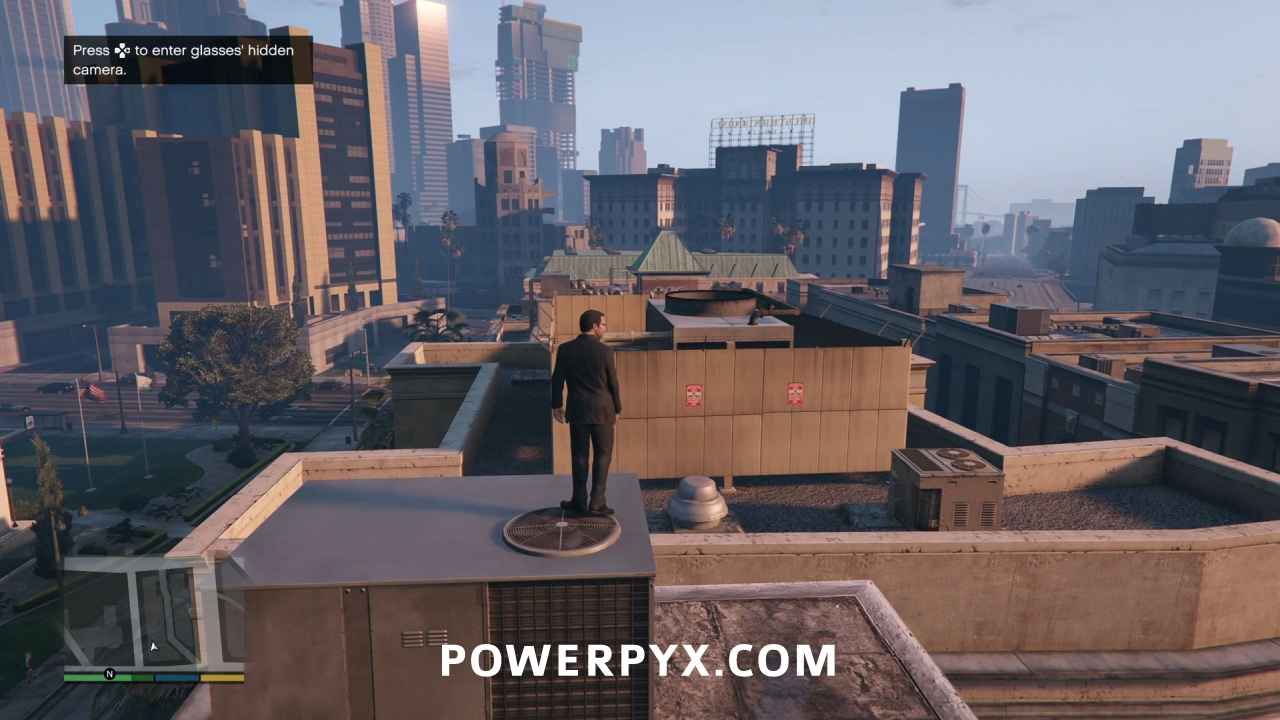
Drop down onto the next roof, then climb the HVAC units to your right until you’re at the very top. Turn around to face the walled off HVAC unit you’d just passed, and now from your elevated position you will be able to see over the wall.
Take a Photo of the Vent
Once again, press to activate your glasses’ camera mode then press / to take the photo of the vent.

Get Back in Your Car
Quickly drop down and run all the way back to your car.
Go to the Garment Factory
Drive back to Lester’s factory as fast as possible. When you reach the objective marker, you will trigger another cinematic which you should skip.

Select Your Heist Strategy
Lester will explain the heist plans, laying out the elements needed for each approach. While all of this is useful information, your mission clock is still running while he is talking so you should keep hitting / to skip the heist dialogue.
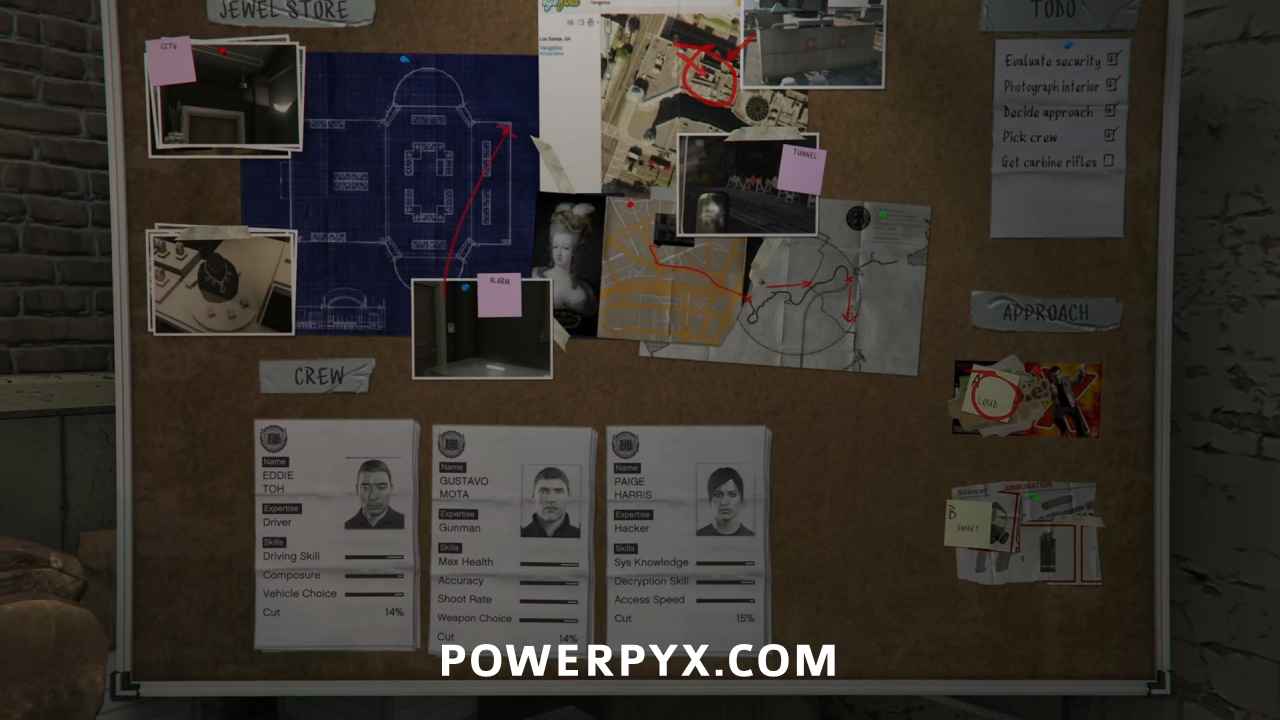
The only important choices are:
- Which heist approach you will choose. Press
 /
/  for Loud, and
  /
/  for Smart, then press / to select.
 - Which crew members you want for each role.
For the purpose of getting gold in this mission, your choices don’t matter as much as the time it will take to make them. If this is your first time through this mission however you should take a couple things into consideration while making your choices.
- Choosing the Smart Approach will unlock two heist prep missions with Gold Medals, as opposed to the Loud Approach which only unlocks one. These are easy Gold Medals to earn, if you are having difficulty reaching your 70 needed for
 Solid Gold, Baby!
 - Choosing a talented driver and gunman will make the Clean Sweep Gold Medal requirement on “The Jewel Store Job” much easier to accomplish as they will loot cases more efficiently.
- Choosing a talented hacker gives you more time in the heist before the alarms go off, but if you are trying to get all Gold Medal requirements at once you won’t gain any additional benefit. The least talented hacker Rickie will give you 0:50 before the alarms sound, which is exactly enough to meet the Gold Medal requirement for Quick Grab. That said, it is extremely tight timing to get Quick Grab and Clean Sweep simultaneously, as it will largely come down to how well the other crew members loot cases, which can sometimes put you at the mercy of RNG.
Once you’ve made all your selections and finalized your decisions, a cinematic will play to end the mission. The clock’s still running though, so skip it!
This finishes Casing the Jewel Store in GTA V.
For all other Missions refer to GTA V Walkthrough.
This walkthrough has been updated for the Enhanced Version on PC / PS5 / PS4 / Xbox Series S/X and is also still applicable to the Legacy version.
Leave a Reply