
The Third Way is the 69th and final main story mission in GTA V (Grand Theft Auto 5). This walkthrough shows how to get all Gold Medals in The Third Way for 100% completion.
Missable Warning: It is highly recommended to pick this mission for the ending (Option “C”) to avoid missable trophies. Picking the other two endings “Something Sensible” or “The Time’s Come“ can potentially lock you out of some trophies/achievements.
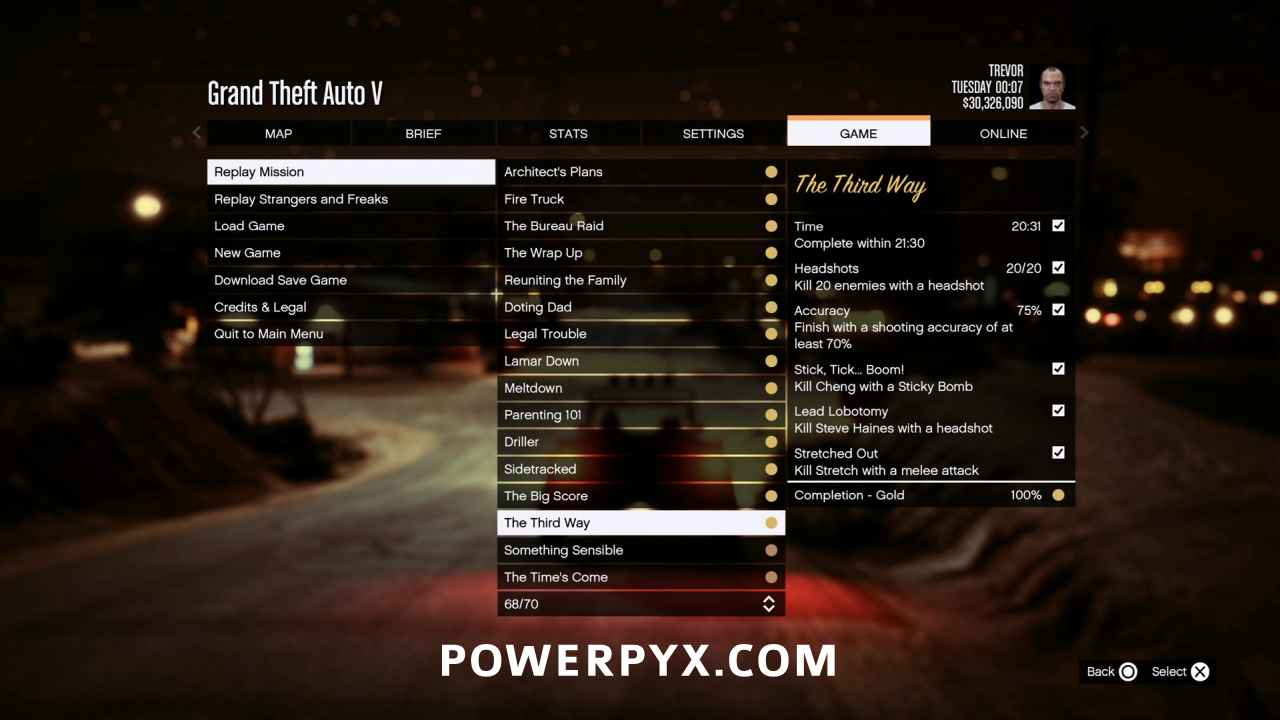
Gold Medal Requirements:
- Mission Time: Complete within 21:30
- Headshots: Kill 20 enemies with a headshot
- Accuracy: Finish with a shooting accuracy of at least 70%
- Stick, Tick… Boom!: Kill Cheng with a sticky bomb
- Lead Lobotomy: Kill Steve Haines with a headshot
- Stretched Out: Kill Stretch with a melee attack
Walkthrough Video

Starting Location: The Third Way
- Location: El Burro Heights / Amarillo Vista / Lester’s House
- Quest Giver: Devin Weston
- Requirement: Complete “The Big Score“, meet with Devin Weston and choose “C: Deathwish” for the finale
- Can Be Started By: Franklin
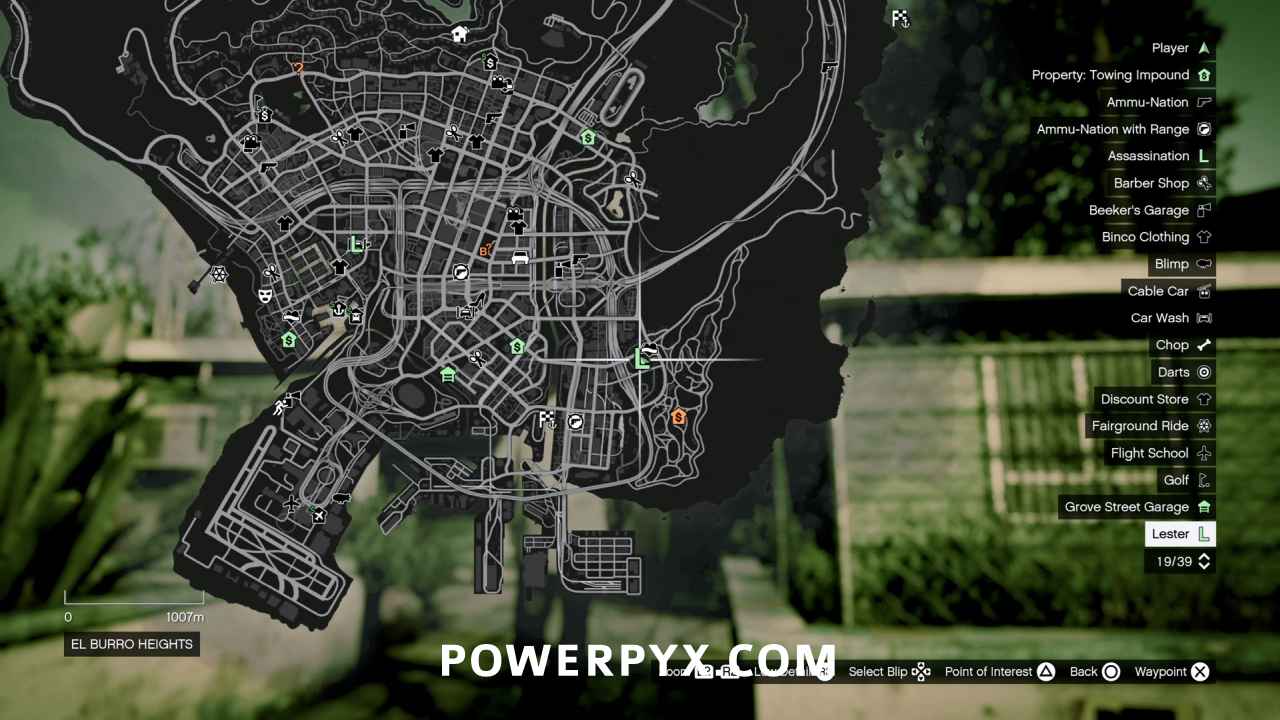
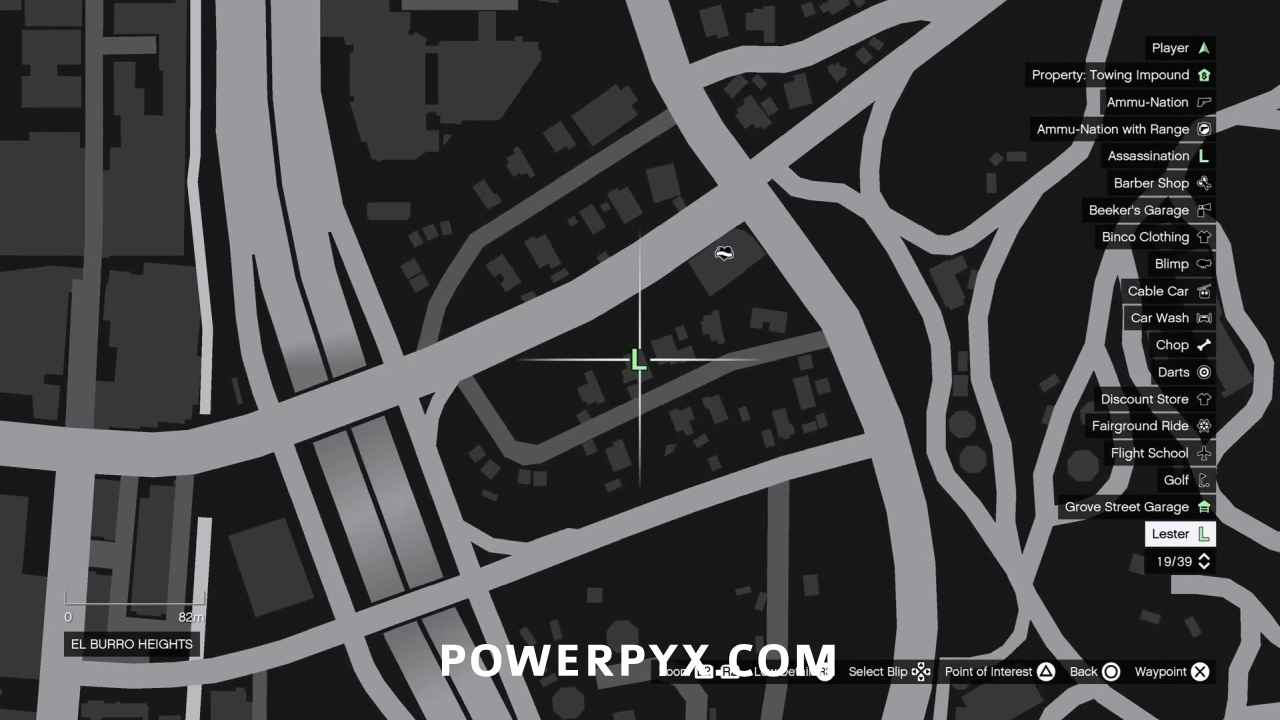
Go Pick Up Lamar at His House
You’re working against the clock, so skip the cutscenes!
- Mission Time: Complete within 21:30
After meeting up with Michael, Trevor, and Lester, you’ve come up with a game plan to wrap up all your loose ends in one blood-filled evening. Each character will play their part, but we’ll start off by controlling Franklin. He will automatically call Lamar, forcing you to walk. Instead, you can hang up on him immediately to save a few seconds, then run to your car. You’ll still have the objective and Lamar will still be waiting for you when you pull up.
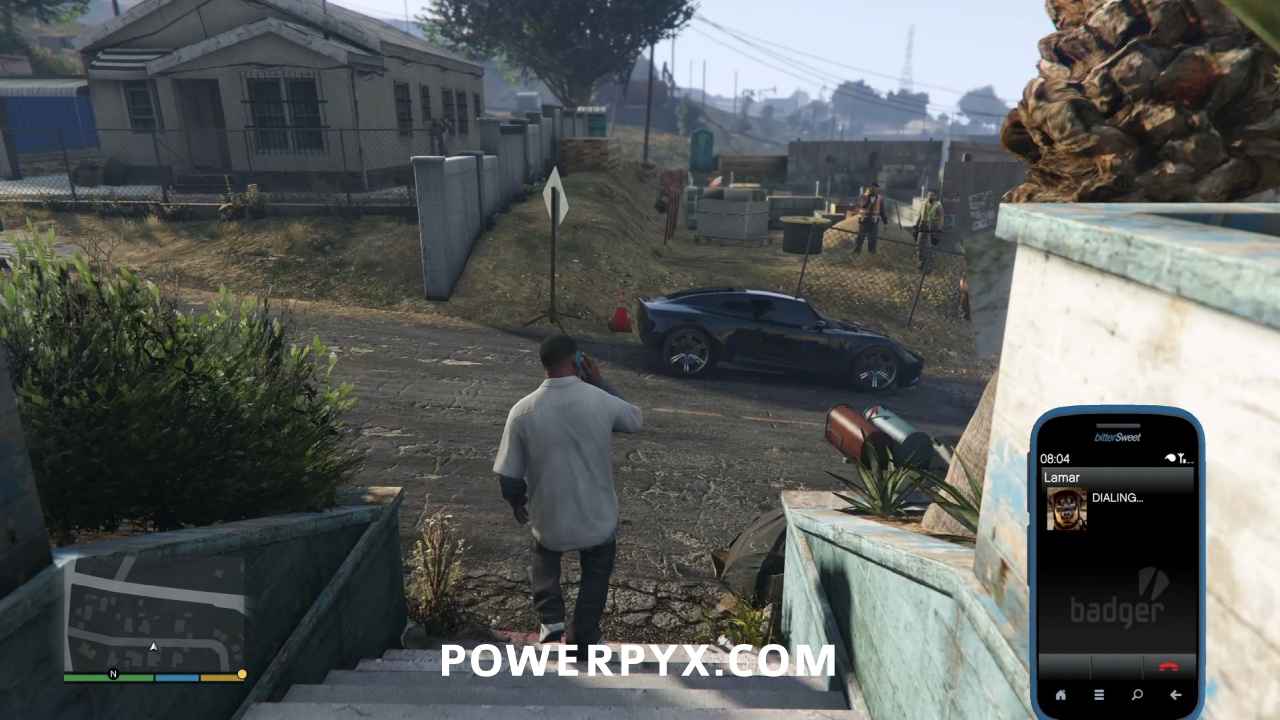
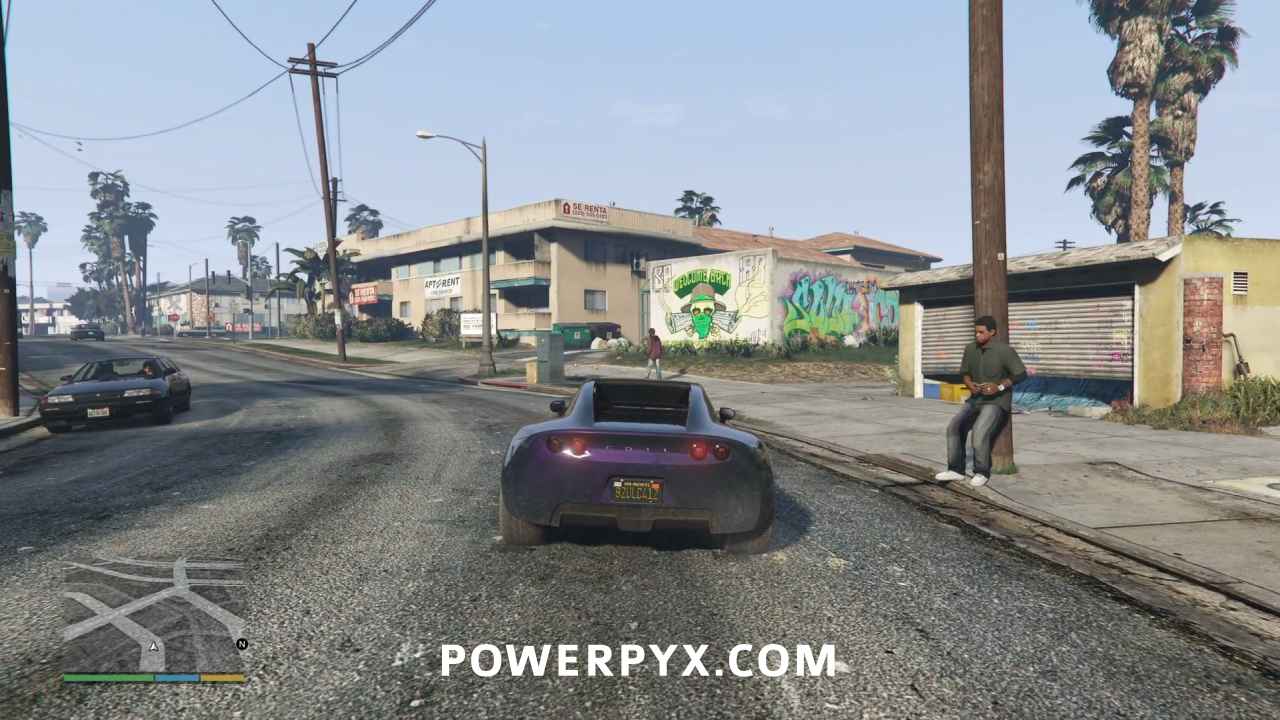
Go to the Foundry
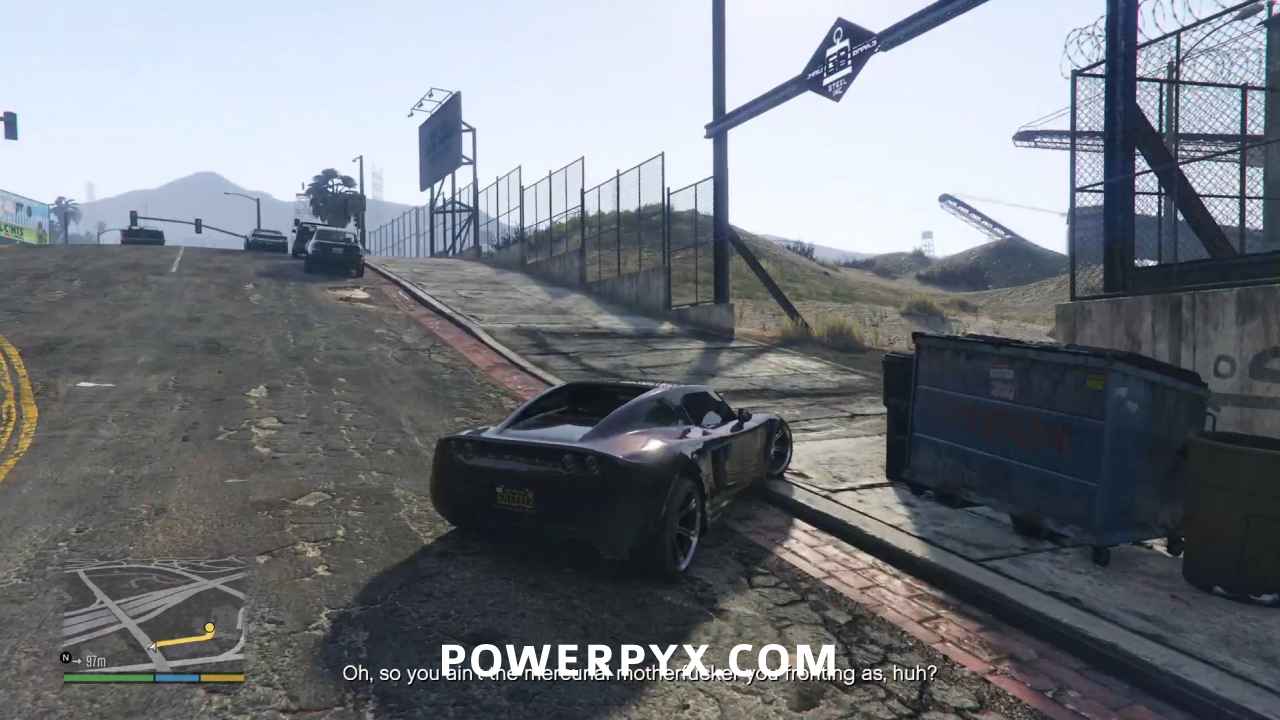
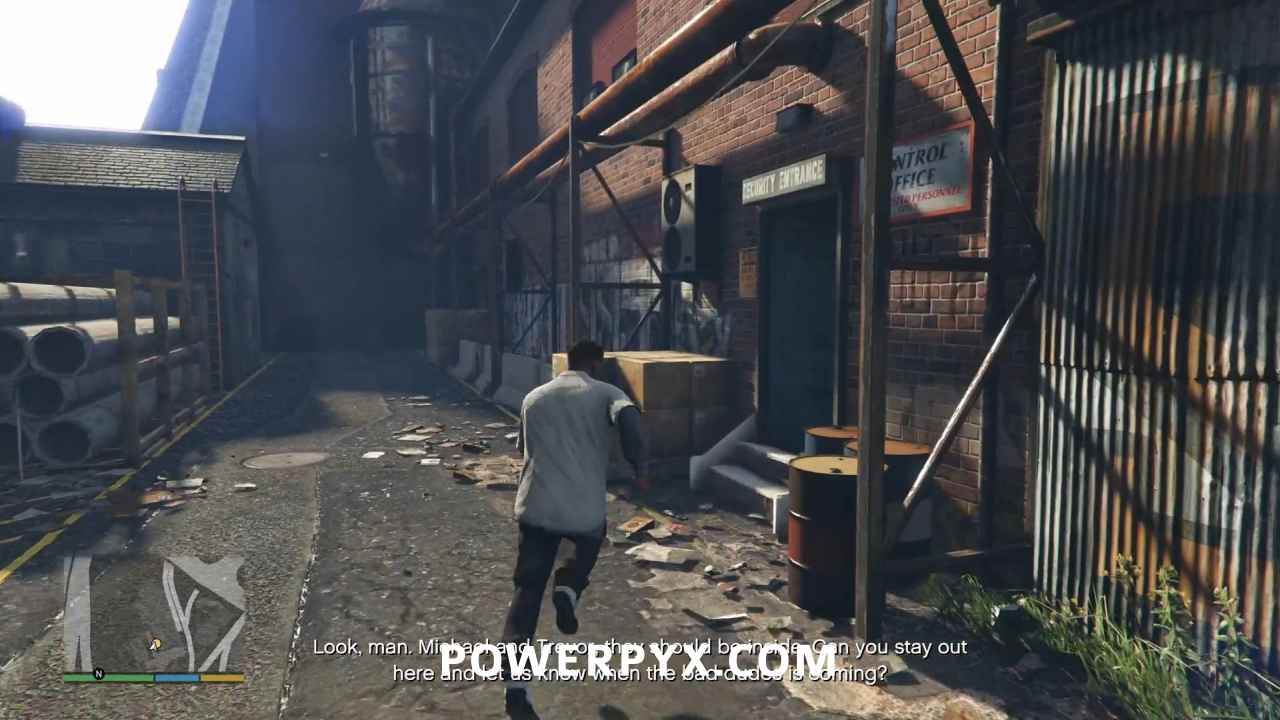
Drive Lamar to the foundry, and he’ll watch the entrance while Franklin runs inside to meet up with Michael and Trevor.
Enter the Foundry
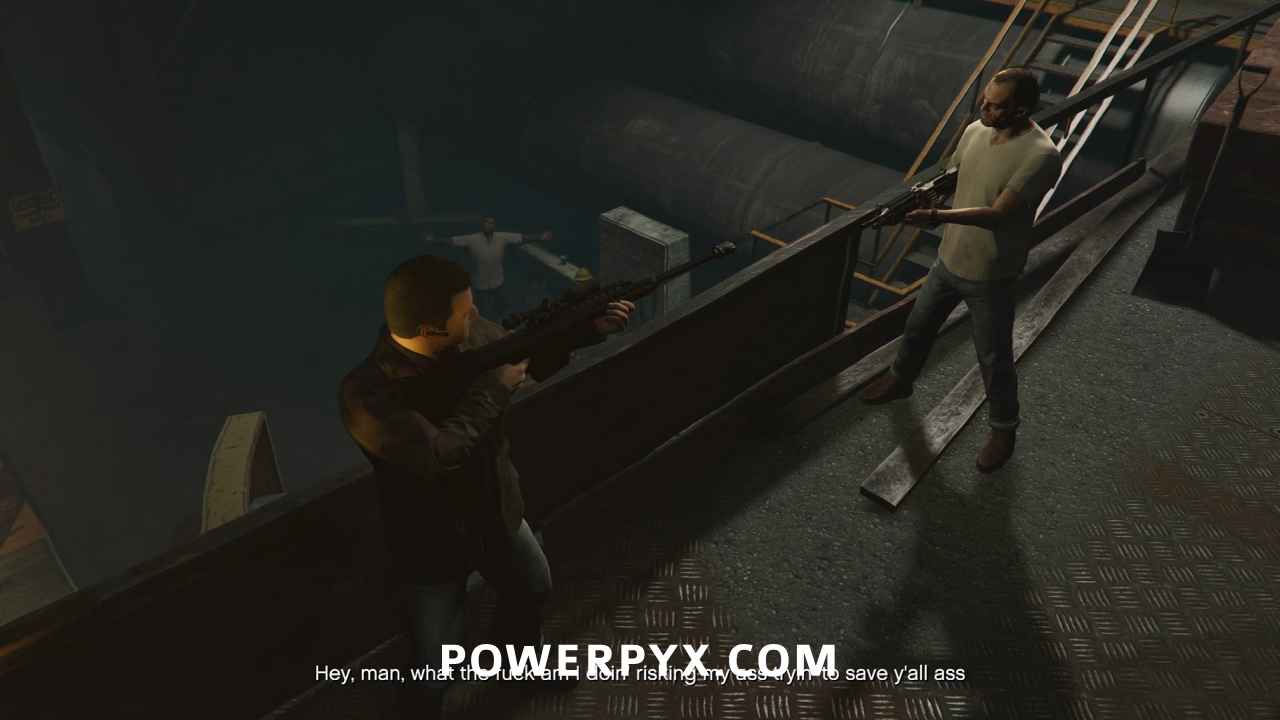
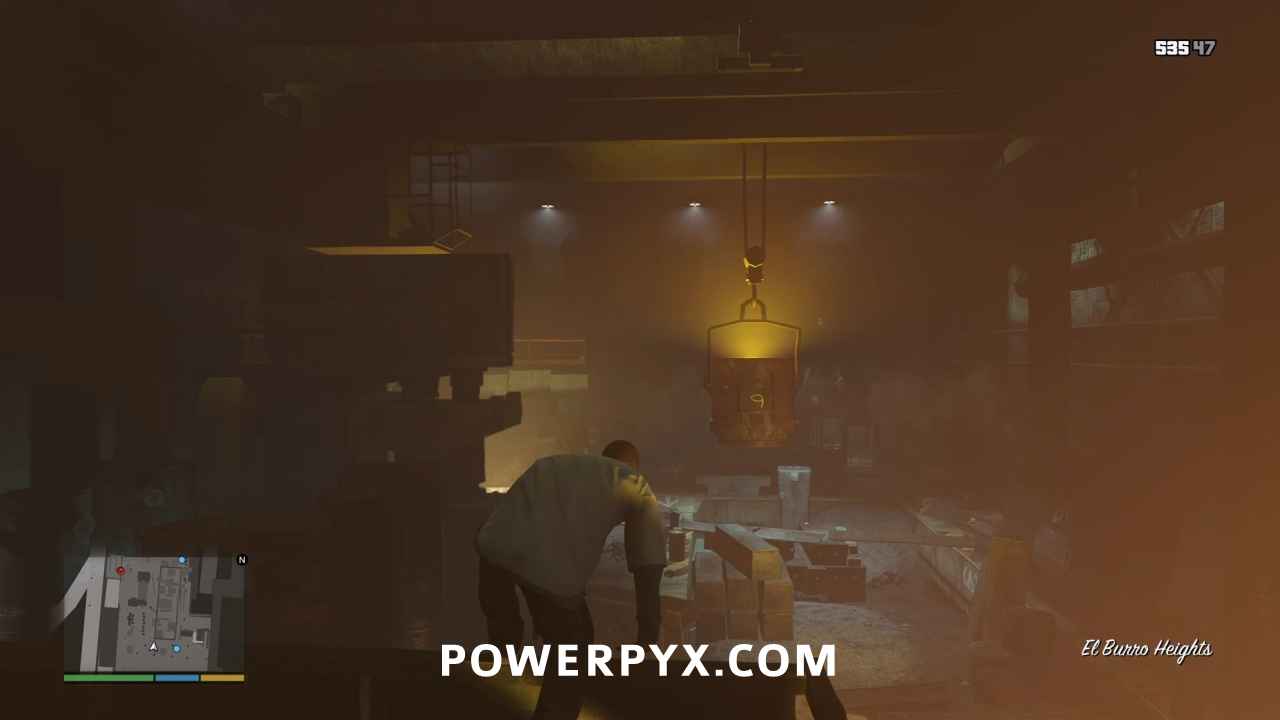
Head to the southeast corner of the foundry where Michael and Trevor are already arguing like an old married couple. Skip the cinematic.
Ambush the FIB Team When Ready
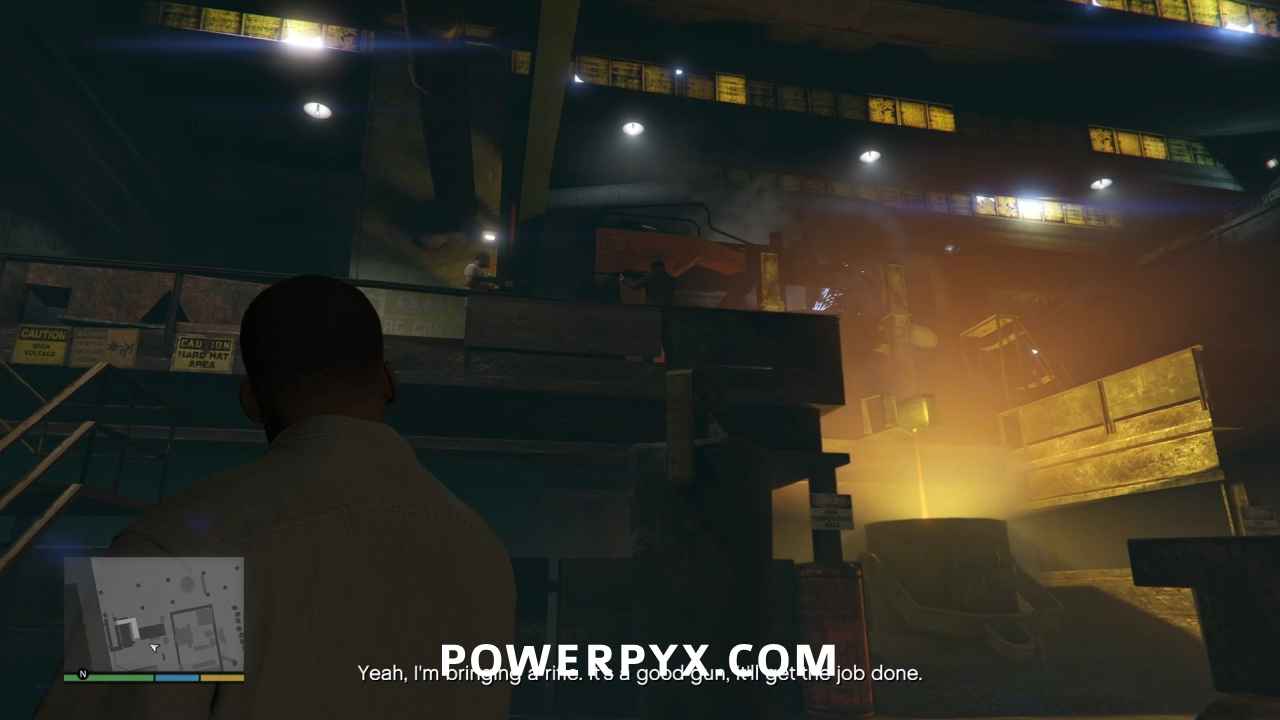
You will have access to all three characters during the firefight, starting with Franklin. Pop one of the FIB agents in tactical gear with a headshot to start you towards the Gold Medal requirements for this mission:
- Headshots: Kill 20 enemies with a headshot
- Accuracy: Finish with a shooting accuracy of at least 70%
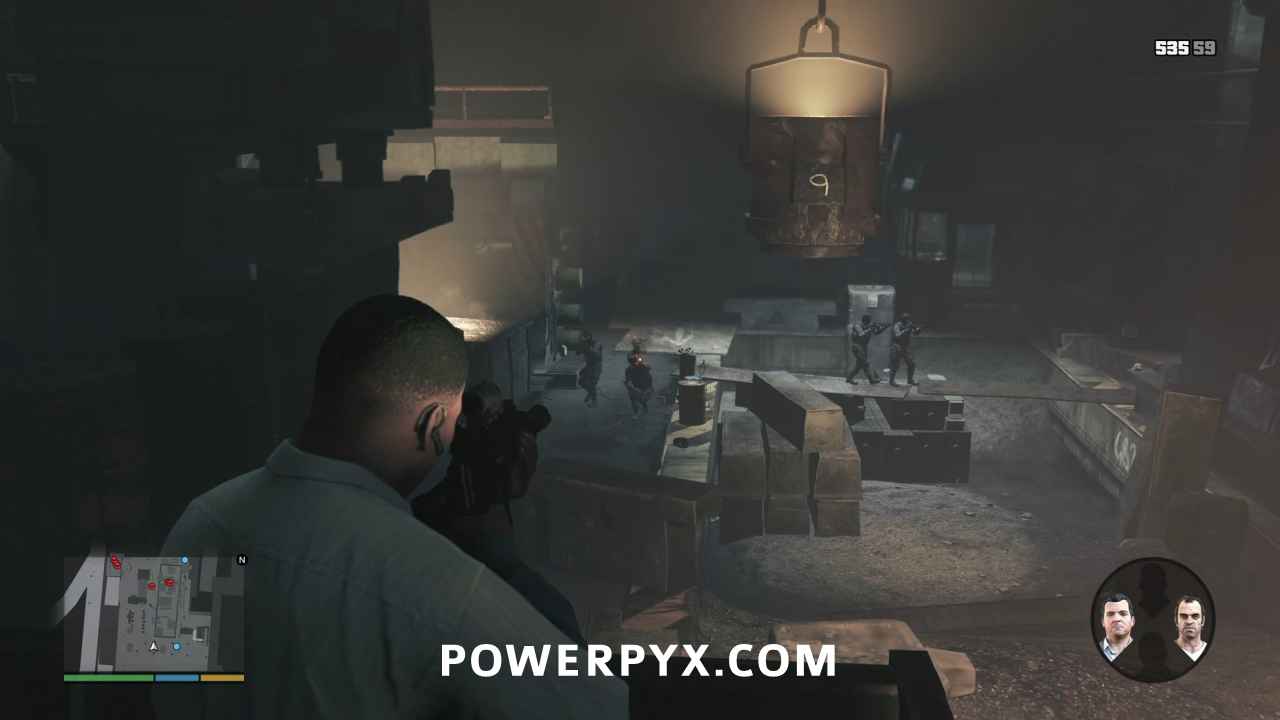
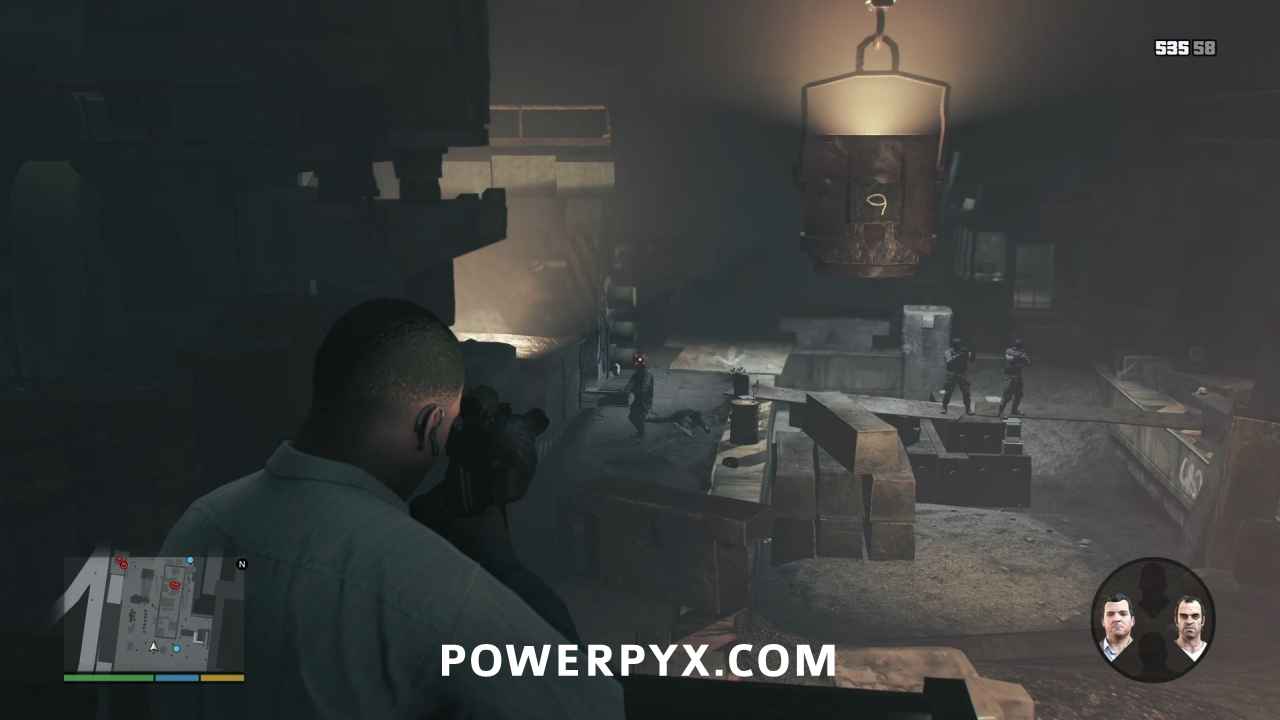
You’ll probably get two of the agents before Michael and Trevor gun the rest down, but make sure the other two are actually dead by aiming at them. If your reticle turns red, that means they’re still alive and you can get another headshot. Killing them will trigger three more agents to stream in from your left.
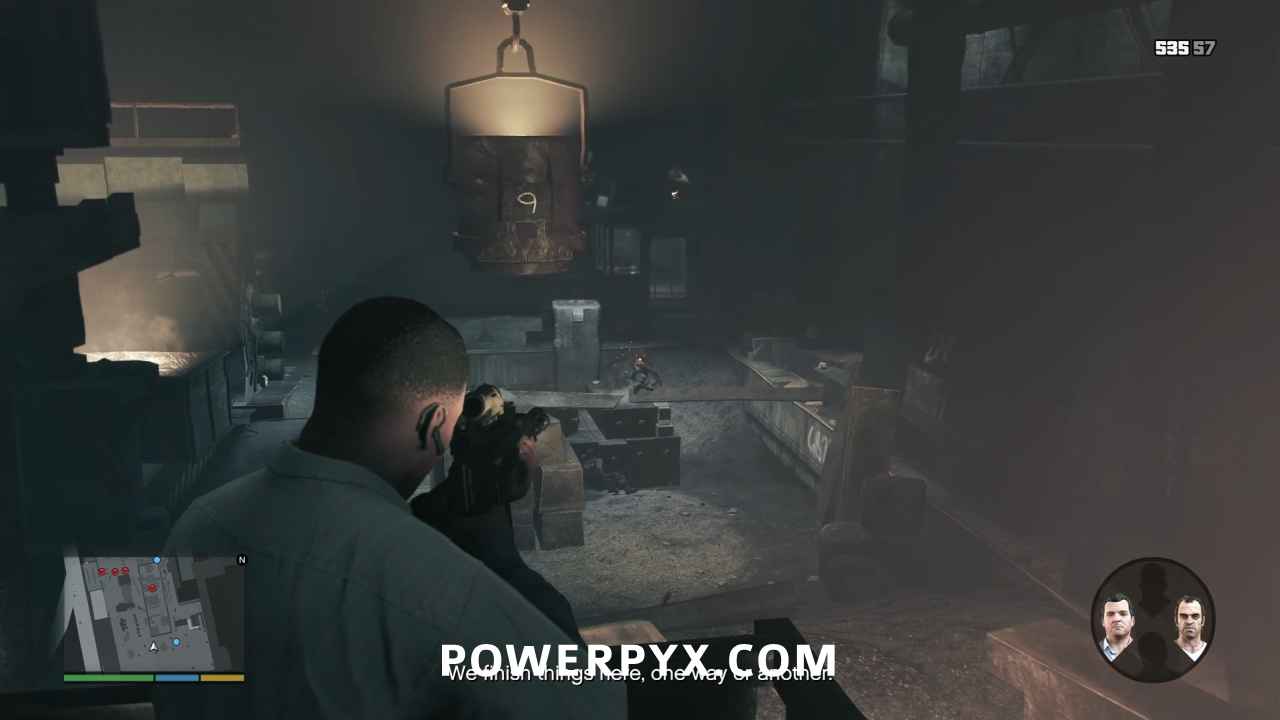
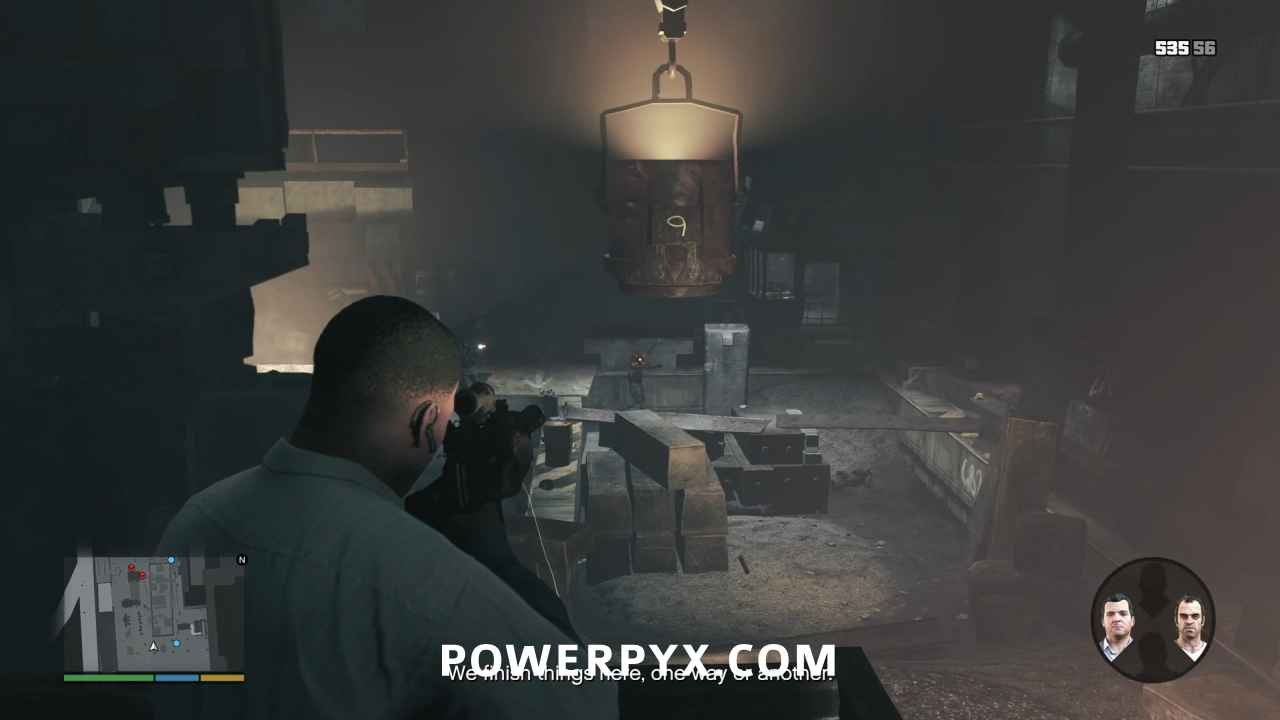
Swap to Michael when needed to make use of his special ability. This is especially important when two agents enter via the upper level, in a position where it’s difficult for anyone but Michael to get a clear shot at them.
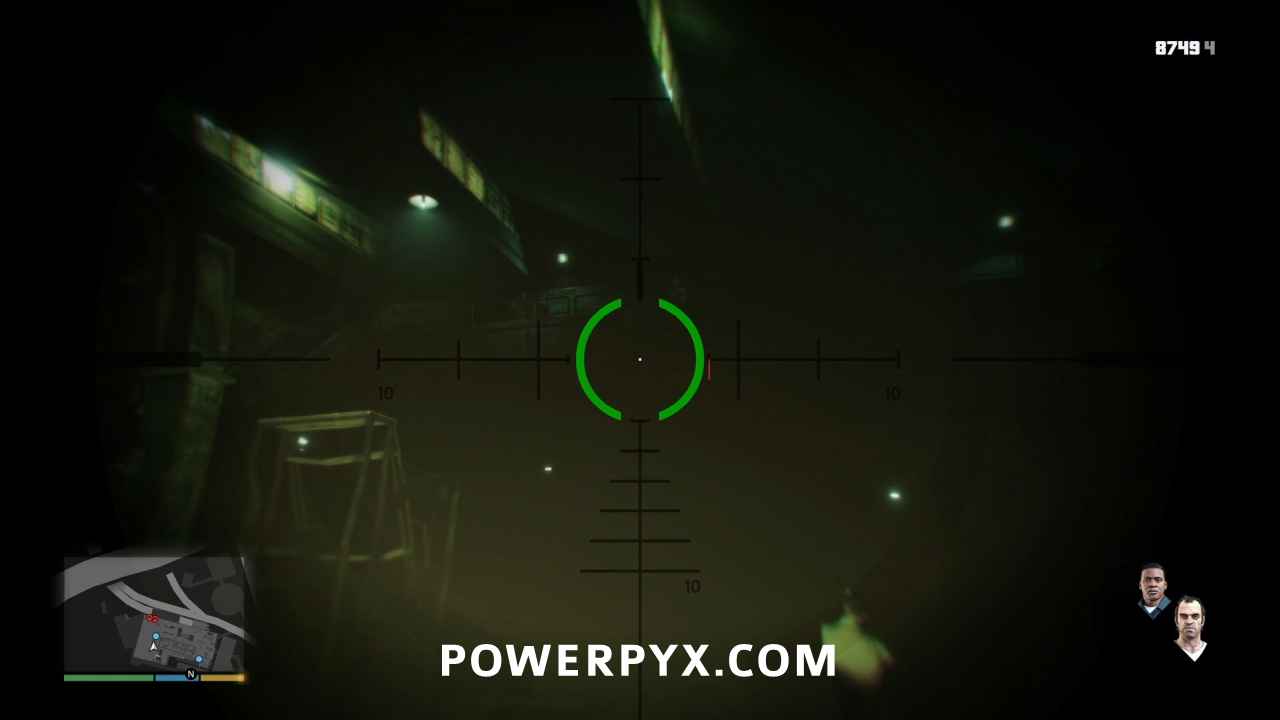
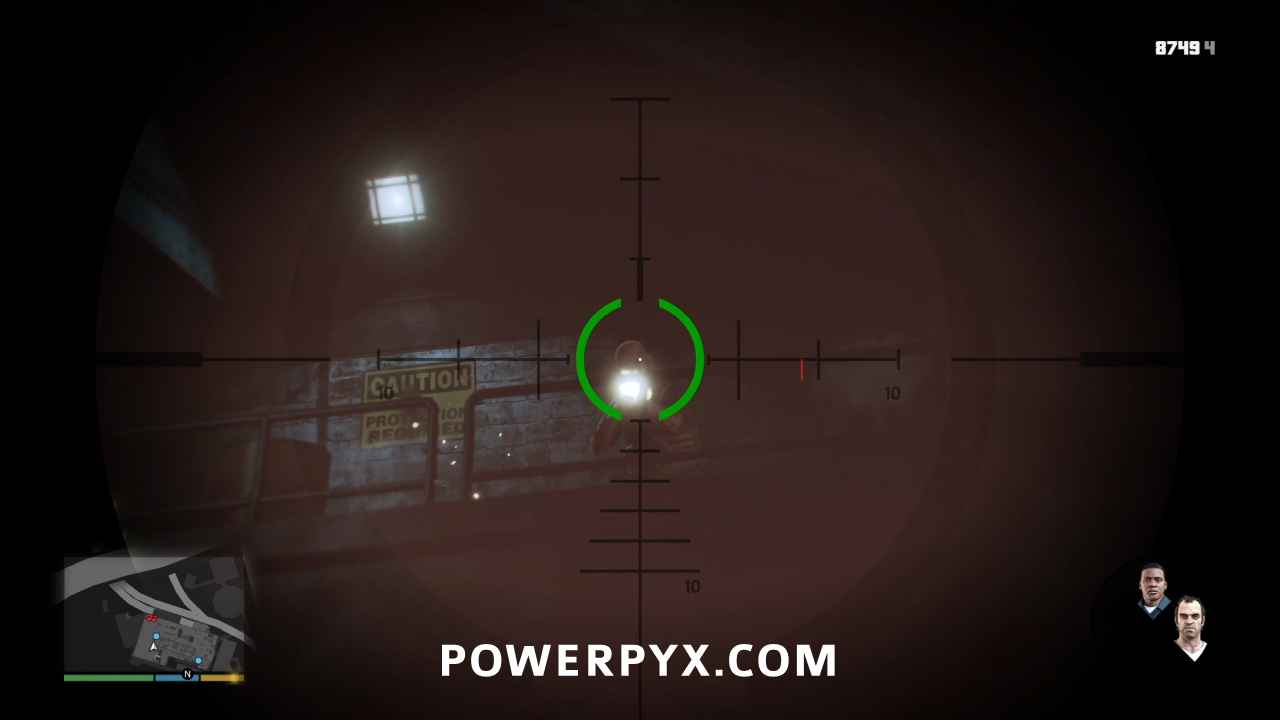
Trevor will eventually call out a Merryweather team that has entered, with another three soldiers that enter near his perch. Make use of Trevor’s special ability to soak incoming damage, letting you take your time lining up a headshot while they’re out of cover shooting at you.
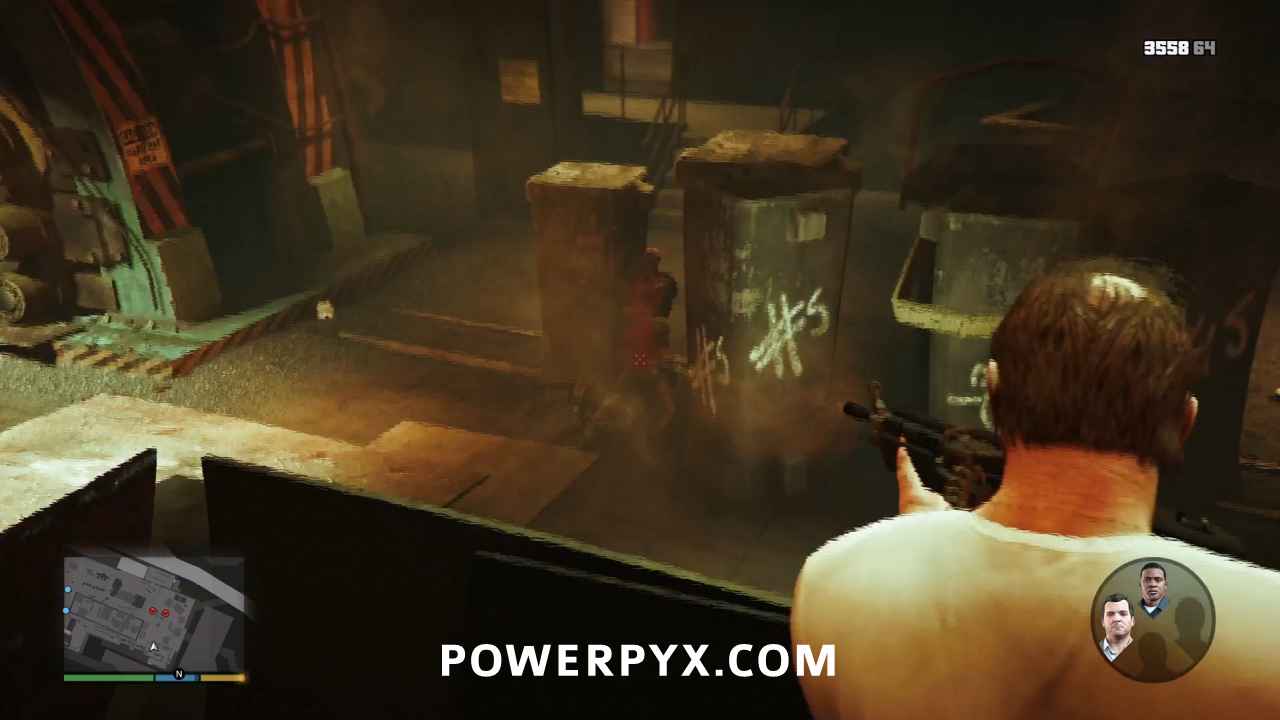
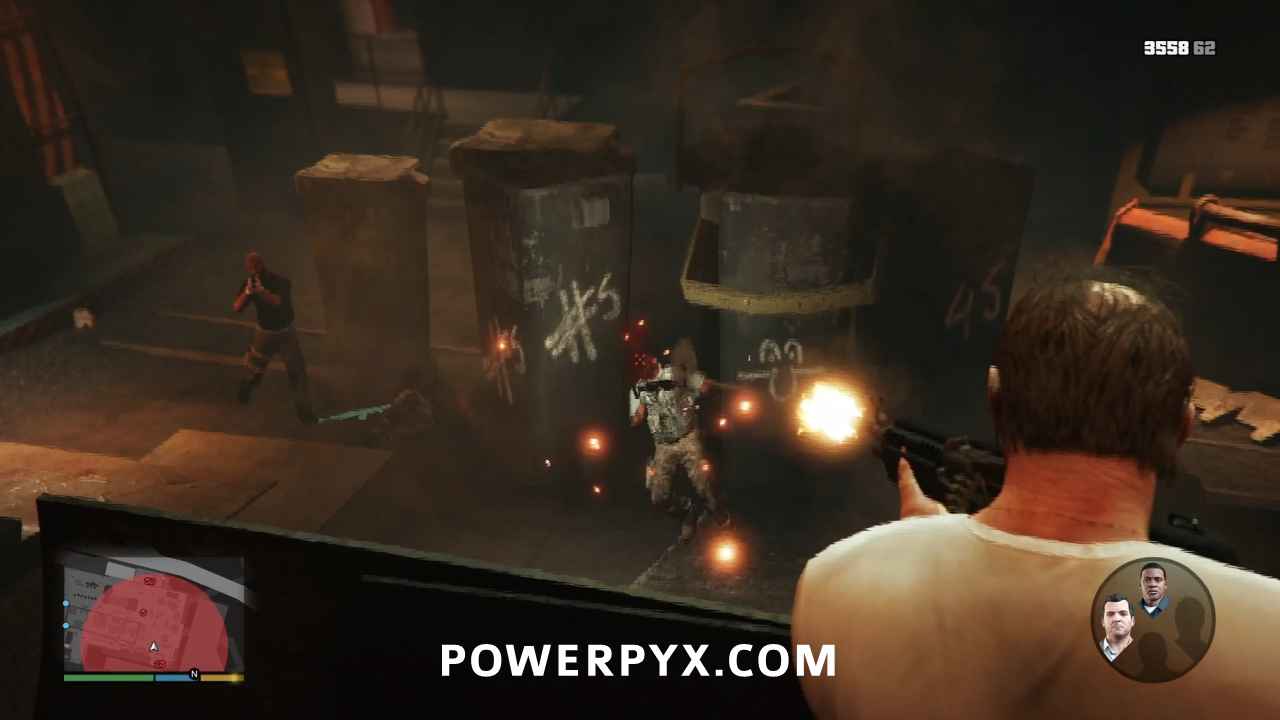
Swap between each of the characters to get headshots on whatever target presents itself, shooting with whichever one has the easiest shot.
Go to Lamar
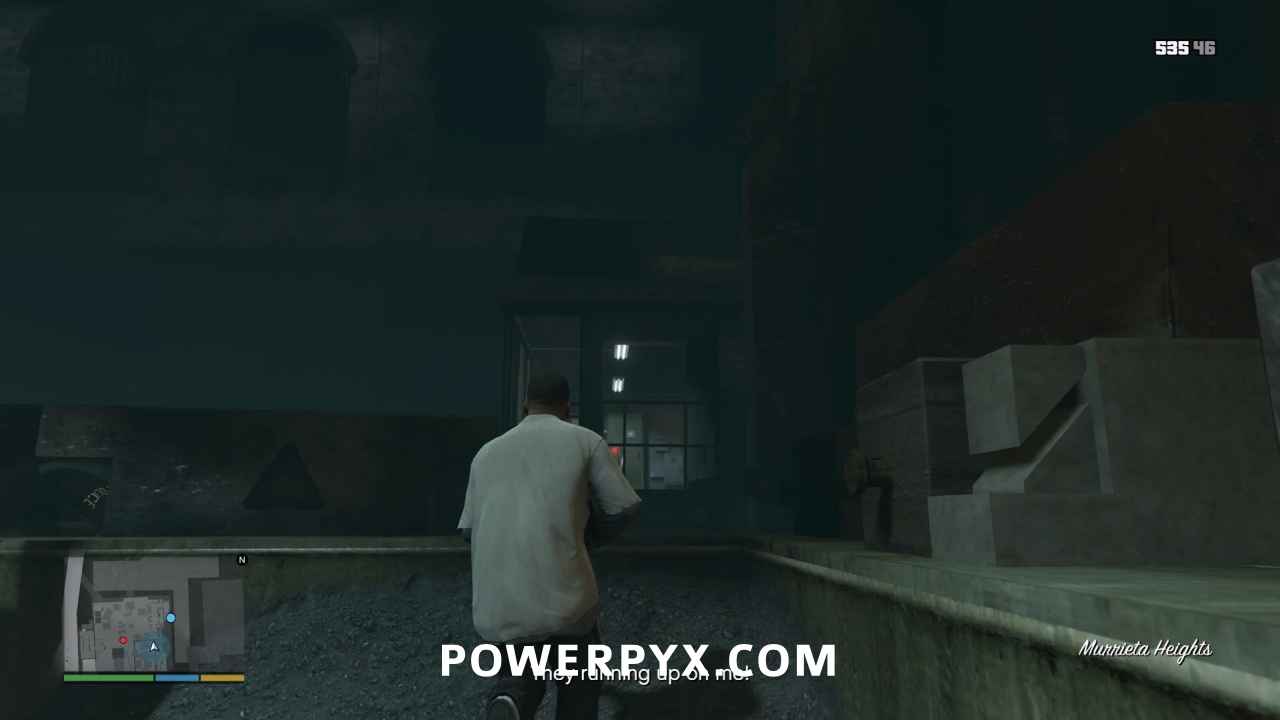
Eventually you’ll get a call from Lamar on the radio, who is now pinned down by enemy fire. Switch back to Franklin and jump down from your perch, heading towards the door by which you entered the foundry. It’s in the small control room, just under Trevor’s position. Watch for more FIB and Merryweather coming in from your left (southwest) as you run for the door.
Take Out the Attackers
Go through the door to the outside, then turn left and take cover beside a wooden crate. Lamar is trading shots with a team of five FIB agents, with four more pulling up as you start working your way through the first wave. Remember to keep going for headshots for your Gold Medal requirement.
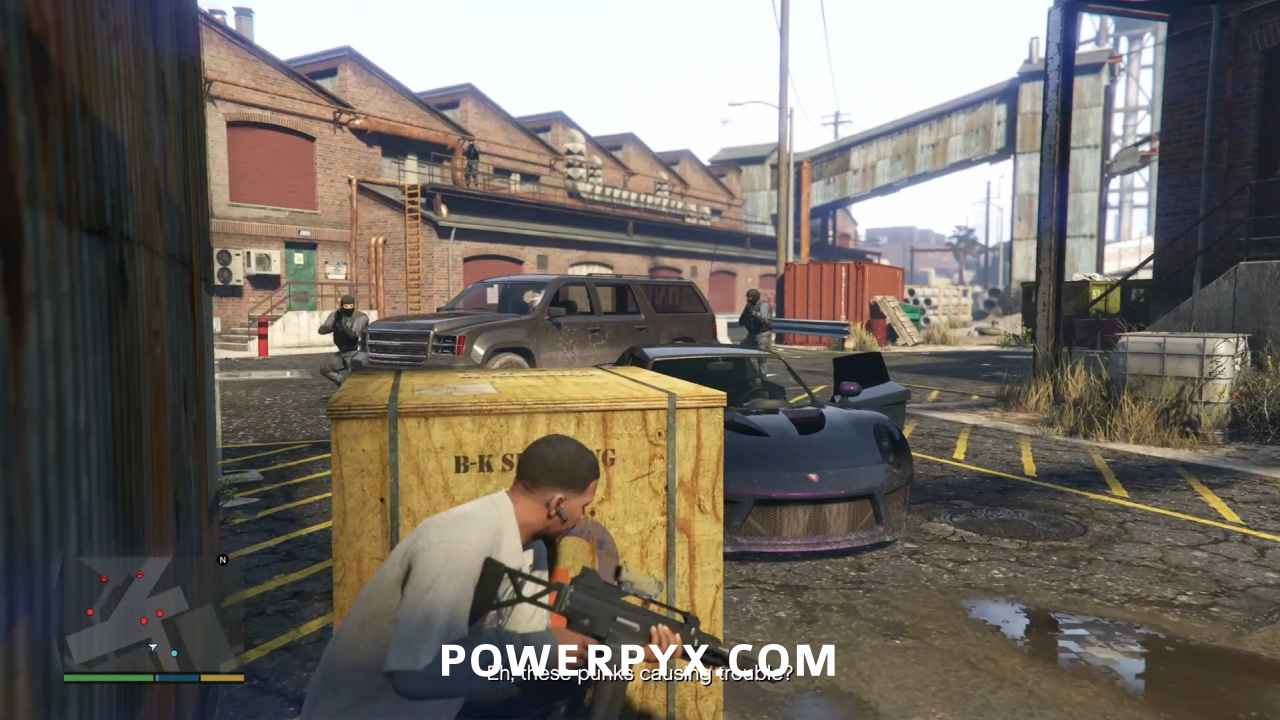
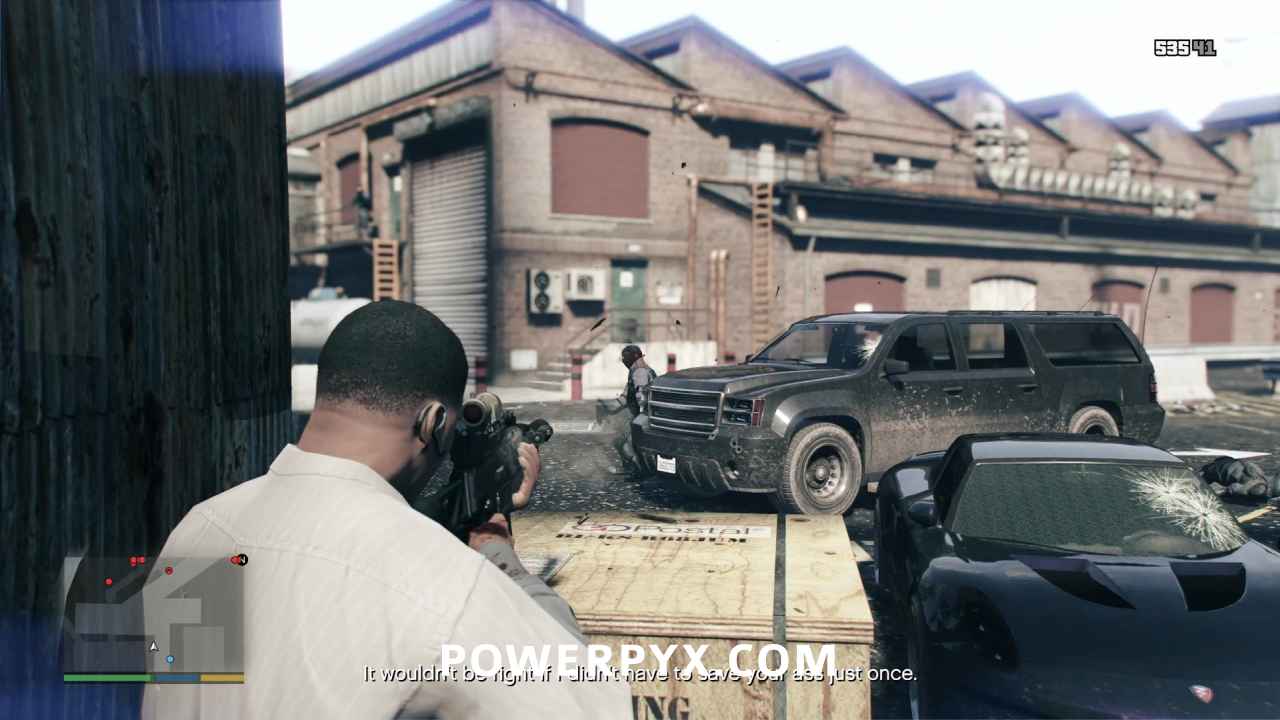
The second wave will come in on foot around the side of the building in front of you, then the third wave on foot from the northwest.
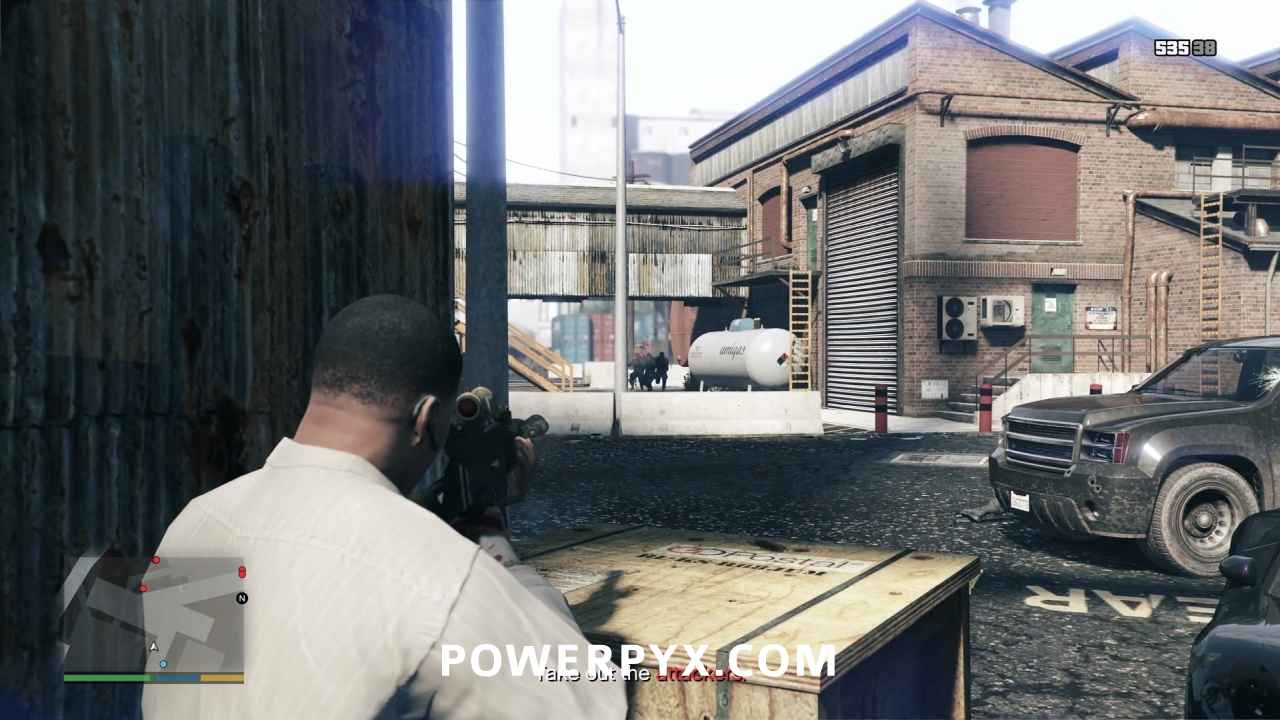
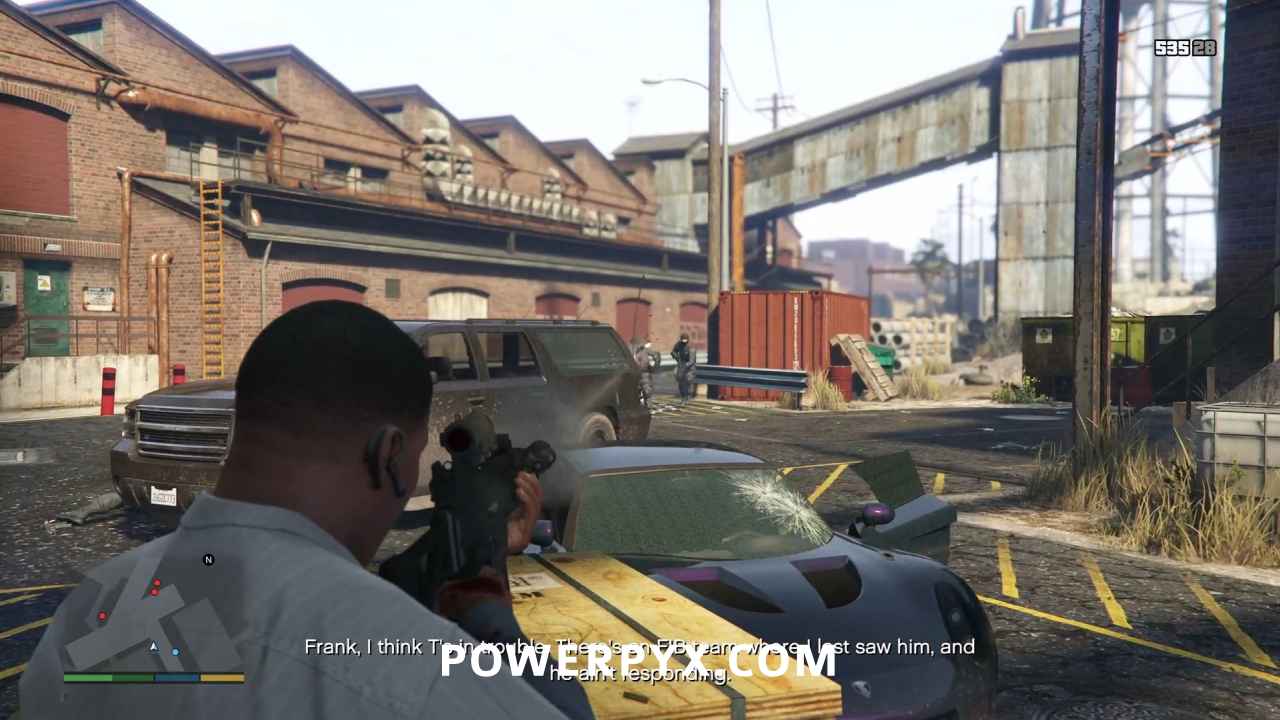
About this time Michael will radio Franklin to say Trevor isn’t responding. Switch to Michael to save him. You’ll see five agents inside surrounding Trevor’s position and keeping him down with suppressing fire. Use your special ability to rack up some more headshots.
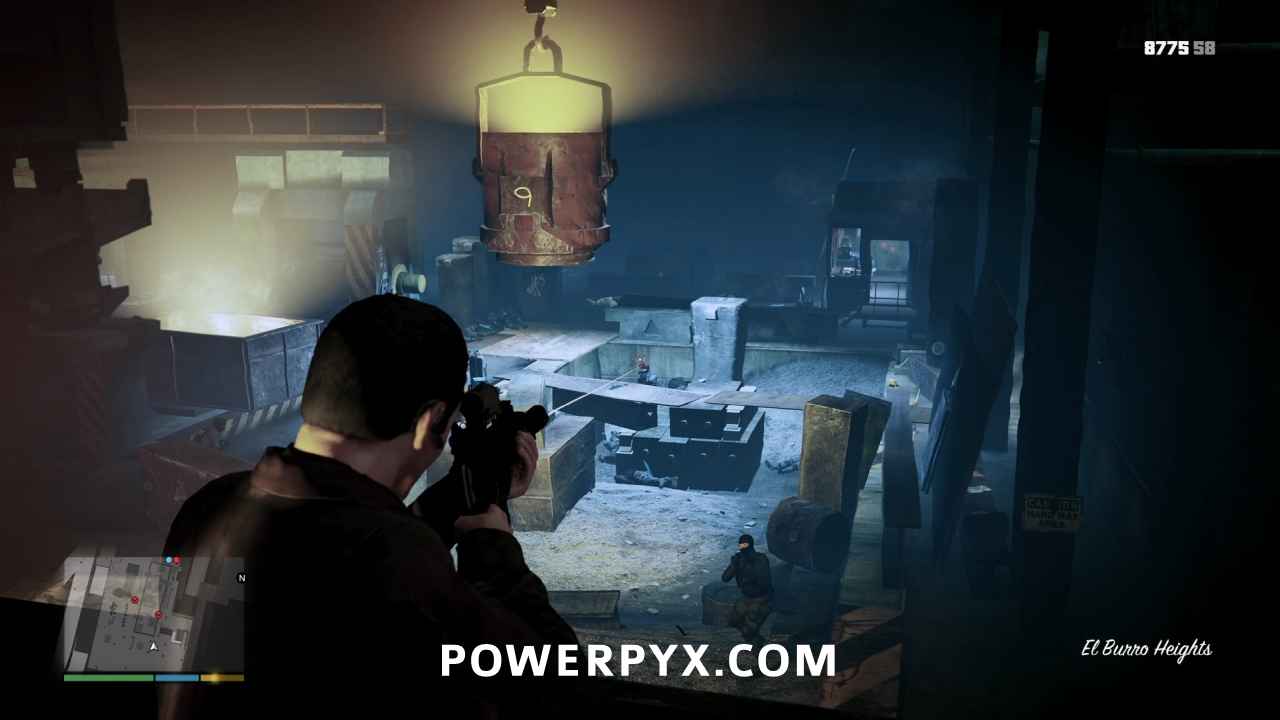
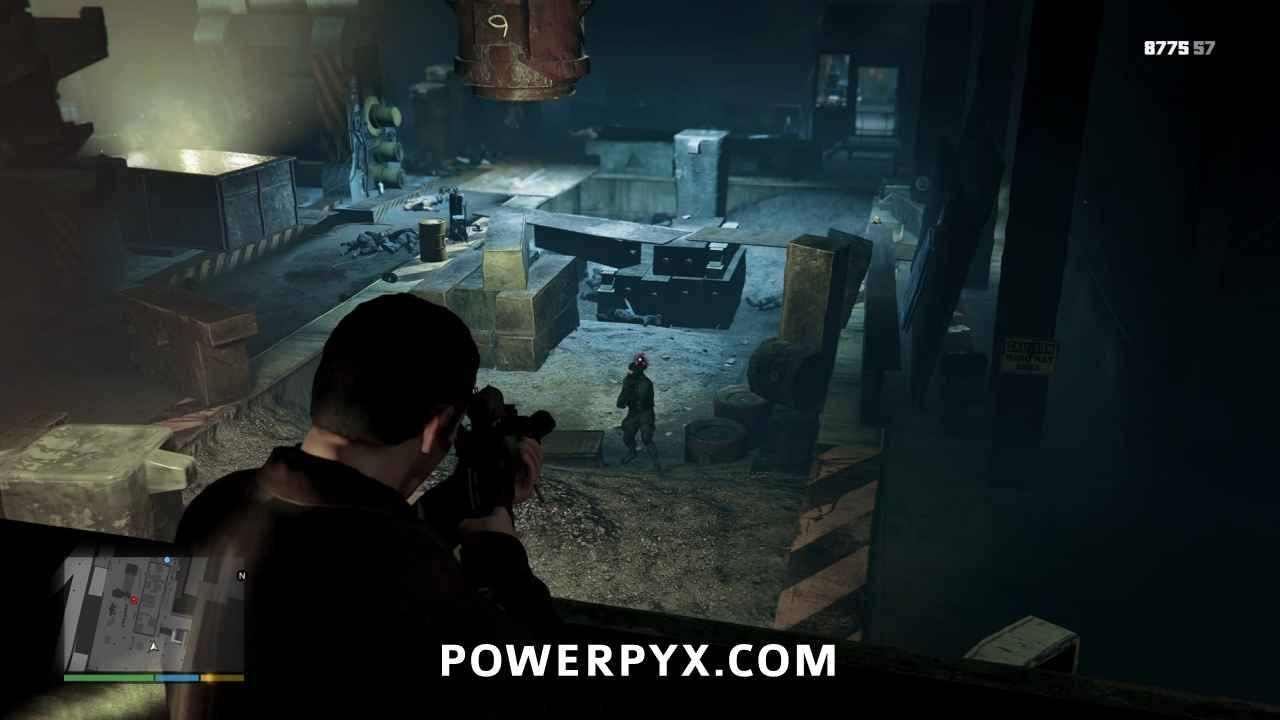
Rescue Trevor
Once the coast is clear, jump down from your sniper’s roost and run over to where you last saw Trevor. As you do, three more FIB agents will enter through the left (southwest) side. Use Michael’s ability to bring them down while you’re on the run.
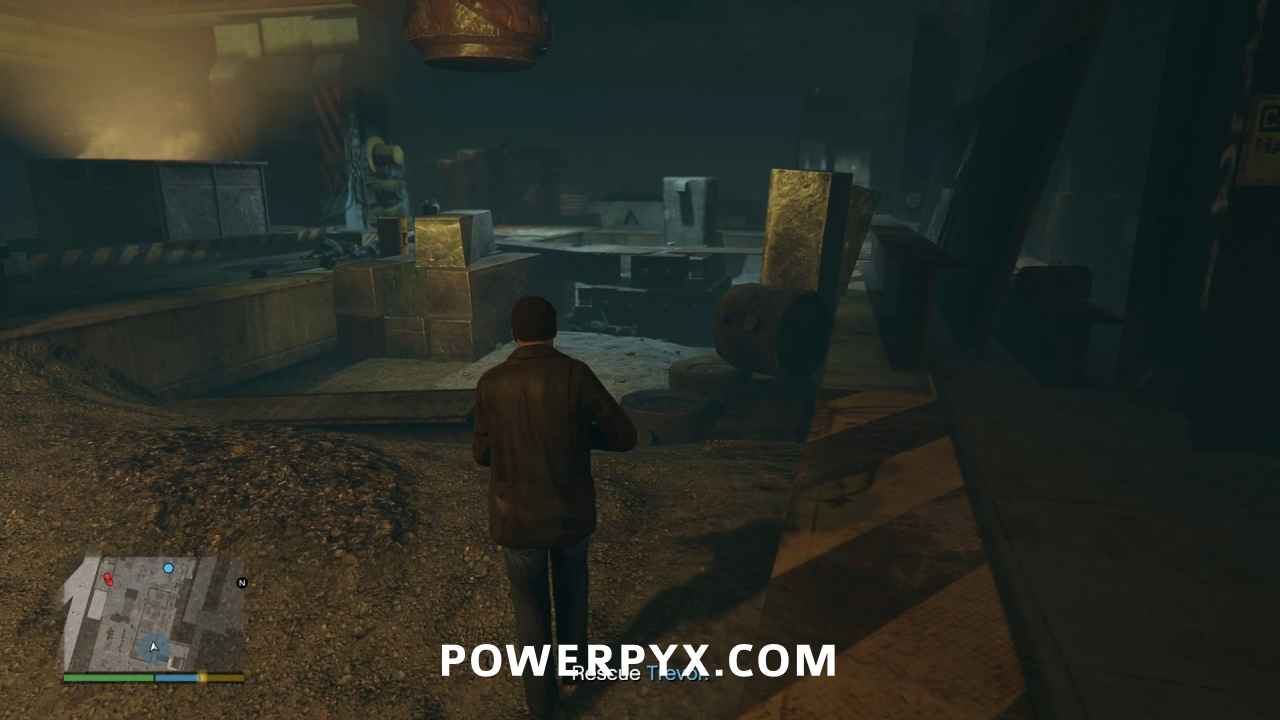
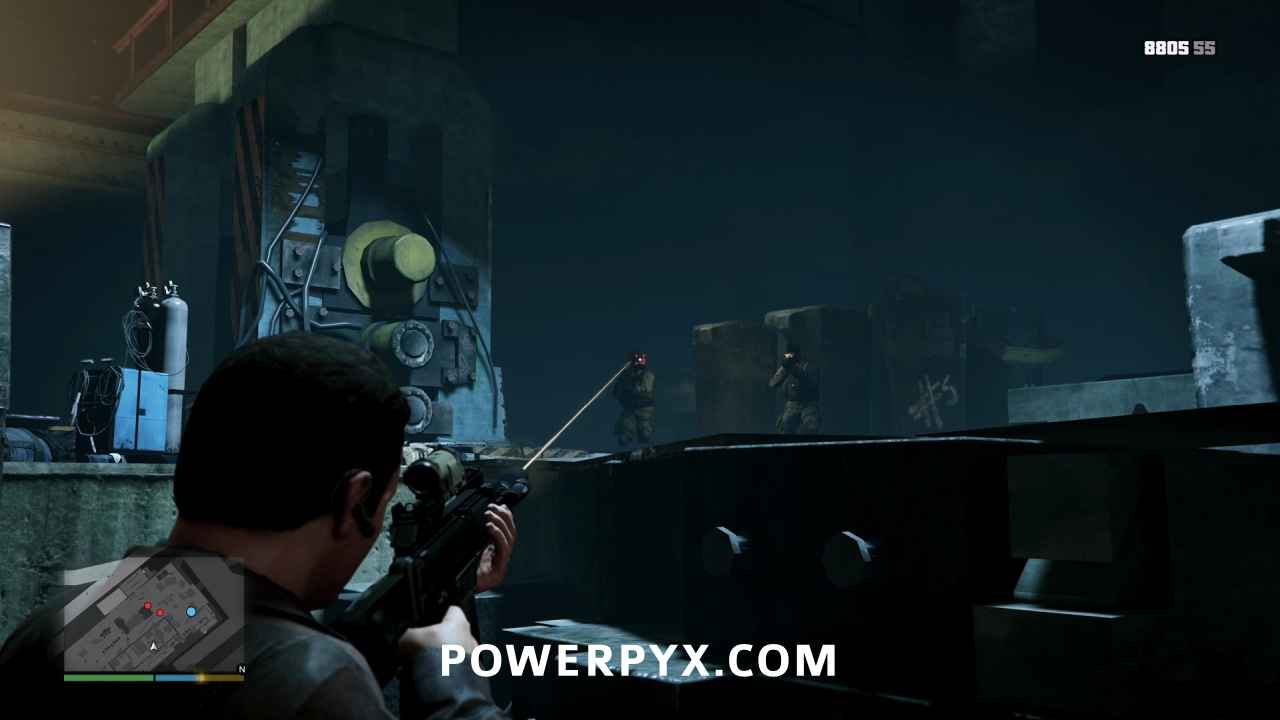
Then run to the objective marker, hopping over the concrete barricade to reach him just as more FIB start pouring in.
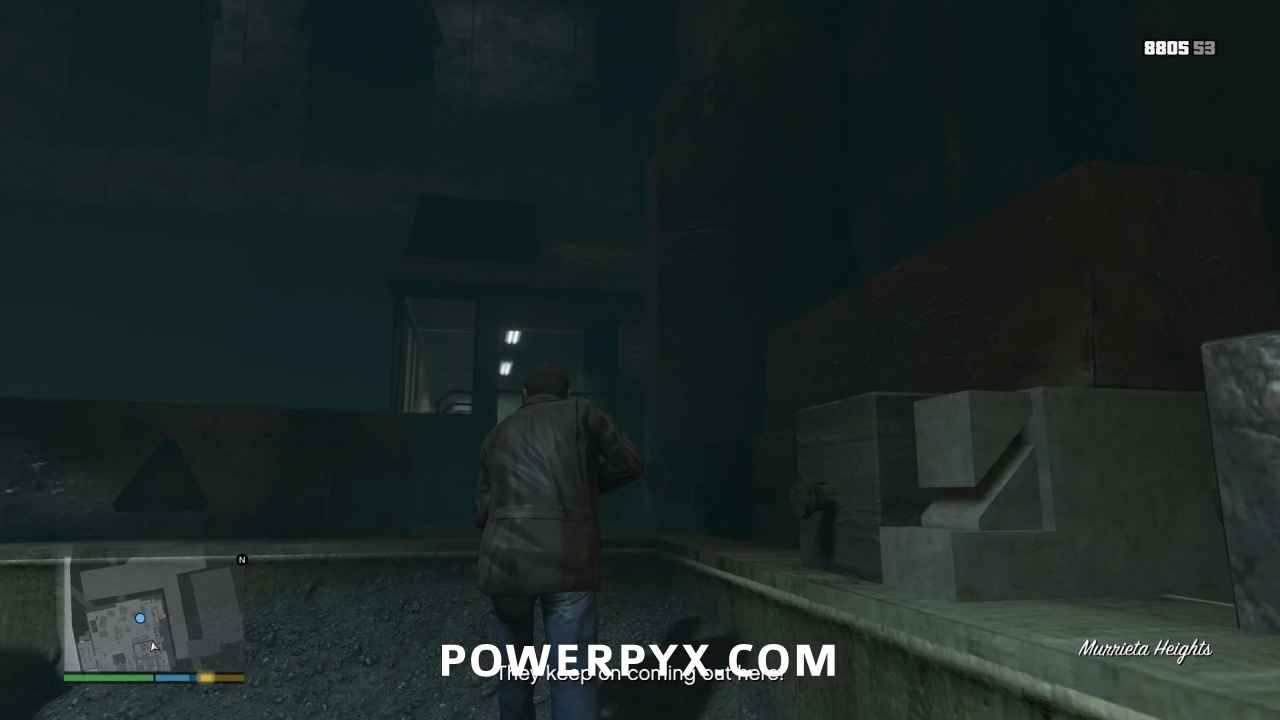
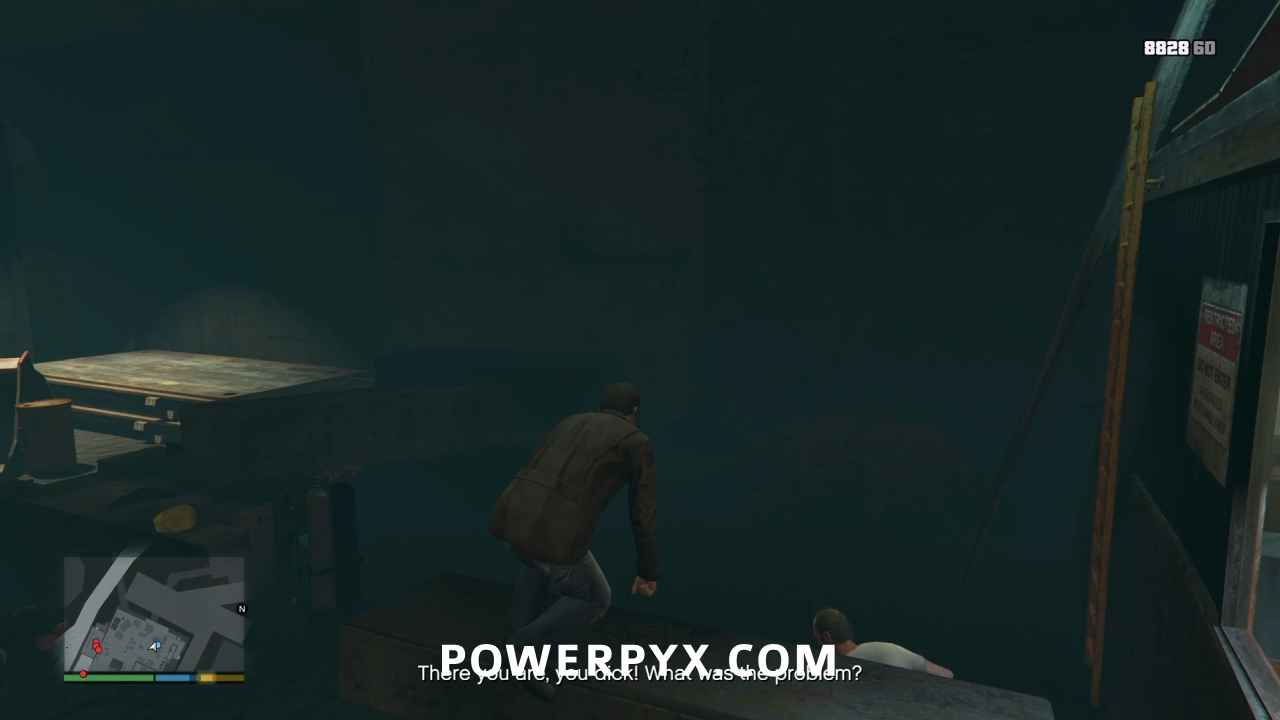
Take Out More Enemies
Switching over to Trevor, activate your special ability and charge their position. Keep getting headshots if you still need them, but otherwise switch to a shotgun for fast, close-in work to keep your ability meter charged up. There will be three waves of agents, with one group entering by the top floor across from Trevor’s starting position.
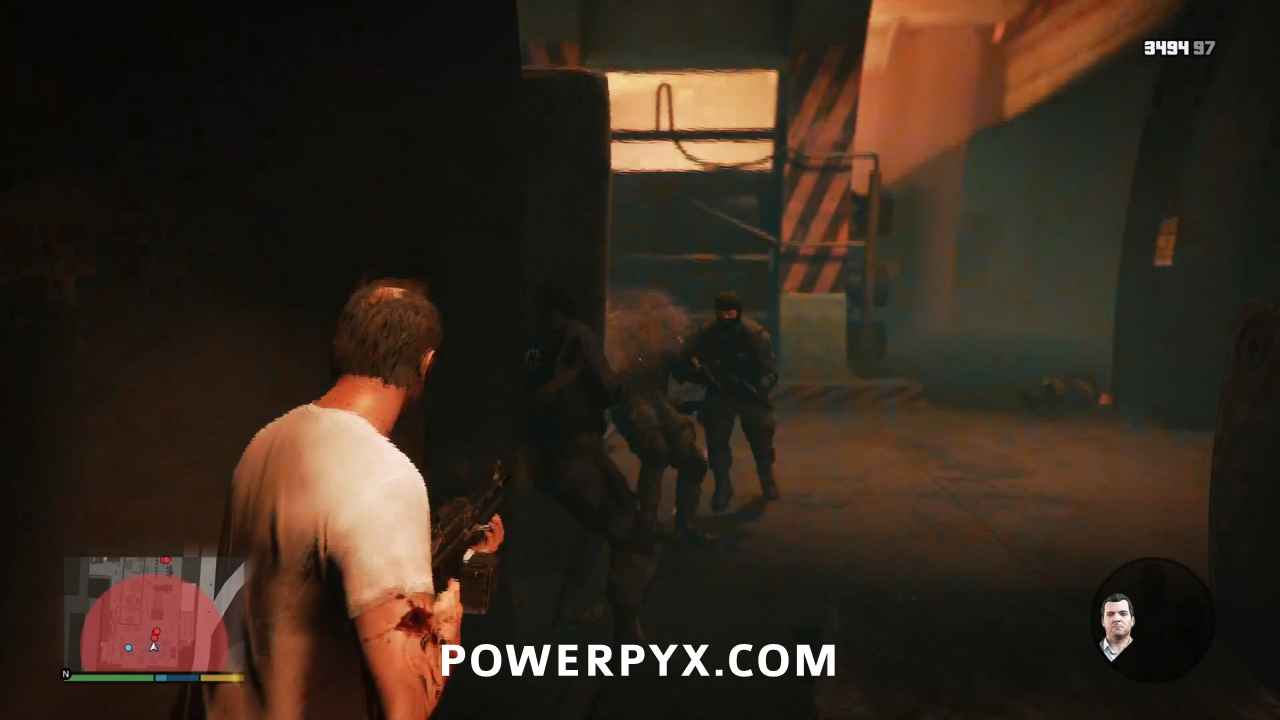
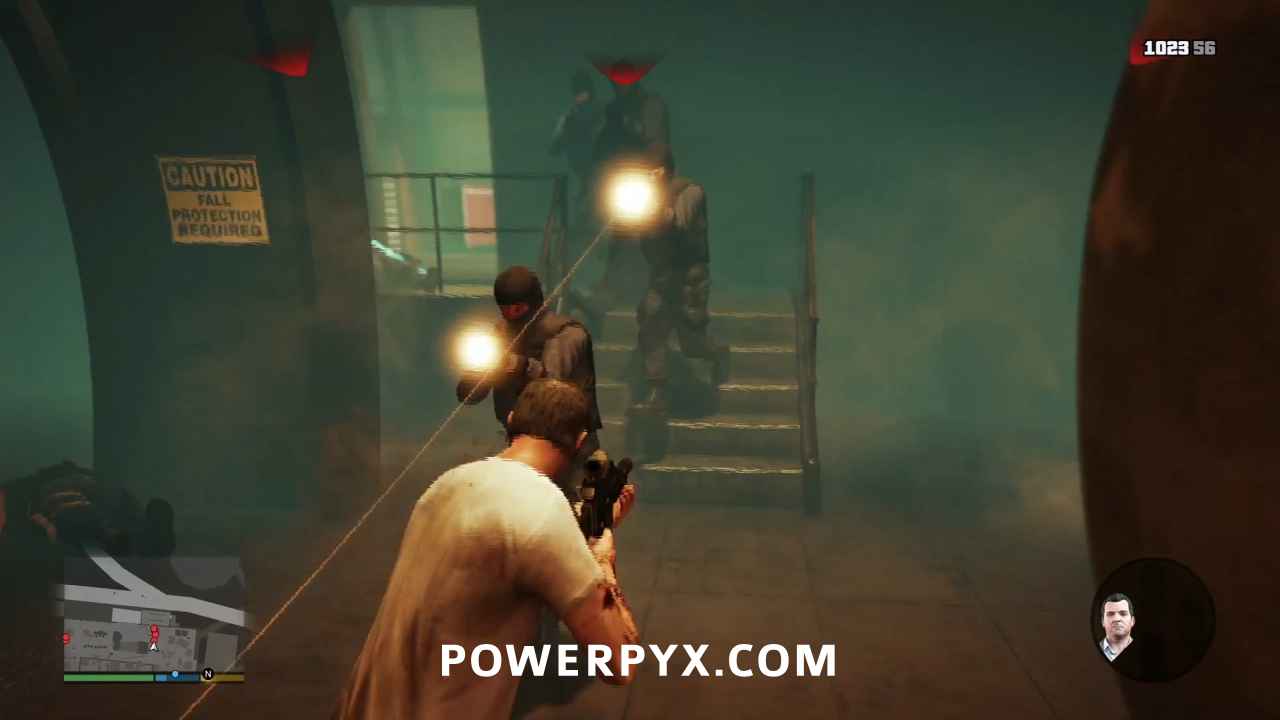
When Michael declares that the inside is clear, take Trevor back through the same door that Franklin went out and help clean up the three-way firefight that’s going on outside, again prioritizing speed and accuracy. As you kill the FIB agents, another Grainger will pull up with more agents inside. Act quickly and you can kill them before they get out.
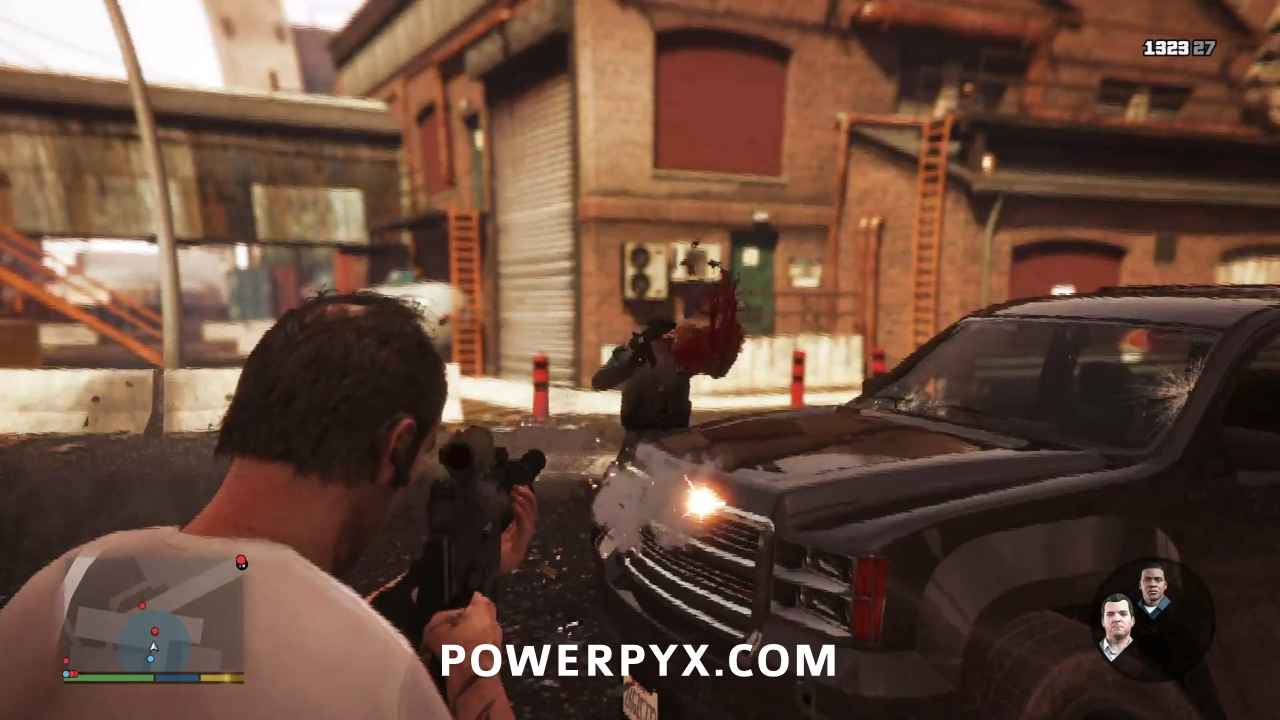
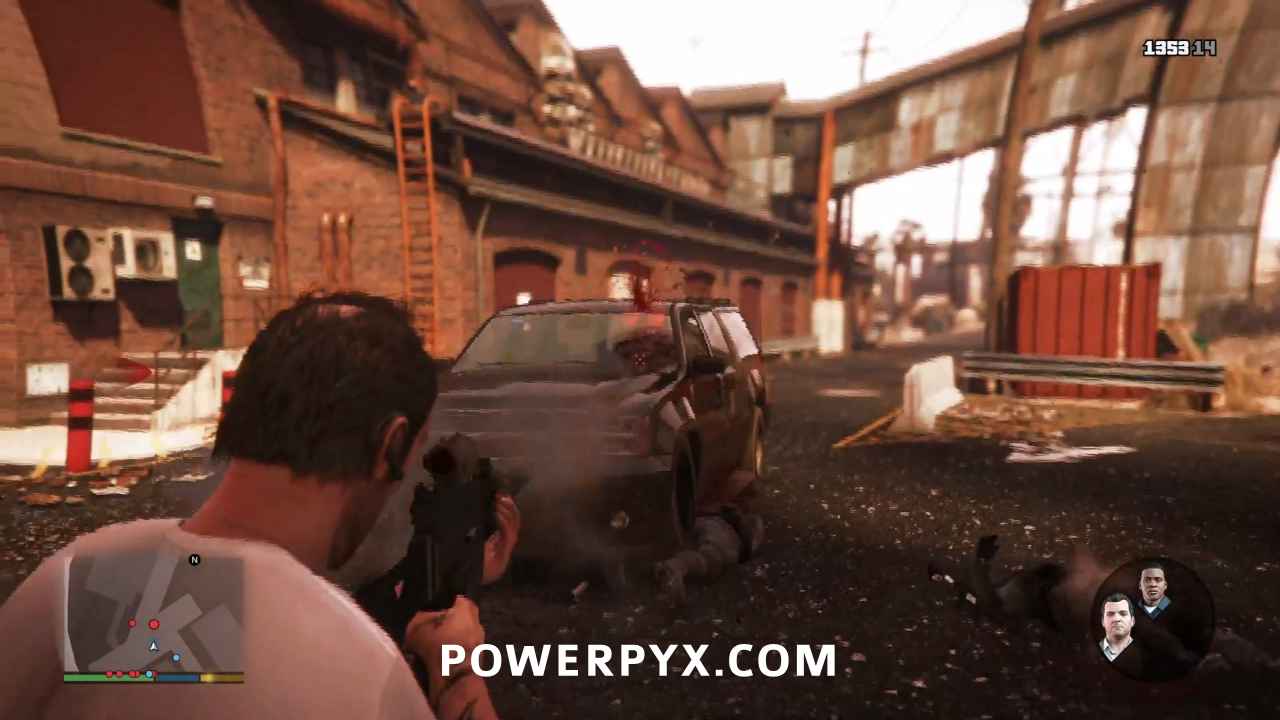
Take Out the Attackers
Once the FIB is taken care of, run over to the other side of the building to help Michael with Merryweather.
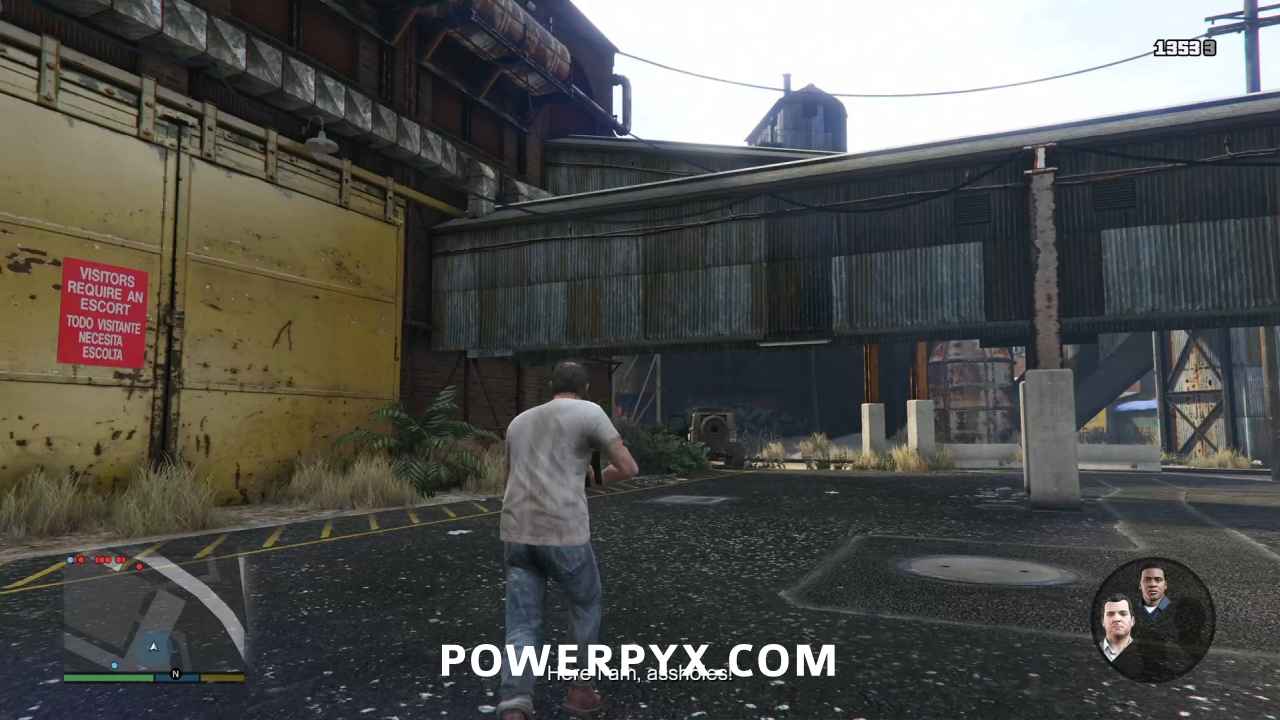
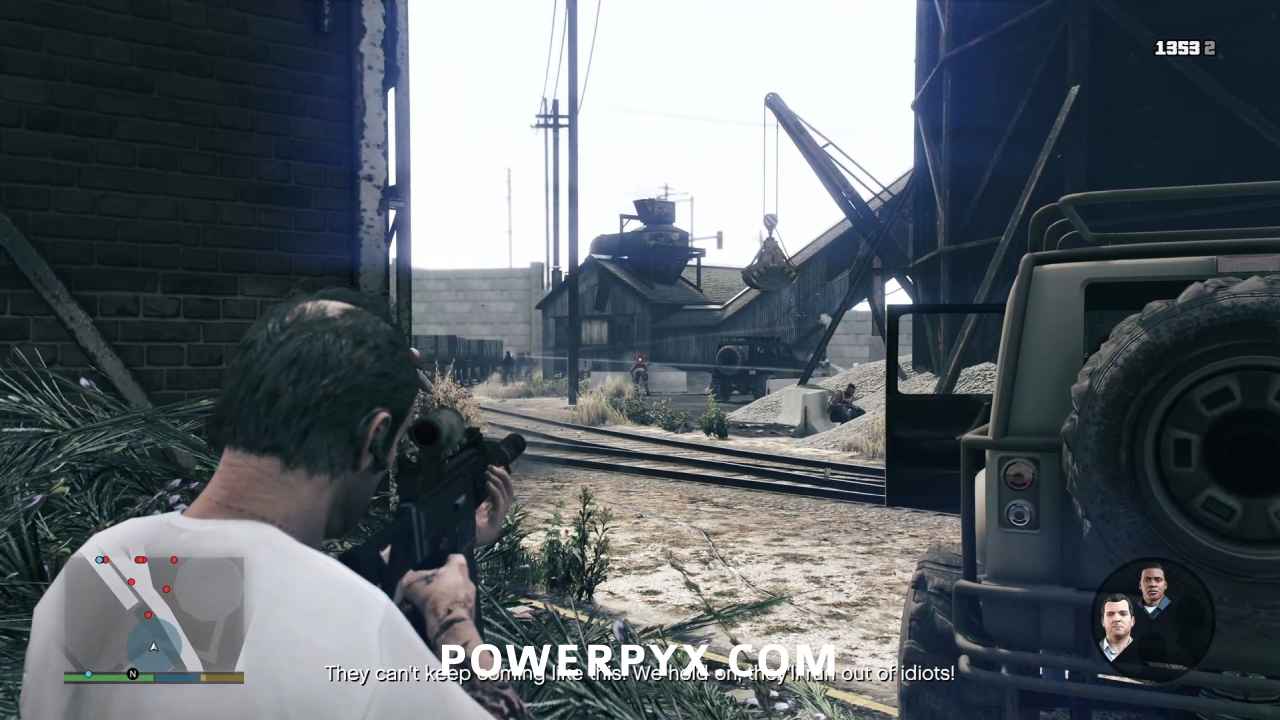
A lot of them will have their back to you, so if you can take them out with a suppressed weapon, you’ll be able to get quite a few easy kills. By the time they notice you, your special ability meter should be fully charged, and you can activate Trevor’s rage for a direct assault.
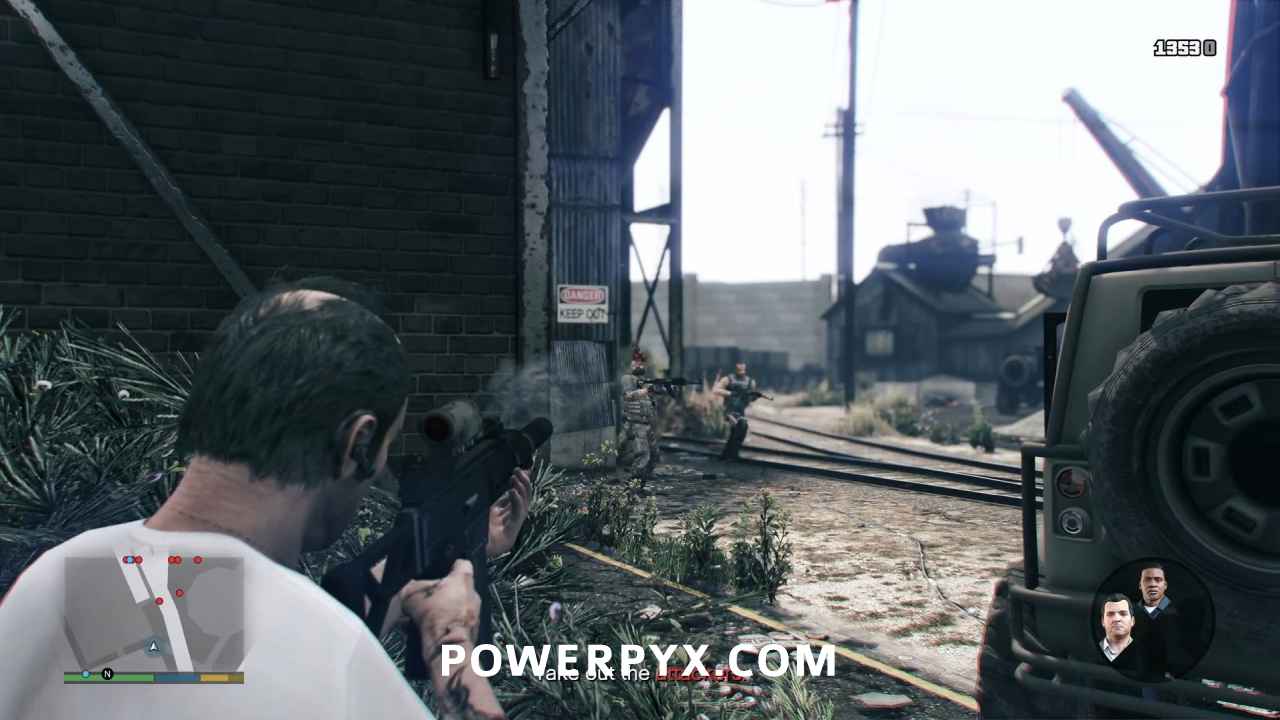
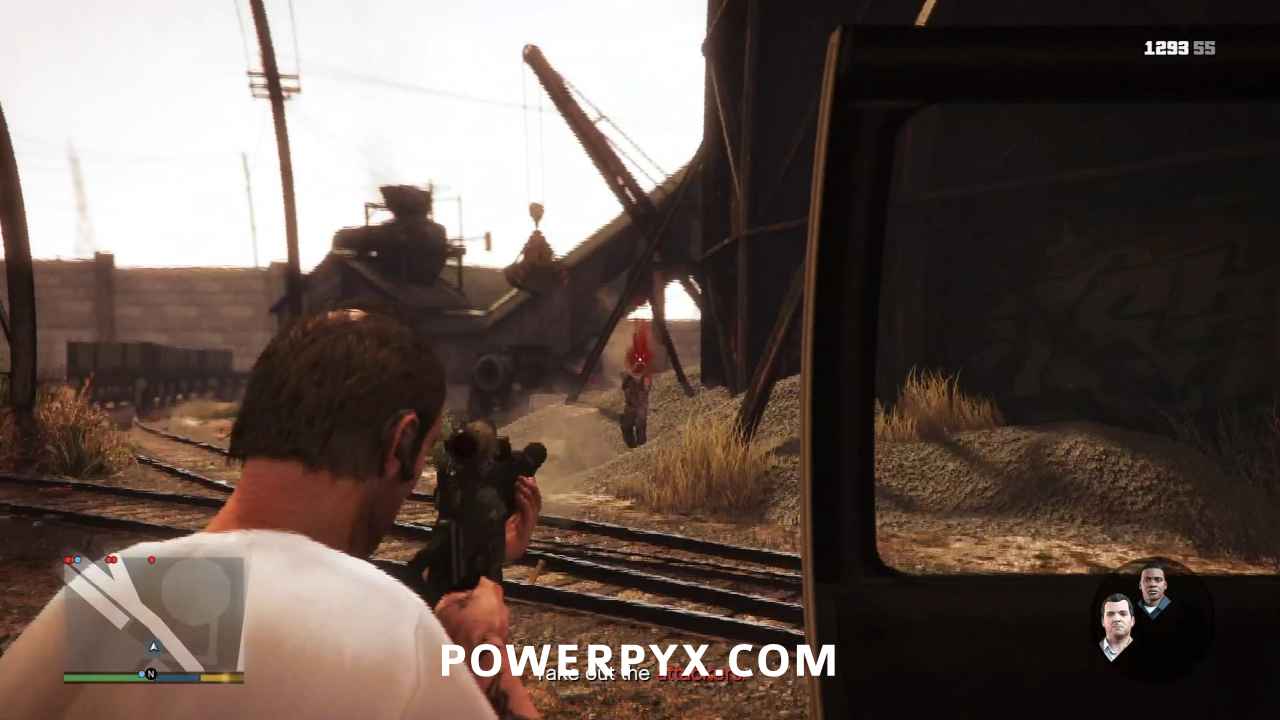
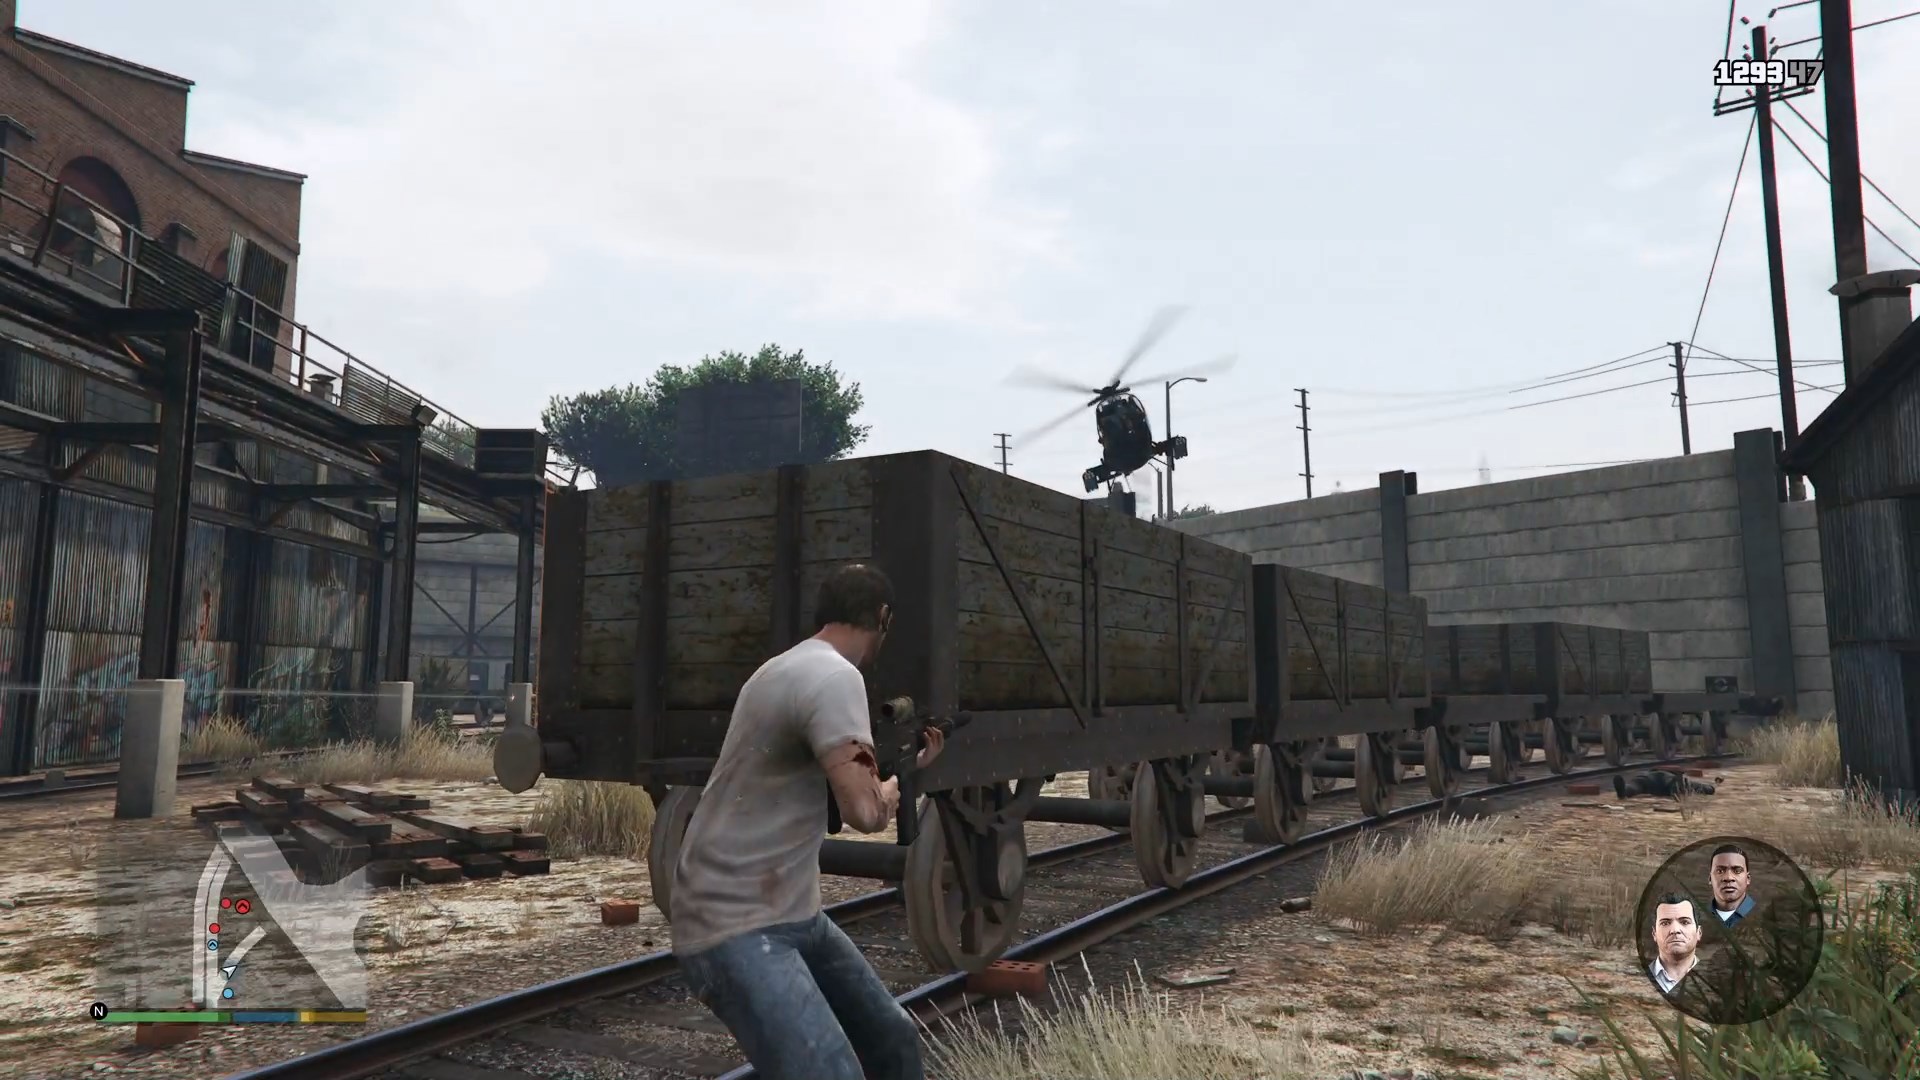
Keep taking out enemies on your way to Michael’s position, and about the time you reach the middle of the yard where the ore carts are, a Buzzard will sweep in and attack you. Swap to Michael, then use a railgun to take it down.
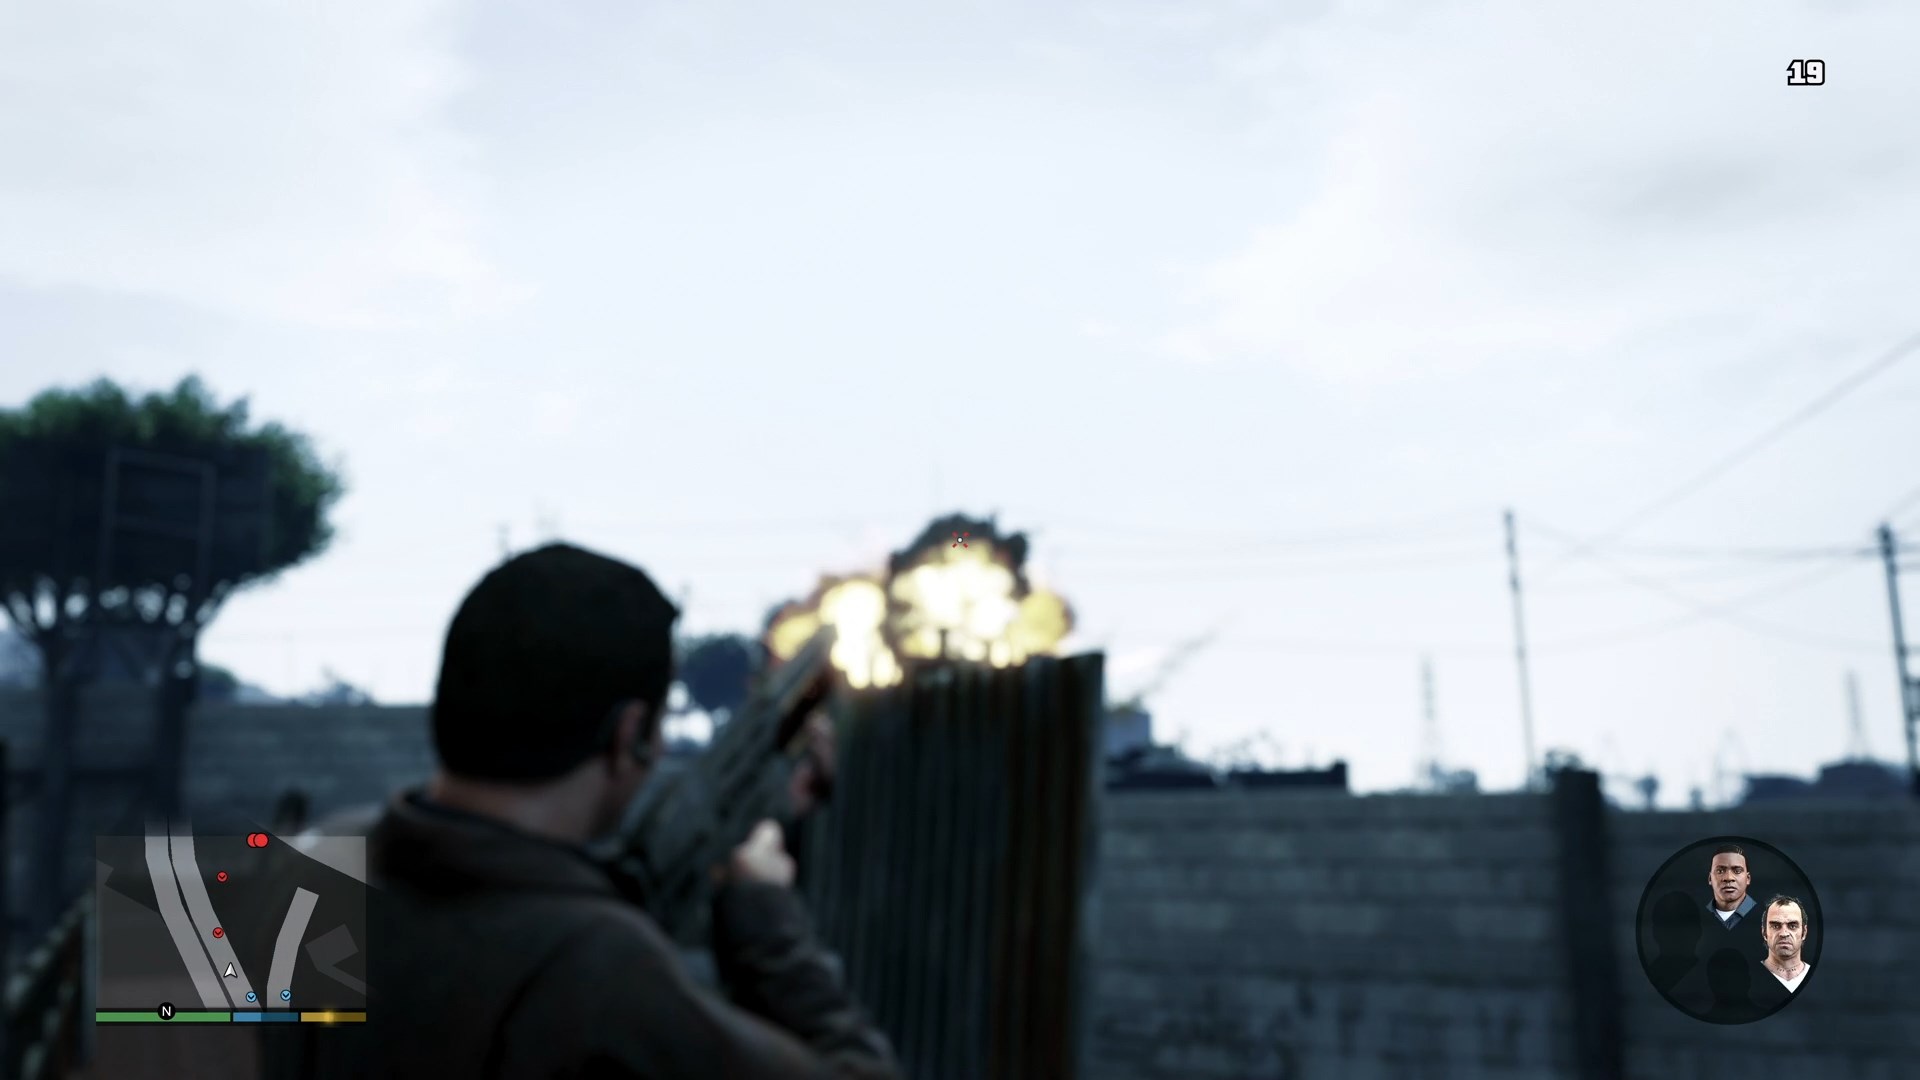
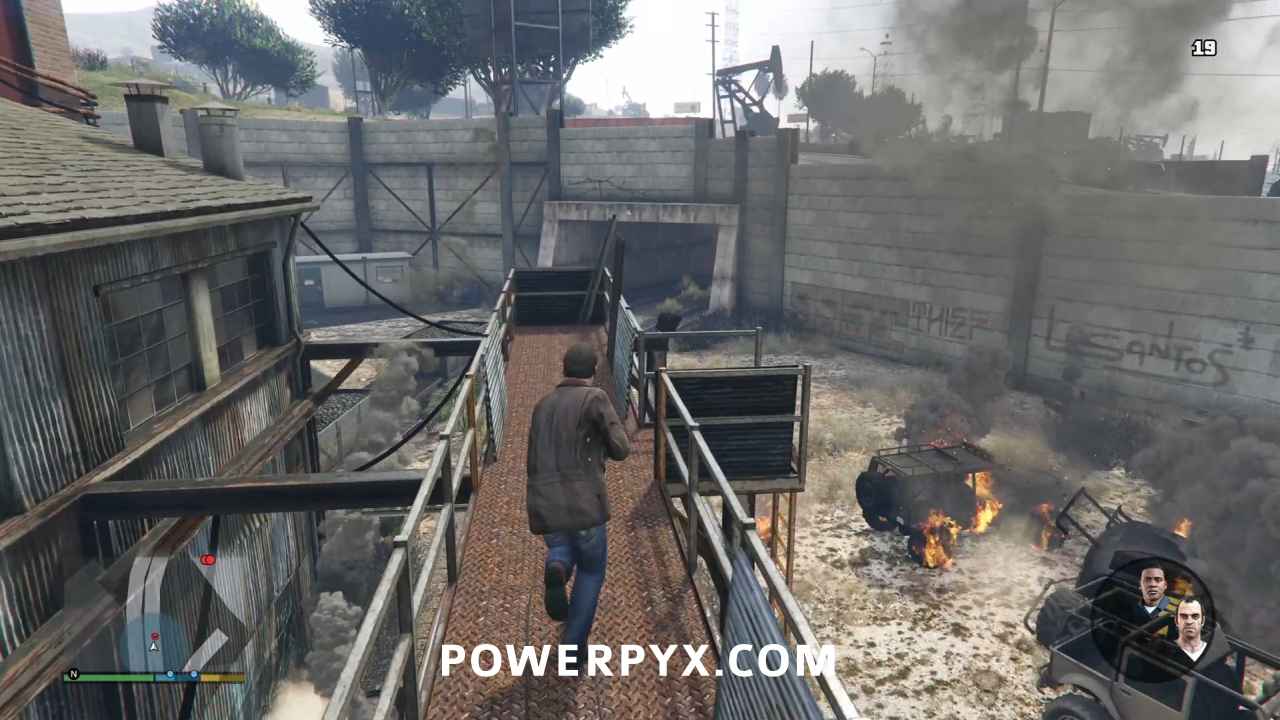
Immediately after you destroy the Buzzard, run to the end of the walkway Michael is on and take cover, watching the tunnel in the distance.
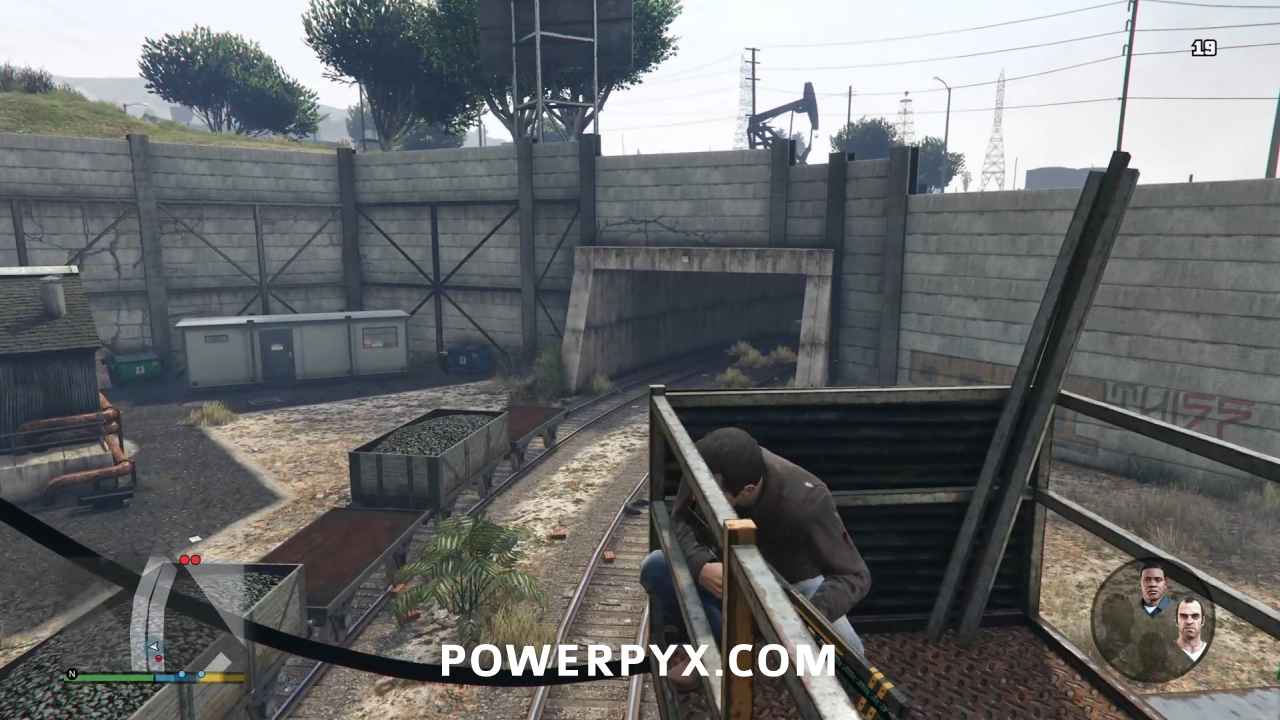
Two Mesas will race out of the tunnel filled with Merryweather troops. Using Michael’s special ability, blow them up before they can become a problem. In fact, they’re so close together while in the tunnel that the explosion of the one you shoot will probably destroy the other one too!
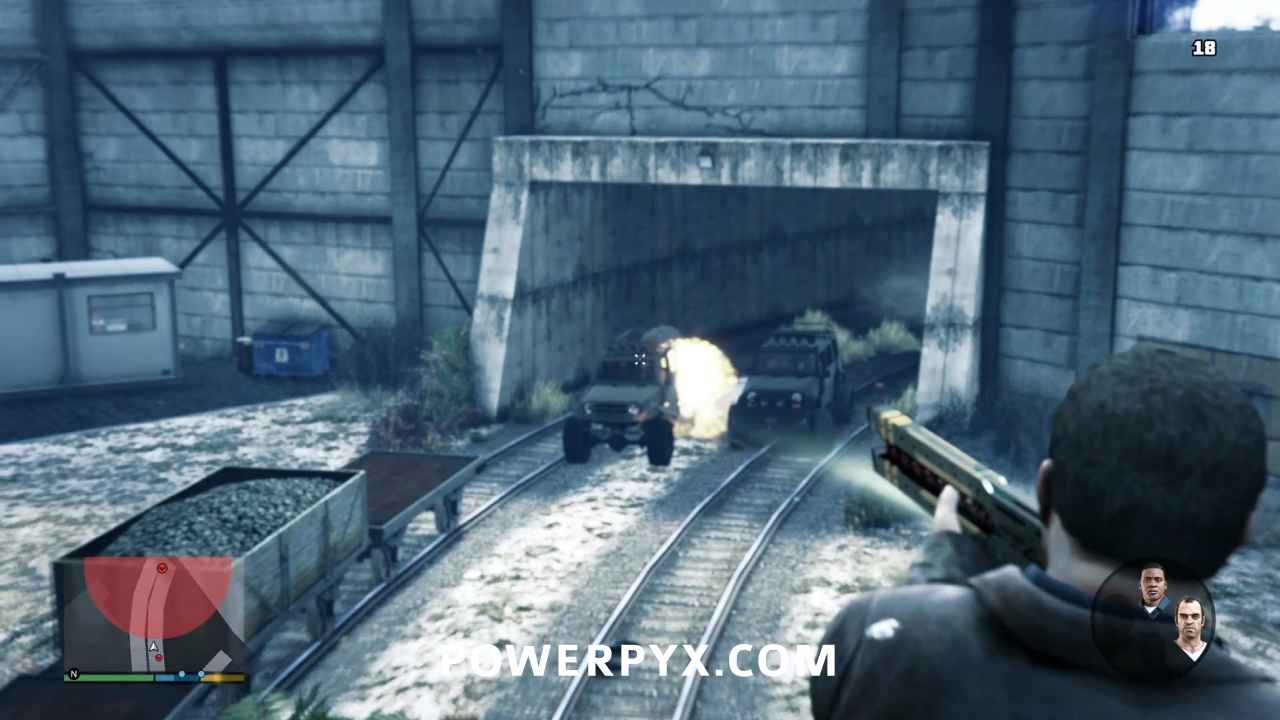
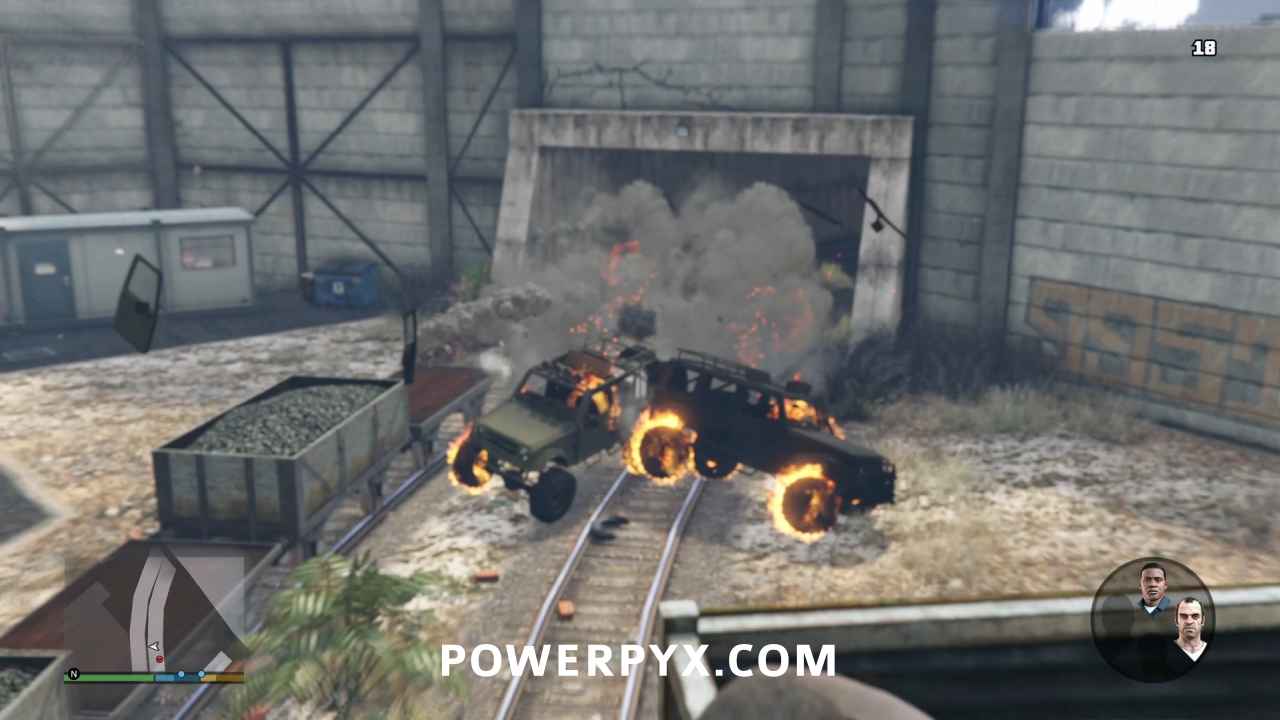
Swap back to Trevor and mop up anyone left on the ground. Once they’re all dead, Michael will call for everyone to regroup.
Regroup Outside Main Doors
Head for the objective marker, then skip the cinematic. In the next part of this mission, all three characters have separate objectives that they have to accomplish. You’ll start off in control of Franklin, but you’ll want to switch over to Michael since he will reach his target first.
Take Out Stretch
Head to the objective marker, and remember the first of the remaining Gold Medal requirements:
- Stretched Out: Kill Stretch with a melee attack
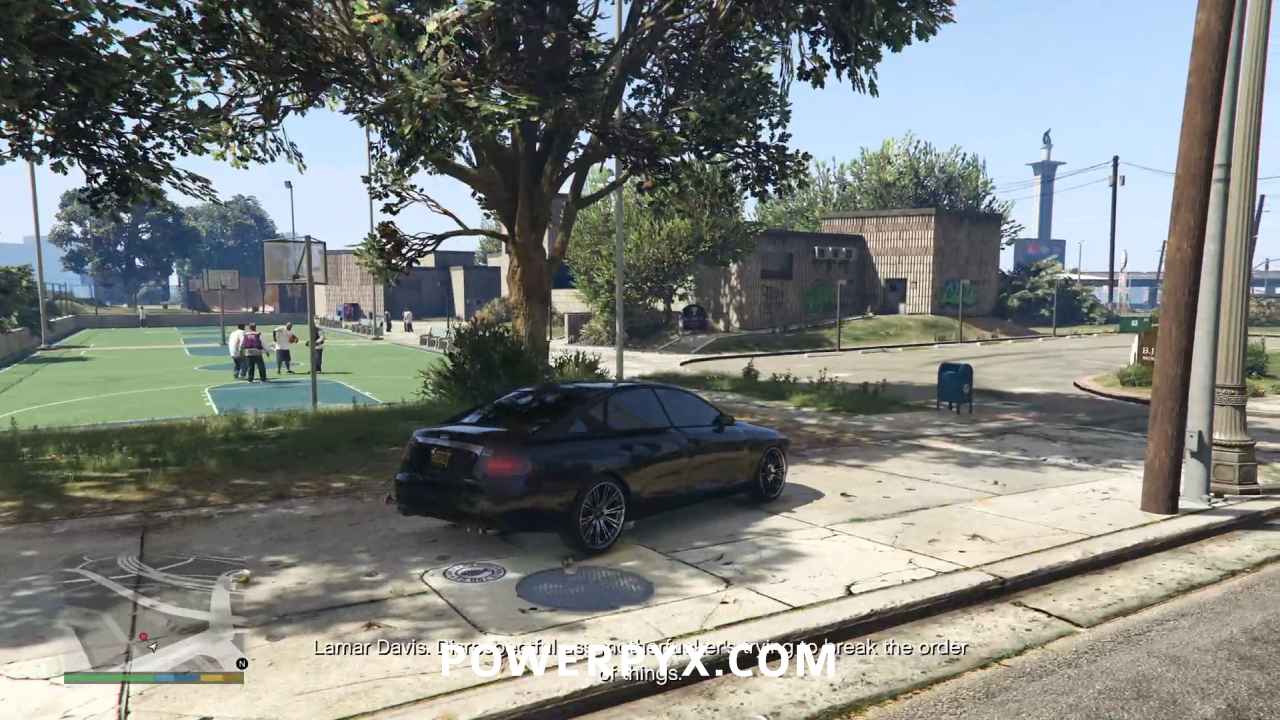
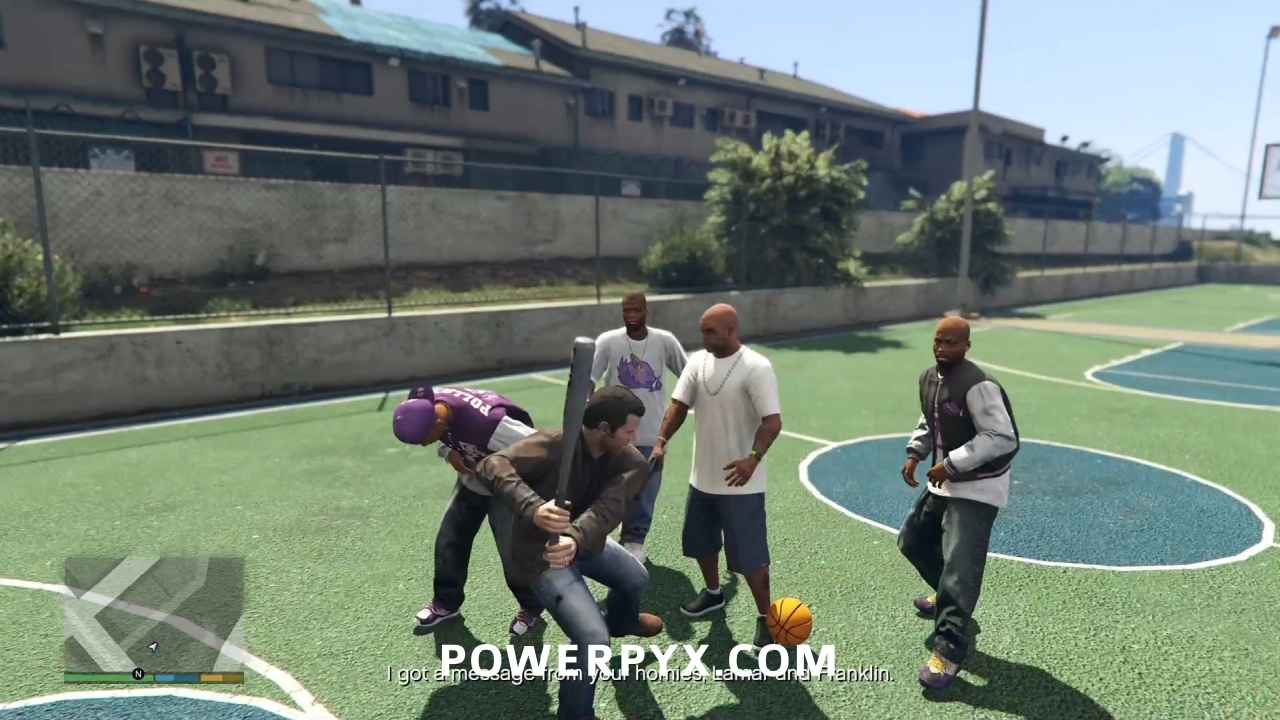
Pull up in front of the rec center and get out, seeing Stretch in the middle of the basketball court talking shit about Lamar. Equip a melee weapon or just use your fists, then beat Stretch to death.
Escape the Ballas
While you can hop in your car and try to outrun the Ballas, it’s easier to just pull out your rifle and kill them all. Use Michael’s special ability to gun them all down in short order. It’s also a good place to bank a couple extra headshots if you still need more. After you’ve gotten all the gang members on the court, there will also be a car that pulls up with two guys in it to kill as well.
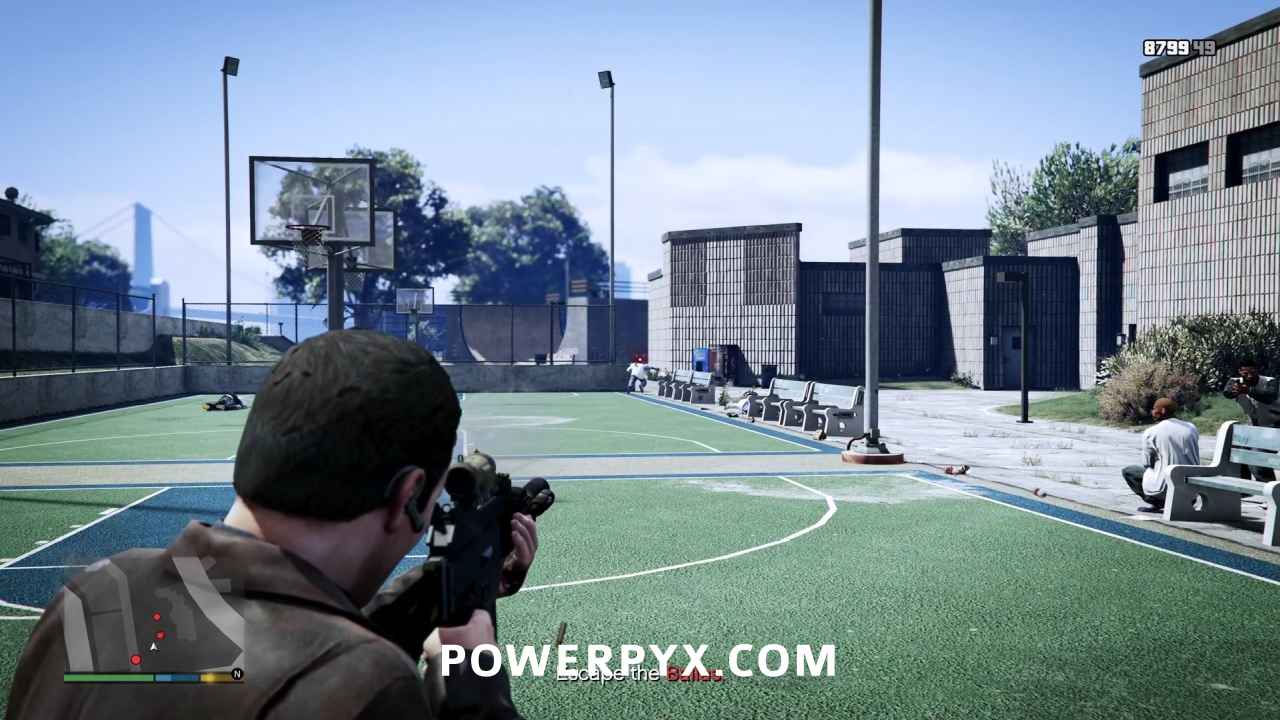
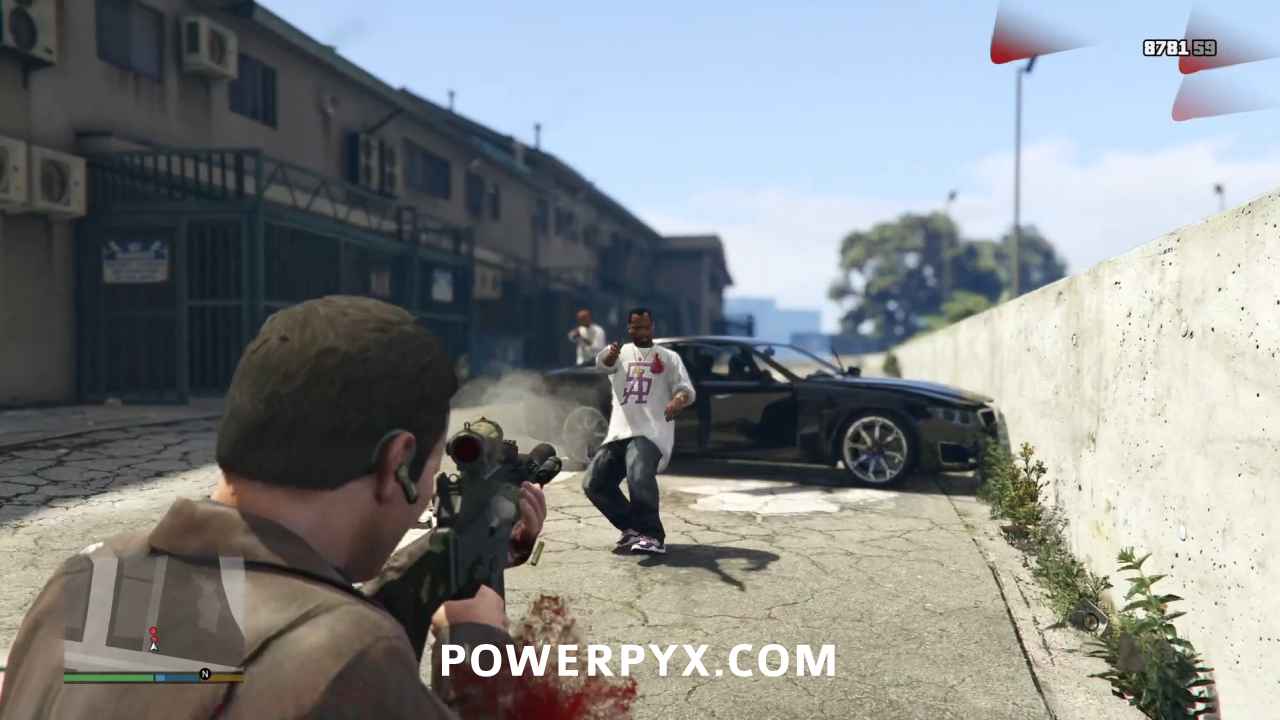
Once they’re all dead, Michael will announce that he’s clear and you can switch to Trevor for the next target on the list.
Bring Down Haines
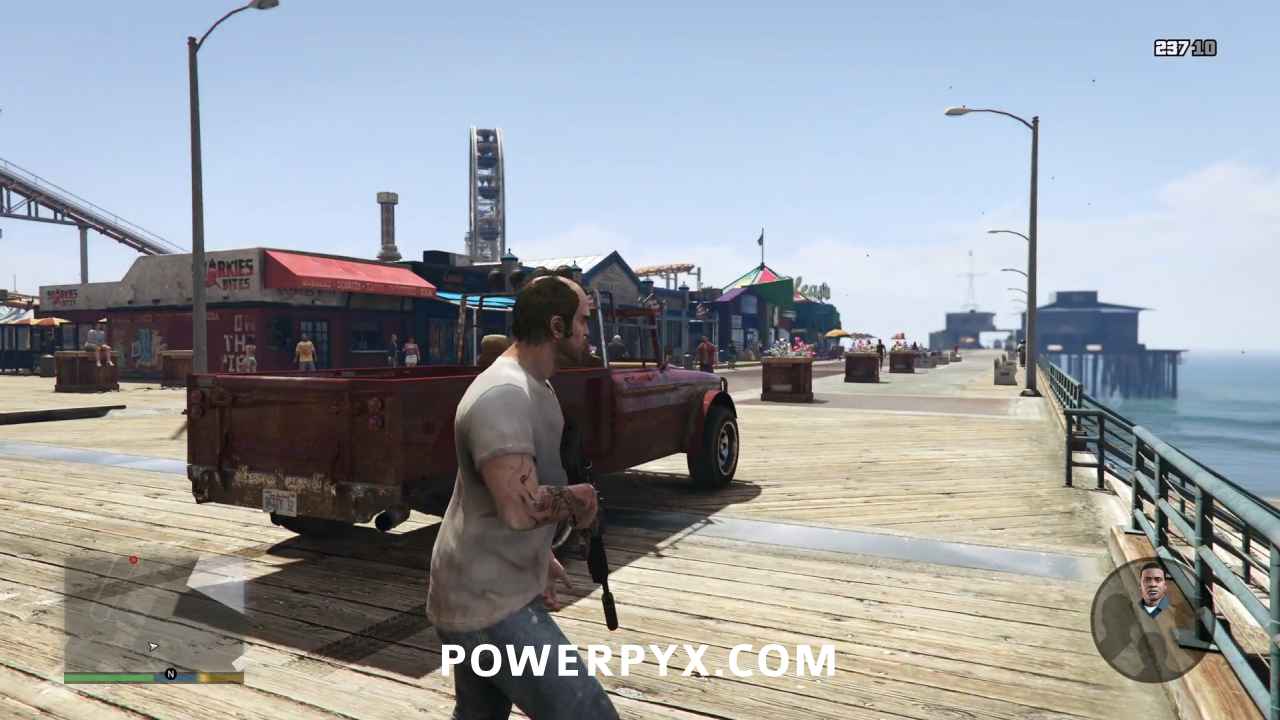
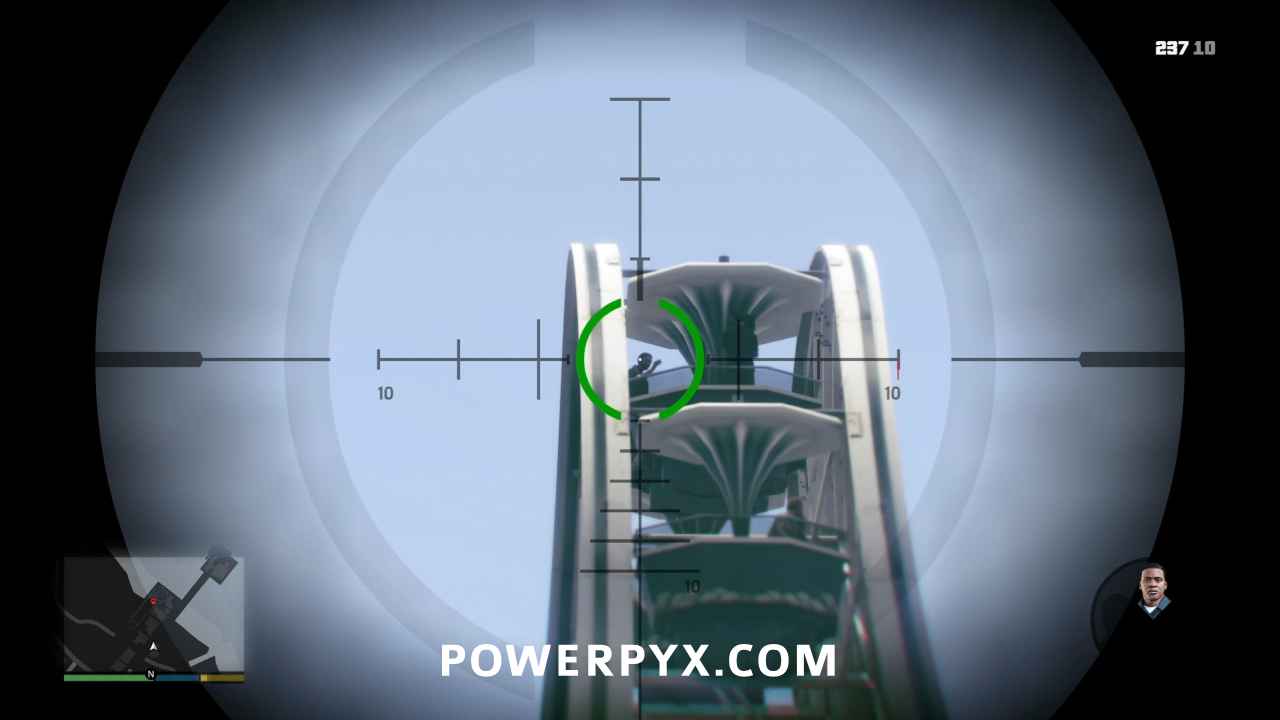
By this point Trevor should be rolling up on the Del Perro Pier. Drive until you’re in line with the facing of the ferris wheel in the distance, then get out and equip your sniper rifle. Using your scope, look at the gondolas on the wheel. Somewhere at or near the top, you’ll see someone in the gondola with a camera crew. This will be Steve Haines, filming for his TV show, The Underbelly of Paradise. Once you’ve found him, remember the second target’s Gold Medal requirement:
- Lead Lobotomy: Kill Steve Haines with a headshot
Shoot him in the head, then leave the area.
Lose the Cops
Your assassination has triggered a two star wanted level. Change cars and escape the police. Driving across the beach while avoiding their cones of vision usually works.
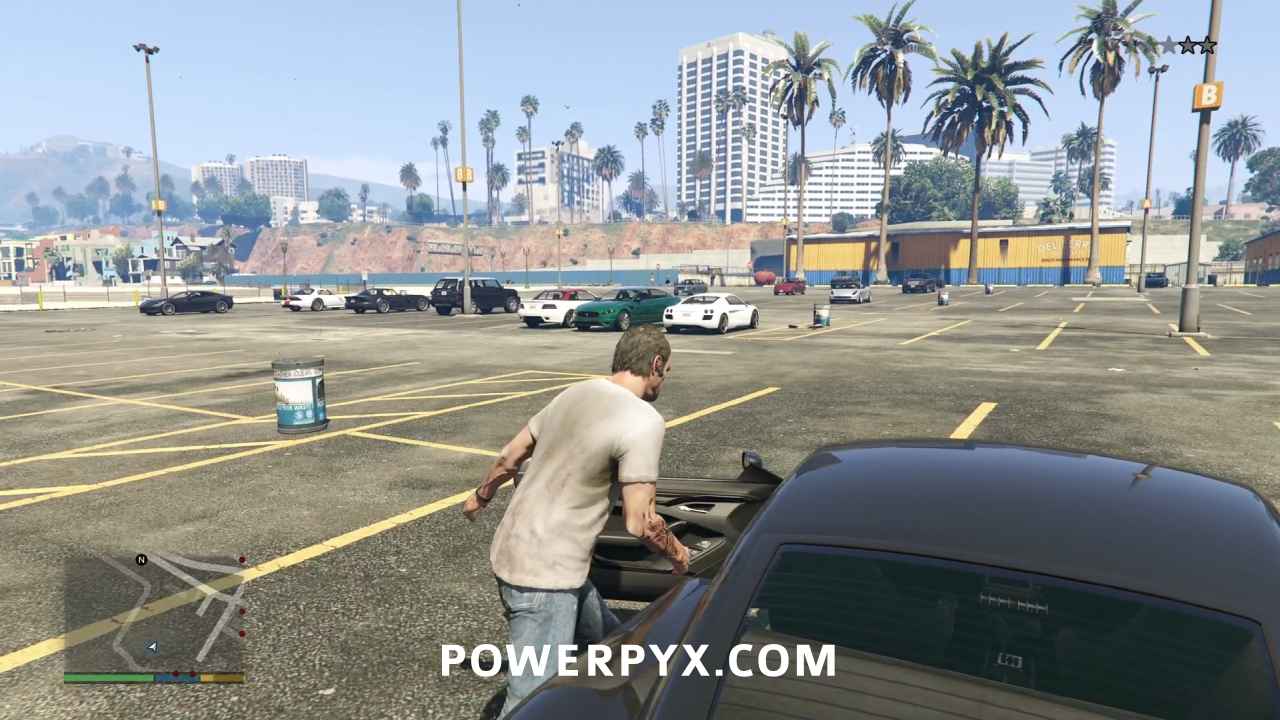
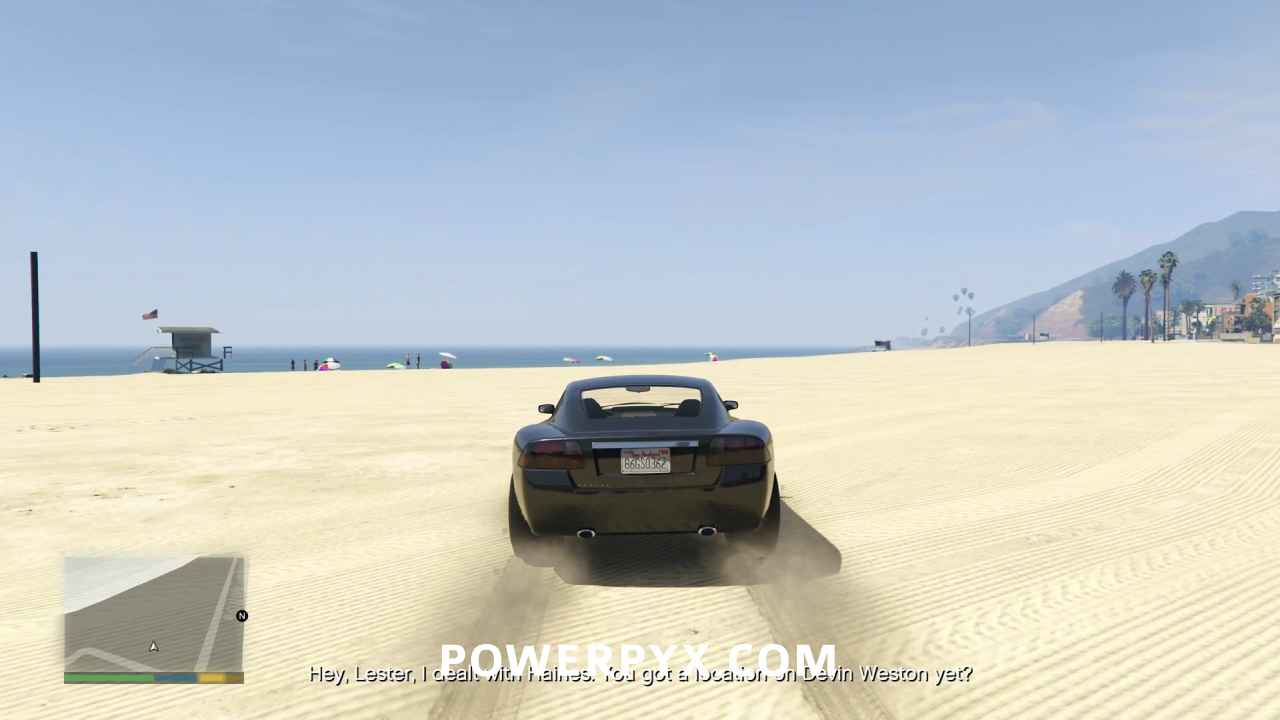
Trevor will radio in to Lester when you’re clear. Now switch over to Franklin.
Get Rid of Mr. Cheng
Franklin will be just about there when you swap over to him. As you approach the location, don’t get too close just yet. Use  /
/  to change your drive-by weapon to sticky bombs for the third target’s Gold Medal requirement:
- Stick, Tick… Boom!: Kill Cheng with a sticky bomb
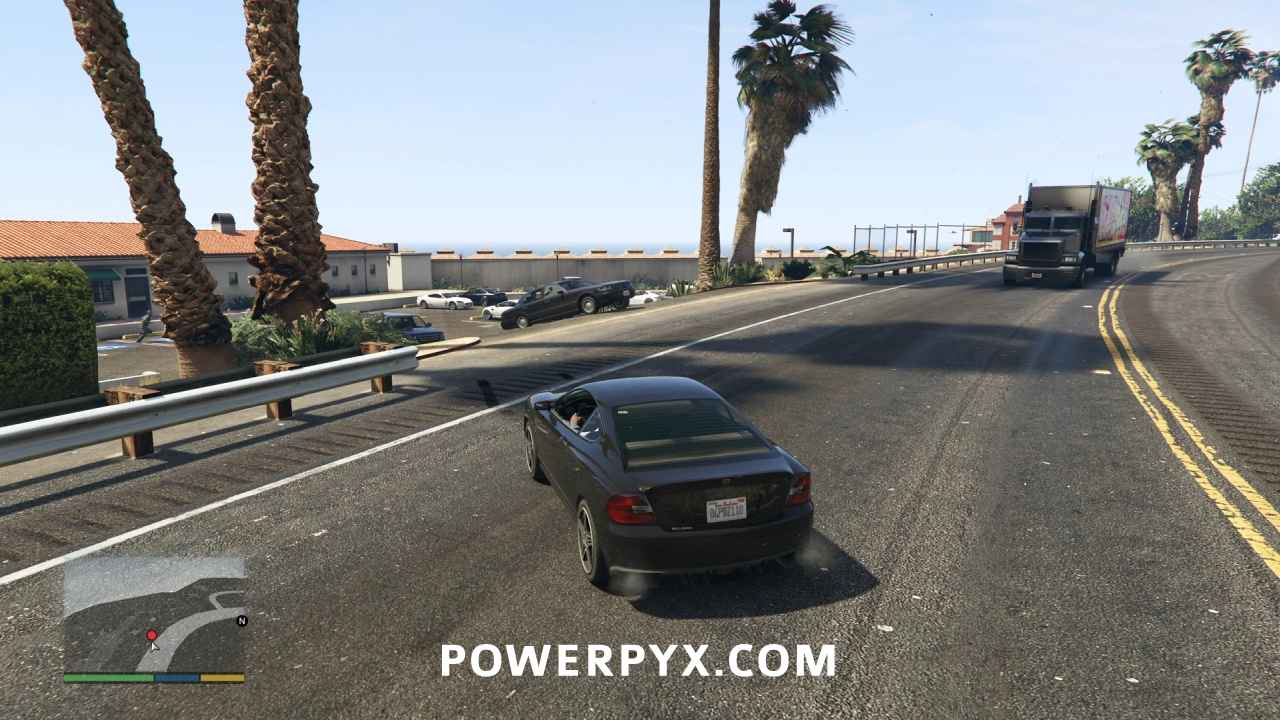
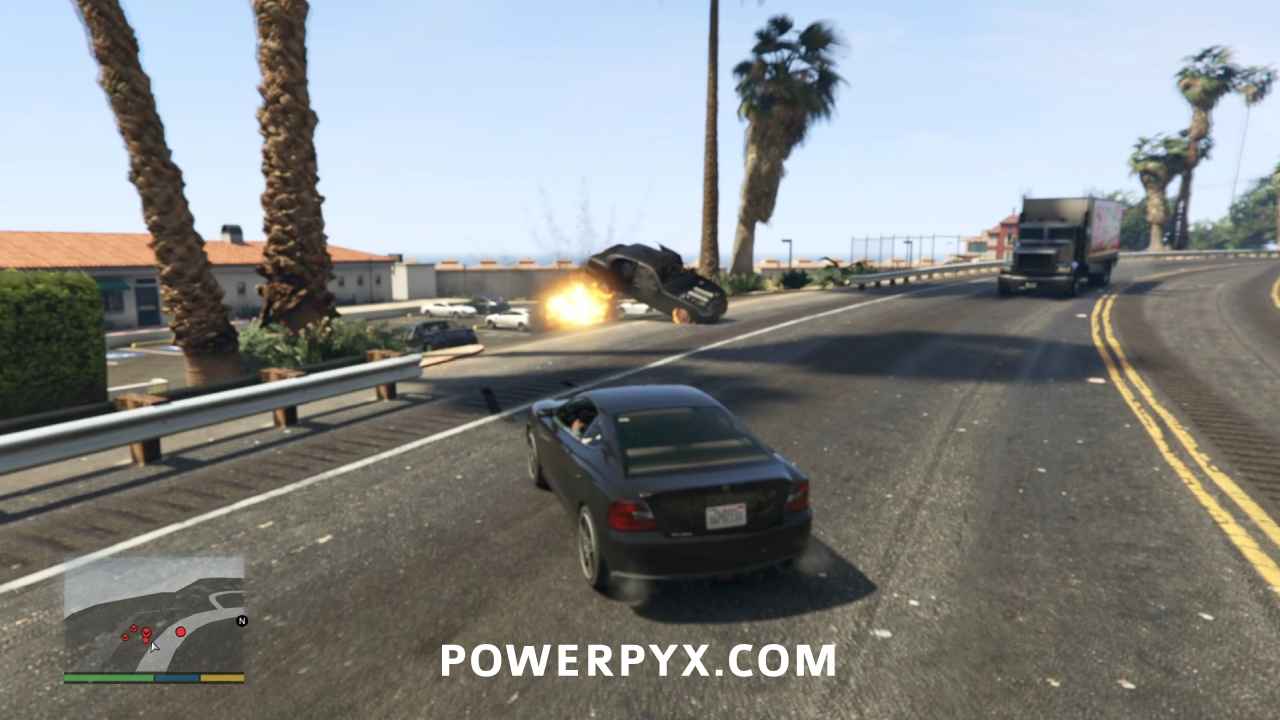
When you get close to the entrance of the Pacific Bluffs Country Club, pull up in range of the entrance and toss as many sticky bombs as you can onto the entrance road. Let the first SUV go past, since it only contains his bodyguards.
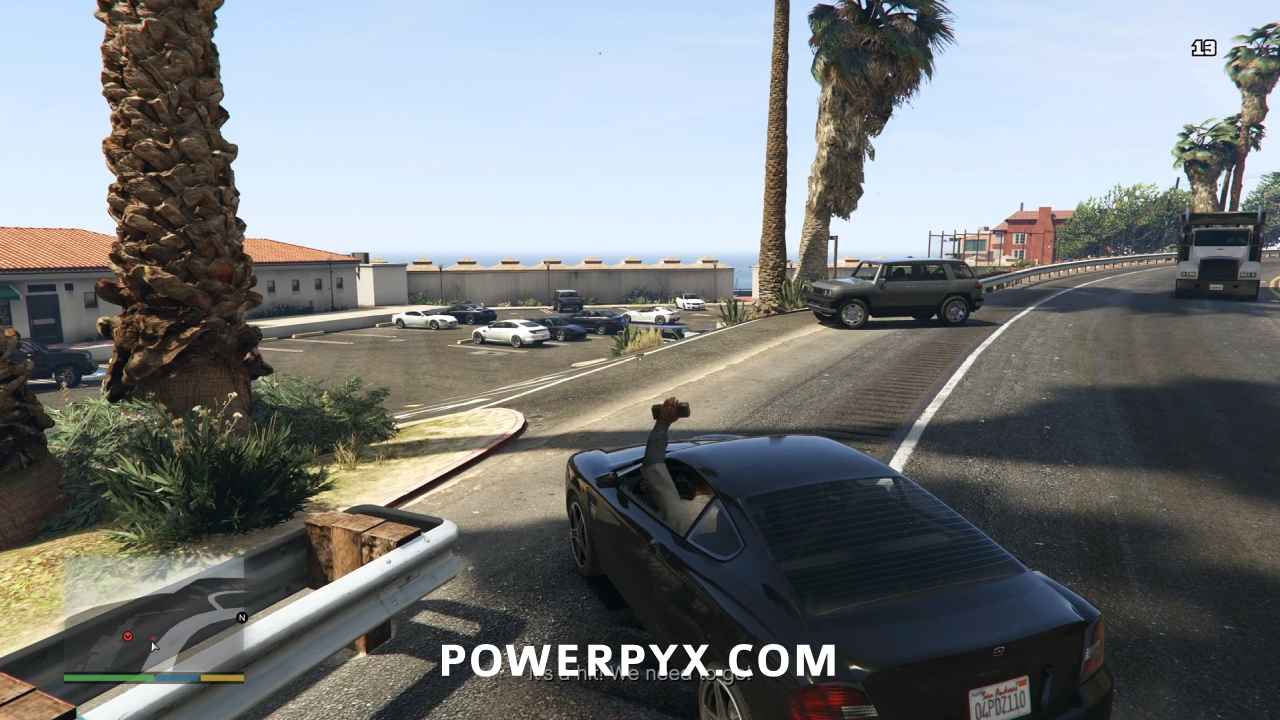
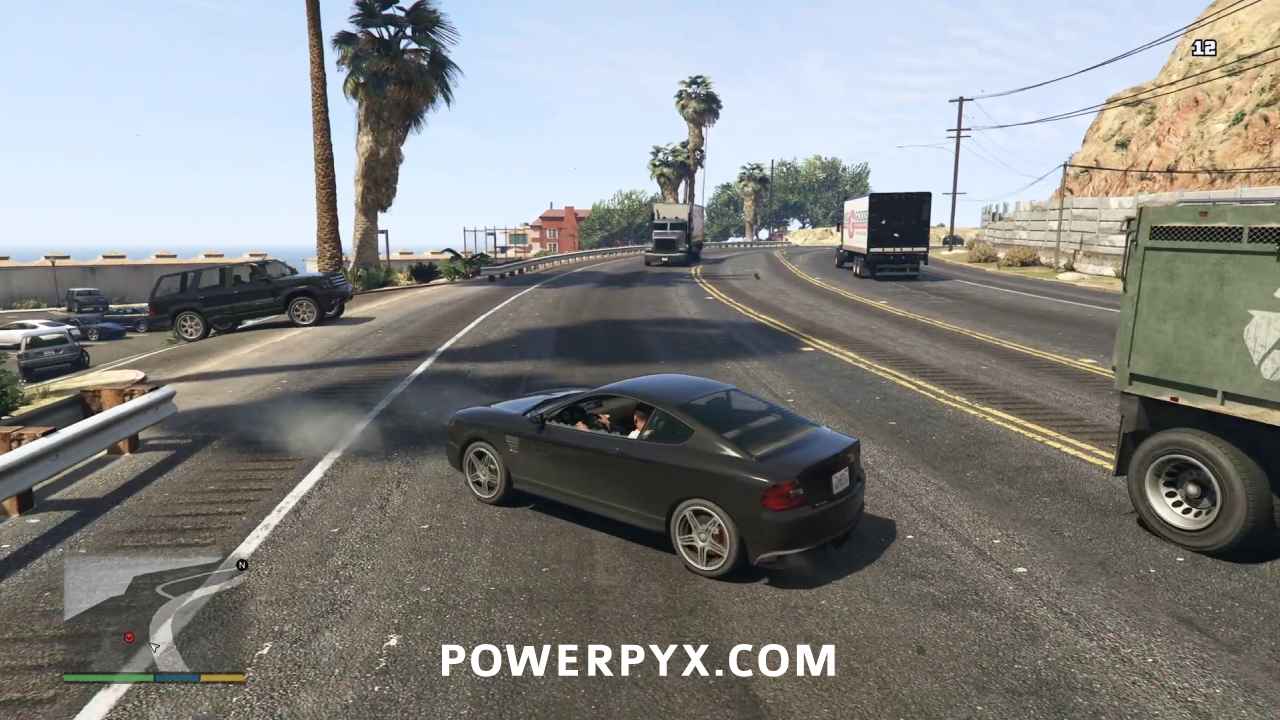
When the second car heads to the entrance road and is above the sticky bombs, press  /
/  to detonate them and kill Mr. Cheng.
Escape the Triads
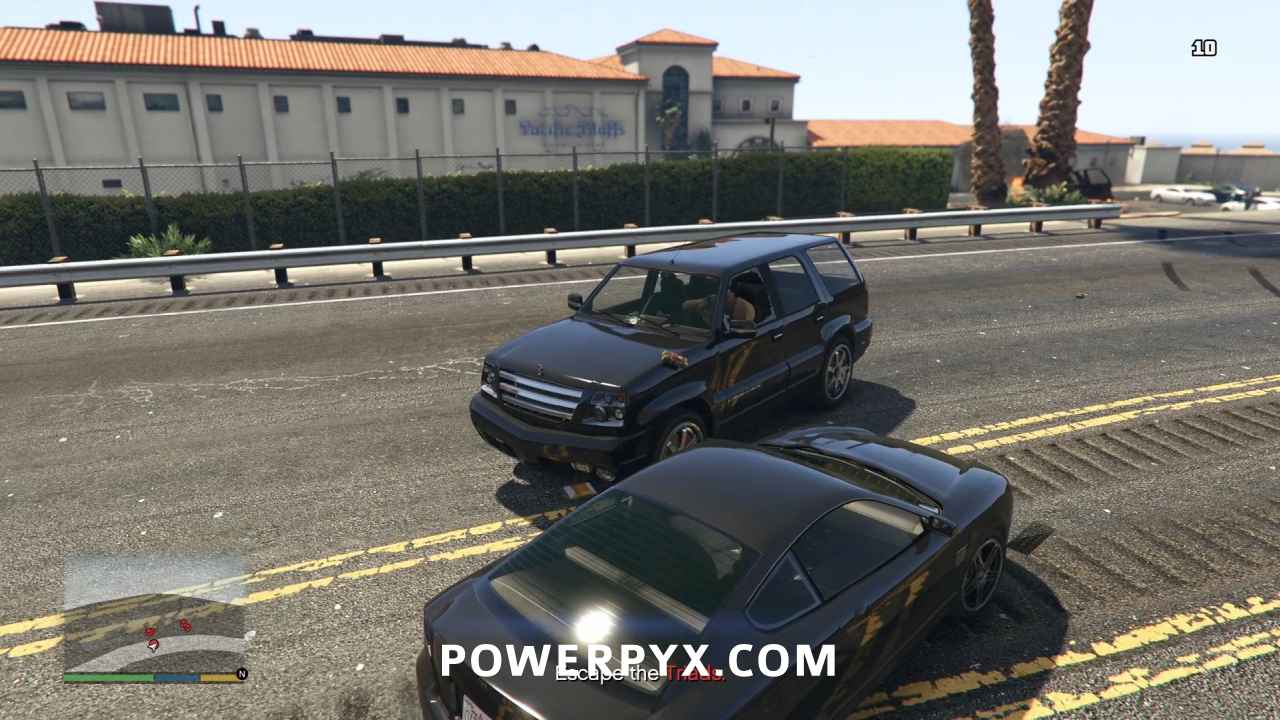
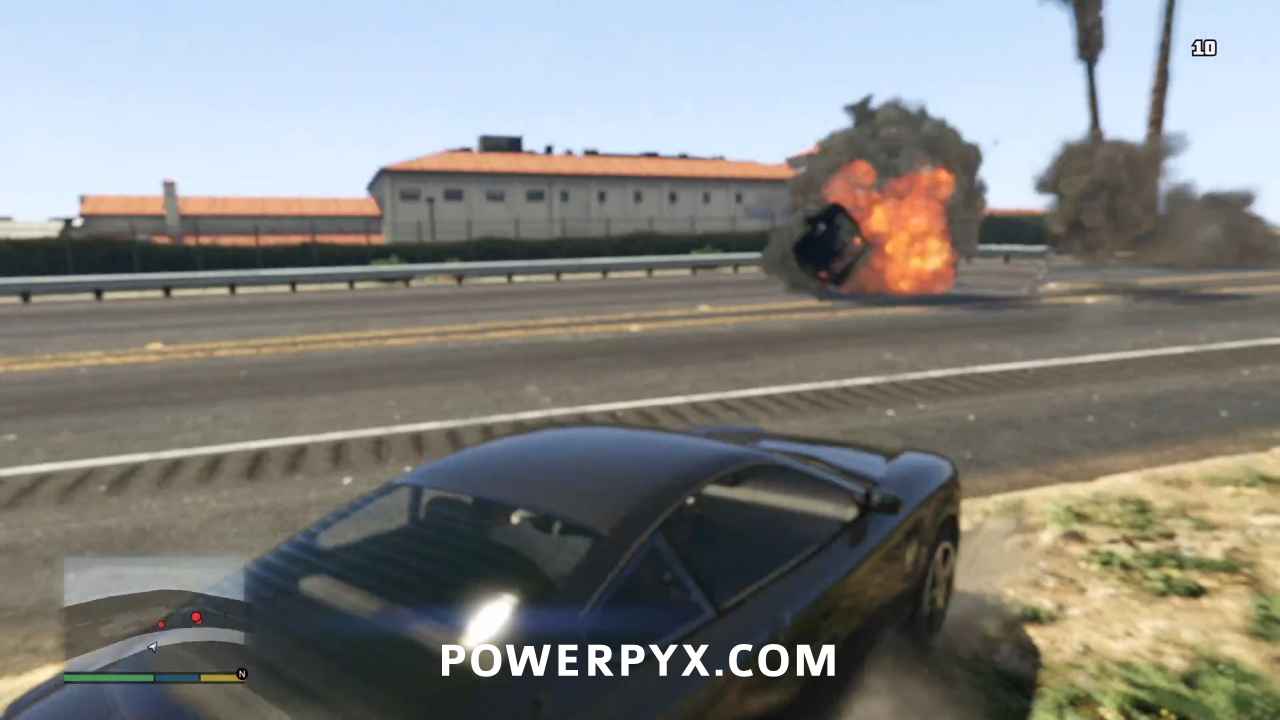
With luck you might get the rear SUV as well, if not kill both sets of bodyguards and any left on foot. Since you already have sticky bombs equipped, you can probably kill most of them without even leaving your car.
Lose the Cops
The explosion has definitely attracted some police attention, and you’ll have a one or two star wanted level. Shake them off and you’ll be able to swap to Trevor for the last target.
Go to Devin’s House
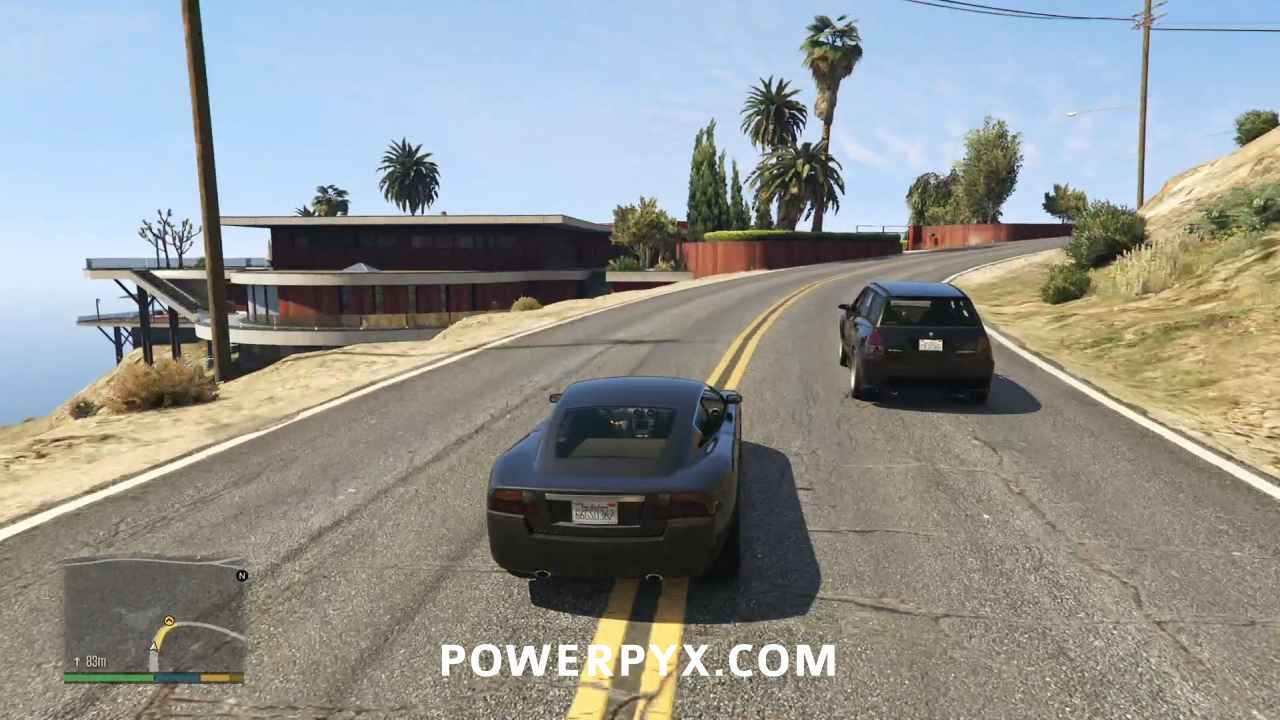
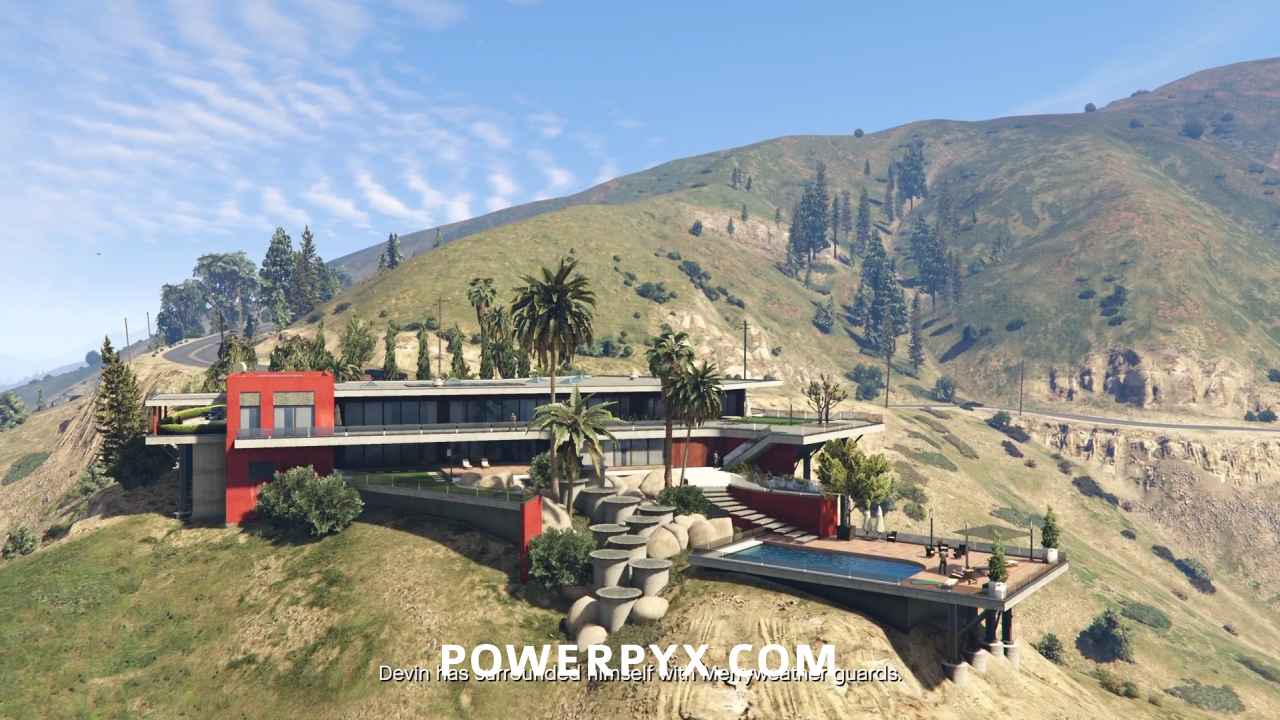
Trevor will be approaching Devin Weston’s mansion at this point. Pull up at the objective marker and you’ll get a short cinematic, which you should skip.
Kidnap Devin
Hop over the shrubs to get around the fence, then follow the driveway to find Merryweather soldiers on patrol! There are a total of eight guards around the house. With a suppressed weapon you might be able to take out the first few silently, but it will quickly become a straight up firefight.
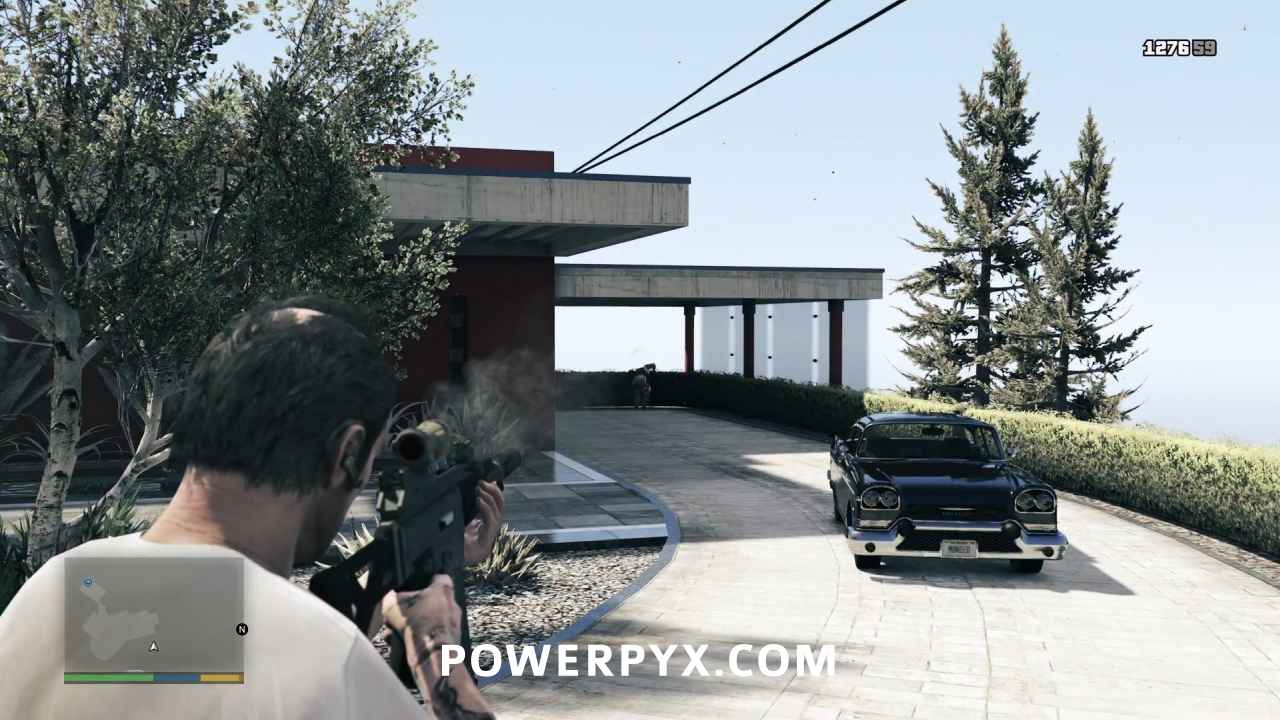
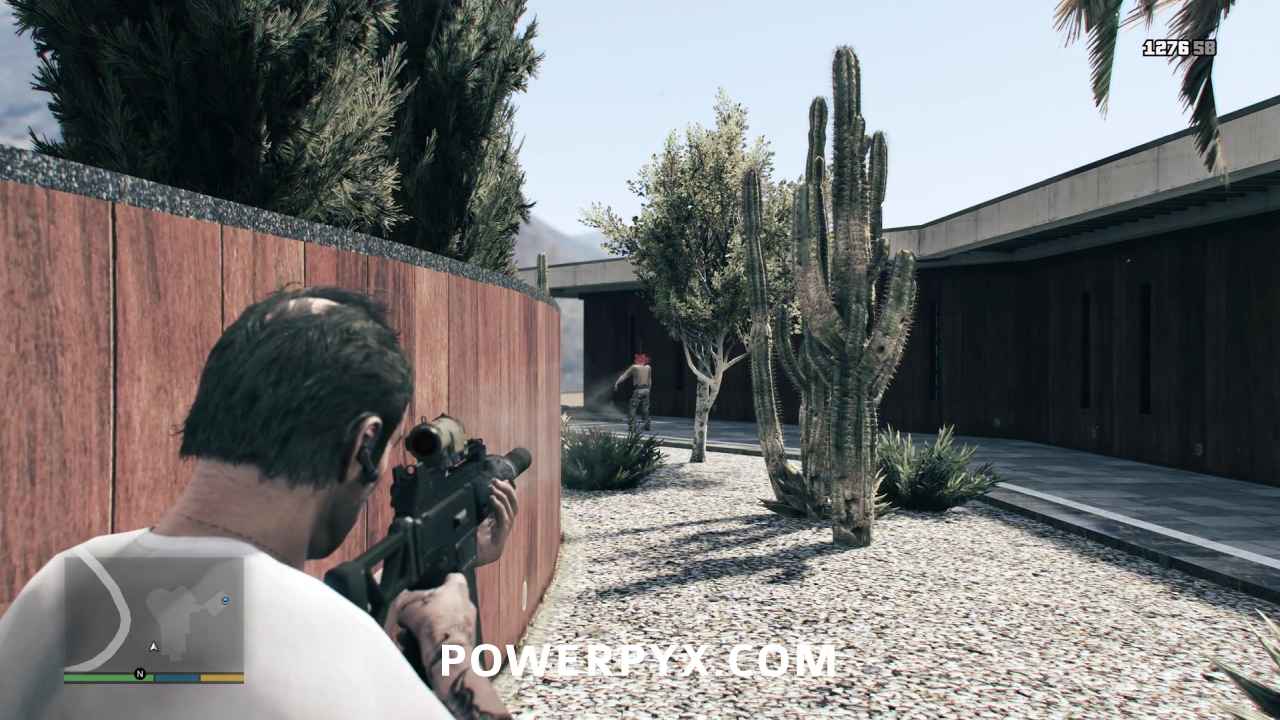
Head around the house to the left, using Trevor’s special ability to push through any resistance you might encounter.
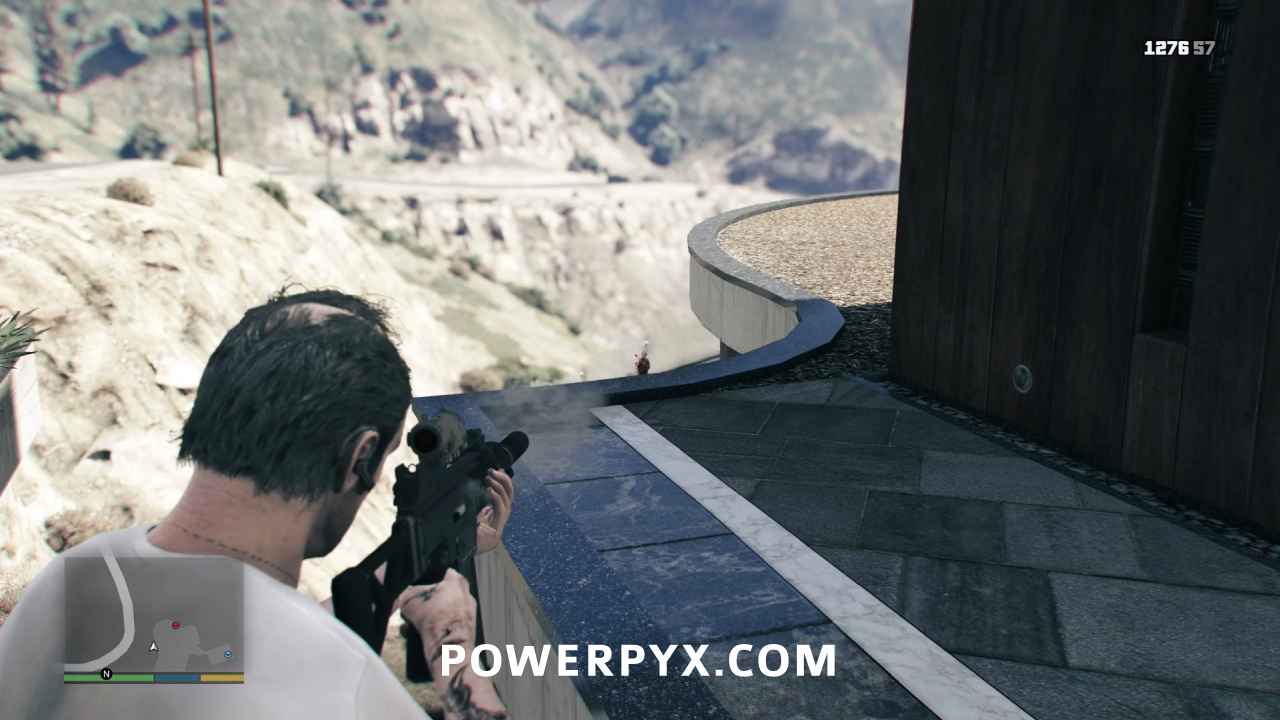
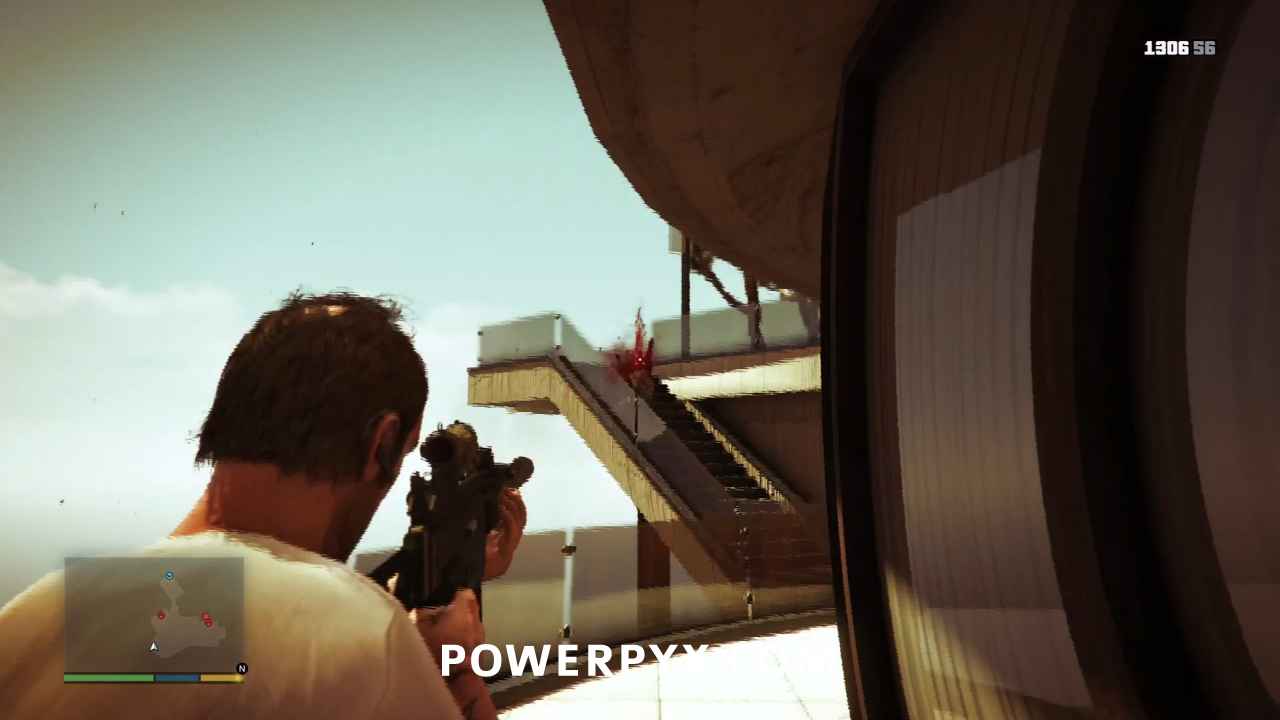
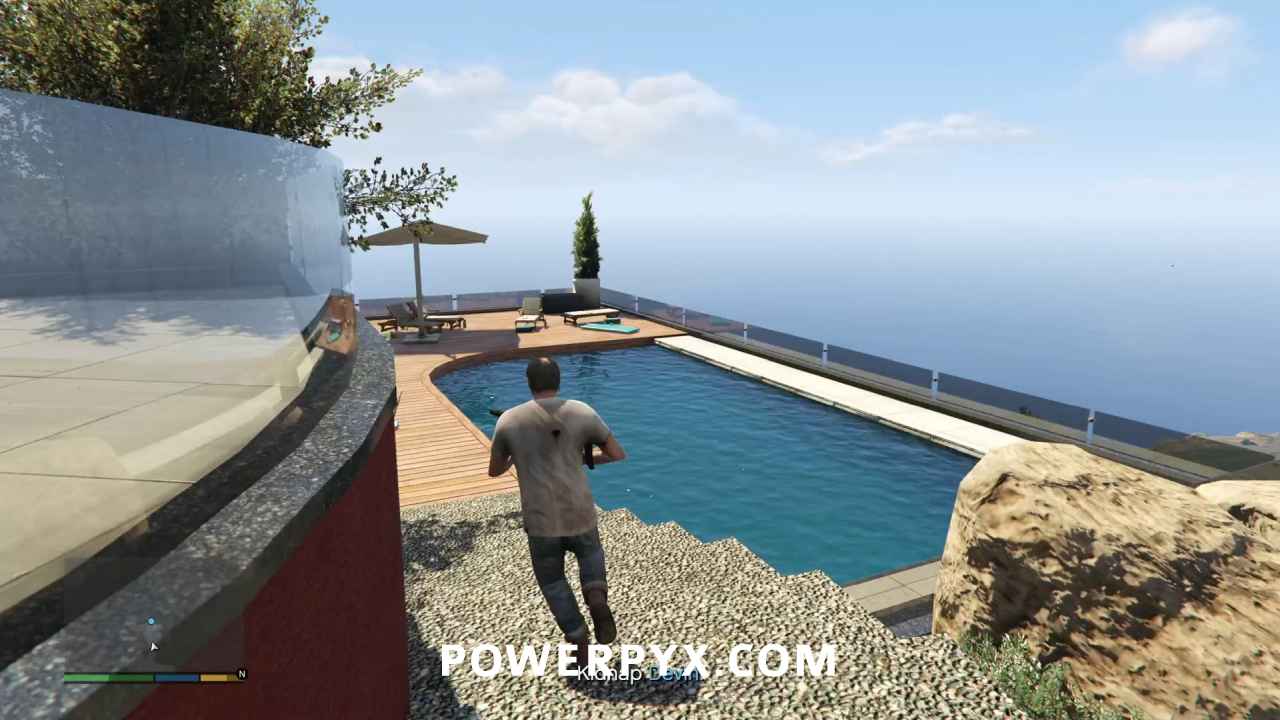
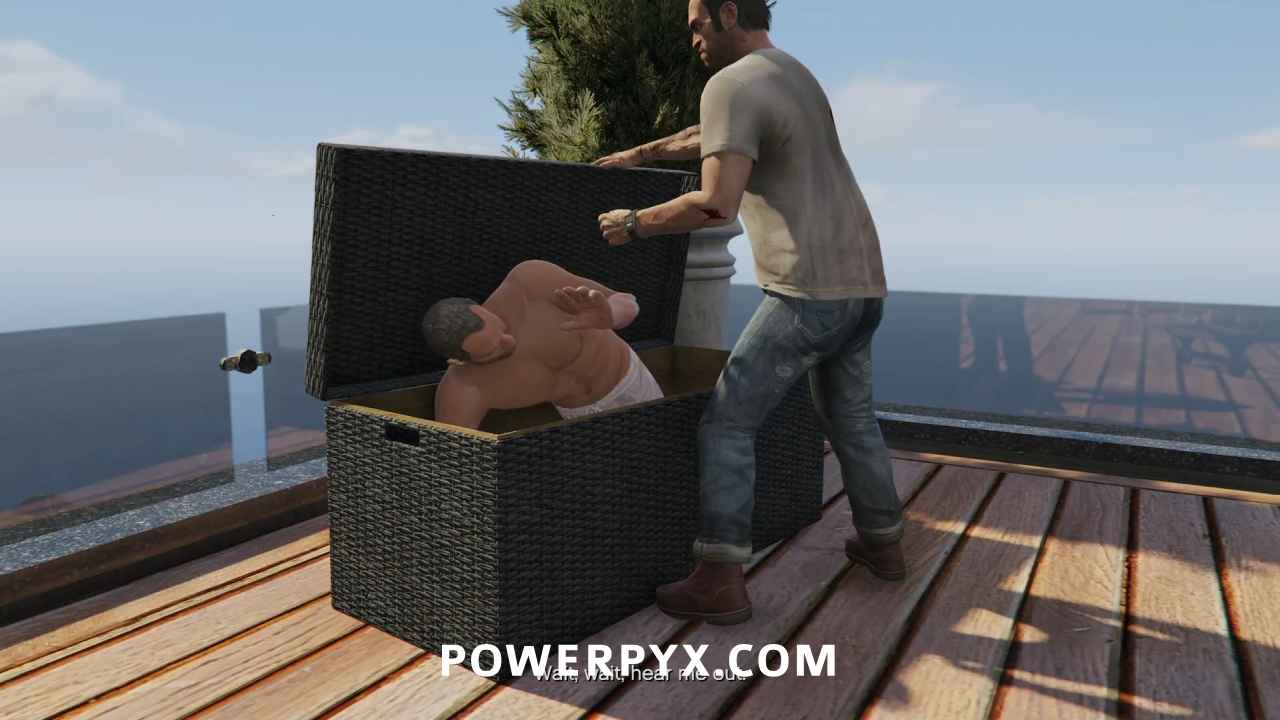
When all guards are dead, follow the stairs down to the pool area, where Devin is hiding inside a wicker storage basket. Skip the cinematic.
Go to the Rendezvous Point
Using Devin’s own Declasse Tornado, drive him out to the spot on the cliffs where you’re meeting up with Franklin and Michael. Skip the cinematic.
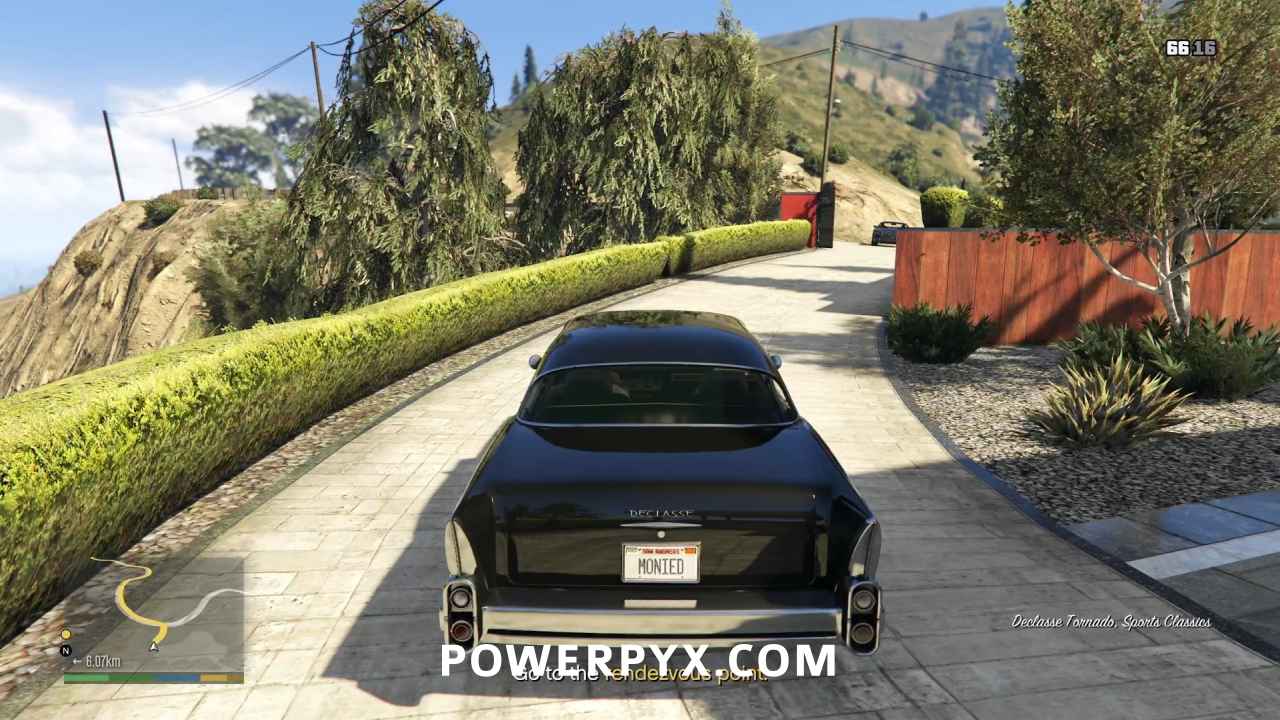
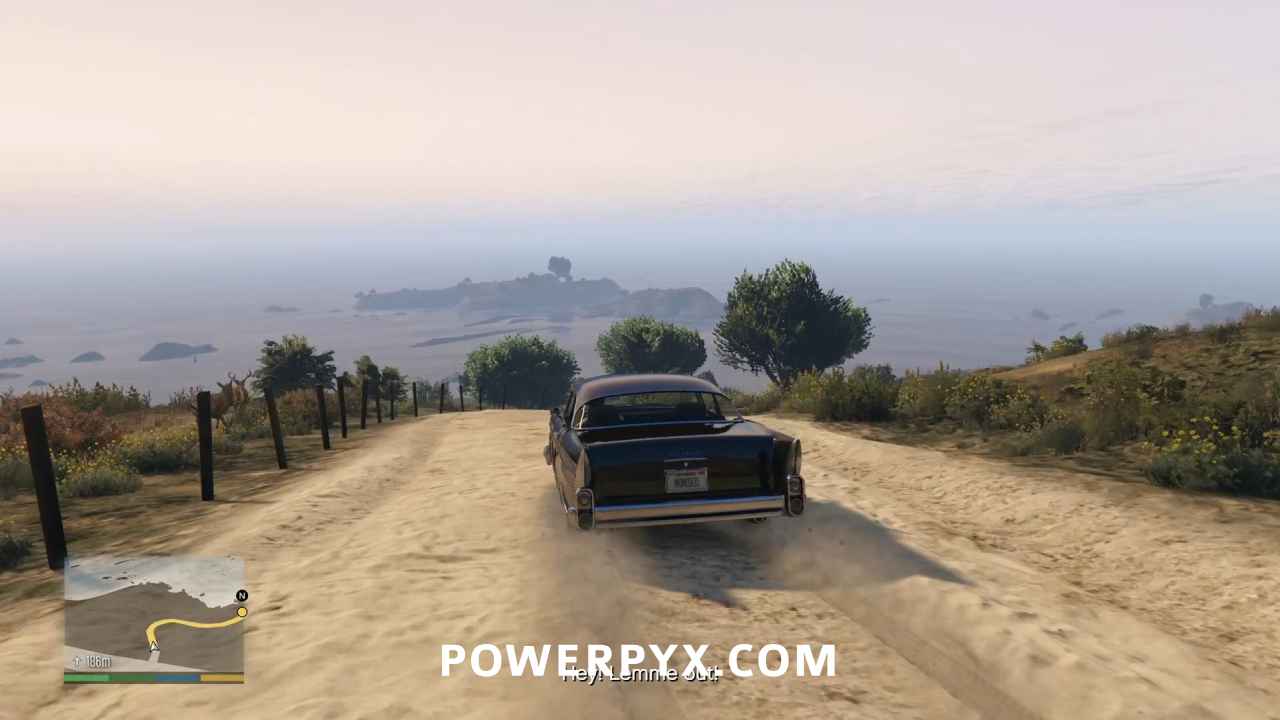
Finish Devin
And in one perfect moment of brotherhood, press  to help Franklin, Michael, and Trevor to push Devin’s car over the cliff, with him still locked in the trunk.
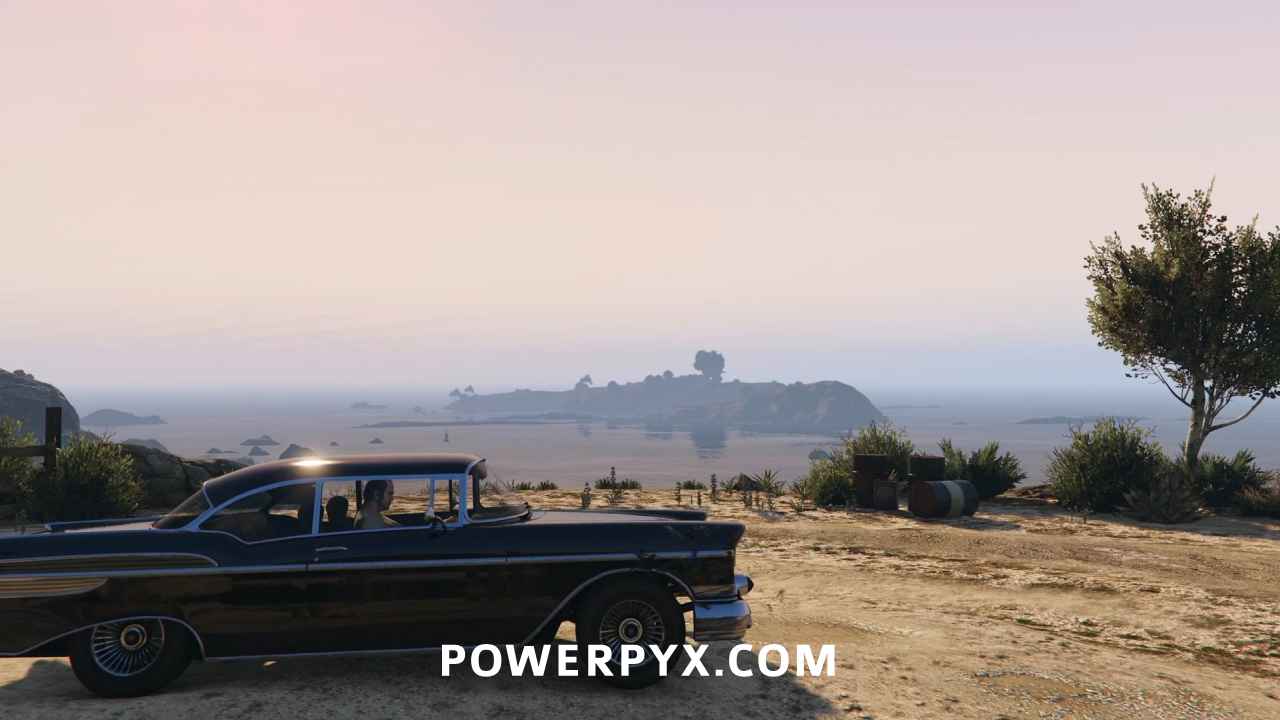
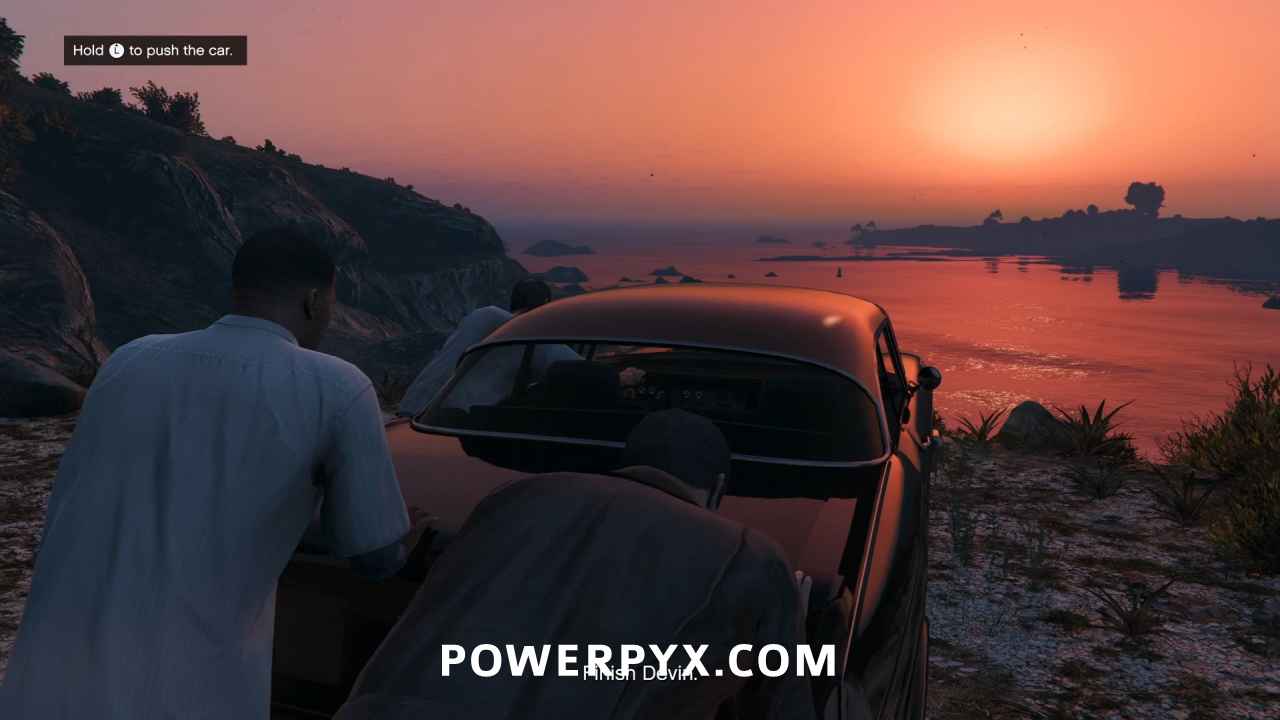
Skip the cinematic at the end, to complete the mission, and the game. Once the credits are done, and you receive your psychiatric evaluation from Dr. Friedlander, you’ll load back into the game, and you’ll be able to complete the other two finale missions in the pause menu under “Game” > “Replay Mission”.

This finishes The Third Way in GTA V.
For all other Missions refer to GTA V Walkthrough.
This walkthrough has been updated for the Enhanced Version on PC / PS5 / PS4 / Xbox Series S/X and is also still applicable to the Legacy version.
Leave a Reply