
Dead Man Walking is the 20th main story mission in GTA V (Grand Theft Auto 5). This walkthrough shows how to get all Gold Medals in Dead Man Walking for 100% completion.
Gold Medal Requirements:
- Accuracy: Finish with a shooting accuracy of at least 70%
- Headshots: Kill 14 enemies with a headshot
- Mission Time: Complete within 09:30
- Focused Killer: Kill 4 enemies using Michael’s special ability
- Unmarked: Complete with minimal damage to health and armor
Walkthrough Video

Starting Location: Dead Man Walking
- Location: Vinewood Hills / Galileo Observatory
- Quest Giver: Dave
- Requirement: Complete “Fame or Shame“
- Can Be Started By: Michael
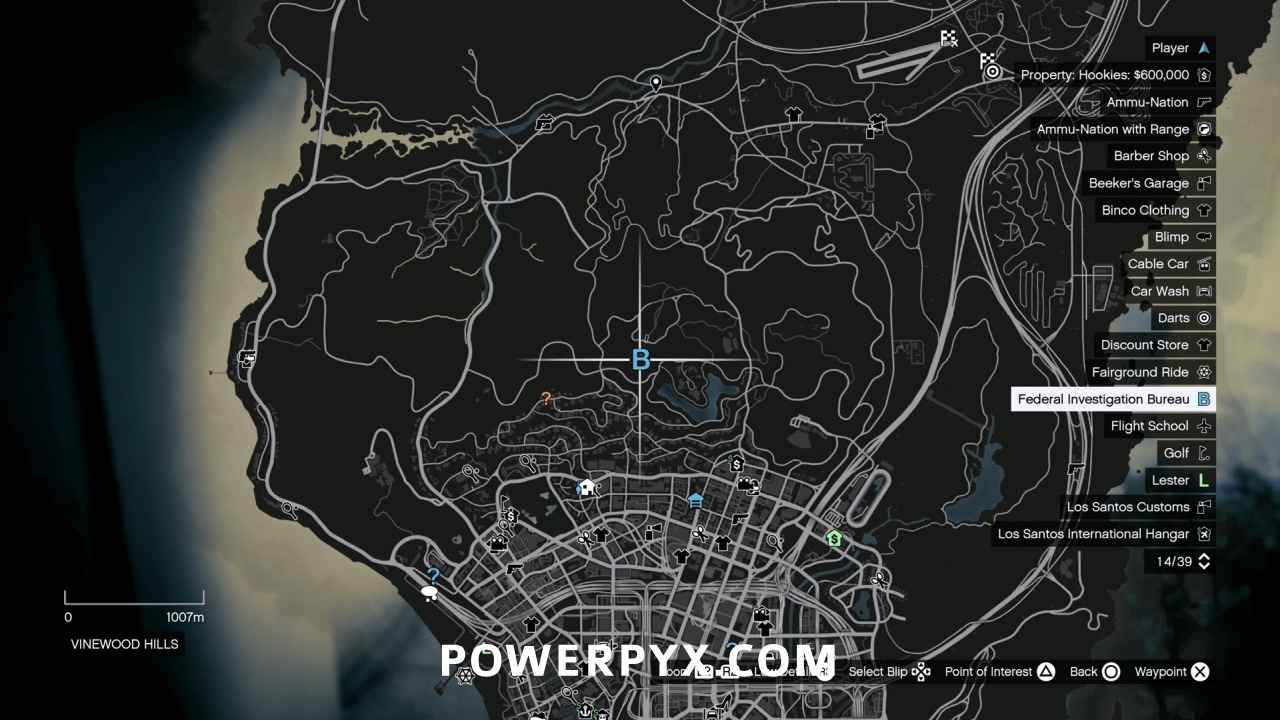
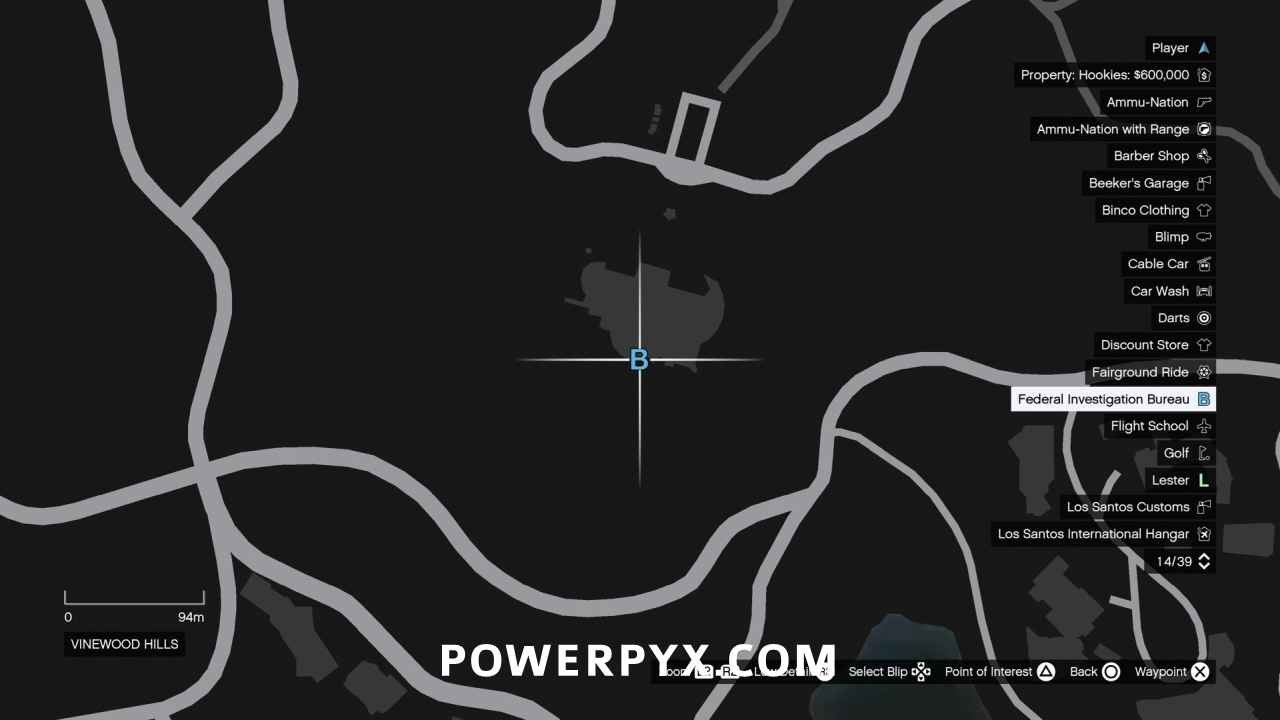
NOTE: While it’s always a good idea to go into missions with full health and armor, it’s particularly important in this mission since Michael will be outnumbered and outgunned while trying to manage a time limit and suffer only minimal damage.
Resurrection
You’re working against the clock, so skip the cutscenes!
- Mission Time: Complete within 09:30
Okay, this has to be the most batshit plan I’ve ever seen in a Grand Theft Auto game and really says a lot about Agent Norton’s faith in Michael’s lethality. Michael has to locate the body of an informant which the IAA claims is dead. Unfortunately the morgue has been locked down by IAA agents, and even more unfortunately Dave has made that Michael’s problem. Waking up in a body bag in his underwear, the first thing to do is scare the shit out of some coroners. Skip the cutscene.
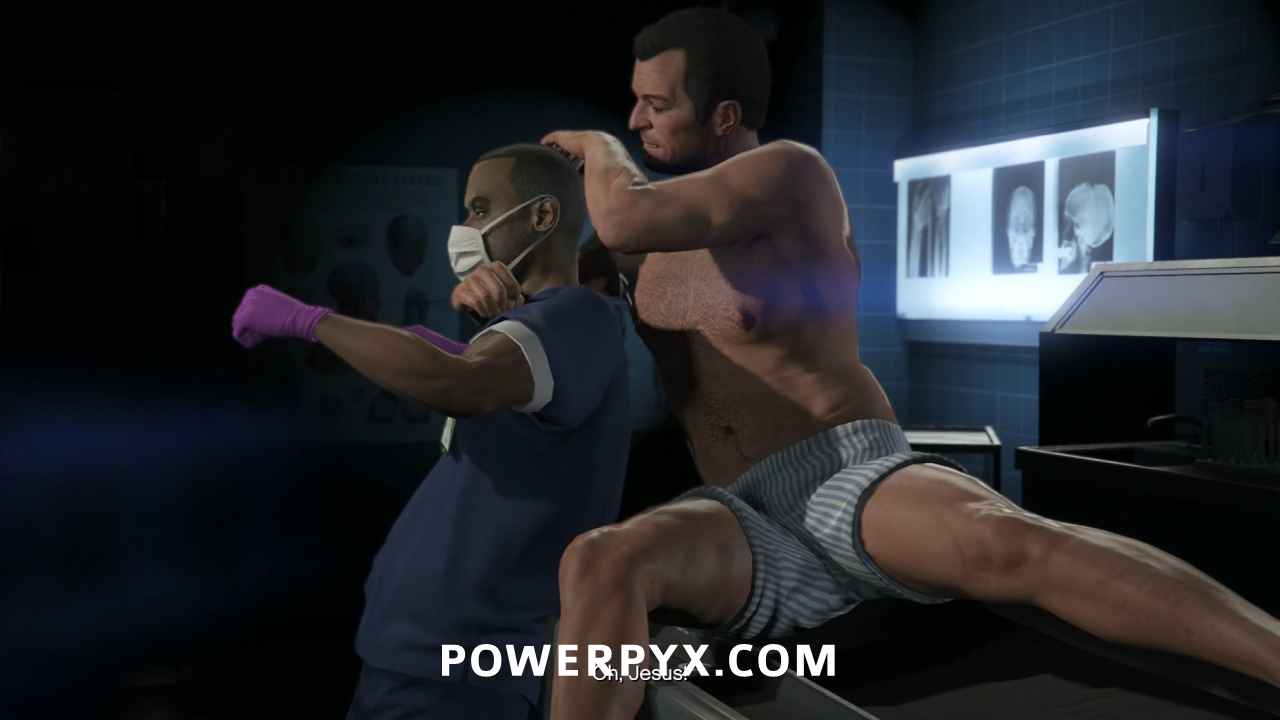
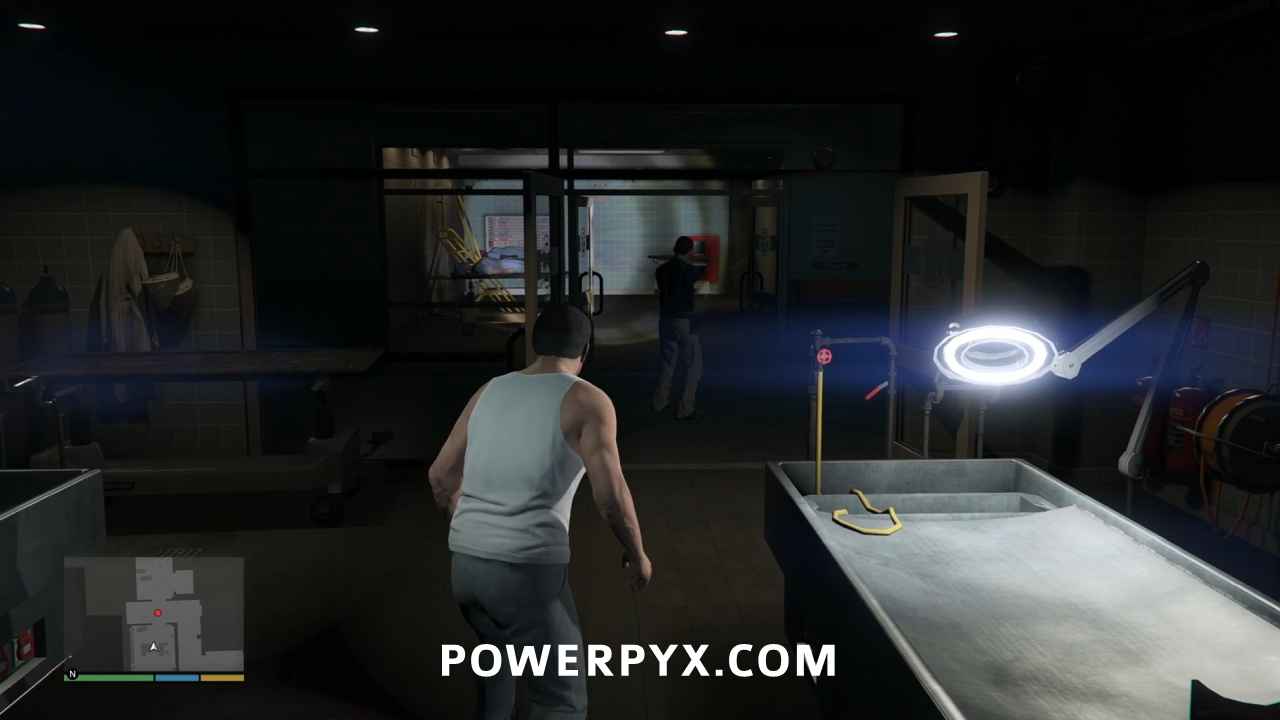
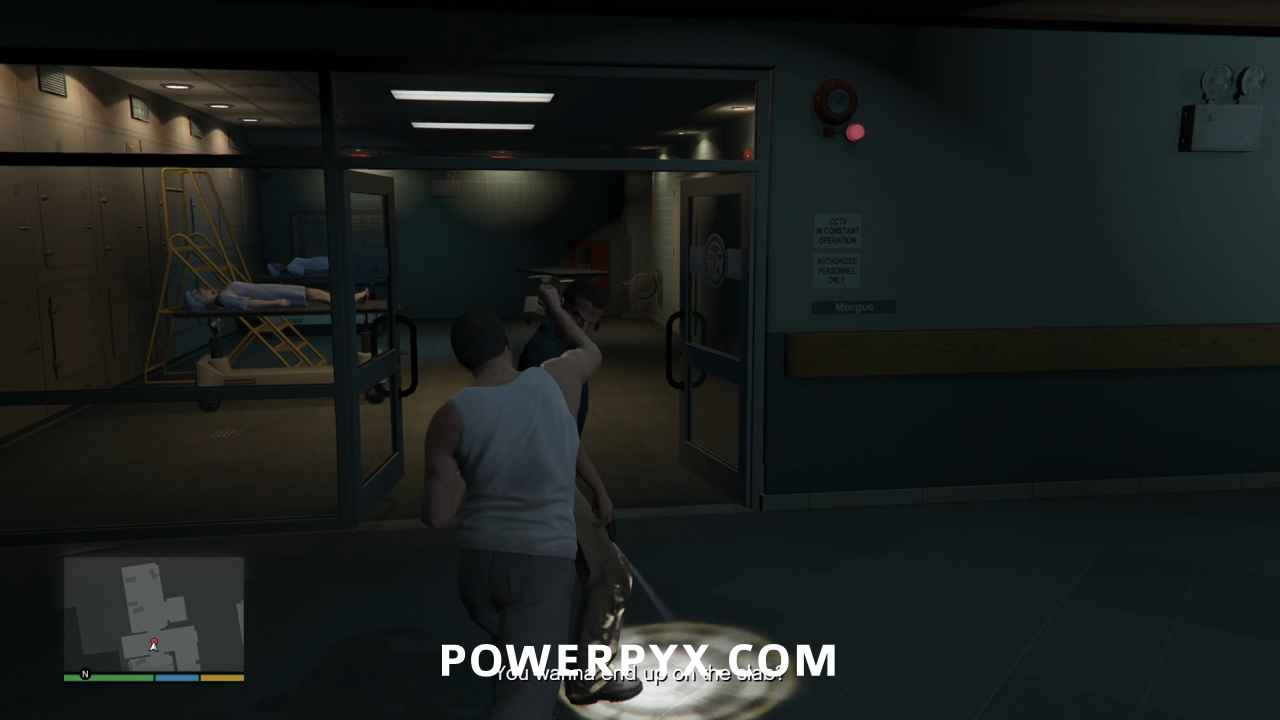
Back on his feet, Michael will have to find the body, find his gear, then make his escape, all while dealing with a ton of Agency forces intent on putting him back in the bag. Start with this guy who comes to investigate the commotion. Go into stealth mode and knock him out.
Search the Morgue for the Body
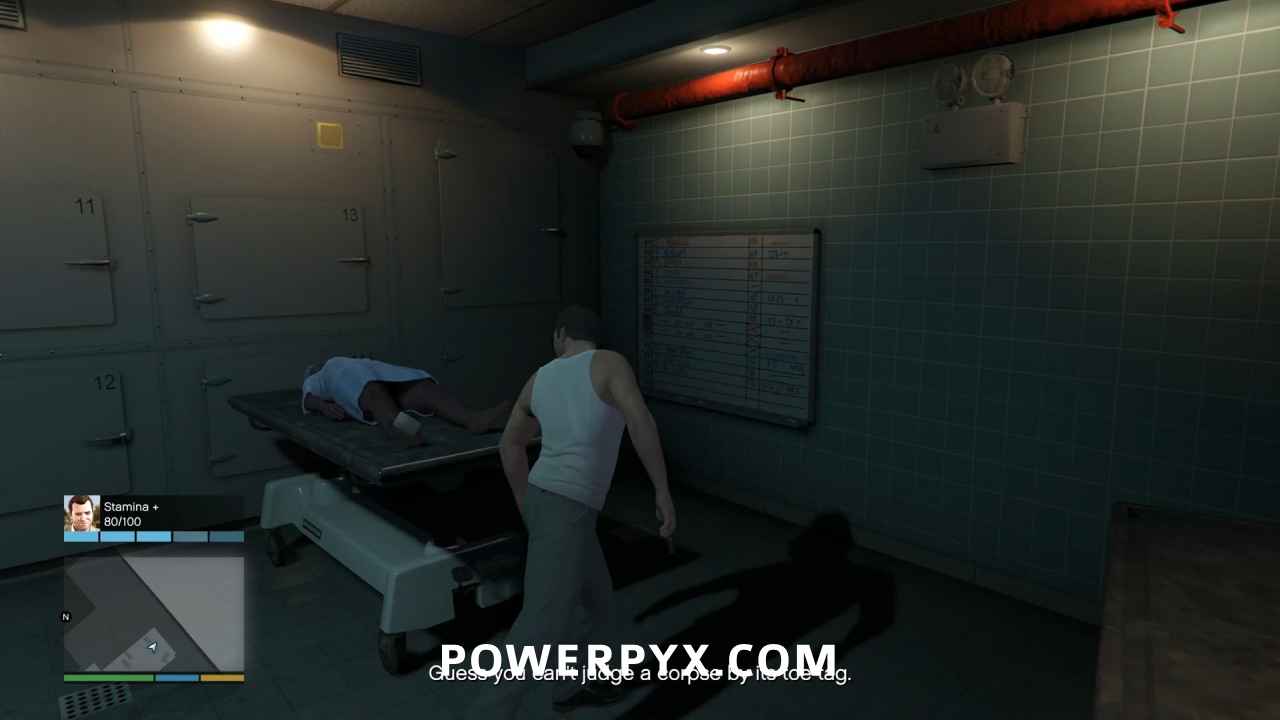
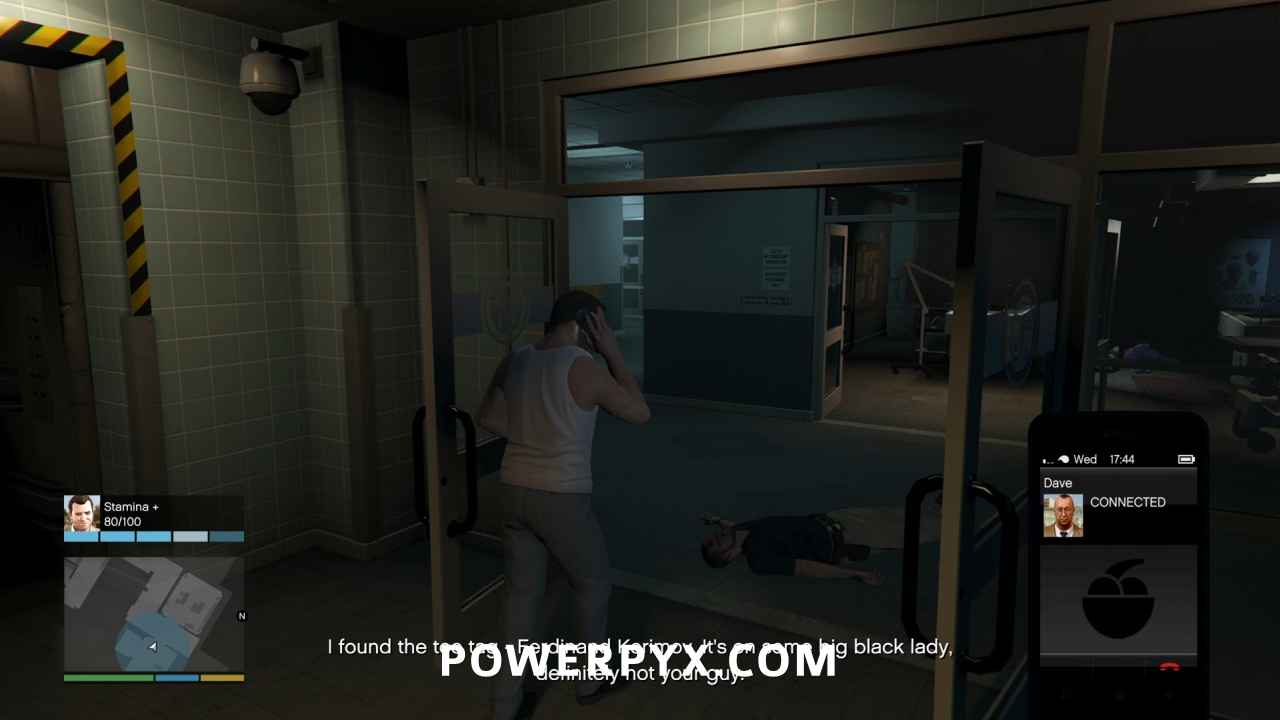
Grab the agent’s gun and head into the next room to examine the bodies. Both are women, but one of them has the toe tag he’s looking for: Ferdinand Kerimov. Michael will call Dave to update him.
Escape the Building
Once Dave answers you can hang up the call to save time. Alarms have sounded, and it sounds like Michael is about to have some company. So before things kick off, remember that all the Gold Medal requirements are in play for this scene.
- Accuracy: Finish with a shooting accuracy of at least 70%
- Headshots: Kill 14 enemies with a headshot
- Mission Time: Complete within 09:30
- Focused Killer: Kill 4 enemies using Michael’s special ability
- Unmarked: Complete with minimal damage to health and armor
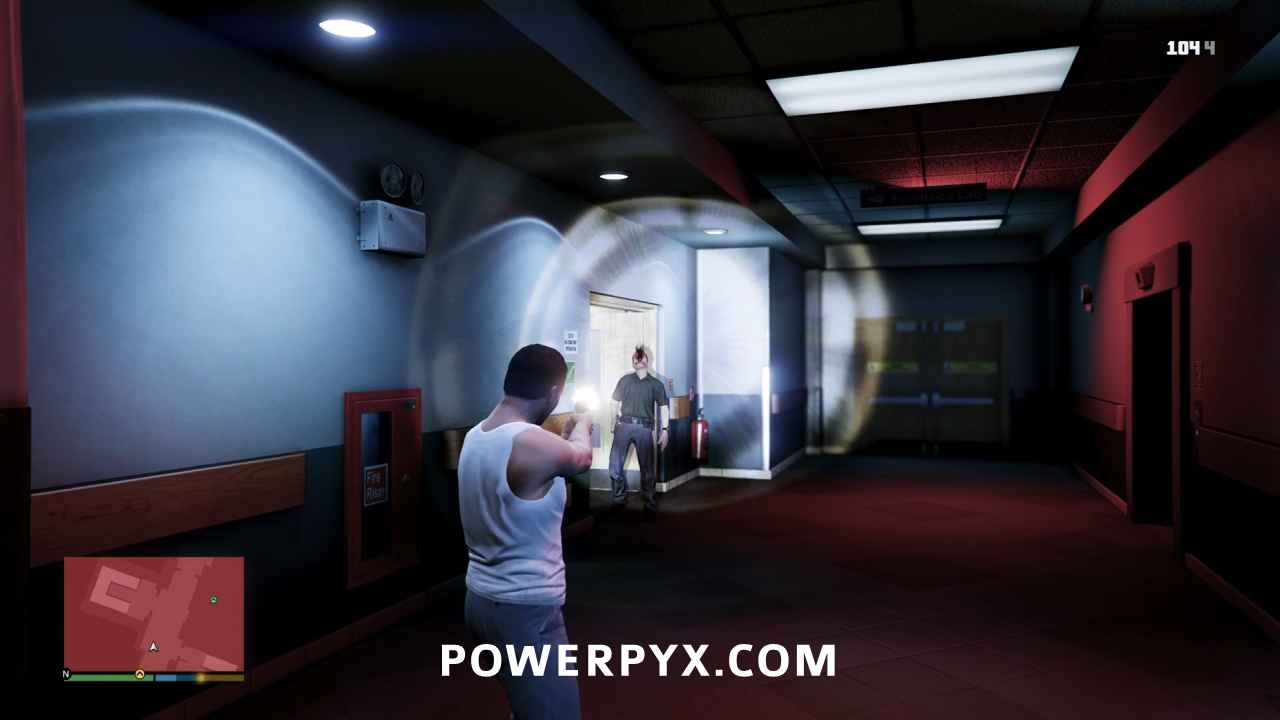
Ready your weapon and point at the hallway by the elevator. Watch your mini-map for the red dot to appear and move in your direction. When it is just about to come into view, activate Michael’s special ability.
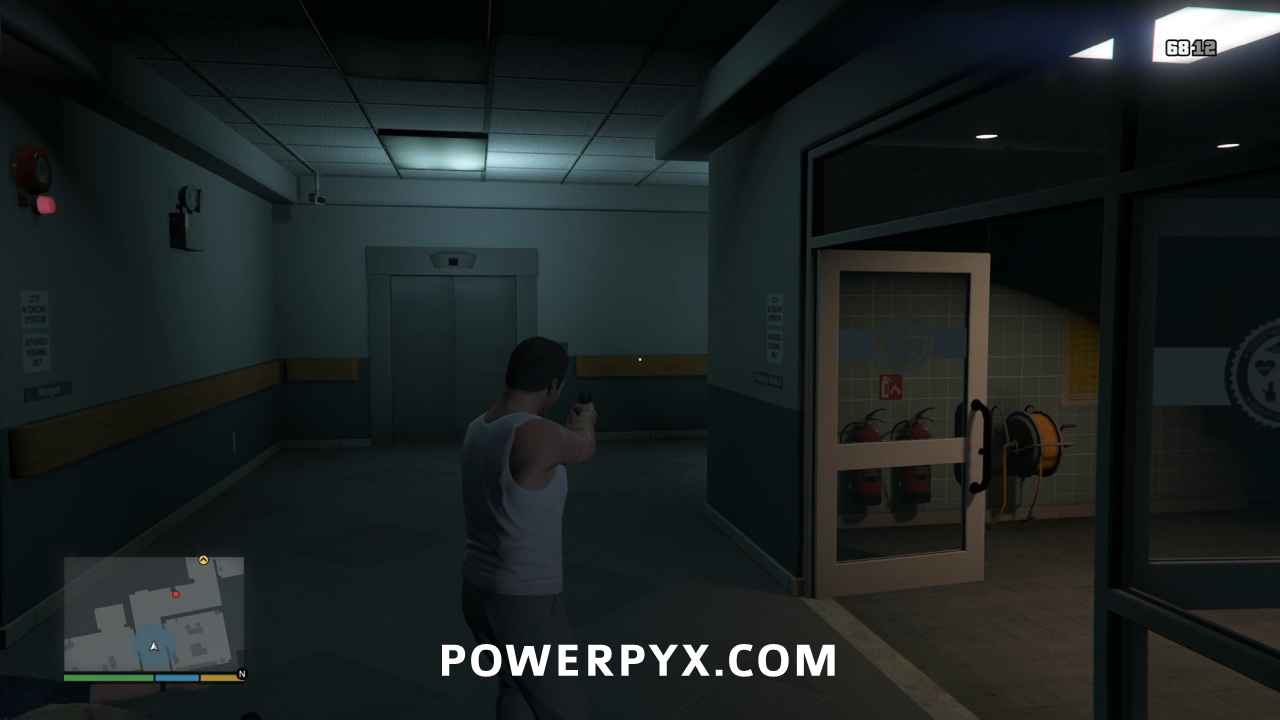
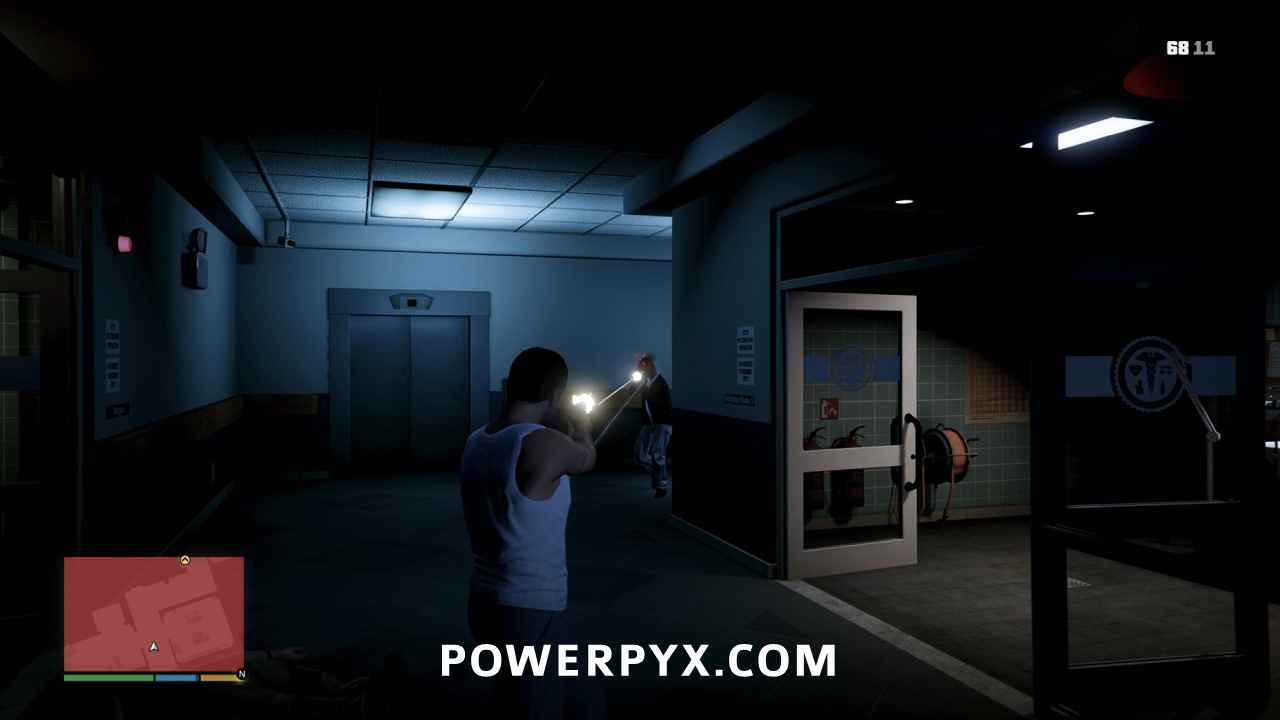
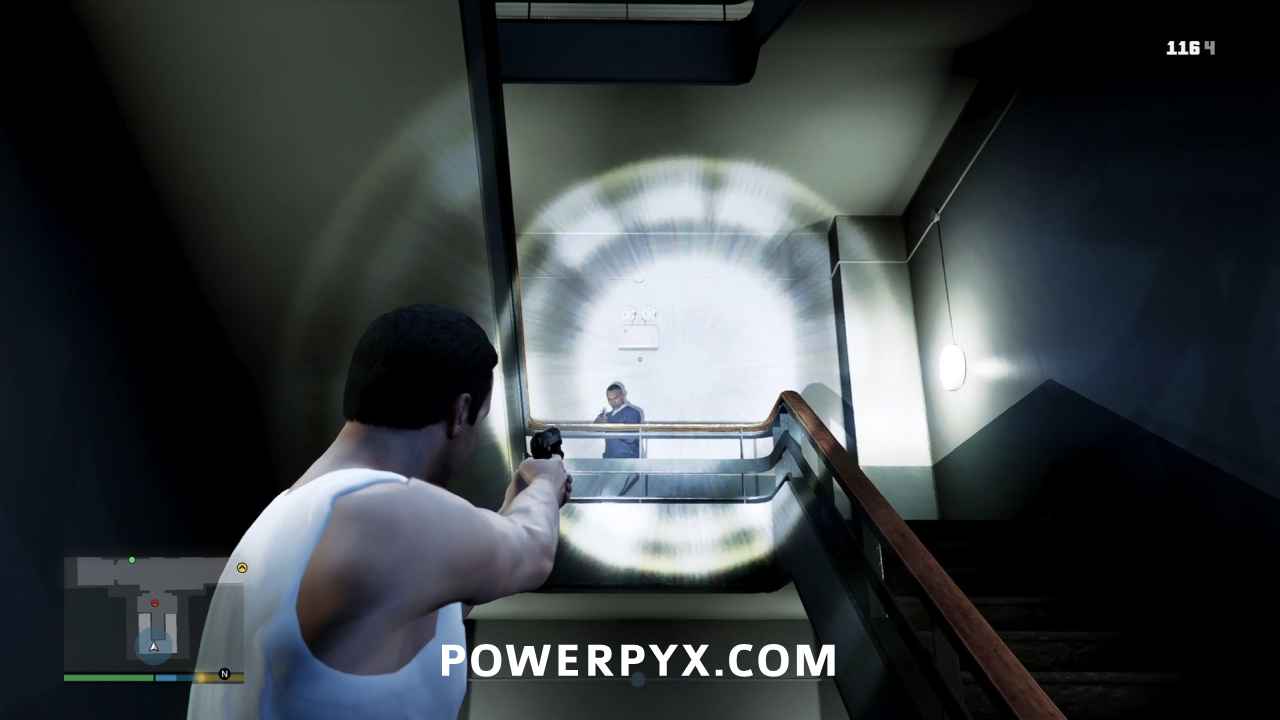
You’re going to want to make liberal use of his ability throughout this fight, as it will help you get headshots, keep your accuracy up, allow you to kill enemies before they can return fire and thus avoid damage, and finally the time distortion effect actually affects the mission timer as well. You can verify this yourself with a stopwatch, but time really does pass slower during his activation making you that much more of an efficient killer. After you’ve eliminated all the targets you can see make sure to deactivate your ability to conserve your energy. Since it’s recharged with headshots, it’s easy to get more energy, but it’s still expended quickly when used so conservation is important.
In any case, there will be an agent that takes cover just around the next corner, and the second you reach that corner another agent will spawn in the room across the hall from you.
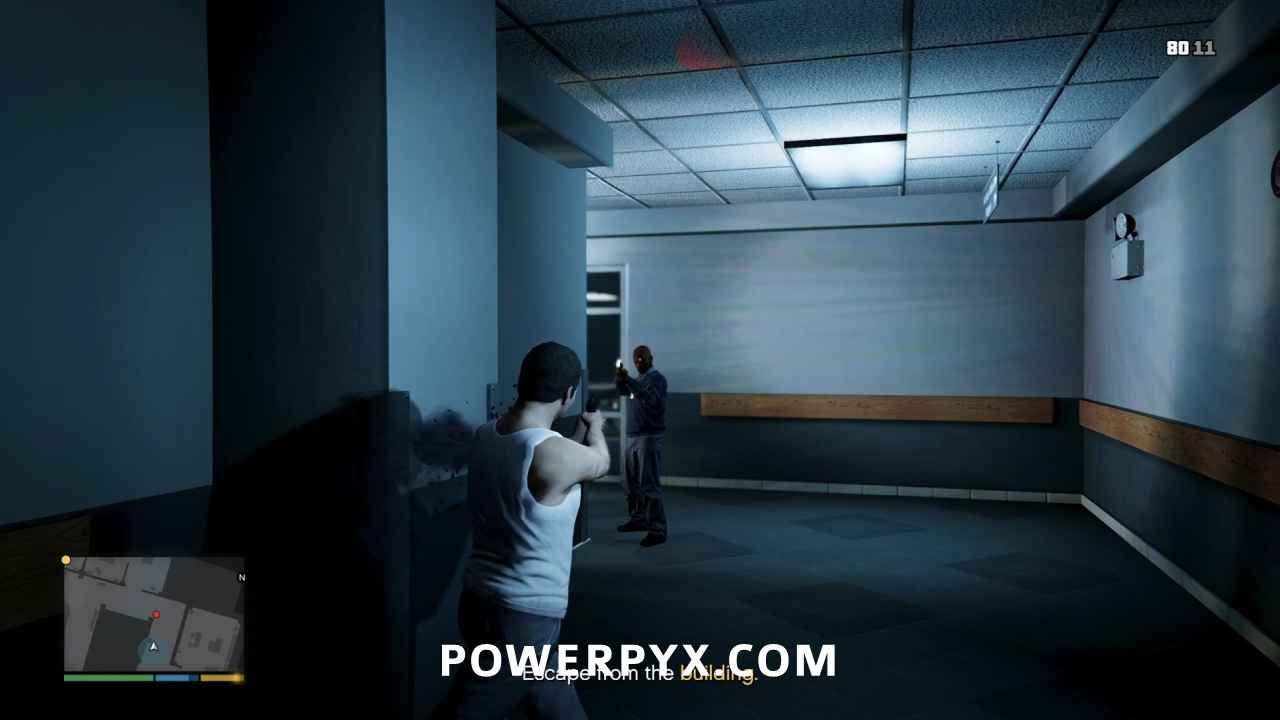
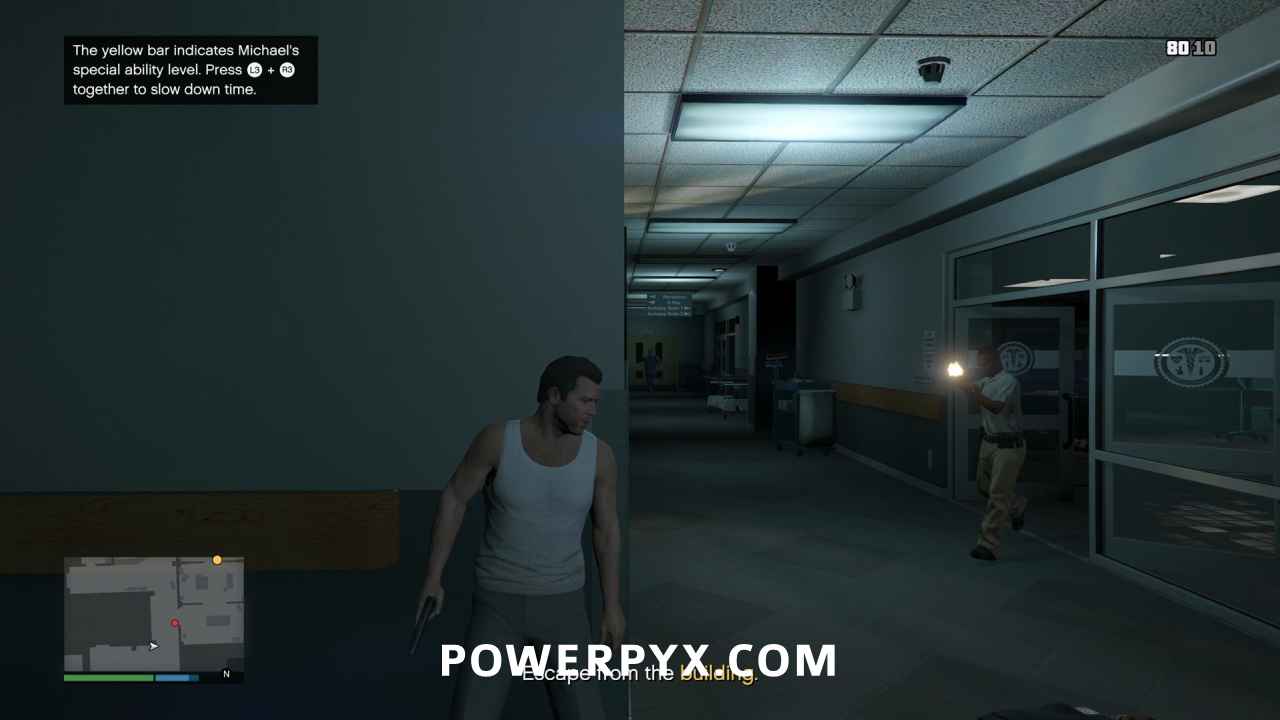
Moving past the corner will trigger two agents to appear on the left side of the hall by reception.
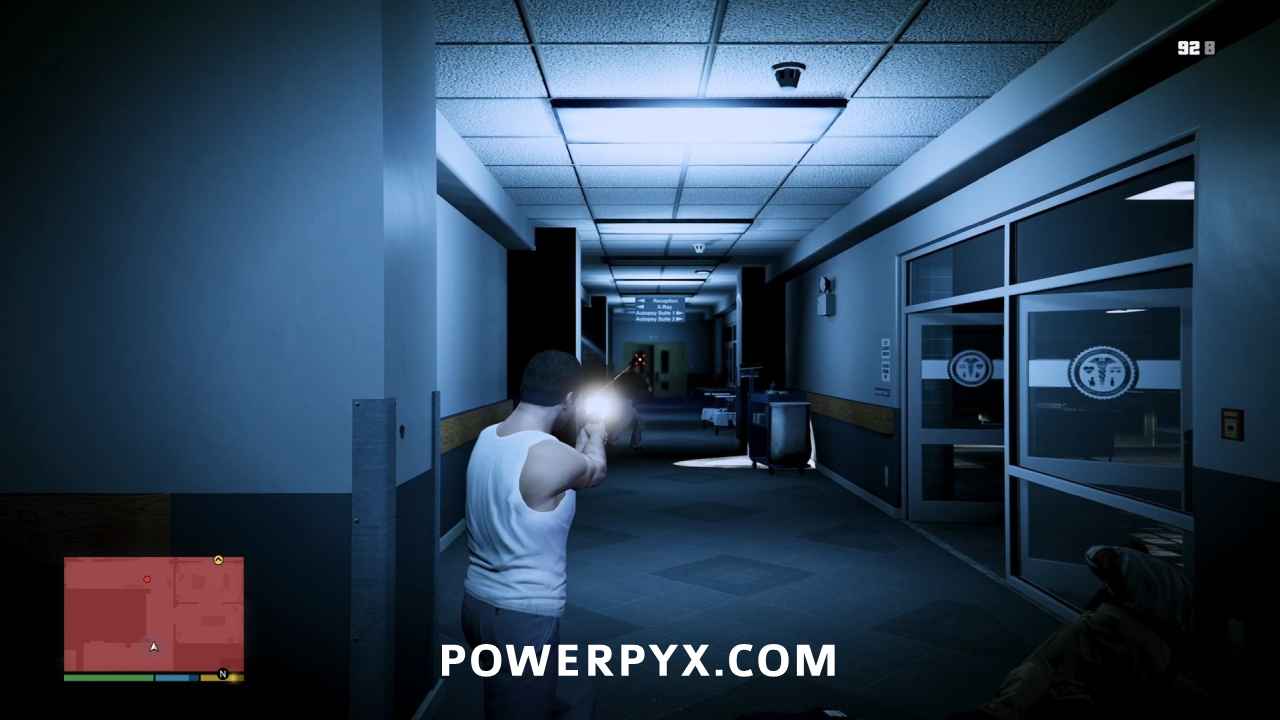
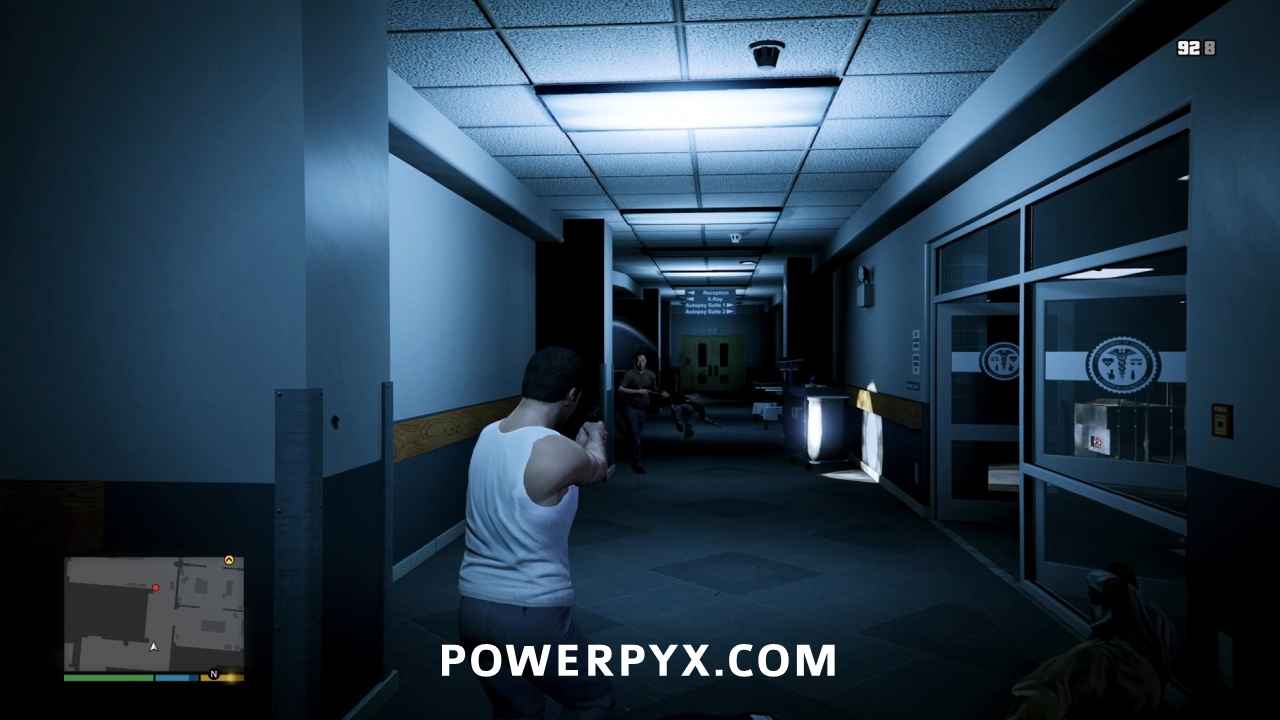
After that a single agent will bust through the door at the end of the hall, and killing him will spawn a second right behind him that does the same thing.
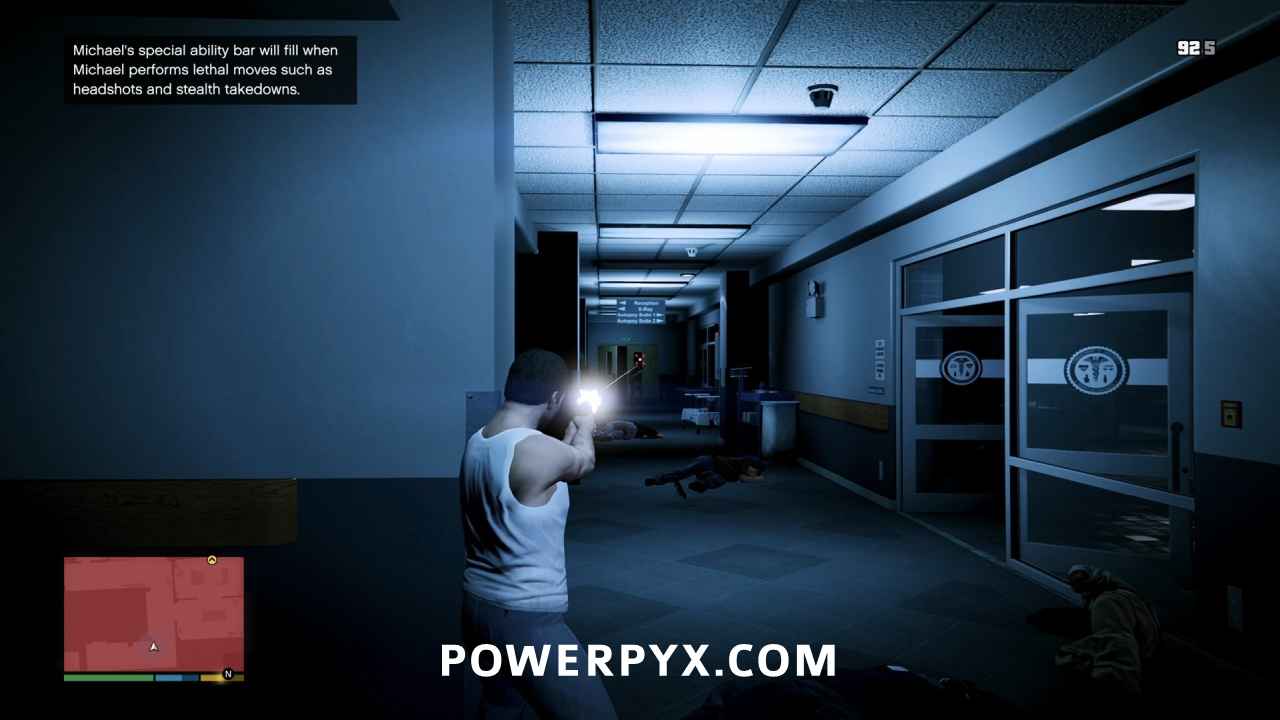
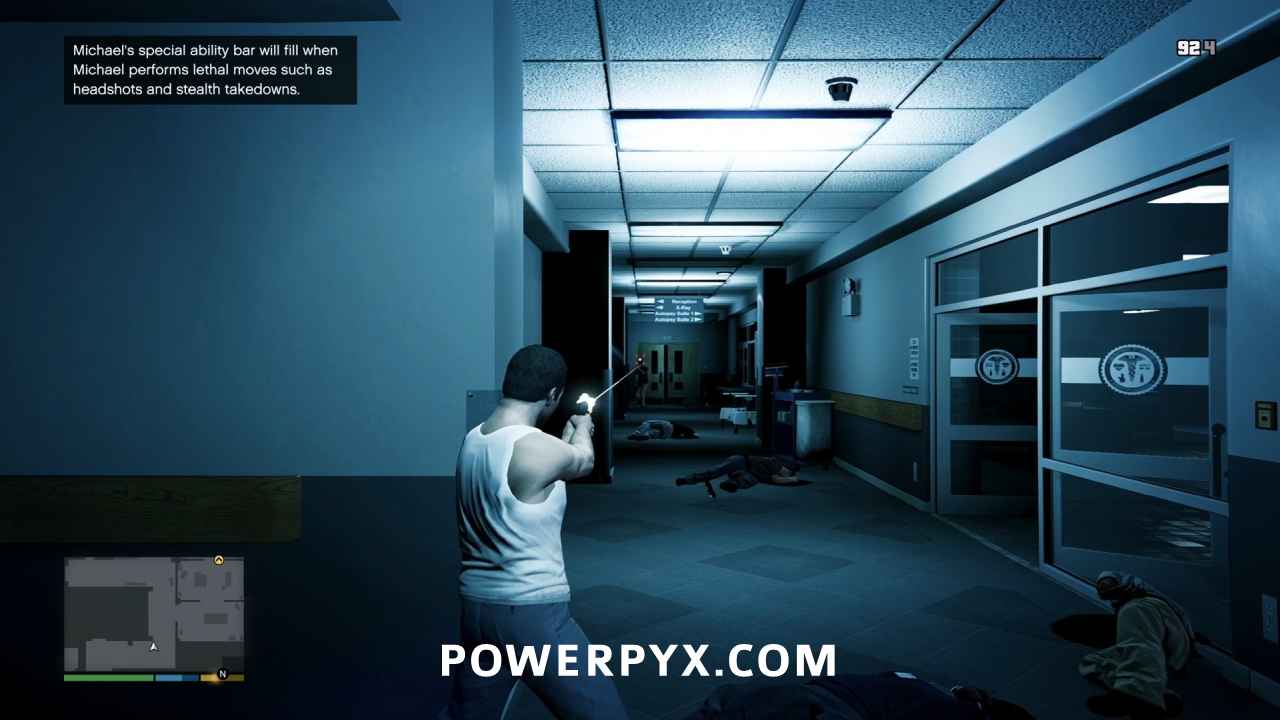
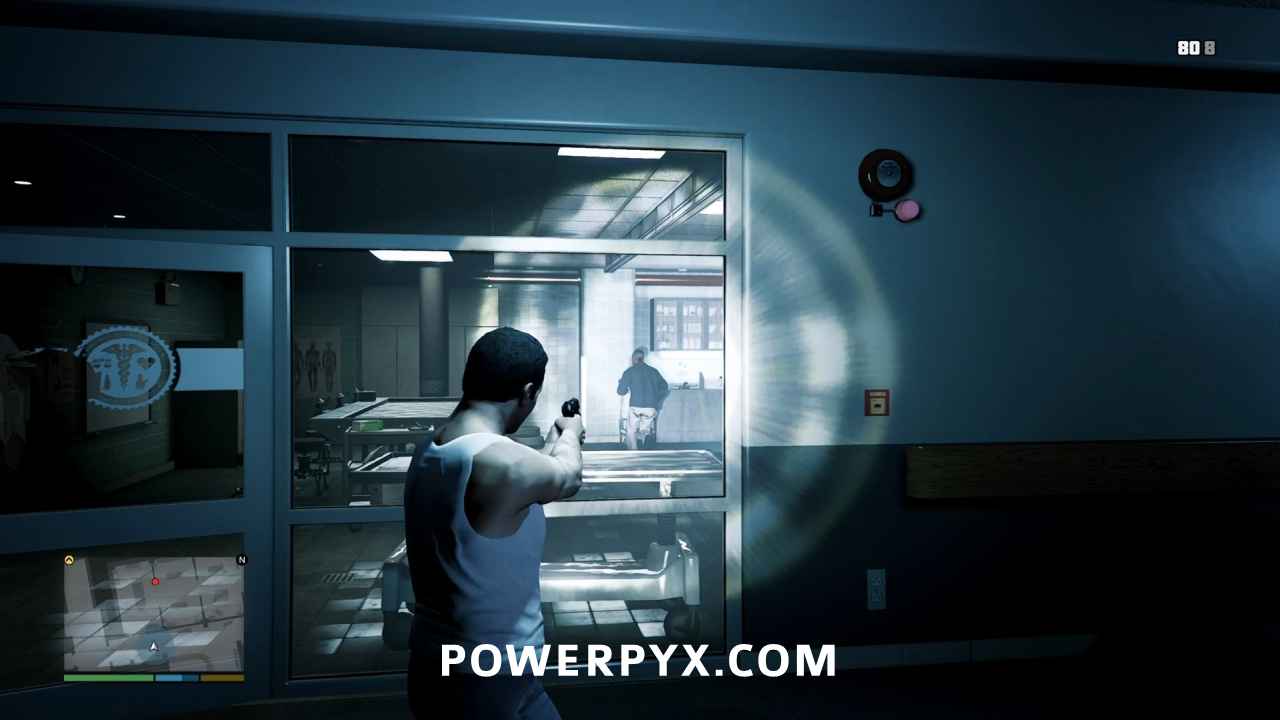
Move up and you’ll spot an agent behind the reception desk. He can be anywhere in that area behind cover, so watch your minimap to locate him before advancing. Take him out when he pops his head up. Then when you get closer to reception, an agent will spawn in the room ahead of you on the right. You can shoot him through the door glass.
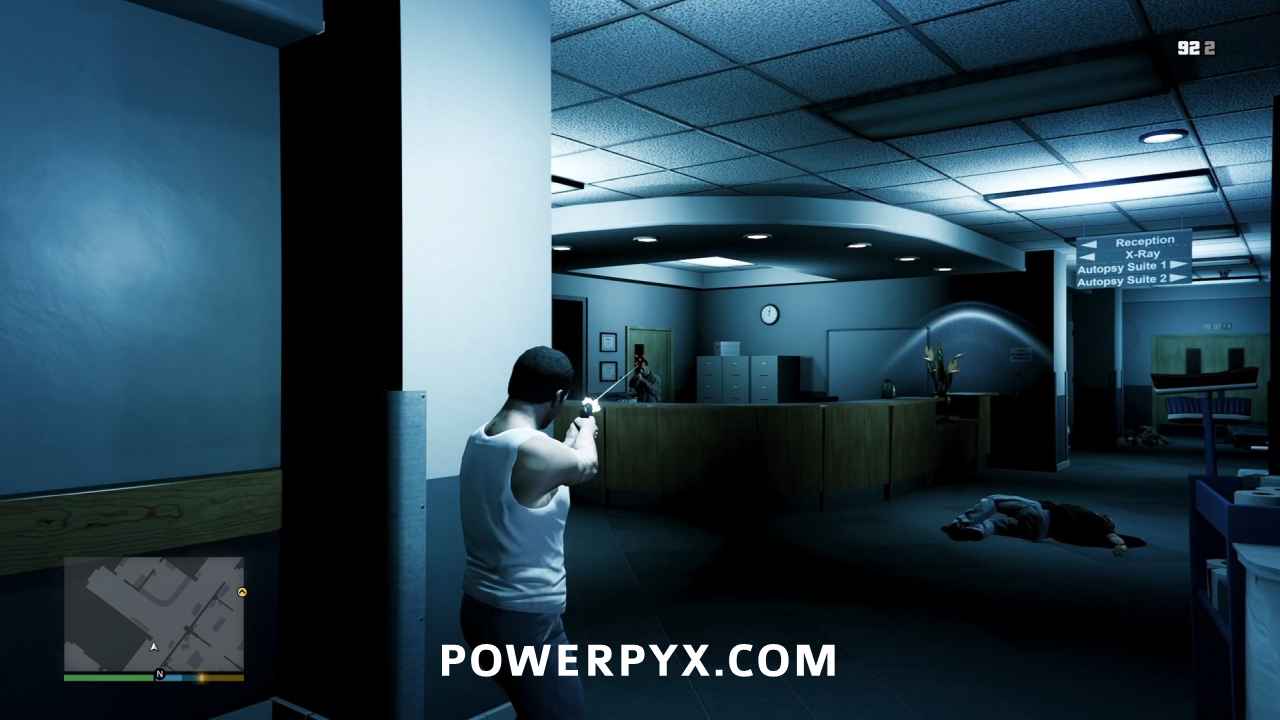
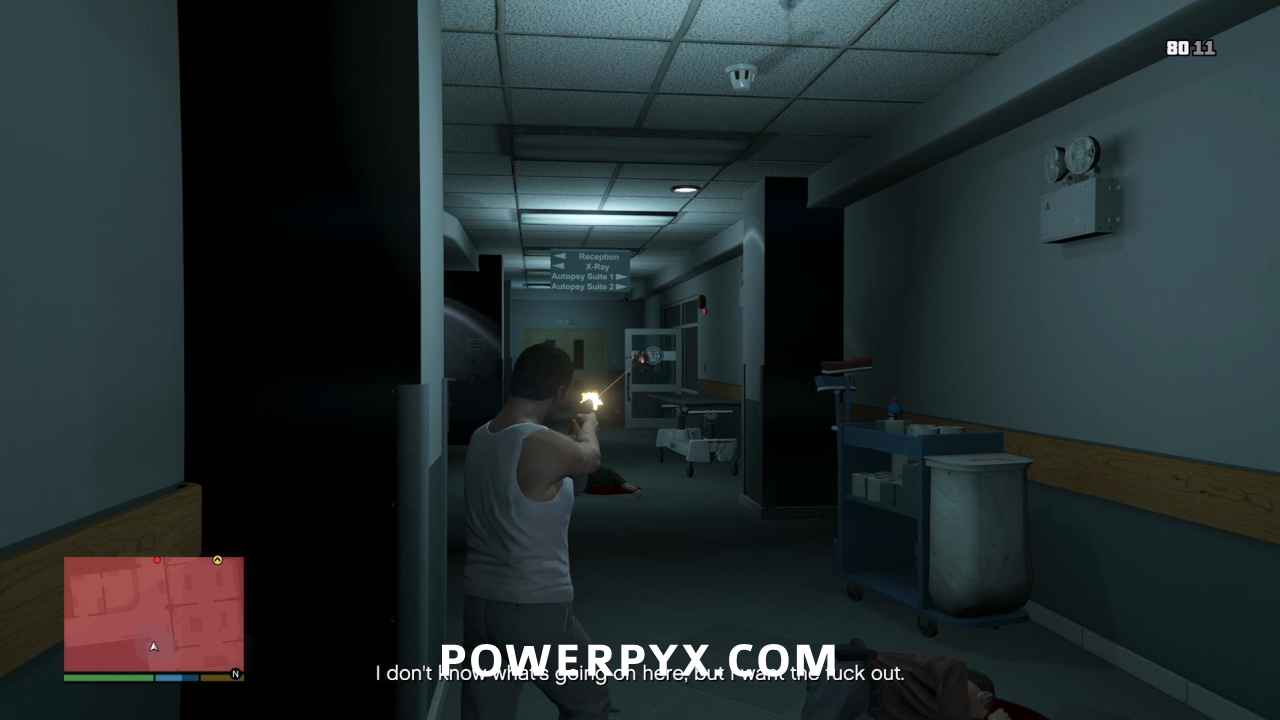
Shortly after that you’ll see on your minimap that another agent has spawned in the same room ahead on the right, but he will take cover and wait there. A second agent will spawn and come through the doorway at the end of the hall though. Headshot him, then slowly advance on the room on the right. When he takes cover, his dot will intermittently disappear, so be ready to use Michael’s special ability when you spot him.
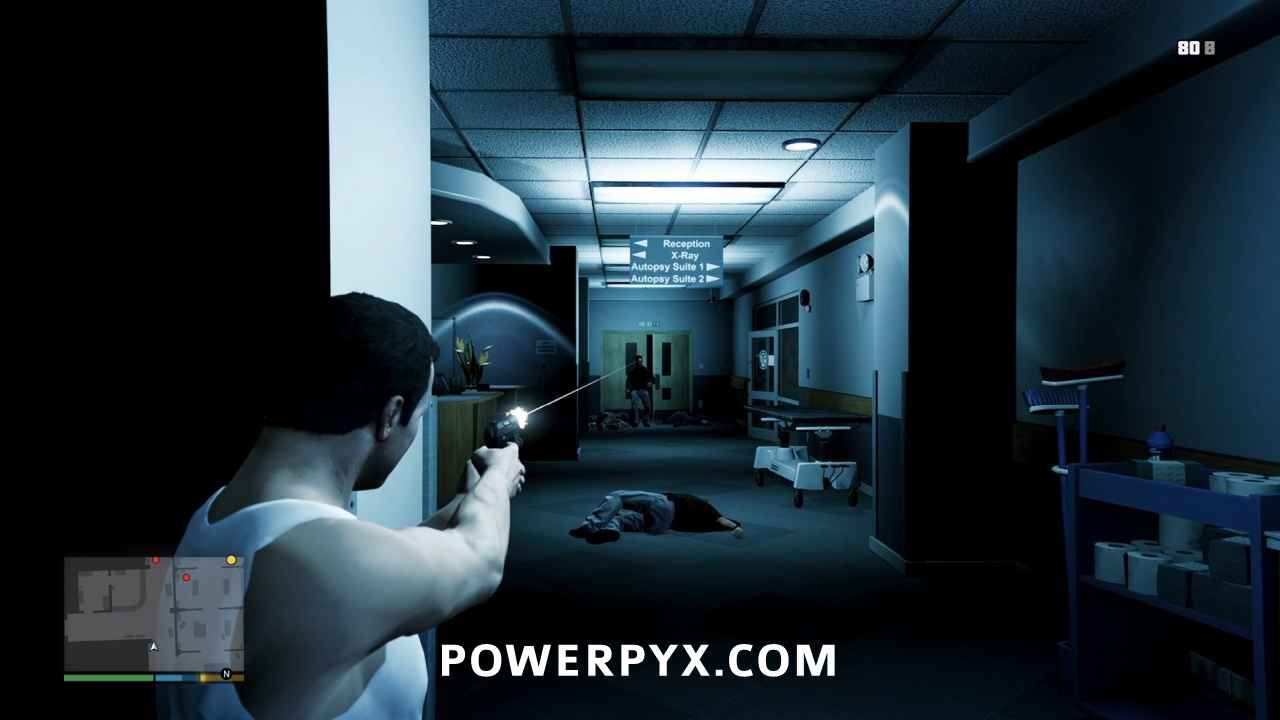
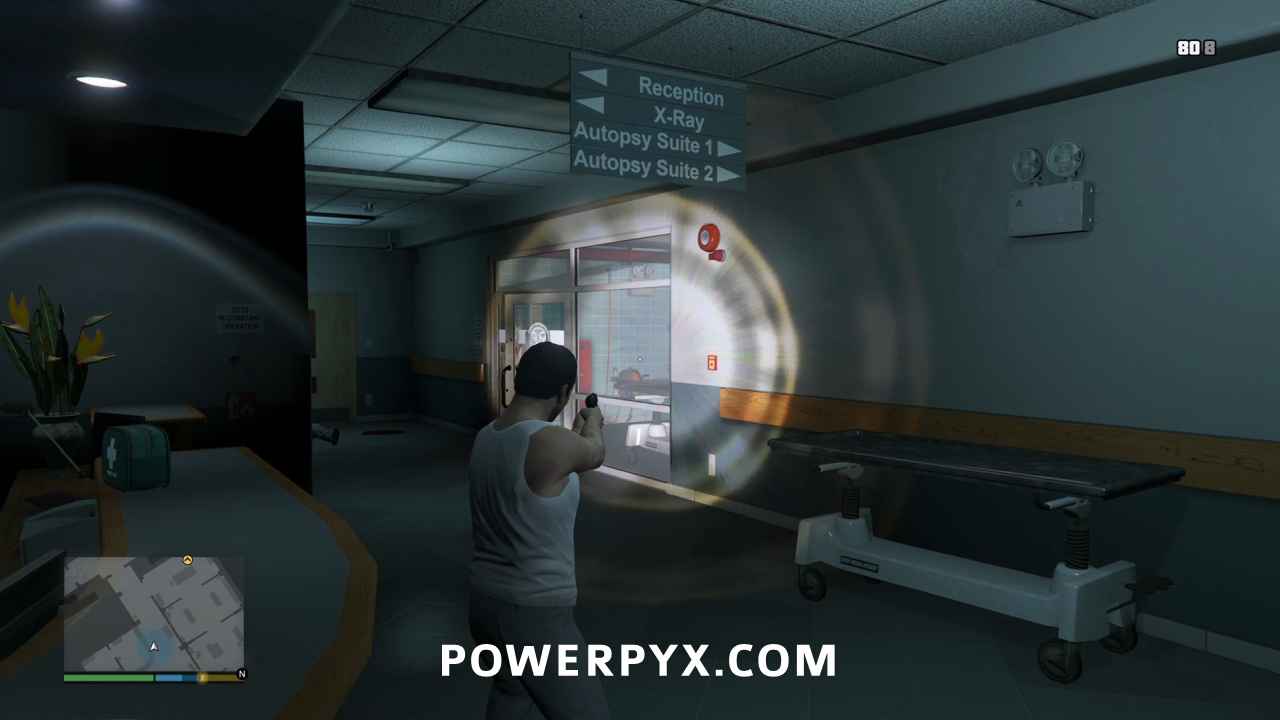
If you can catch him out of cover, your life will be easy. Otherwise you will have to pick your moment and try to kill him without wasting too much valuable time. Then watch the elevator on the other side of the door, and try to kill the guy who appears before he can get out.
That’s all for this floor. Go through the doors and into the stairwell. Dave will text you to let you know your weapons are on the top floor in the evidence room, so be sure to grab those when you get there. But before you can do that, you’ll have to deal with the guy who pops into the stairwell on the floor above you.
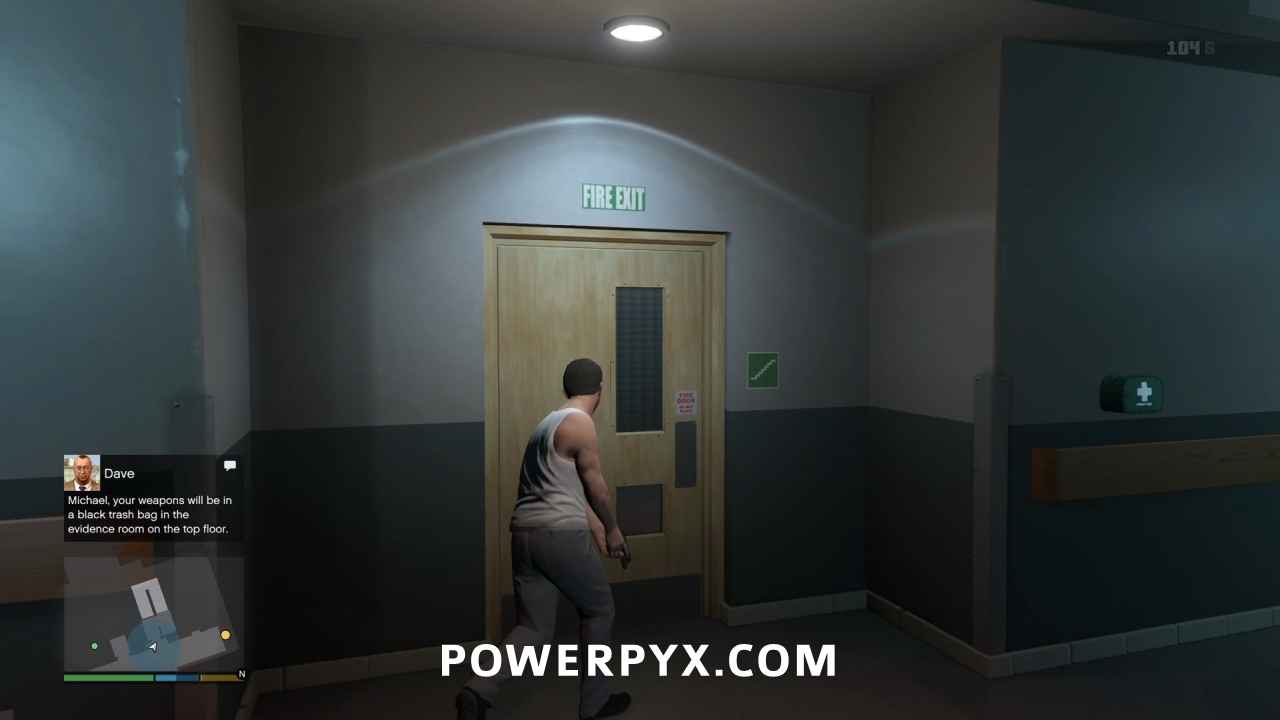
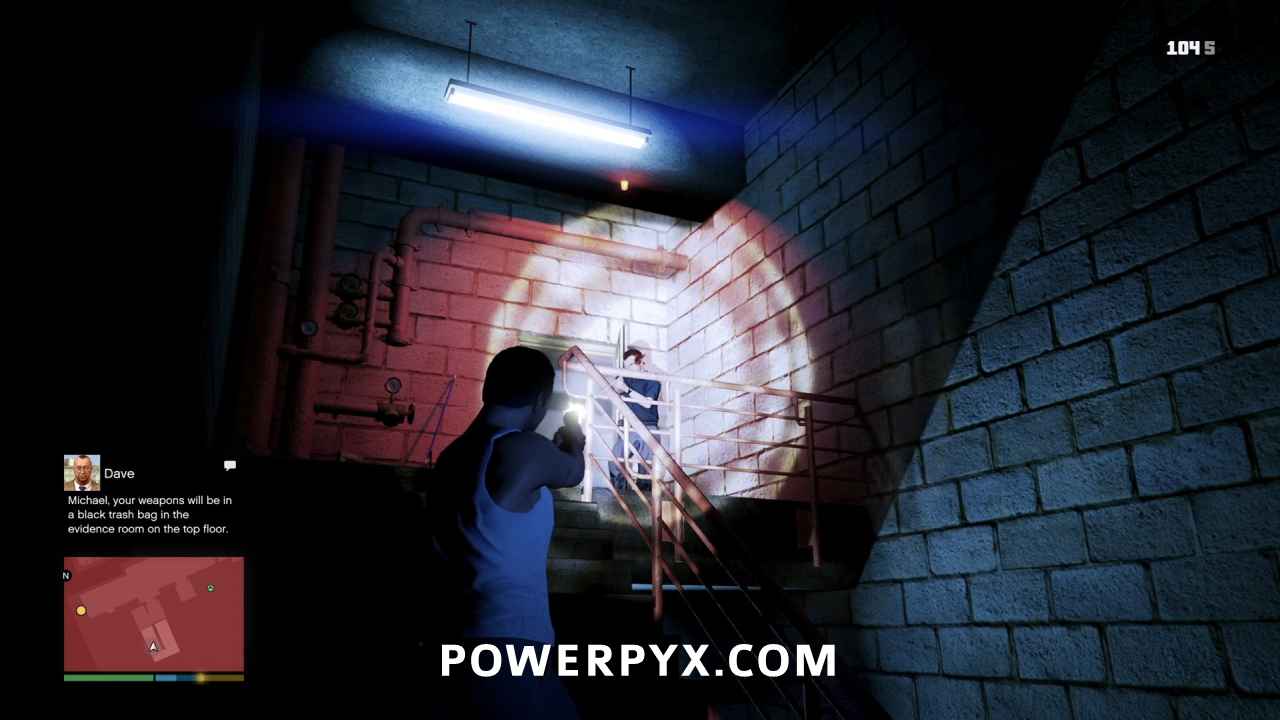
Go through the door and turn right, and be ready for a guy to come through the door to the next stairwell. Kill him and go into that stairwell. When you reach the first landing, look up and be ready for an agent to appear on the landing above you.
Escape Through the Window
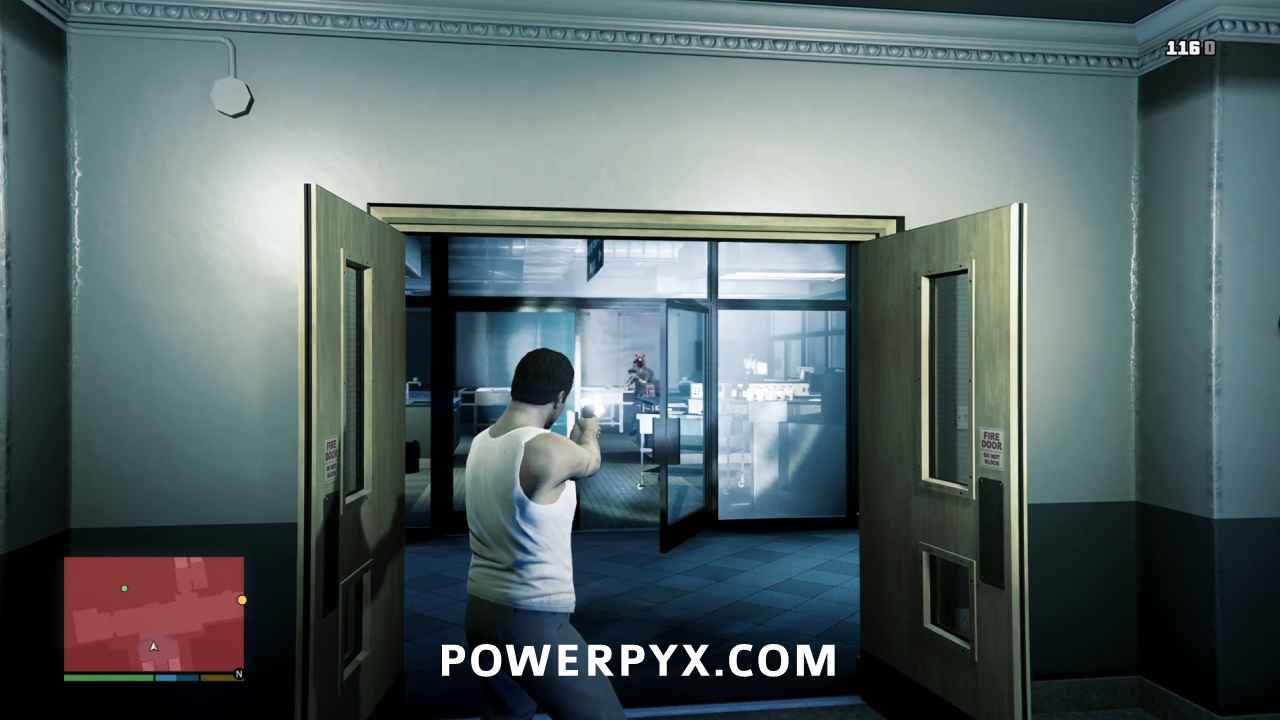
At the top of the stairs, you’ll see a couple red dots appear on your minimap but it looks like they’re trying to ambush you. Pop the guy on the right, then the guy in the glassed-in room ahead of you if he’s visible. Otherwise, get some cover and wait for him to pop out.
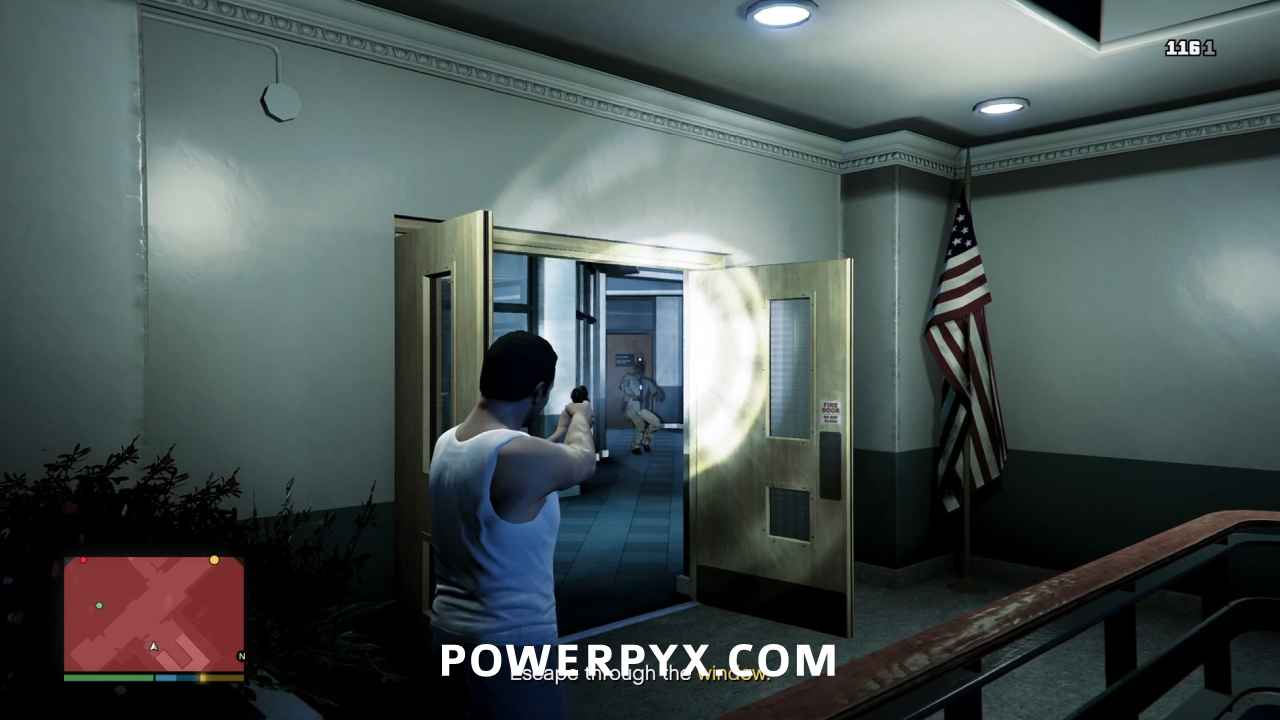
Passing through the door at the top of the stairs will spawn two agents in the stairwell behind you. Move away from the door and find cover to deal with them before you continue.
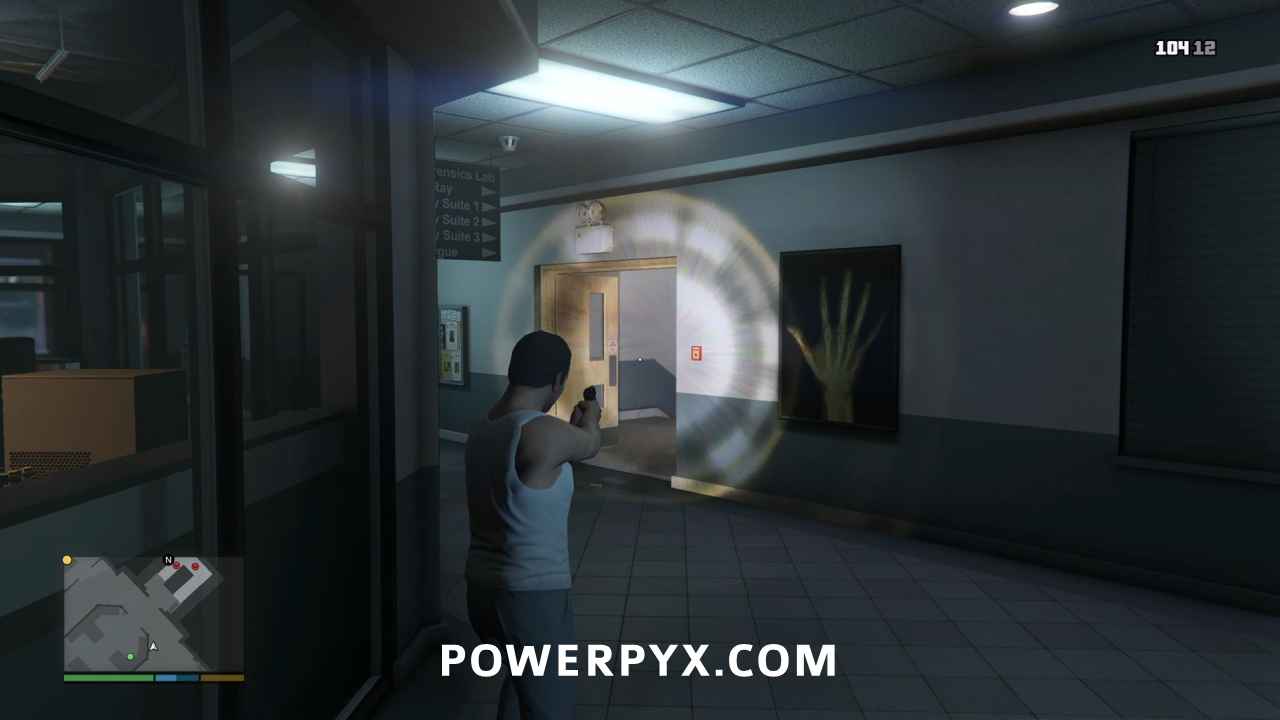
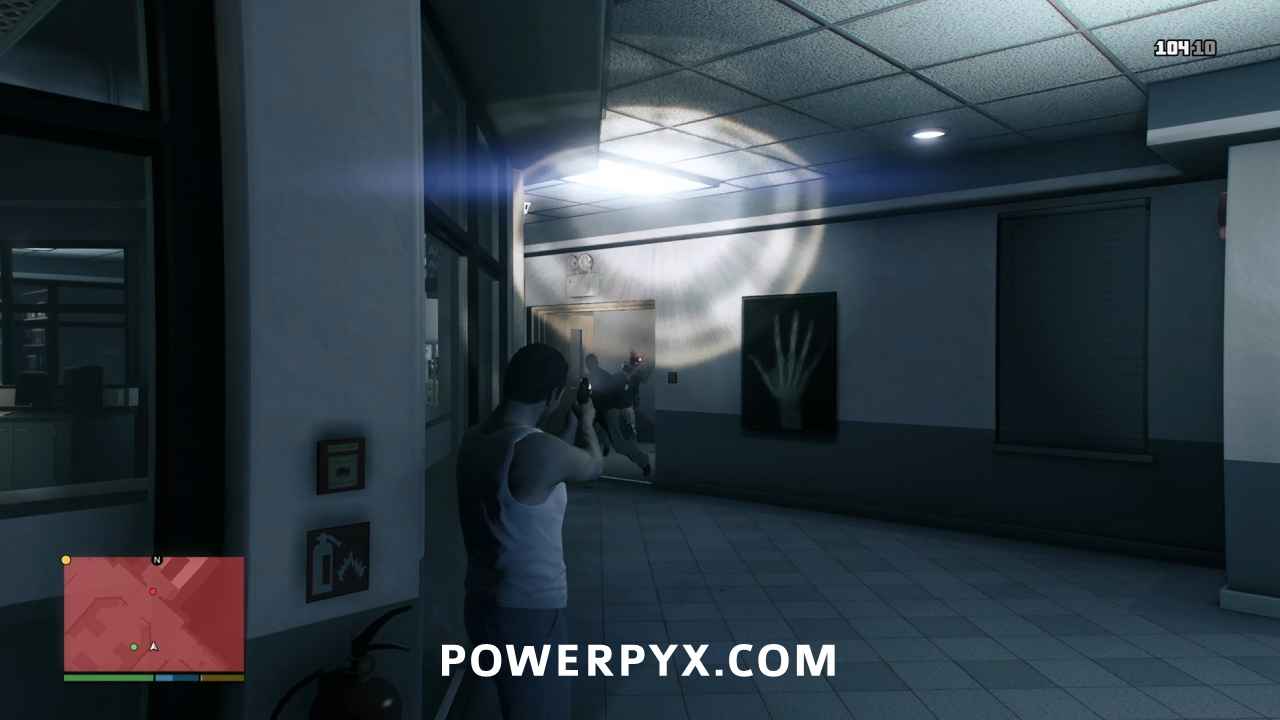
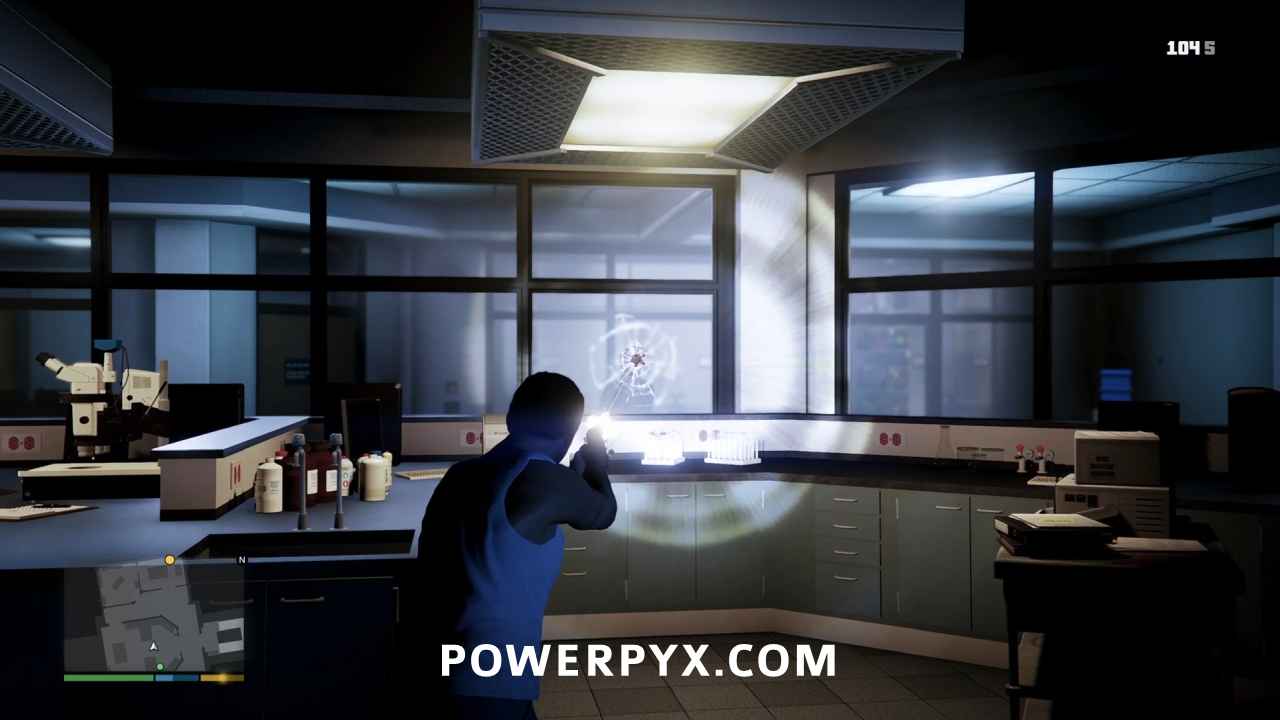
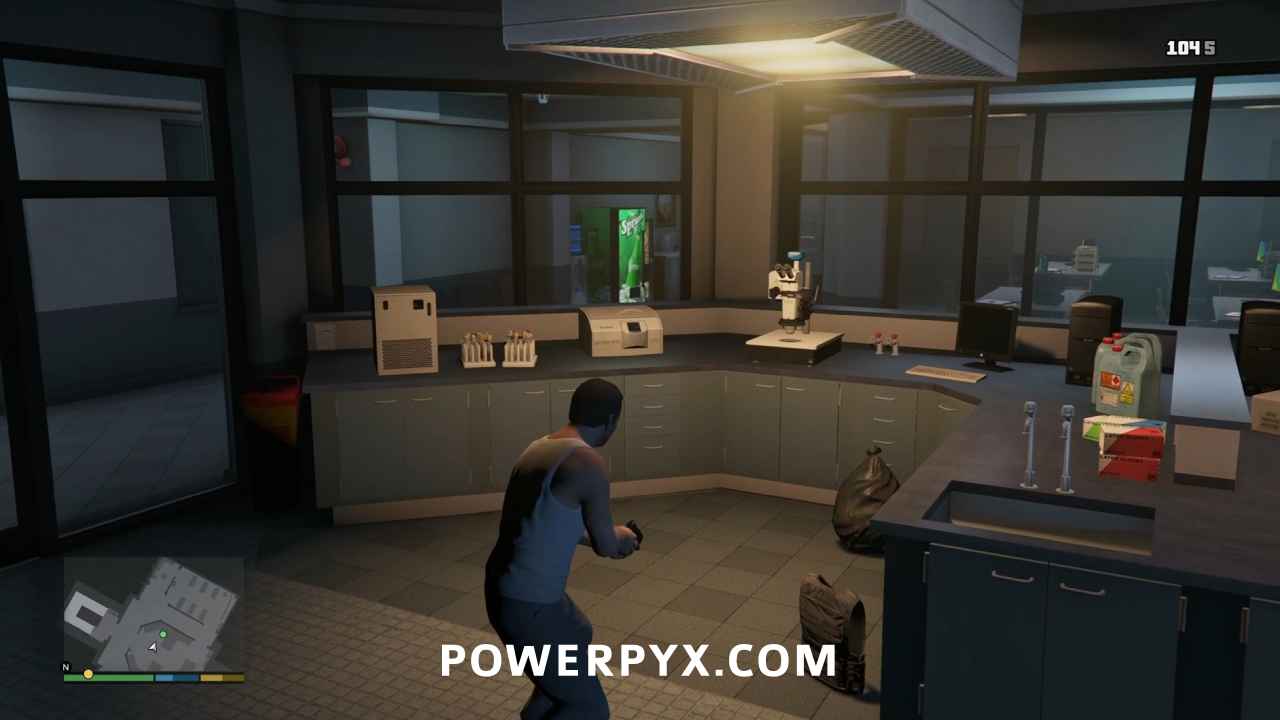
Entering the glassed-in room, or the Forensics Lab as the helpful sign indicates, will spawn an agent in the hall to the northwest. Kill him through the glass, then grab your weapons, but also quite helpfully nearby is a set of body armor that you should also grab to top up.
Shoot Out the Window and Escape
Now head towards the objective marker, stopping to grab the first aid kit if you have any physical damage, and shoot out the window to make your getaway.
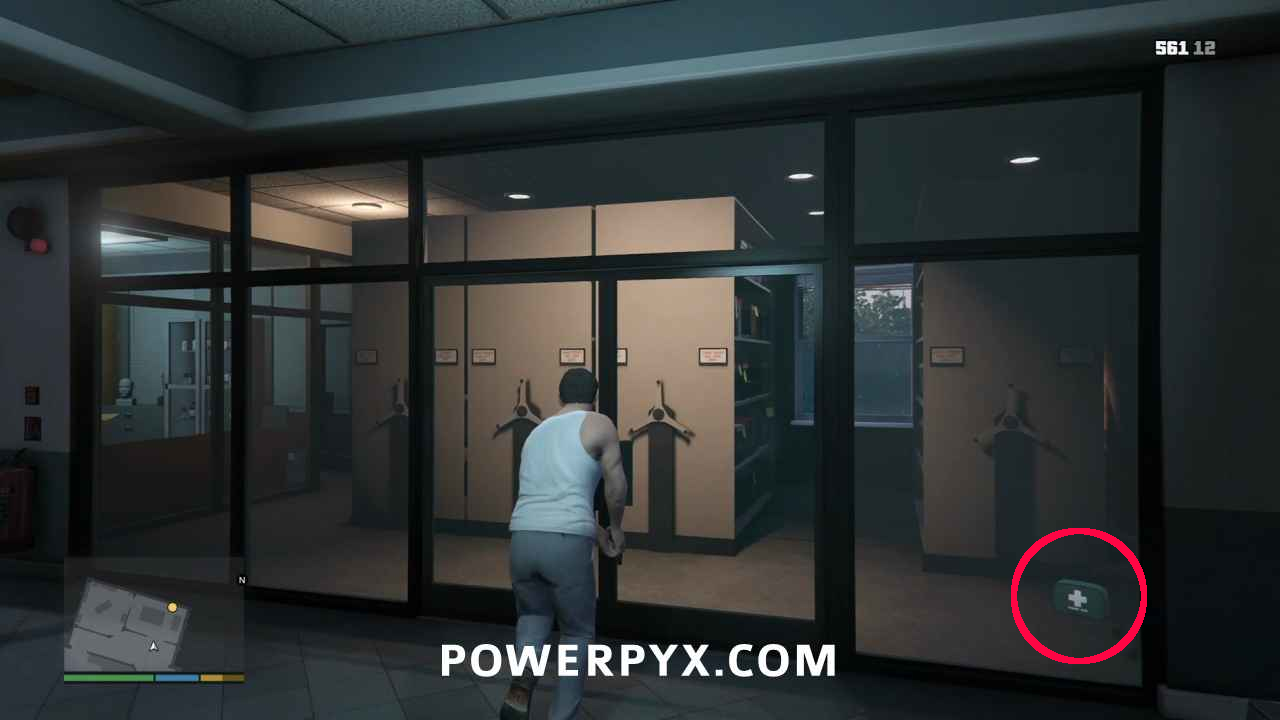
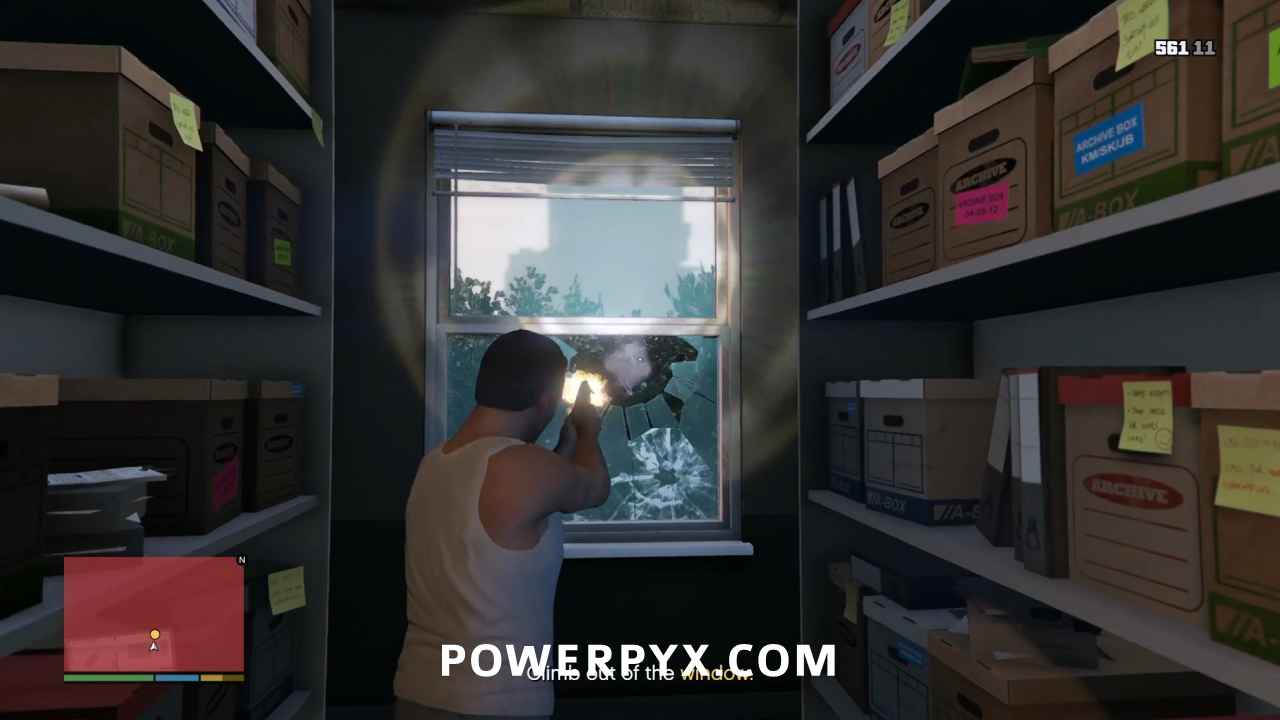
Climb Out of the Window
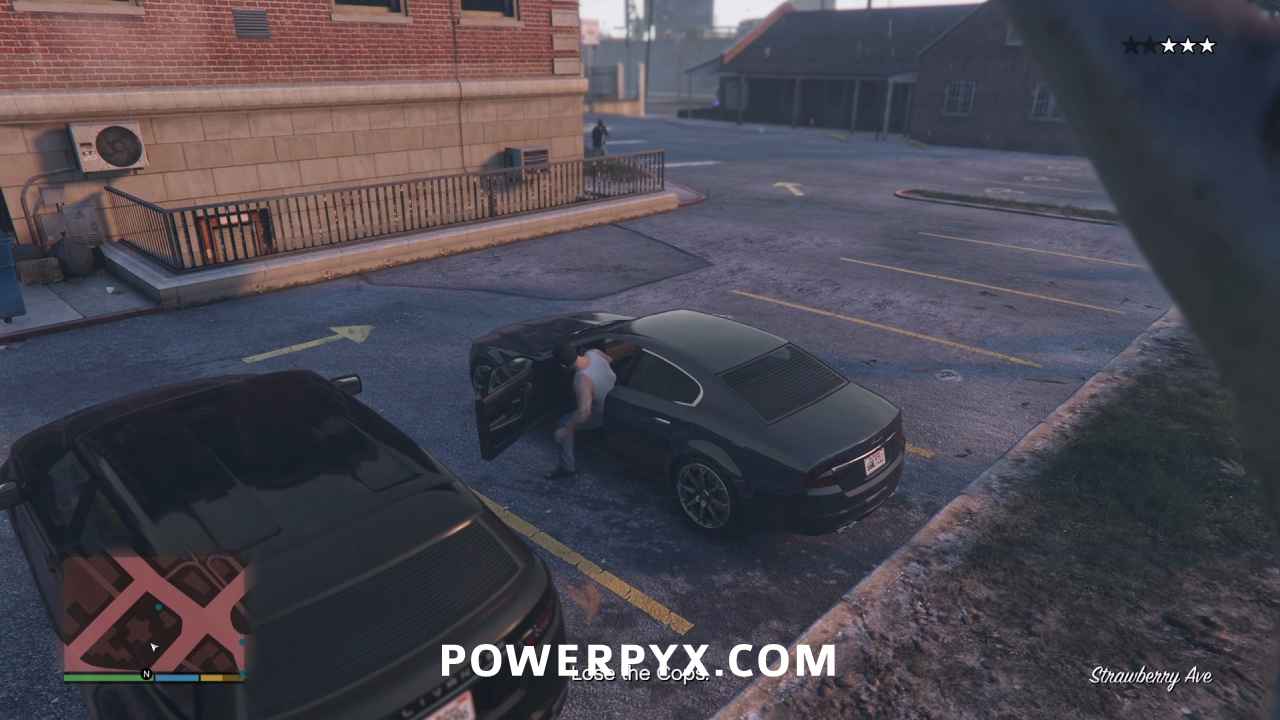
There will be a short unskippable cinematic while Michael jumps from the window into a garbage bin. When he gets on his feet, you’ll have your choice of two vehicles to steal to make your getaway. Do it fast though, because you’ve got to get out of there pronto.
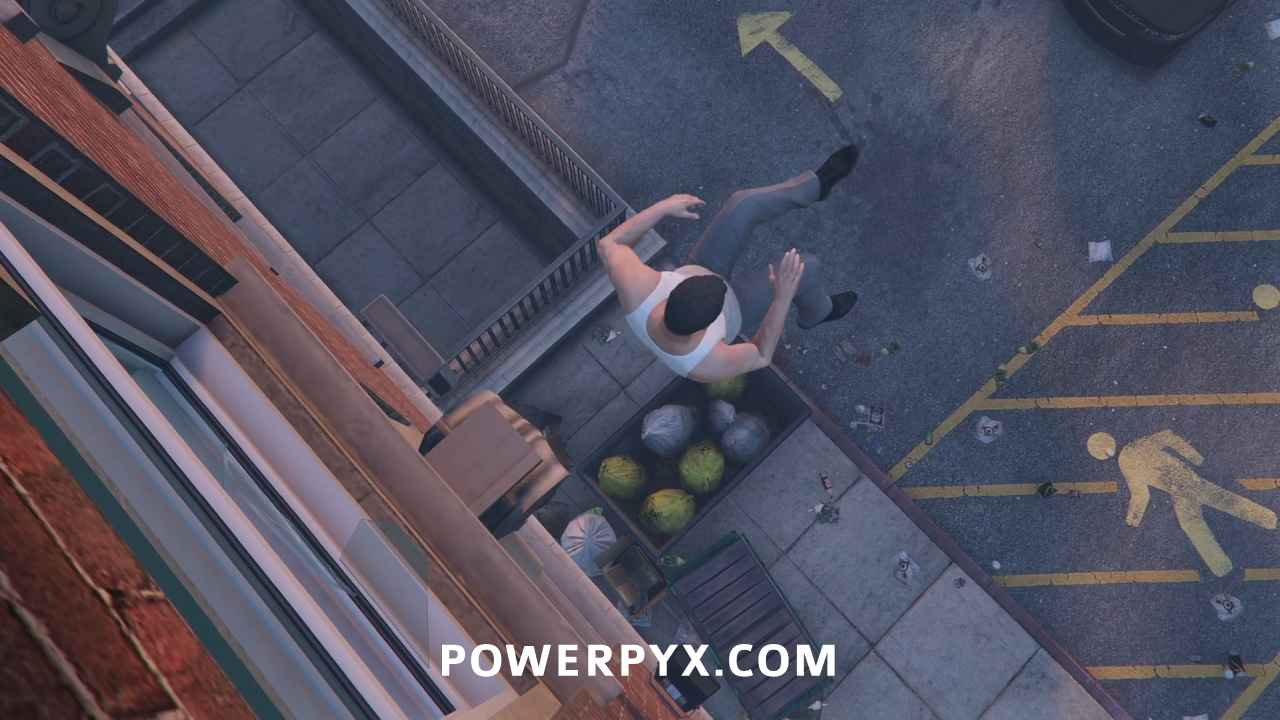
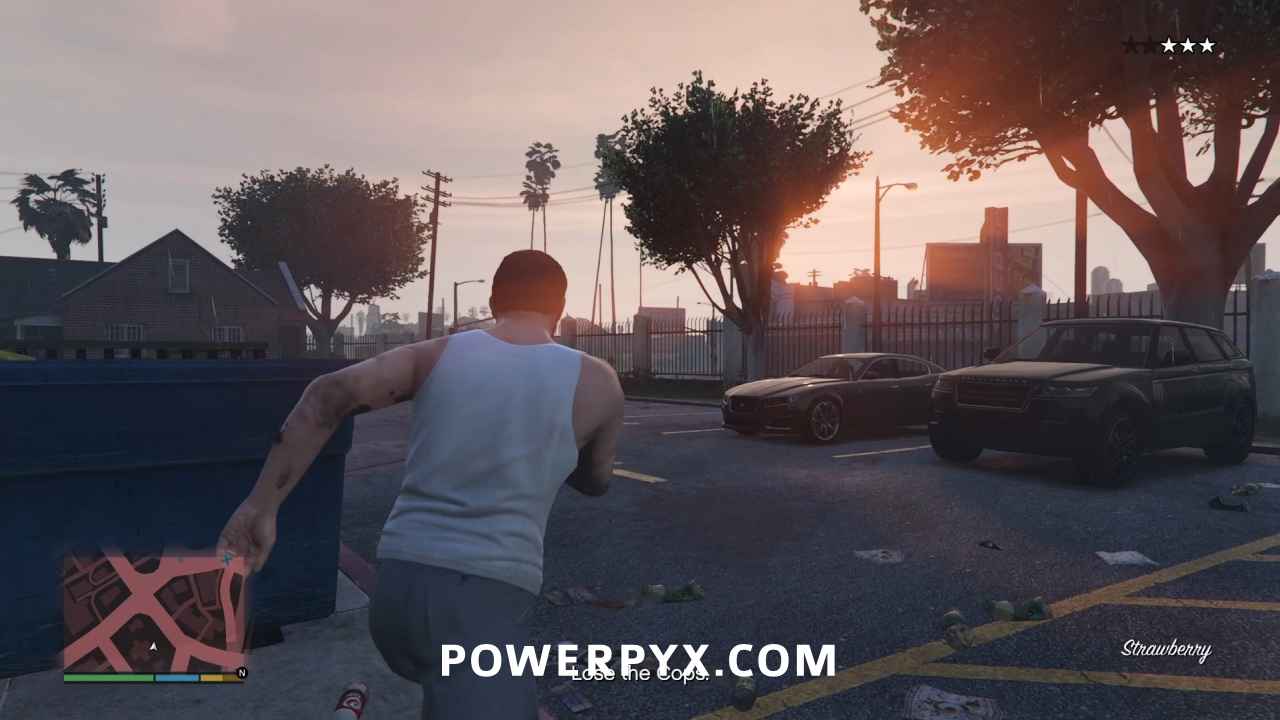
Lose the Cops
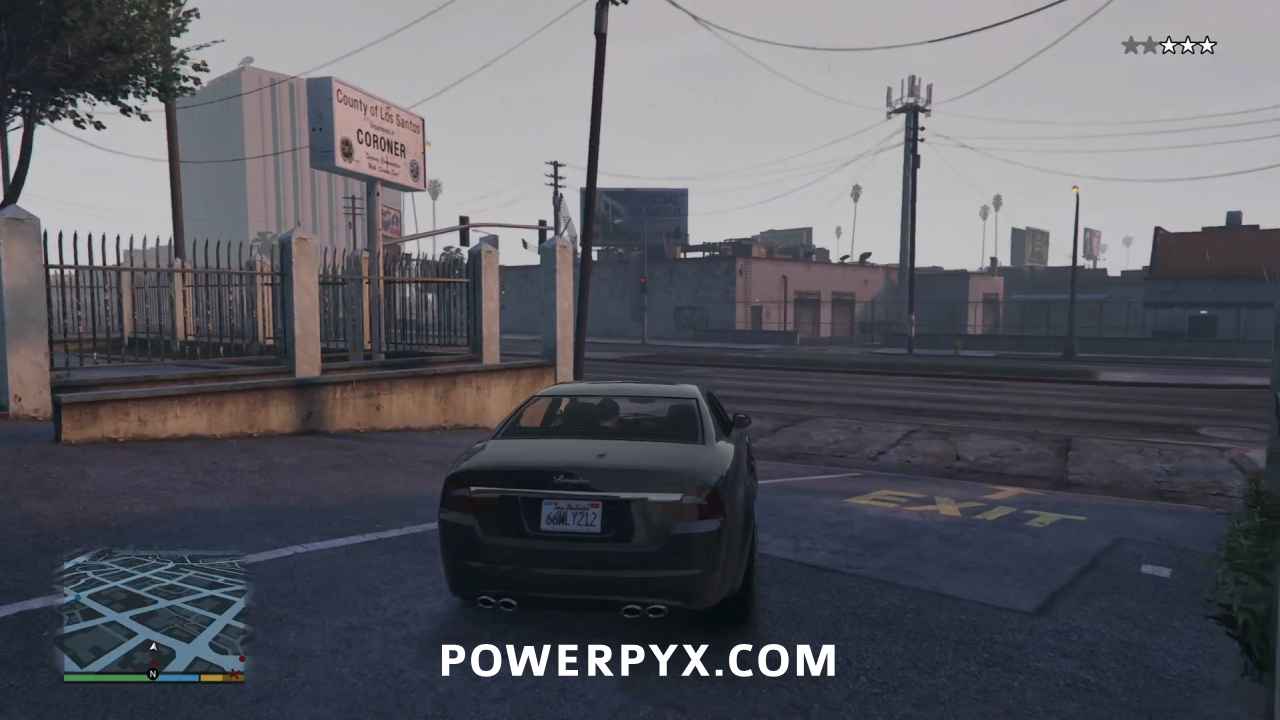
The Lampadati Felon is faster and more agile, which is what you need right now. Hop in and drive through the agents firing on you to make your escape. Once you’ve lost your wanted level, you’ll call Franklin to arrange a meeting.
Go to the Oil Derricks
Head to the objective marker to meet up with Franklin and tell him about the trouble that you’ve gotten him into. Skip the cinematic and that will be the end of the mission.
This finishes Dead Man Walking in GTA V.
For all other Missions refer to GTA V Walkthrough.
This walkthrough has been updated for the Enhanced Version on PC / PS5 / PS4 / Xbox Series S/X and is also still applicable to the Legacy version.
Leave a Reply