
Eye in the Sky is the 40th main story mission in GTA V (Grand Theft Auto 5). This walkthrough shows how to get all Gold Medals in Eye in the Sky for 100% completion.
Gold Medal Requirements:
- Not a Scratch: Deliver the Z-Type with no damage
- Eavesdropper: Listen to 3 conversations
- I See You: Find Chad’s hiding place on the first attempt
Walkthrough Video

Starting Location: Eye in the Sky
- Location: Mission Row / Sinner Street
- Quest Giver: Devin Weston
- Requirement: Complete “I Fought the Law…“
- Can Be Started By: Franklin, Trevor
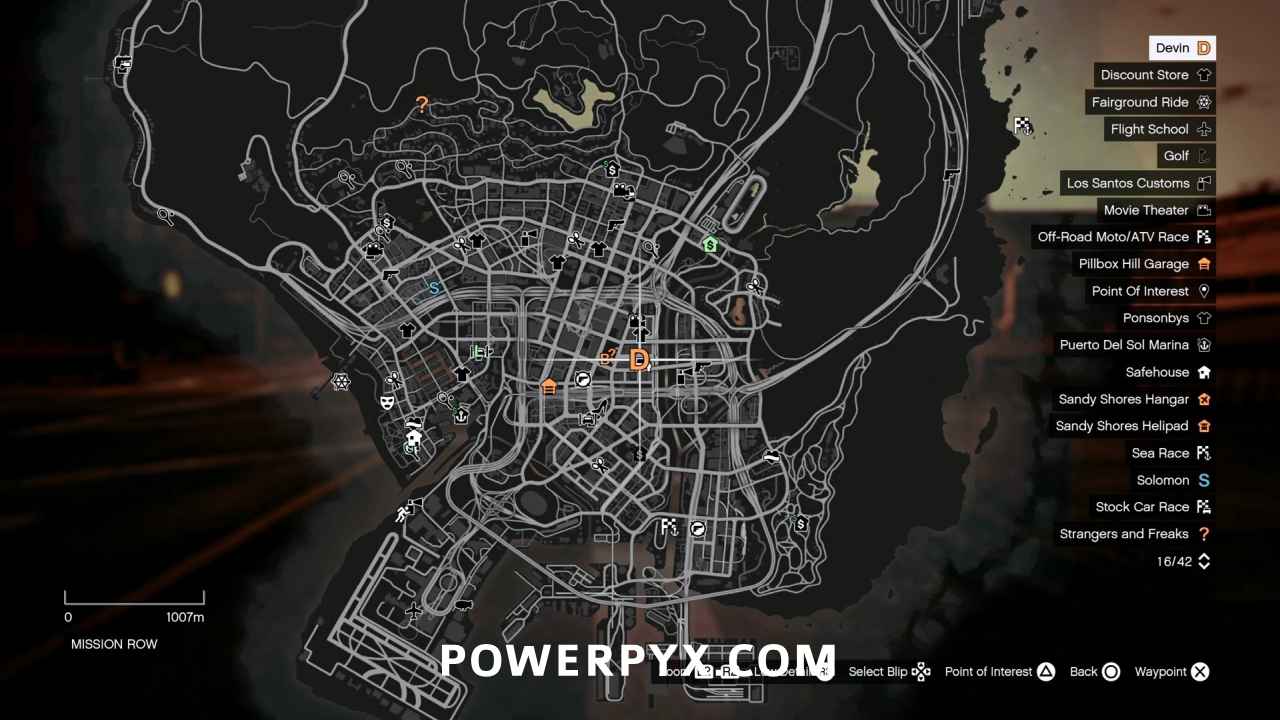
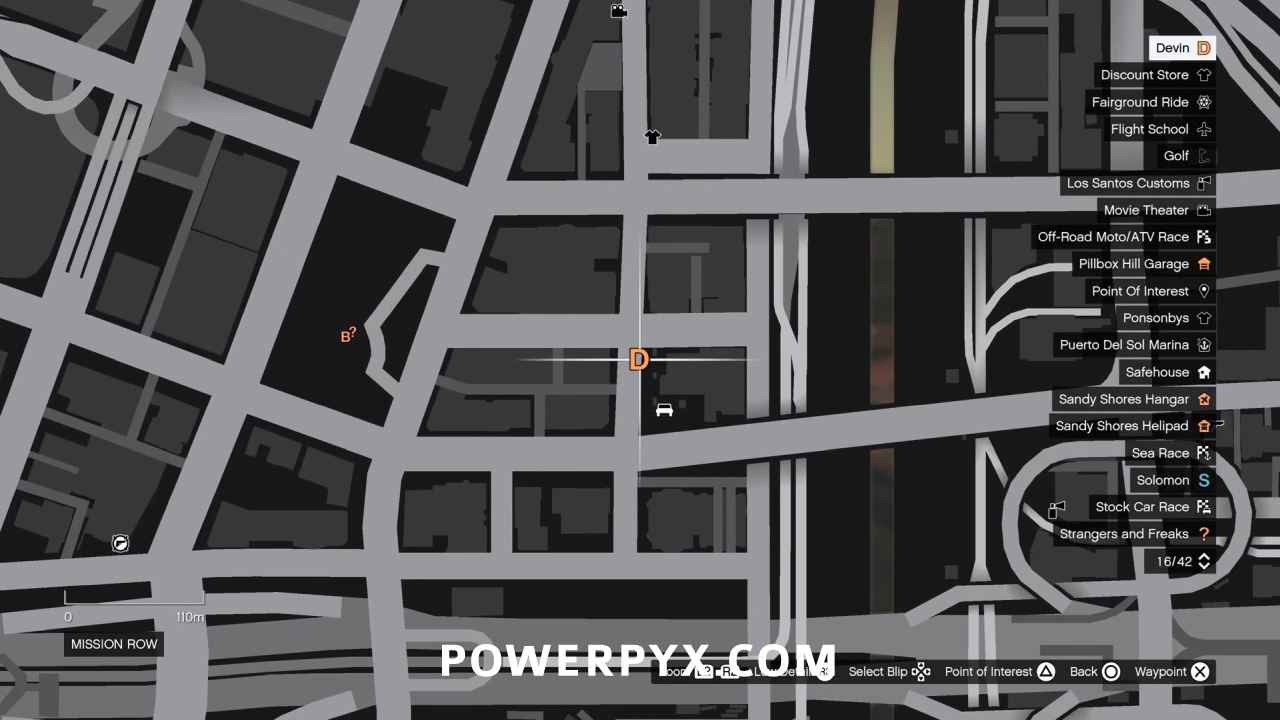
Go to the Police Front Desk
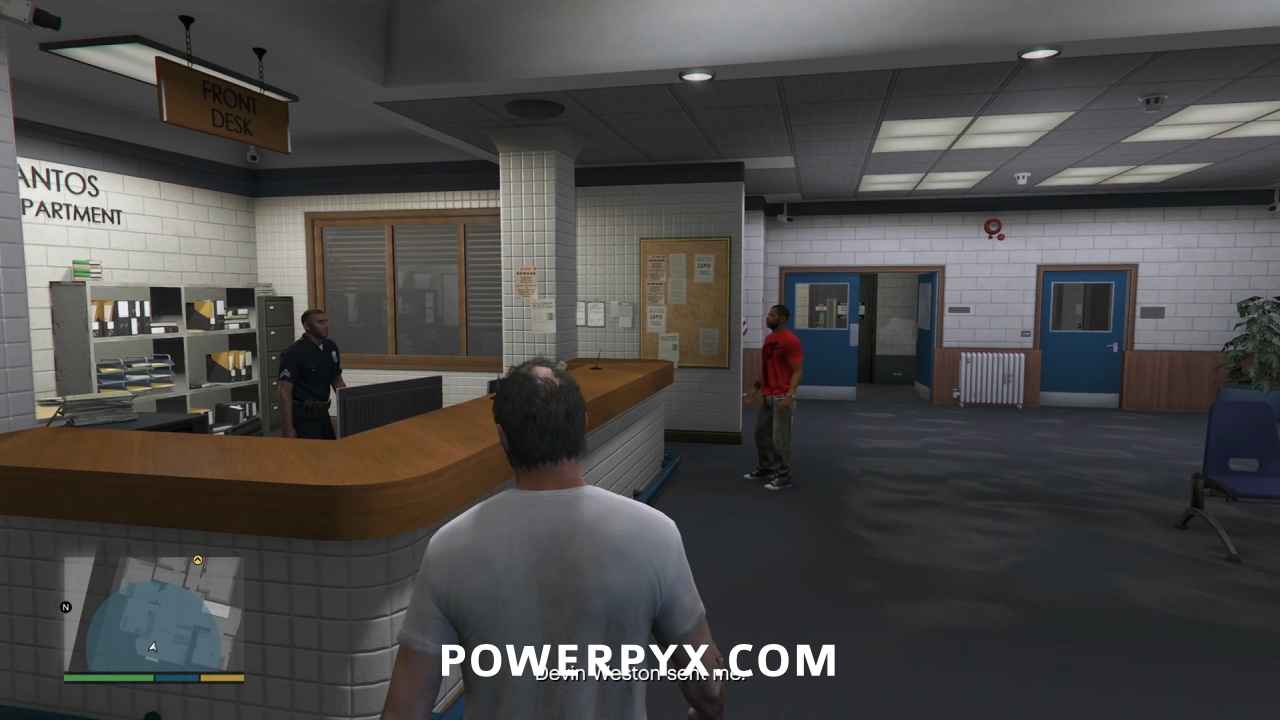
If you start as Trevor, you will start off having to go to the LSPD station and speak to the duty officer at the front desk. He will direct you to the roof where a helicopter is waiting for you.

Get to the Helicopter
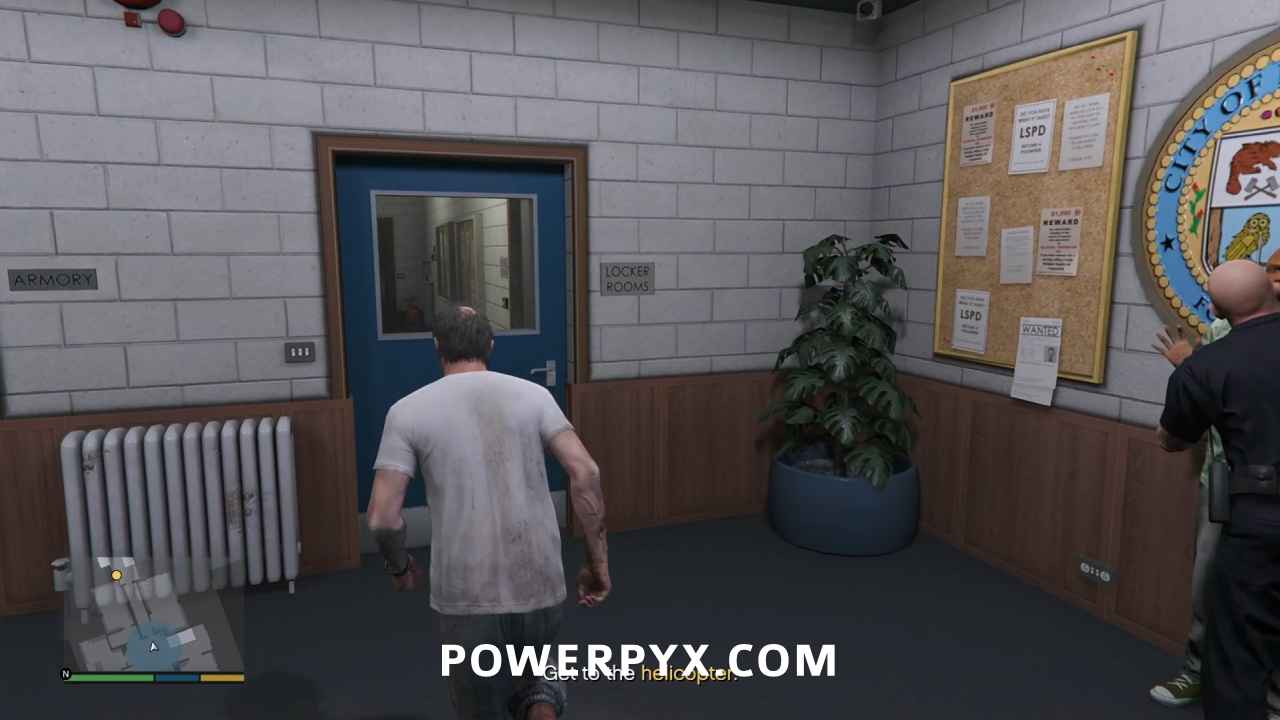
Head through the door to the locker rooms and go through the door at the end of the hall to reach the stairwell to the roof. Board the helicopter.
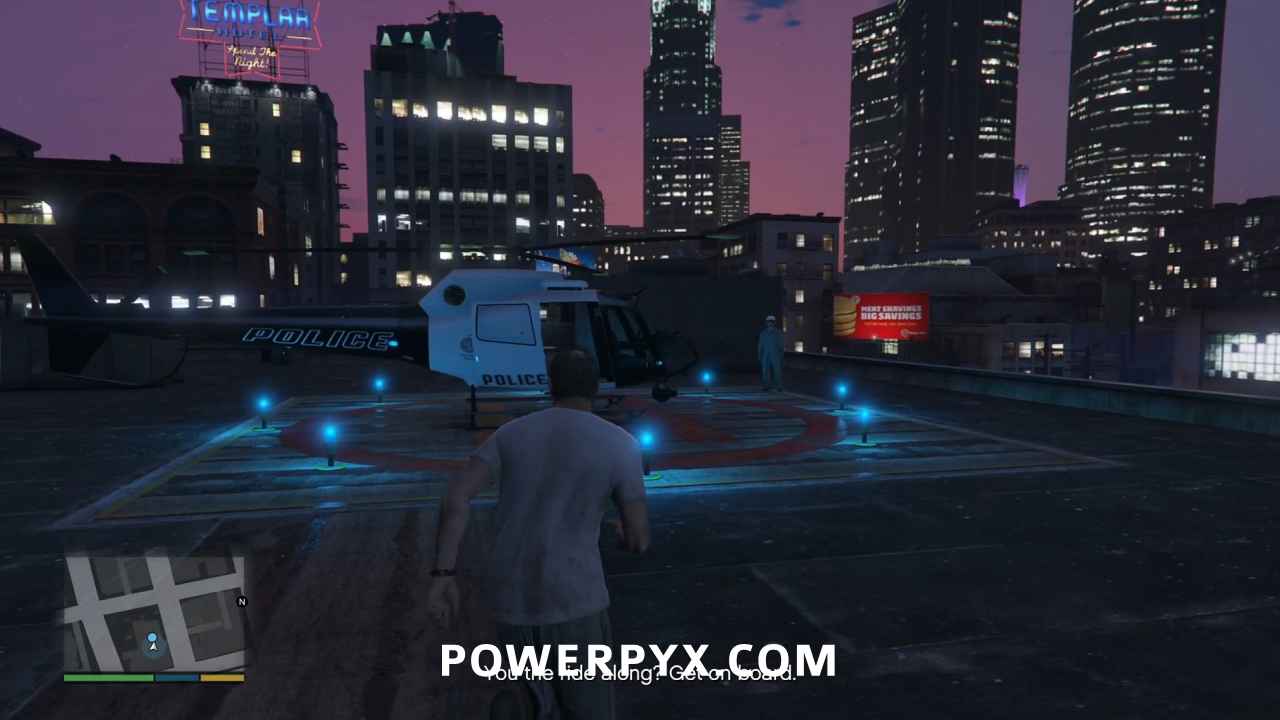
Fly to Franklin’s Location
The perspective will switch to a mounted camera and scanner that you can rotate and zoom to direct the pilot to fly in a particular direction. Look for Franklin’s blue marker on the HUD to direct the helicopter to him.
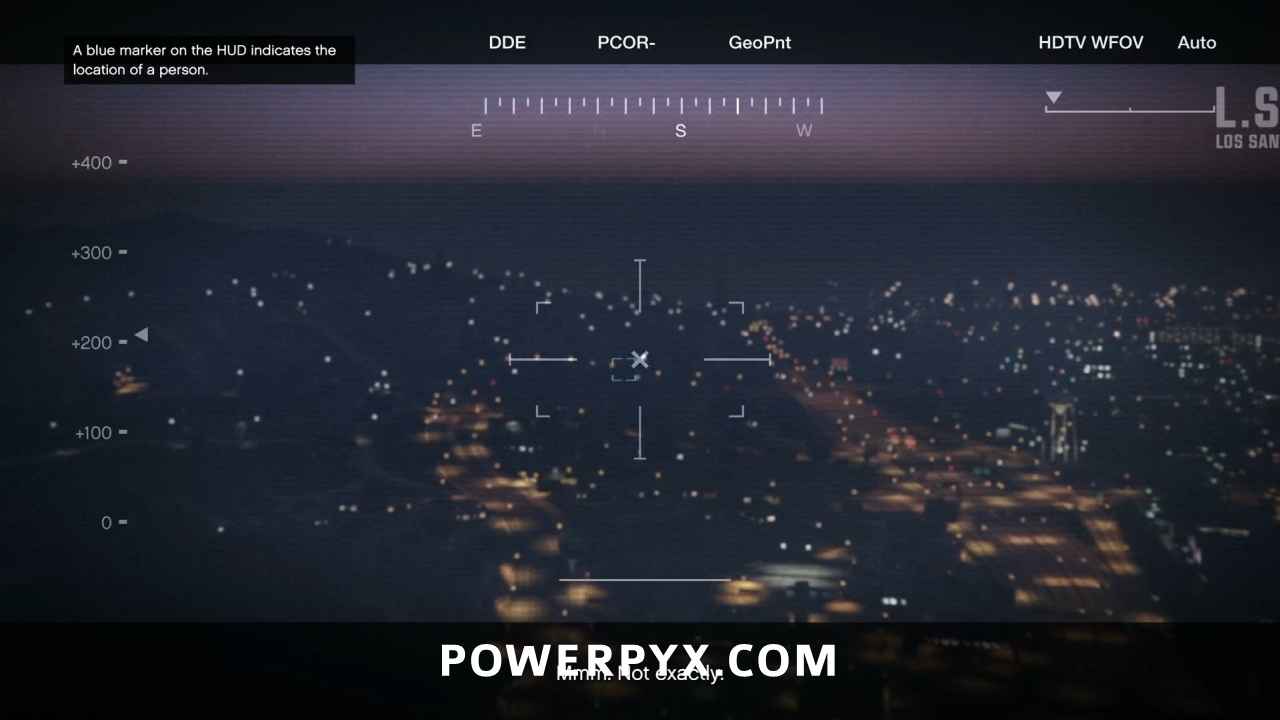
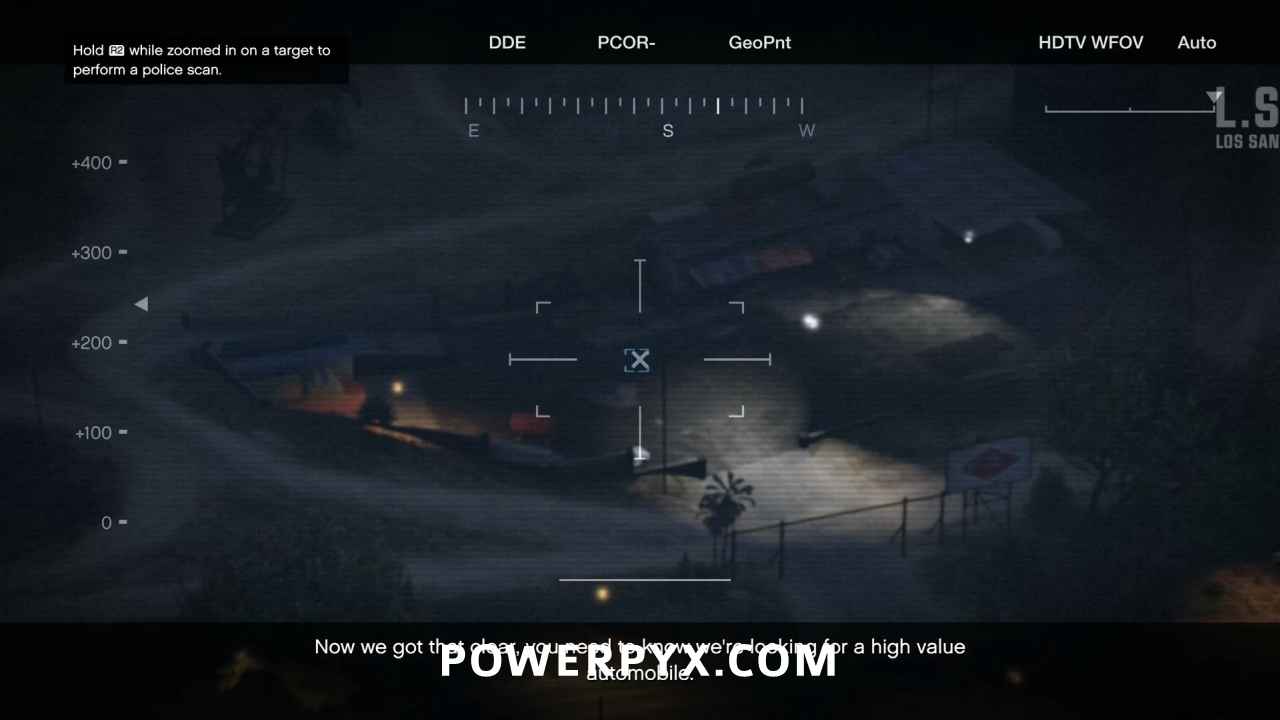
Scan Franklin
If you’d started the mission as Franklin, you’ll pick up at this point and then be directed to switch to Trevor who will scan Franklin with  /
/  to bring up his record. After a short discussion, Franklin will say that the car owner they’re looking for is in Hawick. Follow the blue arrow to find the markers on your HUD.
Scan the Targets in Hawick
When the pilot has flown closer to the markers, Franklin will tell Trevor that the name of the guy you’re looking for is Chad Mulligan. Keep the marker centered in the scanner and the pilot will close with them until you can scan them. Before that, you’ll be able to use the scanner’s directional mic by holding  /
/  to pick up conversations, starting the first Gold Medal requirement:
- Eavesdropper: Listen to 3 conversations
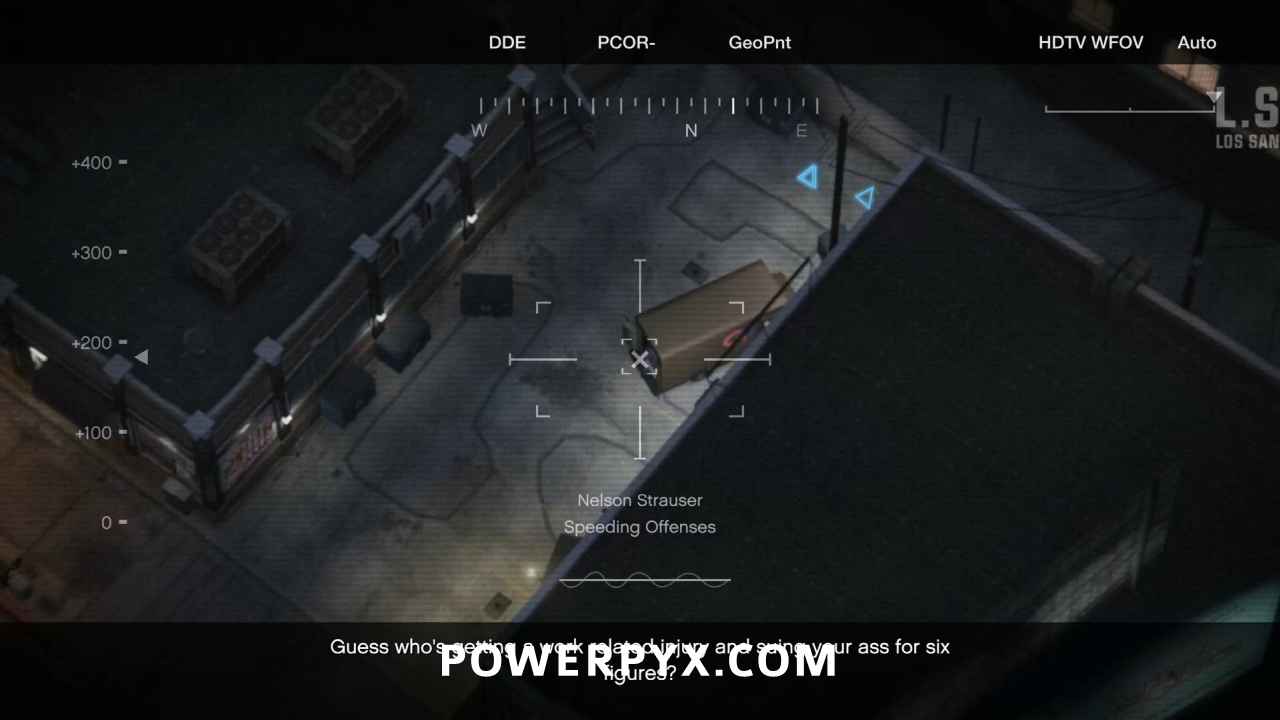
When you are close enough, scan each one to determine that none of them are actually Chad Mulligan.
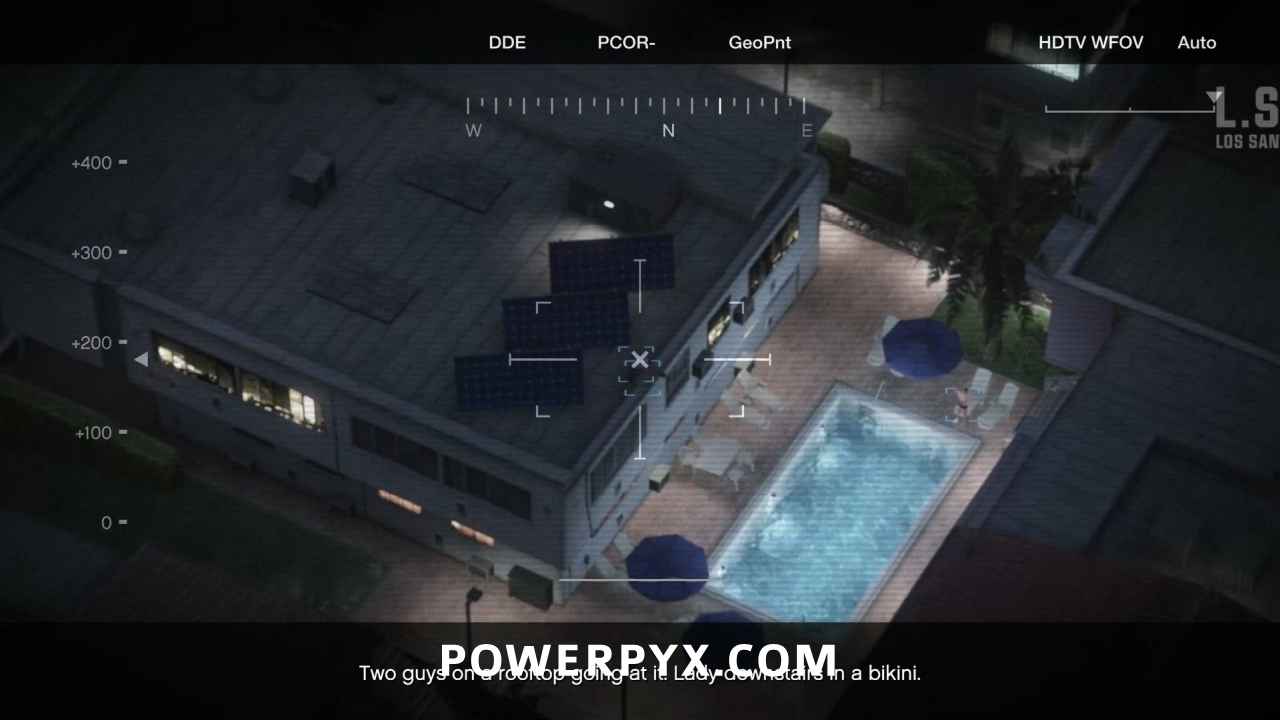
Scan the Next Set of Targets
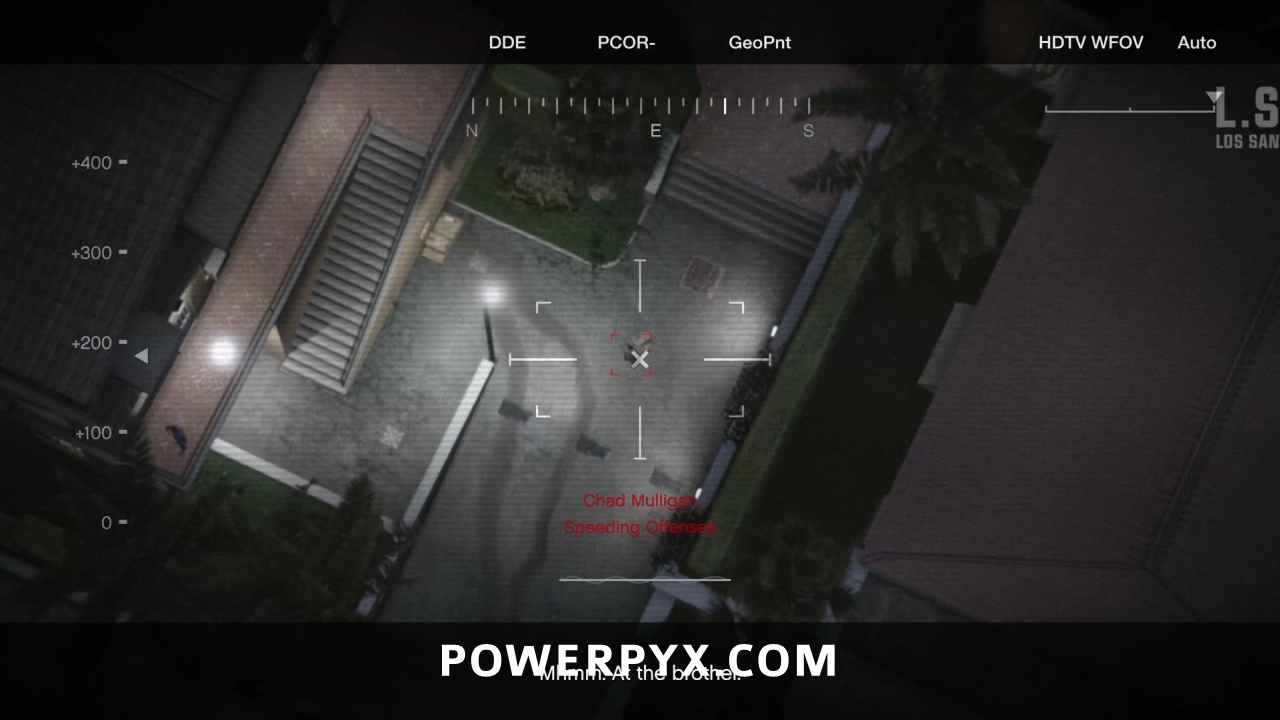
Franklin will say that the target might be a couple of blocks east of there, bringing up a new set of blue markers. Chad will be one of the two people close together on the left hand side of the area (northwest). Make sure you’re listened to at least three conversations before you scan him.

Track Chad Mulligan to Find Where He’s Parked His Car
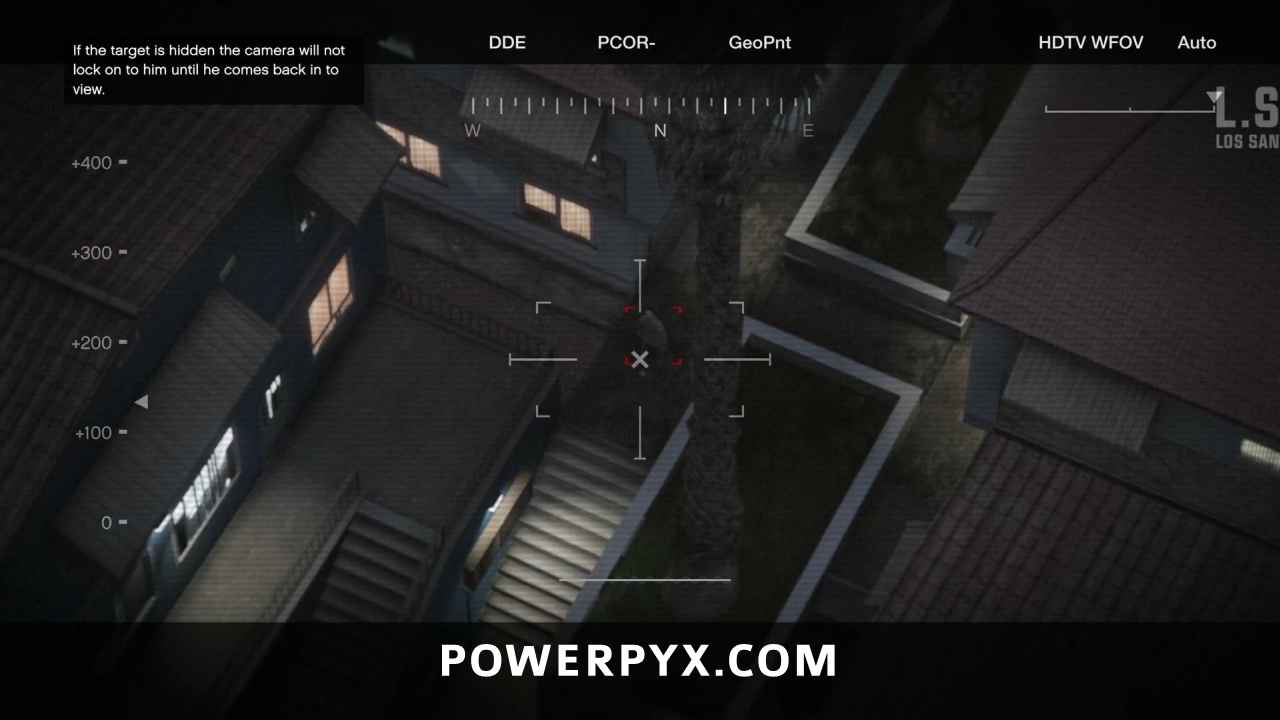
Now that you have him identified, his marker will change color to red, and you will have to follow him as he walks. You’ll lose line of sight with him a few times but there will be a red arrow pointing in the right direction when he reappears. Eventually he will reach his garage and open its door, and Franklin will try to hold him up but Chad ducks into the garage and makes a getaway in the Z-Type.
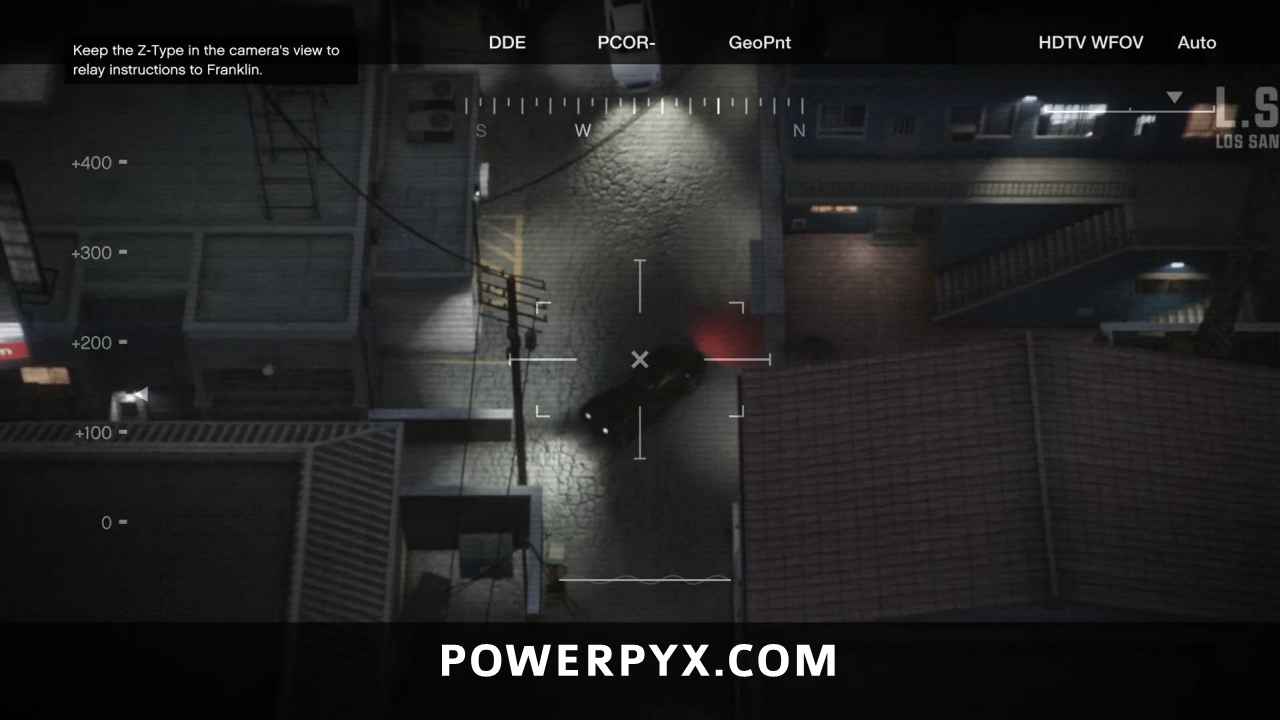
Keep the Z-Type in the Camera’s View to Relay Instructions to Franklin
Follow the Z-Type as it weaves through traffic and cuts through alleys to try and lose Franklin. The pilot will follow based on your camera moves, and Trevor will constantly update Franklin on where the car is.

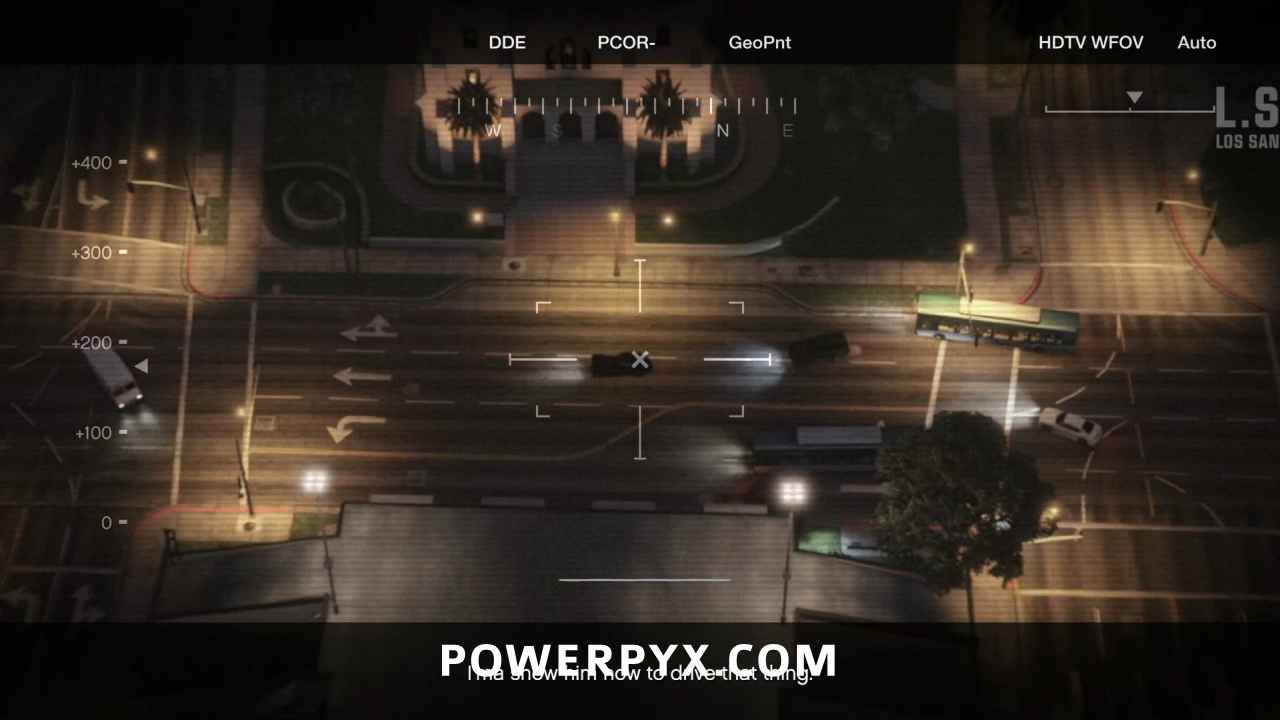
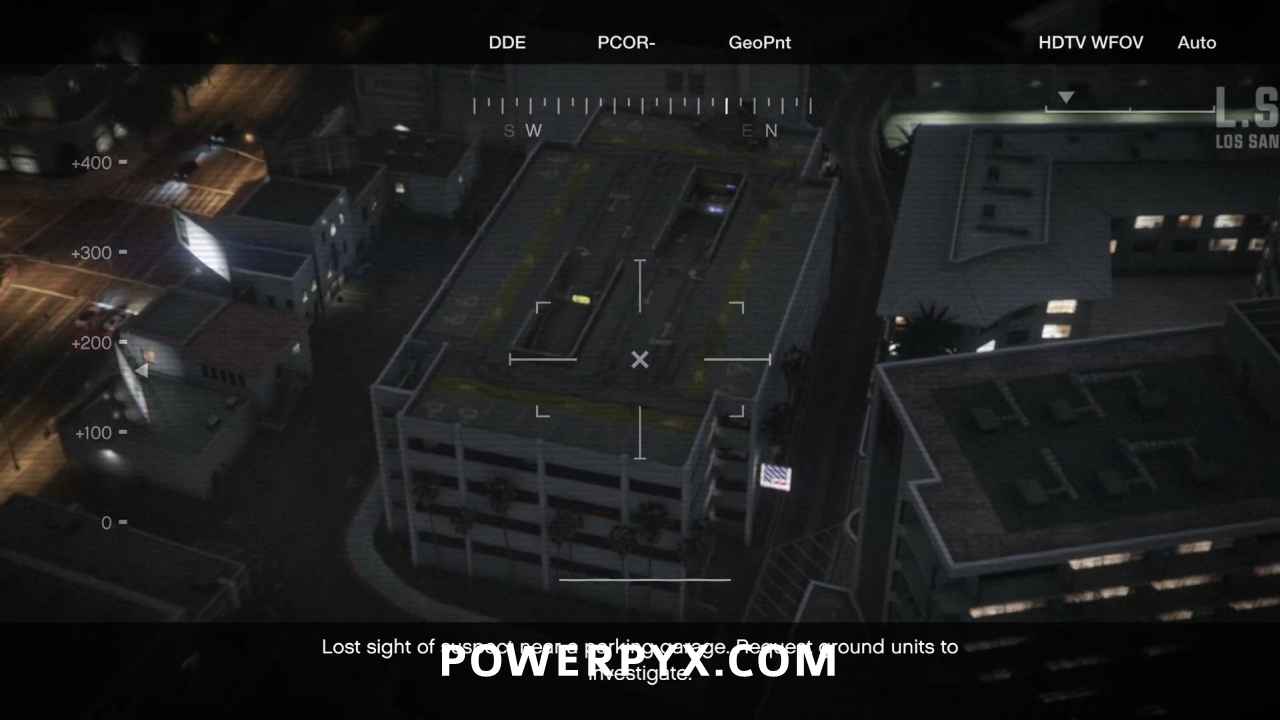
Eventually he will take cover in the parking structure across from the Von Crastenberg Hotel. Franklin will go in after him while Trevor gets the pilot to descend so you can try and spot him. Eventually the pilot tells Trevor that he can use the camera’s thermal imaging to get a better view. Activate it using  /
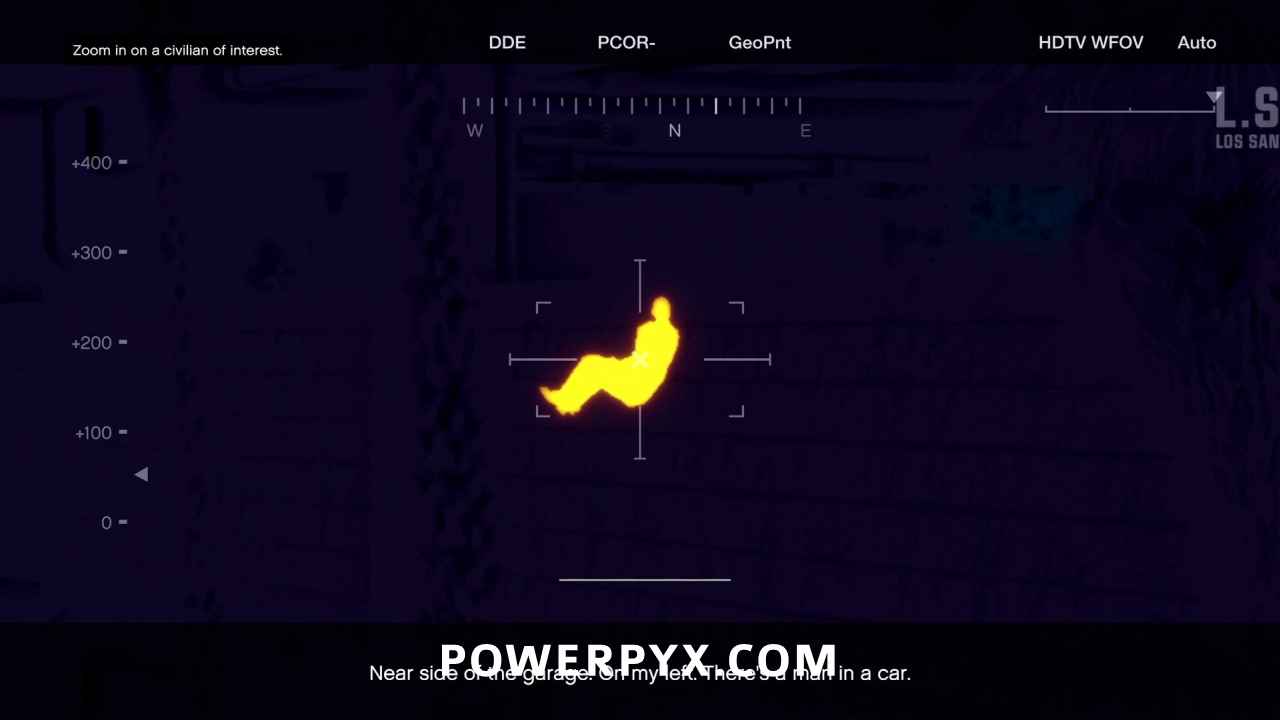
/  and scan the parking structure to see that there’s multiple people in the area. The next Gold Medal requirement will use this scan:
- I See You: Find Chad’s hiding place on the first attempt
The warm body you’re looking for is on the far left side of the carpark in a seated position. Center on the person and zoom in to identify him.
Get in the Z-Type
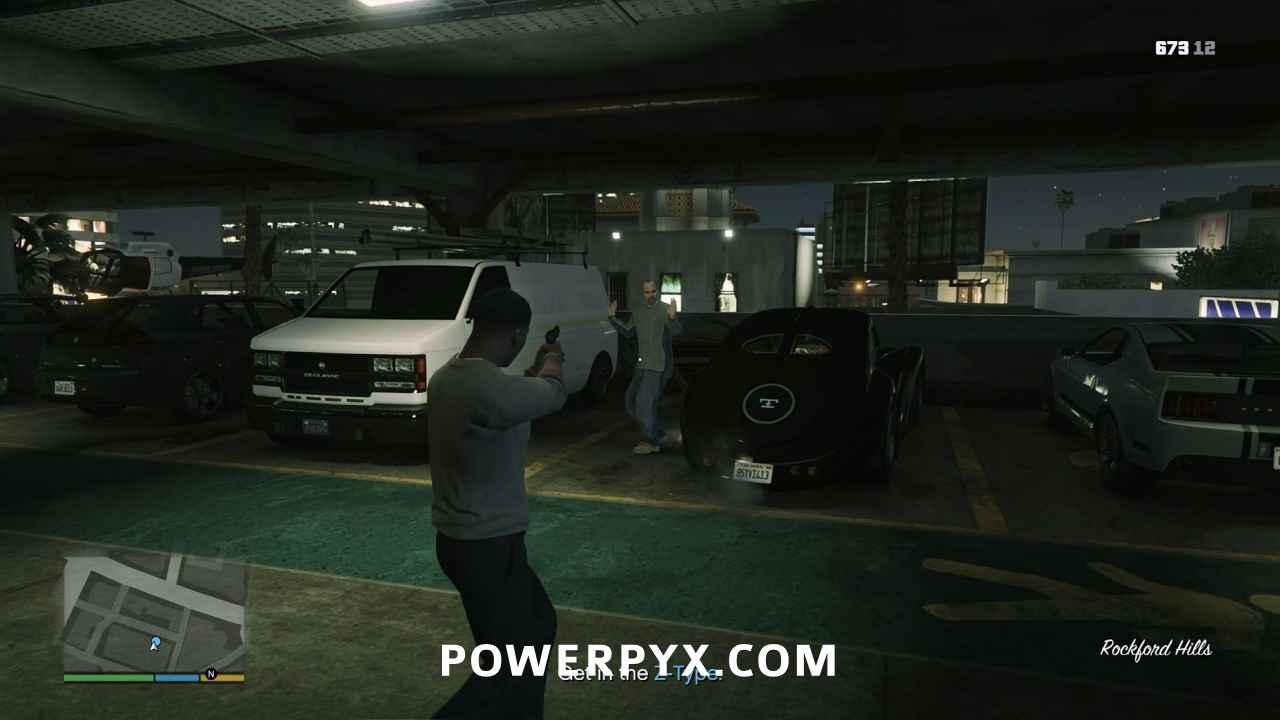
Control will automatically switch to Franklin. Either kill Chad or let him go, but afterward get into the Z-Type. Drive the car out of the garage, while Franklin phones Devin’s assistant to report his success.
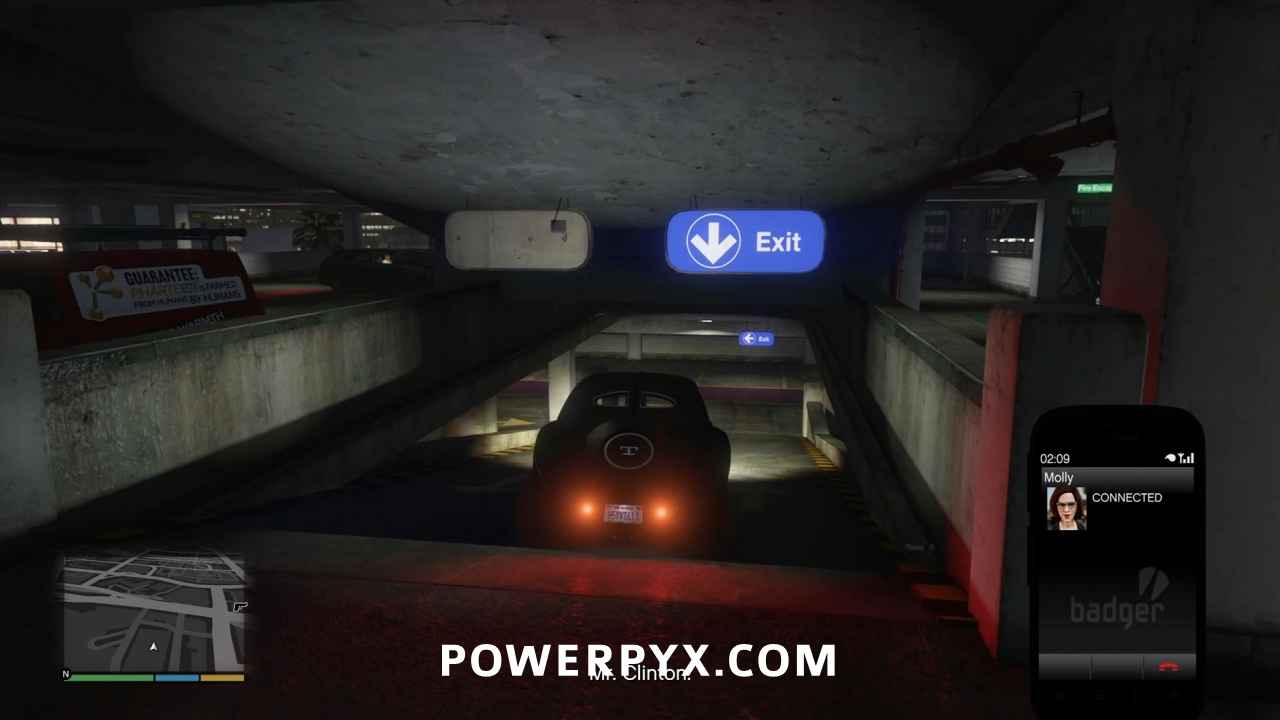
Get the Car to the Airport in Good Condition
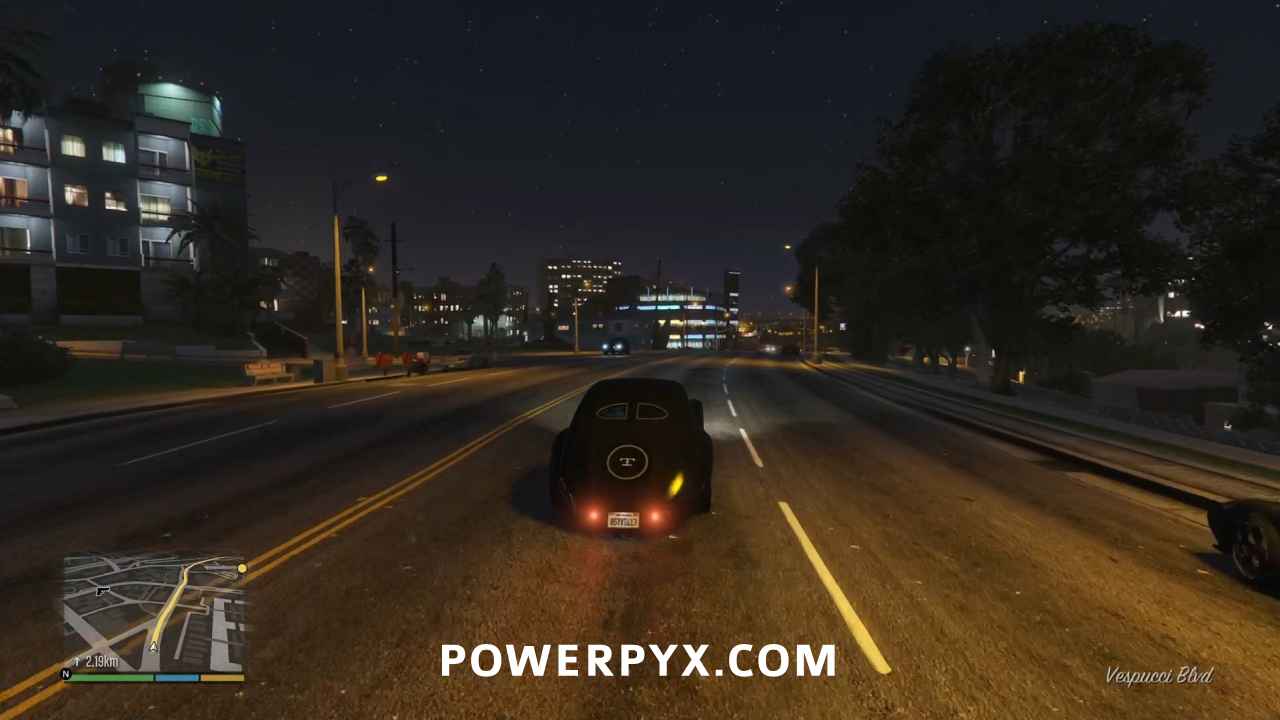
Drive to the objective marker cautiously, remembering the last Gold Medal requirement:
- Not a Scratch: Deliver the Z-Type with no damage
For this requirement, any damage will be a failure even if you stopped for a repair at Los Santos Customs on the way. There is no time requirement, so drive carefully. Drop the car off at Devin Weston’s hangar, and the mission will be completed.
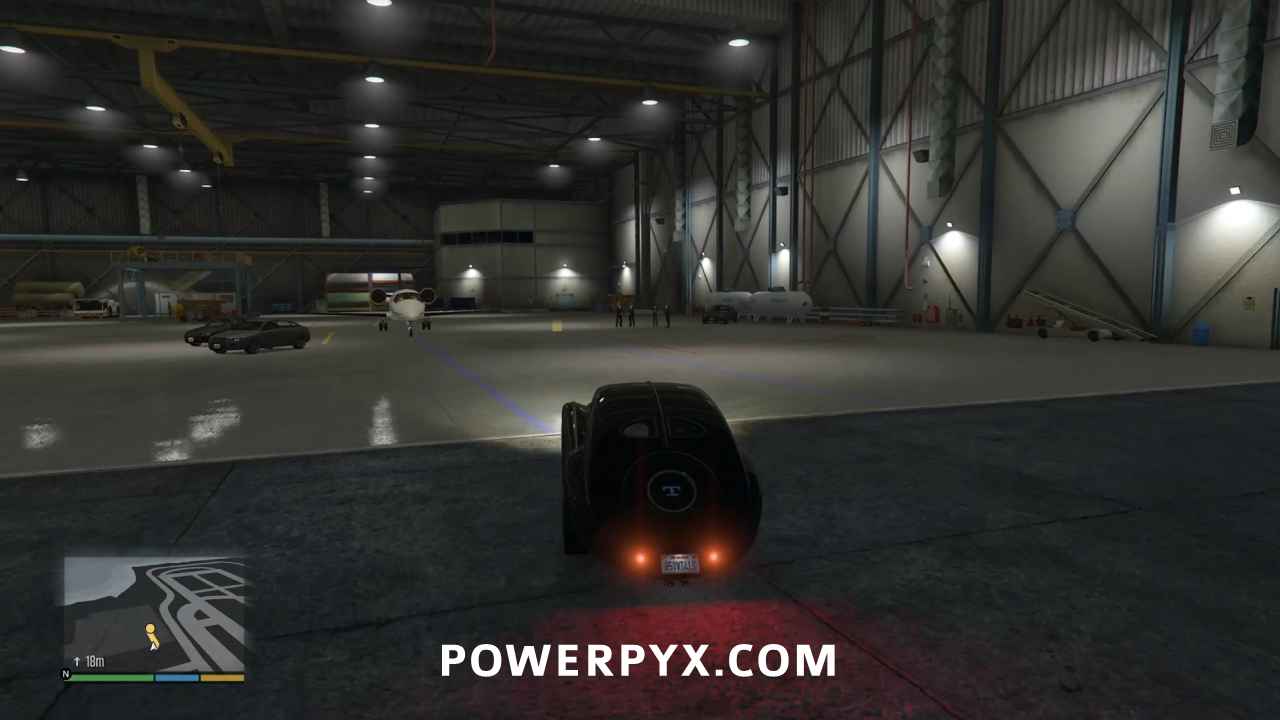
This finishes Eye in the Sky in GTA V.
For all other Missions refer to GTA V Walkthrough.
This walkthrough has been updated for the Enhanced Version on PC / PS5 / PS4 / Xbox Series S/X and is also still applicable to the Legacy version.
Leave a Reply