
The Merryweather Heist (Freighter Approach) is the 27th main story mission in GTA V (Grand Theft Auto 5). This walkthrough shows how to get all Gold Medals in The Merryweather Heist (Freighter Approach) for 100% completion. For the opposite mission path “Off-Shore Approach” refer to The Merryweather Heist (Off-Shore Approach), the mission depends on the player’s choice.
Gold Medal Requirements:
- Headshots: Kill 12 enemies with a headshot
- Accuracy: Finish with a shooting accuracy of at least 80%
- Ninja: Kill 12 enemies using stealth attacks
- Container Hunter: Find the container within 01:00
- No Alarms: Get to the ship interior without being detected
Walkthrough Video

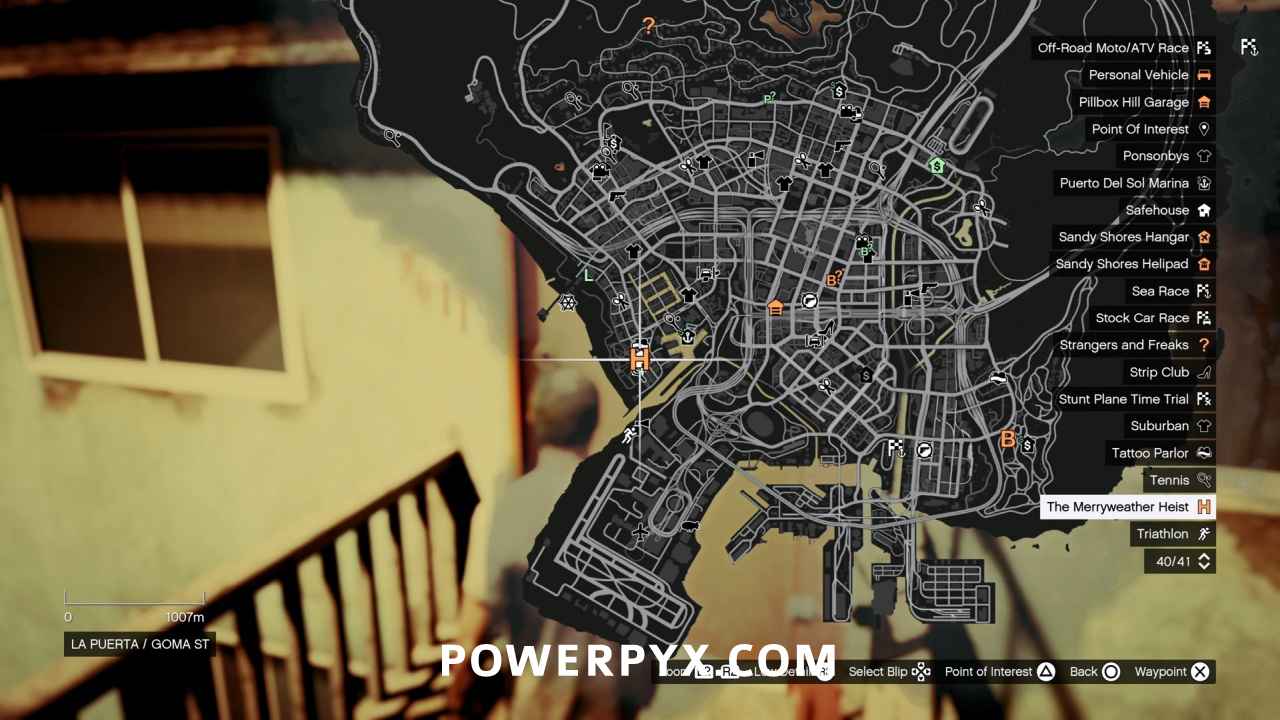
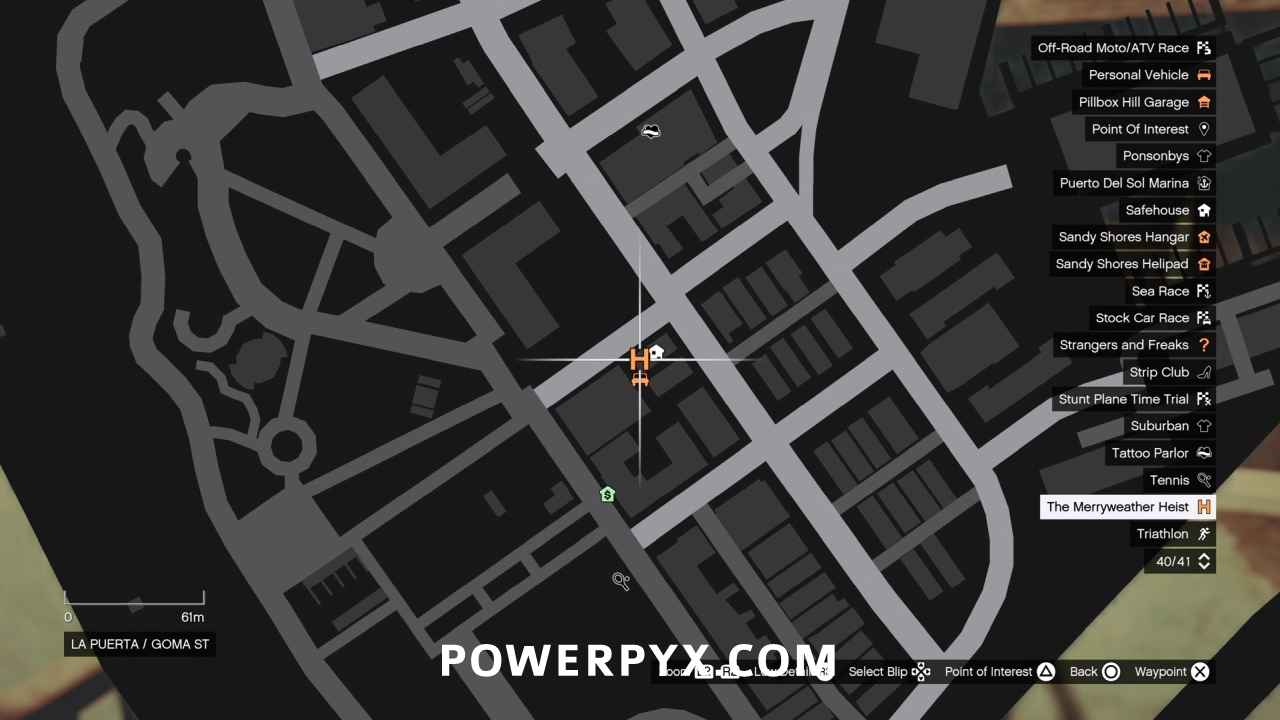
Starting Location: The Merryweather Heist (Freighter Approach)
- Location: La Puerta / Goma St. / Floyd’s Condo
- Quest Giver: Trevor
- Requirement: Complete “Scouting the Port” and “Minisub“
- Can Be Started By: Franklin, Michael, Trevor
Drive to the Bridge
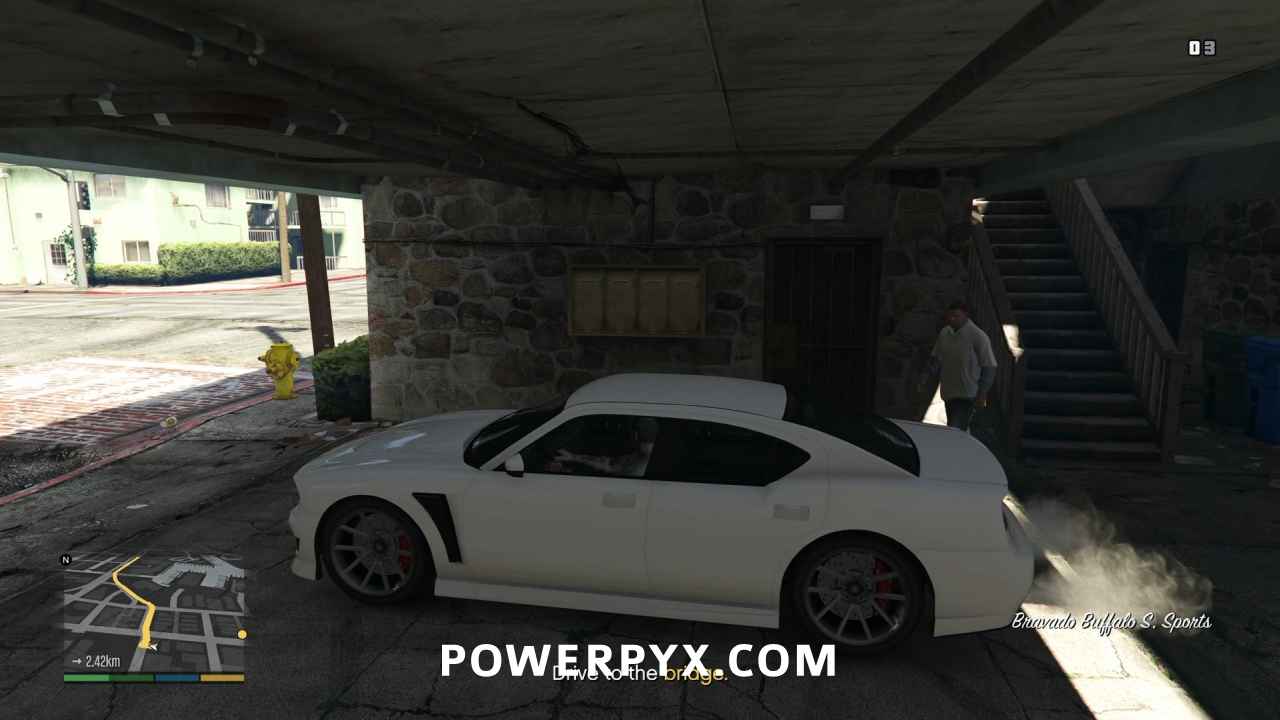
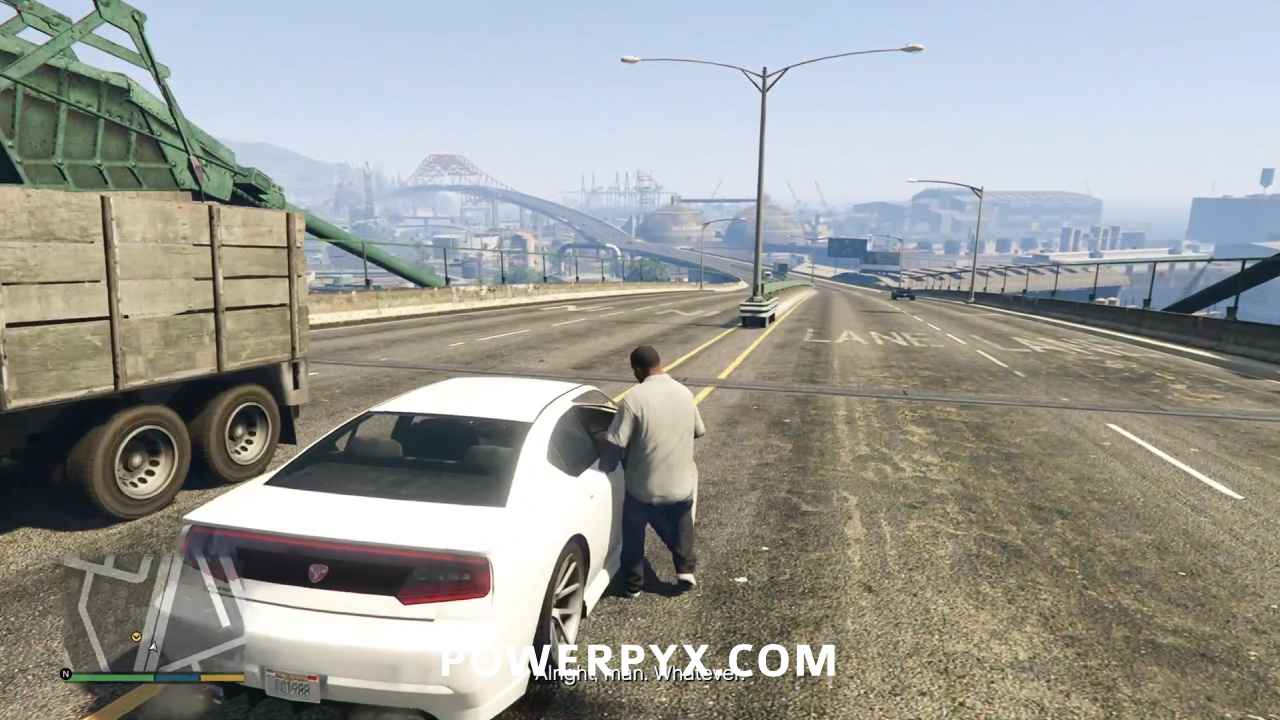
Control will switch to Trevor after the opening cinematic, and you will have to drive Franklin to the La Puerta Freeway bridge where he can set up a sniper position. For extra insult, drive him in his own car.
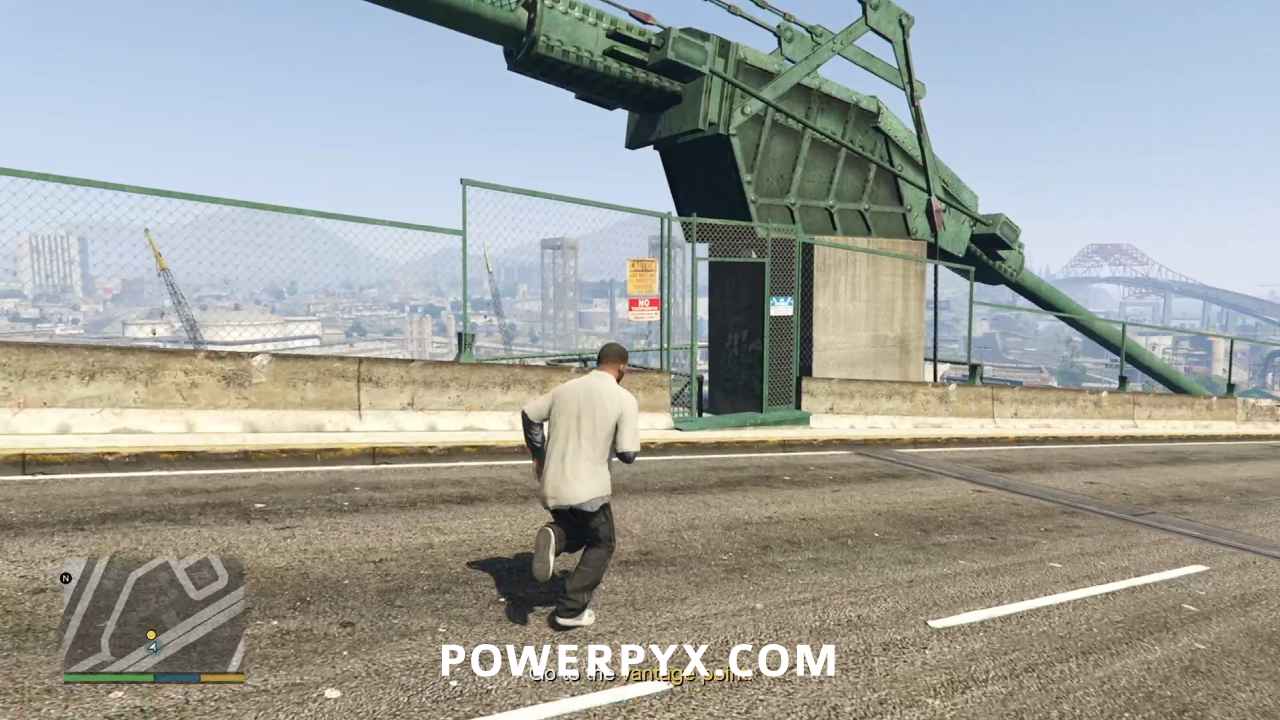
Go to the Vantage Point
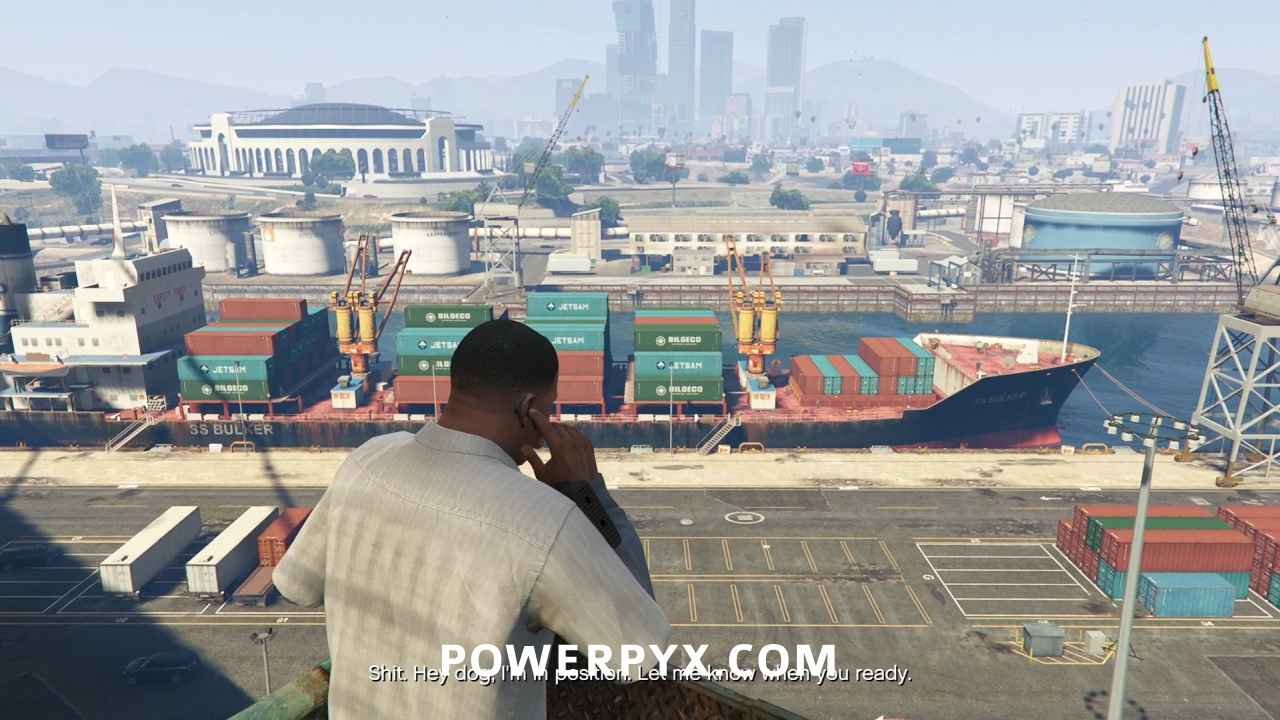
Now as Franklin, cross traffic and go through the door in the chain link fence. At the bottom of the stairs, Franklin sets up his position and time will advance to dusk.
Snipe the Enemies
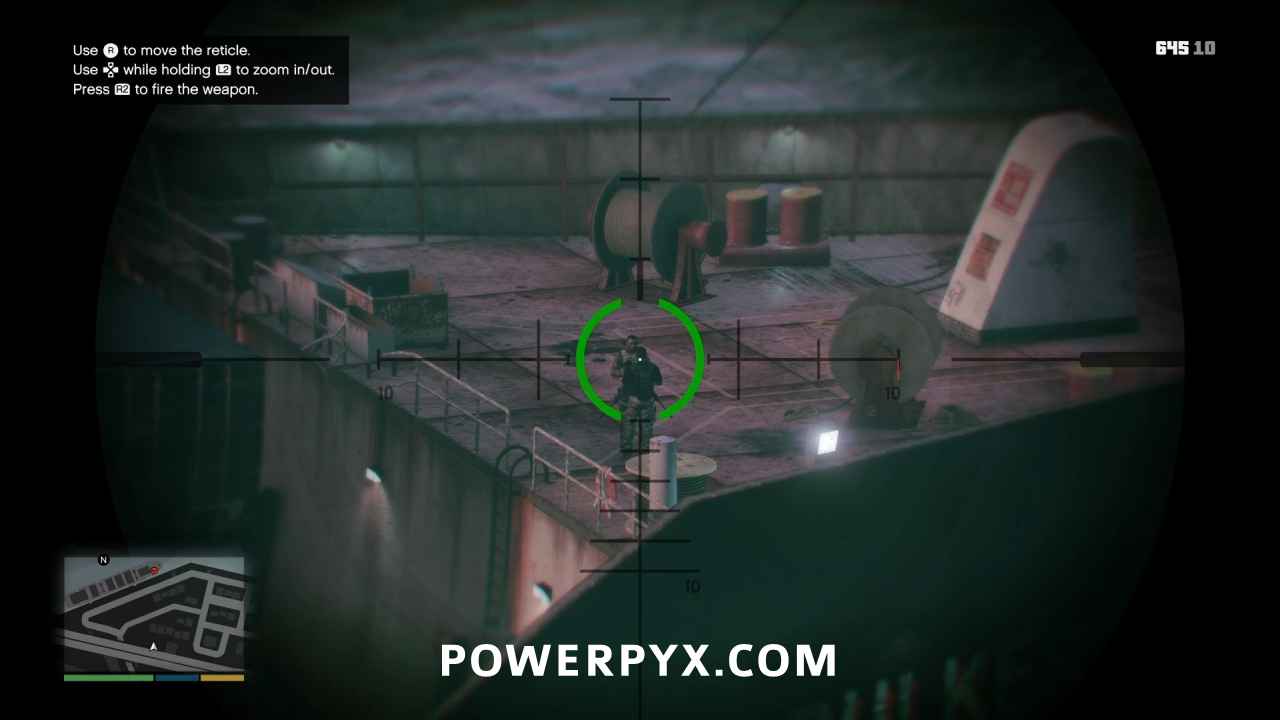
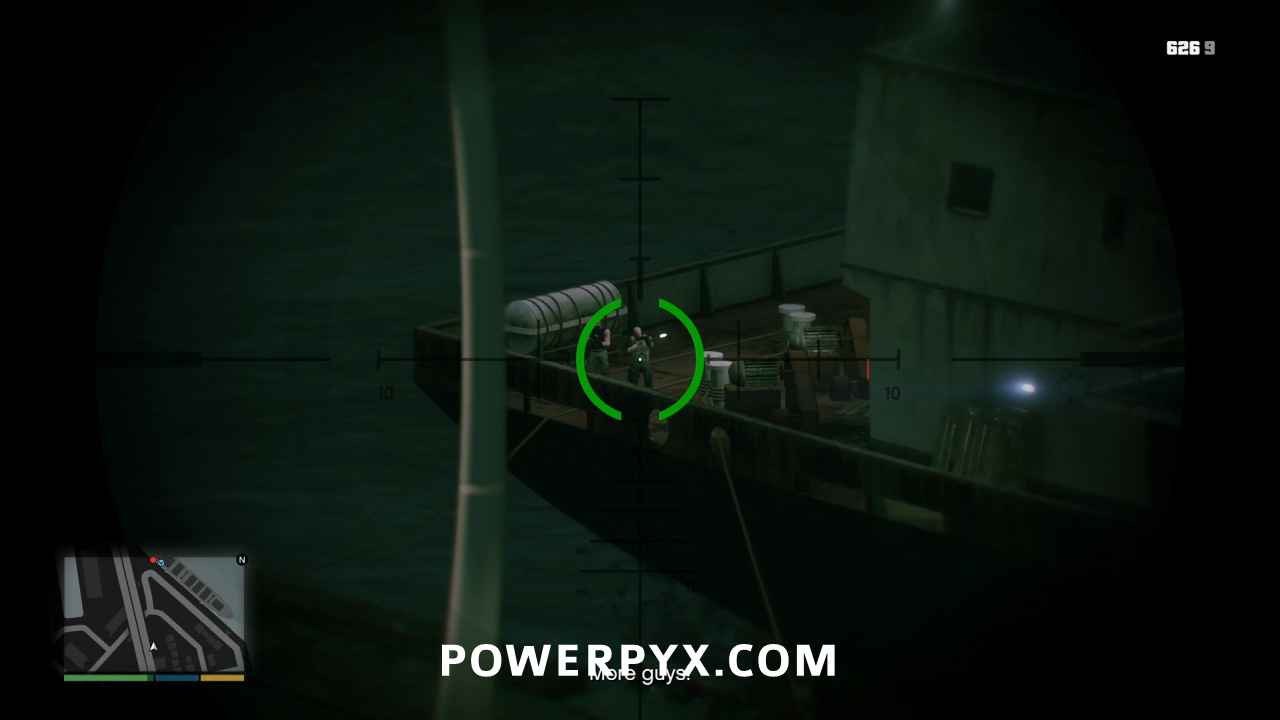
Michael will wait for Franklin to let him know when it’s clear to climb up onto the foredeck. There are two guards to take out, so better remember your Gold Medal requirements:
- Headshots: Kill 12 enemies with a headshot
- Accuracy: Finish with a shooting accuracy of at least 80%
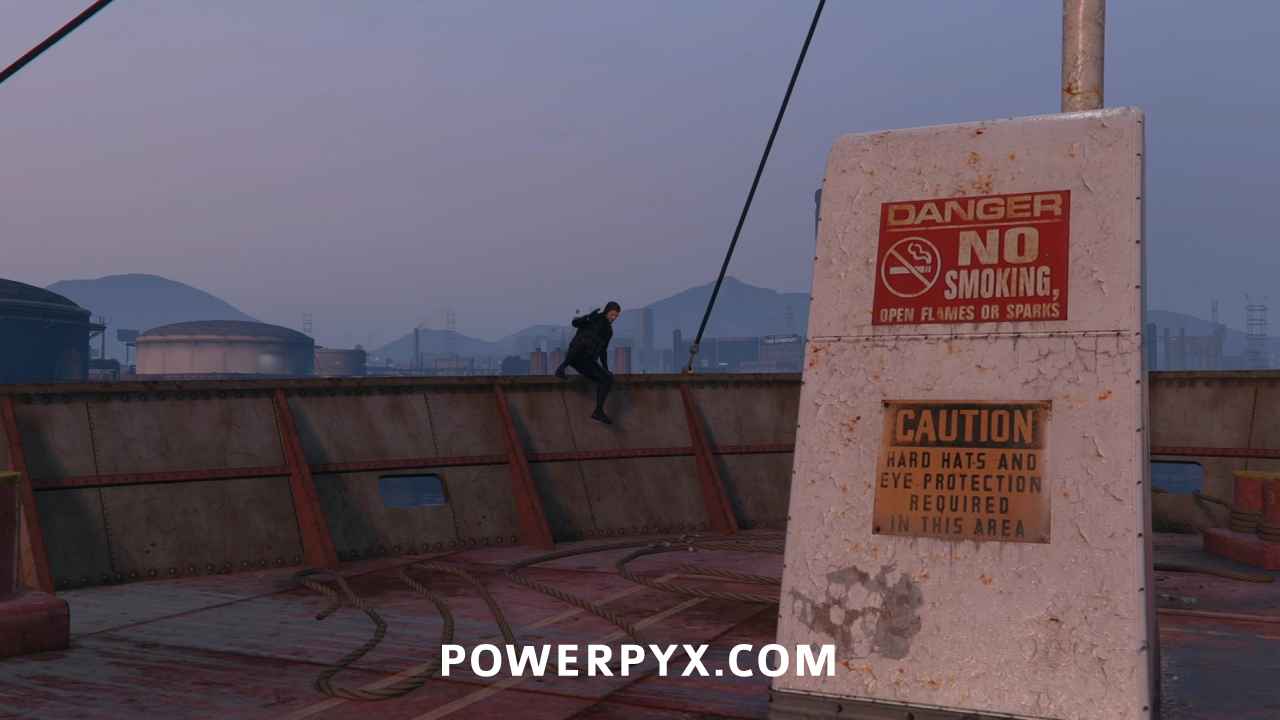
The guards are talking and don’t show any signs of leaving any time soon. You can kill them both with one shot, though only one will be a headshot. With the coast clear, Michael boards the ship.
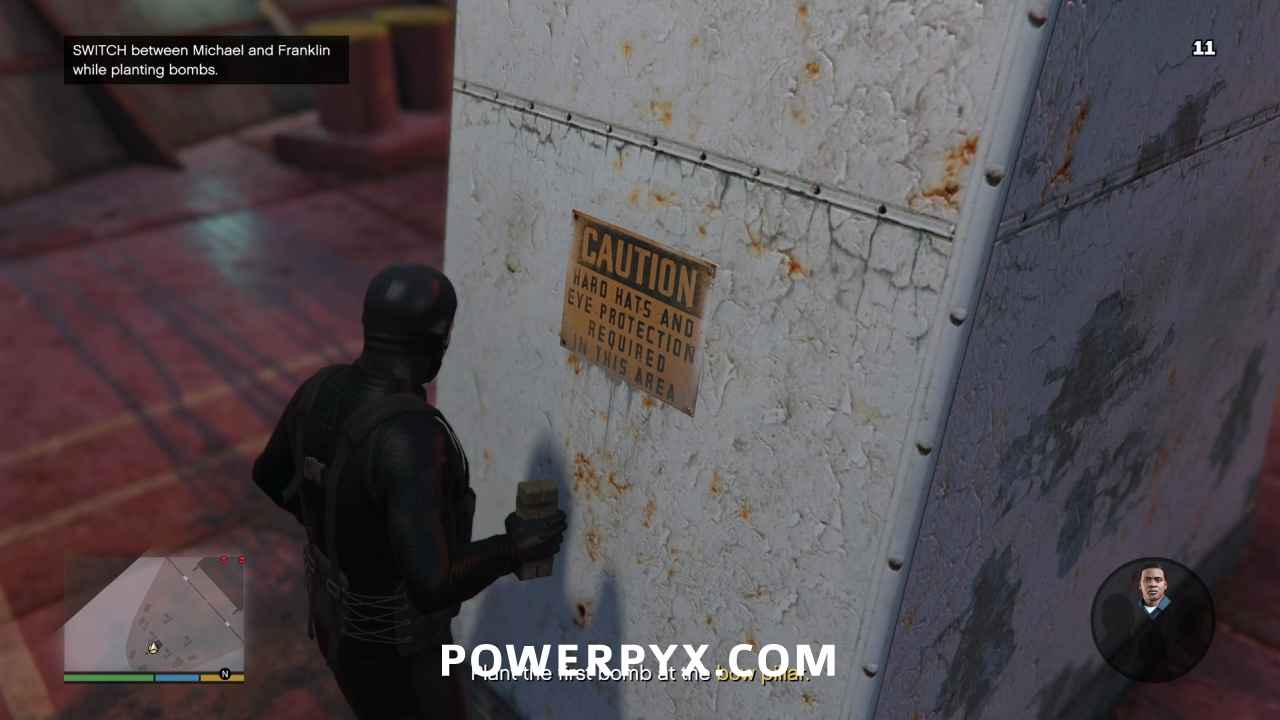
Plant the First Bomb at the Bow Pillar
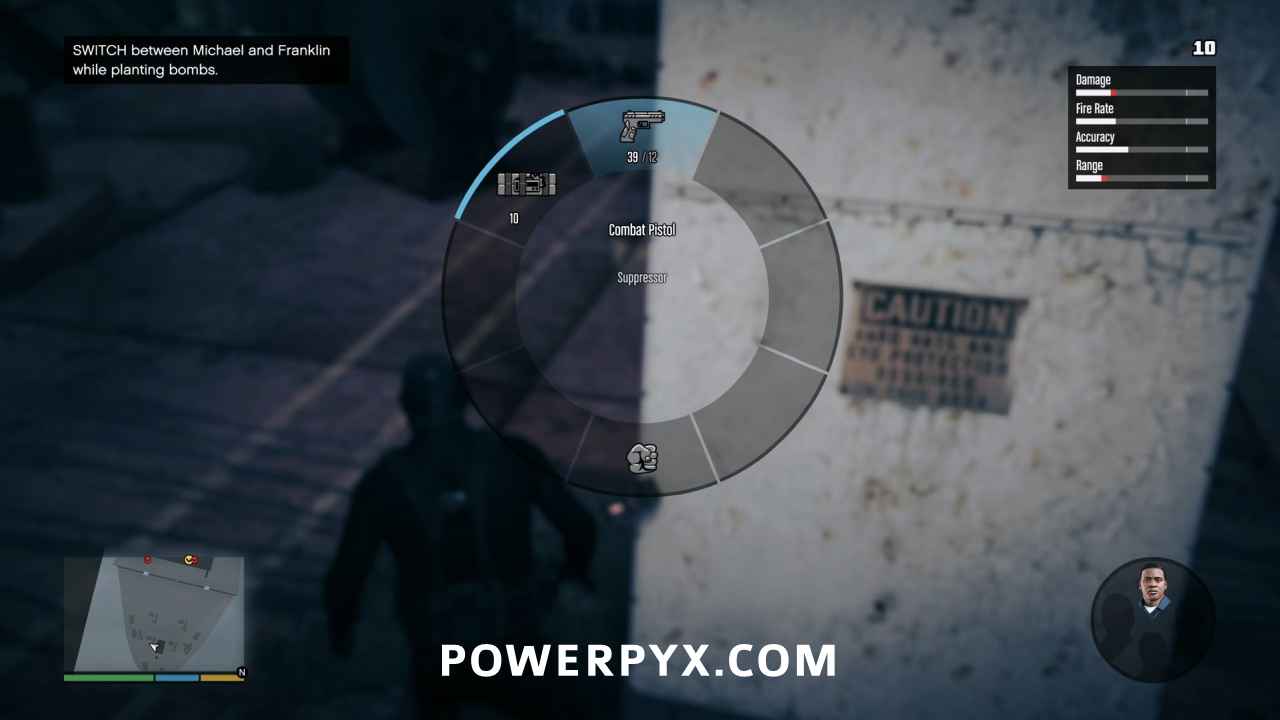
You can pass control back and forth between Michael and Franklin during this sequence, and Michael also has a silenced pistol so you can also get headshots with him. Be sure to use his special ability when you do, to ensure he gets a suitable kill before detection because of the next two Gold Medal requirement:
- No Alarms: Get to the ship interior without being detected
- Ninja: Kill 12 enemies using stealth attacks
If you switch back to Franklin, Michael will continue to plant bombs but he’ll rely on your sniper rifle to take care of business. In the meantime, go into stealth mode and plant the first bomb then make sure to switch back to your suppressed pistol.
Plant the Second Bomb at the First Mast
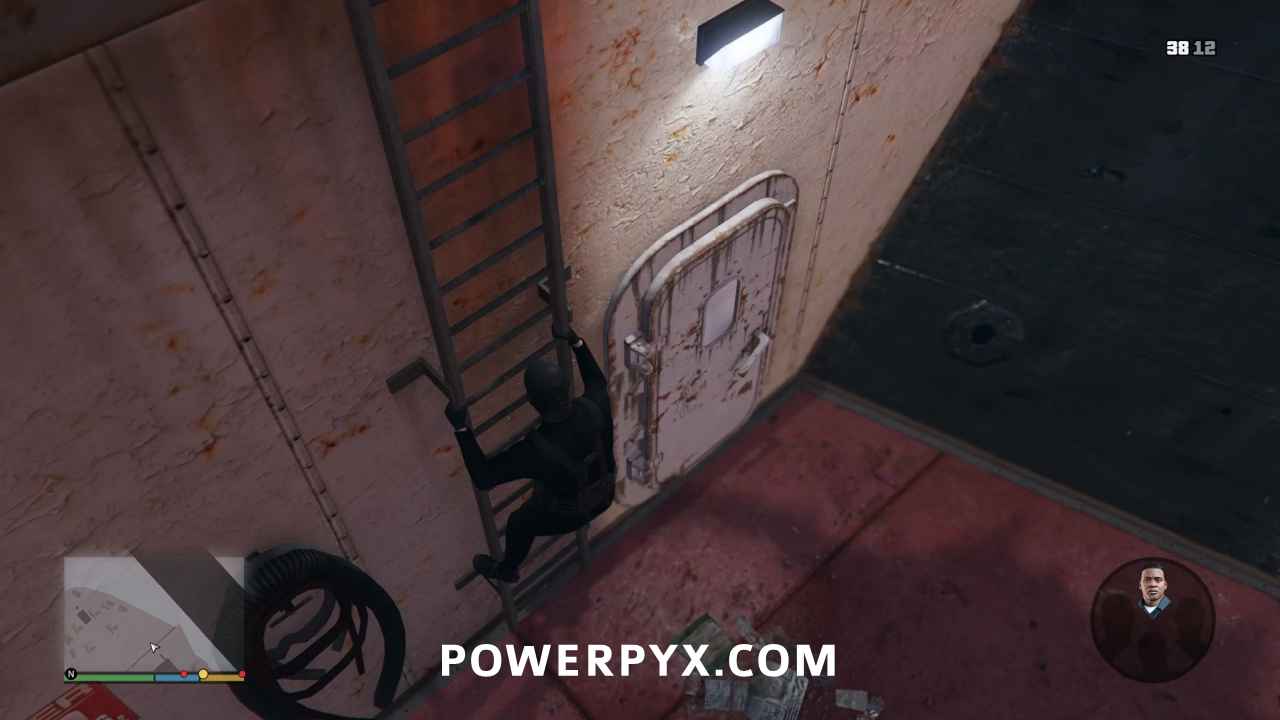
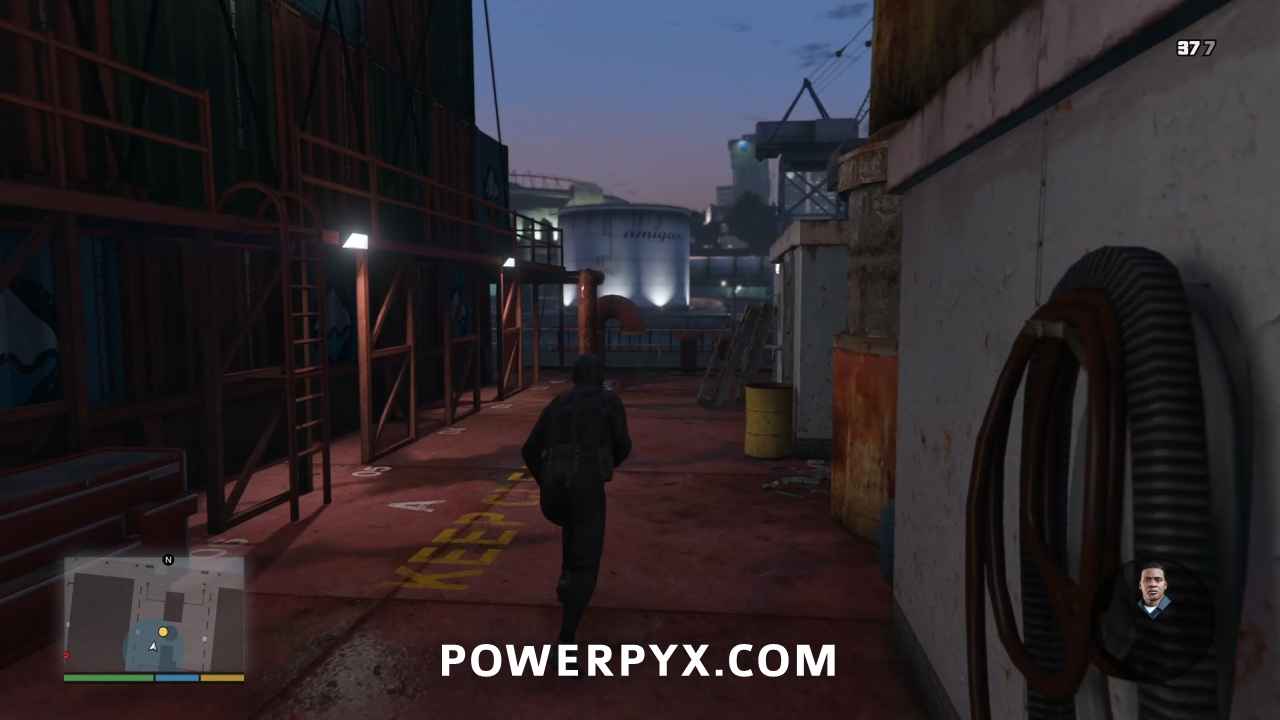
Before you climb down to the main deck, take out the guard patrolling around the stack of containers at the bottom of the ladder. Try to wait until he’s around the corner so the body will be hidden, then climb down the ladder.
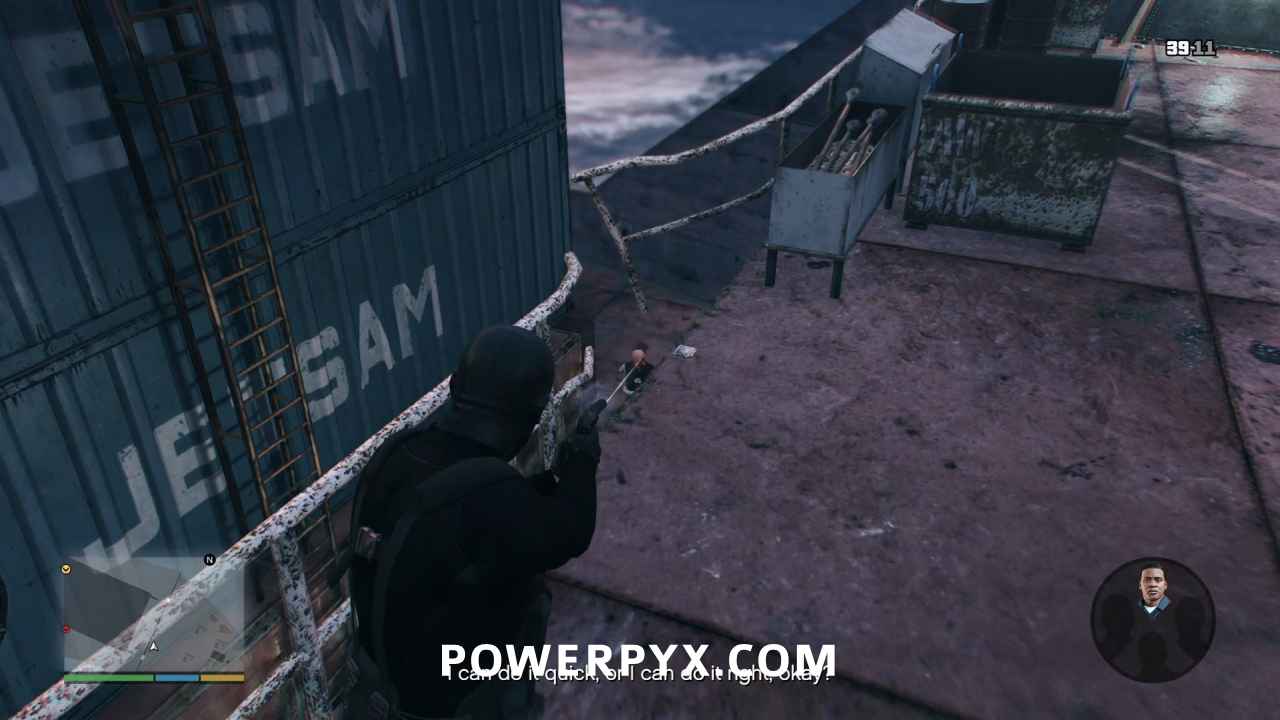
Quickly kill this soldier at the top of the gangway with a headshot, before Franklin steals your kill. Then be ready for another patrolling guard near the mast who will see the other corpse if you don’t act quick.
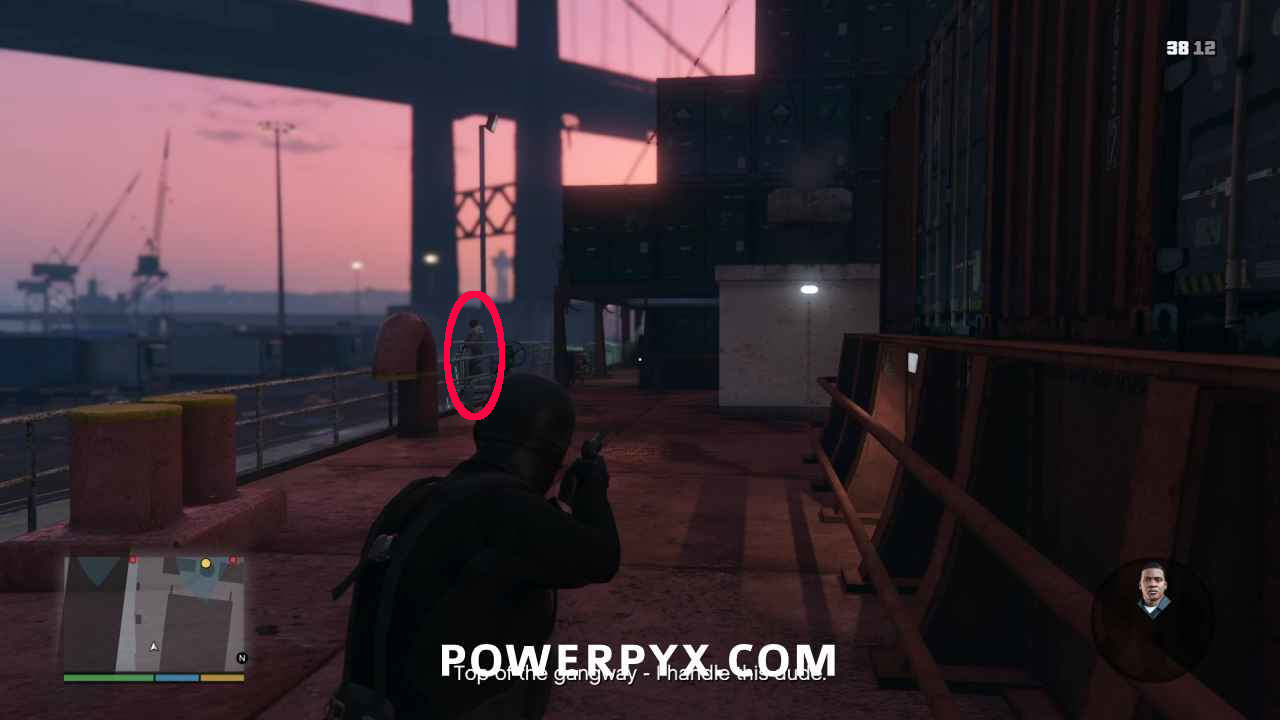
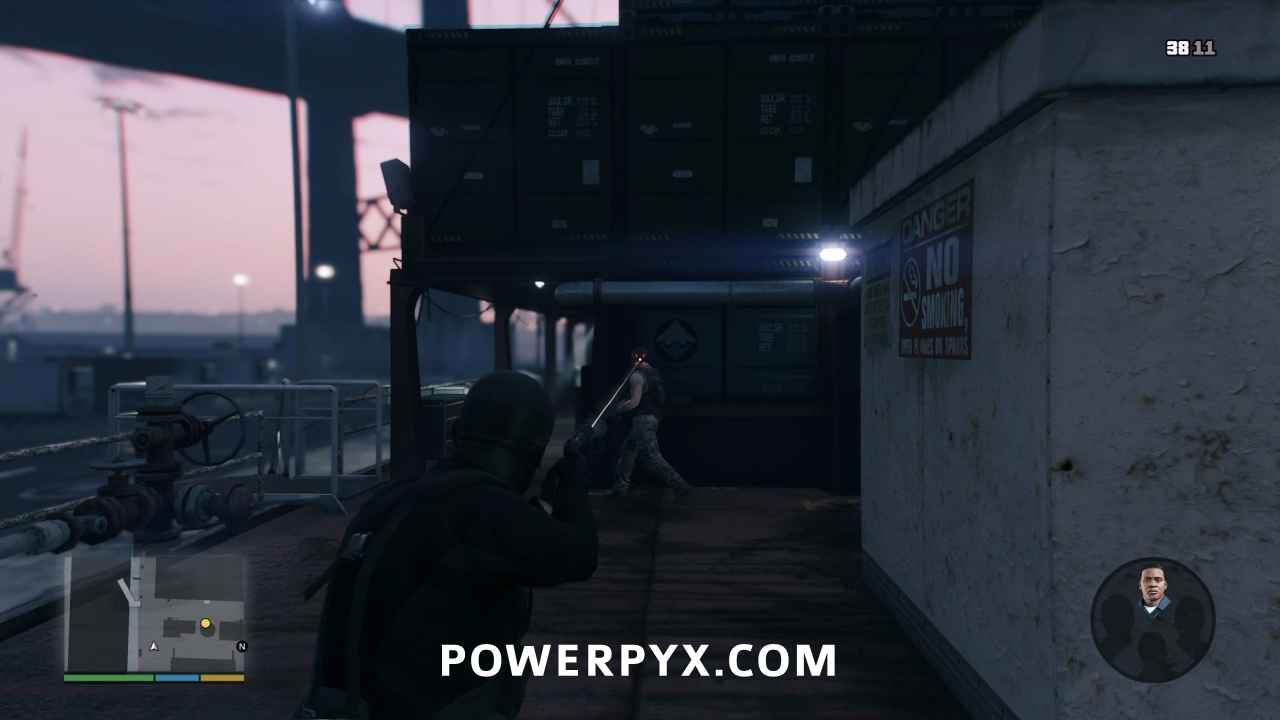
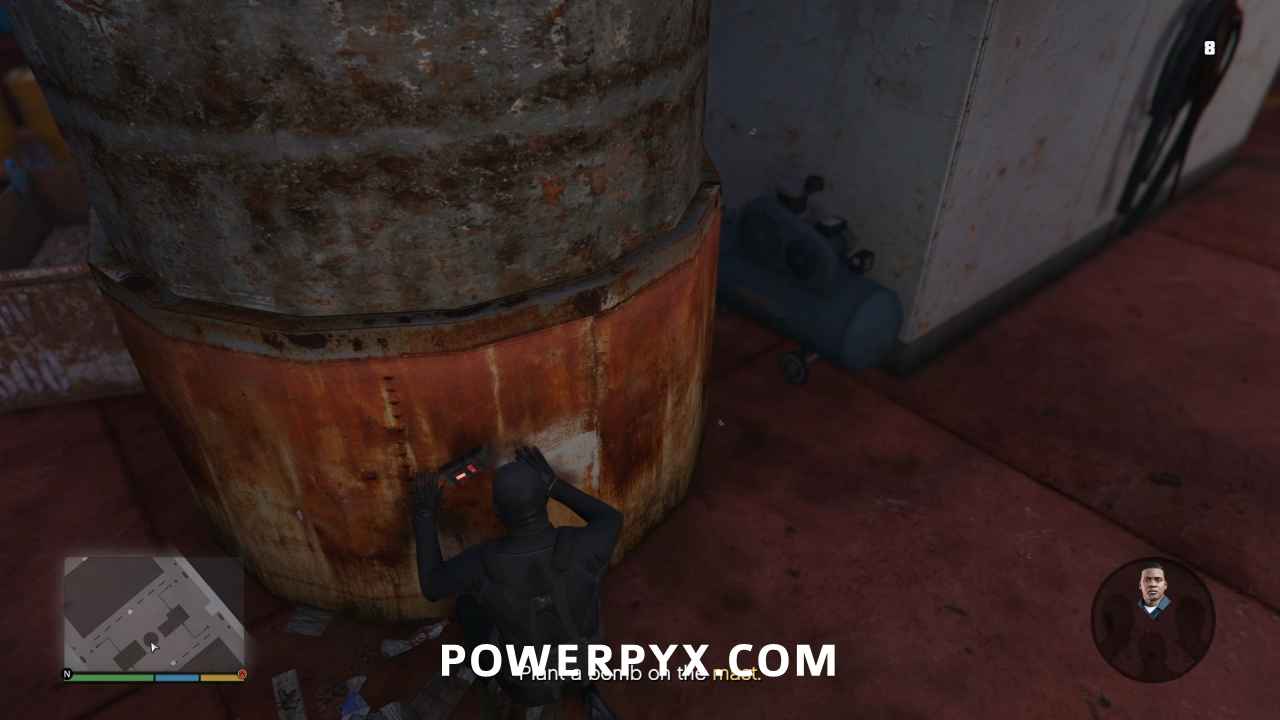
With that soldier dead, you are clear to plant the second bomb on the mast.
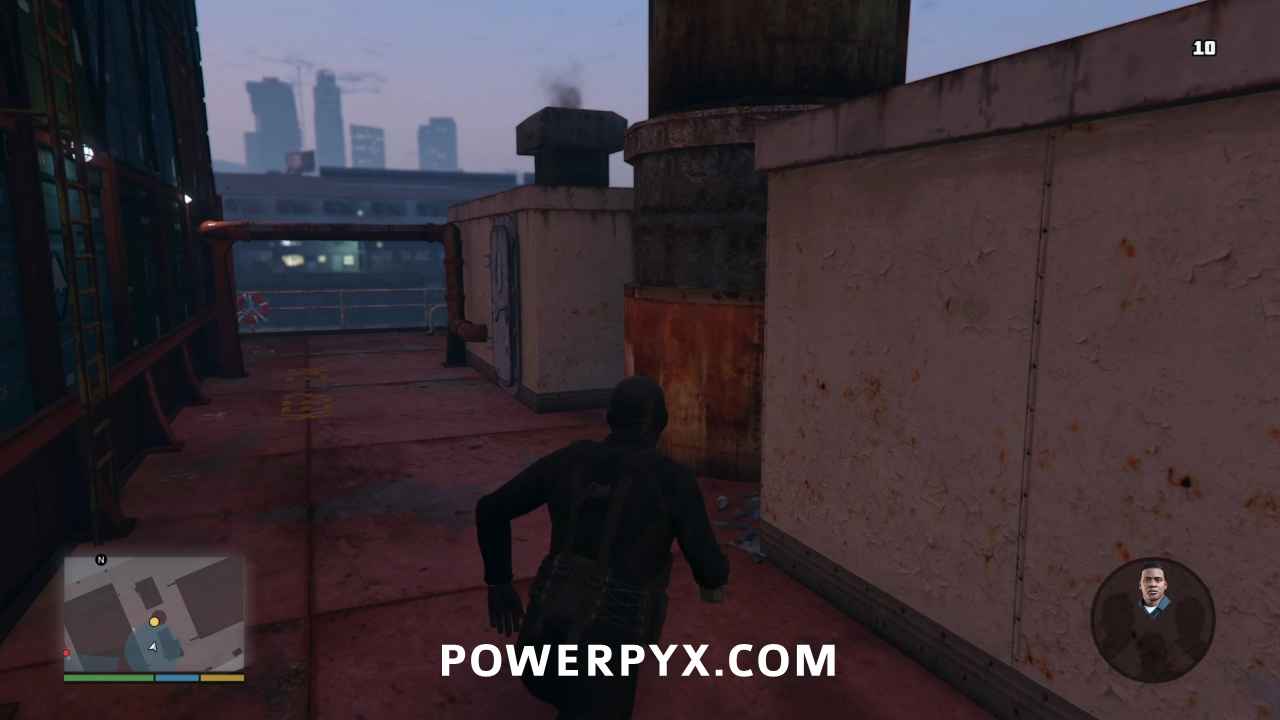
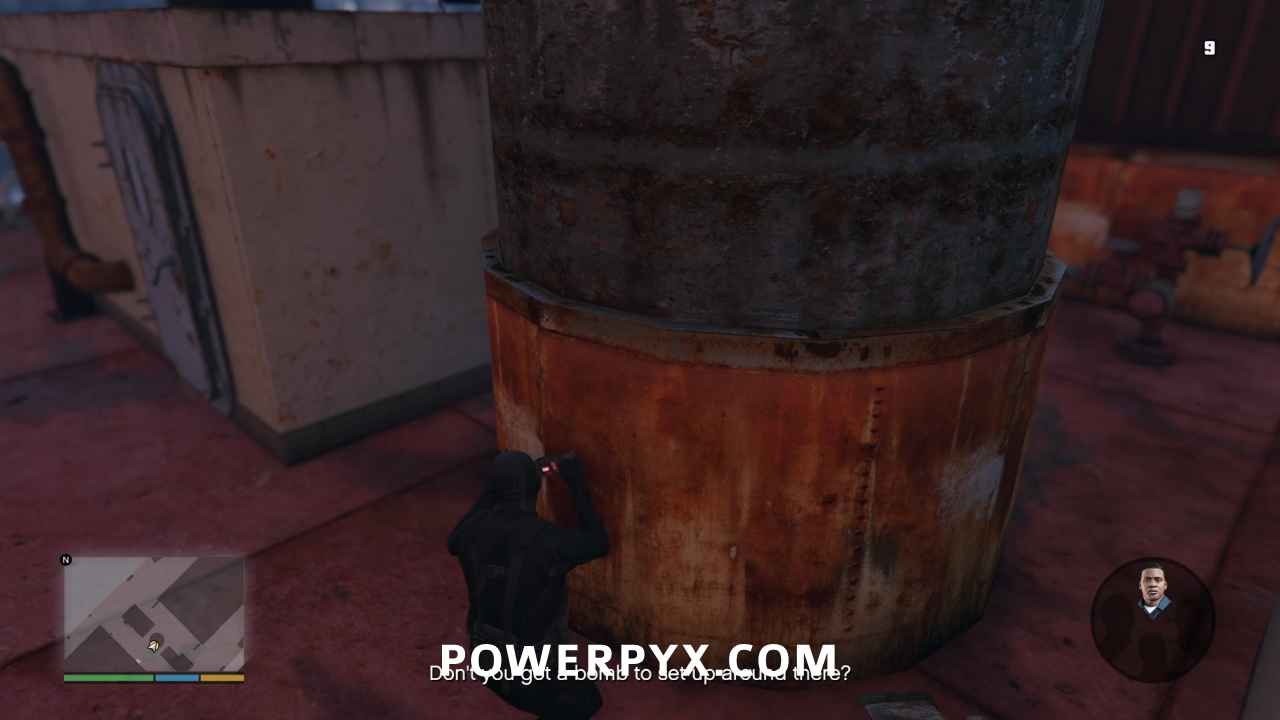
Plant the Third Bomb at the Second Mast
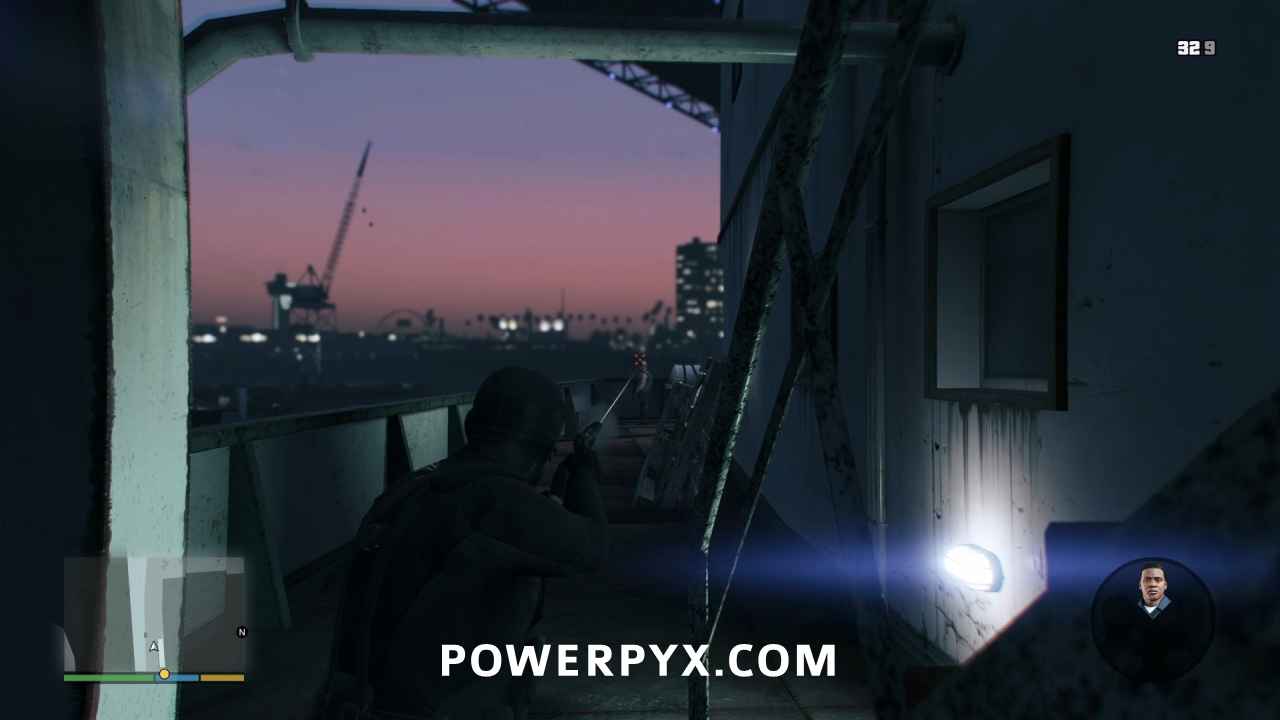
Switching back to your suppressed pistol, head back to the side of the ship Franklin is covering and continue in stealth mode towards the stern. There will be another soldier patrolling the hallway between sections that will emerge and turn away from you. Pop him in the back of the head. Next hallway down, the same thing happens with another soldier. If only they’d patrolled counterclockwise.
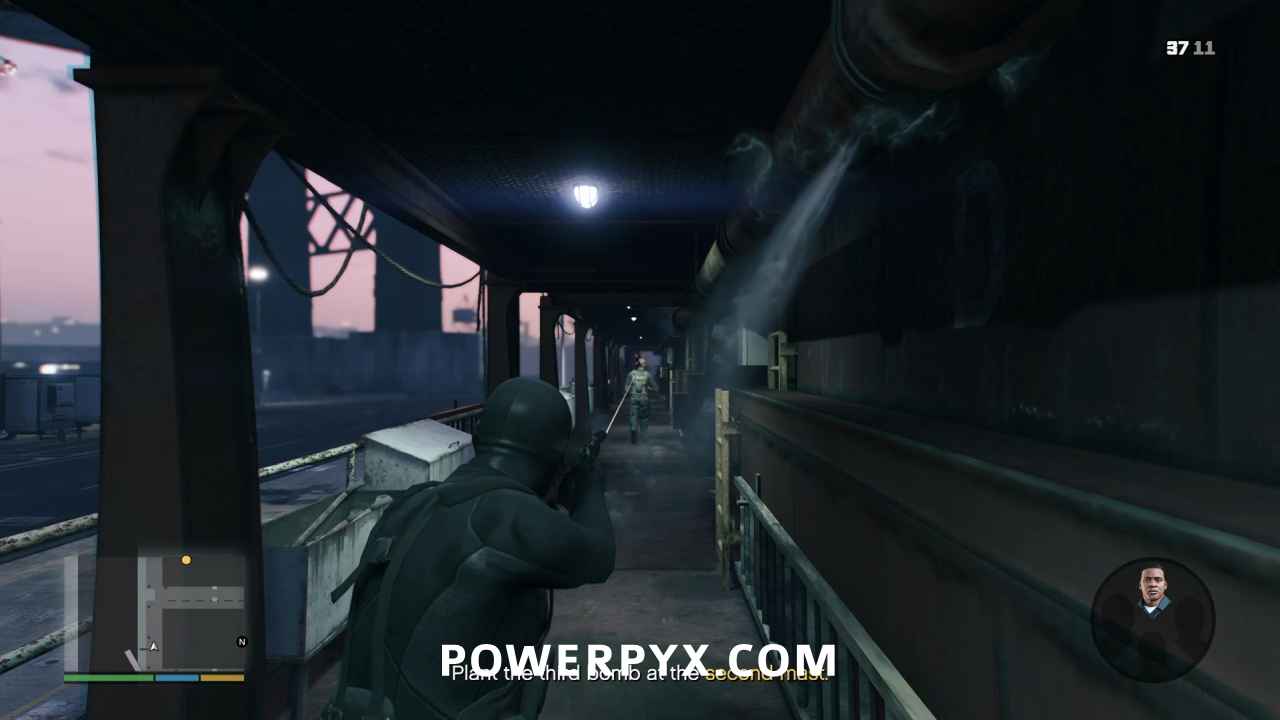
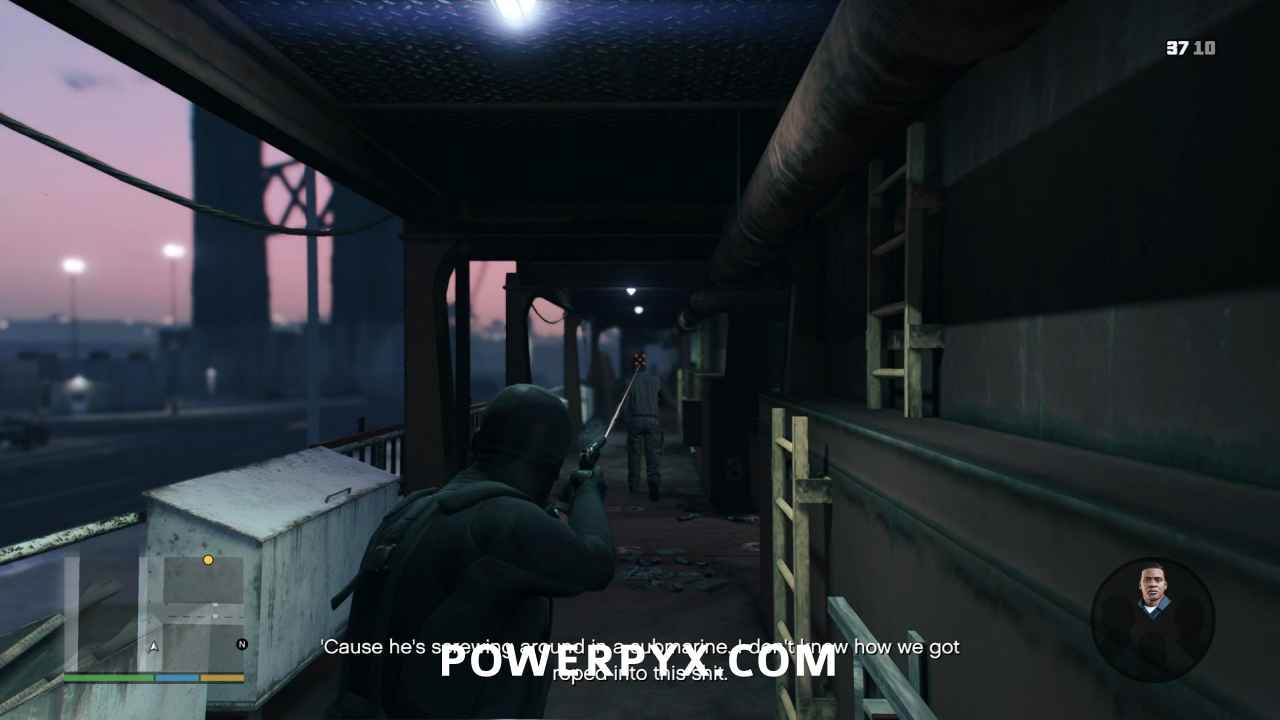
There will be a larger open section where the walkway above you ends and you’ll be able to see a soldier on the level above you, as well as a soldier patrolling below him, who will also turn away from you. Shoot the soldier on the level above first, then the soldier below. If you do it in reverse, you risk alerting the guard above and will have to race to kill him before he raises the alarm.
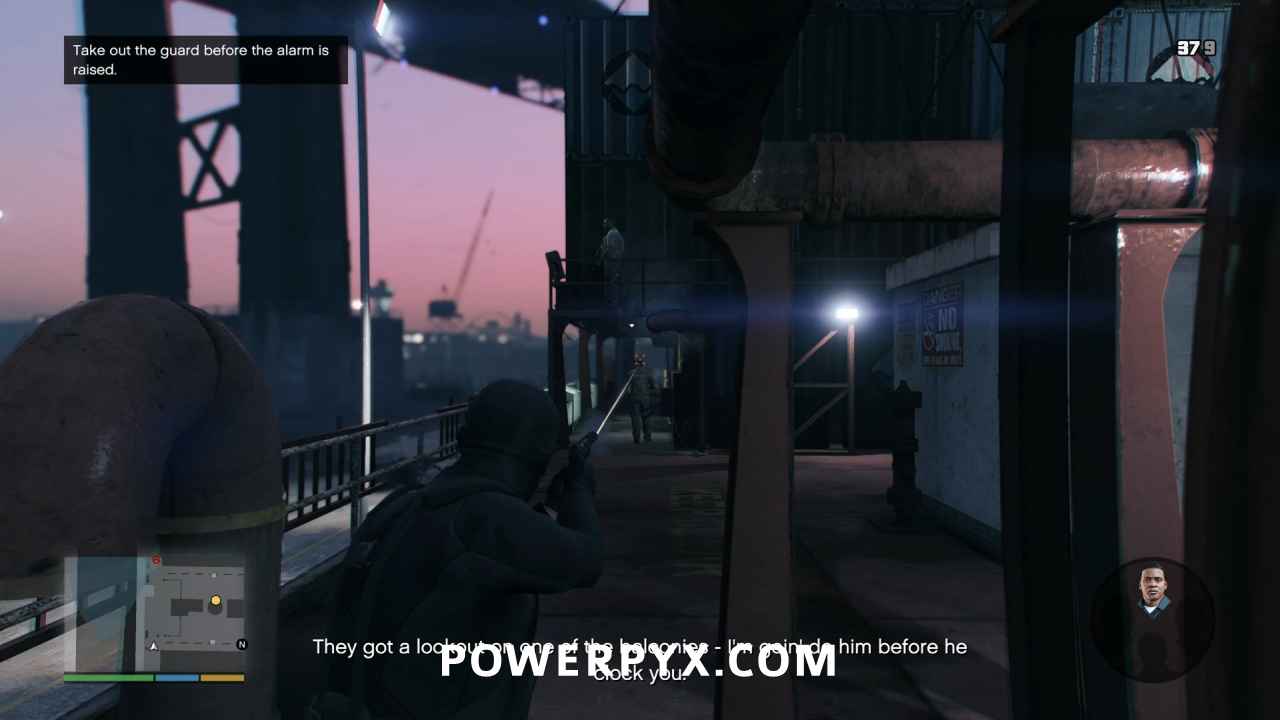
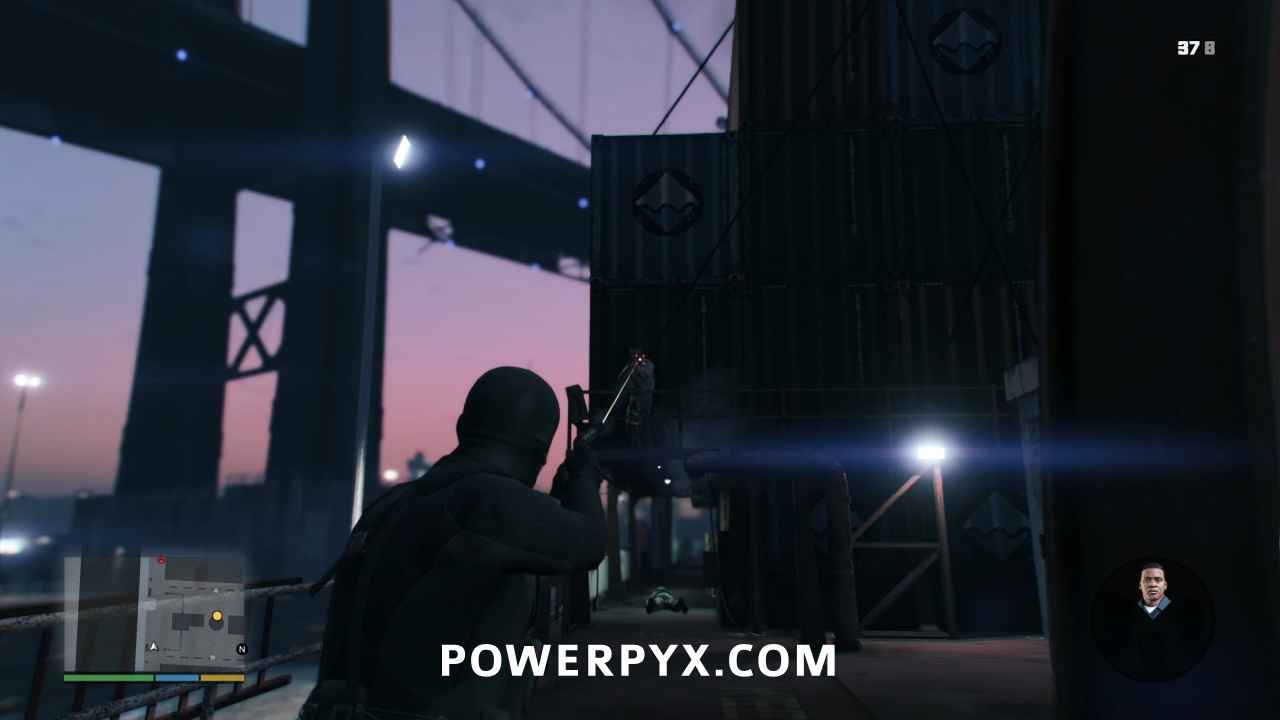
You will then be able to plant the third bomb.
Go to the Ship’s Stern Entrance
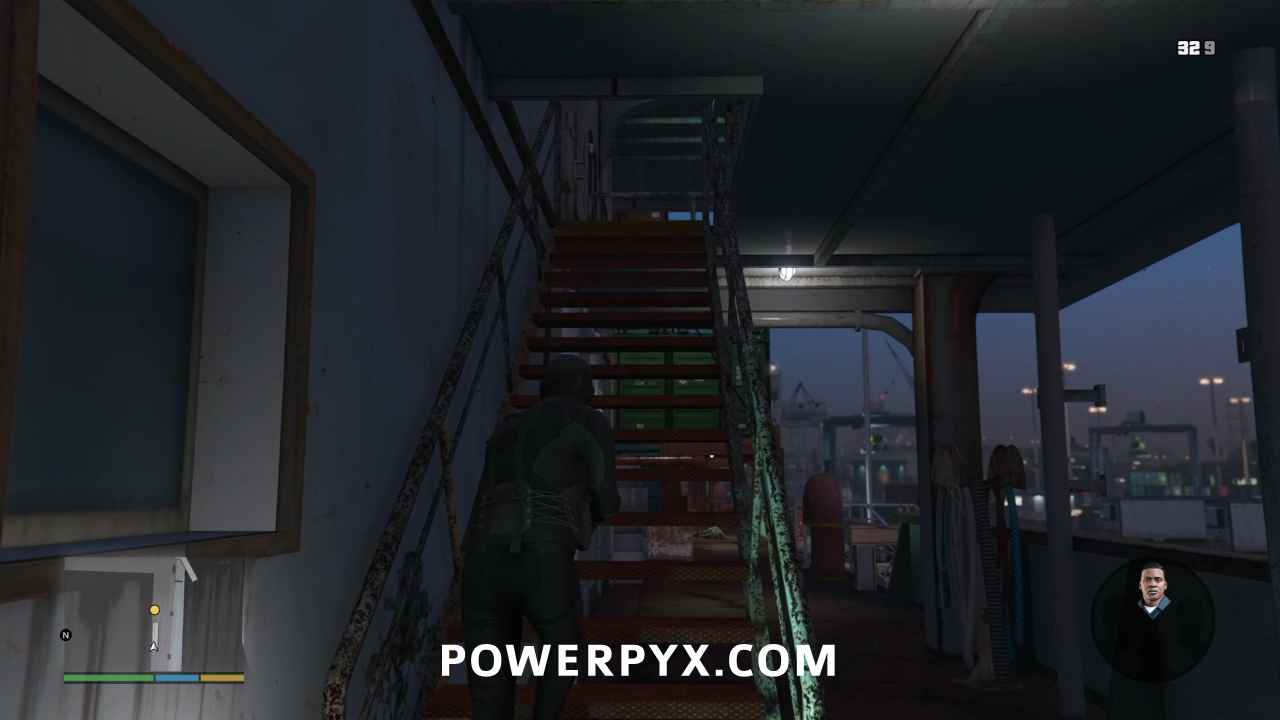
Kill the soldier at the top of the stern gangway, then the soldier who is patrolling the level above by the stairs. Make sure he’s walking away from you before you move into sight.
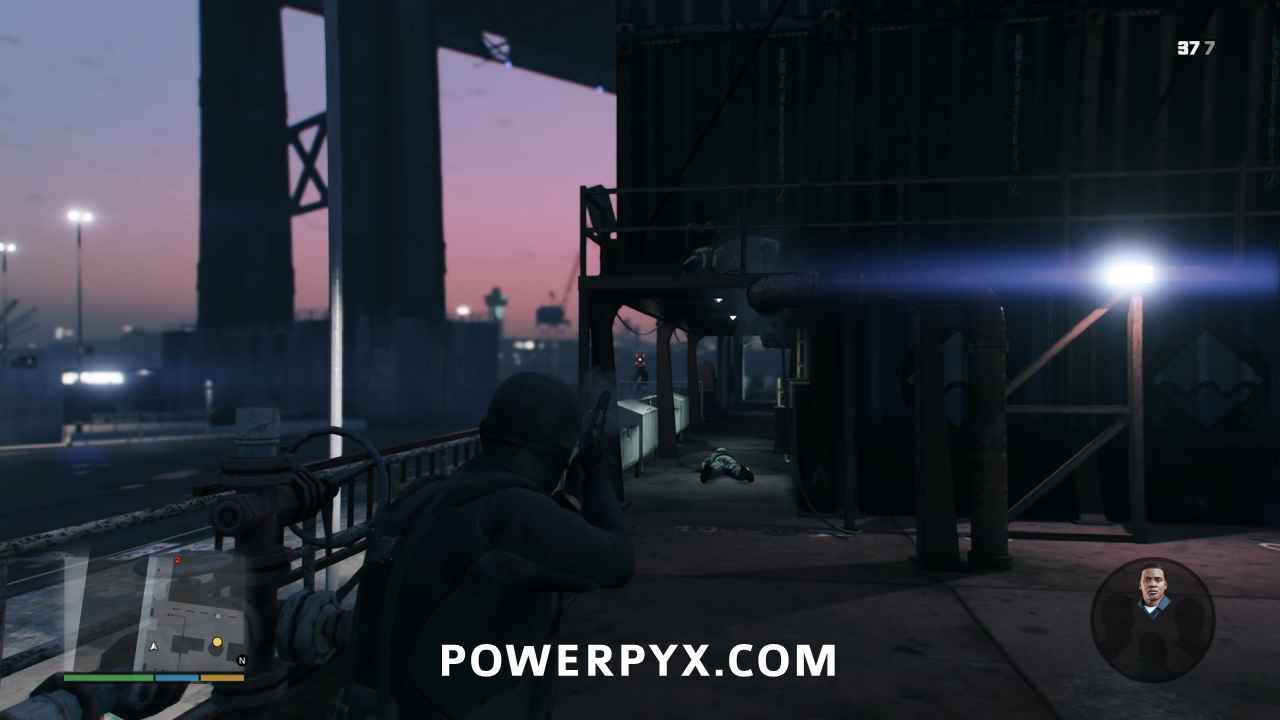
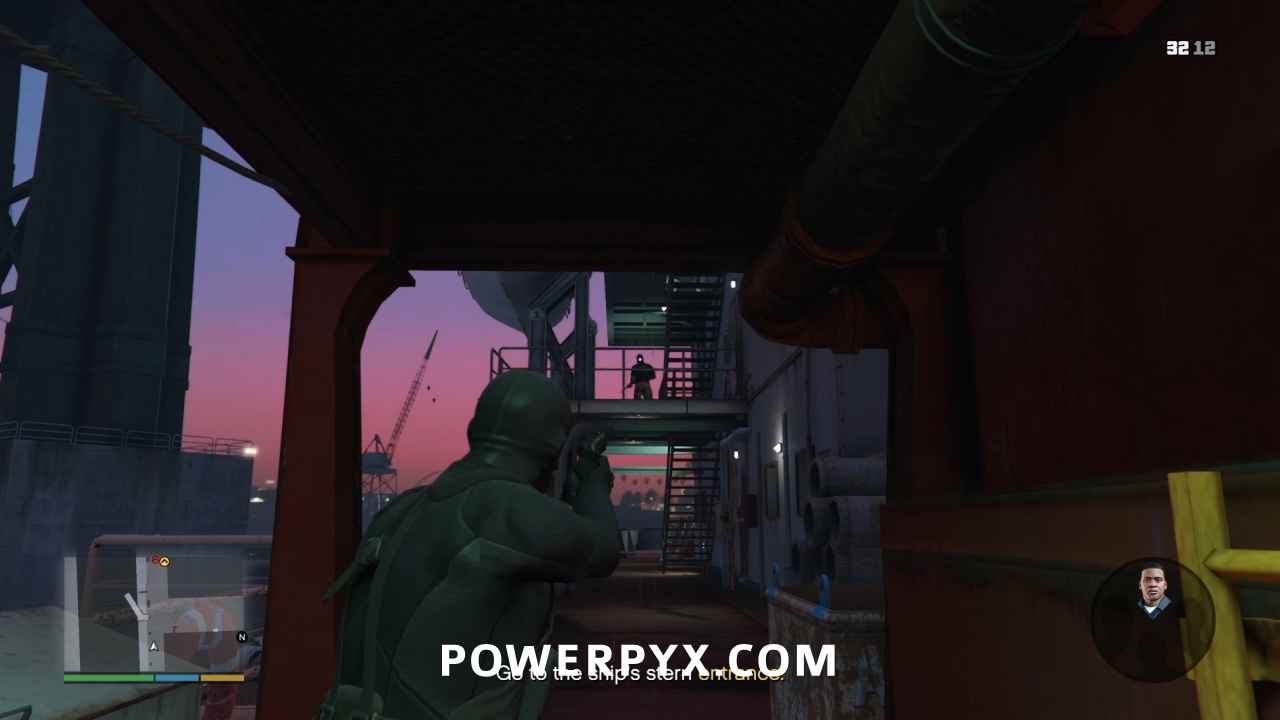
Before you climb the stairs, take care of a guard that is patrolling right at the stern of the ship. Then head up the stairs and trigger a cinematic of Michael entering the ship.
Fight Off Merryweather
Looks like the jig is up. With alarms blaring, you automatically switch to Franklin to start pacifying Merryweather’s armed response. Kill the two guys on the deck, then deal with four soldiers in an SUV that roll up in front of the ship and start shooting up at Franklin. FYI, they have bulletproof windows, so don’t waste your ammo until they get out. Also, if you’re having trouble seeing the guards in the darkness, remember that you have thermal imaging on your sniper rifle that you can use by pressing  /
/  .
.
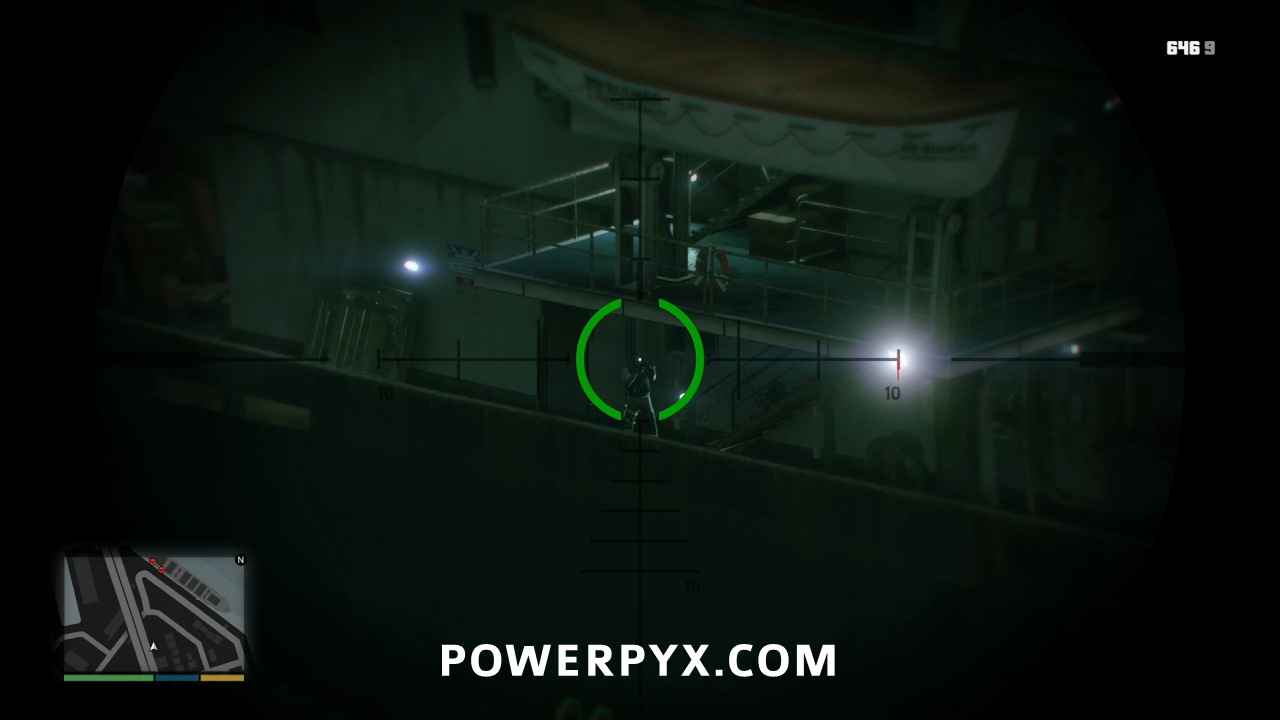
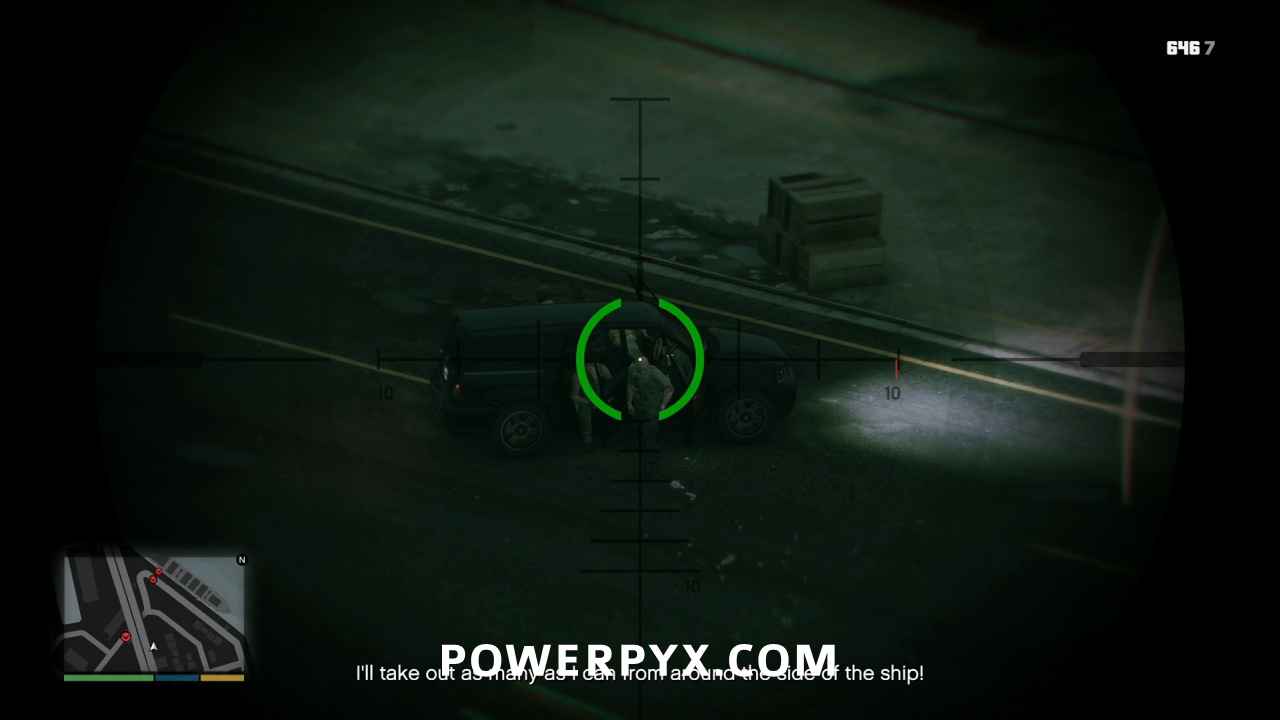
Additional soldiers will spawn on the deck of the ship, as well as another SUV with four more on the ground. You’ll have to act fast to clear a path before Michael is done setting the fourth bomb inside.
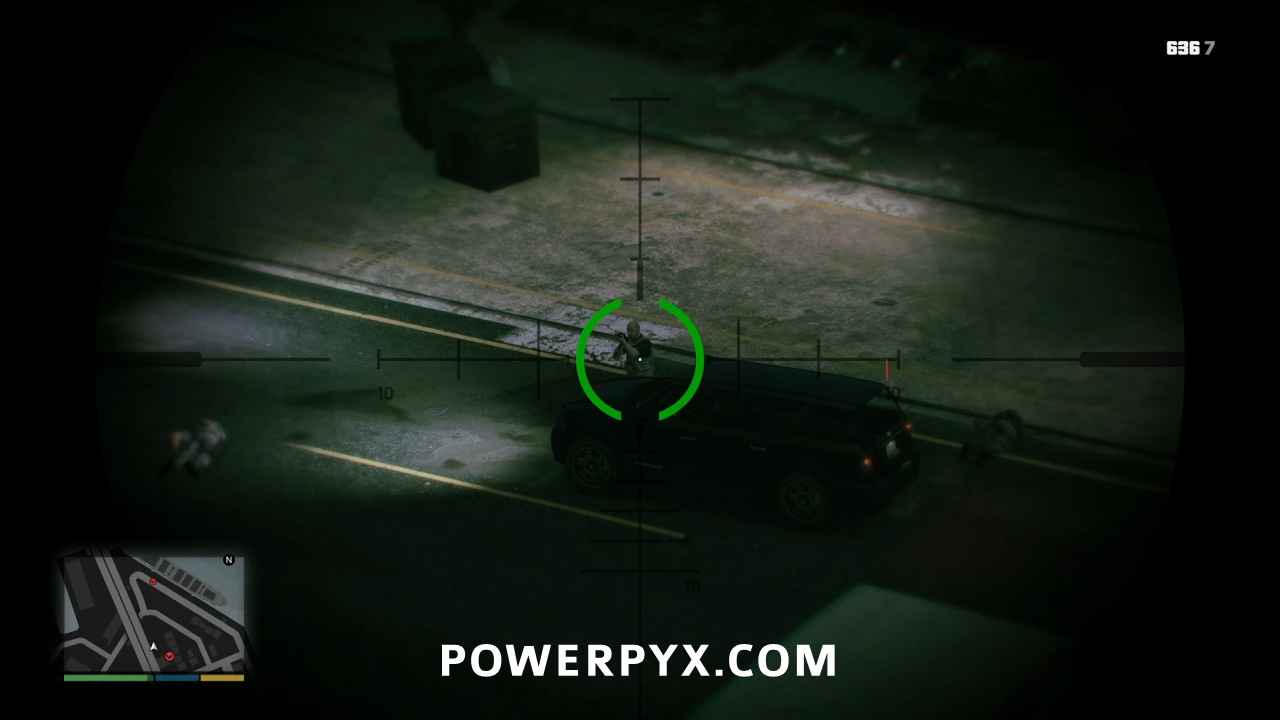
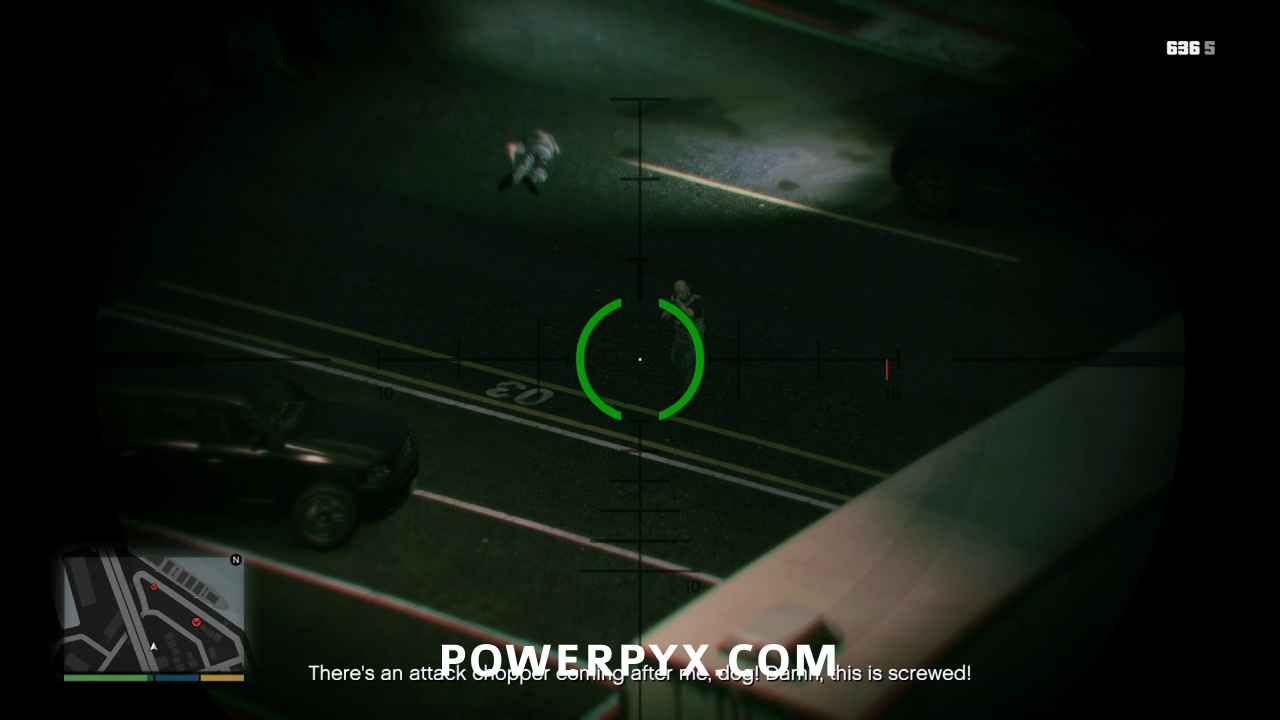
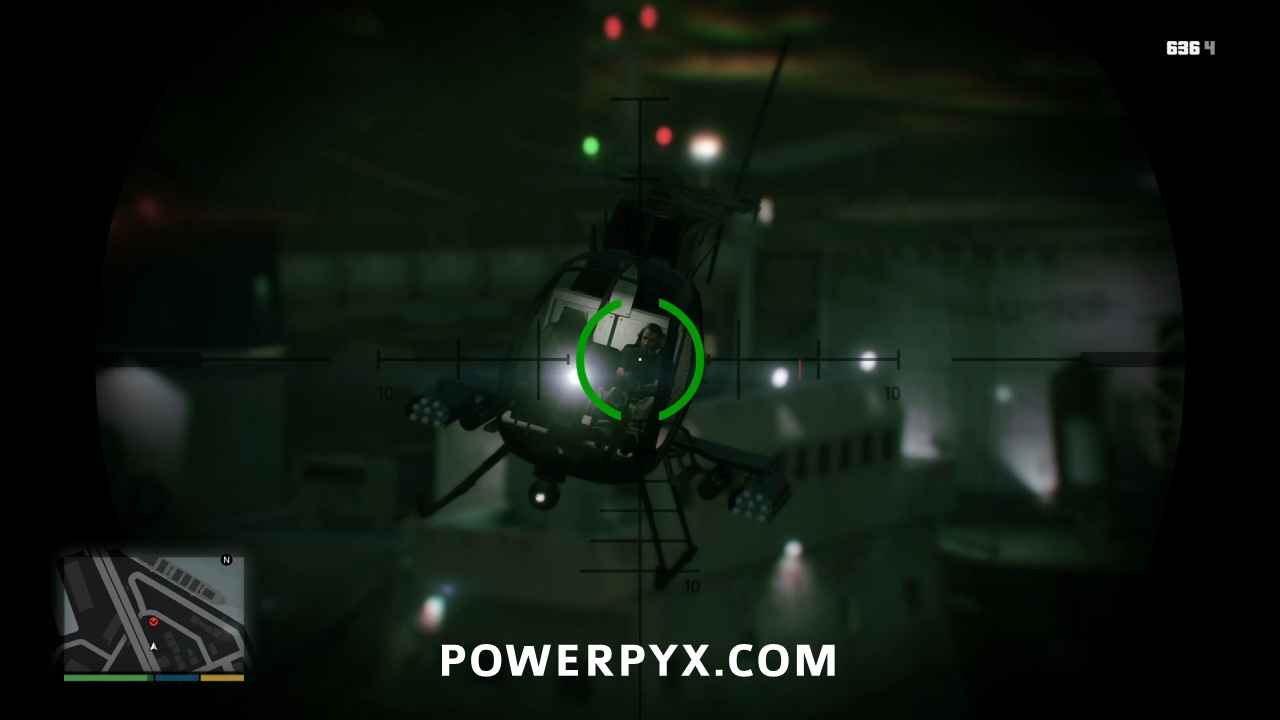
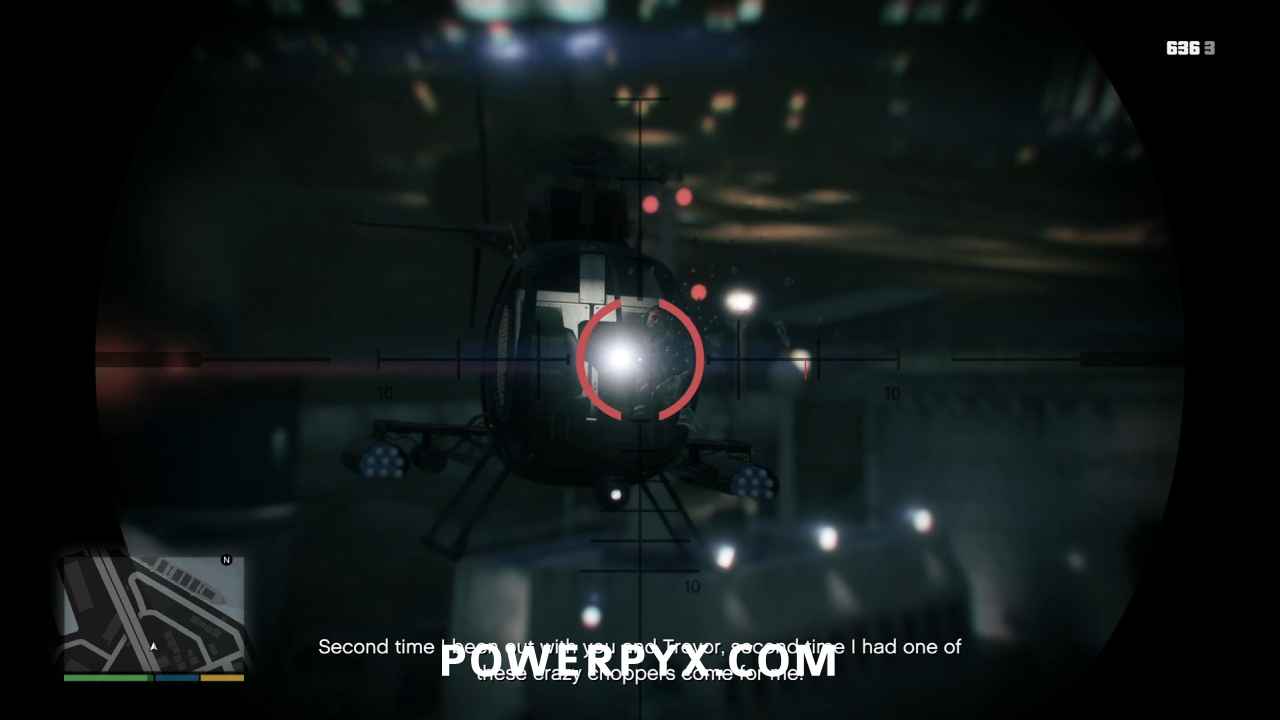
In case you weren’t threatened enough, a military buzzard drops in to say hello. Fortunately for you, helicopter windshields don’t stop bullets as well as their armored SUVs.
Cover Michael’s Escape
Once the coast is clear, Michael will announce that he’s coming out. As he’s running down the stairs, you’ll see two soldiers spawn on your minimap. The first is coming out of the same cabin Michael just left. Nail him on the stairs.
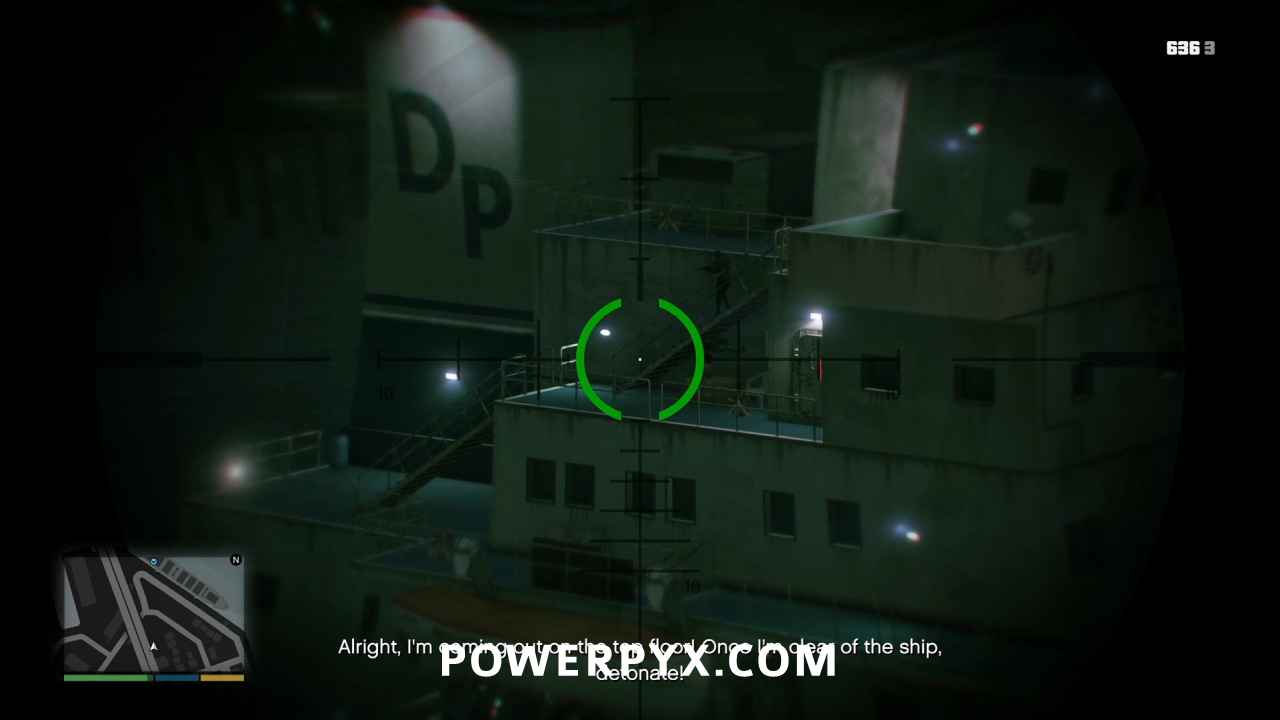
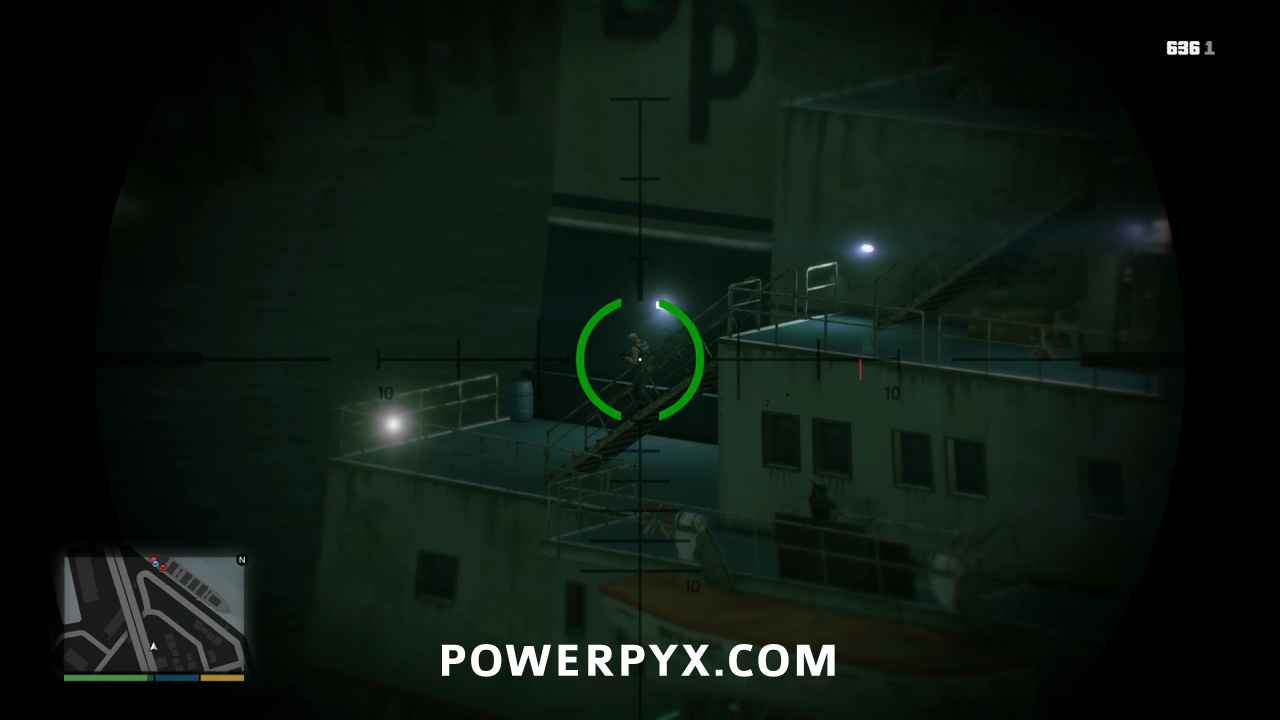
The second soldier will have Michael pinned down on the mid-deck. Take him out quick.
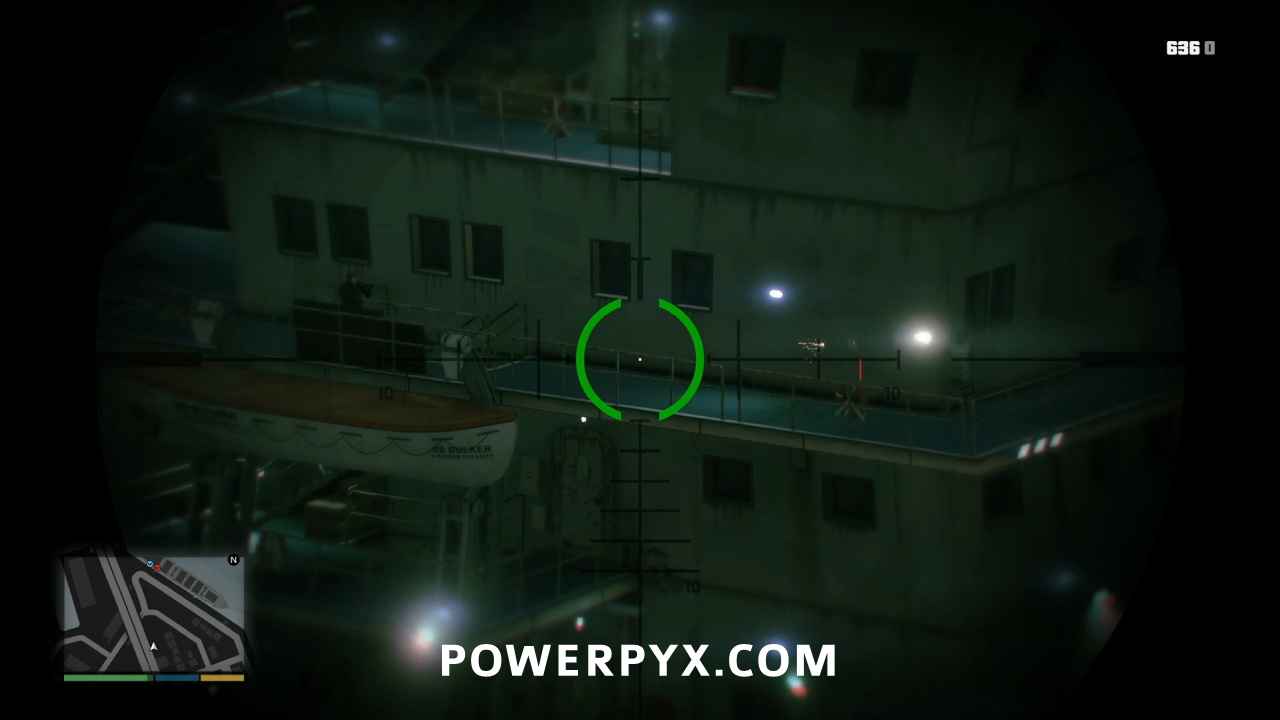
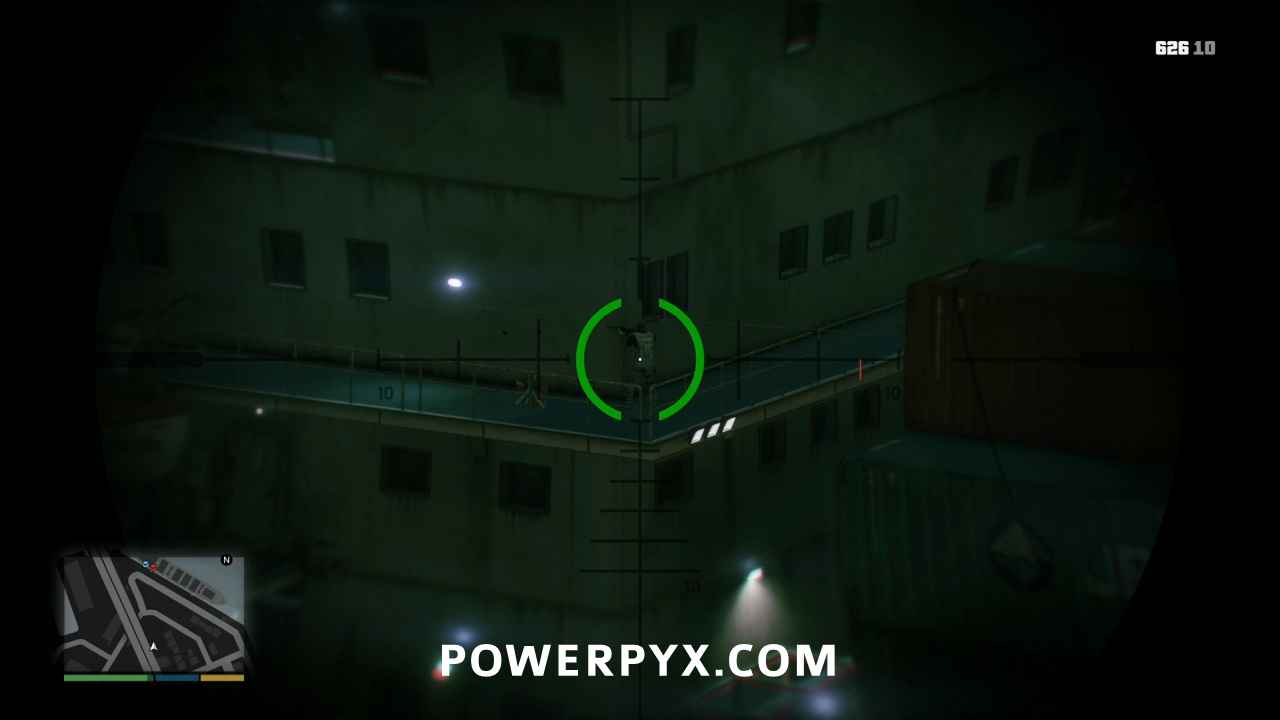
Two more soliders will appear at the stern, shooting up at Michael. Once they’re dead, two more soldiers will appear on the main deck near the gangway.
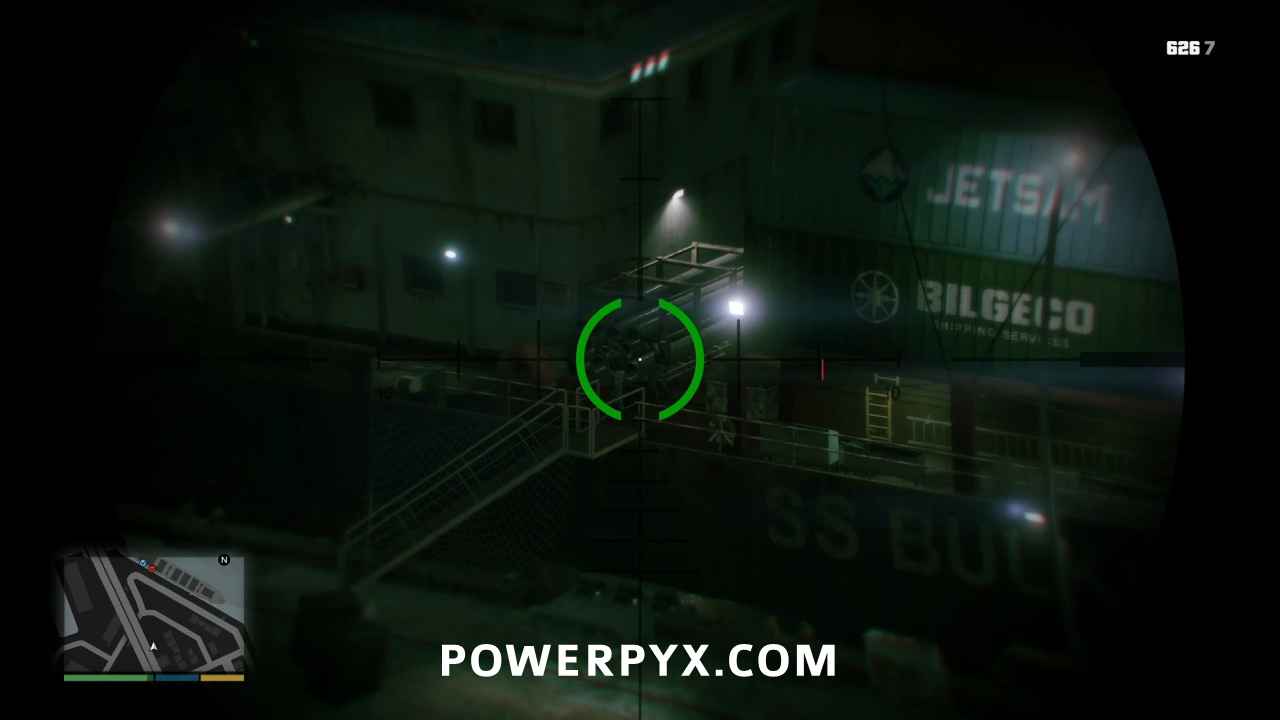
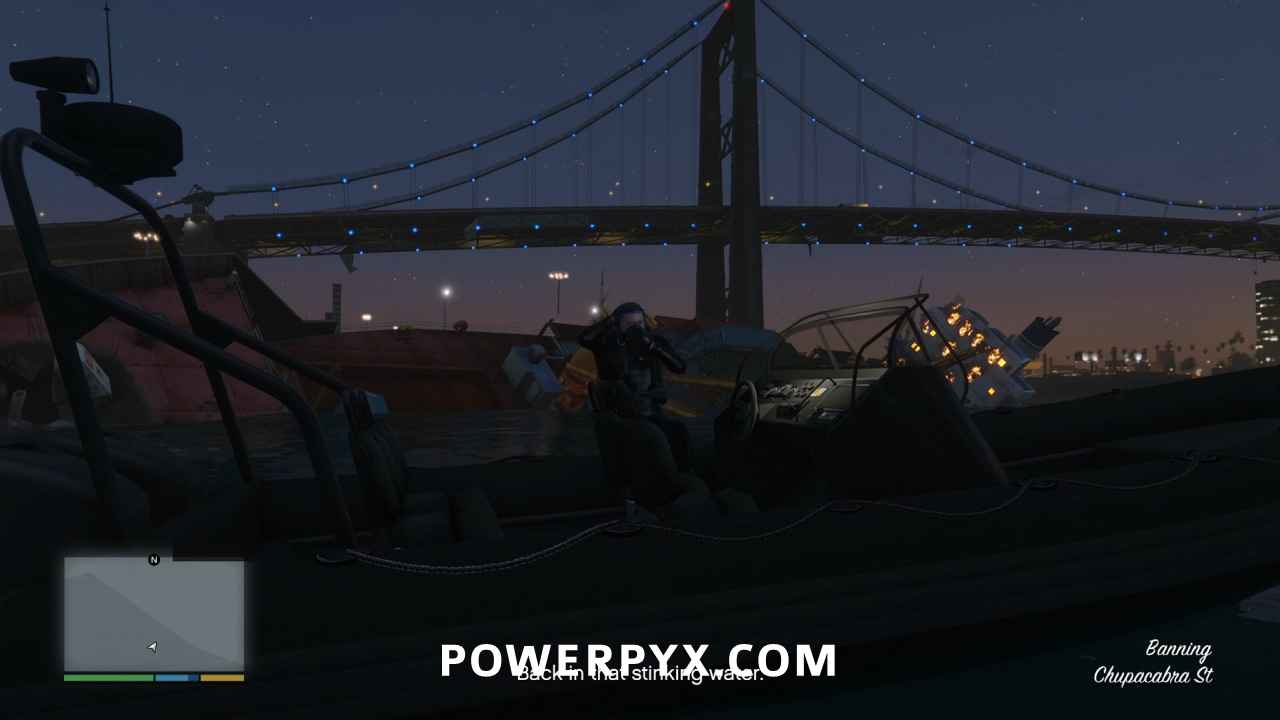
Now clear, Michael jumps over the railing on the north side where he swims to his boat. Scroll through Franklin’s contacts to find “Detonate” to set off the bombs.
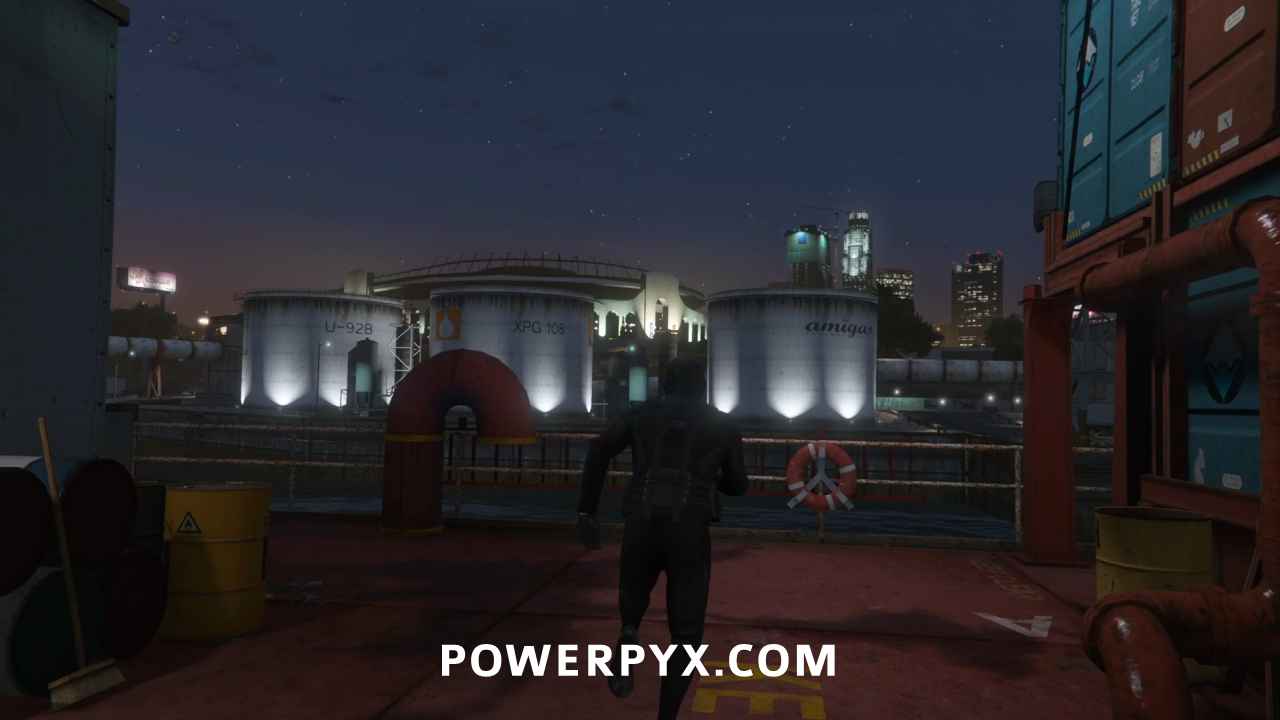
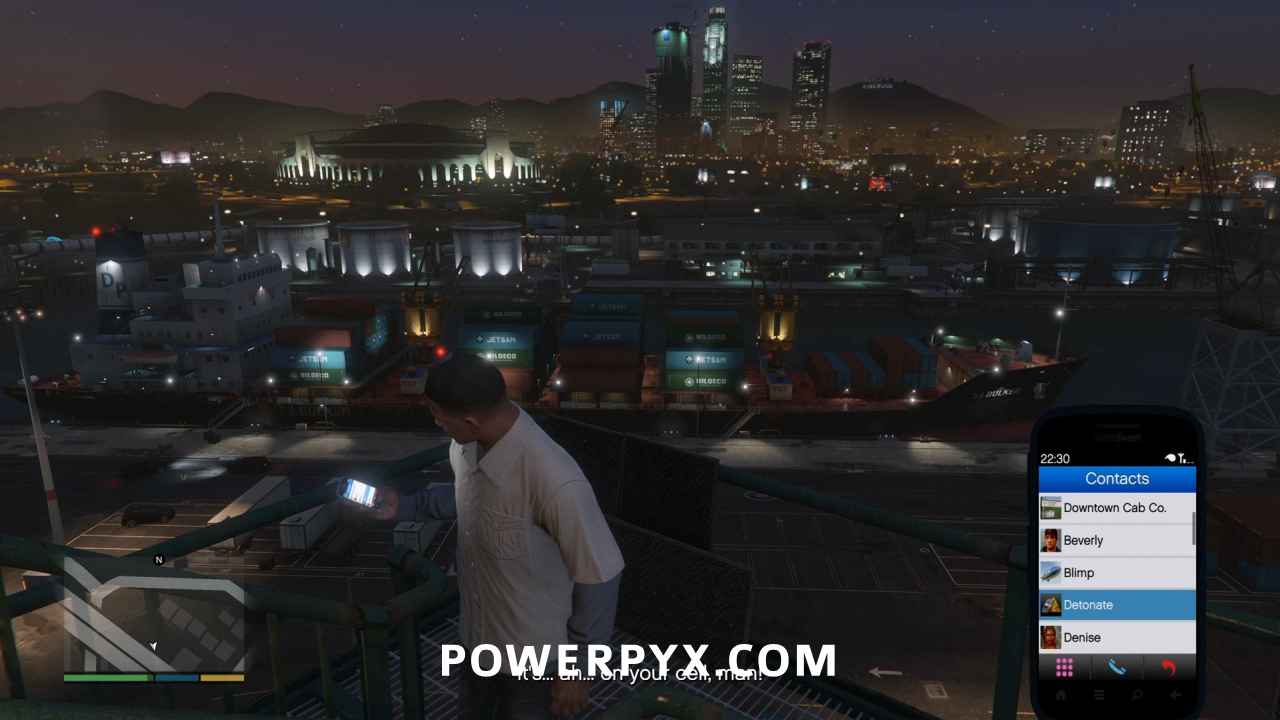
Locate the Device Among the Wreckage
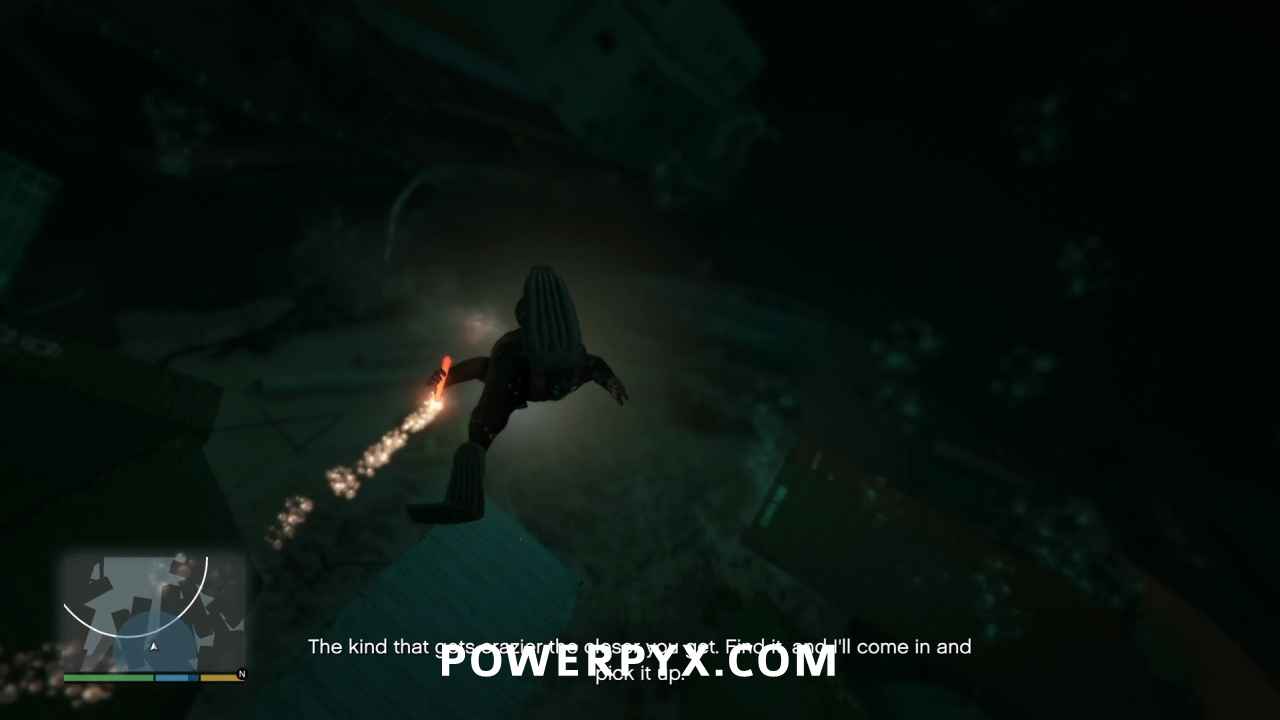
Michael dons his SCUBA gear to locate the item that Trevor has targeted. Look at your minimap to see the expanding circles pinging. Keep heading towards the center of the circles, and swim fast because of the last Gold Medal Requirement:
- Container Hunter: Find the container within 01:00
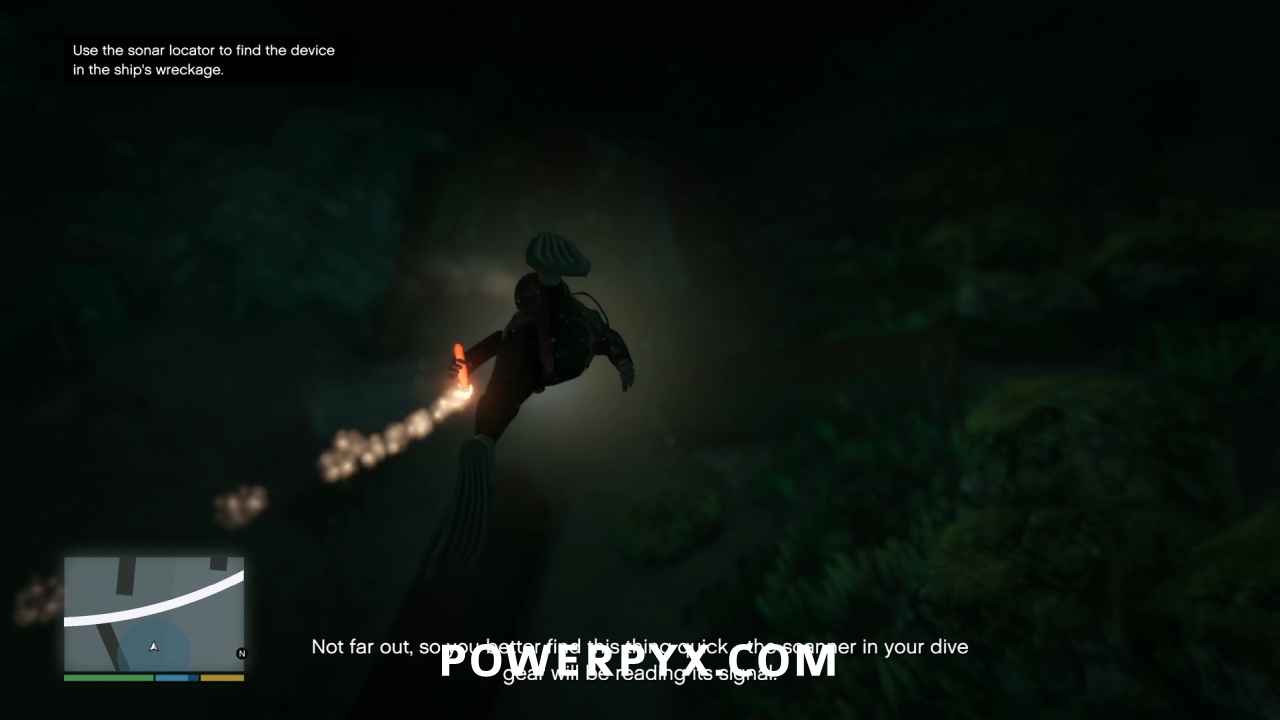
If you keep hitting  /
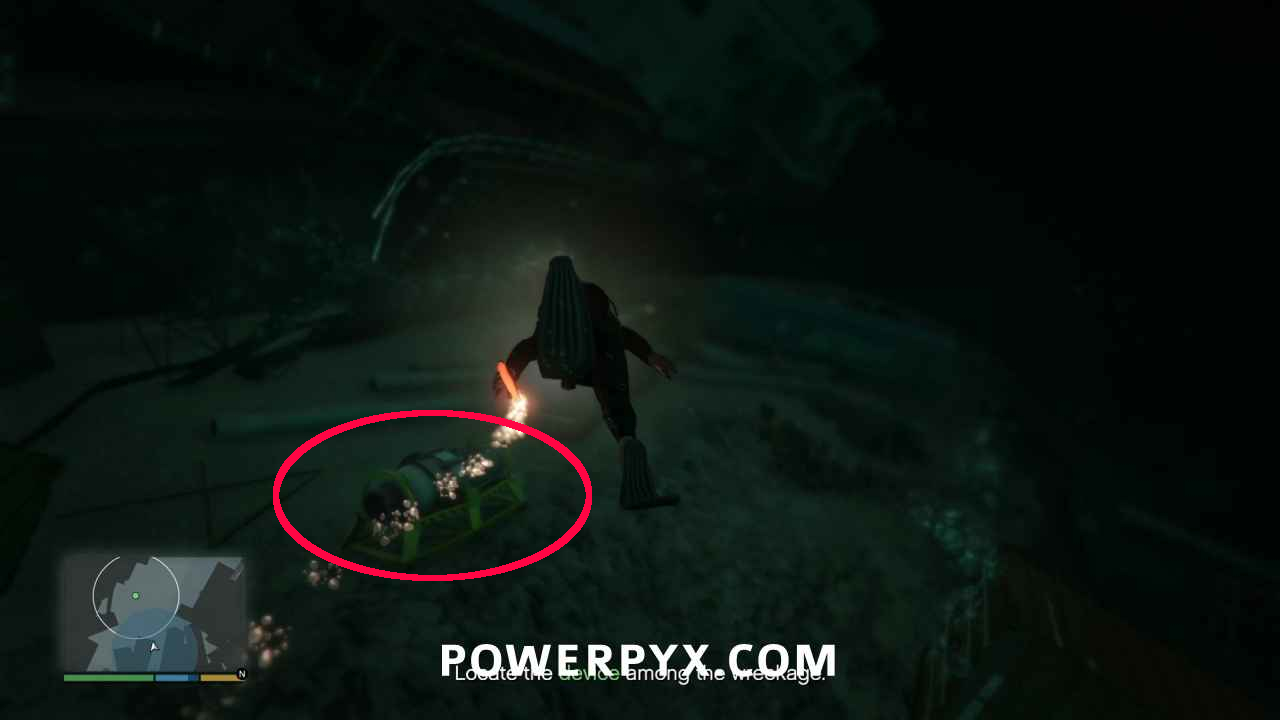
/  to swim faster, you shouldn’t have any trouble reaching the signal’s source in short order as long as you don’t run out of stamina. When you get close enough, you will also see a green dot giving you its confirmed location.
Go to the Device
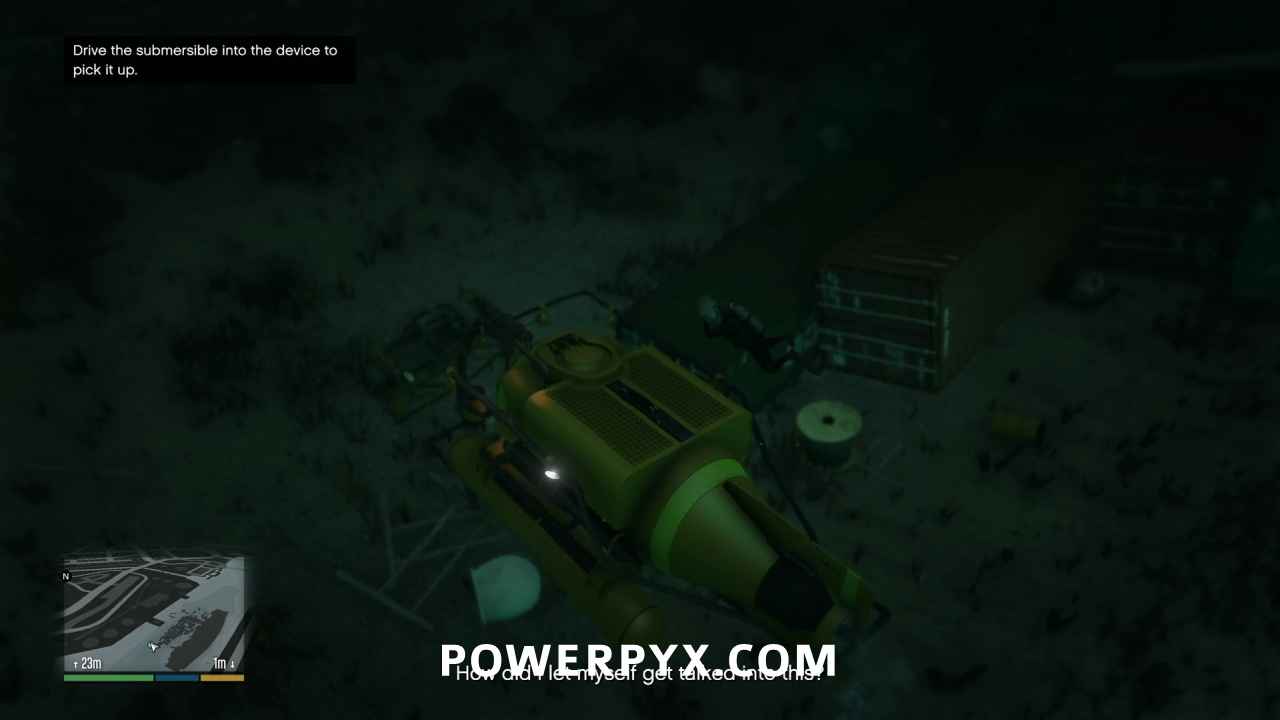
Once you’ve located it, you’ll automatically switch to Trevor in the minisub. Maneuver near the device to automatically pick it up.

Return the Device to the Safe Area
Head back to the objective marker at Pier 400 where Floyd will winch the sub out of the water. At the end of the cinematic, the mission will be over.
This finishes The Merryweather Heist (Freighter Approach) in GTA V.
For all other Missions refer to GTA V Walkthrough.
This walkthrough has been updated for the Enhanced Version on PC / PS5 / PS4 / Xbox Series S/X and is also still applicable to the Legacy version.
Leave a Reply