
Targeted Risk is a Strangers and Freaks Mission (Side Quest) in GTA V (Grand Theft Auto 5). This walkthrough shows how to get all Gold Medals in Targeted Risk for 100% completion.
Gold Medal Requirements:
- Dare Devil: Fall for 00:08 before opening the parachute
- Bullseye: Land perfectly on the back of the truck
Walkthrough Video

Starting Location: Targeted Risk
- Location: Pilbox Hill / Maze Bank Building Rooftop
- Quest Giver: Dom
- Requirement: Complete “Liquidity Risk“
- Can Be Started By: Franklin
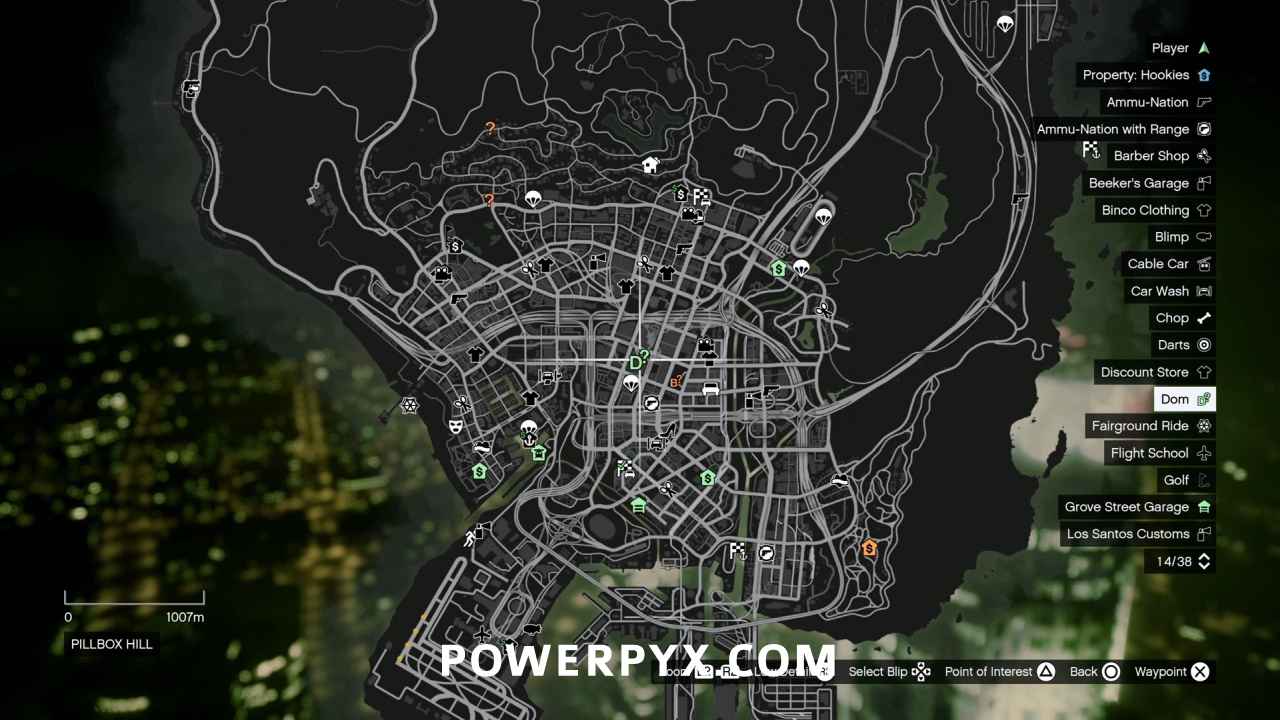
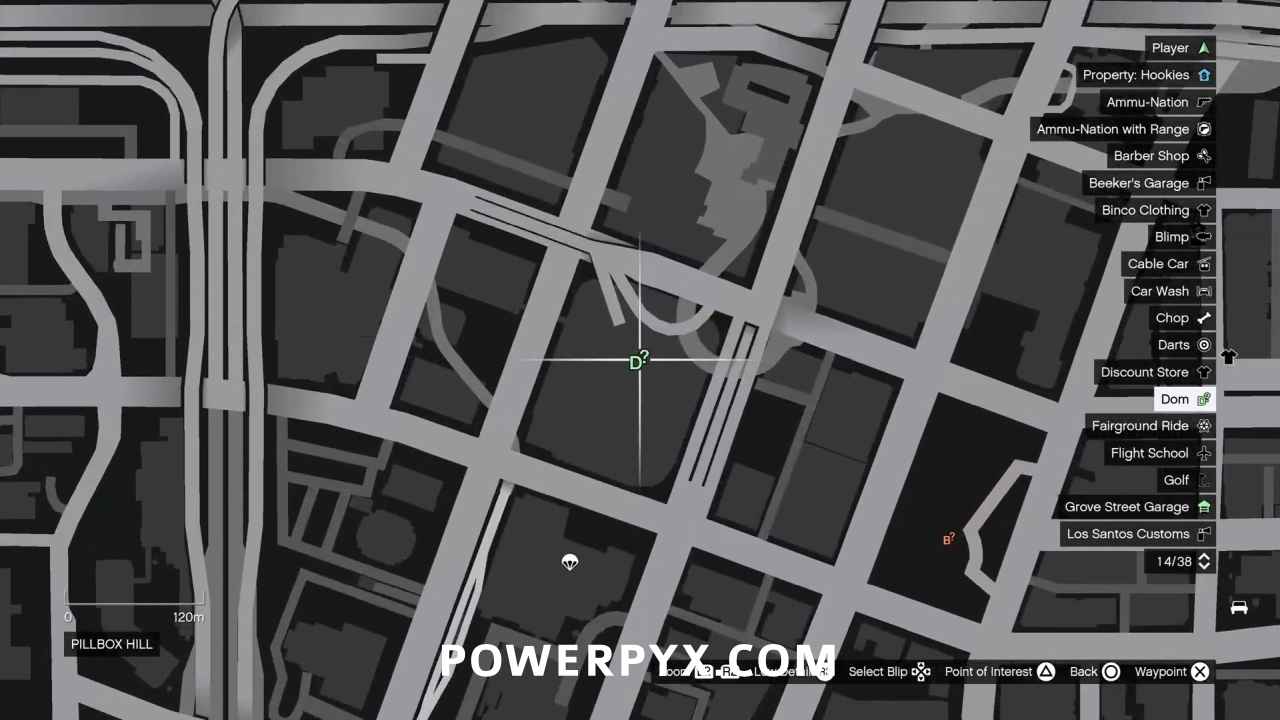
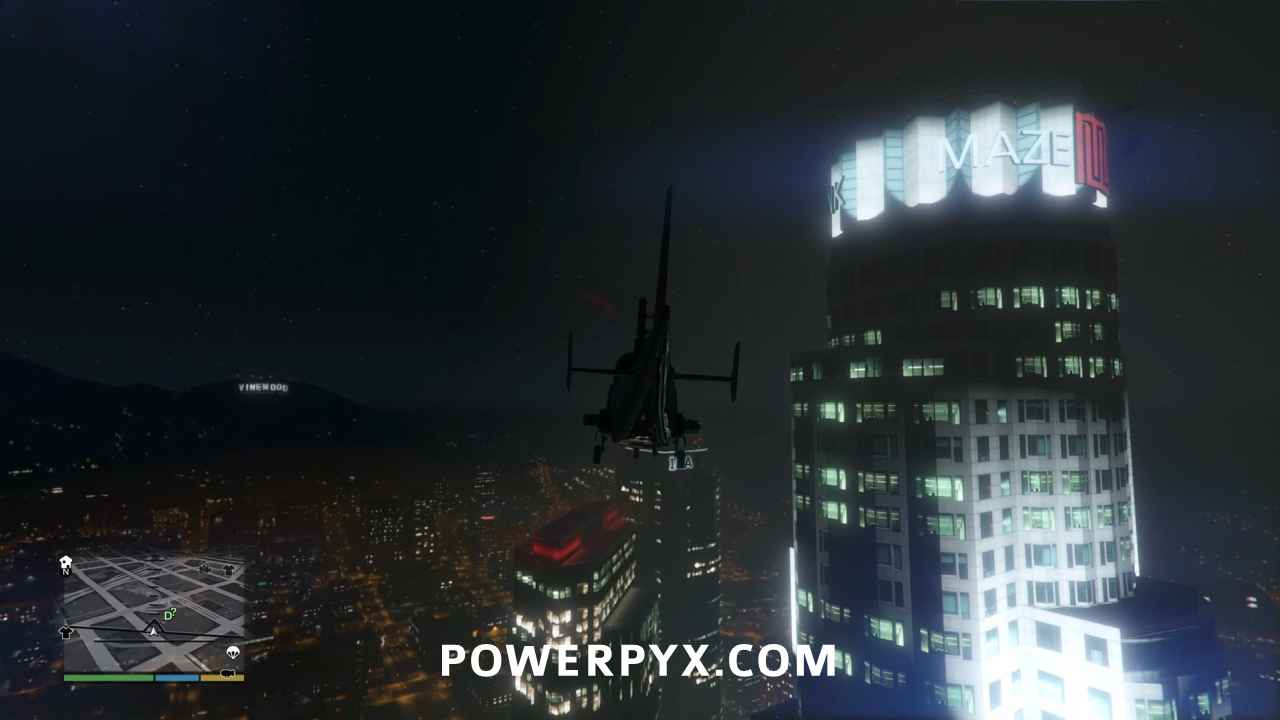
To reach this mission, you will have to take a helicopter to the roof of the Maze Bank building in downtown Los Santos. Waiting for you there will be Dom, in all his coked out glory.
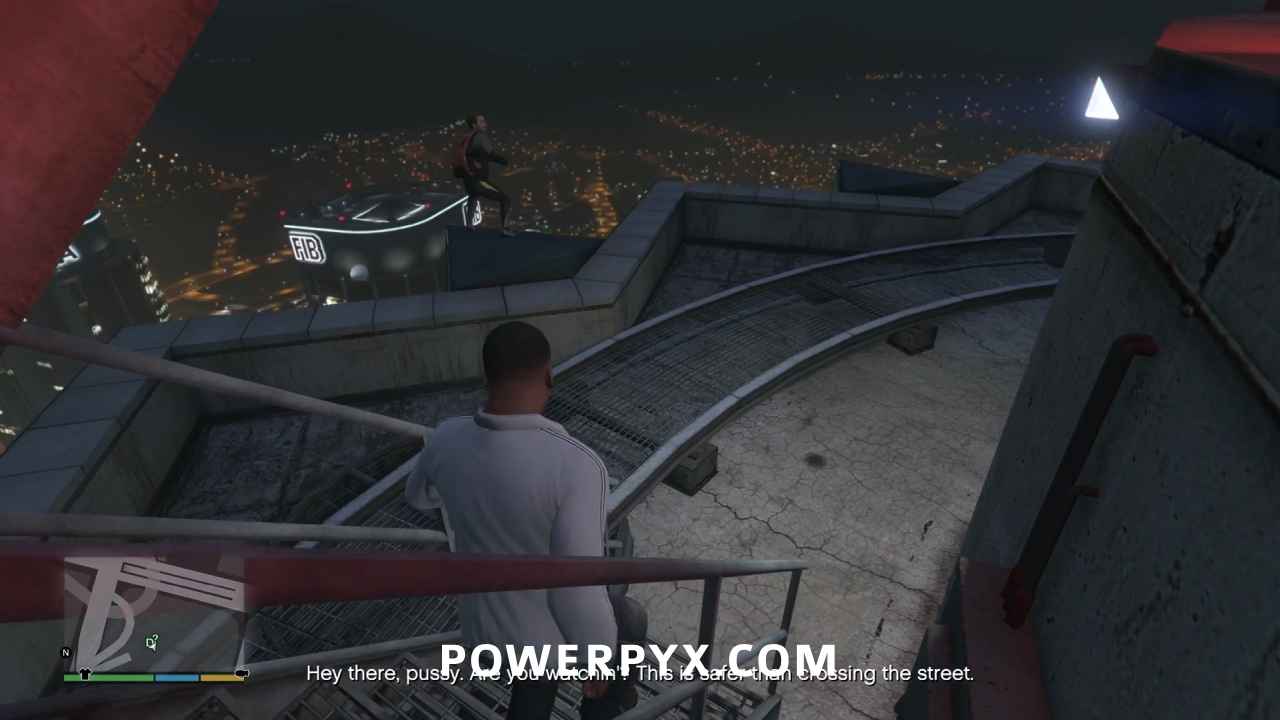
Parachute Onto the Truck
This is among the most difficult Strangers and Freaks mission in GTA V, and you will likely have to do this mission several times to get the timing right. The complicating factor is the first Gold Medal requirement:
- Dare Devil: Fall for 00:08 before opening the parachute
As you jump off the building, you’ll see the truck on which you will be landing, far below you on the street. It will be travelling to the northeast, driving up Power Street at a reasonable speed. If the only requirement was to land on the truck, this would be simple test of hand-eye coordination with you gliding down, aiming at a moving target, and flaring your chute at the appropriate time. With the 8 second free-fall requirement, you’re faced with a difficult balancing act of judging when to open your chute while still having enough time/space to maneuver over to the truck to land on the flatbed. If you wait 8 seconds, and the act of opening the chute itself takes approximately 1 second, this leaves you about 1 second left to maneuver over the truck and land. To put it another way, by the time you’ve pulled your chute you’ve effectively already won or lost. Without intervention, this seems to be an impossible task.
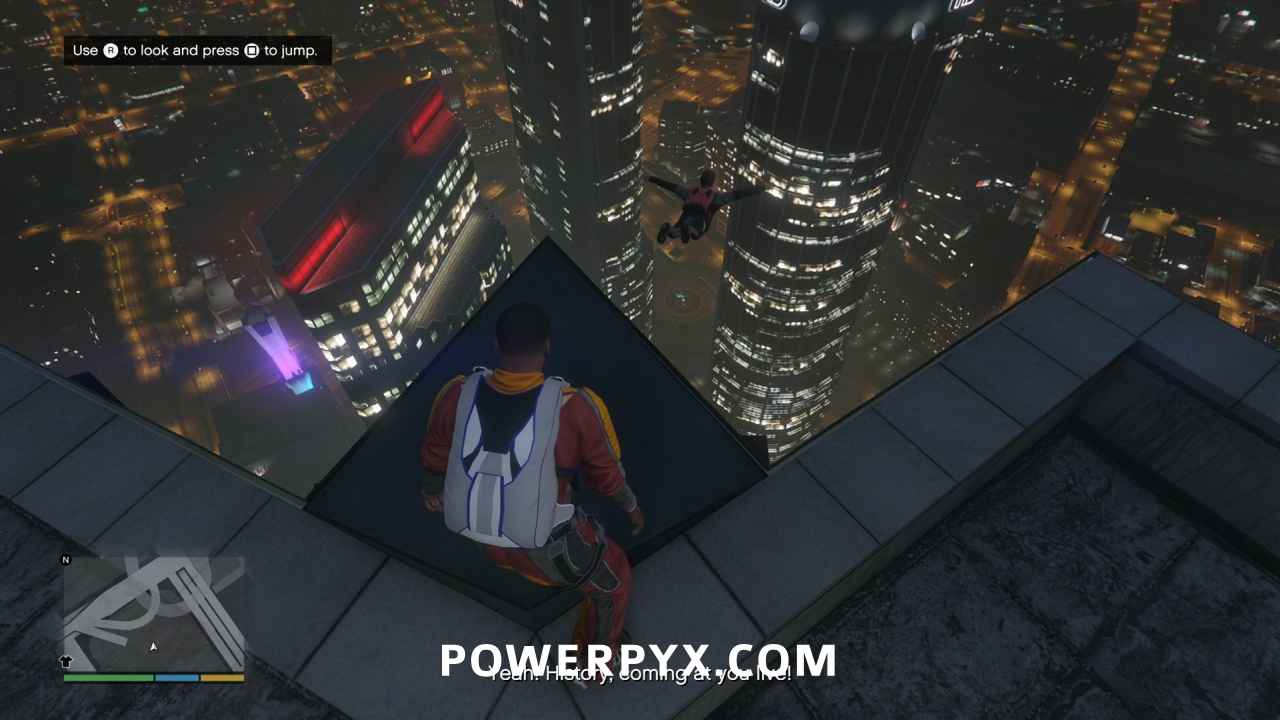
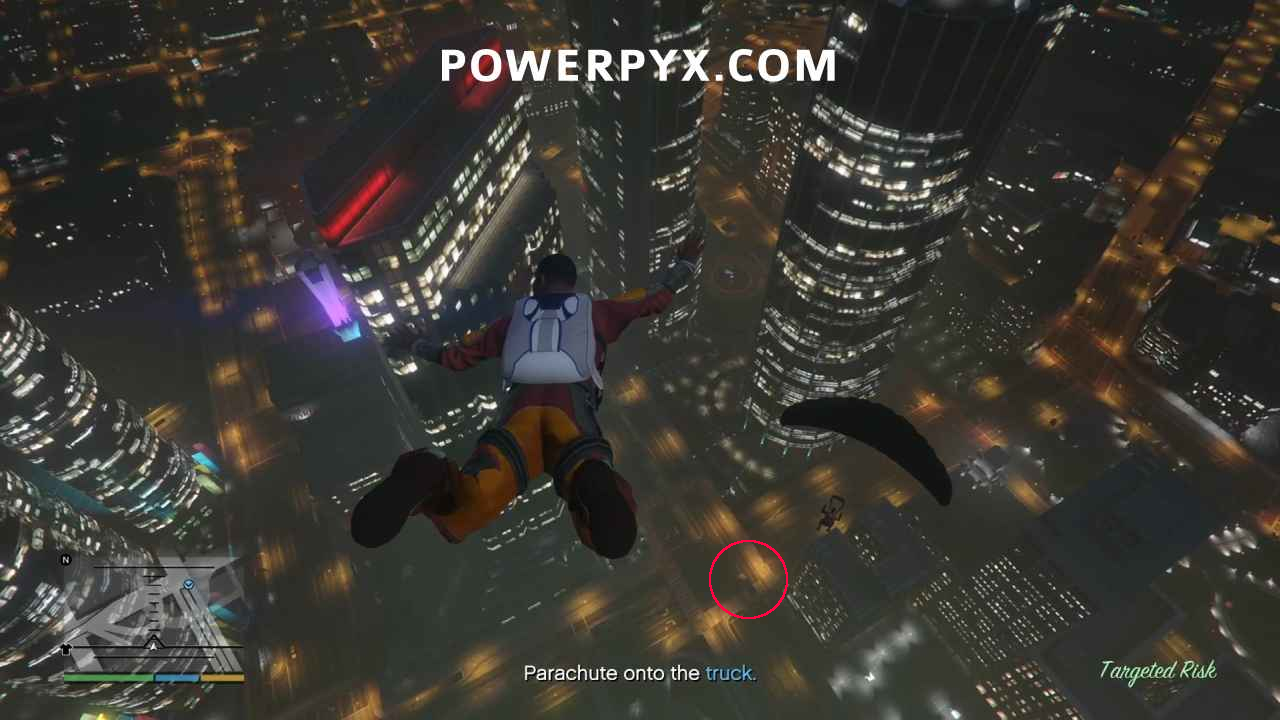
With 8 seconds of free-fall required for the Gold Medal, after you open your chute you’ll have little time left to do more than anything more than fine tune your landing. Your only option is to combine that fall time with your maneuvers to line up with the truck and match its speed. Using your  you can press
  to lean forward, and
  to lean backwards, changing the angle of your descent. Leaning forward or back causes your horizontal speed to increase in that direction, but that change in angle of attack causes a reduction in the surface area being buffeted by the air as you fall, effectively trading your horizontal speed for an increase in your rate of fall. It’s basically a physics problem in terminal velocity expressed through the lens of GTA V physics.
The bottom line is, if you just lean forward and do nothing else you will fall too quickly to have the full 8 seconds of free-fall and survive the attempt.
Instead you have to take advantage of physics a little, and hold then :l-down:, rocking at a regular, even pace. Don’t just tap it in each direction and release, you’ll have to hold it there. Each motion should take about a half second each. So in total, you will press forward and back 8 times before you open your chute. The physics explanation is that by leaning forward then back, you will rock forward and gain some horizontal momentum, then back for the same amount of time so that you return to level. What happens is that you don’t have time to accelerate much due to the change in your body’s surface area before you return to level and regain your normal terminal velocity, and since the horizontal wind resistance is negligible compared to what you’re getting vertically, the end result is that you gain horizontal momentum far more than you increase your rate of fall.
When Dom jumps, pause for a 3 count before you jump (right about the time you see his chute open). This gives the truck time to get into the right position for when you pull your ripcord.
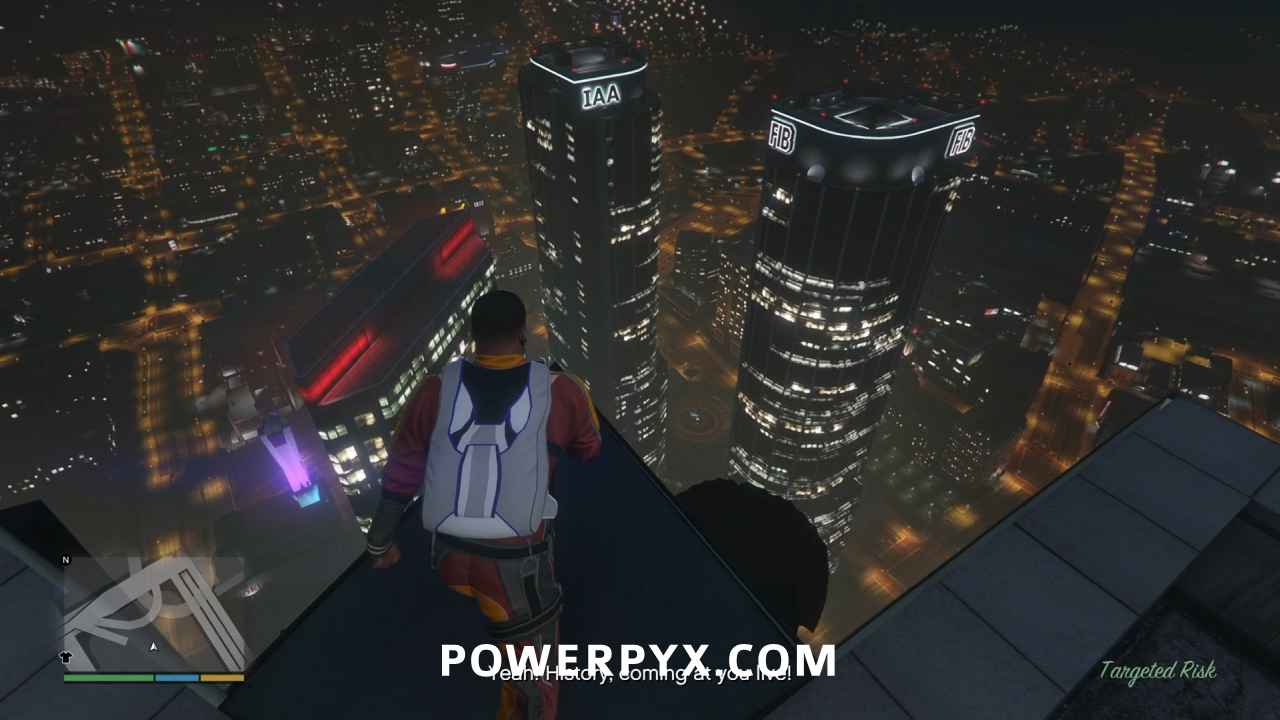
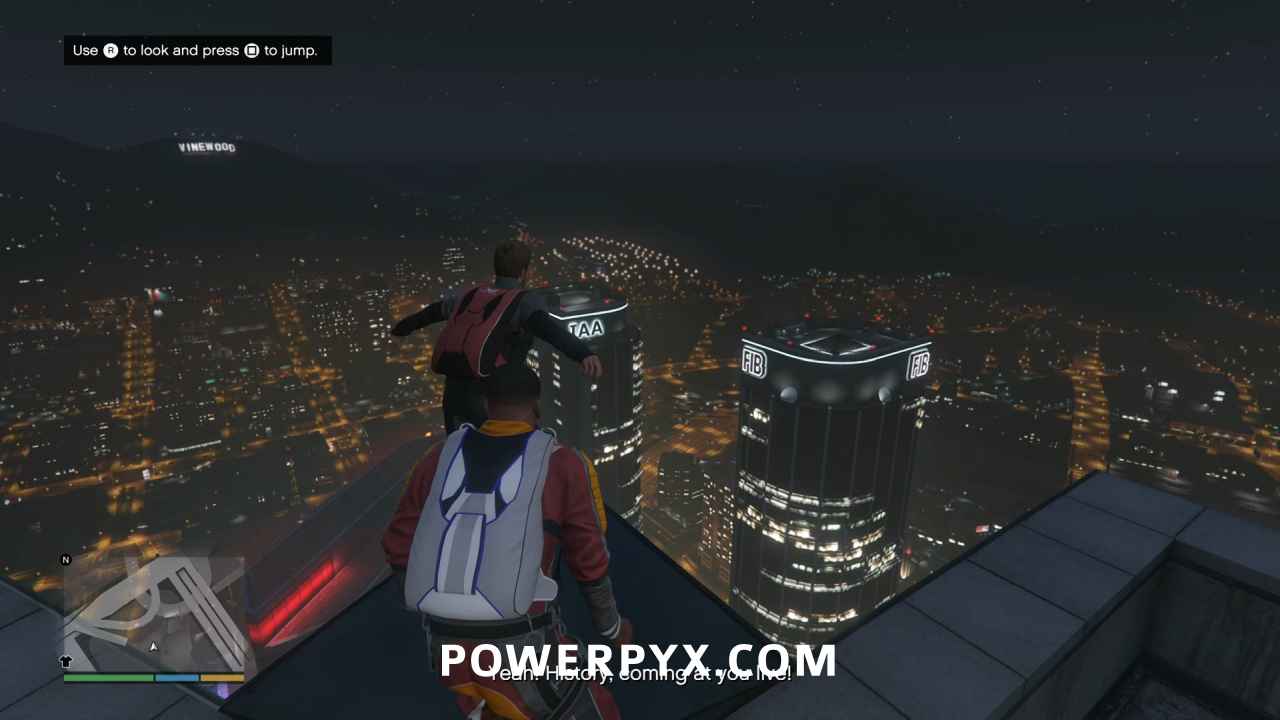
Since you’re already more or less aimed in the right direction when you start, just press  /
/  to jump, then press then at a slow even pace. The pace is important since you need to ensure an equal time leaning forward as back, otherwise your body won’t come back to a fully horizontal position. You don’t need to steer, unless you accidentally turn when pressing and and need to course correct. You’ll be aiming generally in the direction of the corner of the IAA building that is facing you on the opposite side of the square, and the truck will be roughly between the FIB and IAA building by the time you land.
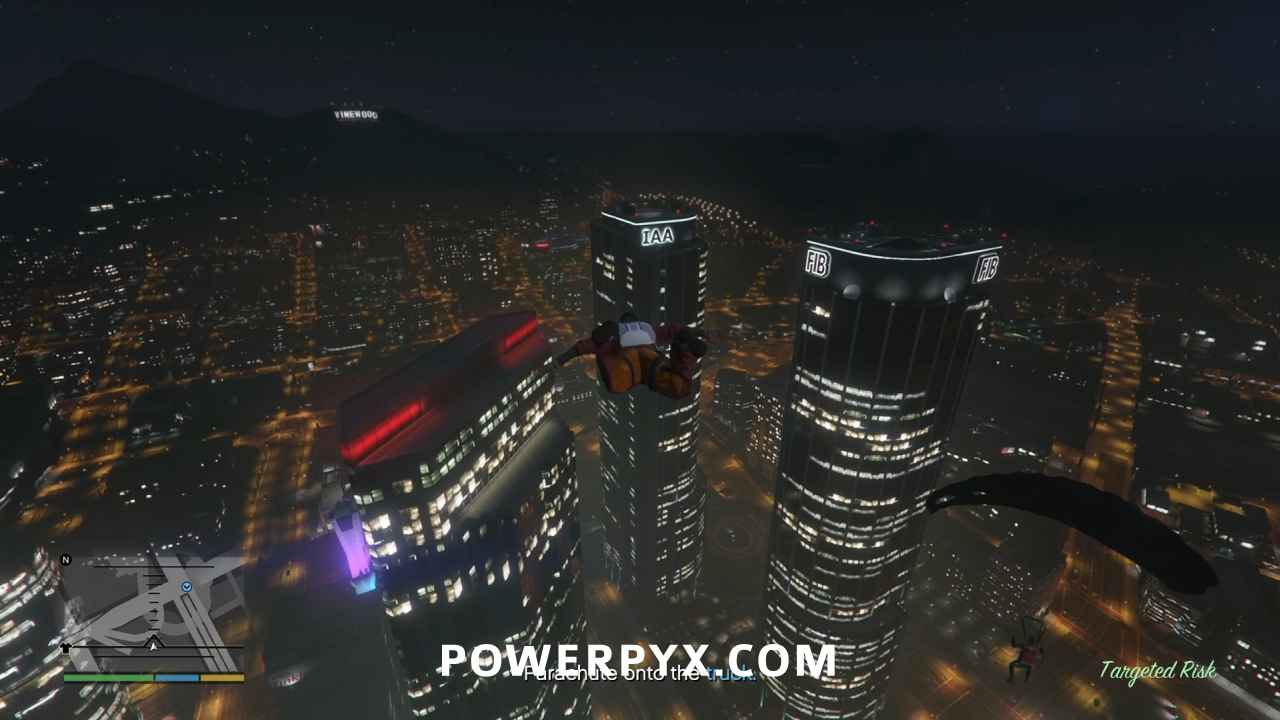
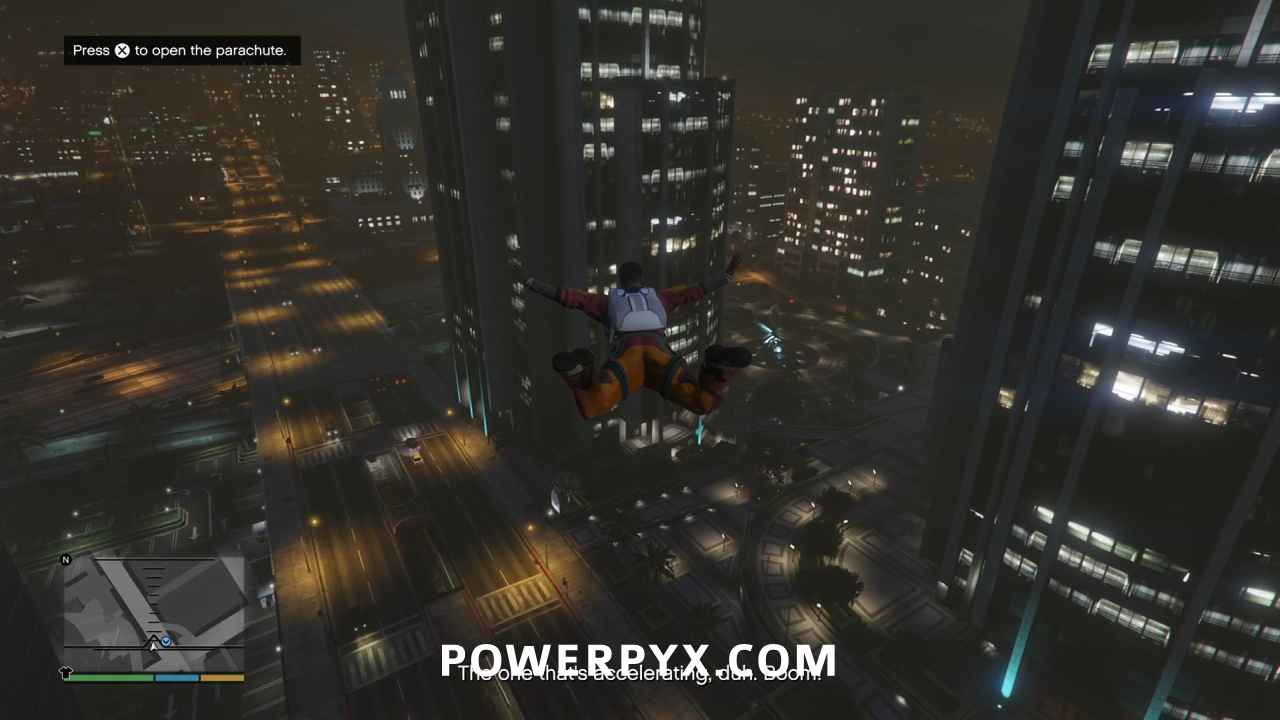
When you pull your ripcord, you should just be seeing the truck below you if you’ve done it correctly.
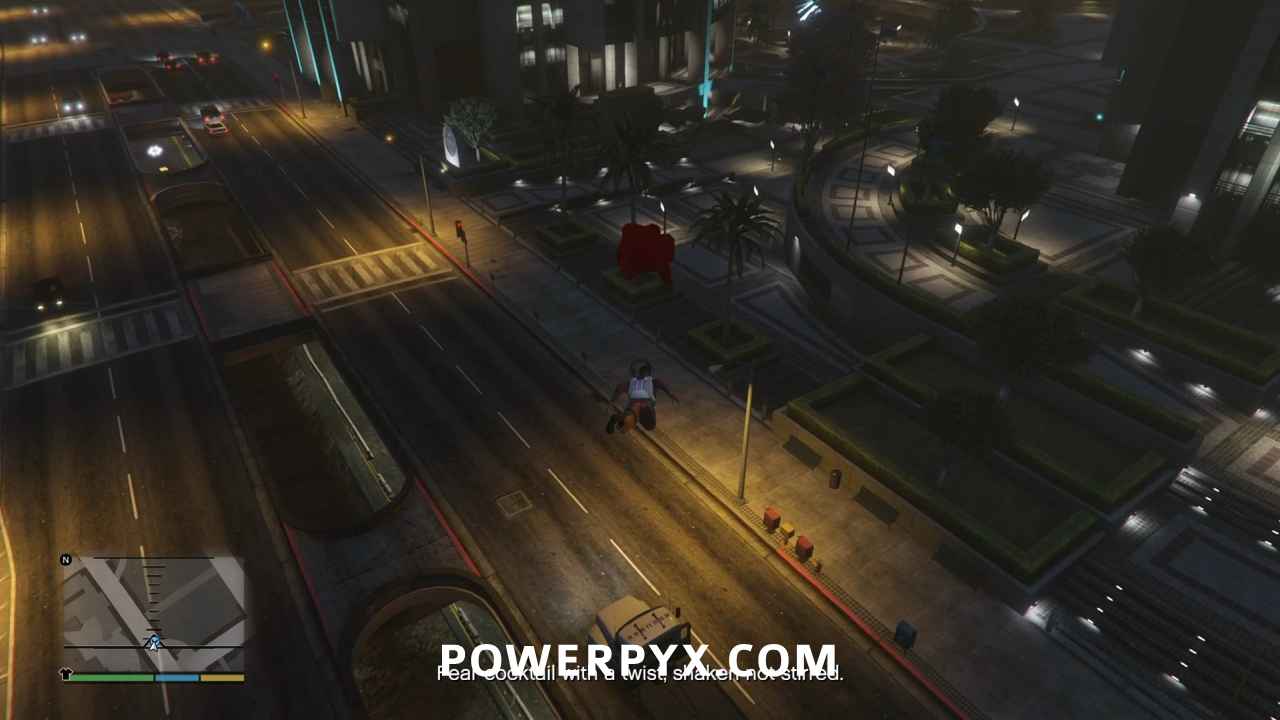
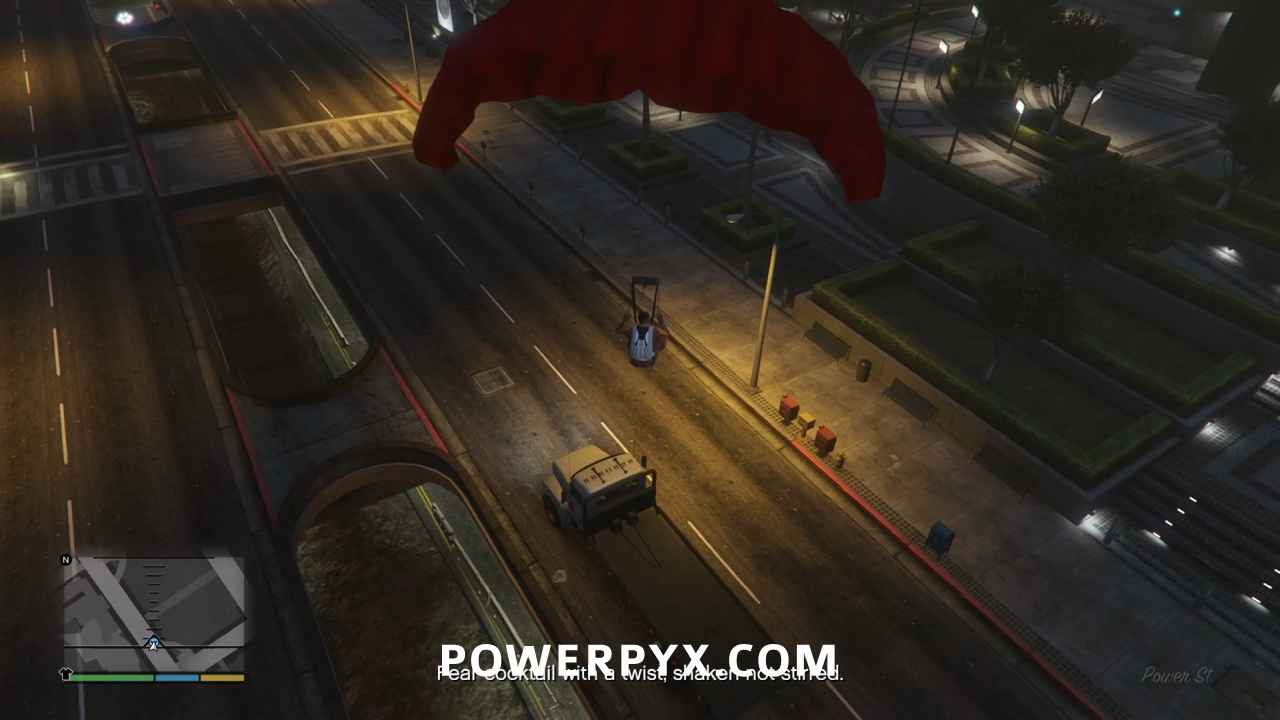
Now you have about one second to worry about the second Gold Medal requirement:
- Bullseye: Land perfectly on the back of the truck
Press  /
/  or
or  /
/  to turn your chute in that direction if you need to line up on the truck to make your landing. Just before you land (and I mean just before, as in a fraction of a second) hold / and
  / at the same time to flare your chute and land perfectly on the bed of the truck.
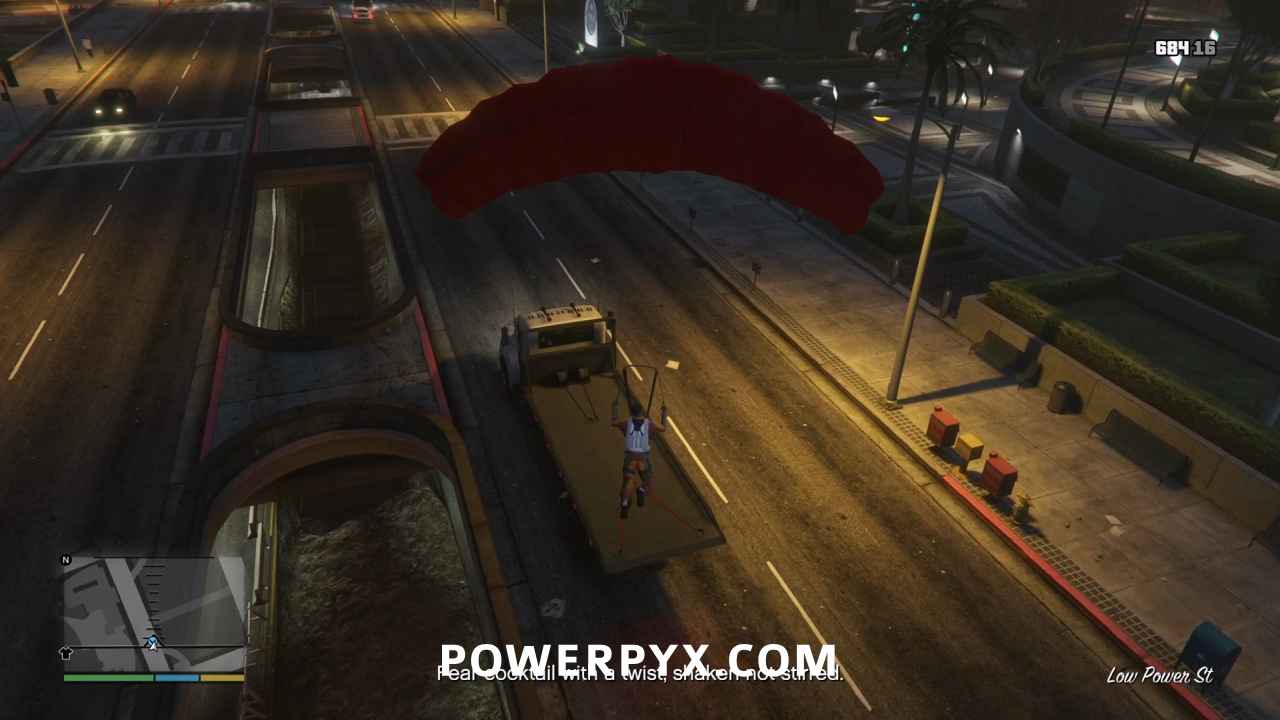
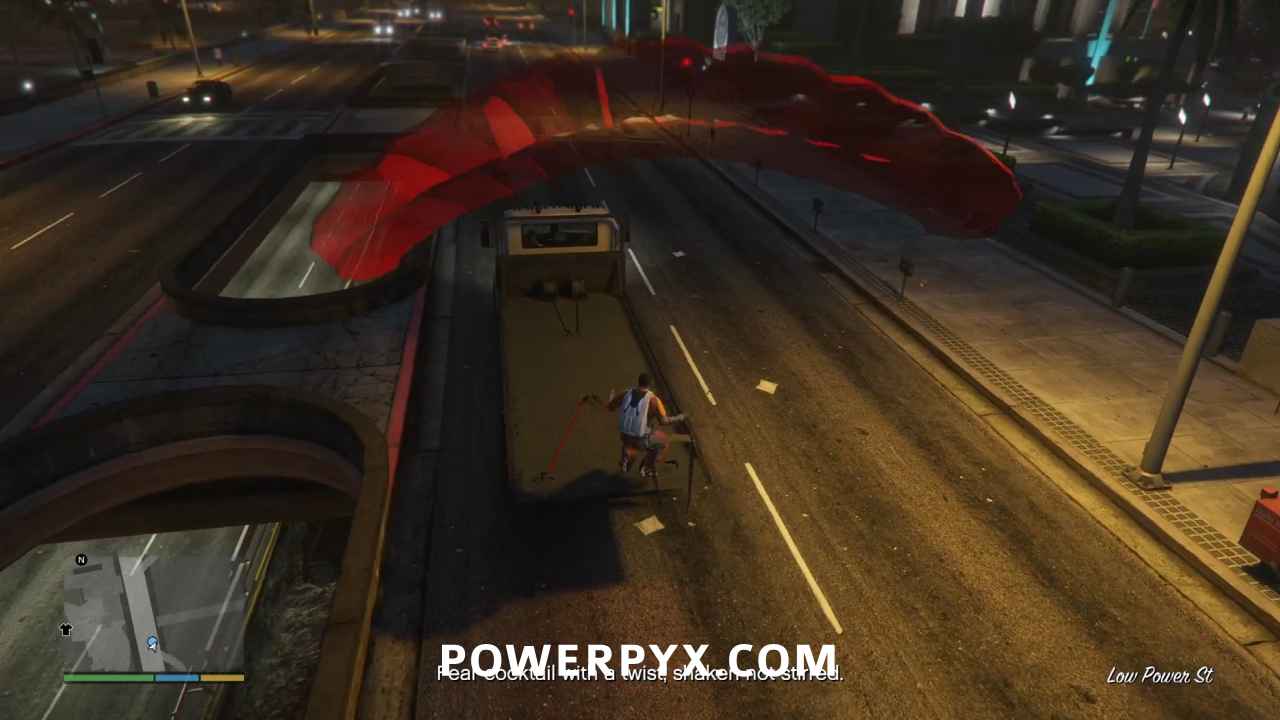
If you manage to land on your feet, you will succeed at the requirement and the mission will end after the cinematic. Also, if you land on the truck and Dom doesn’t, his reaction is hilarious.
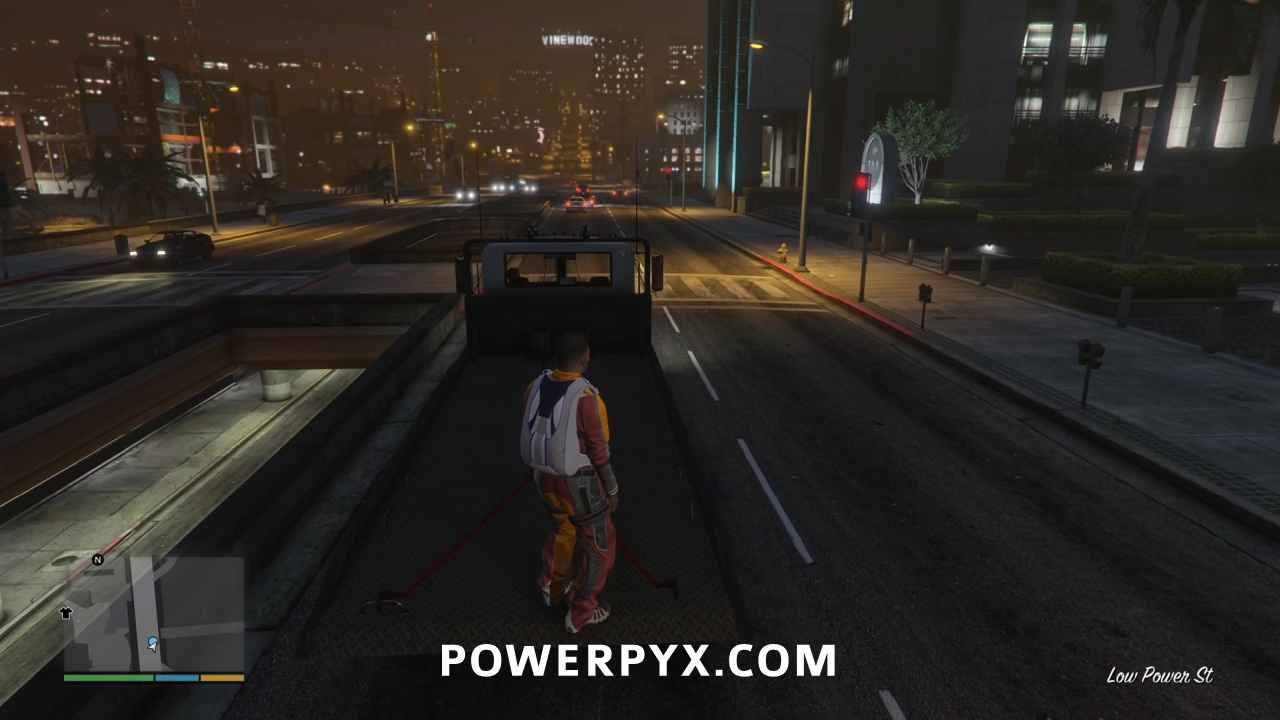
Practice the rocking motion, keeping the up/down motion even at 1 second intervals without accidentally turning, and you’ll be able to reliably reach the landing area. Everyone’s timing and technique on the rocking motion is going to be a little different, so if you find you still need fine tuning on the truck’s position at the end, you can also try varying the amount of time before you jump. If you find that the truck hasn’t arrived by the time you get there, try waiting more time before you jump, or wait less time if you find the truck has passed you already. As mentioned previously, this will likely take you multiple attempts to accomplish. Lean into that, accept that this is a frustrating mission that everyone has trouble with at first, and don’t get discouraged. The rocking motion is truly the silver bullet for this challenge, however. Once you’ve gotten that technique down, it will significantly reduce the challenge of this mission.
As a final note, it should be mentioned that if you happen to land on any vehicle the game will consider you as successfully landing on “the truck”. This isn’t a reliable strategy however as most of the traffic has been cleared from the street for this mission, and any other vehicle that happens to be on the street will be smaller and faster than the flatbed truck, making it significantly harder to land on it at all, much less achieve a perfect landing. But if you find yourself with no other choice, that one-in-a-million shot might be the difference between success and failure for you.
This finishes Targeted Risk in GTA V.
For all other Missions refer to GTA V Walkthrough.
This walkthrough has been updated for the Enhanced Version on PC / PS5 / PS4 / Xbox Series S/X and is also still applicable to the Legacy version.
Leave a Reply