
The Paleto Score is the 48th main story mission in GTA V (Grand Theft Auto 5). This walkthrough shows how to get all Gold Medals in The Paleto Score for 100% completion.
Gold Medal Requirements:
- Let it Rain: Fire over 4000 bullets
- Accuracy: Finish with a shooting accuracy of at least 50%
- Mission Time: Complete within 16:00
- Collateral Damage: Cause $1,000,000 damage in Paleto Bay
Walkthrough Video

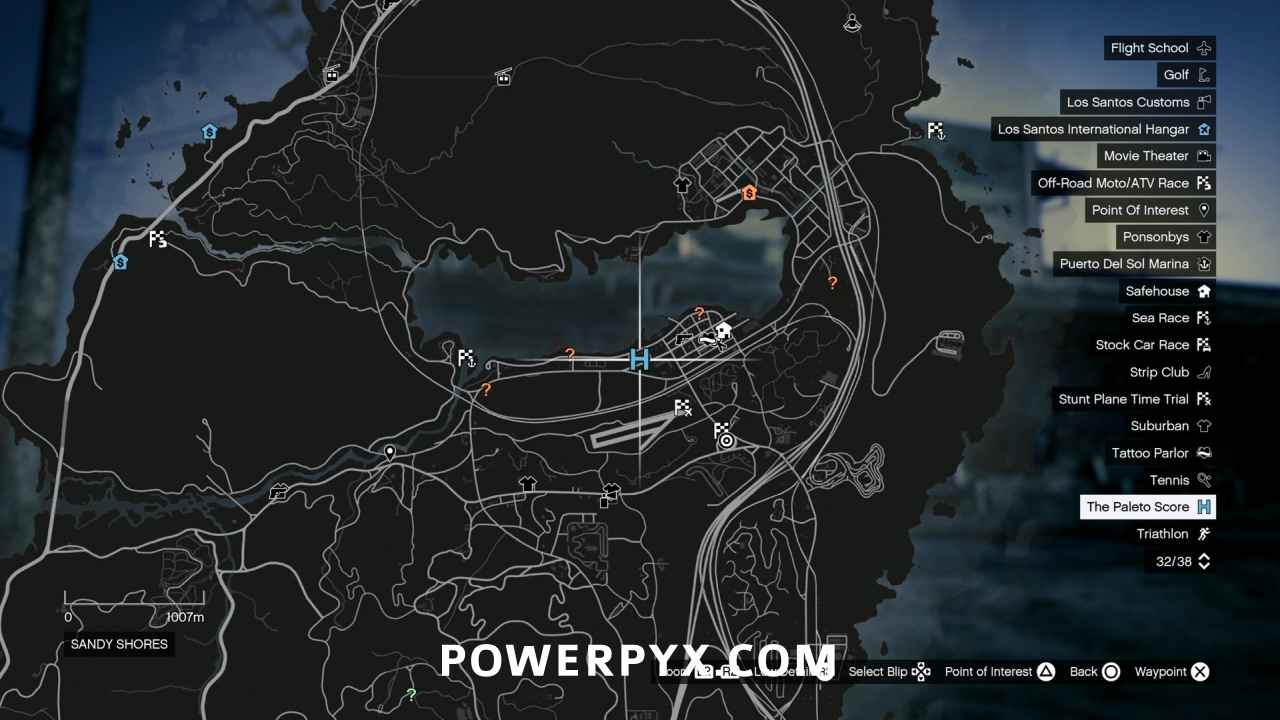
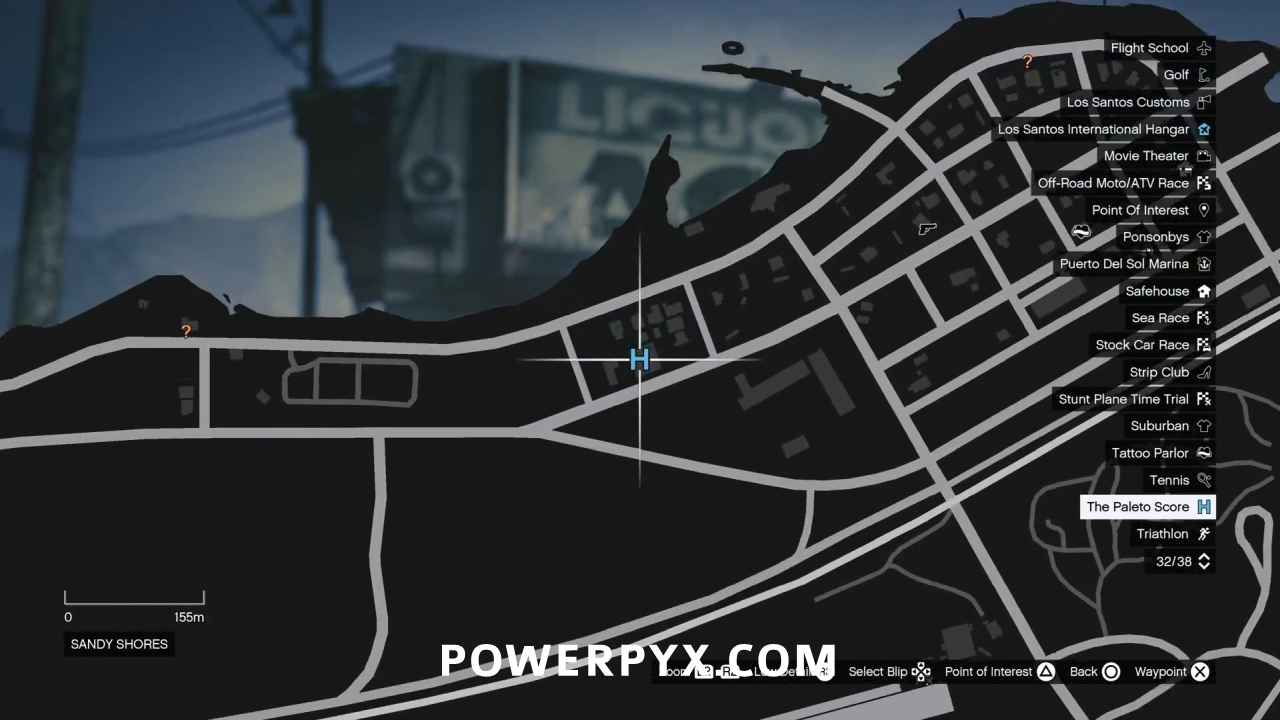
Starting Location: The Paleto Score
- Location: Sandy Shores / Algonquin Boulevard / Liquor Ace
- Quest Giver: Lester
- Requirement: Complete “Military Hardware“
- Can Be Started By: Franklin, Michael, Trevor
Get in the Van
You’re working against the clock, so skip the cutscenes!
- Mission Time: Complete within 16:00
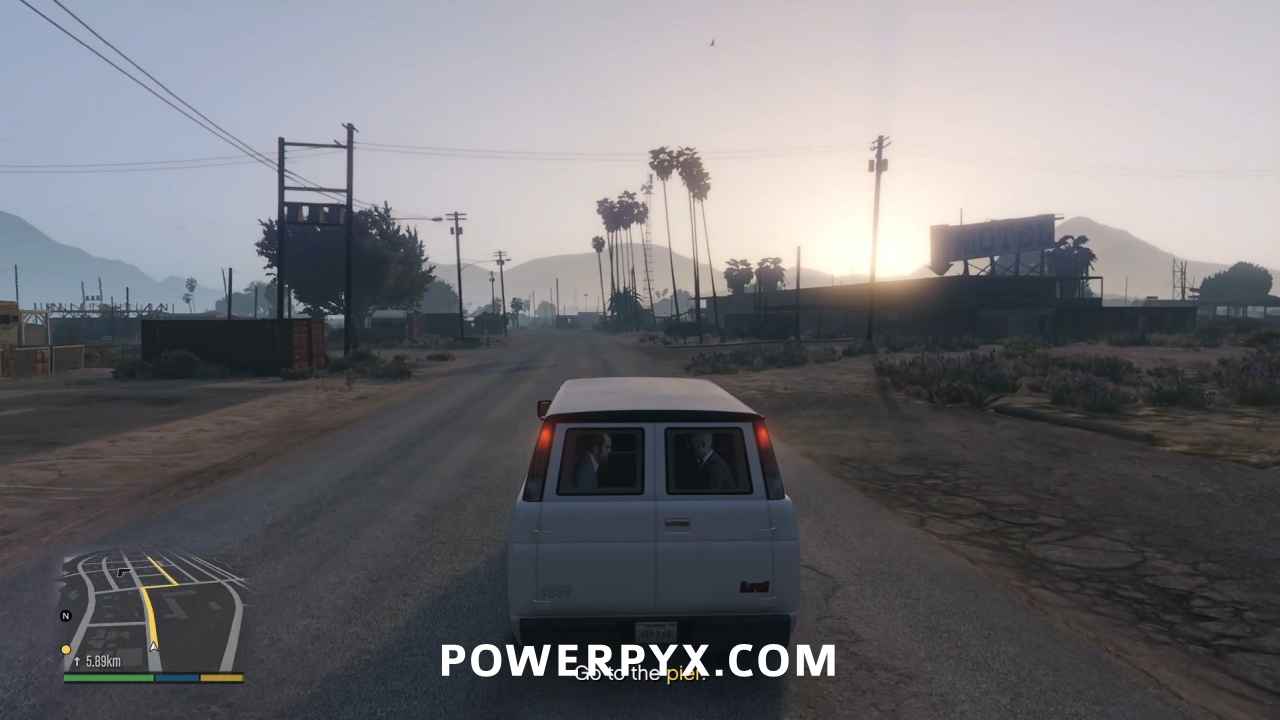
Go to the Pier
As Michael, drive the van to the objective marker while Trevor gets everyone to talk about their first bank job. Part at the marker, and Franklin will hop out to wait with the getaway vehicle.
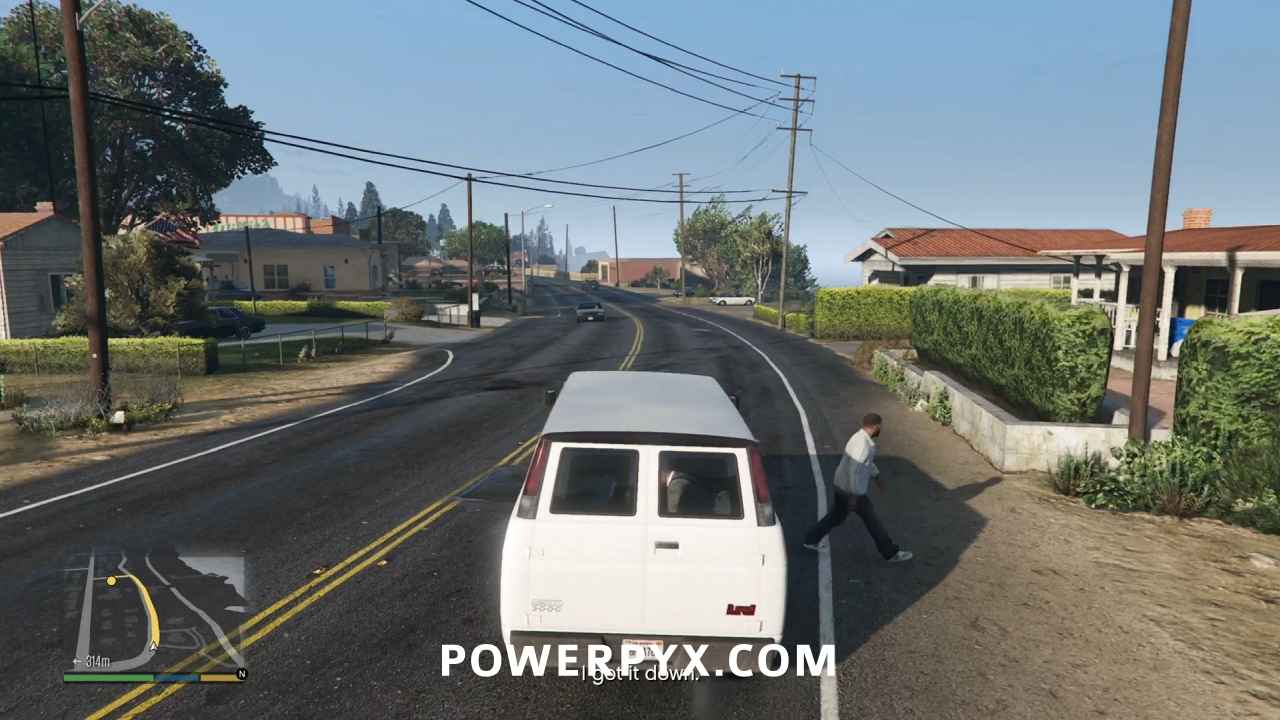
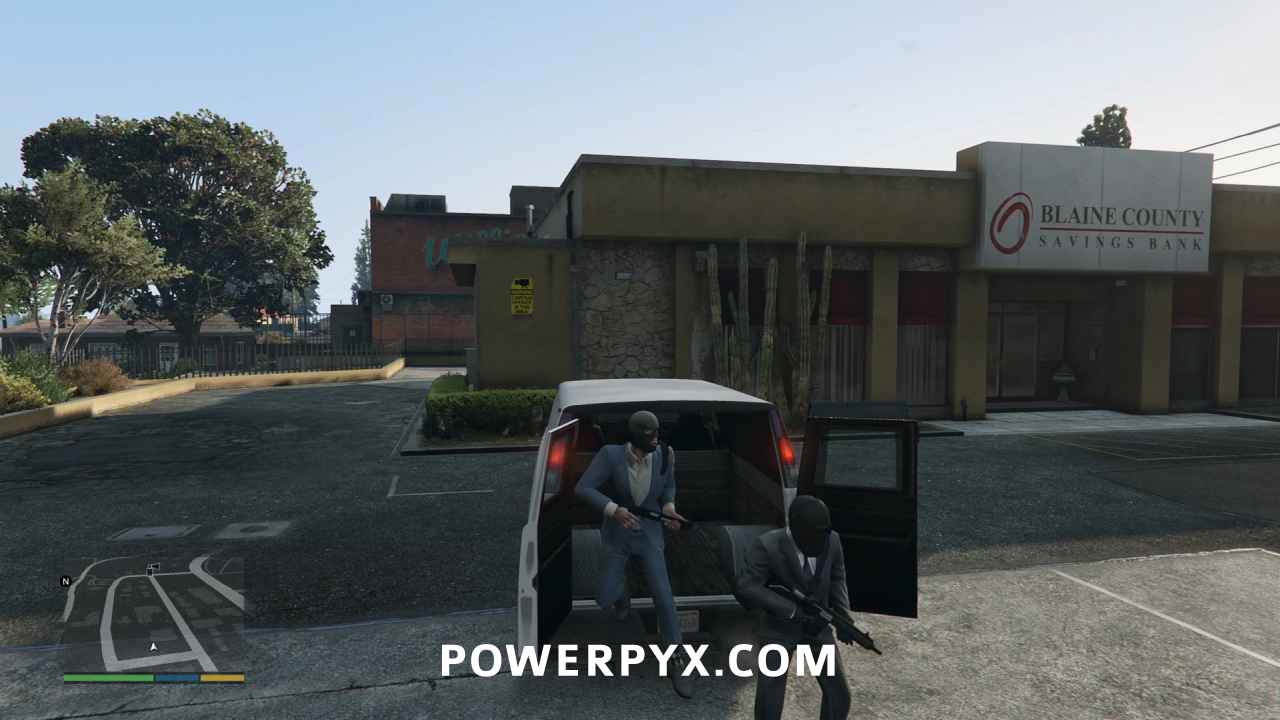
Park the Van Near the Bank Entrance
Park on the objective marker, and hop out of the van.
Go Inside the Bank
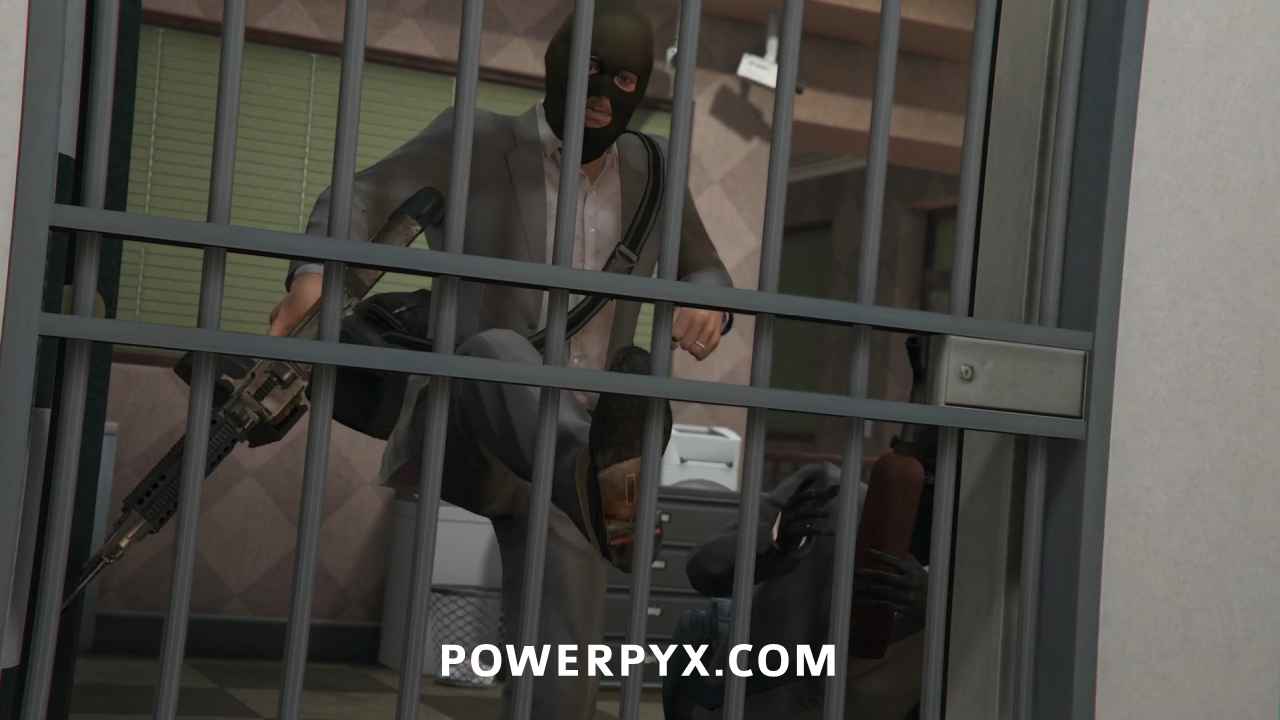
Head inside the bank and cover the staff while your gunman cuts open the vault gate. When they call you over, kick in the door. Skip the cutscene.
Go to the Vault
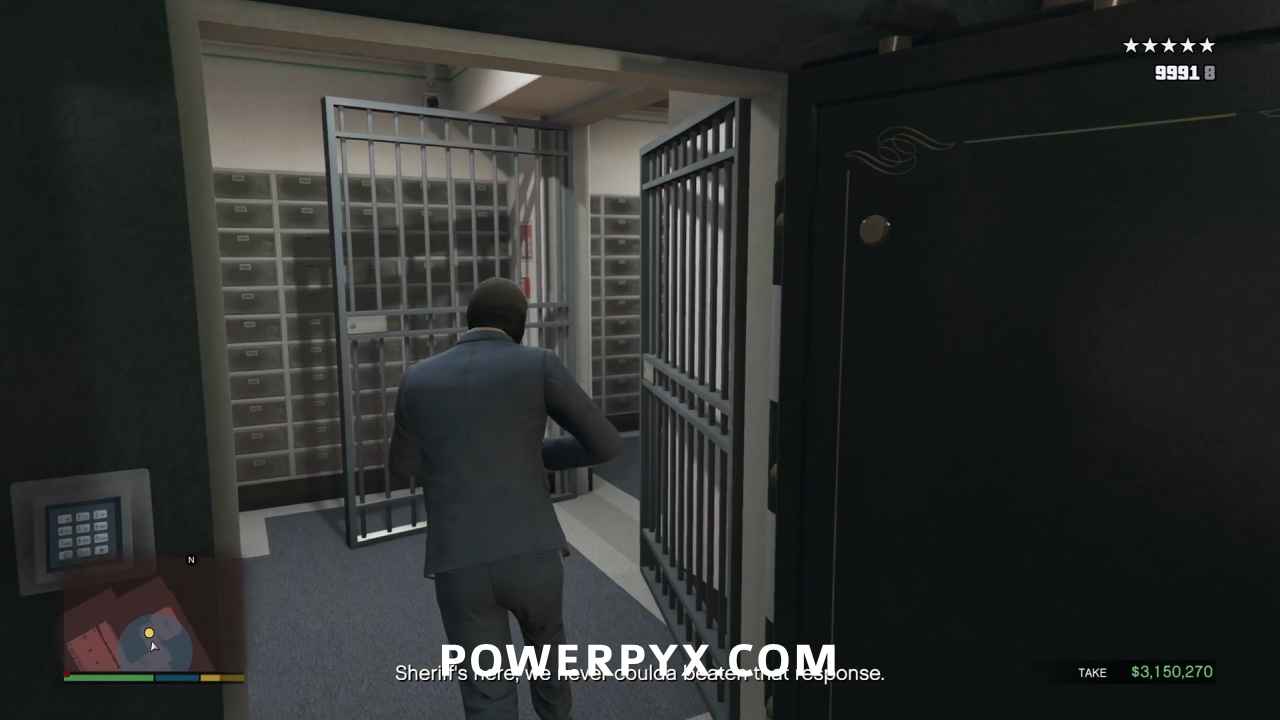
Control will switch to Trevor, who has to join everyone else in the vault. Skip the cutscene.
Take Out the Cops
Here’s where the heist begins in earnest. You will continue as Trevor who is using a minigun, and you shouldn’t switch away from him through this entire sequence. The other three Gold Medal objectives are in play now:
- Let it Rain: Fire over 4000 bullets
- Accuracy: Finish with a shooting accuracy of at least 50%
- Collateral Damage: Cause $1,000,000 damage in Paleto Bay
According to the stats, a minigun fires about 3000 rounds per minute. So you’re looking at about 1:20 of sustained fire to make 4000 rounds with just the minigun, but the real trick is to do that while keeping your accuracy above 50%. Since you’re also working towards collateral damage, the answer presents itself: Trevor should concentrate on blowing up as many vehicles as possible with the minigun. To be most efficient, you should concentrate on shooting them in less vulnerable areas so that you can expend more bullets on target before they blow up. Areas like tires, doors or roof panels. Once they explode shift your fire towards, they are no longer considered targets so every additional bullet on them is considered a miss and will affect your accuracy. Luckily, as long as you’re careful about how you shoot the vehicles, you should have enough leeway to be able to absorb any incidental misses without damaging your accuracy below 50%.
Don’t Use Trevor’s Special Ability! The full body armor suit you’re wearing is more than enough to keep you safe through this entire mission so you won’t need the damage resistance, and the extra damage it causes Trevor’s weapons to do will cause the vehicles to blow up faster, resulting on fewer expended minigun bullets being counted as hits for your accuracy.
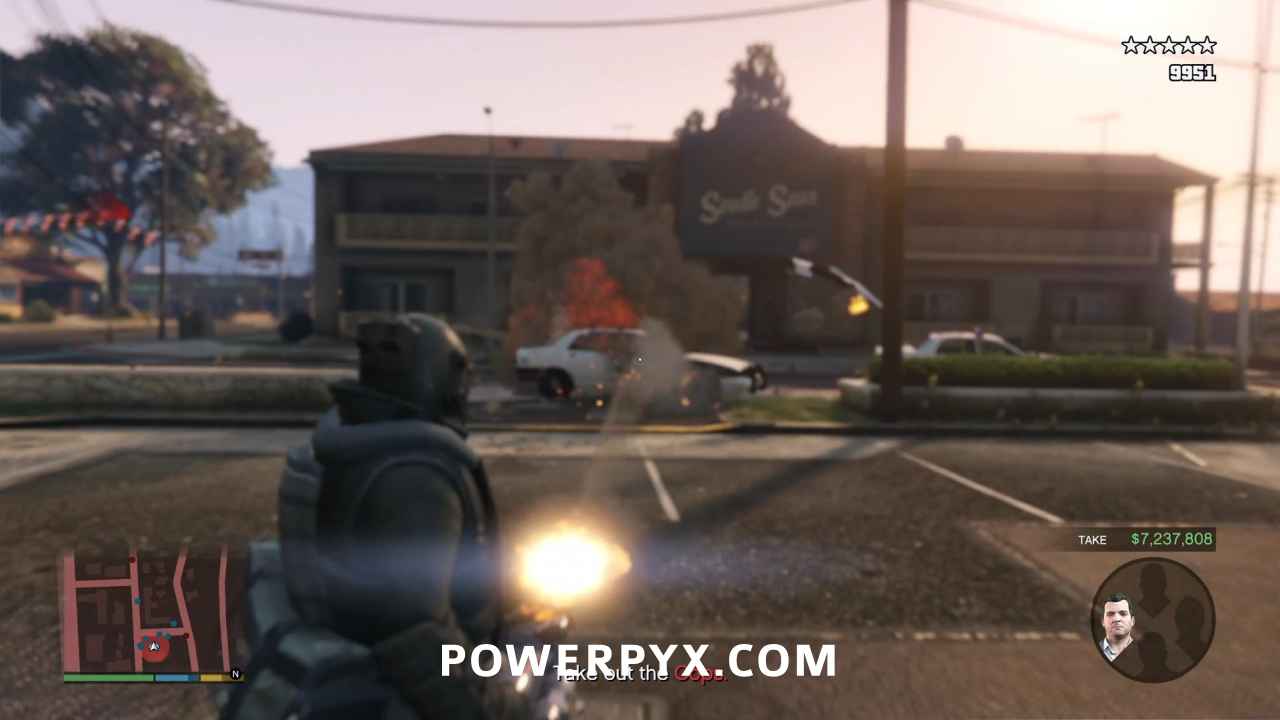
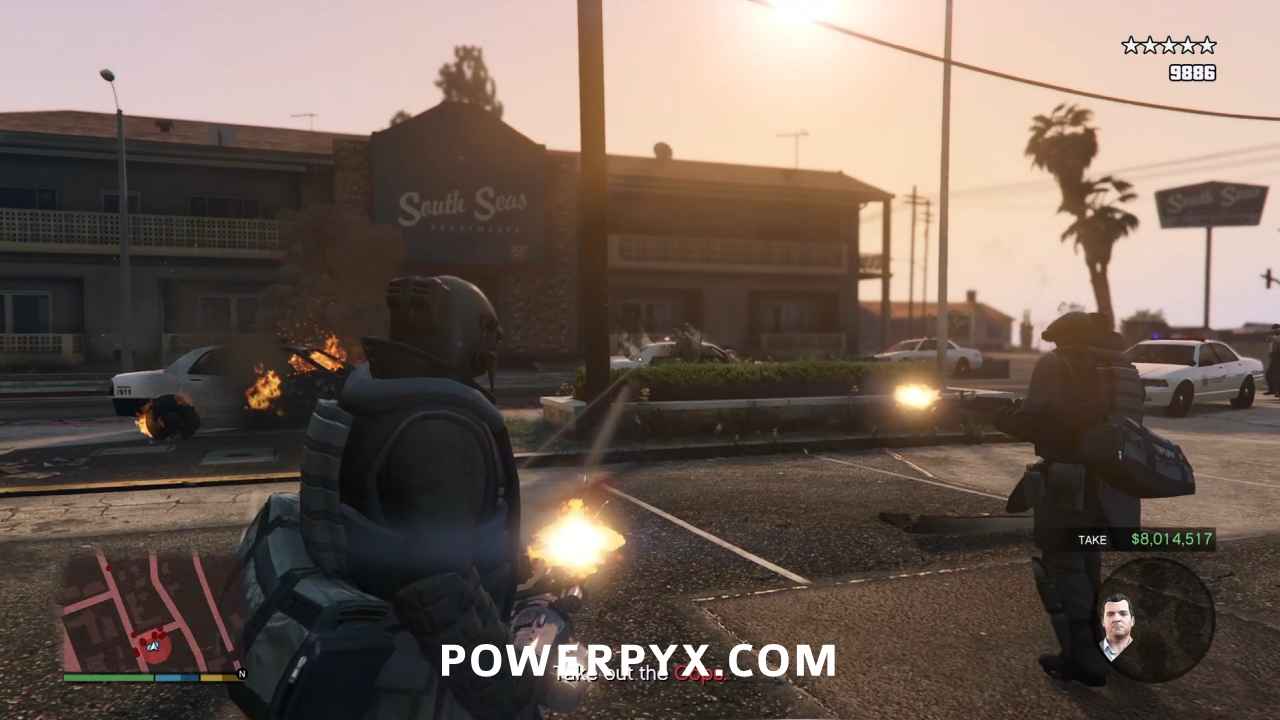
Blow up every vehicle you see, and because you’re also going for collateral damage, also blow up the gas station across the street.
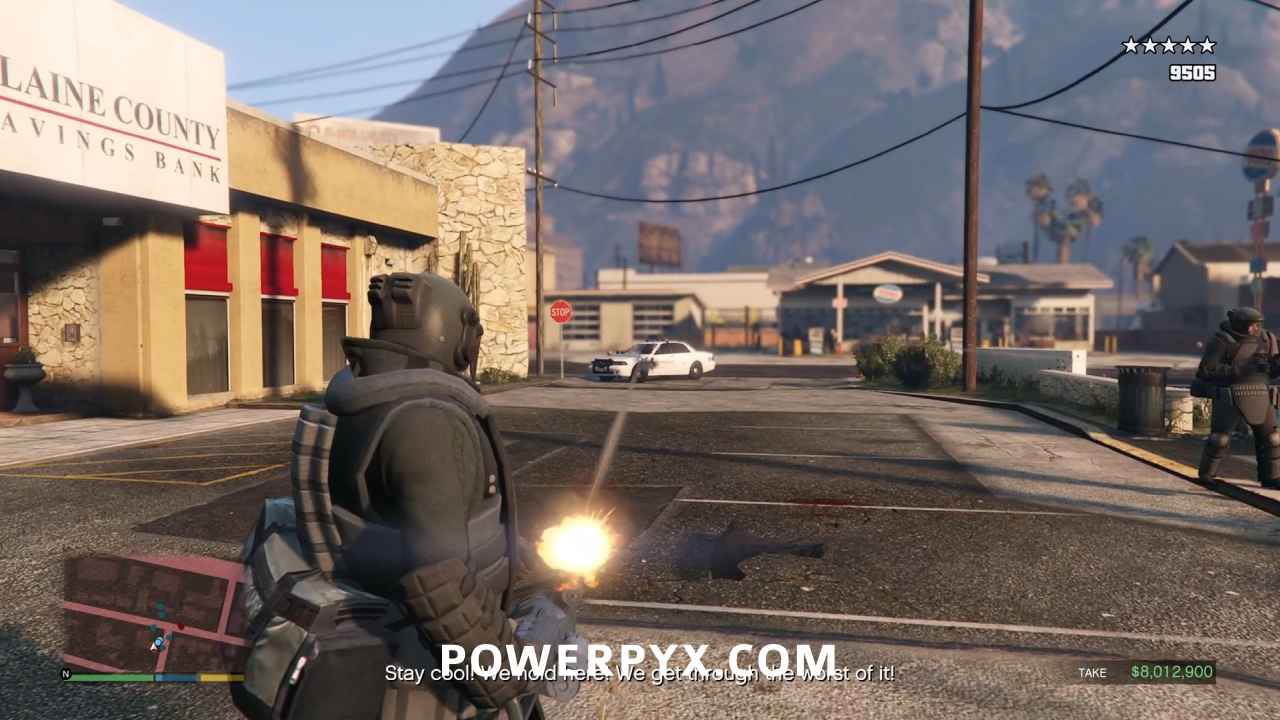
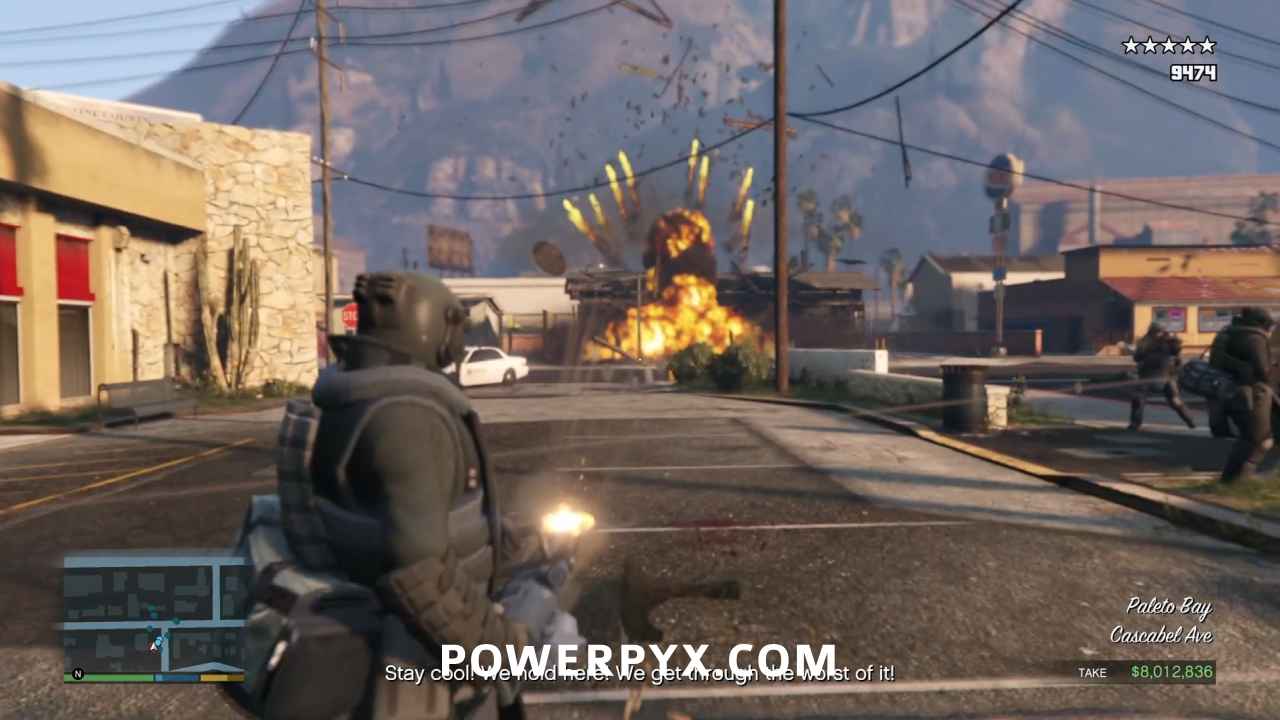
After a couple minutes you’ll hear Michael call out that there’s a helicopter. Shoot at it, being careful to avoid the cockpit so it doesn’t crash too soon. Aim at the side panels or the belly to make it survive longer.
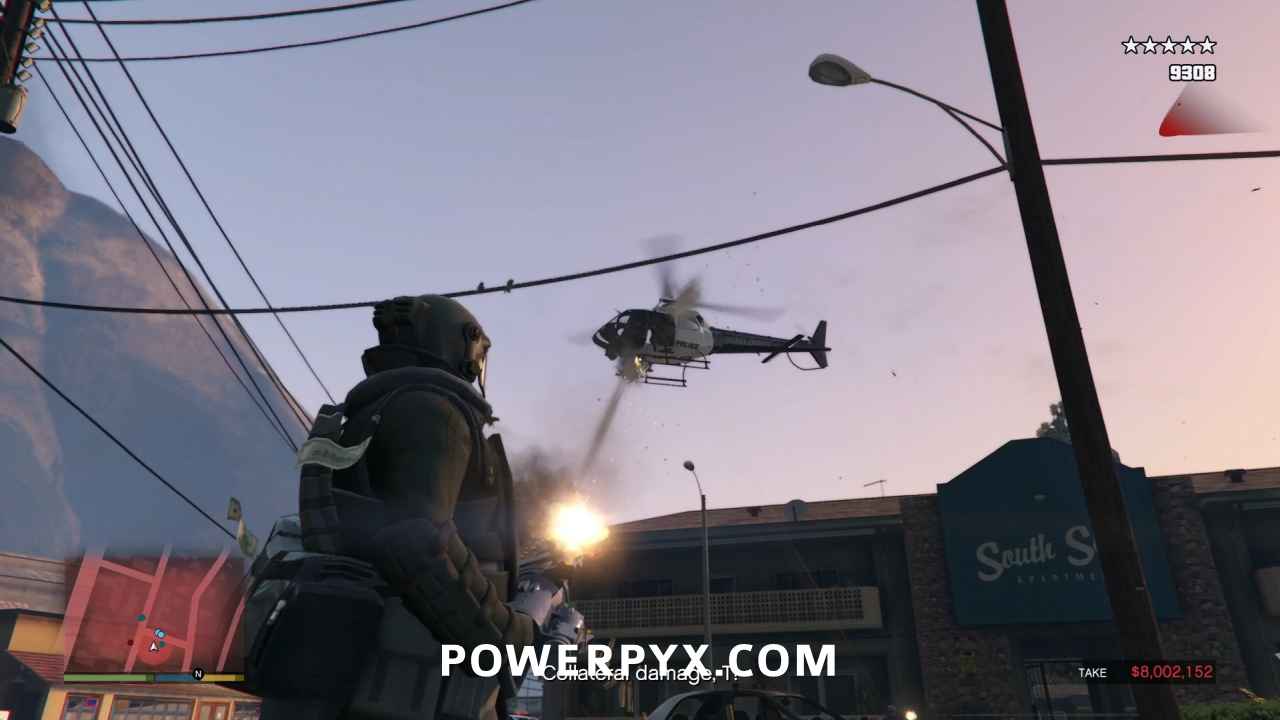
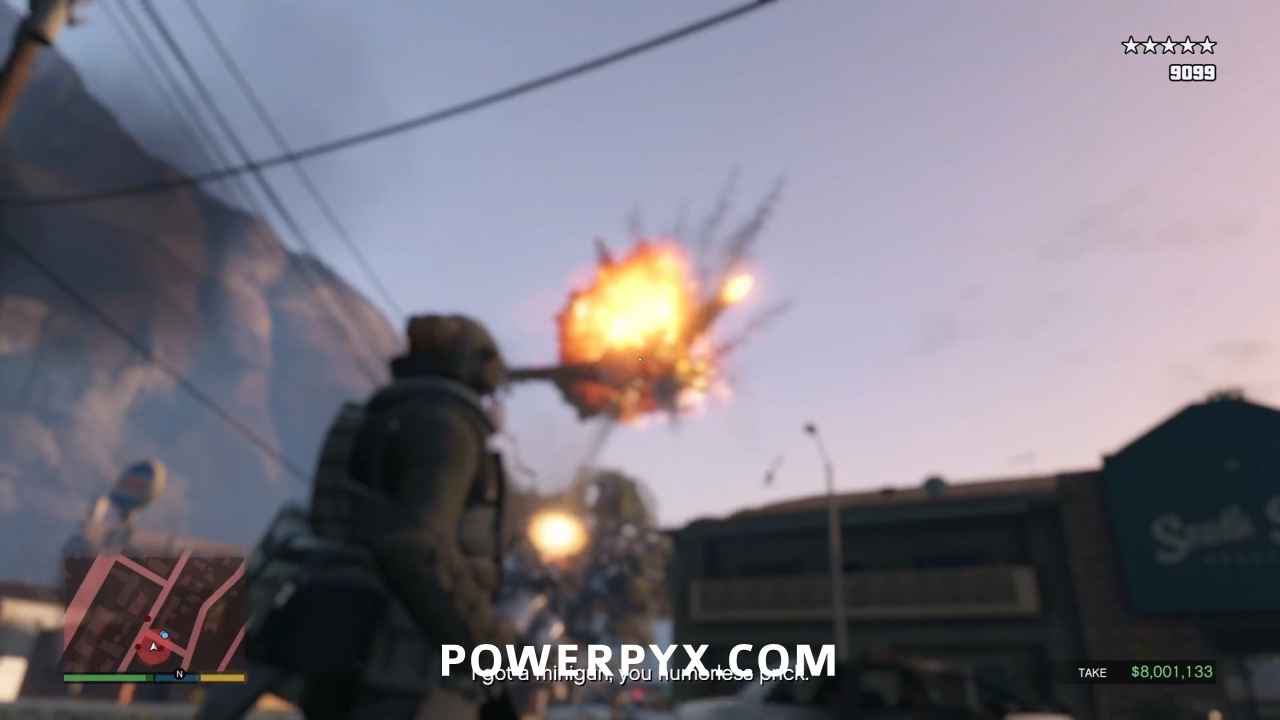
After you’ve destroyed eight police cars and a helicopter, run over to Michael and go through the apartments to a pool area. Shoot through the fence on the opposite side, then look to your right to destroy three more police cars.
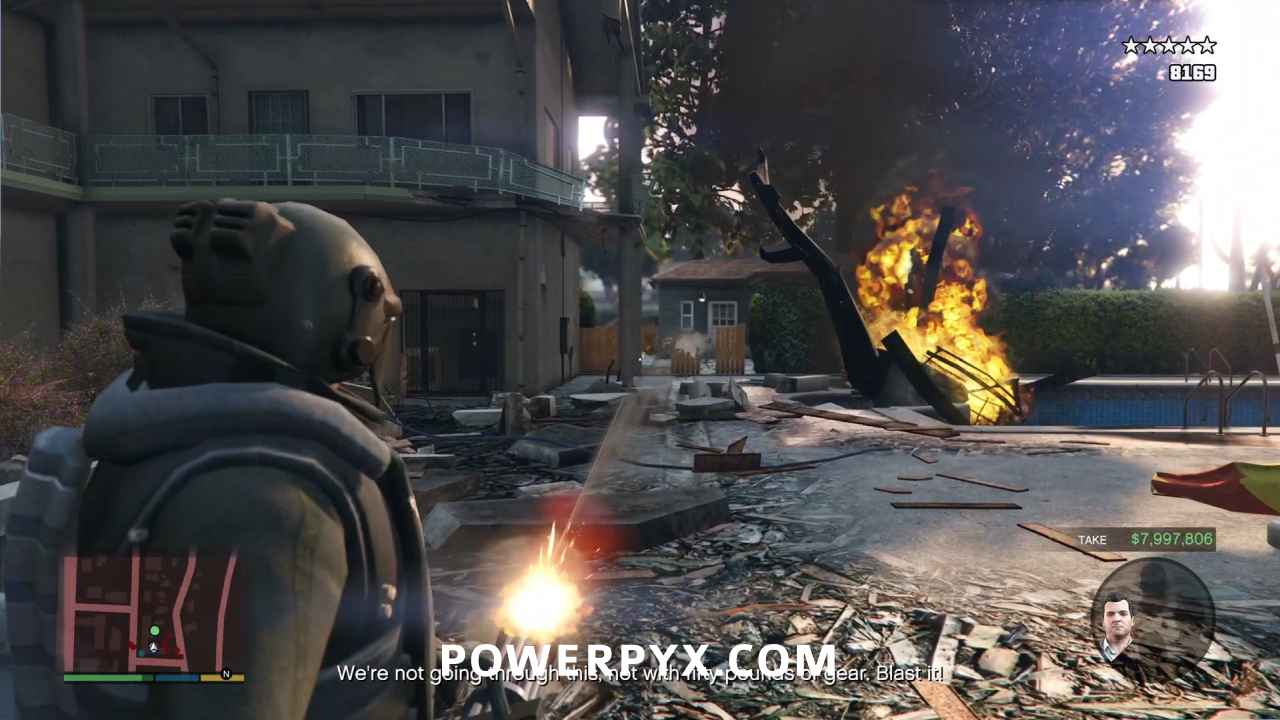
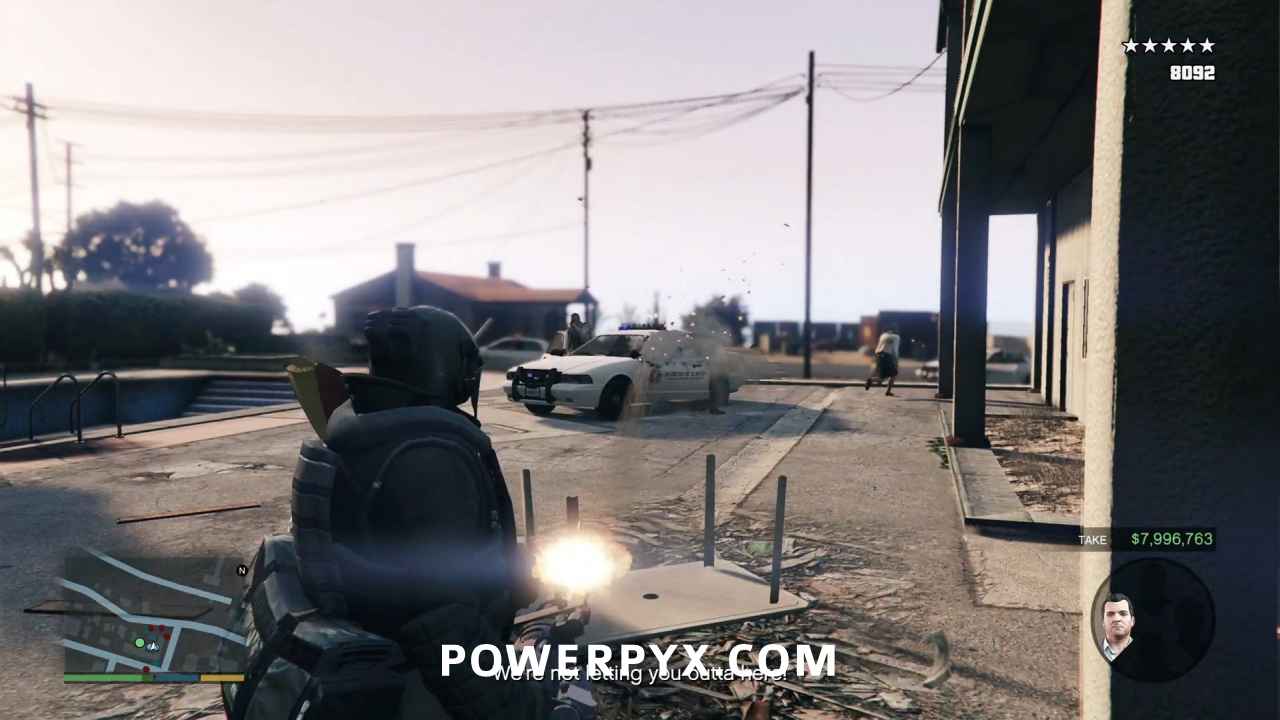
Follow Michael and destroy another fence to proceed to the next street where there will be more police cars and some NOOSE APCs.
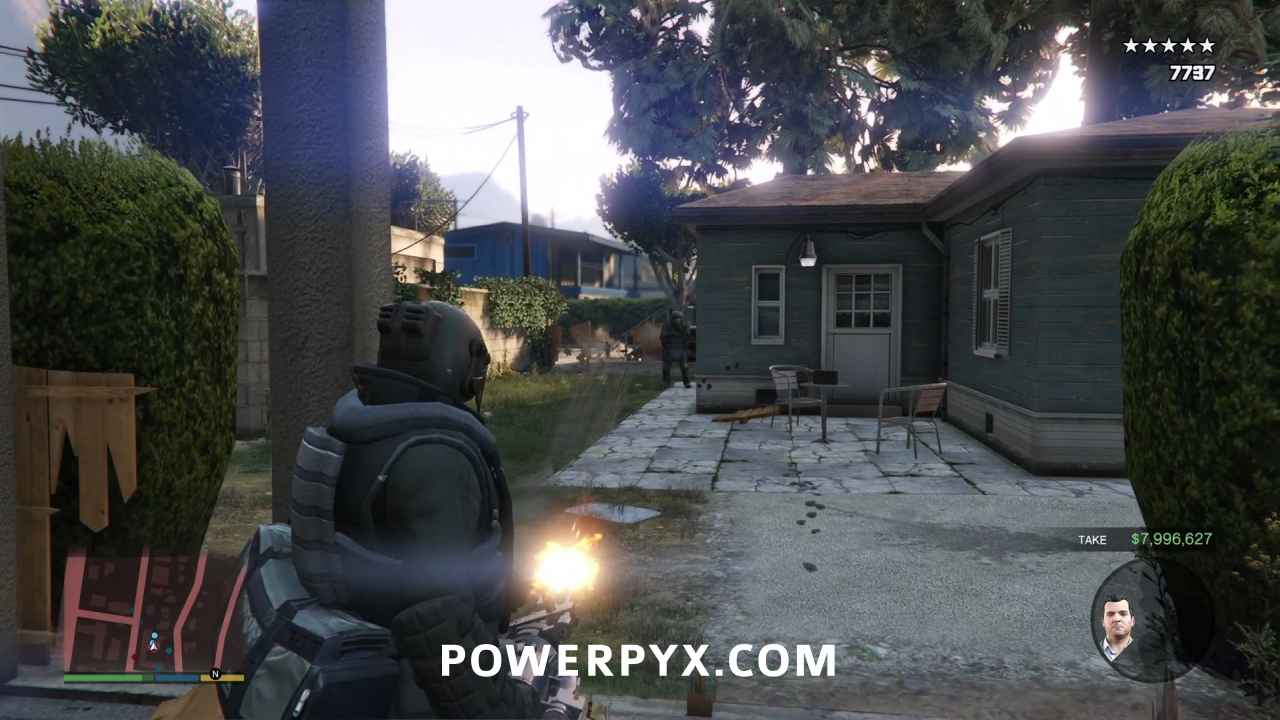
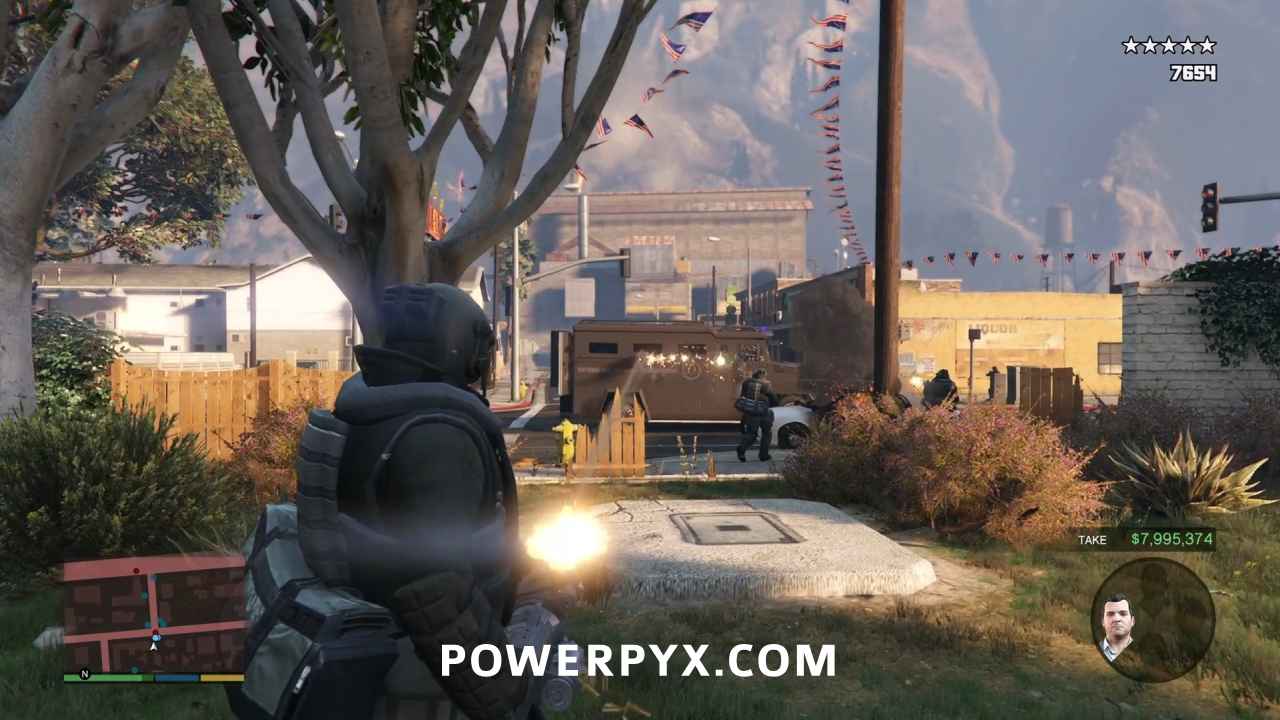
Safety tip, you may want to let this APC come to a complete stop before destroying it.
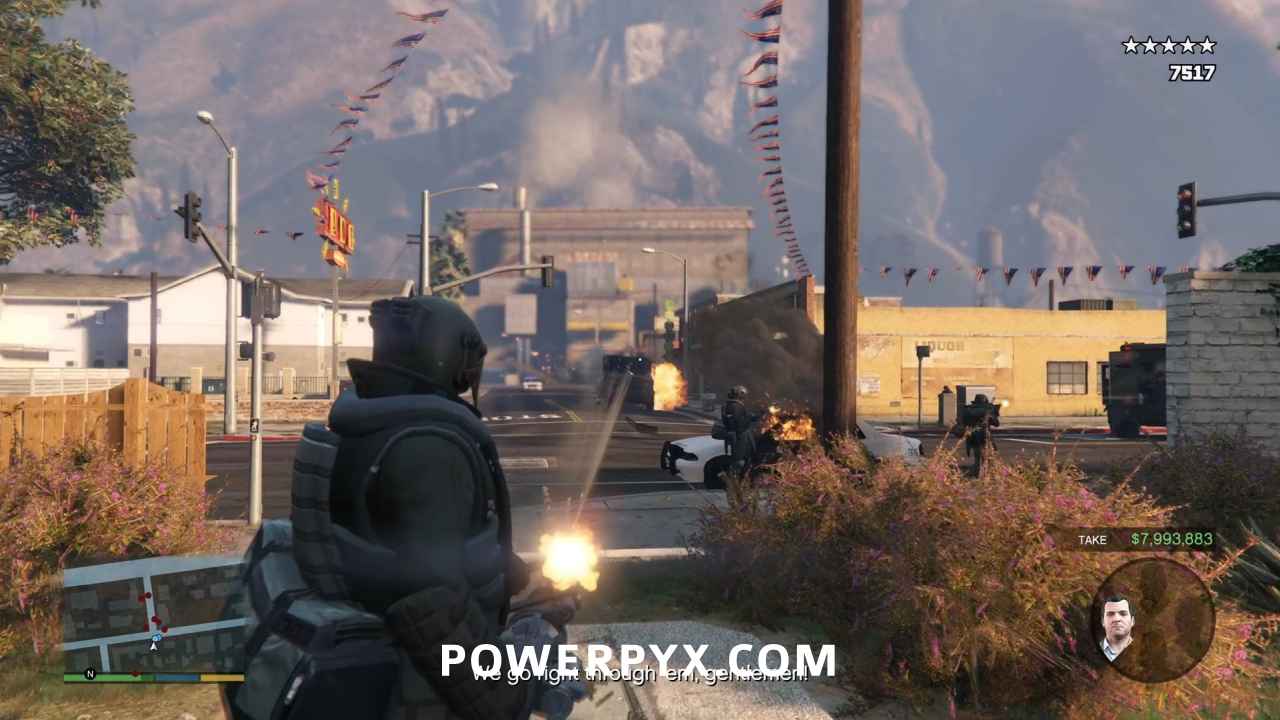
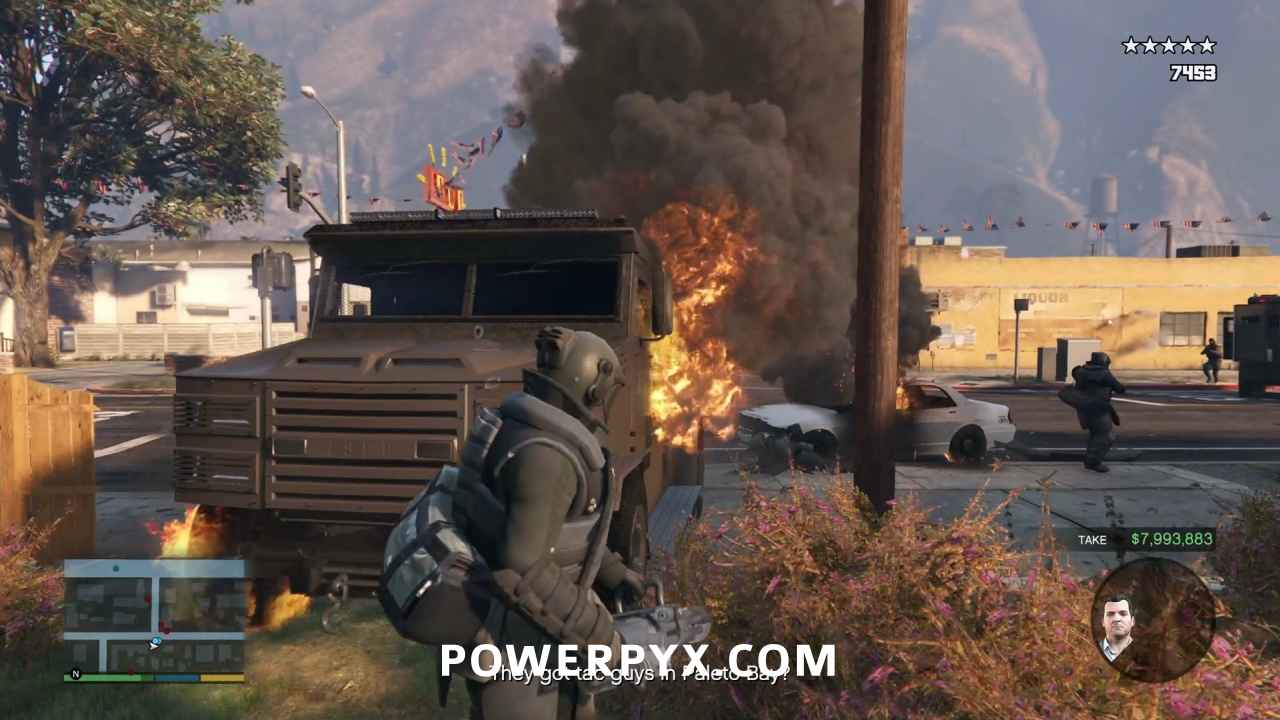
Don’t kill too many of the vehicles until you see a Cargobob coming in to land some soldiers. They can absorb an impressive amount of fire before exploding, padding your accuracy that much more. If you go too quickly, you might advance the mission to the next section and you’ll miss the Cargobob entirely. This section totals two NOOSE APCs, 5 police cars, and a Cargobob.
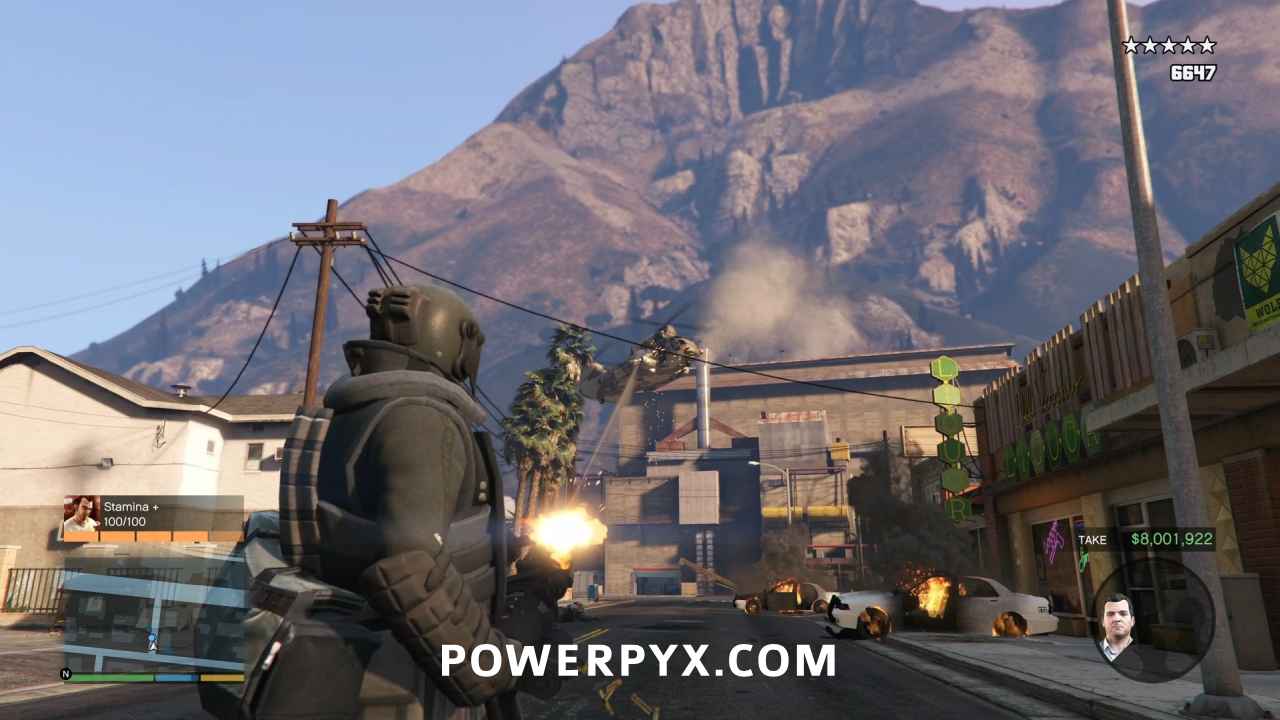
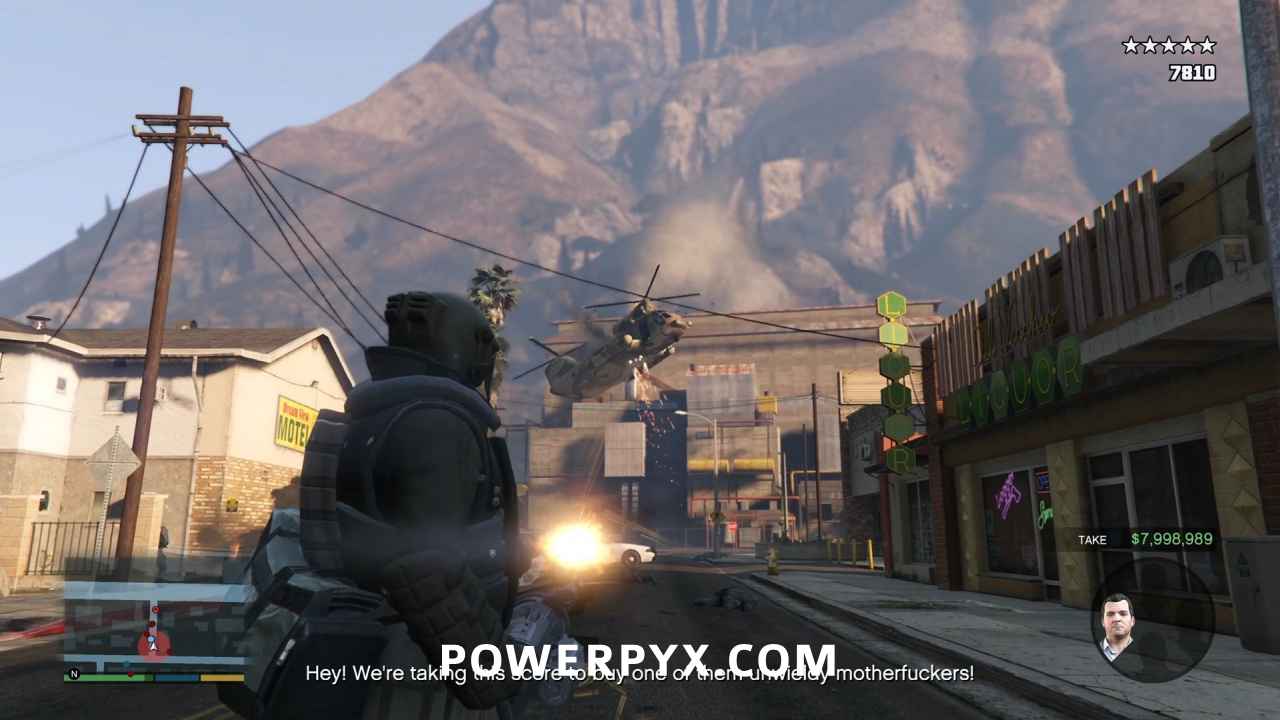
The next section will have the army join the fun. There will be two Barracks trucks, and a couple Crusader humvees.
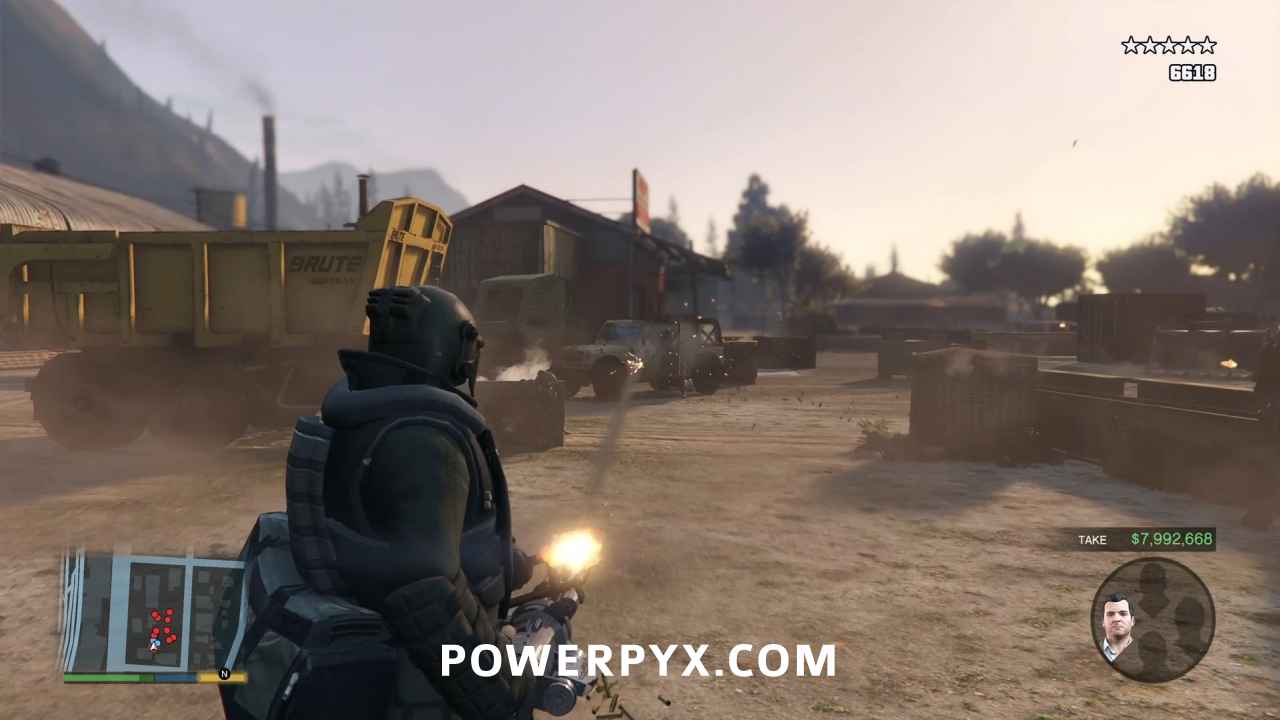
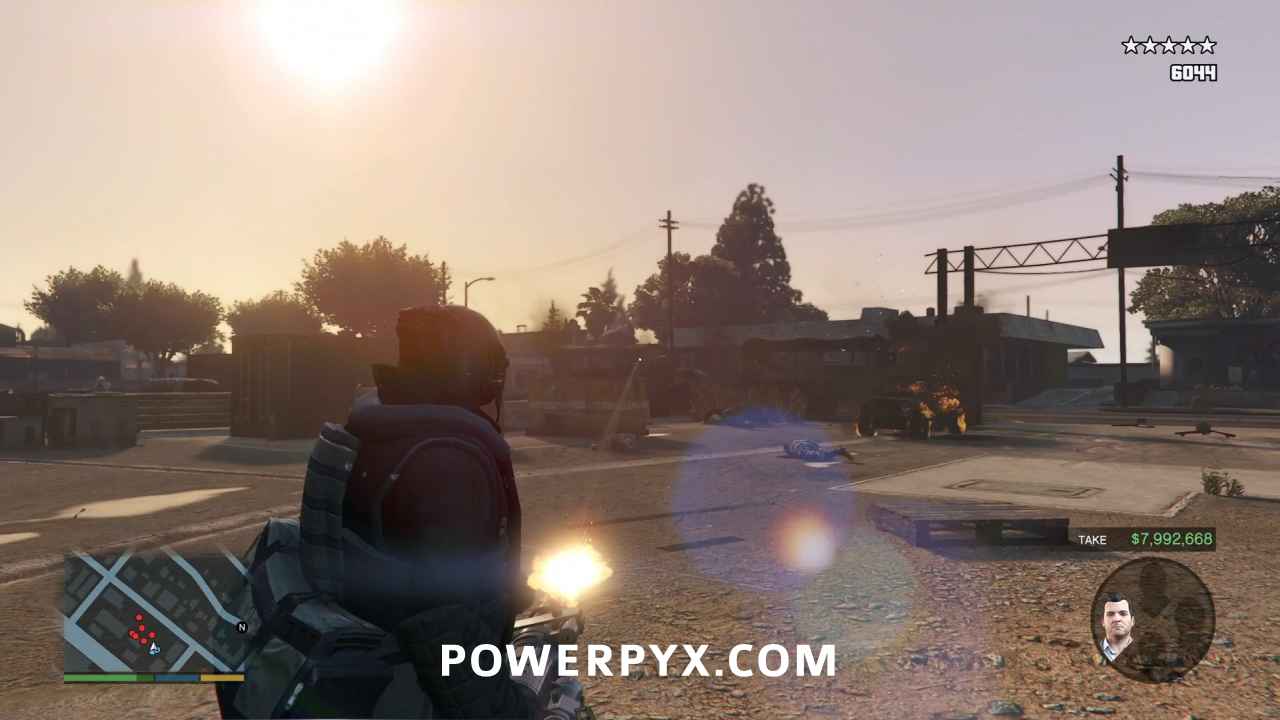
After those vehicles are dead, help Michael kill the remaining military with short controlled bursts of minigun fire until you hear your gunman call out a Cargobob that’s transporting a Tank. When this happens, ignore everything else and continuously pour fire into the Tank until it moves out of range behind you.
This will be your last chance to use the minigun to reach your 4000 rounds spent, so make every hit count.
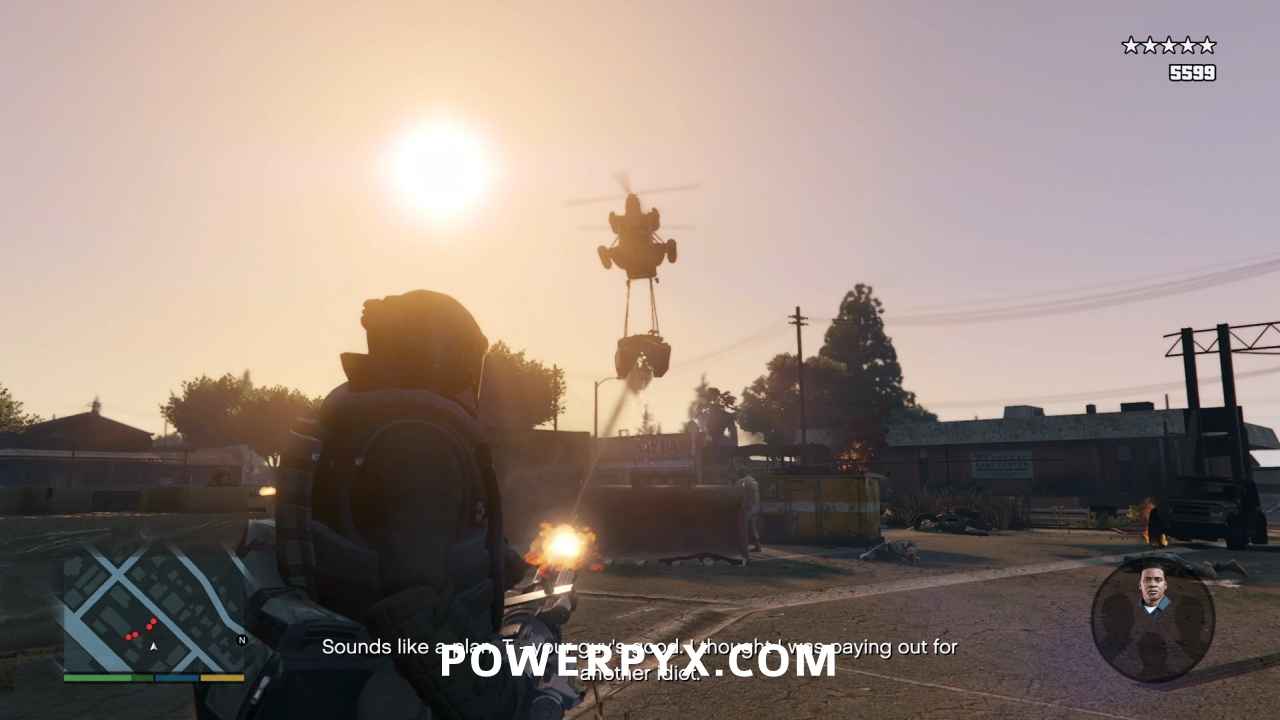
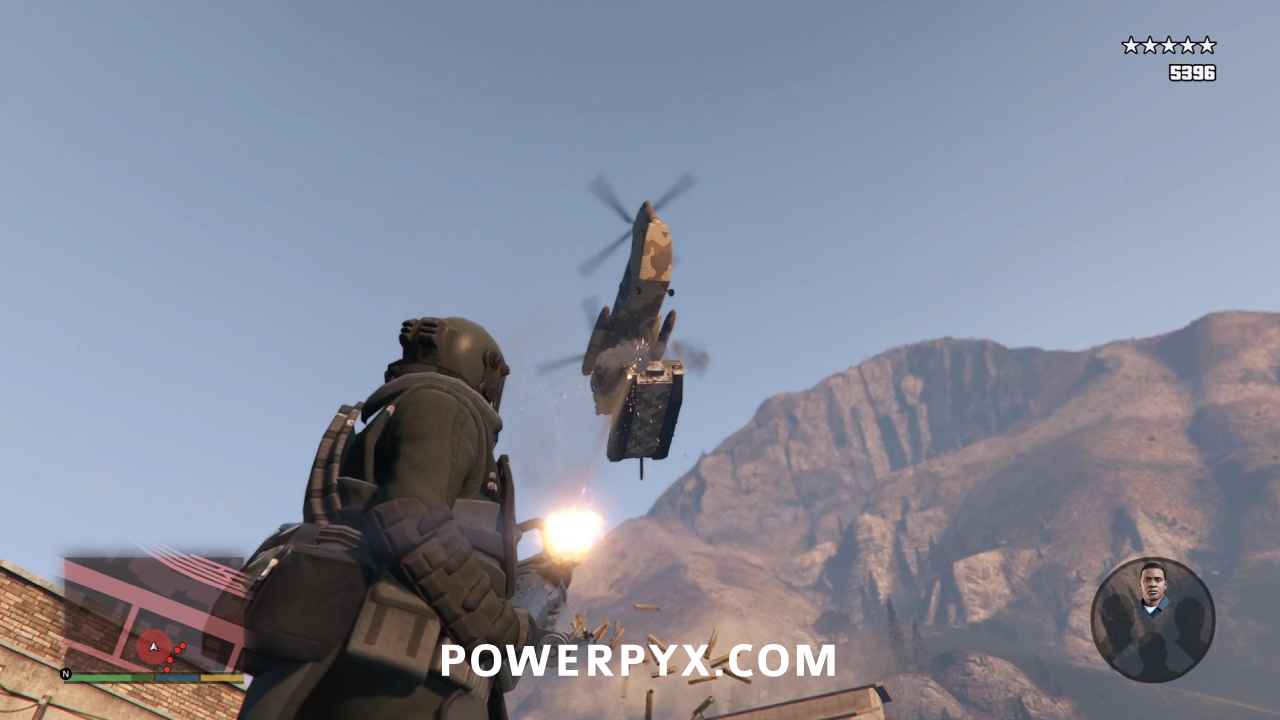
Shortly after the Tank flyover, control will switch to Franklin automatically.
Go to Michael and Trevor
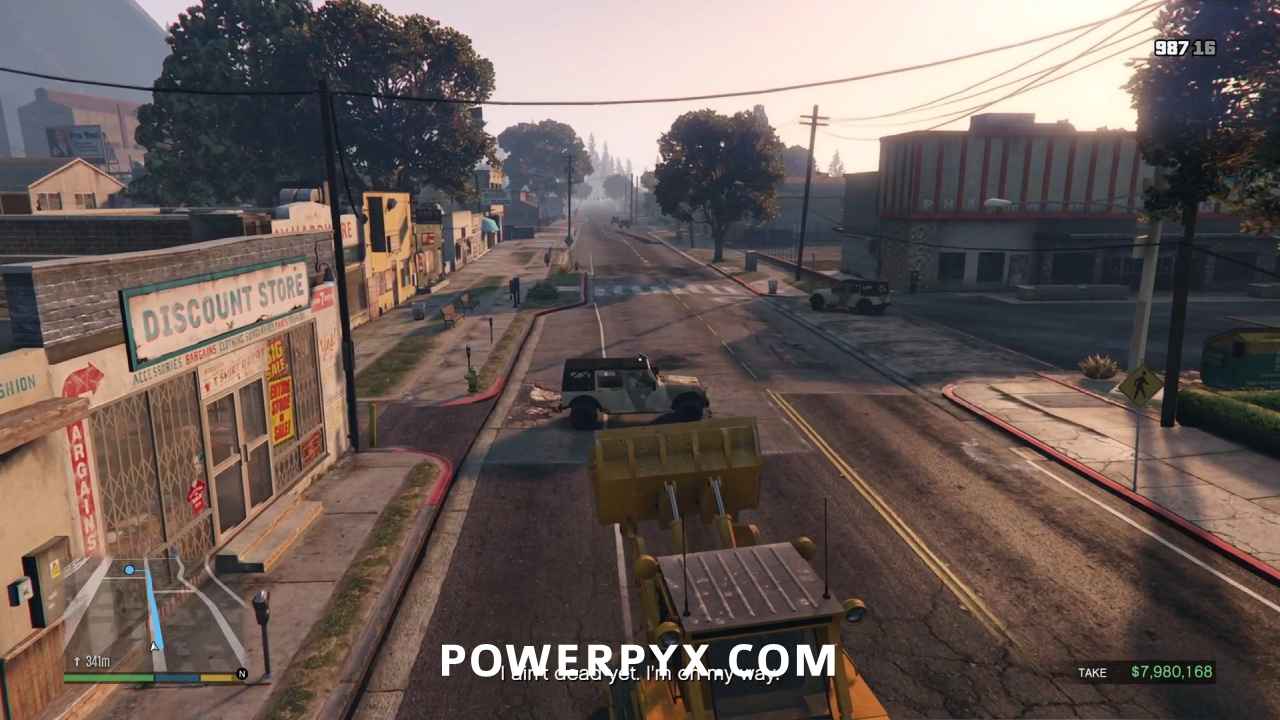
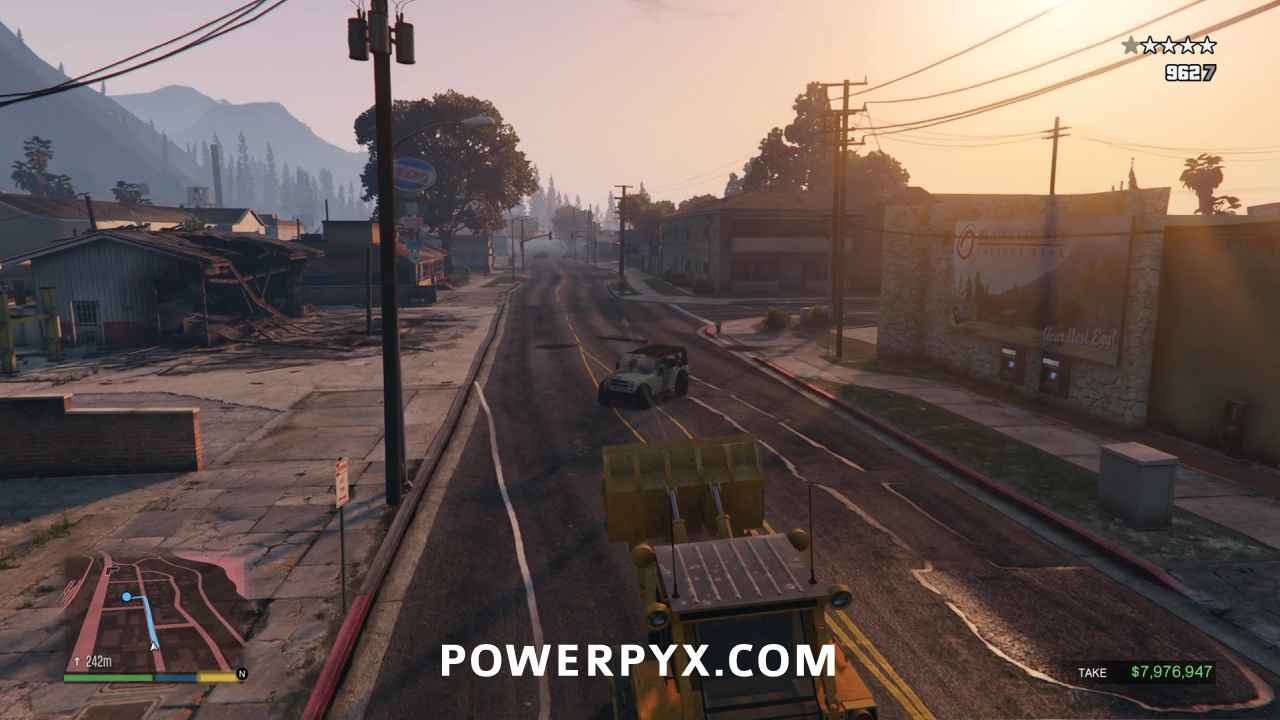
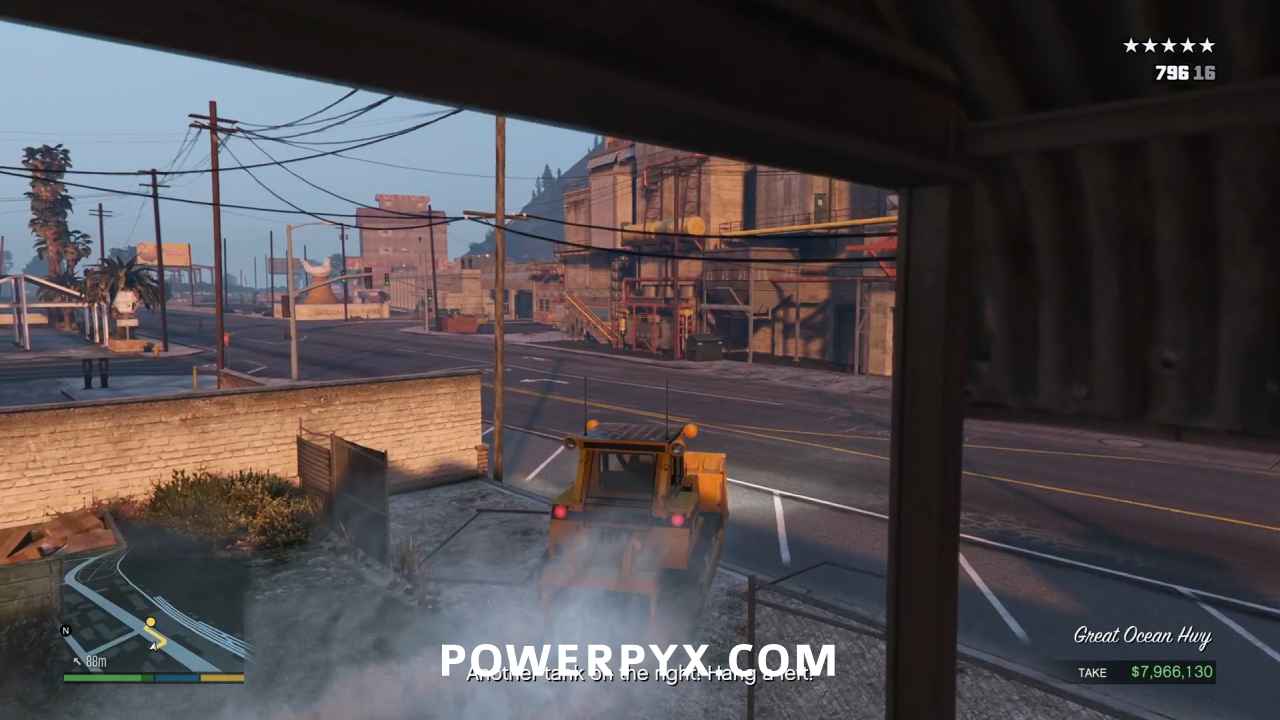
You’ll be in a Dozer now, which offers some surprisingly good protection against gunfire, especially with the shovel raised to block your front window. While driving slowly towards the objective marker, to pad your Let it Rain numbers you should also use the micro SMG to shoot at the soldiers and the Crusaders they pull up in. You won’t do enough damage to blow up a Crusader, but they still count as hits.
Go to the Factory
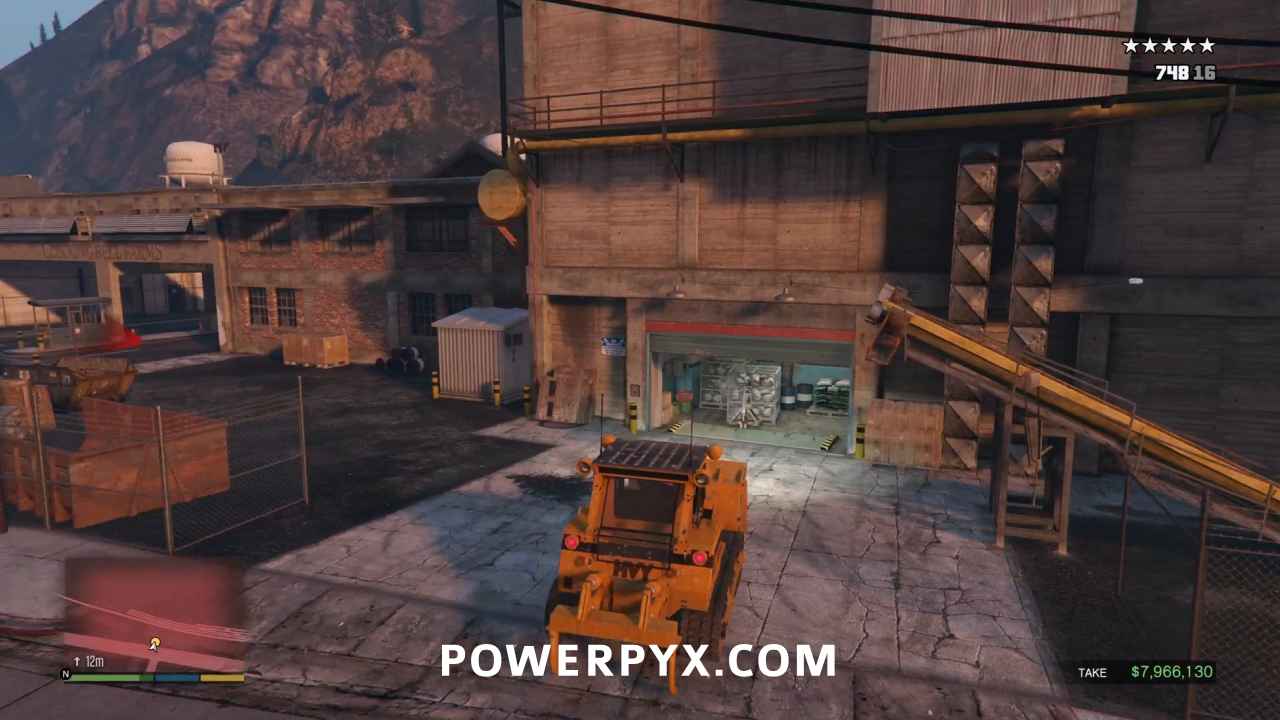
Once you reach Michael and Trevor, skip the cinematic, then go straight ahead through the fence and turn left onto the street. Don’t worry about the tank fire, it won’t be a problem as long as you don’t delay. When a tank blocks your path down the street, turn right towards the factory door. While you’re passing the tank, dump a few hundred more micro SMG rounds into it for good luck.
Skip the cinematic.
Go to the Railway Platform
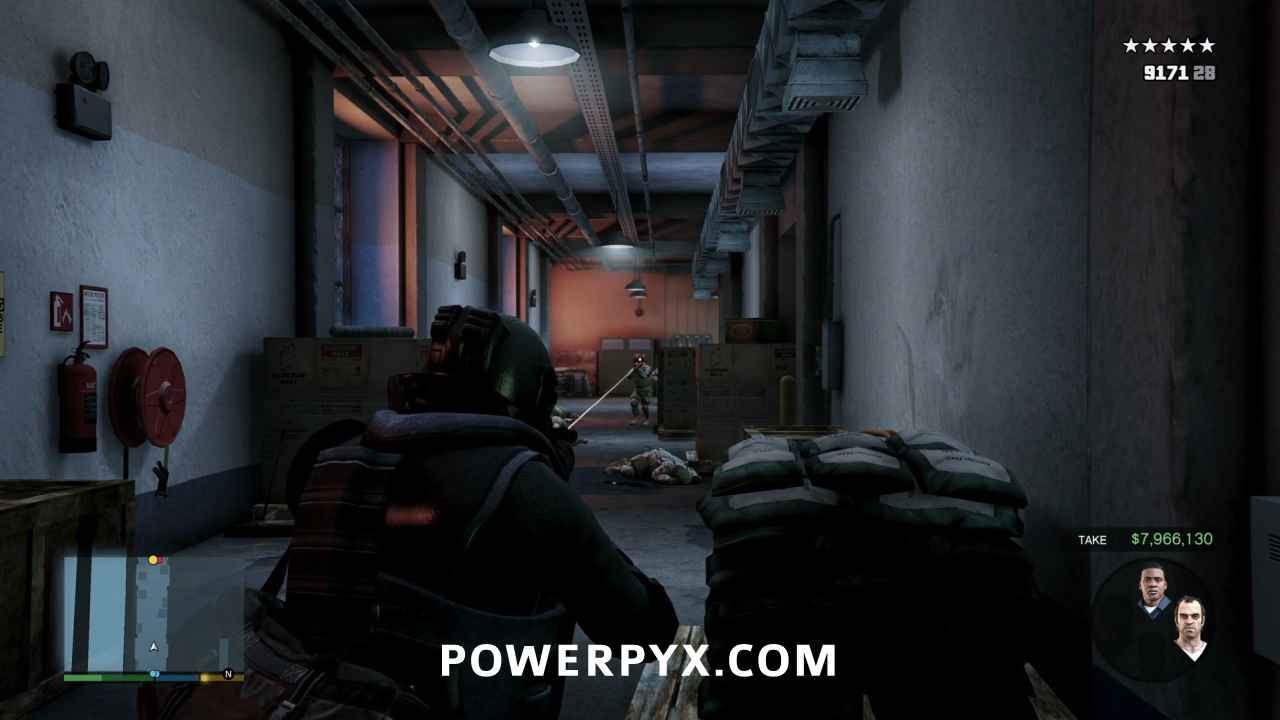
Control will switch to Michael automatically. Make use of his special ability to kill all the soldiers in the Cluckin Bell factory with efficiency. Technically this will improve your Accuracy percentage, but the reality is that the thirty or so bullets that you’ll fire won’t tip the balance significantly against 4000 rounds already fired. Michael’s special ability is more so you can save time on the clock towards your Mission Time Gold Medal requirement, moving through the factory and eliminating the soldiers with ruthless efficiency.
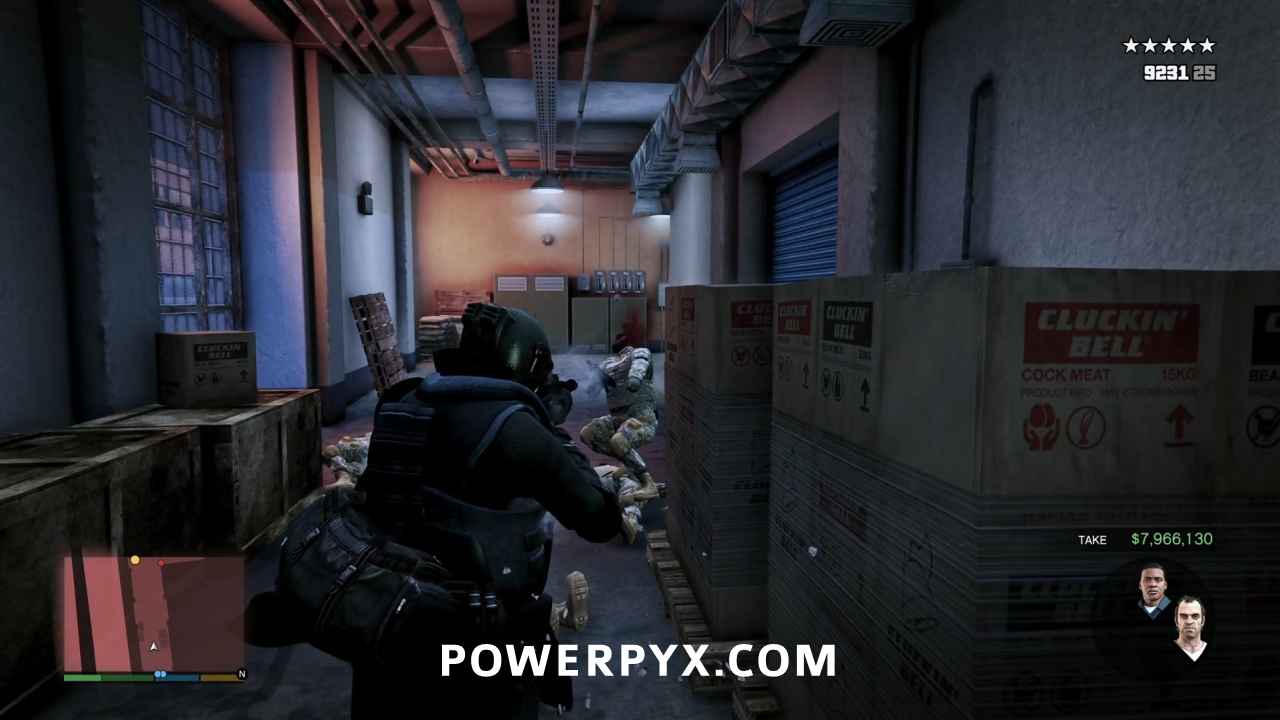
If for whatever reason you think you might not have reached 4000 rounds for Let it Rain, unload a clip or two at the sky to pad your total. Just make sure you’re in the clear when you do, so you don’t make yourself an easy target.
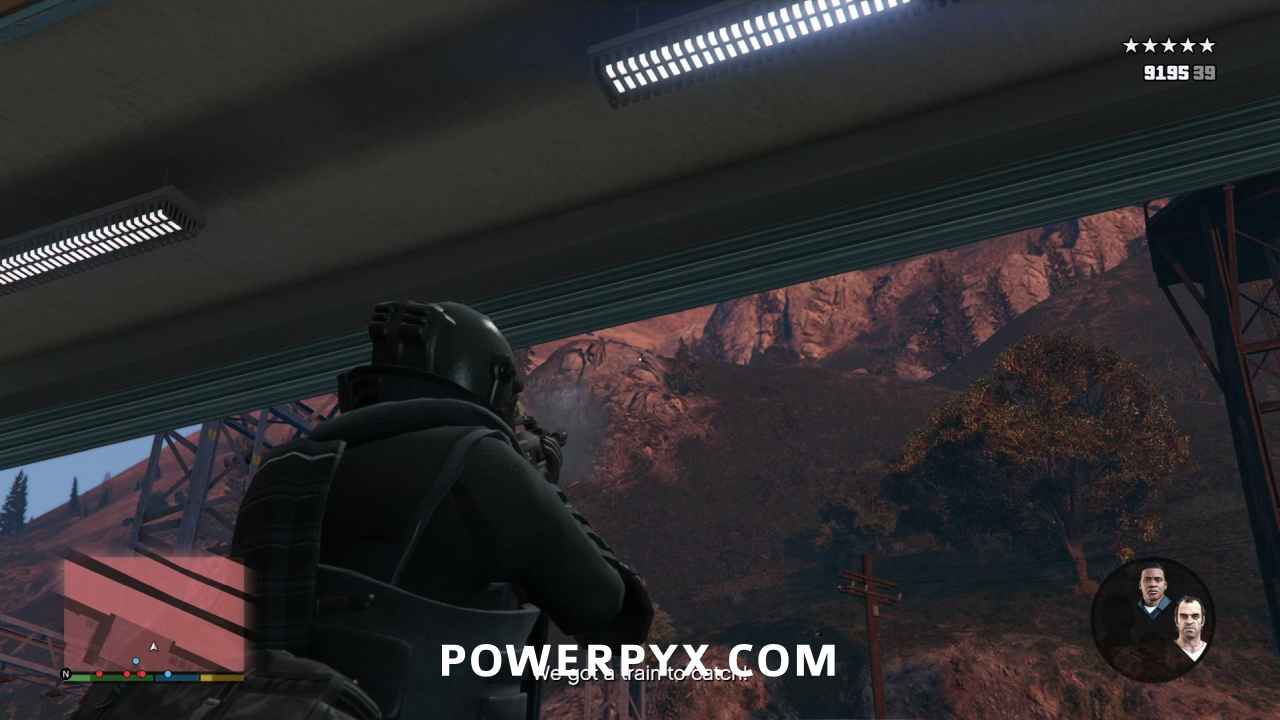
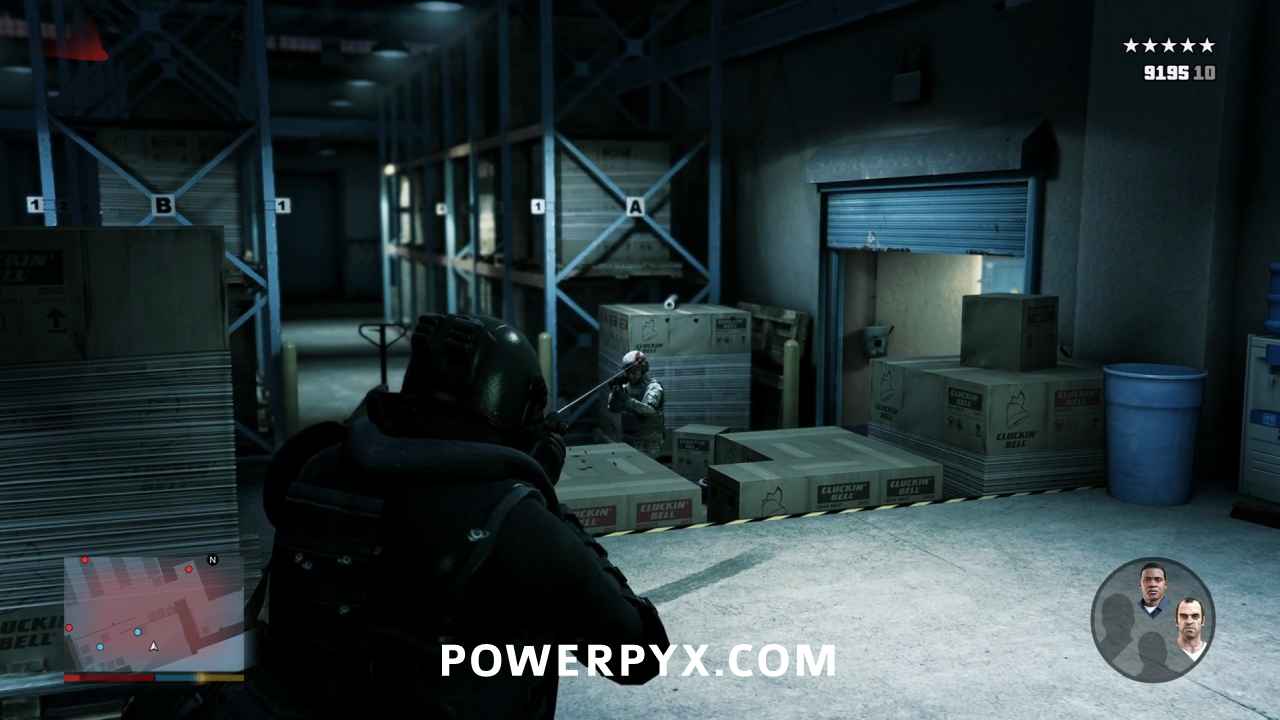
Stand near the loading doors and kill soldiers until you hear the train pull up. Skip the cinematic, and the mission will be over.
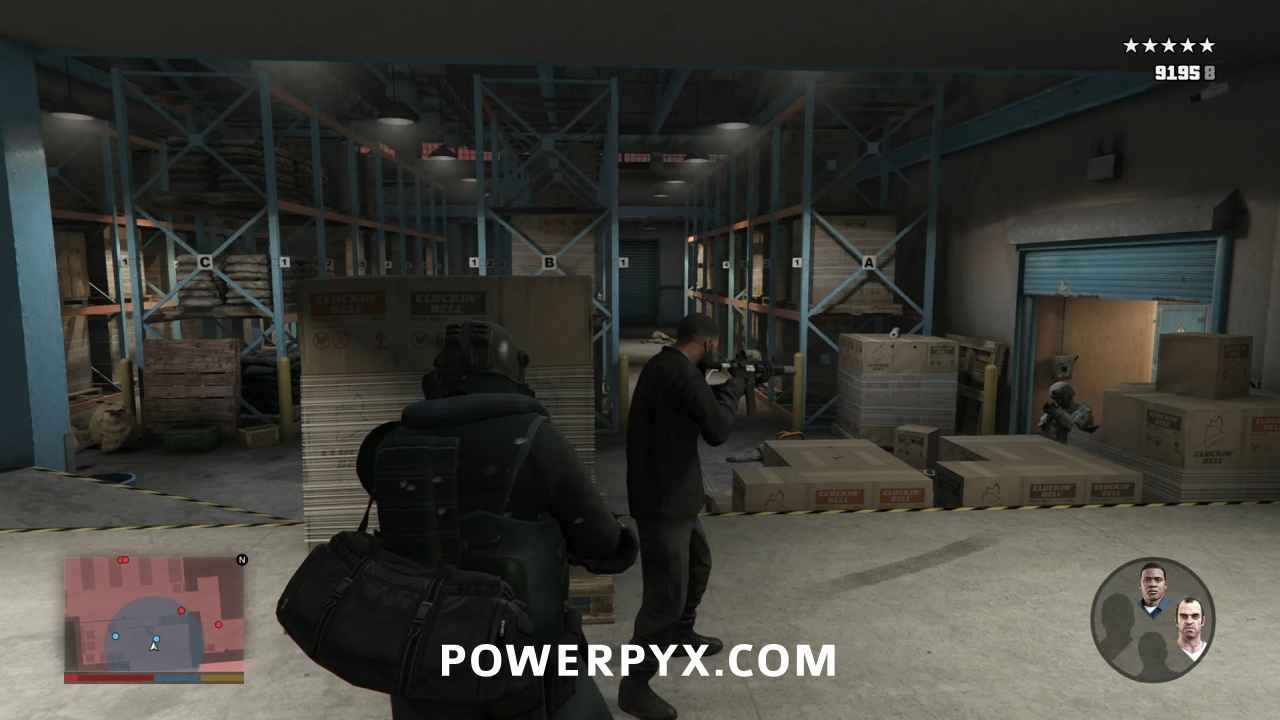
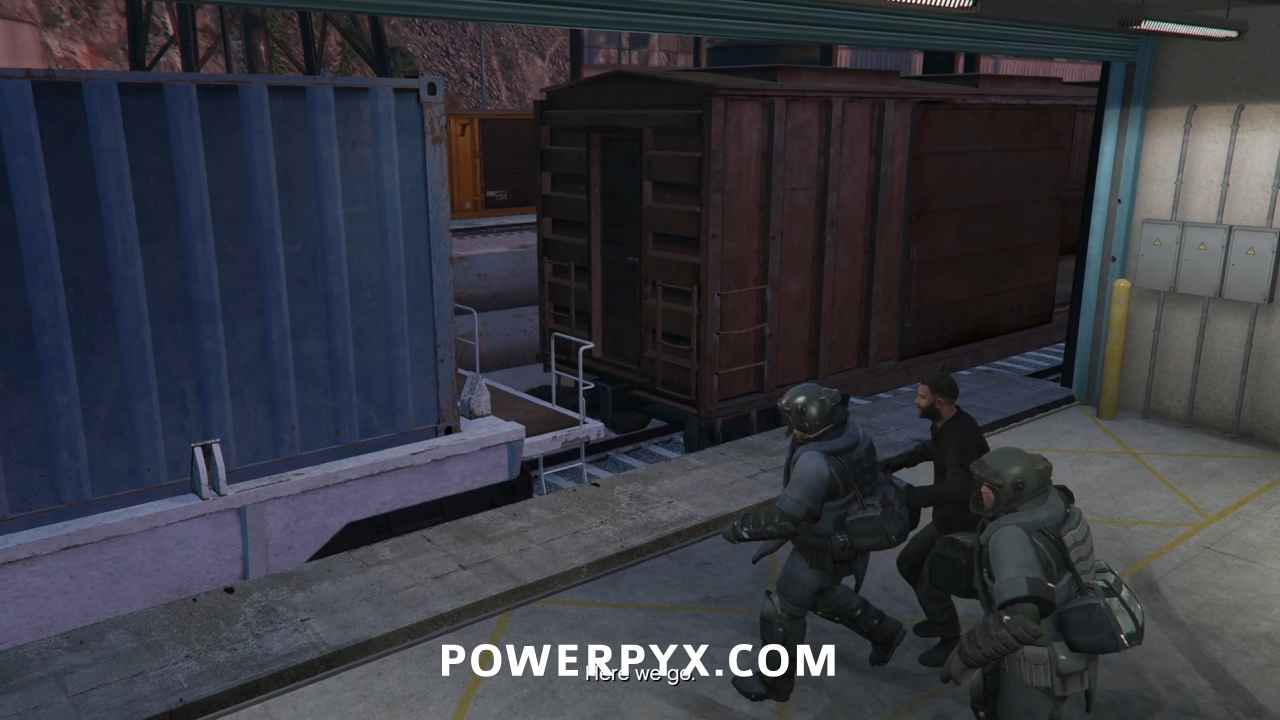
This finishes The Paleto Score in GTA V.
For all other Missions refer to GTA V Walkthrough.
This walkthrough has been updated for the Enhanced Version on PC / PS5 / PS4 / Xbox Series S/X and is also still applicable to the Legacy version.
Leave a Reply