
The Long Stretch is the 10th main story mission in GTA V (Grand Theft Auto 5). This walkthrough shows how to get all Gold Medals in The Long Stretch for 100% completion.
Gold Medal Requirements:
- Accuracy: Finish with a shooting accuracy of at least 60%
- Headshots: Kill 10 enemies with a headshot
- Unmarked: Complete with minimal damage to health and armor*
- Mission Time: Complete within 10:30
A note about the Unmarked requirement: The in-game description says “Complete with minimal damage to health and armor” but the video below shows this isn’t necessary. I began with full health and armor. By the end of the Recycling Plant I still had full health, but was down to about 10% armor. After dealing with the police, I ended up finishing the mission with no armor left at all, about 75% health remaining, and still completed the requirement. Armor does not seem to be part of the requirement since mine was completely destroyed, and “minimal damage to health” seems to have a lot more leeway than you might expect.
Walkthrough Video

Starting Location: The Long Stretch
- Location: Strawberry / Forum Drive / Franklin’s House
- Quest Giver: Lamar
- Requirement: Complete “Chop” and “Father/Son“
- Can Be Started By: Franklin
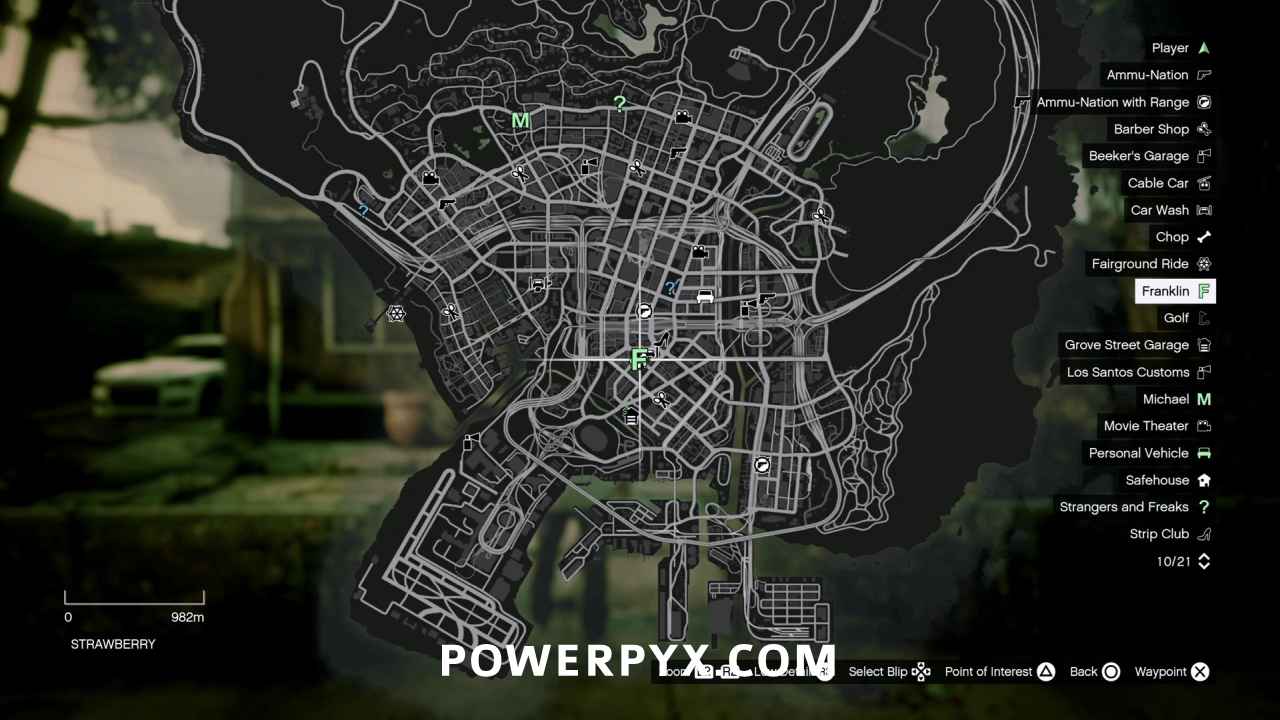

Go to Ammu-Nation
You’re working against the clock, so skip the cutscenes!
- Mission Time: Complete within 10:30
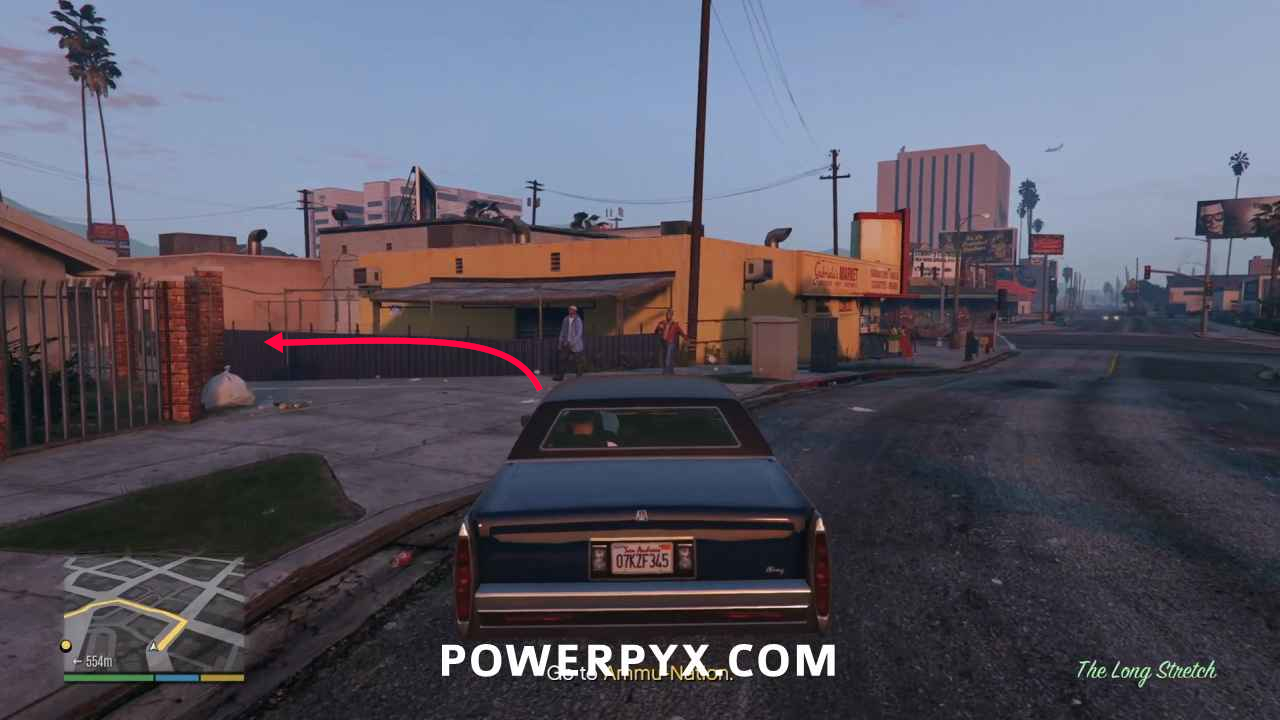
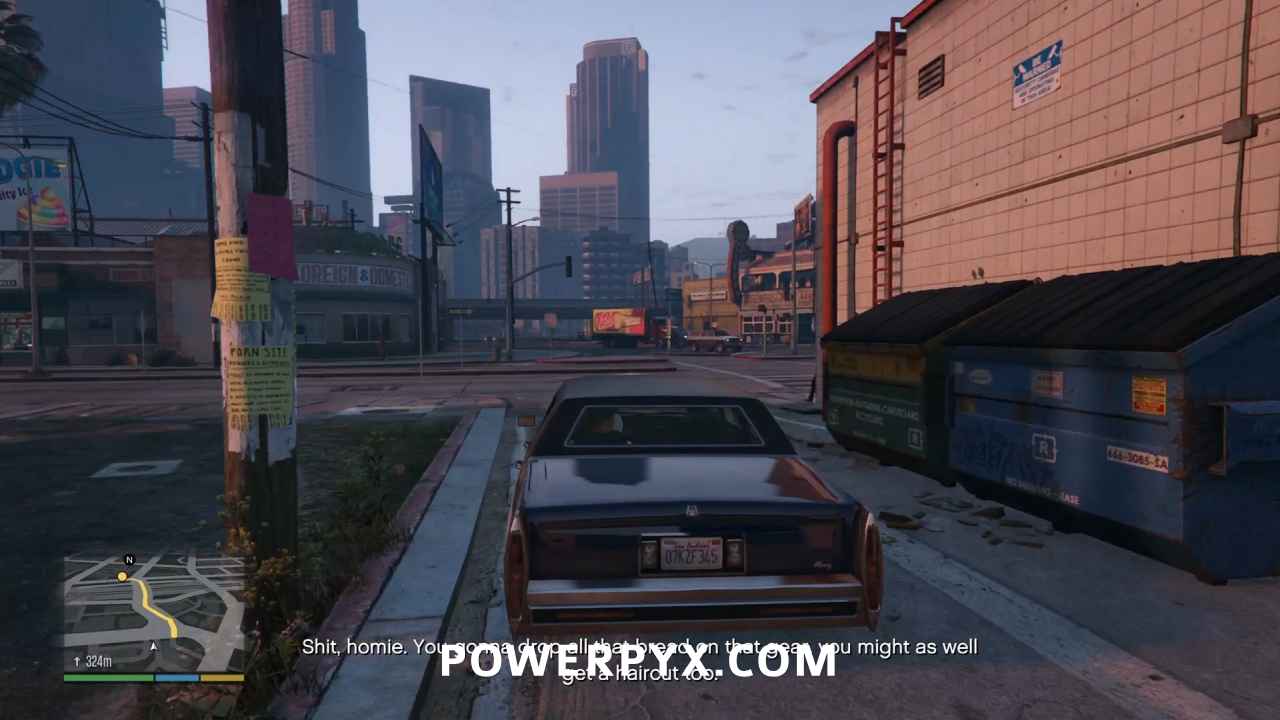
Get in Stretch’s car and head to Ammu-Nation while Lamar explains what his latest scheme is. On the way, head down the alley next to Gabriela’s market to save some time and avoid the intersections. At the end of the alley, head straight across to meet back up with the path to the objective marker. Pull up outside Ammu-Nation, then head in to do some quick shopping. Skip the cinematic that plays as you enter.
Buy a Flashlight Mod for the Pump Shotgun
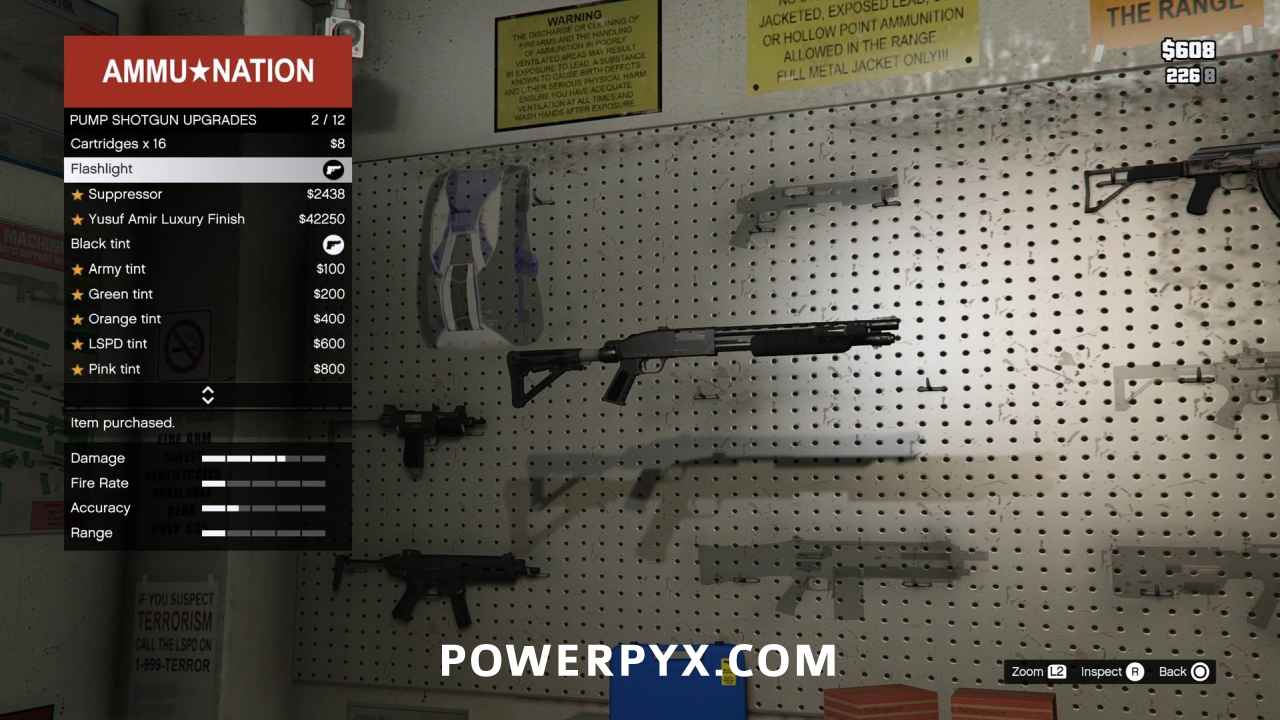
You should already have a pump shotgun from downed enemies, but if not buy one now. After selecting the pump shotgun on the wall, then scroll down and buy the Flashlight mod. If you don’t already have some, I strongly suggest you buy Super Heavy Armor for $2500 to bring your meter up to full. This will be very important to complete the Unmarked Gold Medal requirement.
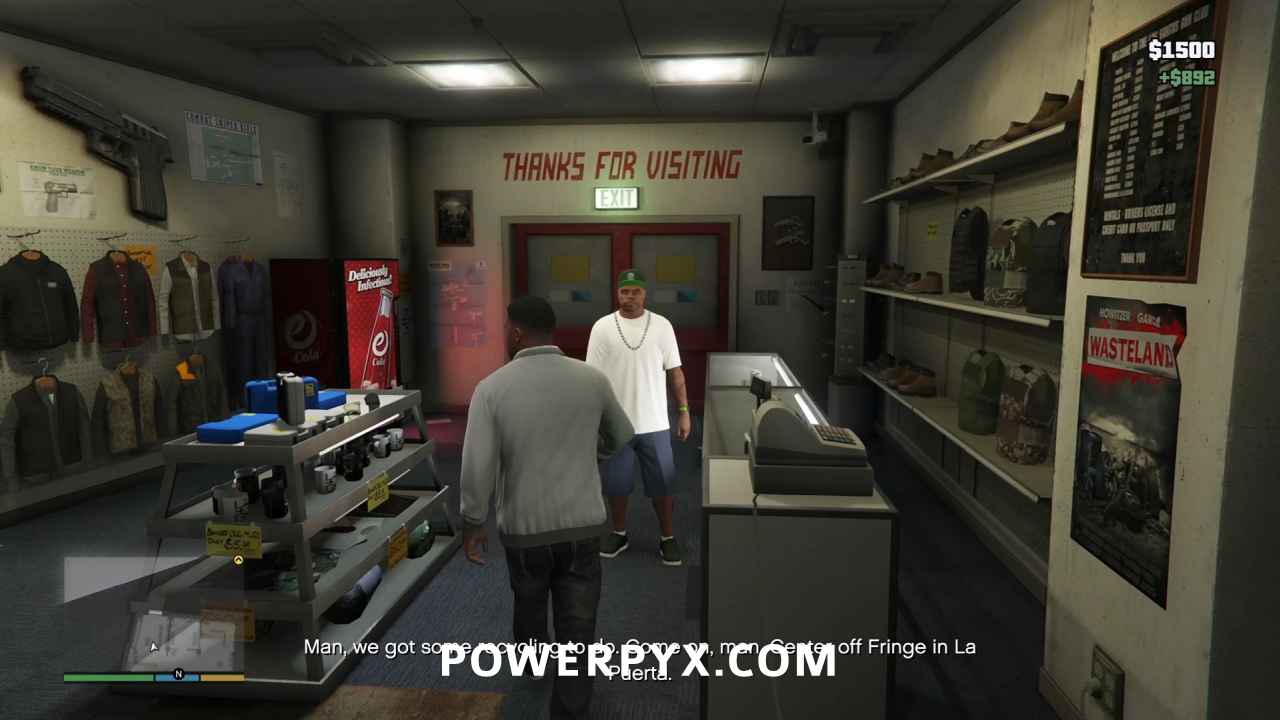
Afterwards, leave Ammu-Nation and head back to the car.
Go to the Meeting at the Recycling Plant
Follow the objective marker to the recycling plant, using Franklin’s special ability if necessary to get through traffic as quickly as possible. Head inside and go up the stairs to trigger another cinematic, which you should skip. Shockingly, Lamar’s deal has gone sideways and now you’re in a shootout with the Ballas.
Escape the Recycling Plant
This will be a prolonged firefight with a lot of enemies, so you need to keep the other three Gold Medal requirements in mind.
- Accuracy: Finish with a shooting accuracy of at least 60%
- Headshots: Kill 10 enemies with a headshot
- Unmarked: Complete with minimal damage to health and armor
The general strategy is to stay behind cover, pop out when it’s safe and quickly headshot the Ballas gang members before returning to cover. If you can’t get a headshot quickly though, shoot the enemy wherever you can since there will be a lot of targets over the course of the mission, and getting through the mission quickly by reducing incoming fire is more important than wasting time out of cover trying to line up the perfect shot. The pump shotgun will help with getting headshots, and also with your accuracy ironically enough. Keep going for headshots where you can until you get 10, then just shoot center mass to kill the Ballas quickly since you still have the 10:30 time limit to worry about.
In the first room, there are five enemies to deal with, three at first with two more that run in partway. Get headshots if you have the opportunity, but it’s more important to get through this room quickly to avoid the close-quarters firefight where you can be more easily hit. Go through the yellow doors and down the hallway to the next set of doors where Lamar tells you to cover him. Make sure you’re behind cover partway down the hallway so that you have an angle on the door. It will blow up in Lamar’s face, and two Ballas will walk in looking at Lamar. If you’re quick you can headshot them both before they notice you.
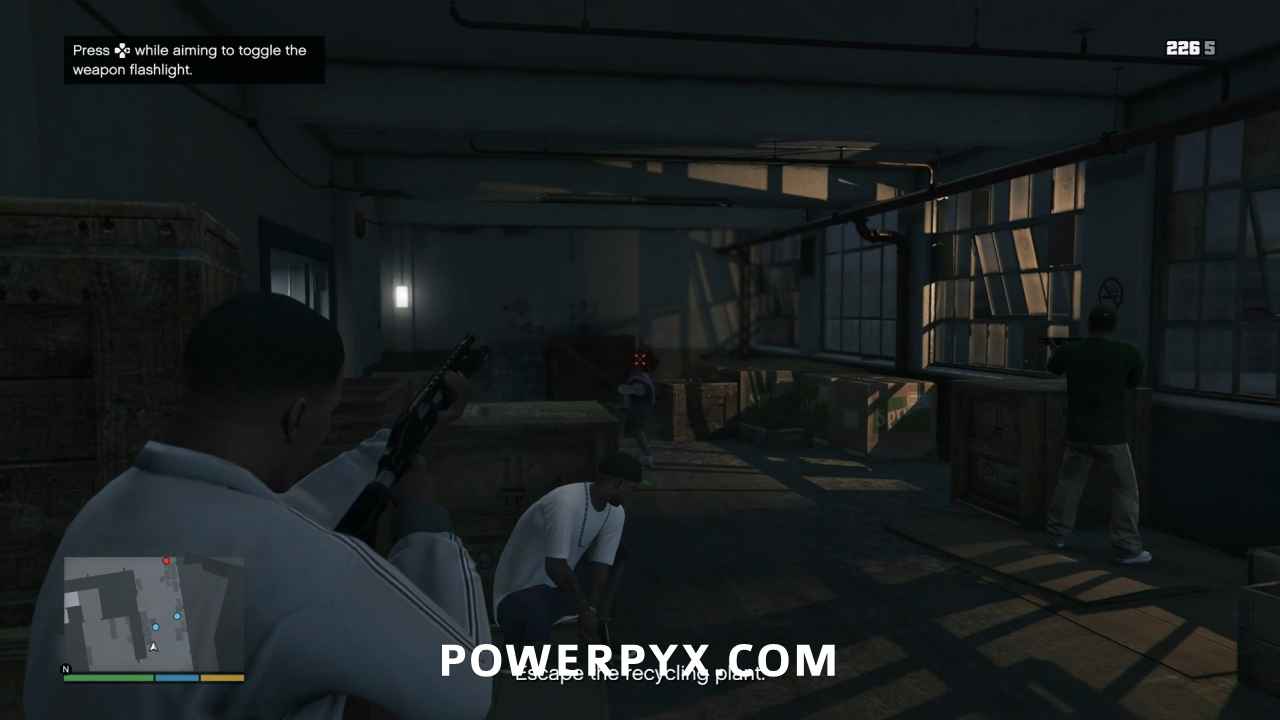
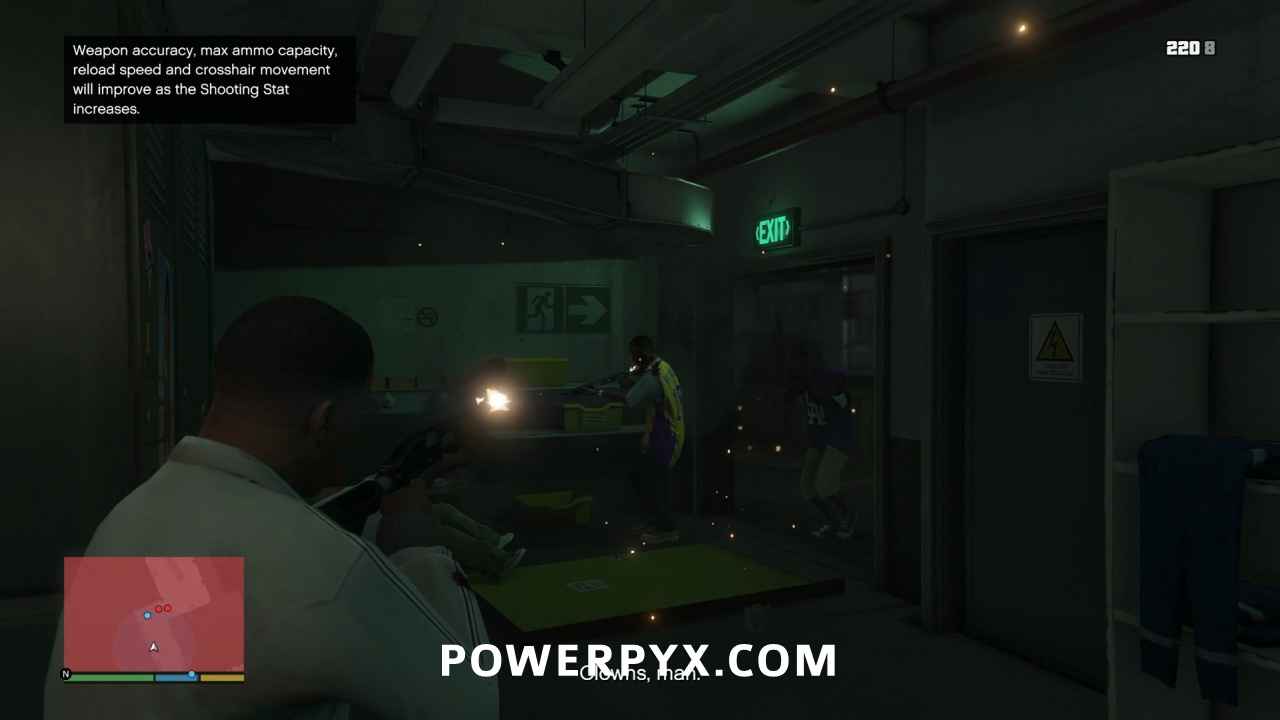
Head through the door, making a hard left to take cover behind a crate. There will be one enemy in the hallway ahead of you, with two more coming through the door behind him a few seconds later. As you kill Ballas, another will come up the stairs to join the party for a total of five enemies in this area. Go for headshots when you can, but you’ll want to thin the herd a little before exposing yourself for an aimed shot. Enemies who take cover behind the bales of cardboard in front of the door won’t realize that the cover is too short to protect their heads. Make them pay for that mistake.
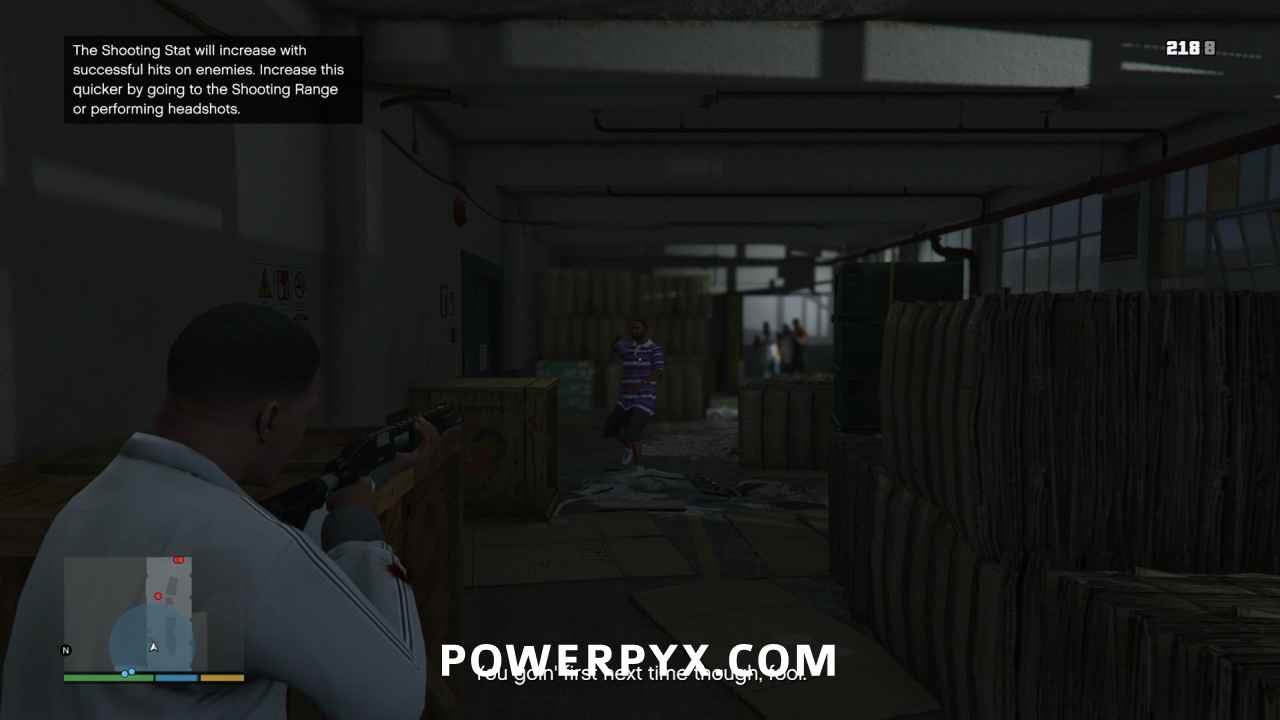
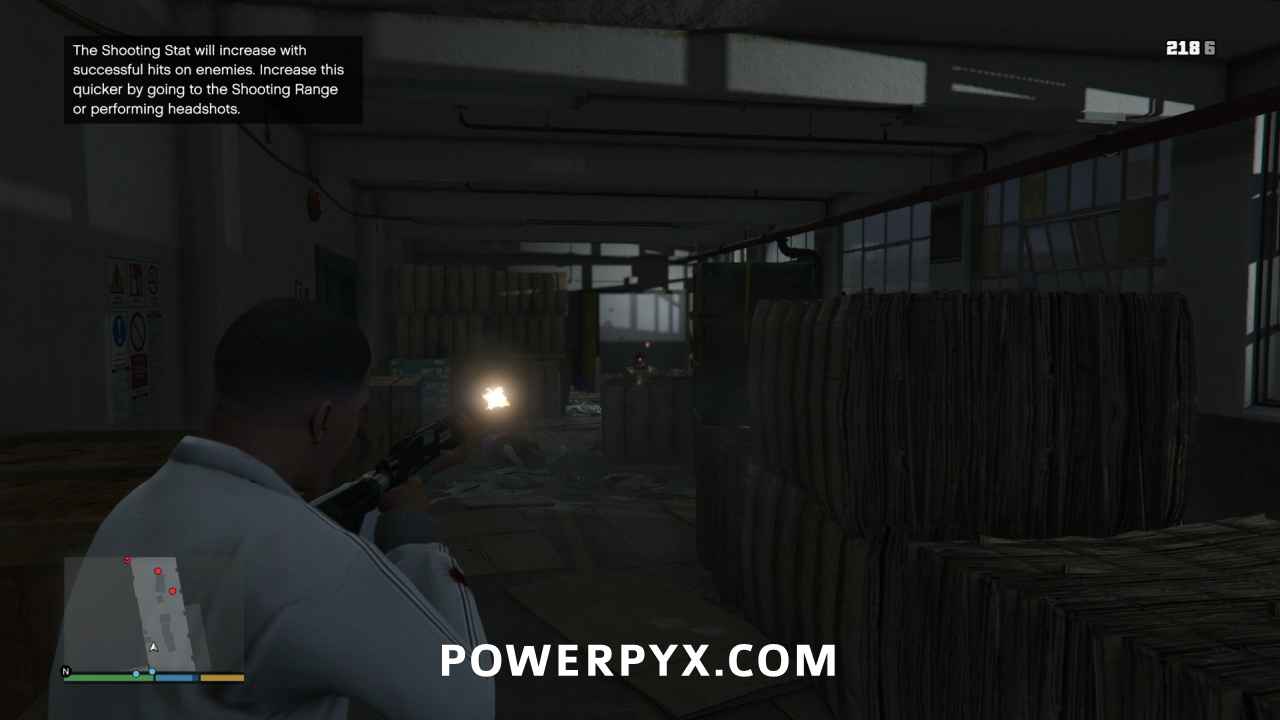
Be careful of enemies moving down the right side of the room. Even though they can’t “see” you, they’ll still be able to shoot at you through the bales of cardboard in the middle of the room. Keep behind cover if they start firing in your direction. When the room is clear, head through the doors and down the stairs. There will be a single enemy on the landing below you, which you can headshot before they see you if you’re quick.
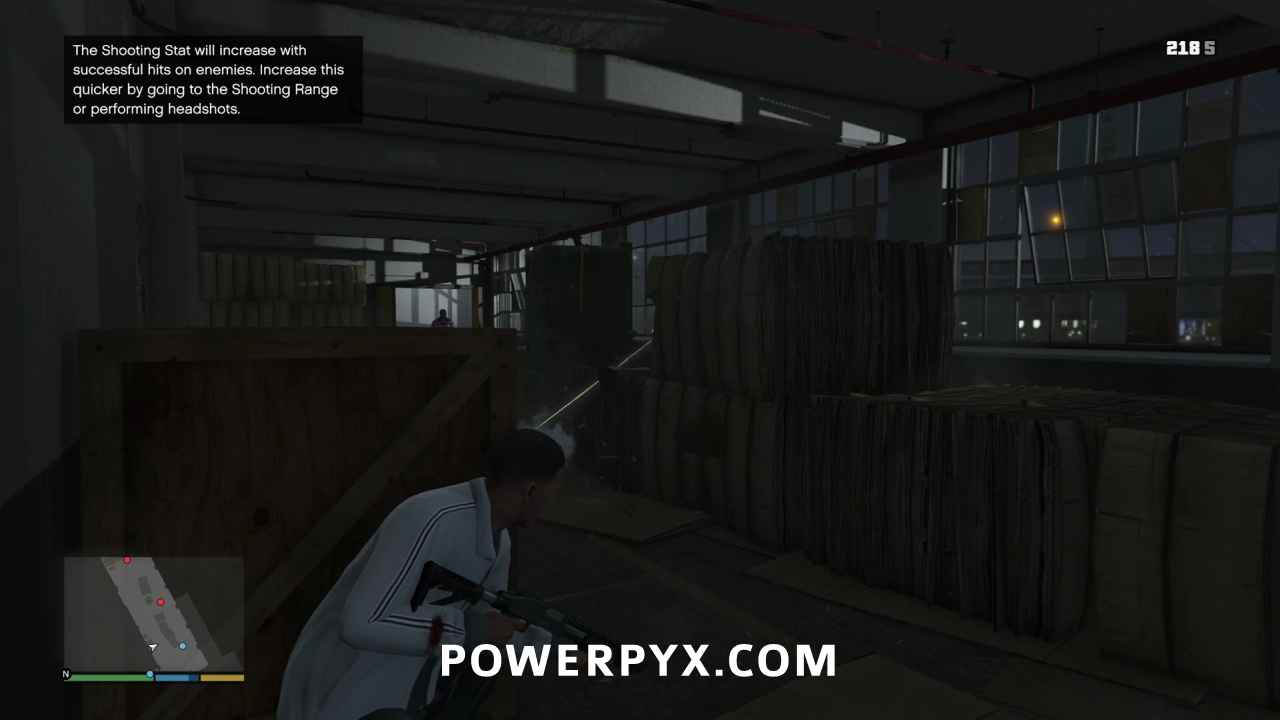
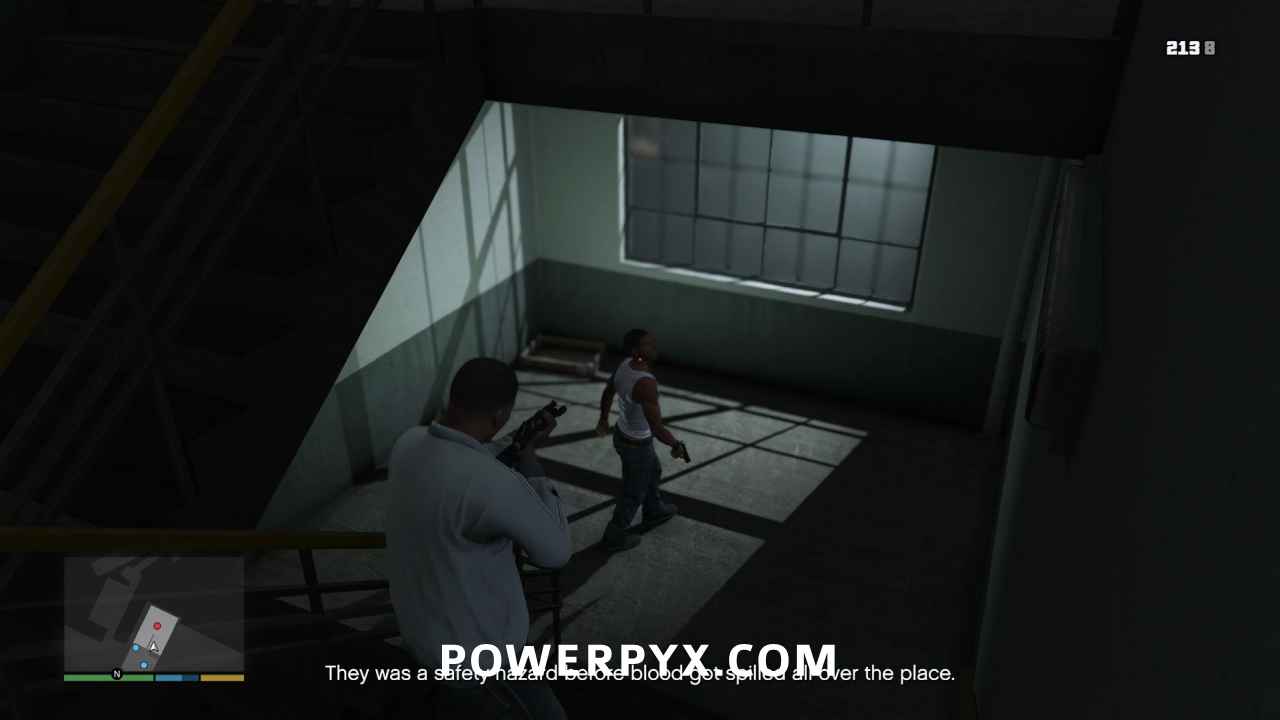
At the bottom of the stairs, go through the double doors on the left side and immediately take cover behind the wooden crate on the left. Be prepared for two Ballas to appear at the end of the hallway, whom you should headshot before they start returning fire. As you kill each one another will spawn around the corner and run into the hallway, allowing you to kill all four, one at a time in quick succession, and usually before they can fire back.
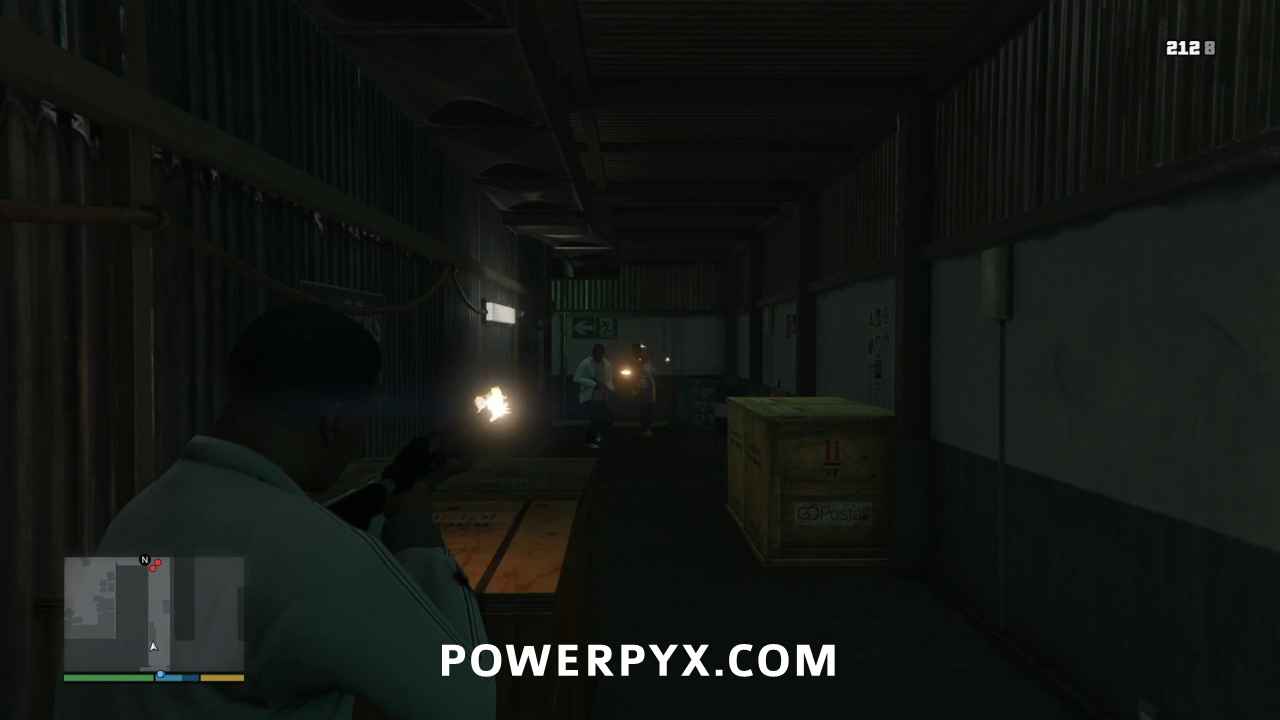
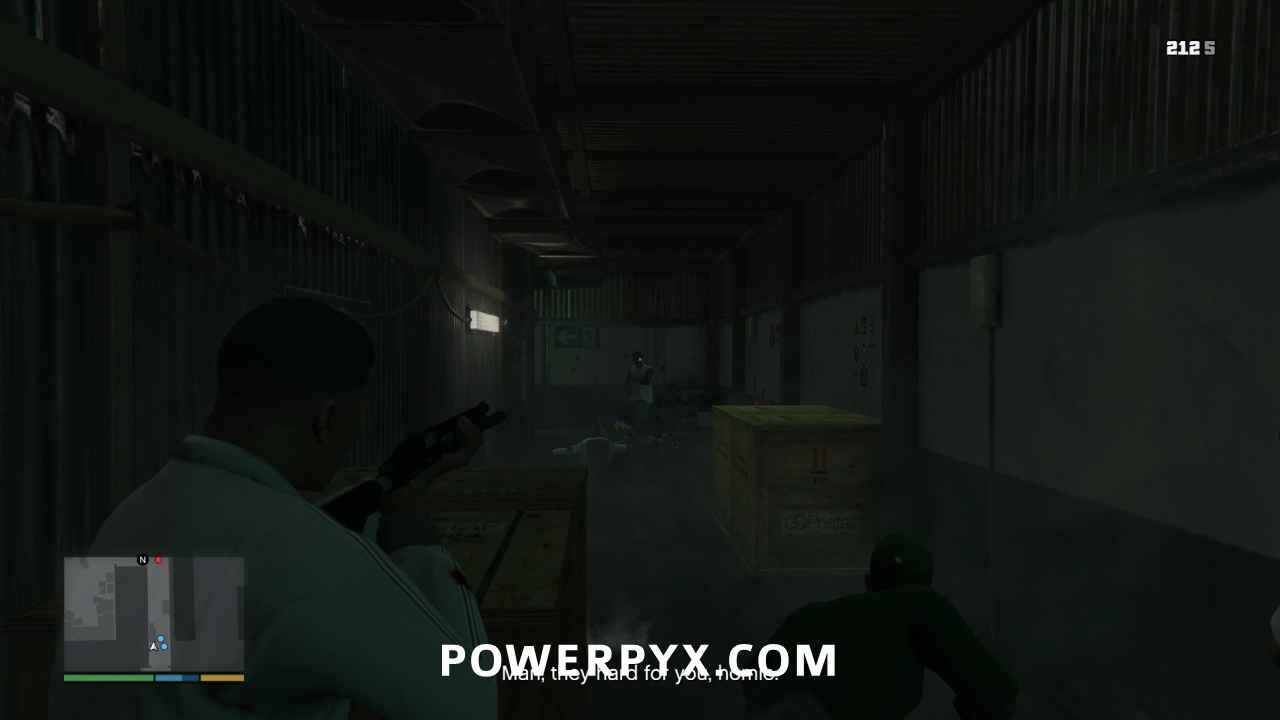
Go around the corner to the left and you’ll come out in a large room with many crates and bales of cardboard and paper. Take cover right away behind the line of wooden crates in front of you. It will start with five enemies shooting at you in the room, and more will flow into the room as the fight goes on totaling about a dozen targets before you’re clear. The strategy’s the same, stay behind cover and only pop out when it’s safe. Get headshots when you can, but if you already have 10 (and maybe a couple extra for safety) then shoot them wherever to kill them quickly, as long as you make sure your shots hit. Watch out for the guy in the far right corner on a catwalk. He’s about the only guy who might have an angle on you while the rest spend most of their time blind firing and missing wildly.
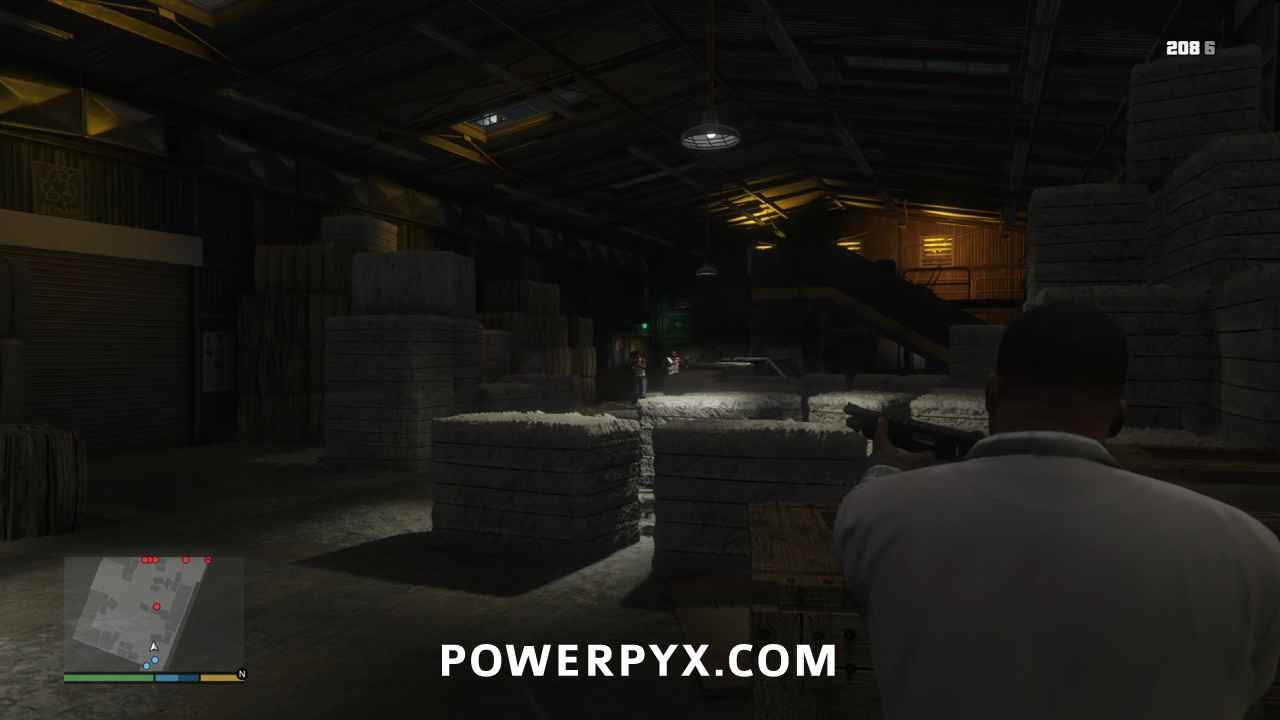
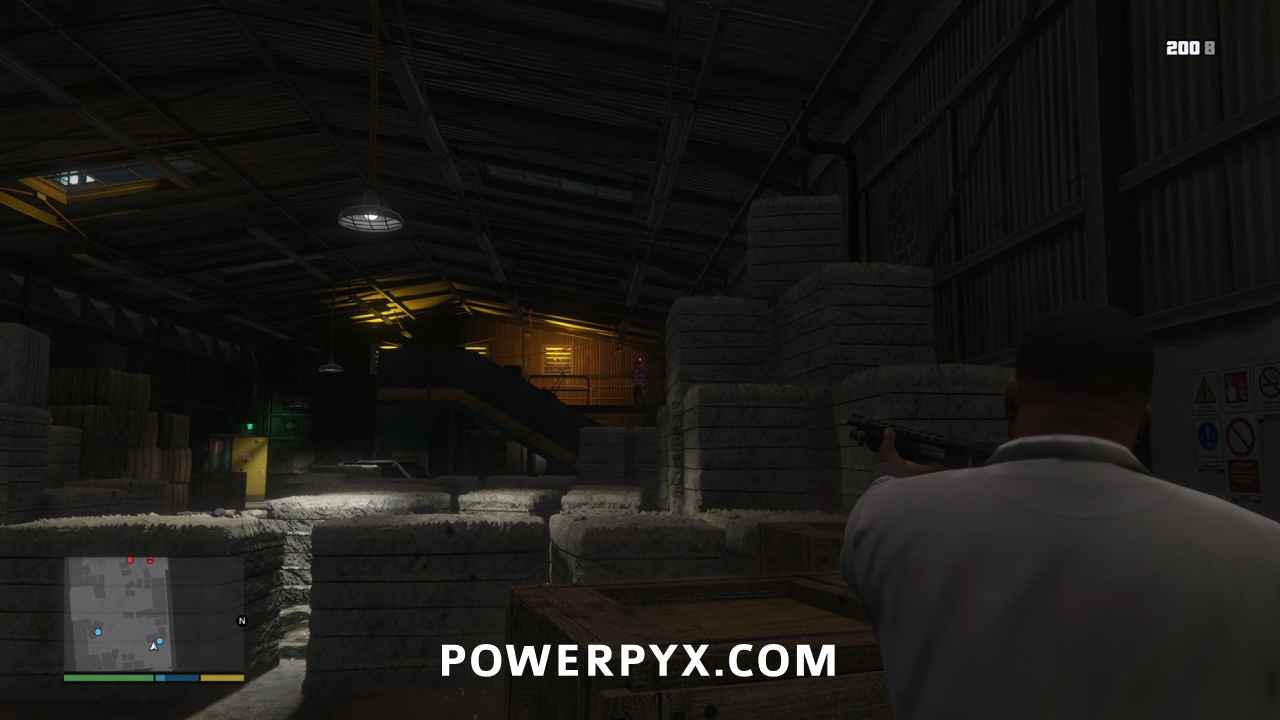
When the fire breaks out, charge the door at the far end of the room, killing the last few Ballas that appear along the way.
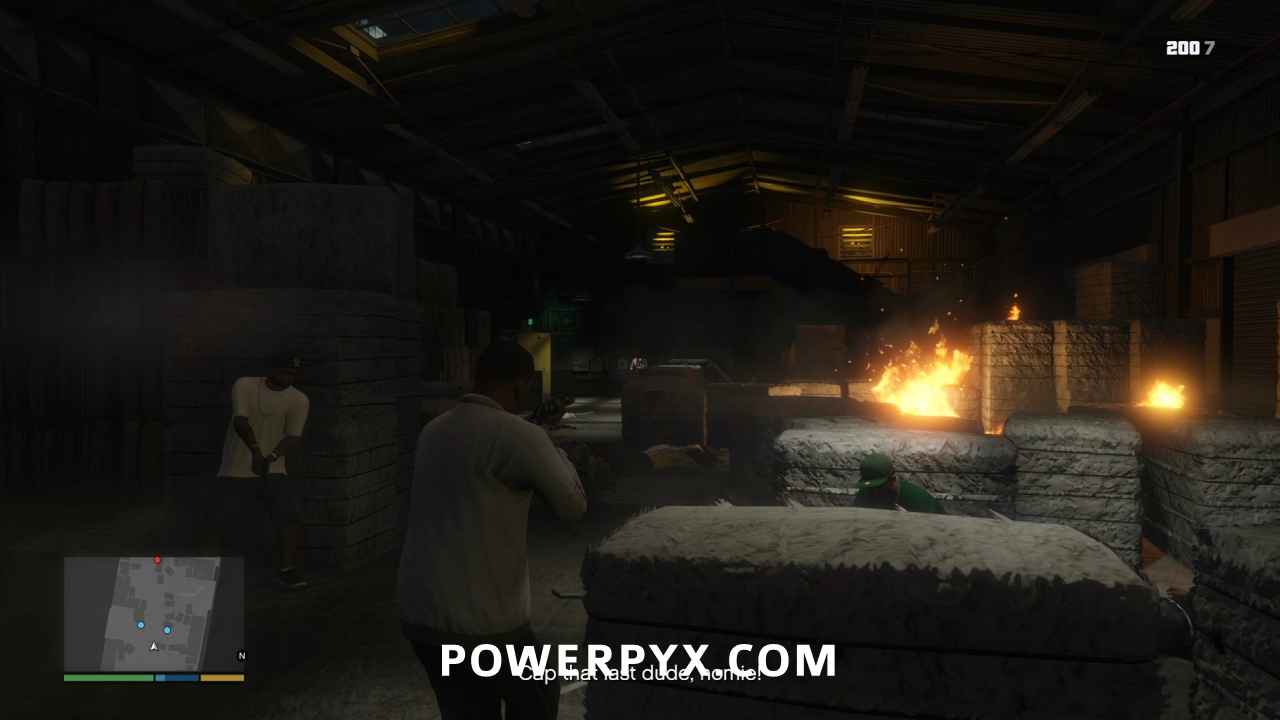
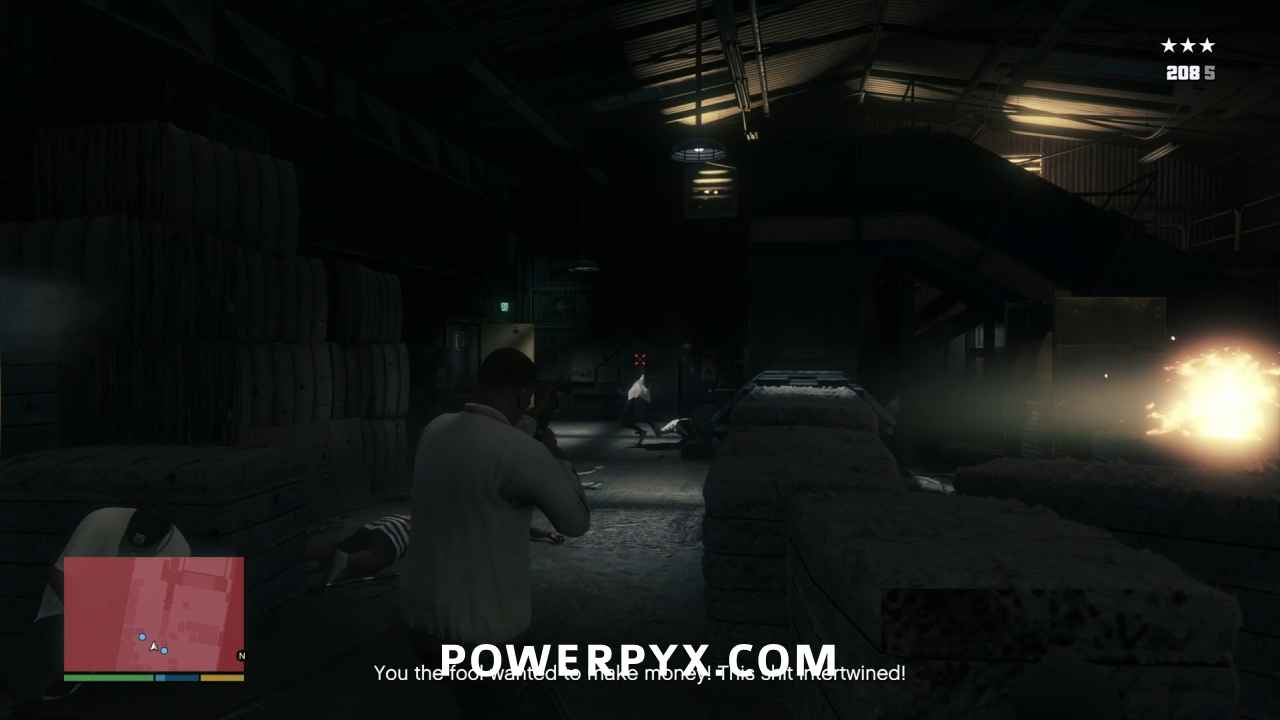
Go through the exit door, and keep your weapon up. The door at the other end of the short hall will blow open, and two Ballas will storm into the room right into your gunfire.
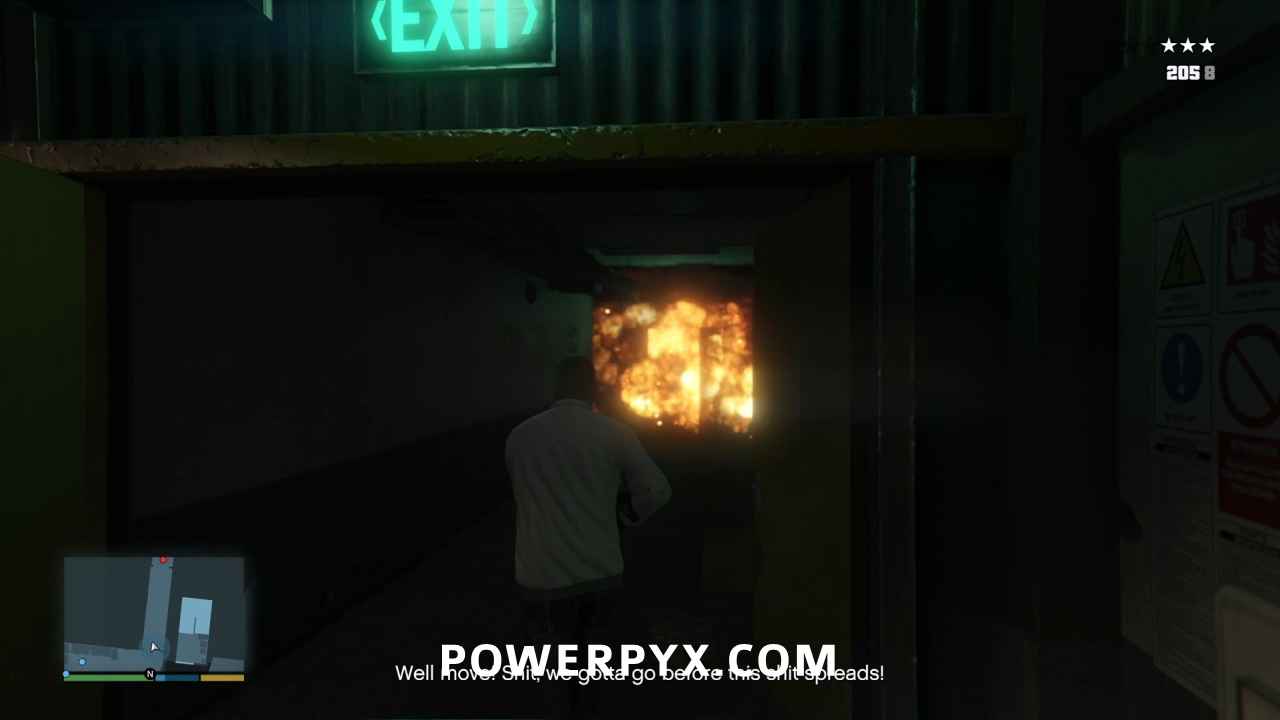
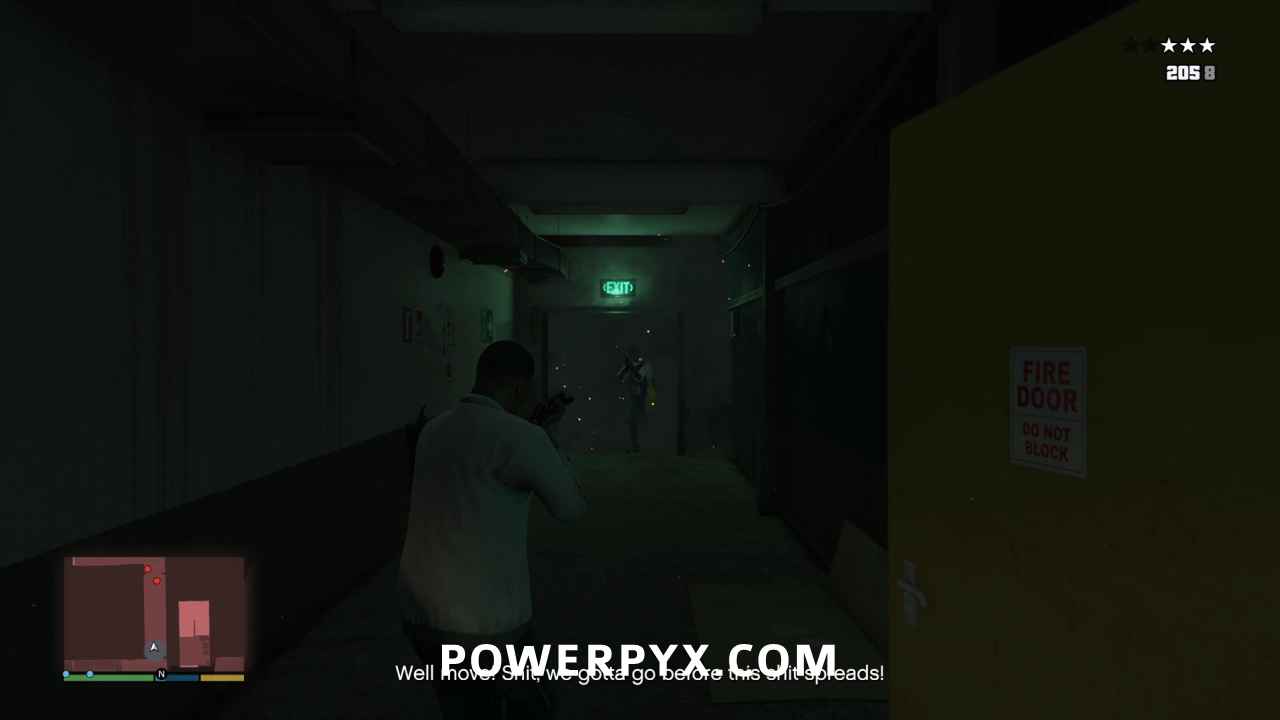
At the end of the hall will be the exit, taking you from bad to worse as you see that the LSPD have responded to the gunfight and have already deployed air support. Shoot the sniper in the side door of the helicopter immediately, then take out the sniper from the other door that moves to take their place. Finally shoot the pilot if possible, or just the helicopter itself to bring it down.
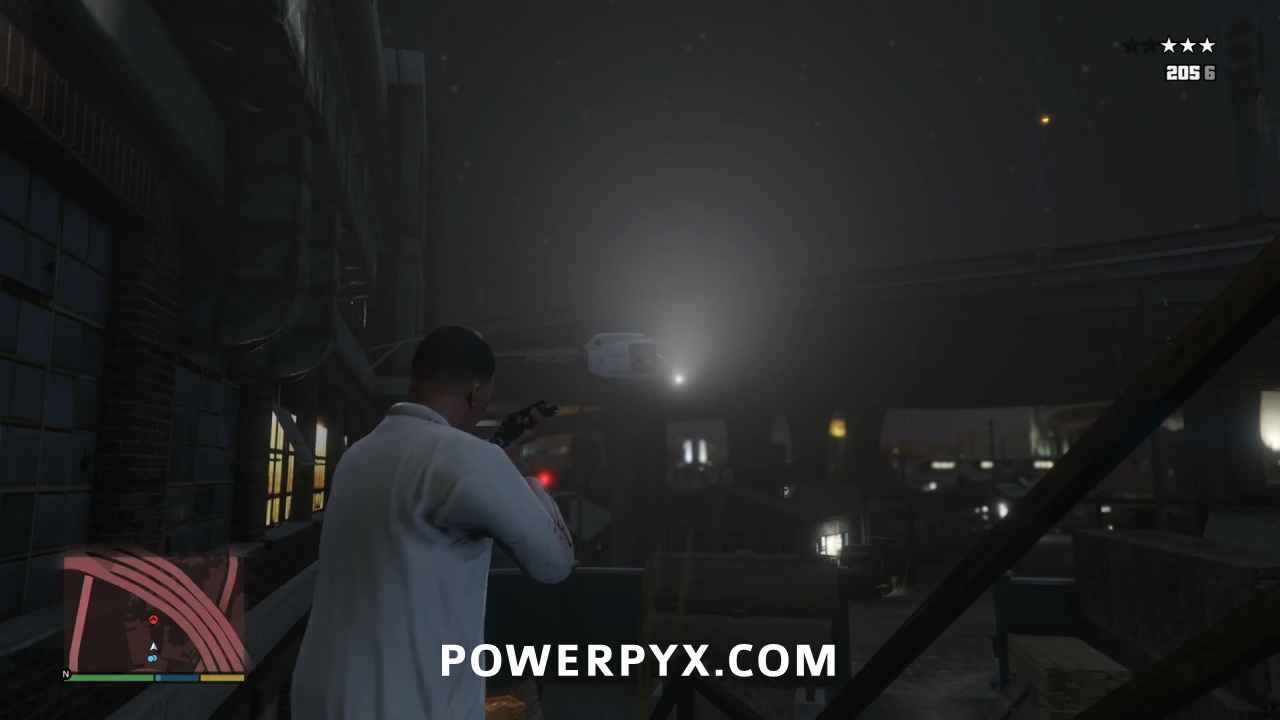
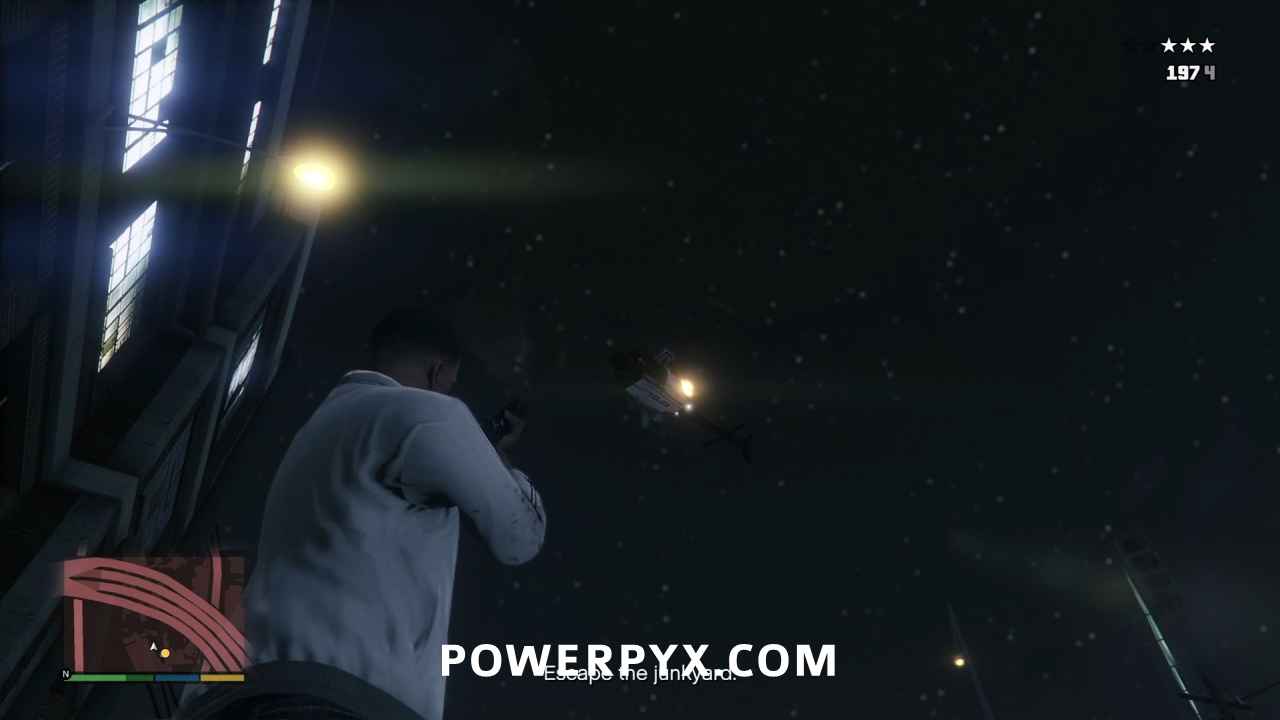
Afterwards, follow Lamar and Stretch up a ladder and across a catwalk. There will be a second air unit that appears here, but it’s much closer and it’s facing you. One well placed shot through the windshield will kill the pilot and crash the helicopter.
With no eye in the sky, follow Lamar and Stretch across the roof and over the wall to land on a street beneath the freeway.
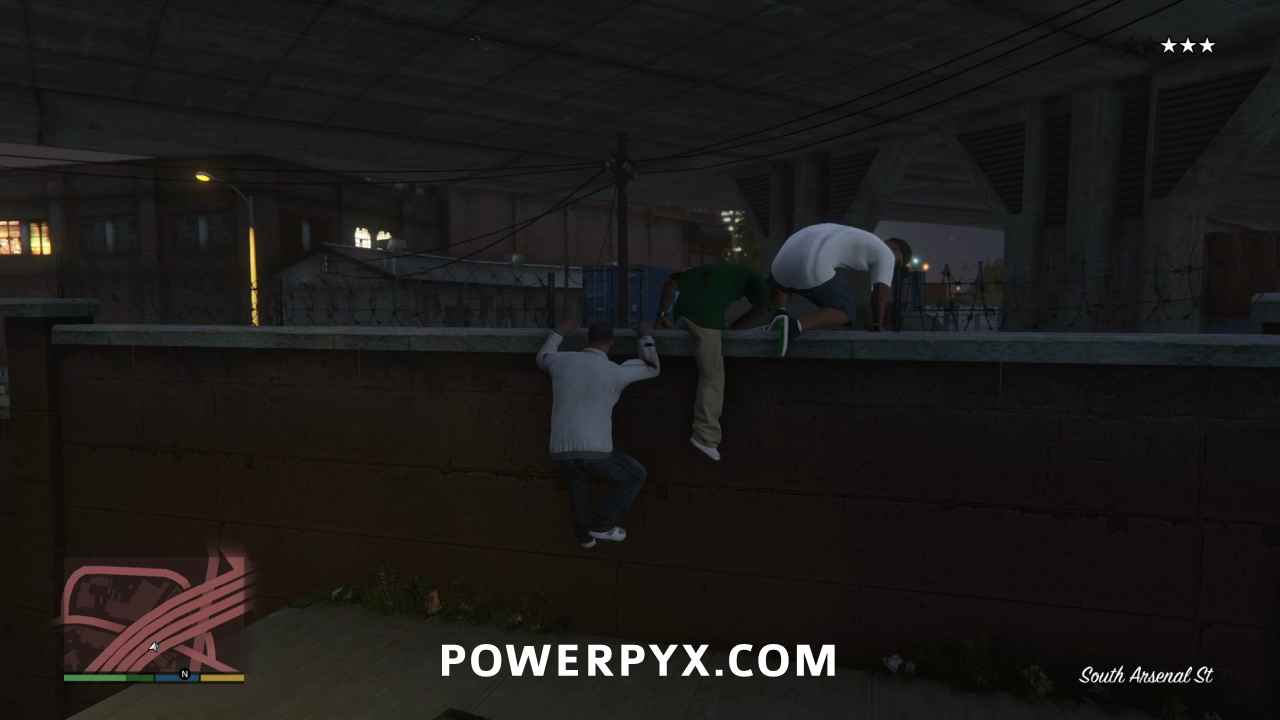
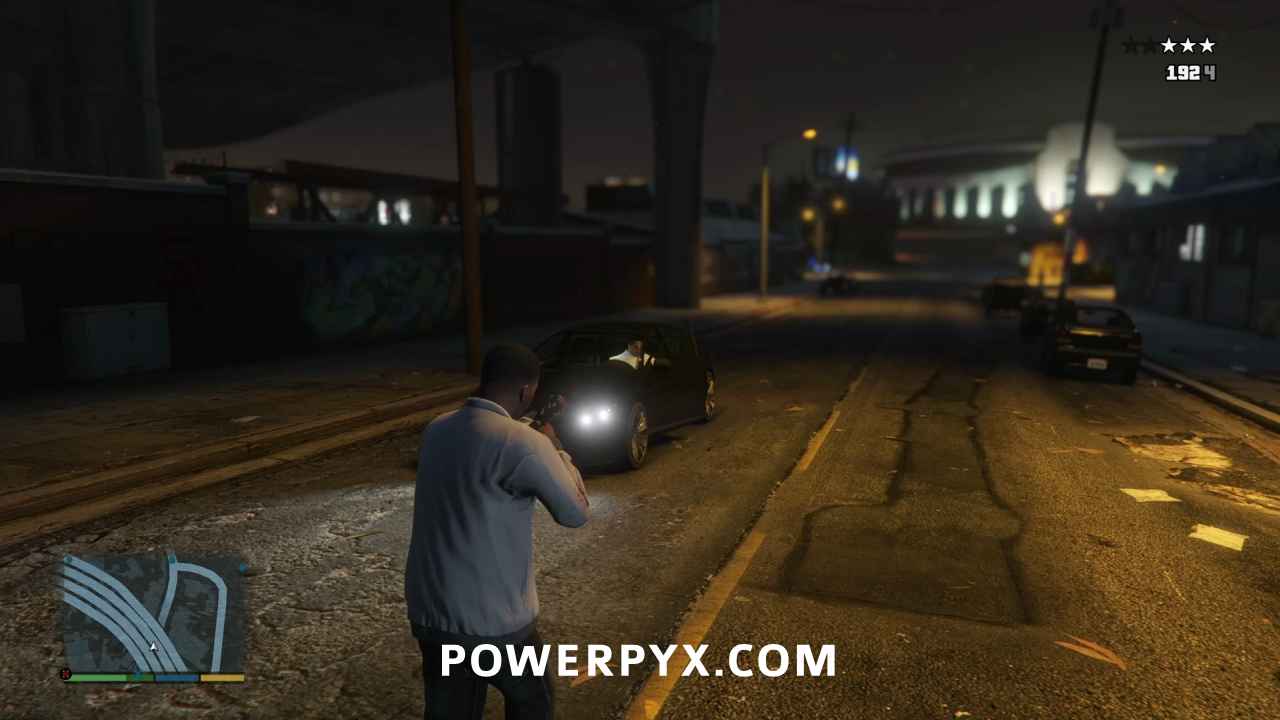
Don’t wait for Lamar and Stretch to jack a car, turn left and point your gun at the driver of the car that is approaching to cause him to abandon his vehicle. Get in the car, and drive up a little closer so Lamar and Stretch can get in.
Lose the Cops
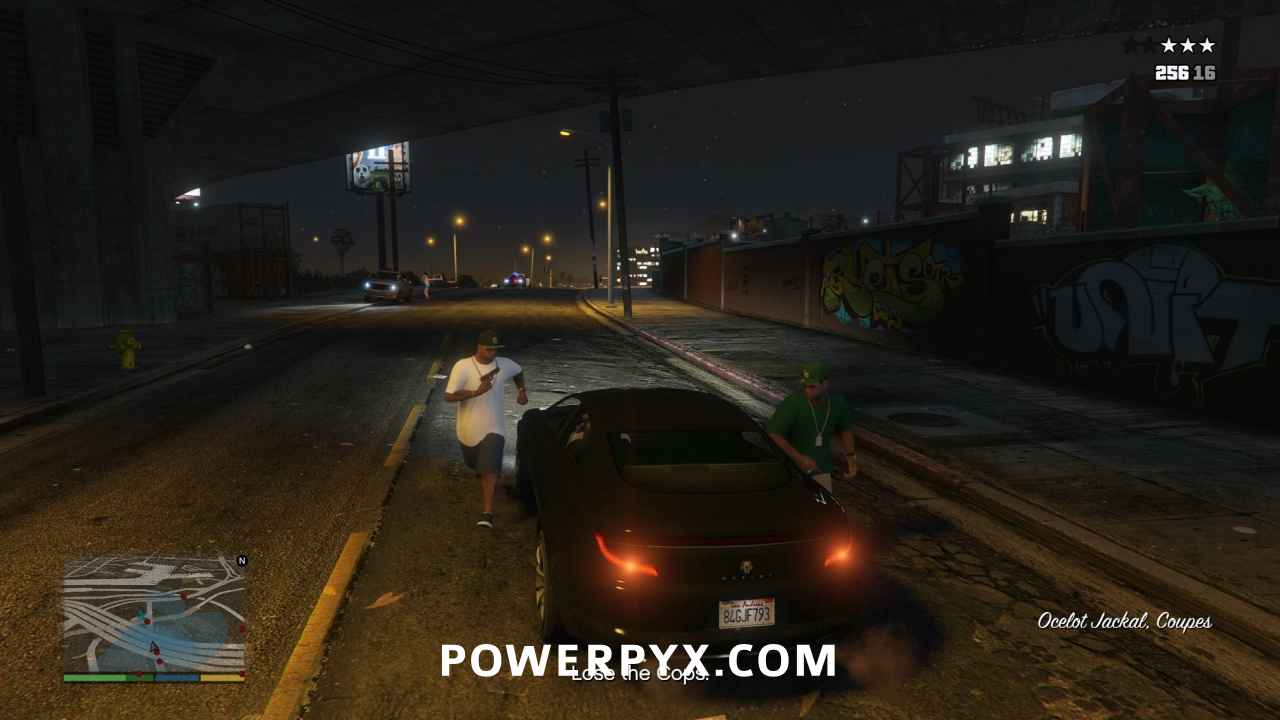
The key is to vacate the area quickly, using Franklin’s special ability to corner safely at full speed, putting as many corners and alleys between you and the cops as possible. The area under the junction of Olympic and La Puerta Freeways is a good place to shake pursuit by going off road between the various lanes and exits, giving you multiple routes to avoid pursuit . If possible, try to travel in the direction of Franklin’s house while you shake them, since that will be the final objective marker once you lose your wanted level.

Go Back to Franklin’s House
Head back to Franklin’s house, parking on the objective marker in the driveway, then skip the cutscene to finish the misison.
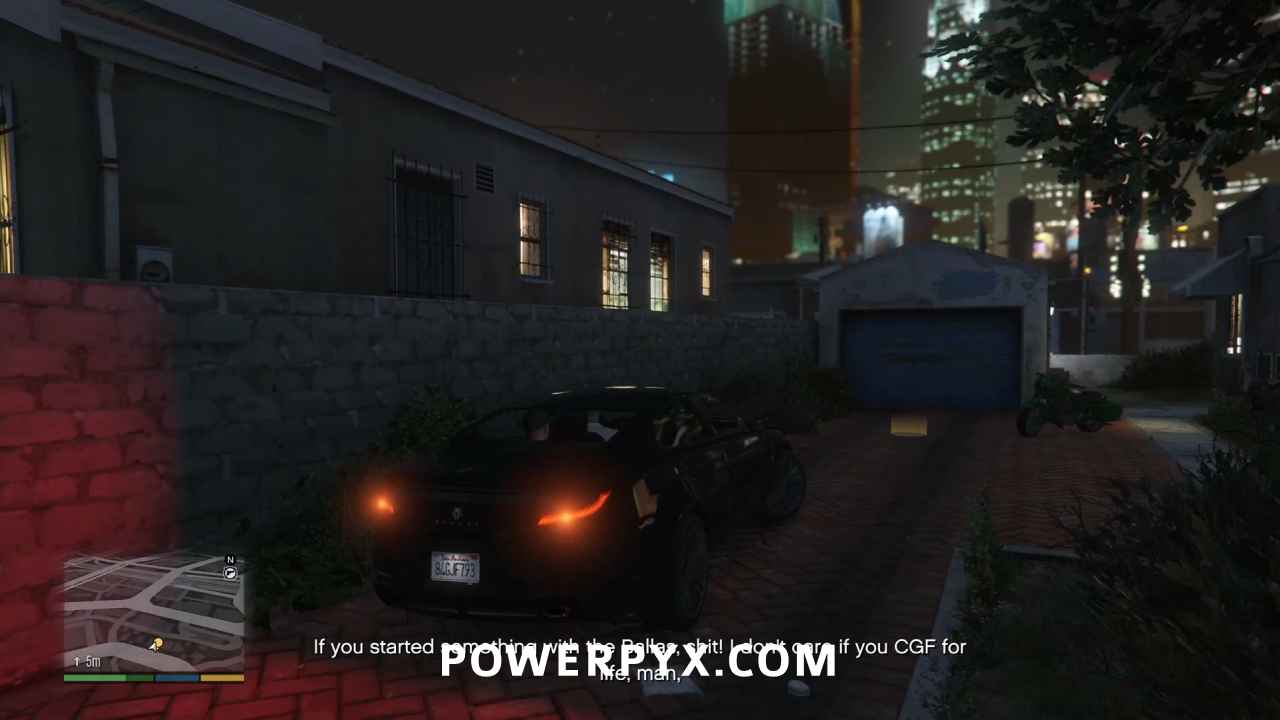
This finishes The Long Stretch in GTA V.
For all other Missions refer to GTA V Walkthrough.
This walkthrough has been updated for the Enhanced Version on PC / PS5 / PS4 / Xbox Series S/X and is also still applicable to the Legacy version.
Leave a Reply