
Monkey Business is the 50th main story mission in GTA V (Grand Theft Auto 5). This walkthrough shows how to get all Gold Medals in Monkey Business for 100% completion.
Gold Medal Requirements:
- Stunner: Stun 8 enemies with the Stun Gun
- Headshots: Kill 15 enemies with a headshot
- Accuracy: Finish with a shooting accuracy of at least 70%
- Mission Time: Complete within 13:30
Walkthrough Video

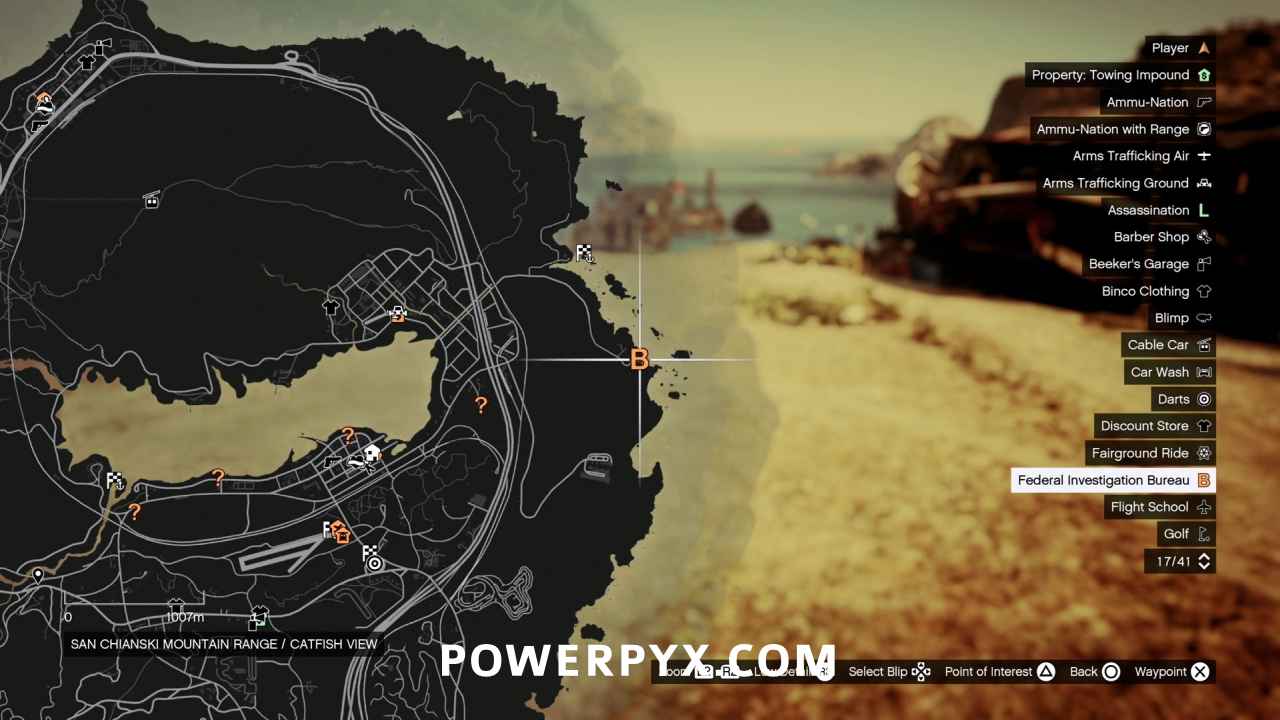
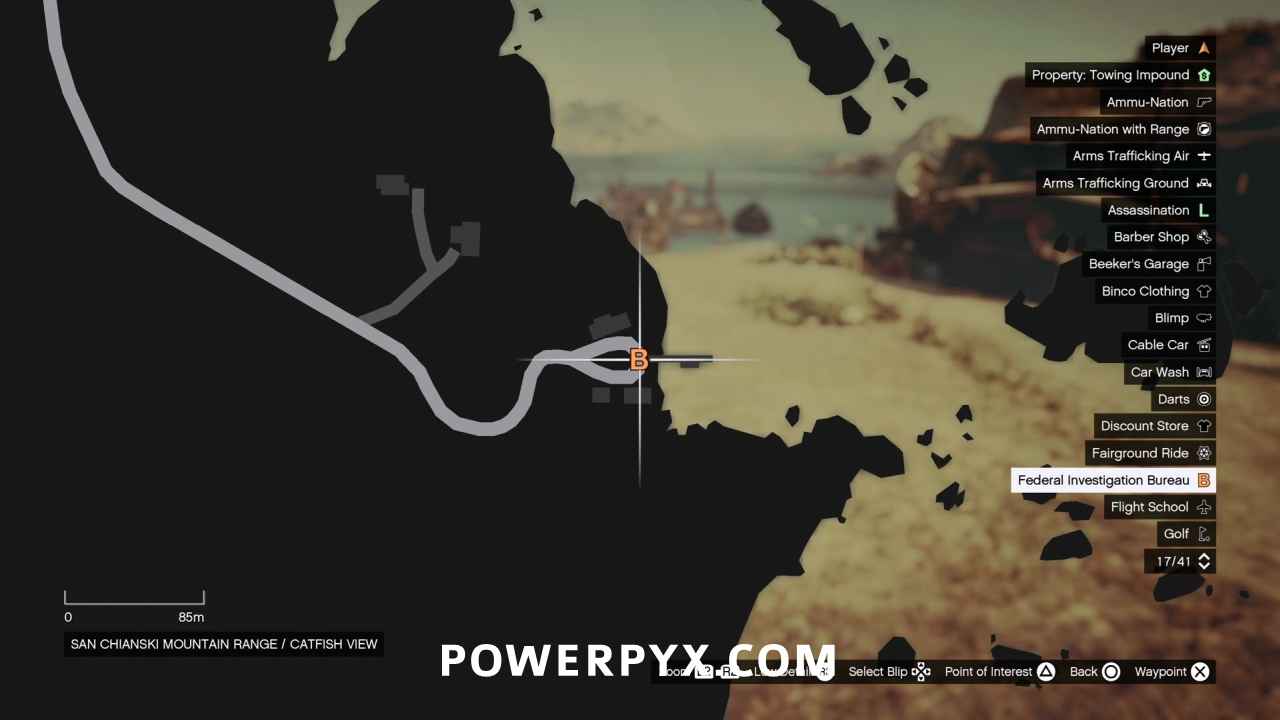
Starting Location: Monkey Business
- Location: San Chianski Mountain Range / Catfish View
- Quest Giver: Steve Haines
- Requirement: Complete “Derailed“
- Can Be Started By: Franklin, Michael, Trevor
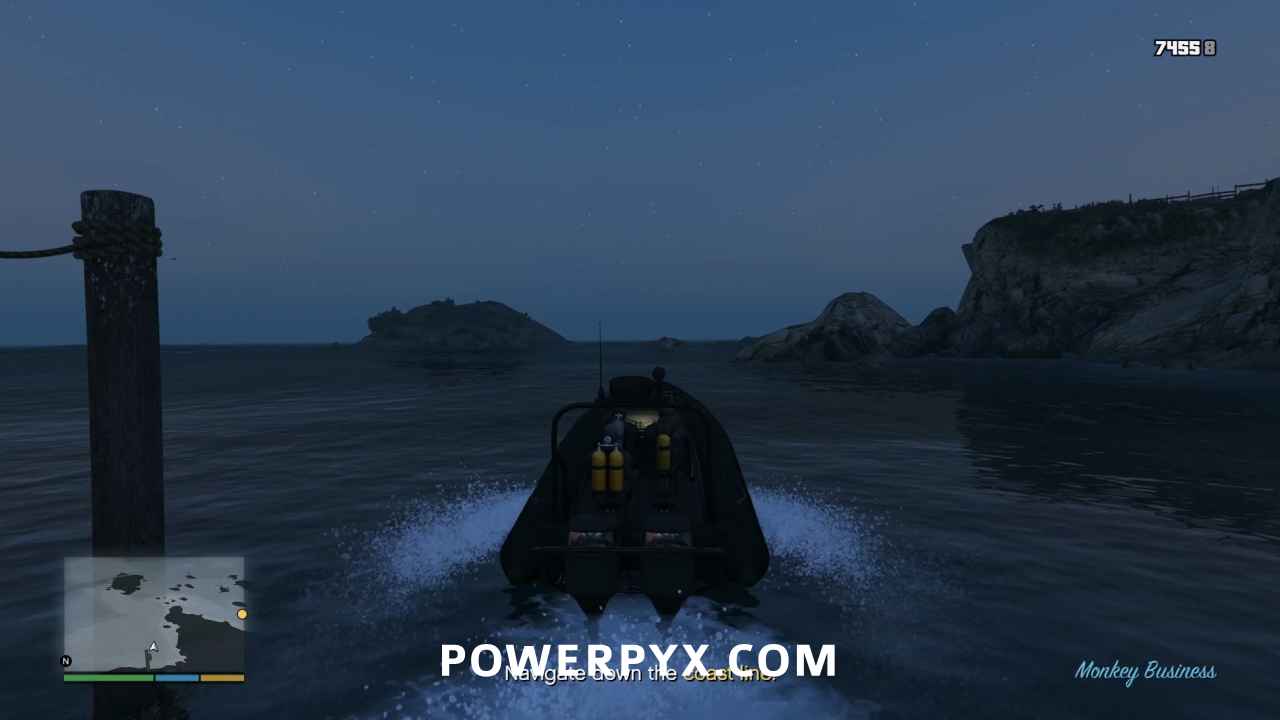
Navigate Down the Coast Line
You’re working against the clock, so skip the cutscenes!
- Mission Time: Complete within 13:30
The FIB is back for another demand, but this time they’re putting their necks on the line too. Steve Haines claims that the IAA is running a black lab where it is engineering a neurotoxin that will be used on American soil to fake a terrorist attack. The resulting tragedy will be leveraged to secure increased funding for the agency, and only you can stop them. Control switches to Michael as you navigate a dinghy down the coast to the dive point.
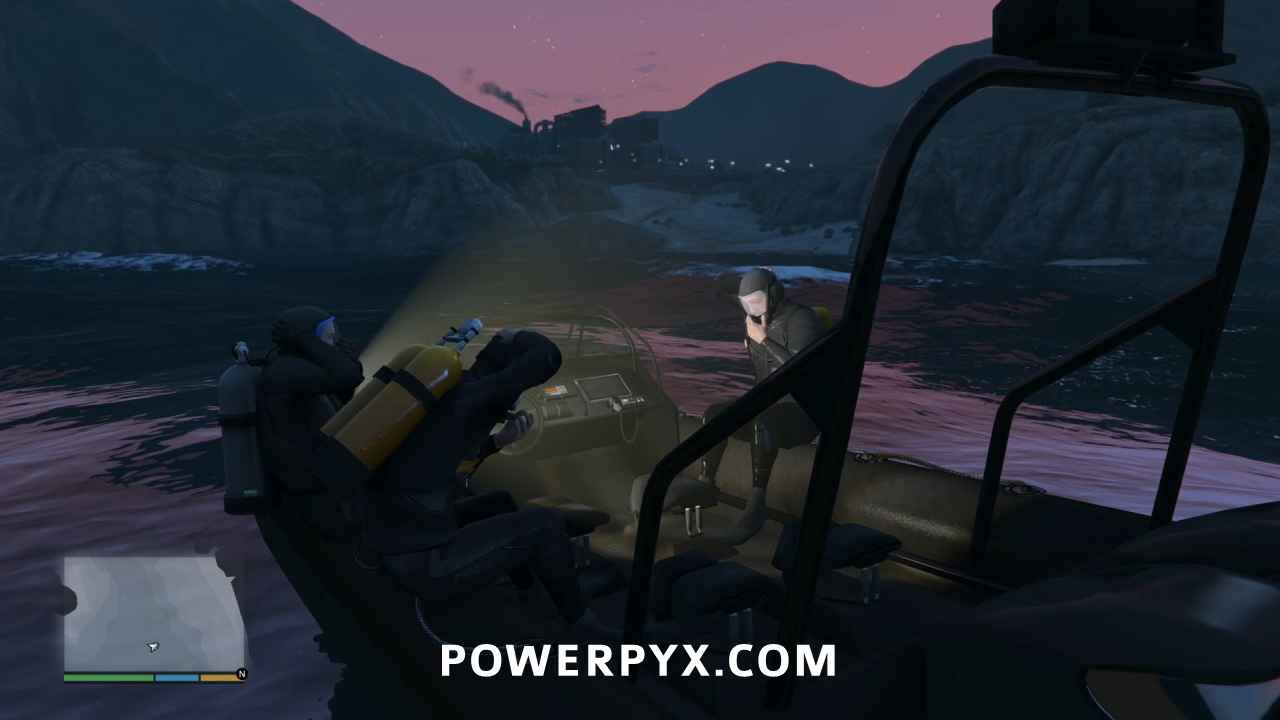
Swim to the Discharge Tunnel Outlet
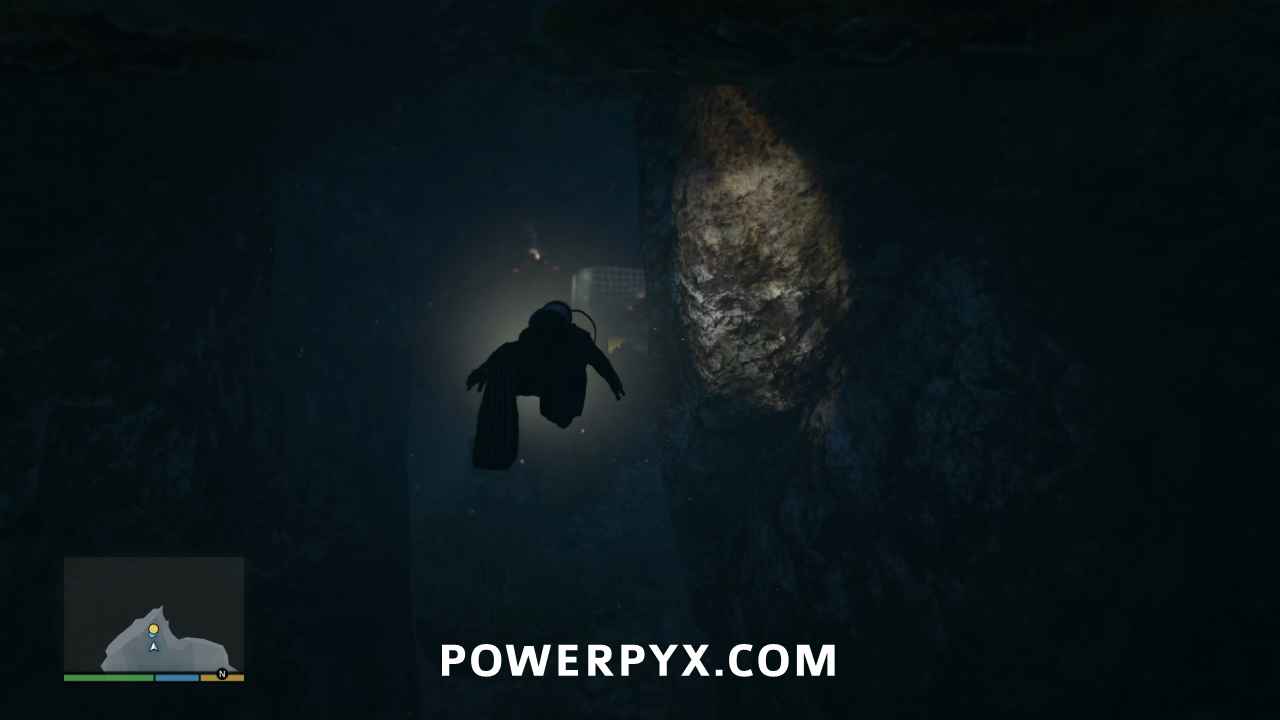
Follow Steve and Dave as you dive, then swim to the grate blocking the tunnel.

Cut Through the Grill Over the Outlet
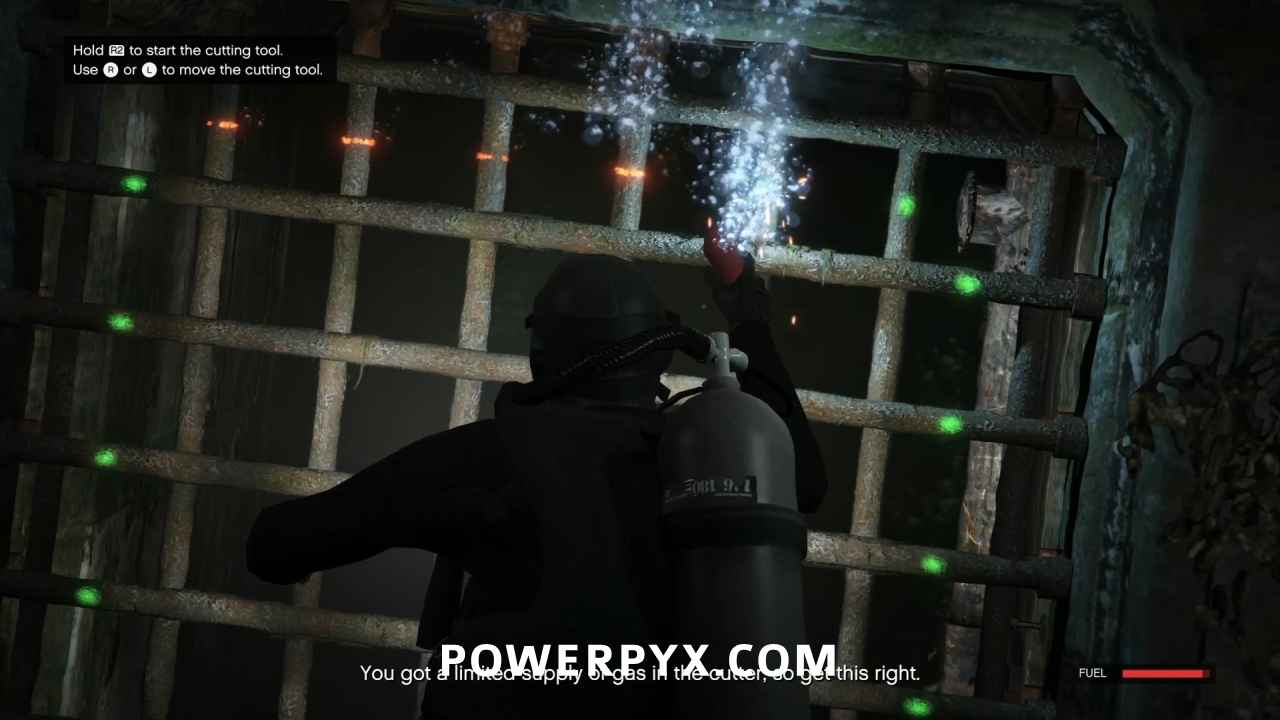
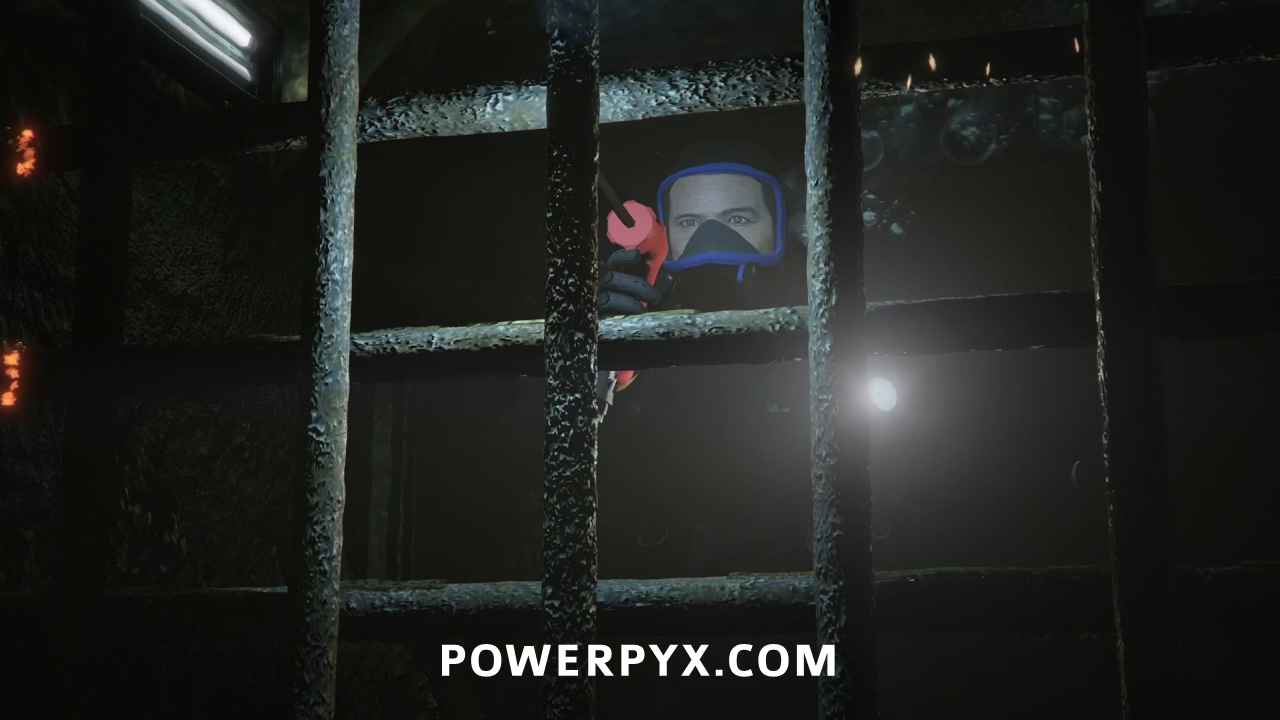
Skip the cinematic then use the cutting tool to cut the grating. Press  /
/  to activate the torch, and either stick to move the tool. Line up the end of the tool with each spot marked green on the bars and keep it there until you hear a muffled clang to indicate it has been cut. The green will also disappear and the bar will now have a line of red hot metal where it has been severed.
Gain Entry to the Lab
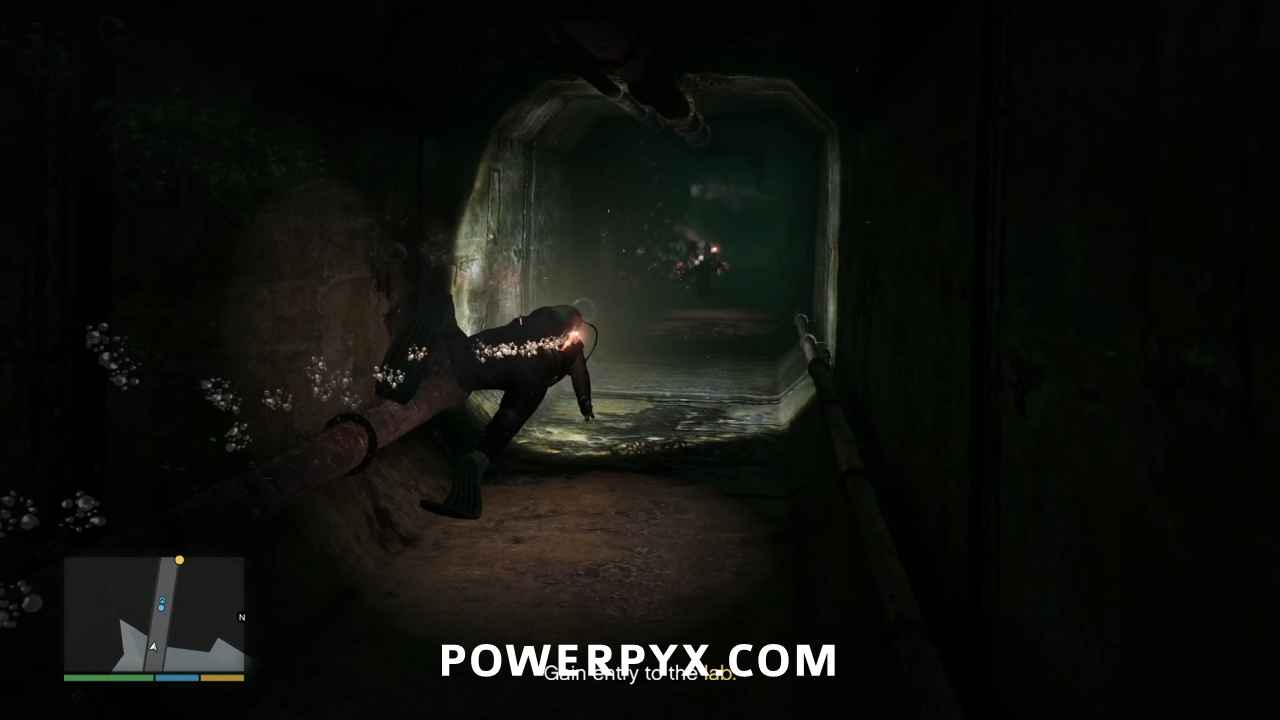
Swim after Steve and Dave down the tunnel towards the lab. At the end of the tunnel, climb the ladder, then skip the cinematic.
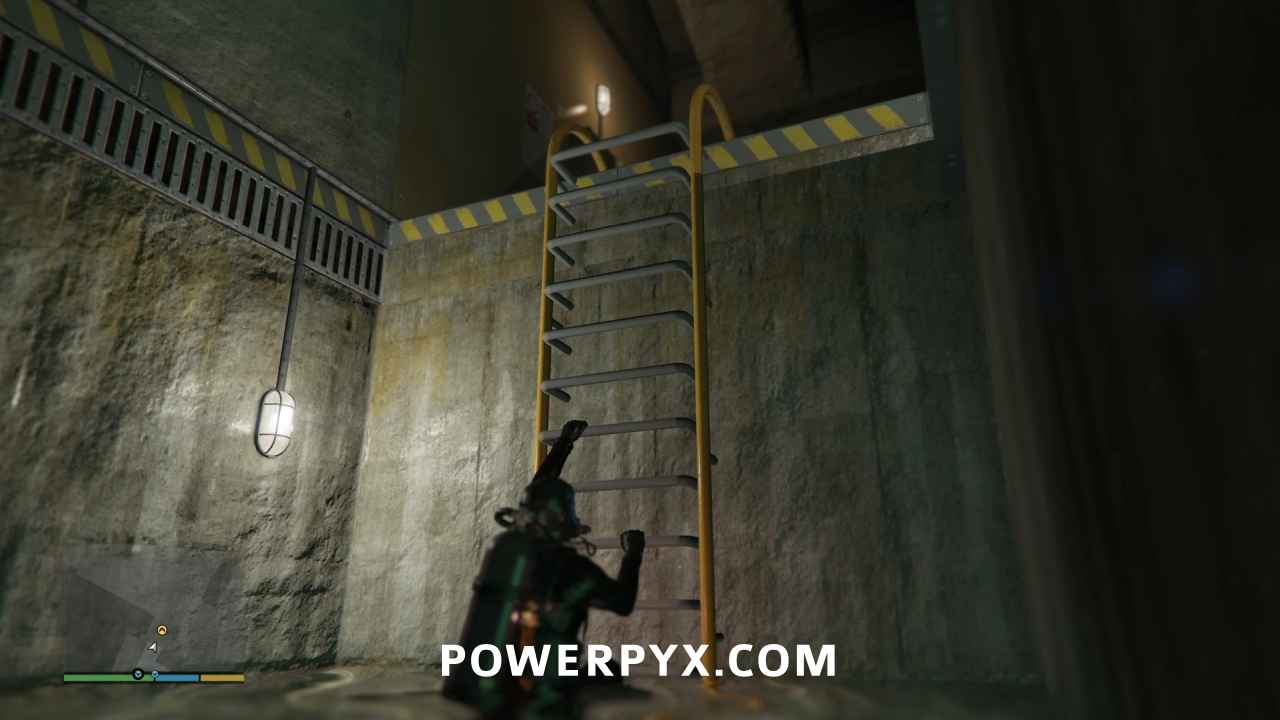
Ready your stun gun and remember the next Gold Medal requirement:
- Stunner: Stun 8 enemies with the Stun Gun
Dave will go through the door. Stun the scientist on the other side, then the security guard that comes around the corner.
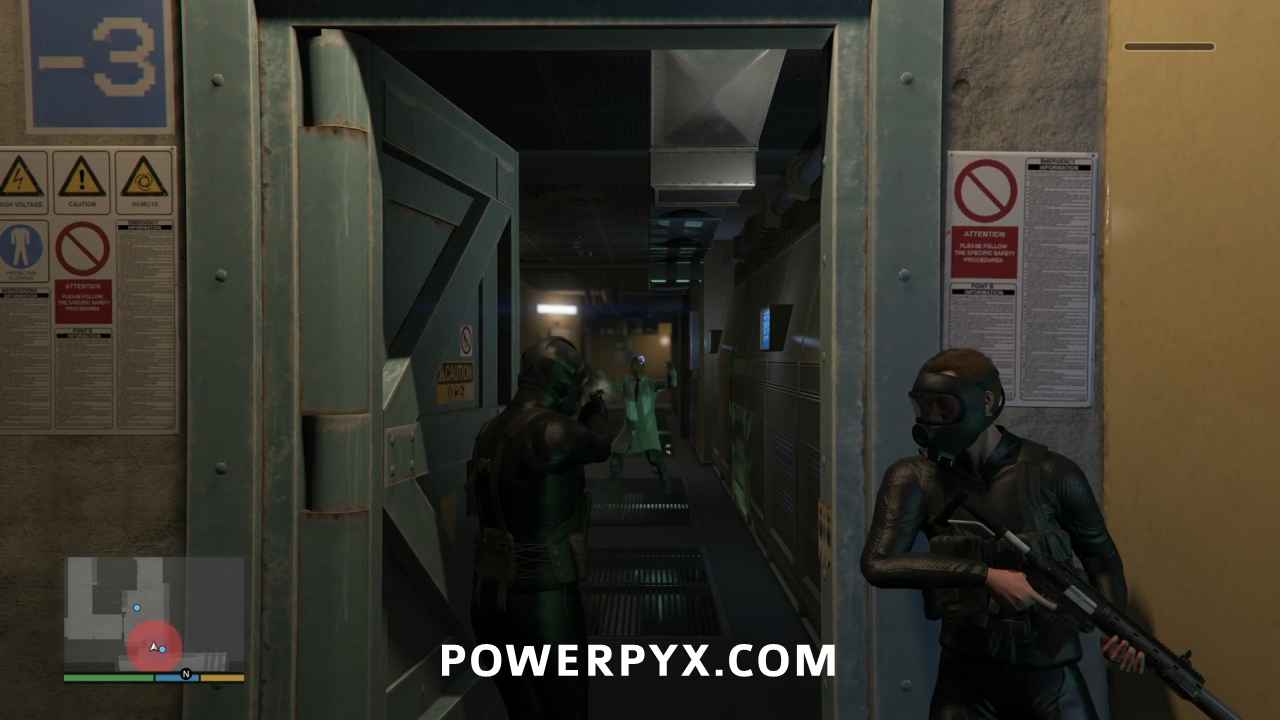
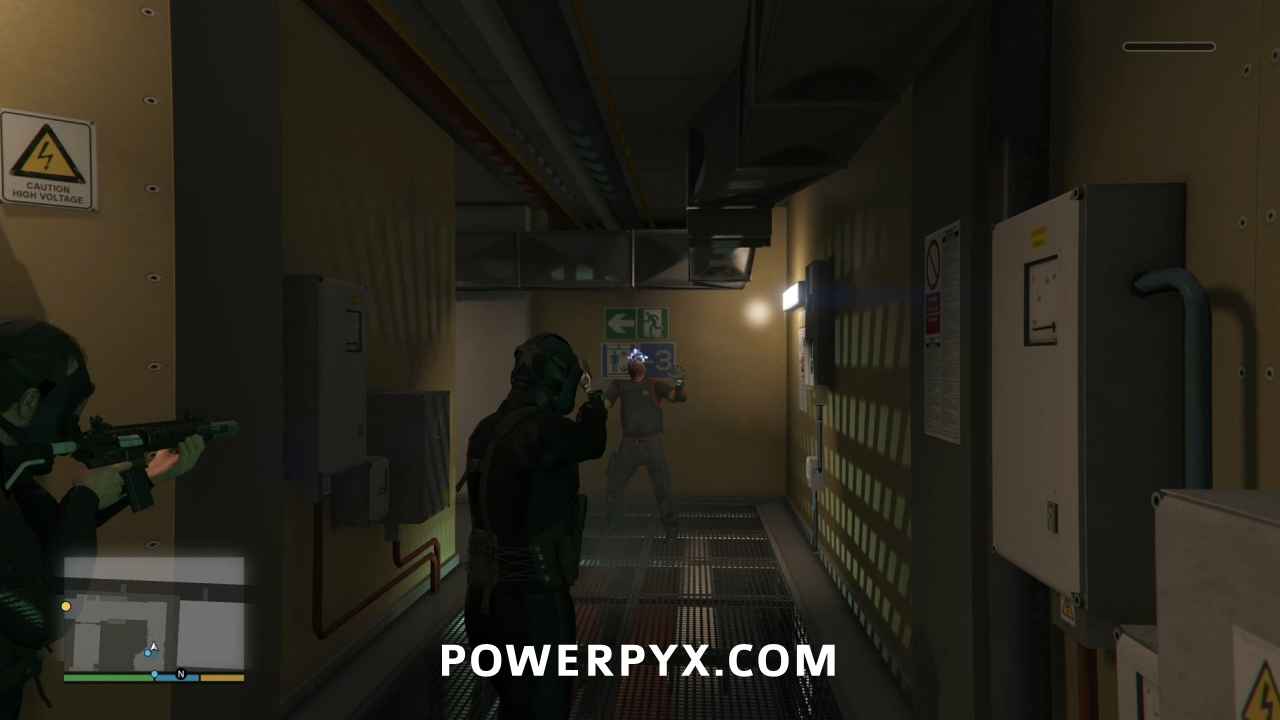
Keep going down the corridor and wait by the elevator. Once the door opens, stun the scientist, then grab the security pass.
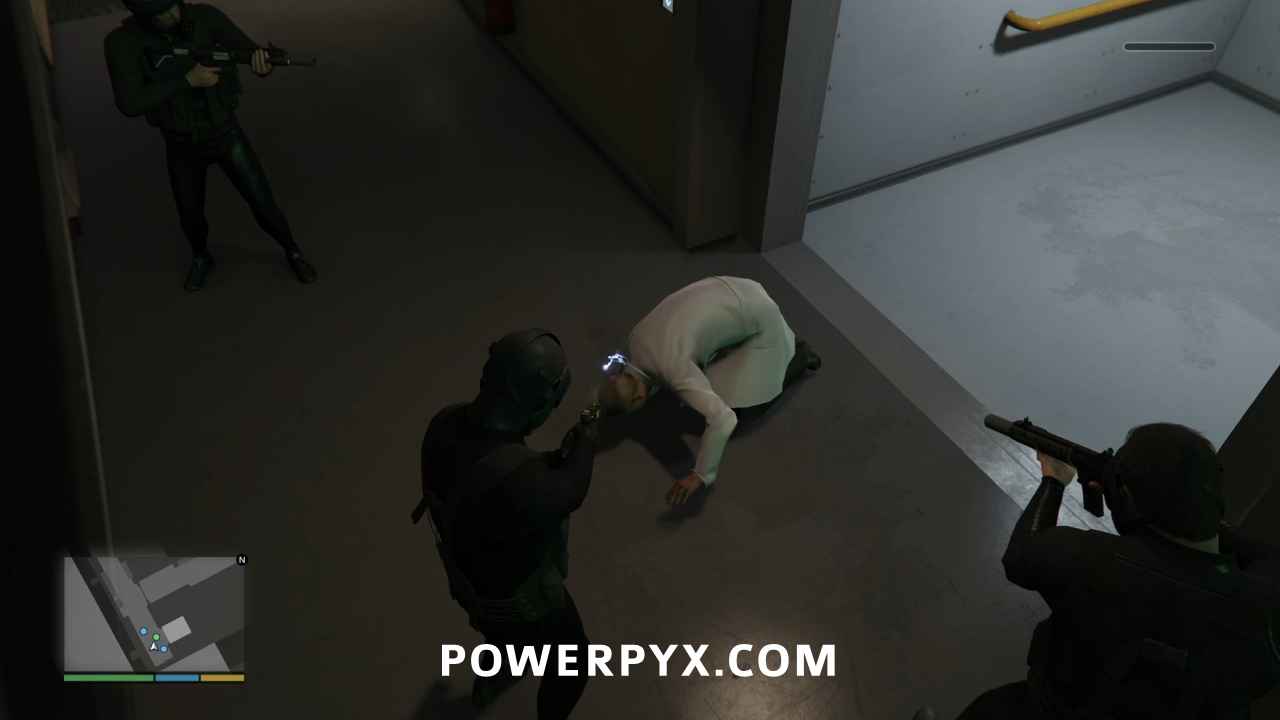
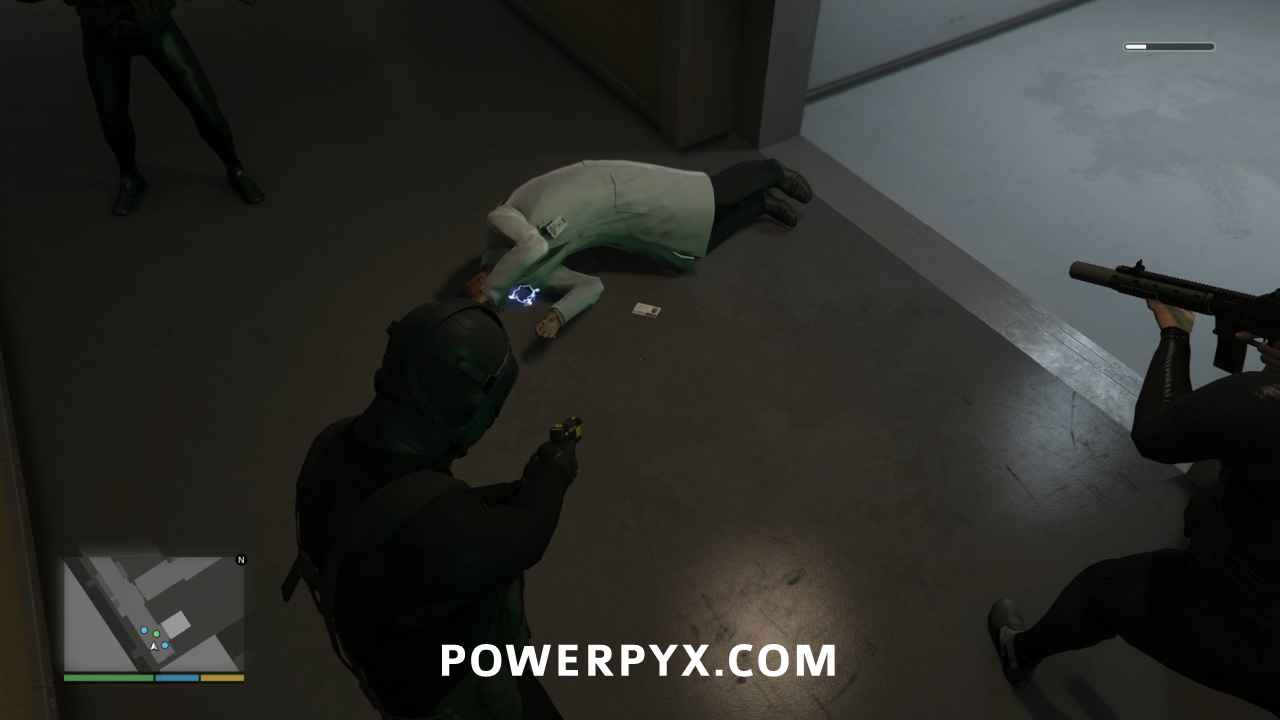
All three of you will pile into the elevator. Skip the cinematic. Coming off the elevator, go to the right, then left twice into the laboratories.
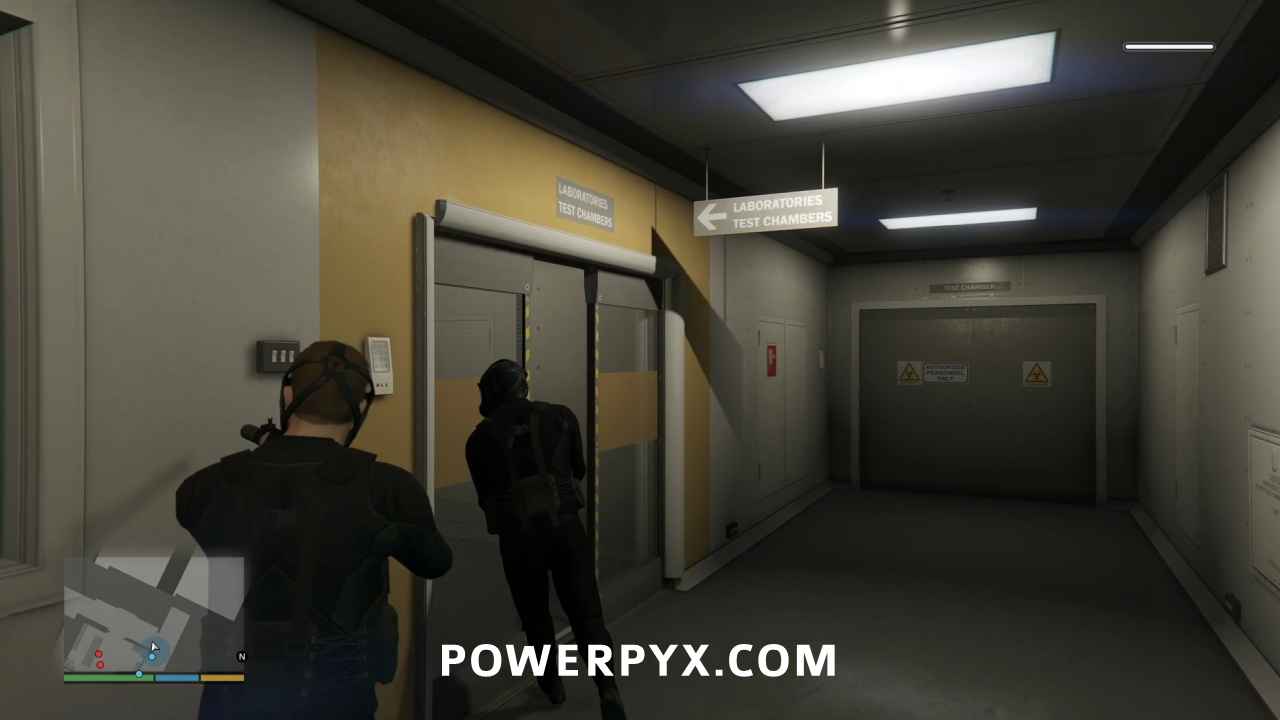
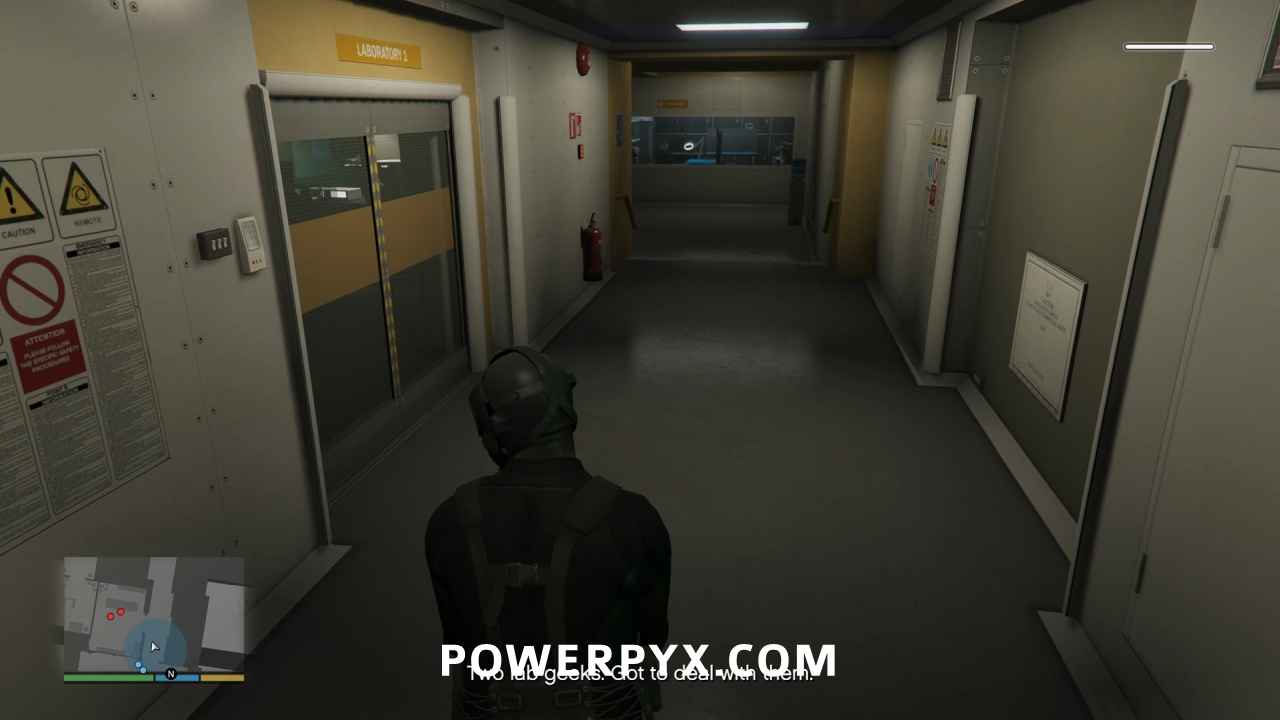
Incapacitate the Lab Workers
Stun both of the scientists. Then follow Dave down the corridor into the next area.
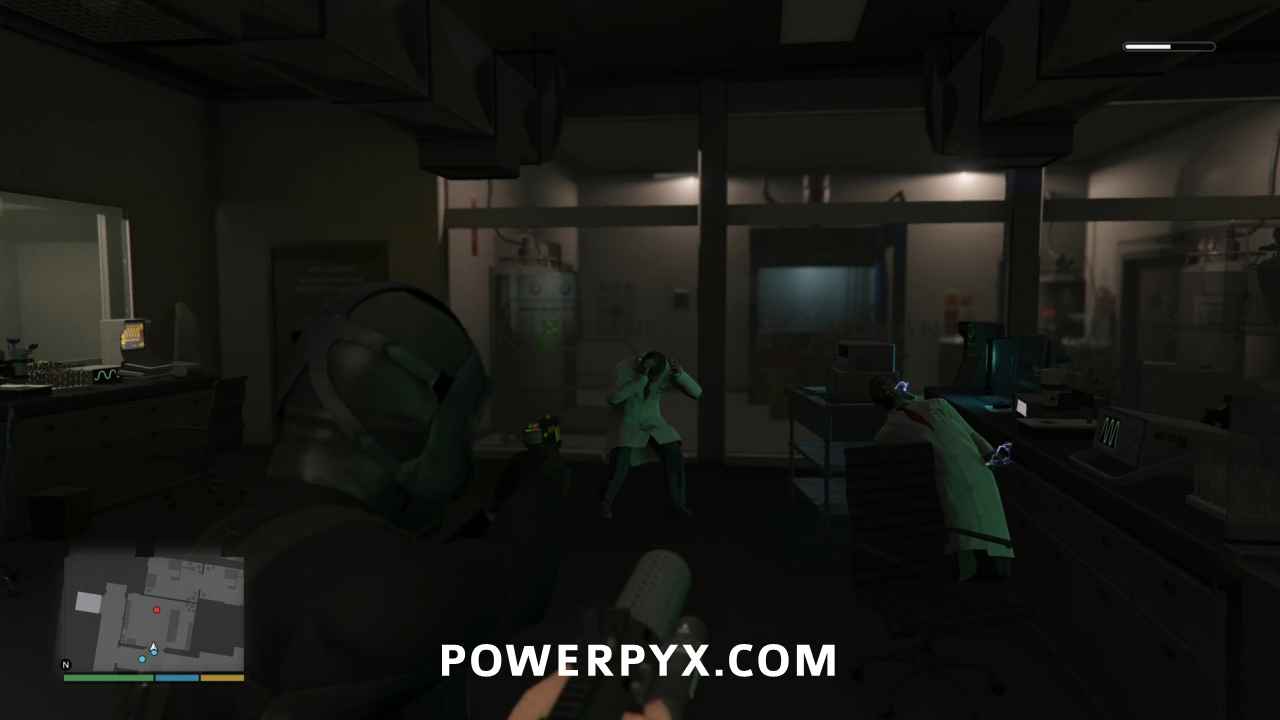
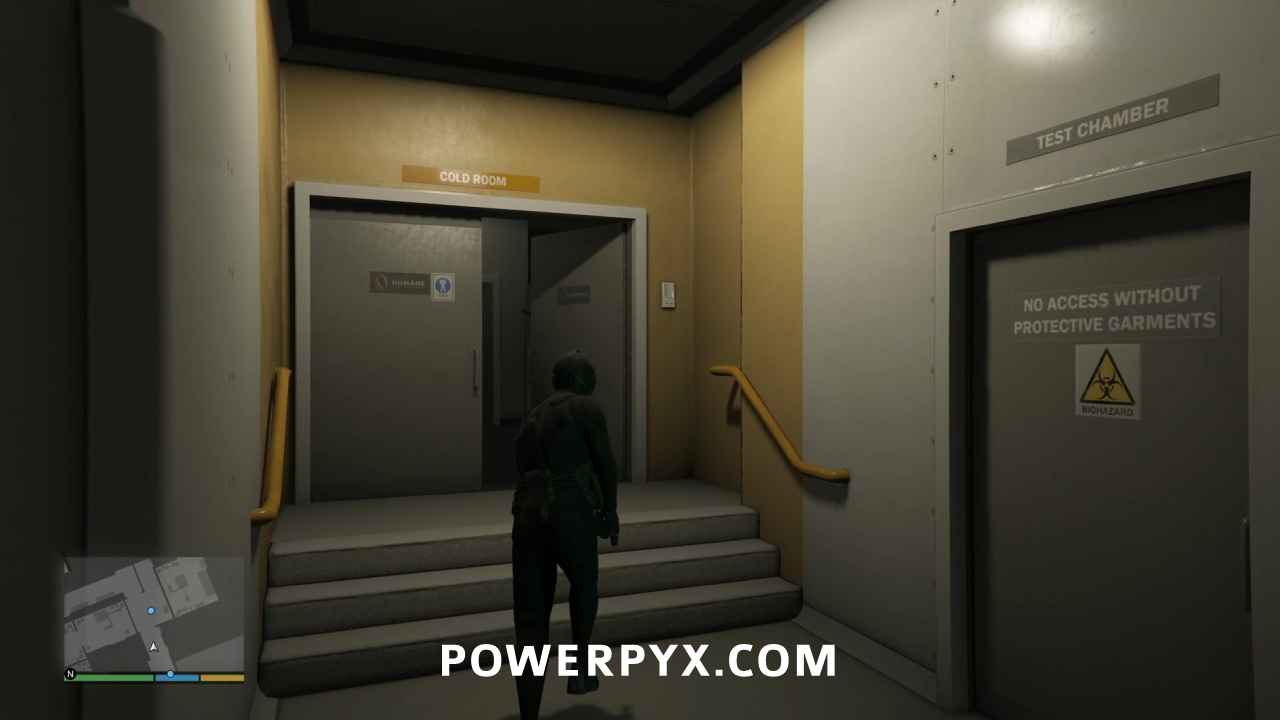
Dave directs you to hide against a wall by the door, saying that security will soon be coming through there. Watch your minimap to see the expected patrol headed in your direction, and either stun them as well or ignore them.
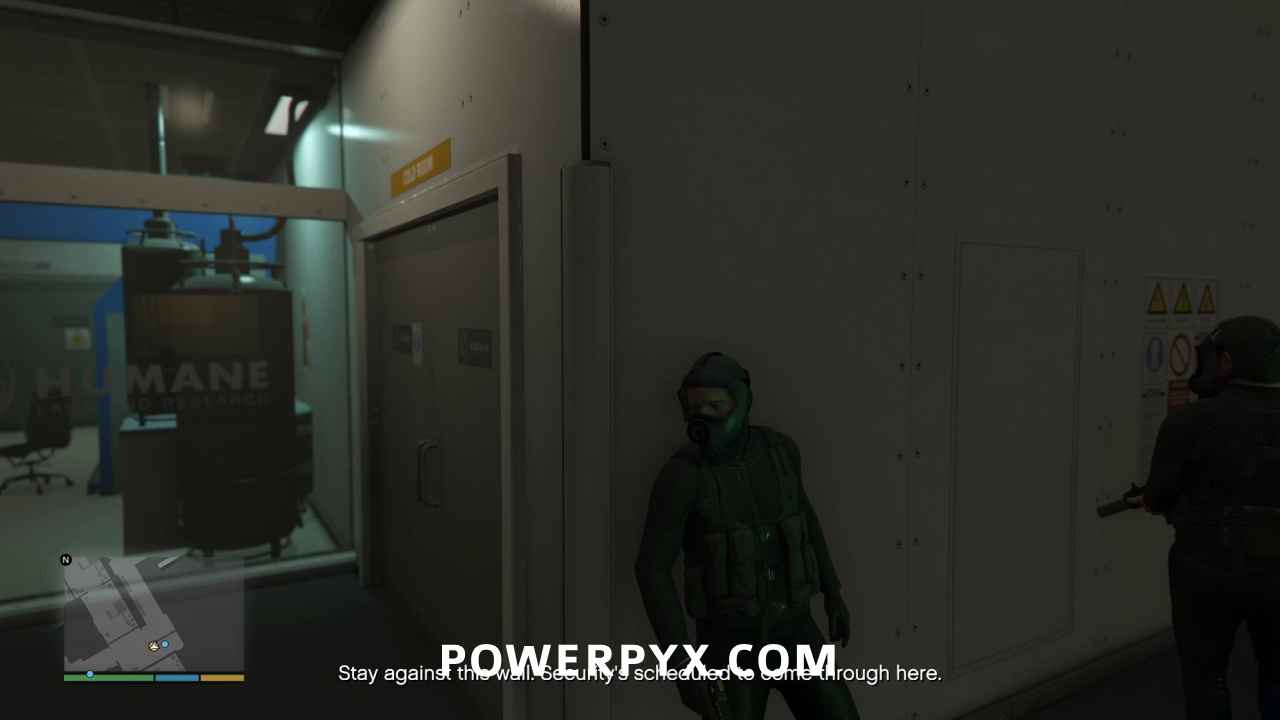
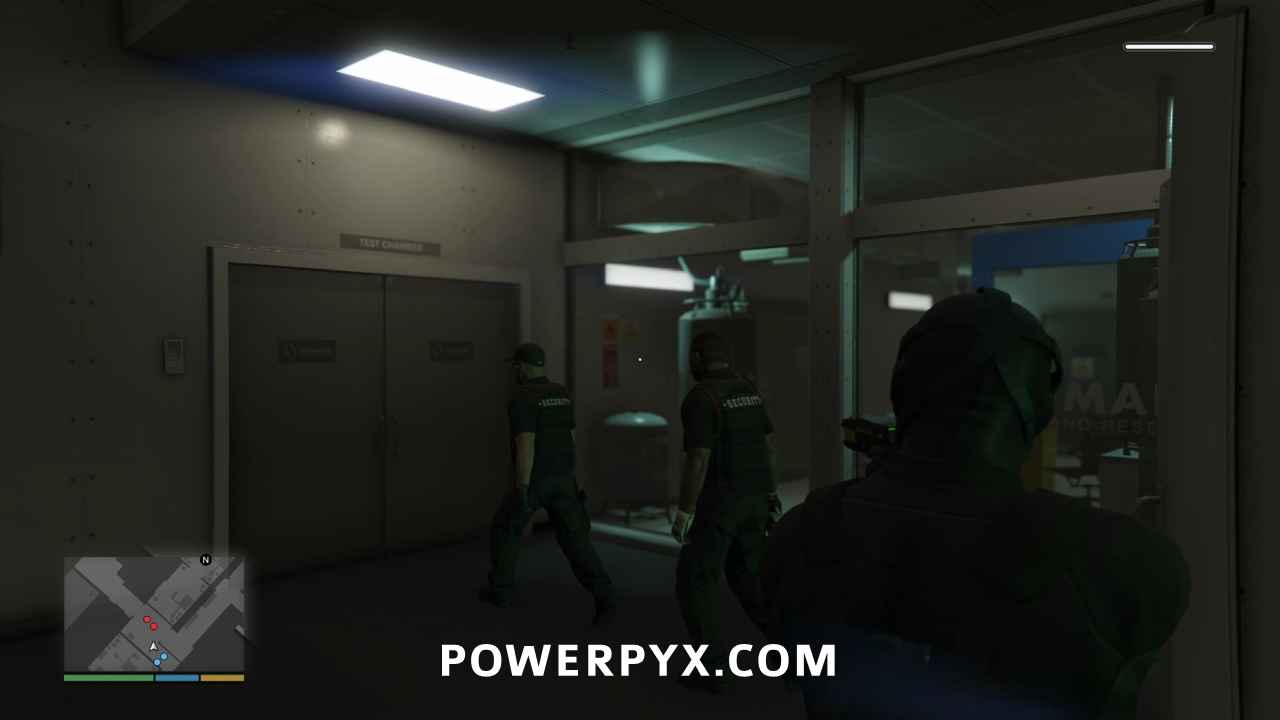
Heading down the next corridor, you’ll use the security card to open a door into the “Cold Room”. Inside you’ll find the room with the toxin, but it is locked from the inside by another scientist.
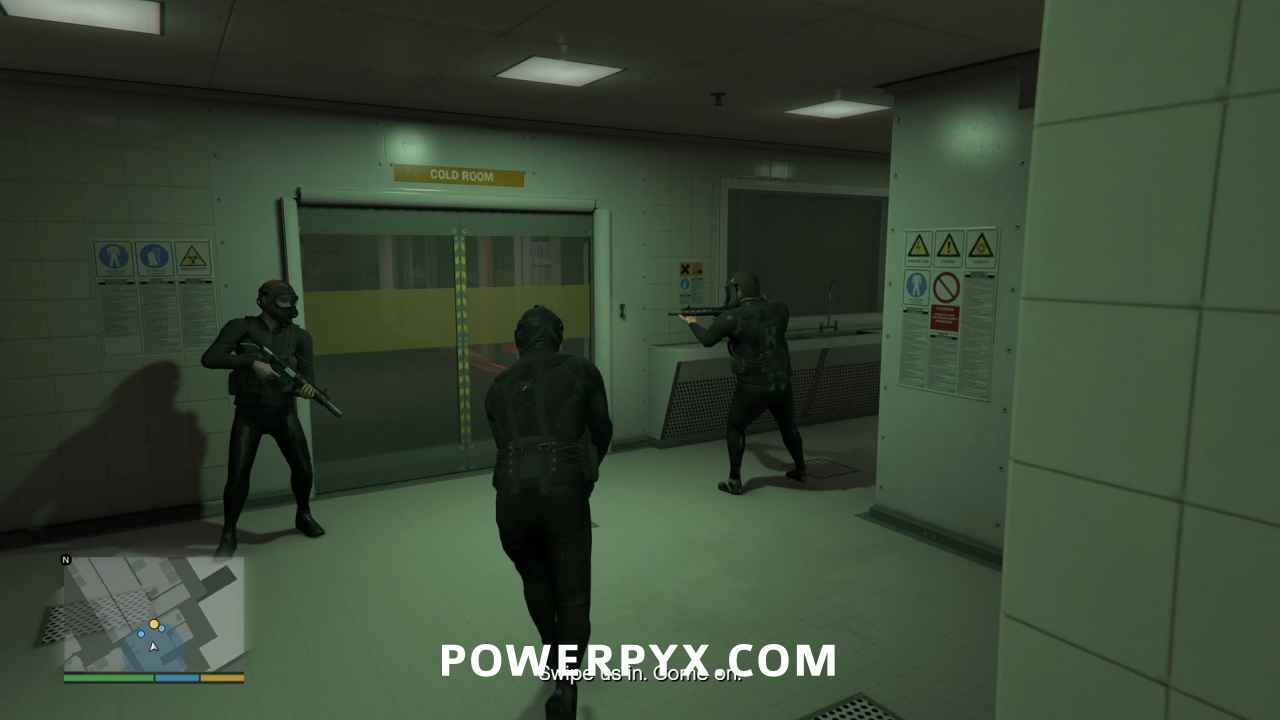
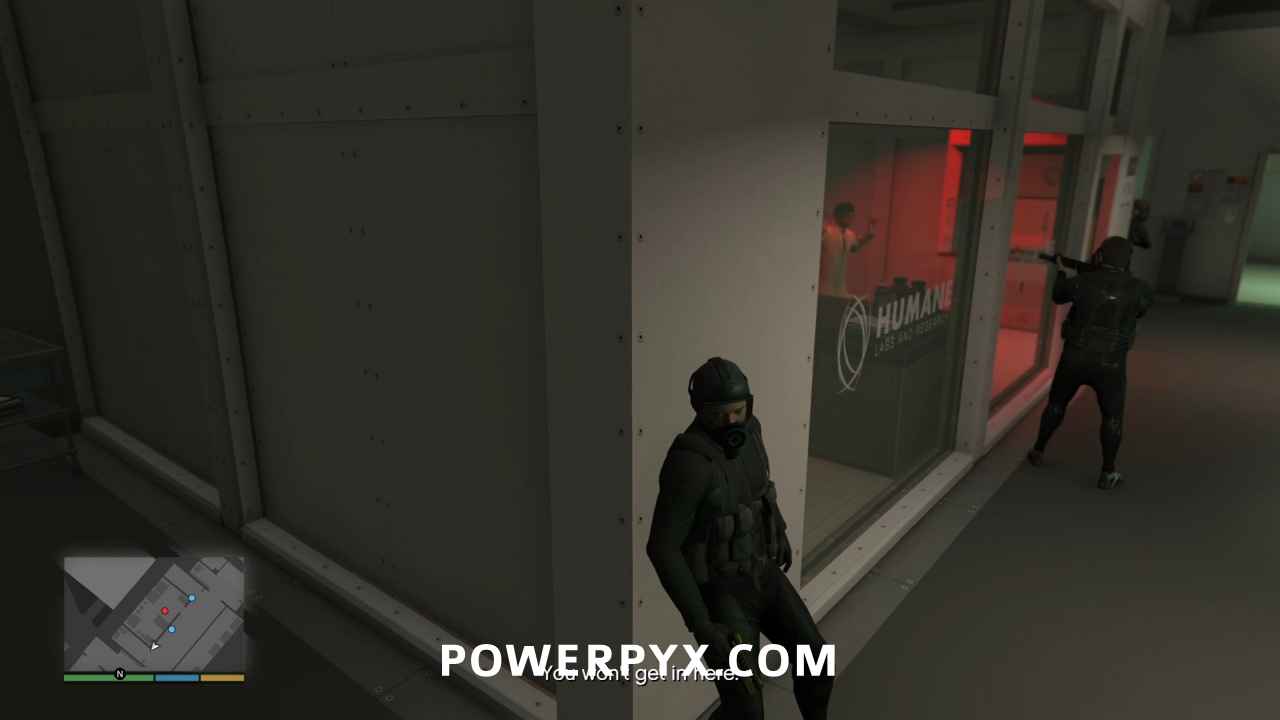
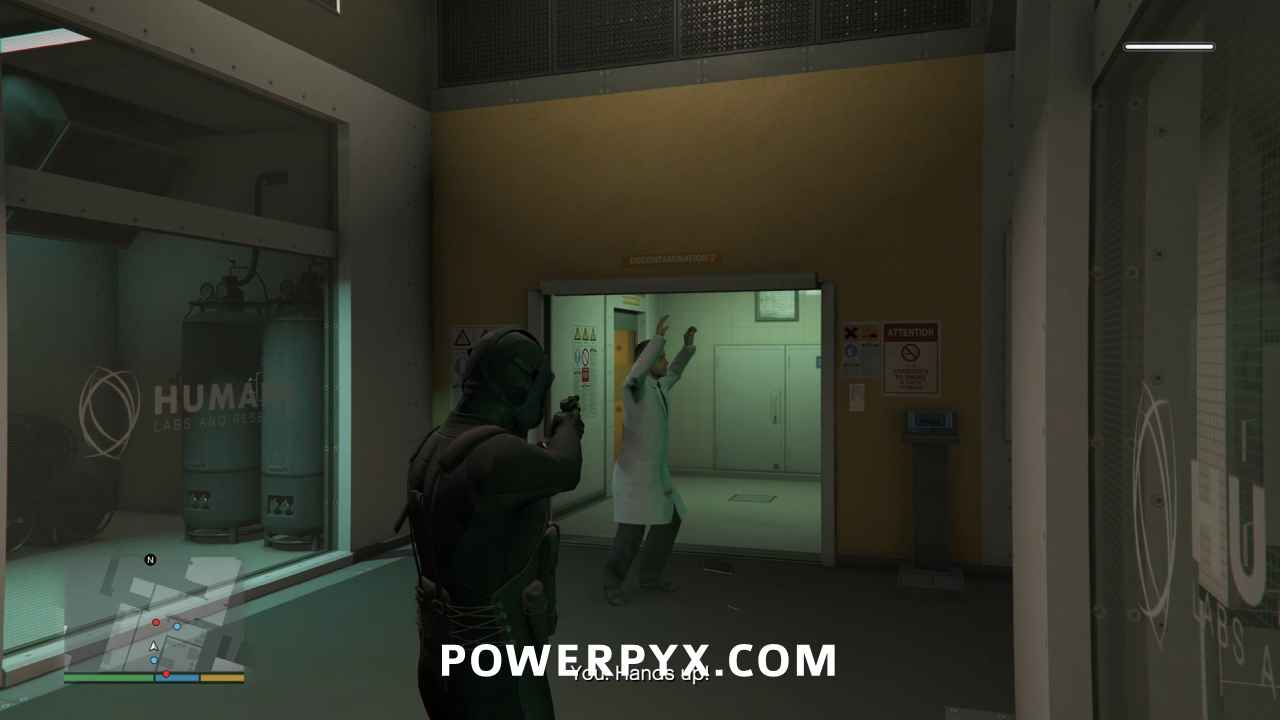
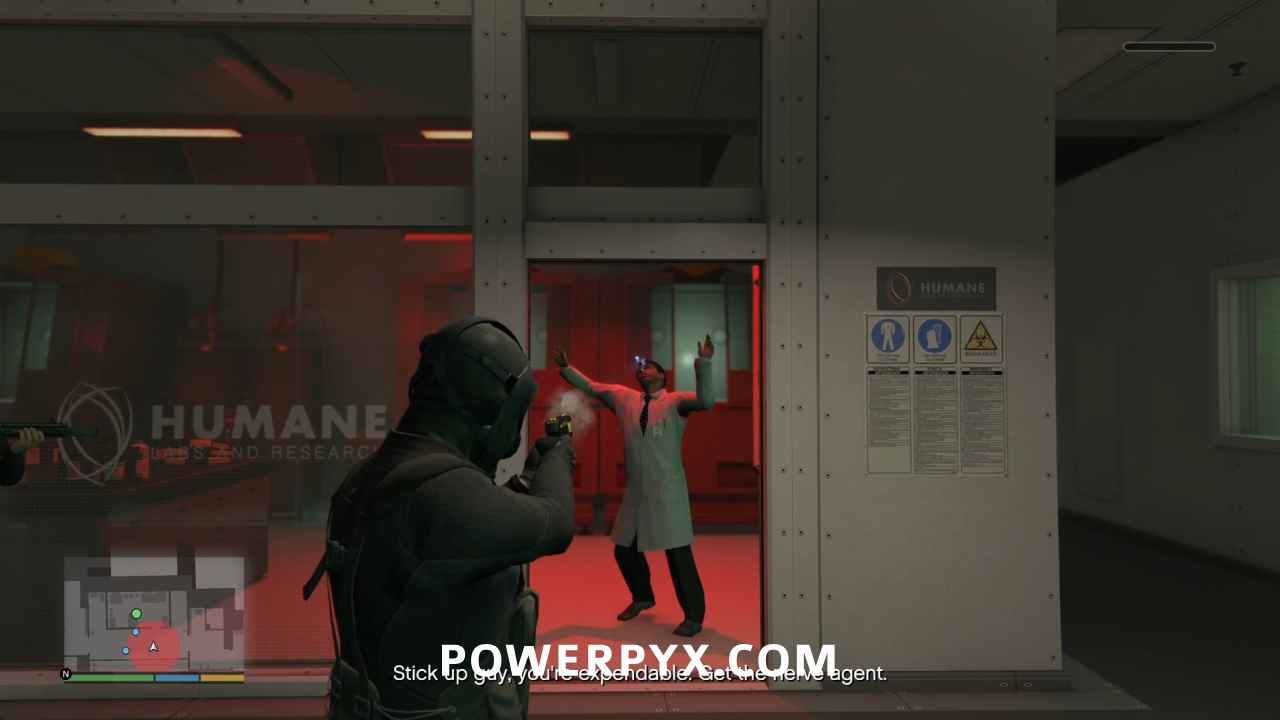
A short time later, a different scientist comes through the next door. Stun them and Steve Haines will use them as a hostage and threatens them to persuade the scientist inside the locked lab to open the door. Then stun the other scientist.
Get the Nerve Toxin
Steve Haines sends Michael into the room to get the toxin, while they cover him. Skip the cinematic.
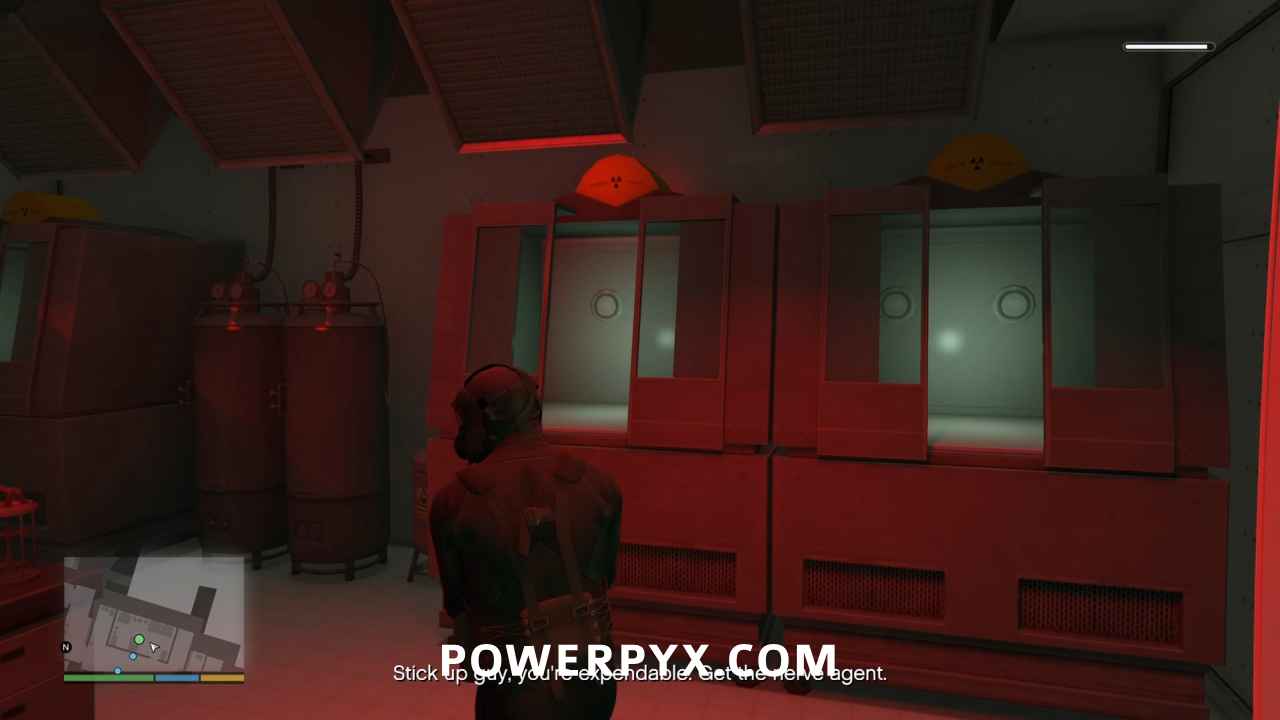
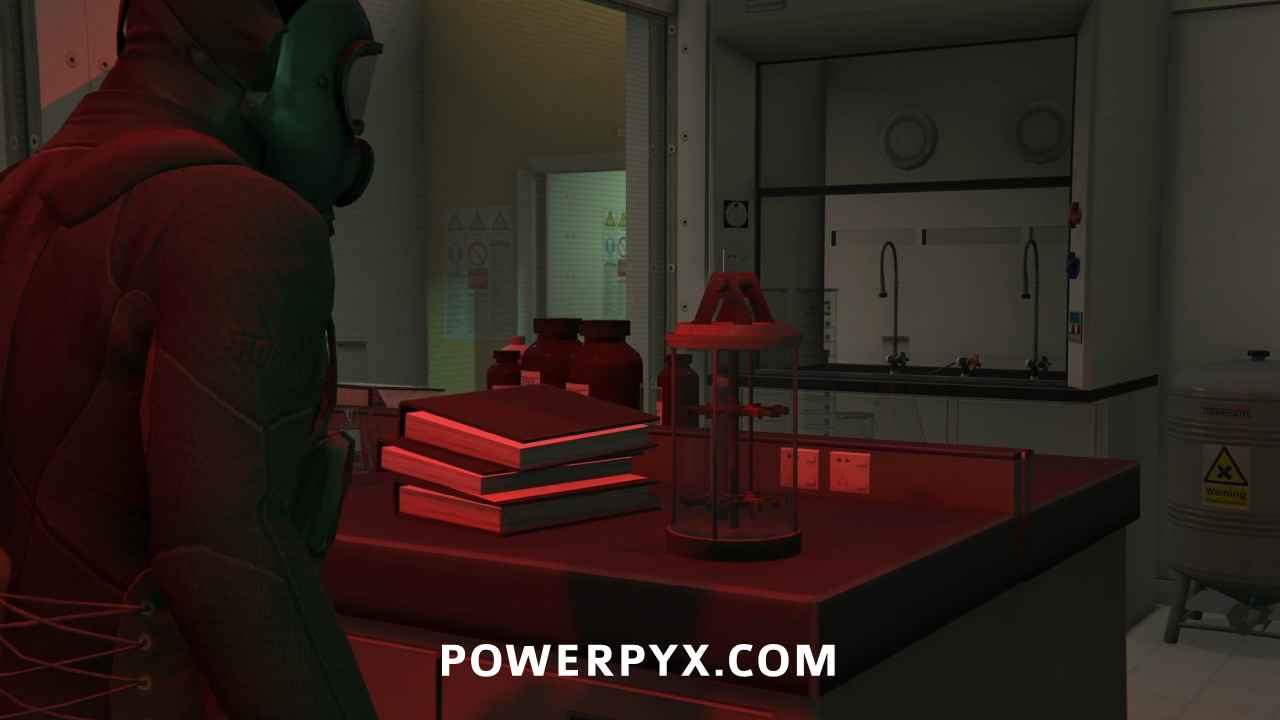
They say you will need to get the toxin into a refrigeration unit to remain stable, but before you can reach one the alarms go off, alerting security.
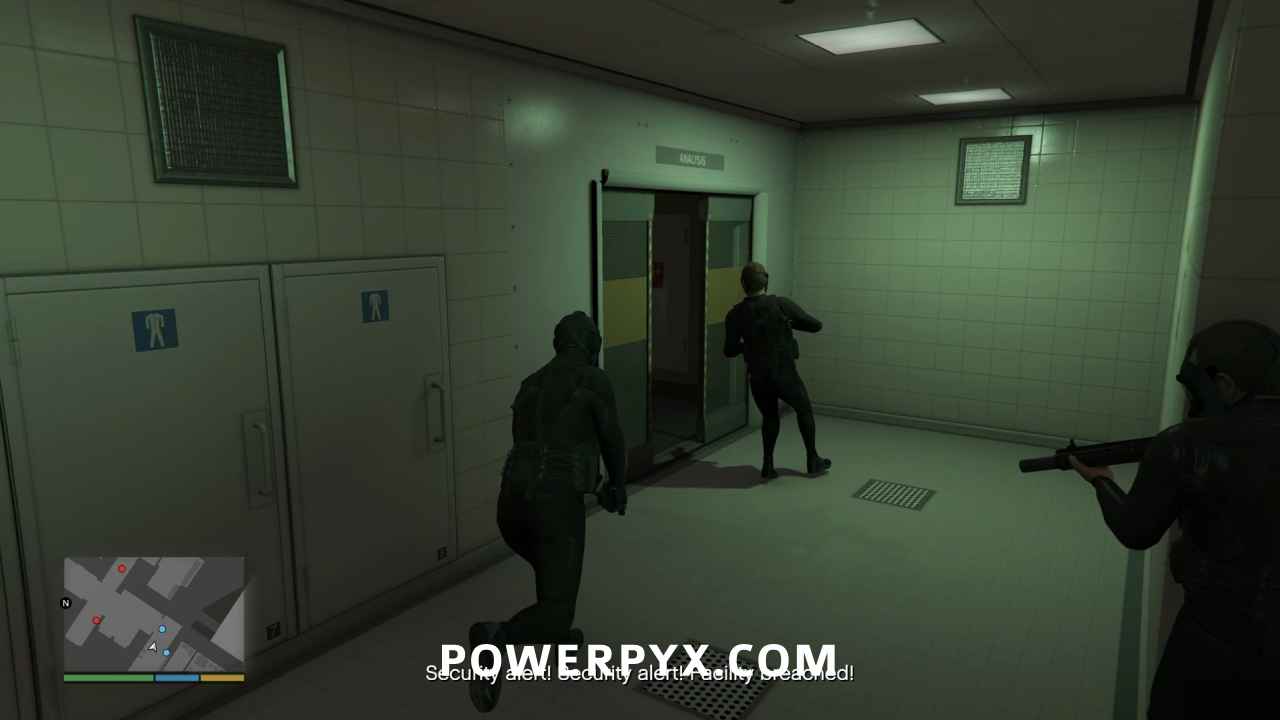
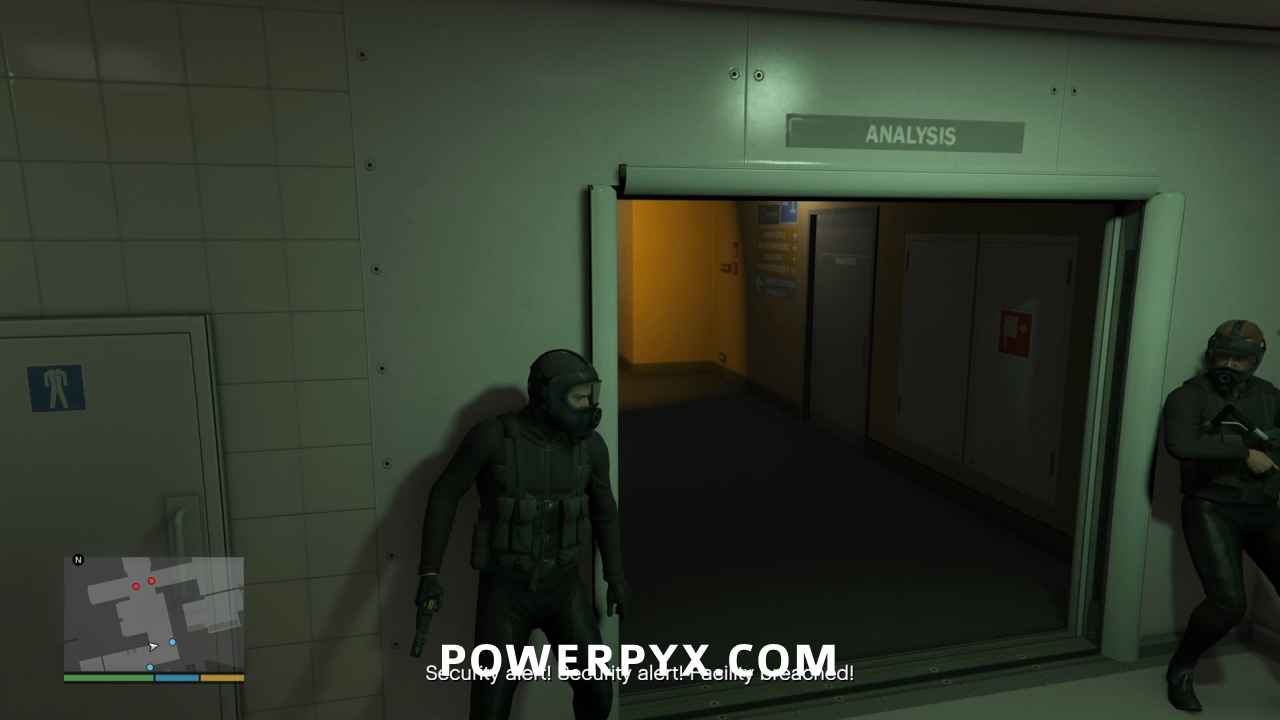
Take Out the Security Guards
If you have enough people stunned for Stunner, swap to an assault rifle and take out the two security guards. Remember also the Gold Medal requirements:
- Headshots: Kill 15 enemies with a headshot
- Accuracy: Finish with a shooting accuracy of at least 70%
Follow them down the corridor to find four more security guards in the hallway, headed your way. Use Michael’s special ability to kill them all with headshots.
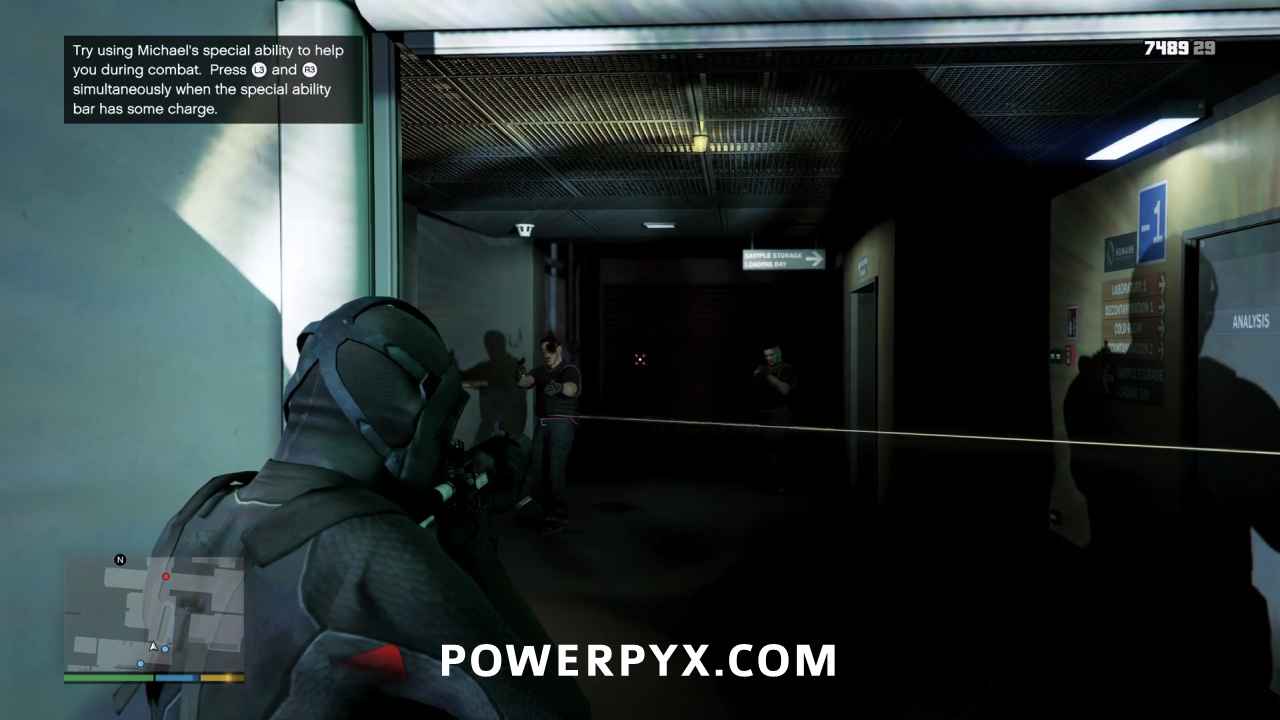
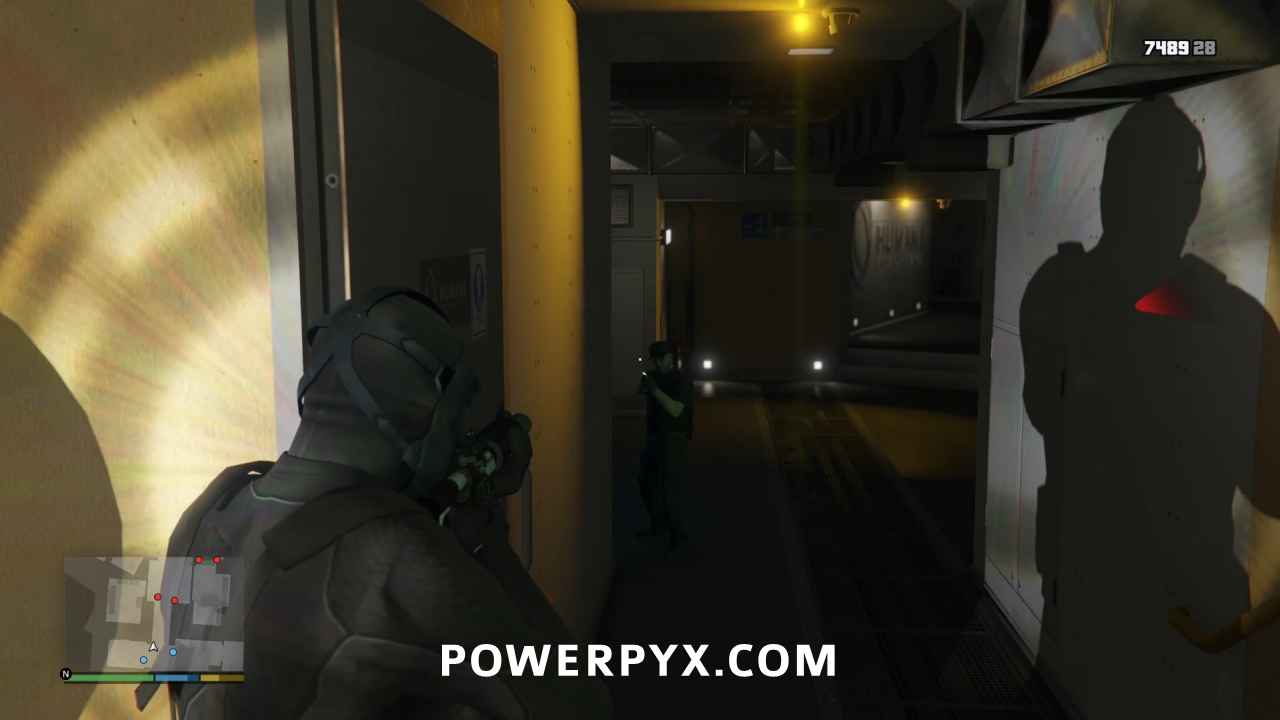
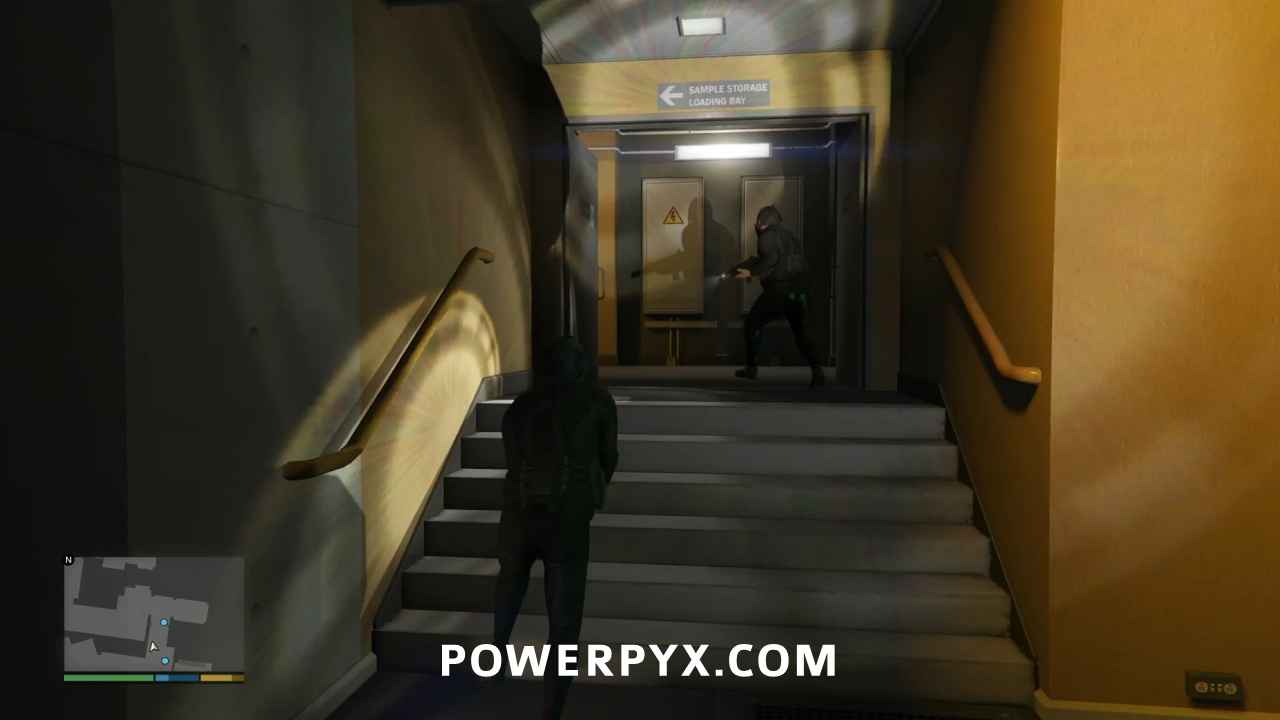
Once you reach a door leading to Sample Storage and Loading Bay, four more security guards will spawn in the corridor ahead of you. Watch your minimap to determine where they will pop up.
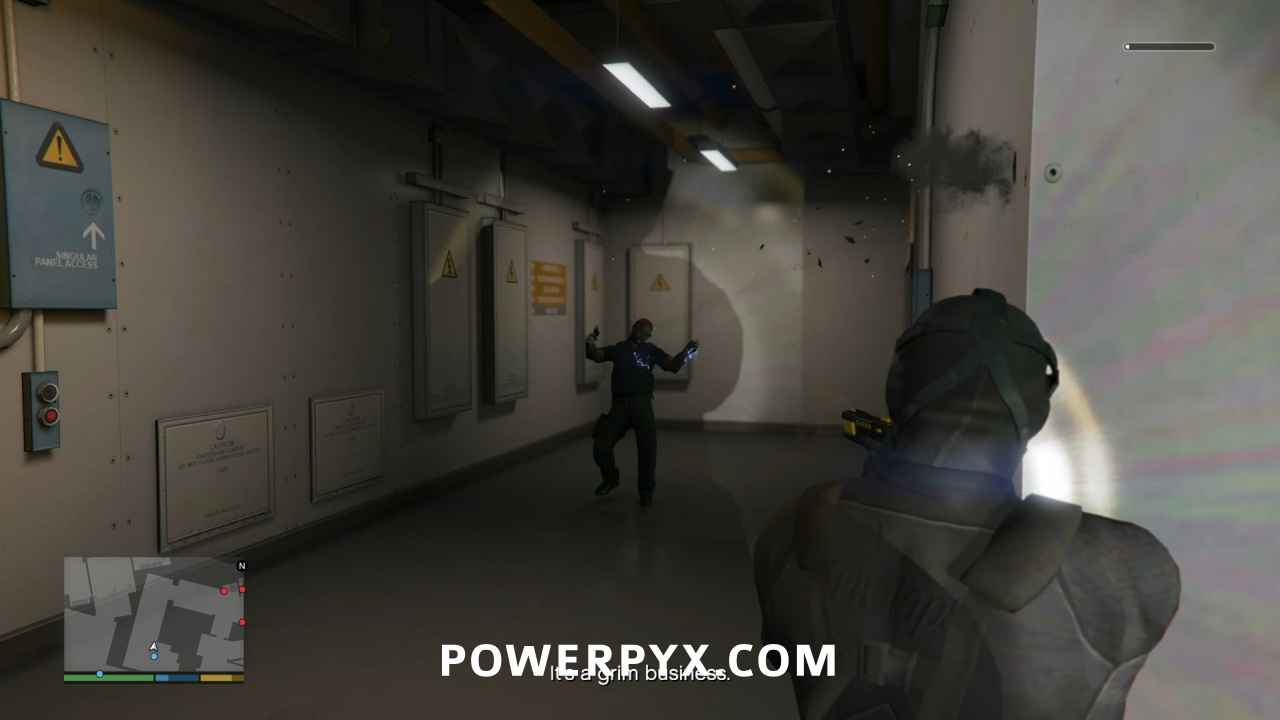
Advancing through the room full of caged monkeys, two more guards will start down the hallway towards you.
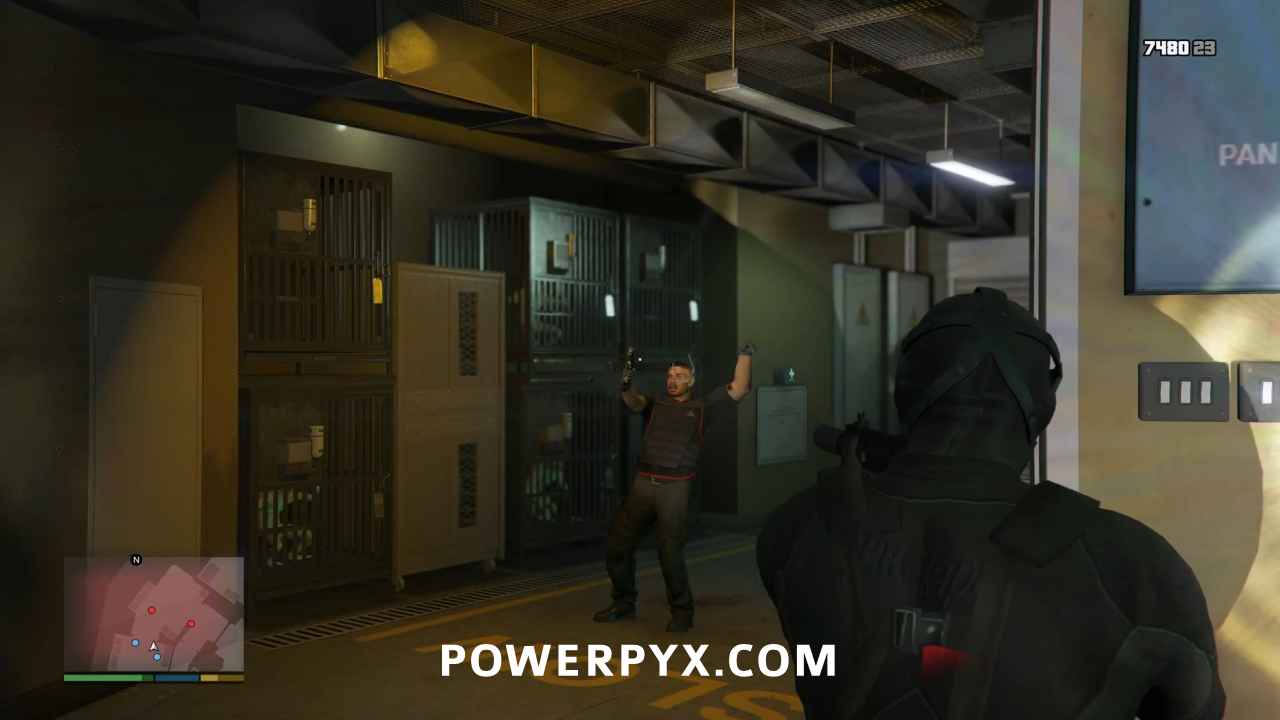
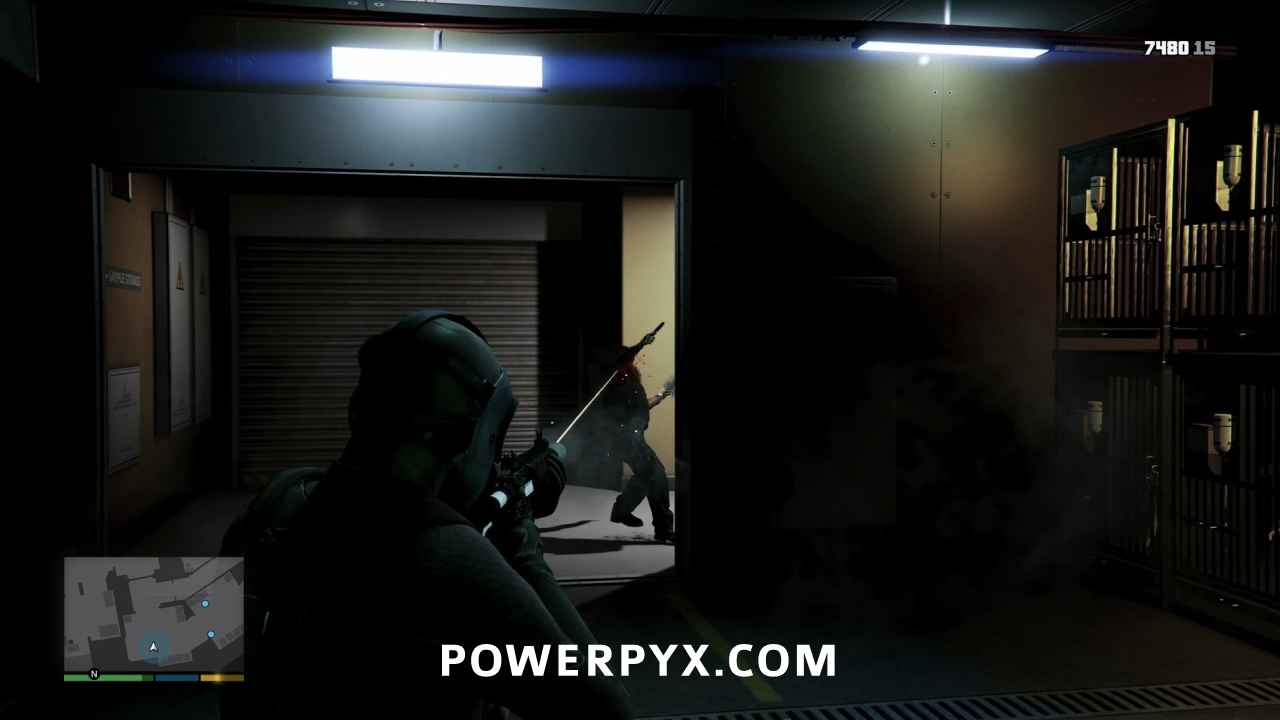
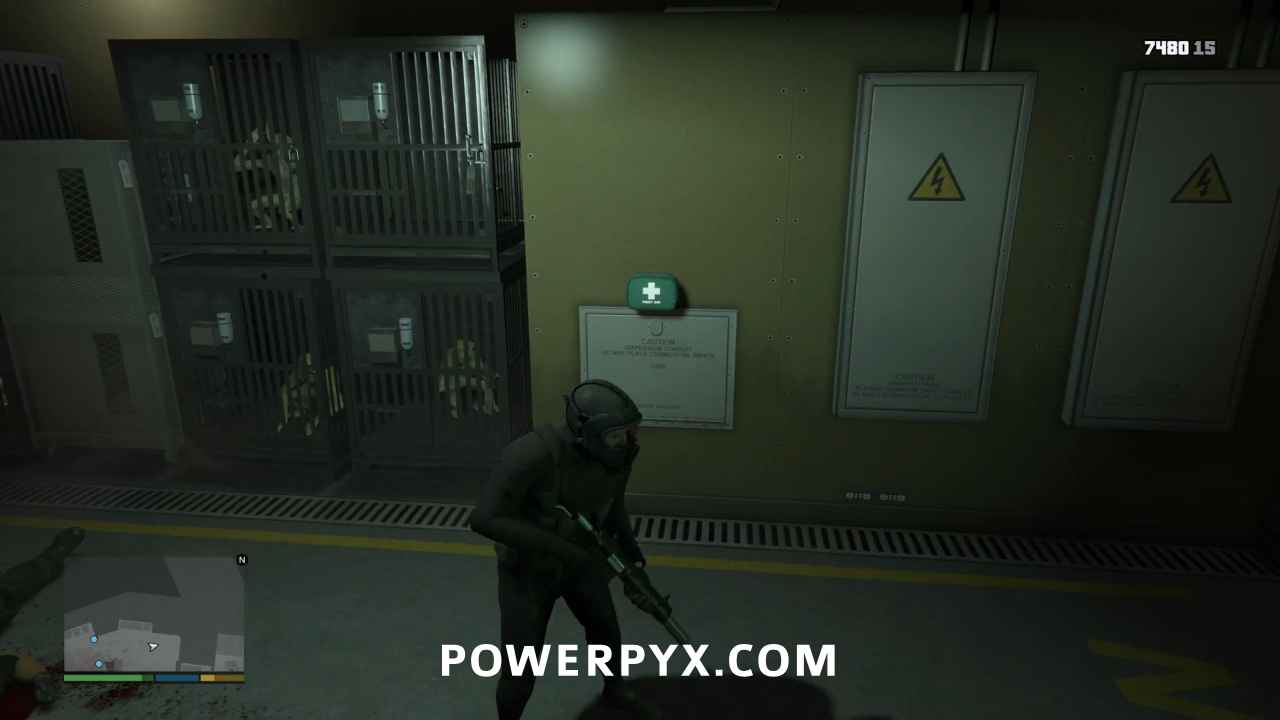
There is a medkit on the wall that’s worth grabbing. Then wait for Steve Haines to open the door to the Loading Bay, then follow him down the hall.
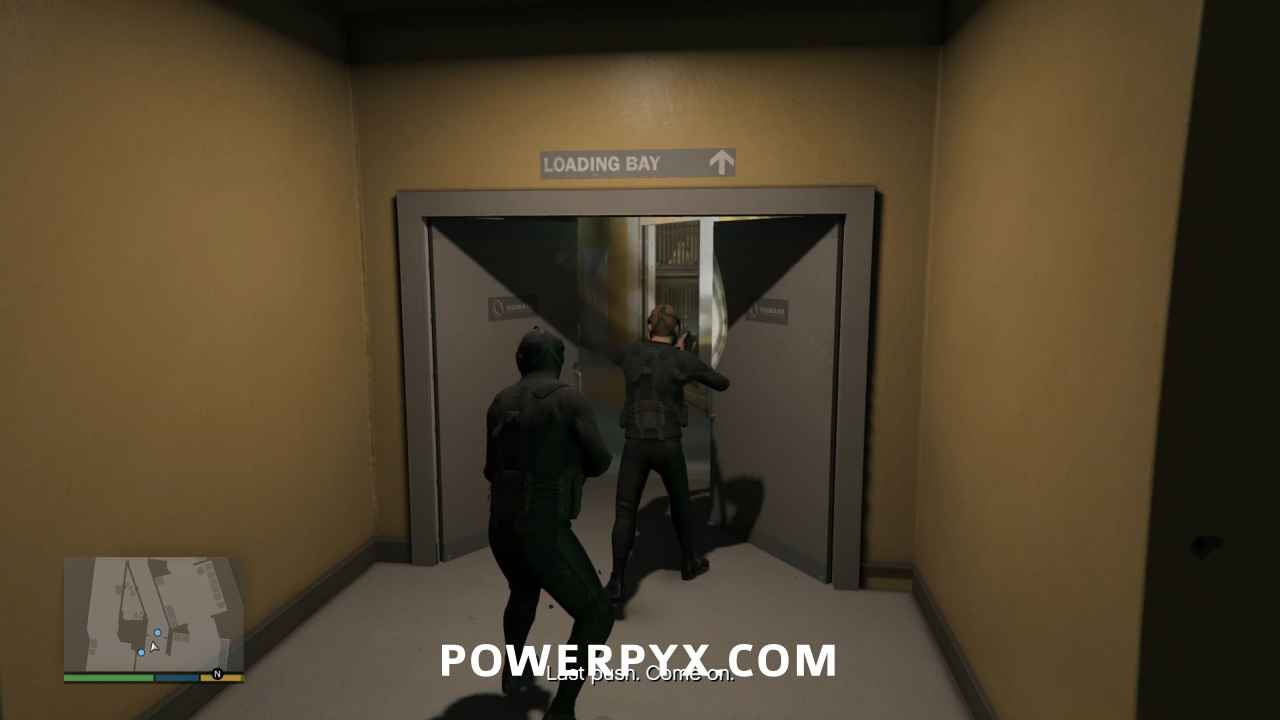
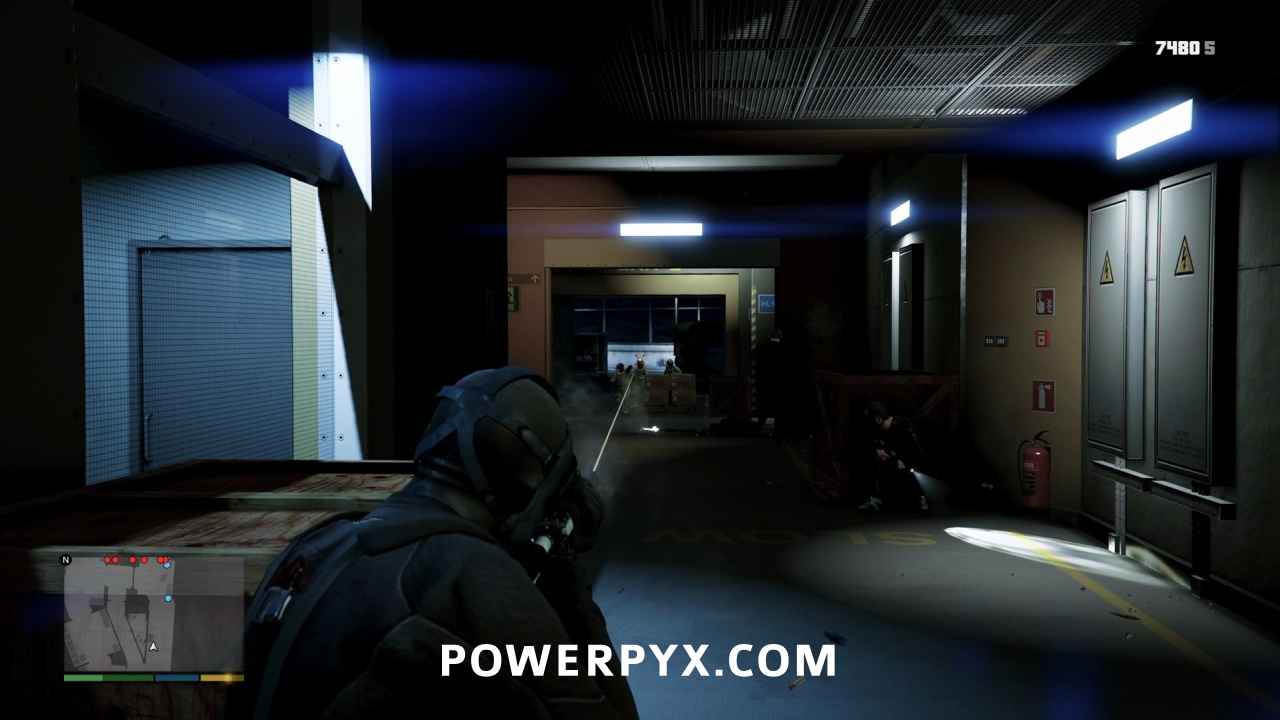
The Loading Bay is positively crawling with security guards and soldiers. Get cover behind one of the wooden crates in the hallway, and use Michael’s special ability to thin the herd. Advance when safe, and clear out anyone left.
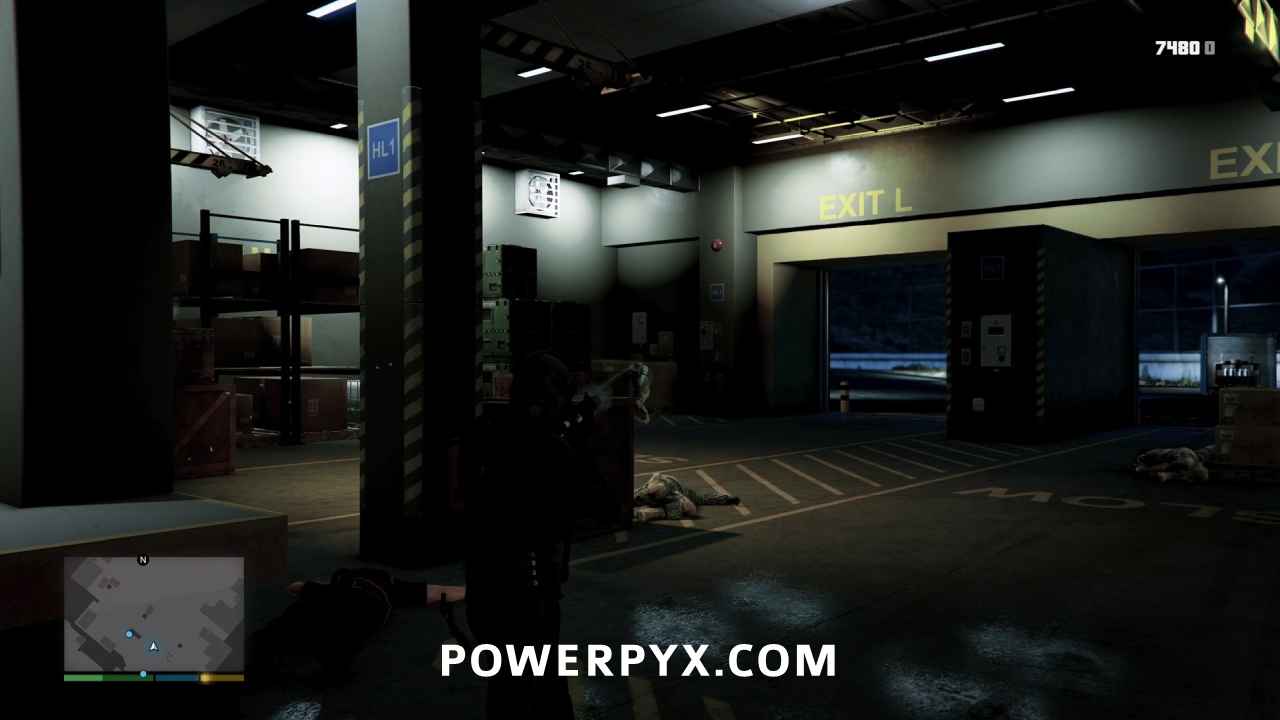
Put the Nerve Toxin Into the Refrigeration Unit
Head through the loading door and towards the open refrigeration unit. Skip the cinematic.
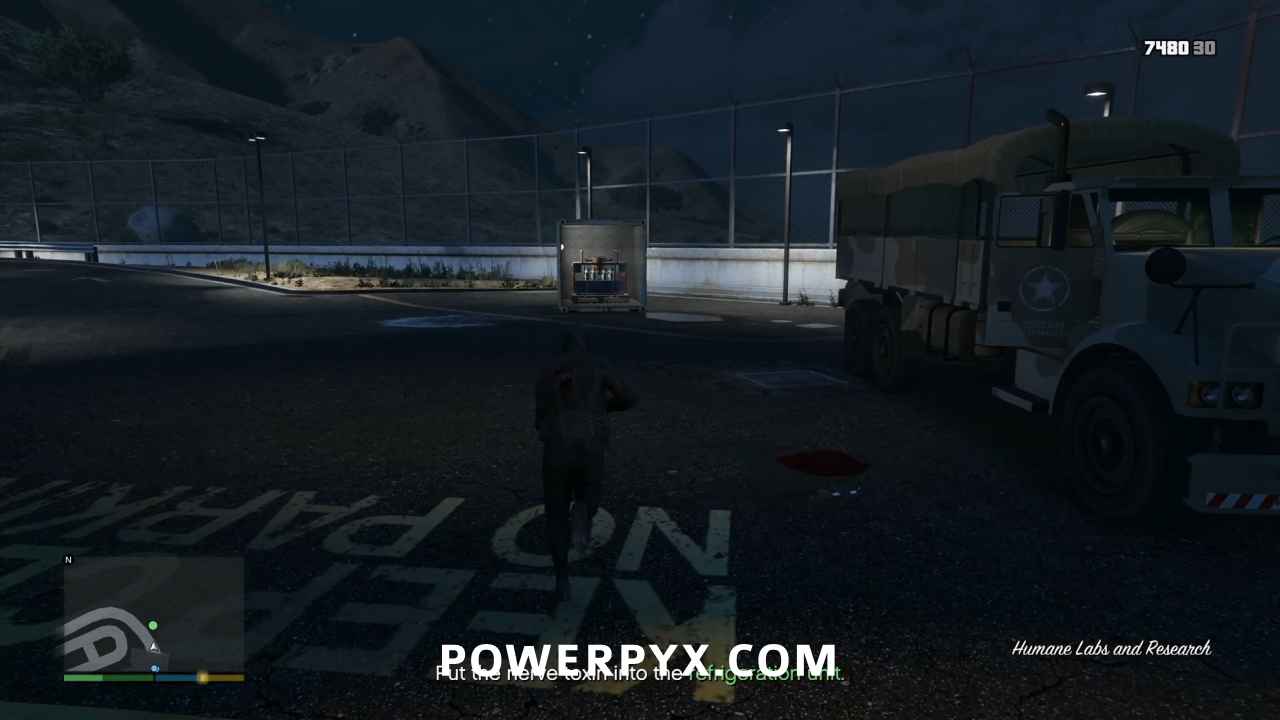
Collect the Container
Control will switch to Trevor who will be piloting a Cargobob towards the facility. Follow the red smoke plume to find the container, and maneuver until you can hover directly above it. The ground team will then hook up the container. Skip the cinematic.
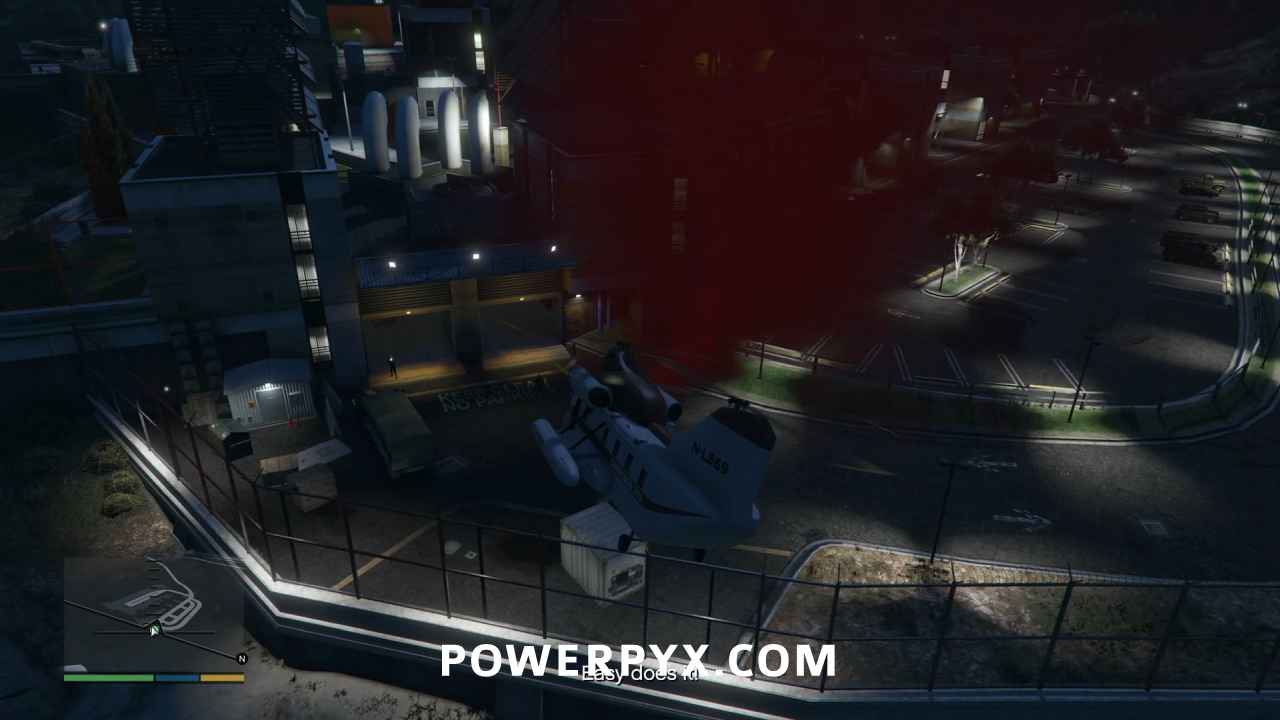
Fly To the Airfield
Head to the airfield with the container, being careful not to fly low enough to let it hit anything.
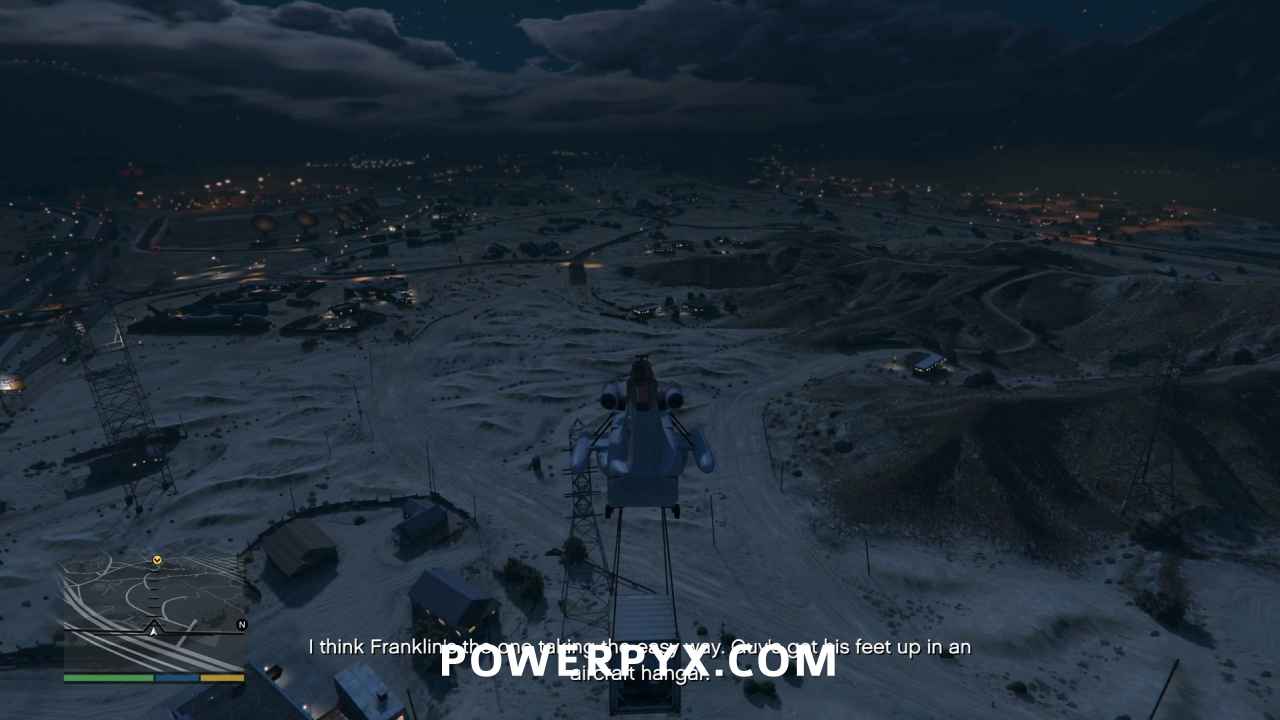
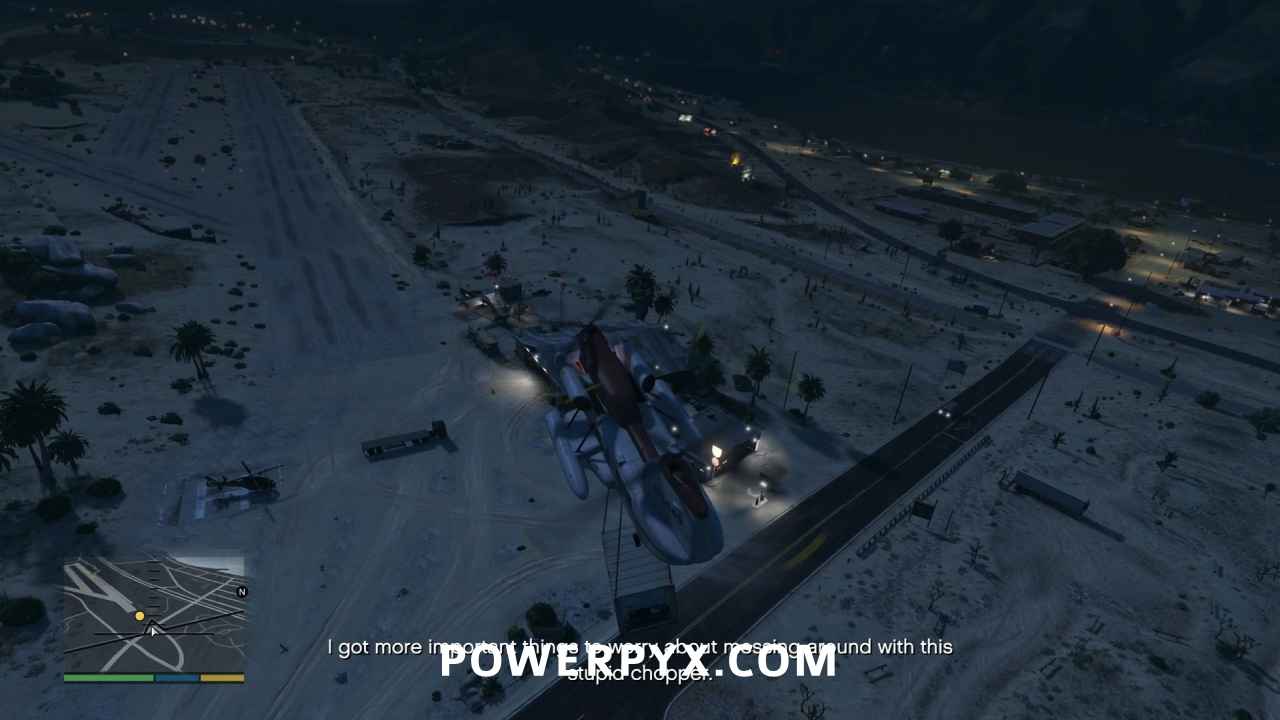
Land the Crate on the Trailer
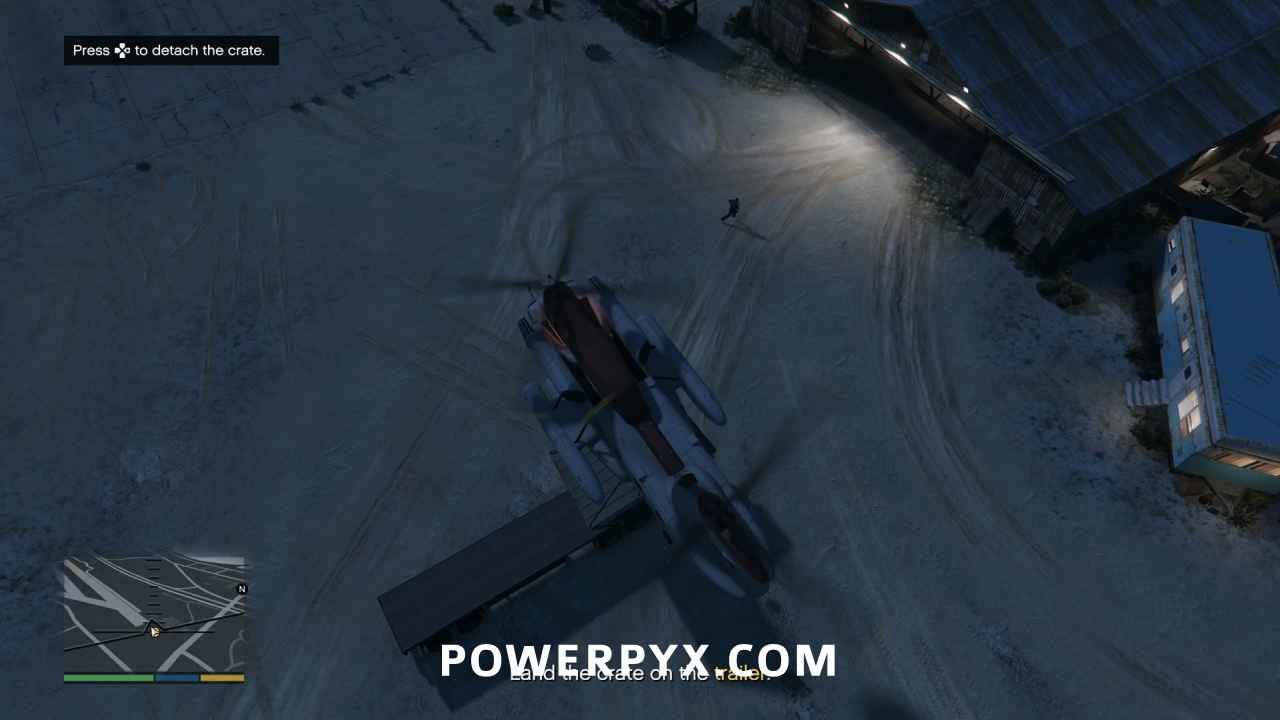
Once at the airfield, hover over the trailer and when prompted hit  /
/  to drop the container on the trailer. As long as the prompt appears, you can safely drop the container and it will land correctly.
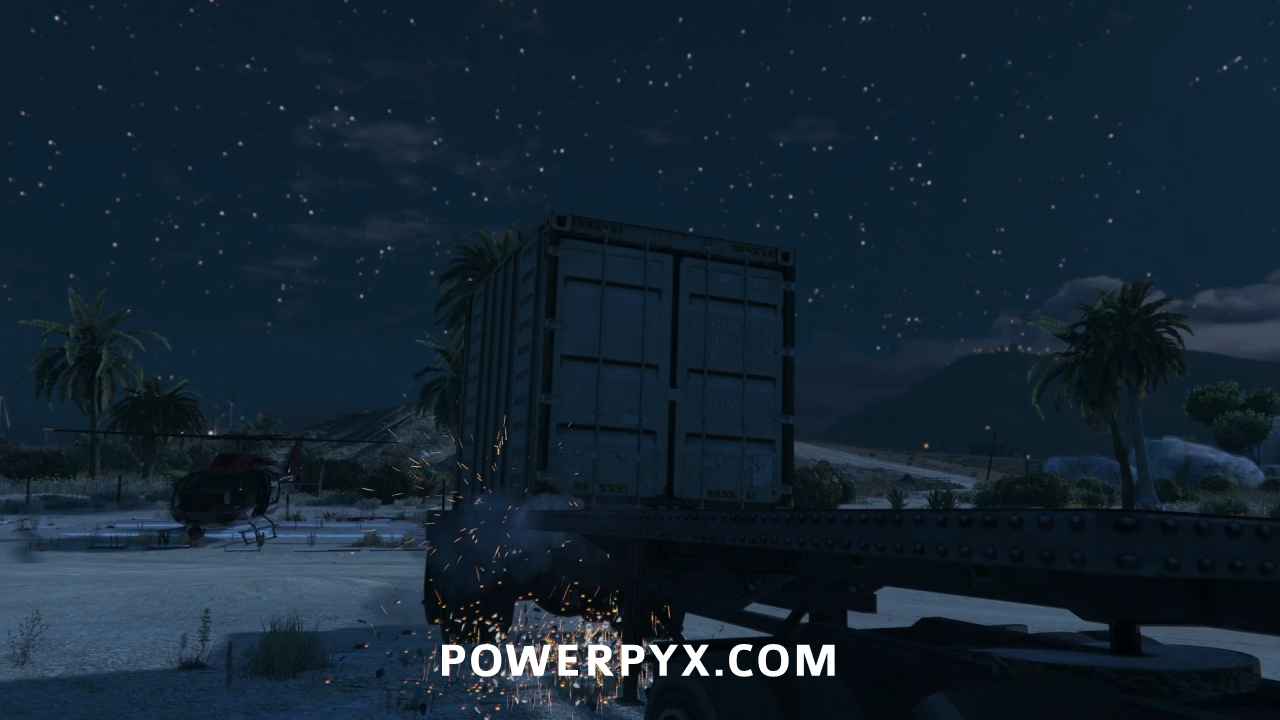
Land the Helicopter
Land the helicopter on the objective marker, and skip the cinematic.
Drive Patricia to the Farm House
Control switches to Trevor, and you will drive Patricia back to her home to finish the mission.
This finishes Monkey Business in GTA V.
For all other Missions refer to GTA V Walkthrough.
This walkthrough has been updated for the Enhanced Version on PC / PS5 / PS4 / Xbox Series S/X and is also still applicable to the Legacy version.
Leave a Reply