PowerPyx.com

PowerPyx

  • Trophy Guides
  • Game Guides
  • Wikis
  • Trophy Lists
  • Next Guides
  • Contact
Show SearchHide Search
Home » Game Guides » GTA V » GTA V Hood Safari Gold Medal Walkthrough

GTA V Hood Safari Gold Medal Walkthrough

August 1, 2026 by Jack McBastard Leave a Comment

Hood Safari is the 23rd main story mission in GTA V (Grand Theft Auto 5). This walkthrough shows how to get all Gold Medals in Hood Safari for 100% completion.

Gold Medal Requirements:

  • Mission Time: Complete within 07:00
  • Accuracy: Finish with a shooting accuracy of 70%
  • Headshots: Kill 12 enemies with headshots

Walkthrough Video

Starting Location: Hood Safari

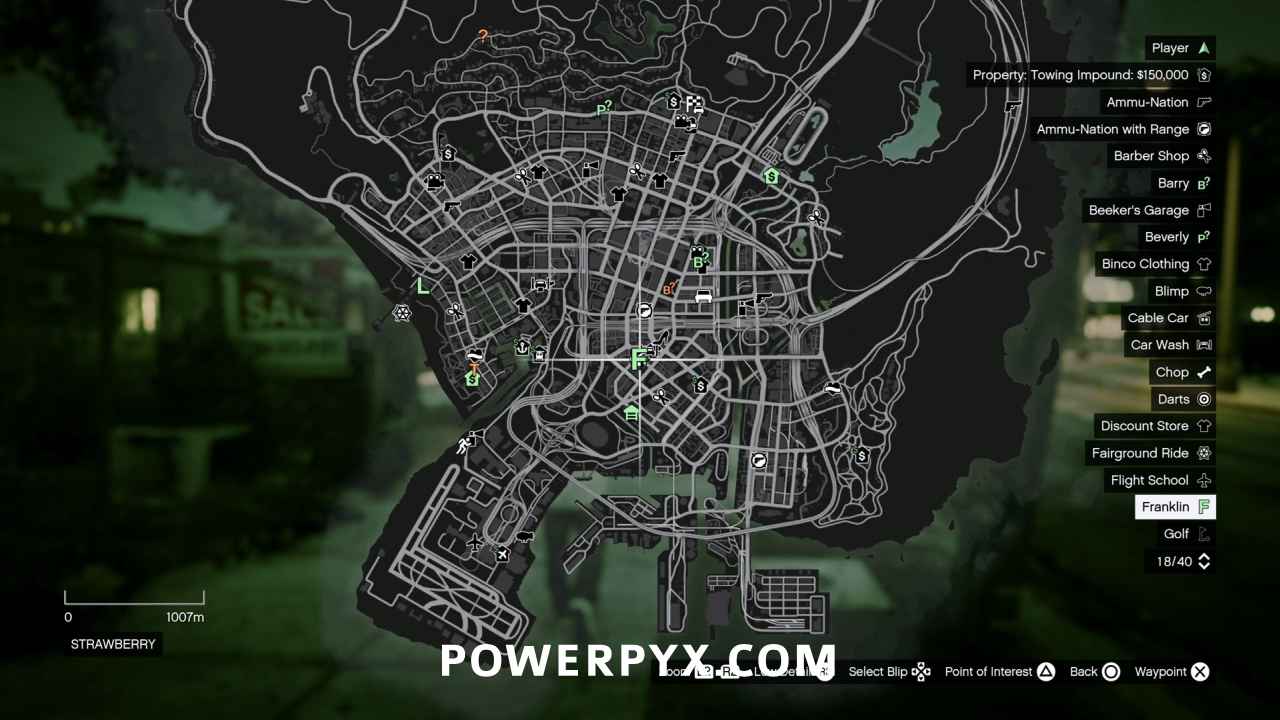
  • Location: Strawberry / Forum Drive / Franklin’s House
  • Quest Giver: Lamar
  • Requirement: Complete “Three’s Company“
  • Can Be Started By: Franklin, Trevor

Go to Grove Street

You’re working against the clock, so skip the cutscenes!

  • Mission Time: Complete within 07:00

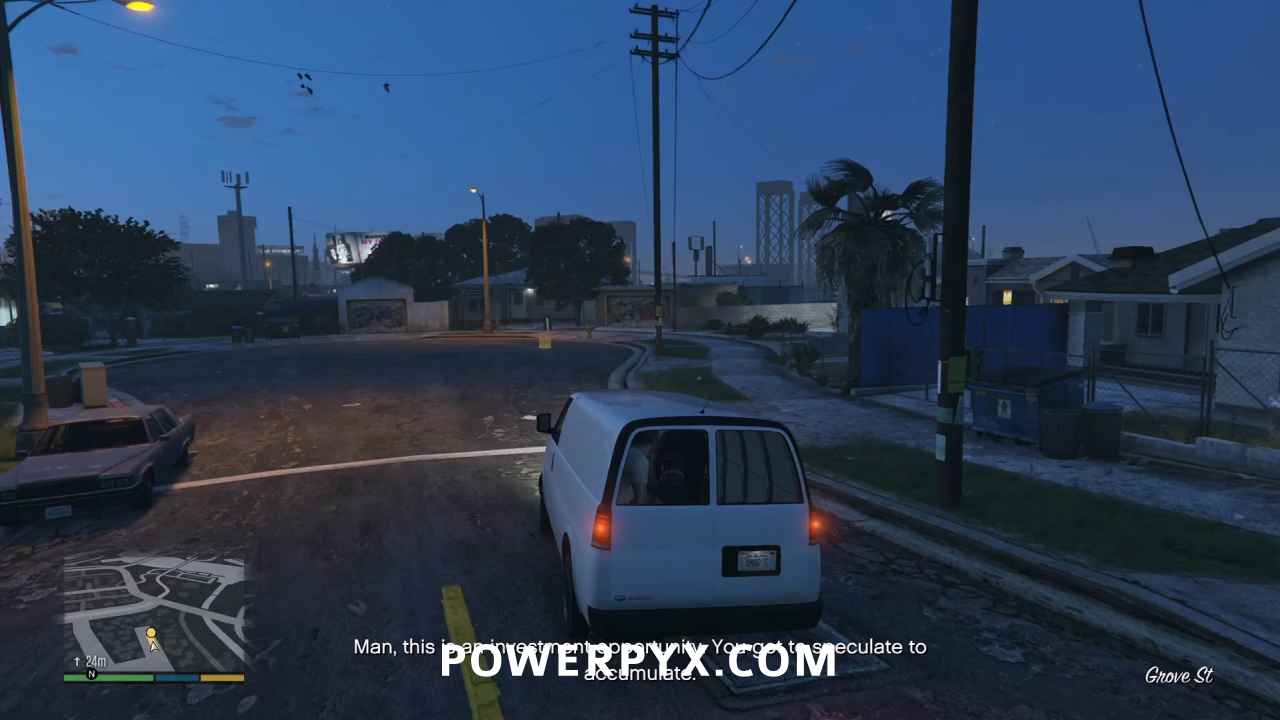
Well Lamar has another brilliant plan to get rich, and this time Stretch set up the deal so what could go wrong? Somehow, bringing Trevor along is the least problematic thing about this setup. Head to the objective marker and park.
Go to the House

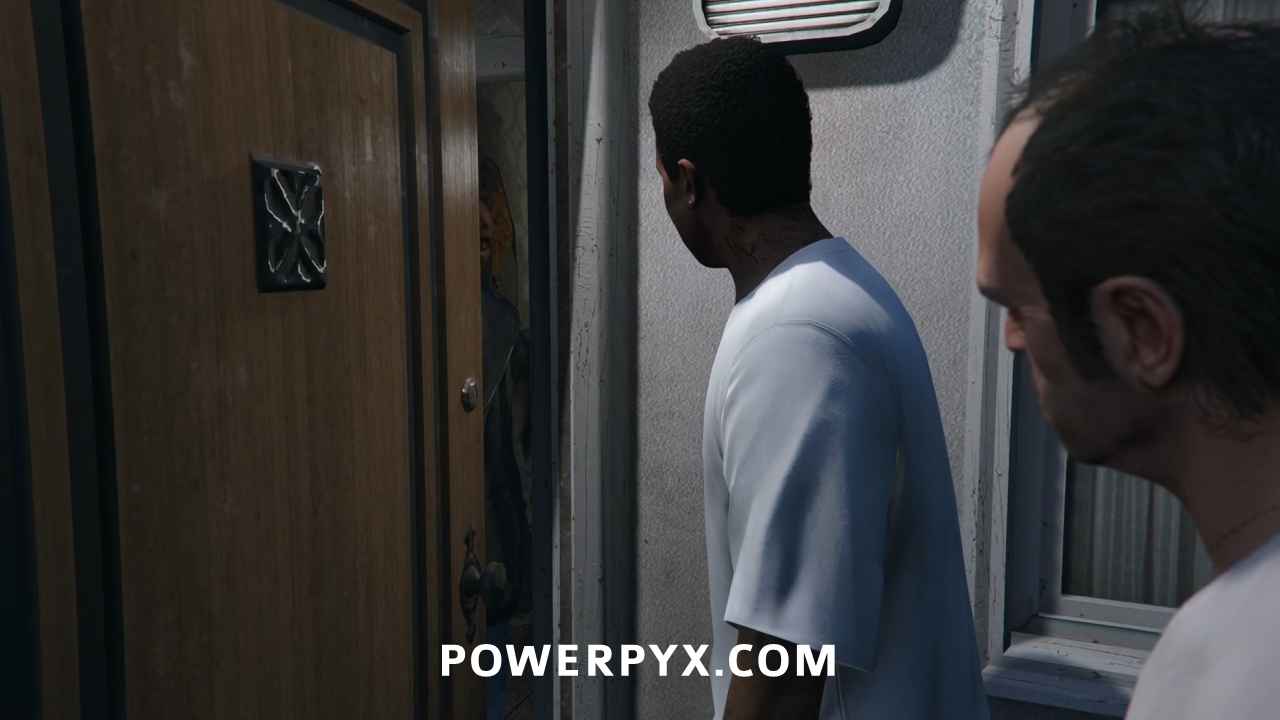
Head to the house with Lamar and Trevor, and see the sketchiest drug dealer meet his match in Trevor. Skip the cinematic.
Escape From Grove Street

Surprising no one, the deal has gone sideways and now you have to deal with heavily armed Ballas everywhere. Meanwhile Chop wisely opts out of this fiasco and runs. Switch to Trevor, and remember the Gold Medal requirements:

  • Accuracy: Finish with a shooting accuracy of 70%
  • Headshots: Kill 12 enemies with headshots

Immediately you have four Balla goons shooting at you, with two more driving up right away. As Trevor you can use a high damage, single shot weapon like the pump shotgun to headshot each gang member as you advance on them without having to worry about damage.
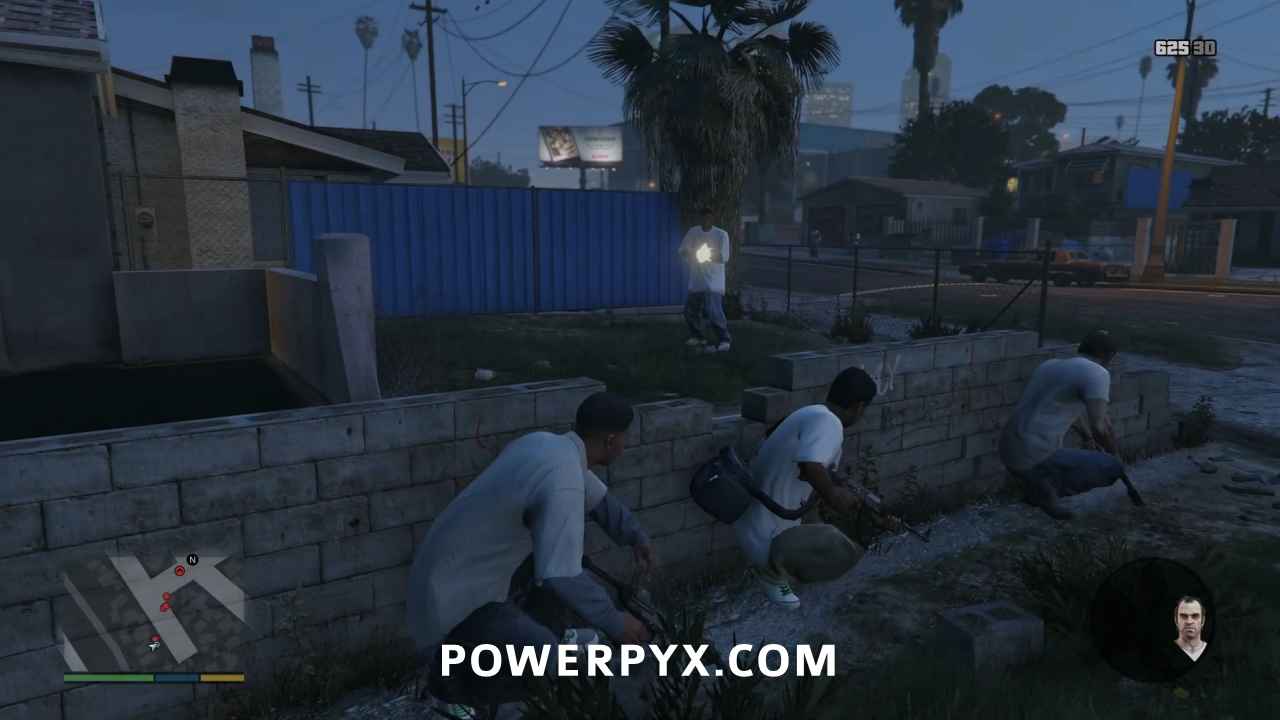

Moving up the street to the northwest, you’ll see three more Ballas on the left (southwest) and two more coming around the corner to the right (northeast). The key is to keep moving and shooting with Trevor so that his ability is constantly recharging while still running. Just make sure all the enemies are dead, so you don’t get overwhelmed.


The next wave will be two more Ballas on either side of the street and two more cars with two Ballas each. Keep moving and there will be enough kills popping up to keep the special ability meter full.


Moving past the cars will see four more spawn on the left and three on the right, with a hooptie on the right side emerging a short time later with three Ballas. Switch to Franklin if you ever see his portrait flashing, but switch back to Trevor once he’s dealt with the issue.


Next wave is three Ballas on the left, four on the right and another car with two more. At this point, depending on how far you’ve moved up the block, switch to an assault rifle if you are starting to see enemies spawn outside the effective range of the shotgun. Still only use single shots, to keep your accuracy up.


Follow Lamar

At about the time you’ve rendered Grove Street a Balla free zone, the LSPD will show up to play. Late to the party, as usual. Three units will respond, each with two cops, forming a roadblock at the end of the street and laying down some heavy fire. Get some headshots on them if you think you haven’t reached 12 yet, but otherwise follow Lamar down the alley towards the Los Santos River.

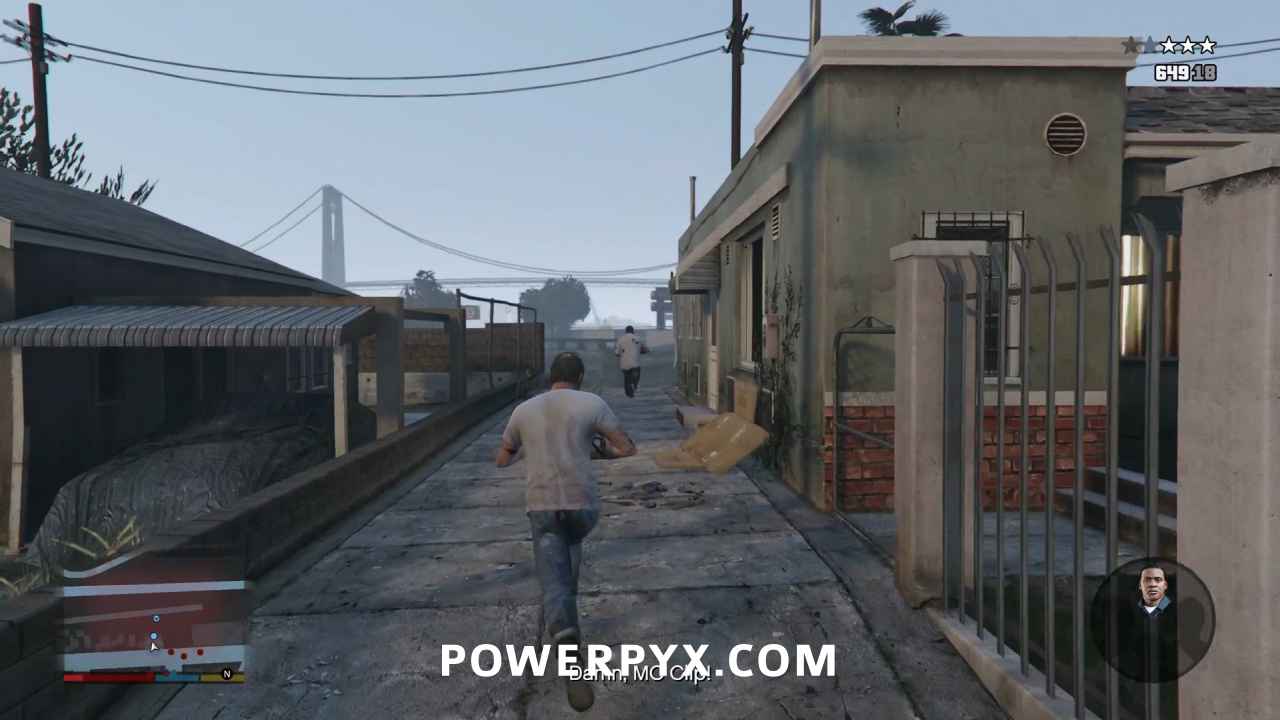
With the police in hot pursuit, Lamar interrupts MC Clip filming a rap video and you steal their three Seasharks to make your getaway.
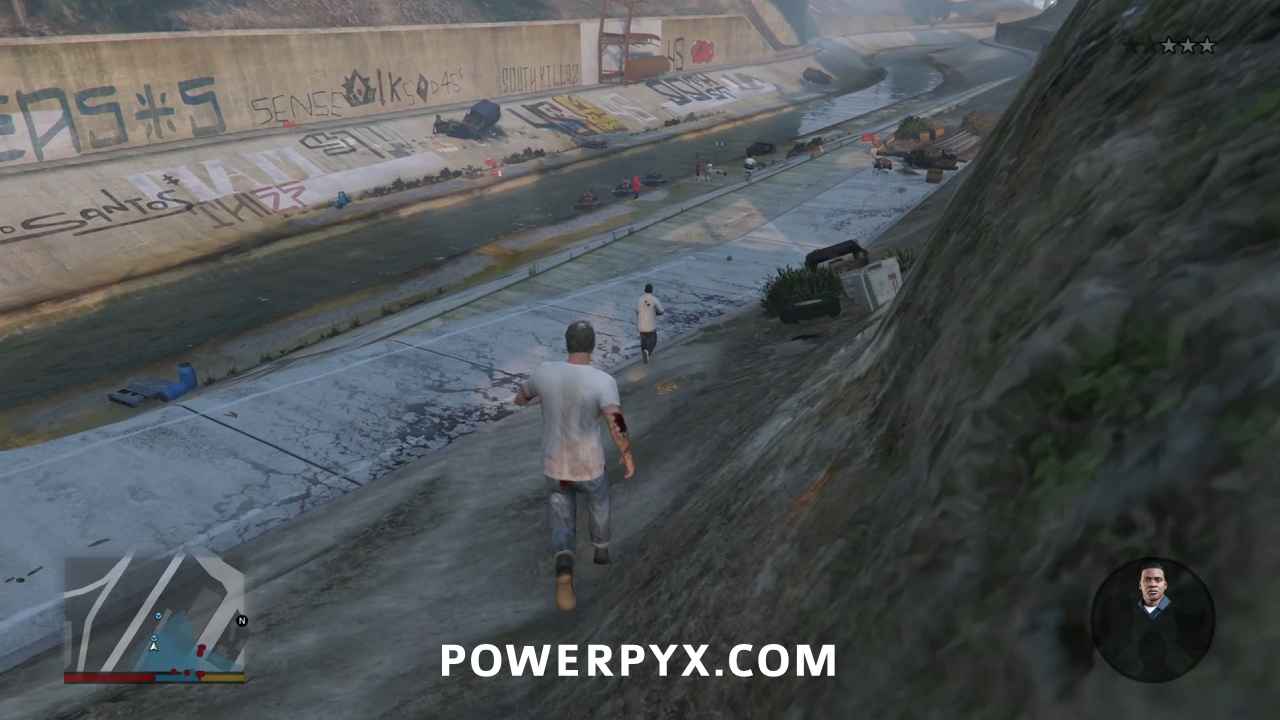

Lose the Cops

Follow Lamar down the river, ignoring the police firing at you. You could try to shoot them with your drive-by weapon but you run the risk of accidentally grounding you Seashark so it isn’t worth it. Once out of the river, keep following Lamar as he leads you on an evasive course under bridges and freeways to lose the air pursuit.


Eventually you’ll reach the harbor and Lamar suggests that you split up. You can either go with Lamar or Franklin to try and make your getaway, or you can divide their forces even more by going your own way. Head straight out to sea and you’ll leave the air units behind, with a little polite discouragement.
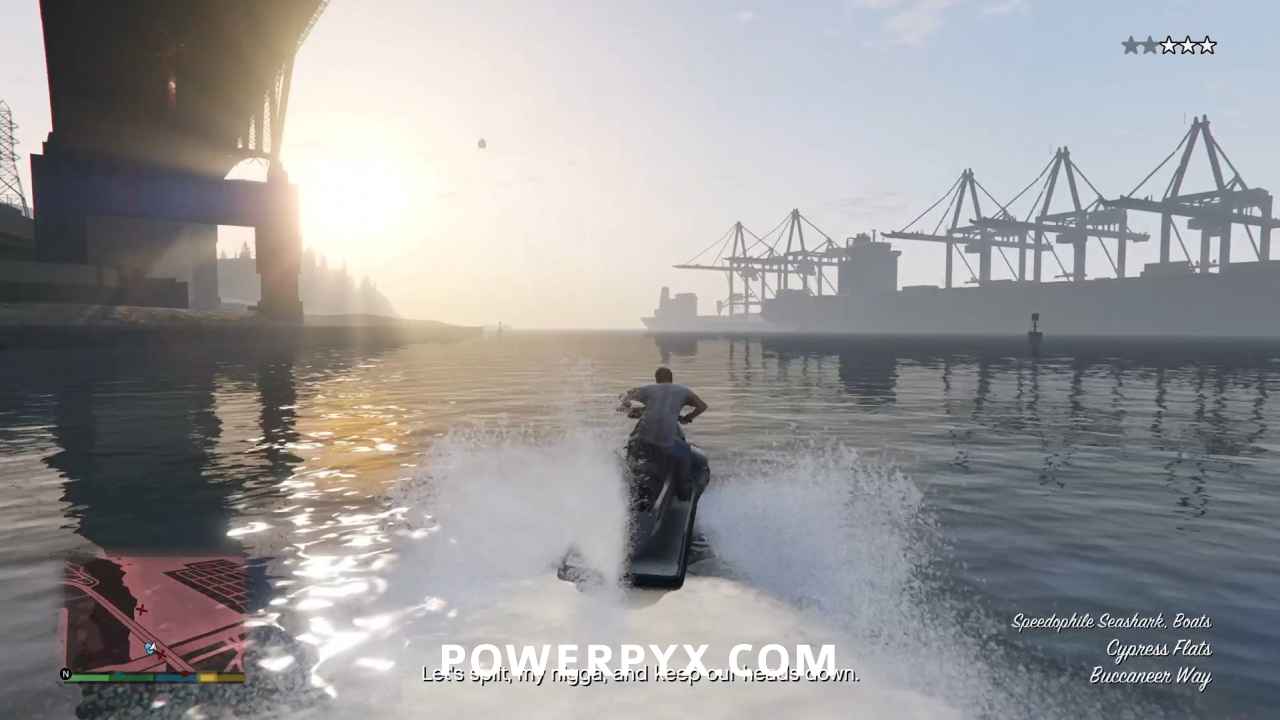

Move out past the port terminal and onto open water, avoiding the few LSPD boats that might appear. Once your wanted level dissapears, the mission will end.
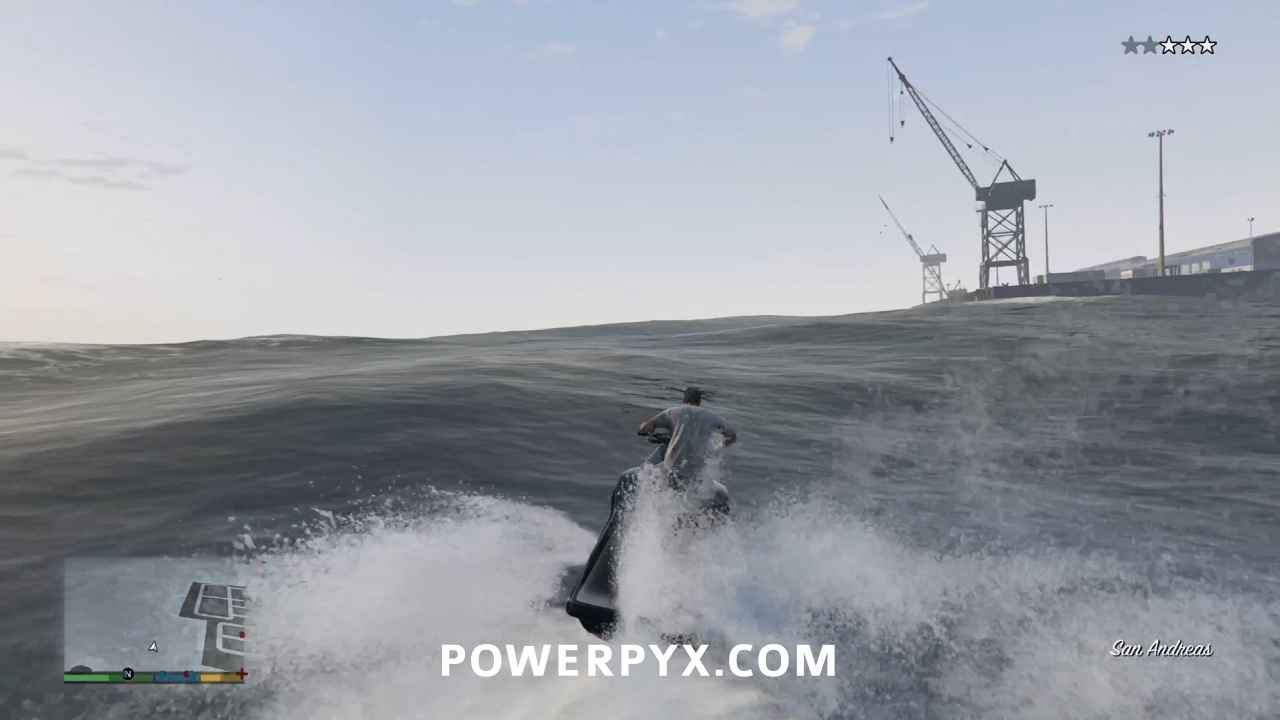
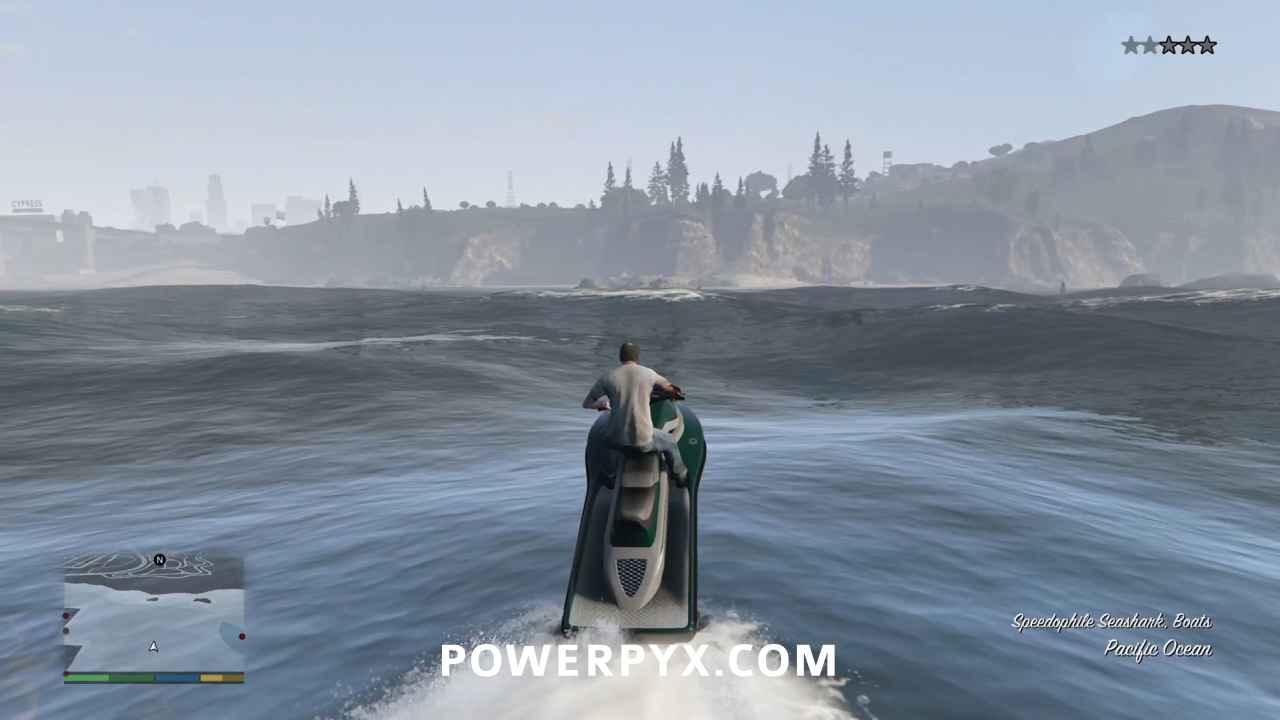
This finishes Hood Safari in GTA V.

For all other Missions refer to GTA V Walkthrough.

This walkthrough has been updated for the Enhanced Version on PC / PS5 / PS4 / Xbox Series S/X and is also still applicable to the Legacy version.

« PrevGTA V By The Book Gold Medal WalkthroughNext »GTA V Did Somebody Say Yoga? Gold Medal Walkthrough
Share
Tweet
Shares 0

Filed Under: Game Guides, GTA V

Leave a Reply Cancel reply

Your email address will not be published. Required fields are marked *

Youtube 1,230,000Subscriber
Facebook 15,000Fans
Twitter 19,700Followers

Latest Trophy Guides

Halo Campaign Evolved Trophy Guide

Assassin’s Creed Black Flag Resynced Trophy Guide

UFC 6 Trophy Guide

007 First Light Trophy Guide

Pragmata Trophy Guide

Crimson Desert Trophy Guide

Resident Evil Requiem Trophy Guide

Ghost of Yotei Trophy Guide

Kingdom Come Deliverance 2 Trophy Guide

Red Dead Redemption 2 Trophy Guide

Latest Game Wikis

Assassin's Creed Black Flag Resynced Wiki

Crimson Desert Wiki

Resident Evil Requiem Wiki

Ghost of Yotei Wiki

Borderlands 4 Wiki

Kingdom Come Deliverance 2 Wiki

Elden Ring Wiki

Hogwarts Legacy Wiki

God of War Ragnarok Wiki

Cyberpunk 2077 Wiki

Red Dead Redemption 2 Wiki

GTA V Wiki

Recent Posts

  • GTA V Trophy Guide & Roadmap
  • GTA V 100% Completion Checklist & Guide
  • GTA V Gold Medals Walkthrough – All Missions
  • GTA V Collectibles Guide – All Collectible Locations
  • GTA V All Monster Stunt Jump Locations

GTA V Wiki

  • Wiki
  • Story Missions
    • Prologue
    • Franklin and Lamar
    • Repossession
    • Complications
    • Chop
    • Father/Son
    • Marriage Counseling
    • Daddy’s Little Girl
    • Friend Request
    • The Long Stretch
    • Casing the Jewel Store
    • Bugstars Equipment
    • BZ Gas Grenades
    • Carbine Rifles
    • The Jewel Store Job (Smart Approach)
    • The Jewel Store Job (Loud Approach)
    • Mr. Philips
    • Trevor Philips Industries
    • Nervous Ron
    • Crystal Maze
    • Friends Reunited
    • Fame or Shame
    • Dead Man Walking
    • Three’s Company
    • By the Book
    • Hood Safari
    • Did Somebody Say Yoga?
    • Scouting the Port
    • Minisub (Freighter Approach)
    • Cargobob (Off-Shore Approach)
    • The Merryweather Heist (Freighter Approach)
    • The Merryweather Heist (Off-Shore Approach)
    • Boiler Suits
    • Trash Truck
    • Masks
    • Tow Truck
    • Getaway Vehicle (Blitz Play Vehicle)
    • Hotel Assassination
    • Blitz Play
    • I Fought The Law…
    • The Multi Target Assassination
    • The Vice Assassination
    • The Bus Assassination
    • The Construction Assassination
    • Eye in the Sky
    • Mr. Richards
    • Caida Libre
    • Deep Inside
    • Minor Turbulence
    • Paleto Score Setup
    • Predator
    • Military Hardware
    • The Paleto Score
    • Derailed
    • Monkey Business
    • Hang Ten
    • Surveying the Score
    • Bury the Hatchet
    • Pack Man
    • Fresh Meat
    • The Ballad of Rocco
    • Cleaning Out the Bureau
    • Architect’s Plans
    • Fire Truck
    • The Bureau Raid (Fire Crew Approach)
    • The Bureau Raid (Roof Entry Approach)
    • The Wrap Up
    • Reuniting the Family
    • Legal Trouble
    • Lamar Down
    • Meltdown
    • Planning the Score
    • Stingers
    • Driller
    • Sidetracked
    • Gaunlet: Pillbox Hill
    • Gauntlet: Rockford Hills
    • Gauntlet: Mission Row
    • The Big Score (Obvious Approach)
    • The Big Score (Subtle Approach)
    • Something Sensible
    • The Time’s Come
    • The Third Way
  • Side Missions (Strangers & Freaks)
    • Barry – Grass Roots Michael
    • Barry – Grass Roots Trevor
    • Barry – Grass Roots The Pickup
    • Barry – Grass Roots The Drag
    • Beverly – Paparazzo
    • Beverly – Paparazzo The Tape
    • Beverly – Paparazzo The Meltdown
    • Beverly – Paparazzo The Highness
    • Beverly – Paparazzo Reality Check
    • Cletus – Target Practice
    • Cletus – Fair Game
    • Dom – Risk Assessment
    • Dom – Liquidity Risk
    • Dom – Targeted Risk
    • Dom – Uncalculated Risk
    • Dreyfuss – A Starlet in Vinewood
    • Epsilon – Chasing The Truth
    • Epsilon – Delivering The Truth
    • Epsilon – Unknowing The Truth
    • Hao – Shift Work
    • Josh – Closing the Deal
    • Josh – Surreal Estate
    • Josh – Breach of Contract
    • Mary-Ann – Exercising Demons – Michael
    • Mary-Ann – Exercising Demons – Trevor
    • Mary-Ann – Exercising Demons – Franklin
    • Minute Men – The Civil Border Patrol
    • Minute Men – An American Welcome
    • Minute Men – Minute Man Blues
    • Nigel – Vinewood Souvenirs – Willy
    • Nigel – Vinewood Souvenirs – Tyler
    • Nigel – Vinewood Souvenirs – Kerry
    • Nigel – Vinewood Souvenirs – Mark
    • Nigel – Vinewood Souvenirs – Al Di Napoli
    • Nigel – Vinewood Souvenirs – The Last Act
    • Tonya – Pulling Favors
    • Tonya – Pulling Another Favor
    • Tonya – Pulling Favors Again
    • Tonya – Still Pulling Favors
    • Tonya – Pulling One Last Favor
  • 100% Checklist
  • Collectibles
  • Stunt Jumps
  • Letter Scraps
  • Spaceship Parts
  • Under the Bridge
  • Knife Flights
  • Nuclear Waste
  • Cheats
  • Trophy Guide
  • Terms of Service
  • Privacy Policy
  • Cookie Policy
  • YouTube
  • Facebook
  • Twitter

© 2008-2026 PowerPyx.com, all rights reserved.