
Scouting the Port is the 25th main story mission in GTA V (Grand Theft Auto 5). This walkthrough shows how to get all Gold Medals in Scouting the Port for 100% completion.
Gold Medal Requirements:
- Mission Time: Complete within 20:00
- Employee of the Month: Complete without damaging the containers
- Perfect Surveillance: Snap all 3 photographs of the boat as instructed
- An Honest Day’s Work: Complete without causing a disturbance at the docks
Walkthrough Video

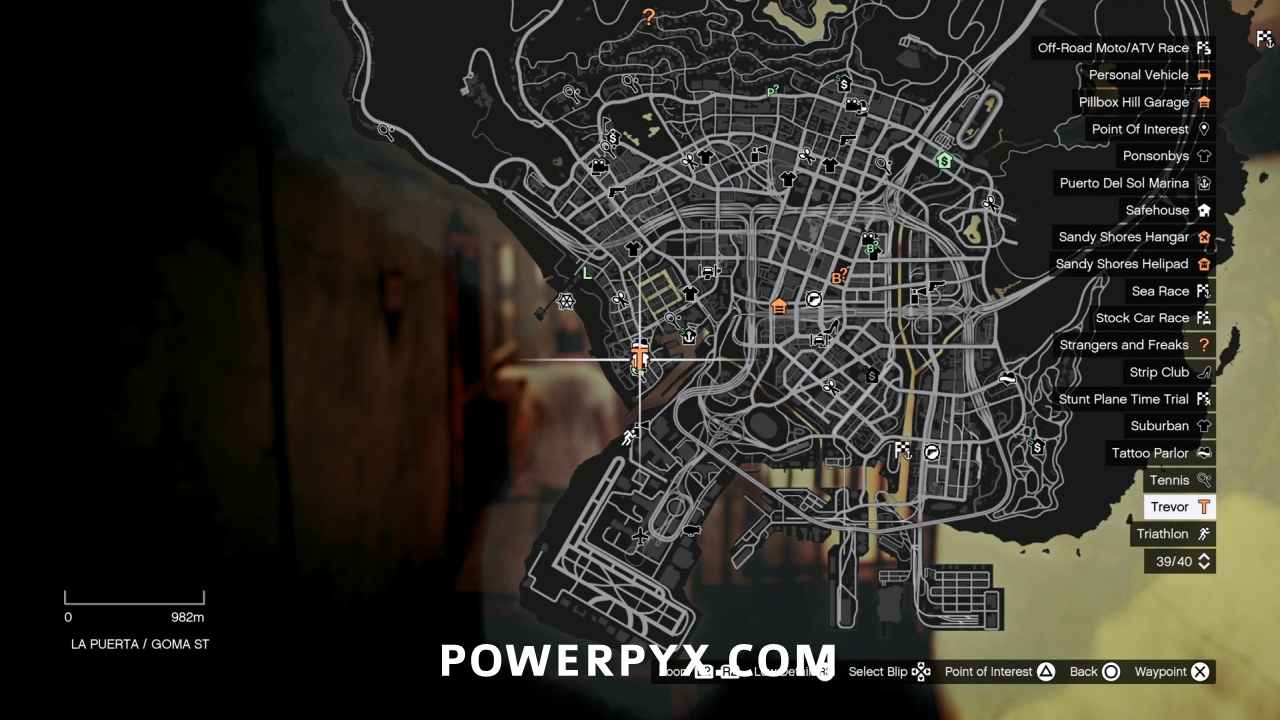
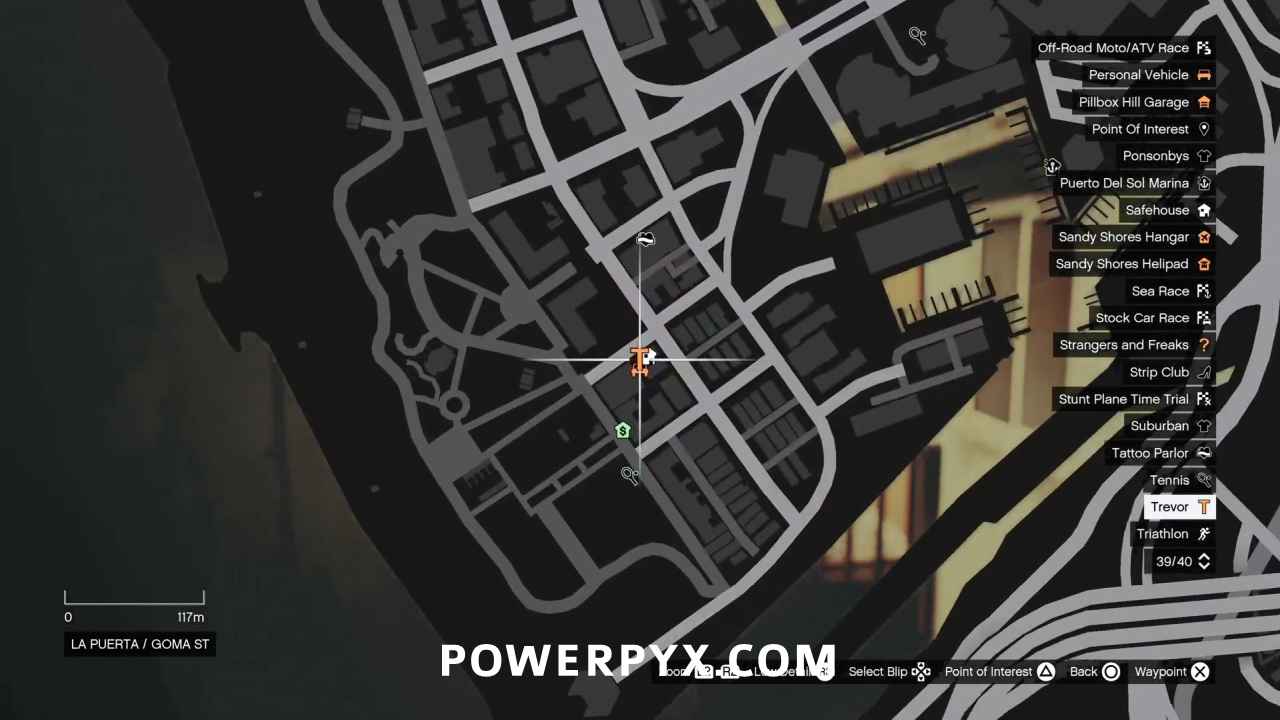
Starting Location: Scouting the Port
- Location: La Puerta / Goma St. / Floyd’s Condo
- Quest Giver: Floyd
- Requirement: Complete “Fame or Shame“
- Can Be Started By: Trevor
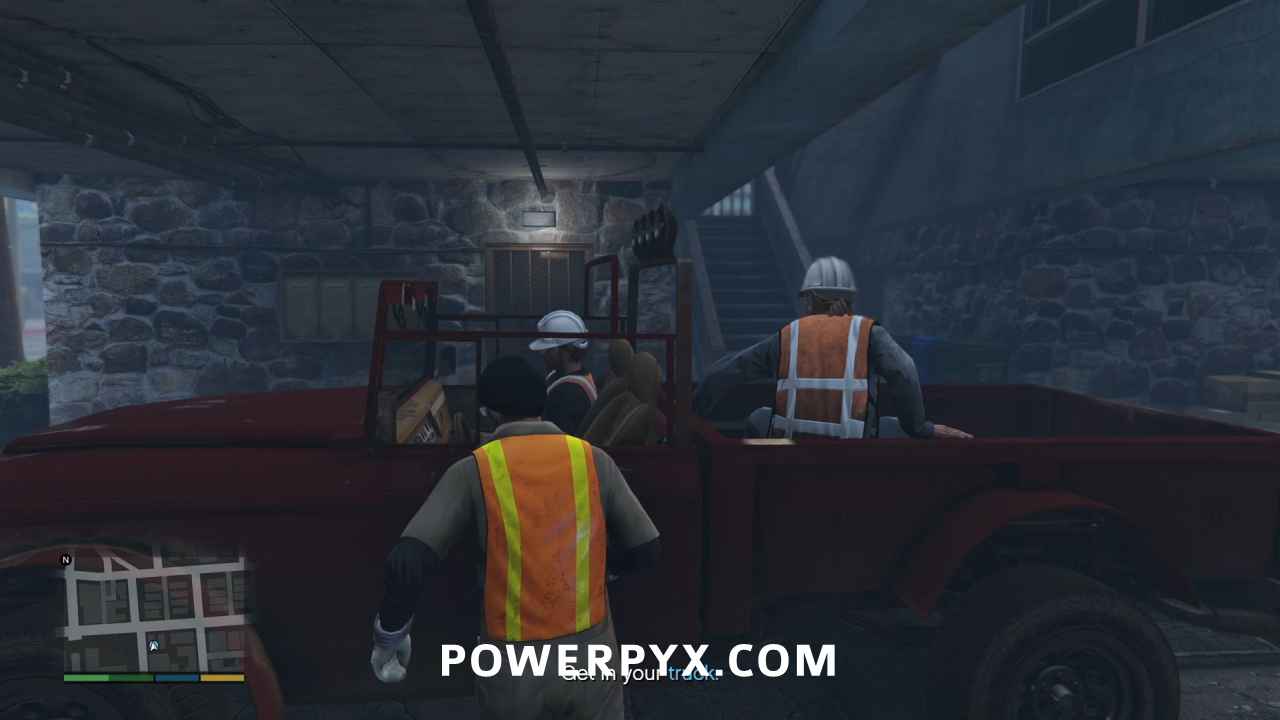
Get in your Truck
You’re working against the clock, so skip the cutscenes!
- Mission Time: Complete within 20:00
Poor spineless Floyd, getting caught up in Trevor’s wake.
Go to Pier 400
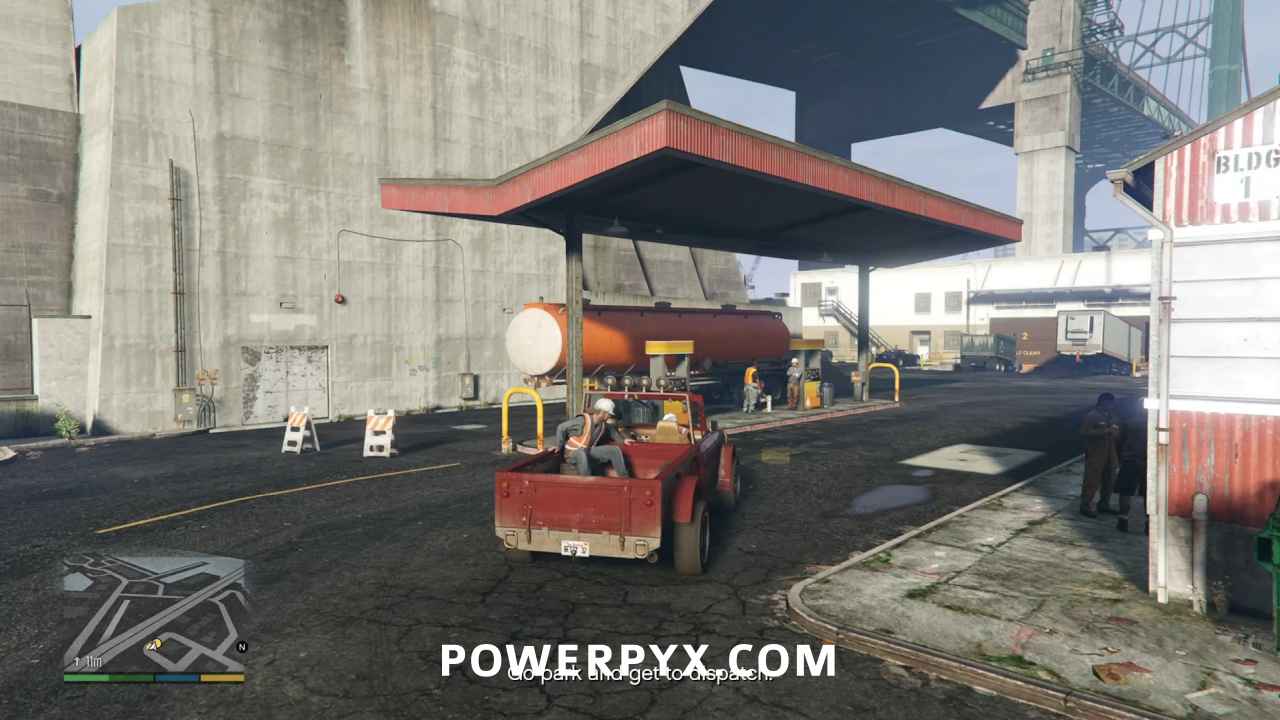
Looks like he’s going to help Trevor steal something, once he decides what it is. Apparently Merryweather has been active on the docks though, and that catches Trevor’s attention. Head to the objective marker and park next to dispatch, where Wade volunteers to help with waste cleanup while you do your recon.
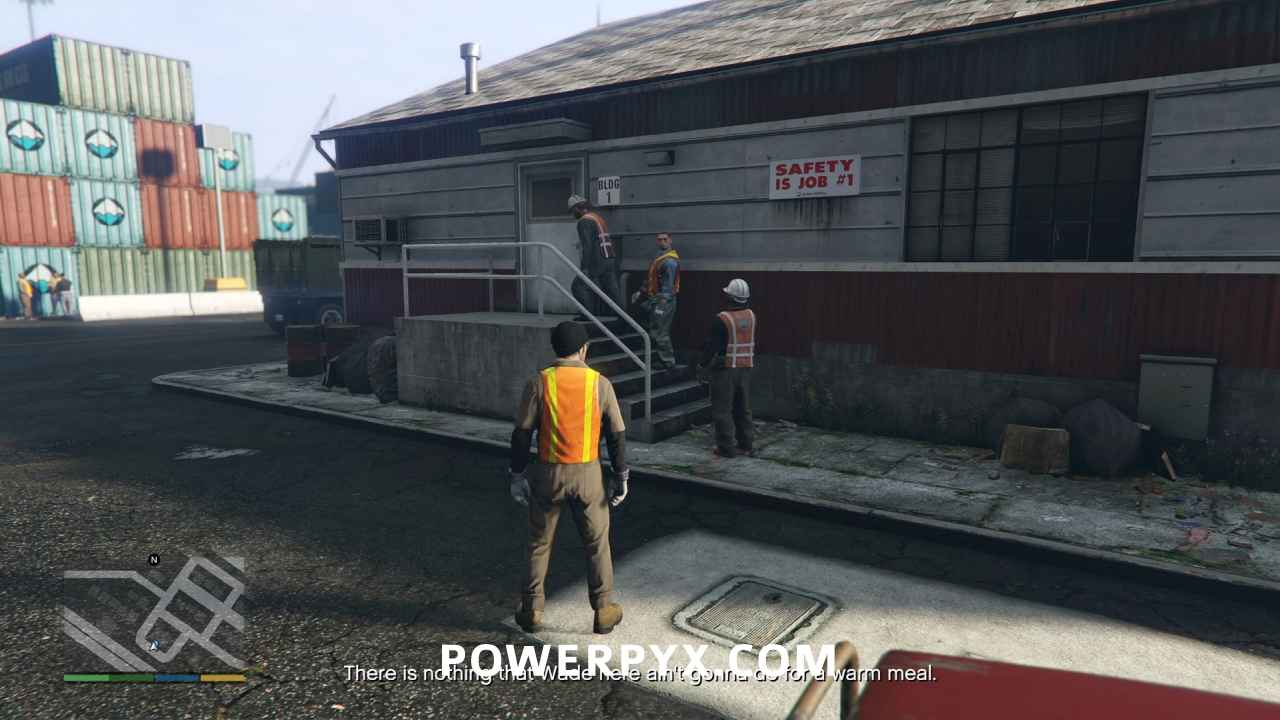
Follow Floyd
Blend in and follow Floyd into the stacks. While at the terminal don’t get too close to anyone, especially any Merryweather soldiers, to fulfill the next Gold Medal requirement:
- An Honest Day’s Work: Complete without causing a disturbance at the docks
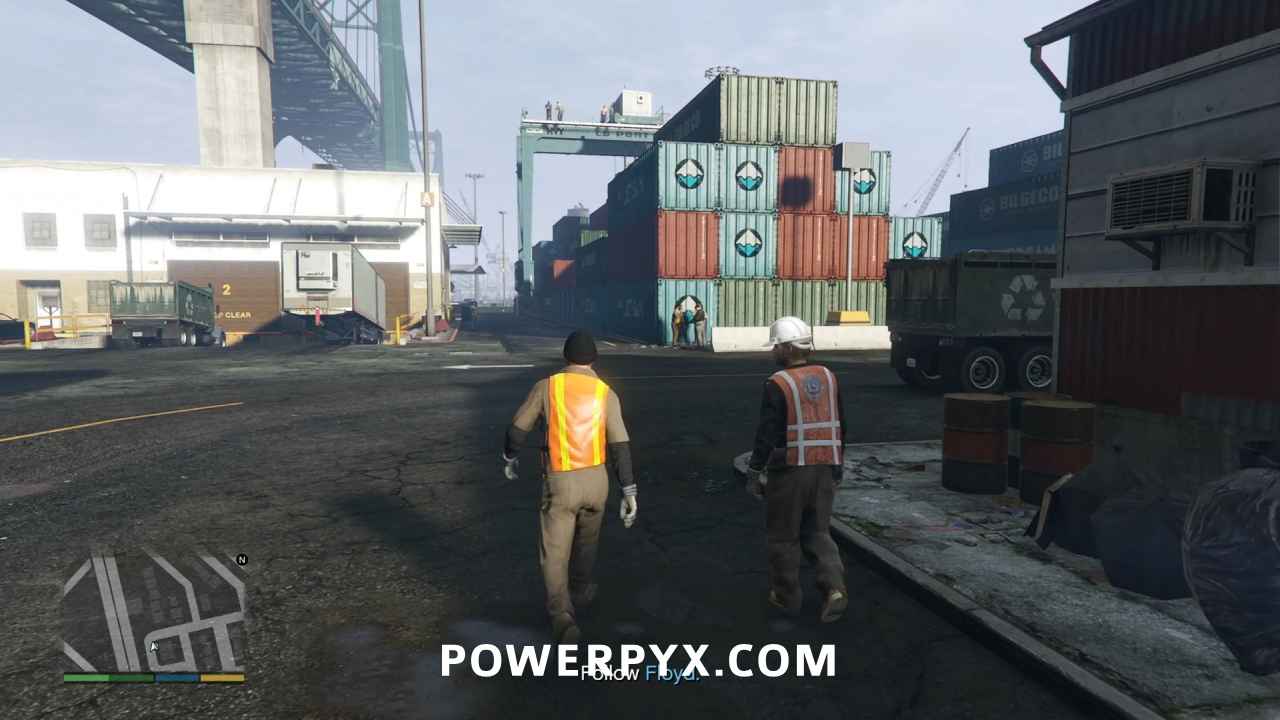
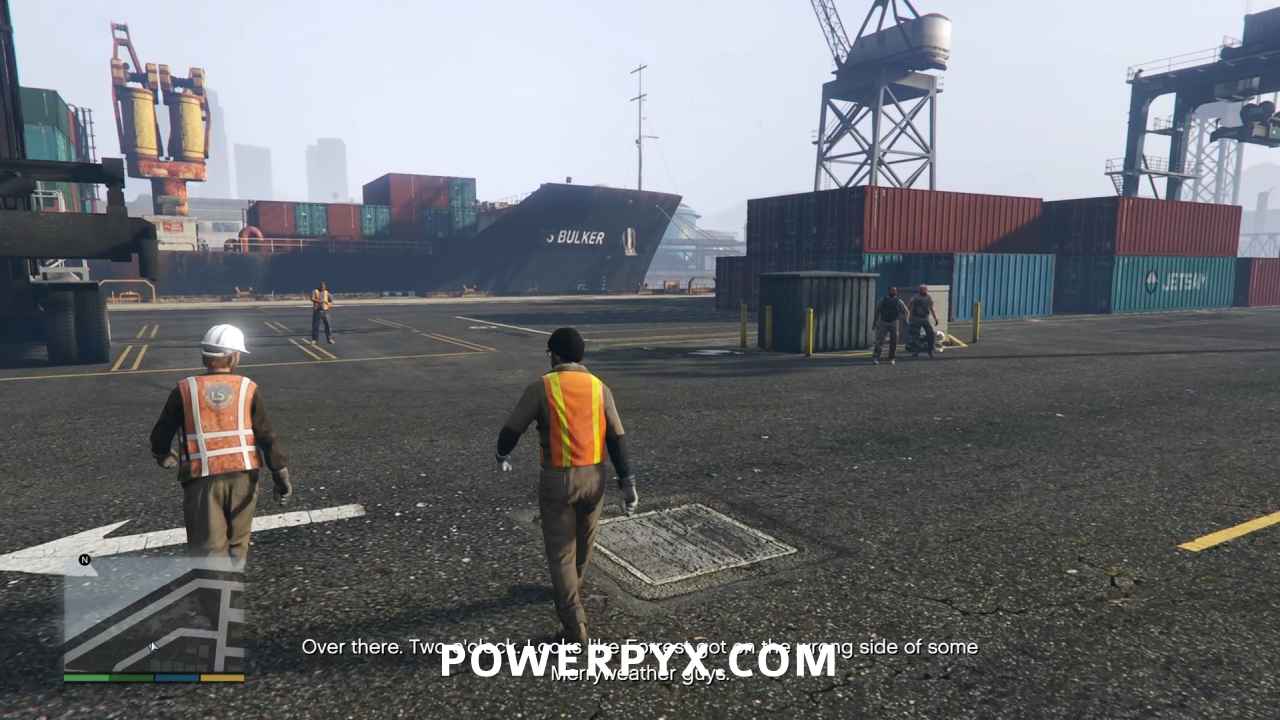
Get in the Handler
While on your walk, a supervisor orders Floyd and Trevor to get on the handler and move a couple of containers in a hurry. Trevor, being a union member in good standing, is happy to help.
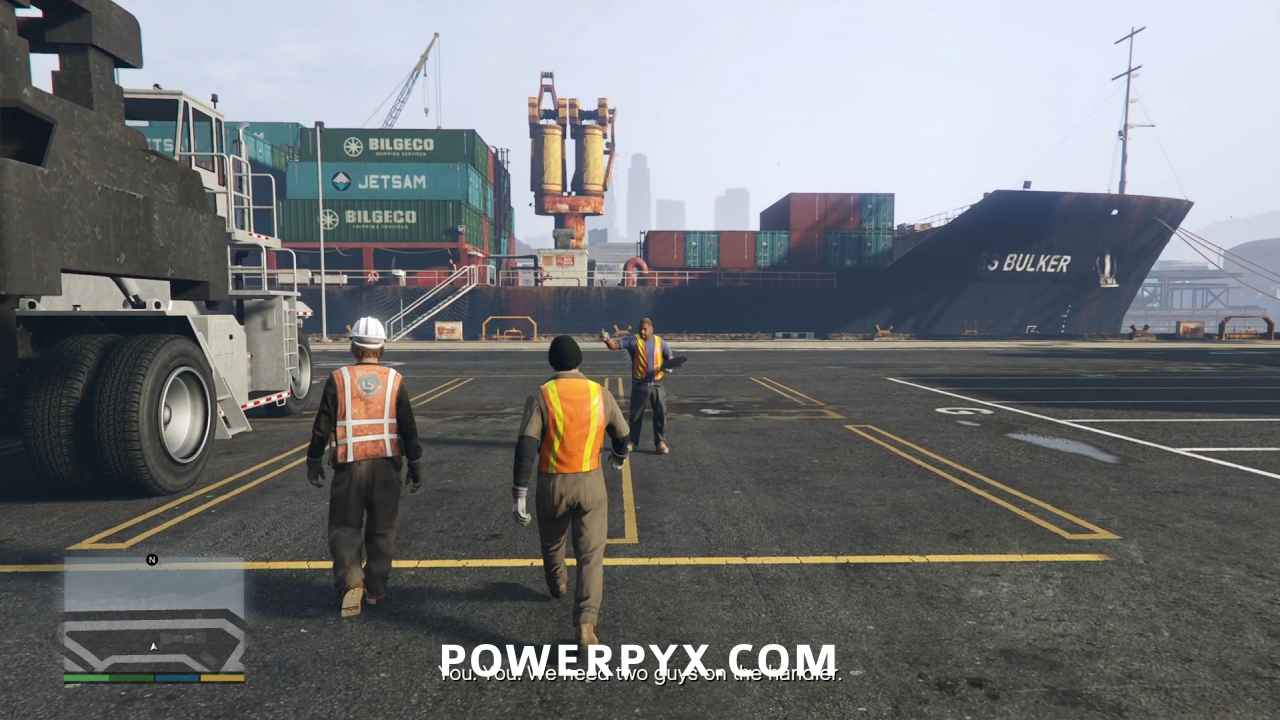
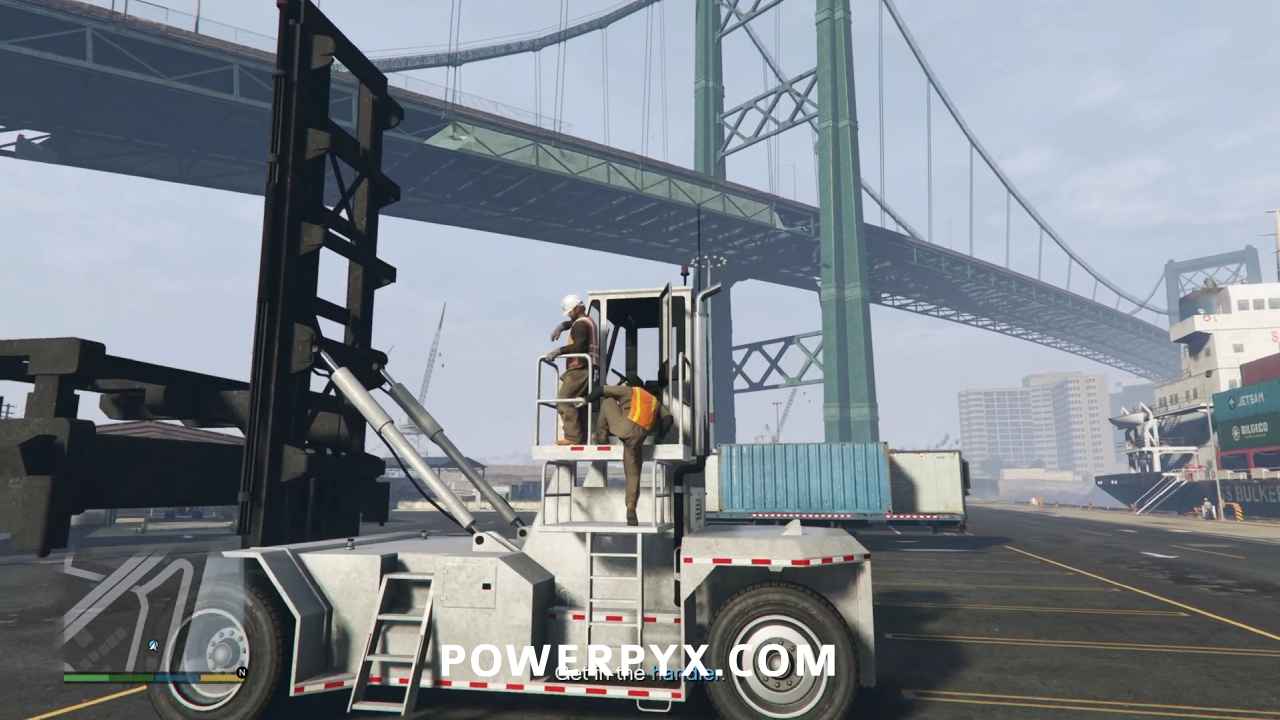
Move the Marked Containers to the Loading Area
Learn to use the container handler quickly, because your performance affects the next Gold Medal requirement:
- Employee of the Month: Complete without damaging the containers
Maneuvering the handler you’ll see it handles kind of like a large forklift, with turns pivoting around the front wheels rather than the back. Use  and
and  to raise and lower the spreader. Make sure that you’ve raised the spreader high enough to not impact the top of the container when you move into position. Also approach slowly, so you don’t ram it accidentally. Once you’re in position, press
  /
/  to pick up the container, then lift the spreader so the crate is off the ground.
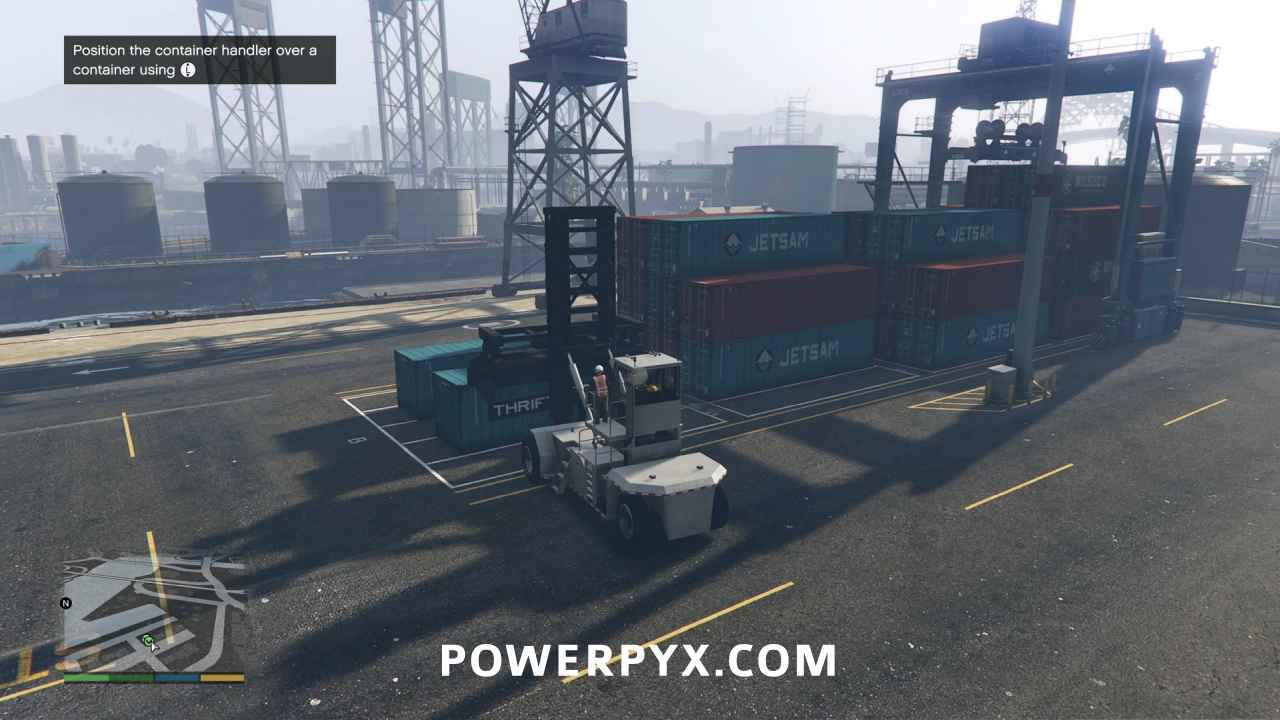
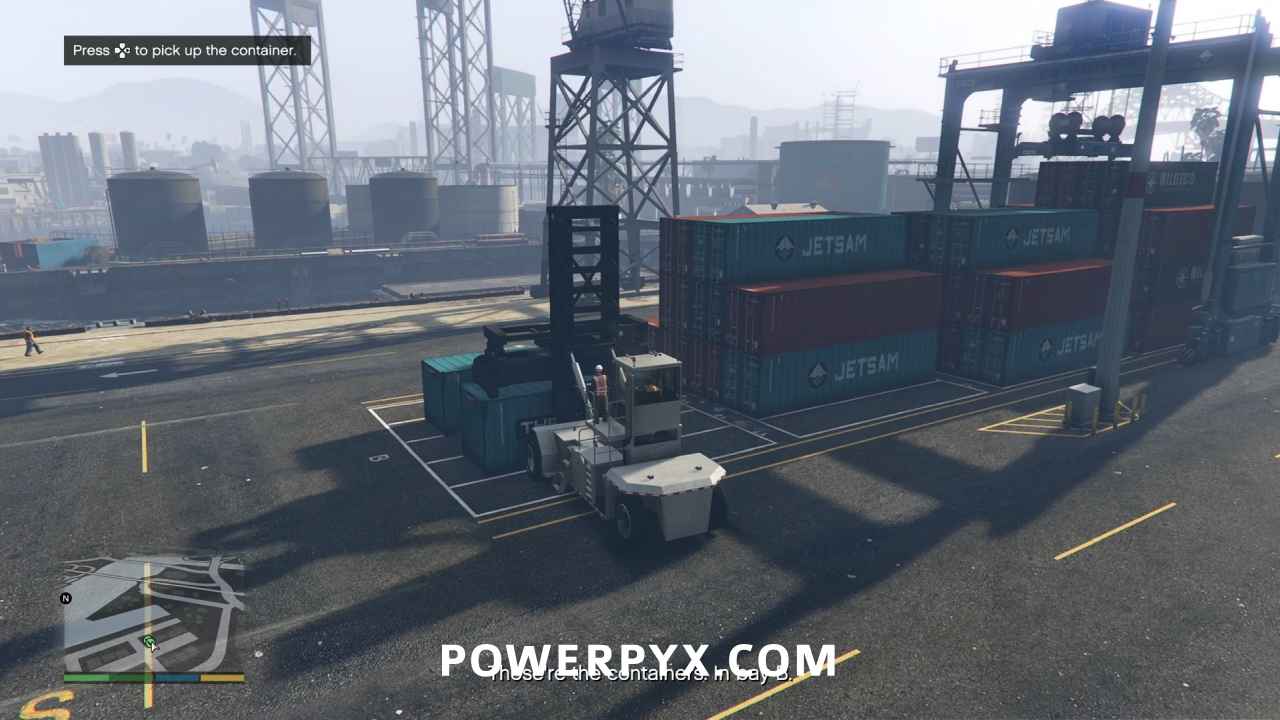
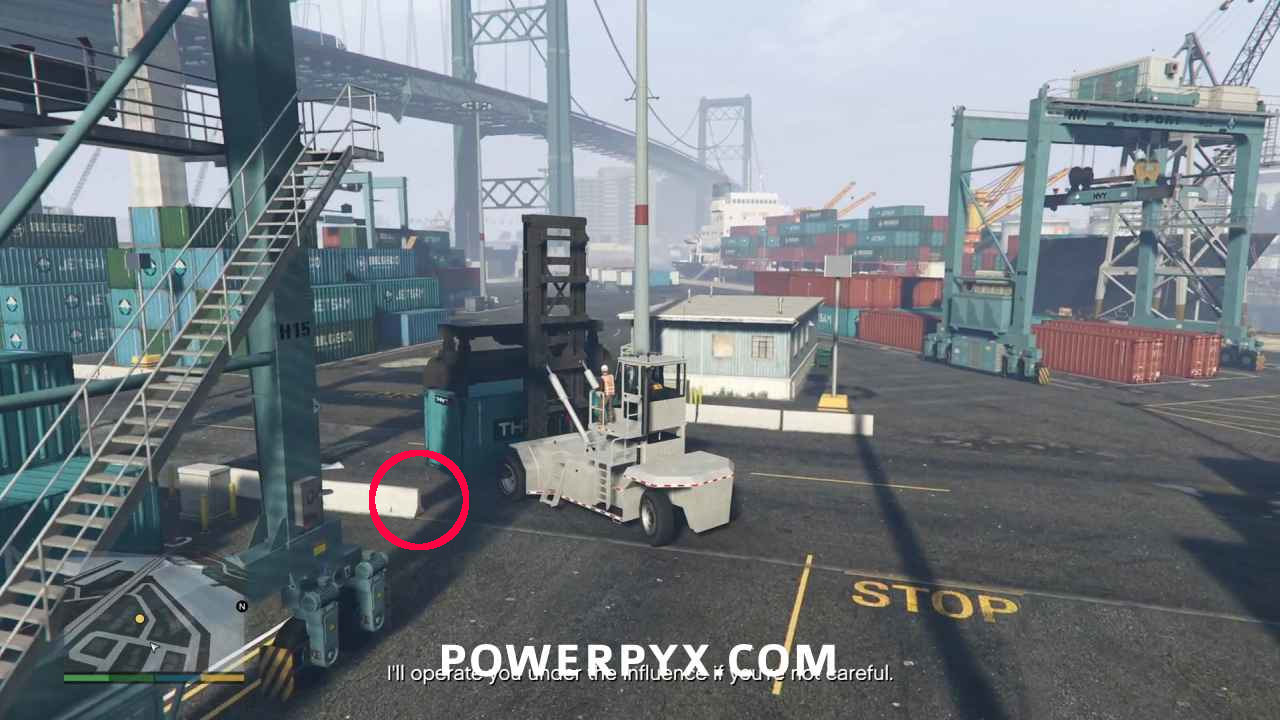
On the way to Bay F, make sure the corners of the container don’t clip the yellow safety poles or the concrete barricades on the edges of the lanes.
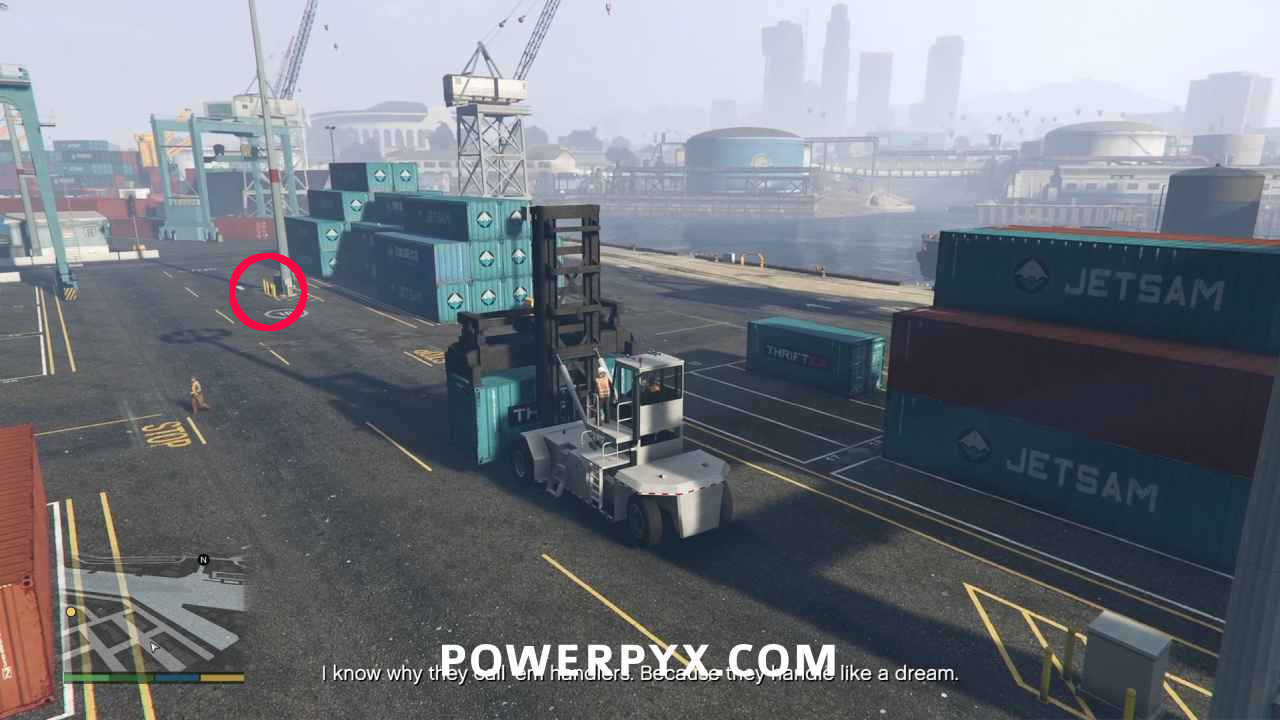
Set the Container in the Loading Area
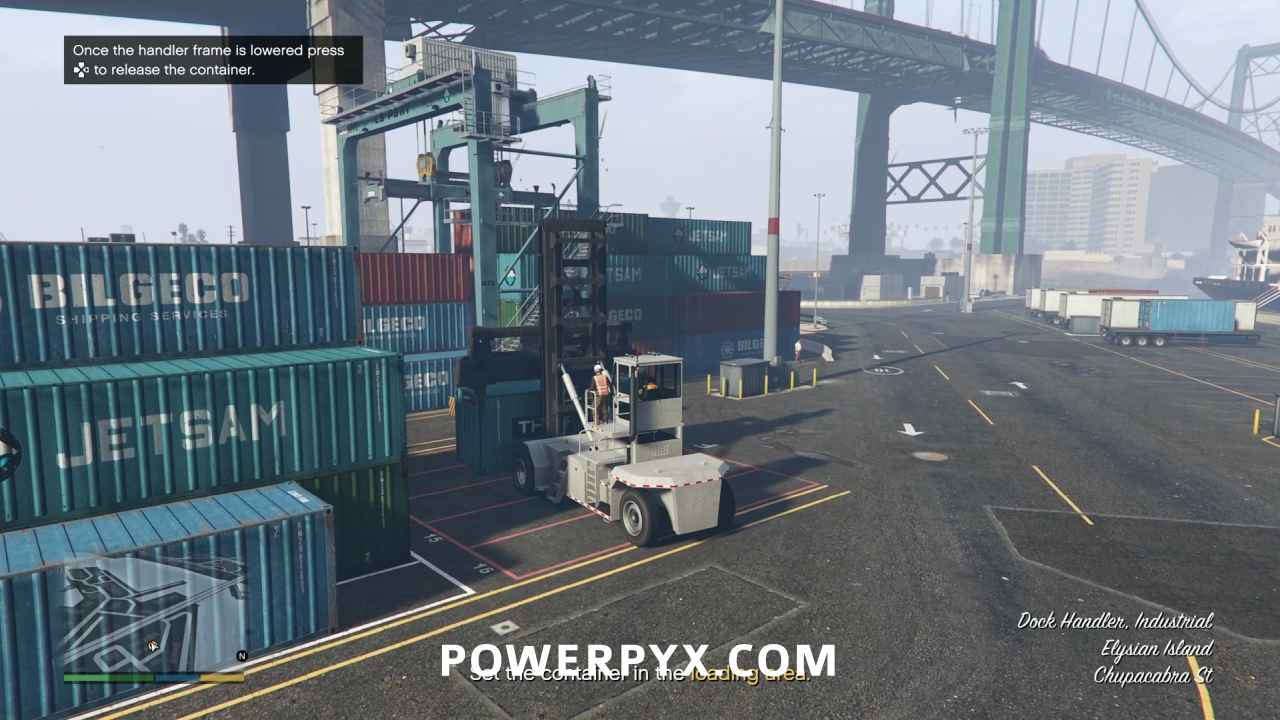
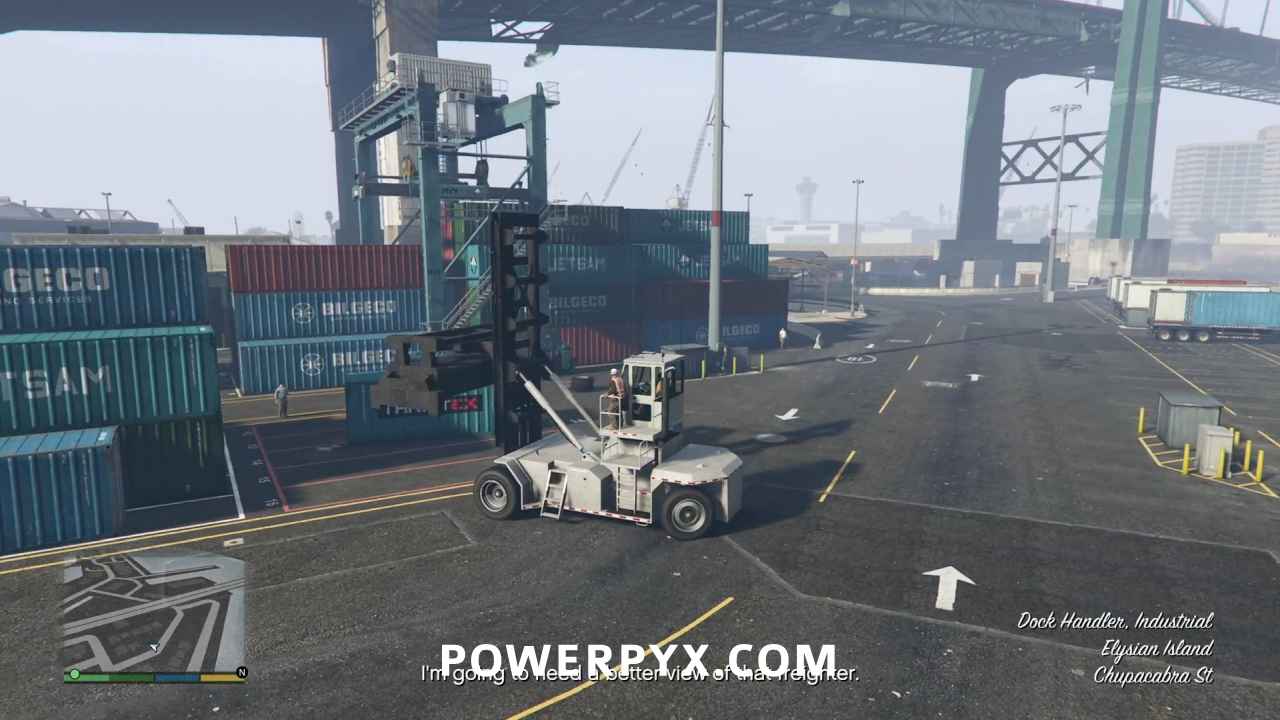
Once you reach Bay F, maneuver the container to near the back of the area, lower it with till it’s near the ground, then press to release it. It doesn’t need to line up with the painted lines as long as it’s inside the area, and far enough back that you can drop the second container without difficulty. Repeat the process for the second container.
Climb the Crane to Reach the Cabin
Time for Trevor to get to higher ground to get some shots of the Merryweather ship. Head to the ladder at the objective marker, then climb the stairs up, then two more ladders until you’re on top of the gantry where another supervisor will insist that you get in the crane and load some containers for him.
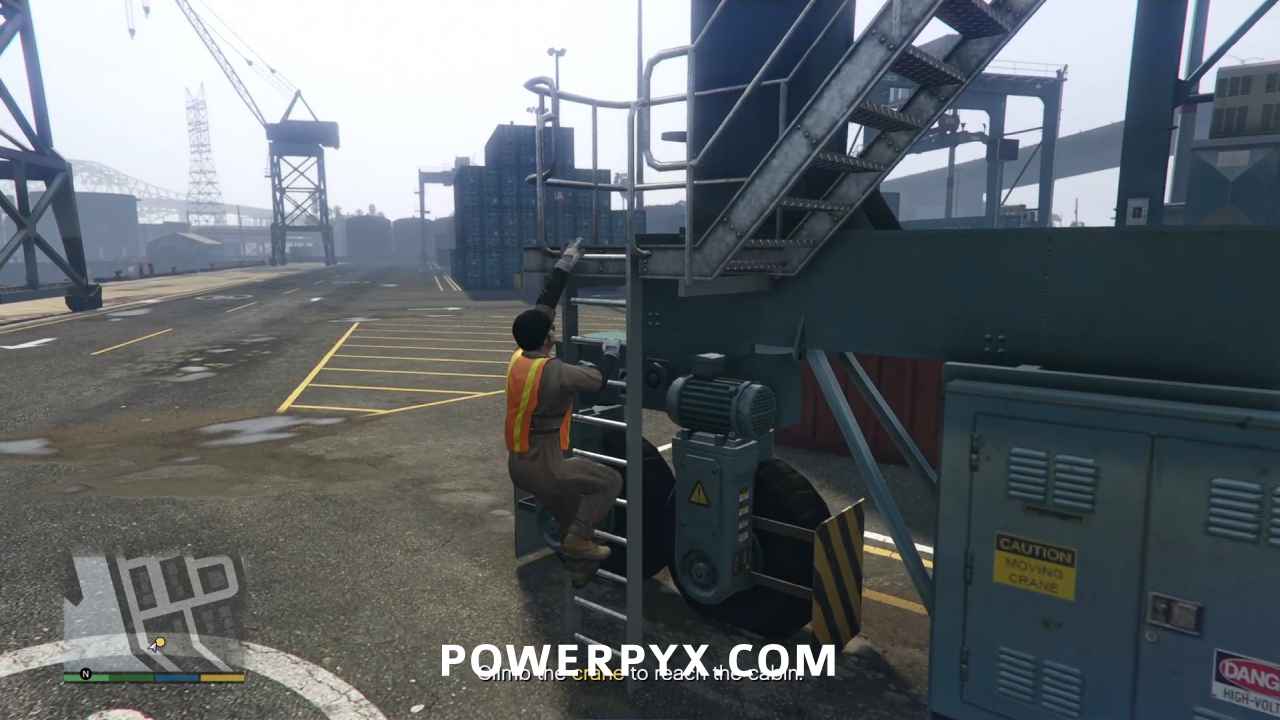
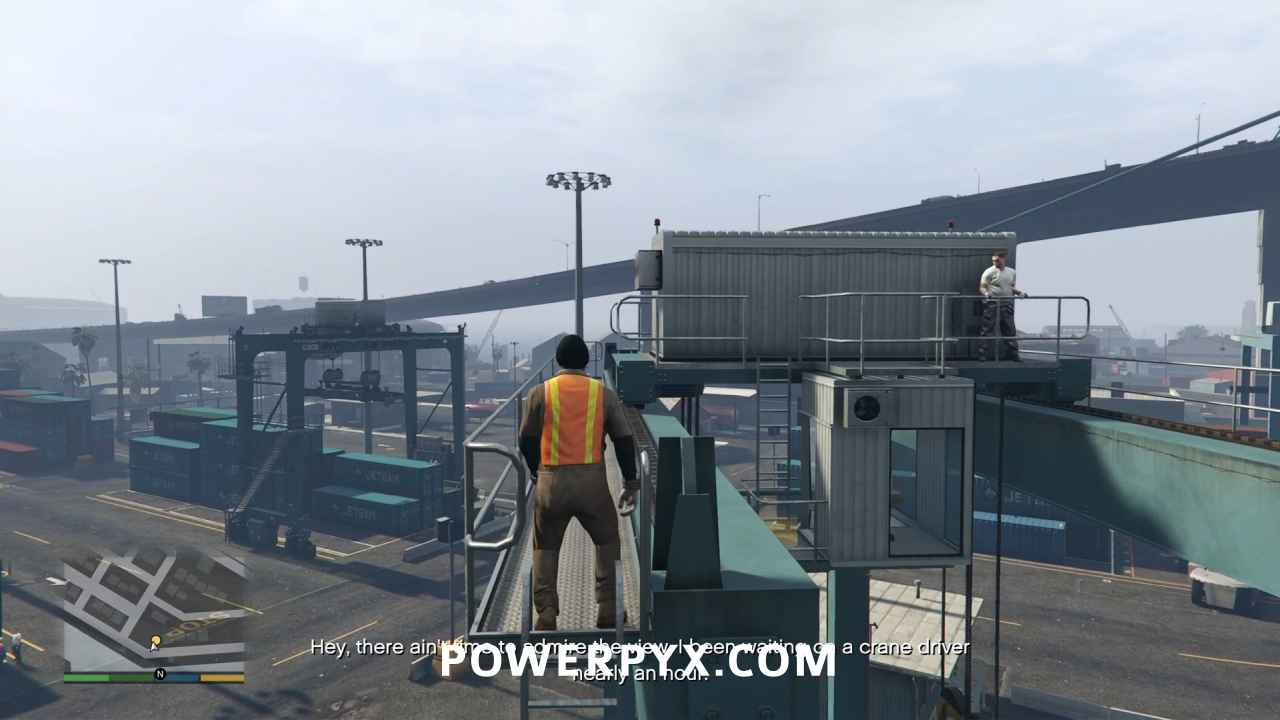
Climb down into the cabin and get ready for some more untrained labor.
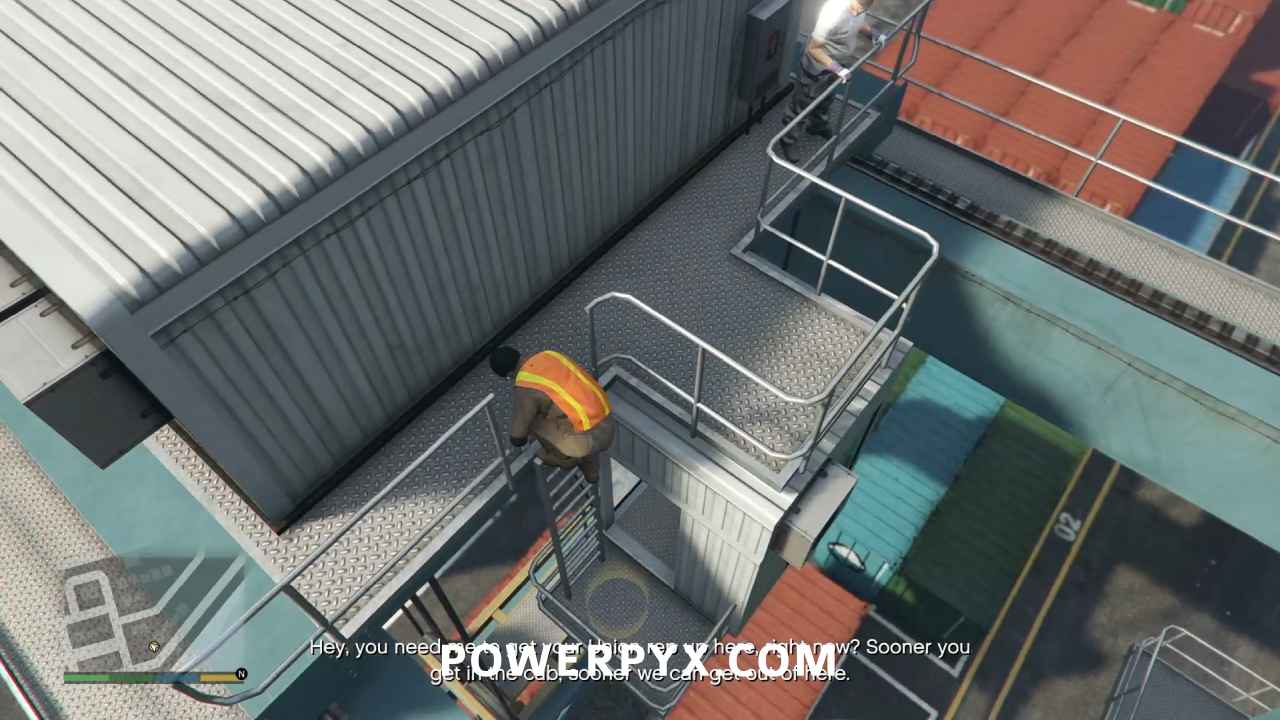
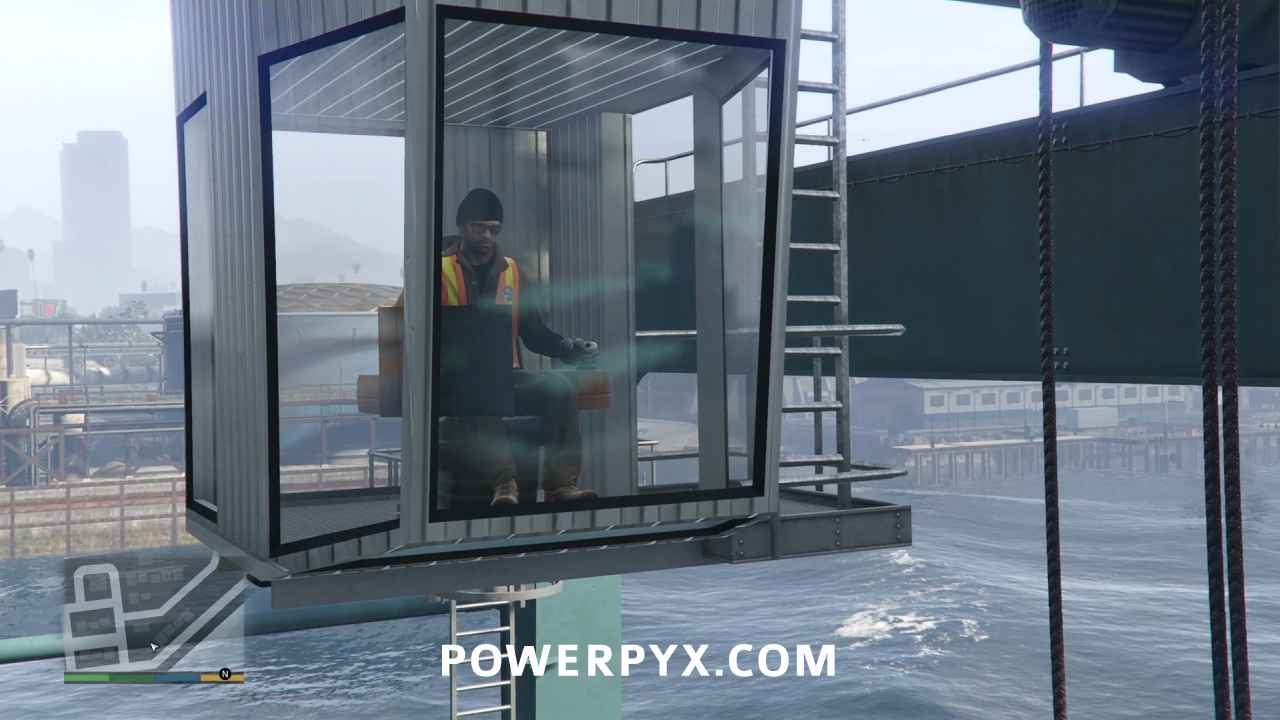
Load the Containers onto the Trucks
Hit  /
/  to change to an overhead view,
  and
and  to move the cabin horizontally, and to raise and lower the spreader, and then when you’re in position press / to grab the container.
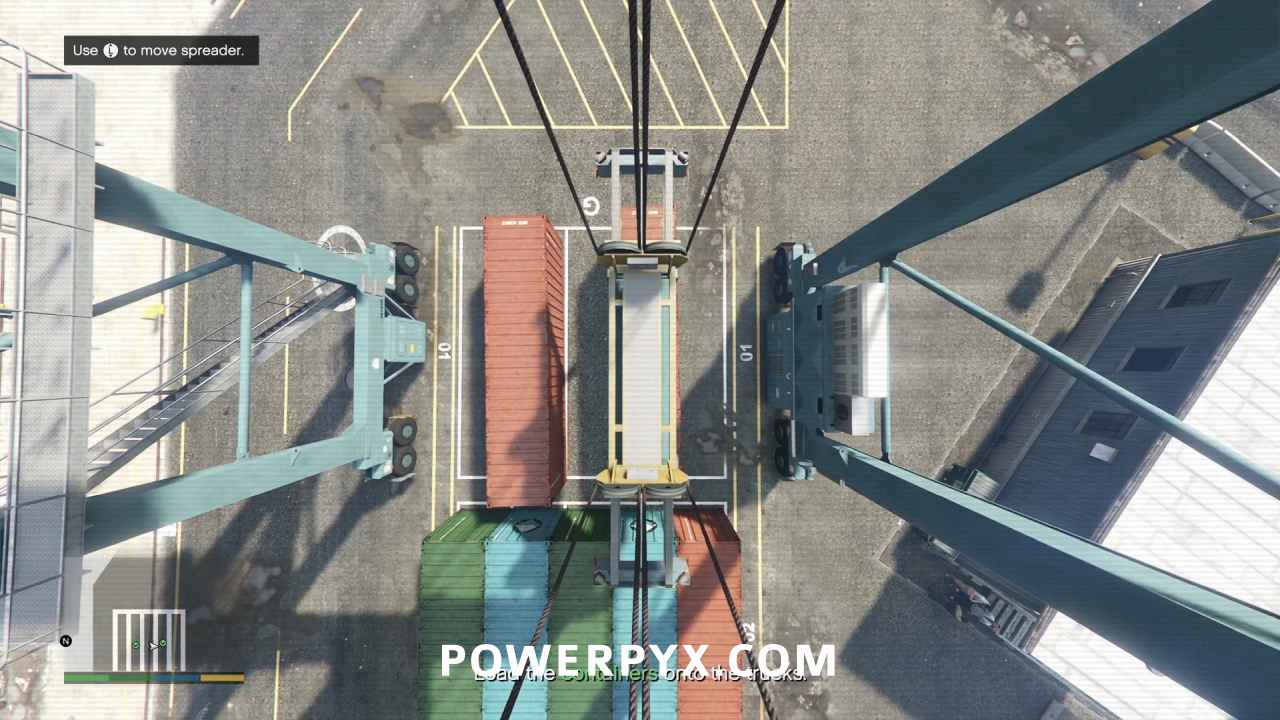
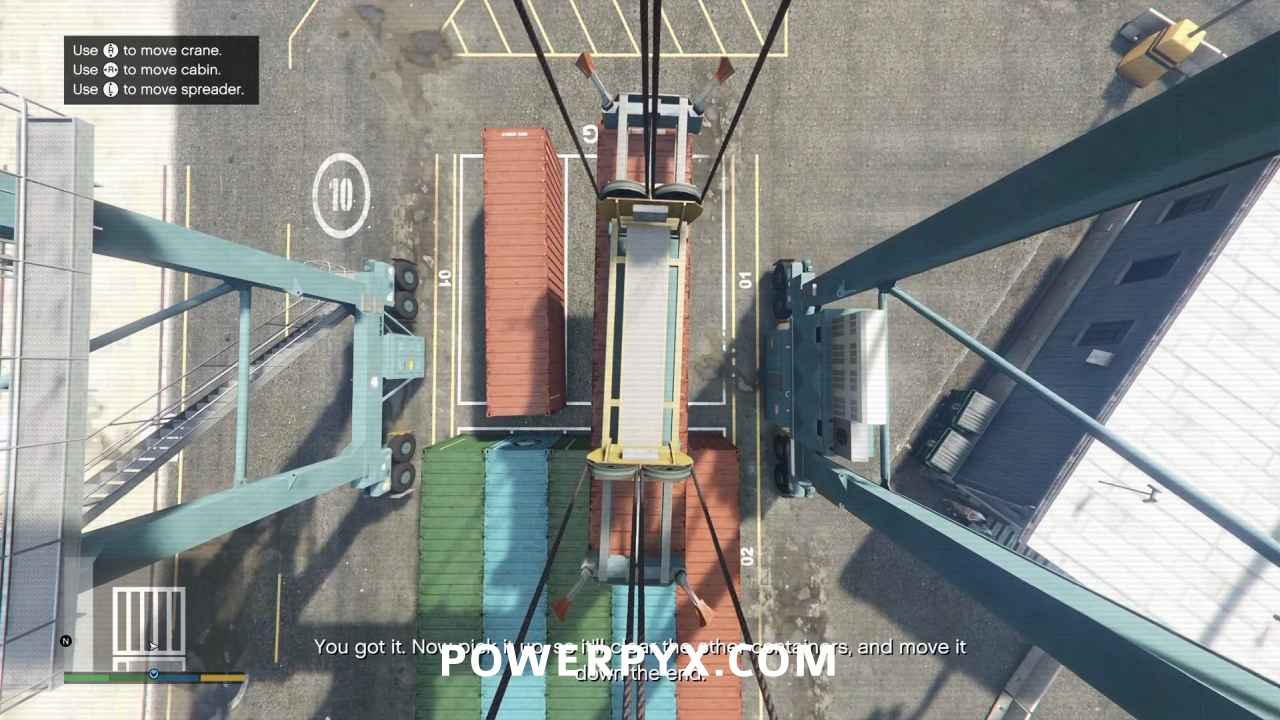
Since you still have to worry about Employee of the Month, once you’ve grabbed it hit until the container will clear the next rows of containers, and then press  to start moving the cabin to the loading area all the way at the other end of the stack. When you get there, there will be a truck in one of the bays waiting for the container. If you can’t see it, it’s probably directly below the container. Slowly lower the container, making adjustments as necessary to line it up with the trailer. When you’re pretty close, you’ll be prompted to press / to release the container.
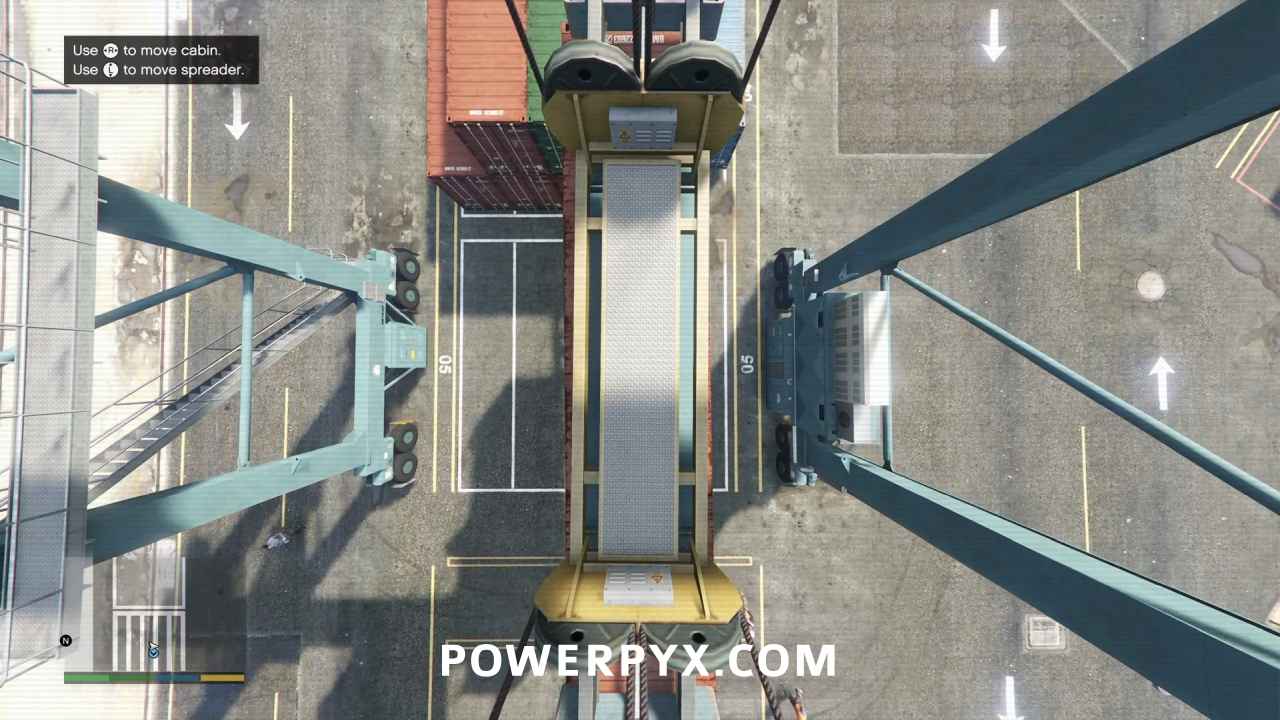
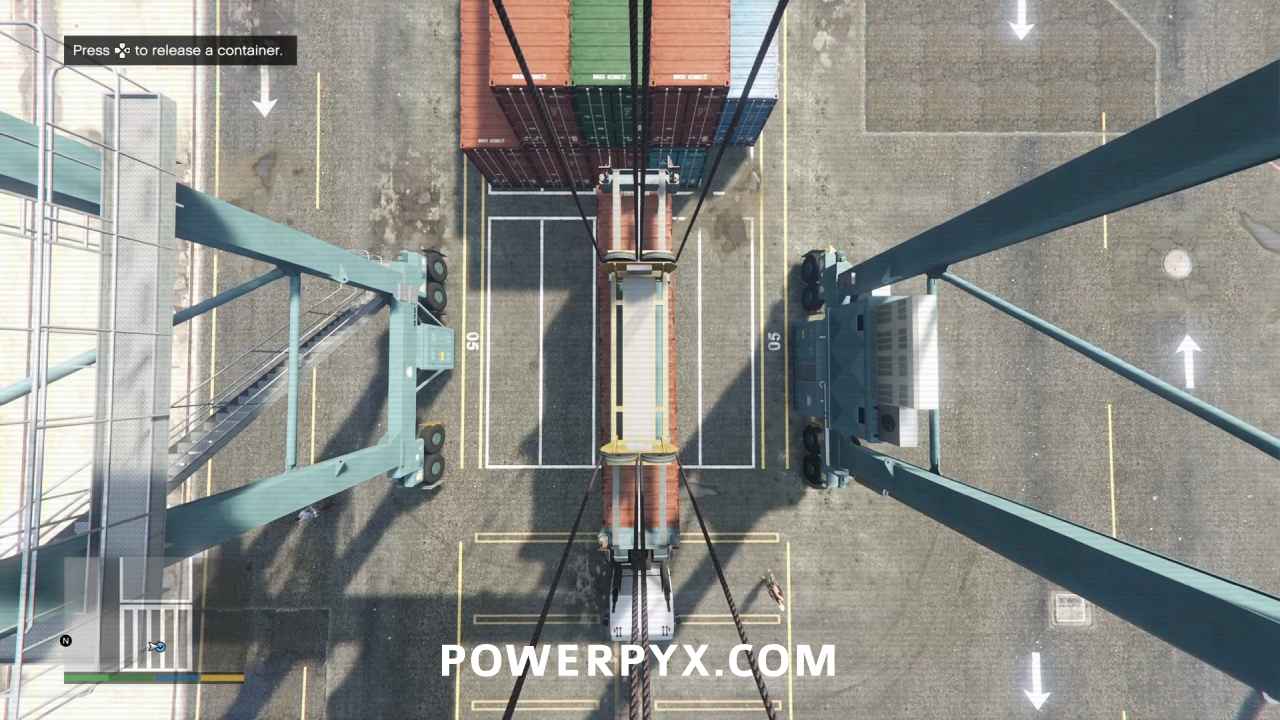
Lift the spreader up so it will clear the stack, and go back and repeat the process for the second container.
Go to the Vantage Point at the End of the Catwalk
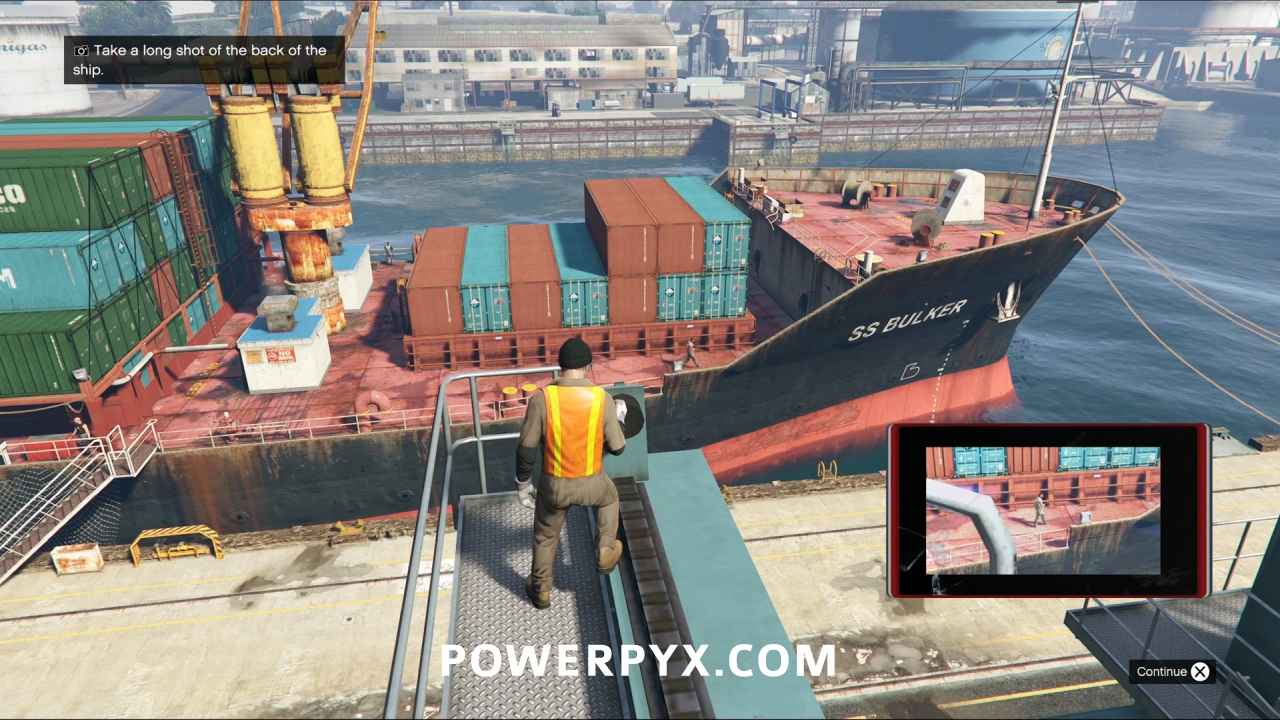
Once both containers are loaded, head to the objective marker on the top of the gantry where you can take some photos for Ron.
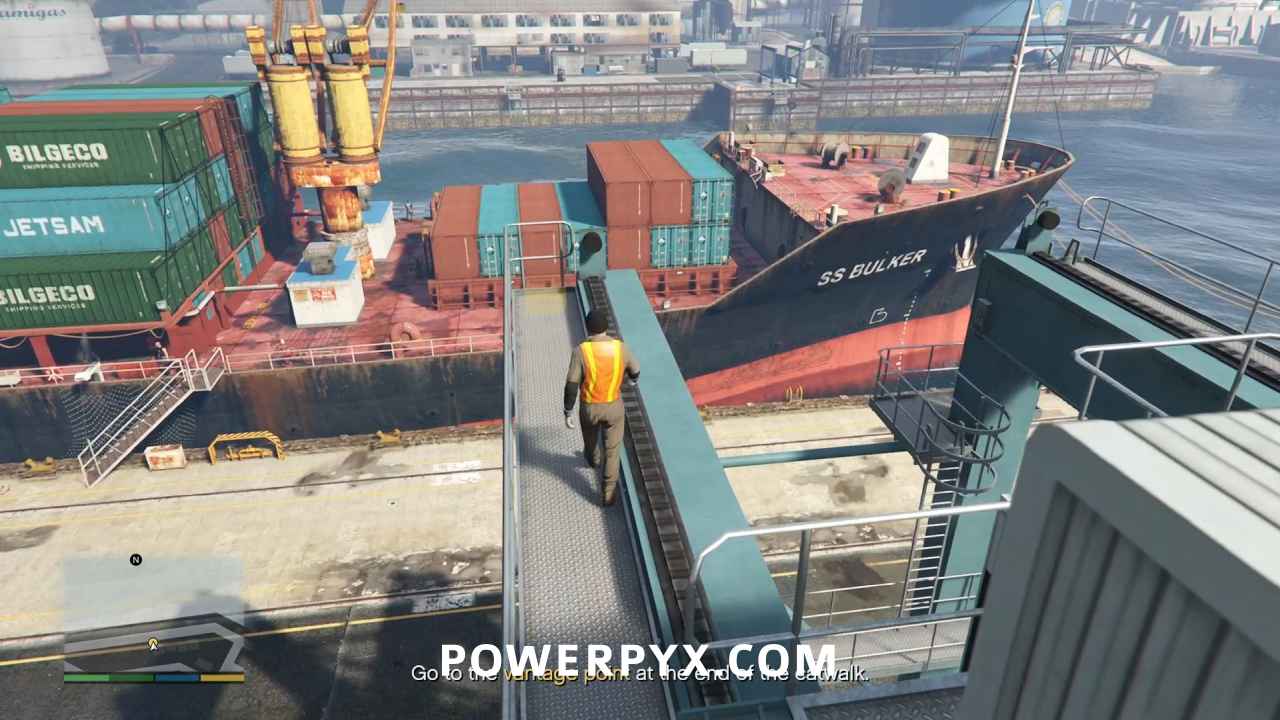
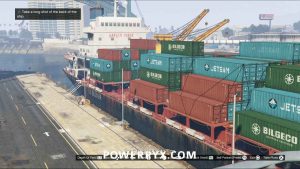
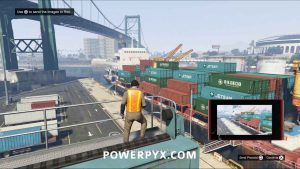
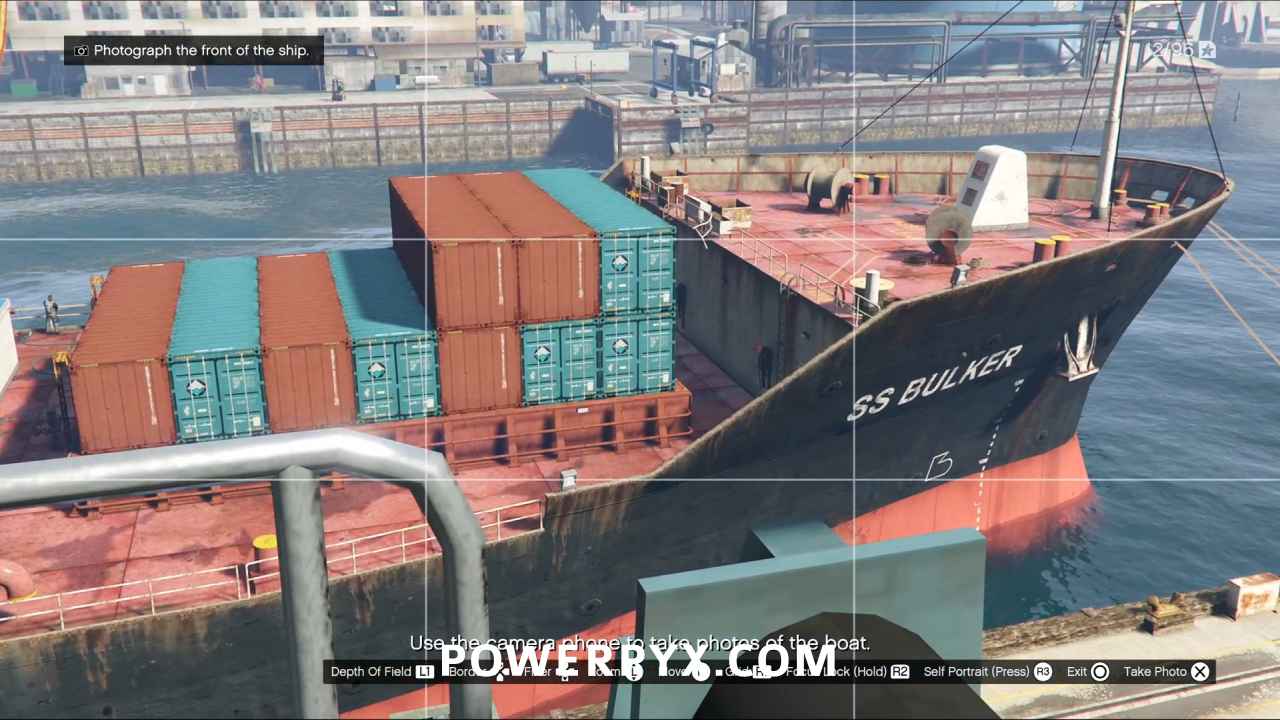
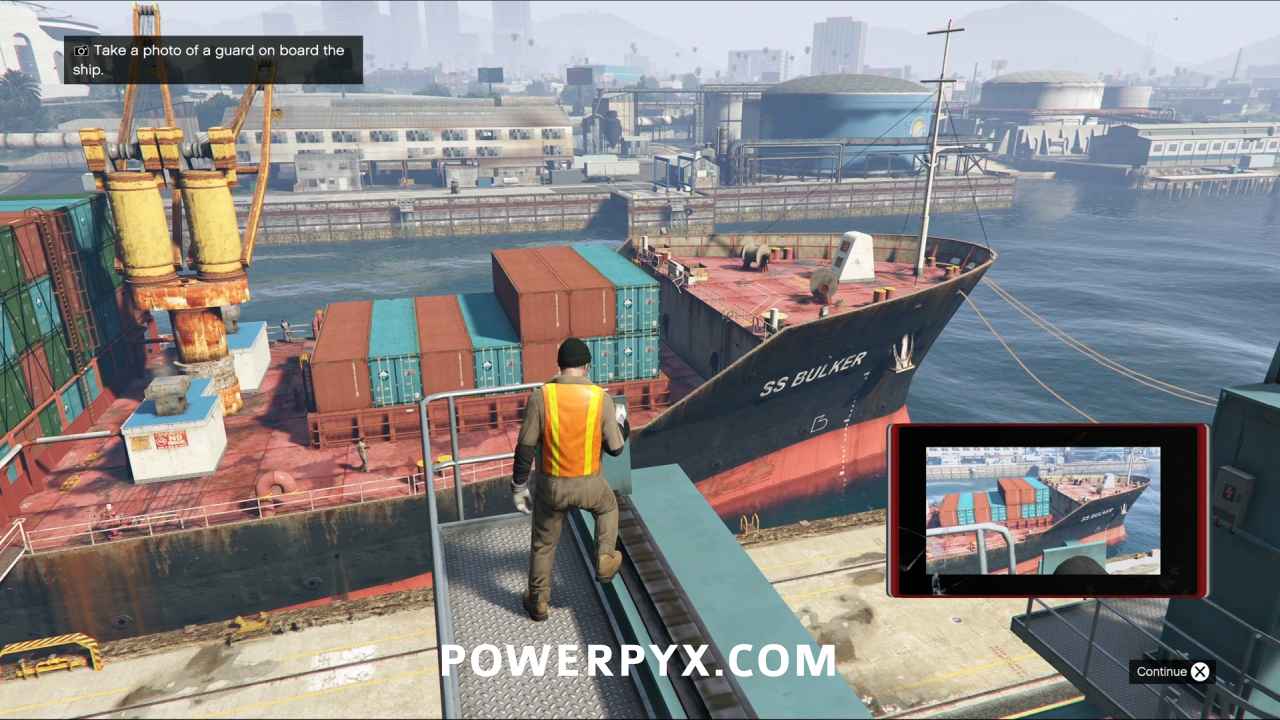
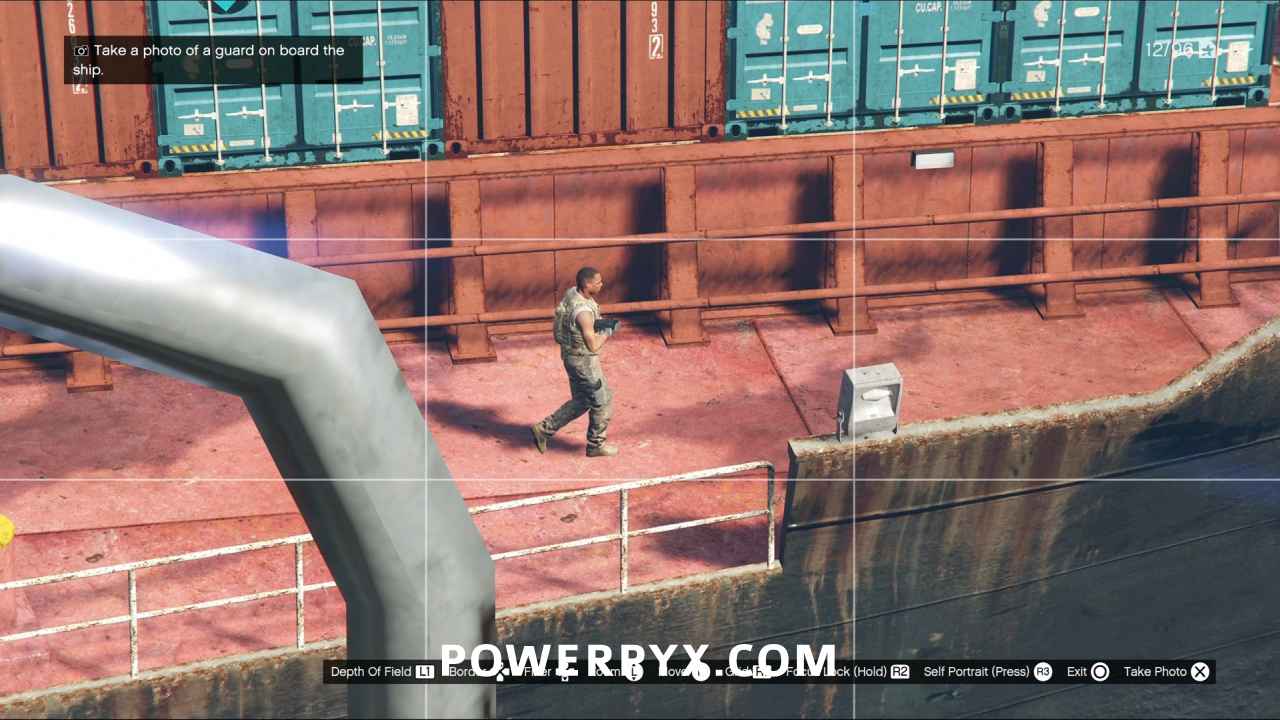
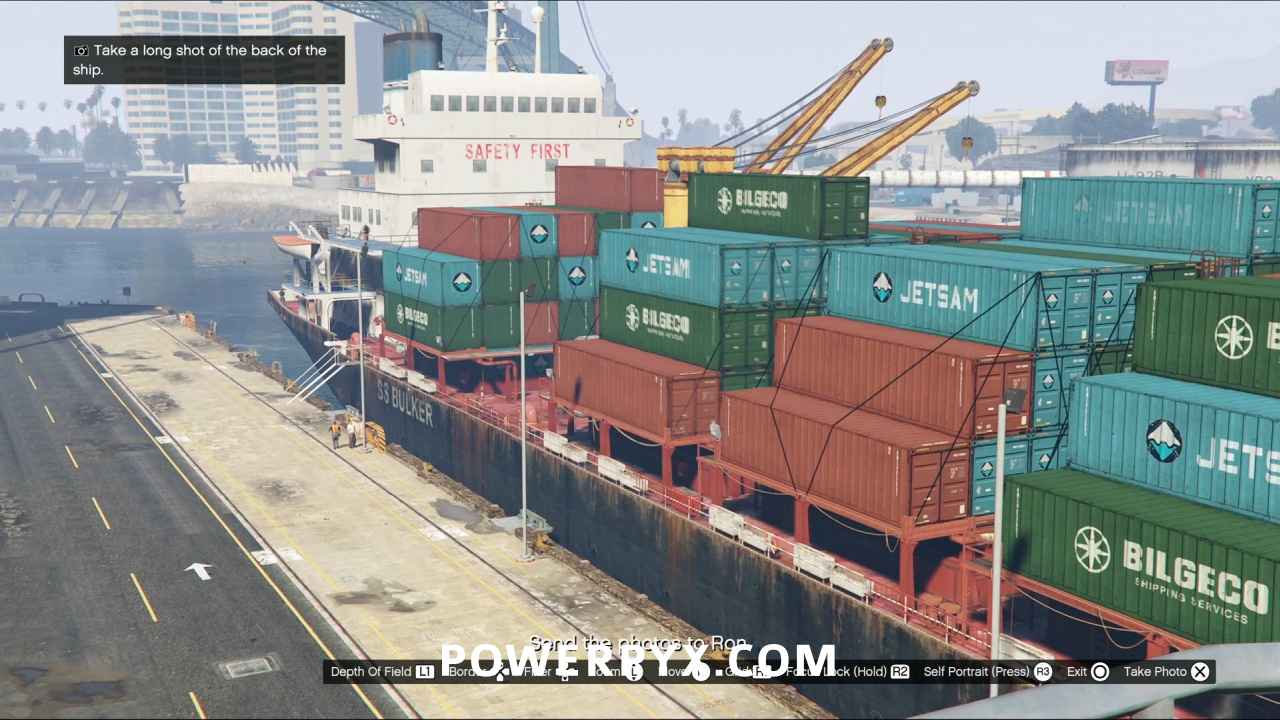
Select the camera app on your phone. You’re going to have to take three photos to get the last Gold Medal requirement:
- Perfect Surveillance: Snap all 3 photographs of the boat as instructed
- Front of the ship
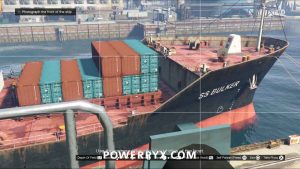
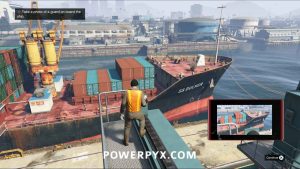
- Guard on board the ship
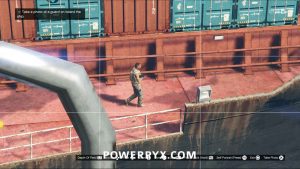
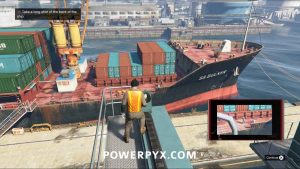
- Long shot of the back of the ship
Send the Photos to Ron
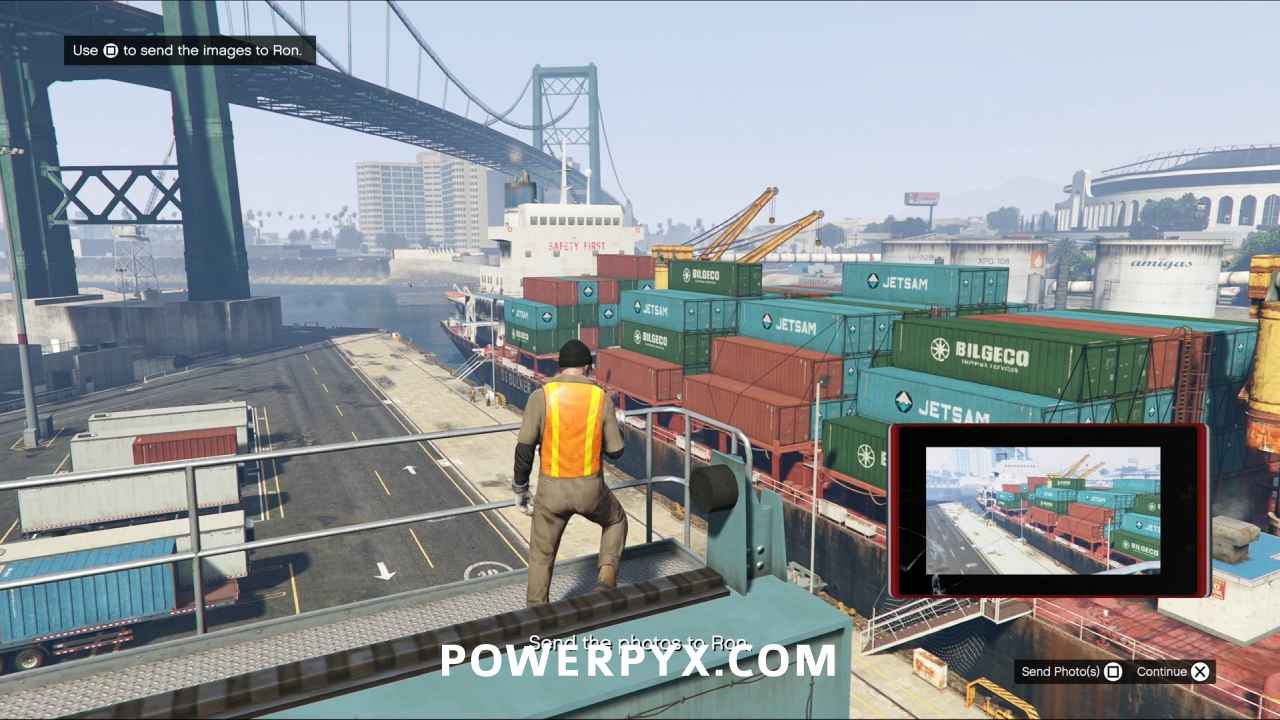
With the phone still showing the picture you’ve just taken, hit  /
/  , then select Ron in your contacts and hit /
  to send the photos. He will text you back right away to confirm.
Descend the Crane to the Docks Floor
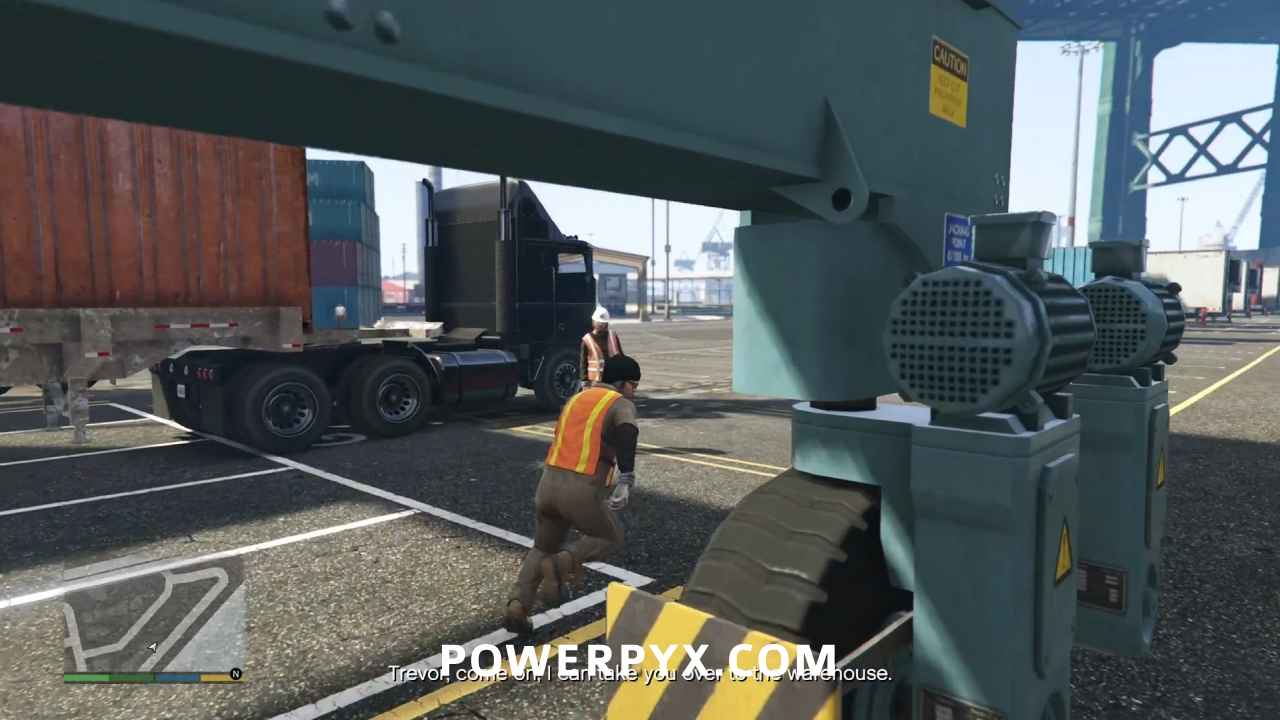
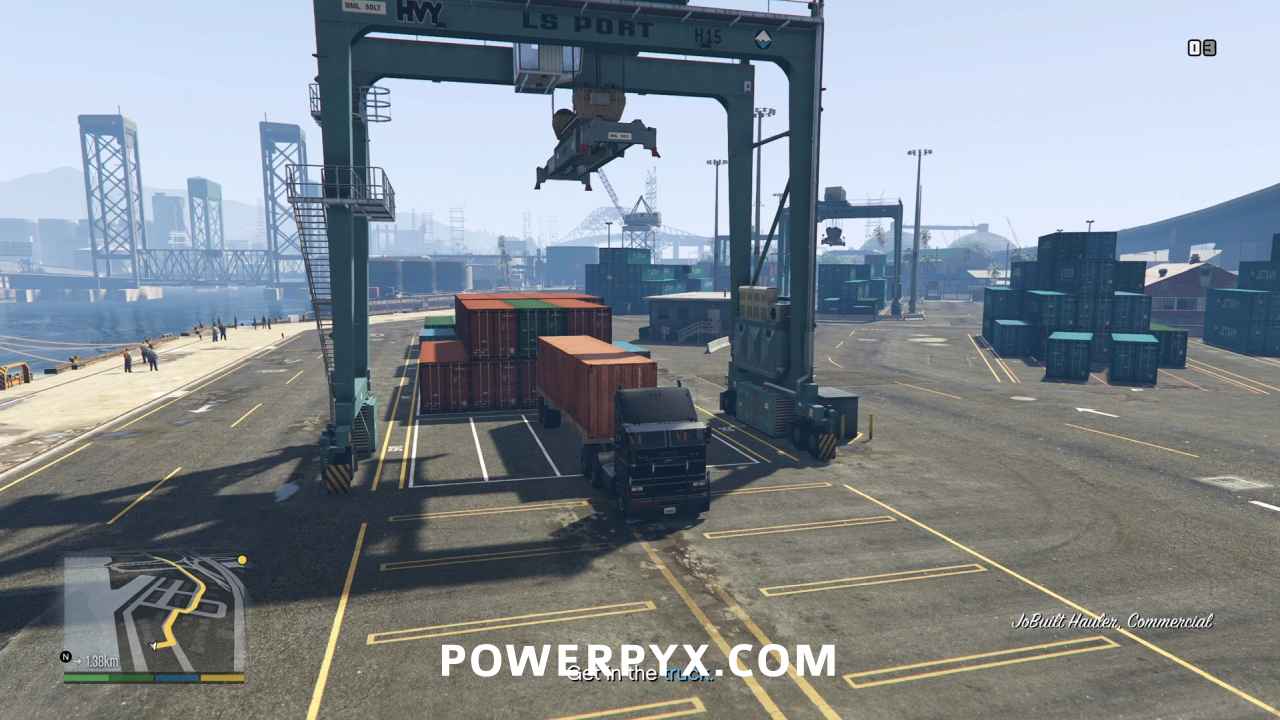
Climb all the way back down and meet back up with Floyd. Now he’ll take you over to the warehouse using the semi you’ve just loaded.
Drive to the Docking Area
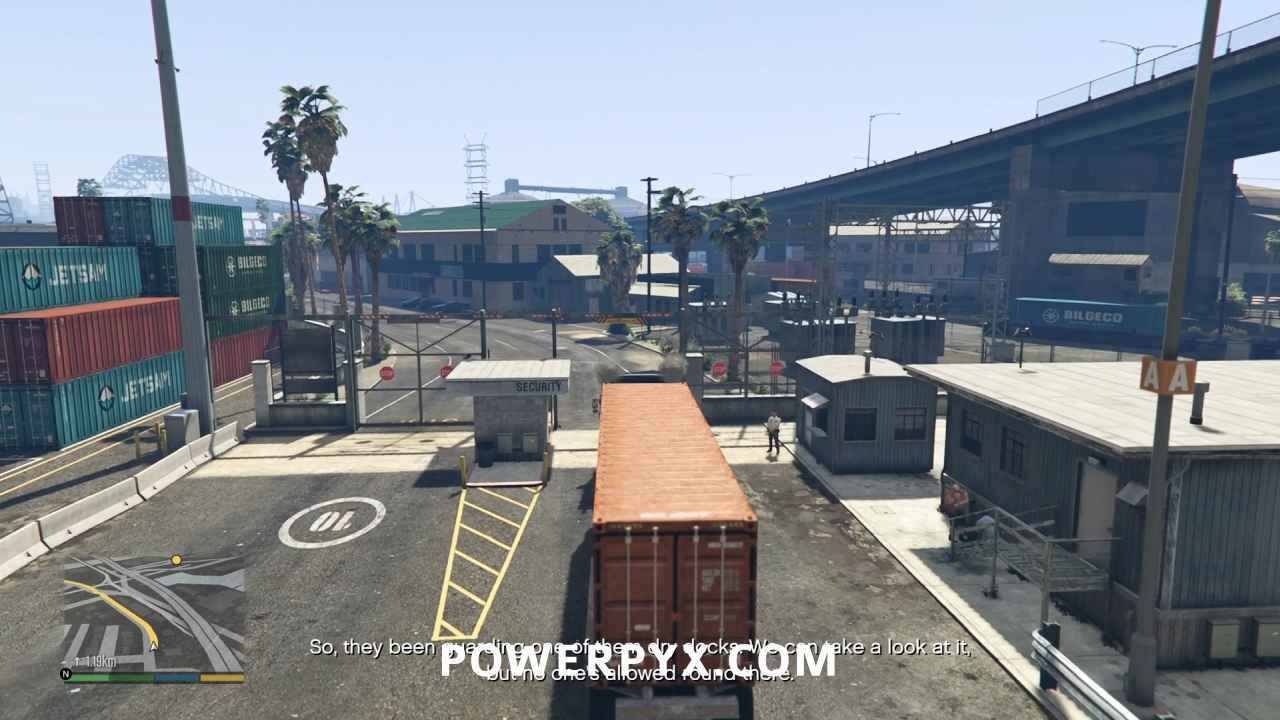
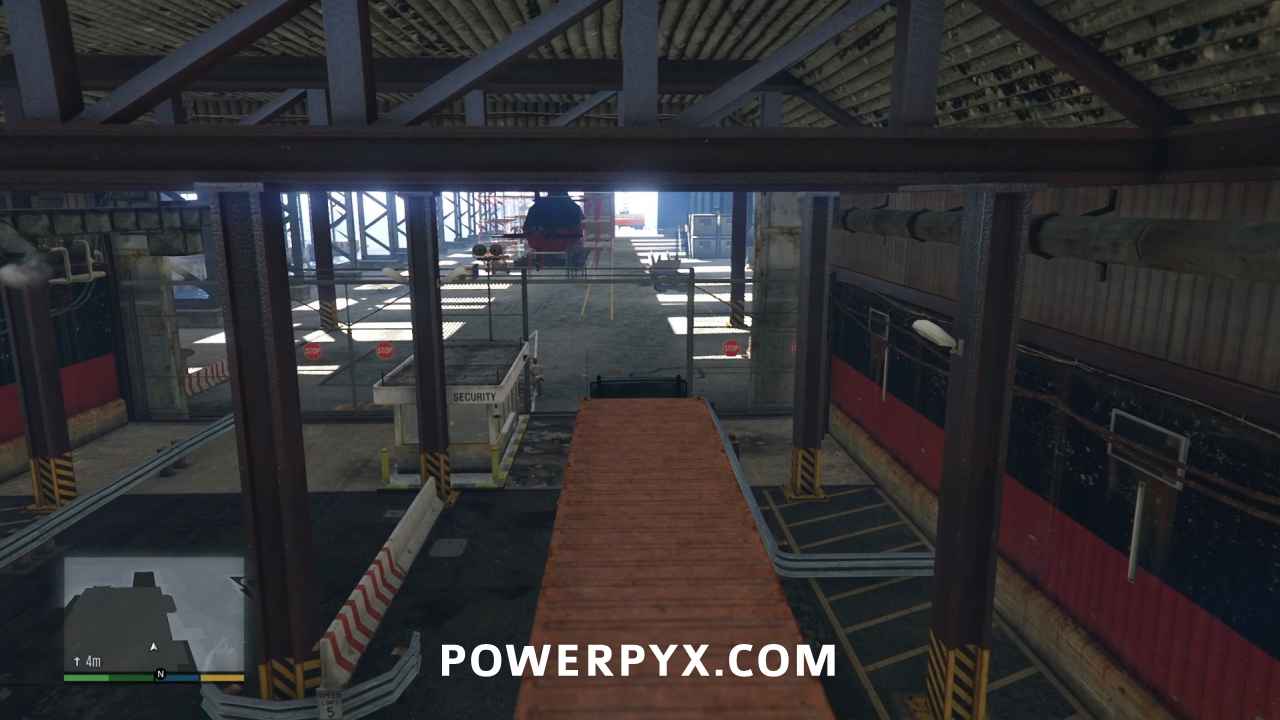
While driving the truck, don’t crash into anything or run anyone over in order to fulfill An Honest Day’s Work. Follow the path and park on the objective marker at the security gate. Skip the cinematic.
Leave the Restricted Area
Throwing Floyd to the wolves, Trevor makes his escape.
Go to Floyd’s Apartment
You’re going to have to find a vehicle quickly. There’s usually a truck of some sort nearby that you can get into and use, but don’t jack any vehicles or steal a car if people are around to witness the disturbance. Once you’re off the docks, you can steal a faster car to get back to Floyd’s apartment.
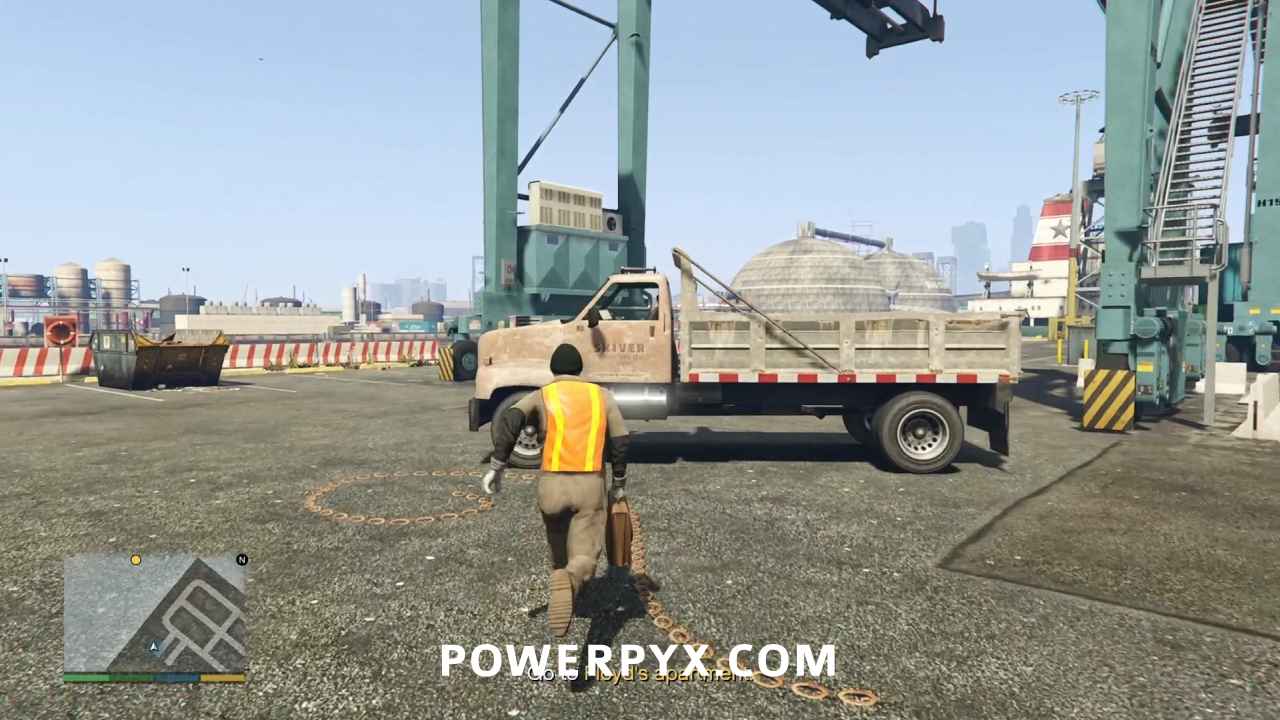
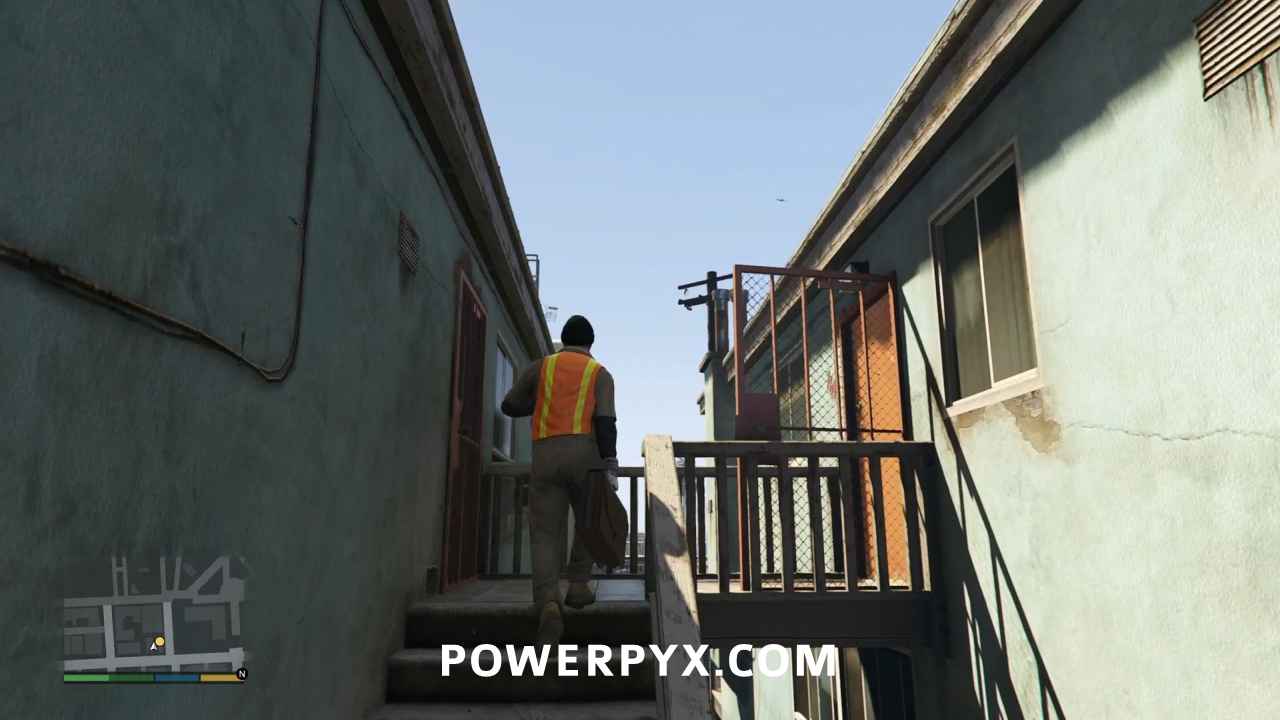
Once inside, skip the cinematic. Then you’ll be treated to Trevor’s version of Lester’s planning board, where you’ll have to pick whether to choose the Freighter of Offshore approach.
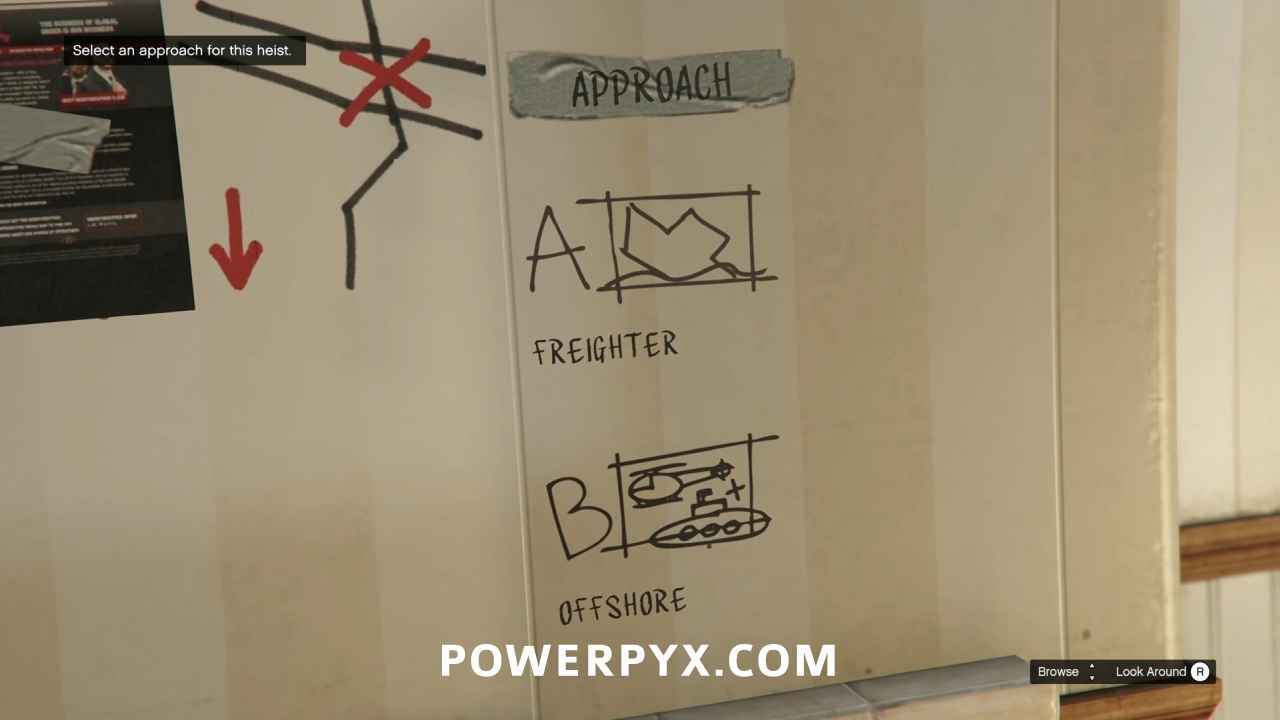
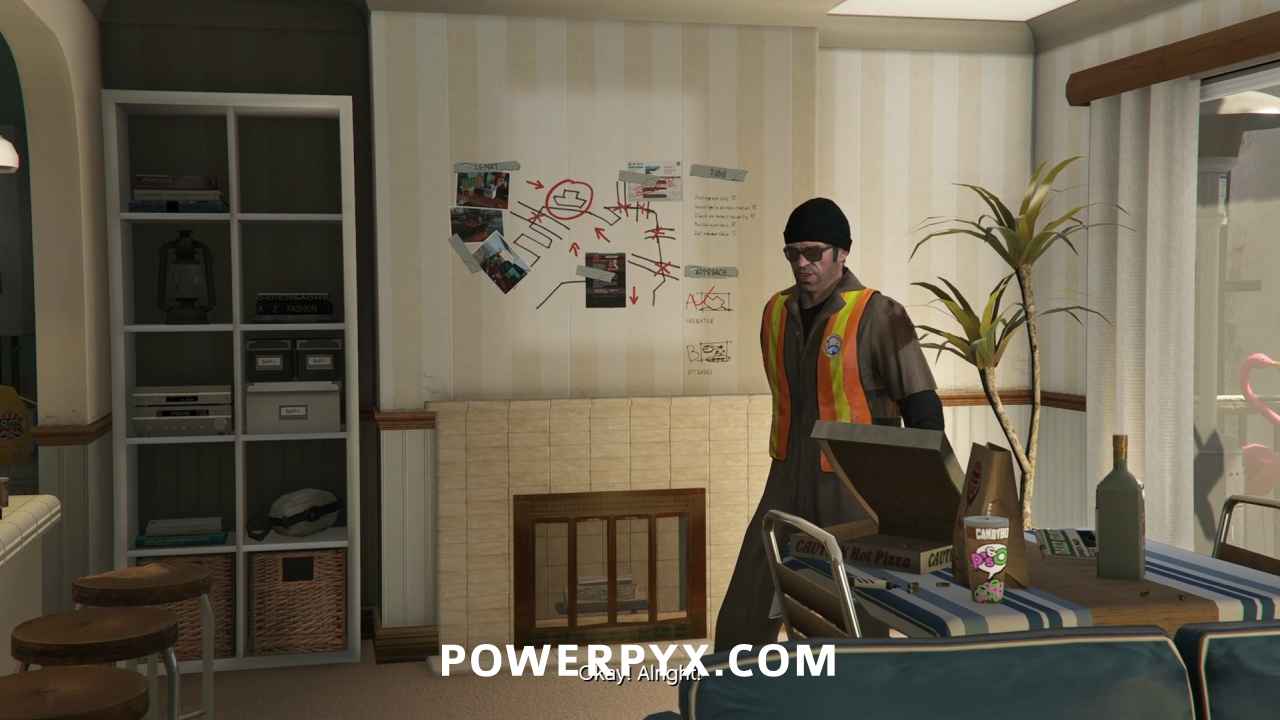
No choice of crew this time, as it will be all on Franklin and Michael. Skip the cinematic to end the mission.
This finishes Scouting the Port in GTA V.
For all other Missions refer to GTA V Walkthrough.
This walkthrough has been updated for the Enhanced Version on PC / PS5 / PS4 / Xbox Series S/X and is also still applicable to the Legacy version.
Leave a Reply