
Nervous Ron is the 16th main story mission in GTA V (Grand Theft Auto 5). This walkthrough shows how to get all Gold Medals in Nervous Ron for 100% completion.
Gold Medal Requirements:
- Headshots: Kill 5 enemies with a headshot
- Mission Time: Complete 12:30
- Nervous Twitch: Win the race against Ron
- 6 Bridges, 1 Plane: Fly under 6 bridges found along the flight path
- Death on a Wing: Kill all bikers while lying on the plane wing
Walkthrough Video

Starting Location: Nervous Ron
- Location: Sandy Shores / Alhambra Drive / Trevor’s Trailer
- Quest Giver: Ron
- Requirement: Complete “Mr. Philips“
- Can Be Started By: Trevor
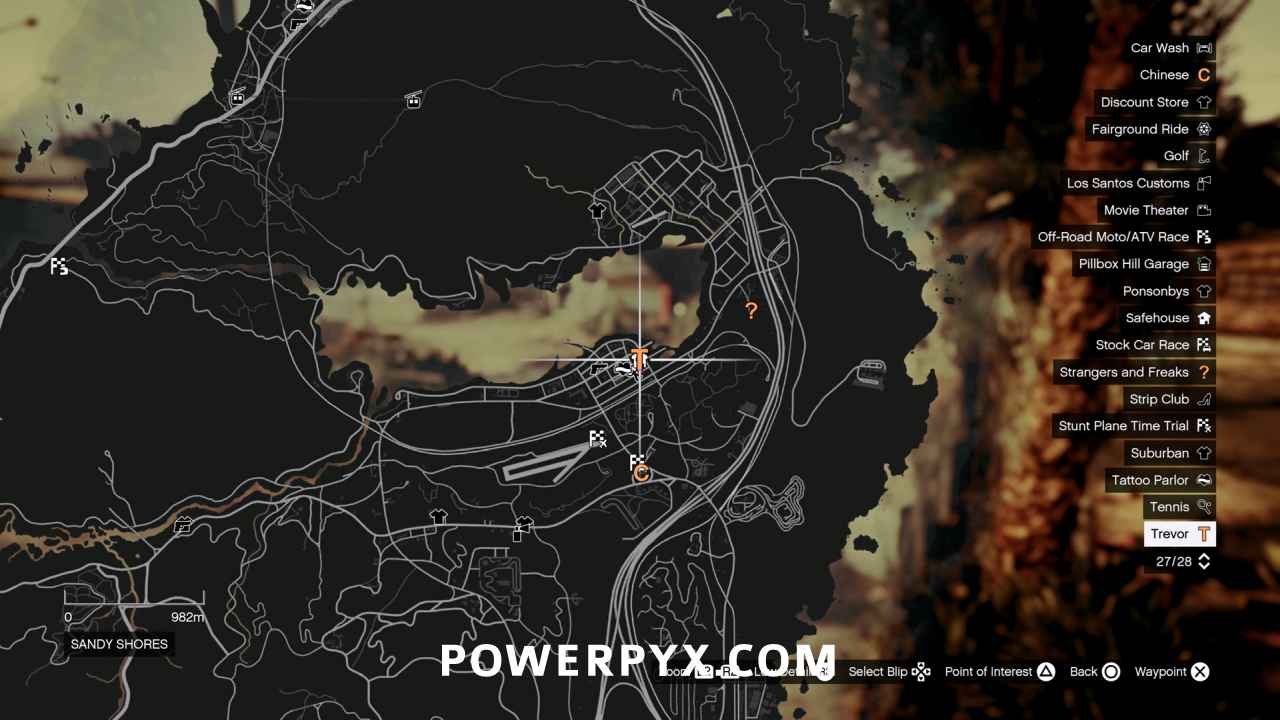
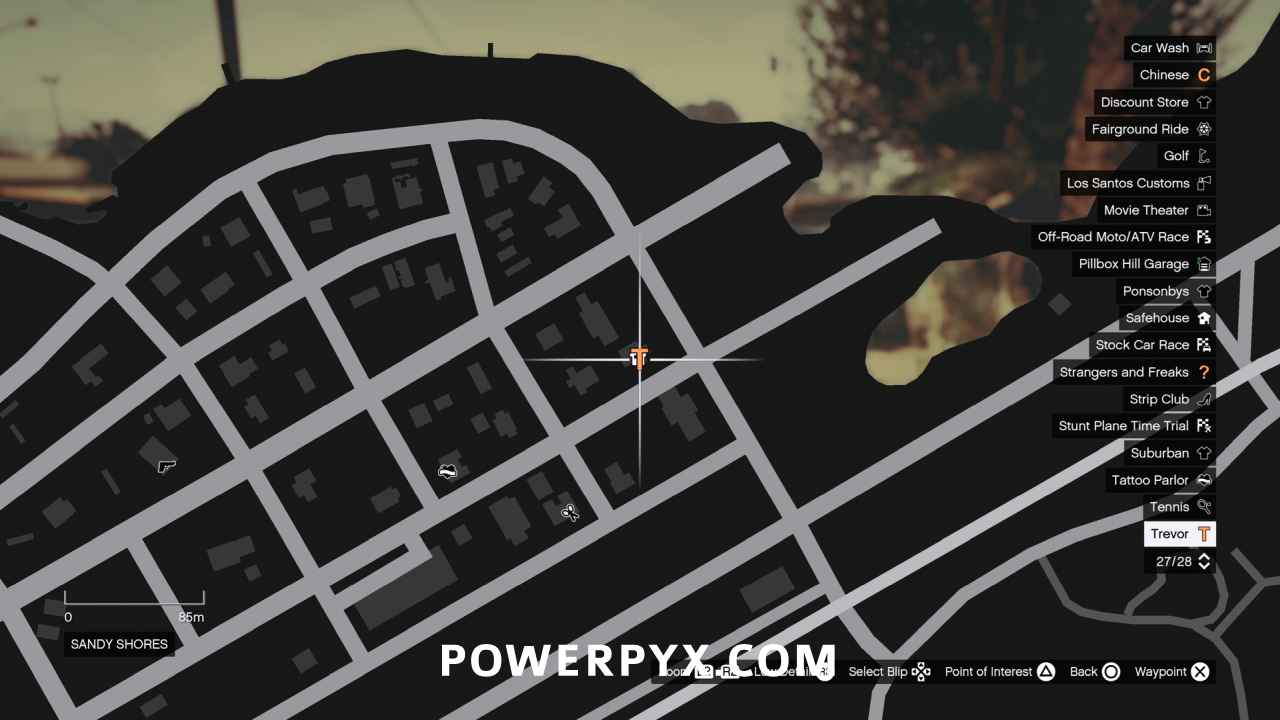
Go to Ammu-Nation
You’re working against the clock, so skip the cutscenes!
- Mission Time: Complete within 10:30
Jump on one of the two Blazer ATVs in front of Trevor’s house, and follow the objective marker to Ammu-Nation.
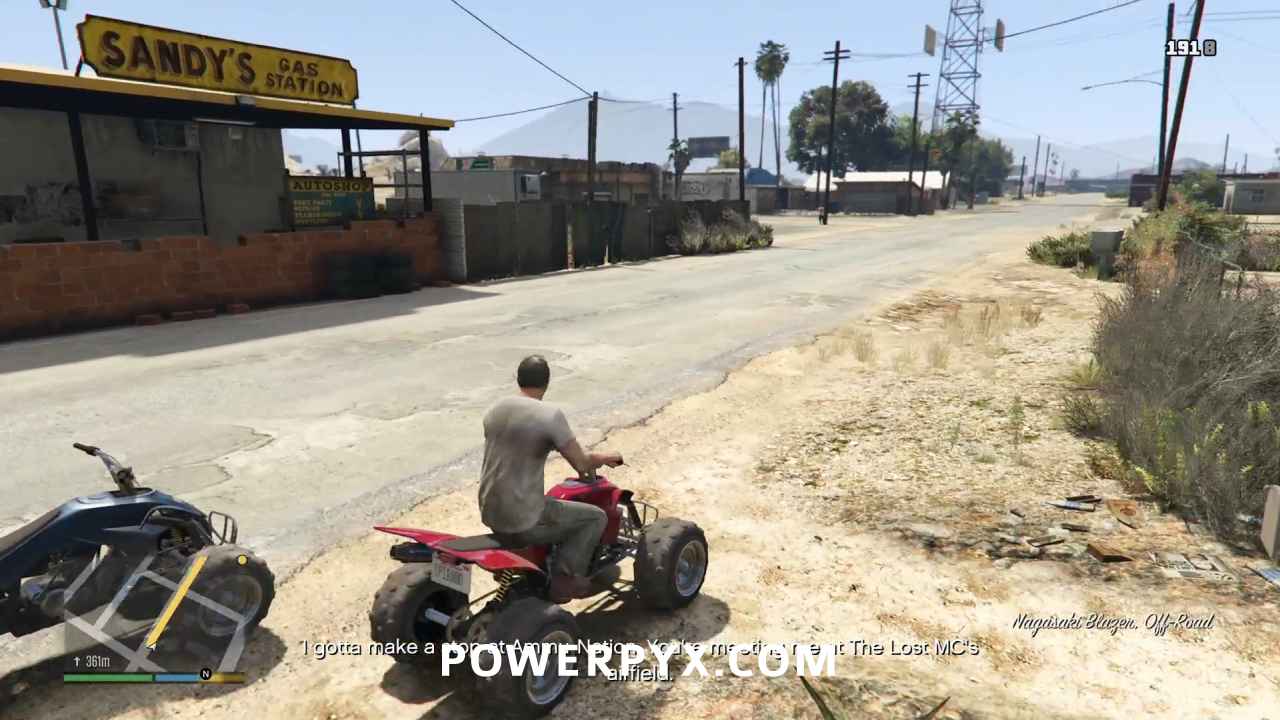
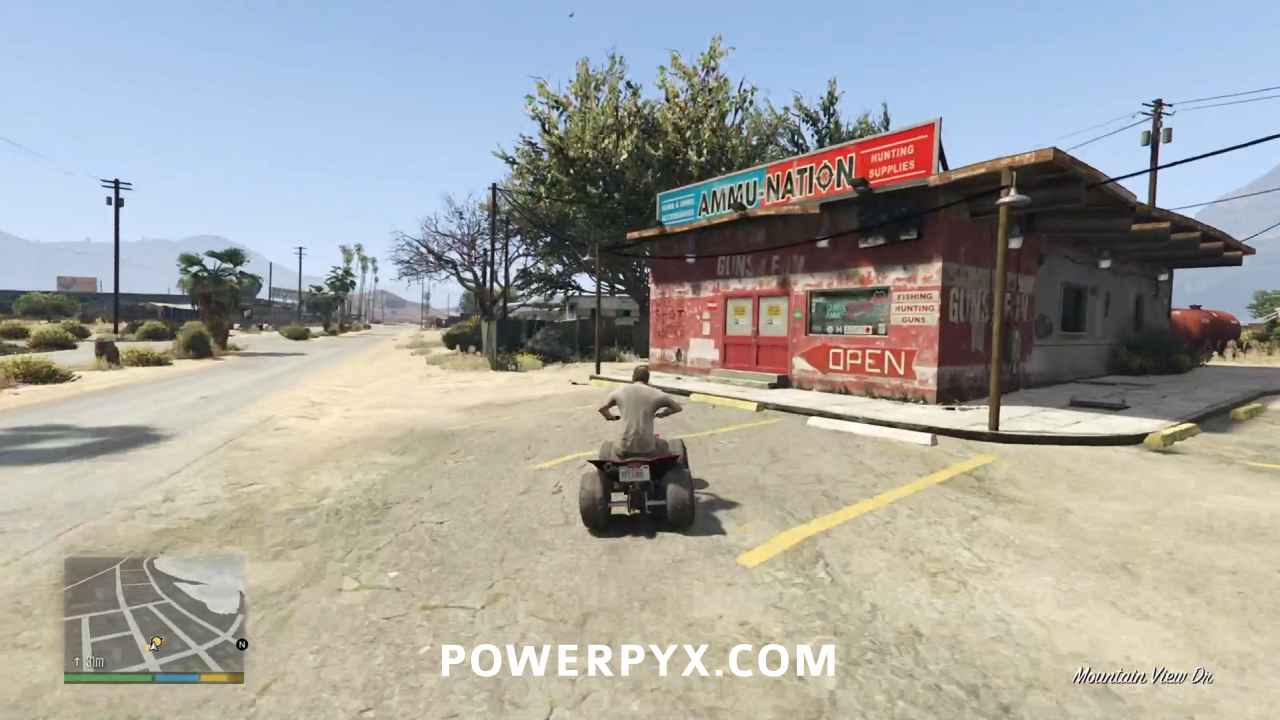
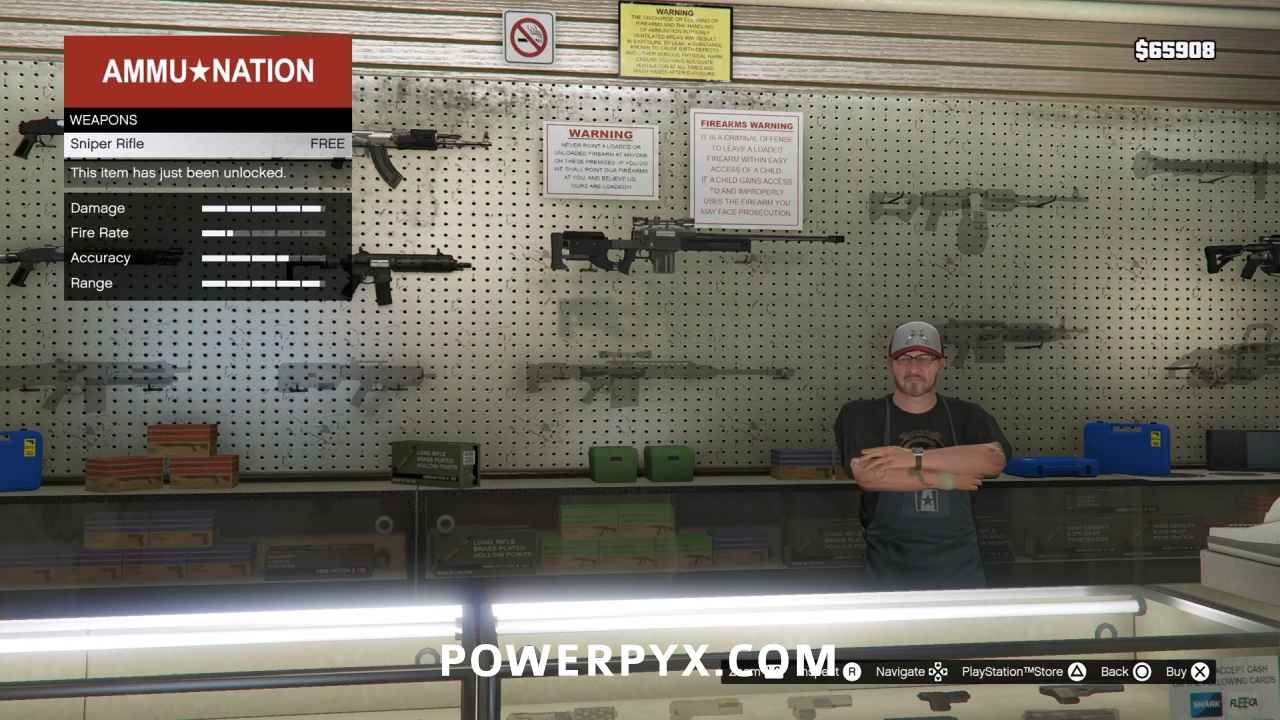
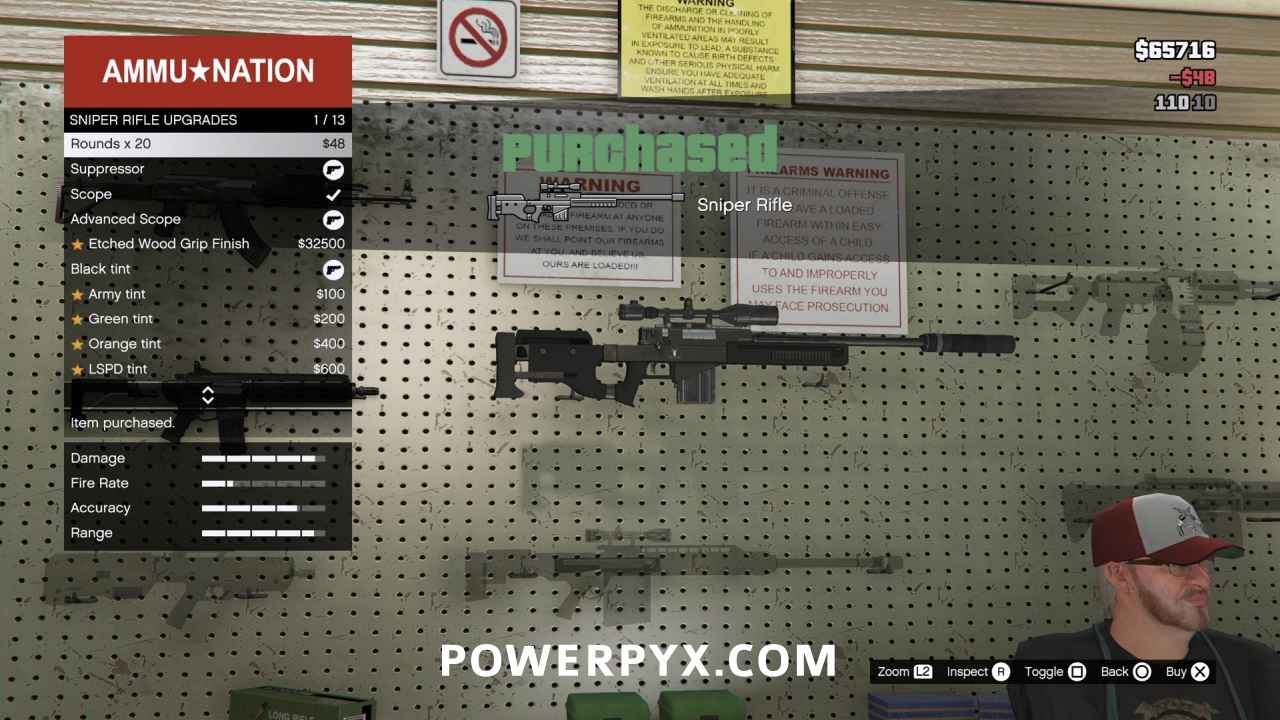
Buy a Sniper Rifle
Basically extort a high powered rifle from Melvin, and while you’re there pick up a suppressor, an advanced scope, and some extra ammo, then head back out to the ATV.
Go to Ron
Ron’s in position on the water tower by the airfield, and he’s spotted a ton of Lost MC boys milling about.
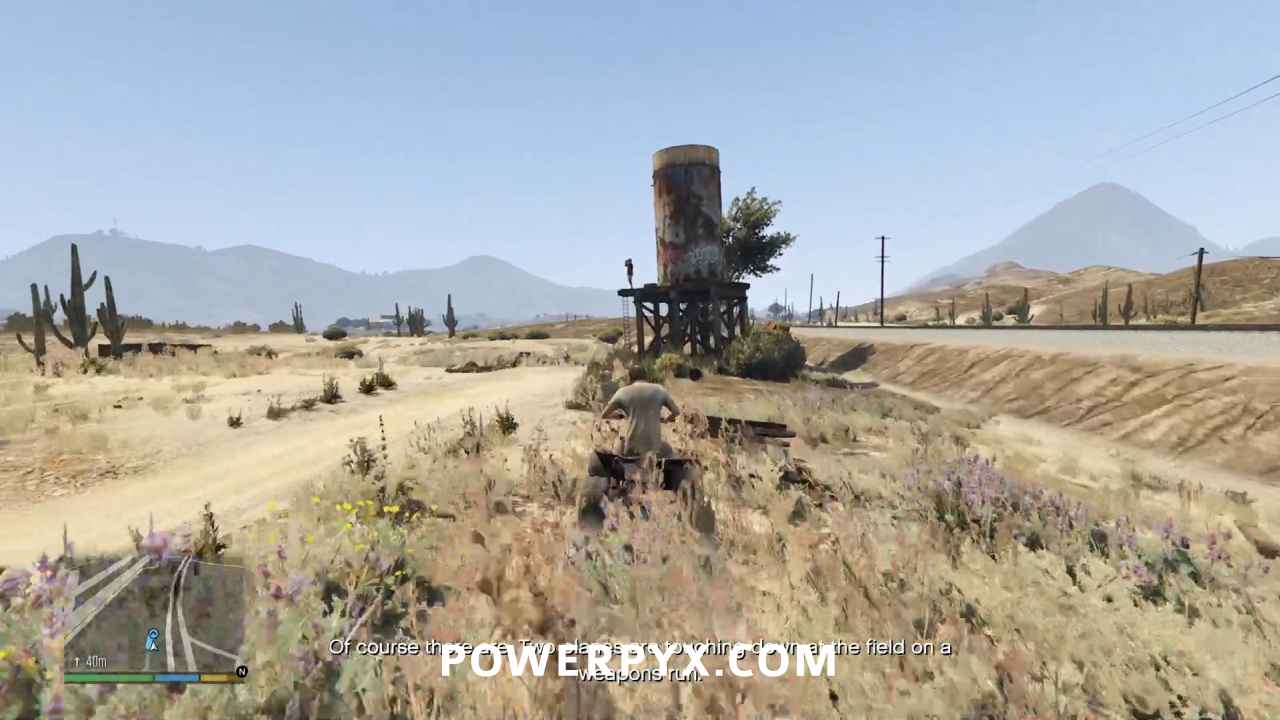
Climb to the Top of the Water Tower
Head up the ladder, and wait till nightfall.
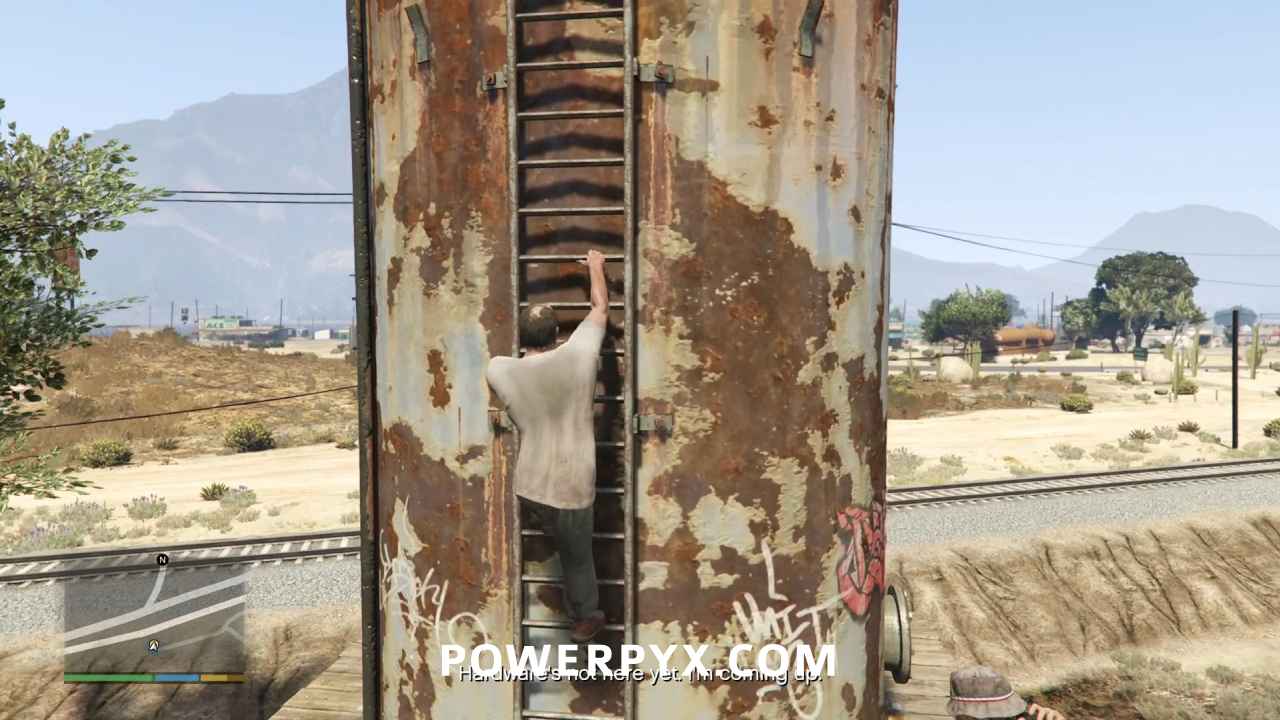
It will transition to night, and Trevor will call Ron to action.
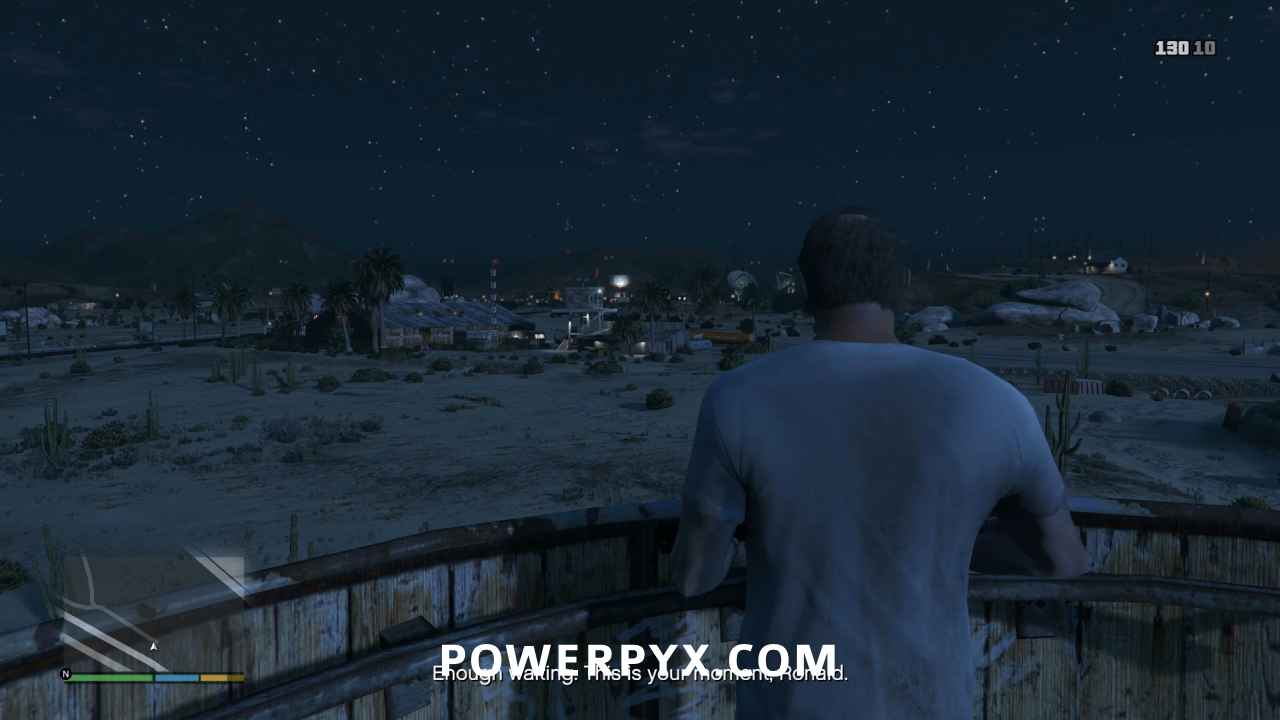
On his ATV, Ron will get into position to sneak onto the airfield while you cover him from the tower. Before he’ll do anything though, he will ask you to zoom in on him first. Do that in advance so he doesn’t waste time waving his arms like an idiot.
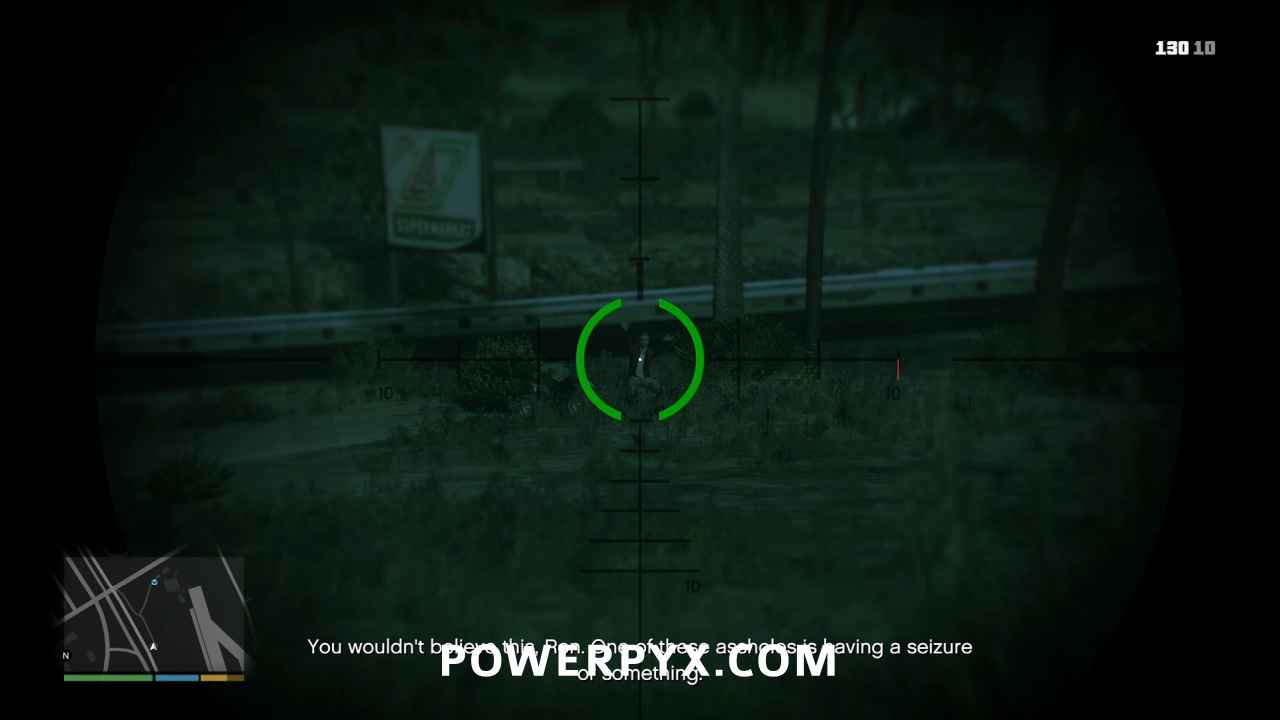
Cover Ron
Once he’s moving, you can save some time by getting ahead of the game and start working towards the next Gold Medal requirement:
- Headshots: Kill 5 enemies with a headshot
Start with the biker that is standing in the light at the foot of the control tower. Kill him with a headshot.
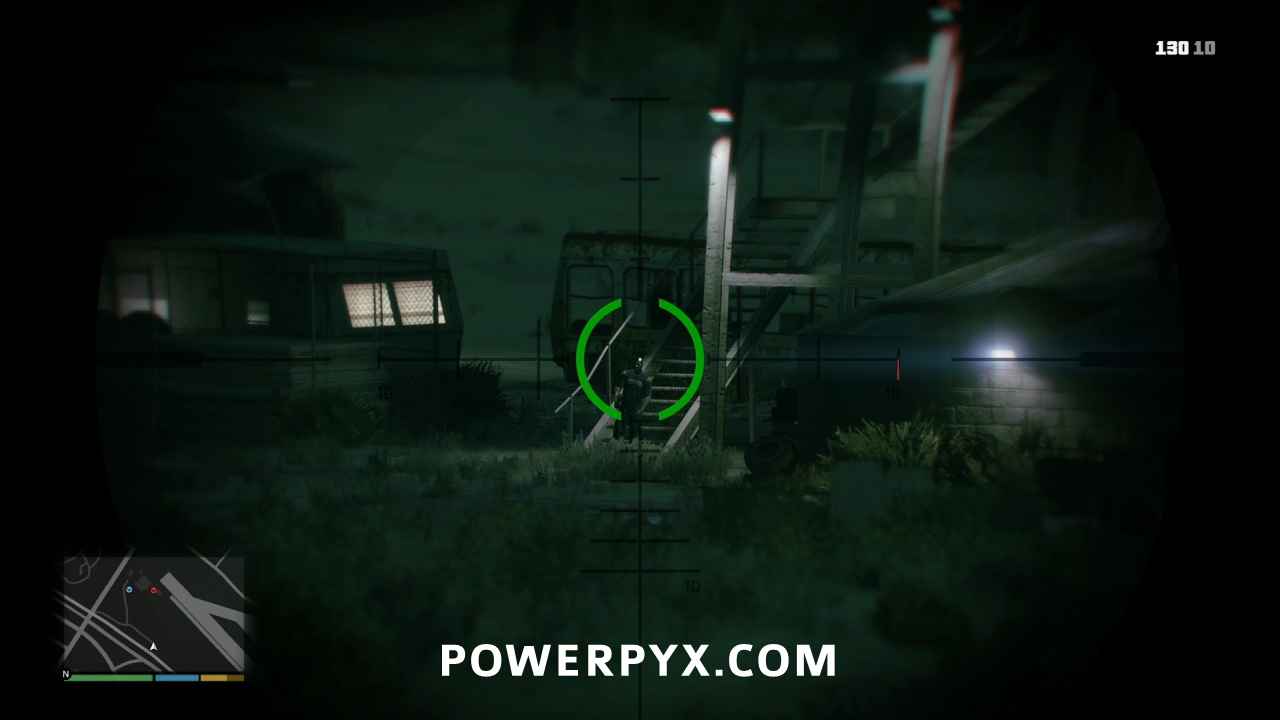
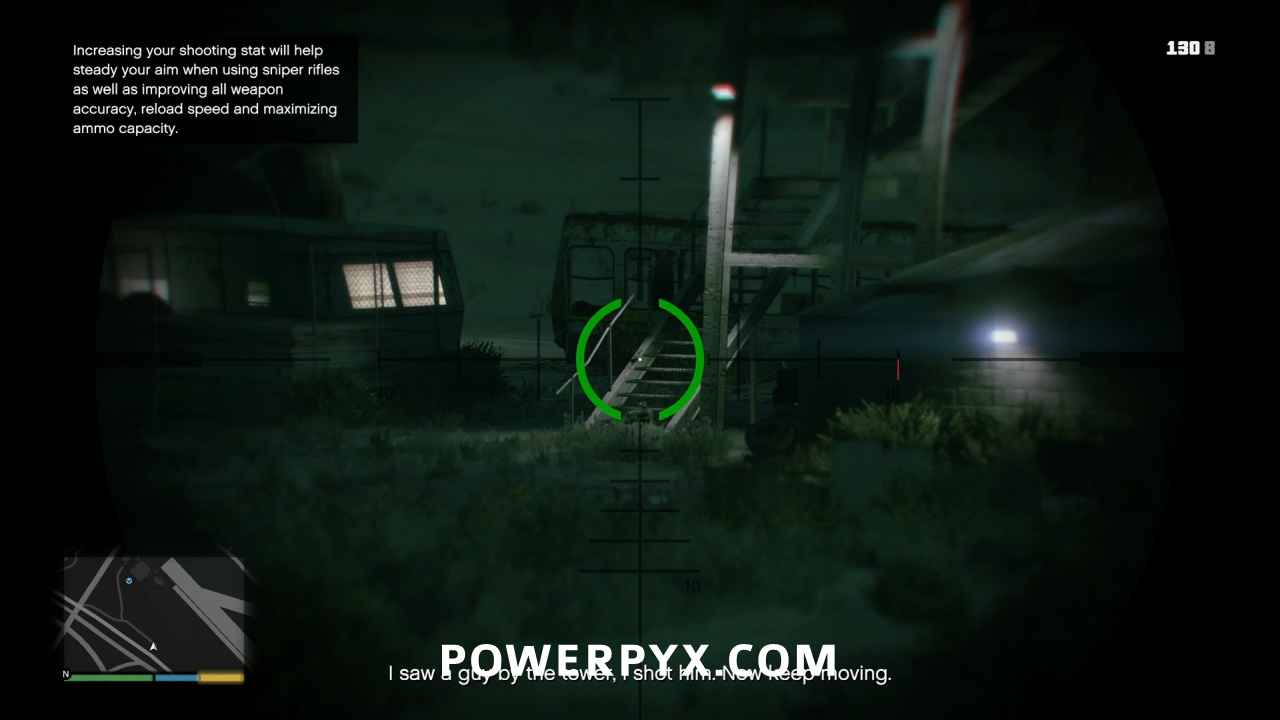
Immediately after this shoot the two lights on the legs of the tower. This will prevent other bikers from seeing the corpse.
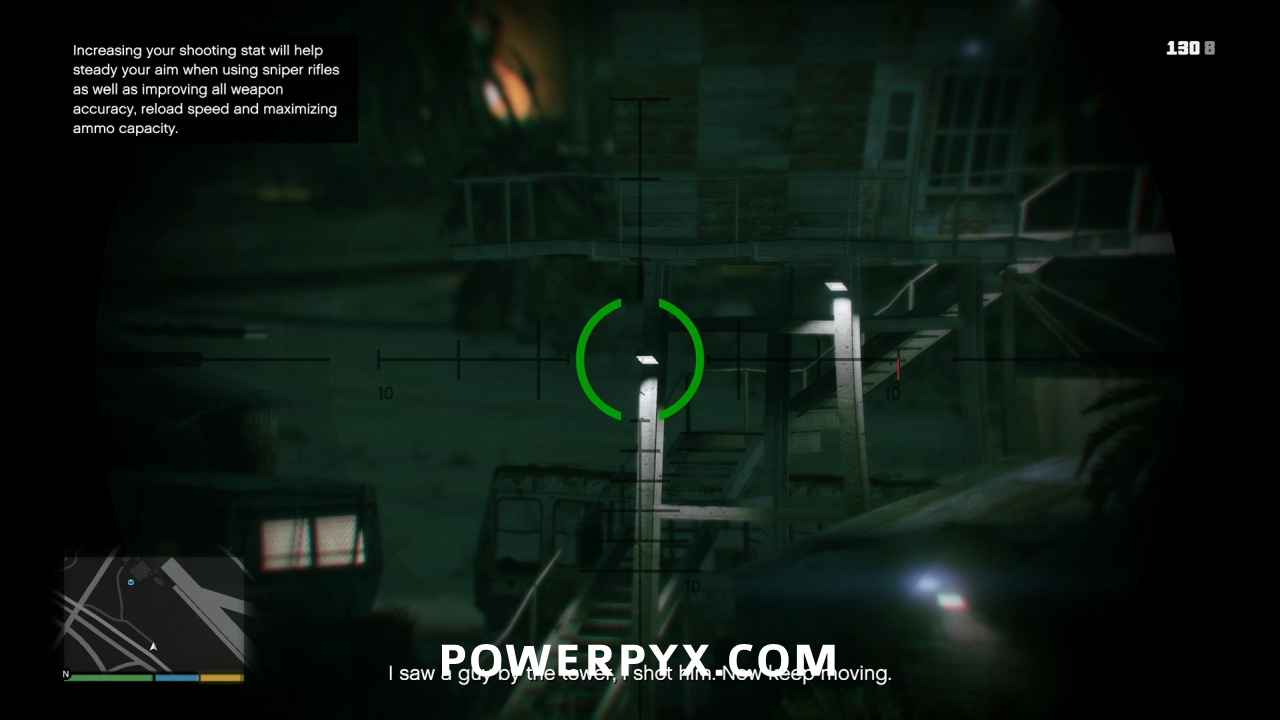
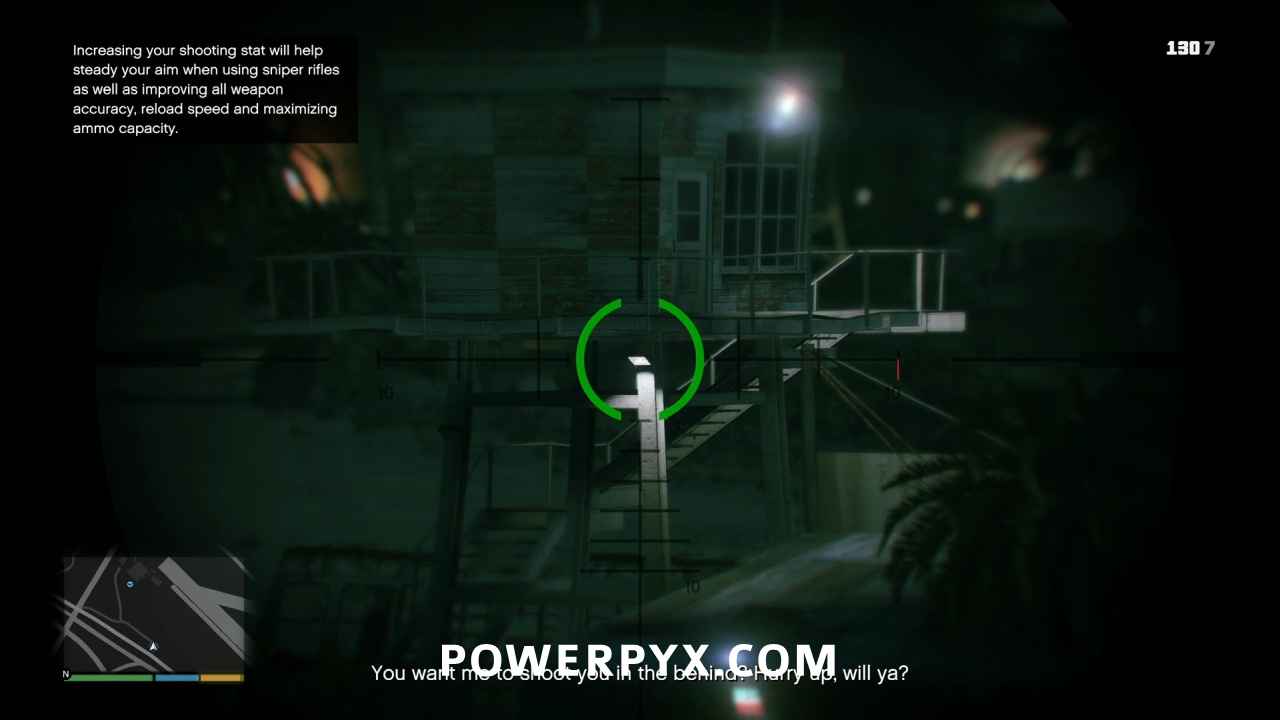
Ron will continue to creep along, and he will hear the engine of a Lost MC van in the distance. With the lights below the tower out, the driver will not see the corpse as he pulls up. Don’t shoot them yet.
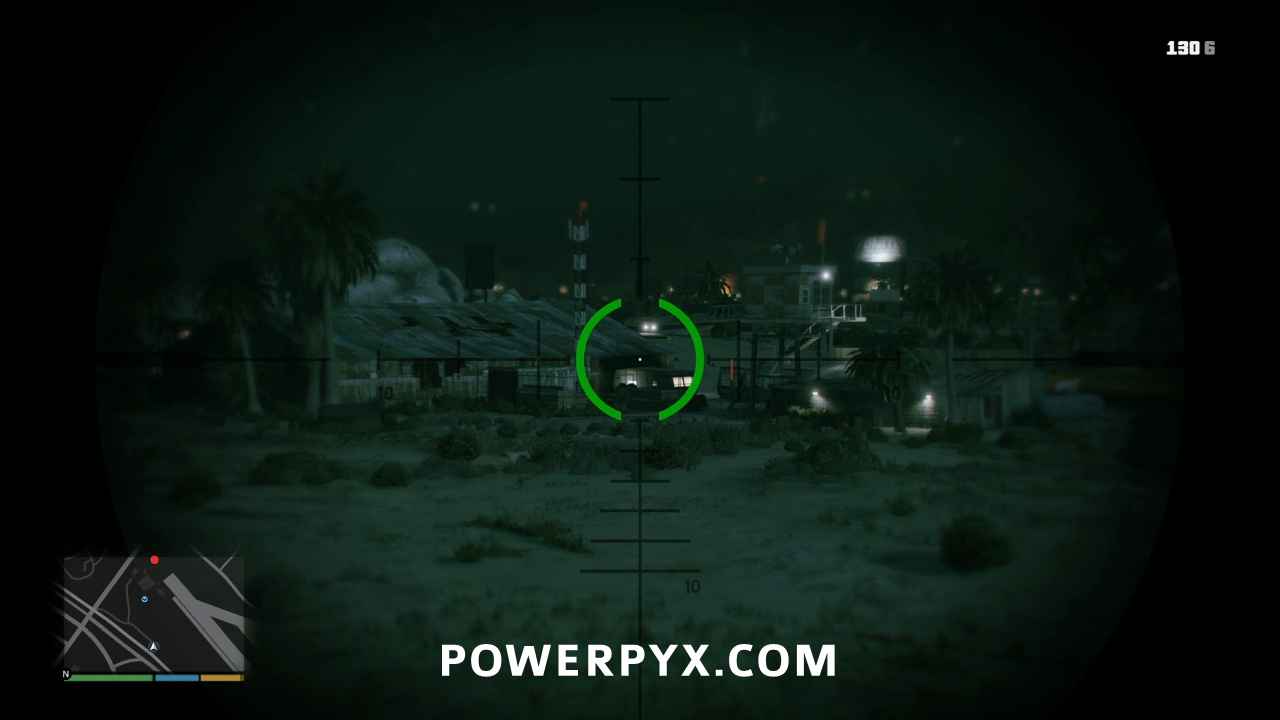
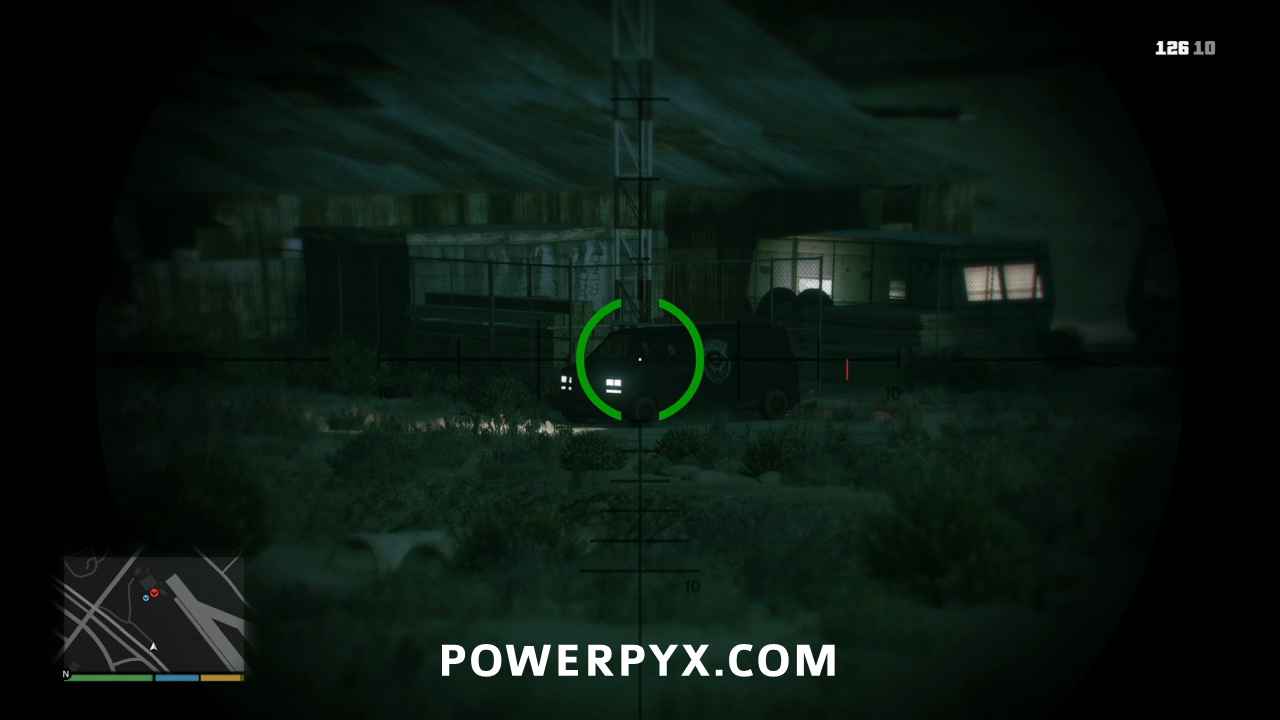
In fact Ron specifically says don’t shoot the driver until he gets out, and with good reason. If you shoot him while he’s still in the van, he will slump forward onto the horn and it will alert everyone on the airfield. He will call the dead biker, and get out of the van. You only have a couple of seconds to kill him before he realizes something is wrong.
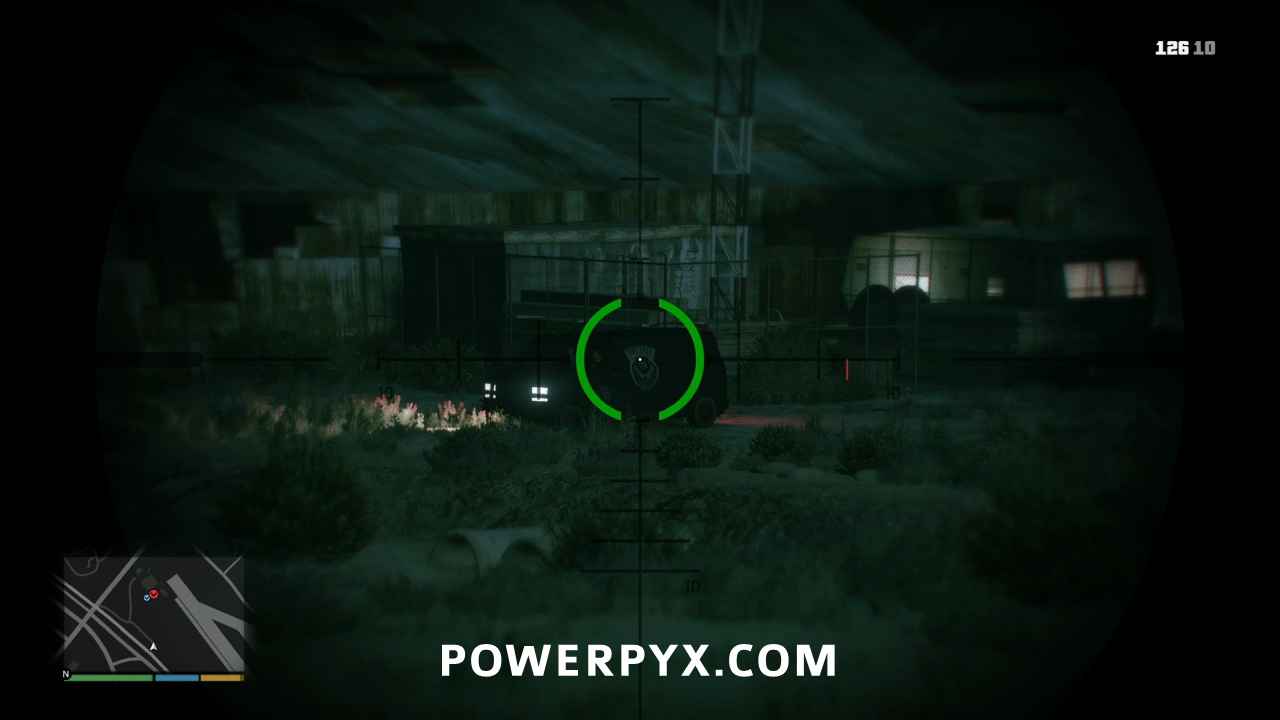
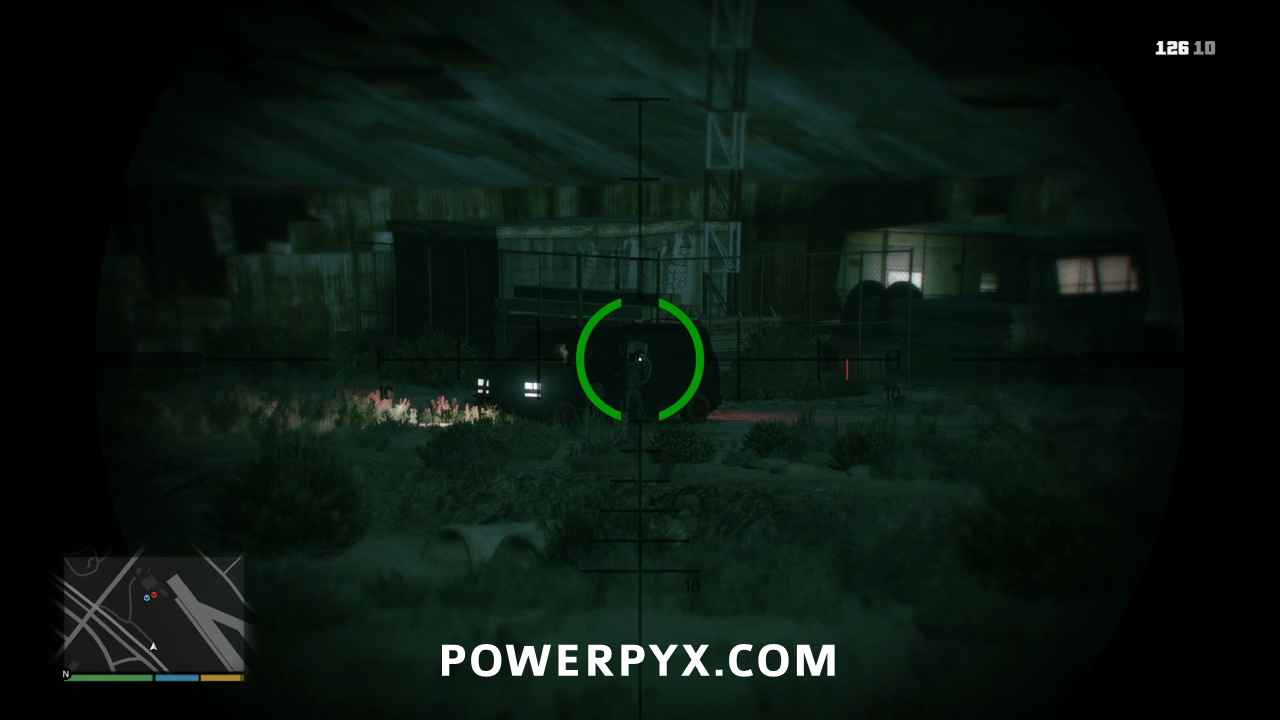
After this things will happen quickly with targets presenting themselves one right after another. Immediately look for a biker to come out of the control tower, hearing the constantly ringing phone.
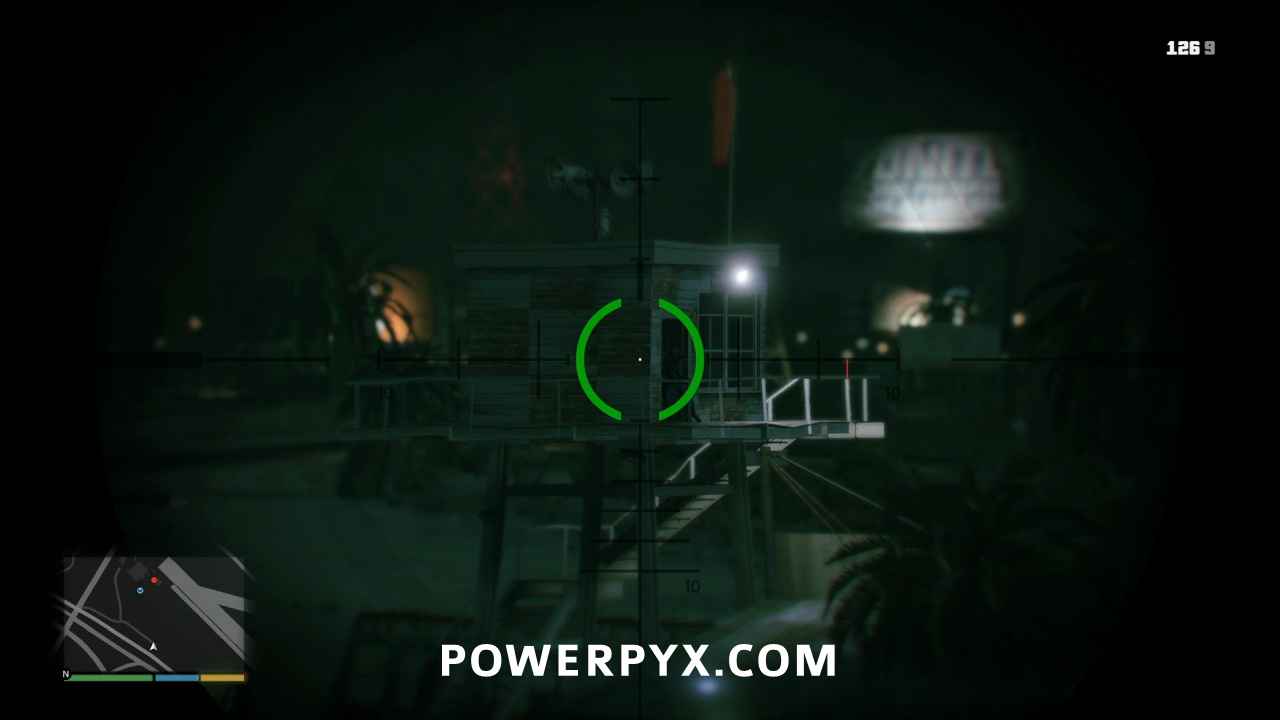
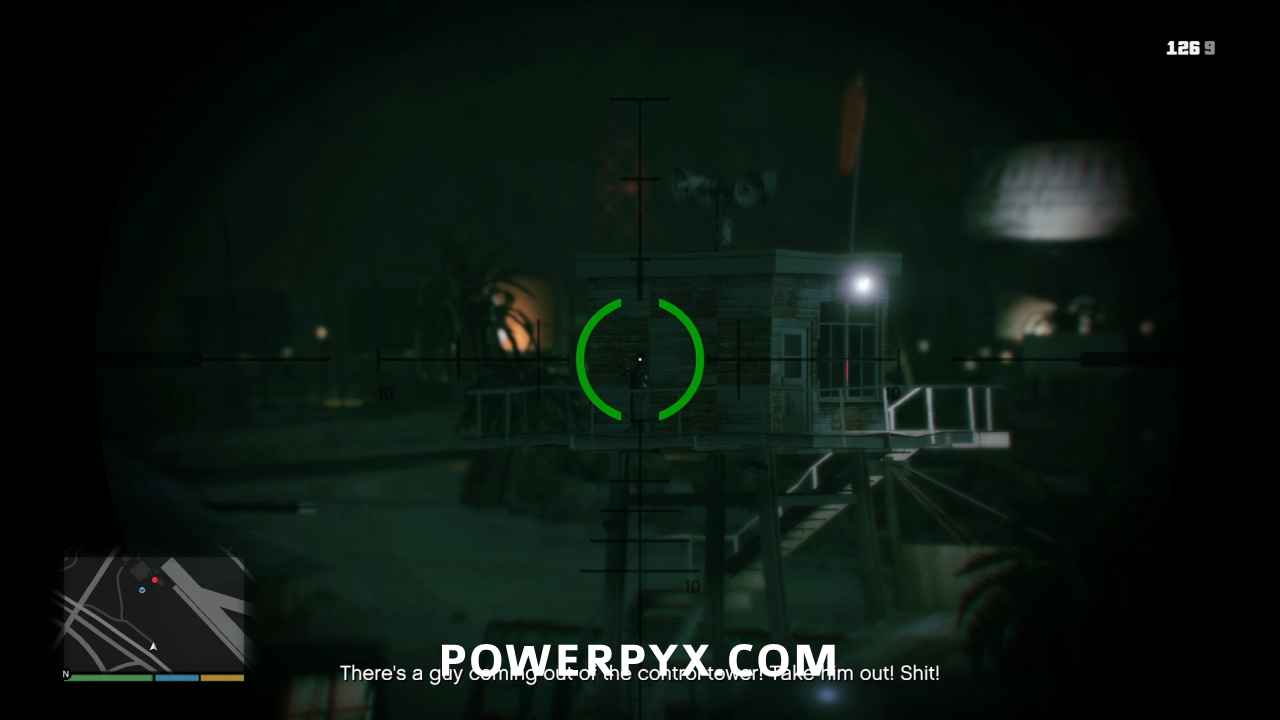
Right after this, a biker will come around the corner of the trailers near the control tower’s base, also attracted by the sound of the phone.
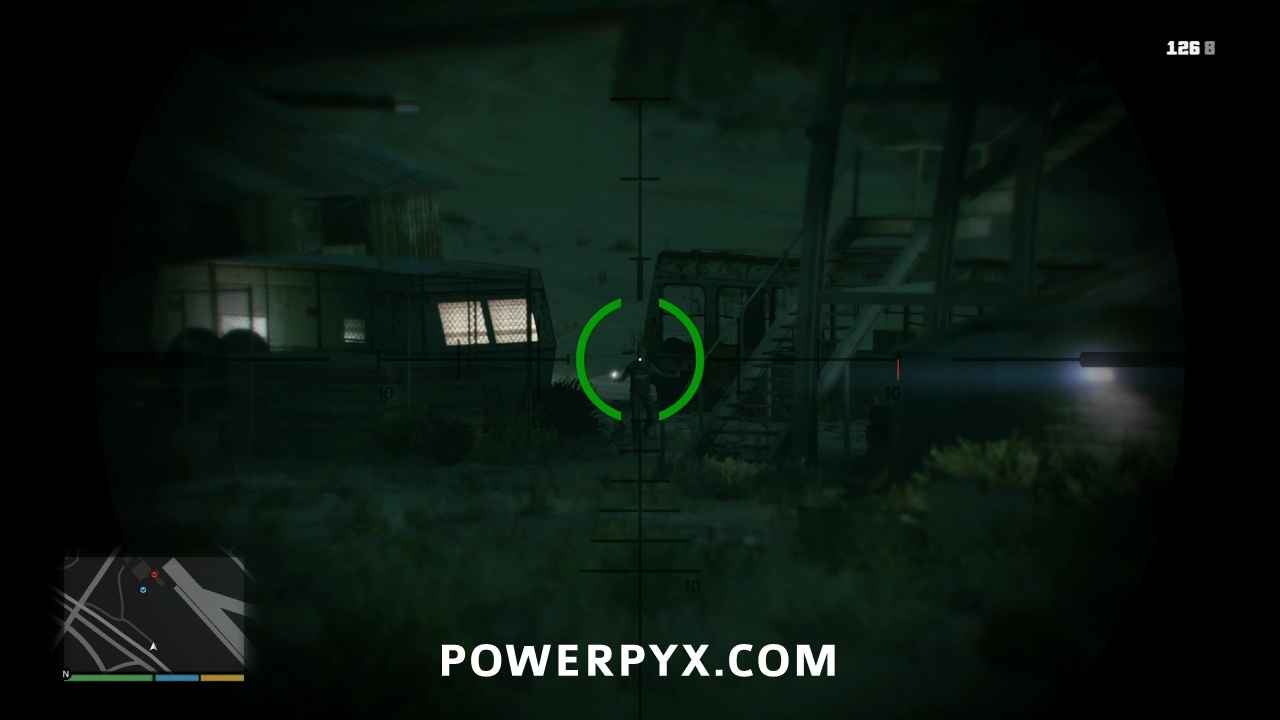
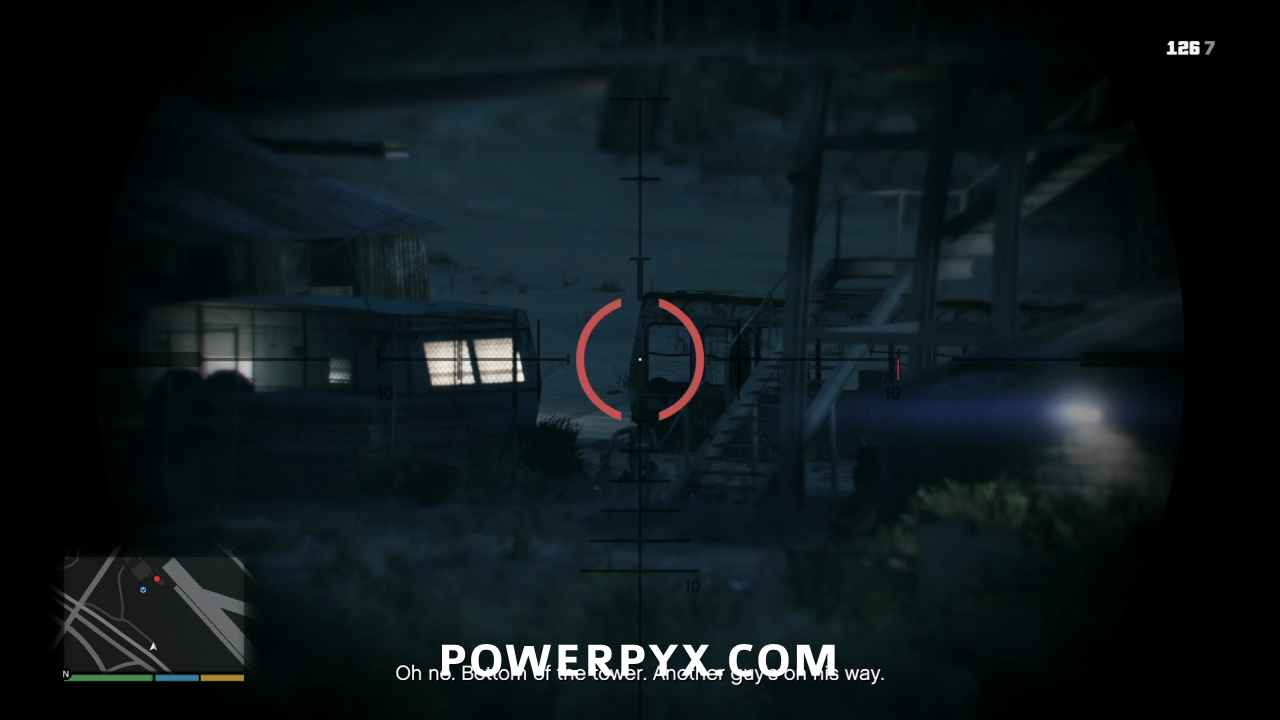
A second biker will then come out of the control tower.
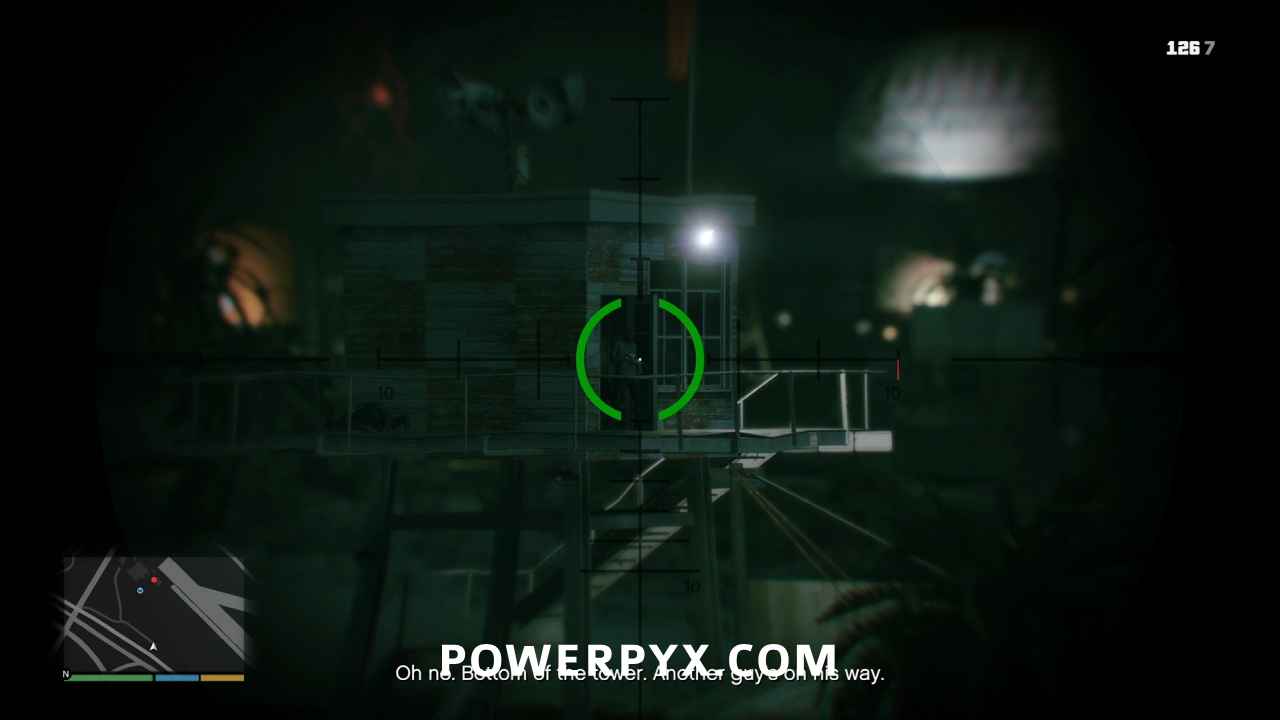
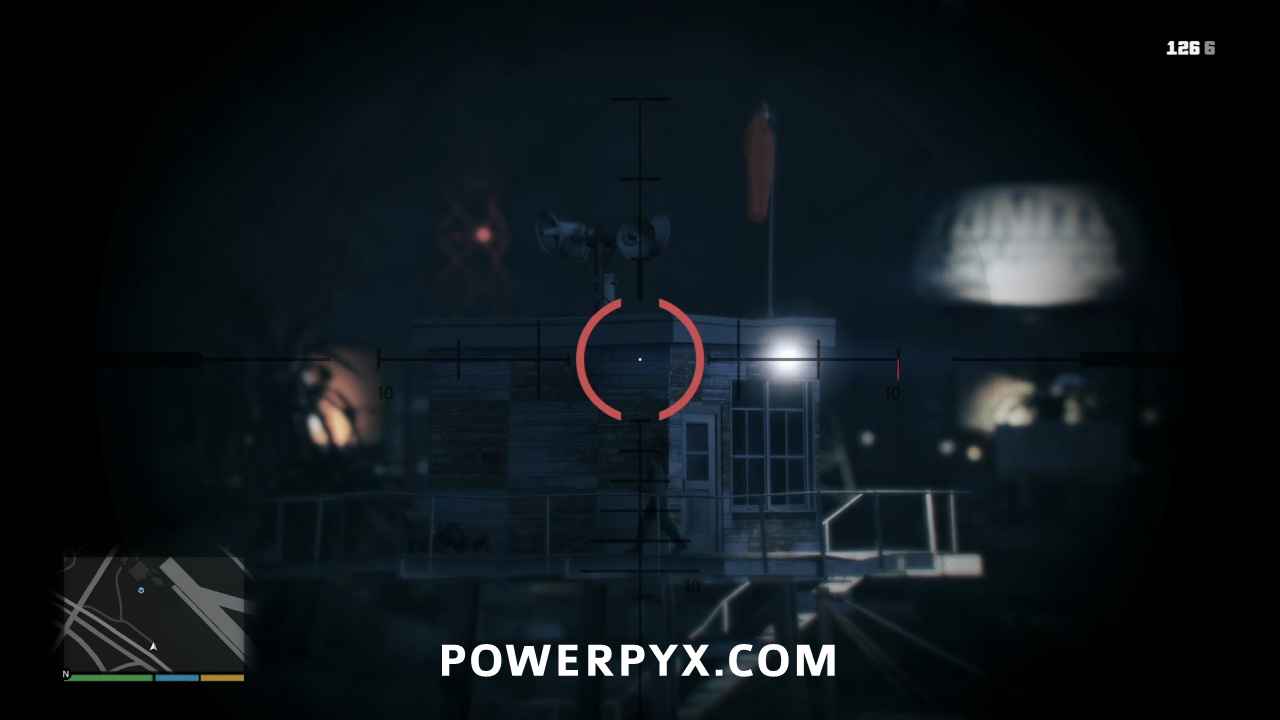
Ron will then have another panic attack that can only be remedied somehow by Trevor pointing a gun at him.
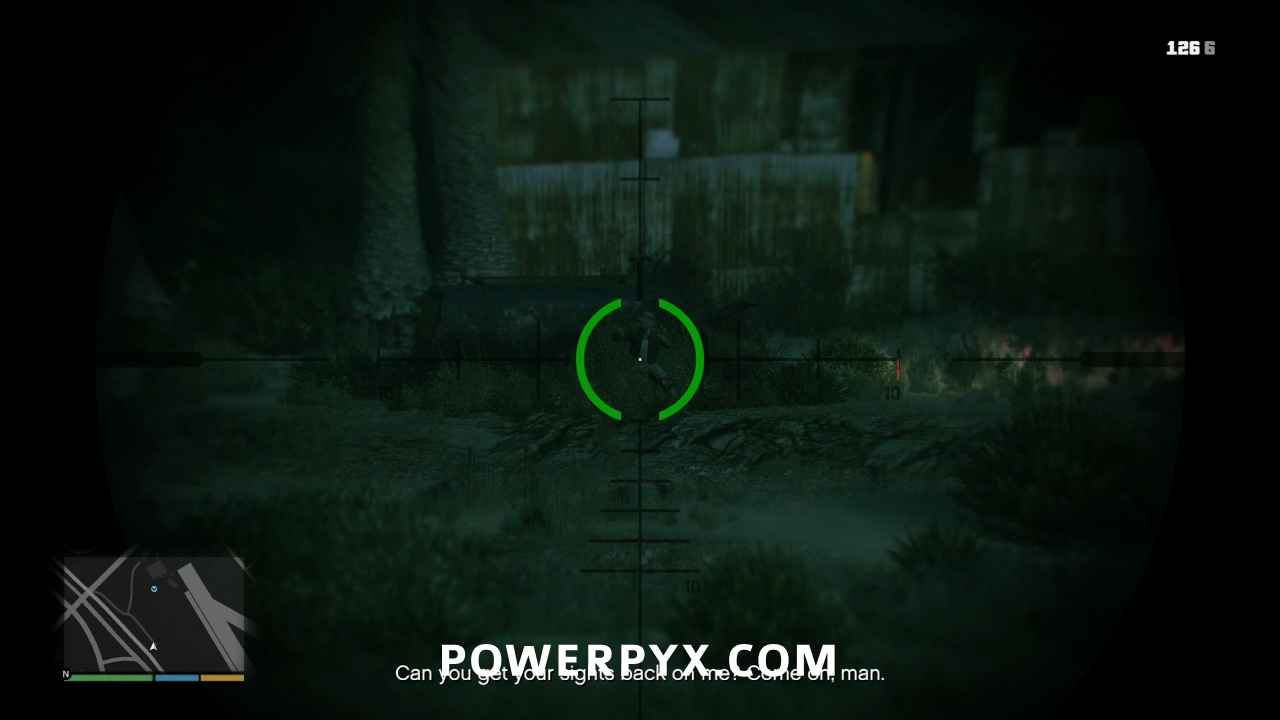
Quickly look over to the shack under the control tower, where a new biker has emerged from the side of the building. After you kill him wait a second, and a second biker will come out of the same door. Kill him quickly before he notices the corpse directly in front of him.
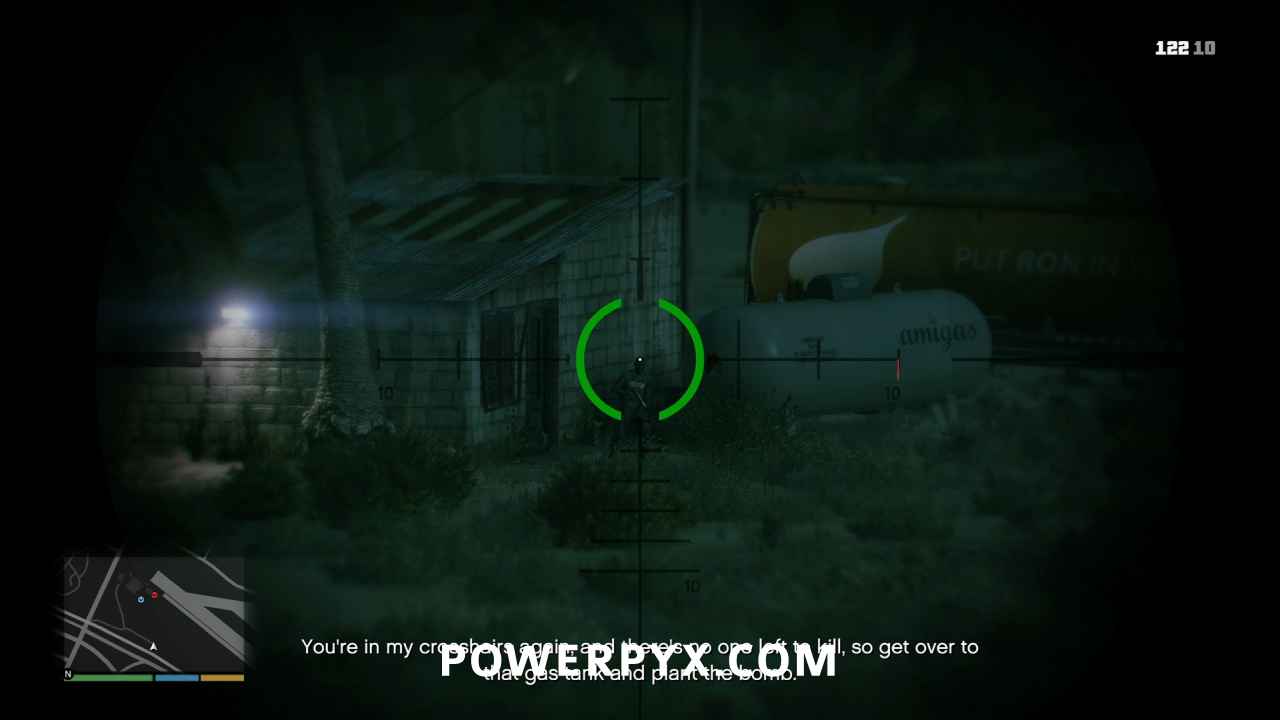
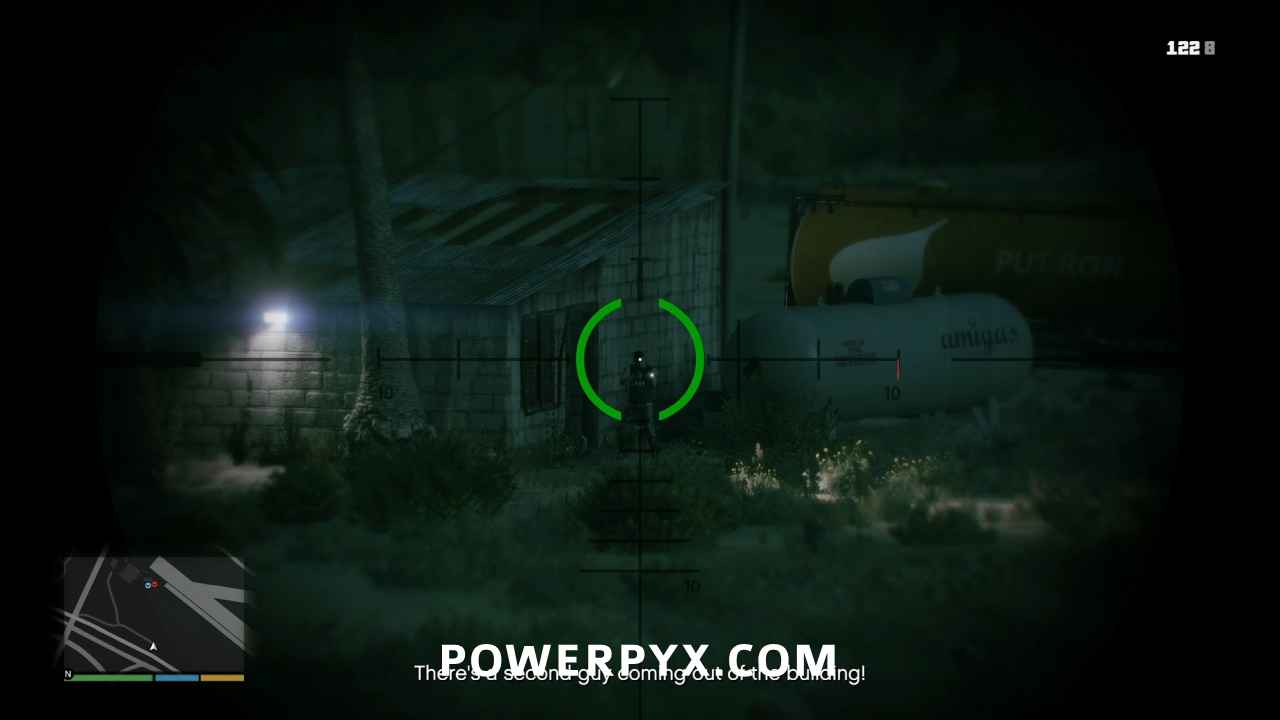
Finally in the clear, Ron will sneak over to the gas tanks and plant his bomb.
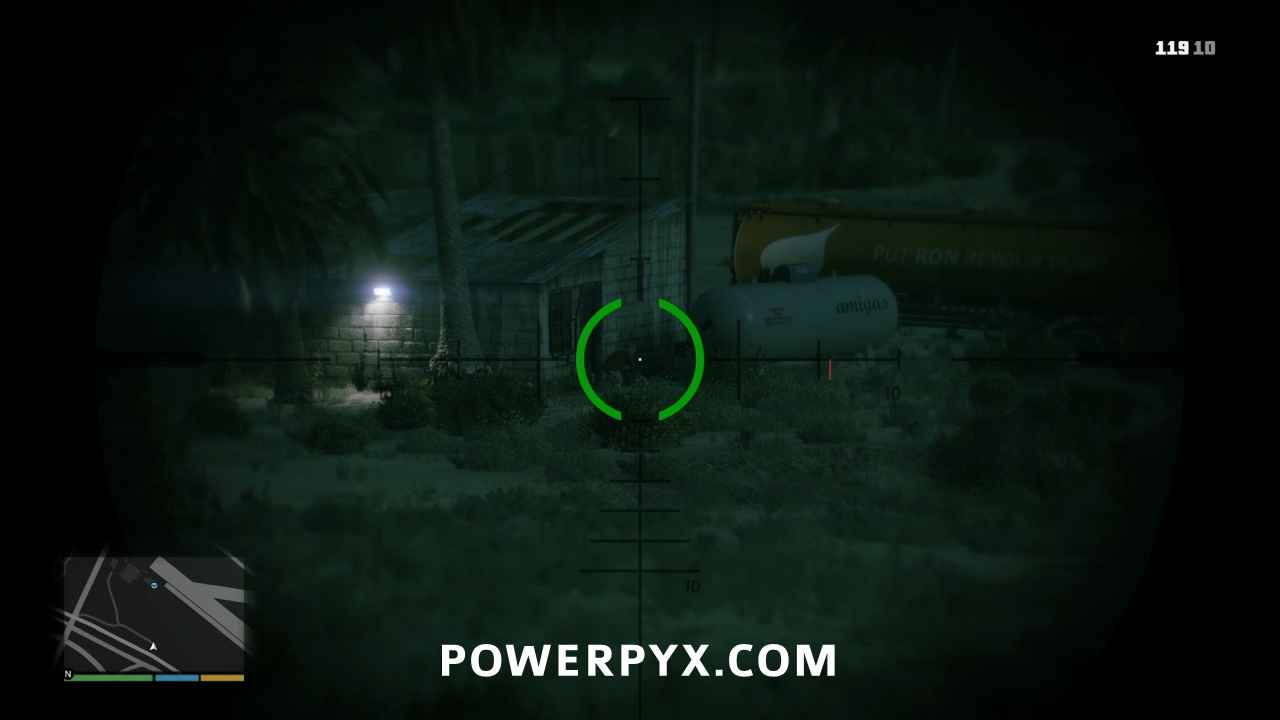
While he’s doing that, watch the area to the right of the fuel tanker. A Lost motorcycle is about to pull up, and you can take him down before he gets off his bike.
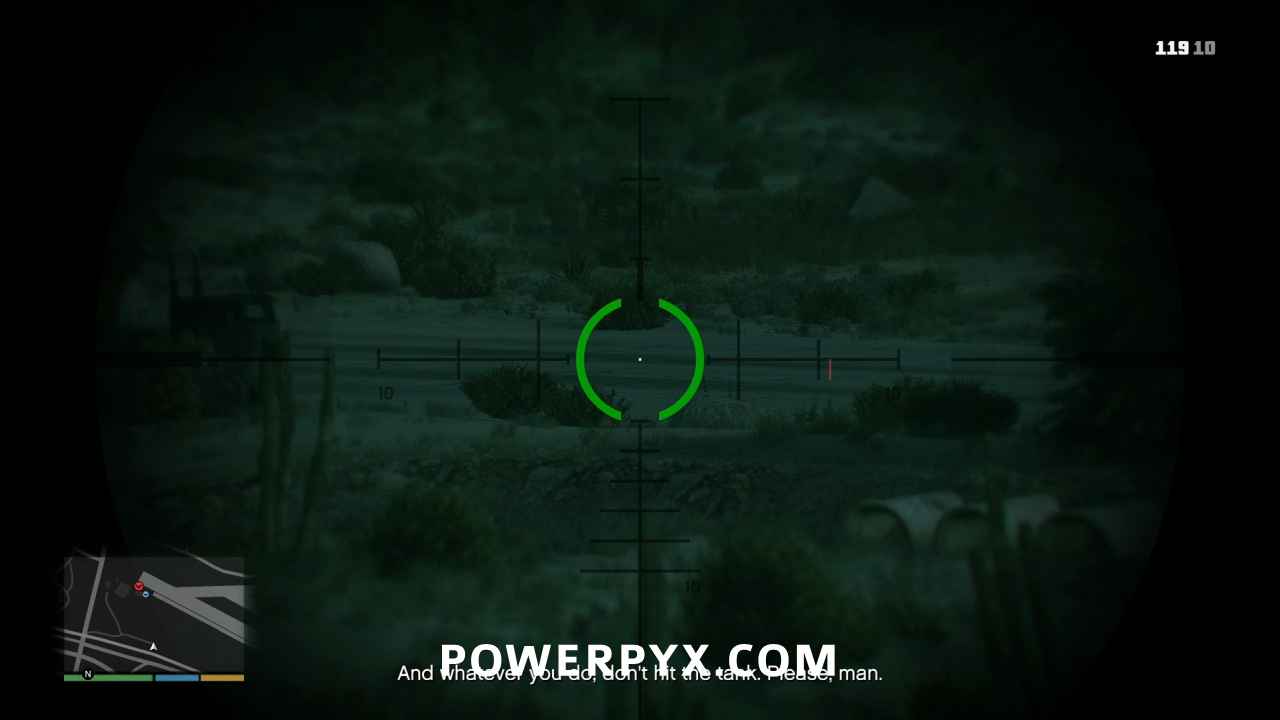
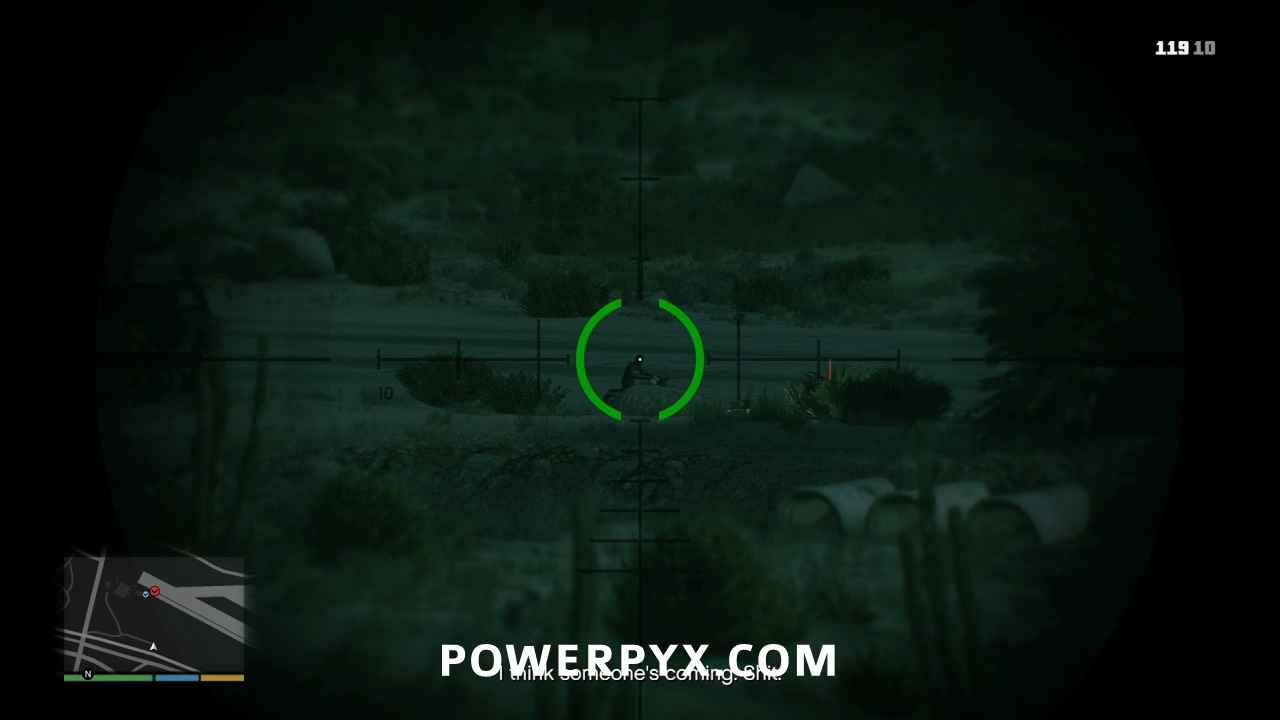
Finally you’ll hear the blades of a helicopter in the distance. Don’t wait for Ron, shoot the pilot to down the chopper, skipping the resulting cinematic.
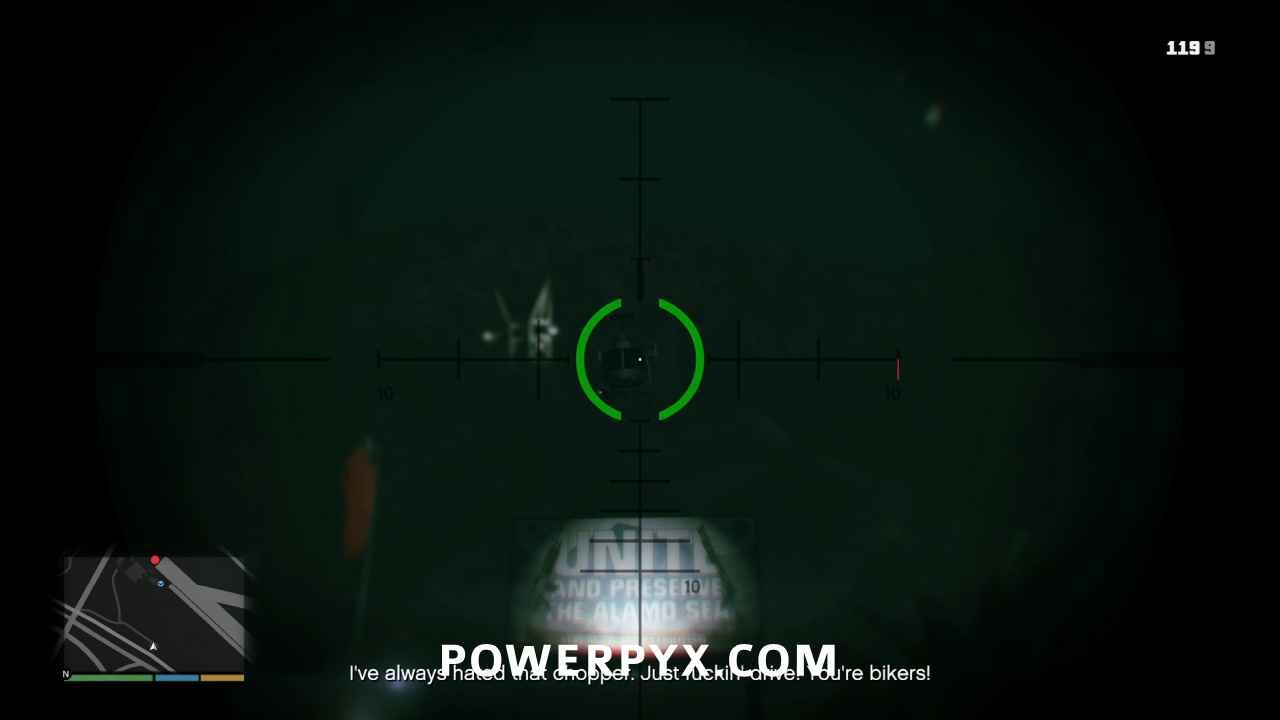
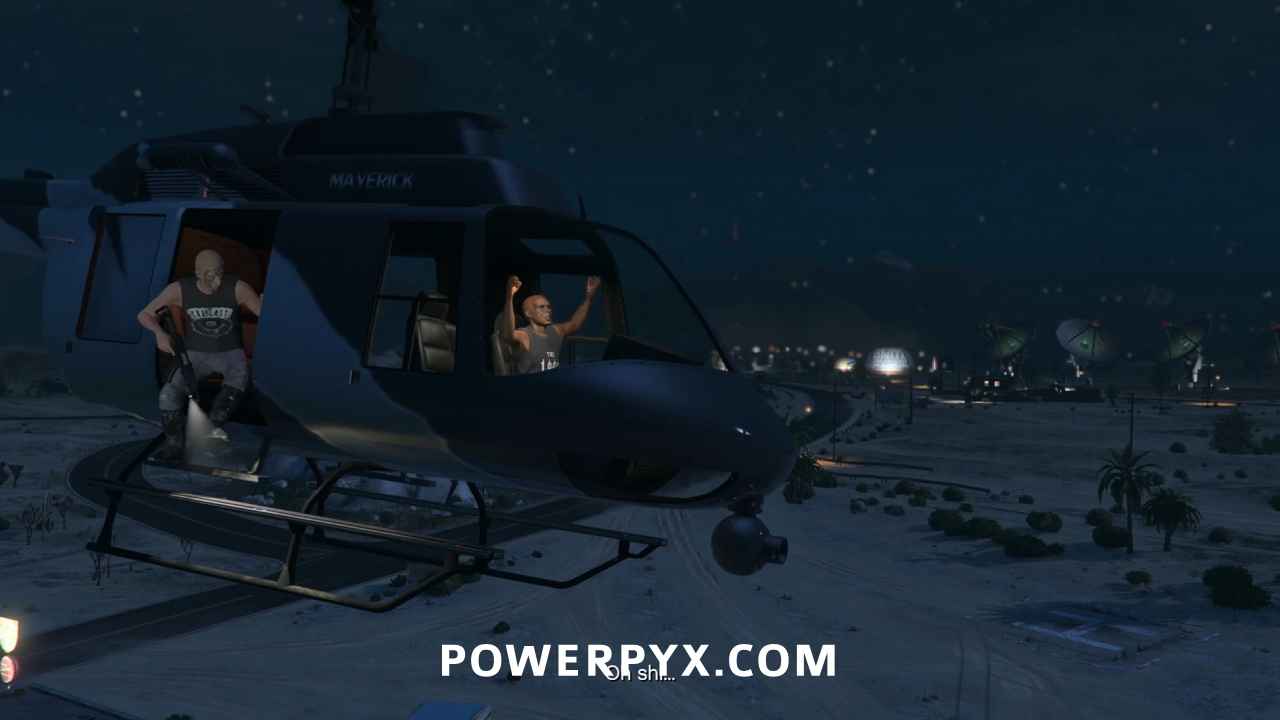
Help Ron Secure the Airstrip
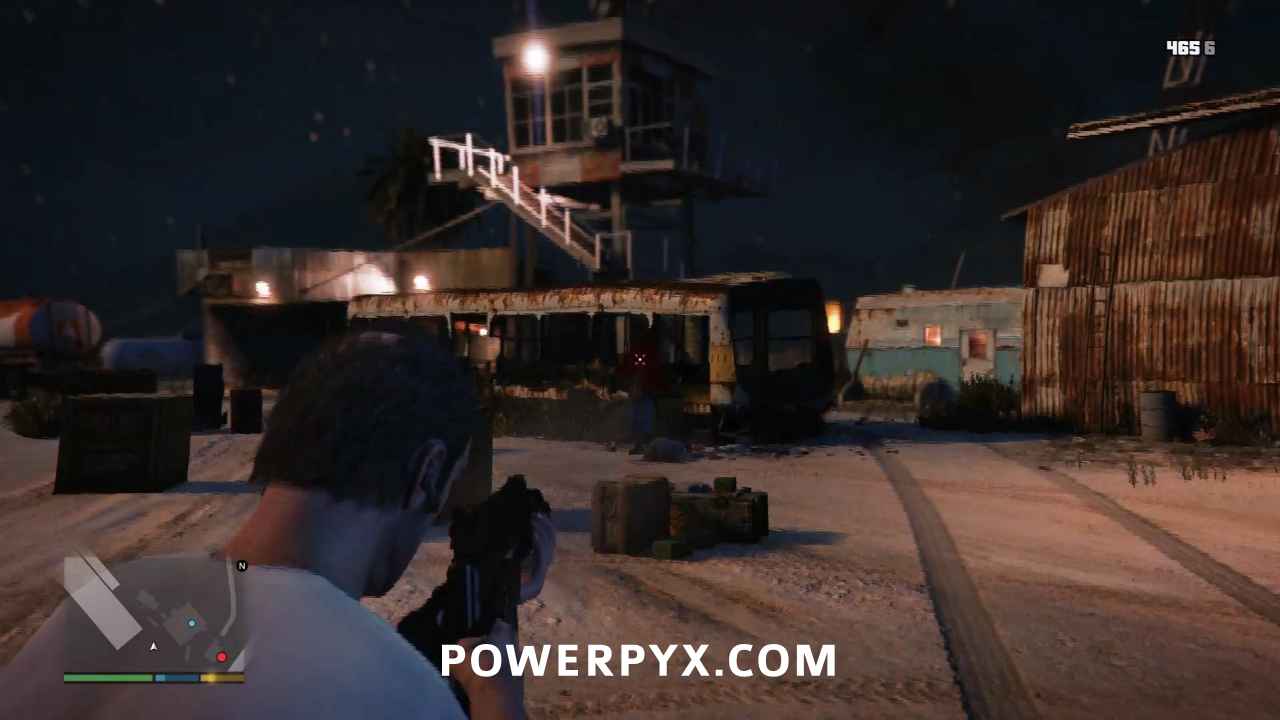
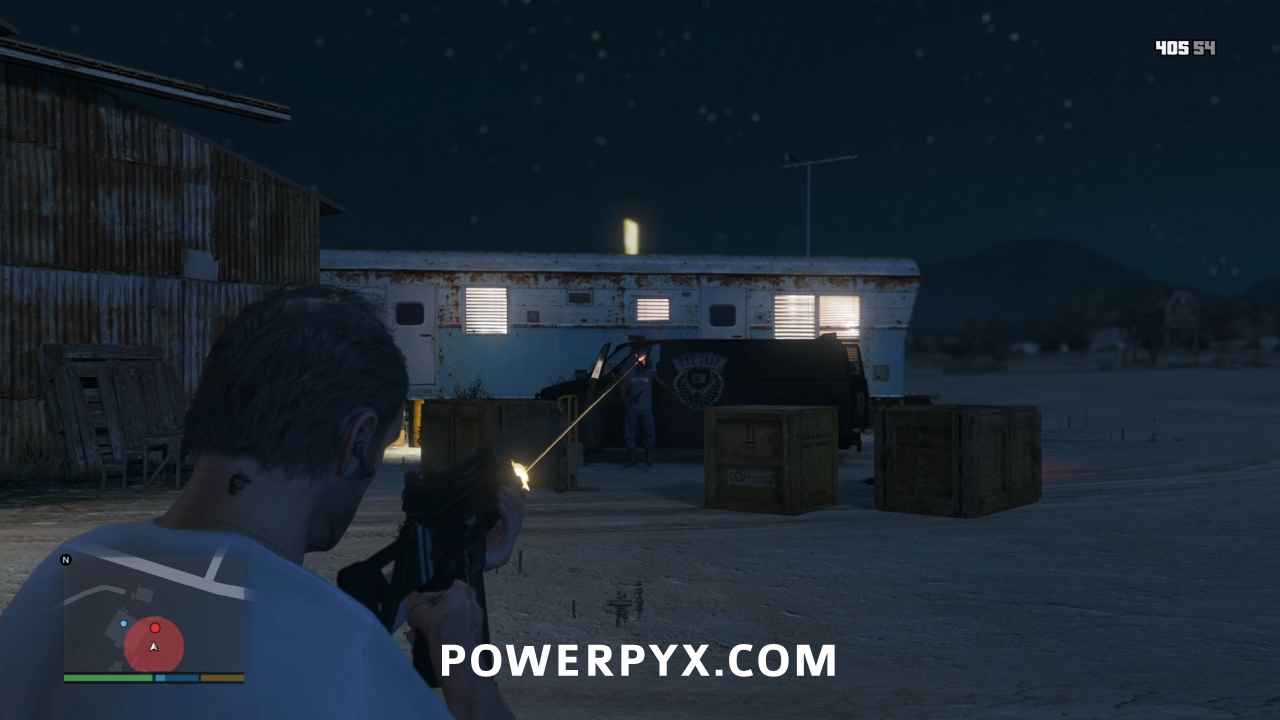
With the chopper exploding, that ends the stealth portion of the mission. Ride your ATV towards the airstrip and get ready for a fight. If for any reason you think you didn’t get 5 headshots through the sniper section, you will now have plenty of time to make up for it. Use Trevor’s special ability if the firefight gets too hairy, but you don’t have time for cover so just keep advancing.
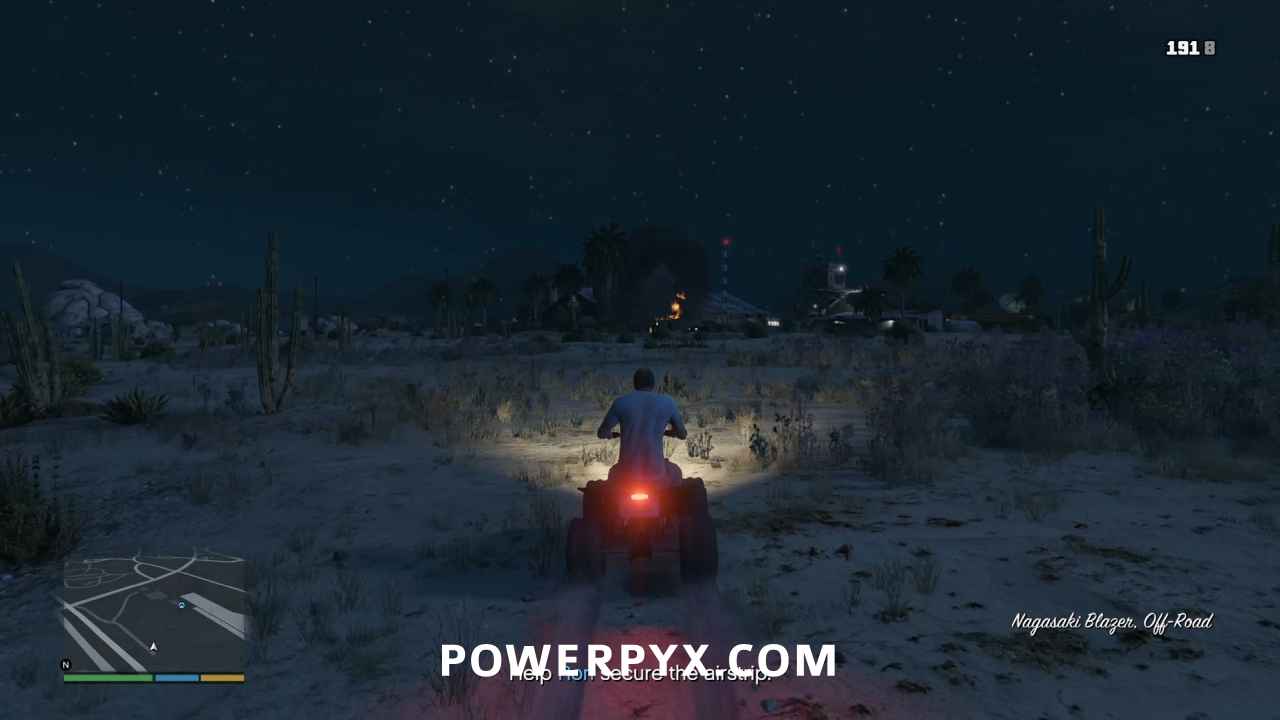
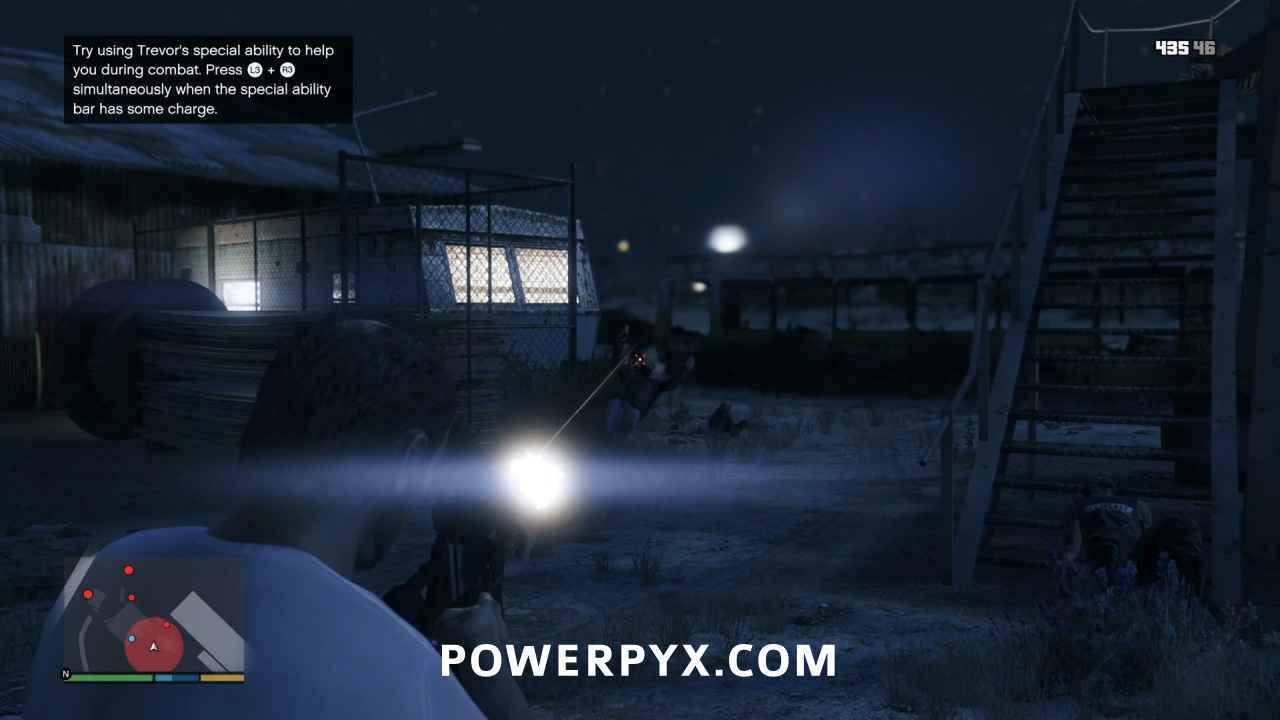
There will be eight bikers on the ground, then a van will pull up with another three.
Get to the Plane
Once they’re all dead, run for Ron’s plane. He’s going to give you a lift to the second plane while you provide cover from his wing.
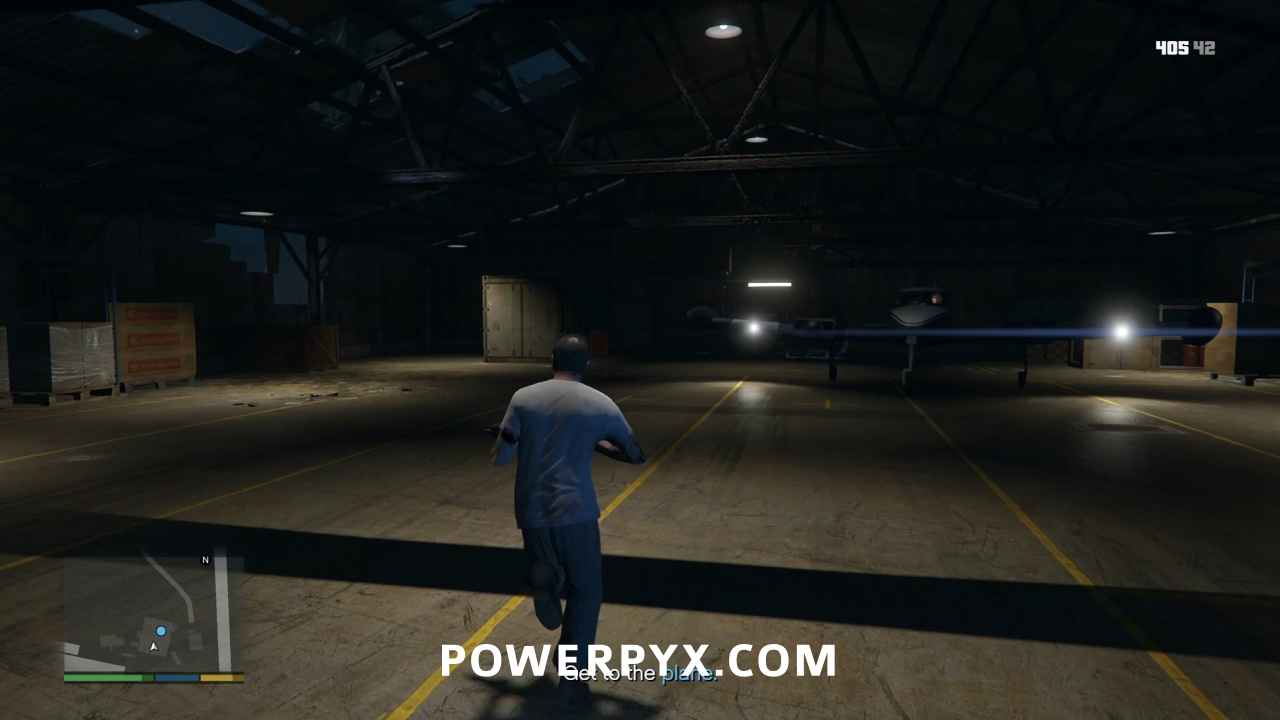
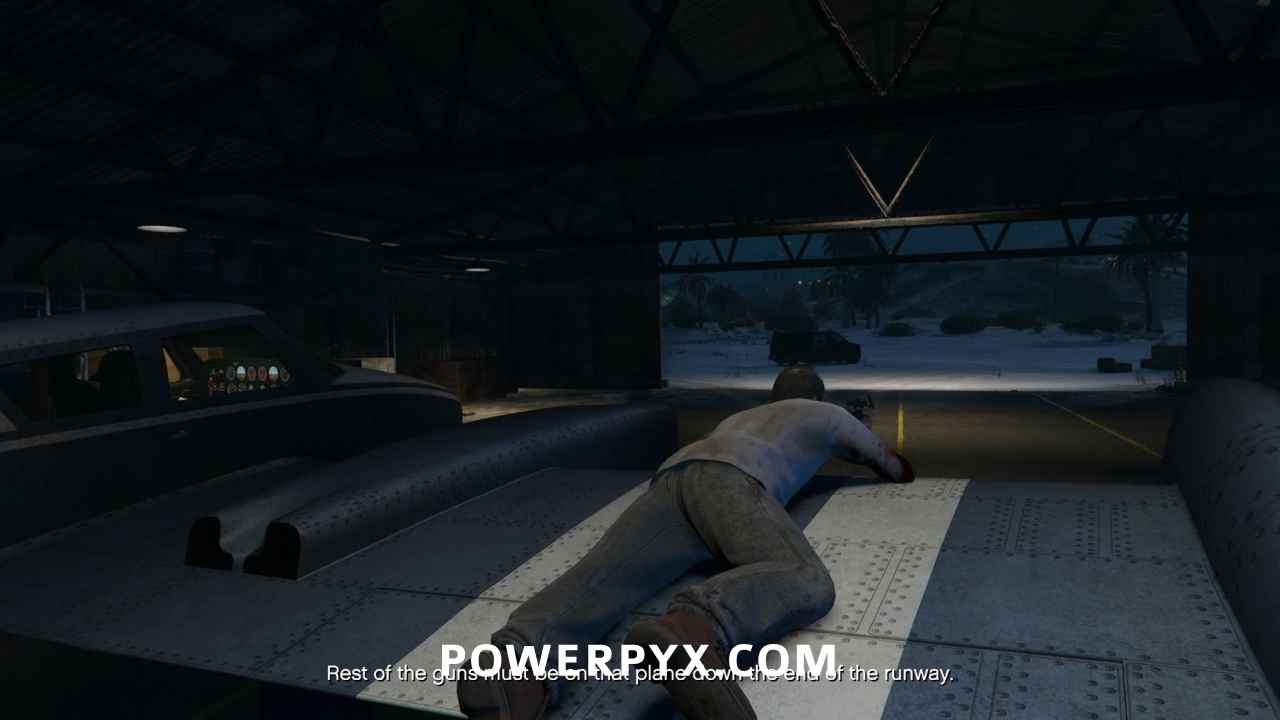
This is where the next Gold Medal requirement must be fulfilled:
- Death on a Wing: Kill all bikers while lying on the plane wing
Bikers will spawn as soon as Ron starts moving. It is critical to watch your minimap to make sure that enemies that fall down are actually dead. With the awkward position on the wing, it is all too easy to accidentally leave someone alive.
Kill Everyone
The first biker will appear on the right side of the hangar door.
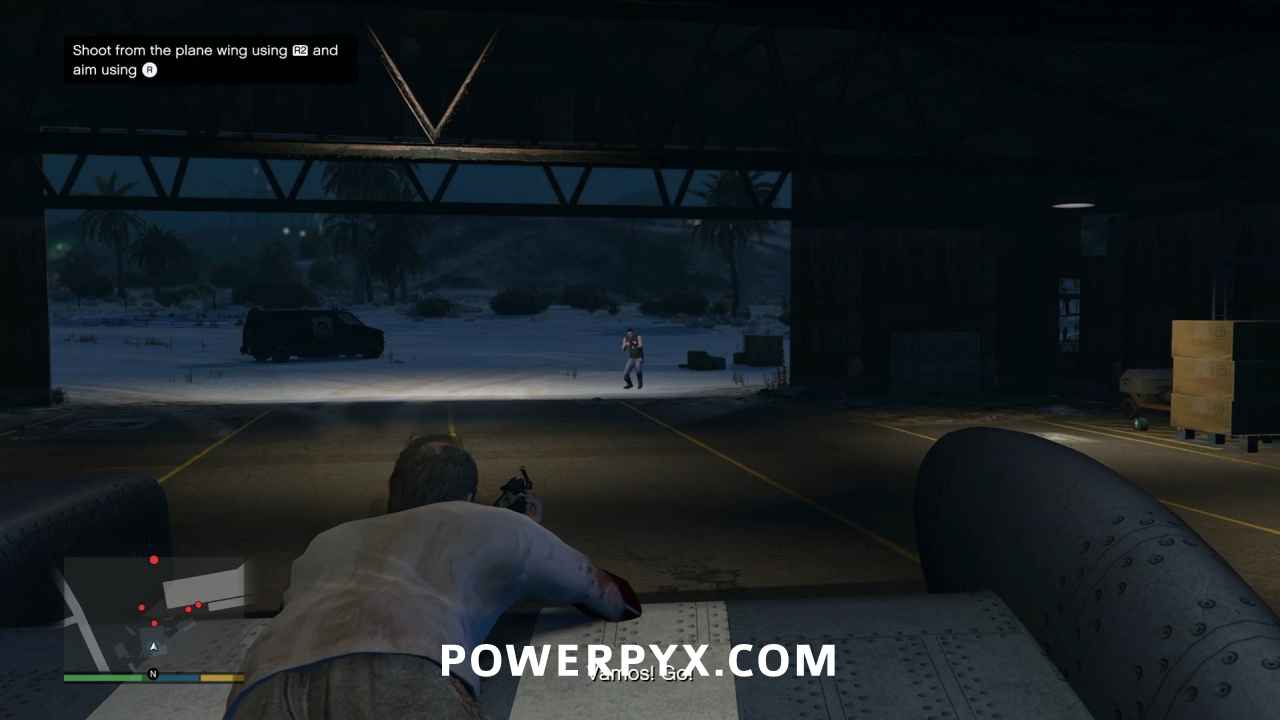
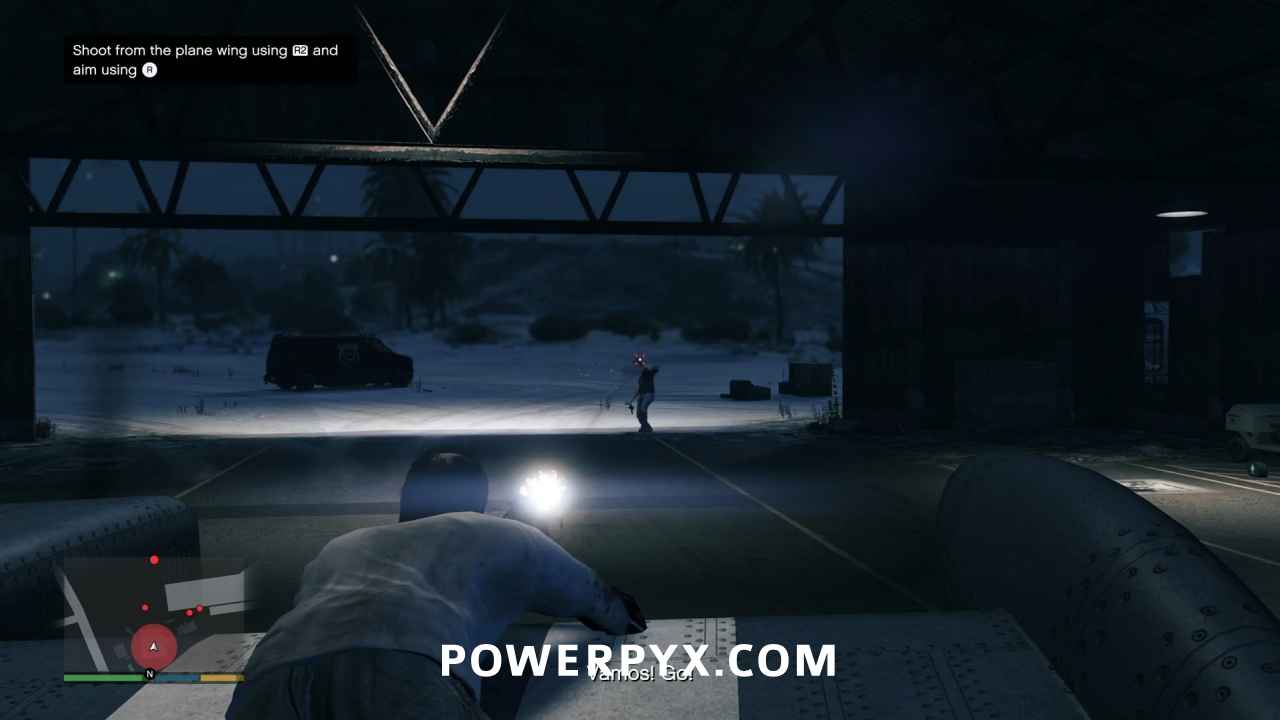
The second will come out from behind the Lost MC van ahead of you.
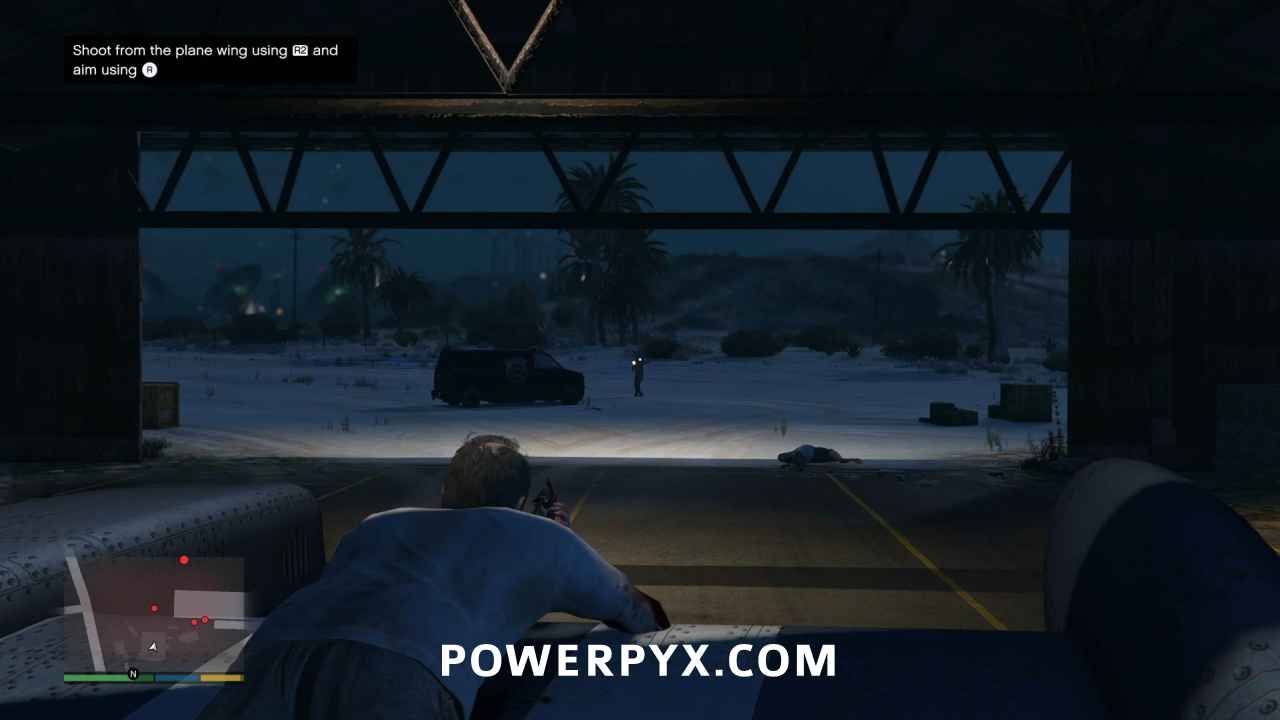
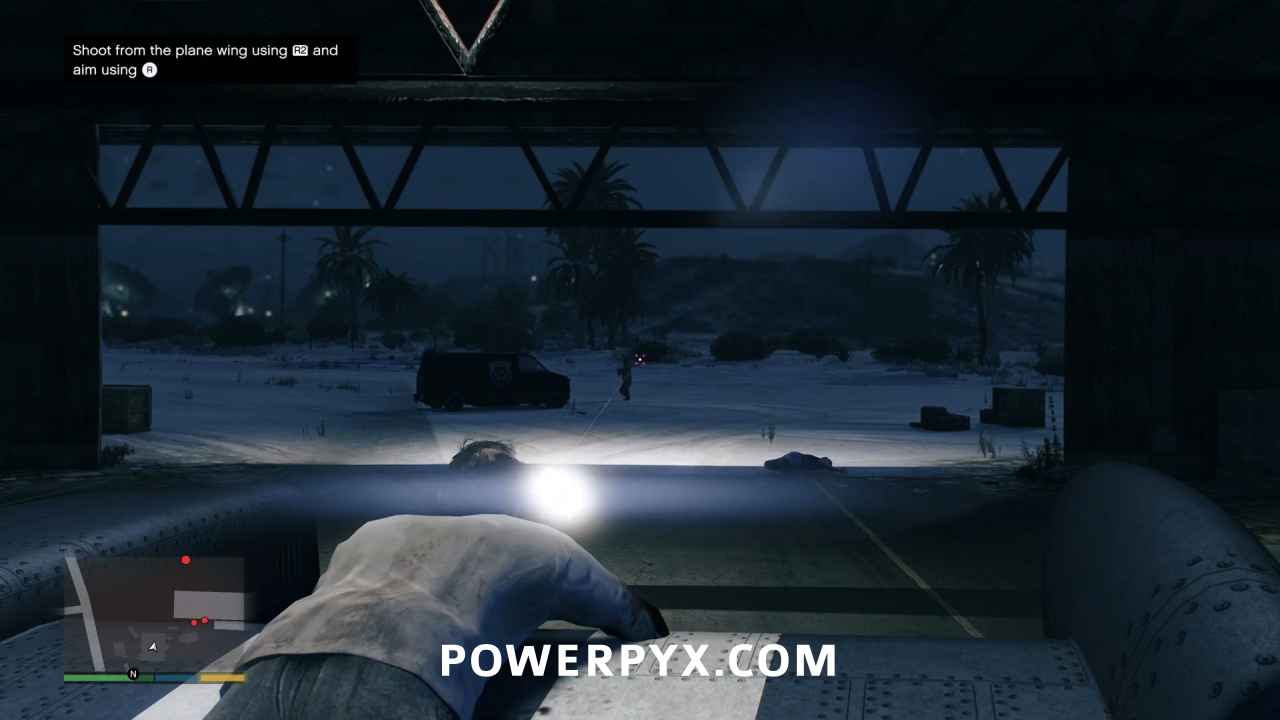
As you approach the hangar door, you’ll see the third across the airstrip ahead of you and to the right. He’s a little hard to see against the background until he shoots at you.
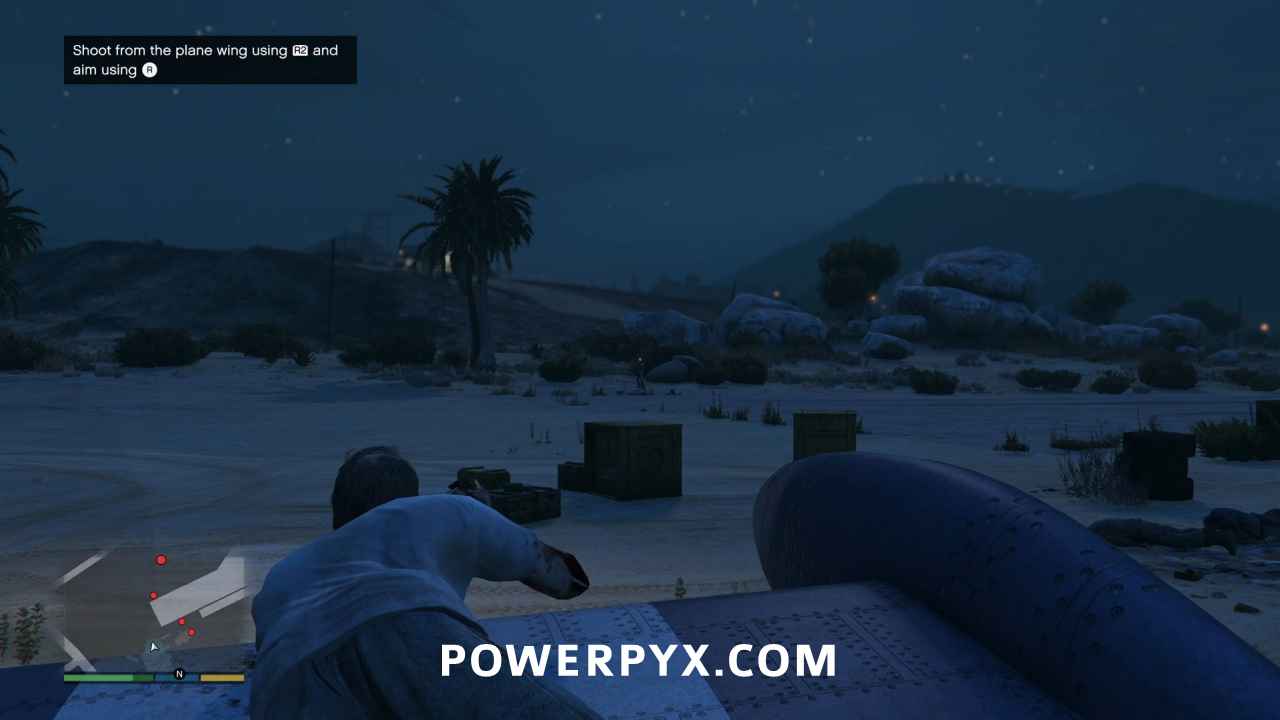
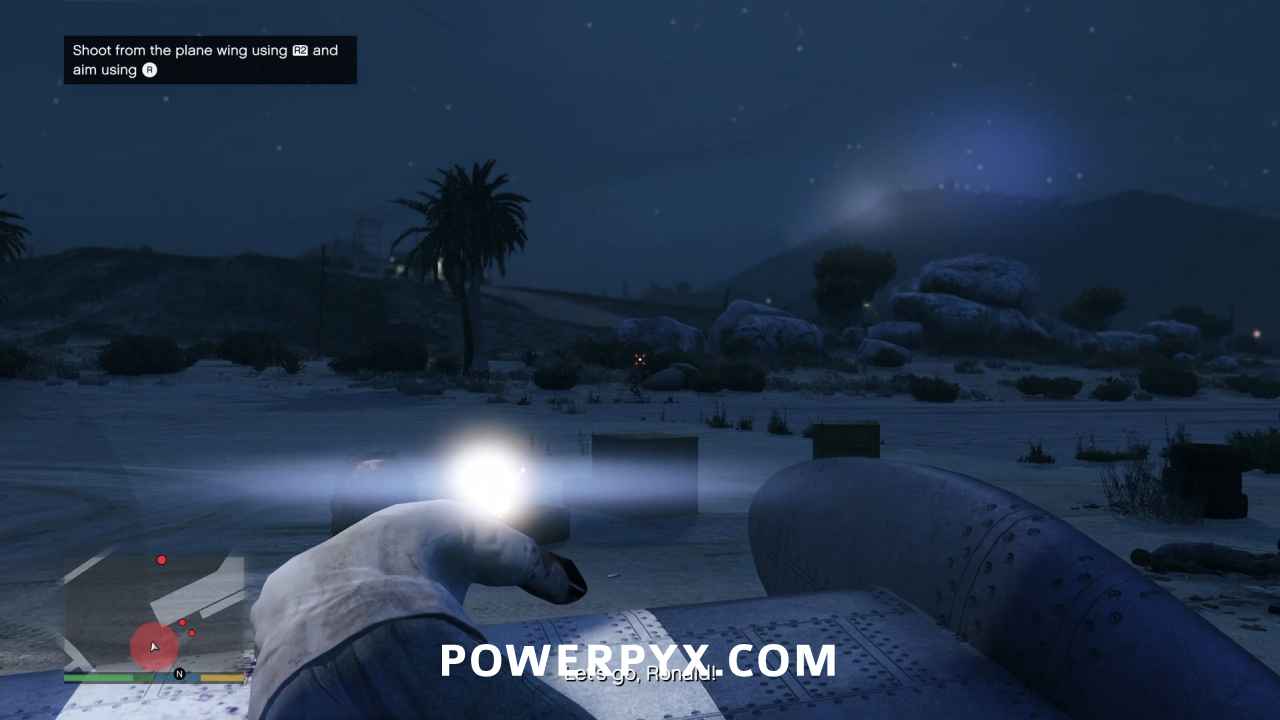
Exiting the hangar, look to the right to see the fourth and fifth bikers standing near the fuel tanker. Either shoot the tanker or detonate Ron’s bomb to kill them.
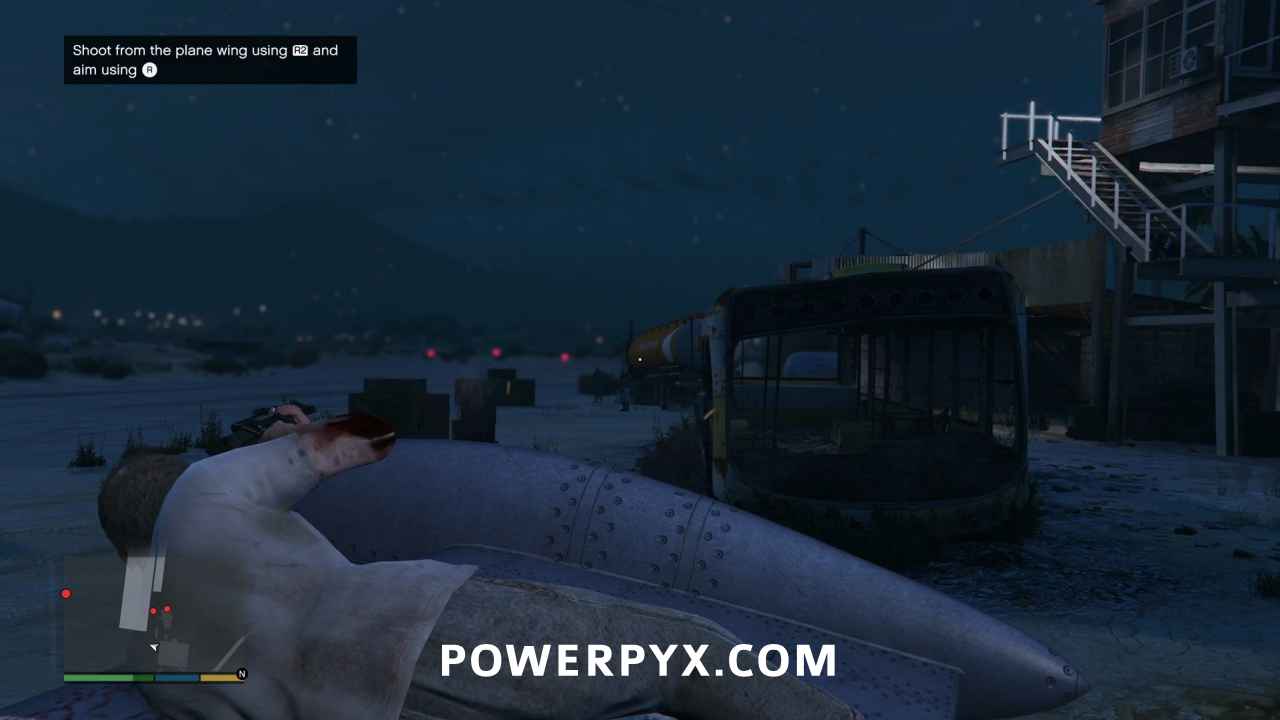
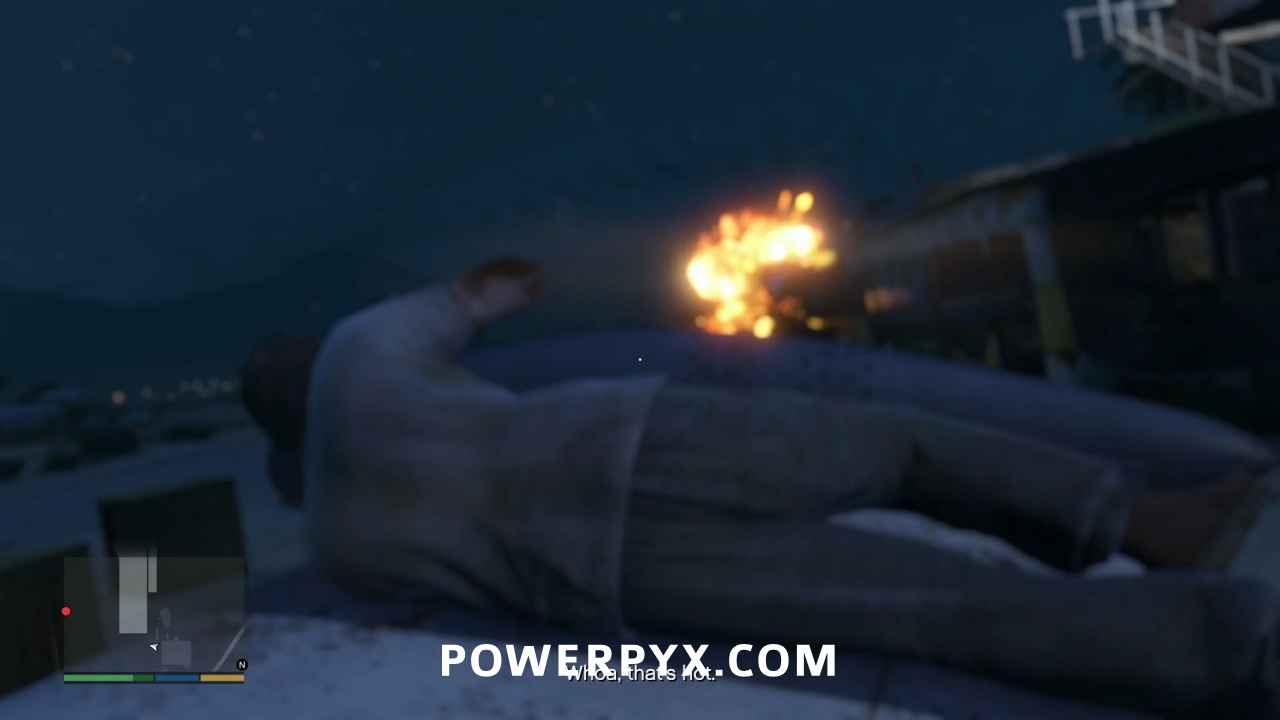
Look back to the other side of the airfield as Ron begins to turn right. The sixth guy will be approaching you on a motorcycle. Make sure to kill him quickly, otherwise he will circle around behind the plane, then ride off down the runway away from you.
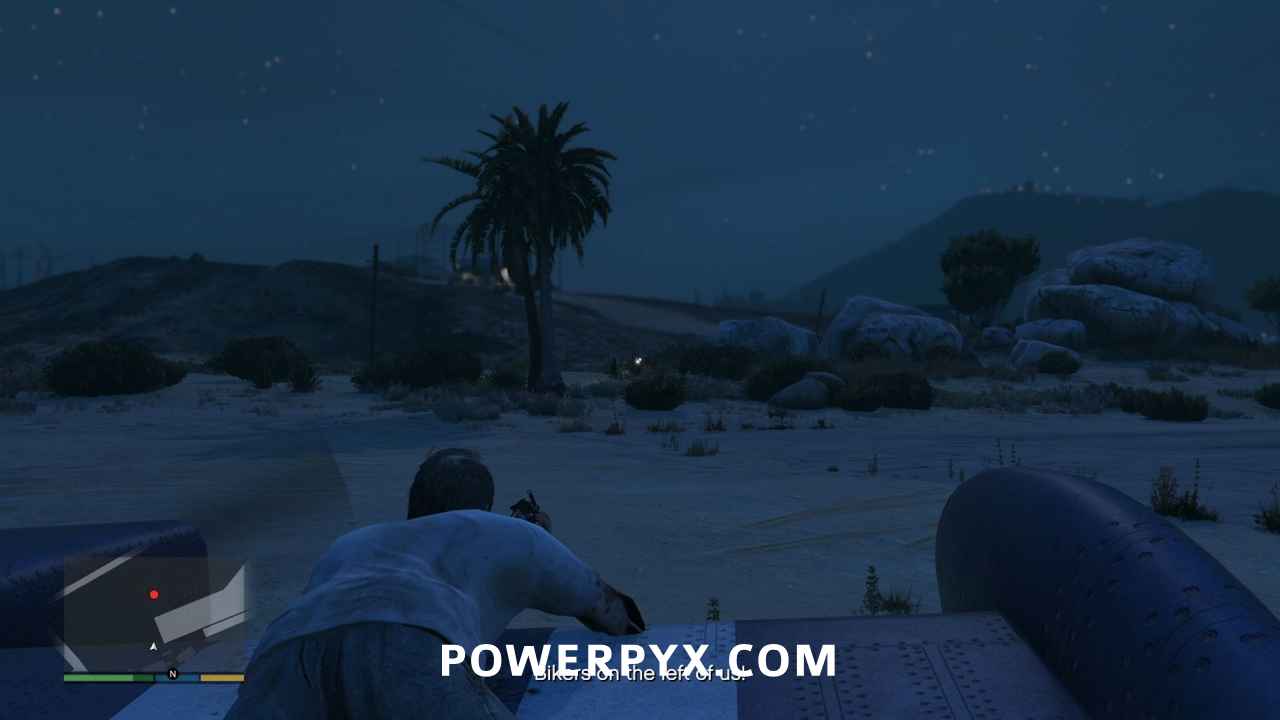
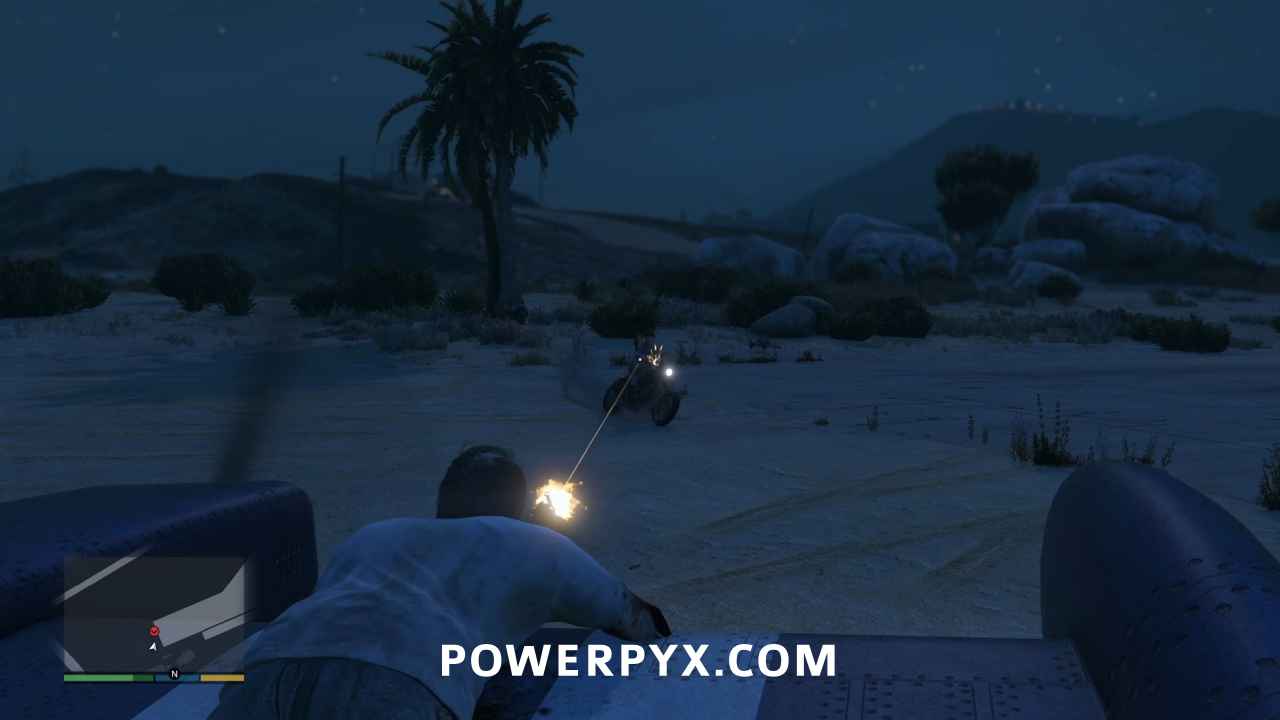
You’ll still have a chance to kill him, but with two new vans that roll up afterward you’re about to become very busy.
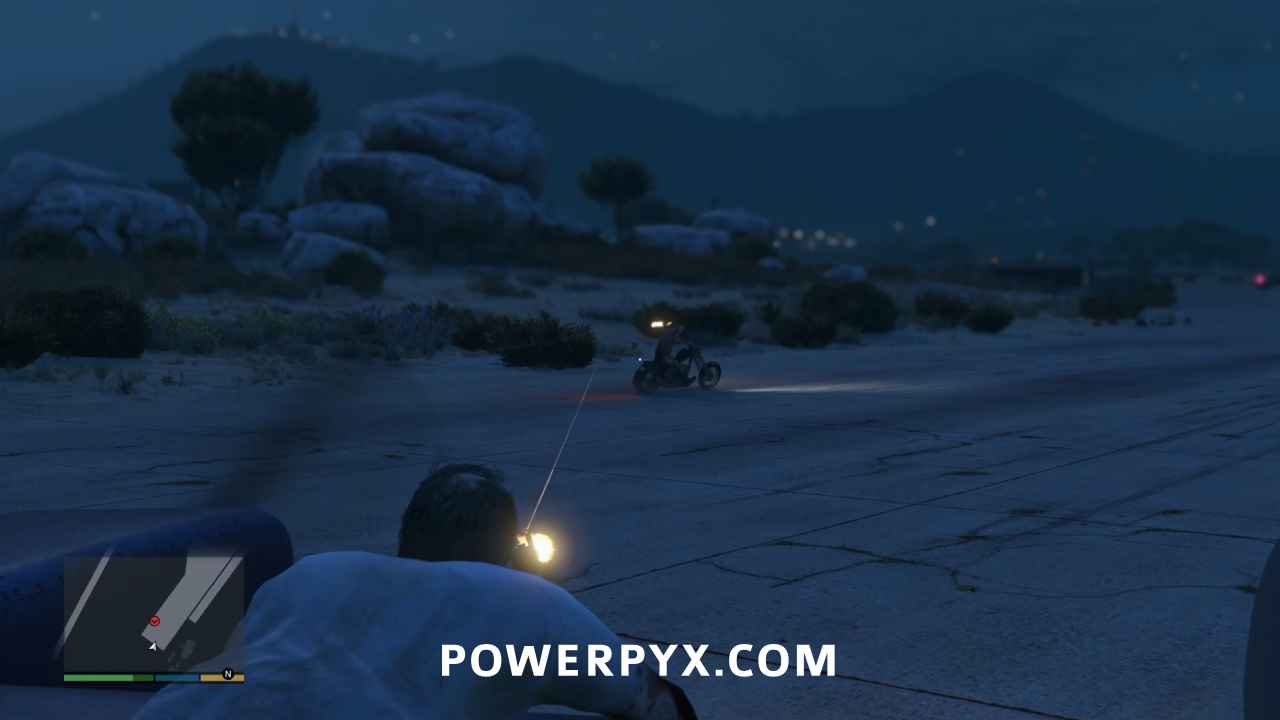
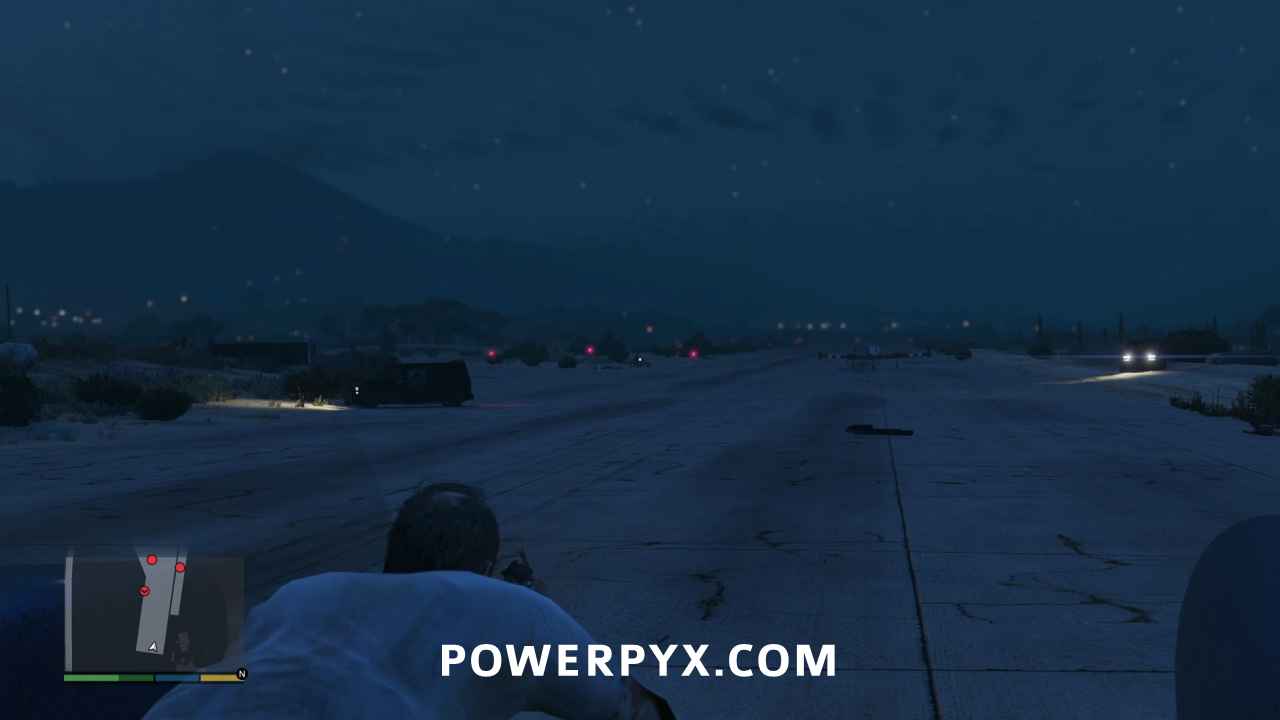
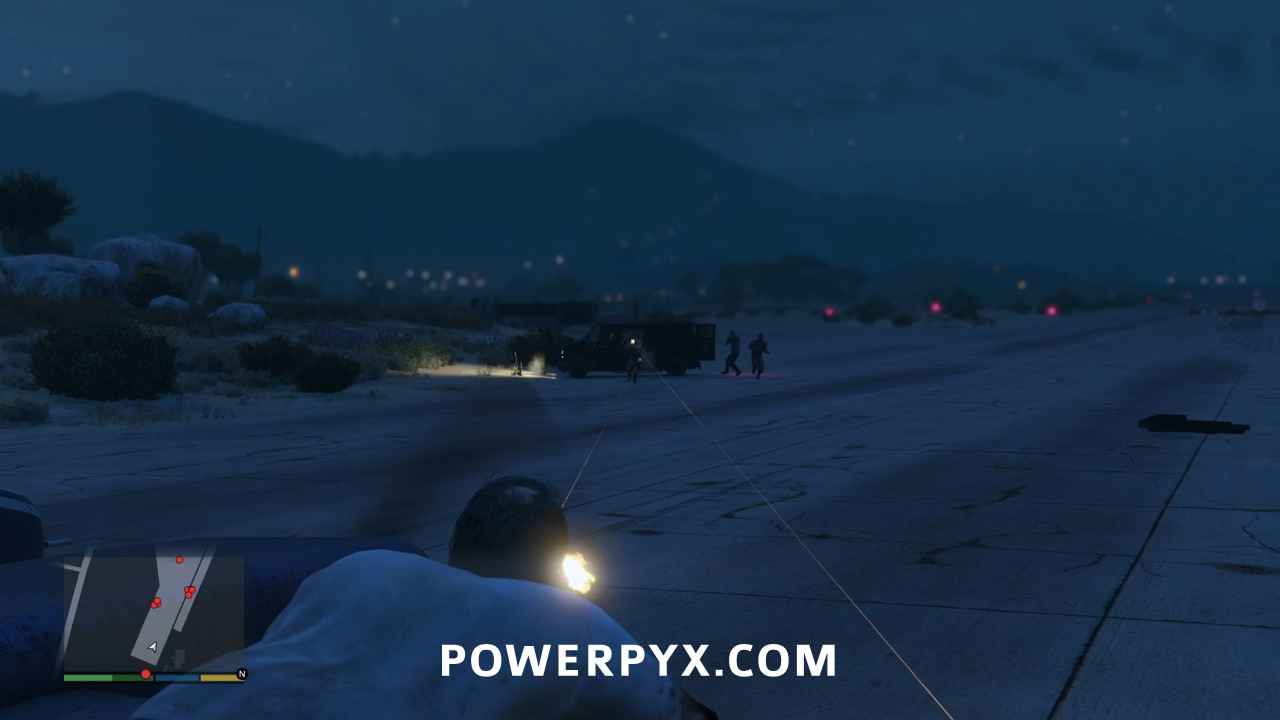
Three guys get out the van on the left, and four get out of the right, bringing the total death count to 13.
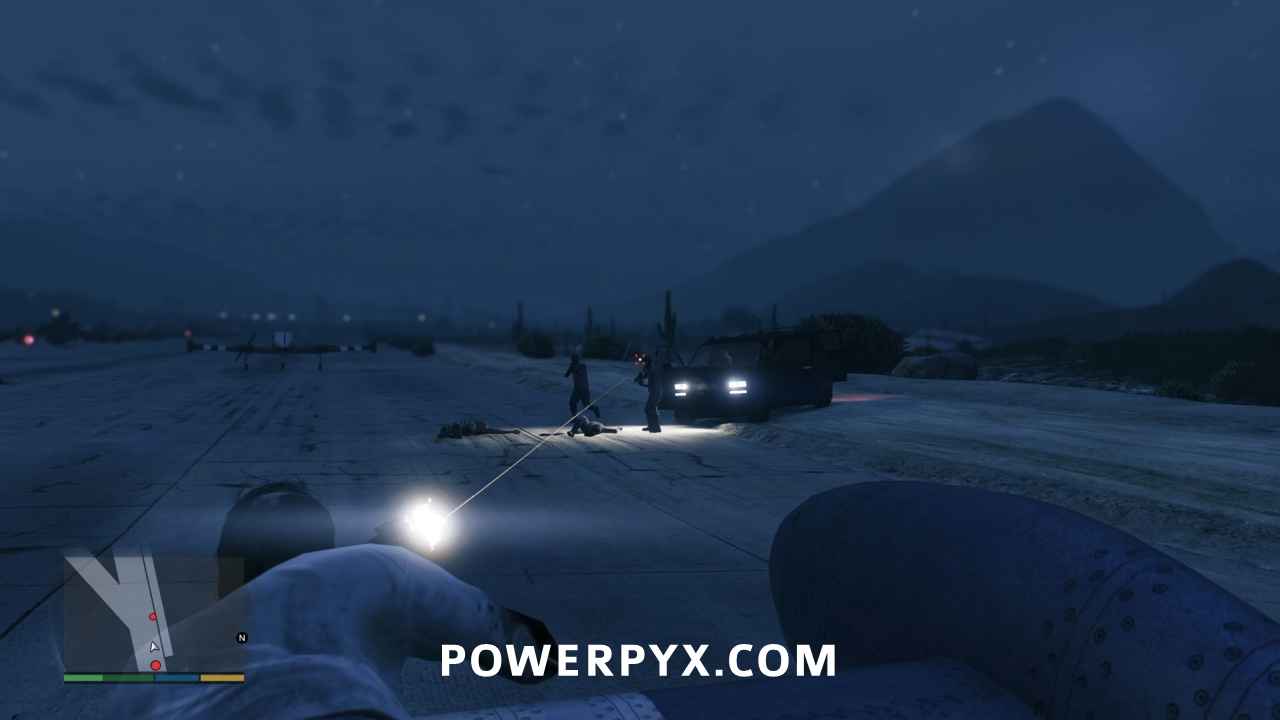
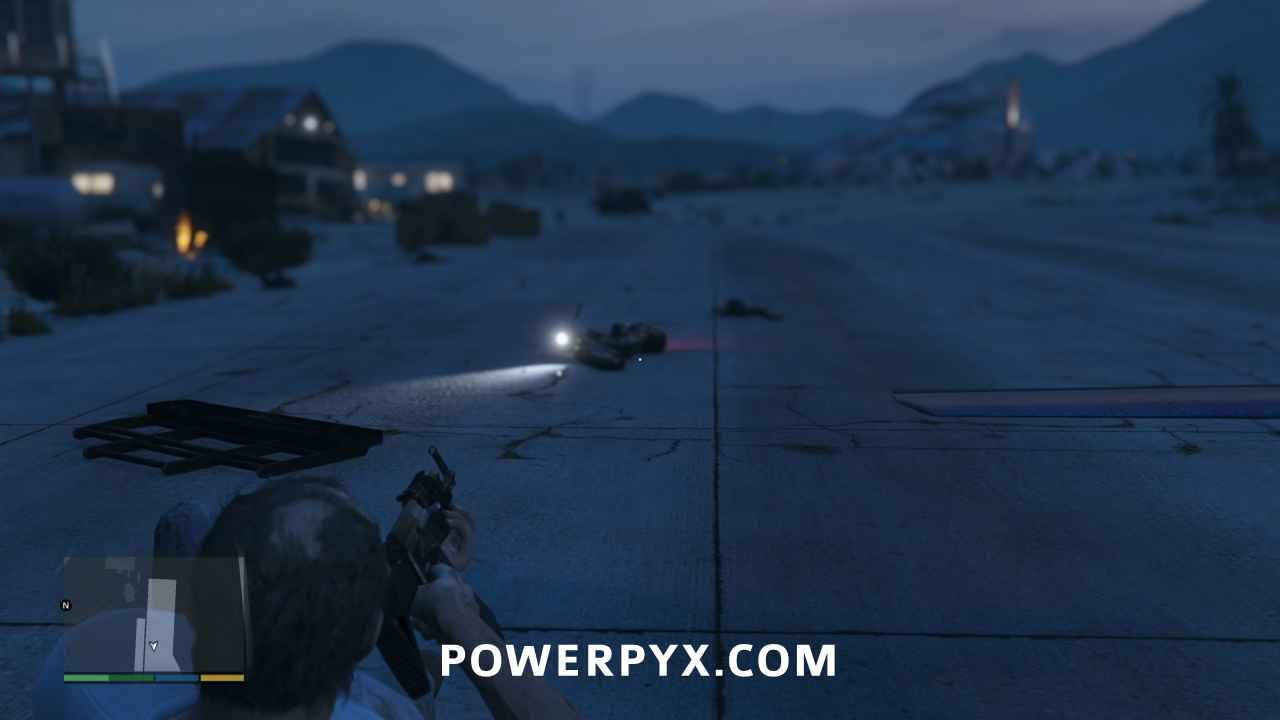
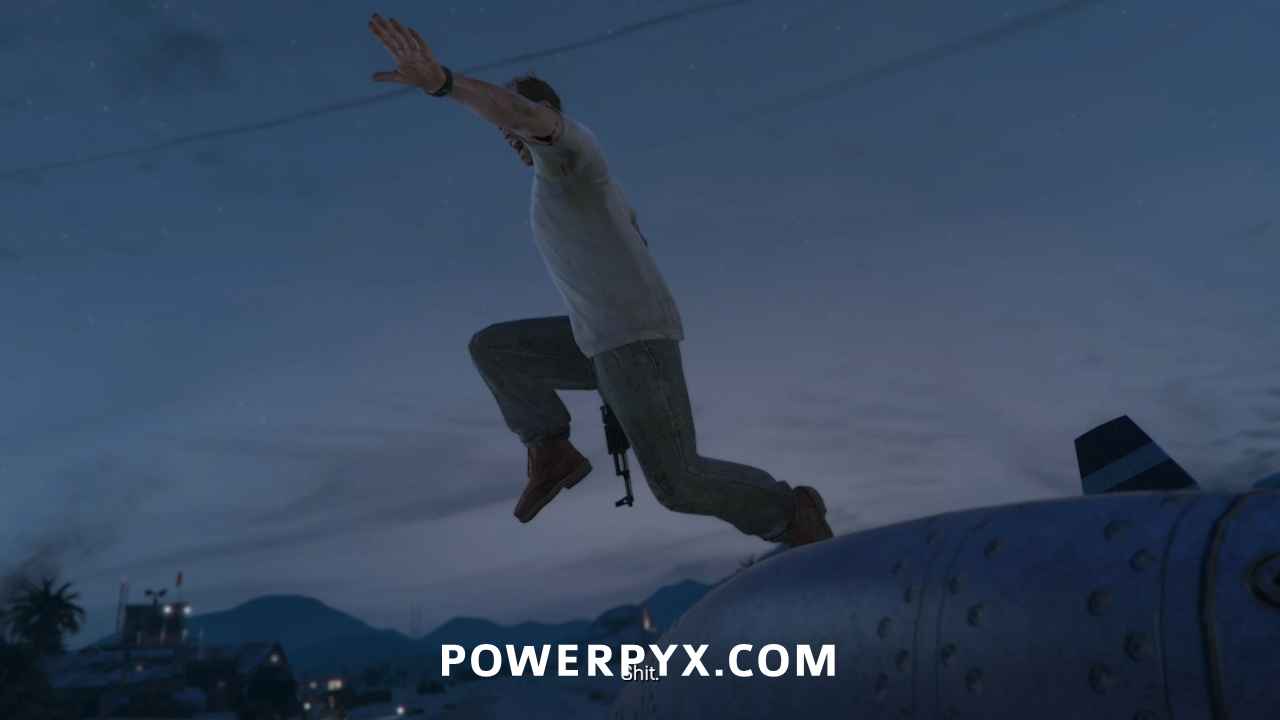
Finally turn around and shoot the biker behind you to make it an even 14. You have just enough time to kill everyone before you reach the second plane and Trevor jumps off the wing. Skip the cinematic.
Follow the Plane
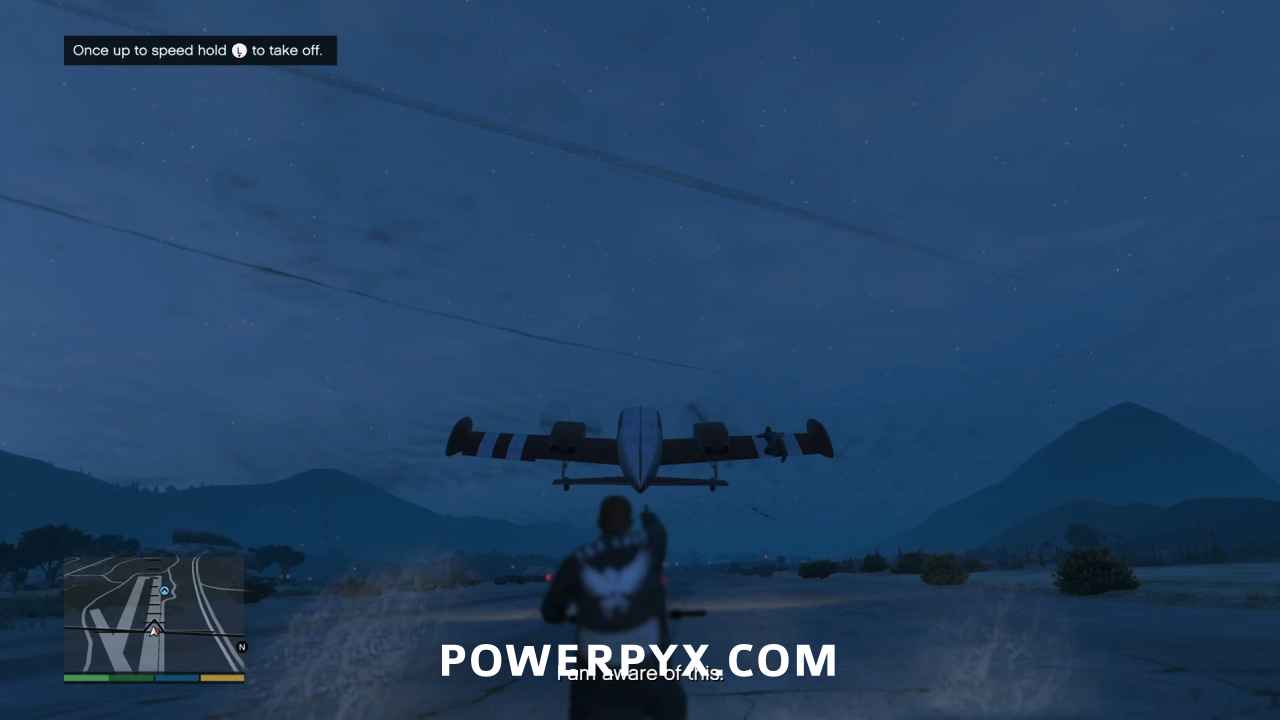
As Ron takes off, some bikers have caught up to your plane, one of which stupidly jumps on the wing. Get airborne, retract your landing gear, then give that adventurous moron a barrel roll to ruin his day.
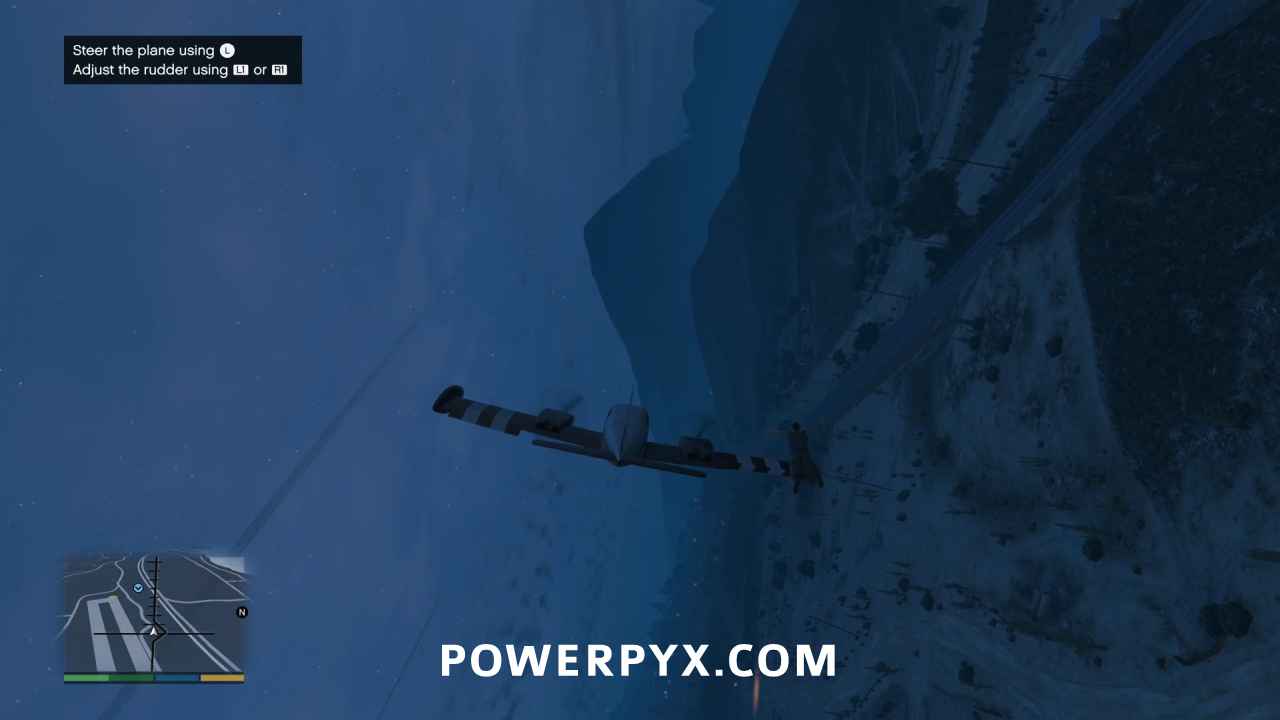
Head to the bridge on the northwest side of the Alamo Sea while you get ready for the next Gold Medal requirement:
- 6 Bridges, 1 Plane: Fly under 6 bridges found along the flight path
There are actually a possible 9 bridges that you can fly under for this requirement. Some of them are easier than others, so we’ll recommend which ones you skip. The first two bridges you fly under are back to back as you enter the canyon.
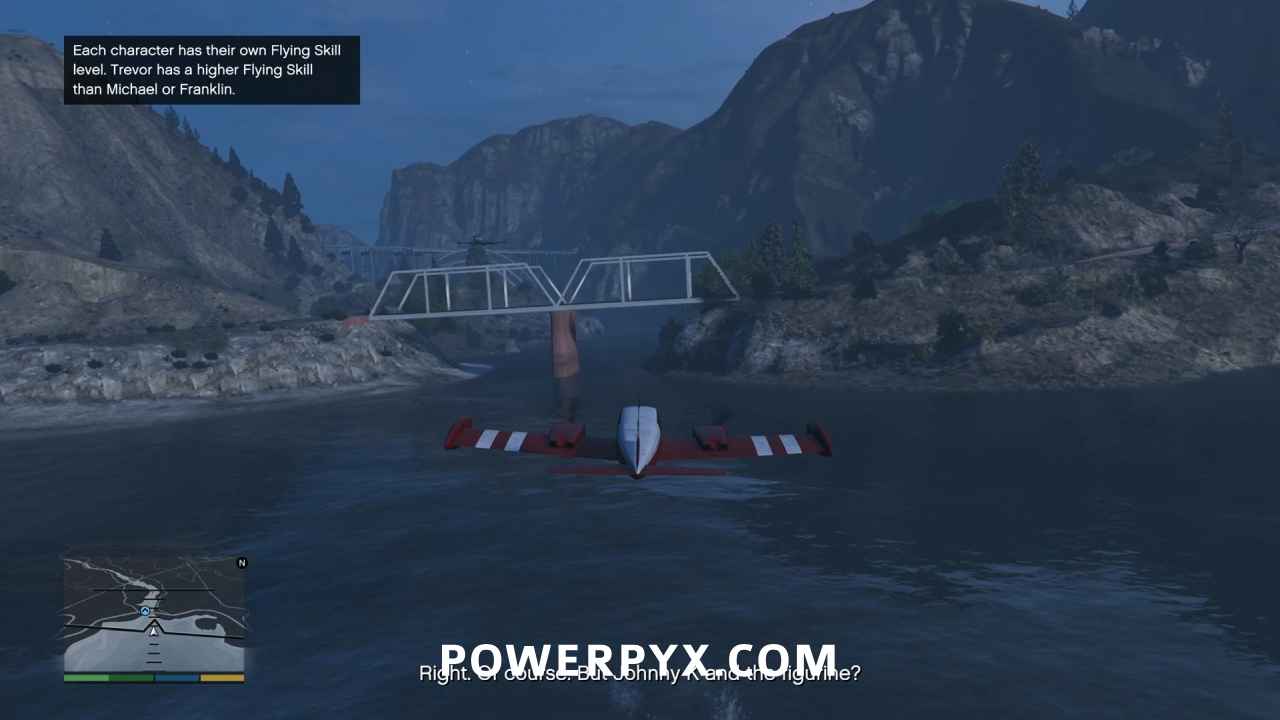
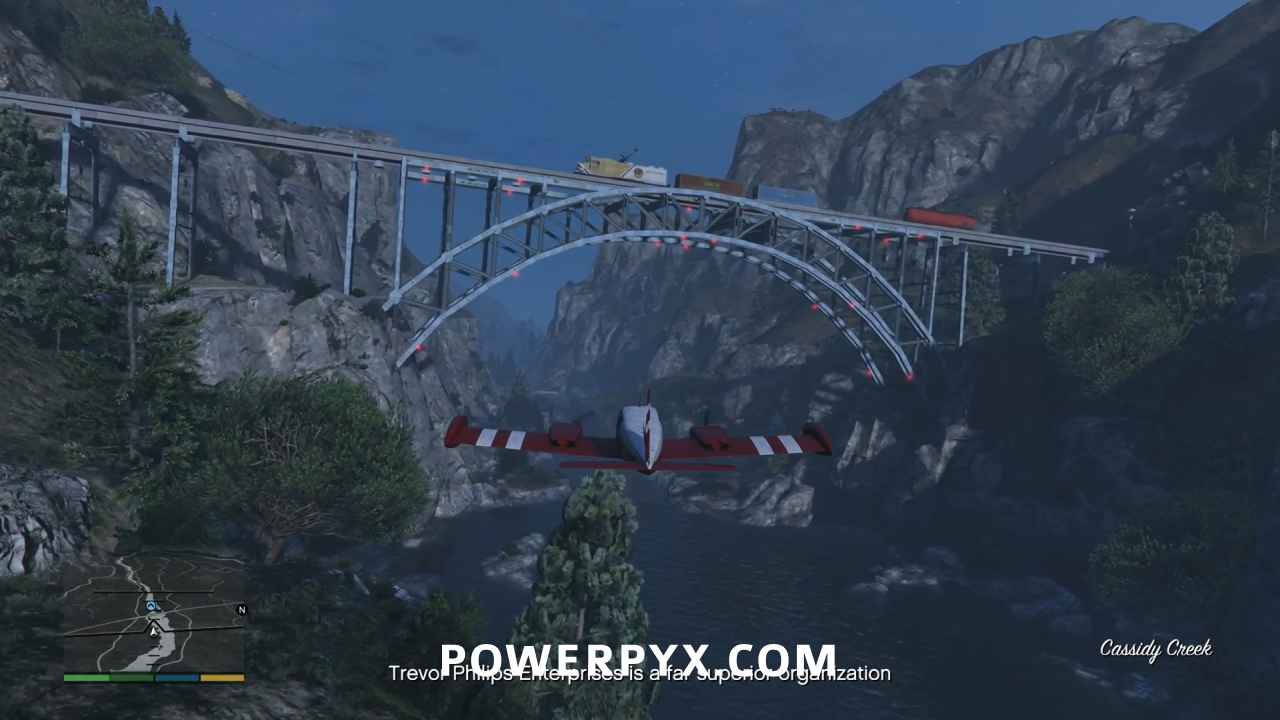
And then the third just as you reach the ocean. Bank left following Ron along the coast.
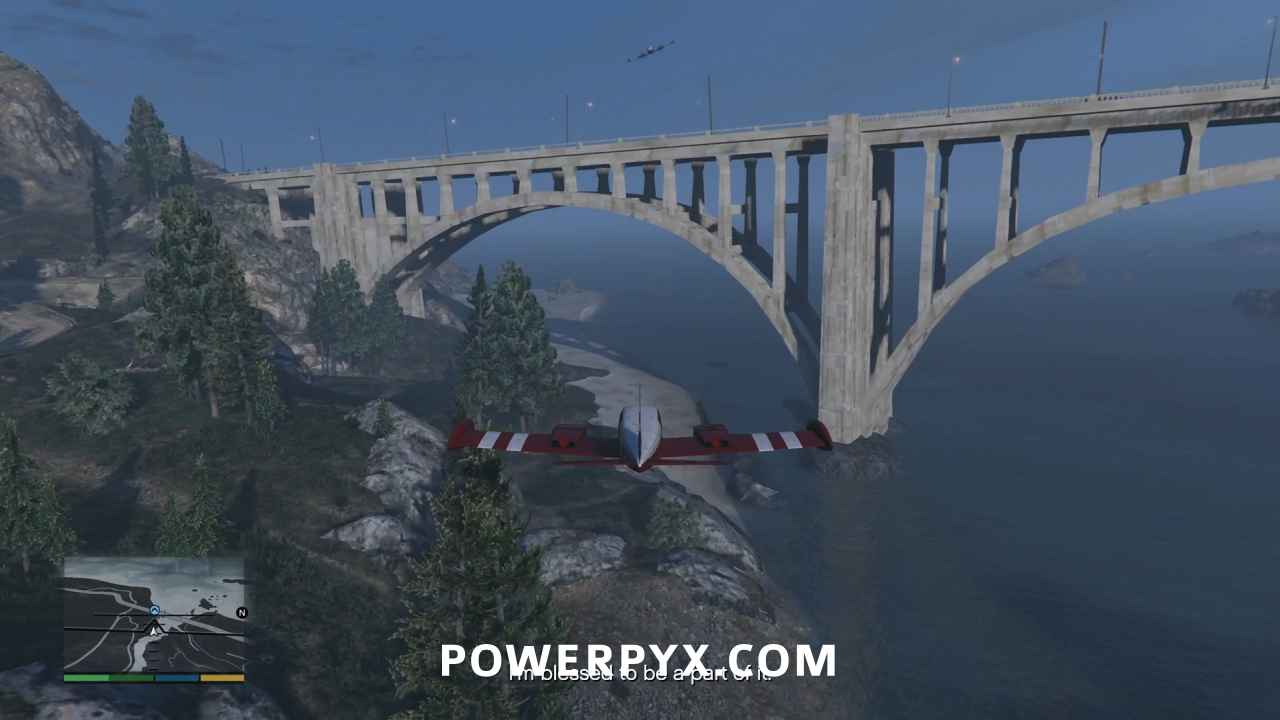
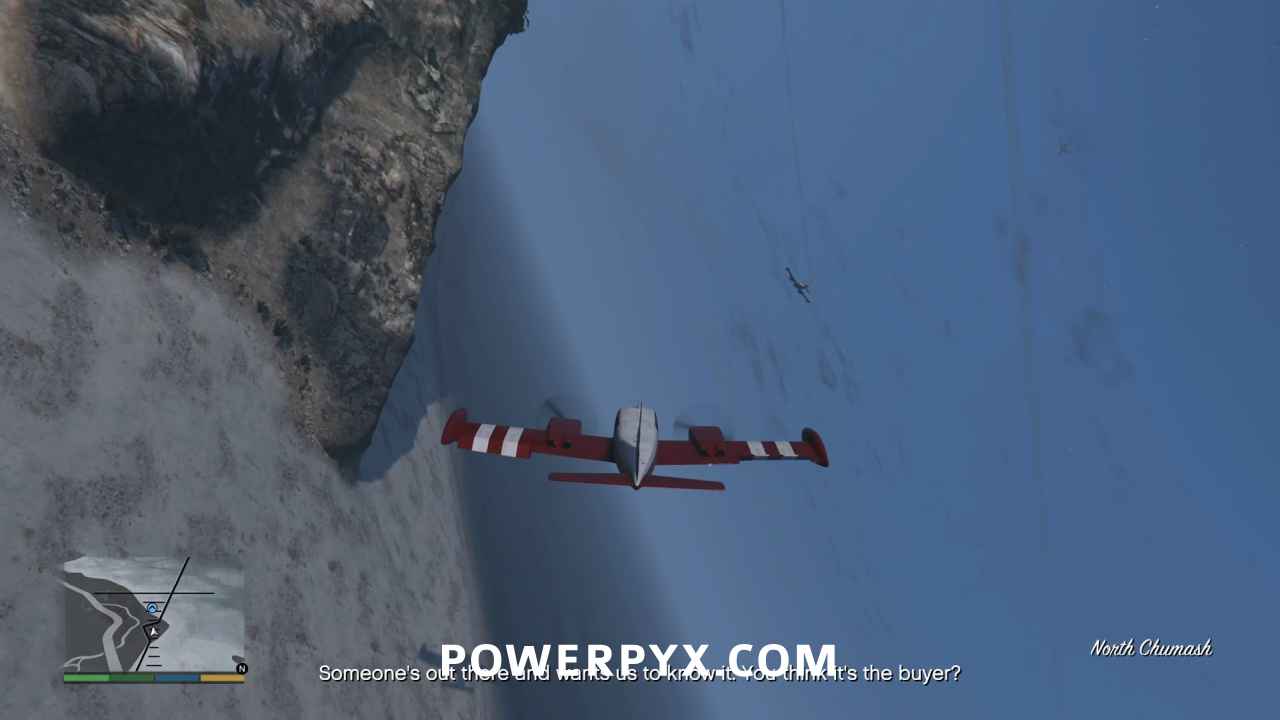
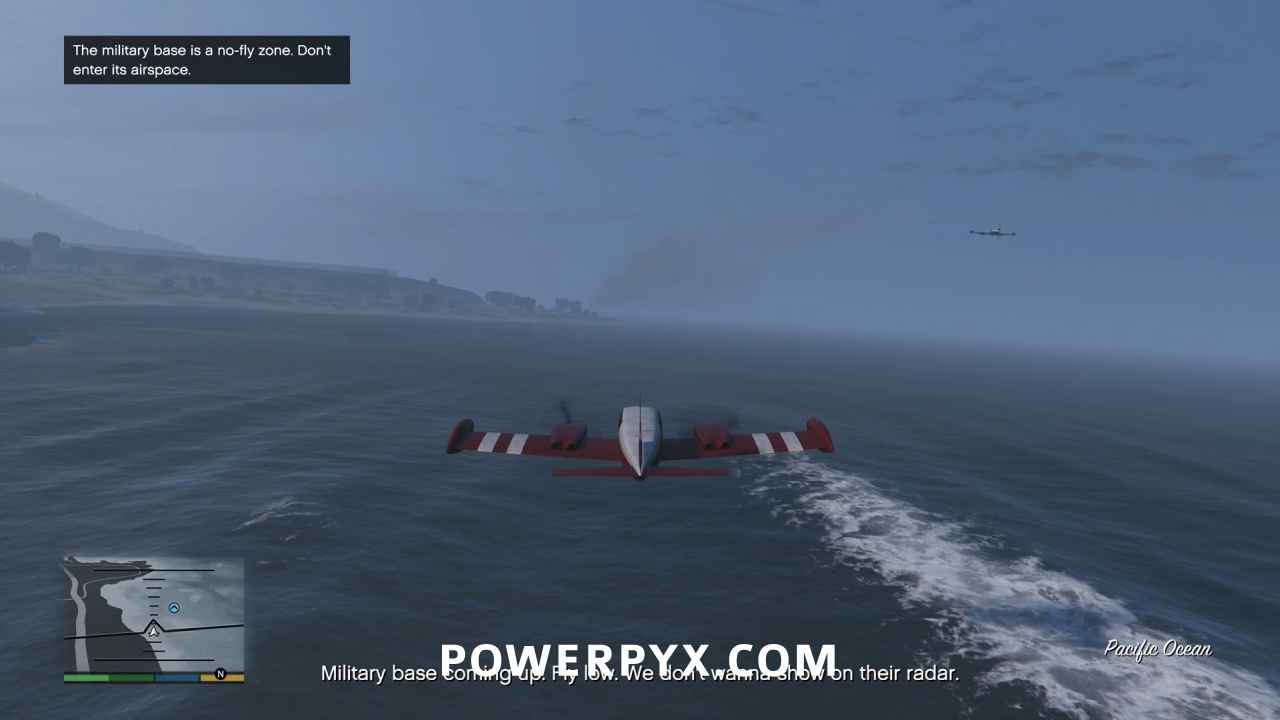
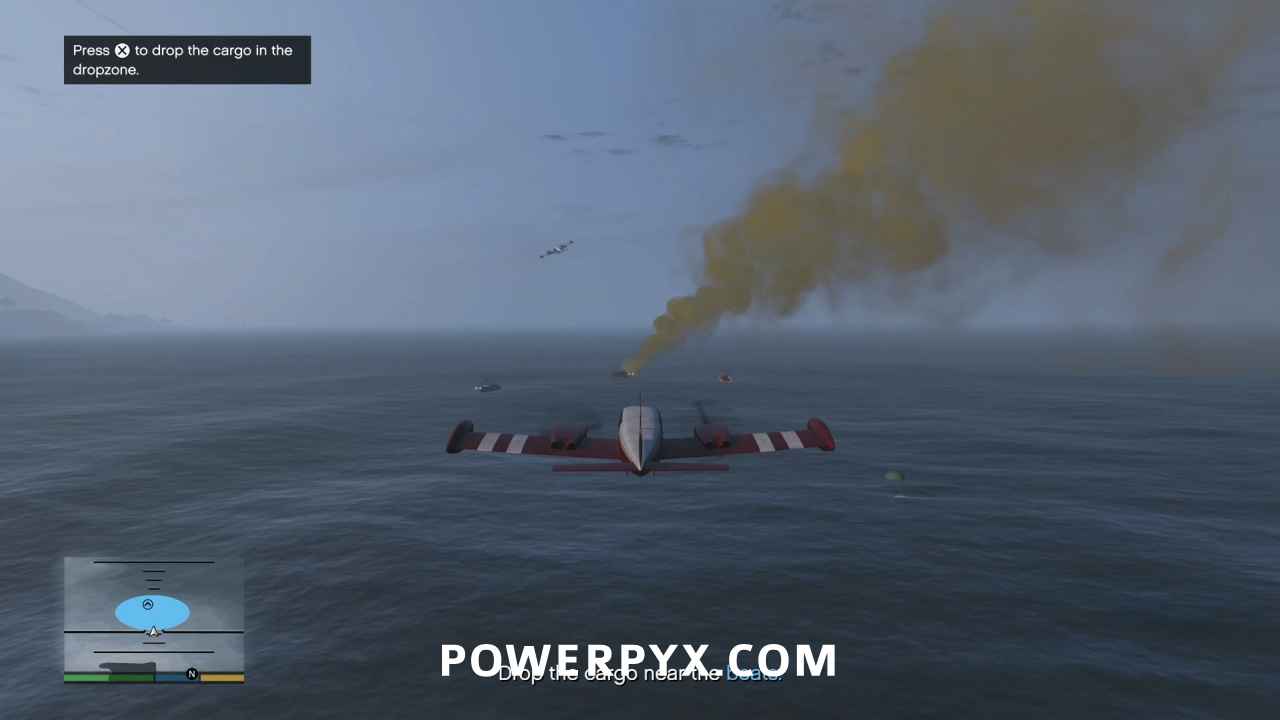
In the distance you’ll see the smoke signal where you will drop the guns. Head in that direction but be sure to fly low so you don’t encroach on Fort Zancudo’s airspace. When you reach the drop, your belly doors will automatically open, then press  /
/  when in the drop zone to drop the cargo.
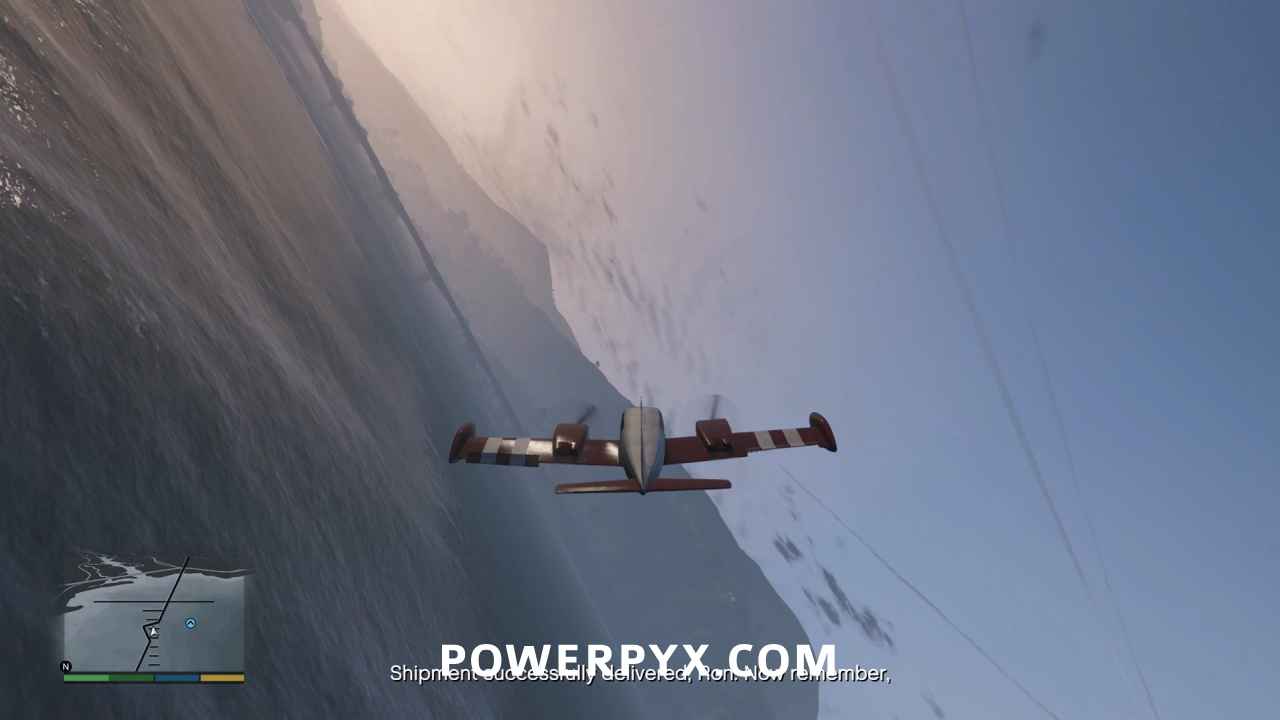
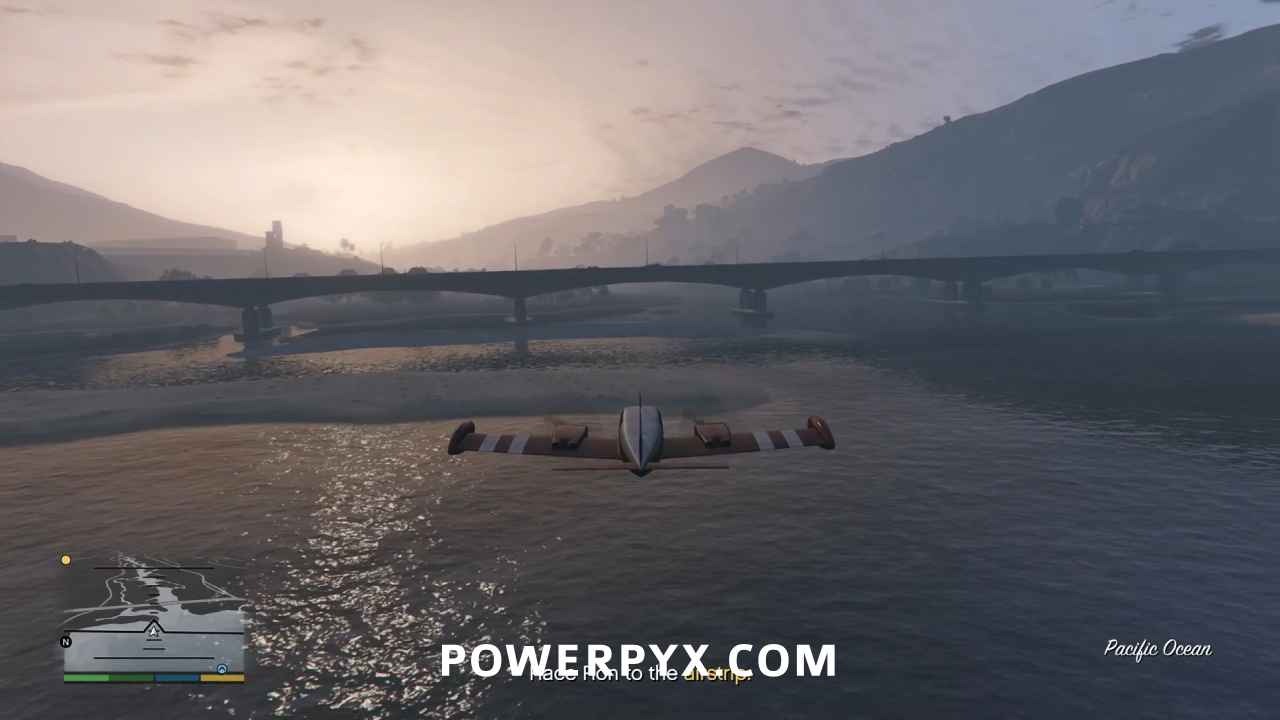
As soon as you’ve made the drop, bank left and head for the Zancudo River. There will be a low bridge immediately as you enter, making bridge number four.
Race Ron to the Airstrip
Maintain your speed because of the next Gold Medal requirement:
- Nervous Twitch: Win the race against Ron
Though it doesn’t seem like Ron is terribly hard to beat, if you have to wave off and go around to get one of the remaining bridges that might make the difference so try to line up your approaches ahead of time and avoid last minute acrobatics. Keep following the river and you’ll see bridge number 5 just past the edge of Fort Zancudo.
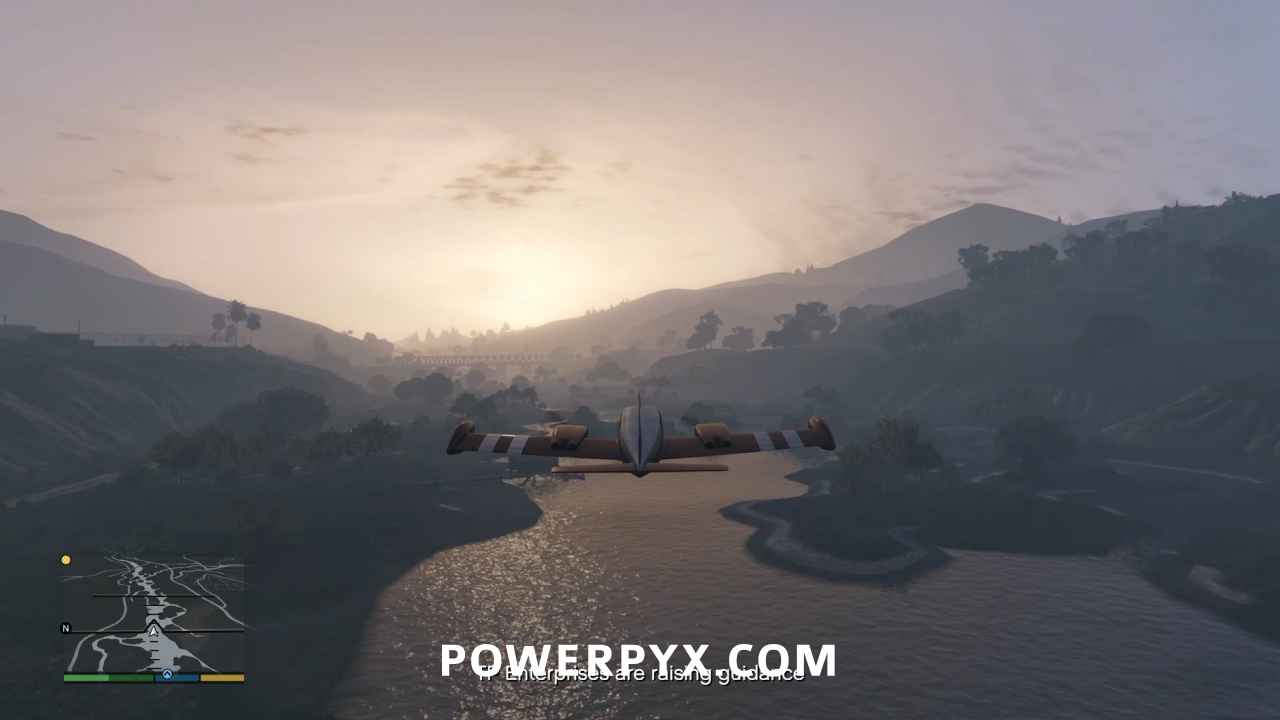
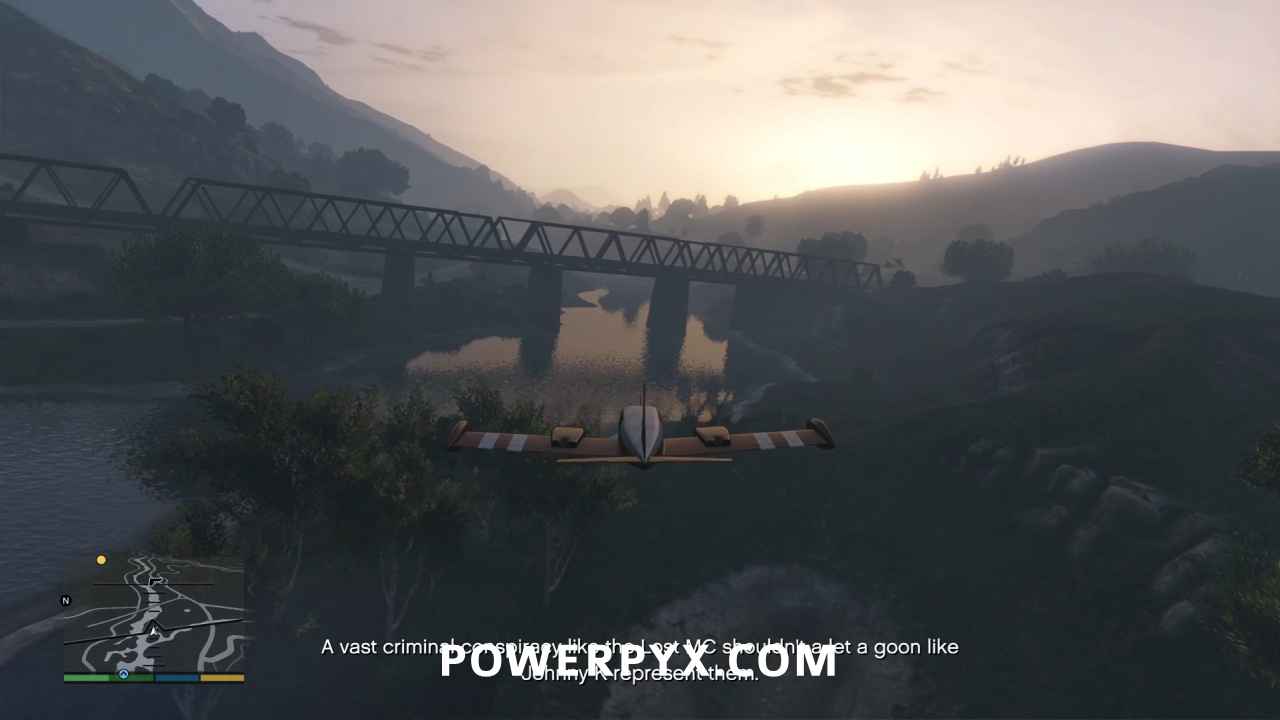
For the sake of safety, you should skip the covered bridge just because of its position in the bend of the river. It’s doable, but the last thing you want is to crash your plane doing an unnecessary daredevil stunt ten minutes into the mission and end up having to do it all over again.
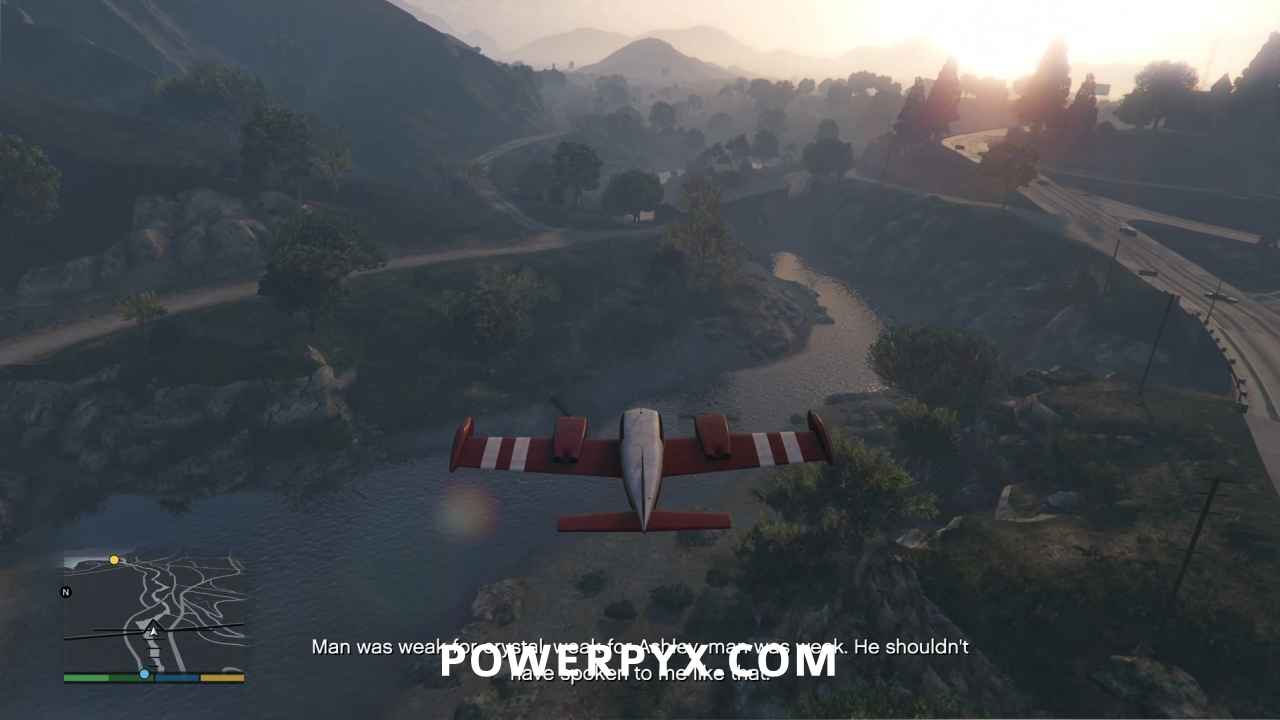
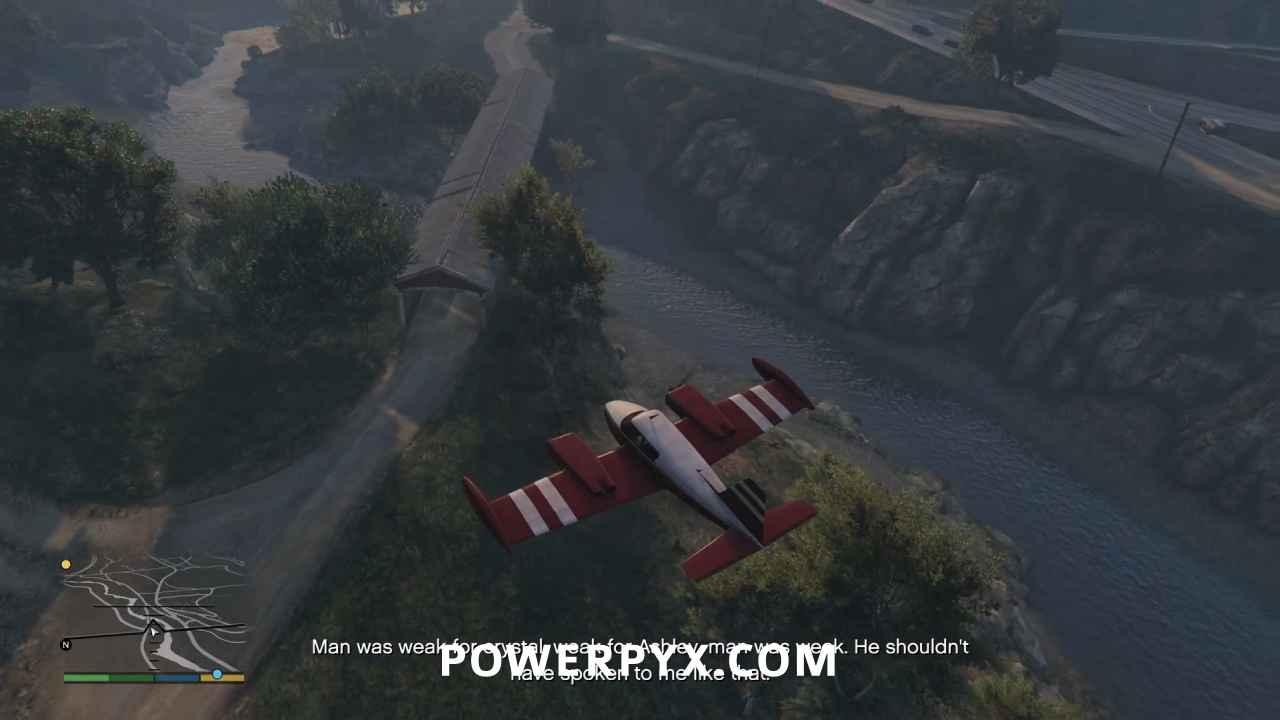
Especially since there’s still two much easier bridges a short distance ahead. You can go under one or both, depending on your angle of approach. This close to the end of the mission, I say don’t take any risks.
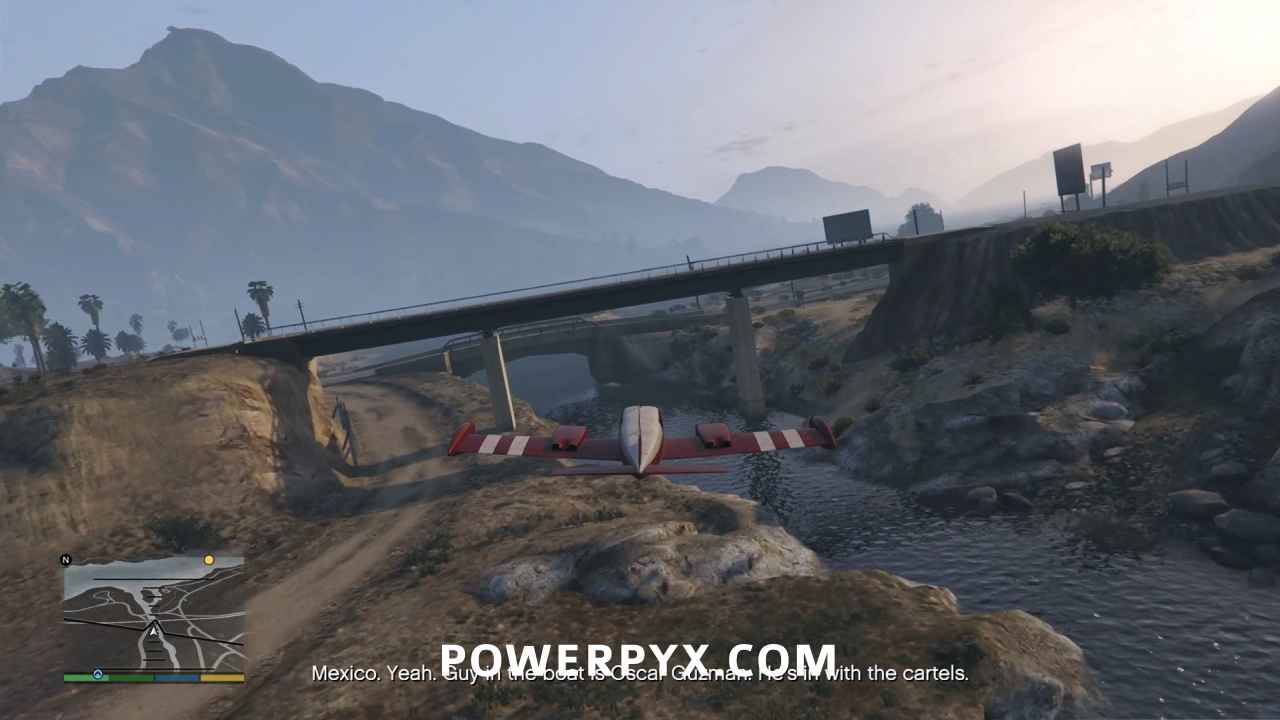
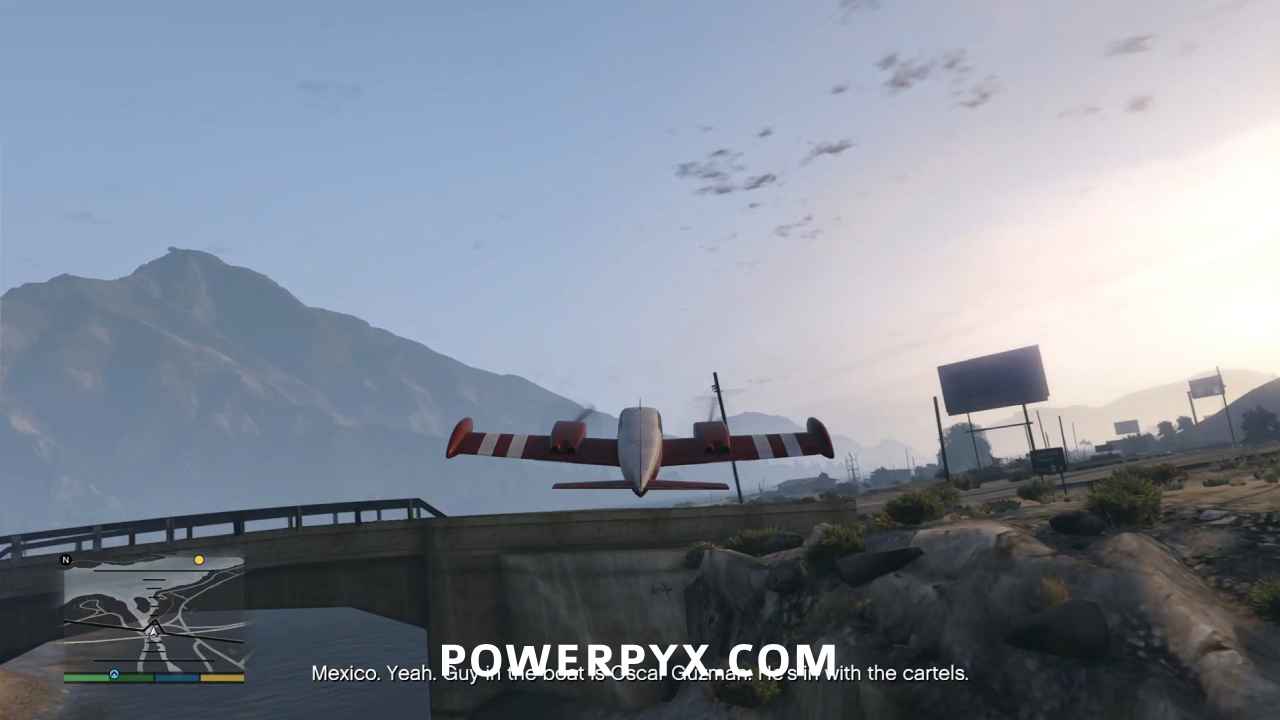
With only mission time left to worry about, make haste to the airstrip and land. Taxi to the end of the runway and into the hangar, skipping the end cinematic.
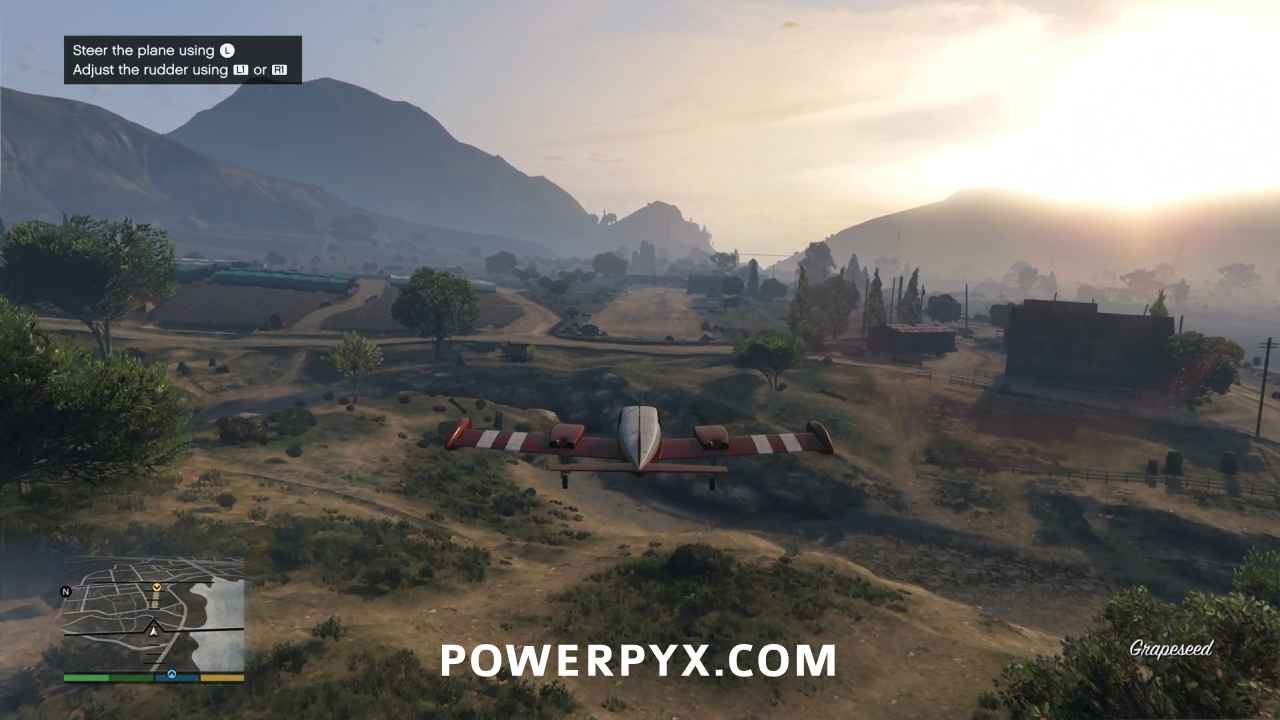
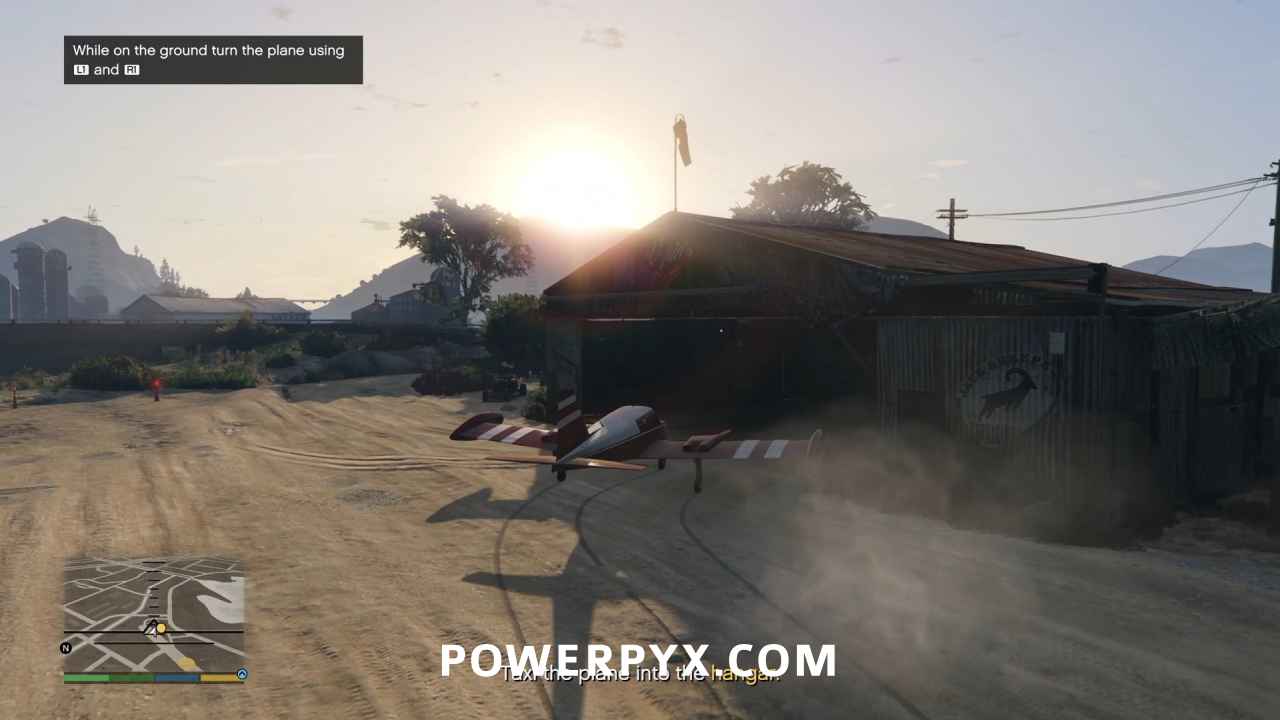
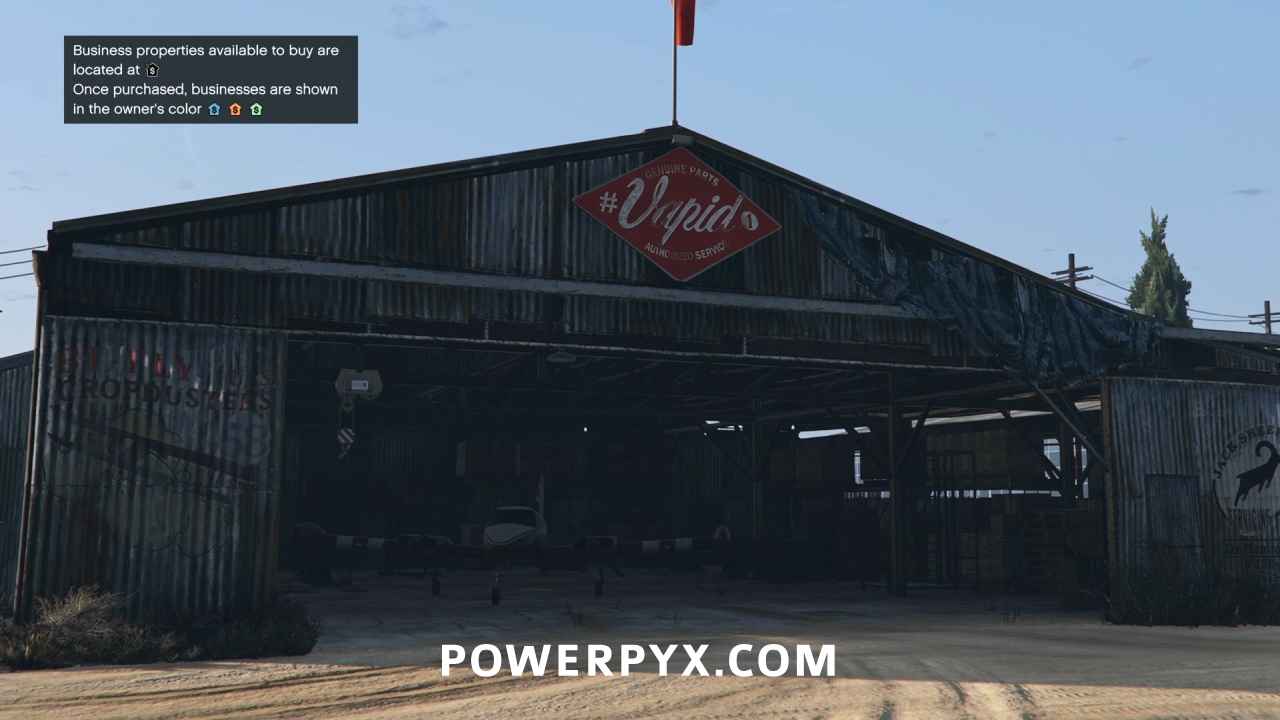
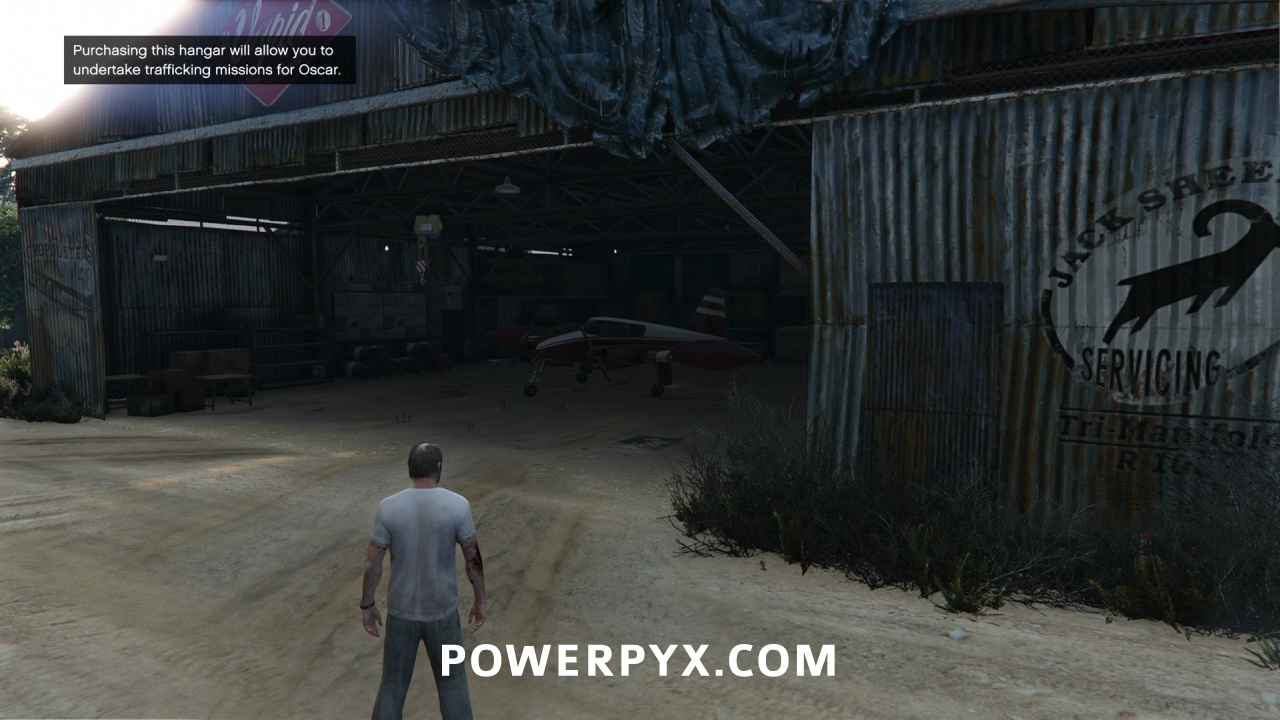
But you will still have to sit through the tutorial screens at the end where the game educates us about purchasing properties. After that, the mission will be over.
This finishes Nervous Ron in GTA V.
For all other Missions refer to GTA V Walkthrough.
This walkthrough has been updated for the Enhanced Version on PC / PS5 / PS4 / Xbox Series S/X and is also still applicable to the Legacy version.
Leave a Reply