PowerPyx.com

PowerPyx

  • Trophy Guides
  • Game Guides
  • Wikis
  • Trophy Lists
  • Next Guides
  • Contact
Show SearchHide Search
Home » Game Guides » GTA V » GTA V Paparazzo – The Highness Gold Medal Walkthrough

GTA V Paparazzo – The Highness Gold Medal Walkthrough

August 1, 2026 by Jack McBastard Leave a Comment

Paparazzo – The Highness is a Strangers and Freaks Mission (Side Quest) in GTA V (Grand Theft Auto 5). This walkthrough shows how to get all Gold Medals in Paparazzo – The Highness for 100% completion.

Gold Medal Requirements:

  • Silent Snapper: Snap the princess without being detected
  • Royal Drag: Snap the princess buying the drugs

Walkthrough Video

Starting Location: Paparazzo – The Highness

  • Location: Varies
  • Quest Giver: Beverly (by phone text)
  • Requirement: Complete “Paparazzo – The Partnership”
  • Can Be Started By: Franklin

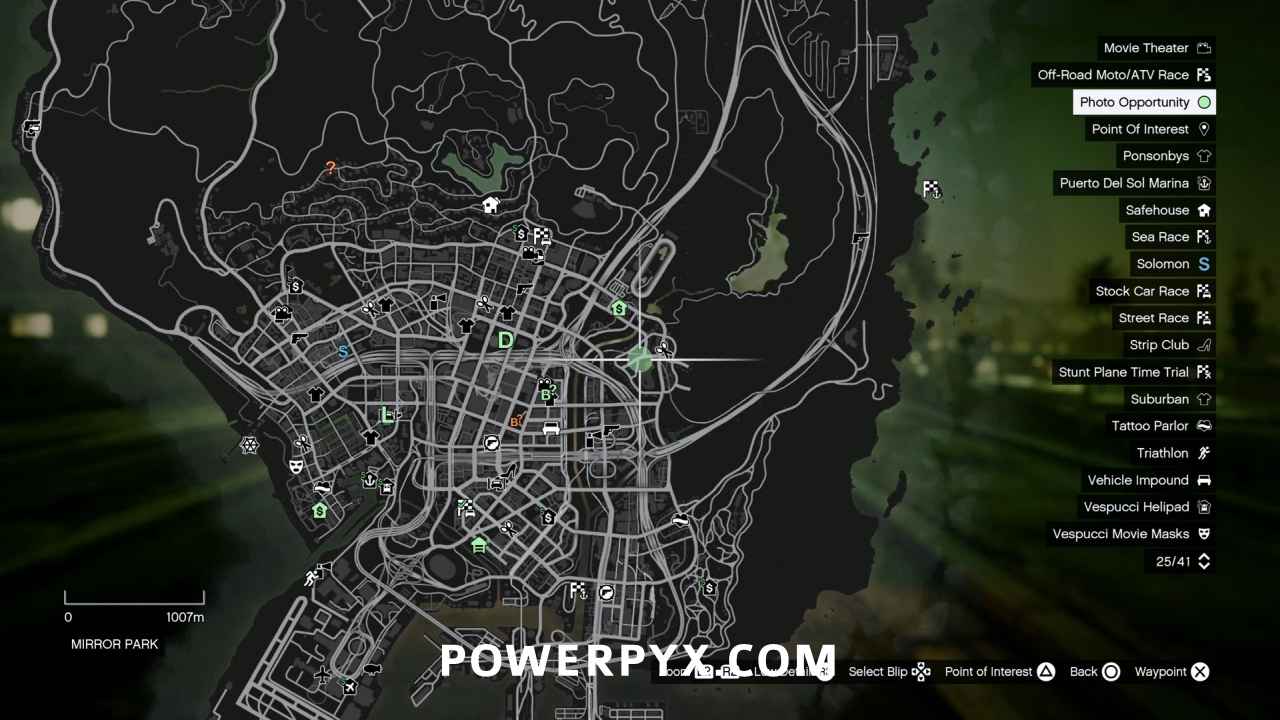
Shortly after meeting Franklin in “Paparazzo – The Partnership”, Beverly will text him the location of two photo opportunities. When you reach the search area, Franklin will automatically call Beverly who will give him more details on each subject. Find the second target on Vinewood Boulevard, where Beverly’s contact is going to give you details on a drug deal that Princess Georgina is involved in.
Meet Beverly’s Contact

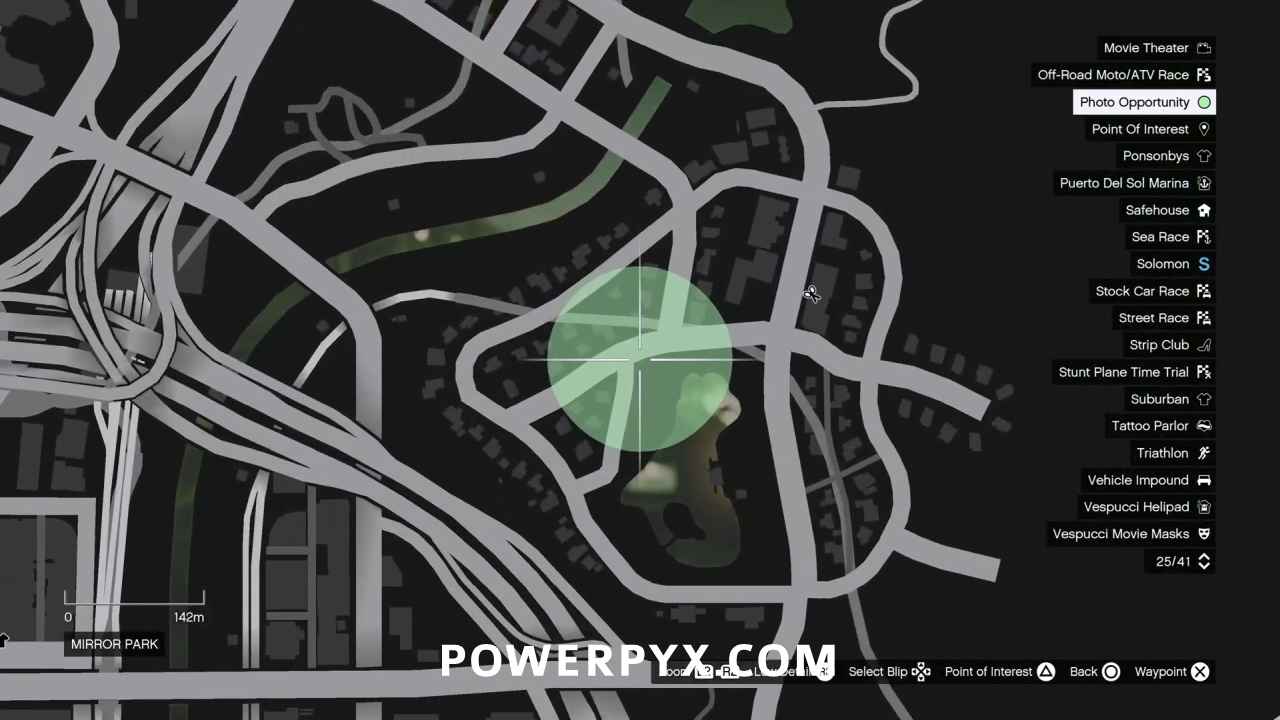
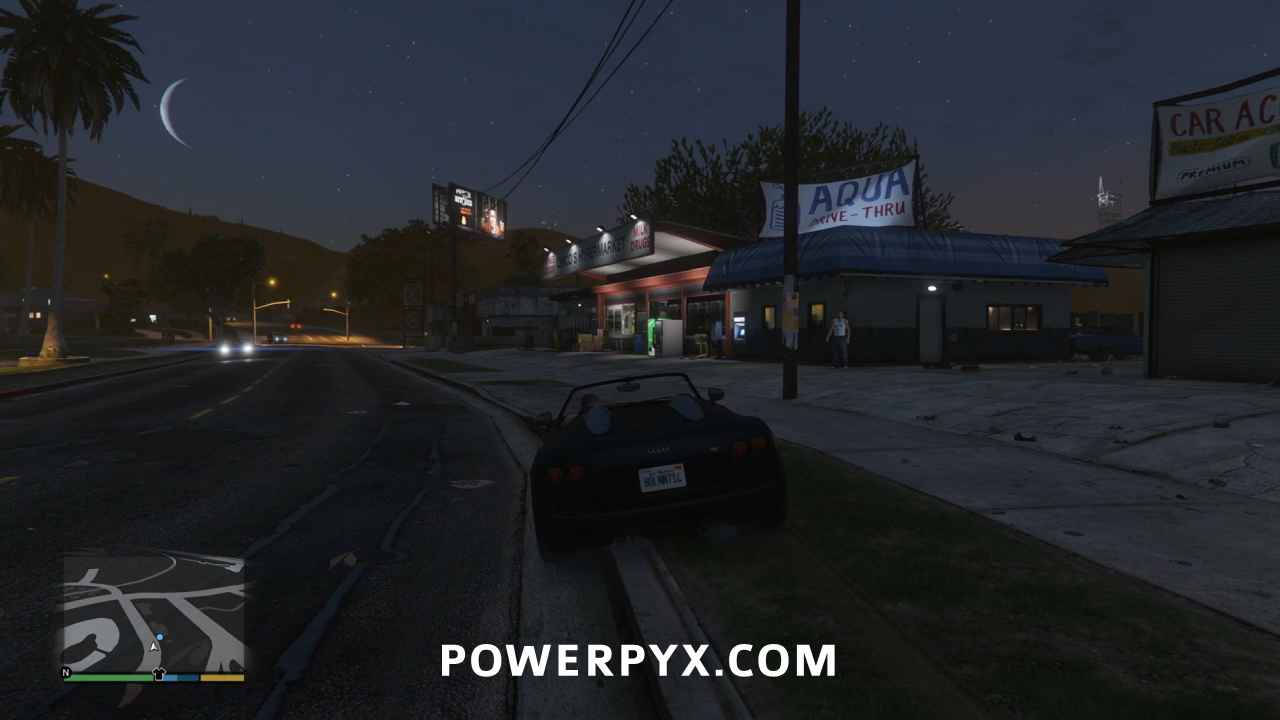
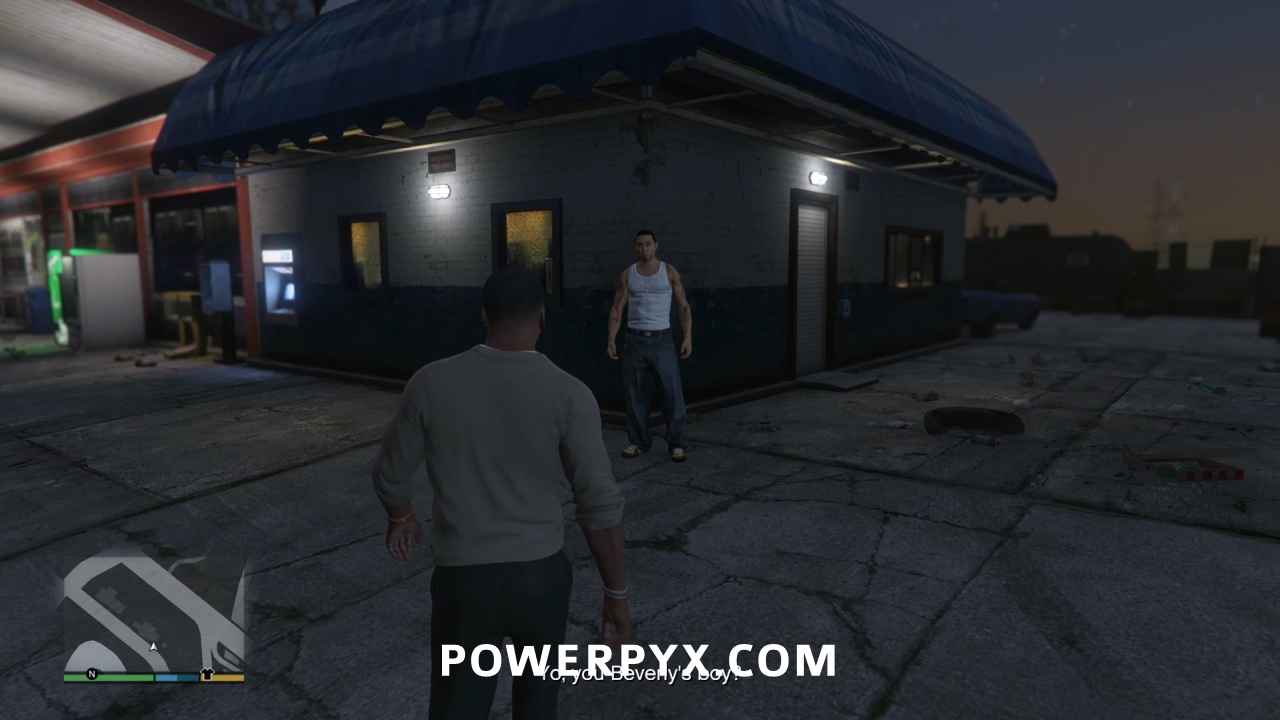
While on the phone with Beverly he’ll tell you to meet with his contact outside Chico’s Hypermarket on West Mirror Drive, which causes his dot to appear on your minimap. Head over and talk to him, and he’ll helpfully direct you to the back of the store where the deal is already taking place.
Send Beverly a Photo of the Princess

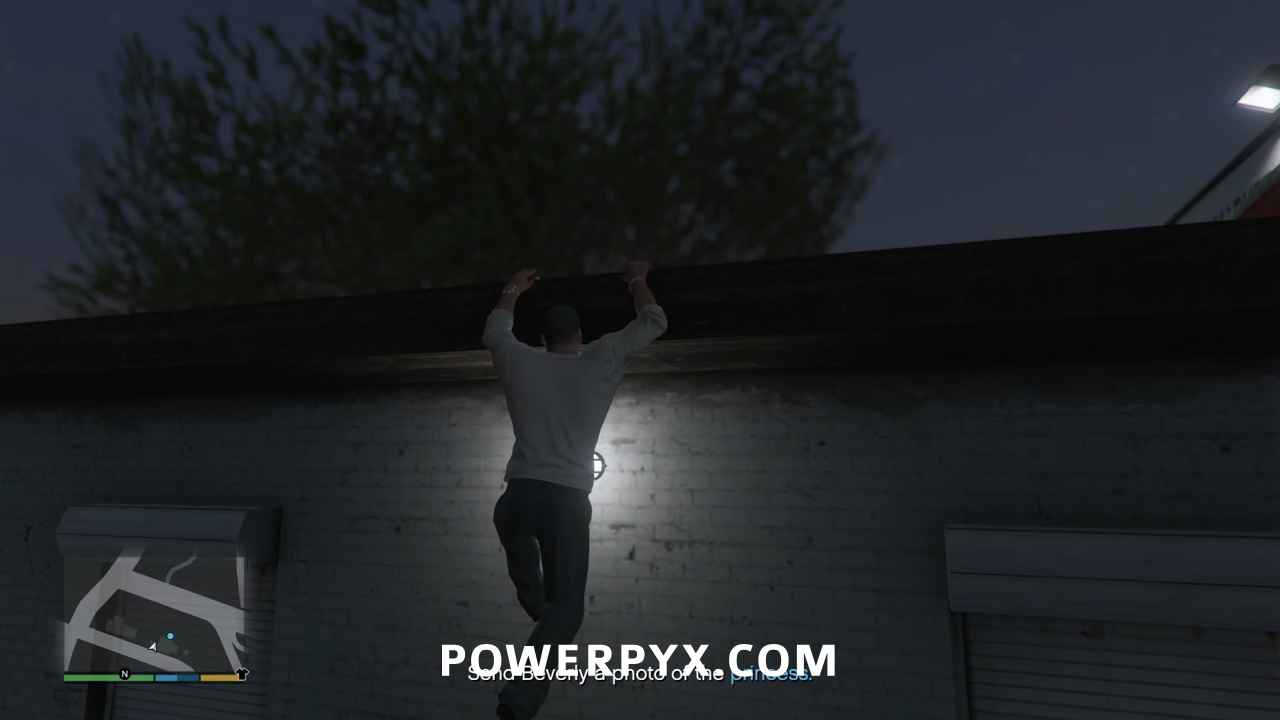
Head to the east end of the store, and climb up on the blue trash bin out front. From there climb up to the roof and go into stealth for the first Gold Medal requirement:

  • Silent Snapper: Snap the princess without being detected
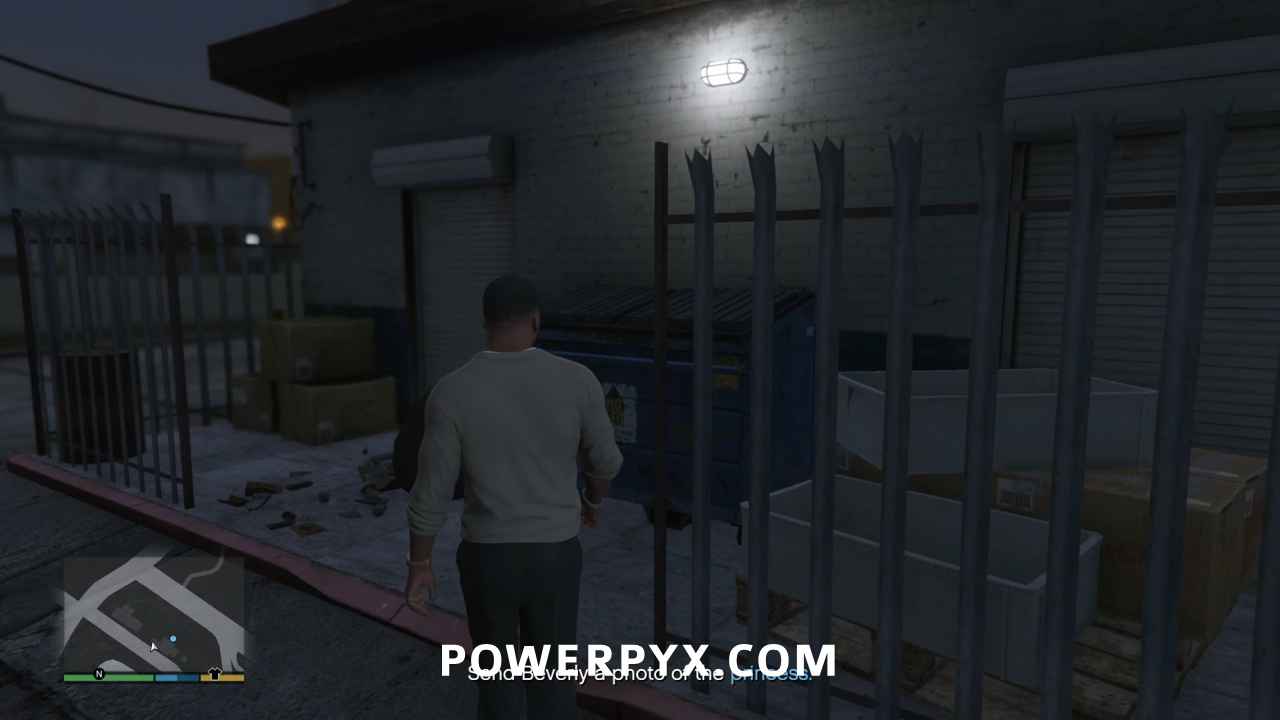
From there, climb up to the main part of the roof and sneak to the edge. Bring up your camera app on your phone and look down at the deal.
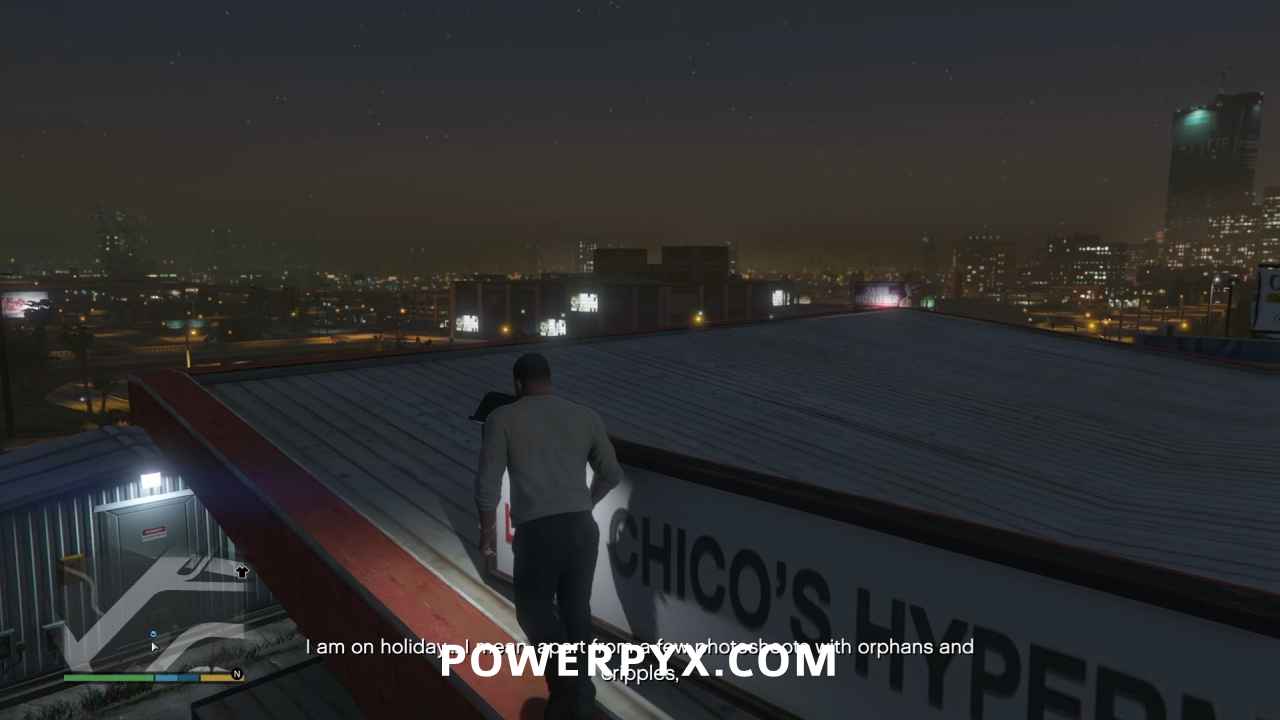

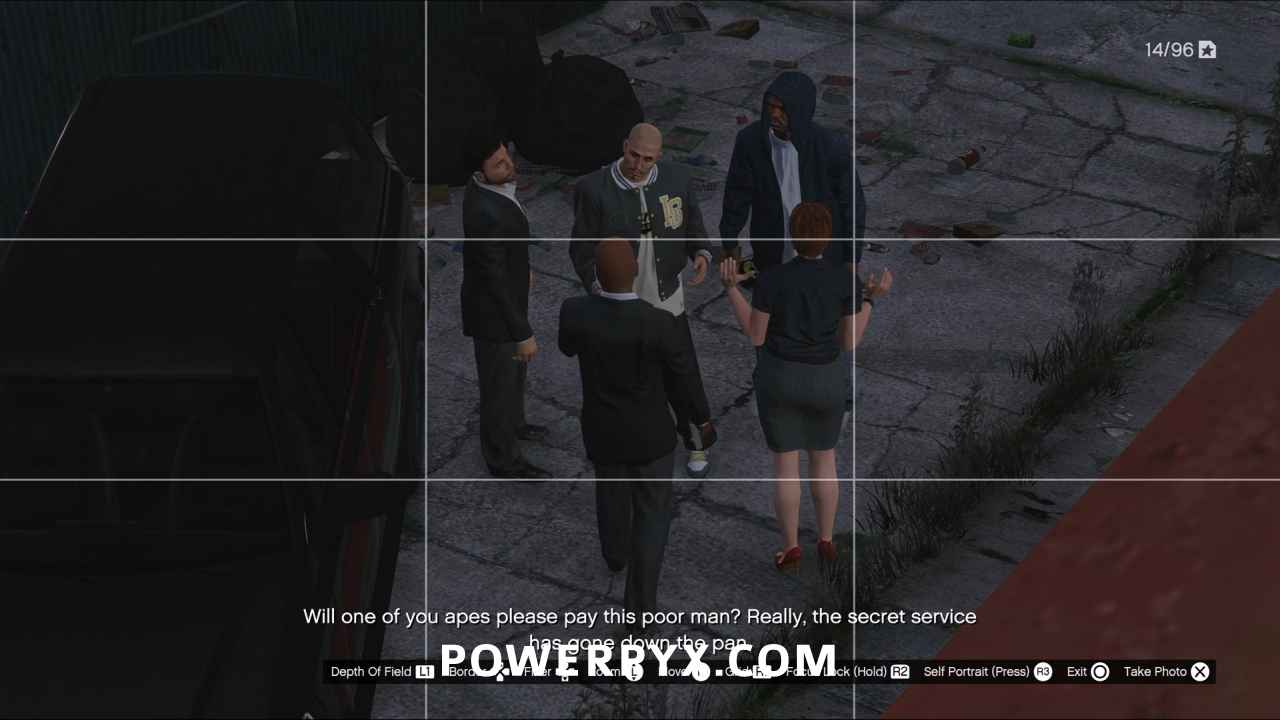
Zoom in till the princess is framed correctly, then wait for the deal to take place. She’ll talk for a long time about her servants, while the guy in the back who has the drugs just waits patiently for her to shut up. Eventually the Princess calls for one of her bodyguards to “pay this poor man”, and he will then hand off the drugs to the bodyguard. Take the photo at this moment for the second Gold Medal requirement:

  • Royal Drag: Snap the princess buying the drugs
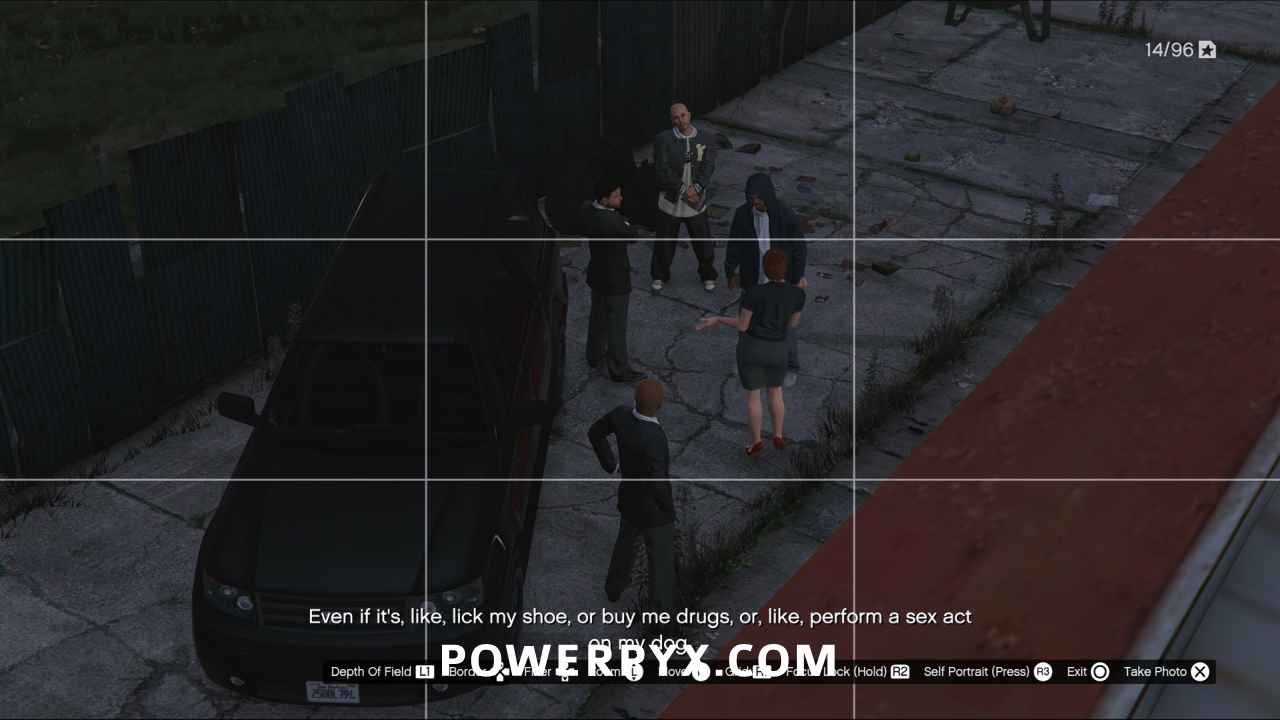
Immediately after you snap the photo, turn away from the edge and go back down the way you came while you send the photo to Beverly. He will call you right away and congratulate you, and after the phone call the mission will end.

This finishes Paparazzo – The Highness in GTA V.

For all other Missions refer to GTA V Walkthrough.

This walkthrough has been updated for the Enhanced Version on PC / PS5 / PS4 / Xbox Series S/X and is also still applicable to the Legacy version.

« PrevGTA V Paparazzo – The Meltdown Gold Medal WalkthroughNext »GTA V Paparazzo – The Reality Check Gold Medal Walkthrough
Share
Tweet
Shares 0

Filed Under: Game Guides, GTA V

Leave a Reply Cancel reply

Your email address will not be published. Required fields are marked *

Youtube 1,230,000Subscriber
Facebook 15,000Fans
Twitter 19,700Followers

Latest Trophy Guides

Halo Campaign Evolved Trophy Guide

Assassin’s Creed Black Flag Resynced Trophy Guide

UFC 6 Trophy Guide

007 First Light Trophy Guide

Pragmata Trophy Guide

Crimson Desert Trophy Guide

Resident Evil Requiem Trophy Guide

Ghost of Yotei Trophy Guide

Kingdom Come Deliverance 2 Trophy Guide

Red Dead Redemption 2 Trophy Guide

Latest Game Wikis

Assassin's Creed Black Flag Resynced Wiki

Crimson Desert Wiki

Resident Evil Requiem Wiki

Ghost of Yotei Wiki

Borderlands 4 Wiki

Kingdom Come Deliverance 2 Wiki

Elden Ring Wiki

Hogwarts Legacy Wiki

God of War Ragnarok Wiki

Cyberpunk 2077 Wiki

Red Dead Redemption 2 Wiki

GTA V Wiki

Recent Posts

  • GTA V Trophy Guide & Roadmap
  • GTA V 100% Completion Checklist & Guide
  • GTA V Gold Medals Walkthrough – All Missions
  • GTA V Collectibles Guide – All Collectible Locations
  • GTA V All Monster Stunt Jump Locations

GTA V Wiki

  • Wiki
  • Story Missions
    • Prologue
    • Franklin and Lamar
    • Repossession
    • Complications
    • Chop
    • Father/Son
    • Marriage Counseling
    • Daddy’s Little Girl
    • Friend Request
    • The Long Stretch
    • Casing the Jewel Store
    • Bugstars Equipment
    • BZ Gas Grenades
    • Carbine Rifles
    • The Jewel Store Job (Smart Approach)
    • The Jewel Store Job (Loud Approach)
    • Mr. Philips
    • Trevor Philips Industries
    • Nervous Ron
    • Crystal Maze
    • Friends Reunited
    • Fame or Shame
    • Dead Man Walking
    • Three’s Company
    • By the Book
    • Hood Safari
    • Did Somebody Say Yoga?
    • Scouting the Port
    • Minisub (Freighter Approach)
    • Cargobob (Off-Shore Approach)
    • The Merryweather Heist (Freighter Approach)
    • The Merryweather Heist (Off-Shore Approach)
    • Boiler Suits
    • Trash Truck
    • Masks
    • Tow Truck
    • Getaway Vehicle (Blitz Play Vehicle)
    • Hotel Assassination
    • Blitz Play
    • I Fought The Law…
    • The Multi Target Assassination
    • The Vice Assassination
    • The Bus Assassination
    • The Construction Assassination
    • Eye in the Sky
    • Mr. Richards
    • Caida Libre
    • Deep Inside
    • Minor Turbulence
    • Paleto Score Setup
    • Predator
    • Military Hardware
    • The Paleto Score
    • Derailed
    • Monkey Business
    • Hang Ten
    • Surveying the Score
    • Bury the Hatchet
    • Pack Man
    • Fresh Meat
    • The Ballad of Rocco
    • Cleaning Out the Bureau
    • Architect’s Plans
    • Fire Truck
    • The Bureau Raid (Fire Crew Approach)
    • The Bureau Raid (Roof Entry Approach)
    • The Wrap Up
    • Reuniting the Family
    • Legal Trouble
    • Lamar Down
    • Meltdown
    • Planning the Score
    • Stingers
    • Driller
    • Sidetracked
    • Gaunlet: Pillbox Hill
    • Gauntlet: Rockford Hills
    • Gauntlet: Mission Row
    • The Big Score (Obvious Approach)
    • The Big Score (Subtle Approach)
    • Something Sensible
    • The Time’s Come
    • The Third Way
  • Side Missions (Strangers & Freaks)
    • Barry – Grass Roots Michael
    • Barry – Grass Roots Trevor
    • Barry – Grass Roots The Pickup
    • Barry – Grass Roots The Drag
    • Beverly – Paparazzo
    • Beverly – Paparazzo The Tape
    • Beverly – Paparazzo The Meltdown
    • Beverly – Paparazzo The Highness
    • Beverly – Paparazzo Reality Check
    • Cletus – Target Practice
    • Cletus – Fair Game
    • Dom – Risk Assessment
    • Dom – Liquidity Risk
    • Dom – Targeted Risk
    • Dom – Uncalculated Risk
    • Dreyfuss – A Starlet in Vinewood
    • Epsilon – Chasing The Truth
    • Epsilon – Delivering The Truth
    • Epsilon – Unknowing The Truth
    • Hao – Shift Work
    • Josh – Closing the Deal
    • Josh – Surreal Estate
    • Josh – Breach of Contract
    • Mary-Ann – Exercising Demons – Michael
    • Mary-Ann – Exercising Demons – Trevor
    • Mary-Ann – Exercising Demons – Franklin
    • Minute Men – The Civil Border Patrol
    • Minute Men – An American Welcome
    • Minute Men – Minute Man Blues
    • Nigel – Vinewood Souvenirs – Willy
    • Nigel – Vinewood Souvenirs – Tyler
    • Nigel – Vinewood Souvenirs – Kerry
    • Nigel – Vinewood Souvenirs – Mark
    • Nigel – Vinewood Souvenirs – Al Di Napoli
    • Nigel – Vinewood Souvenirs – The Last Act
    • Tonya – Pulling Favors
    • Tonya – Pulling Another Favor
    • Tonya – Pulling Favors Again
    • Tonya – Still Pulling Favors
    • Tonya – Pulling One Last Favor
  • 100% Checklist
  • Collectibles
  • Stunt Jumps
  • Letter Scraps
  • Spaceship Parts
  • Under the Bridge
  • Knife Flights
  • Nuclear Waste
  • Cheats
  • Trophy Guide
  • Terms of Service
  • Privacy Policy
  • Cookie Policy
  • YouTube
  • Facebook
  • Twitter

© 2008-2026 PowerPyx.com, all rights reserved.