
The Heist is the 7th main story mission in Cyberpunk 2077 (CP77). This walkthrough will guide you through all objectives, paths, dialogues, choices and endings of The Heist Main Job.
Area: Watson > Little China
Quest Giver: Dex
Requirement: Complete The Pickup and The Information
Reward: XP / Street Cred
Mission Info: There’s only one door you gotta open in Night City. And that’s the door to The Afterlife. Once you cross into that world, peeps’ll step aside for you everywhere. Dex couldn’t have chosen a better place to pregame before the heist, am I right? Afterlife’s a sign for us, ese.
Objectives:
- Head to the Afterlife
- Talk to Jackie
- Follow Jackie
- Talk to the bouncer
- Sit next to Jackie
- Follow Dex’s bodyguard
- Join Dex in the booth
- Take part in the briefing
- Put Flathead in the briefcase
- Put on the Militech suit
- Enter the Delemain
- Drive to Konpeki Plaza
- Wait for Jackie to take the Flathead
- Follow Jackie
- Talk to the guard
- Stand in the scanner
- Check in at reception
- Follow Jackie
- Check out the hotel bar [Optional]
- Head to the elevator
- Take the elevator to the 42nd floor
- Head to your room
- Talk to T-Bug
- Wait for the Flathead to breach the system
- Take the control shard
- Wait for T-Bug to link you to CCTV
- Scan for a way into the vents
- Use Flathead to open the ventilation grate
- Scan for a way into the vents
- Scan for hackable devices
- Order Flathead to go to the terrarium
- Wait for housekeeping to move
- Enter the vent using Flathead
- Scan for a way into the vents
- Use Flathead to open the ventilation grate
- Use Flathead to enter the dweller’s room
- Scan for the CCTV Access Point
- Connect to CCTV using Flathead
- Switch cam view
- Consult with T-Bug
- Scan for a path for the Flathead
- Scan for a grate in the floor
- Use the Flathead to open the ventilation grate
- Hack the dweller using the Flathead
- Sit
- Head to Yorinobu’s penthouse
- Follow Jackie
- Go to the safe
- Scan for a hidden switch
- Use the switch
- Get to the safe
- Use your personal link on the safe
- Follow Jackie
- Hide inside the maintenance shaft
- Wait
- Go to the balcony door
- Escape the penthouse through the window
- Get to the ladder
- Jump
- Reach the elevator
- Wait for an opportunity to talk out the guards [Optional]
- Deal with the guards
- Search the Arasaka officer
- Head to the lobby
- Reach the elevator to the garage
- Take the elevator to the garage
- Enter the Delamain
- Get rid of the drones
- Head to room 204
- Talk to Dex
- Go to the bathroom
- Wash your face
- Leave the bathroom
Starting Location: The Heist
 |
 |
Head to The Afterlife
Once you have finished both Main Jobs The Pickup and The Information, you will have marked on your map to head to the bar named the Afterlife. Proceed there when you are ready.
Talk to Jackie
When you reach the bar and are ready to proceed, talk to Jackie who is waiting outside.

Dialogue:
- How’s Mama Welles? > Both options have the same outcome.
- You look tense, exhausted.
- Wouldn’t be here if not for Dex. > Both options have the same outcome.
- STREETKID: This is it – the major leagues.
Follow Jackie
Head down into the bar after Jackie.
Talk to the bouncer
At the door, talk to the bouncer to get let in.
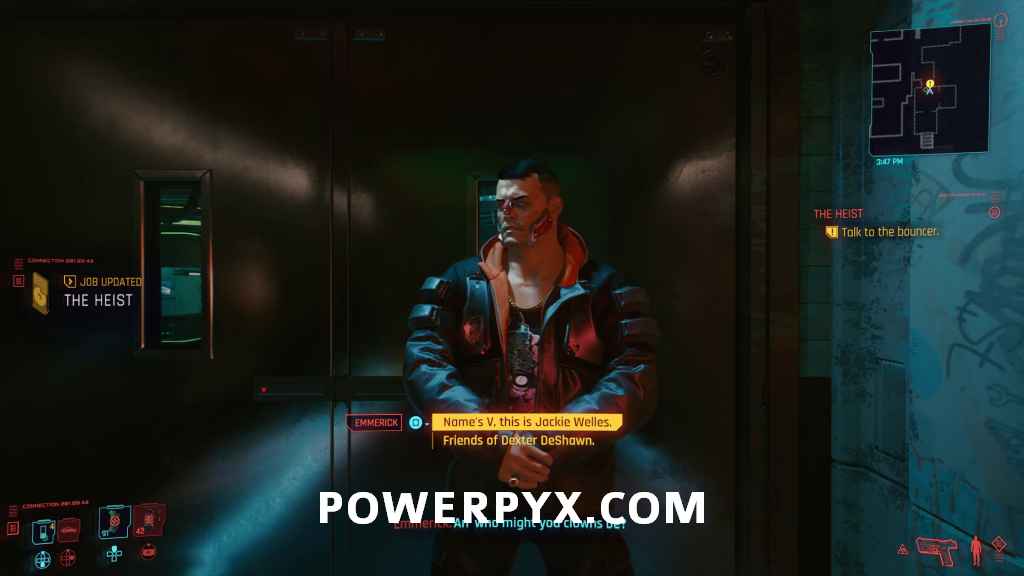
Dialogue:
- Name’s V, this is Jackie Welles. > Both options have the same outcome.
- Friends of Dexter DeShawn.
Sit next to Jackie
You can look around the bar if you want, then sit next to Jackie to continue.

Dialogue:
- You pick for me. > Jackie orders a drink for you too, but the overall outcome is the same as if you declined.
- Nothing for me.
- What do you have to do to get your own drink?
- STREETKID: Think this might be the oldest club in Night City? > Optional
- Guess there’s no such thing as living legends. > Both options have the same outcome, if you have a drink you need to select one of those three options too to continue.
- Steep price to pay.
- [Drink] To Night City! > These three options only show up if you accepted a drink from Jackie, still need to select one of the above two options after to continue.
- [Drink] To getting filthy rich!
- [Drink] To the heist of a lifetime!
- [Stand] > End conversation at the bar.
- How’d you know? > Optional
- Is Dex a regular? > Optional
Follow Dex’s bodyguard
Follow the bodyguard to the back to meet up with Dex.
Join Dex in the booth
Head into the back of the room to meet with Dex and T-Bug

Take part in the briefing
Dev and T-Bug now give you a rundown on what you’ll be expecting on the mission.
Put Flathead in the briefcase
When prompted, put the Flathead in the case.

Dialogue:
- [Sit]
- Thanks for your help with the scavs, Bug. > Optional
- Pretty well. Saw Konpeki Plaza from the inside. > Different options below than if you select “Not bad” dialogue, overall outcomes are the same regardless.
- That’s it. Let’s go over the plan.
- Yeah, Parker thinks we don’t need you.
- 4 REFLEXES: Something’s off about her. > Optional
- Not bad… But she wants to cut you loose.
- Let’s go over the job.
- Appreciation still falls short. > Optional
- Thought you’d be pissed off. Optional
- [Take shard] Let’s have a look.
- Got no questions, all clear. > Proceed without extra dialogue.
- Delamain’s our ride there and back? > Optional
- What kind of cover you get us? > Optional
- Penthouse – how do we get in? > Optional
- No more questions. Clear on it all. > Proceed without extra dialogue.
- Any thoughts on the plan? > Optional
- You and Dex – what’s your story? > Optional
- [Stand] Something I gotta take care of first. > Select if you don’t want to proceed with the mission right now (you’re locking into story missions for a while after this starts)
- [Stand] Let’s go. > Proceed
Put on the Militech Suit
This option only appears if you choose “Something I gotta take care of first” in the prior conversation. You need to take the suit off the table and put it on in your inventory.
Enter the Delemain
Also only appears after the above, when ready to continue enter the Delemain cab out front of The Afterlife.

Drive to Konpeki Plaza
Once in the cab, you’ll automatically be driven to the hotel.

Dialogue:
- [Jack in]
- What’s go you all excited? > Both options have the same outcome.
- “Excelsior” package – what’s that?
- Dex didn’t skimp.
- Package – what else does it include? > Optional
- Combat mode sounds… illegal. > Optional
- Don’t get too excited. > Timed choice, both options have the same outcome.
- That’s so important? > Timed choice.
- Just need you to keep your head in the game. > All three options have the same outcome.
- Acting as if we’re on our way to some party.
- Forget about it.
- [Call Jackie]
- Loud and clear. > Both options have the same outcome.
- 4 COOL: I want more Aristotle!
- [Leave weapon]
- [Get out]
Wait for Jackie to talk the Flathead
Wait while Jackie grabs the Flathead out of the trunk.
Follow Jackie
Head into the hotel.

When heading through the scanner, you’ll get stopped by security.
Talk to the guard
Dialogue:
- We’re arms dealers. > Timed choice, both options have the same outcome.
- I don’t intend to explain myself. > Timed choice.
Stand in the scanner
Wait in the scanner after Jackie has passed through.
Check in at reception
Go up beside Jackie and speak to the receptionist.

Dialogue:
- We’d like to check in.
- That won’t be necessary. > Timed choice
- [Place hand]
Follow Jackie
Follow Jackie through the hotel lobby.
Check out the hotel bar [Optional]
If you want you can look around the bar, purchase drinks from the bartender, and find a cameo appearance sitting in one of the booths.

Head to the elevator
When ready to continue, go to the elevator. Jackie will have gone up on his own if you were looking around the bar.
Take the elevator to the 42nd floor
Go inside and use the pad to go up to your floor.
Dialogue: (If you went up in the elevator with Jackie)
- Not bad.
- Like a solo cosplaying a suit.
Head to your room
On the 42nd floor, follow Jackie over to your room.
Talk to T-Bug
Inside the room, you’ll start talking to T-Bug about what comes next.
Scan for entry point for the Flathead
Pull put your scanner and check the corner of the room by the window to find the grate for the Flathead to enter.

Wait for the Flathead to breach the system
Wait a minute for the bot to proceed.
Take the control shard
The bot gets stuck, and you need to help it along. Go over near Jackie.
Dialogue:
- [Take shard]
- Why’s it gotta be me? > Optional
- Surveillance cover the whole hotel? > Optional
Wait for T-Bug to link you to CCTV
Wait a moment for Bug to get you on the correct camera
Scan for a way into the vents
Check to the top right corner of the room to spot a vent directly above a guard.

Use Flathead to open the ventilation grate
Use the interaction to have the Flathead enter the vent.
Scan for a way into the vents
In the next room, check the lower-left corner by the window and the housekeeper.

Scan for hackable devices
Check around the room for the electronics you can interact with. The correct item is the Terrarium temp control to the lower-right.

Order Flathead to go to the terrarium
Interact with the temp control to have the Flathead move to it and hack it.
Wait for housekeeping to move
Wait for the two characters to move over and inspect the terrarium control.
Enter the vent using Flathead
Interact with the now accessible vent to have the Flathead enter it.
Scan for a way into the vents
Your camera will automatically switch to the new room again. Look to the direct middle of the room for the next vent.

Use Flathead to open the ventilation grate
Interact with it to have the Flathead proceed.
Use Flathead to enter the dweller’s room
In the next area, scan the door to the left and interact to have the Flathead check it out.

Scan for CCTV Access Point
You need to enable the camera in the next room. Look just to the left of the door to find the port.

Connect to CCTV using Flathead
Interact to have the bot connect you to the camera.
Switch cam view
You can now switch between the two cameras using  /
/  .
.
Consult with T-Bug
Dialogue:
- What now? > Both options have the same outcome.
- 5 INTELLIGENCE: Lemme neutralize him.
Scan for a path for the Flathead
After speaking with T-Bug, check the lower left to find another grate.

Scan for a grate in the floor
Switch camera back to the other room, and look to the right side of the door for the grate.
Use the Flathead to open the ventilation grate
Interact with the grate on the floor to have the Flathead enter it, then switch camera back to the other room.
Hack the dweller using the Flathead
Look over at the Netrunner in the chair, and interact to have the Flathead go over and hack them.

Sit
T-Bug needs time to hack into the system, so you can sit on the chair and wait for time to progress.
Dialogue:
- Did the same with the Valentinos, didn’t you? > Both options have the same outcome.
- STREETKID: Rich asshole’s whim – why should I care?
- [Stand]
Head to Yorinobu’s penthouse
Follow Jackie out of the room, then to the elevator and up to the penthouse.
Follow Jackie
Follow Jackie inside the penthouse.
Go to the safe
Head over into the corner of the room where you know the safe is from the Braindance.

Scan for a hidden switch
Scan the safe to see a data line going from it across the room.
Use the switch
Go over by the bed to activate the switch and open the safe.

Get to the safe
Go back over by the safe.
Use your personal link on the safe
Interact with the safe to open it up.

Follow Jackie
Jackie pulls the case out of the safe, then follow him.
Hide inside the maintenance shaft
You need to hide before people enter the apartment. Go around the back of the large screen in the middle of the room and enter inside of it.

Wait
You’ll have a long scene while hiding inside the screen.
Dialogue:
- Gotta get us out here, T. > Timed choice, both options have the same outcome.
- Where’s Yorinobu?
Go to the balcony door
Once you’re back out of the screen, T-Bug will open the balcony door for you to get out of.

Escape the penthouse through the window
Go out onto the balcony then go around to the left side.
Get to the ladder
Follow the path towards the ladder at the end.
Jump
When the drone shows up, jump off the ledge.

Dialogue:
- Jack, you’re bleedin’! > Timed choice, both options have the same outcome.
- What about the biochip?! > Timed choice
- [Call Evelyn Parker]
- What’re you talking about?! > Timed choice, both options have the same outcome.
- Is that even safe? > Timed choice
- [Stand]
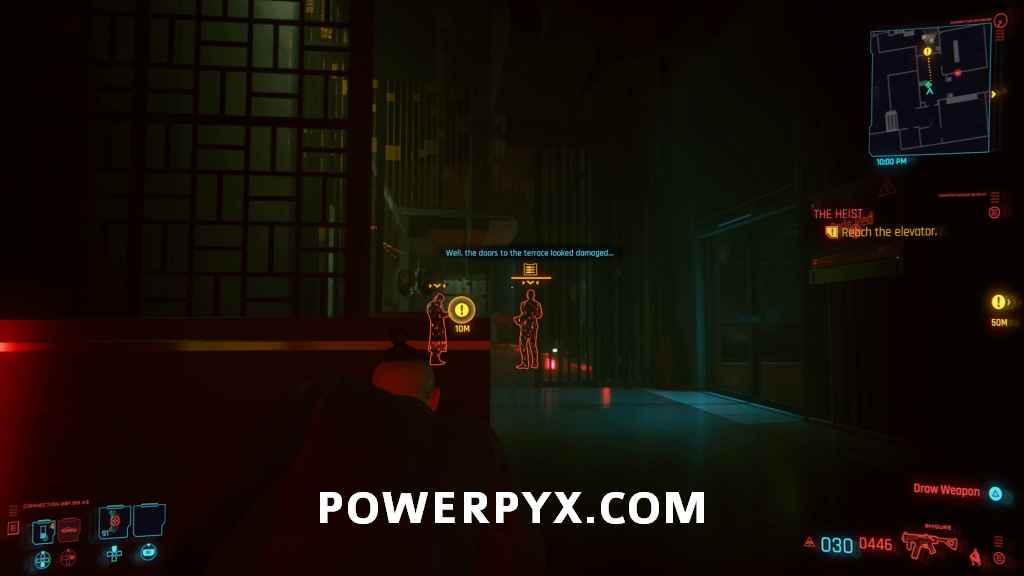
Reach the elevator
The next section you need to get through the hotel, working at reaching the elevator to get down to the parking garage. You start out with no weapons, so you will want to be as stealthy as possible. Follow the objective down to the lower floor.
Wait for an opportunity to take out the guards [Optional]
You’ll likely do this without trying, as long as you didn’t immediately sprint downstairs and alert the guards to your presence. This objective is completed when they move into positions in the lower room after talking to each other.
Deal with the guards
Sneak up behind one of the guards and take them out, Jackie will deal with the other one. These two you have to deal with to progress, but later ones you are able to sneak by without attacking.

If you loot the guards you can find submachine guns and silencers that you can put on them, but it wouldn’t be recommended you shoot anyone if trying to remain in stealth. It’s much more recommended that you use takedowns all the time if possible.
Go through the marked door behind Jackie, and there will be two more guards in the next hallway. Wait for them to finish talking, then one will walk away. Be aware of the camera up to the left, then you can take out the guy waiting. Make sure to move any bodies out of the way in this section. There aren’t any actually bins or anything to put them in, but you can move them somewhat out of the way to try and stop later patrols from finding them.
You can take out the second guy as he’s standing looking at the window, but watch for two more guards to come from the left side.

These two you can sneak behind and continue left, they won’t move from this spot. Follow the marked path into the next room, and watch for two more enemies to walk in from the far side.

You can stick to the left of the room to avoid them, again not needing to take them out if you don’t want to. Past there you will enter a larger room, with two more guards, one standing in spot in front and another walking down to the right. You can take out the one in front if you want, just watch because you might be eventually spotted by the two who were standing in place earlier.

Continue following the path, then you’ll come up to a lone guard in front of the flickering Arasaka screen that you can take out.

There will be two guards shouting in front of a door, you can ignore them, waiting for them to enter that room to look around then walk past. Continue hugging the right wall of the area, your objective will update to a new elevator.

Search the Arasaka officer
An armored enemy will come out of the next elevator, and they have a keycard you need to obtain to use it. They will hang out in this area around the elevator, so they don’t wander off if you want to deal with them in stealth. Try and distract them to take out the enemy standing to the right of the elevator, then deal with the officer. If you want here you could also just shoot them then quickly search and run for the elevator, though this alerts the rest of the enemies to where you are.

Head to the lobby
Once you have the security card, enter the elevator to go down to the lobby.

Dialogue:
- Think this is funny?! > Timed choice, both options have the same outcome.
- Save your strength. > Timed choice
- ‘Cause you say so?! > Timed choice, both options have the same outcome.
- Talk to T-Bug. > Timed choice
Reach the elevator to the garage
You’ll now be in the lobby, and there will be four guards in here. If you have been spotted you will have all of them shooting at your right when you come out of the elevator, so you will need to deal with them to get past. If you’re sneaking, hug the left wall all the way around to the elevator, avoiding a couple more guards on the way.
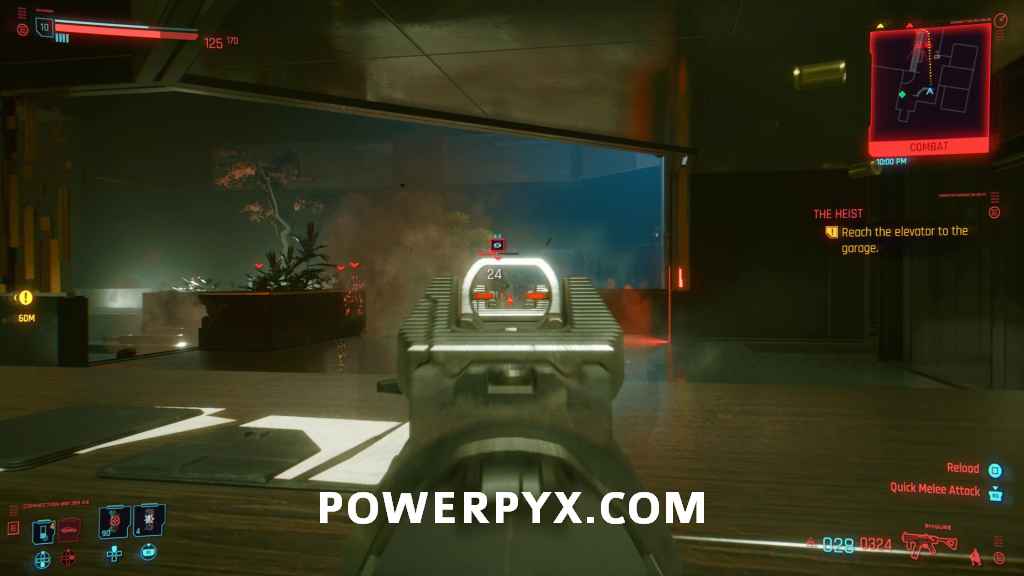
If you are fighting, after defeating all four guards in the lobby a mech will drop in from above, at which point you should probably just make a run for the elevator.

Take the elevator to the garage
- Get in the elevator and take it down to the garage.
Enter the Delamain
The cab is waiting for you just to the left inside the garage. There are enemies surrounding it, so whether you are still stealth or not your best bet is just sprinting to the door and getting inside.

Get rid of the drones
During the ride, you will start being pursued by a set of three drones, two small and one large. You will automatically lean out of the car and need to shoot down all three.

Dialogue:
- Jackie, we did it! > Timed choice, both options have the same outcome.
- You’re pale, look like a corpse. > Timed choice
- Take us to a rippderdoc! > Timed choice, all three options have the same outcome.
- So hurry up! > Timed choice
- How bad is it? > Timed choice
- We’ll only get the best jobs from now on! > Timed choice, both options have the same outcome.
- Think about Misty! You’ll see her soon! > Timed choice
The next choices determine something that happens later in the story. It’s recommended you tell Delamain to take Jackie’s body to his family, because this gives an extra side quest later.

- Nowhere. Wait for me here.
- Take him home, to his family. > Recommended choice, gives a unique side quest later on.
- Take him to Vik Vektor’s clinic. > Some unique dialogue occurs later in the story.
- Just… give me a minute. > Optional
- [Get out] > Exit car
- [Touch shoulder] See you in the major leagues. > Optional
Head to room 204
Go inside the motel, and upstairs to room 204 to meet with Dex.

Talk to Dex
Inside the room, talk to Dex.

Dialogue:
- Yep, he’s there. Dead. > Both options have the same outcome.
- What the fuck do you think?
- Got it right here. > Both options have the same outcome.
- No luck.
- We gotta leave town. Call Evelyn. > Both options have the same outcome.
- You’re the one who got us into this!
Go to the bathroom
Go into the bathroom.
Wash your face
Interact with the mirror, then wash off your face or smash the mirror if you want.
Leave the bathroom
When finished, walk back out of the bathroom.
Dialogue:
- The fuck are you doing? > Timed choice, both options have the same outcome.
- I’ll fucking kill you! > Timed choice.
This finishes The Heist main quest in Cyberpunk 2077 (CP77). Now the next quest Love Like Fire starts automatically.
For all other Quest Walkthroughs, check out the complete Cyberpunk 2077 Walkthrough.
Leave a Reply